How to Install TrueNas Scale
This video is a part of our homelab series but can be followed as a stand alone article/video as well.
You will need the following:
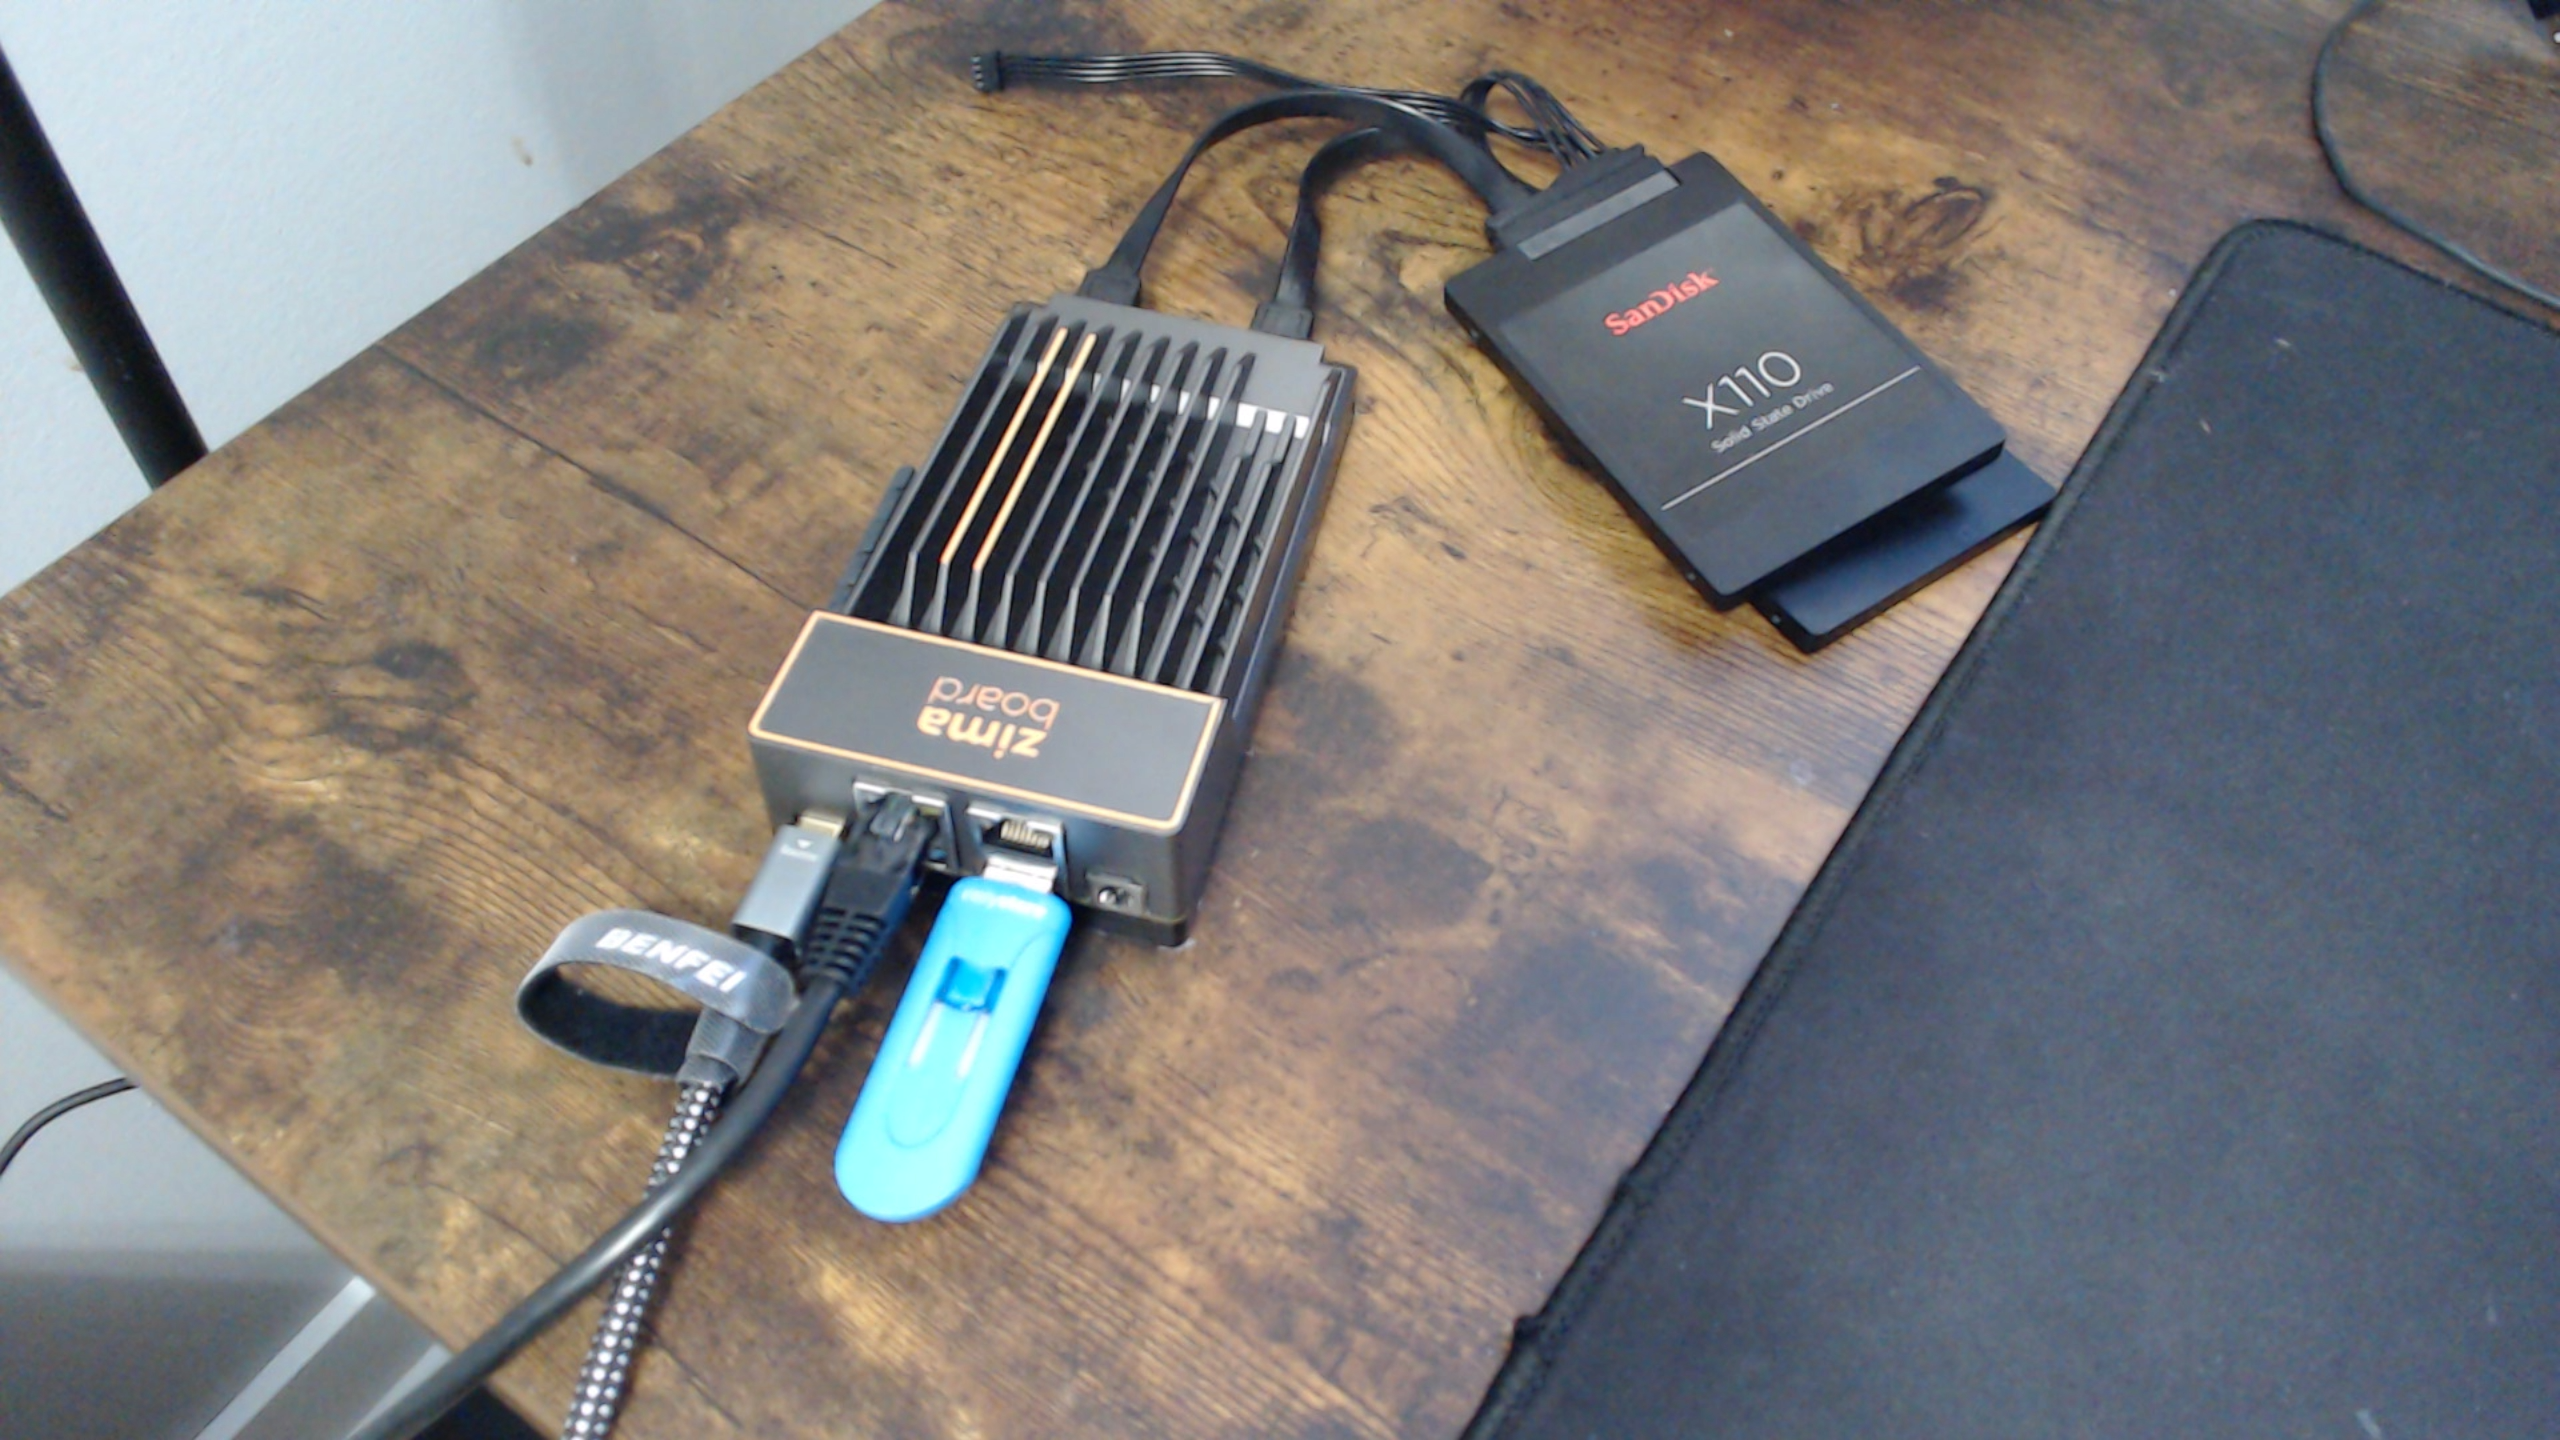
- A device with three drives (1 for the OS, and 2 for the mirror raid we are going to create. Most devices have EMMC storage on board which can be used for the Truenas OS).
- Download TrueNas Scale here
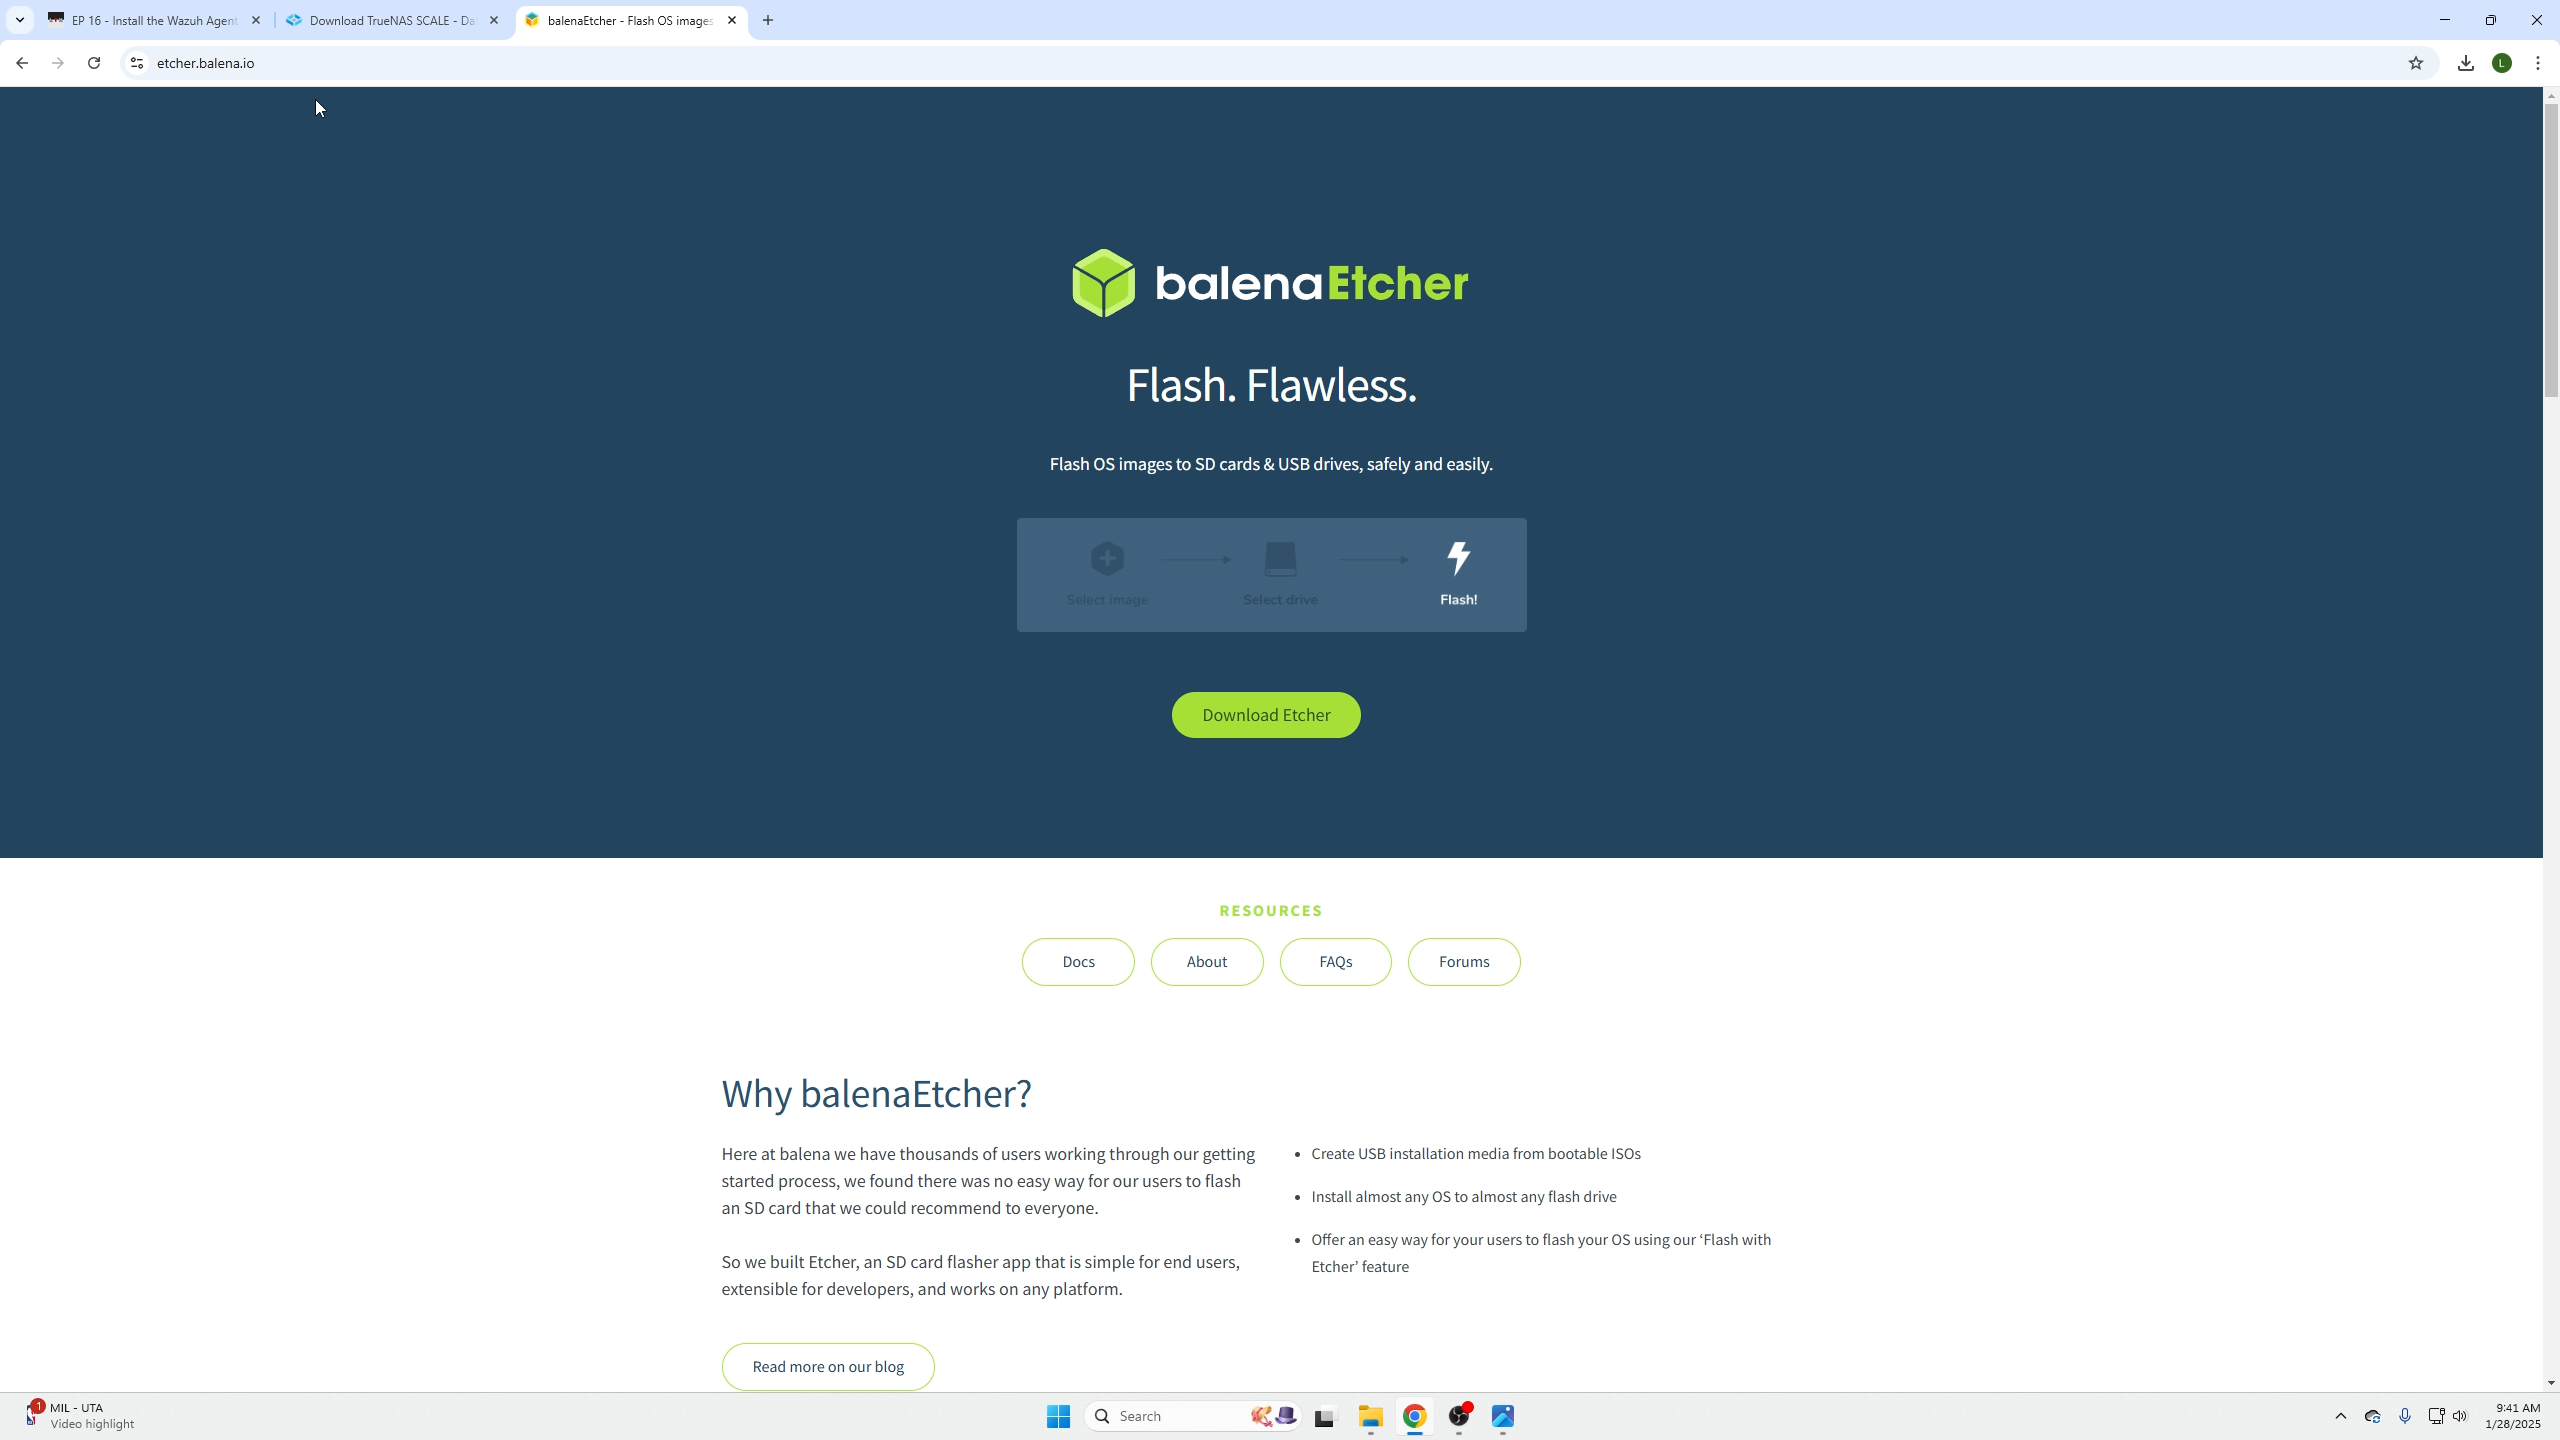
- Download Etcher if you do not have it yet to create a bootable USB here
Create a bootable USB
Download the latest version of TrueNas on their site.

Download Etcher so you can create a bootable USB.
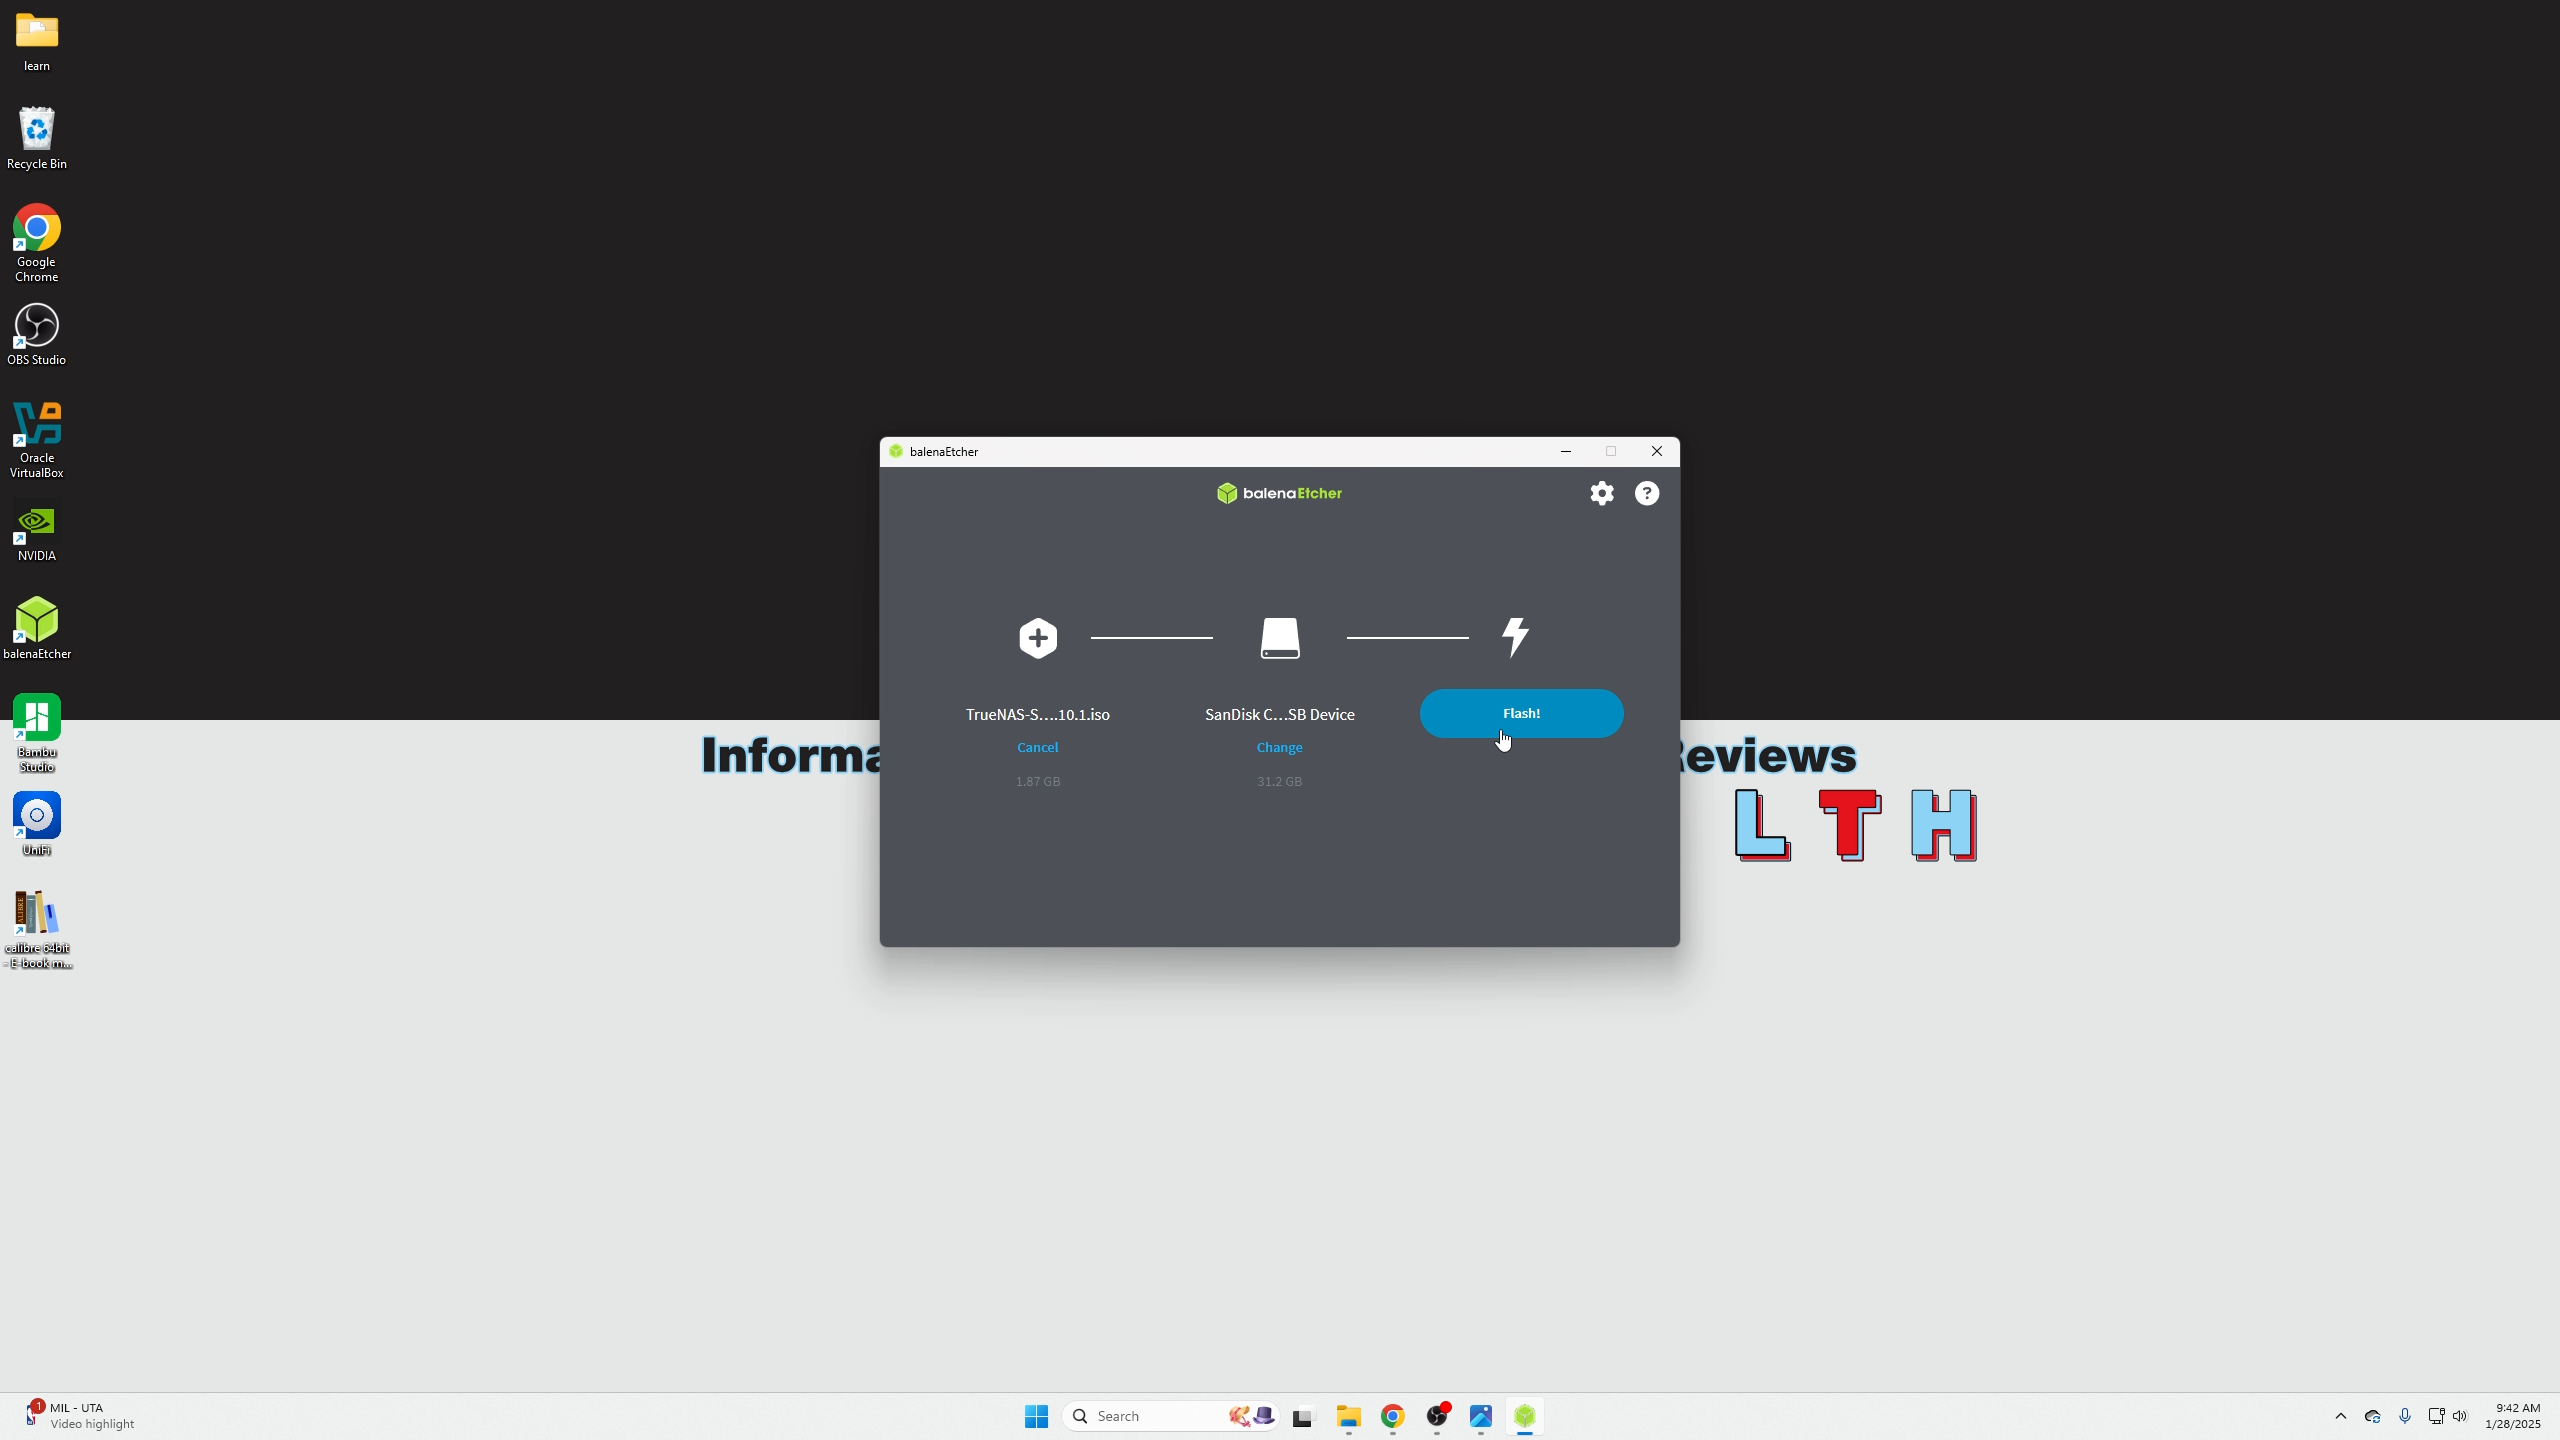
Flash your USB device with the Etcher application and TrueNas Software.
Installing TrueNas Scale
Then plug that USB device into the device you are going to install TrueNas Scale on when its TURNED OFF
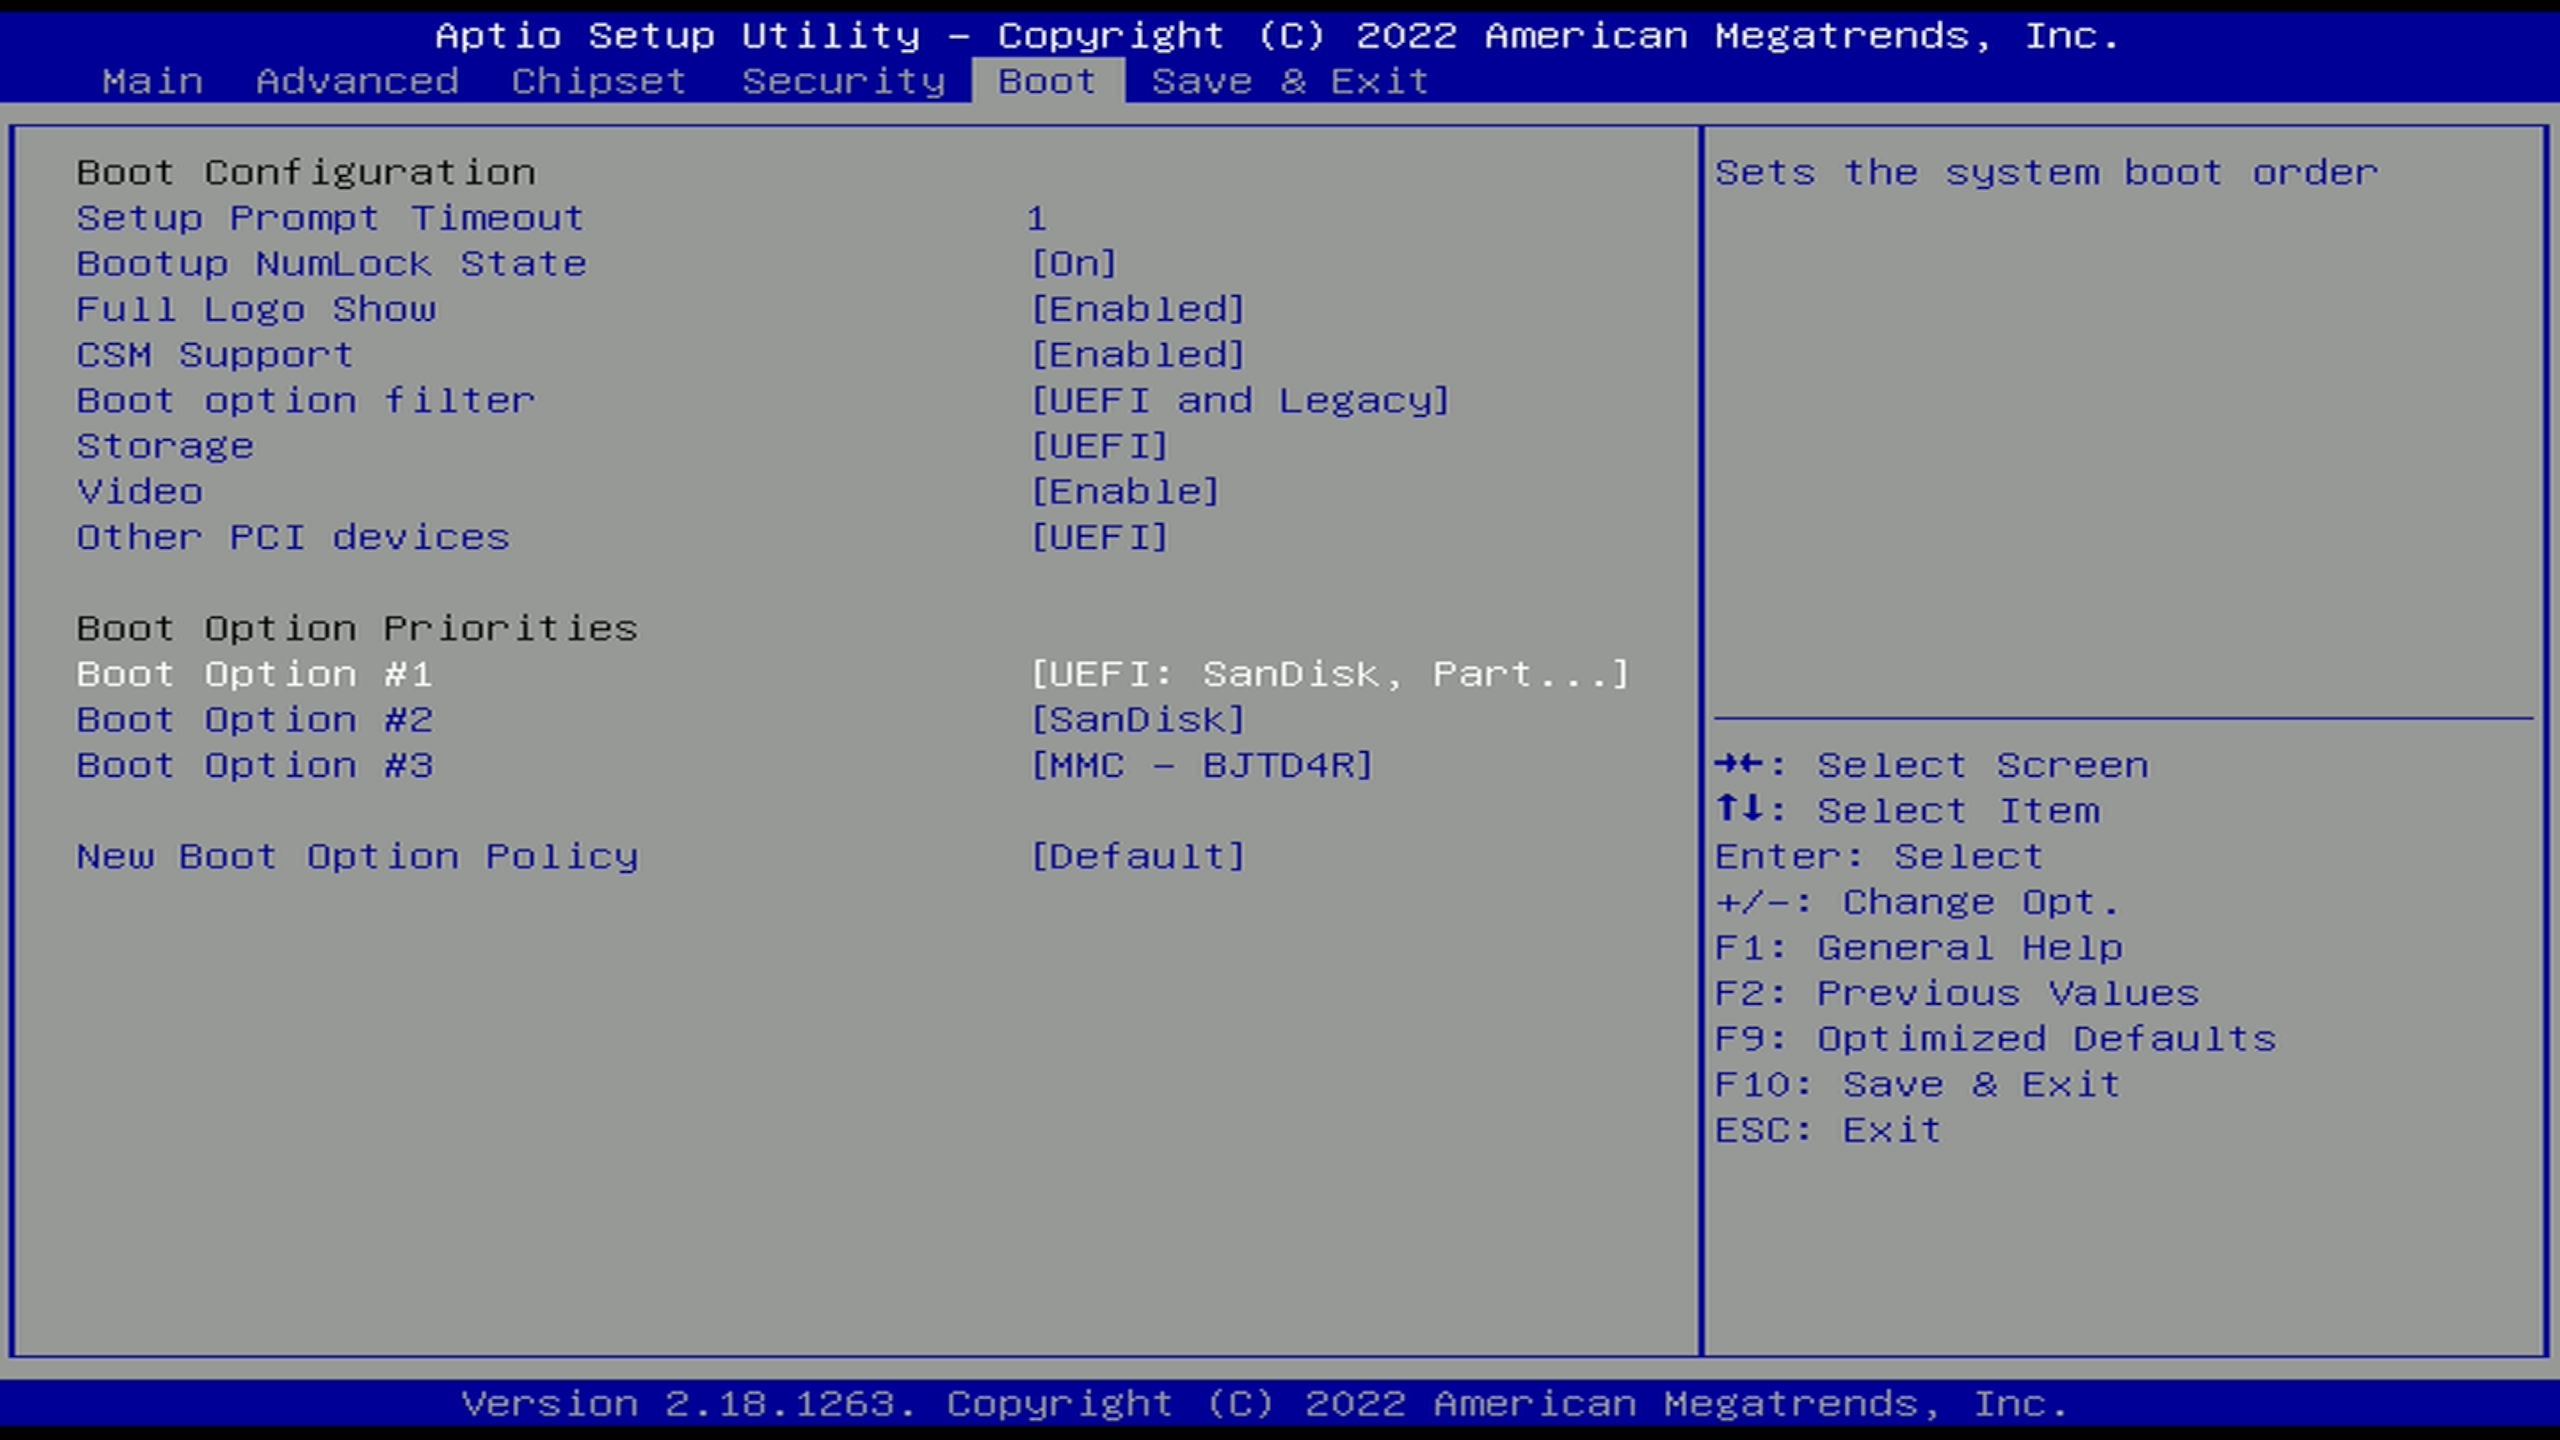
Next plug the power into your TrueNAs device WITH A KEYBOARD PLUGGED INTO IT and spam your delete/ESC keys until you see the BIOS.
Then go to your Boot options on the BIOS and ensure your USB UEFI device is the first option.
Go to save/exit save and exit then wait for it to boot to the TrueNas installer.
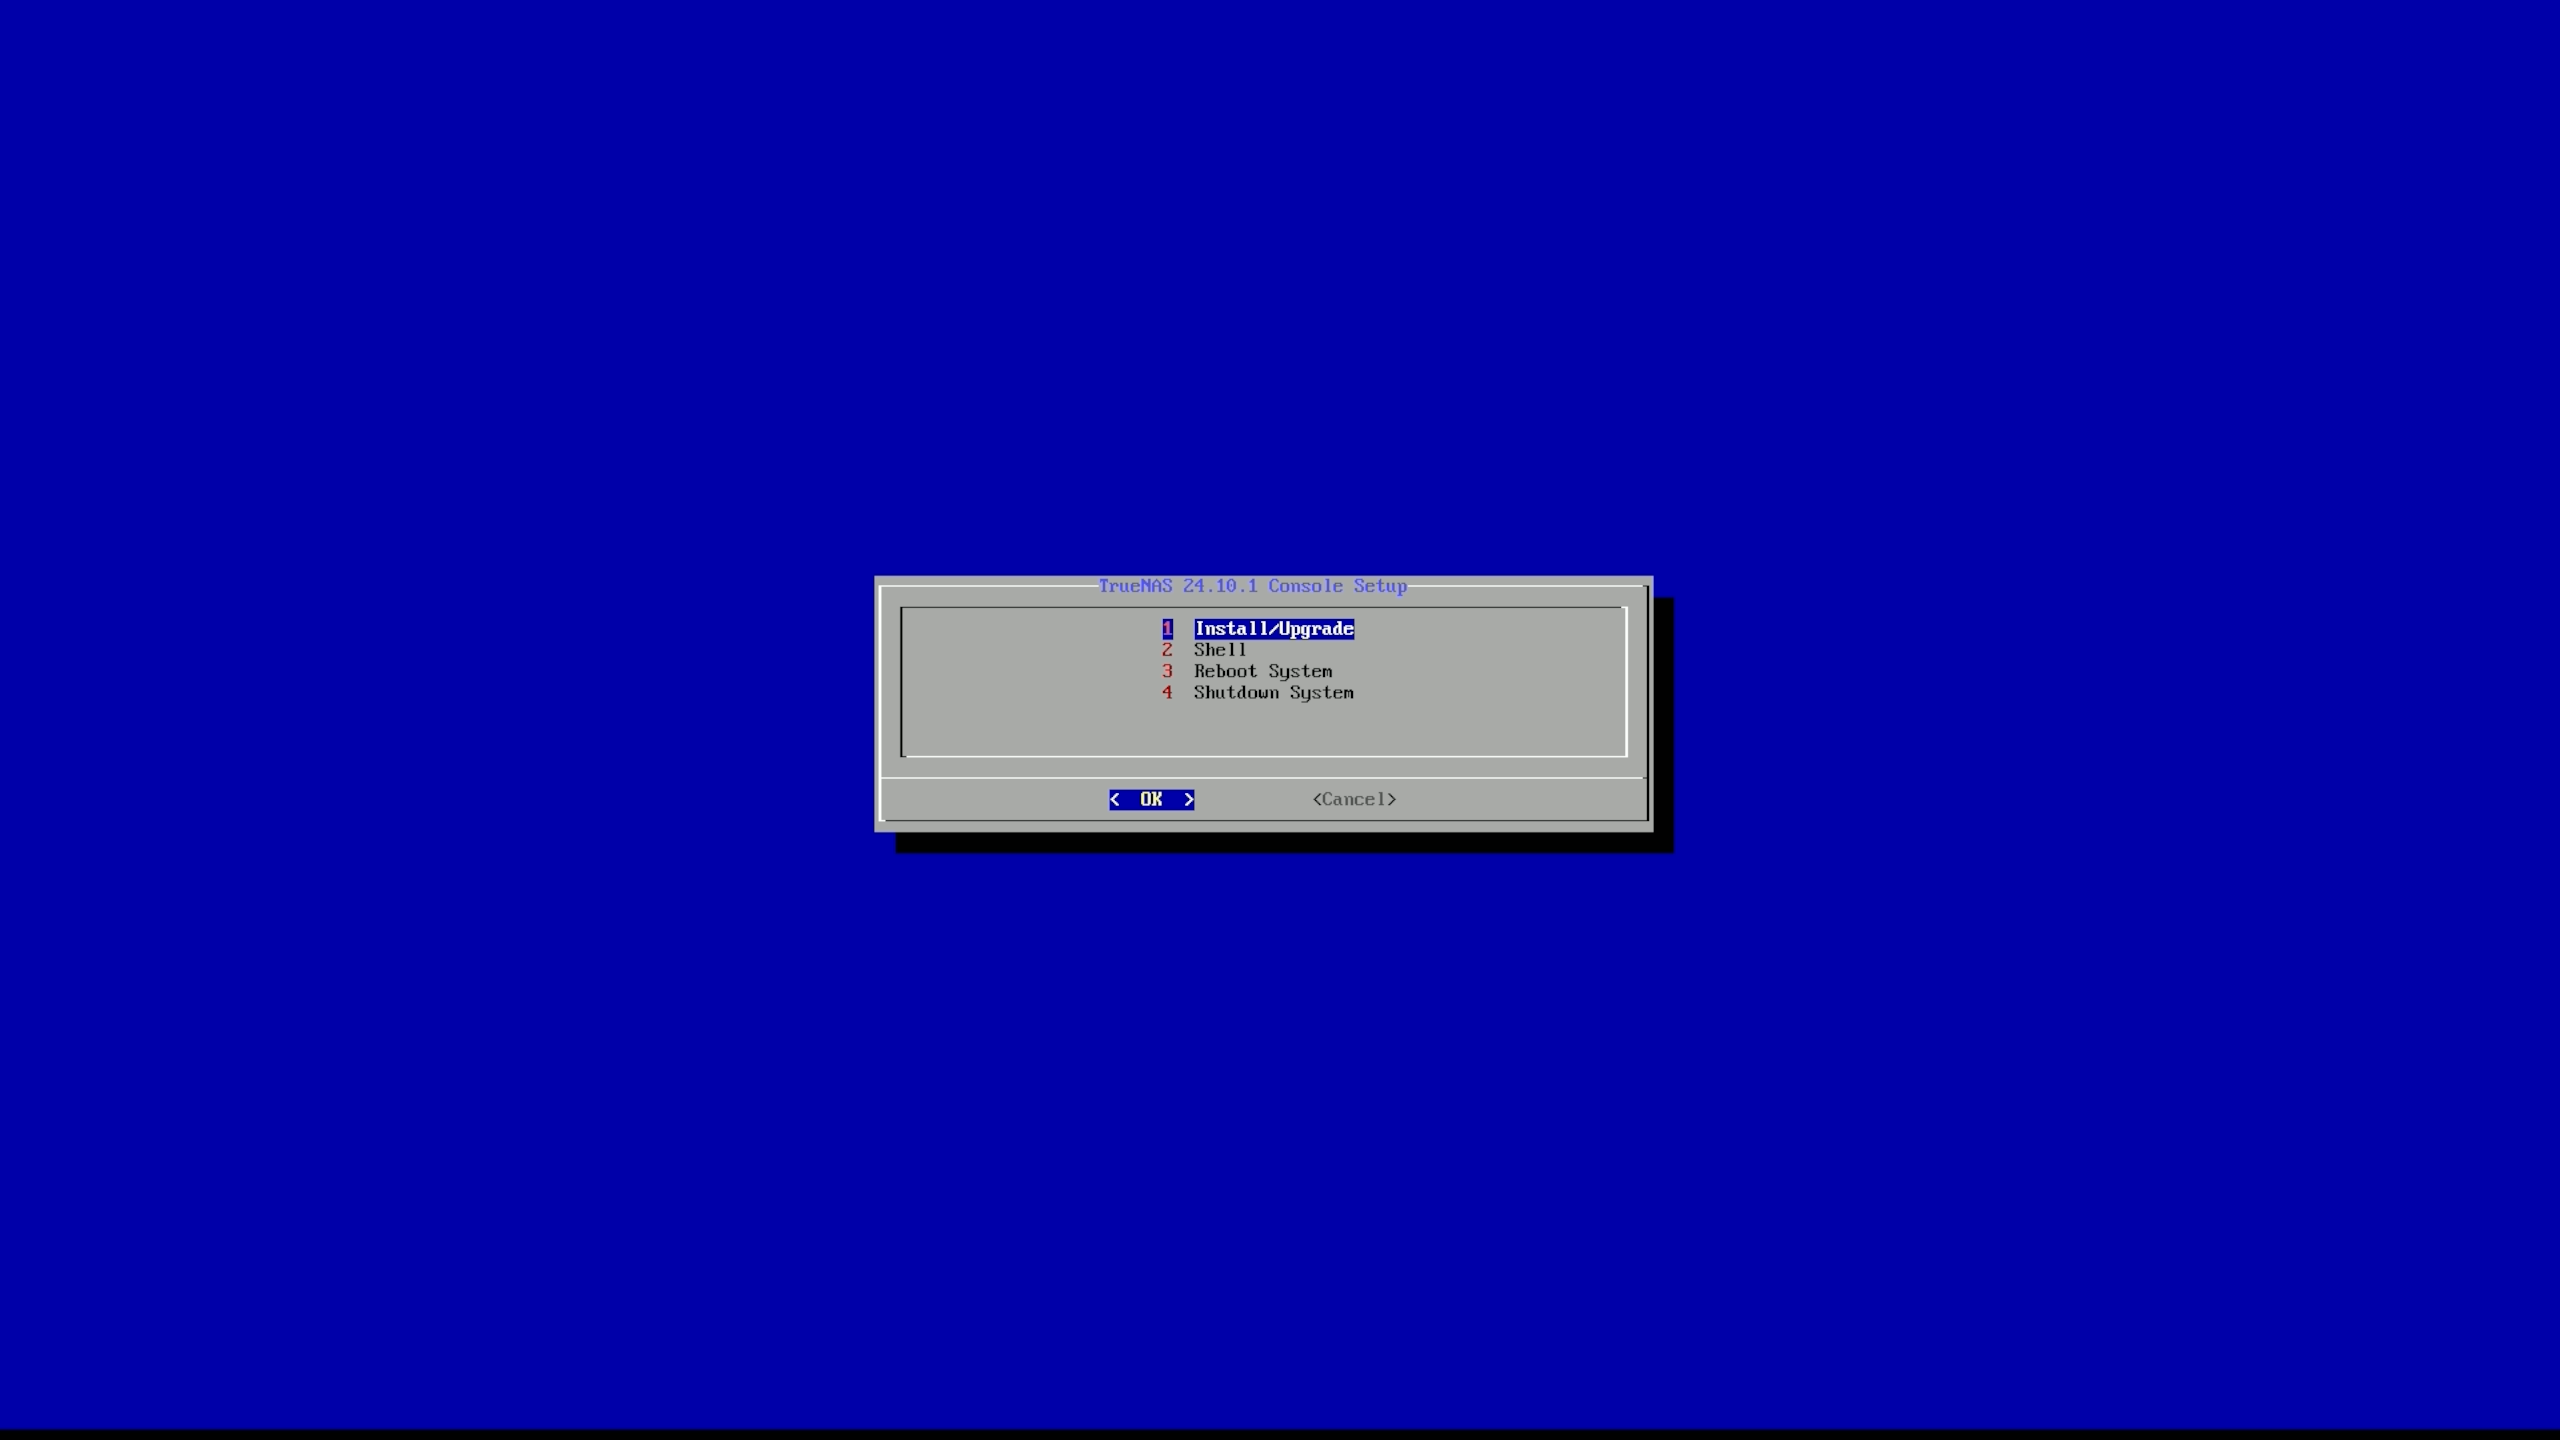
You will then be presented with some options, we are going to click enter for number one because it is already selected.
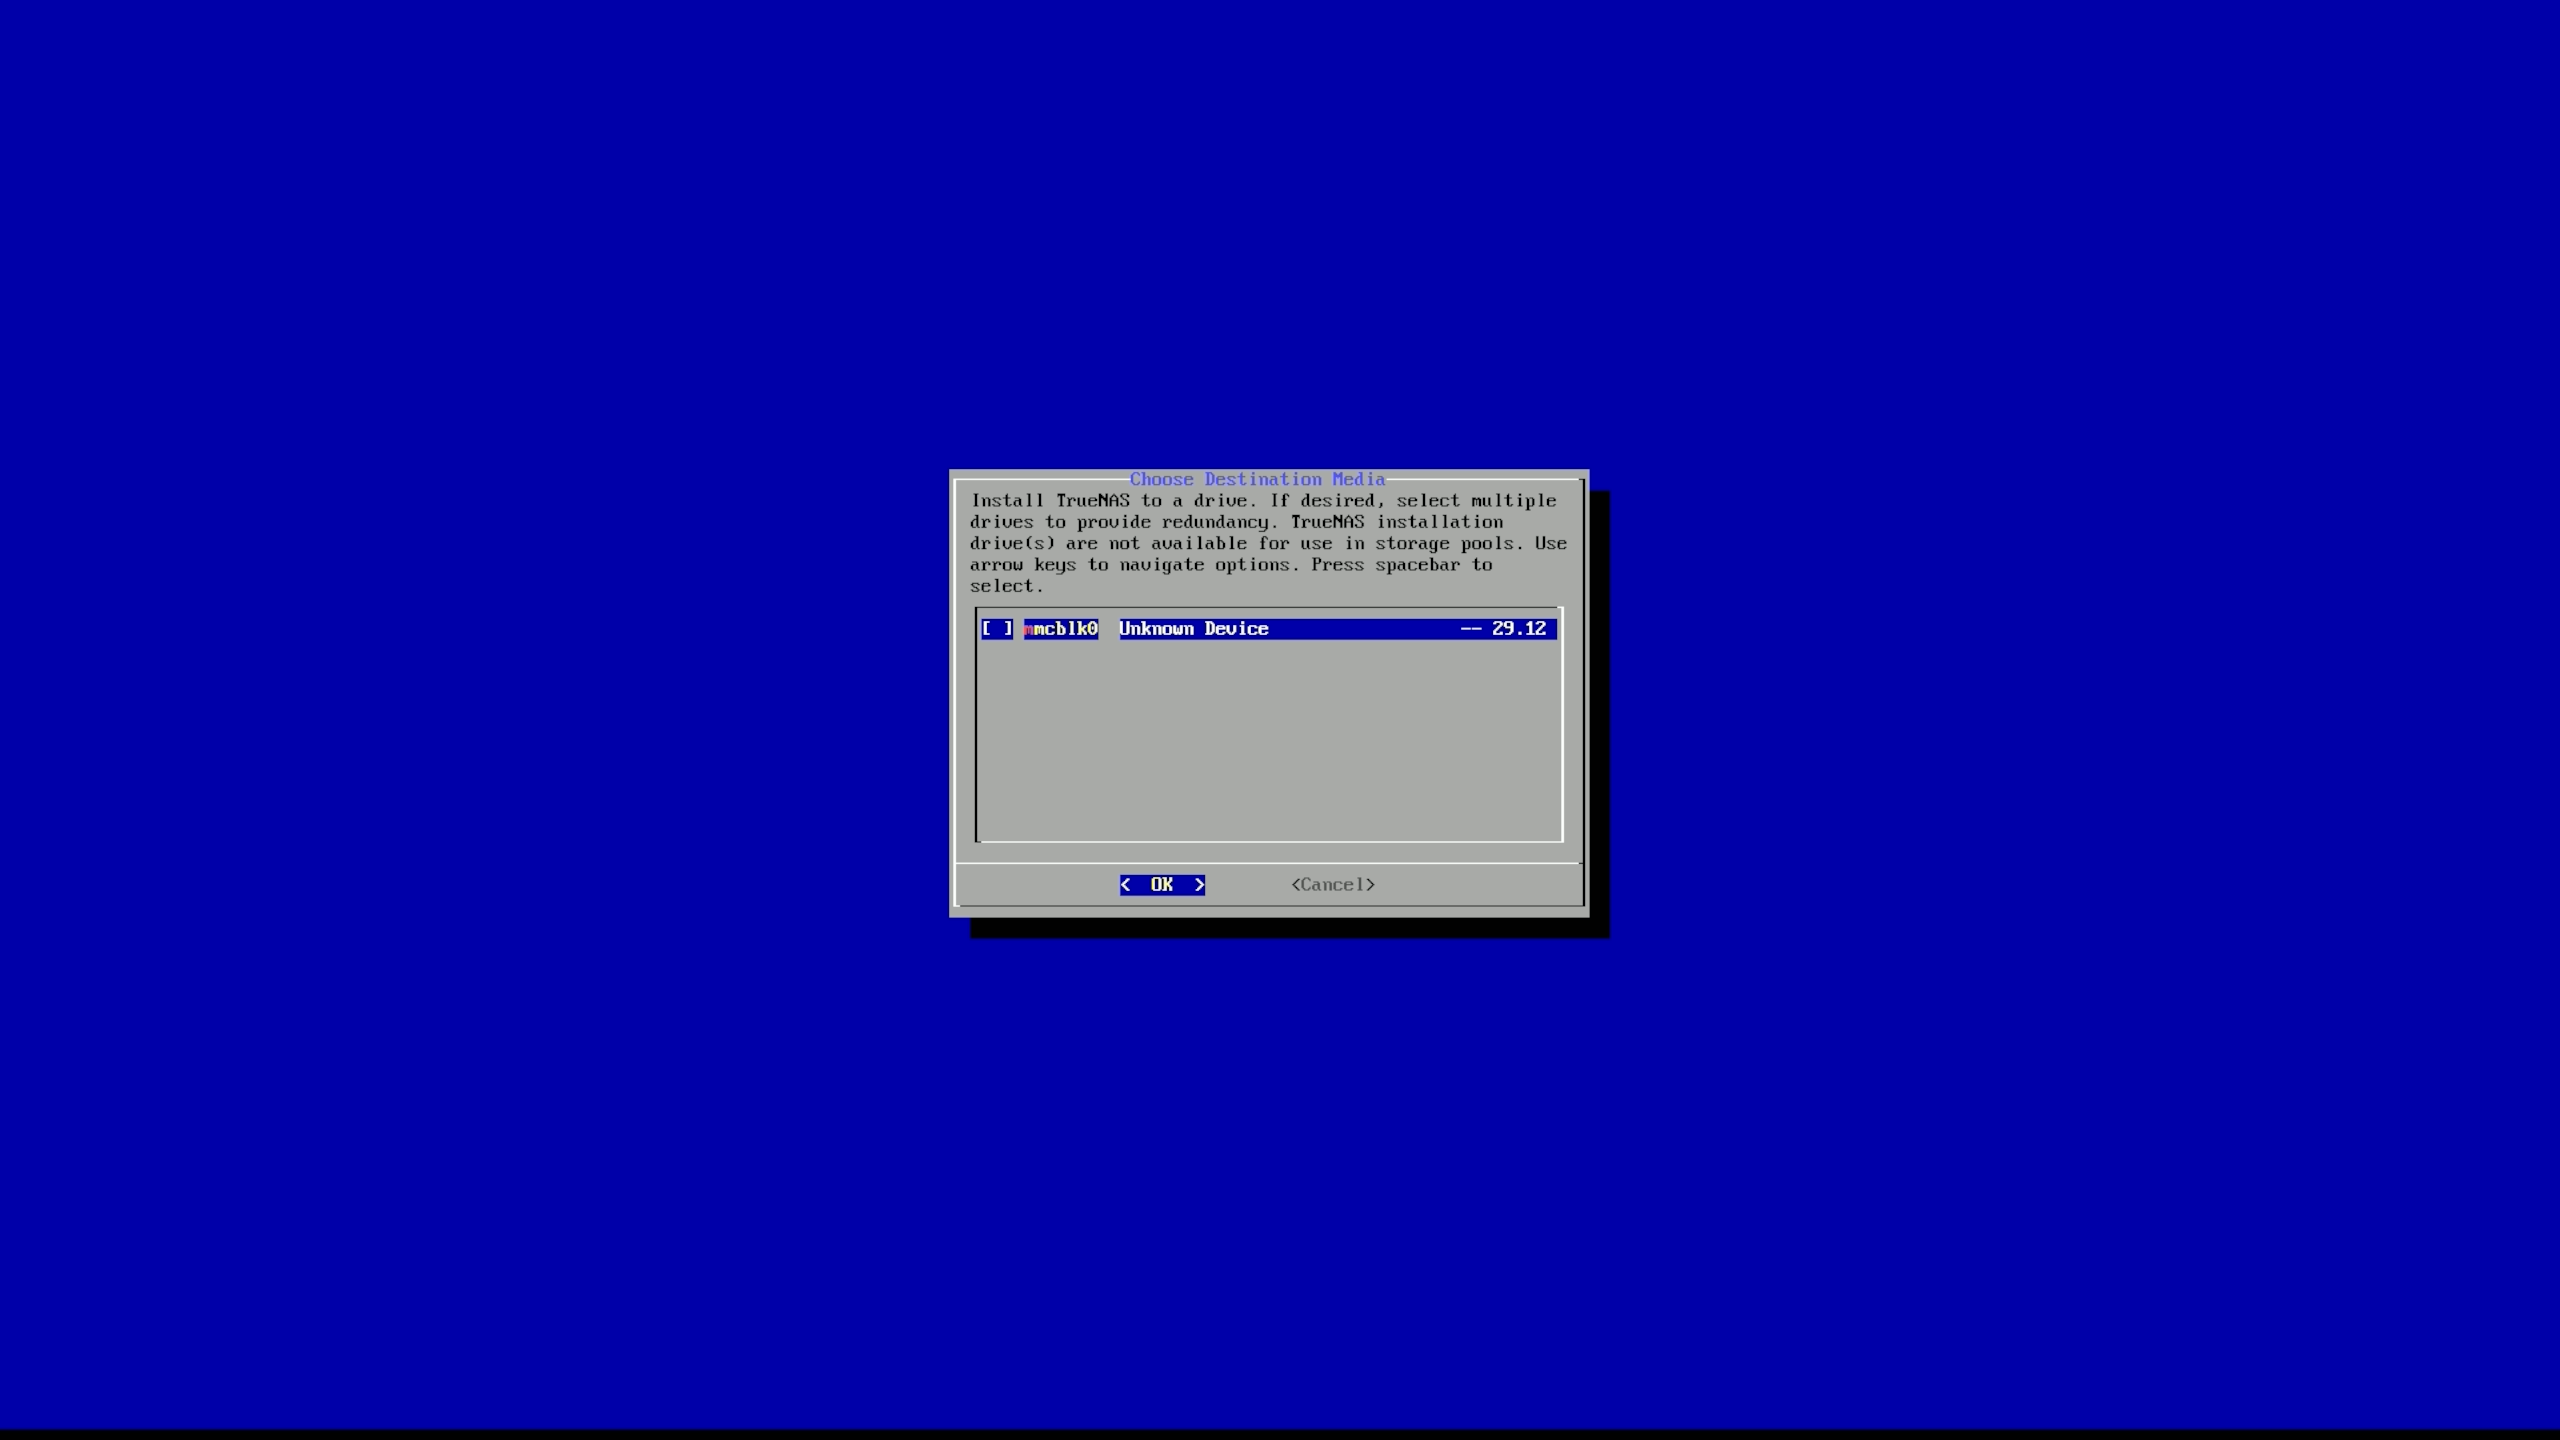
Select the drive you want to install to, ensure this is a 3rd drive and not your two drives you intend to mirror for your raid.
(If you want to play it safe, you can leave your two mirror drives unplugged until the part where we reboot the device after install)
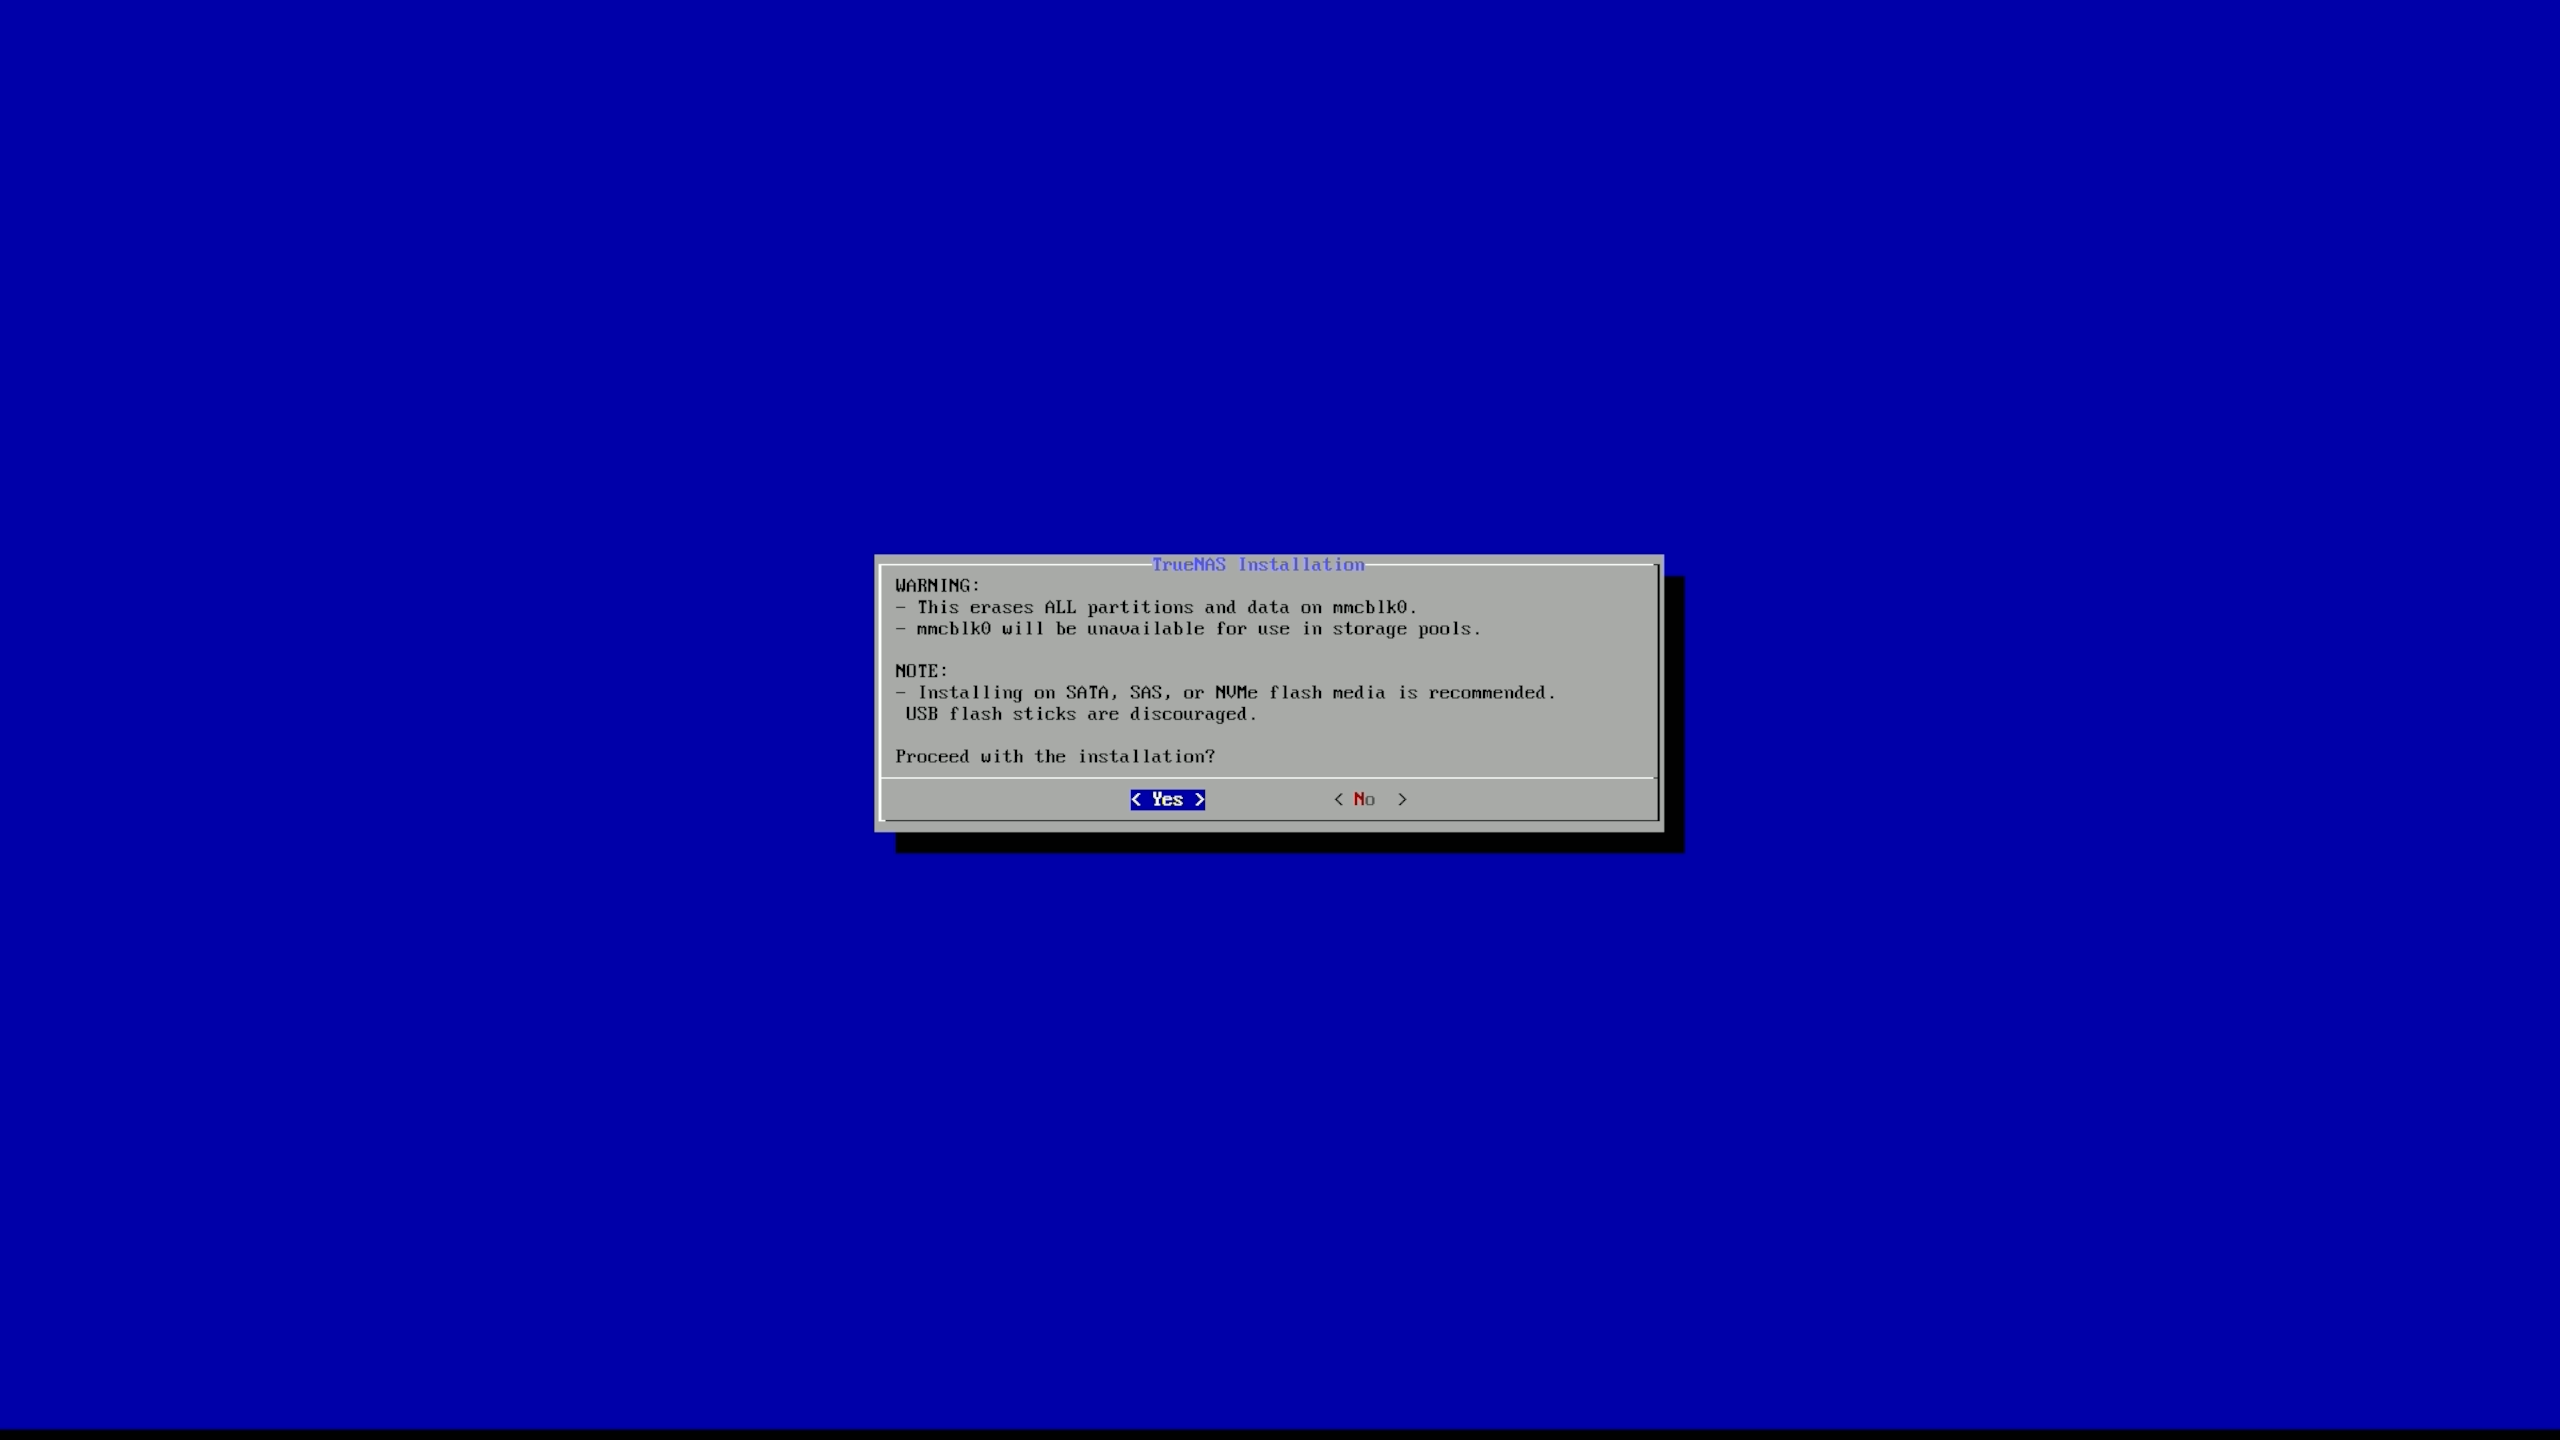
You will get a warning message stating everything will be removed from the drive.
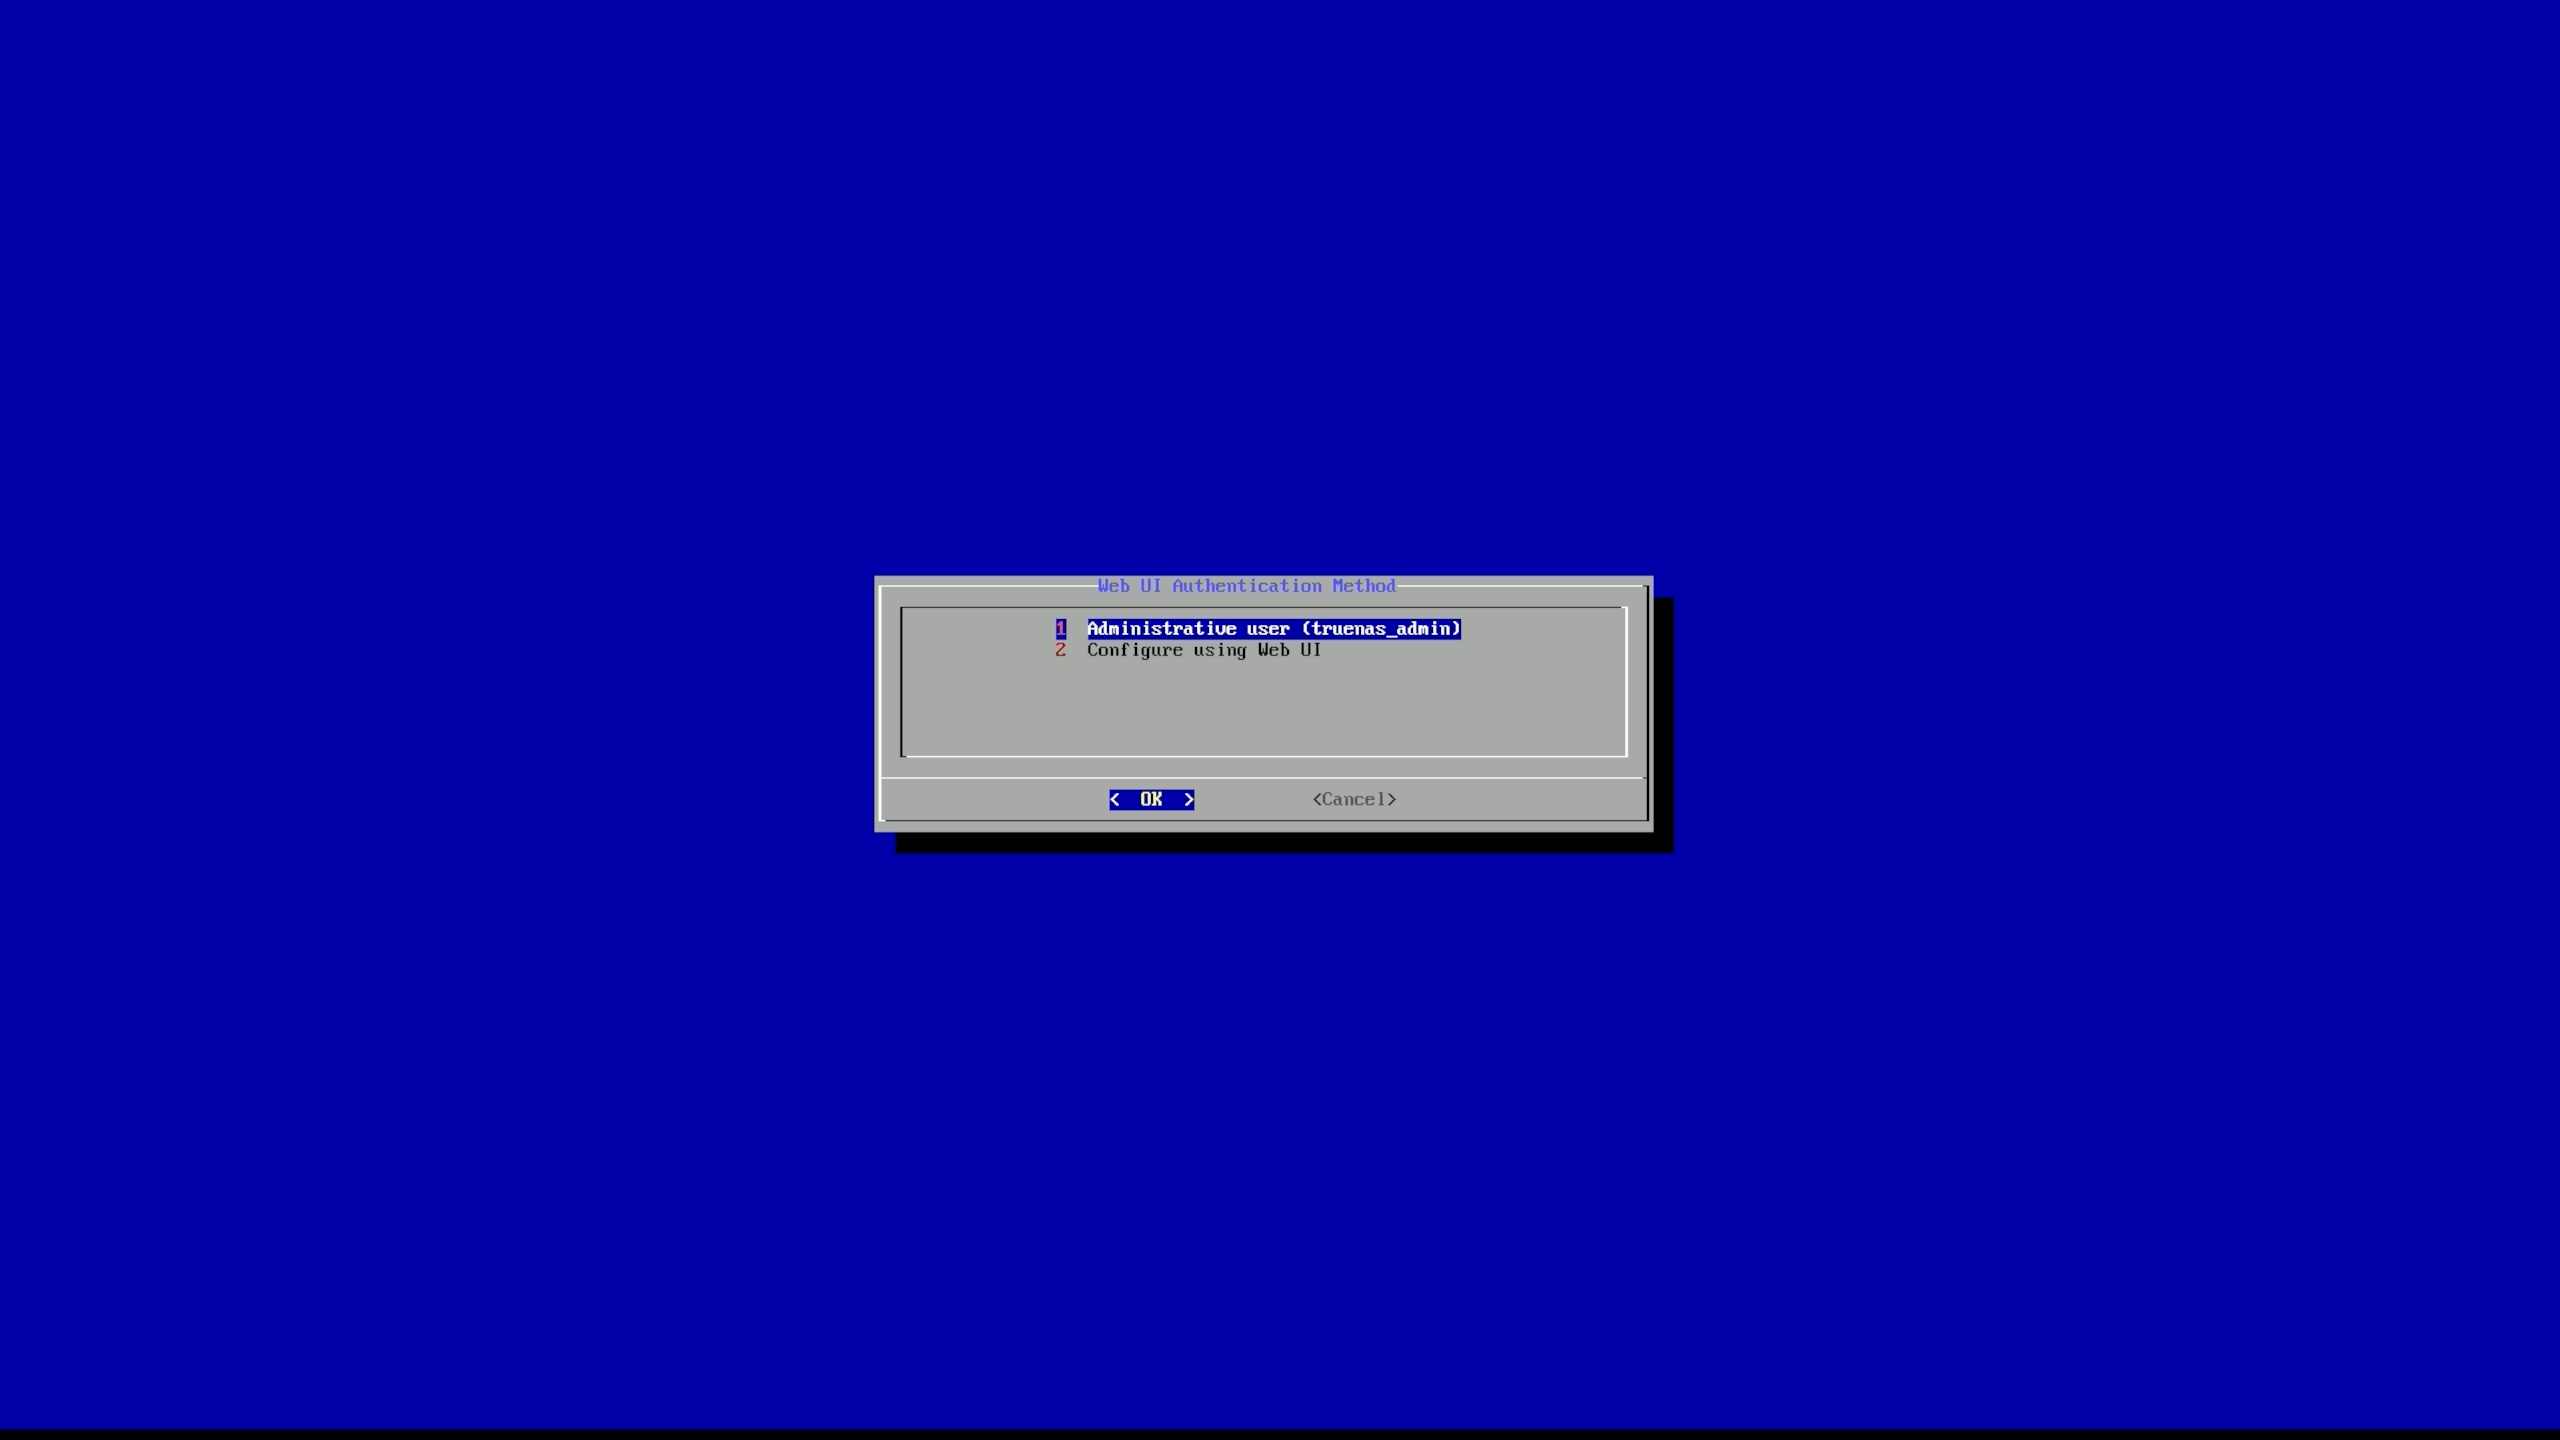
For install options we are going to use number 1. (Admin)
(Note, with 24.x the username has changed from Admin to truenas_admin)
Then create a password for your admin account.
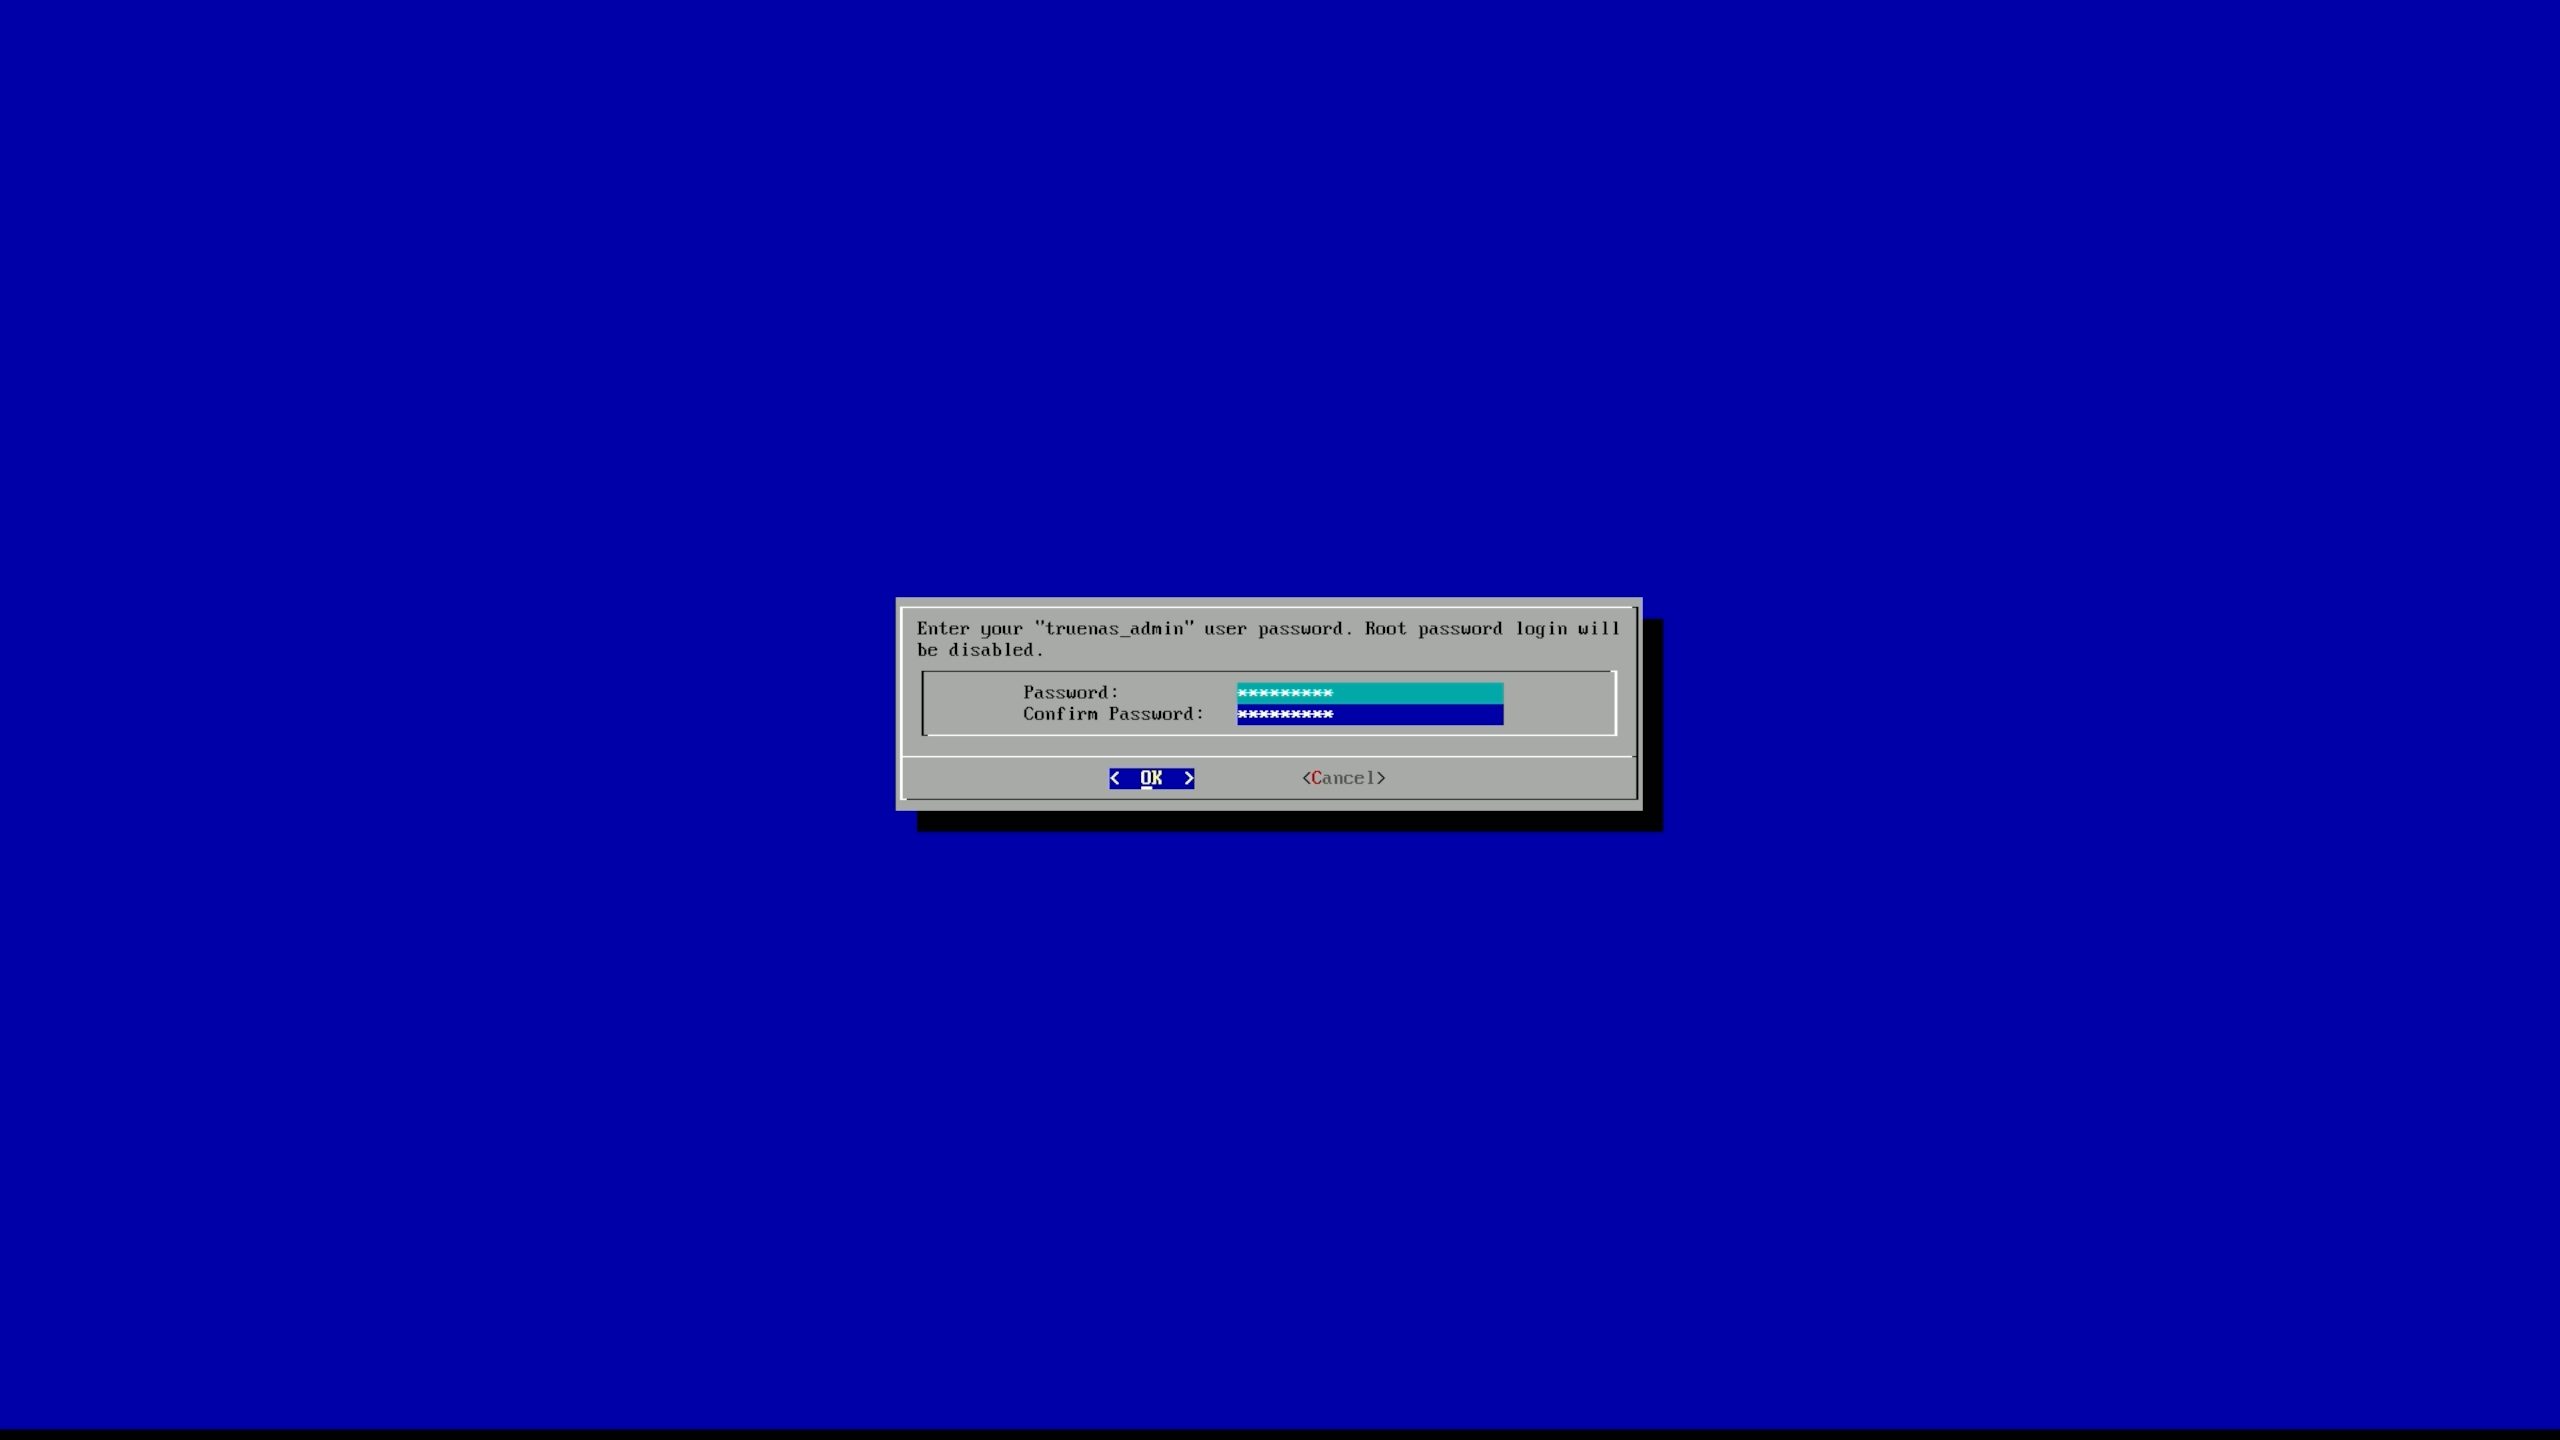
After that you are going to click ok.

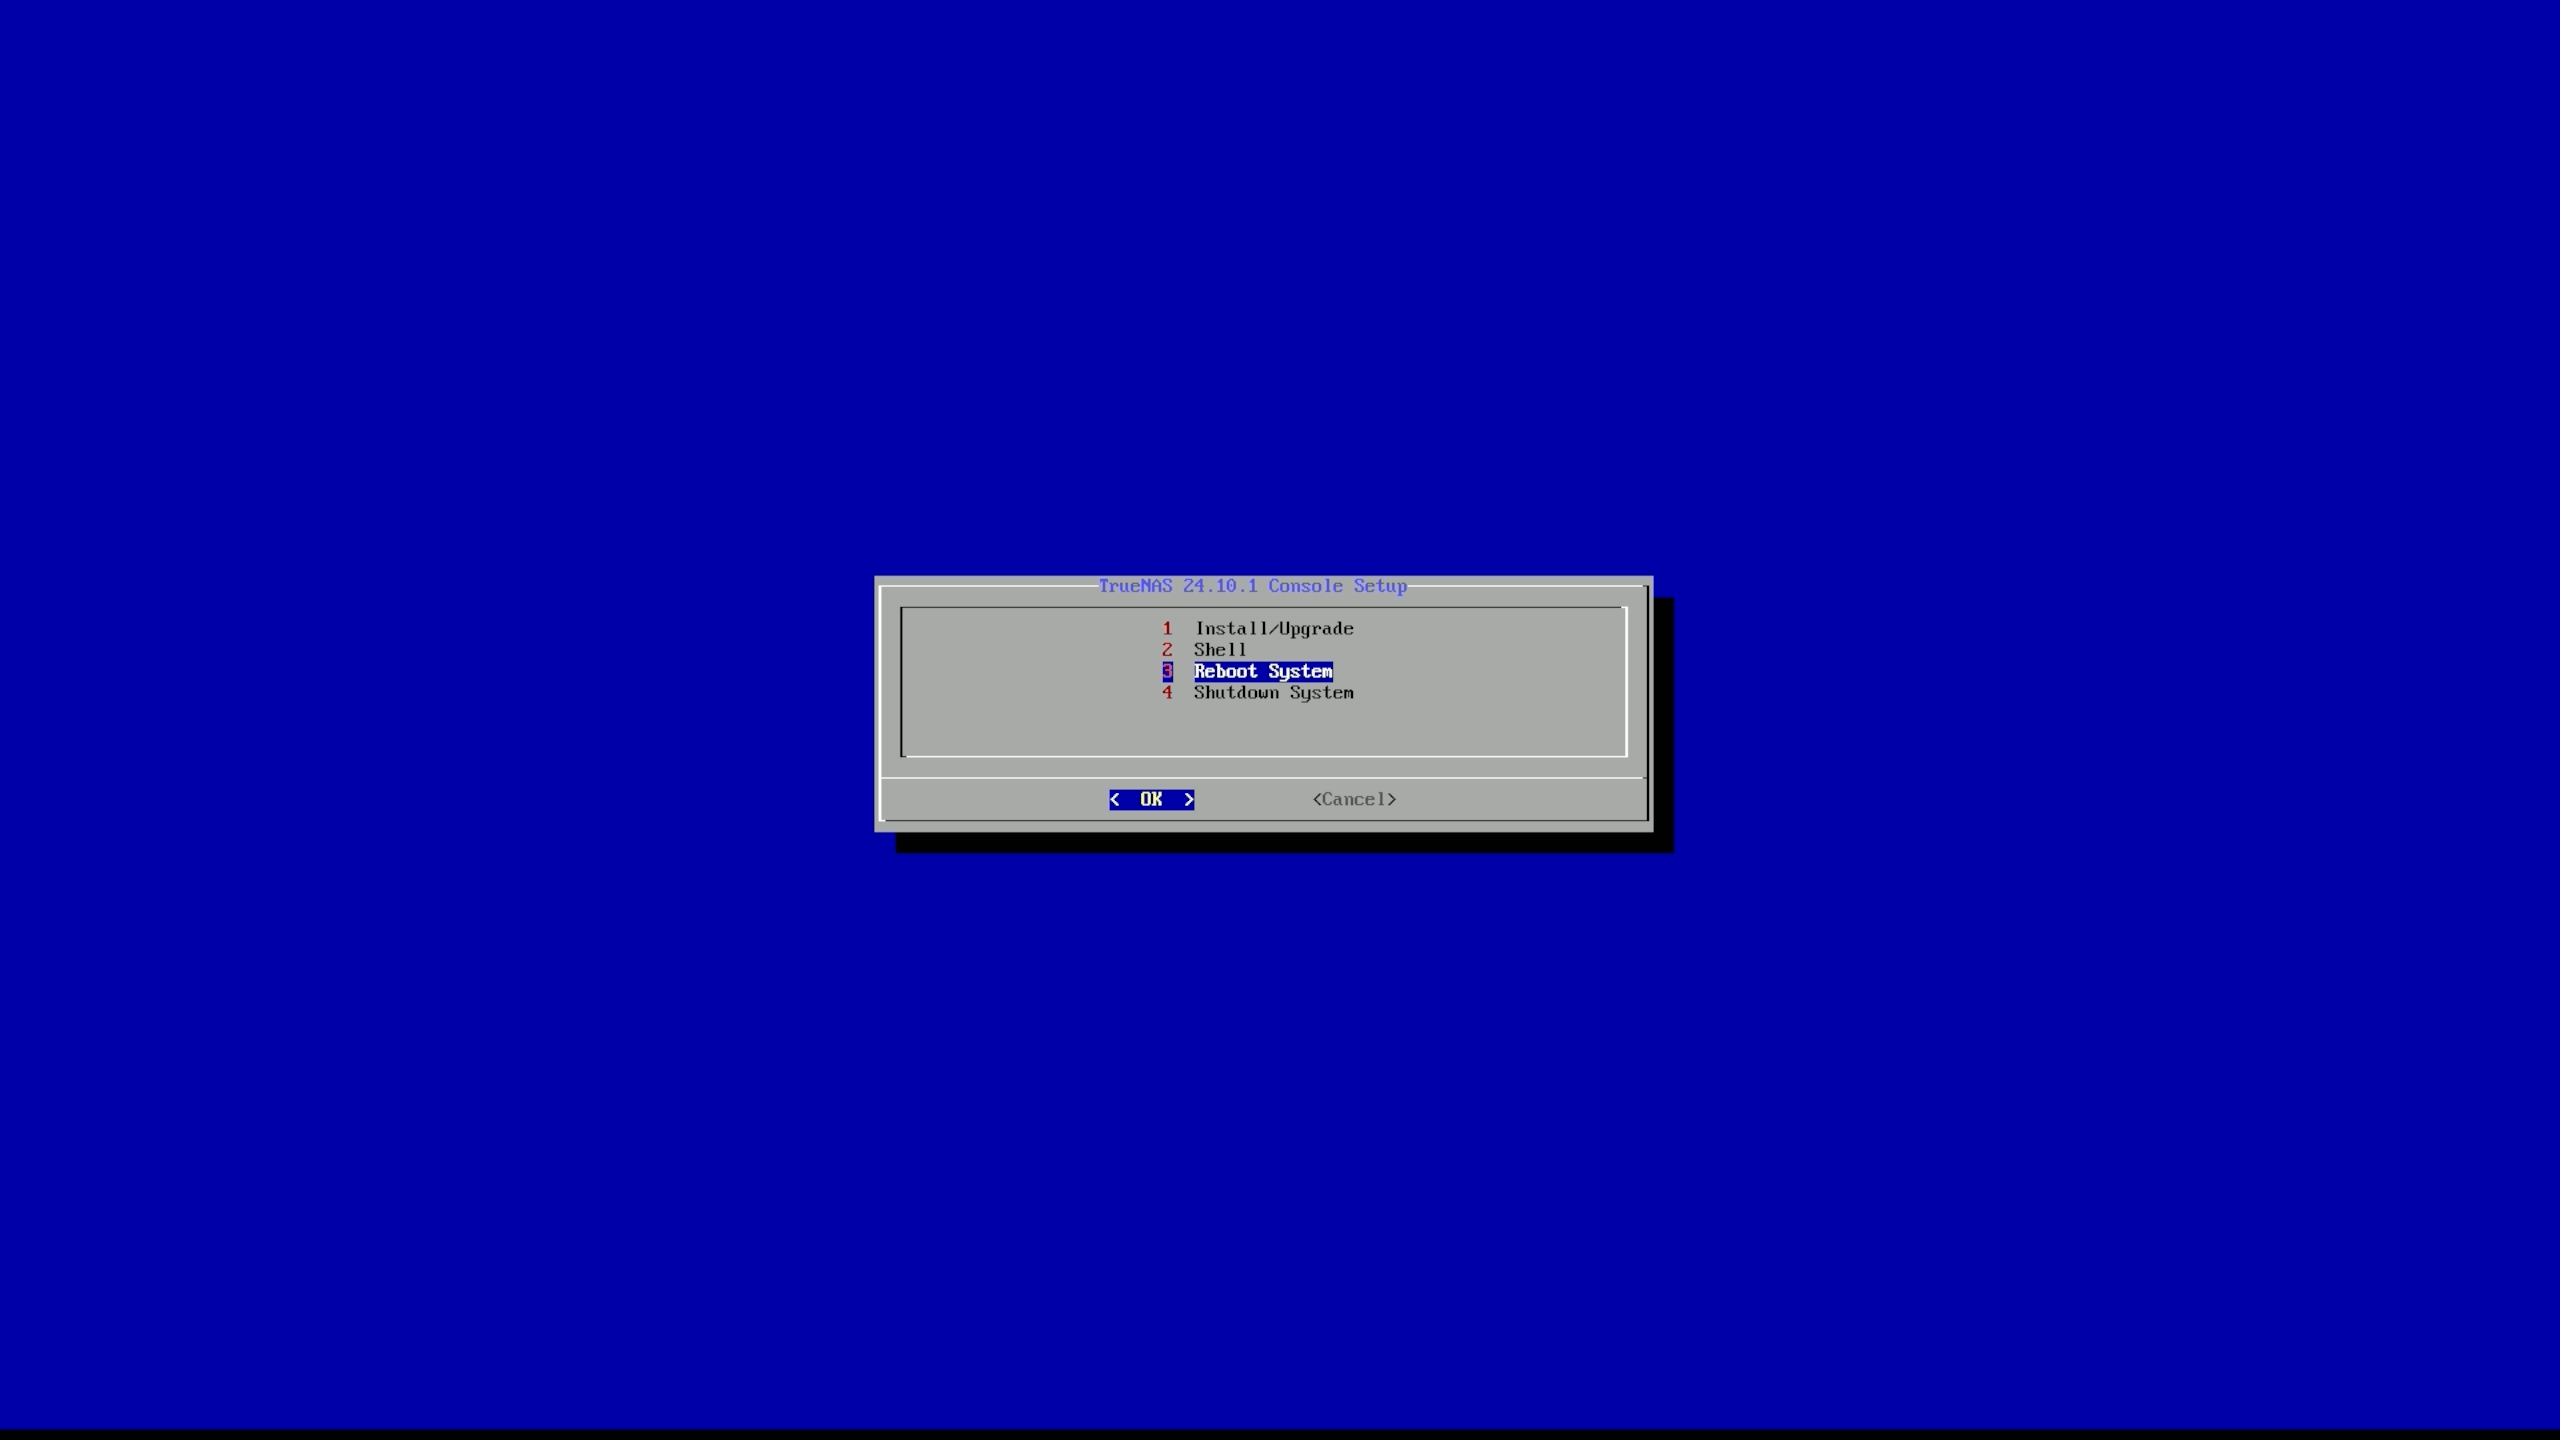
Go to option 3 to reboot the device AND THEN REMOVE THE USB BOOTABLE DEVICE AT THIS TIME.
Logging in and configuring TrueNas Raids
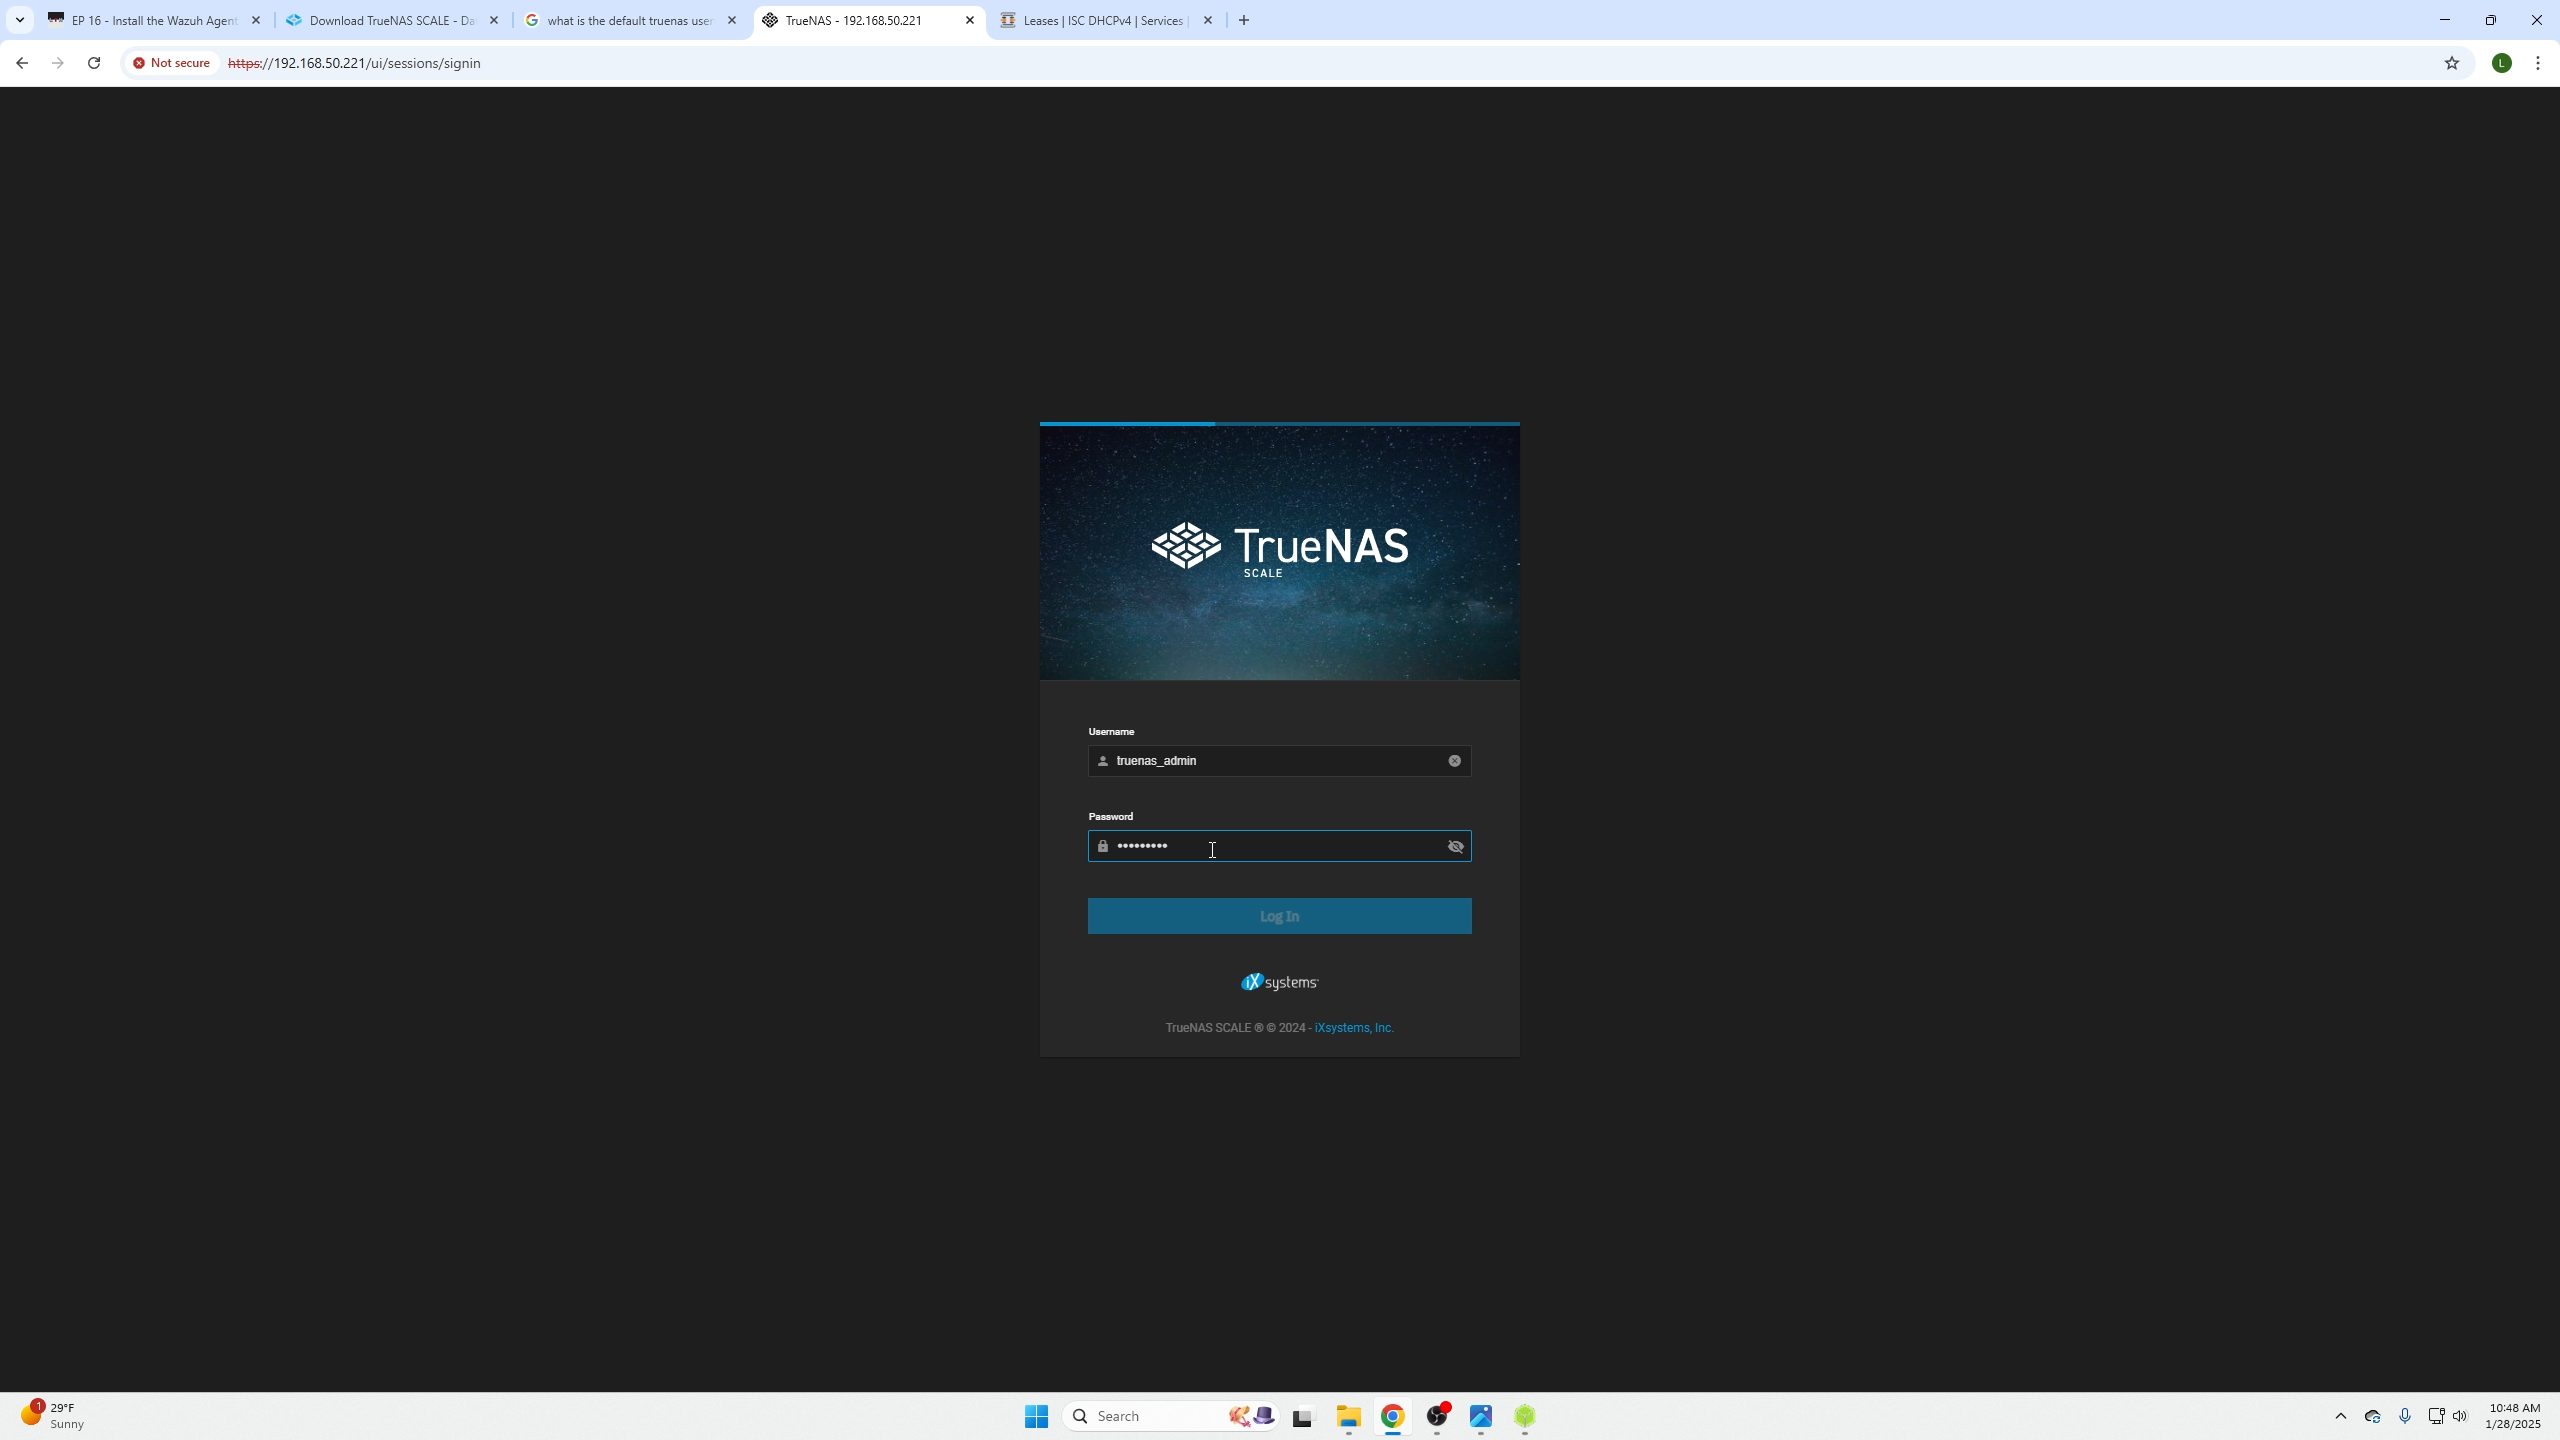
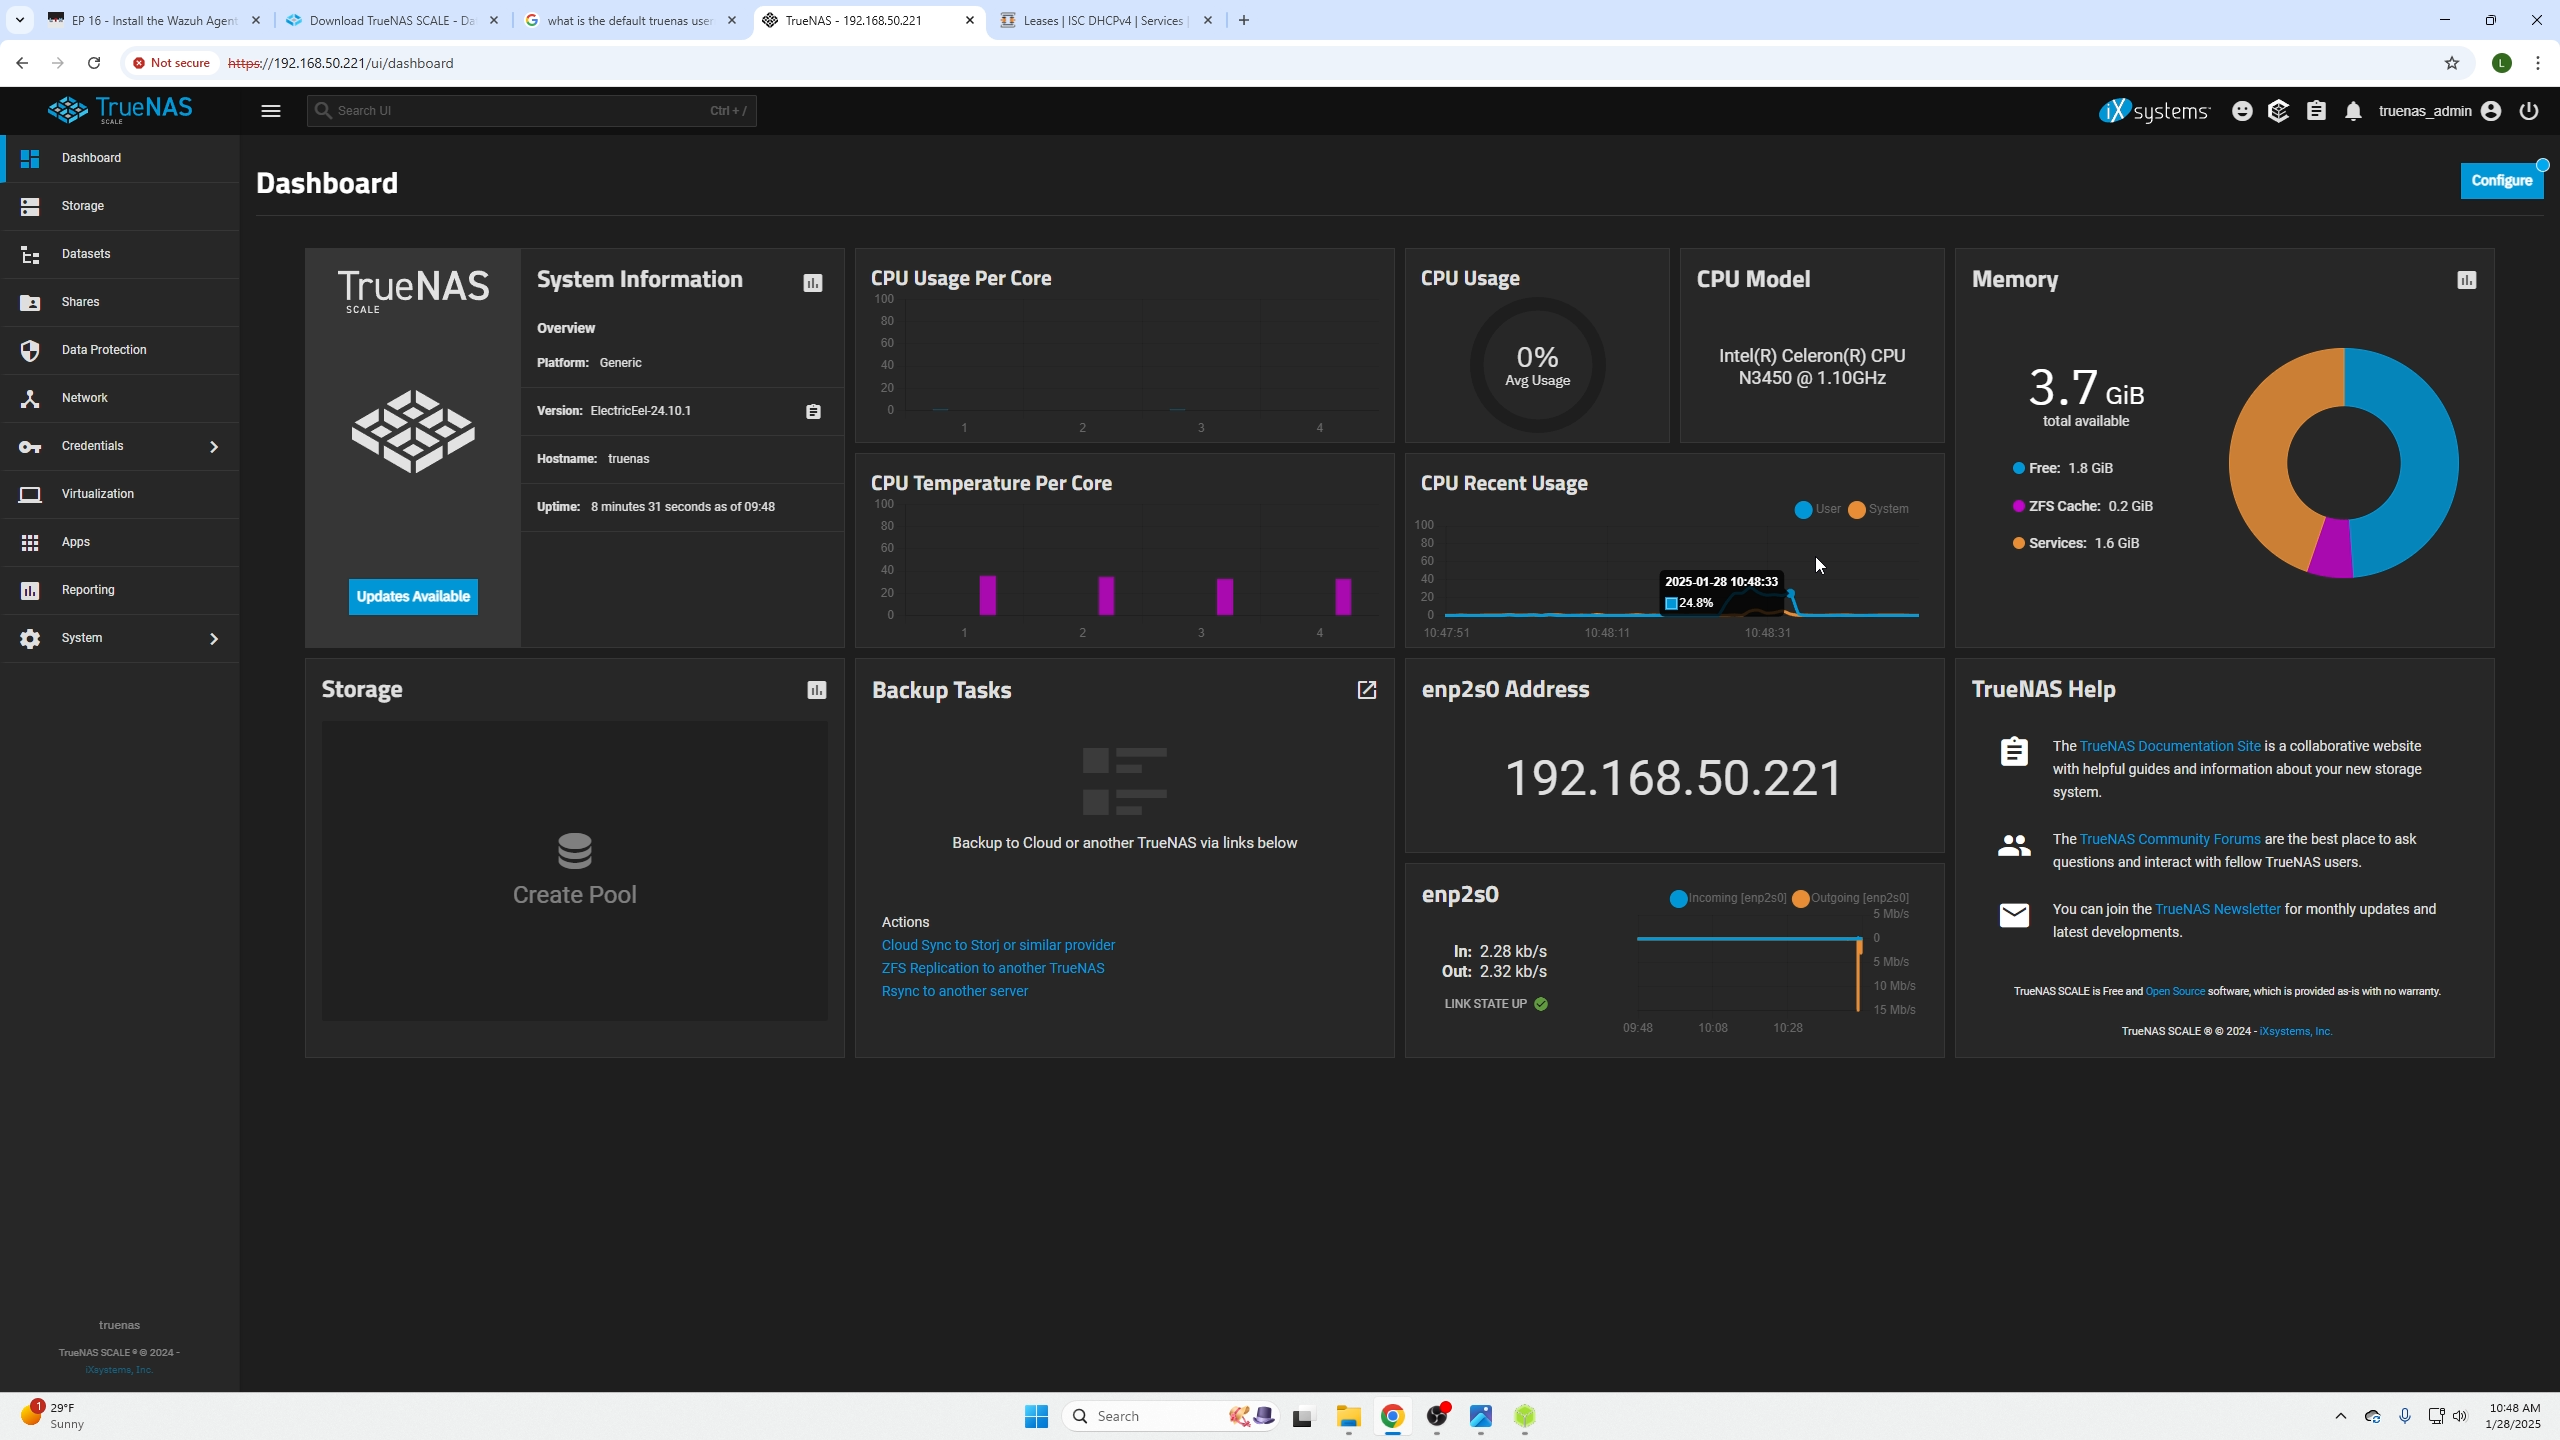
Wait for the device to boot, type the IP found in the CLI into your browser, and login with your credentials.
This will be your main dashboard, go ahead and update your system to the latest version on the top left tile.
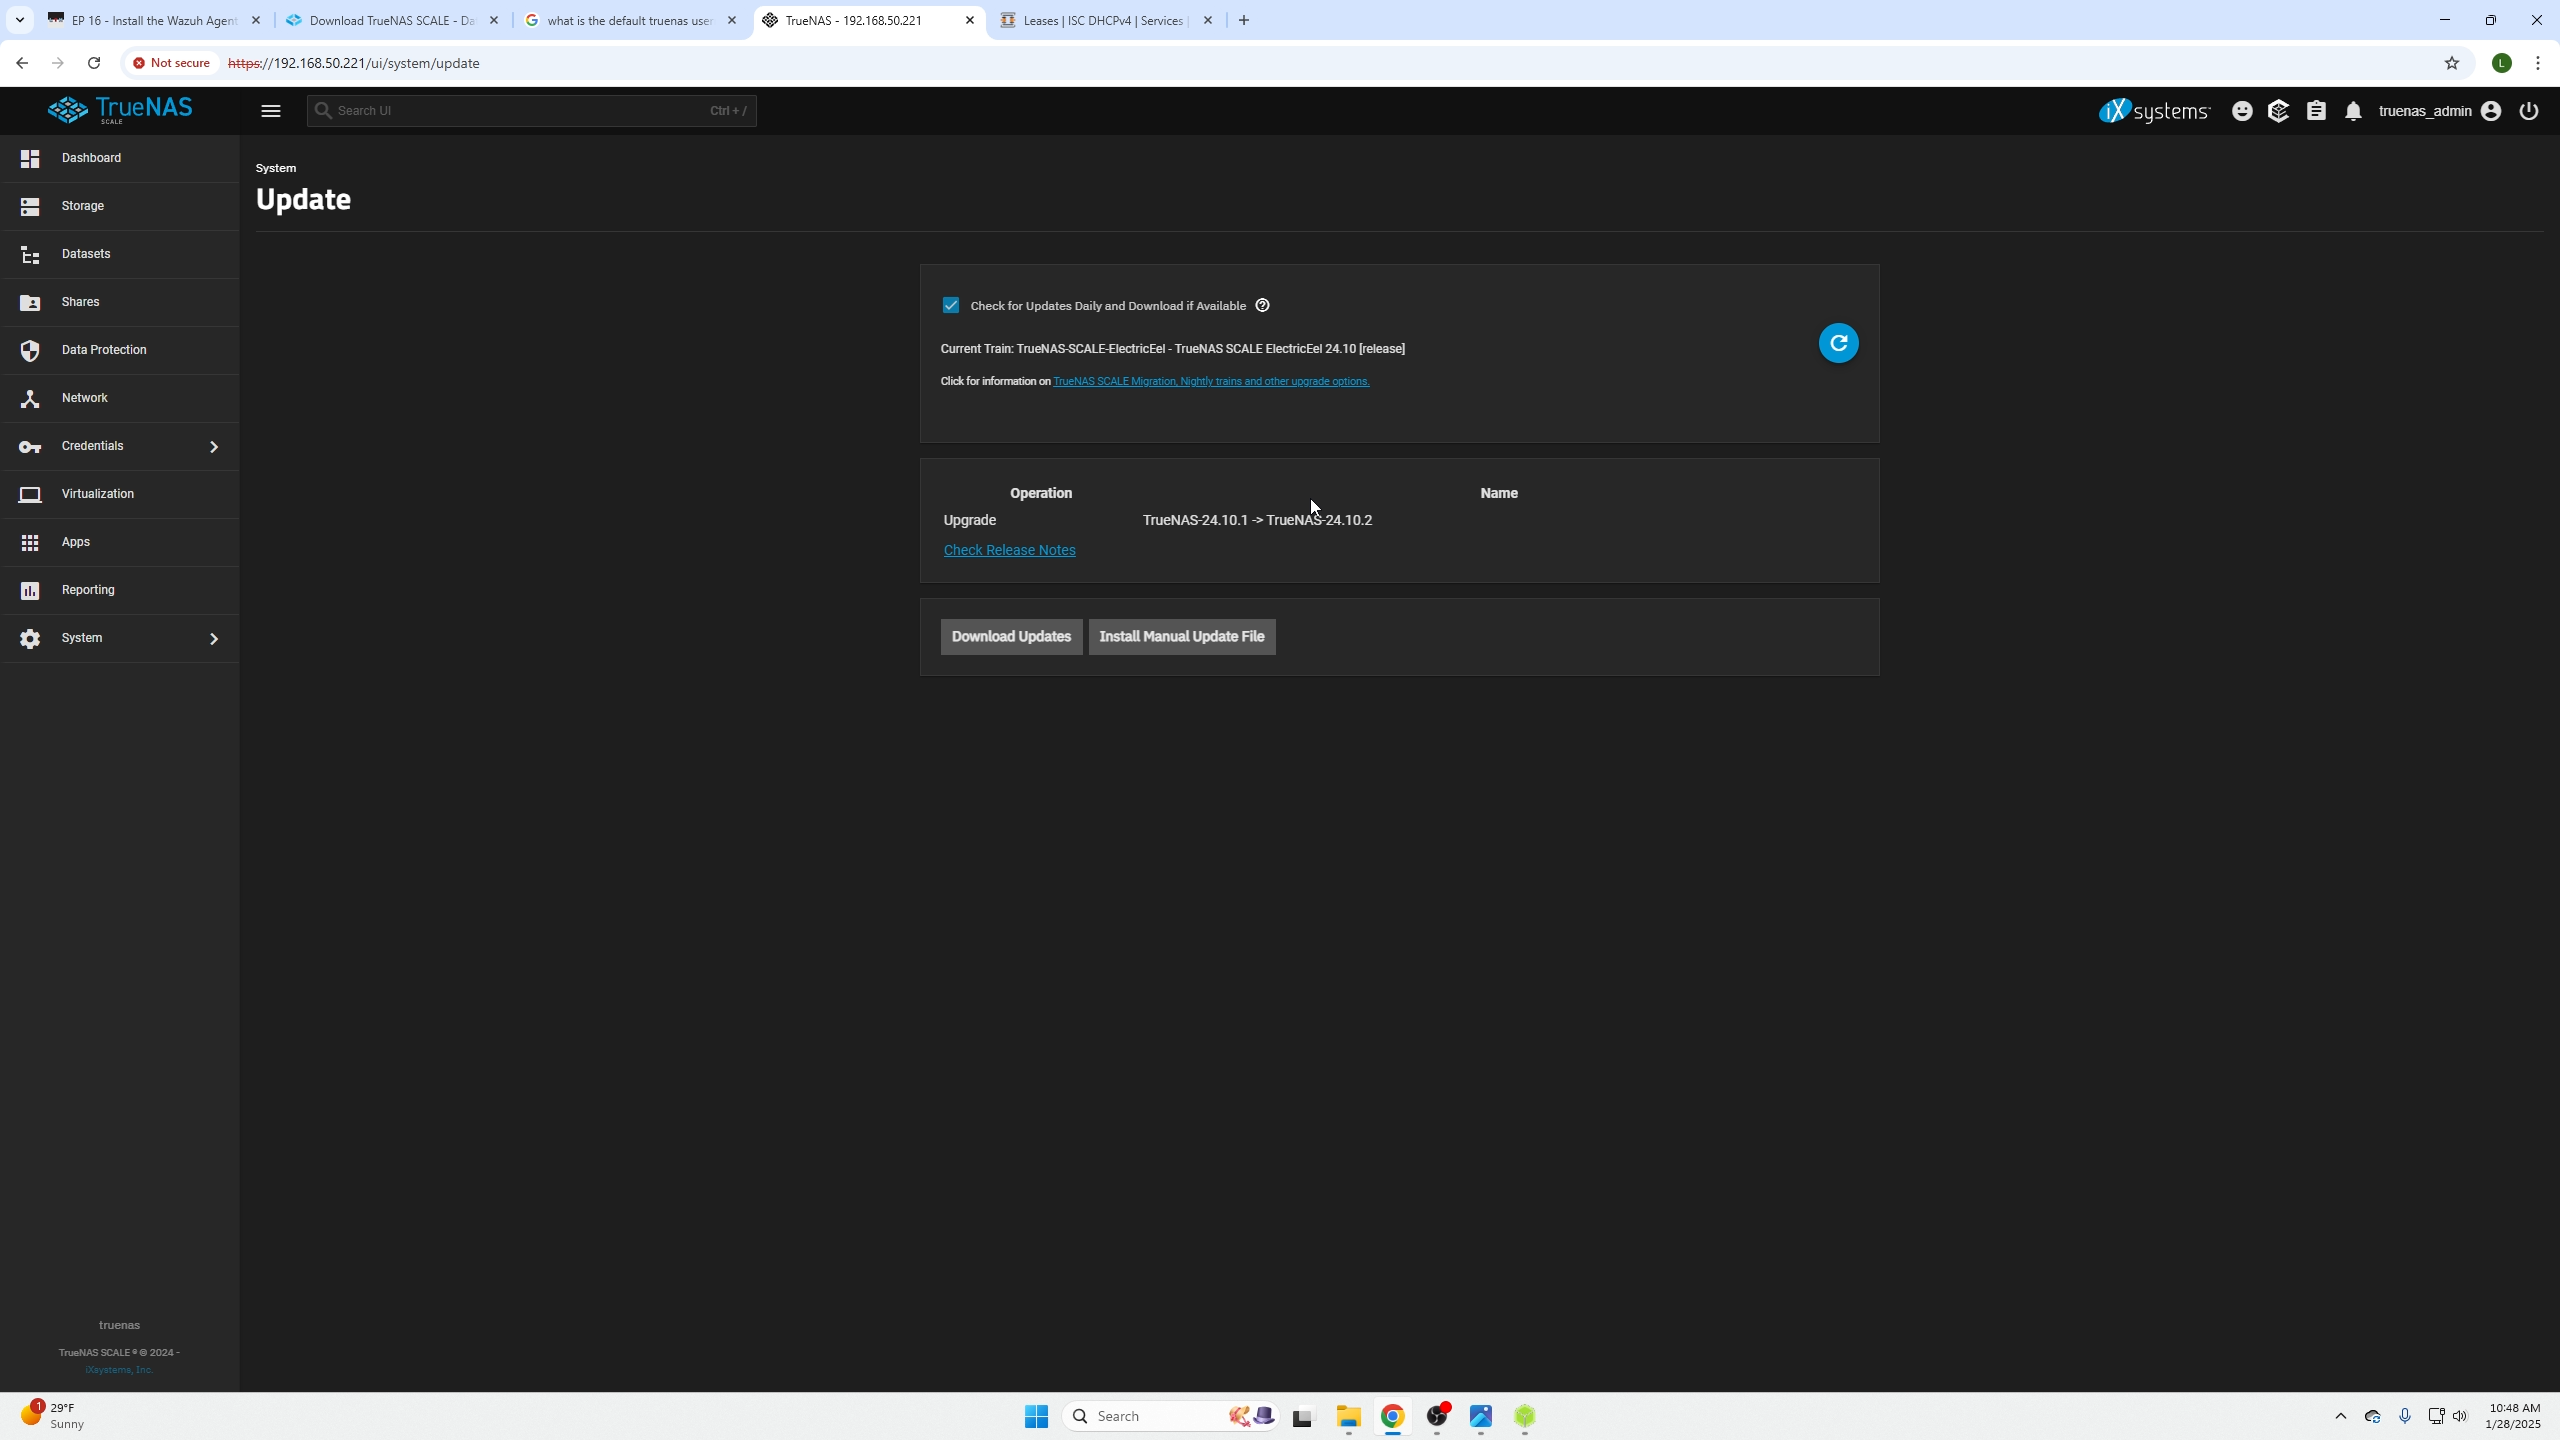
(the update screen).
You can also uncheck automatic updates if you are worried about up time or compatibility issues with apps.
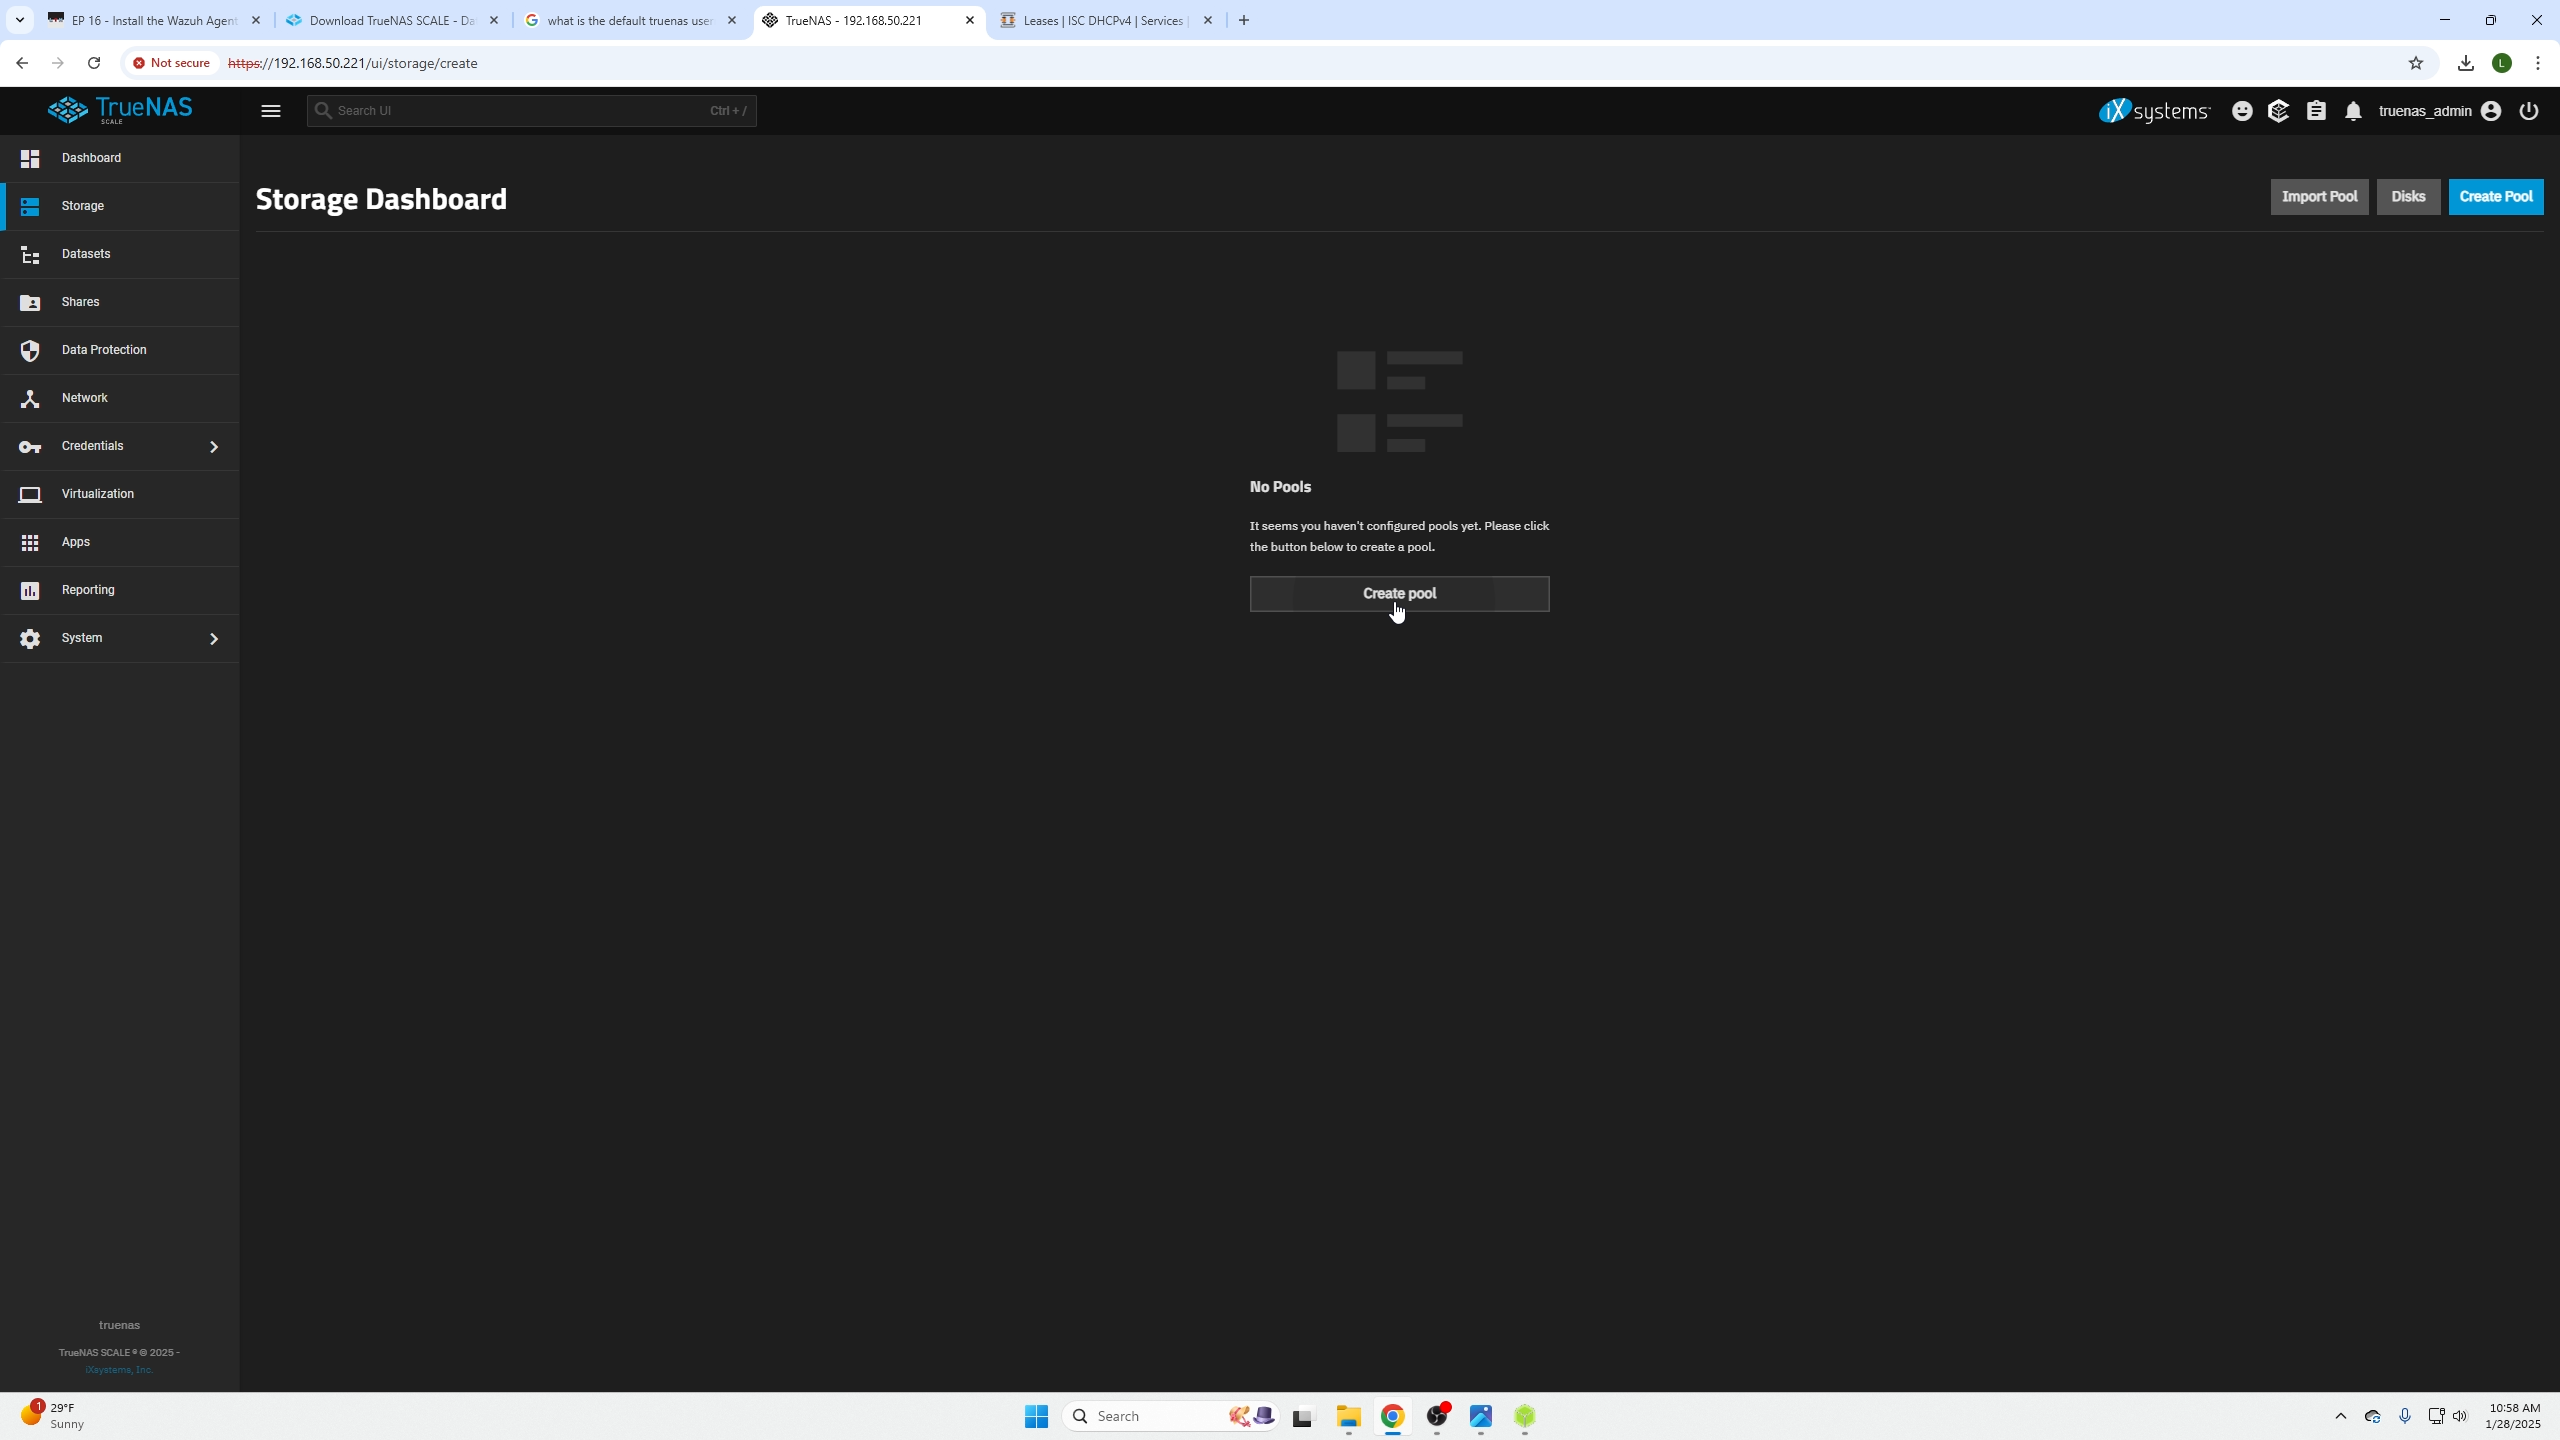
Creating a TrueNas datastorage pool (Raid pool)
Go to the Storage tab and then click create pool.
Next we are going to name the storage pool and select next.
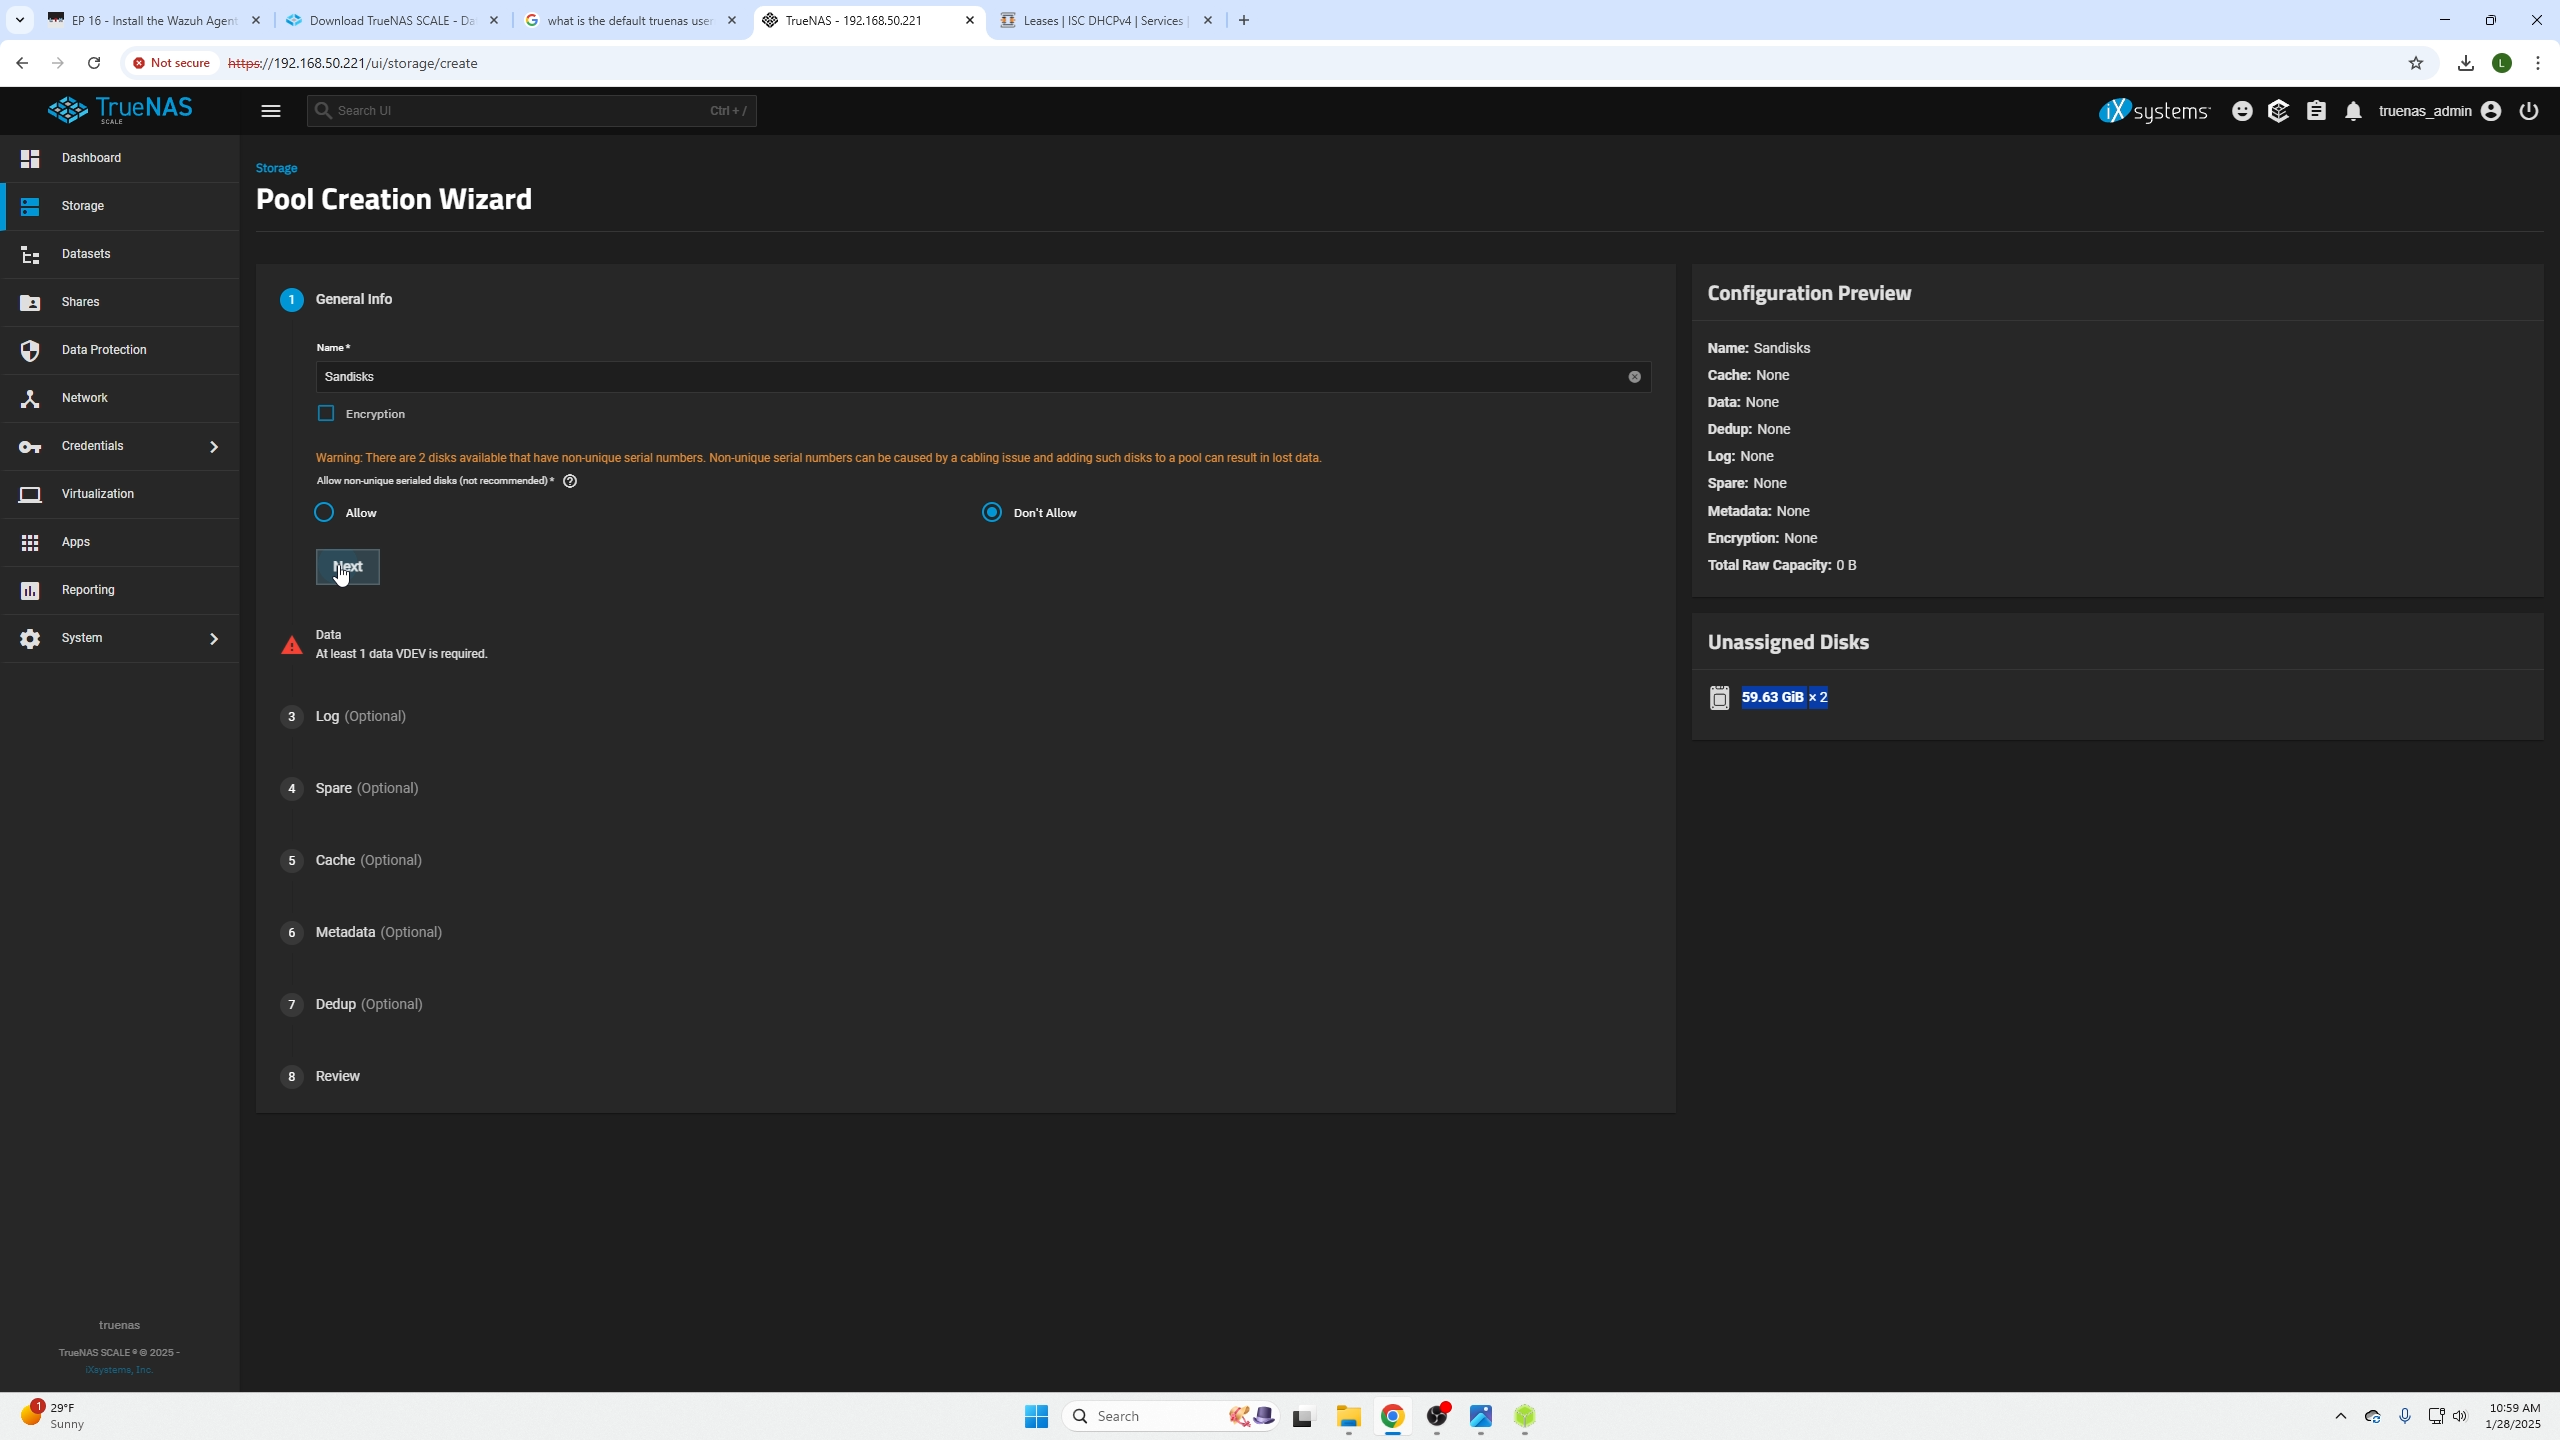
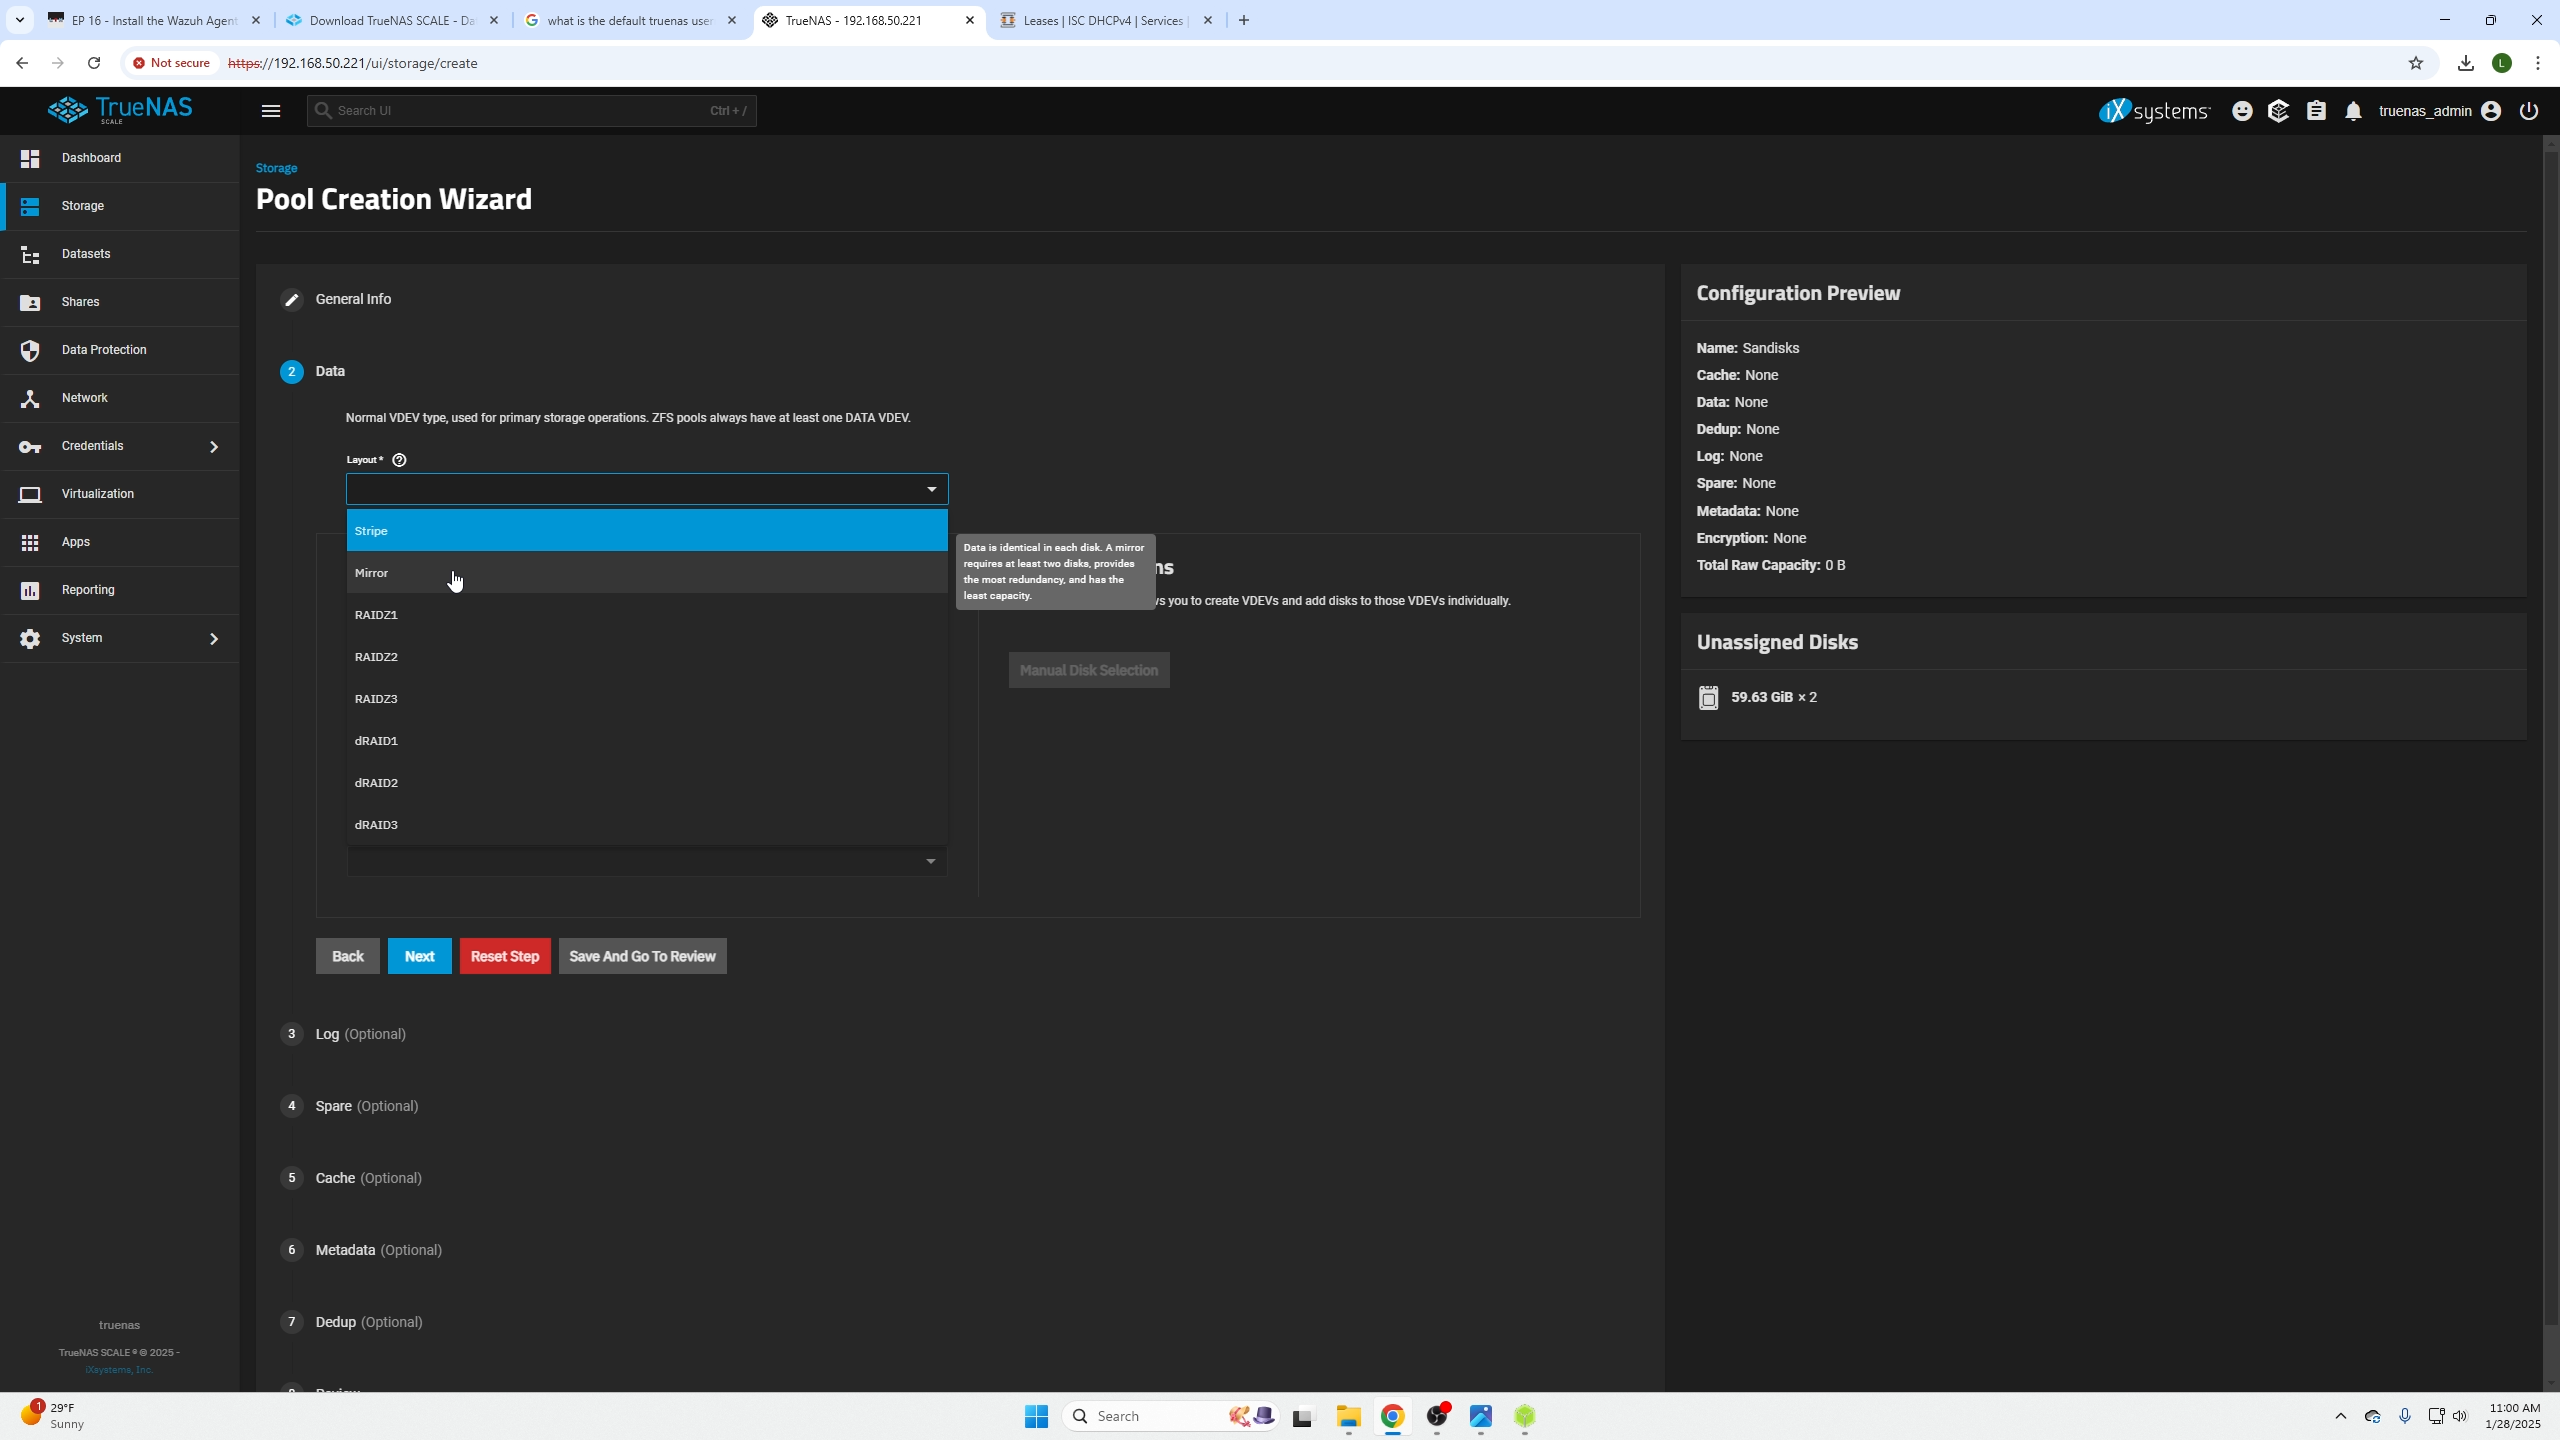
Next pick your raid type based on how many drives you have. By hovering over each type it will tell you what it does, the advantages, and how many drives you need.
We are going to be using two drives and doing a mirror of those drives. (2 drives share the same data so if one dies we still have all our data.)
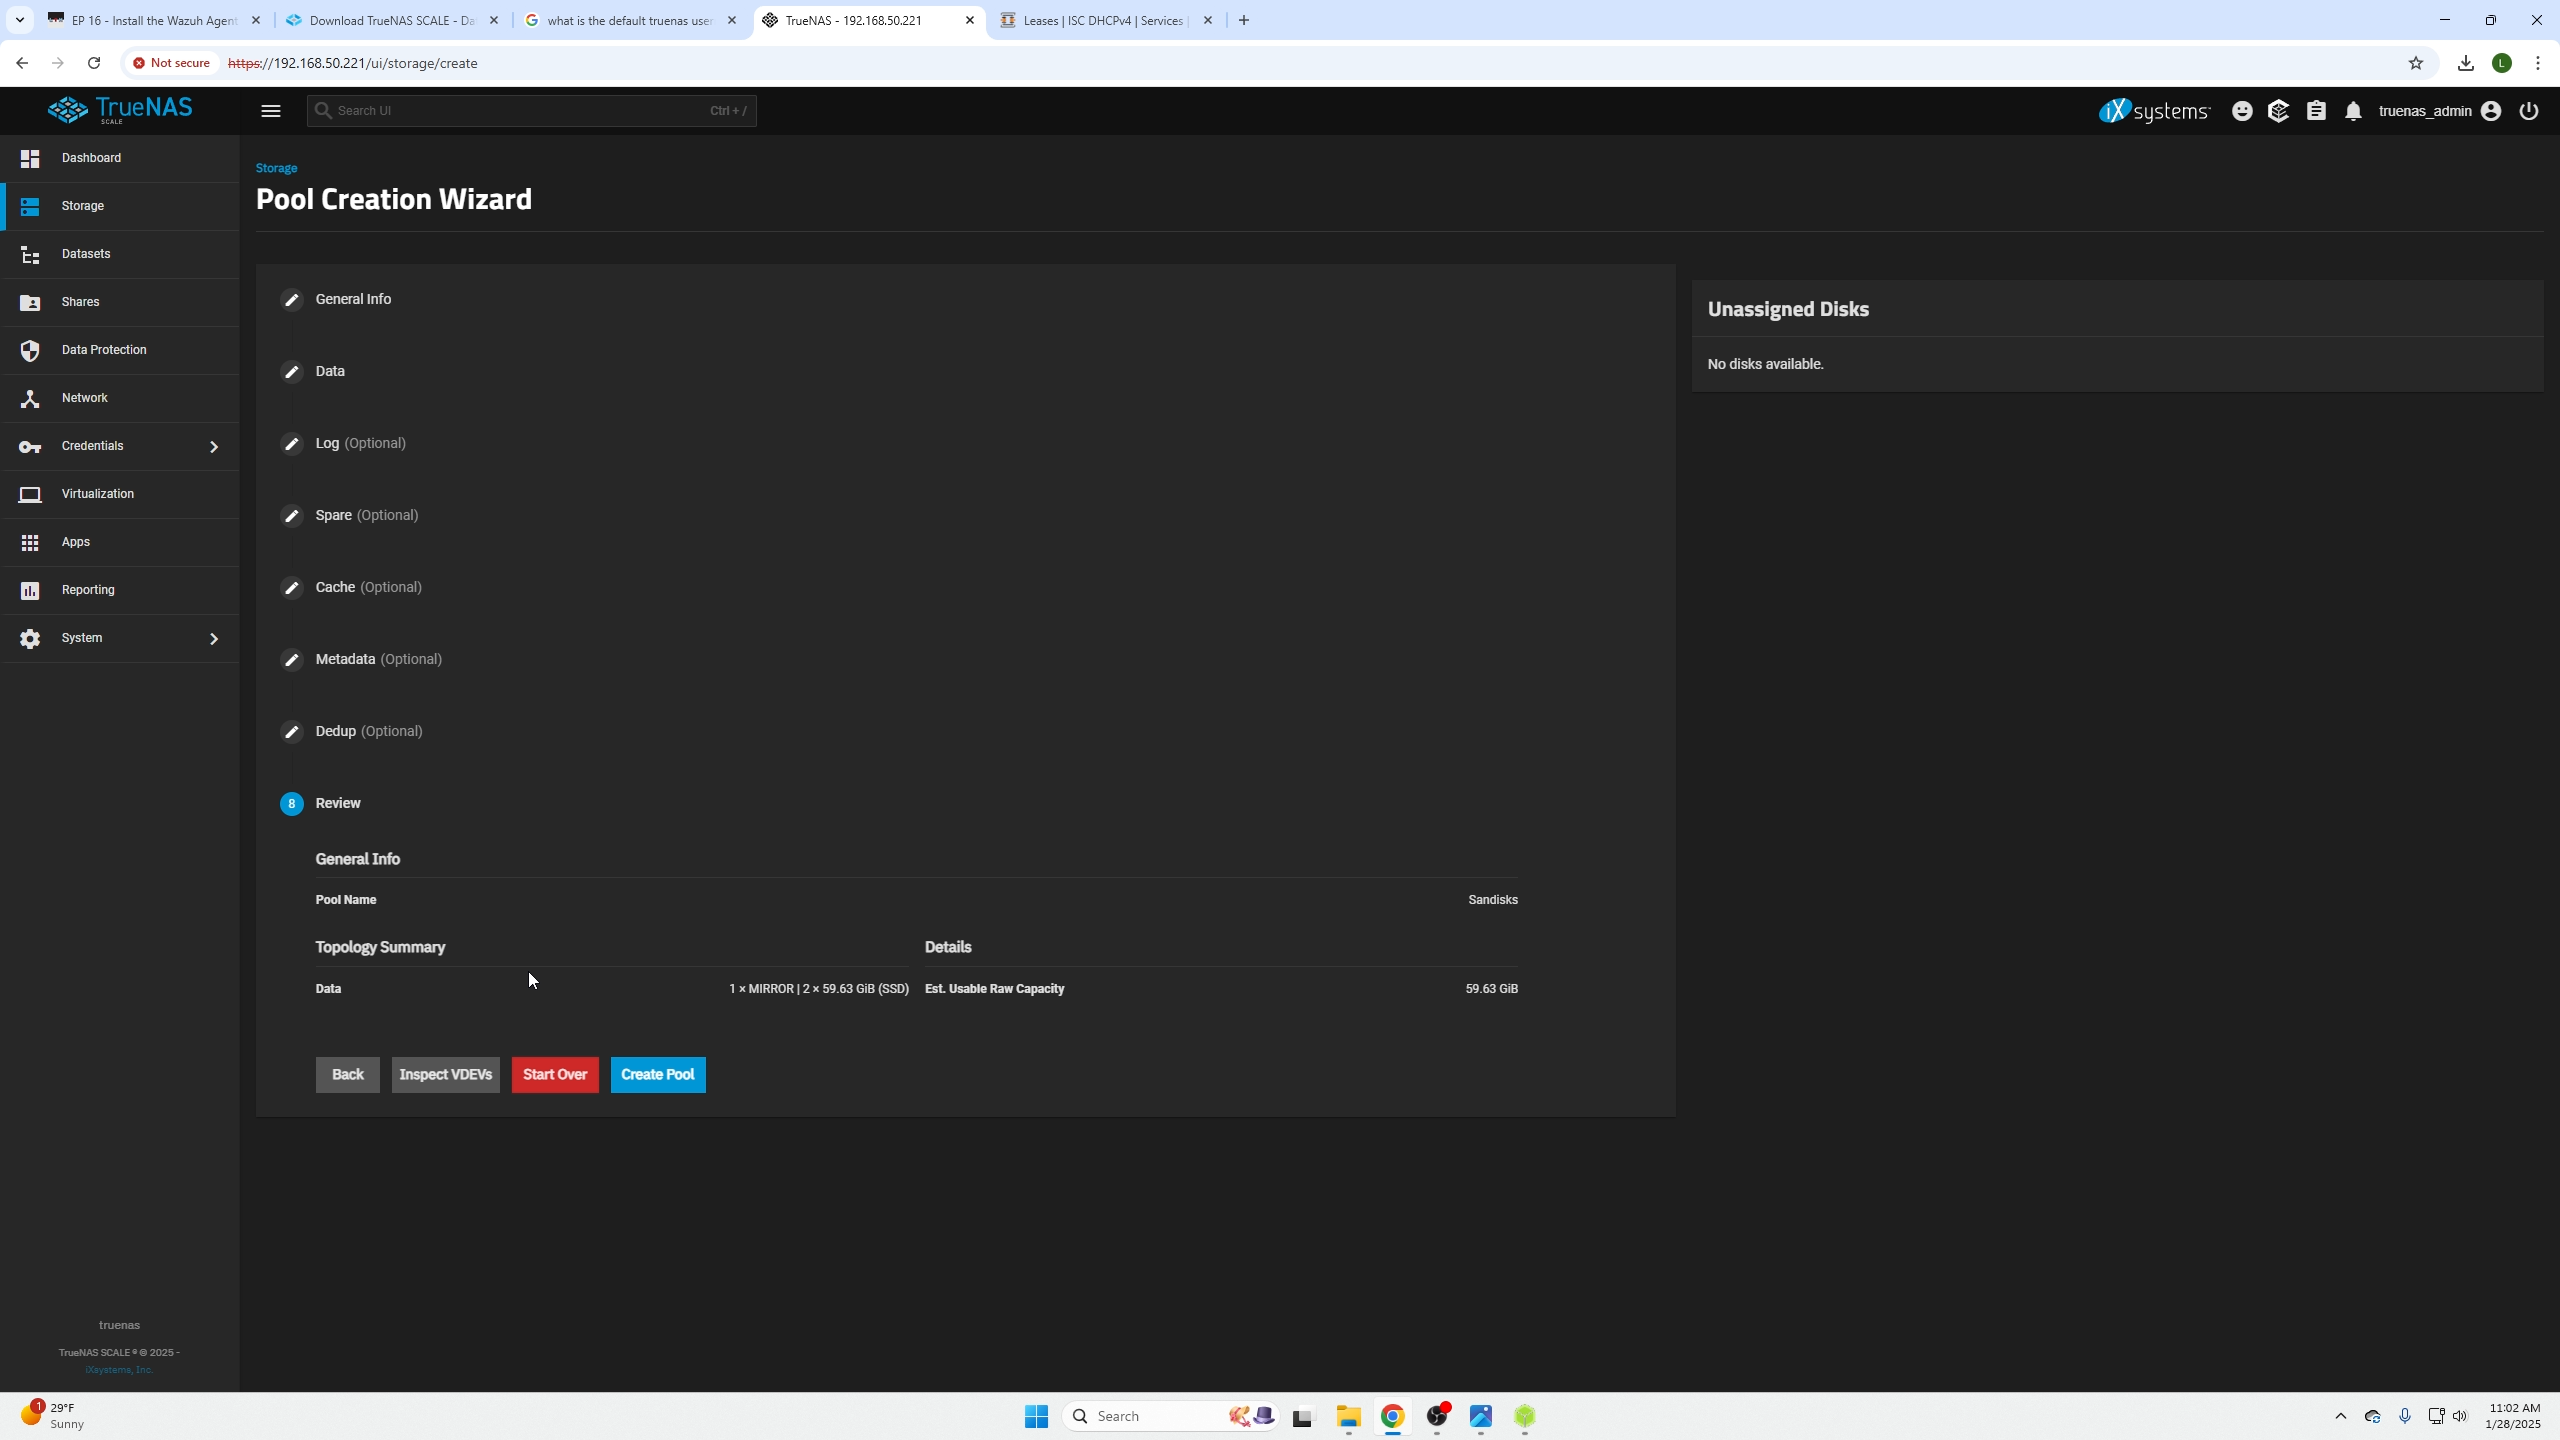
We are going to skip all other options (3) log and go straight down to (8) review. (I recommend you read through them though and become familiar.)
Please ensure all your settings are the way you wanted them and click create.
Wait for your pool to be created and you will be presented with the following screen.
The following screen is a great place to check up on your pool, see how it is doing, and ensure your drives are healthy. If you get reports of a failing drive ensure you replace it ASAP!!

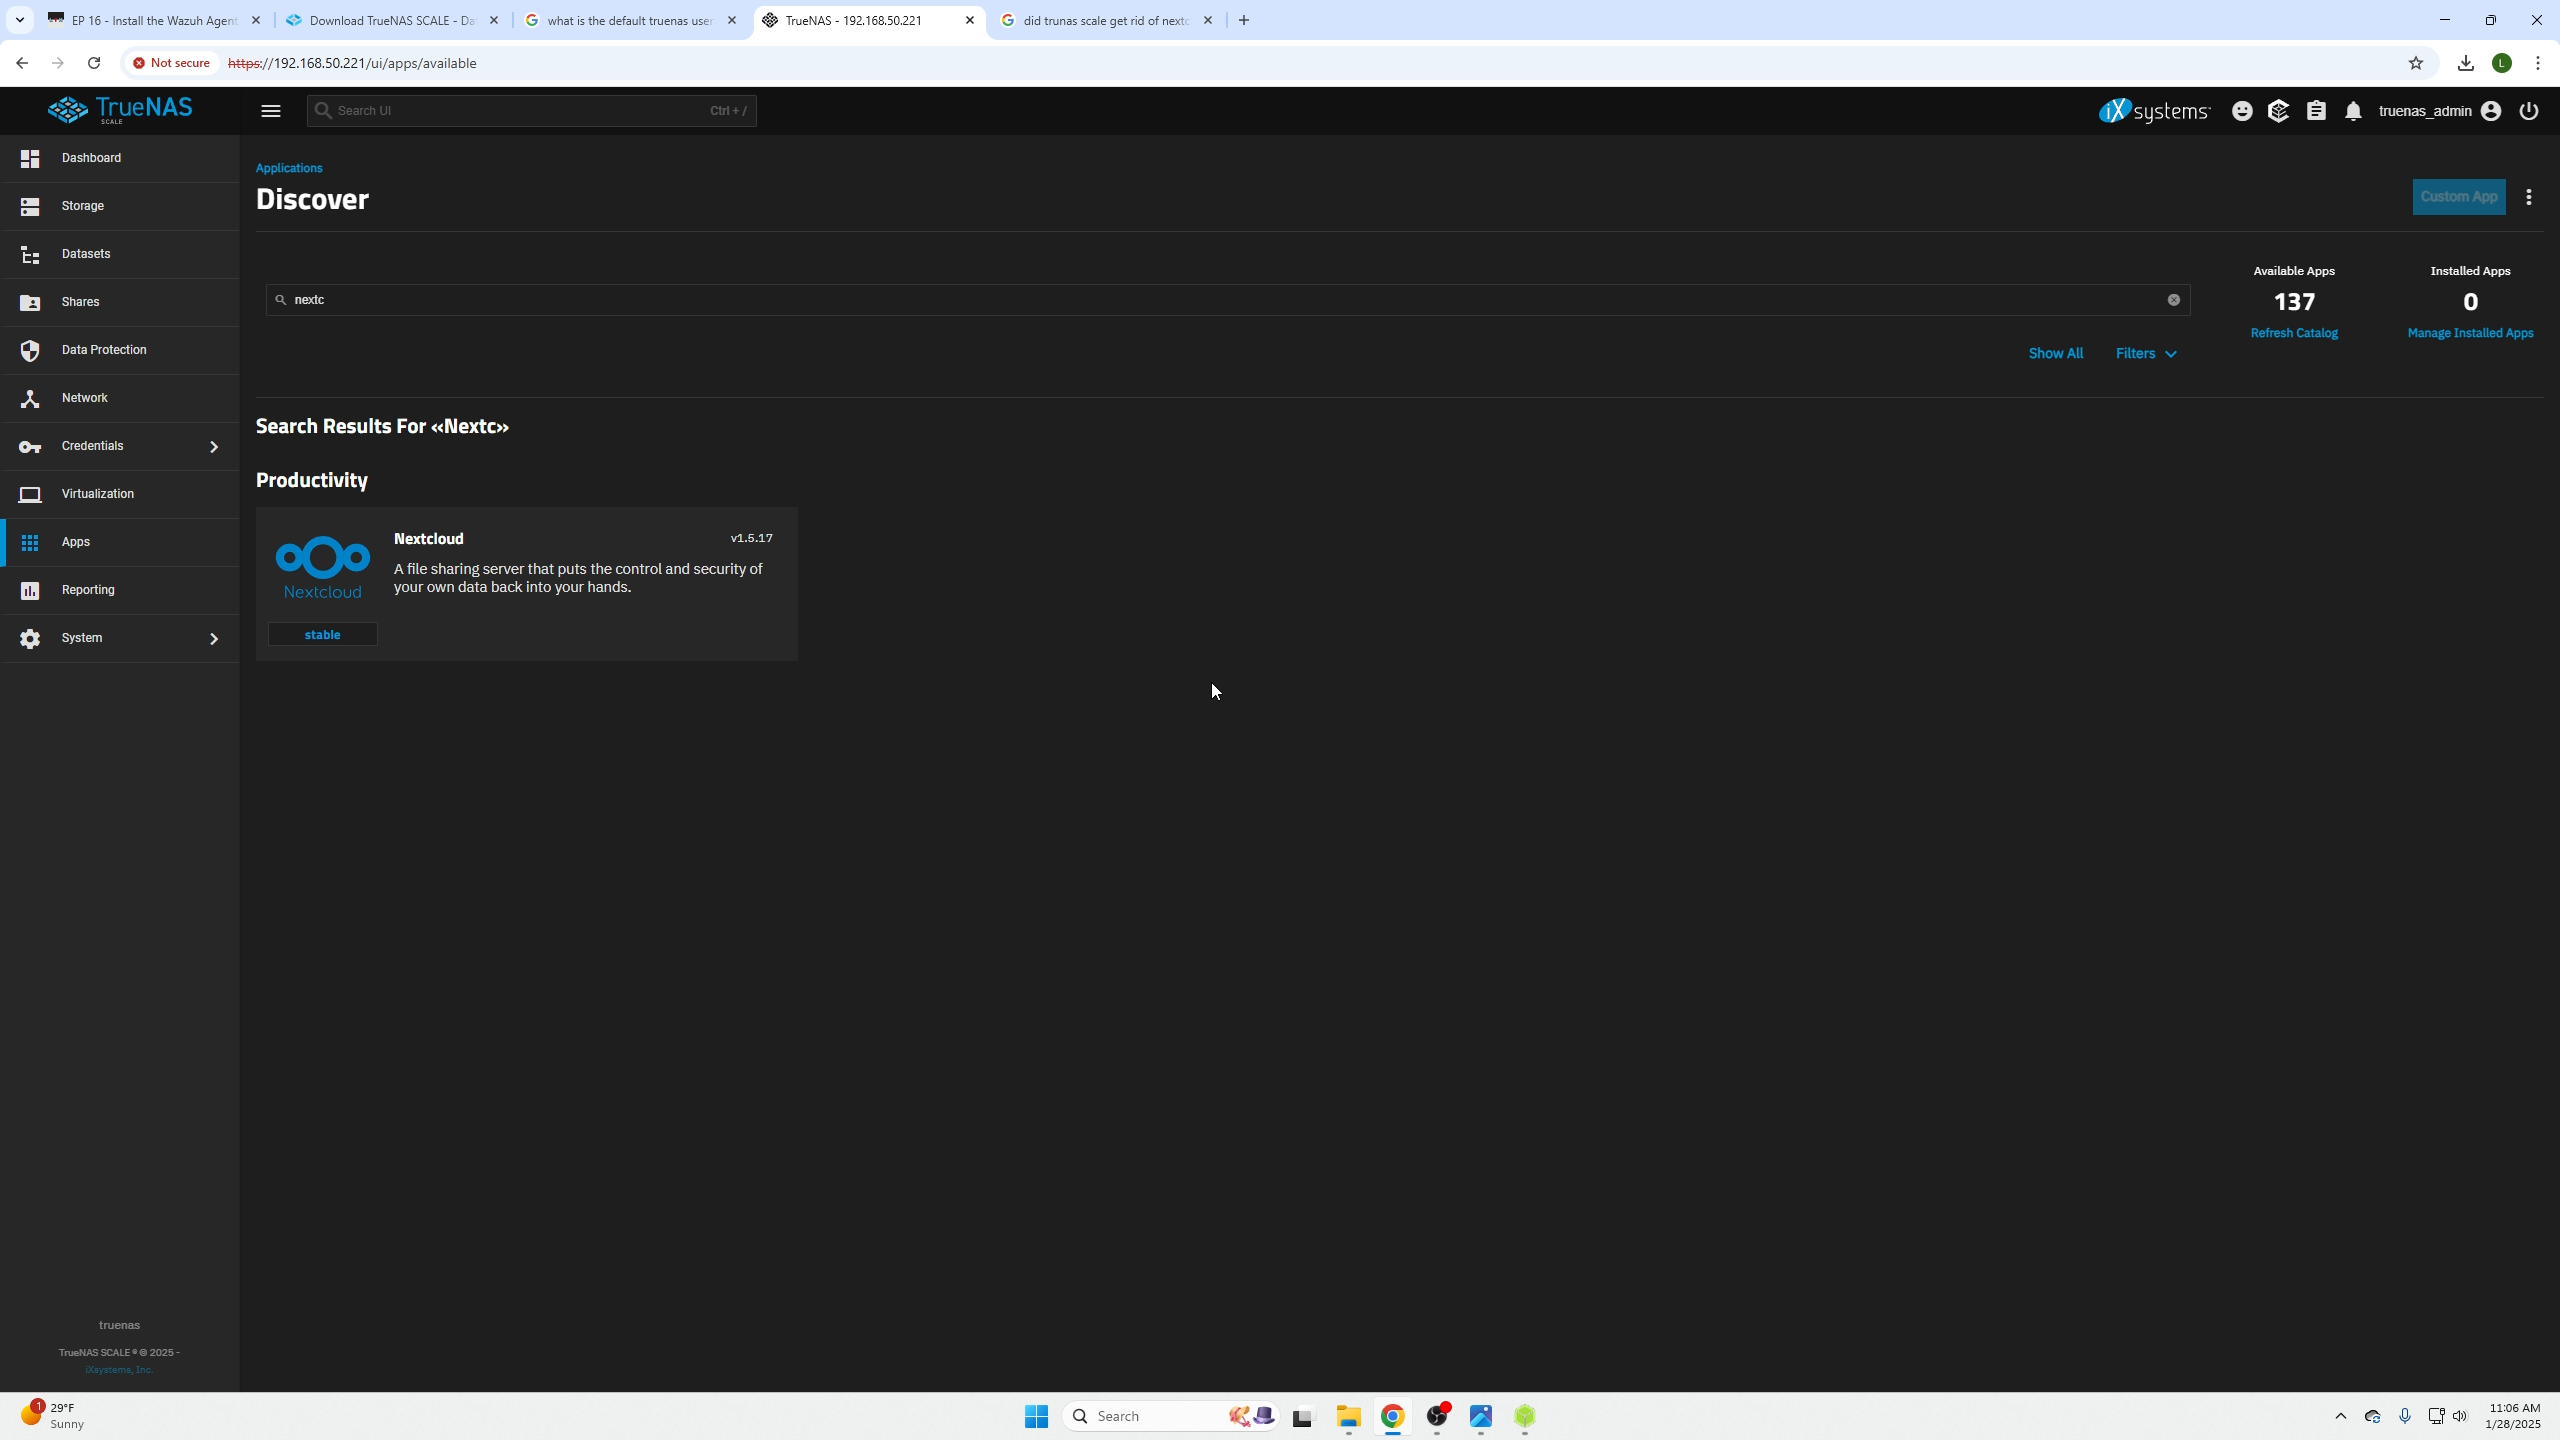
The end (Applications)
Next episode we will cover applications that you can install and run on your TrueNas machine like NextCloud for image and document backups!