How to Install The Pterodactyl Game Panel in One Click!
Pterodactly is an amazing game panel that has been around for the last ten years, I have been keeping my eye on this project and really think it is worth the spotlight at this point.
Check the project out here
What you need to get started
-
Create a VM or have Ubuntu Server installed on a machine ready to go.
-
Head over to the Pterodactyl-Installer script here
How to Install Petrodactyl
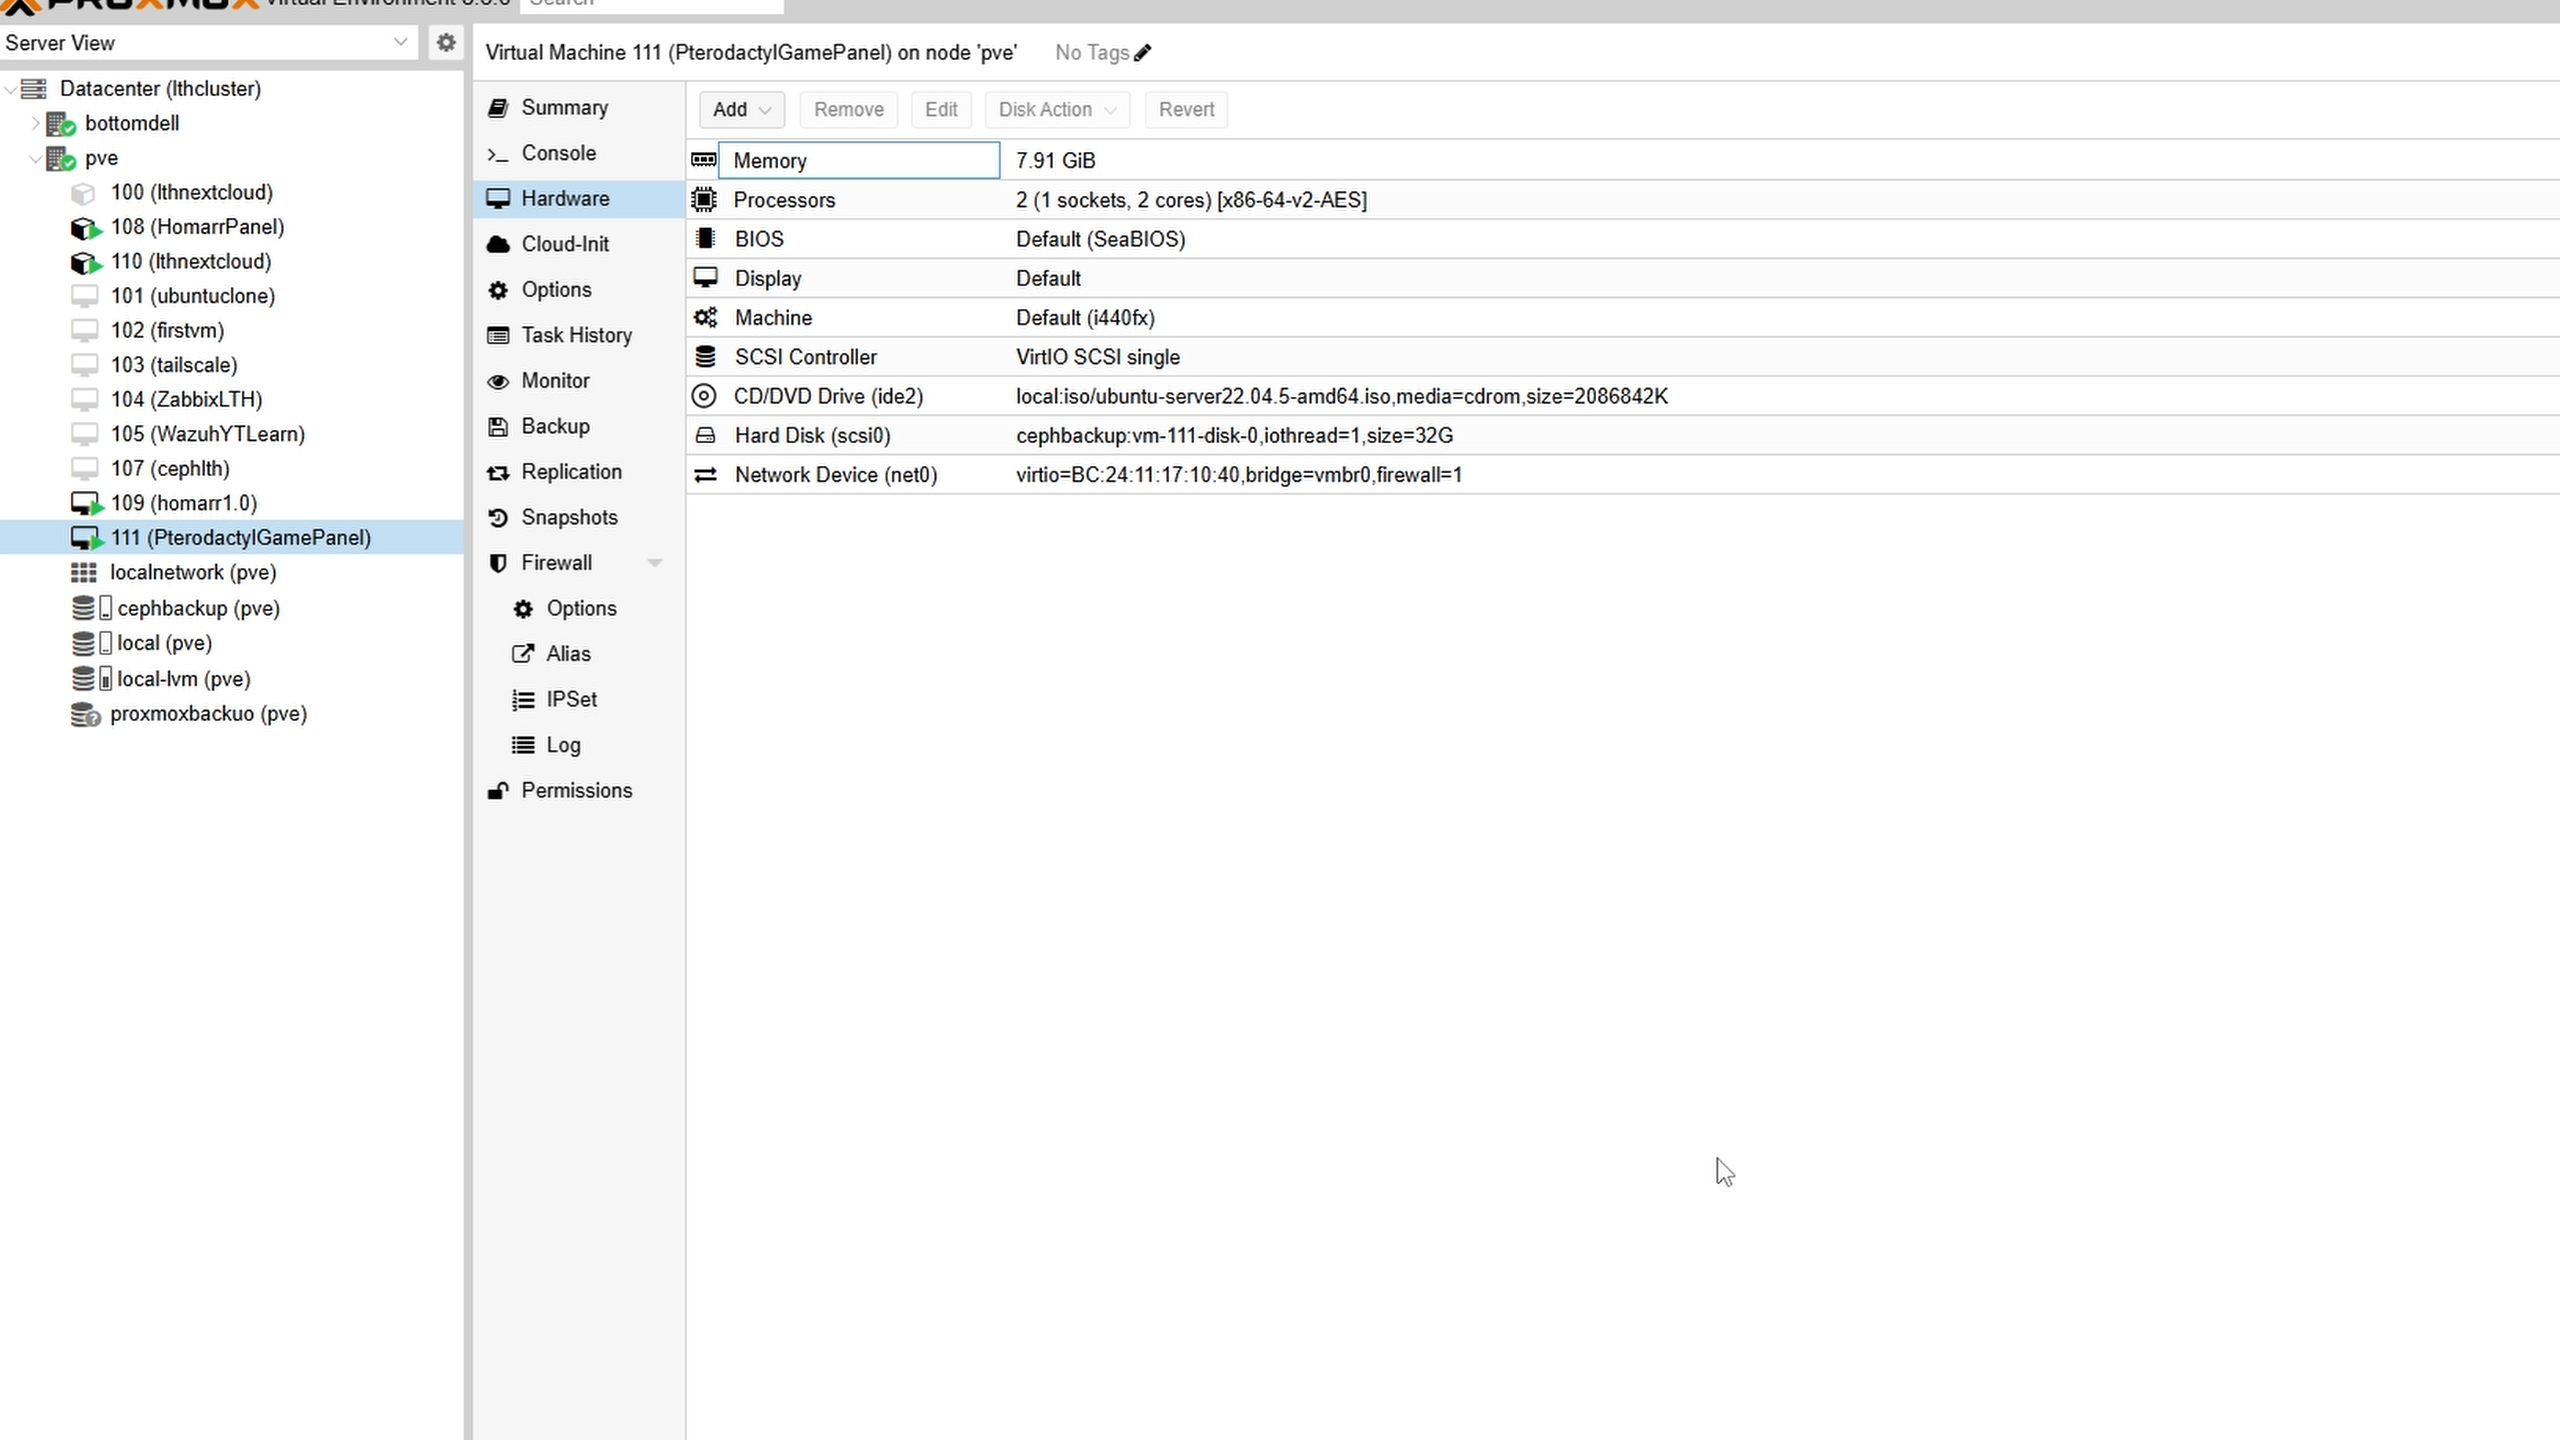
Create a VM with whatever specs you can afford, it should be at least the minimum shown below. Reminder: All your game servers will have to share whatever resources you allocate.
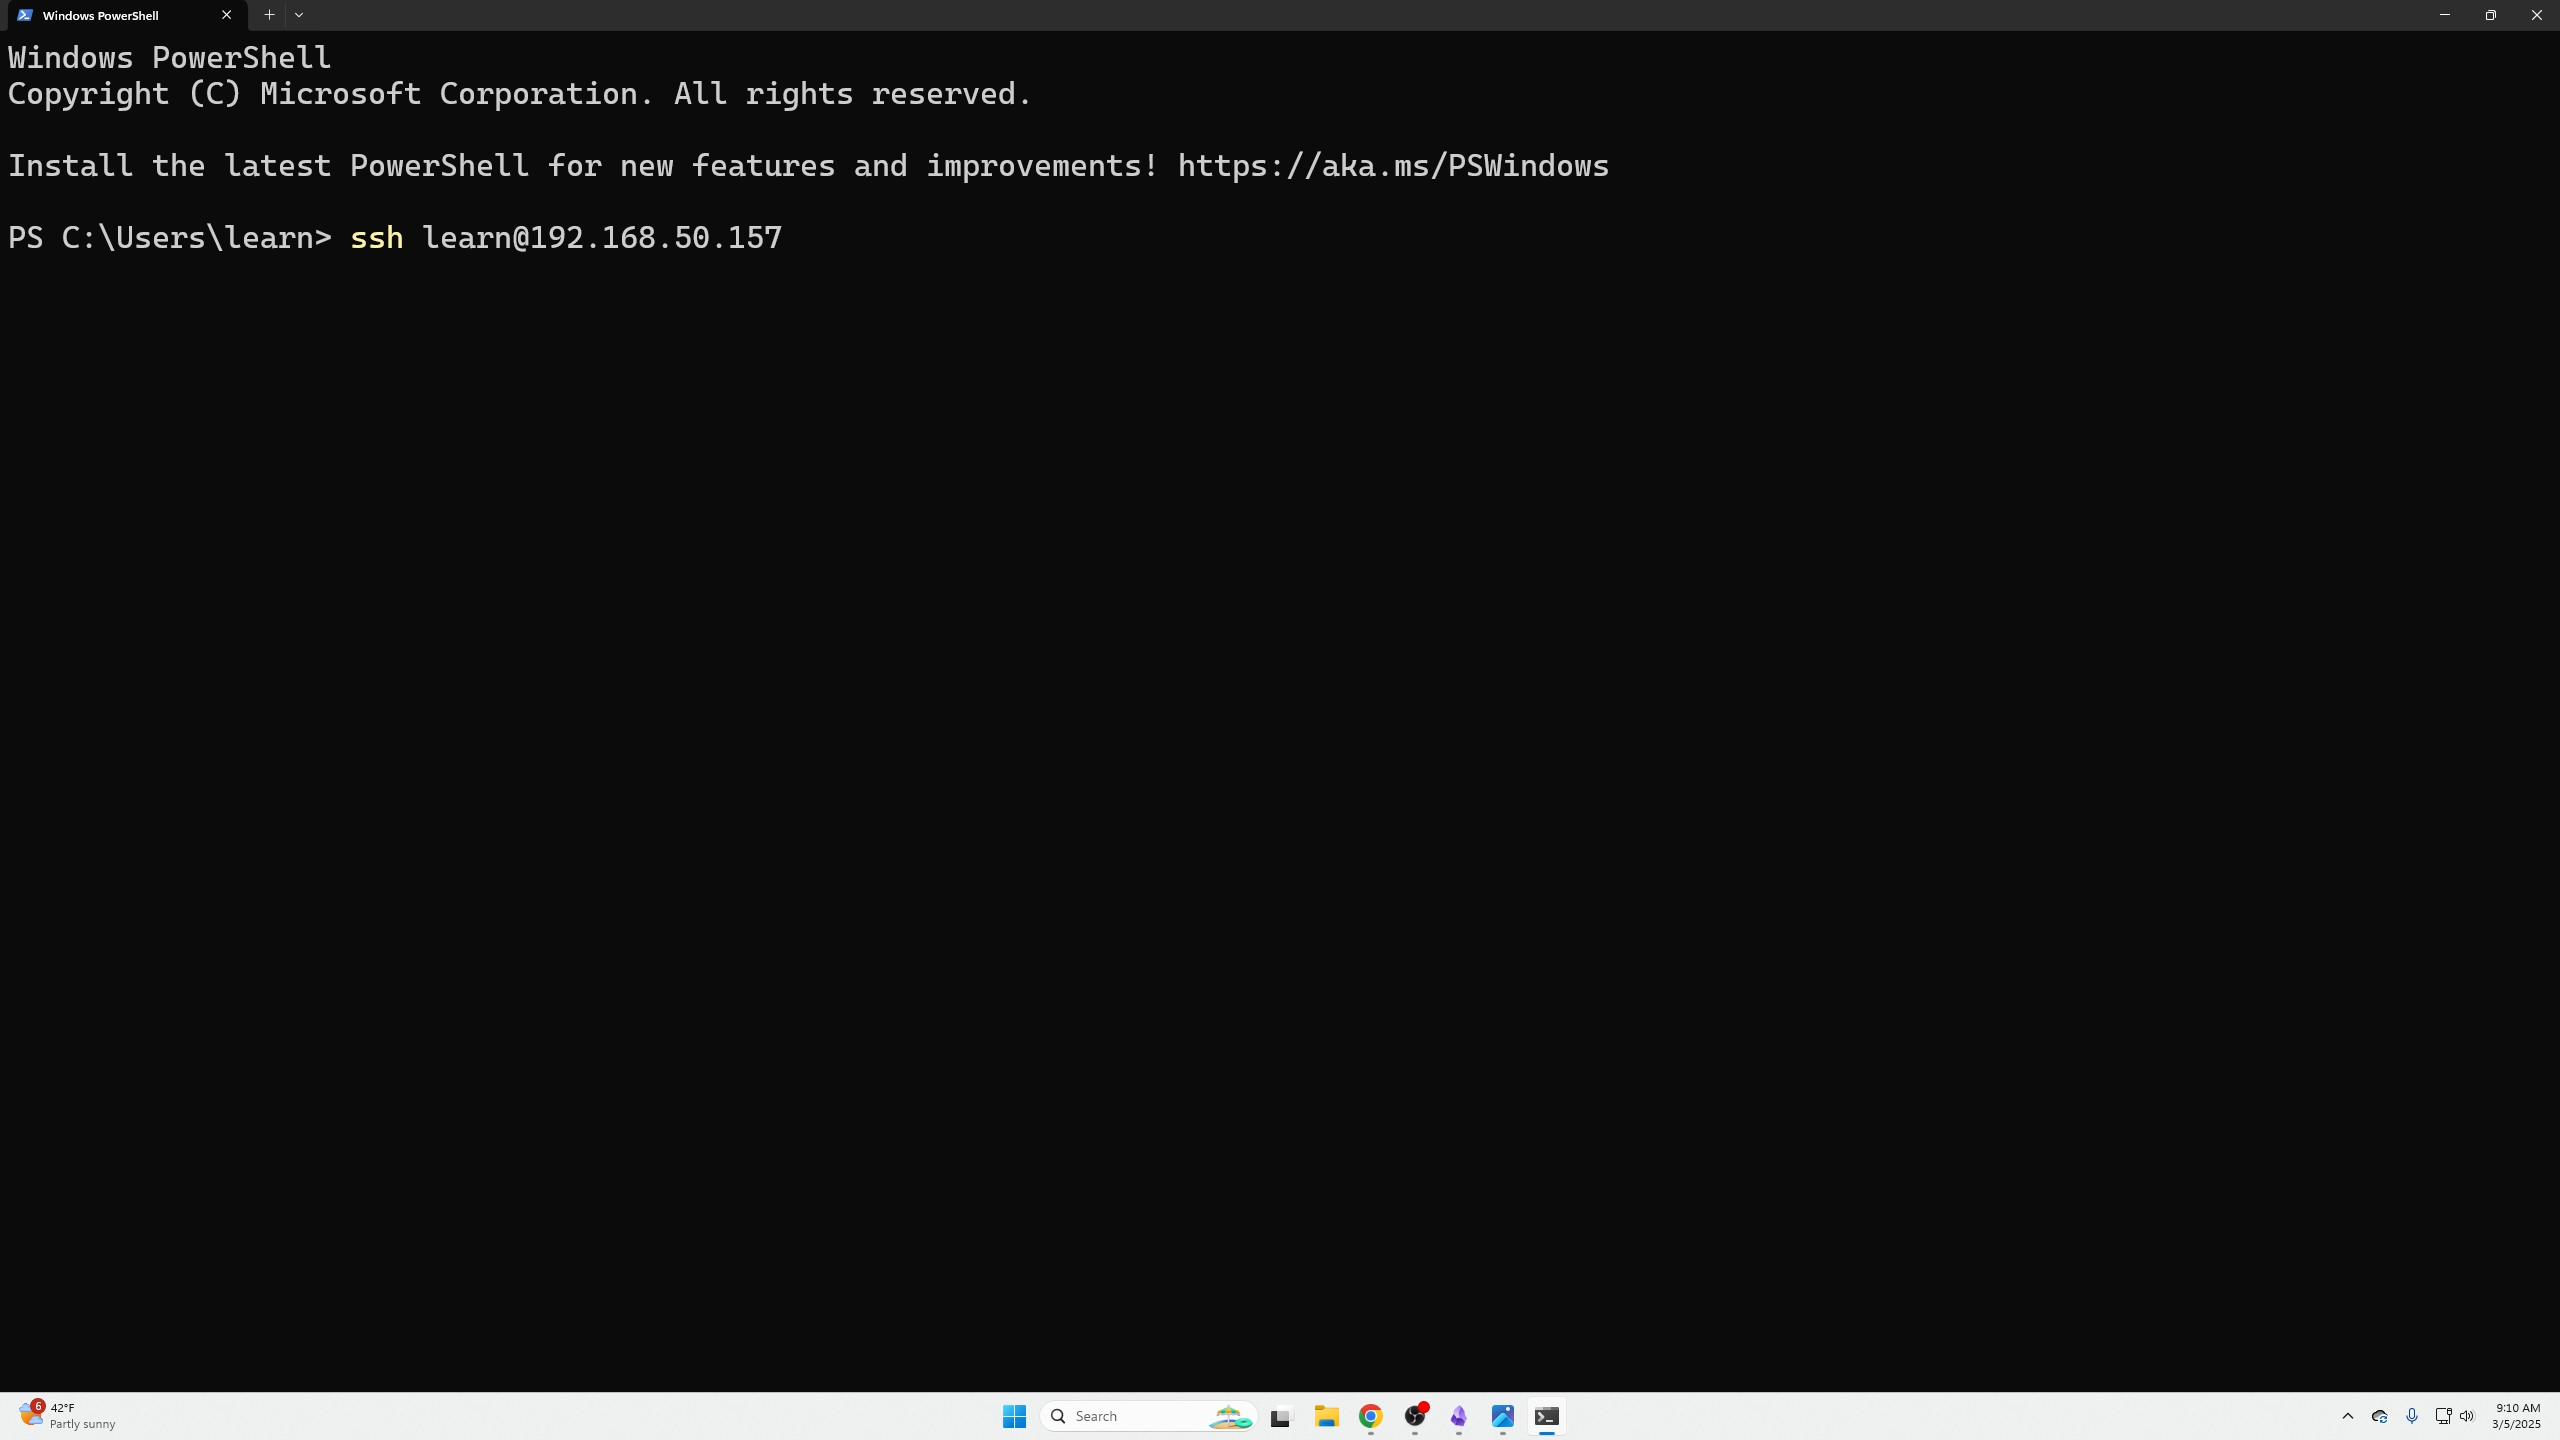
SSH into your VM with the following command:
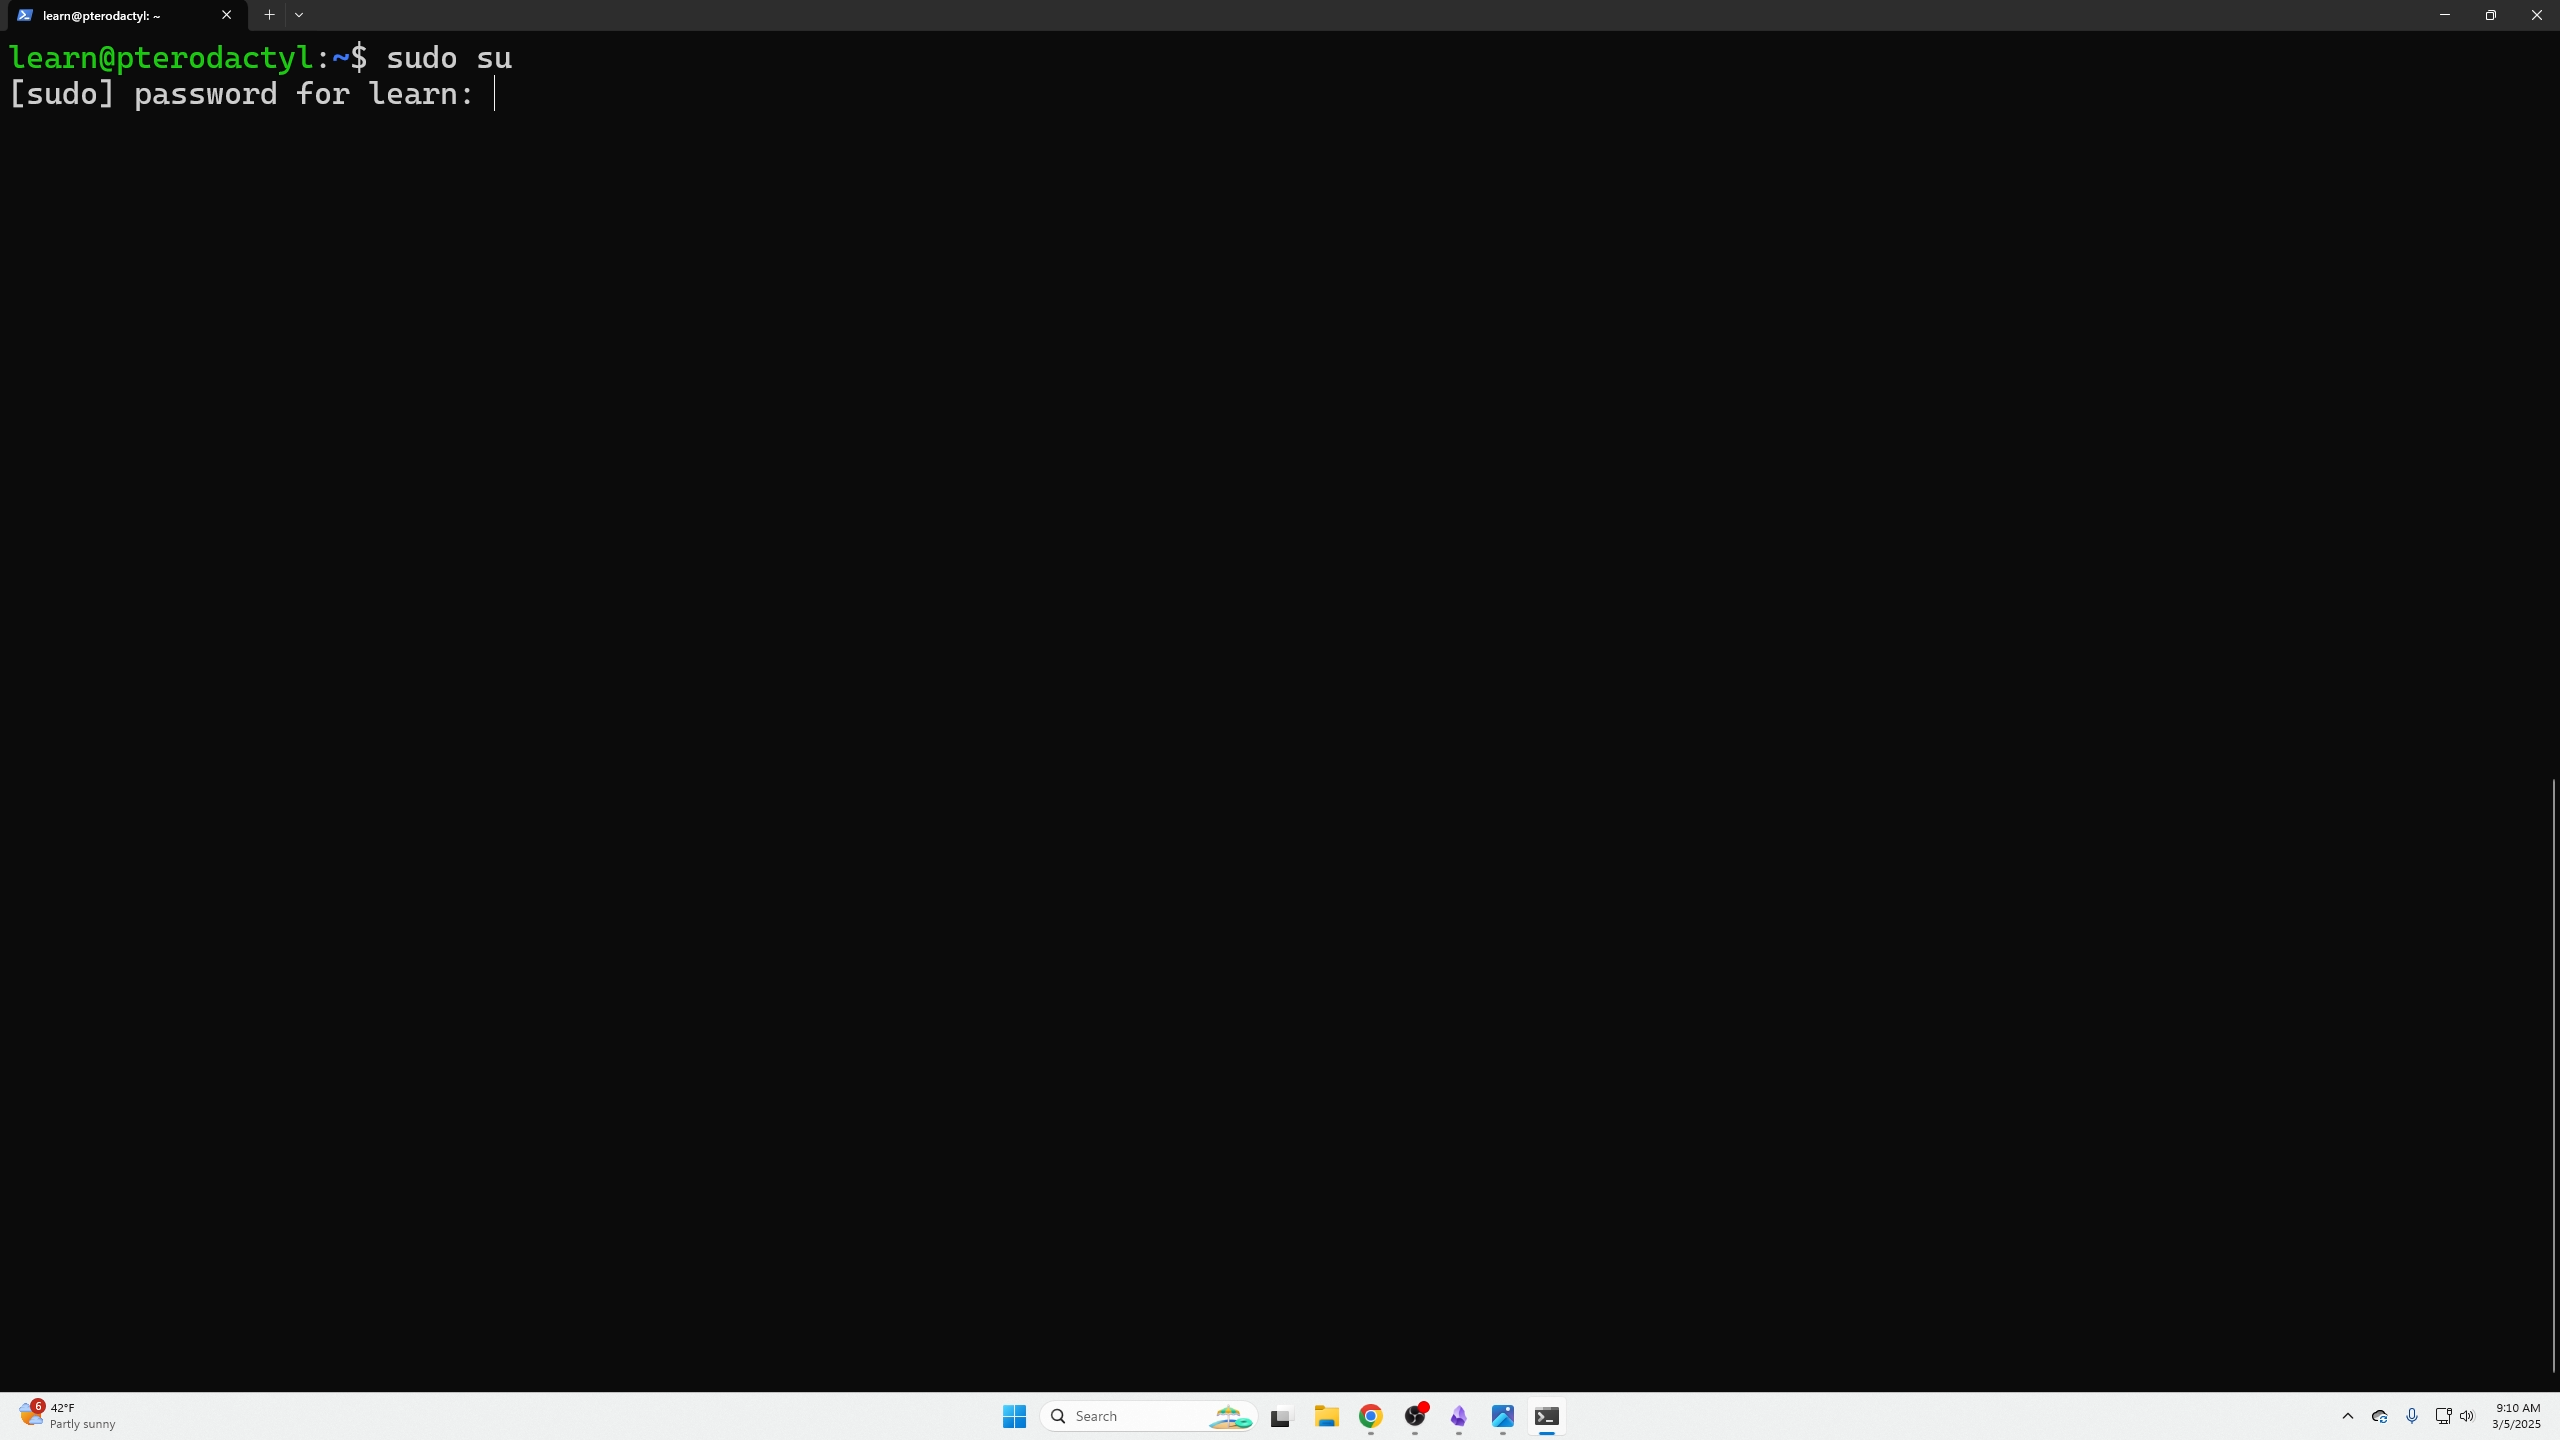
Then, put yourself in root mode with
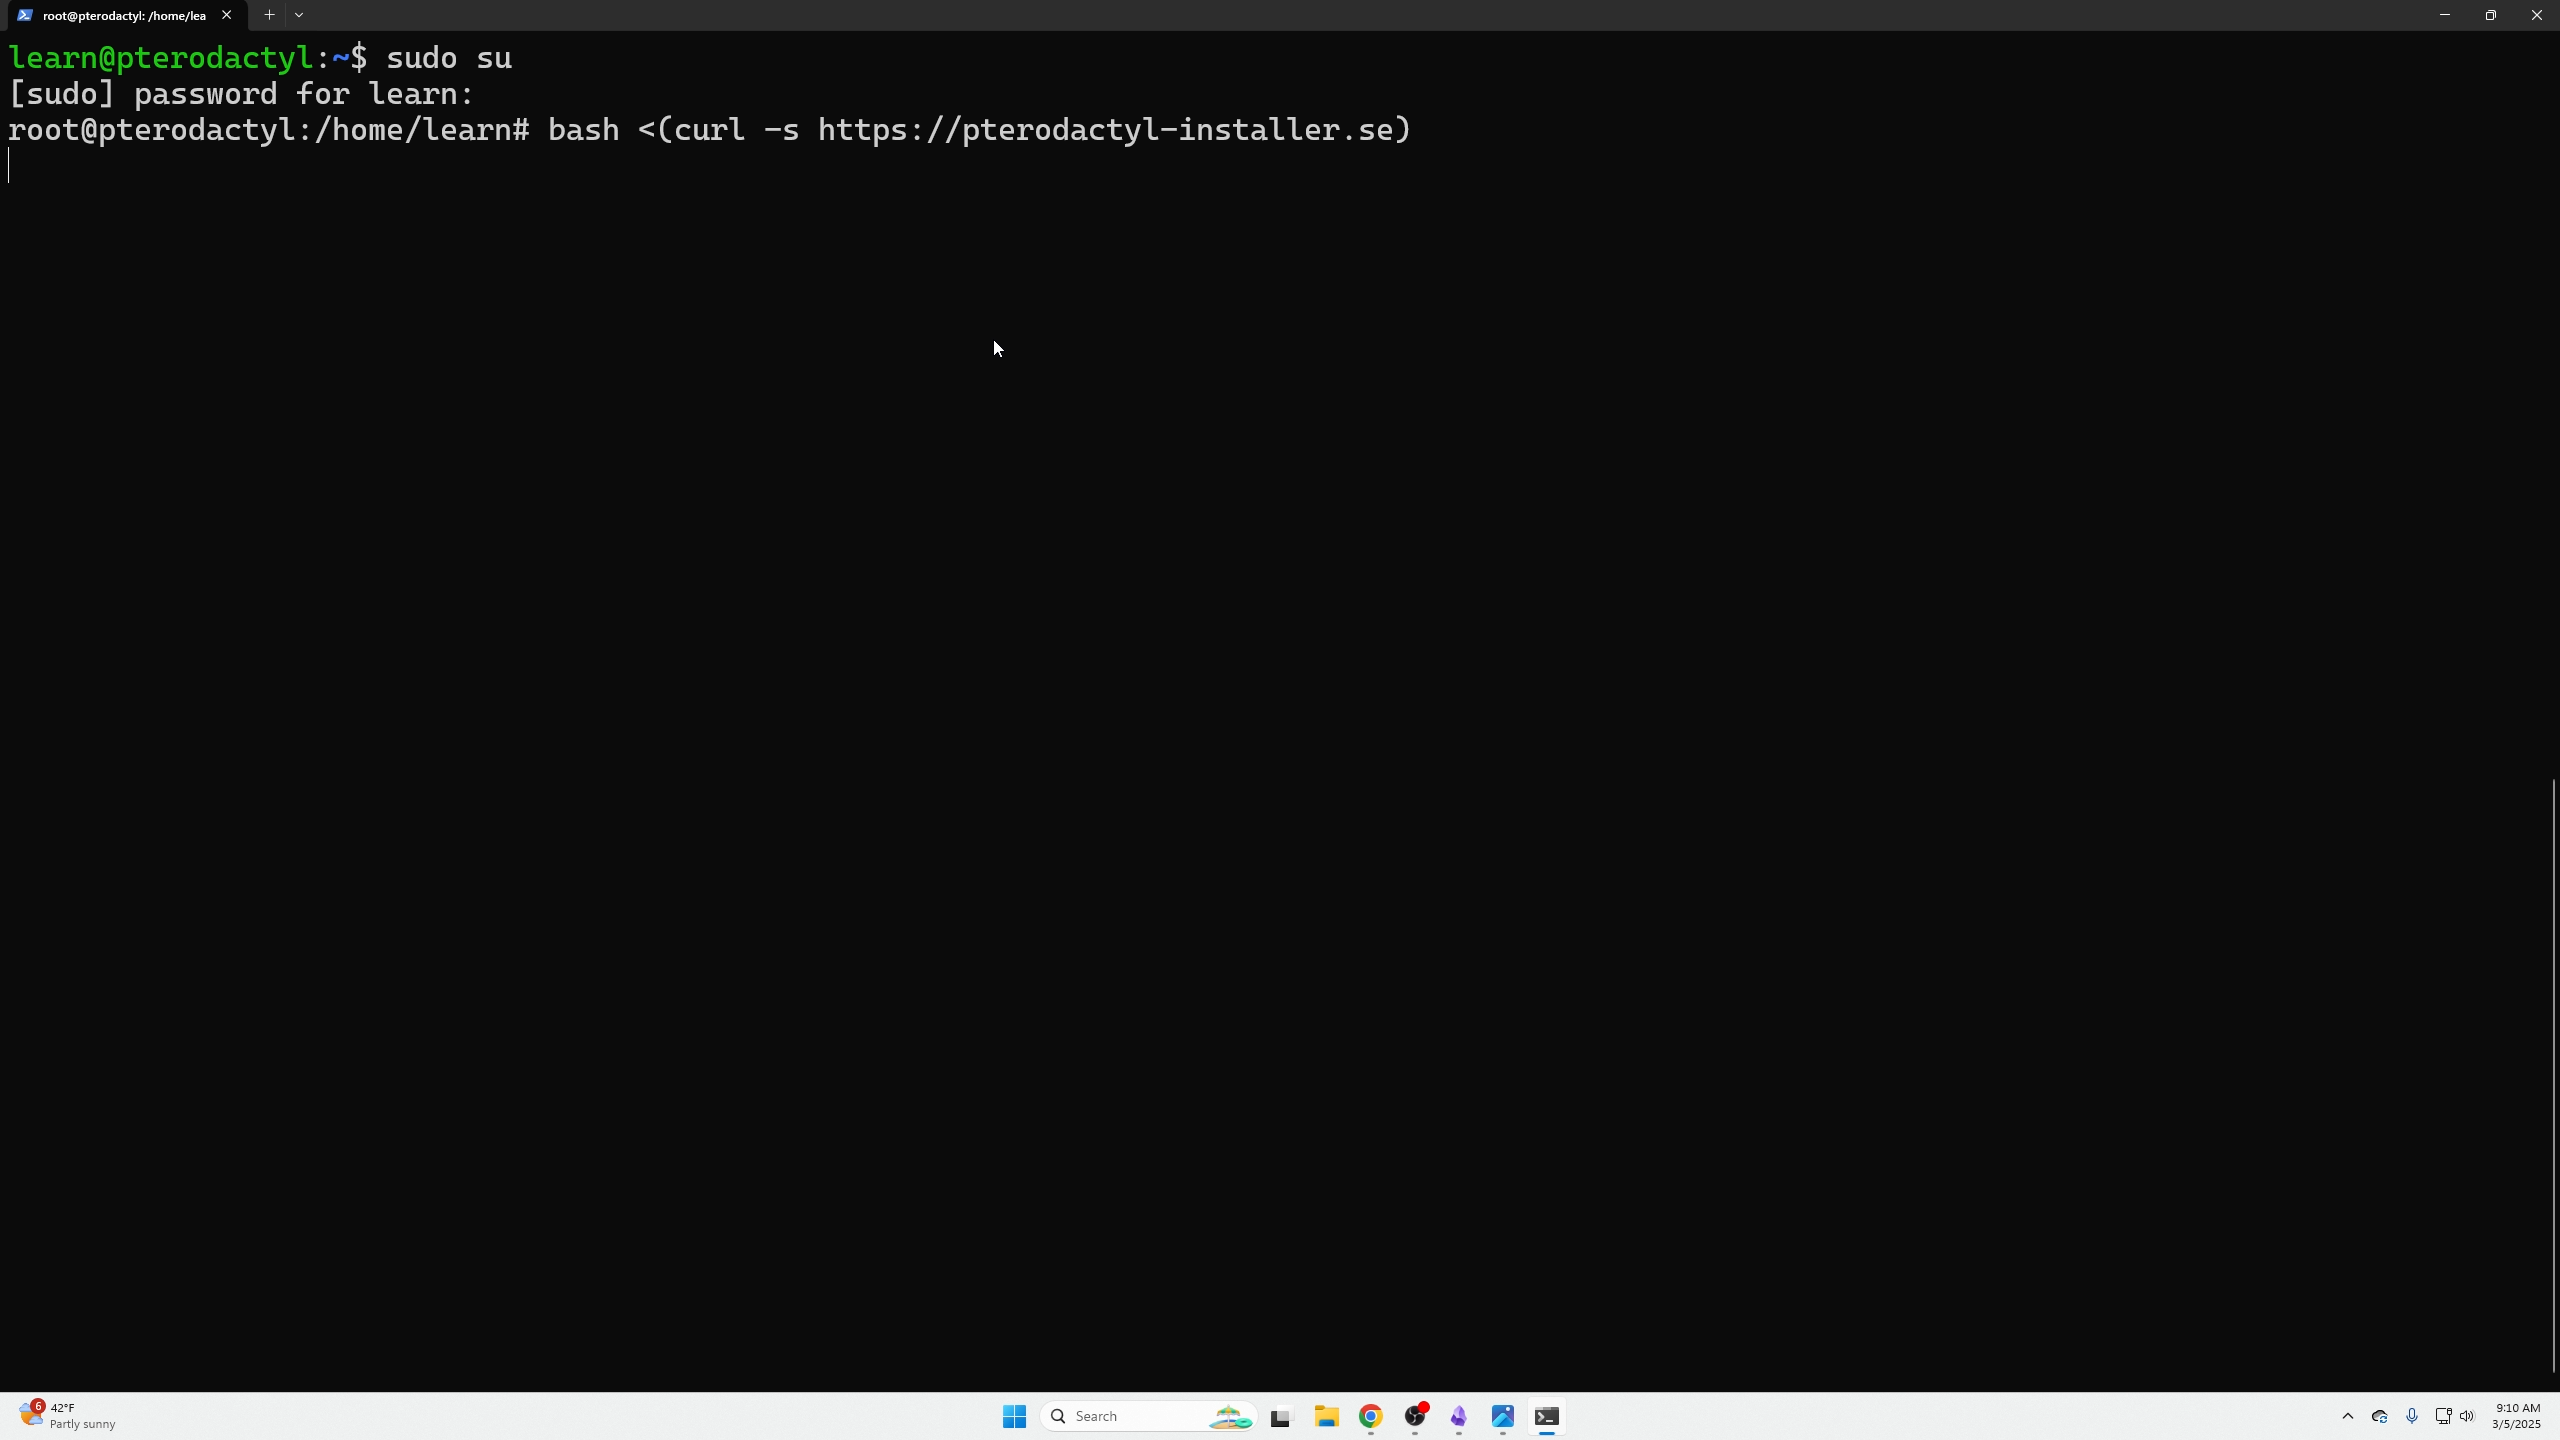
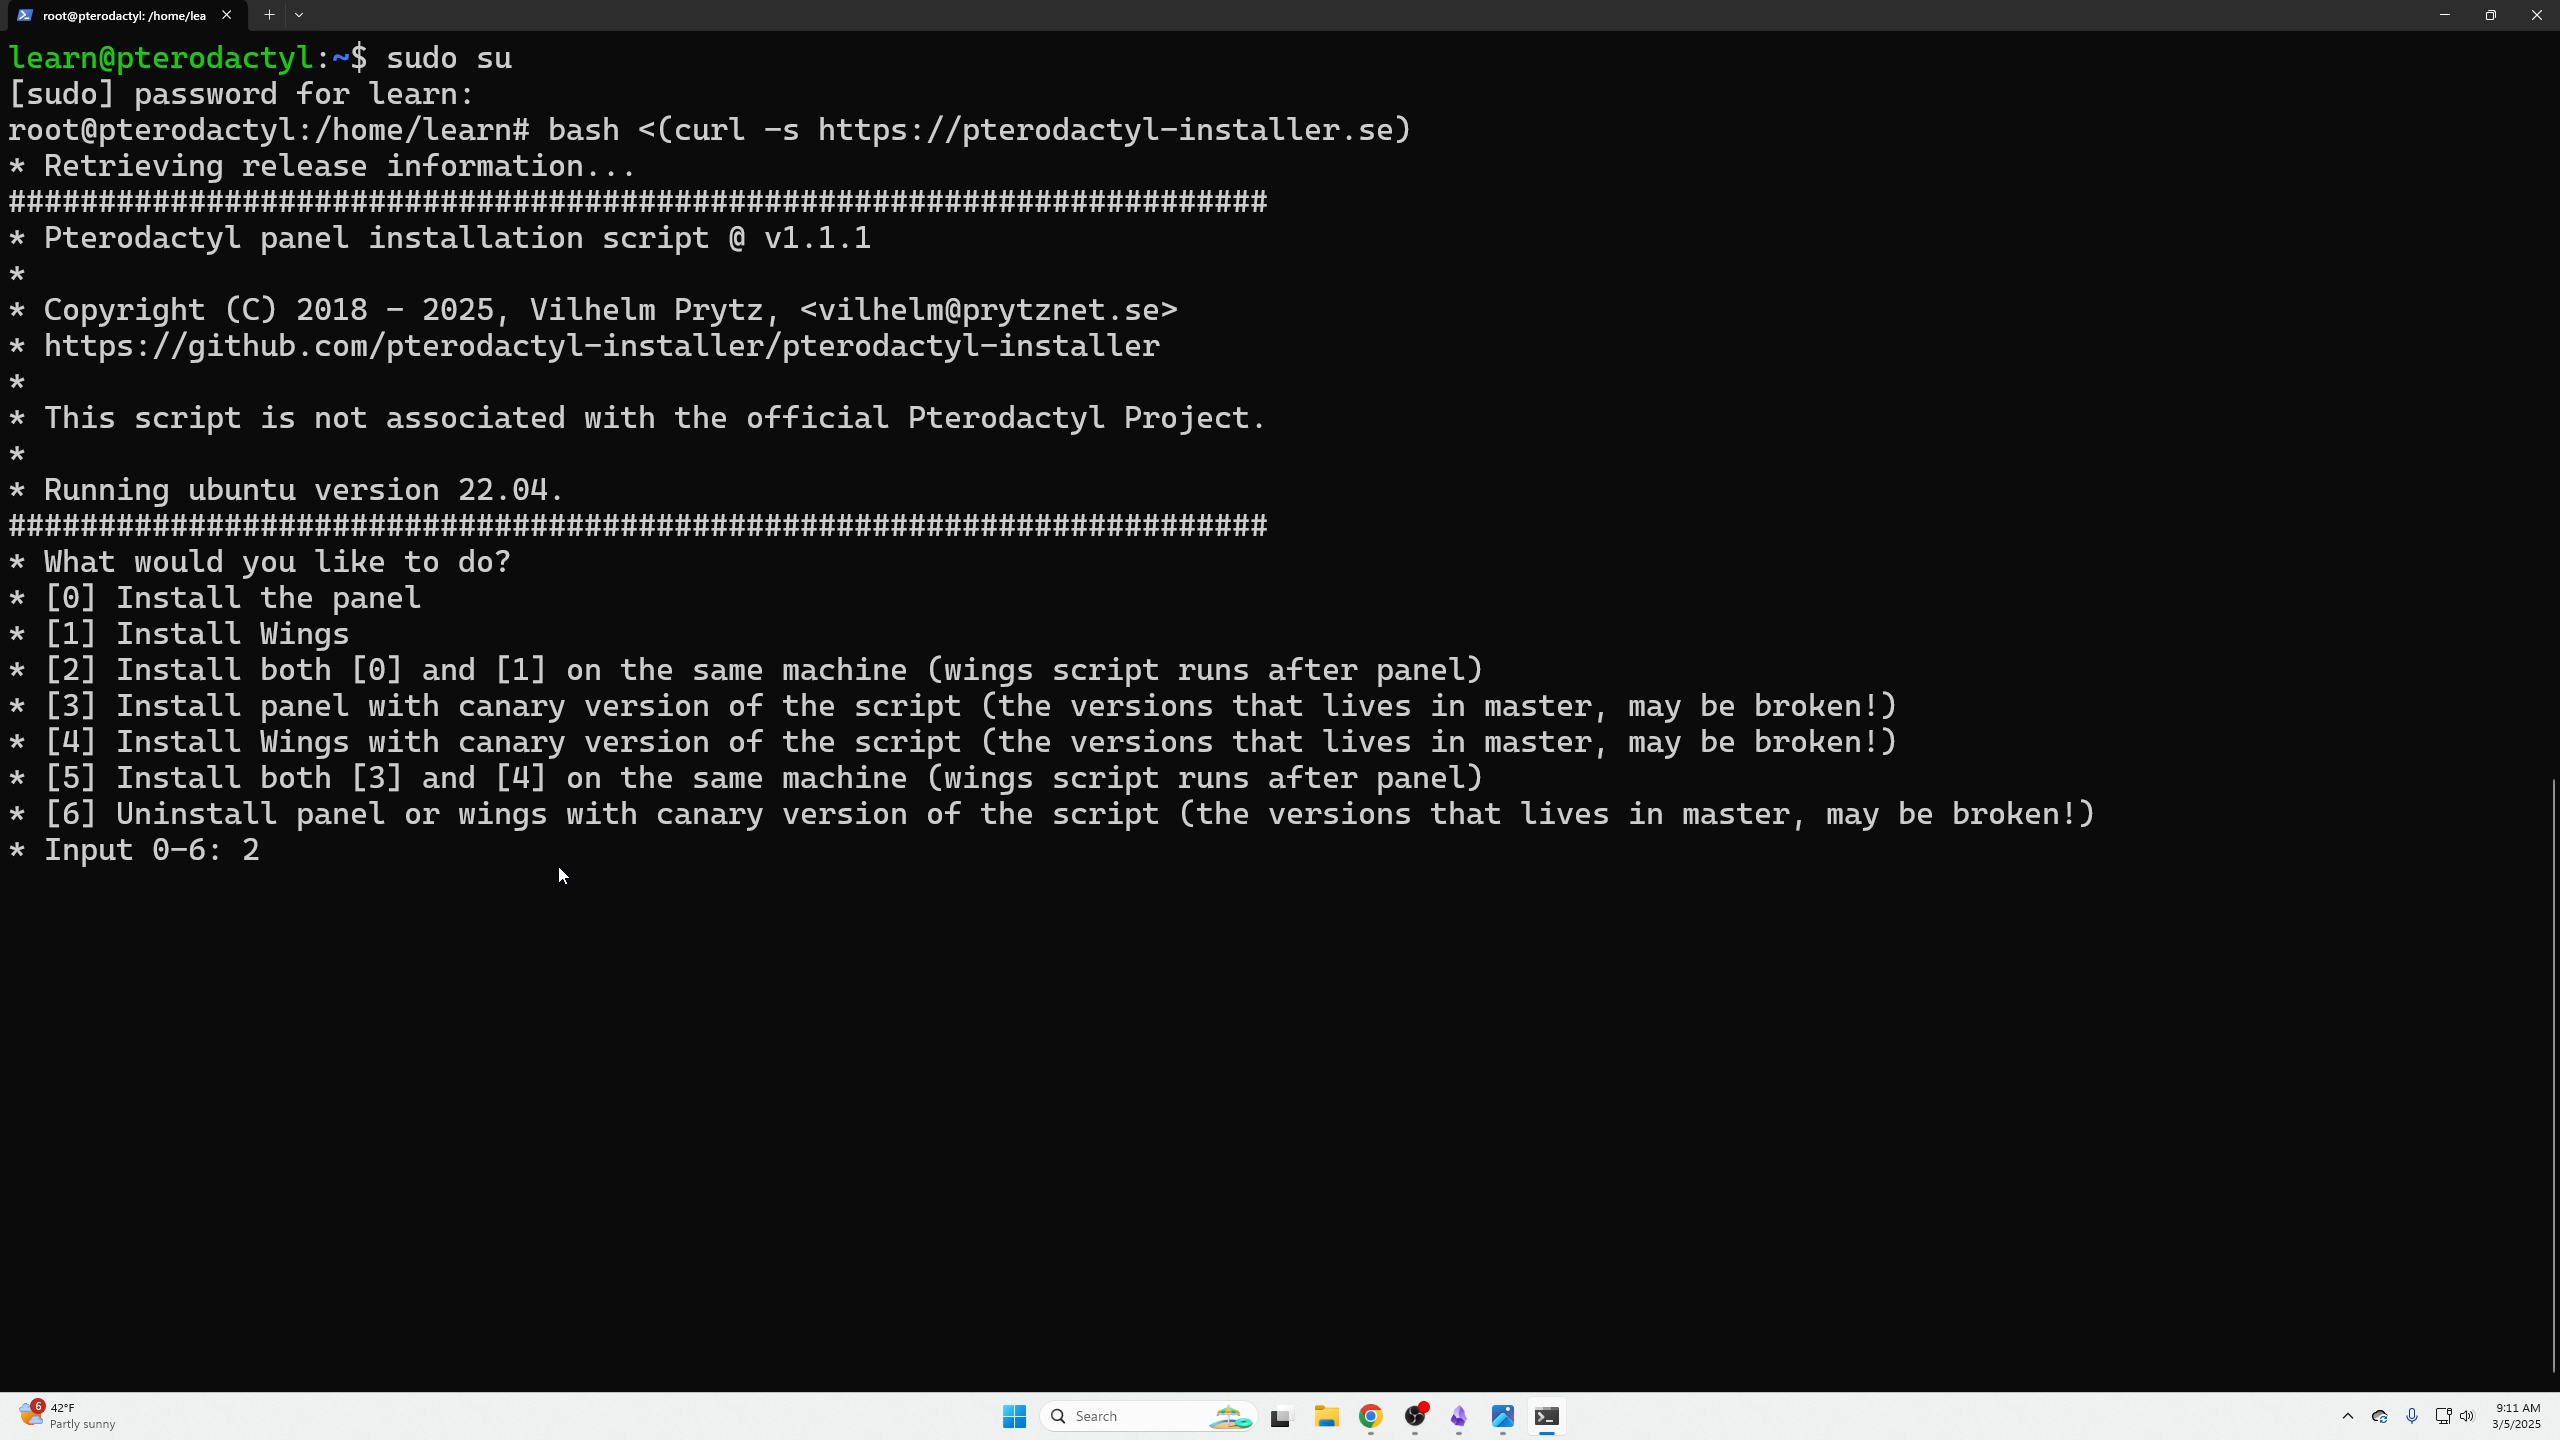
Then paste the install scrip which can be found here
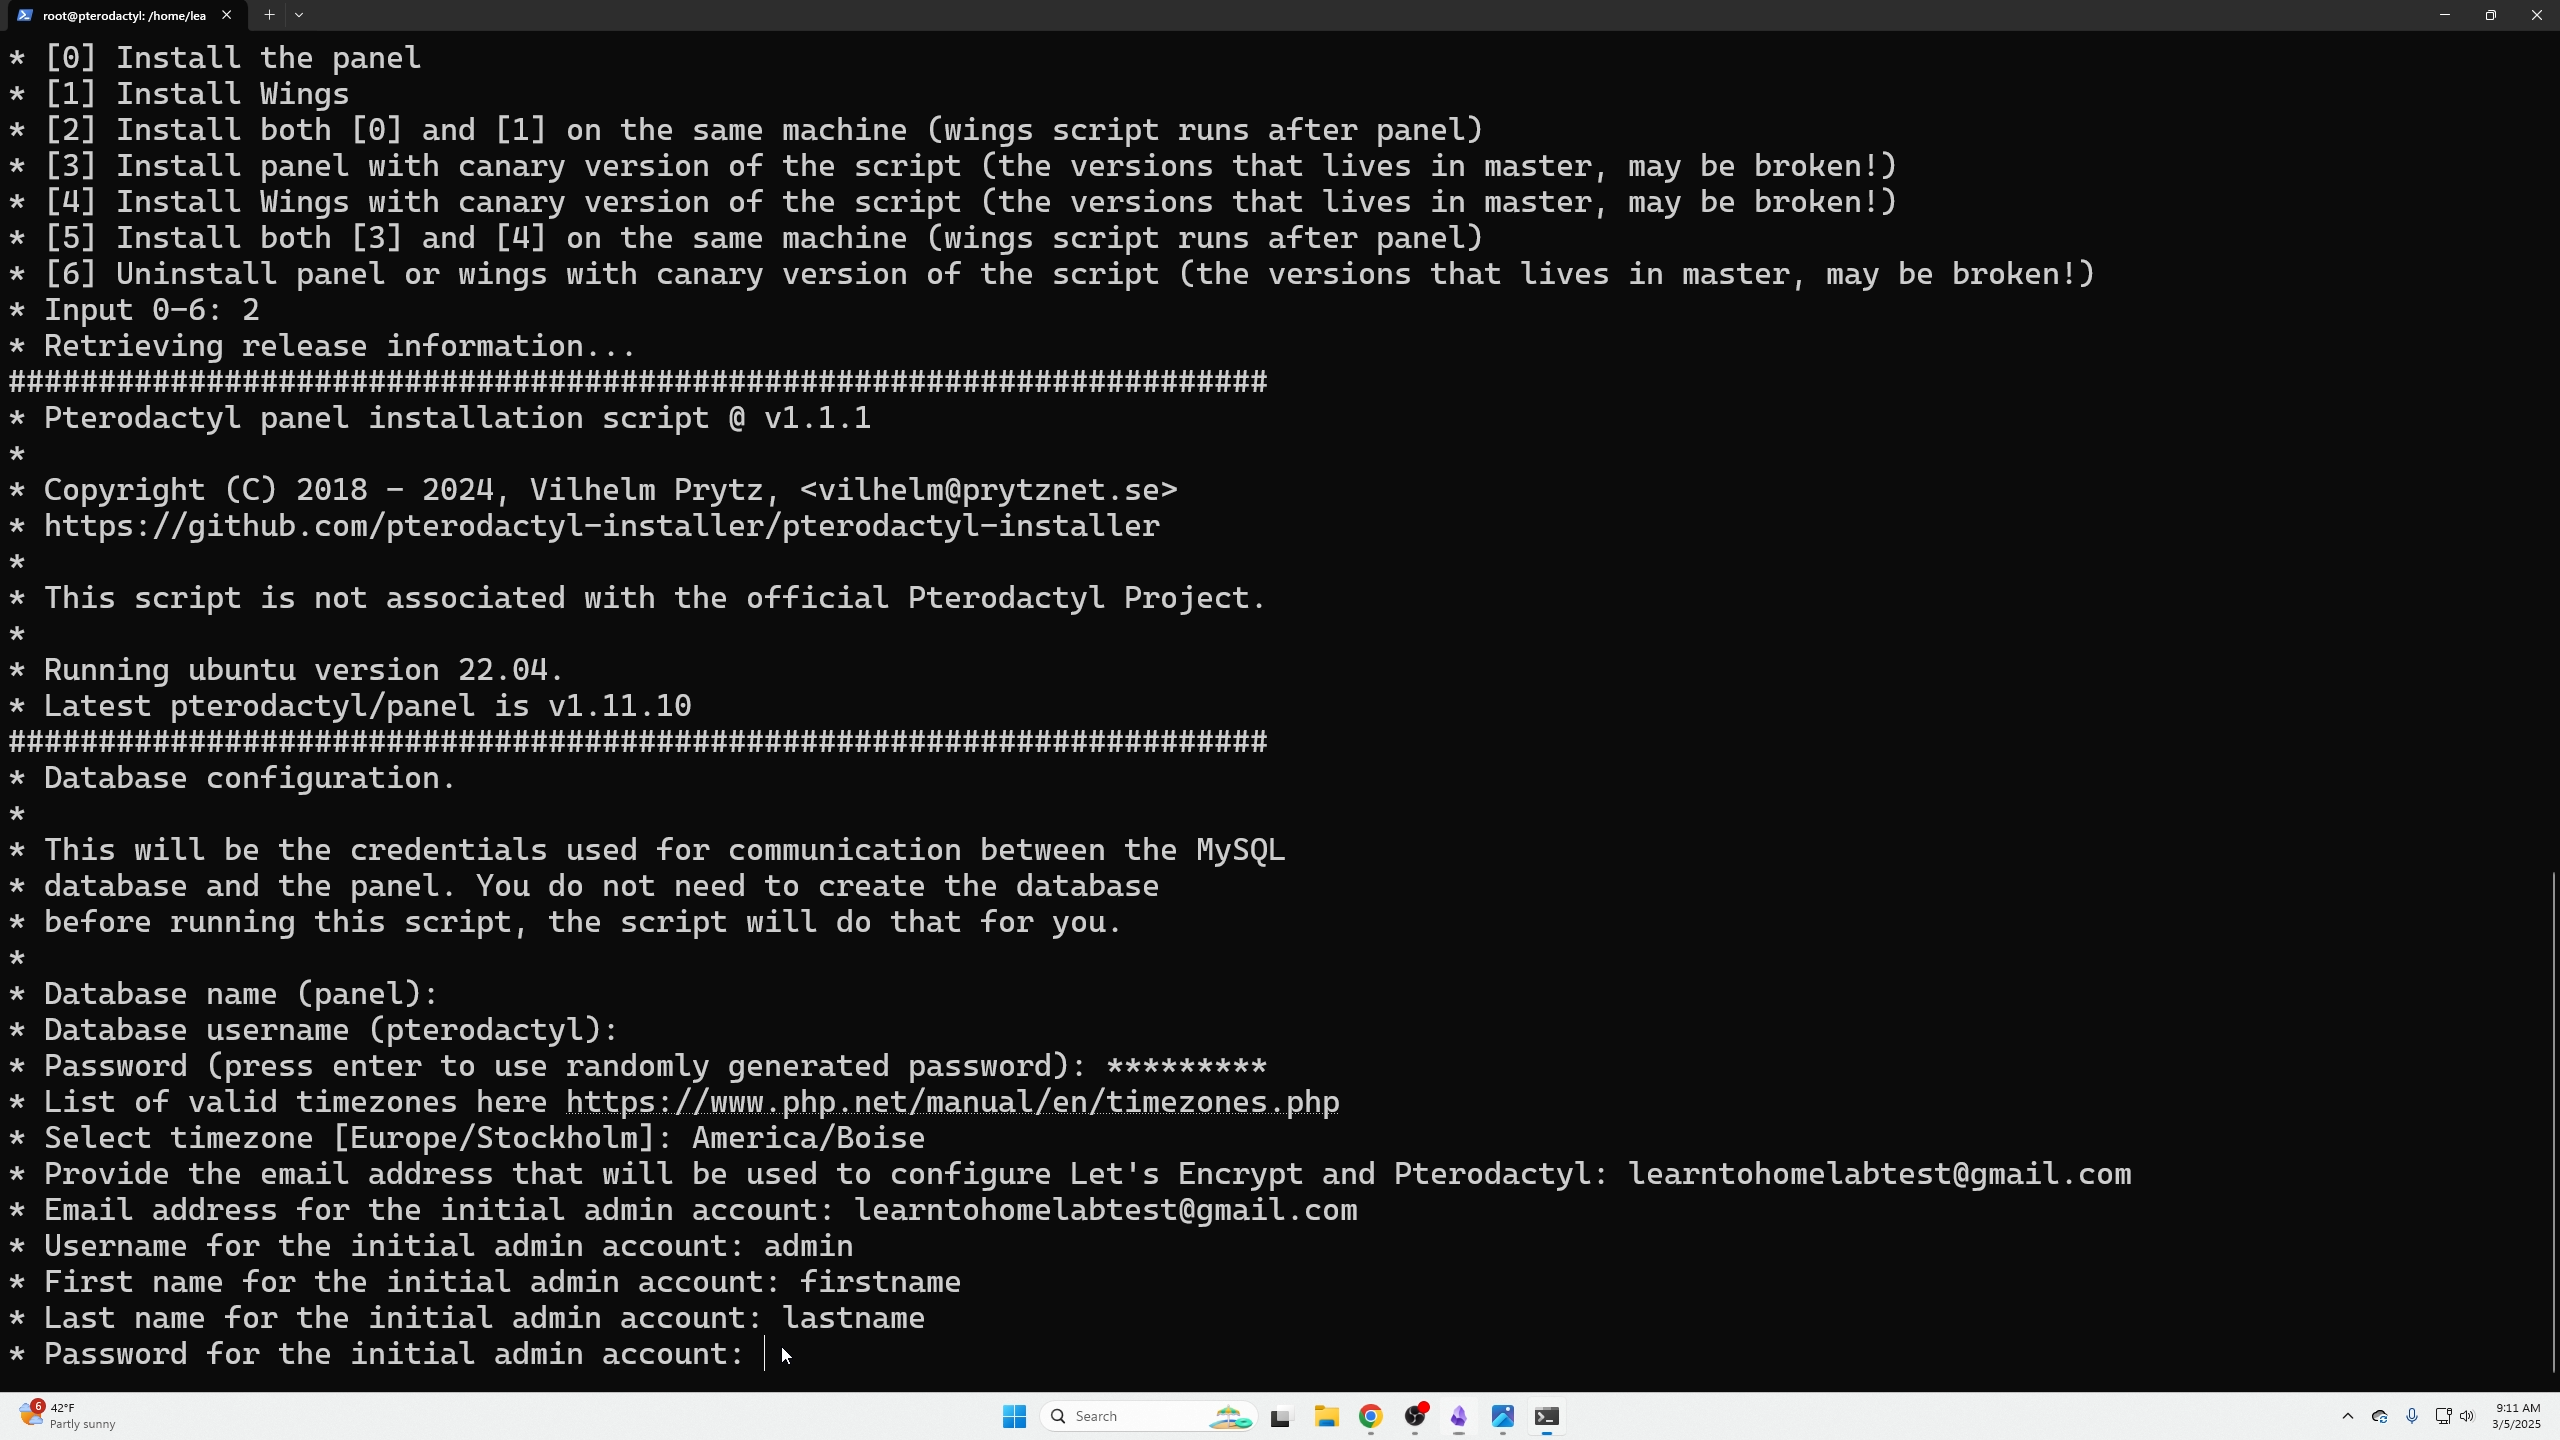
You will then see a list of options; select #2 so we can install the game panel and wings.
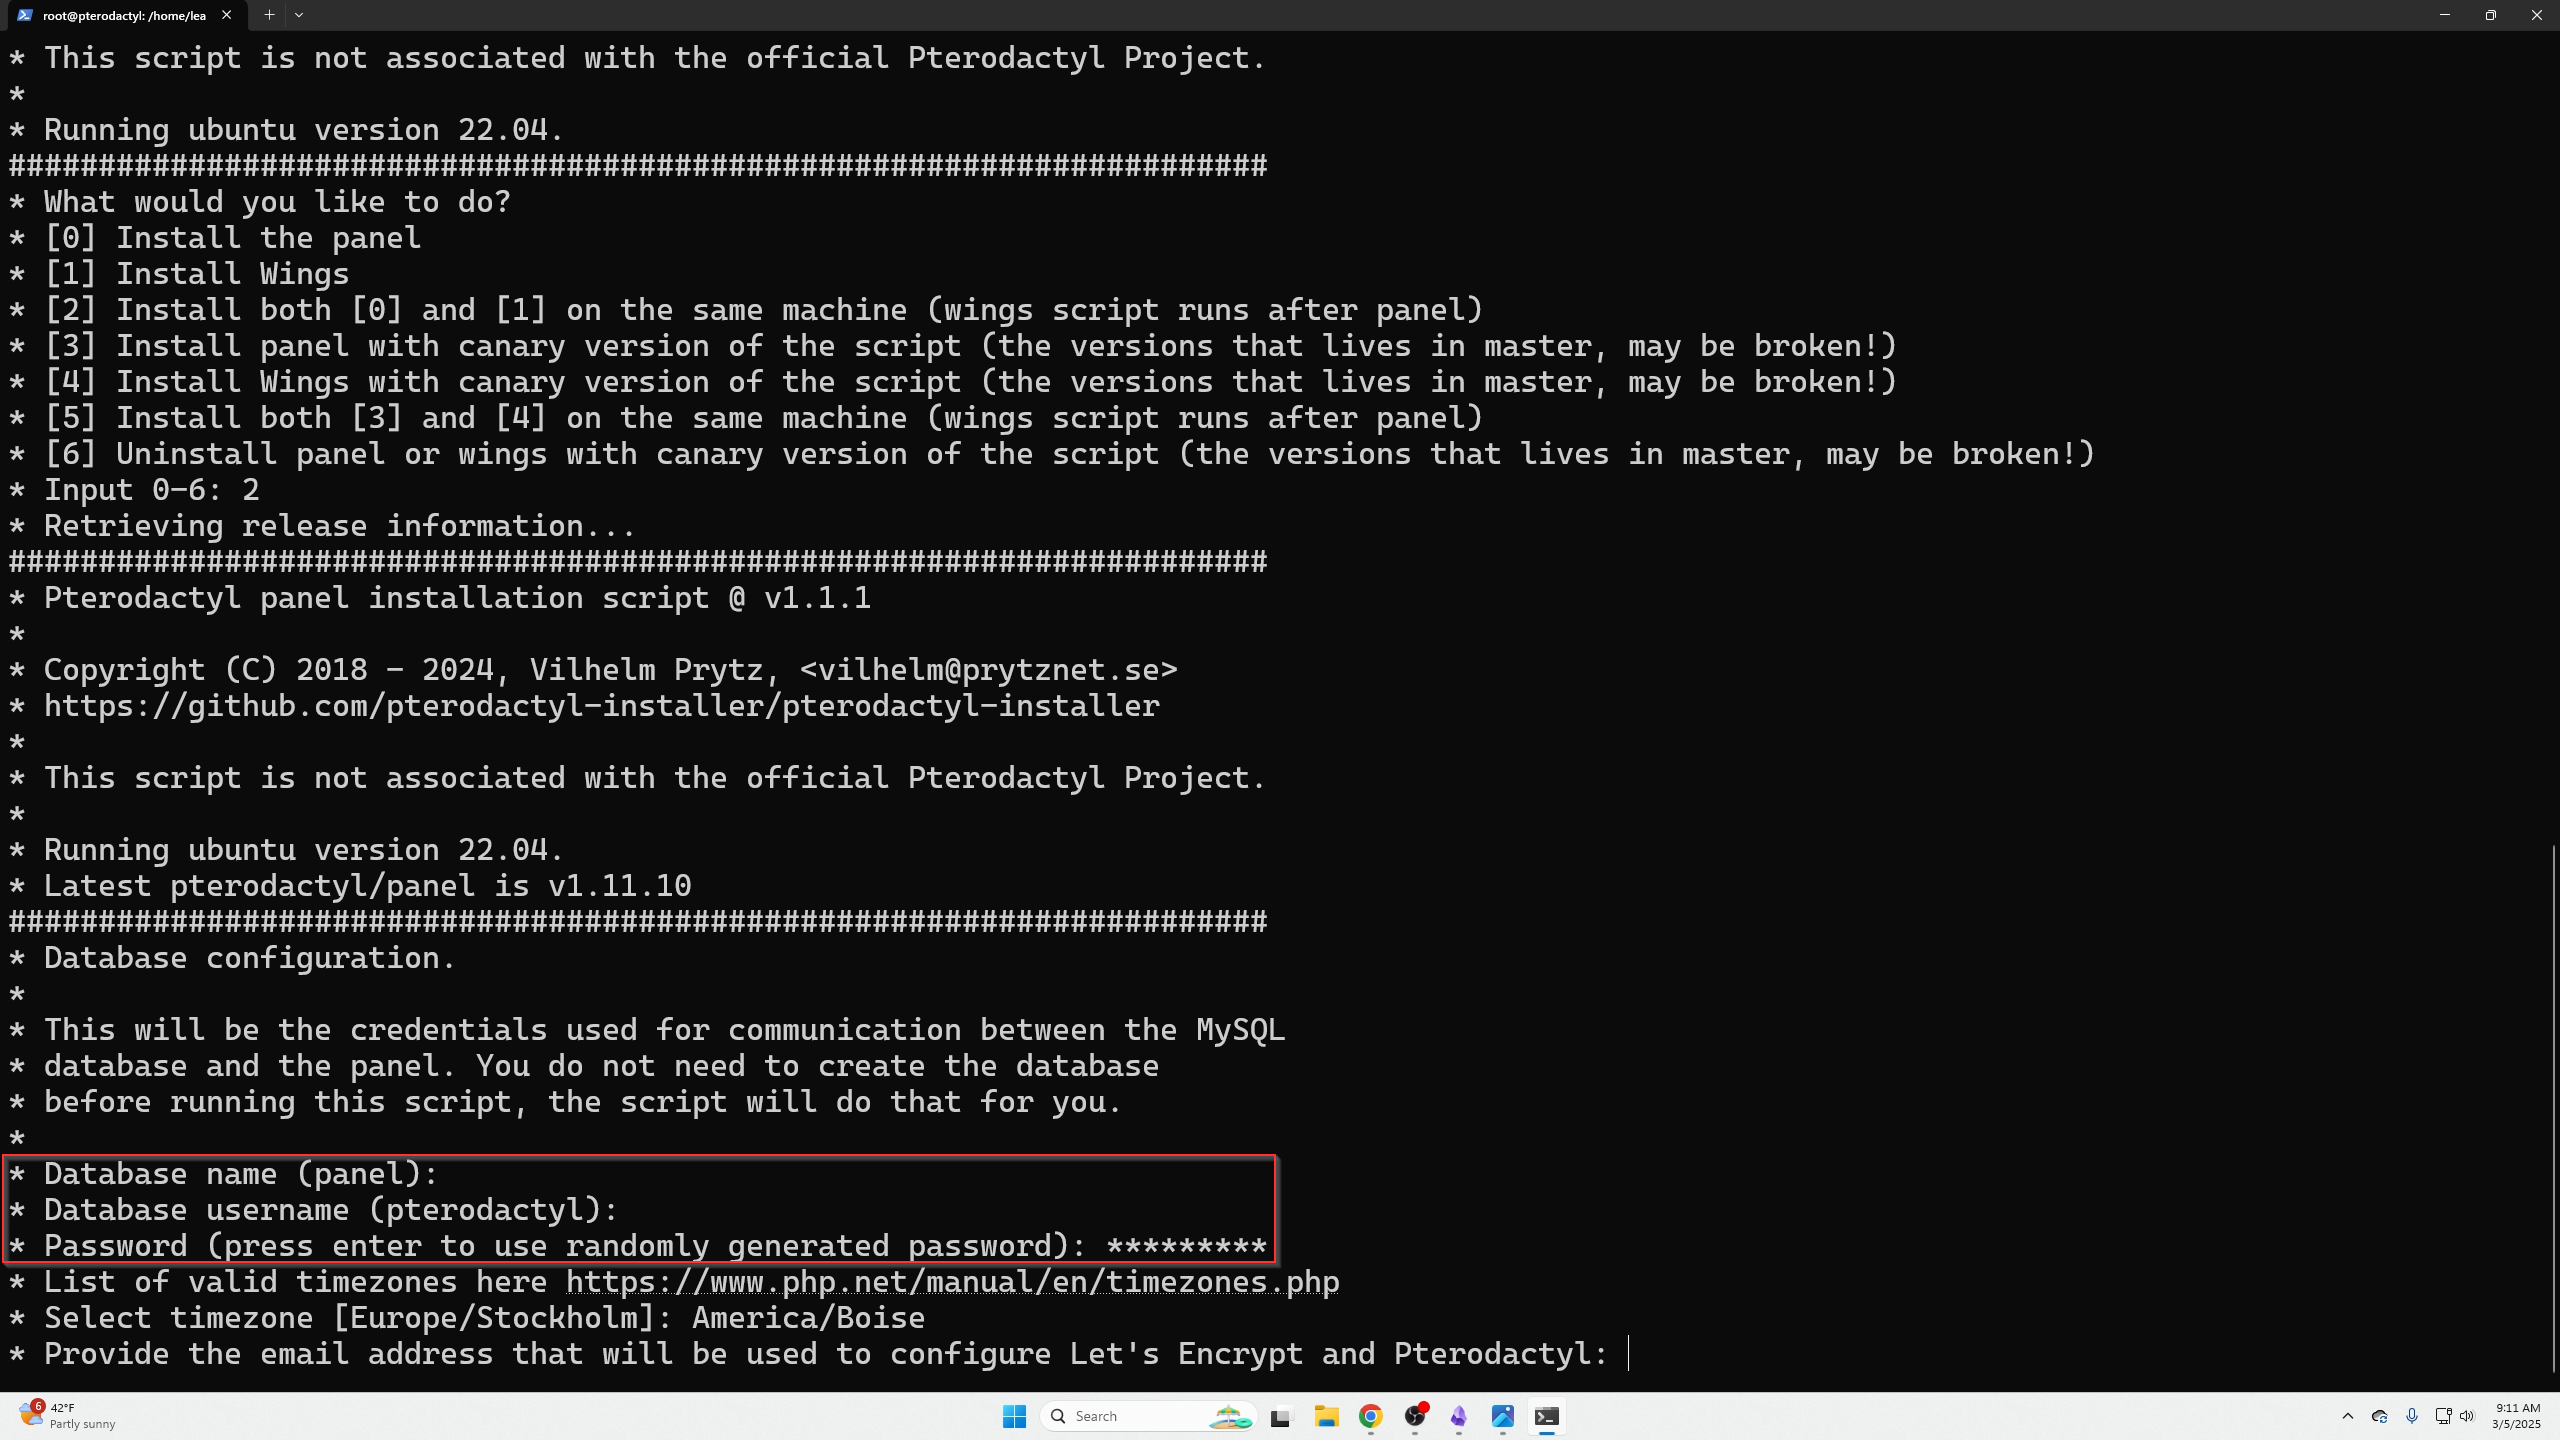
You will then be prompted with the “Database name” field; anything in ( ) will mean that is the default answer. We will leave the defaults for the database name and username and then make our own password.
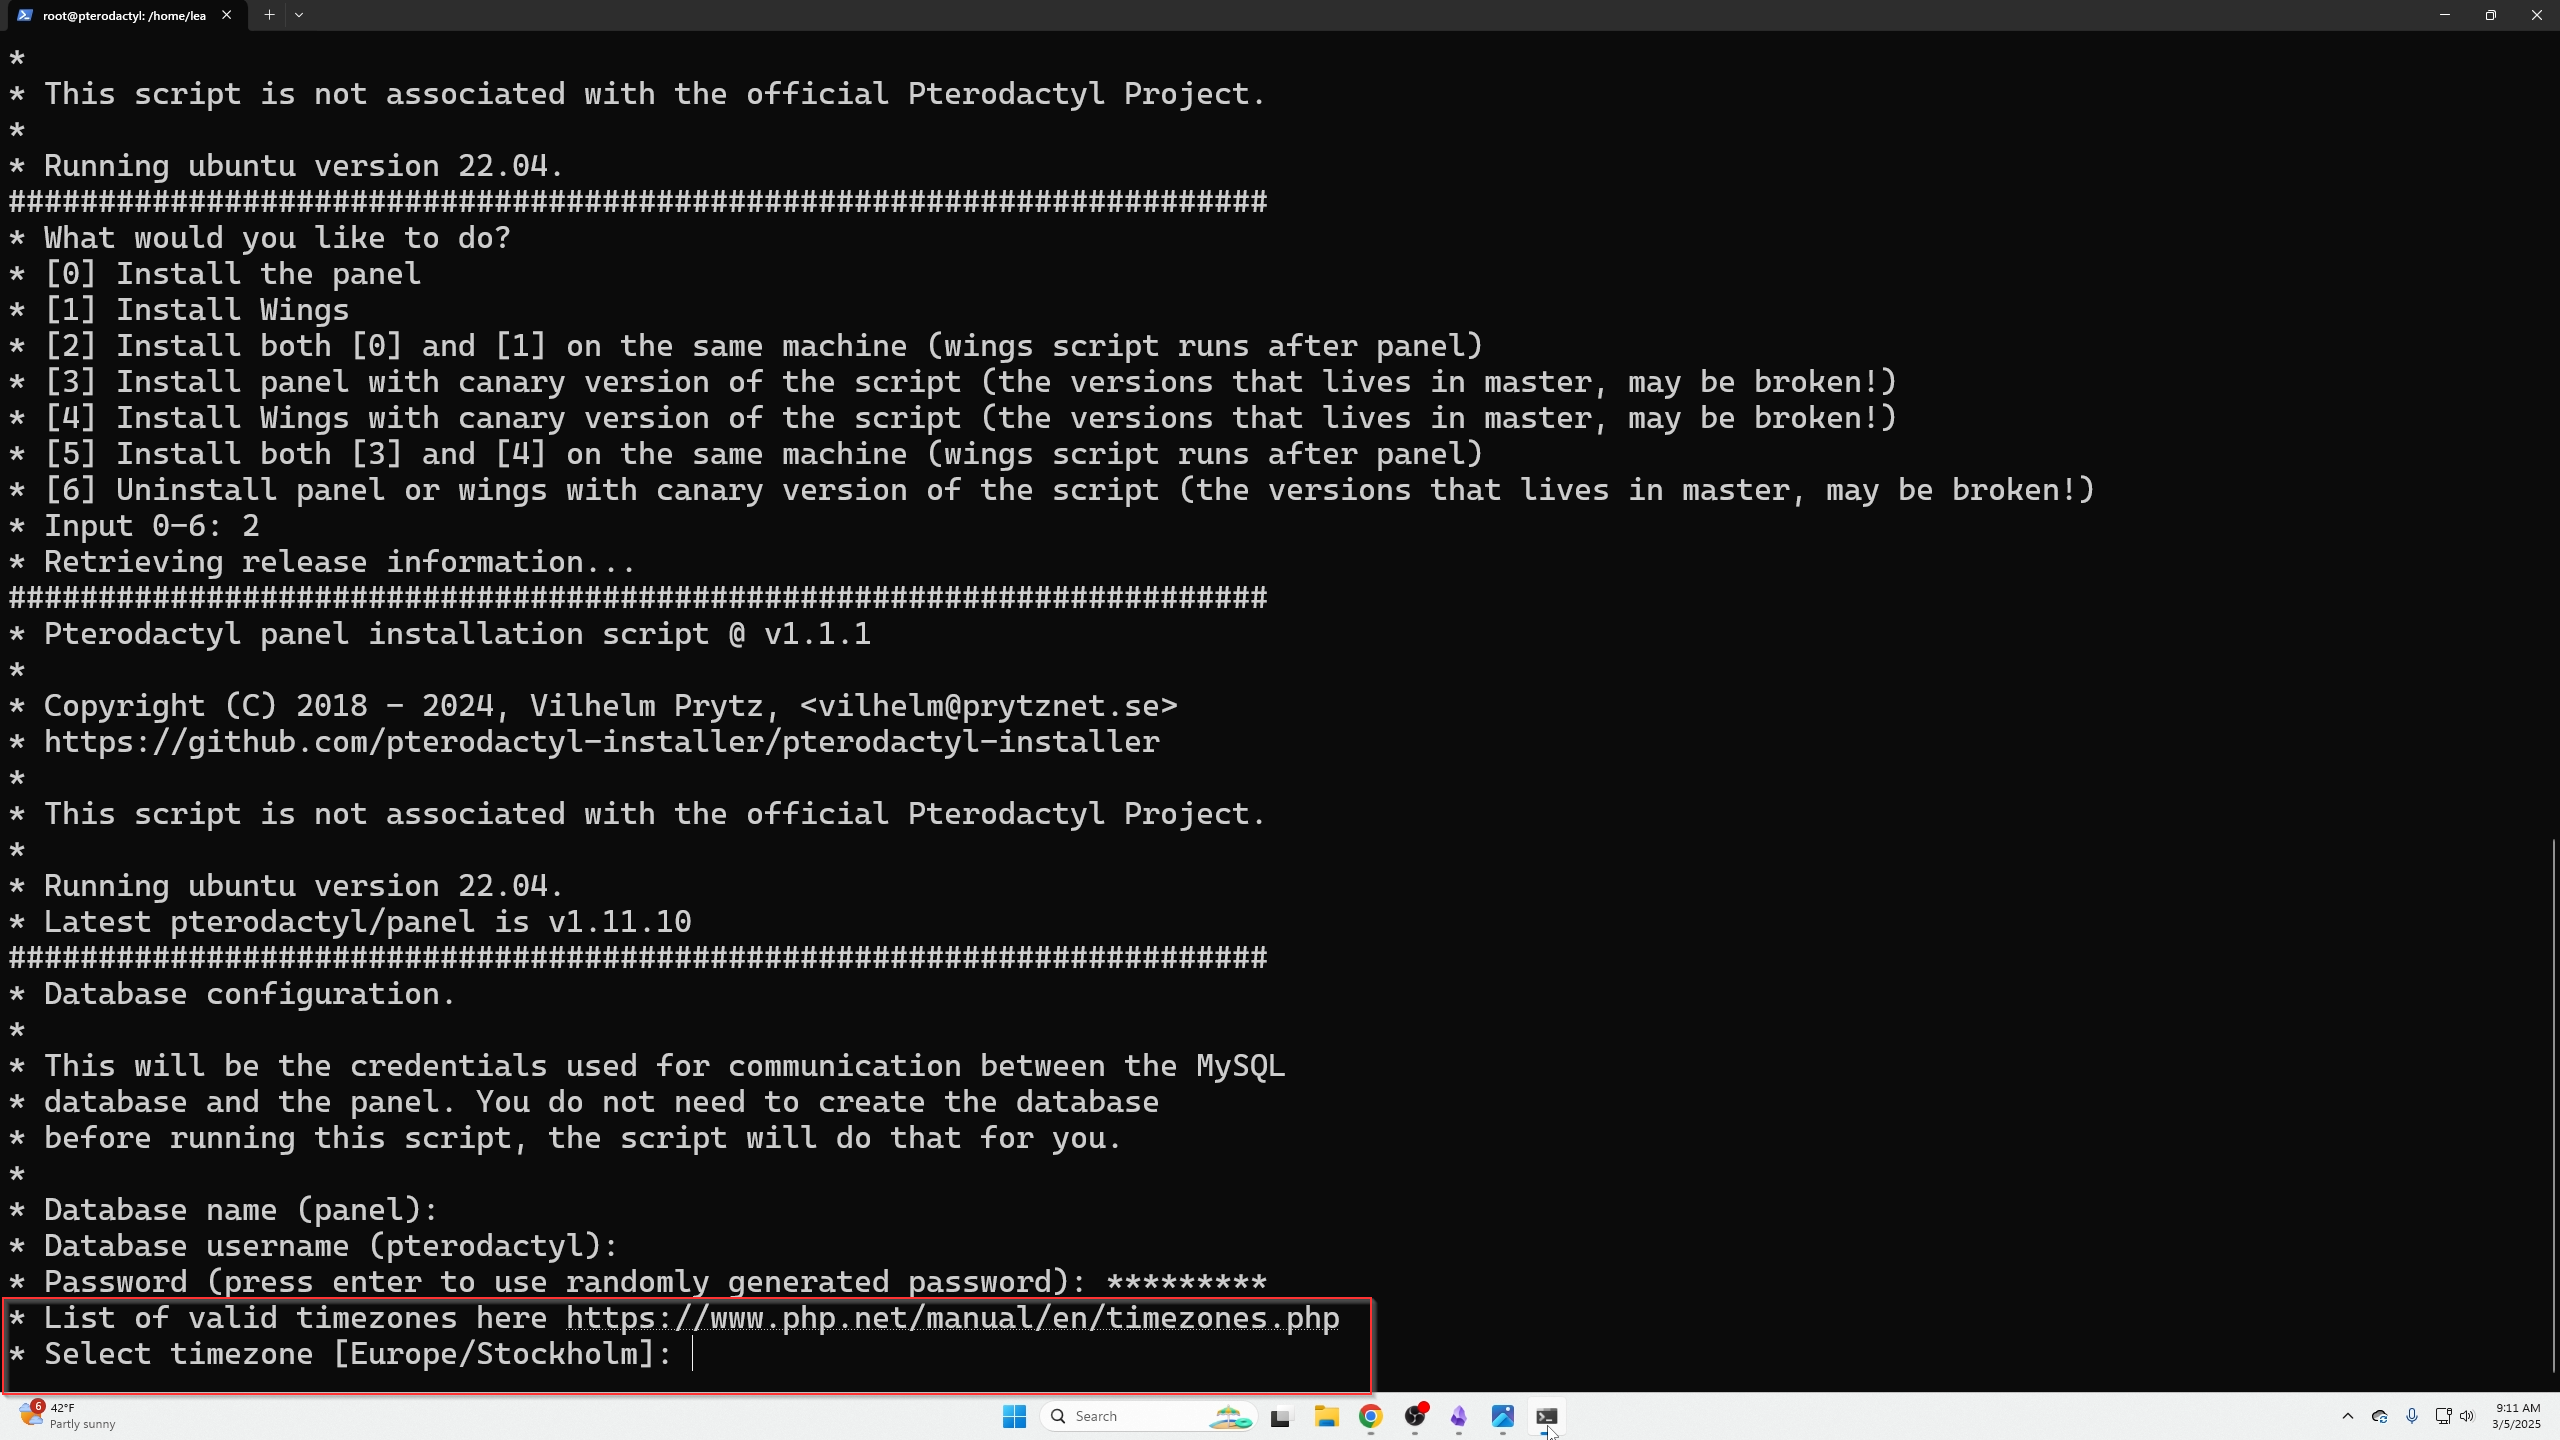
Next, you will click the link shown in the CLI using ctrl + left click and find your timezone, then paste your timezone into the CLI. It can also be found here
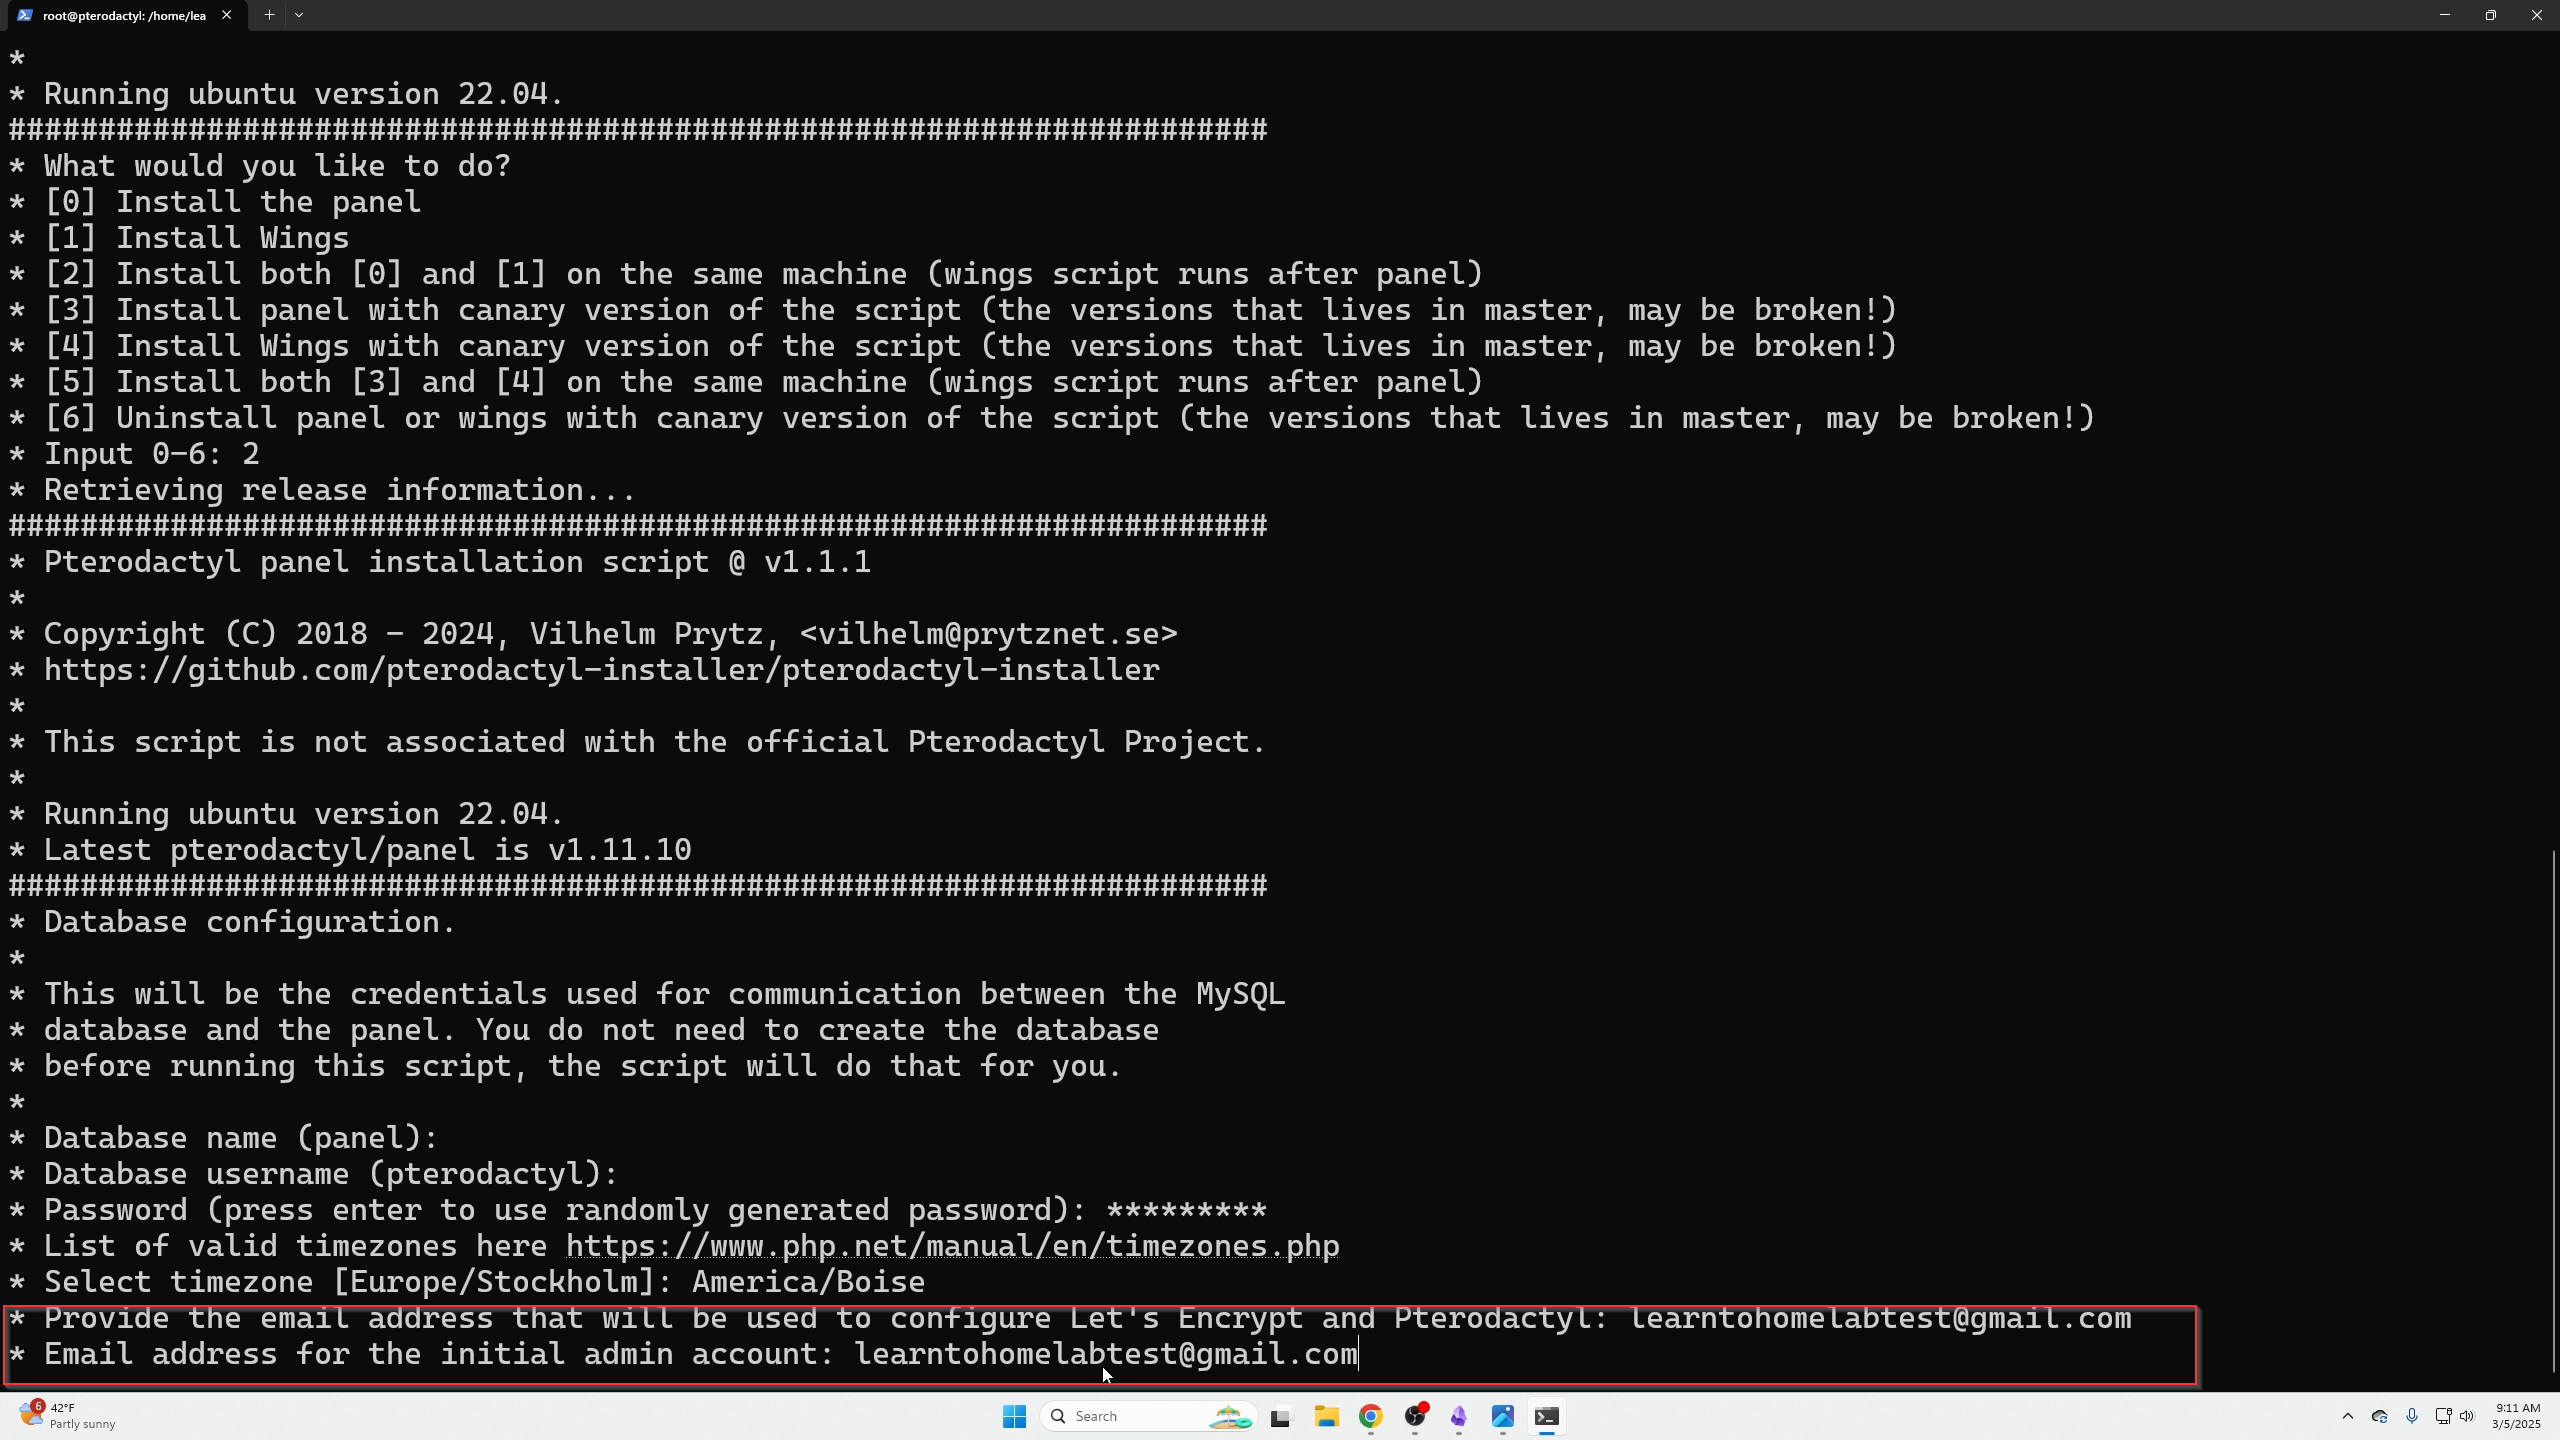
Next, you need to add a valid email address; this is used to create your account, receive emails, and find users within the panel. They will ask for that twice.
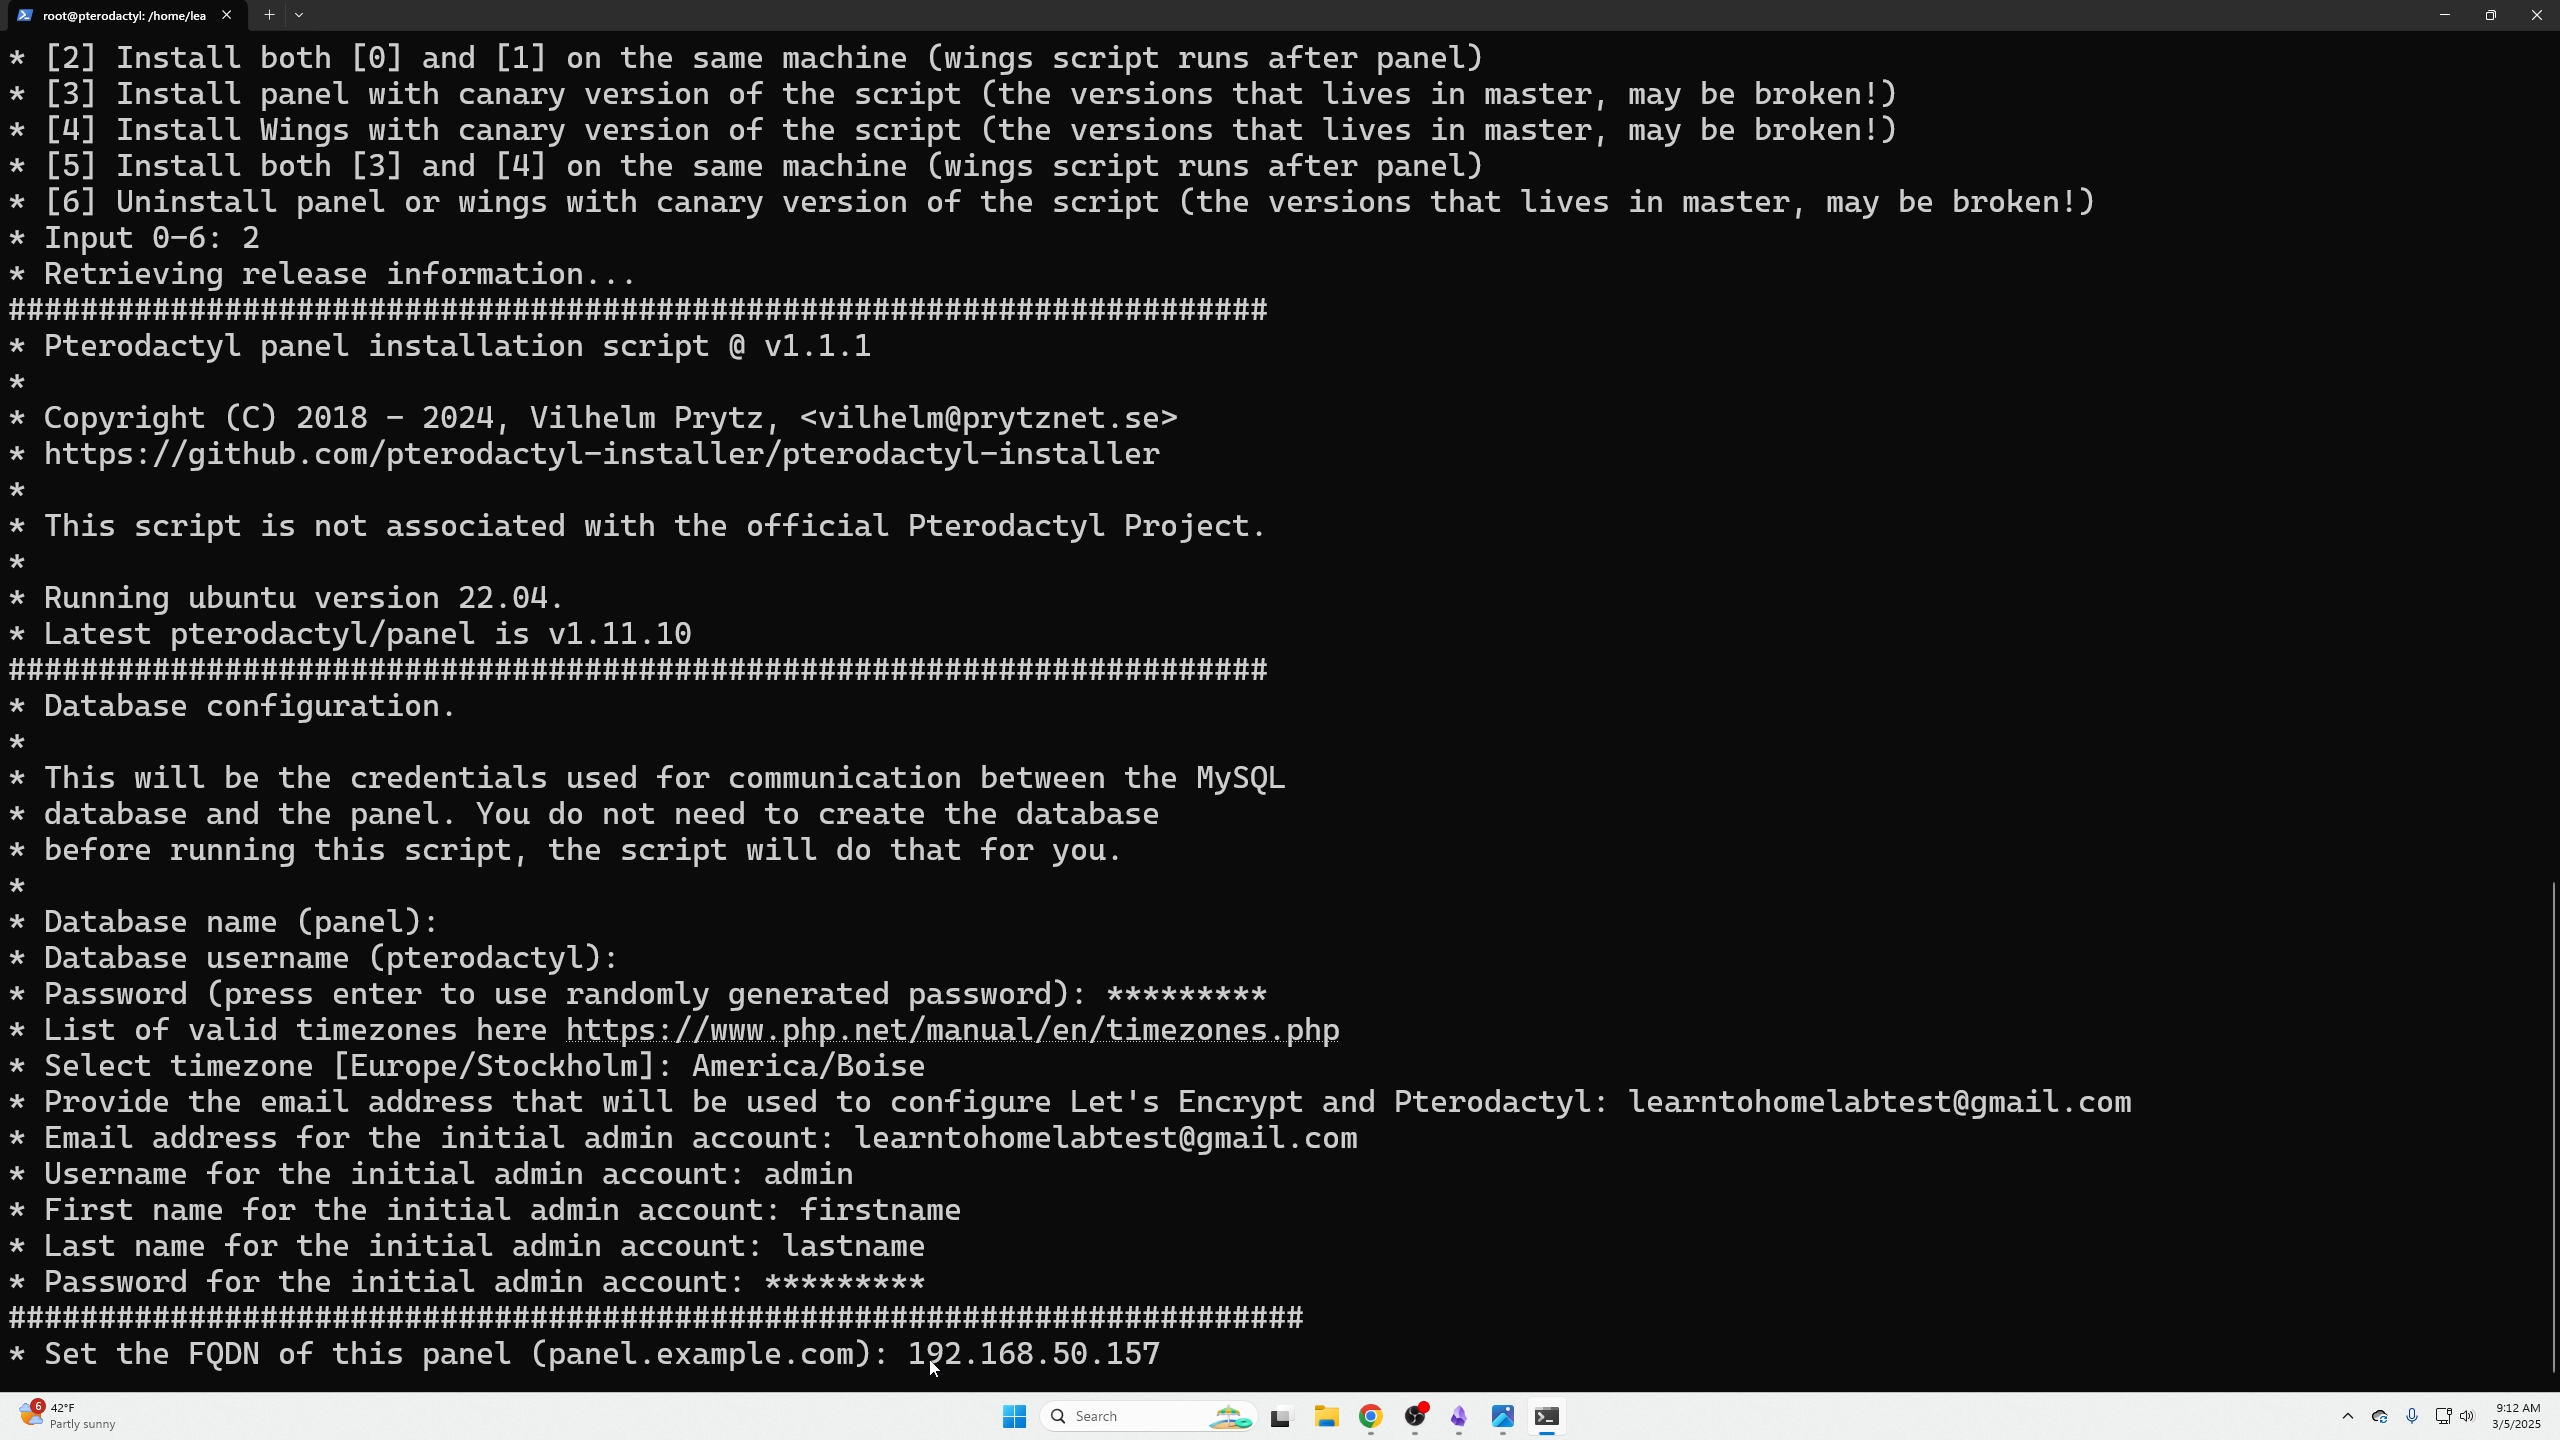
Next, you will create an admin account. Fill out all the relevant information.
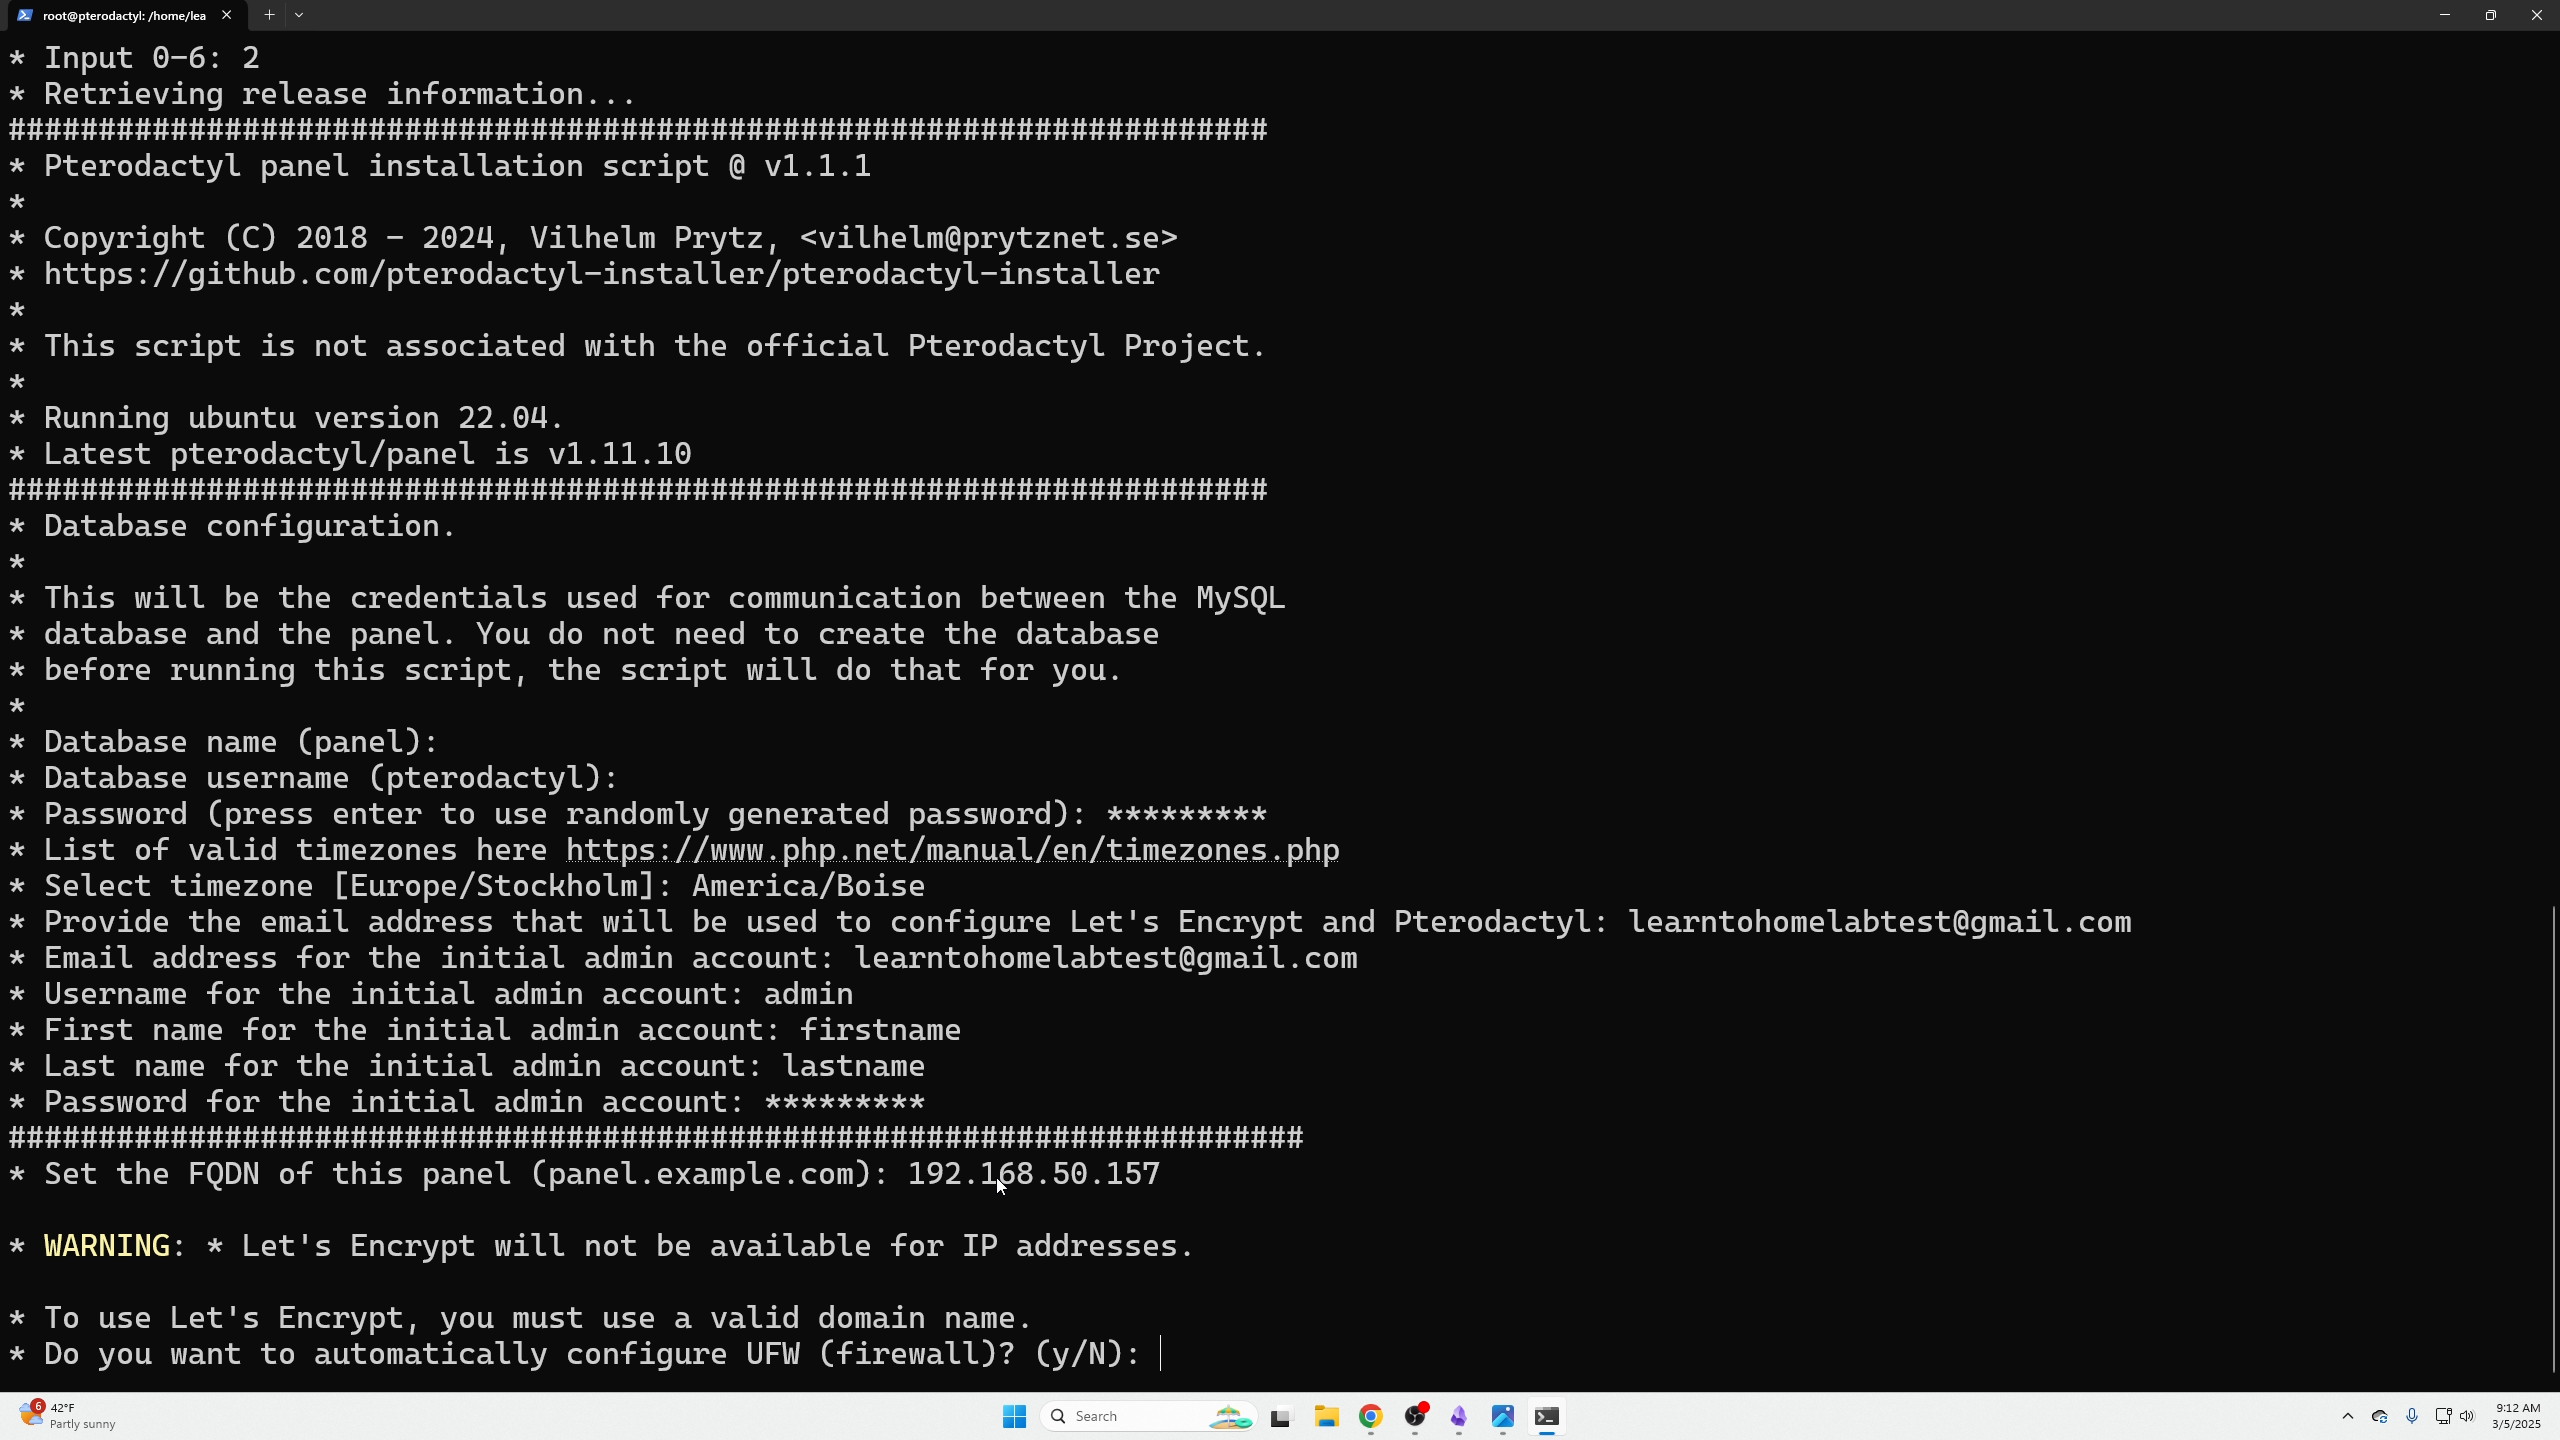
Next, we need to set the FQDN (if this server will be seen over a public IP); if not, you will use the IP address of your machine / VM for the domain name, which will allow you to access it in your browser.
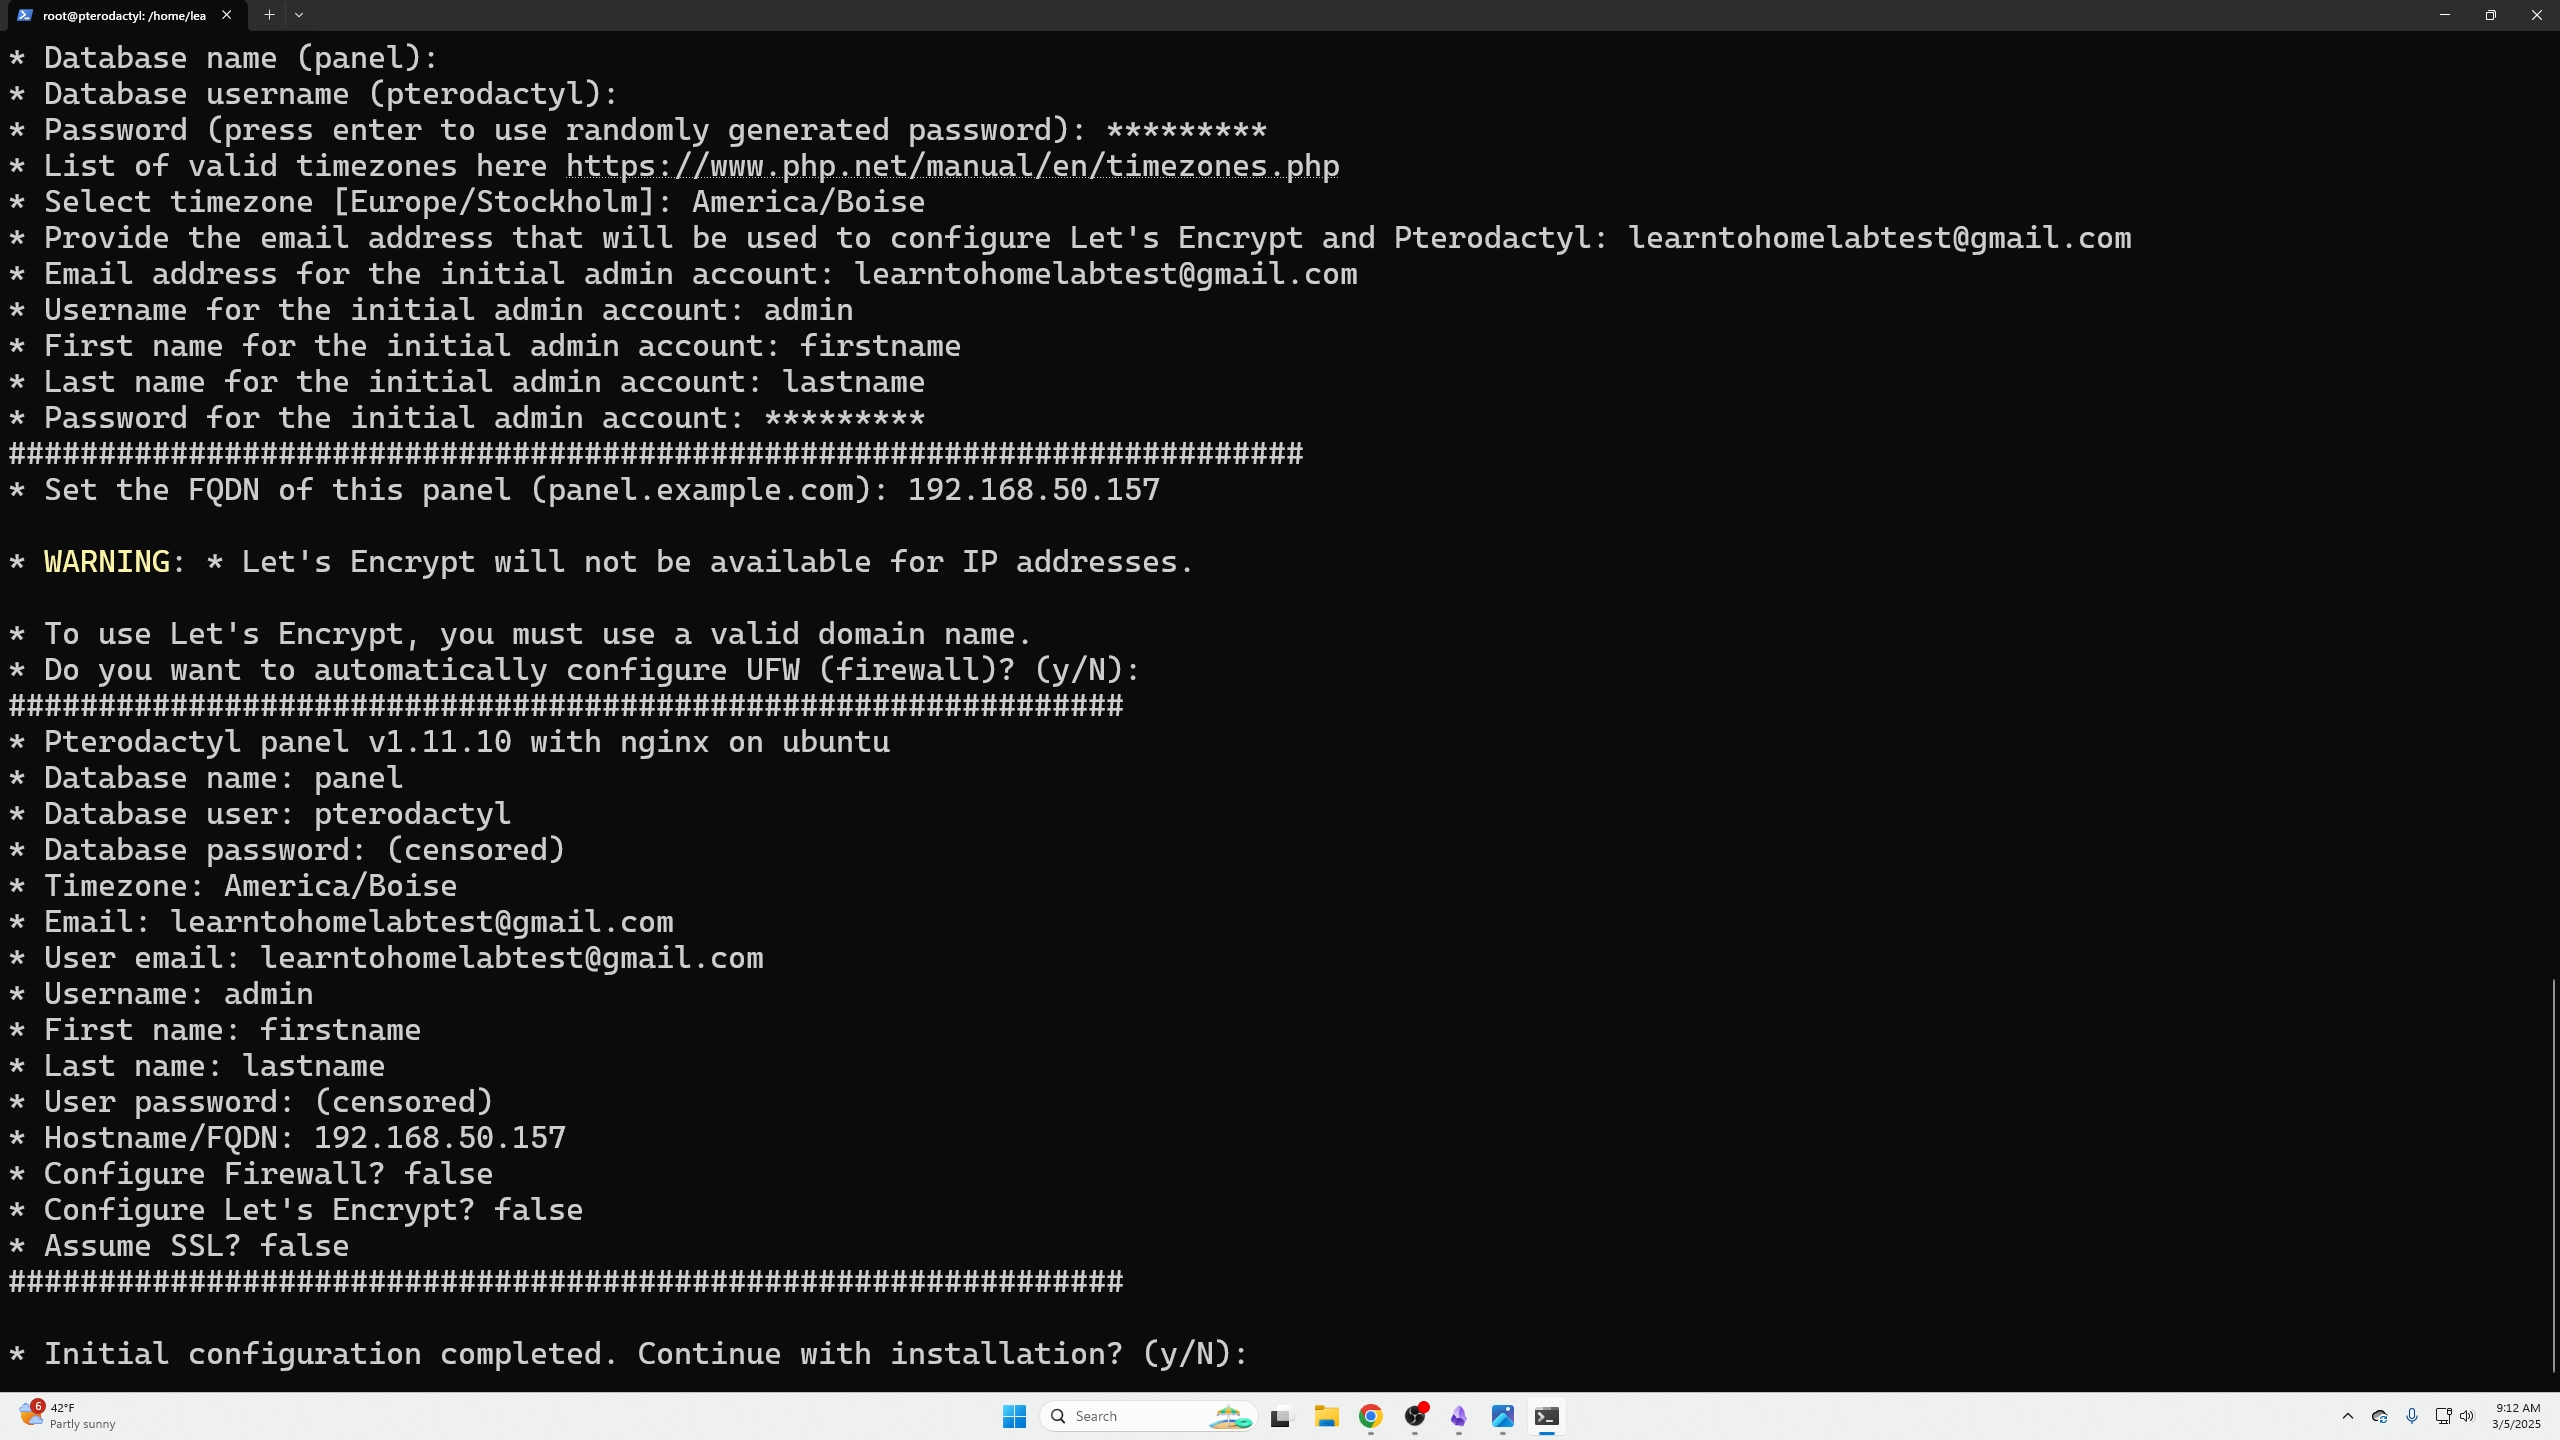
Next, click enter for “no” on (Do you want to automatically configure a UFW (FireWall)). If this were public facing, you would want to select “Y” for yes.
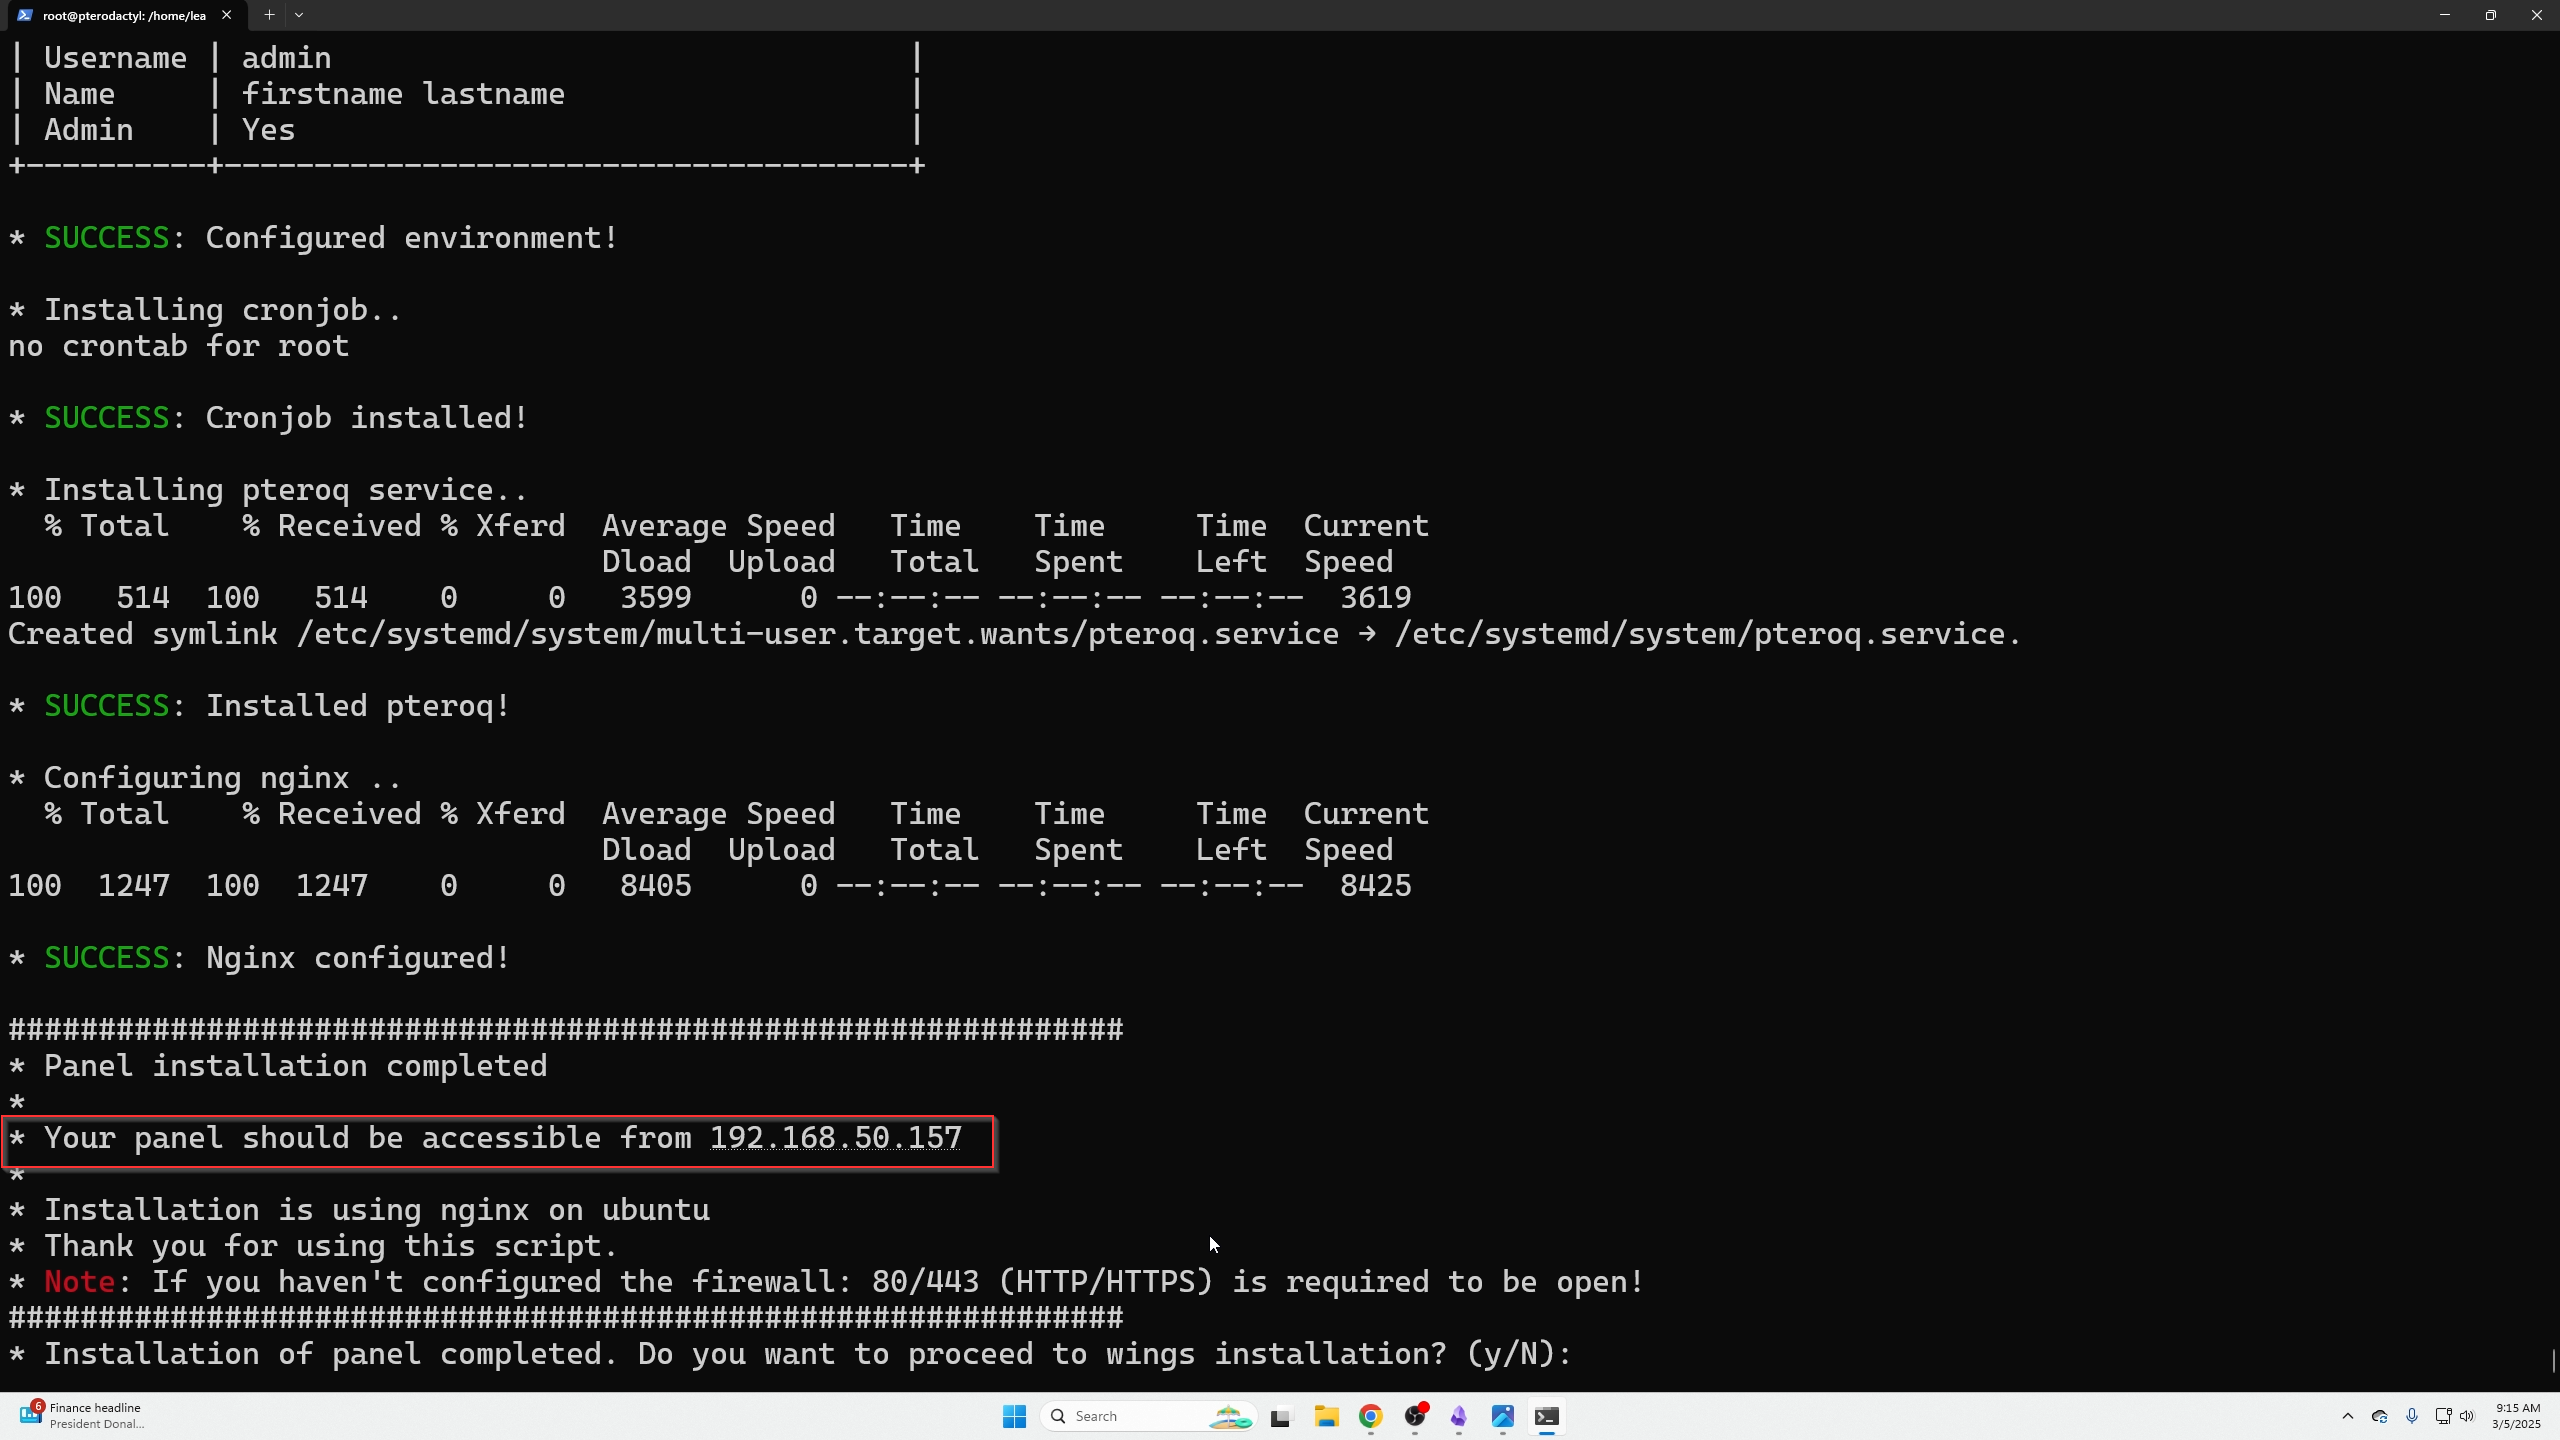
Next, confirm that your settings look correct, and then type “Y” for yes to continue with the installation. Wait a couple of minutes for everything to finish. After that, you will see a question asking to send anonymous data; that is up to you, but we typed no and then clicked enter to finish the installation.
Next, you should be prompted to perform the Wings installation on the following screen. Go ahead and type your FQDN or IP address into your browser and log in with the admin credentials you created earlier.
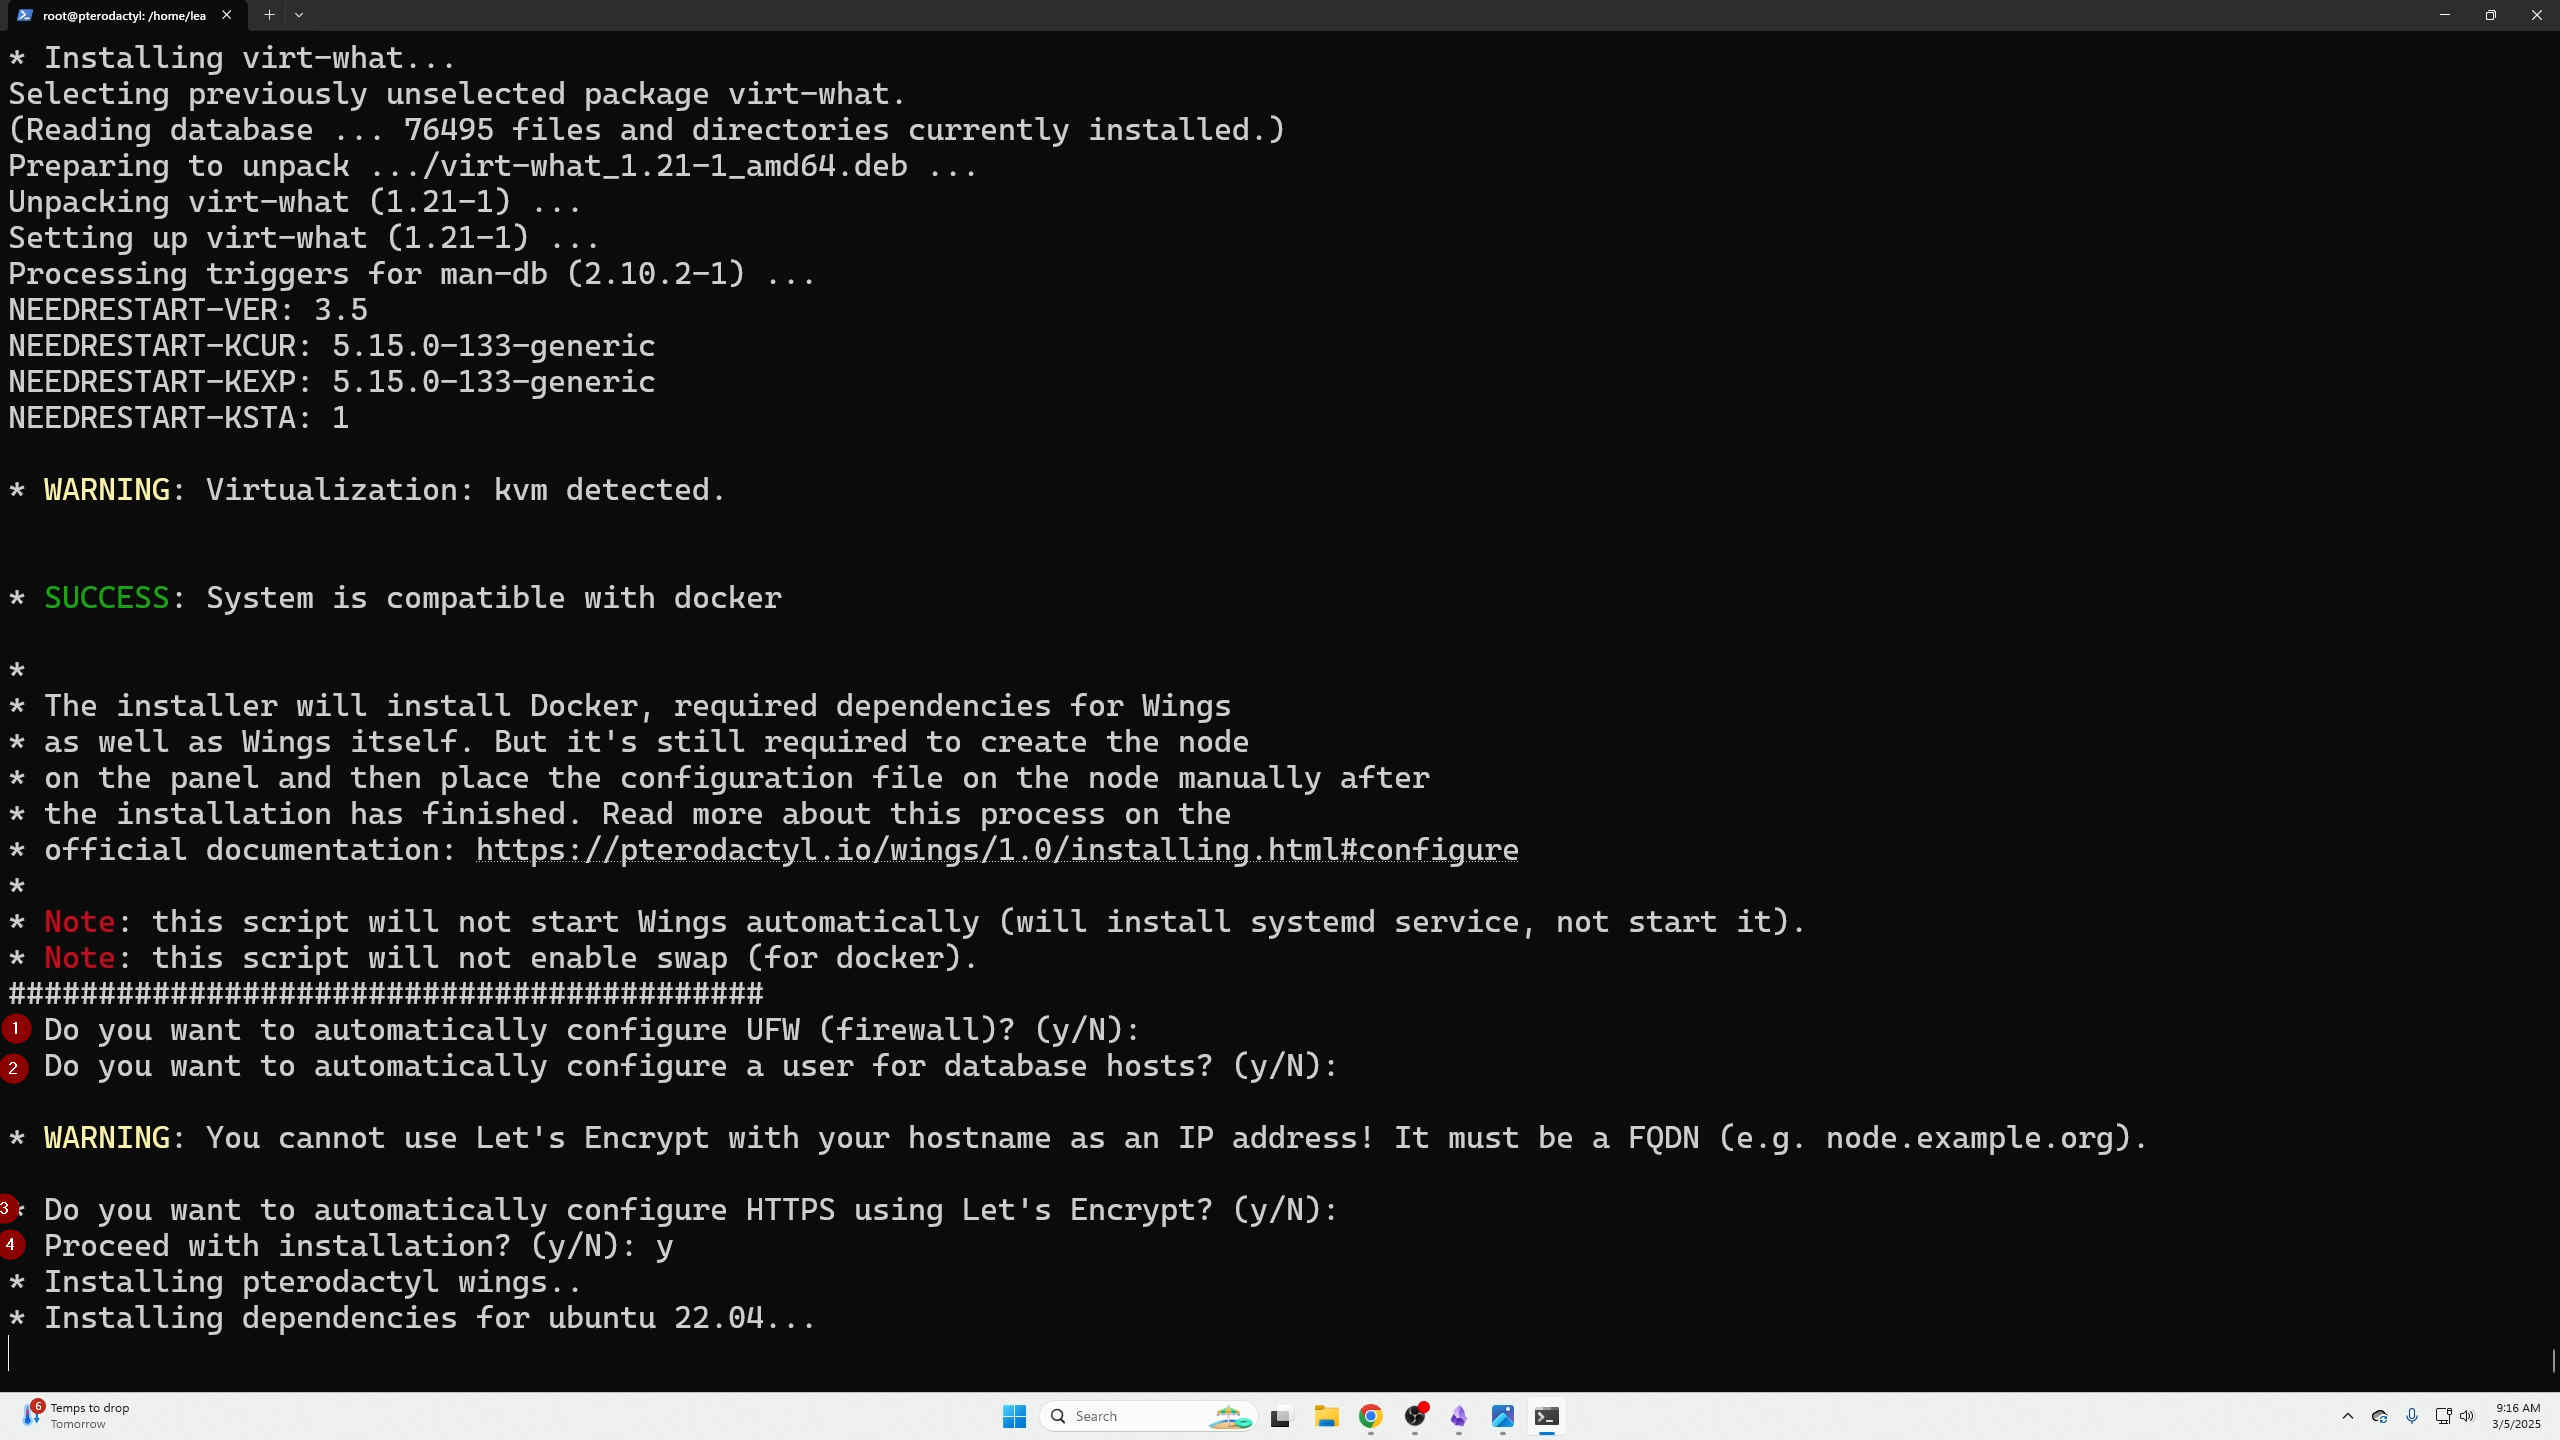
Next, return to your command prompt and type “Y” to continue the wings installation. You will be prompted with a few questions asking:
-
Do you want to auto-configuring the UFW. If this machine is public-facing, you will want to say yes; if the server is not public-facing, you can say no.
-
We will also type no to auto-setup the database for hosts.
-
You will also say no to setting up Let’s Encrypt unless this is public-facing.
-
type “Y” for yes to continue with the installation.
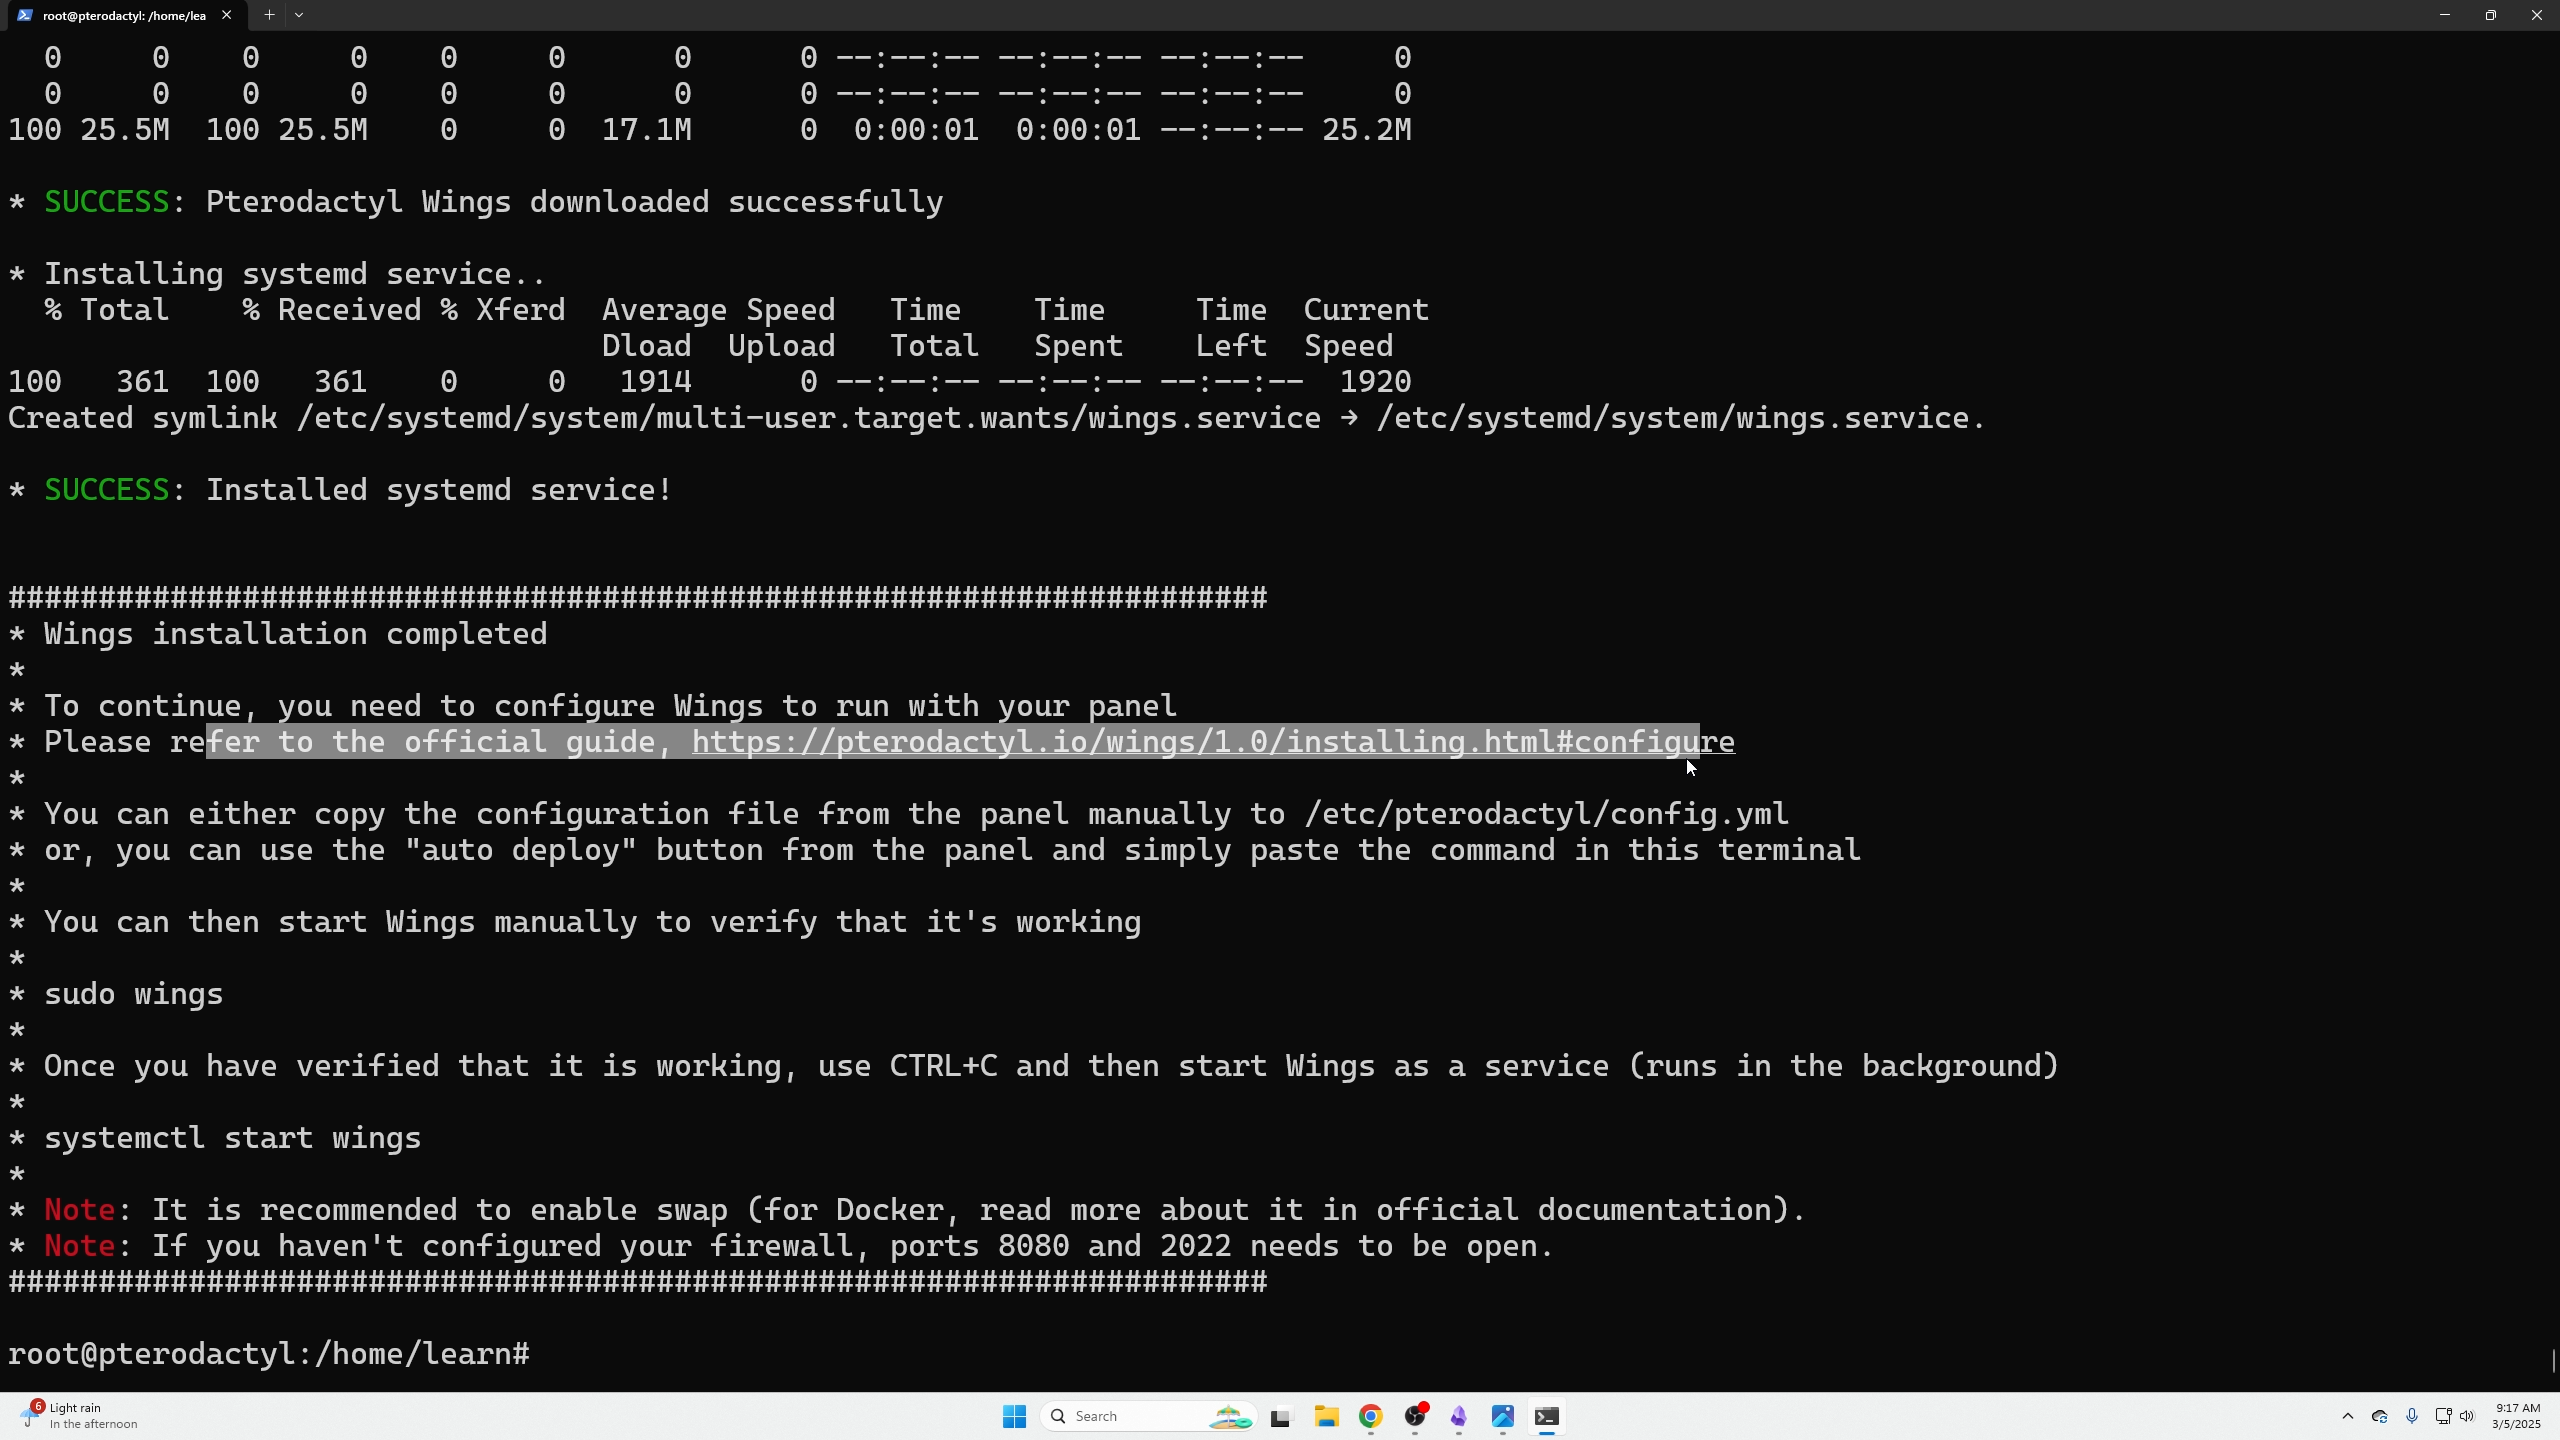
Next, you will see a link in the CLI to their documentation on how to finish setting up Wings. Click that.
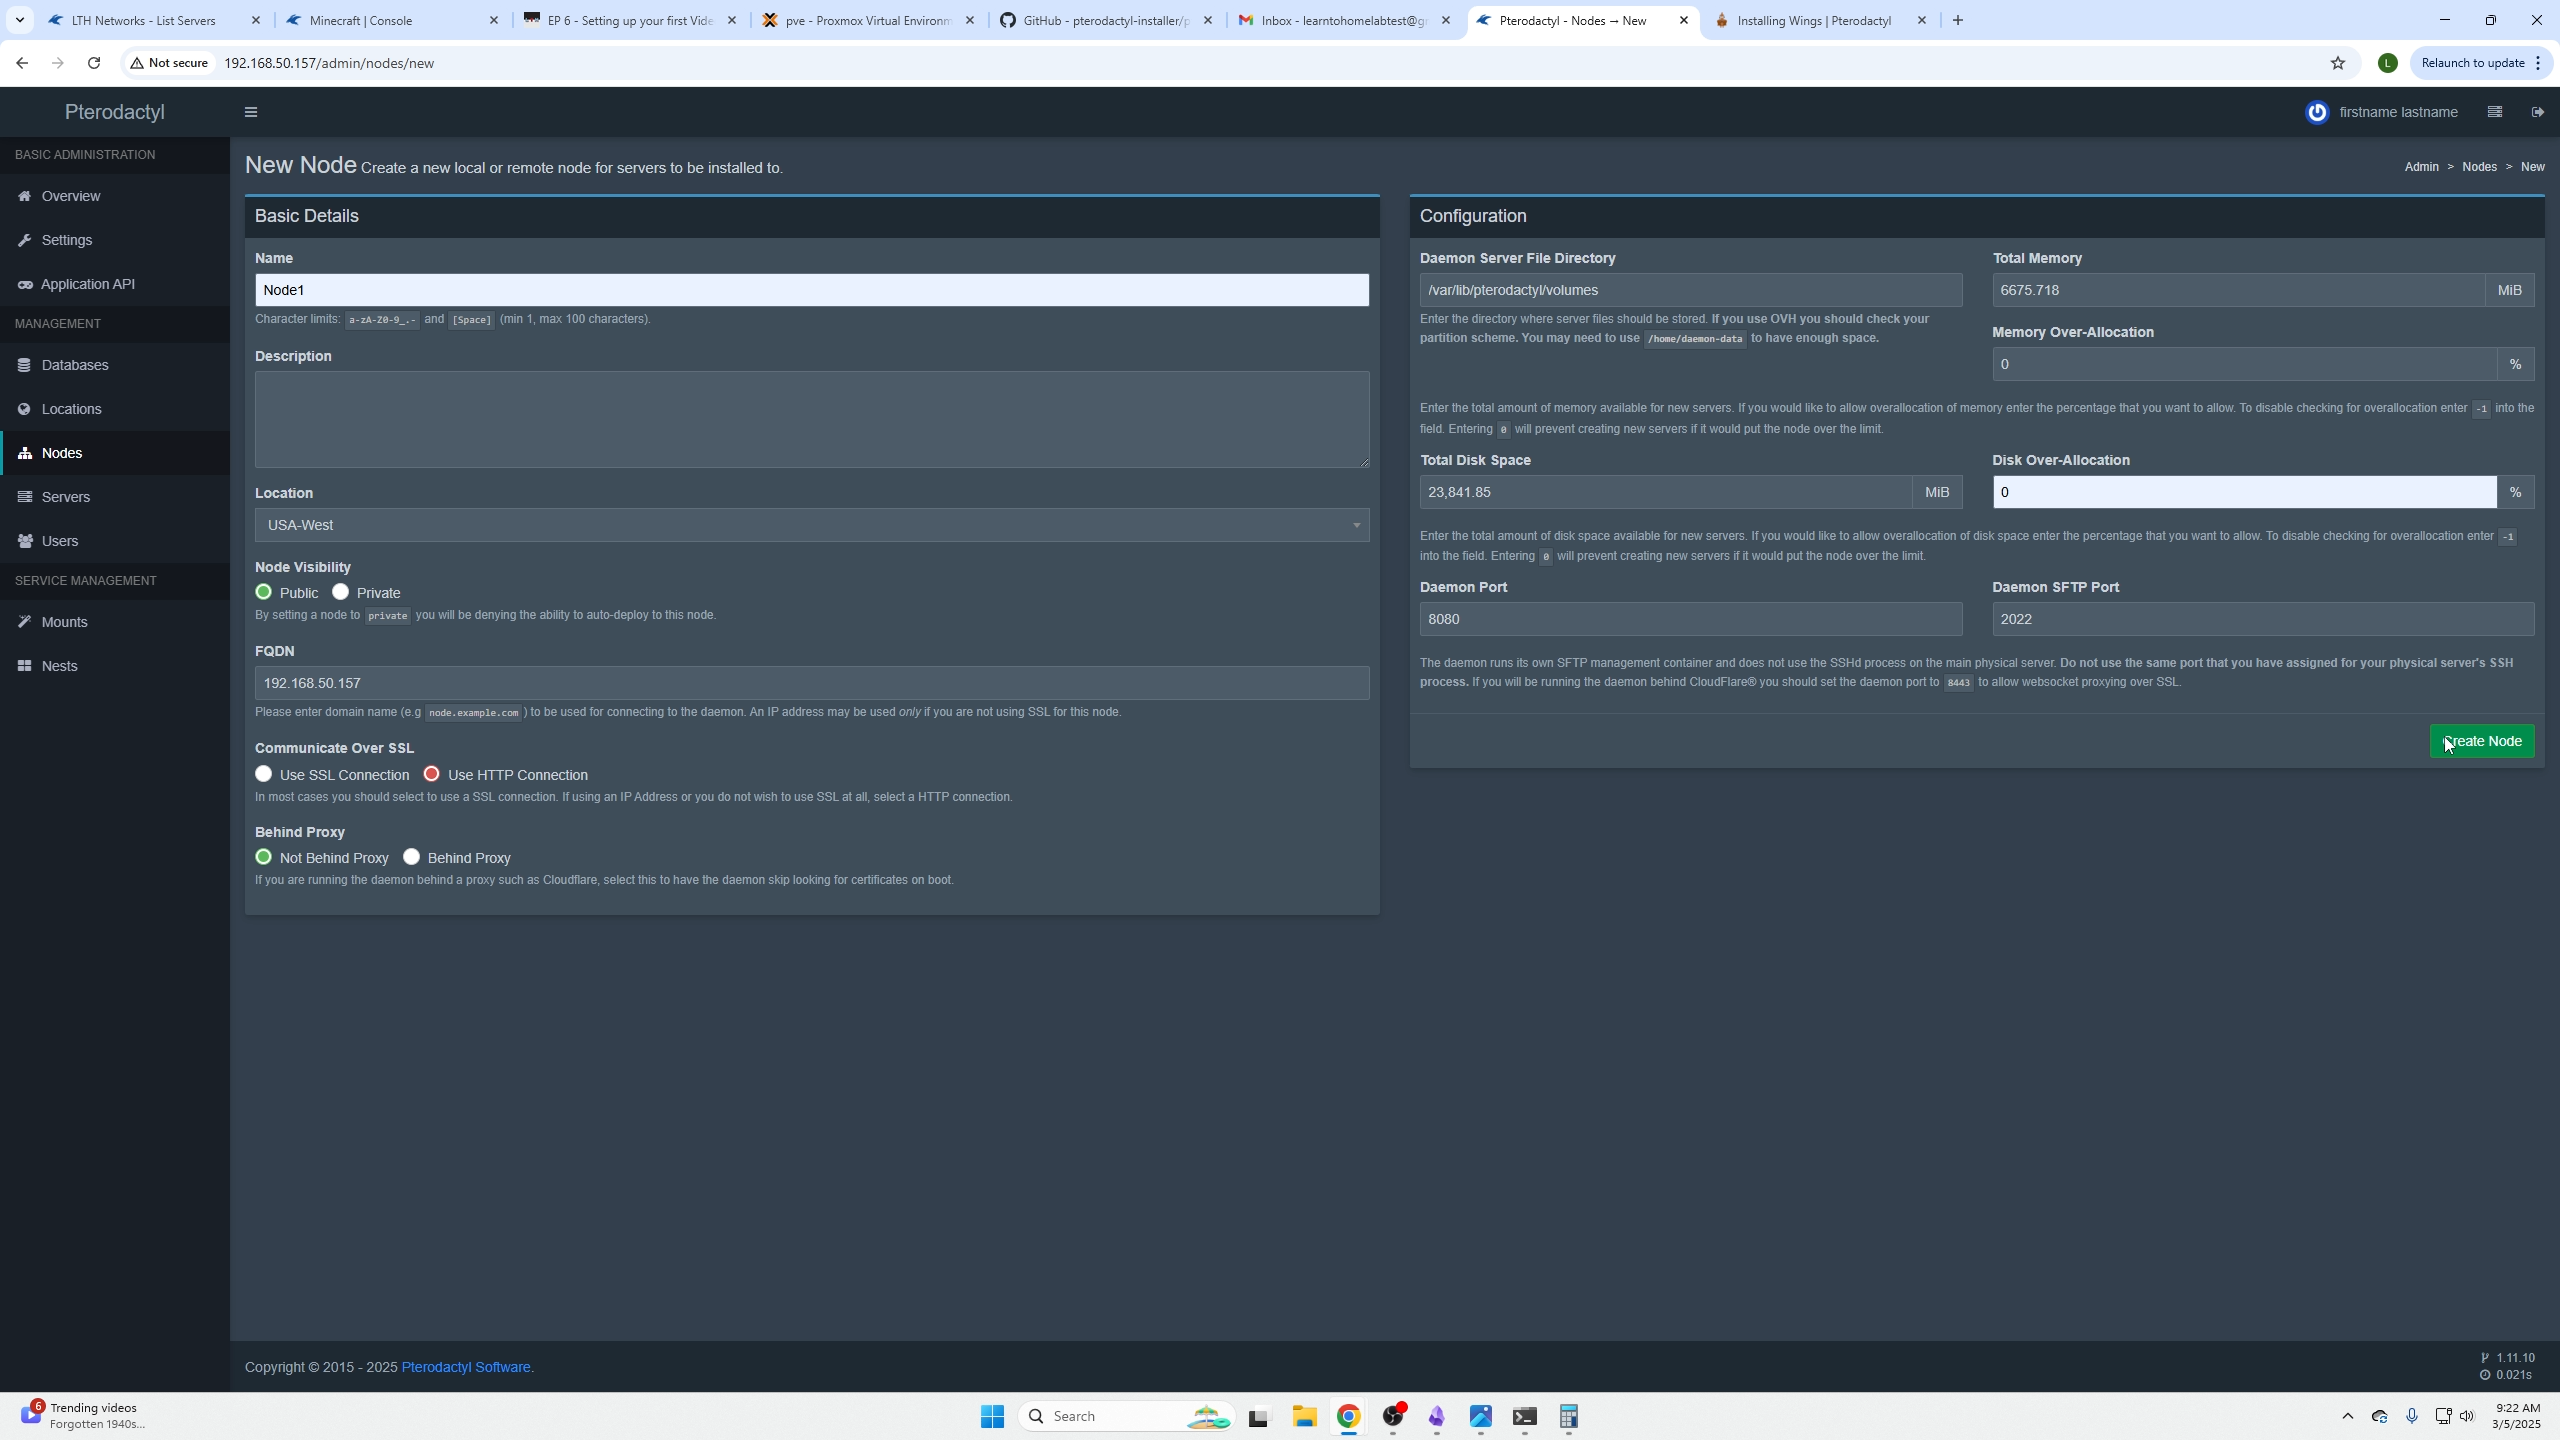
Next, we will create a node in the panel by selecting the gear icon on the top right, then select locations (create a new location and name it whatever you want). Finally, go back to the nodes tab and click Create New at the top right. Read through this step carefully, but it is self-explanatory.
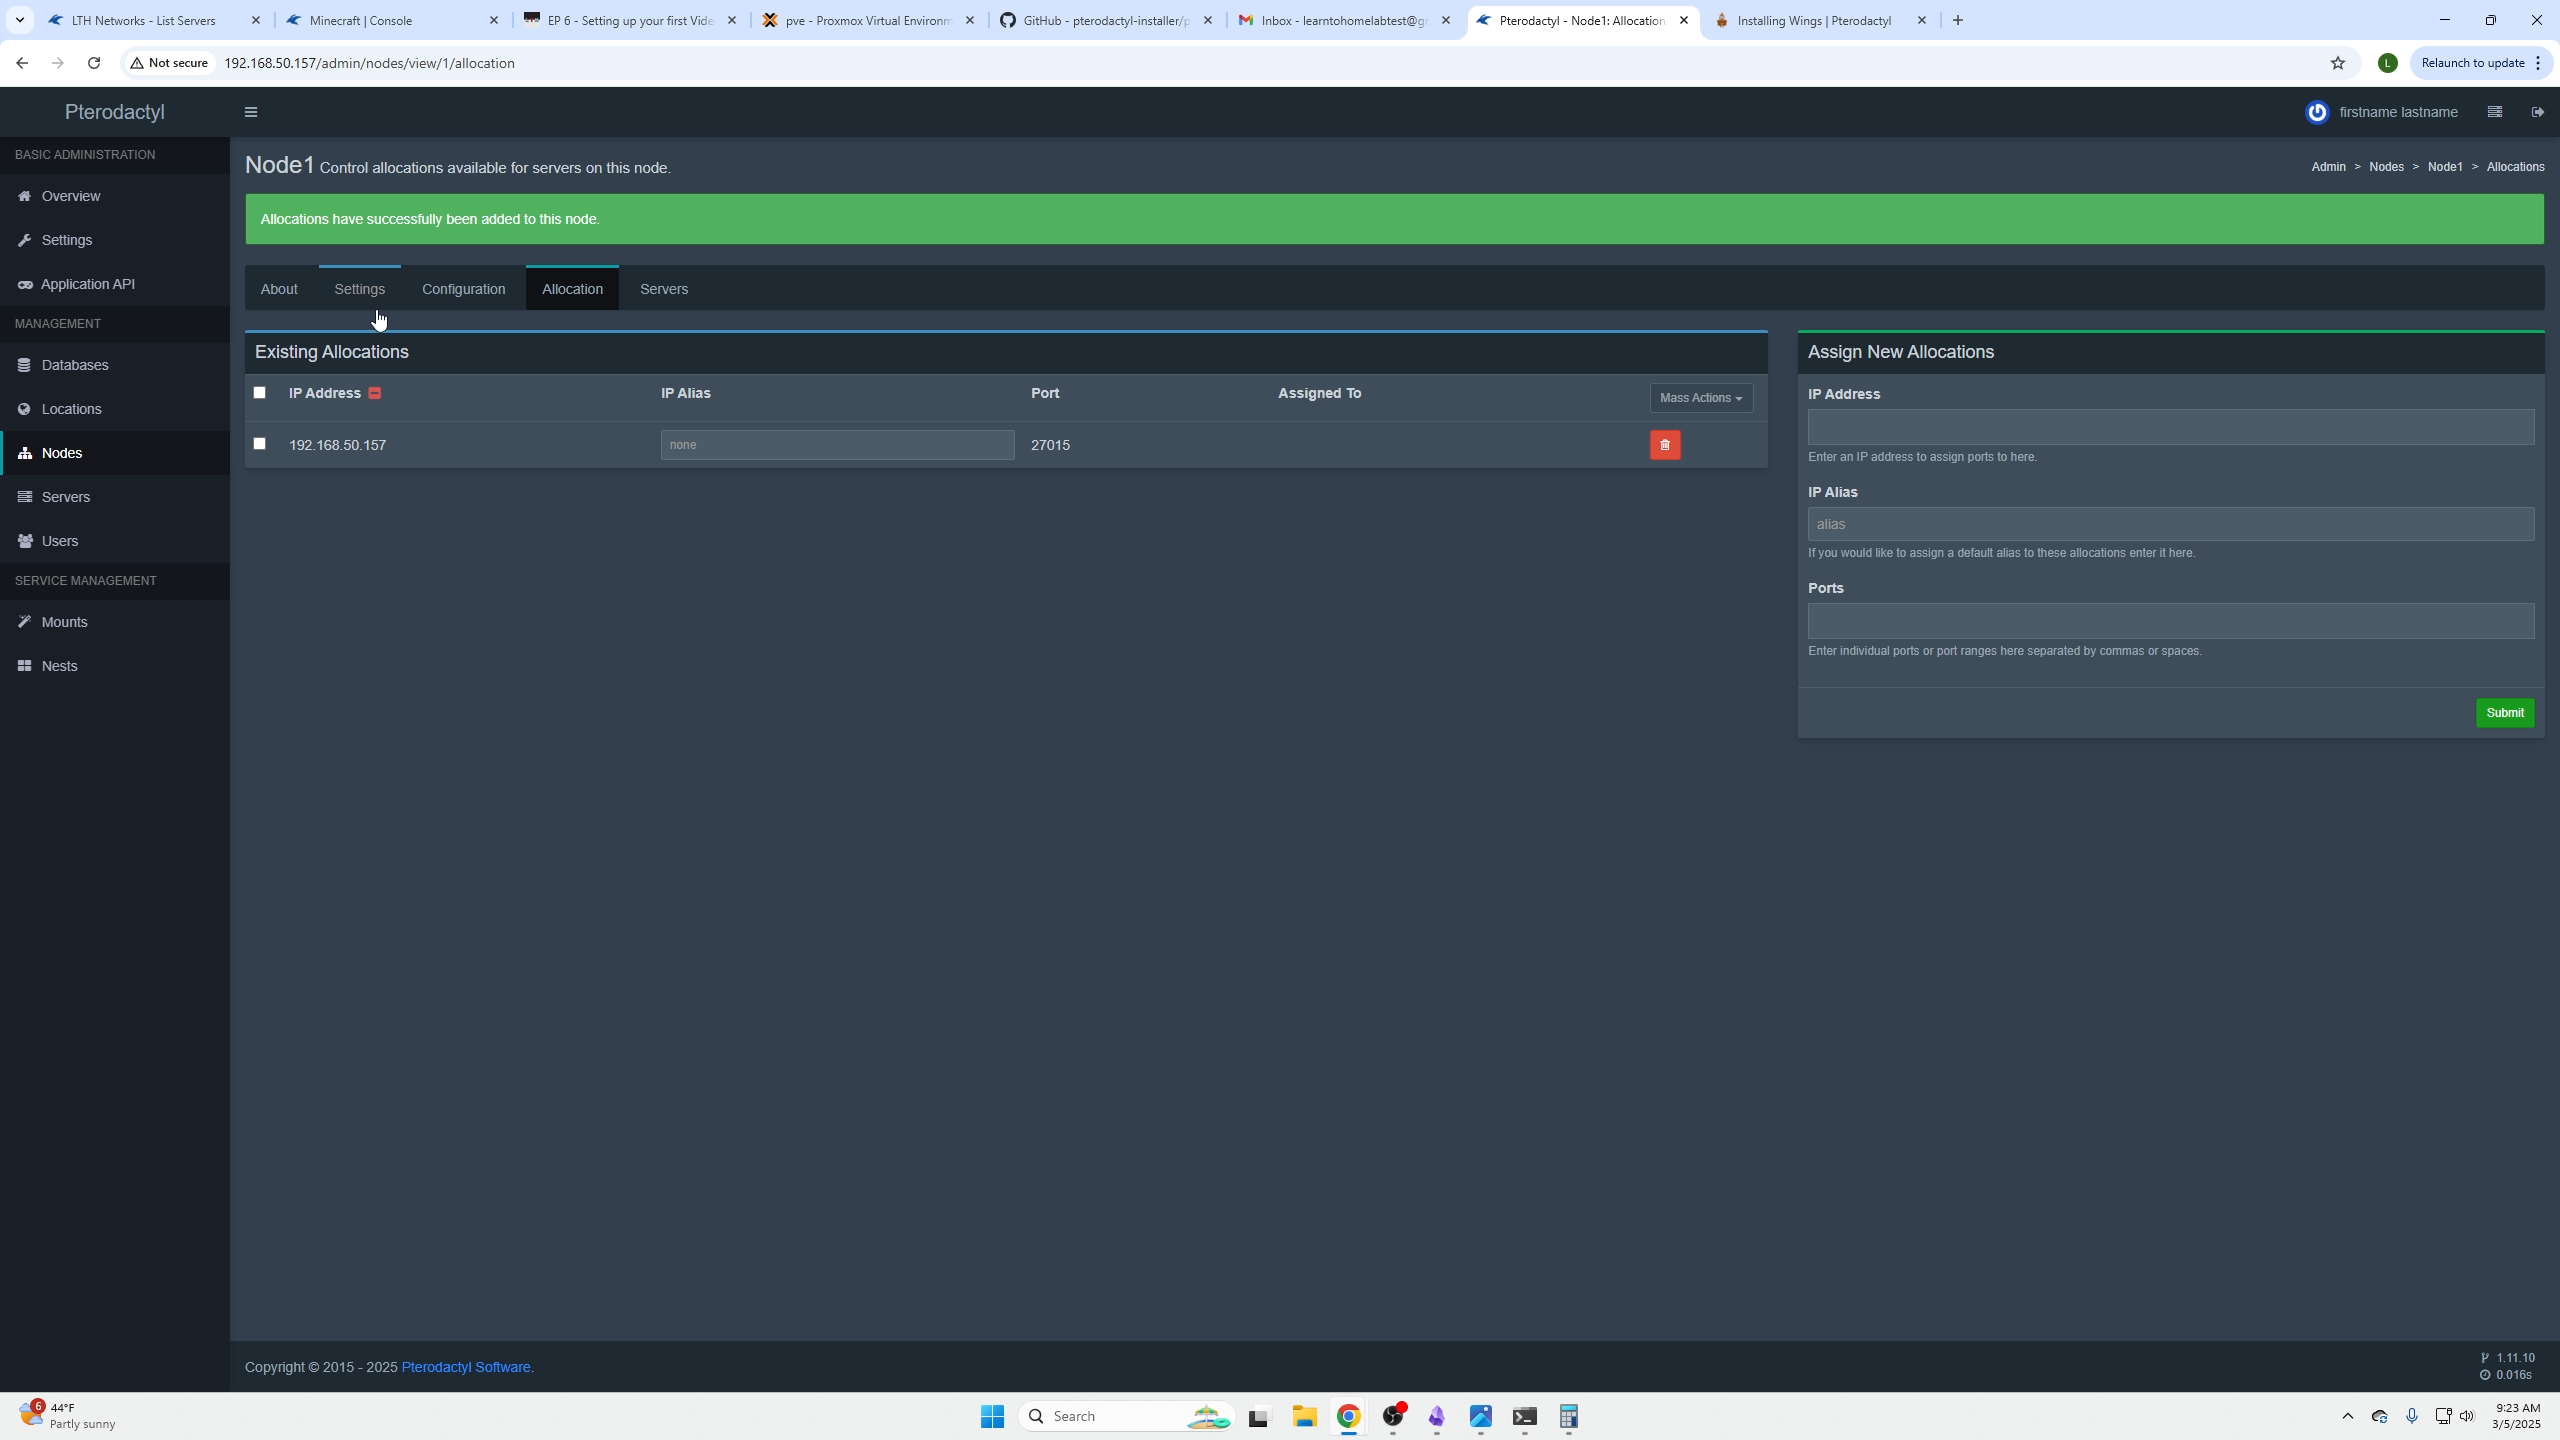
Next, after your node is created, we need to assign IP addresses and port numbers to it. You can add a maximum of 1000 port number ranges at a time. For example, ports 1000-2000 would be a range.
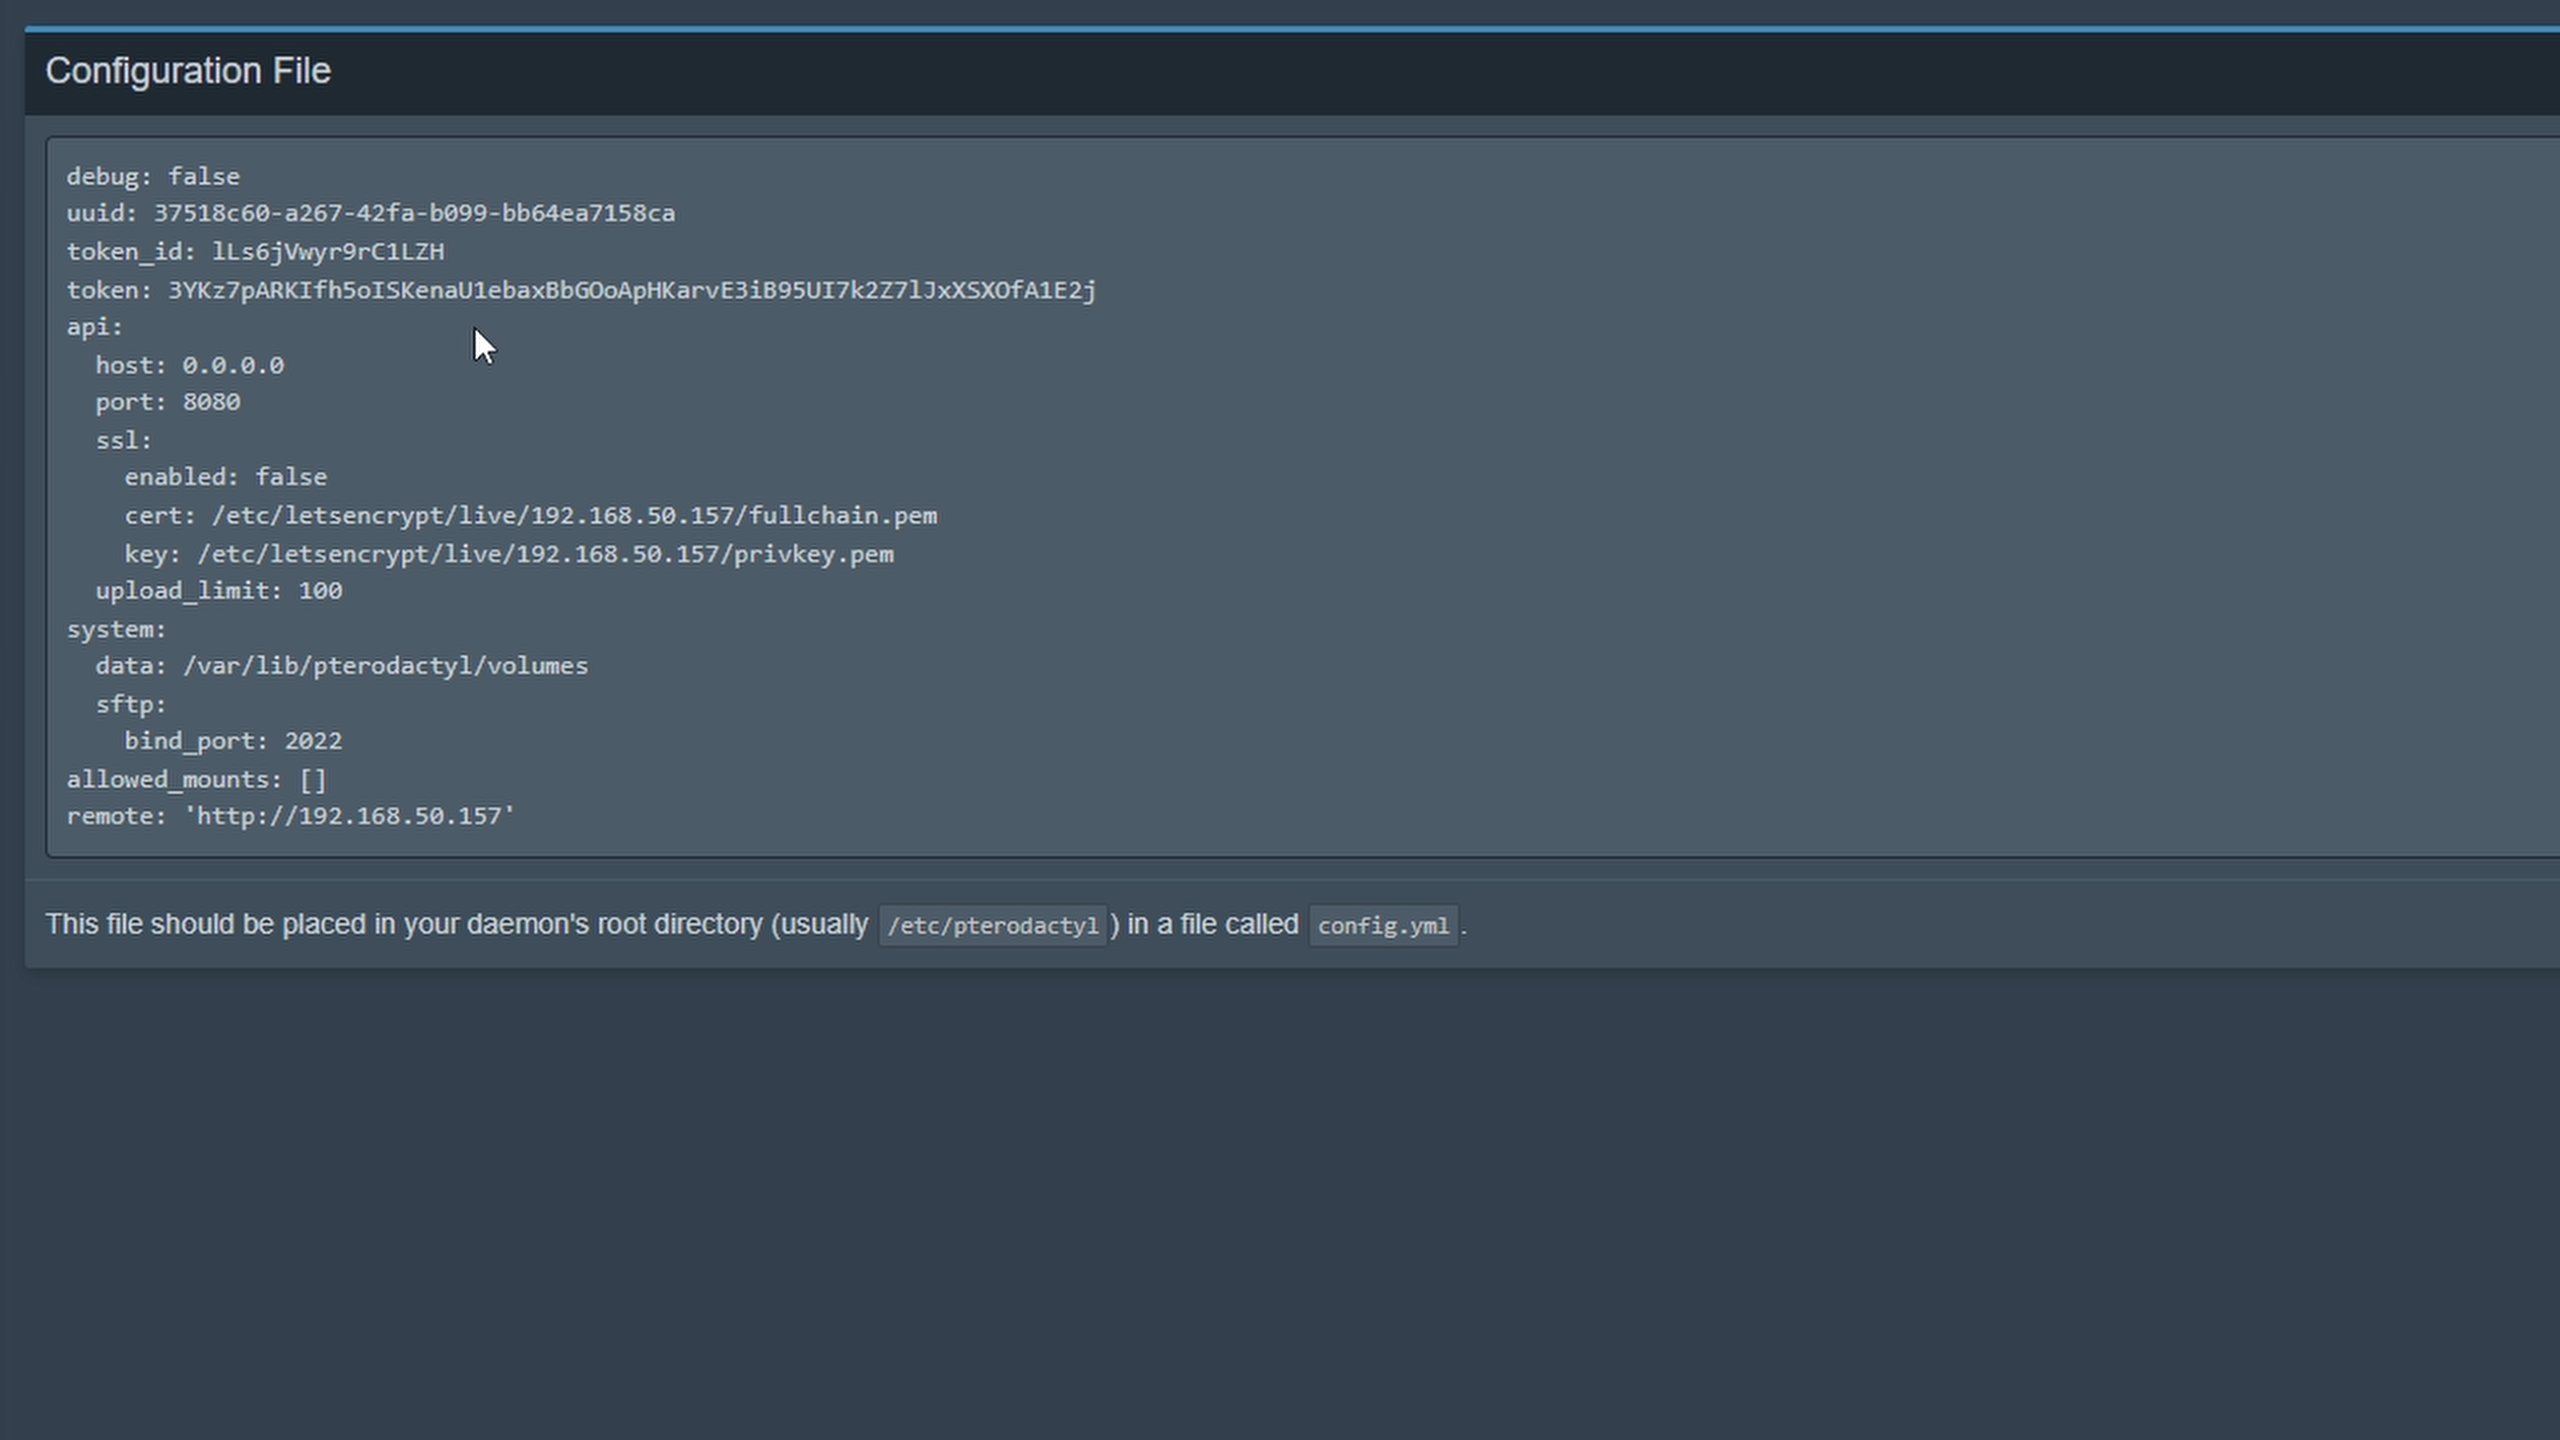
Next, under the nodes tap, if you click your node and then the configurations tab, you will be presented with the config file we need to add to our server in the CLI. That will be done by doing.
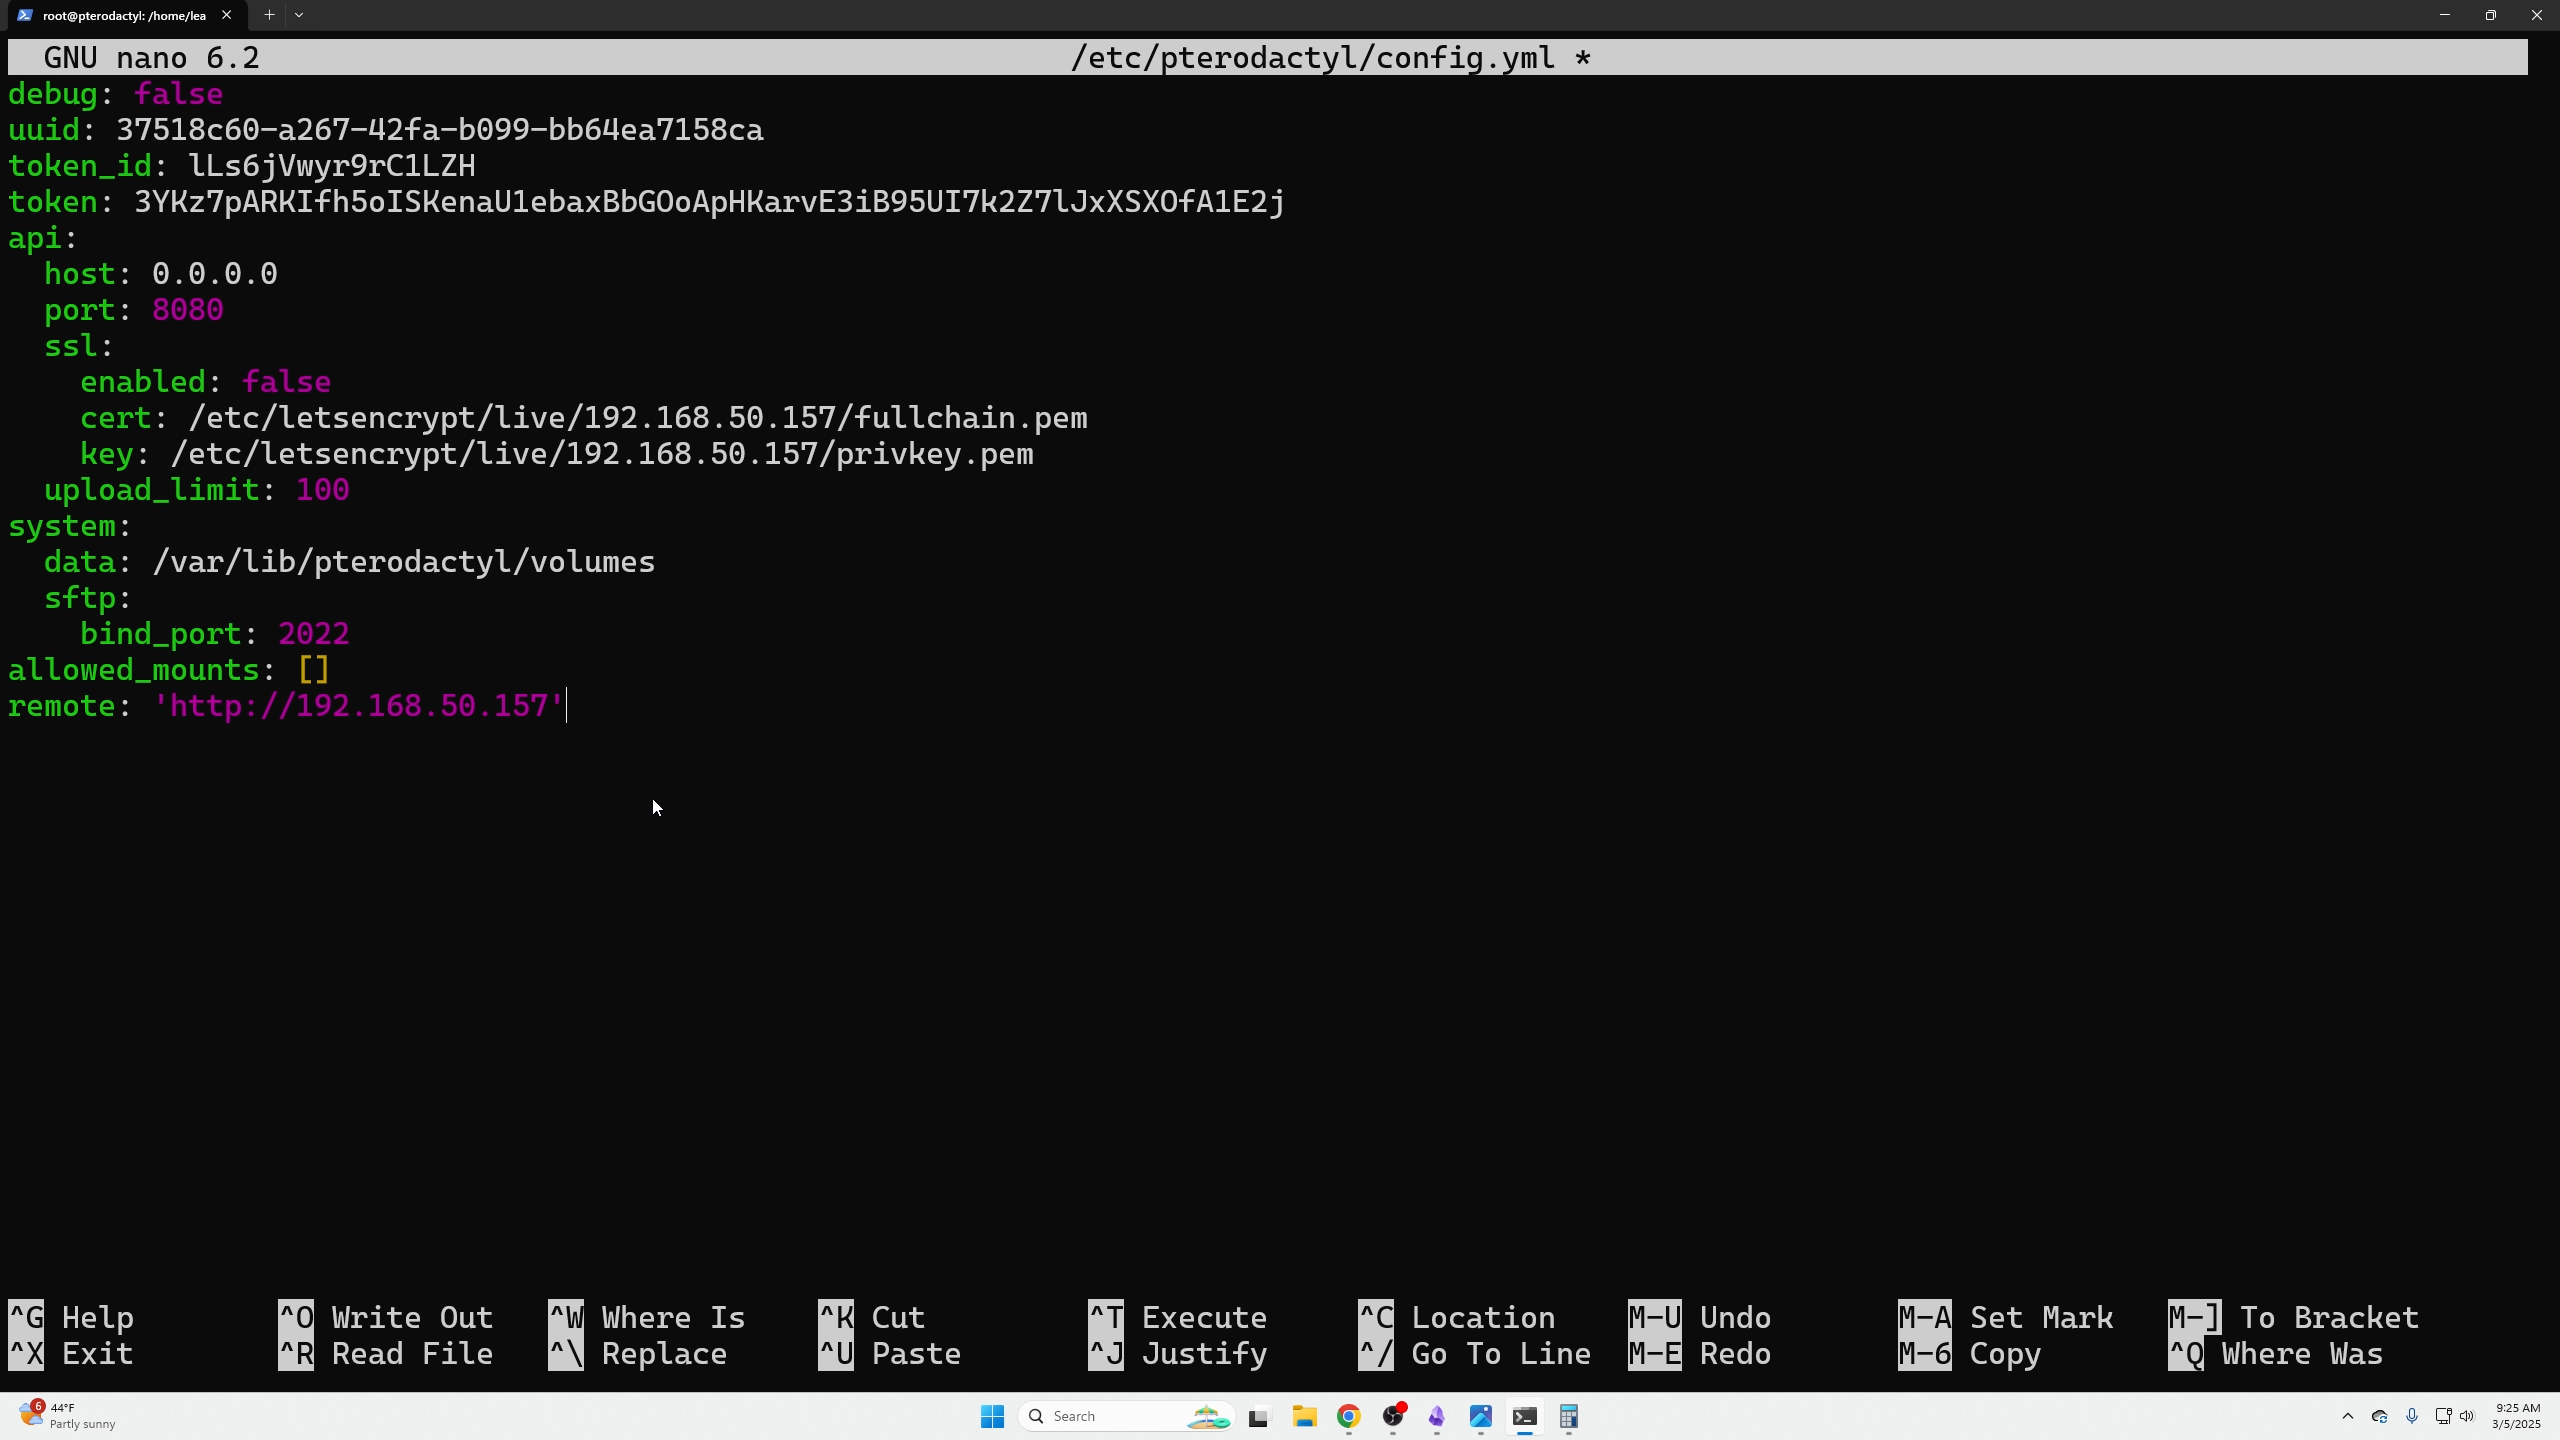
Then, paste it into the empty file.
To exit the file, you will type ctrl + X , then type y to save and enter to exit.
Here is what it looks like in the folder
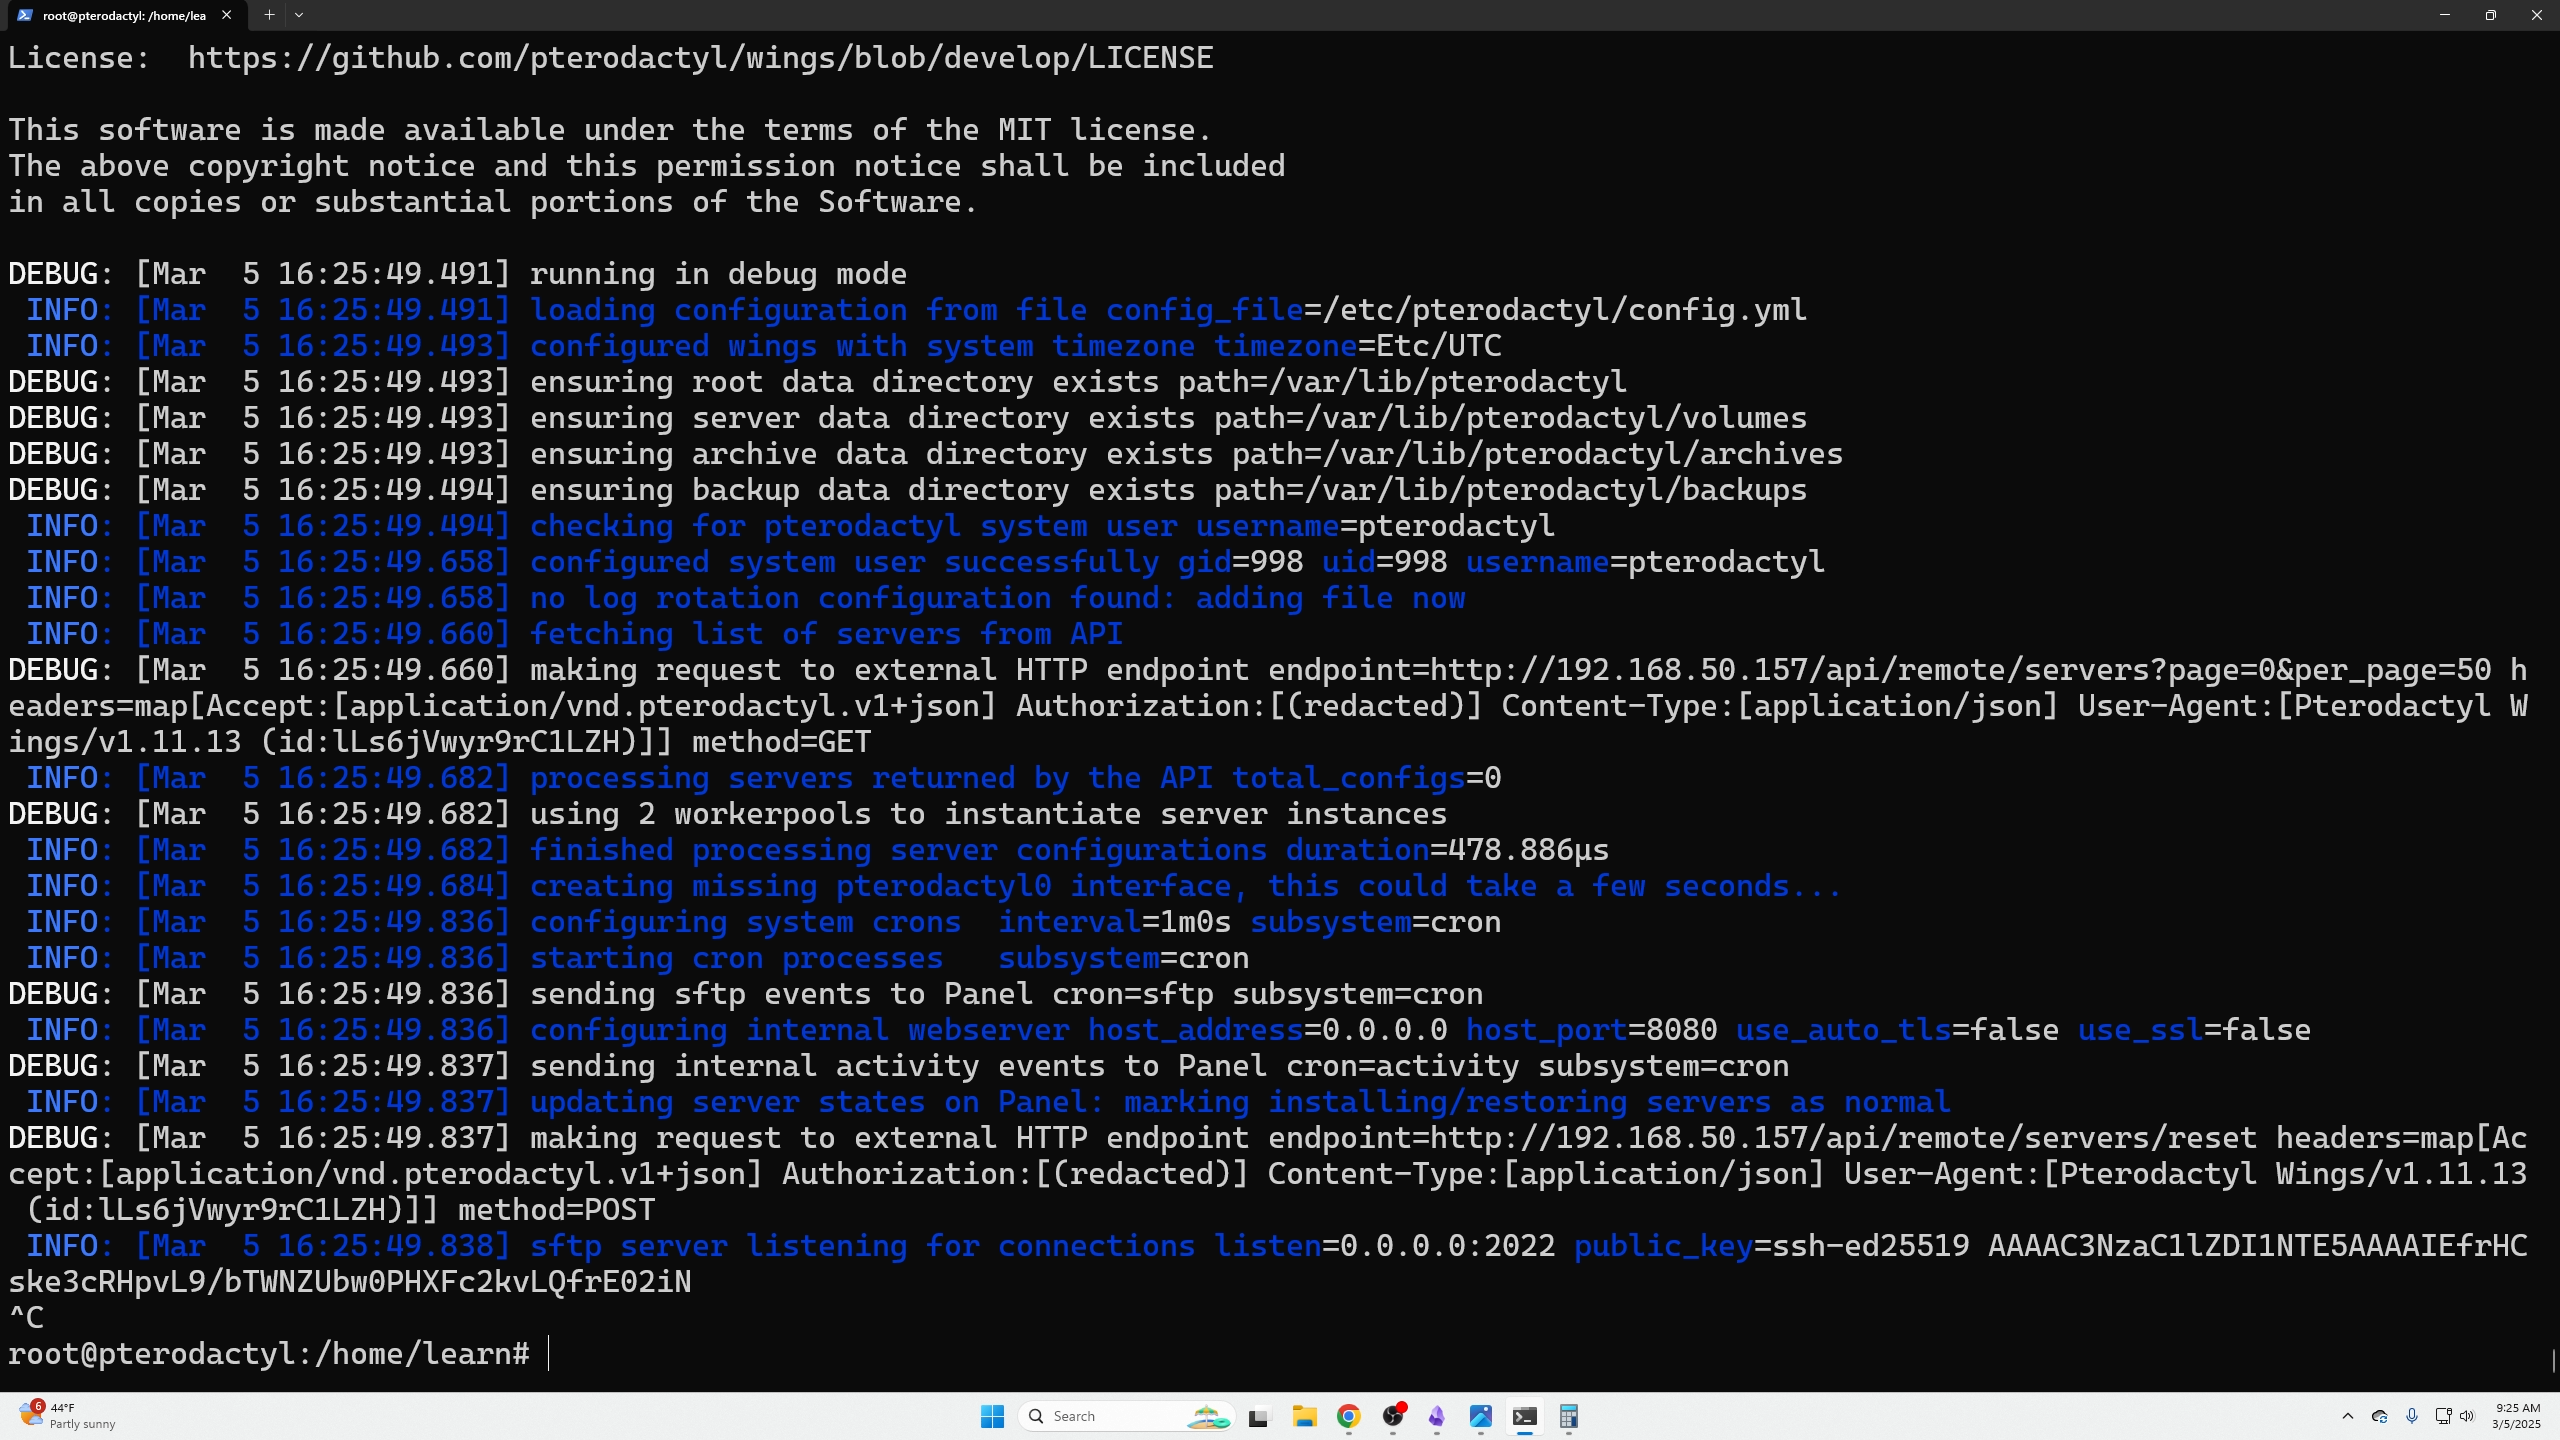
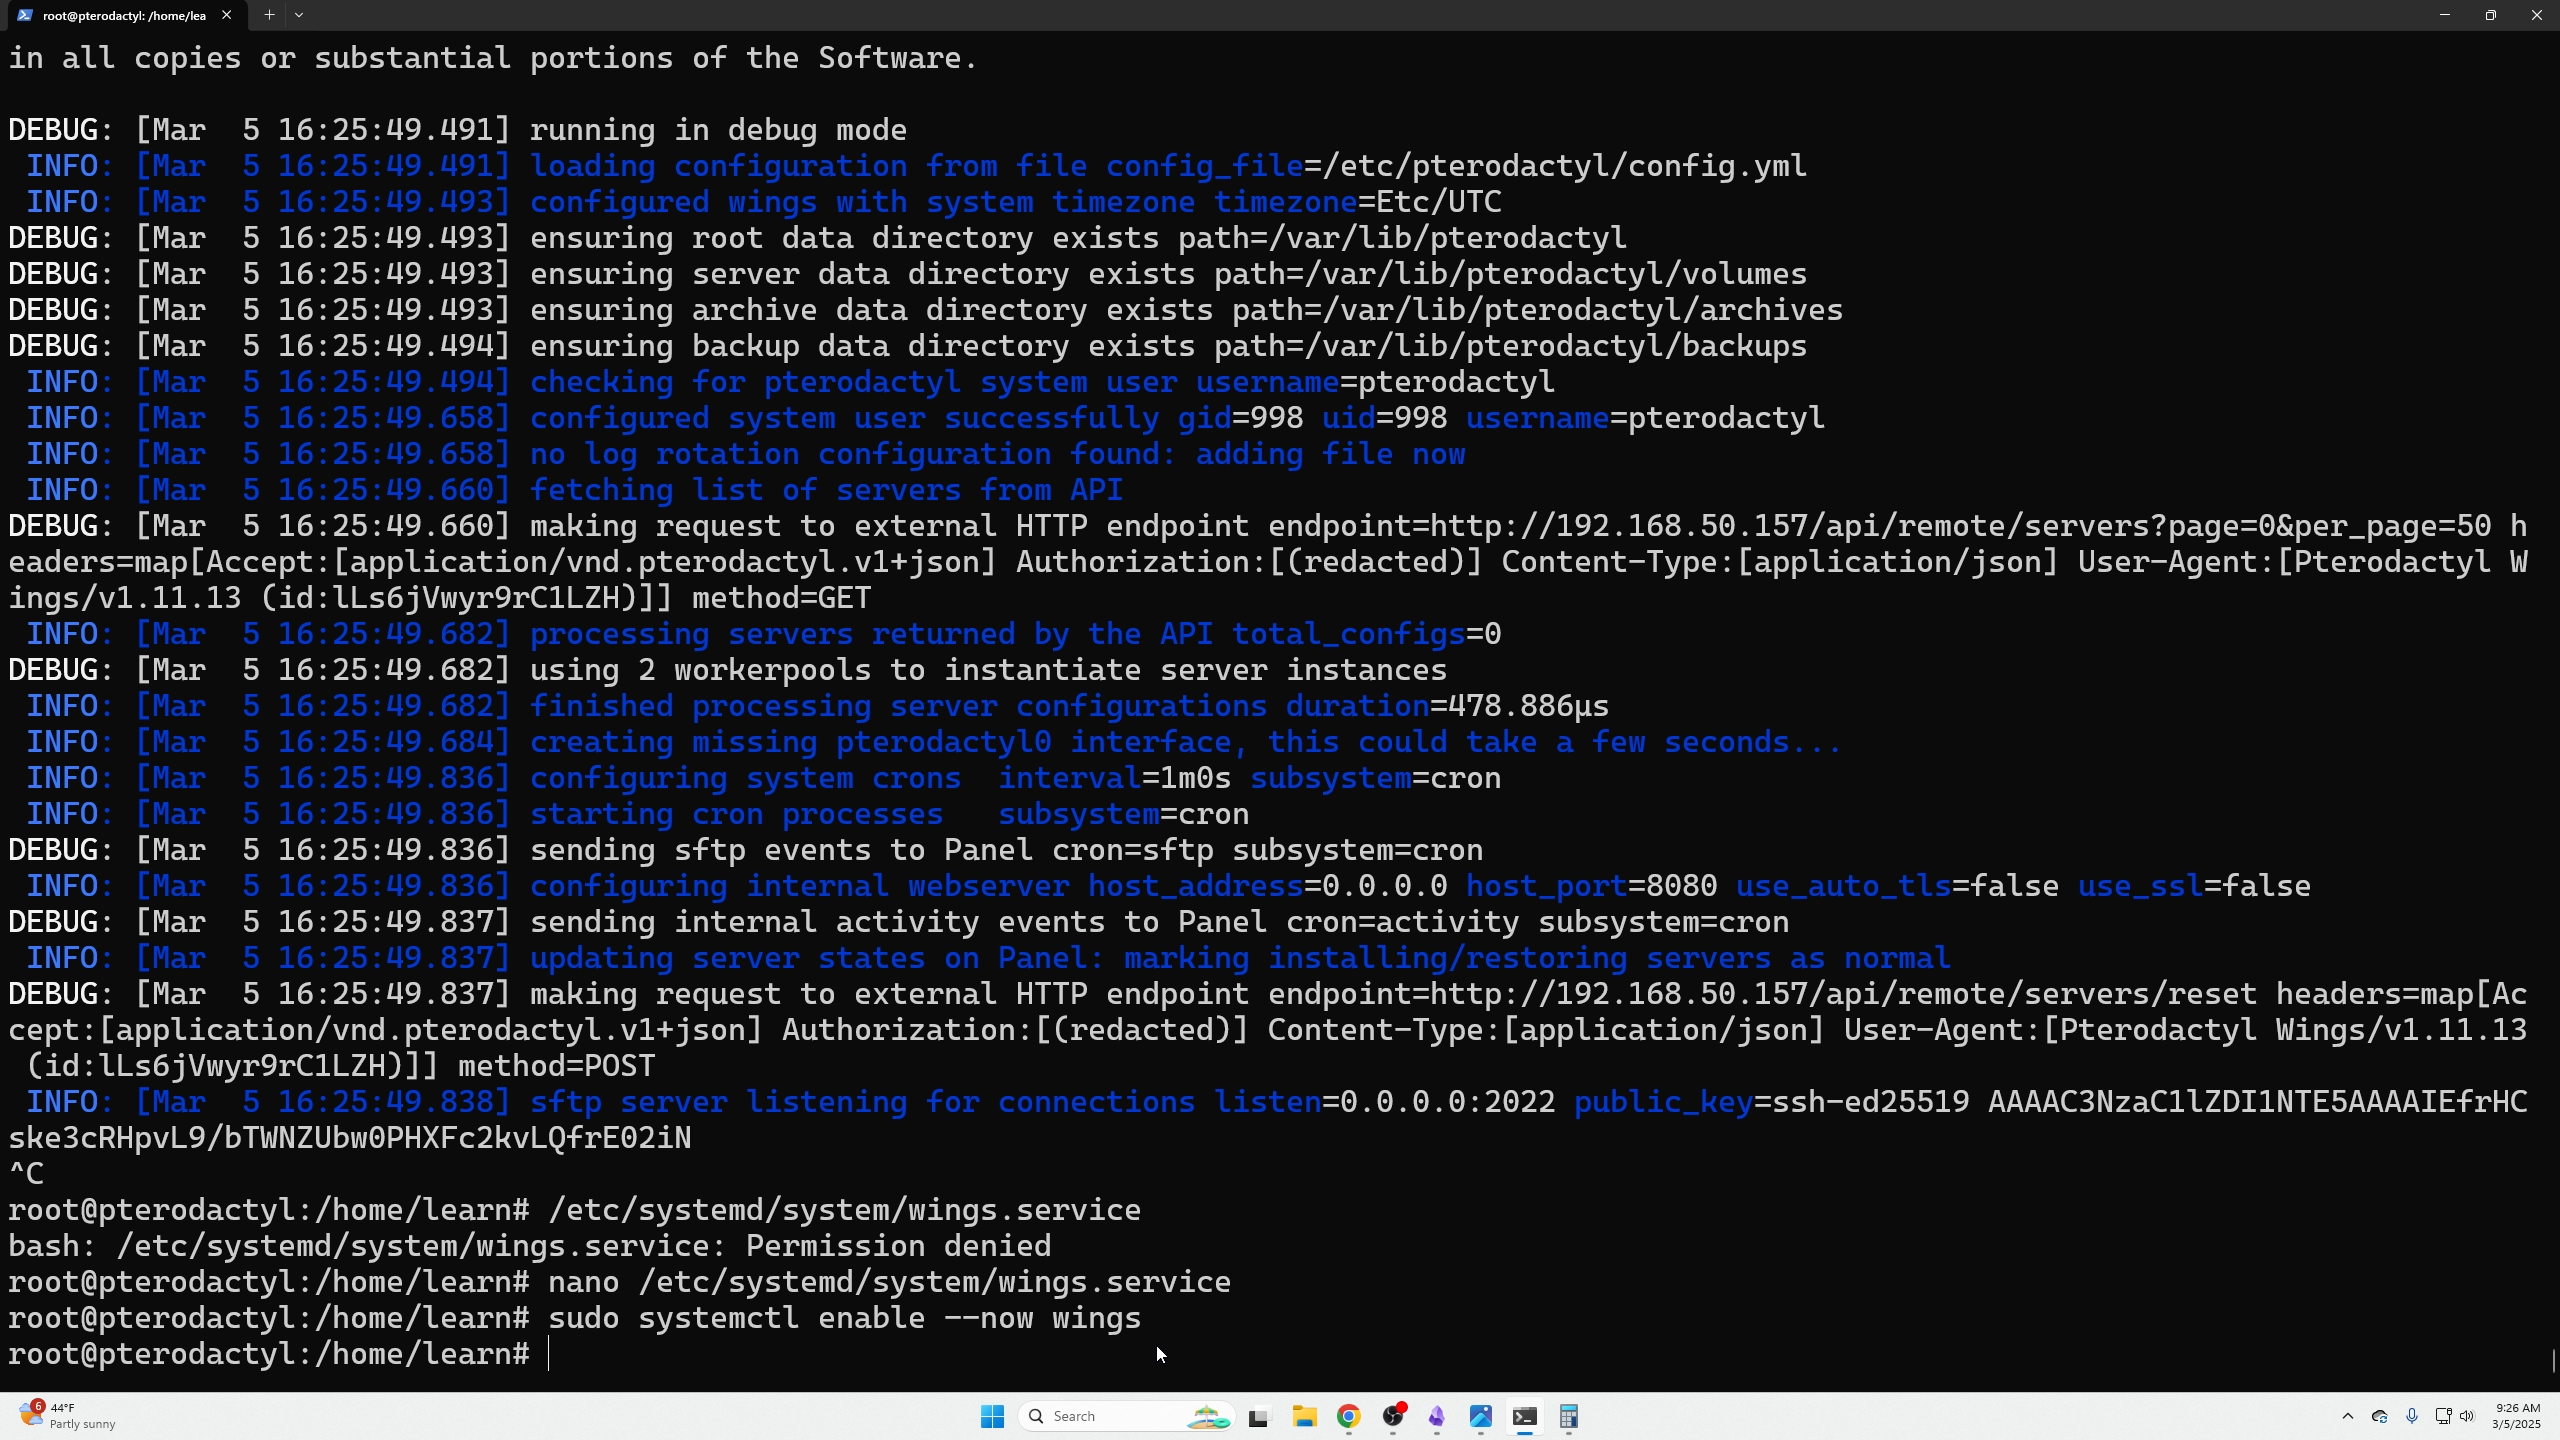
Next you will need to start wings with the following command and ensure you do not get any errors.
Next, we can set wings to run in the background by typing the following command.
Create your first server.
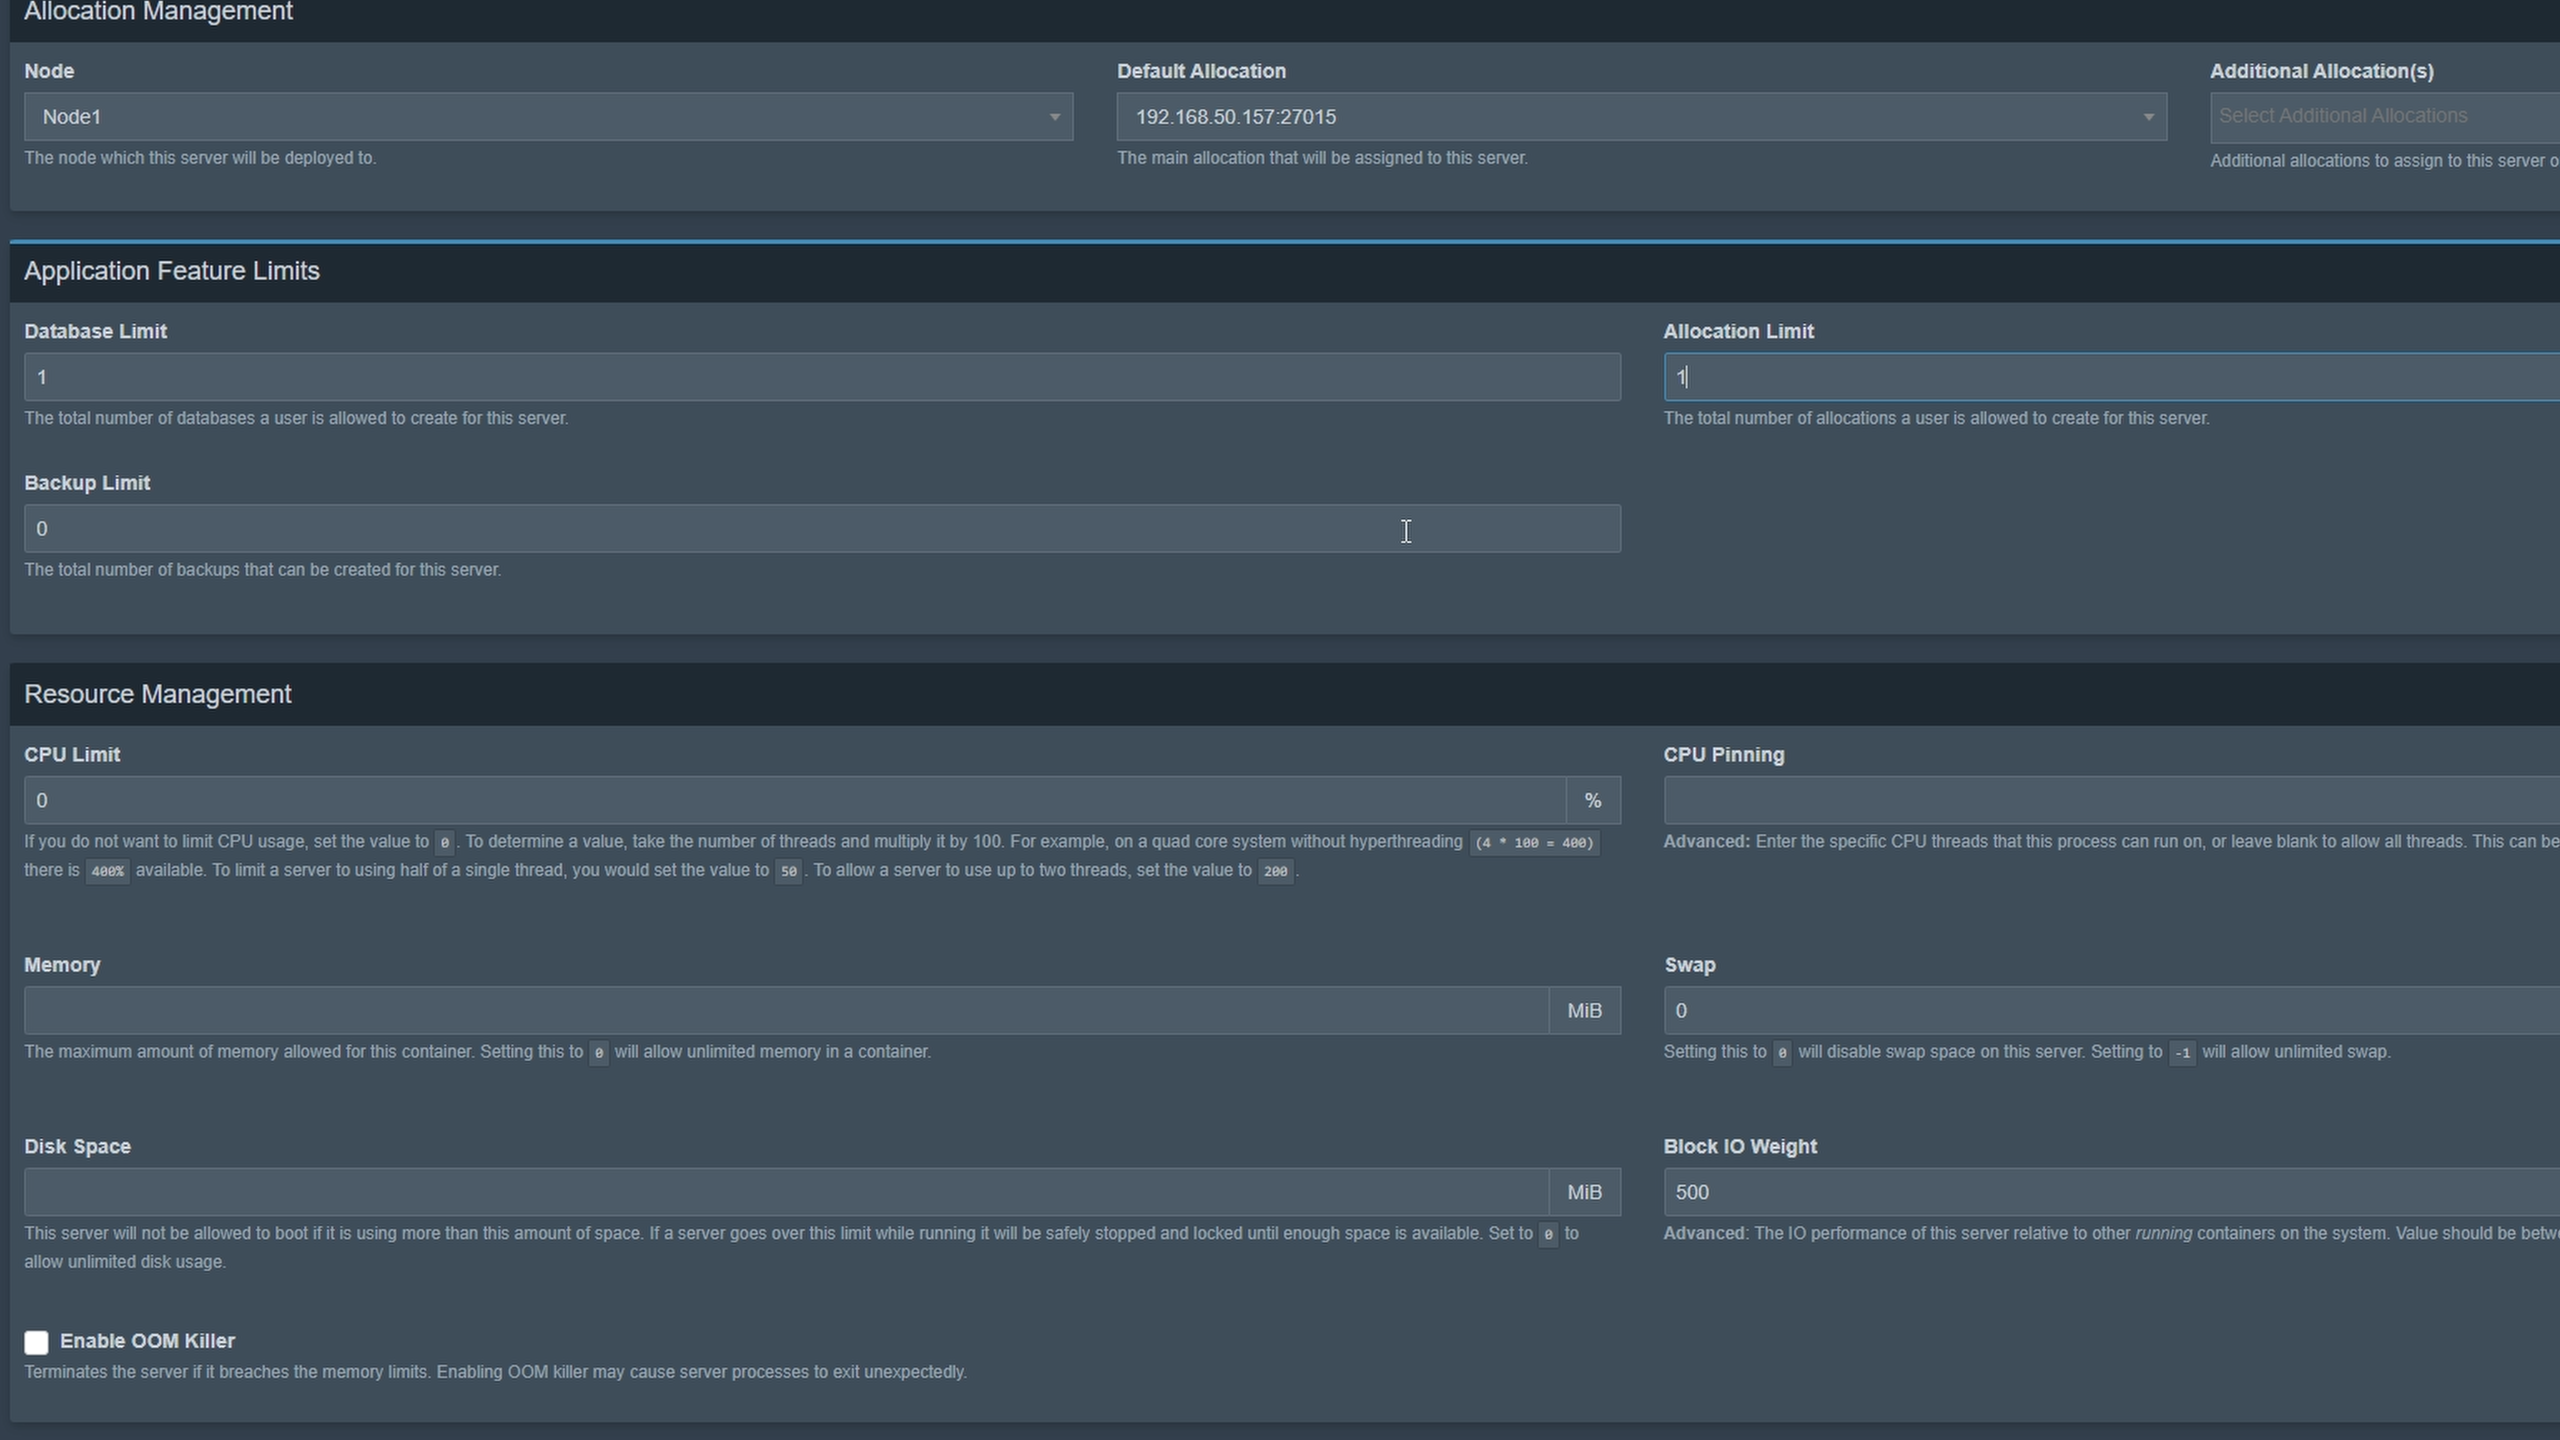
Go to your servers tab in the game panel, select Create New at the top right, and follow the instructions, which are again self-explanatory. Specifically, “Nest Configuration” is where you will set the type of game you are trying to create. Side note: Also, pay close attention to the “Startup Configuration” because that is where you will set important things like the amount of RAM your server can use.
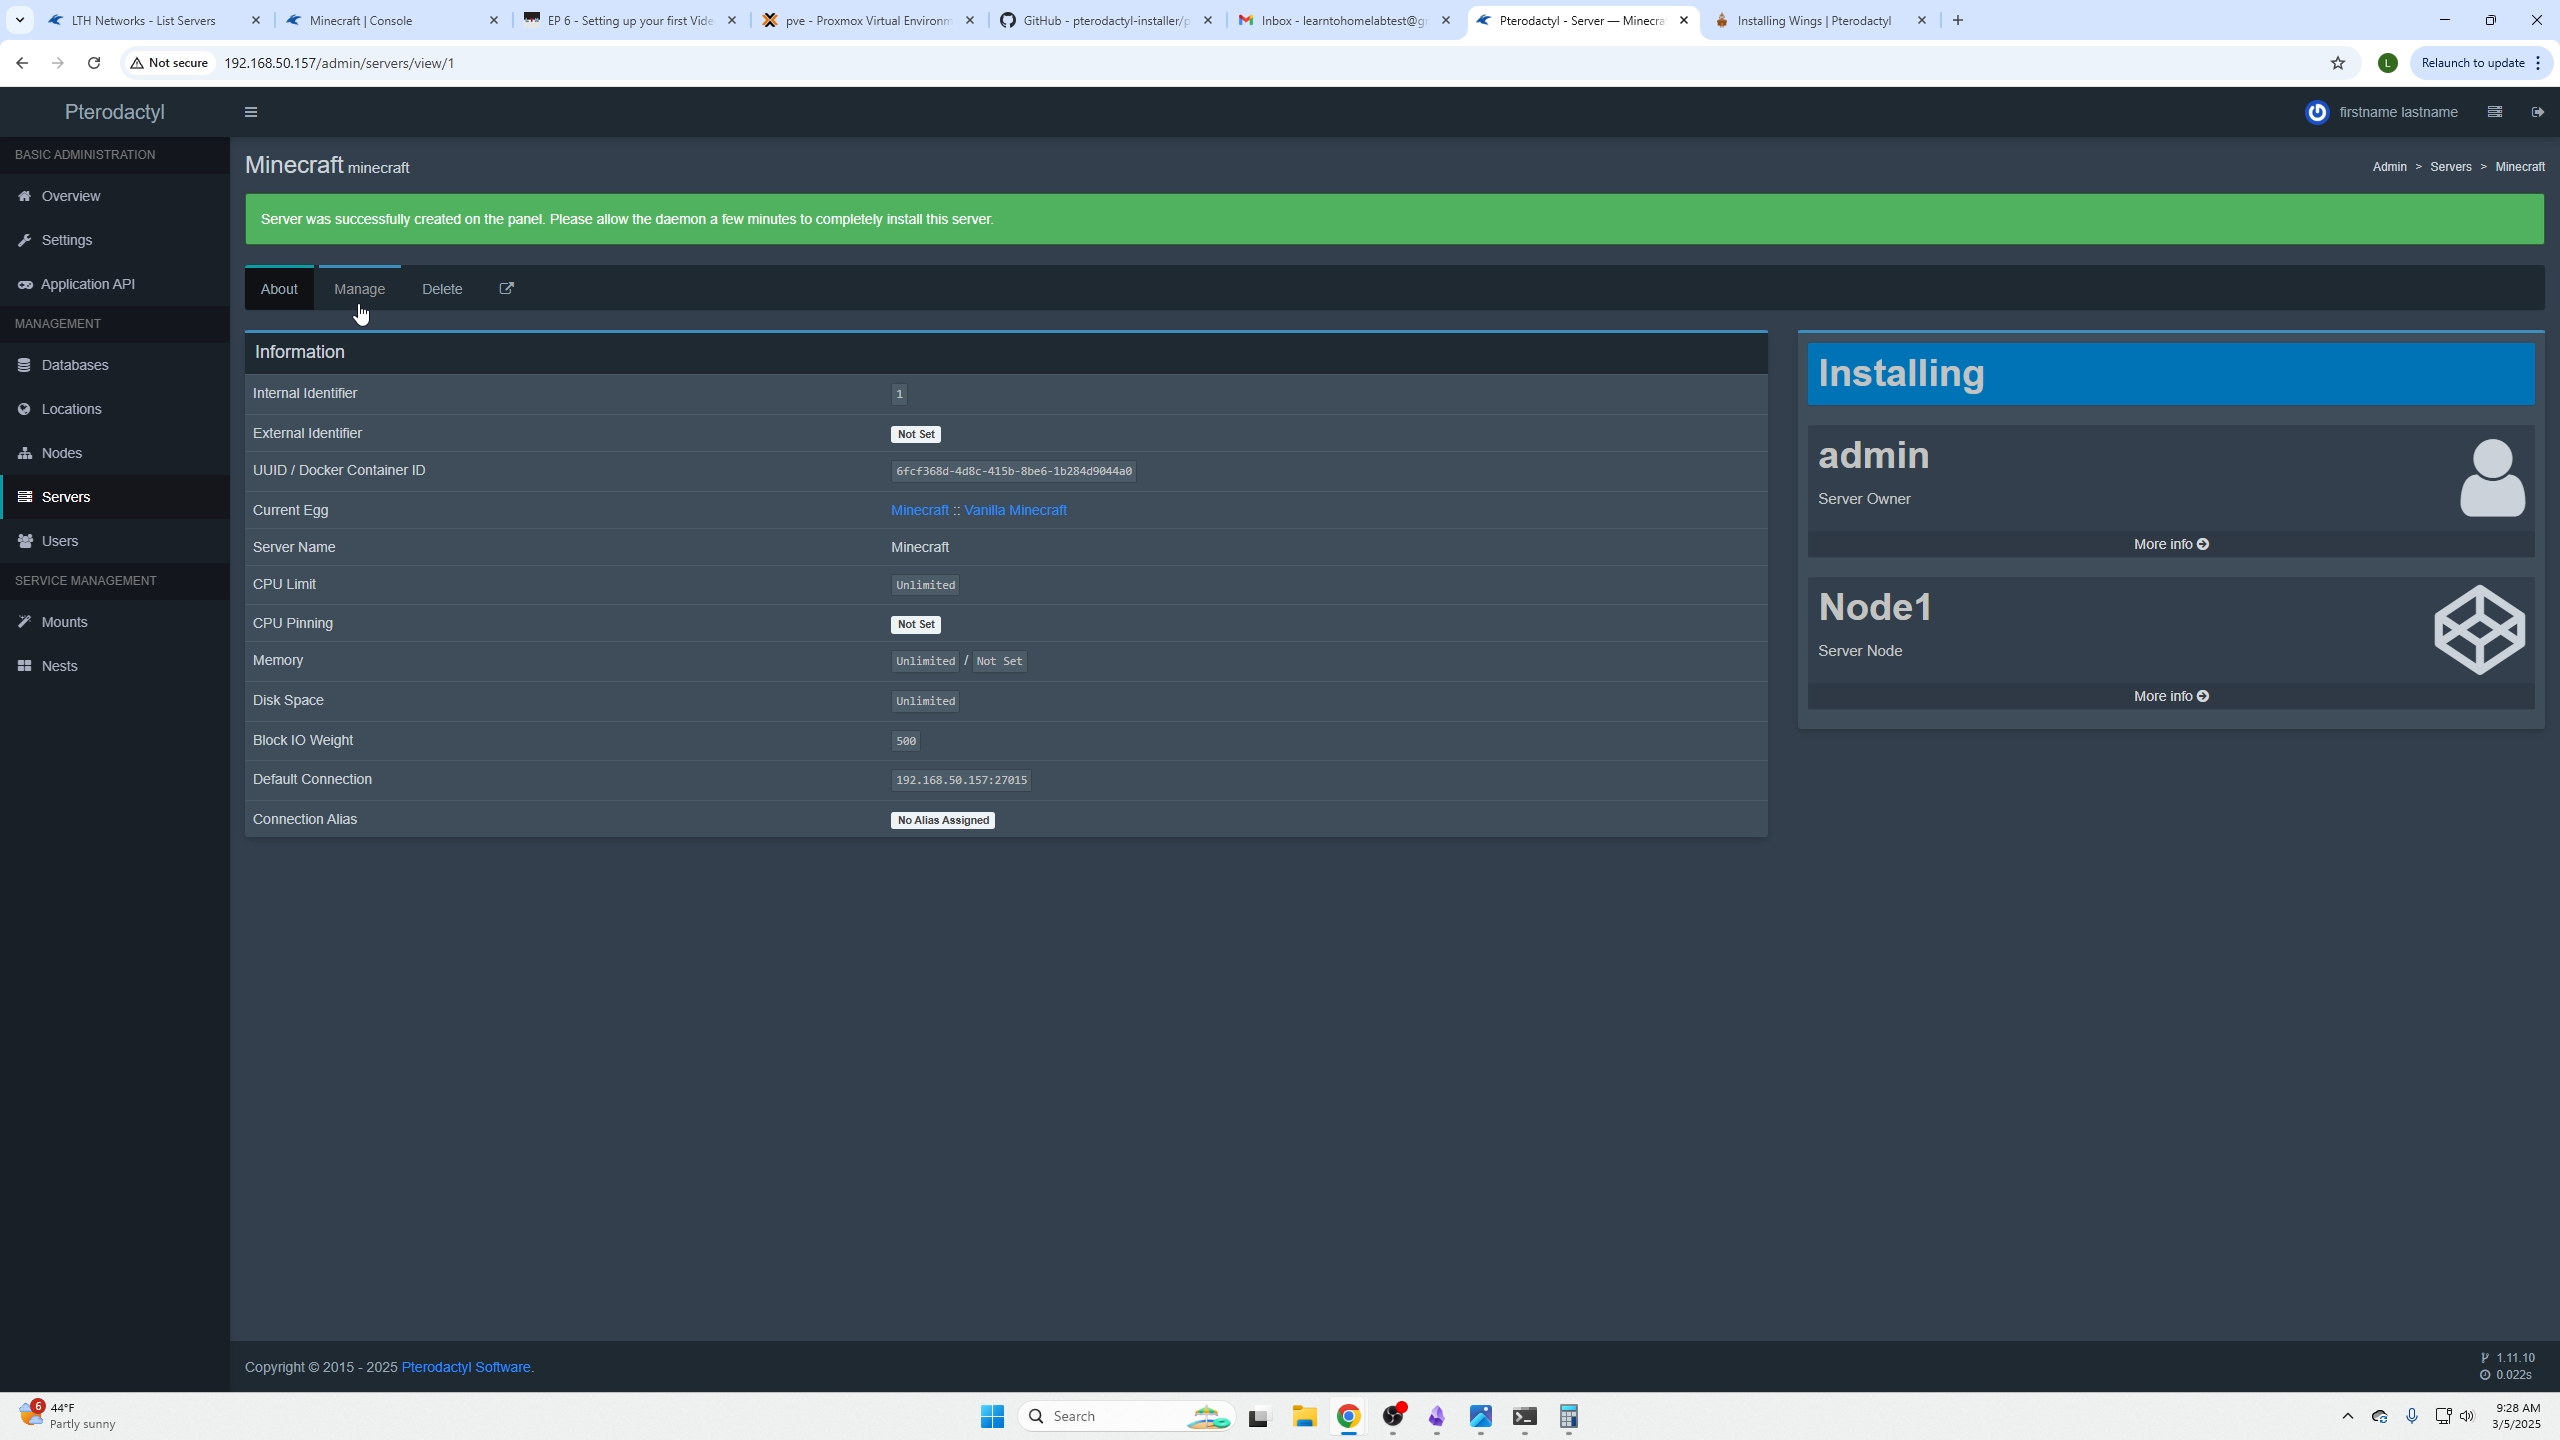
Next, wait for your game server to install. After a few minutes, you can try reloading your browser, and the installing banner should be gone.
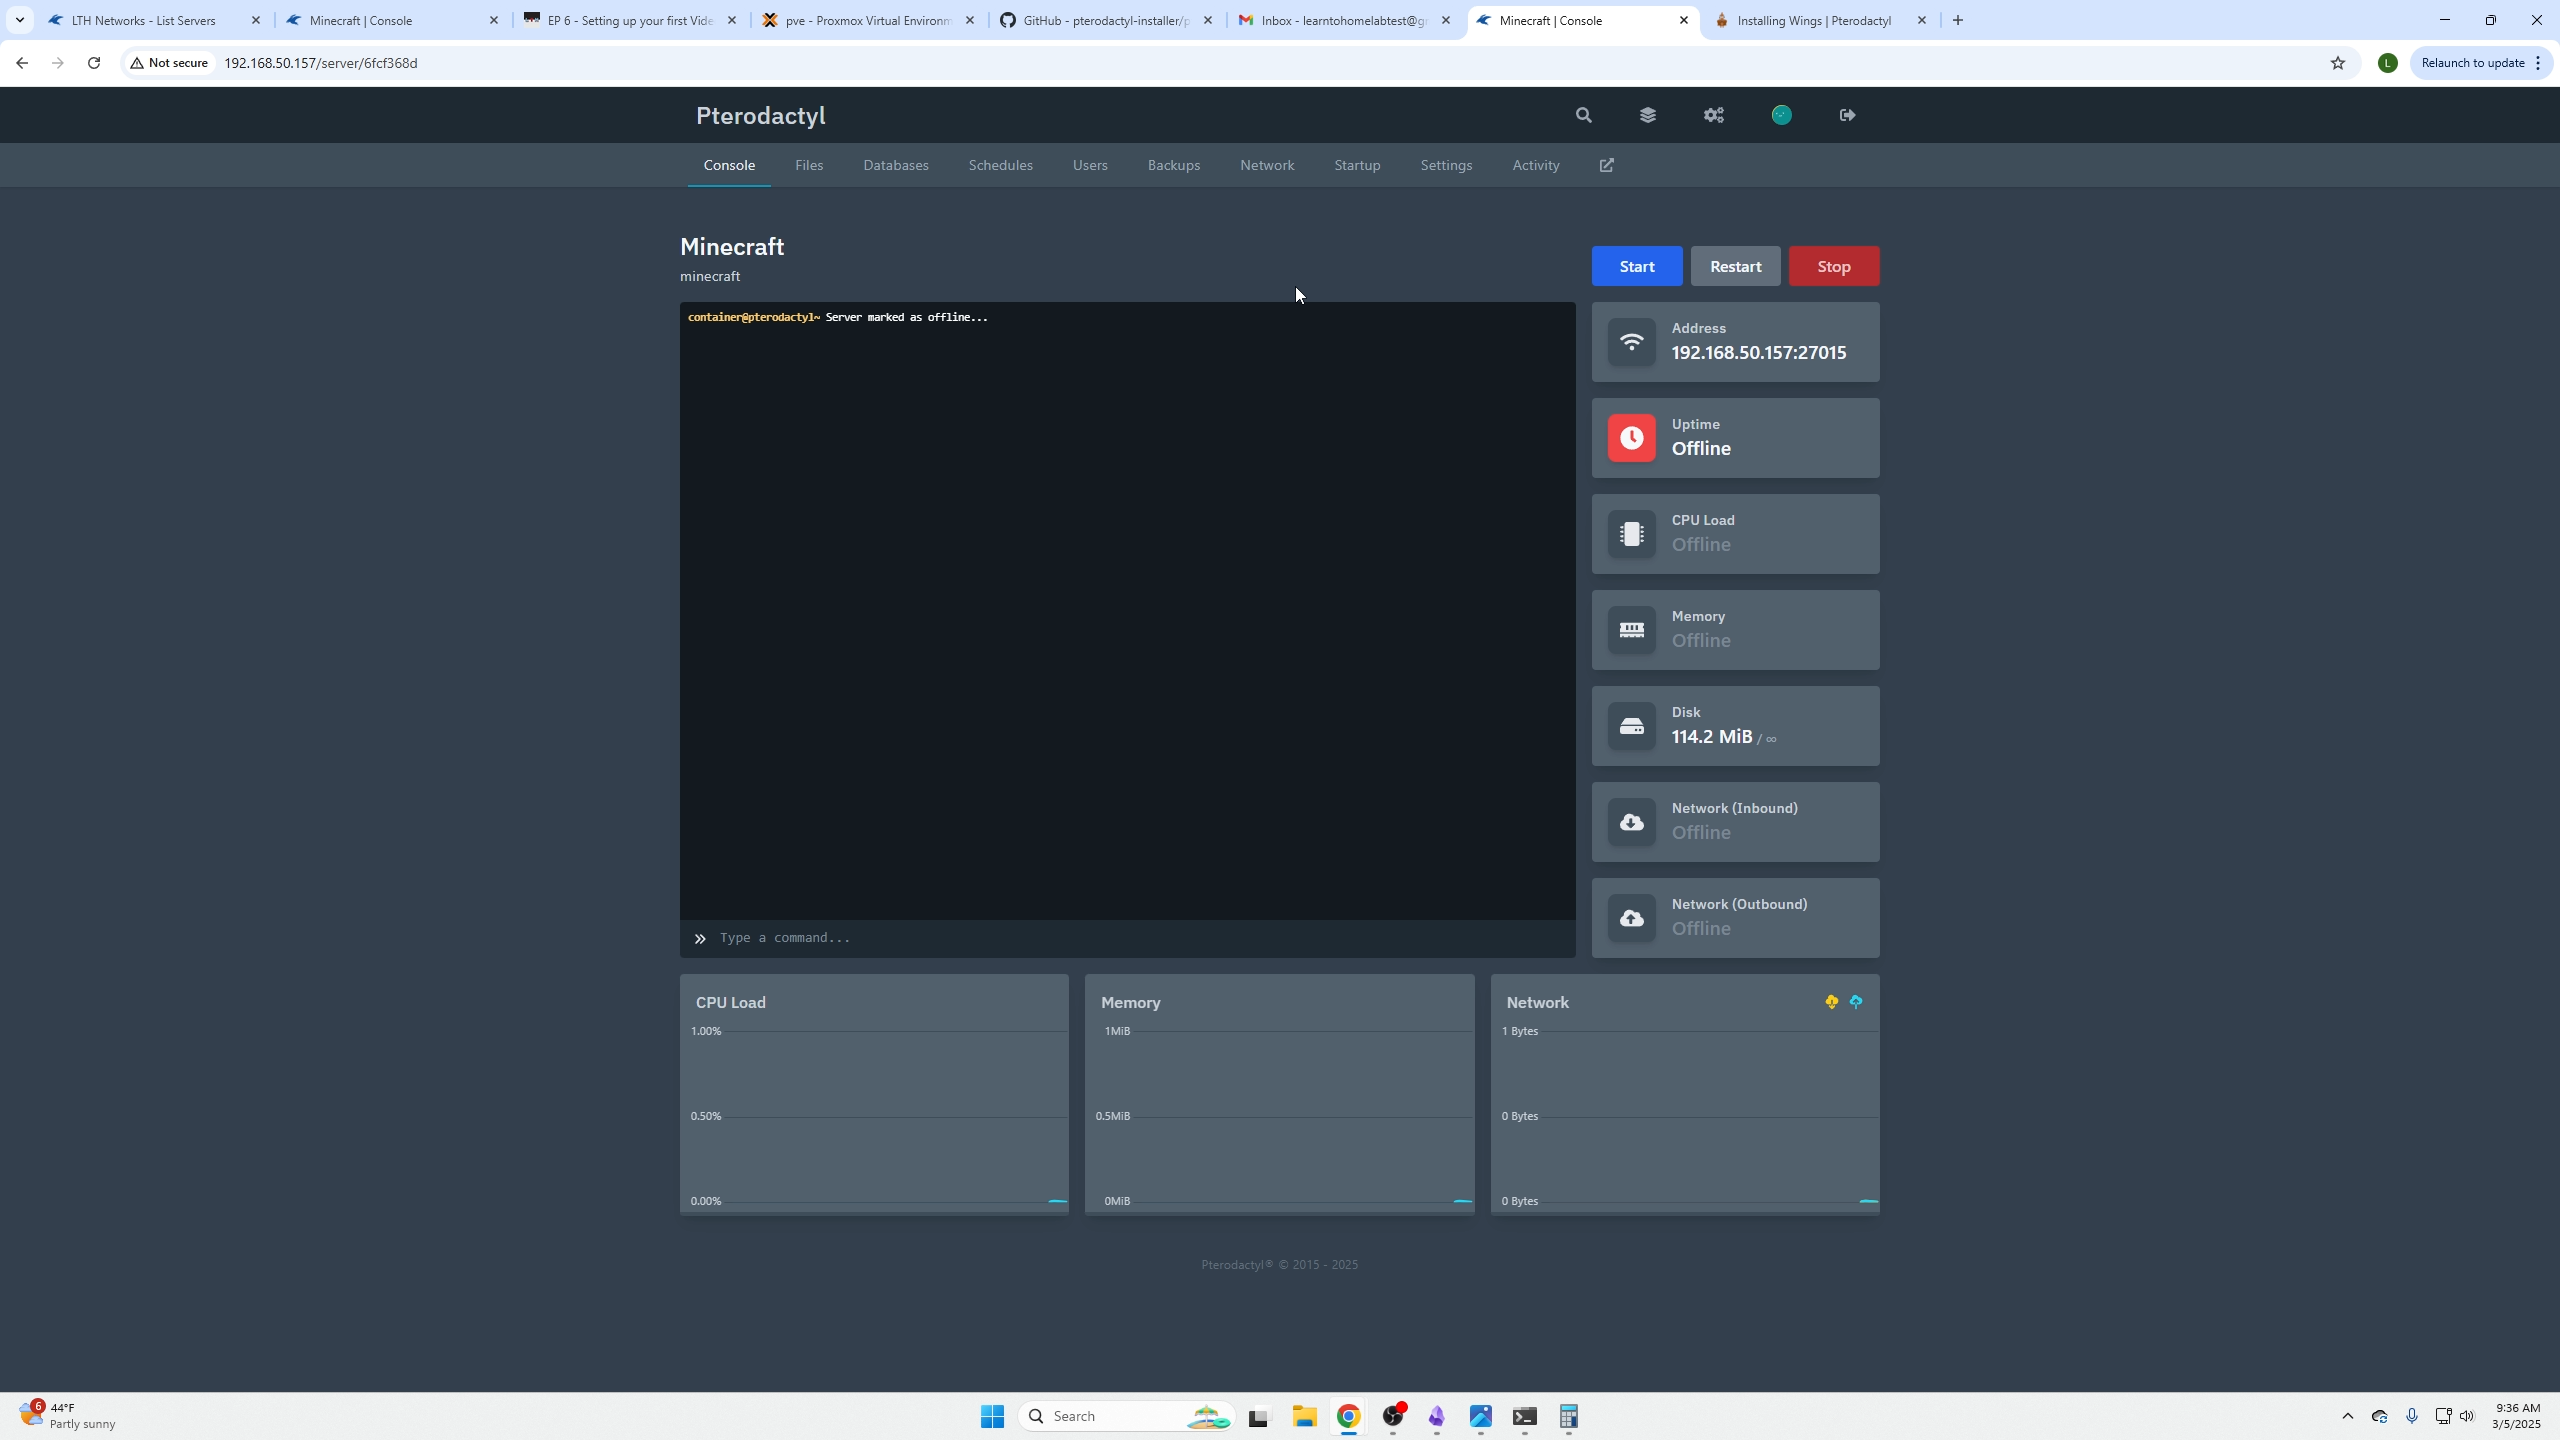
Next, click the “Pterodactyl” word at the top right of the panel; you will then see your game server on the main page. Click it and then click Start at the top right. Wait for your server to start and you are good to go!
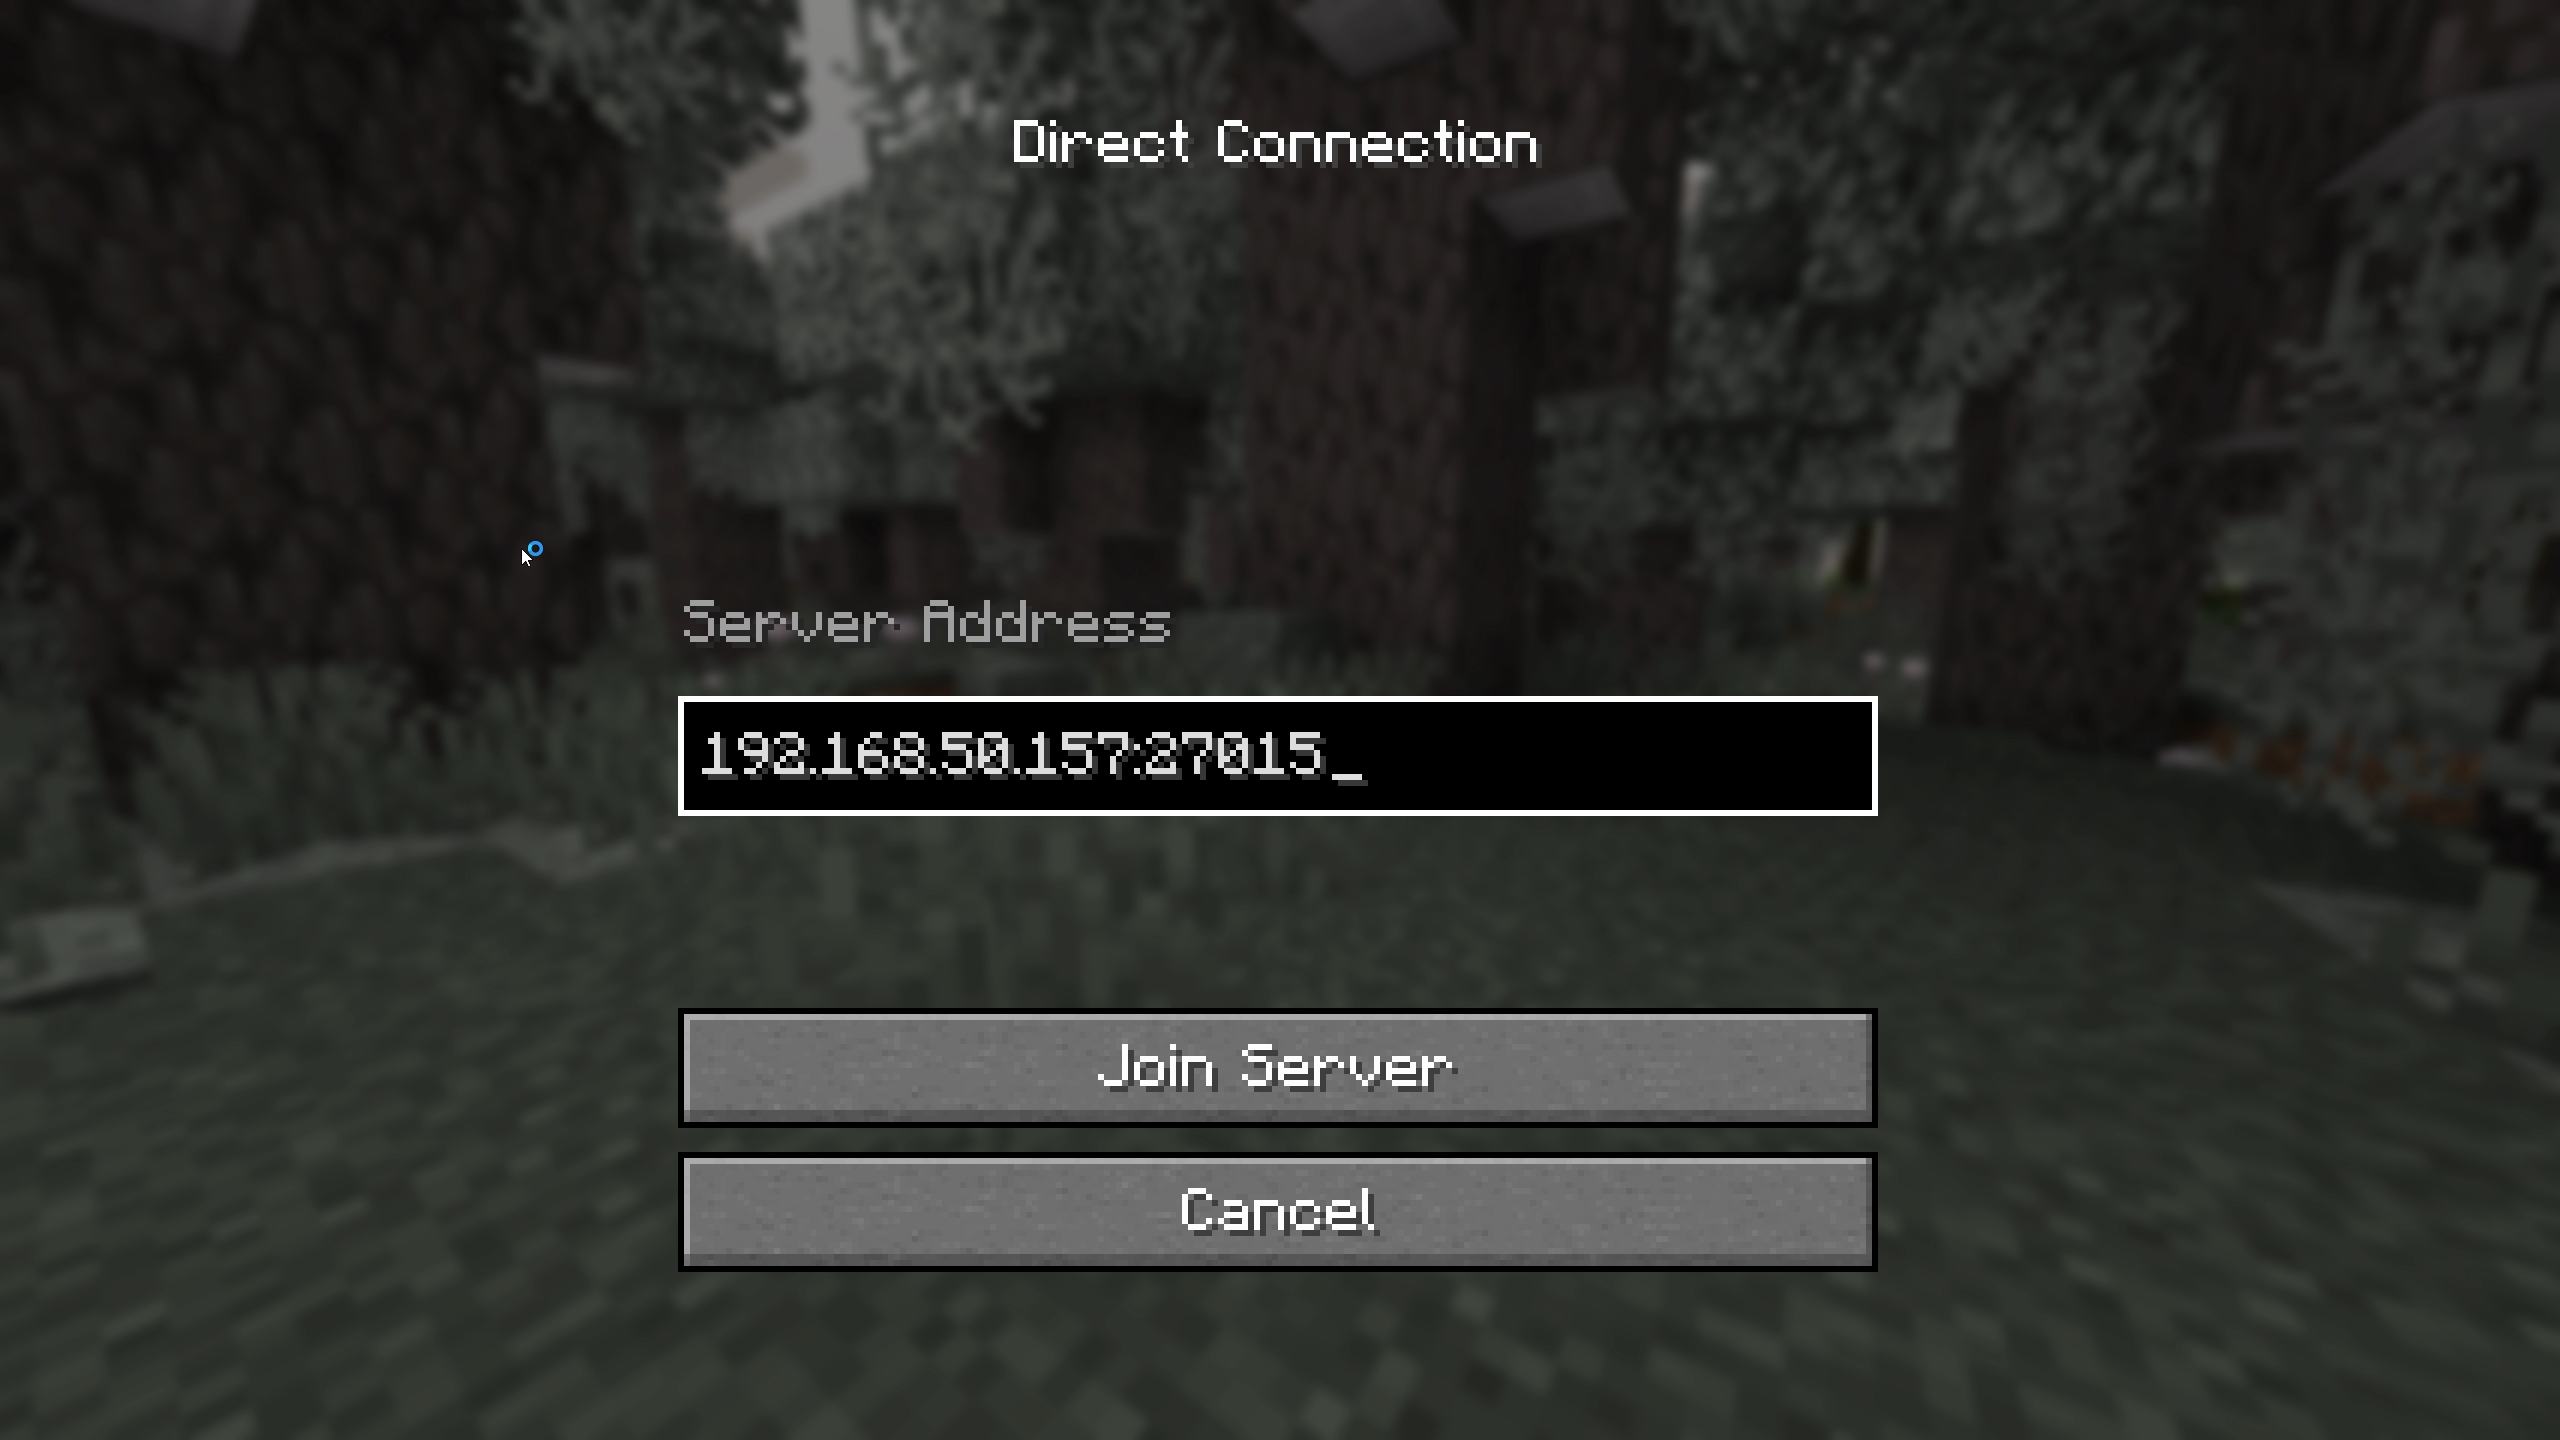
You are finally done, go ahead and try logging on to your game server!
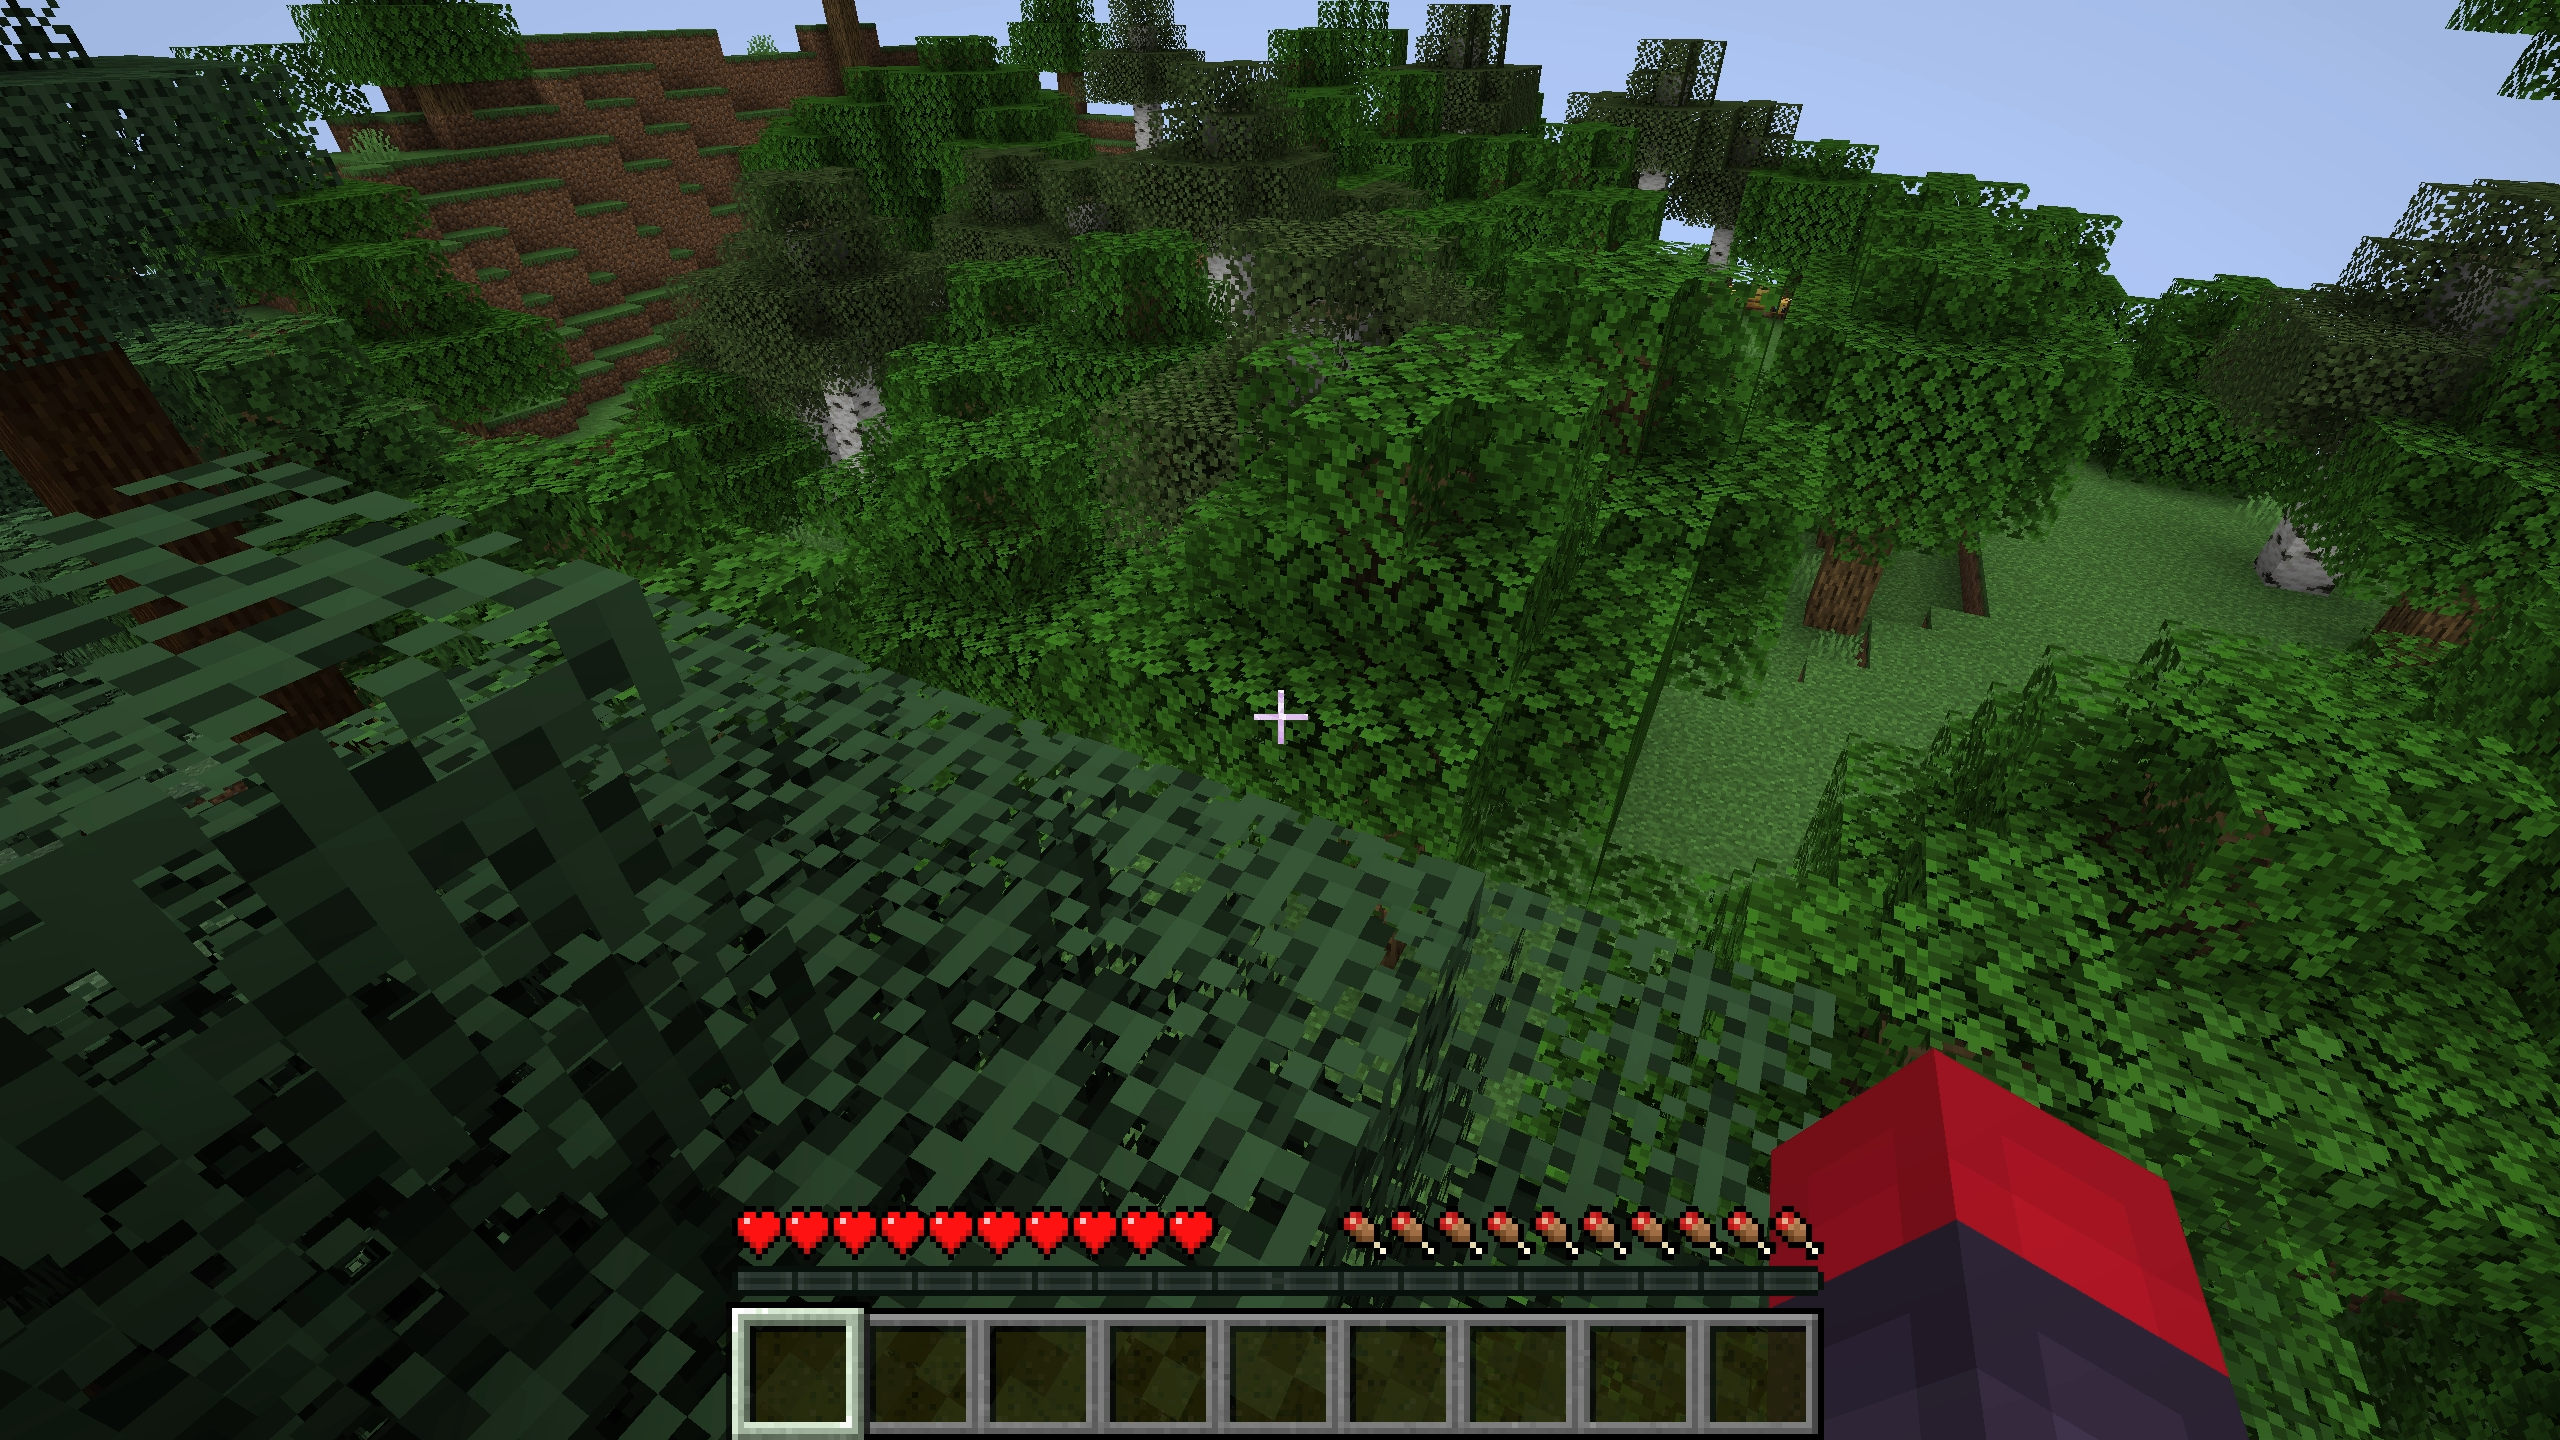
We are in!
