How to Setup The Nginx Proxy Manager and DuckDNS for Local SSL Certificates
Create a Virtual Machine or Container
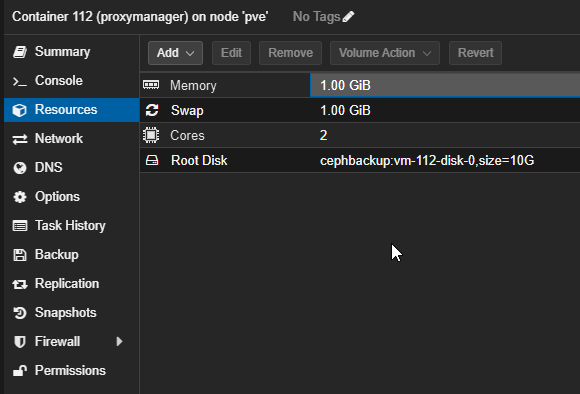
Setup a VM or CT on your preferred platoform, in our case we are going to create a CT on Proxmox:
Watch our video shown above if you need to know how to do this!
Installing Docker
We are going to use their documentation found here
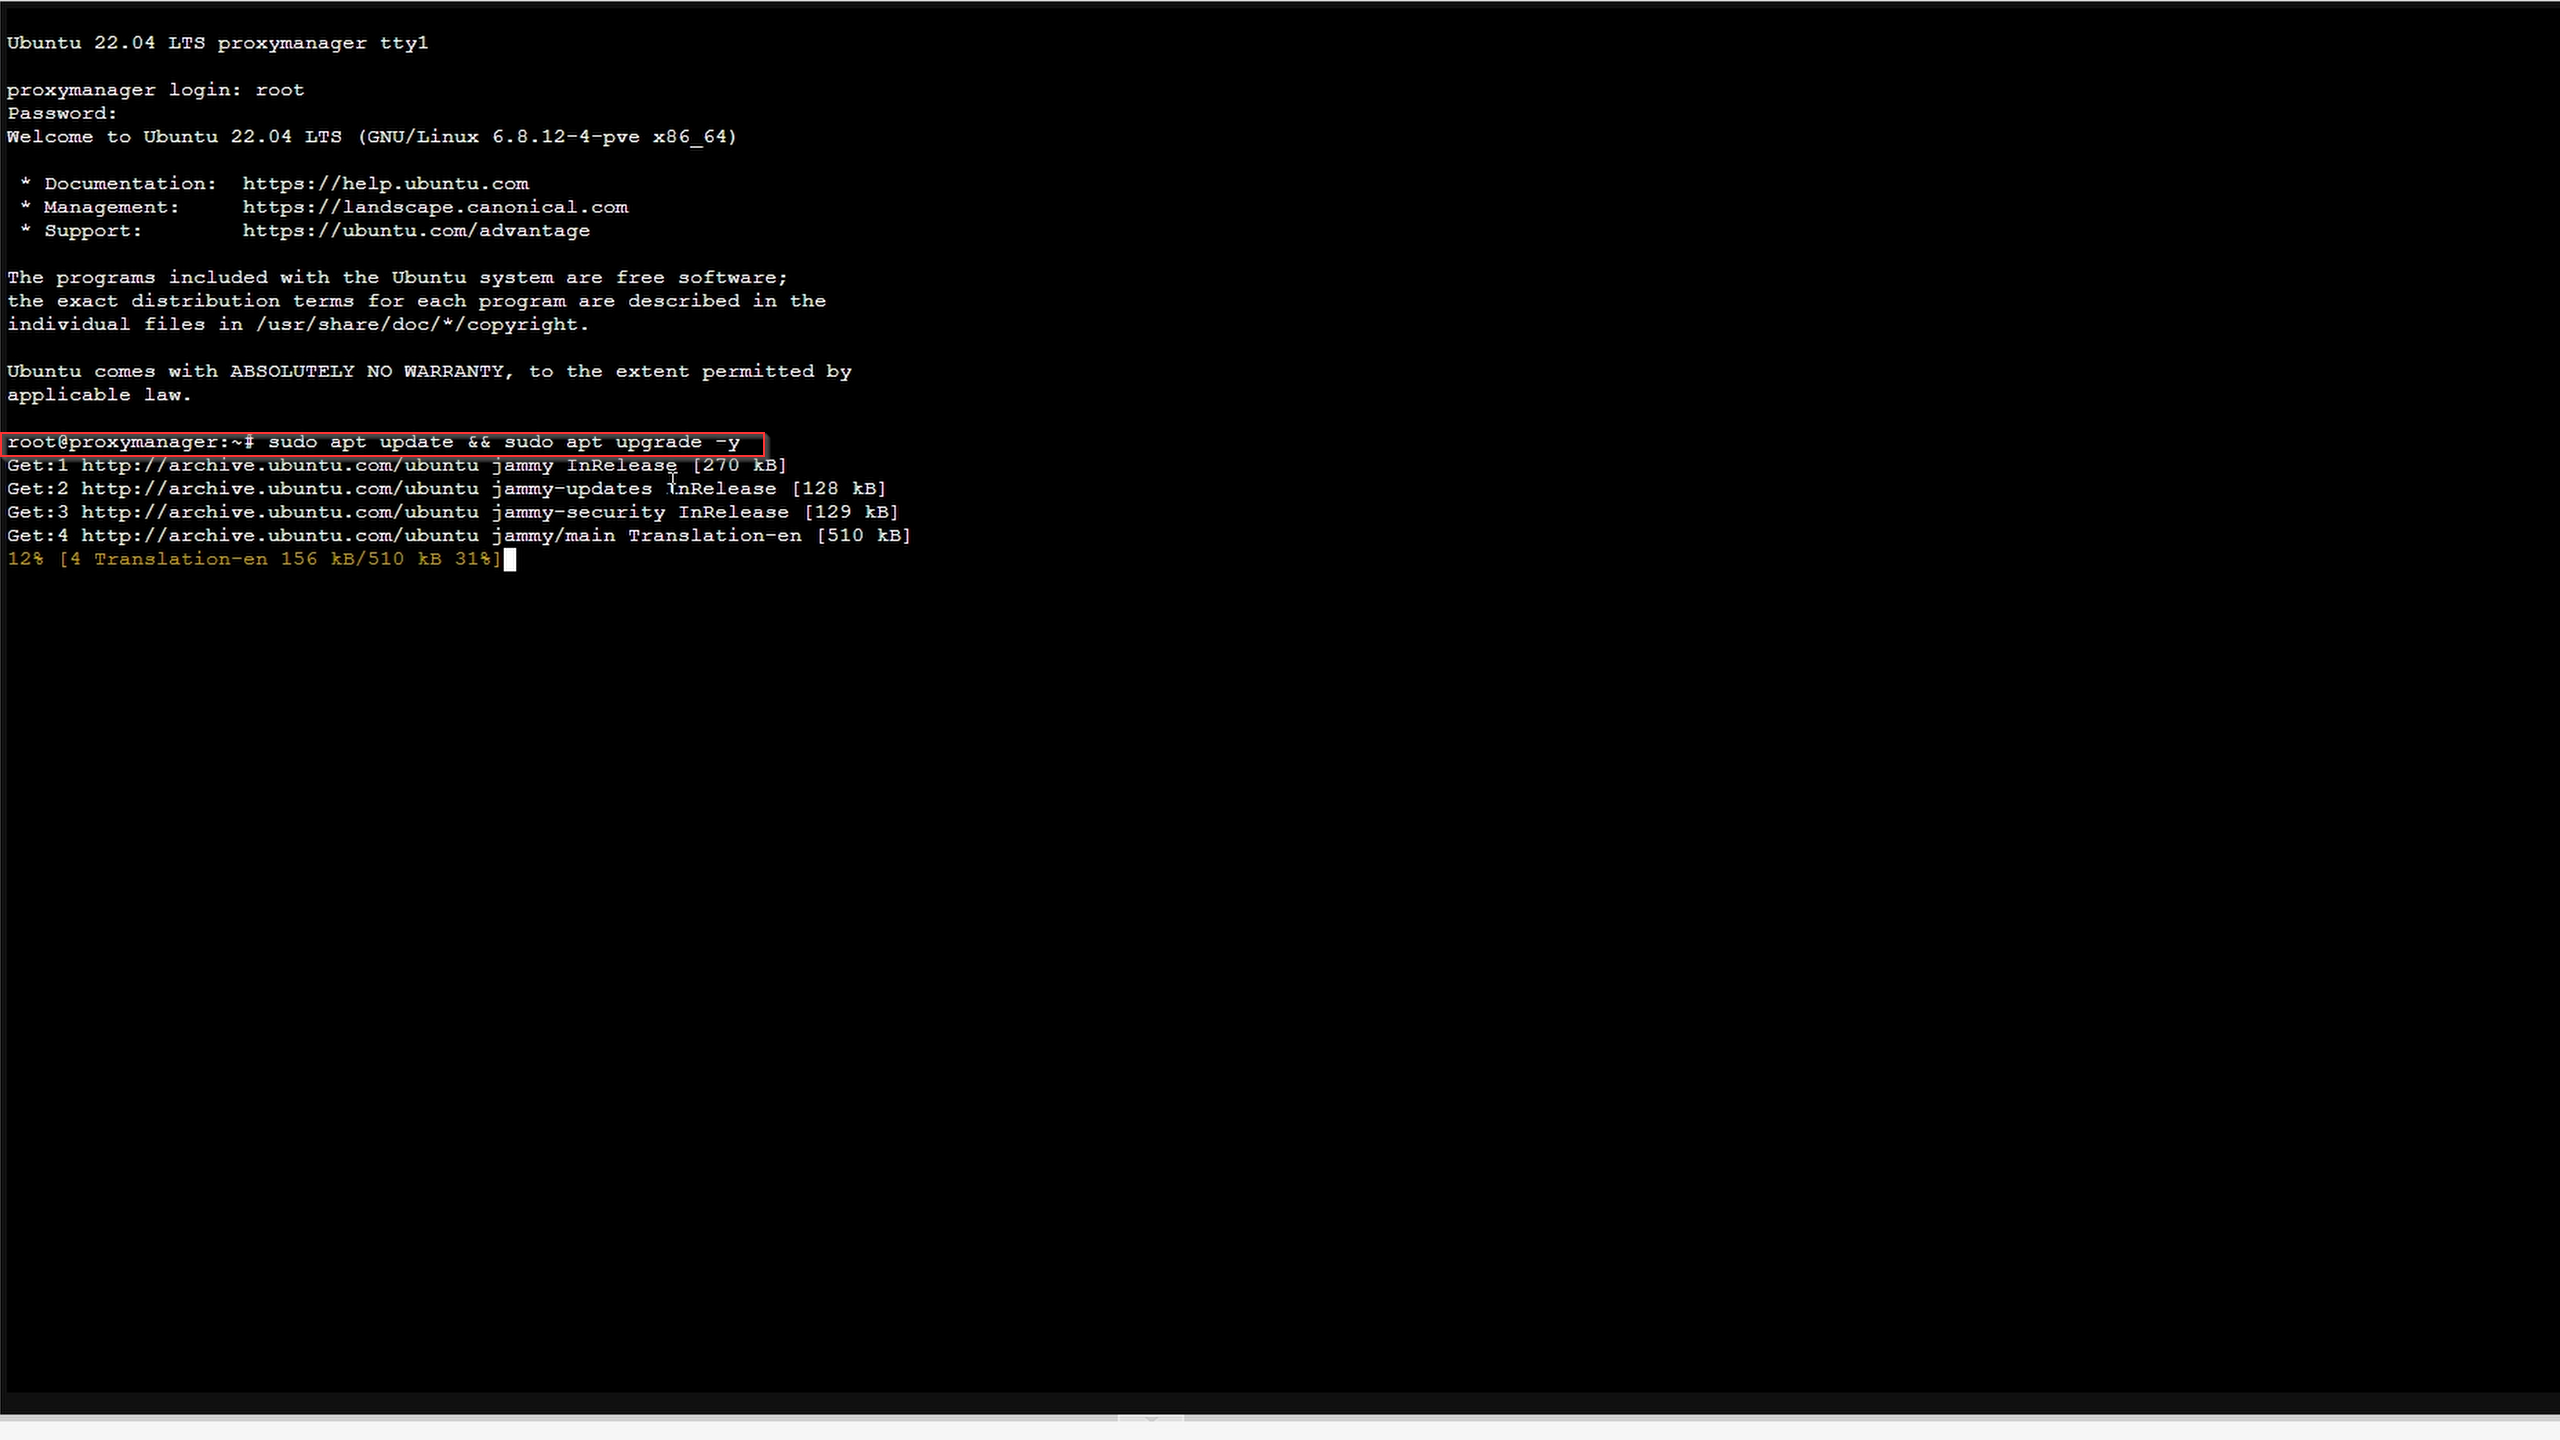
First, ensure your system is up to date with
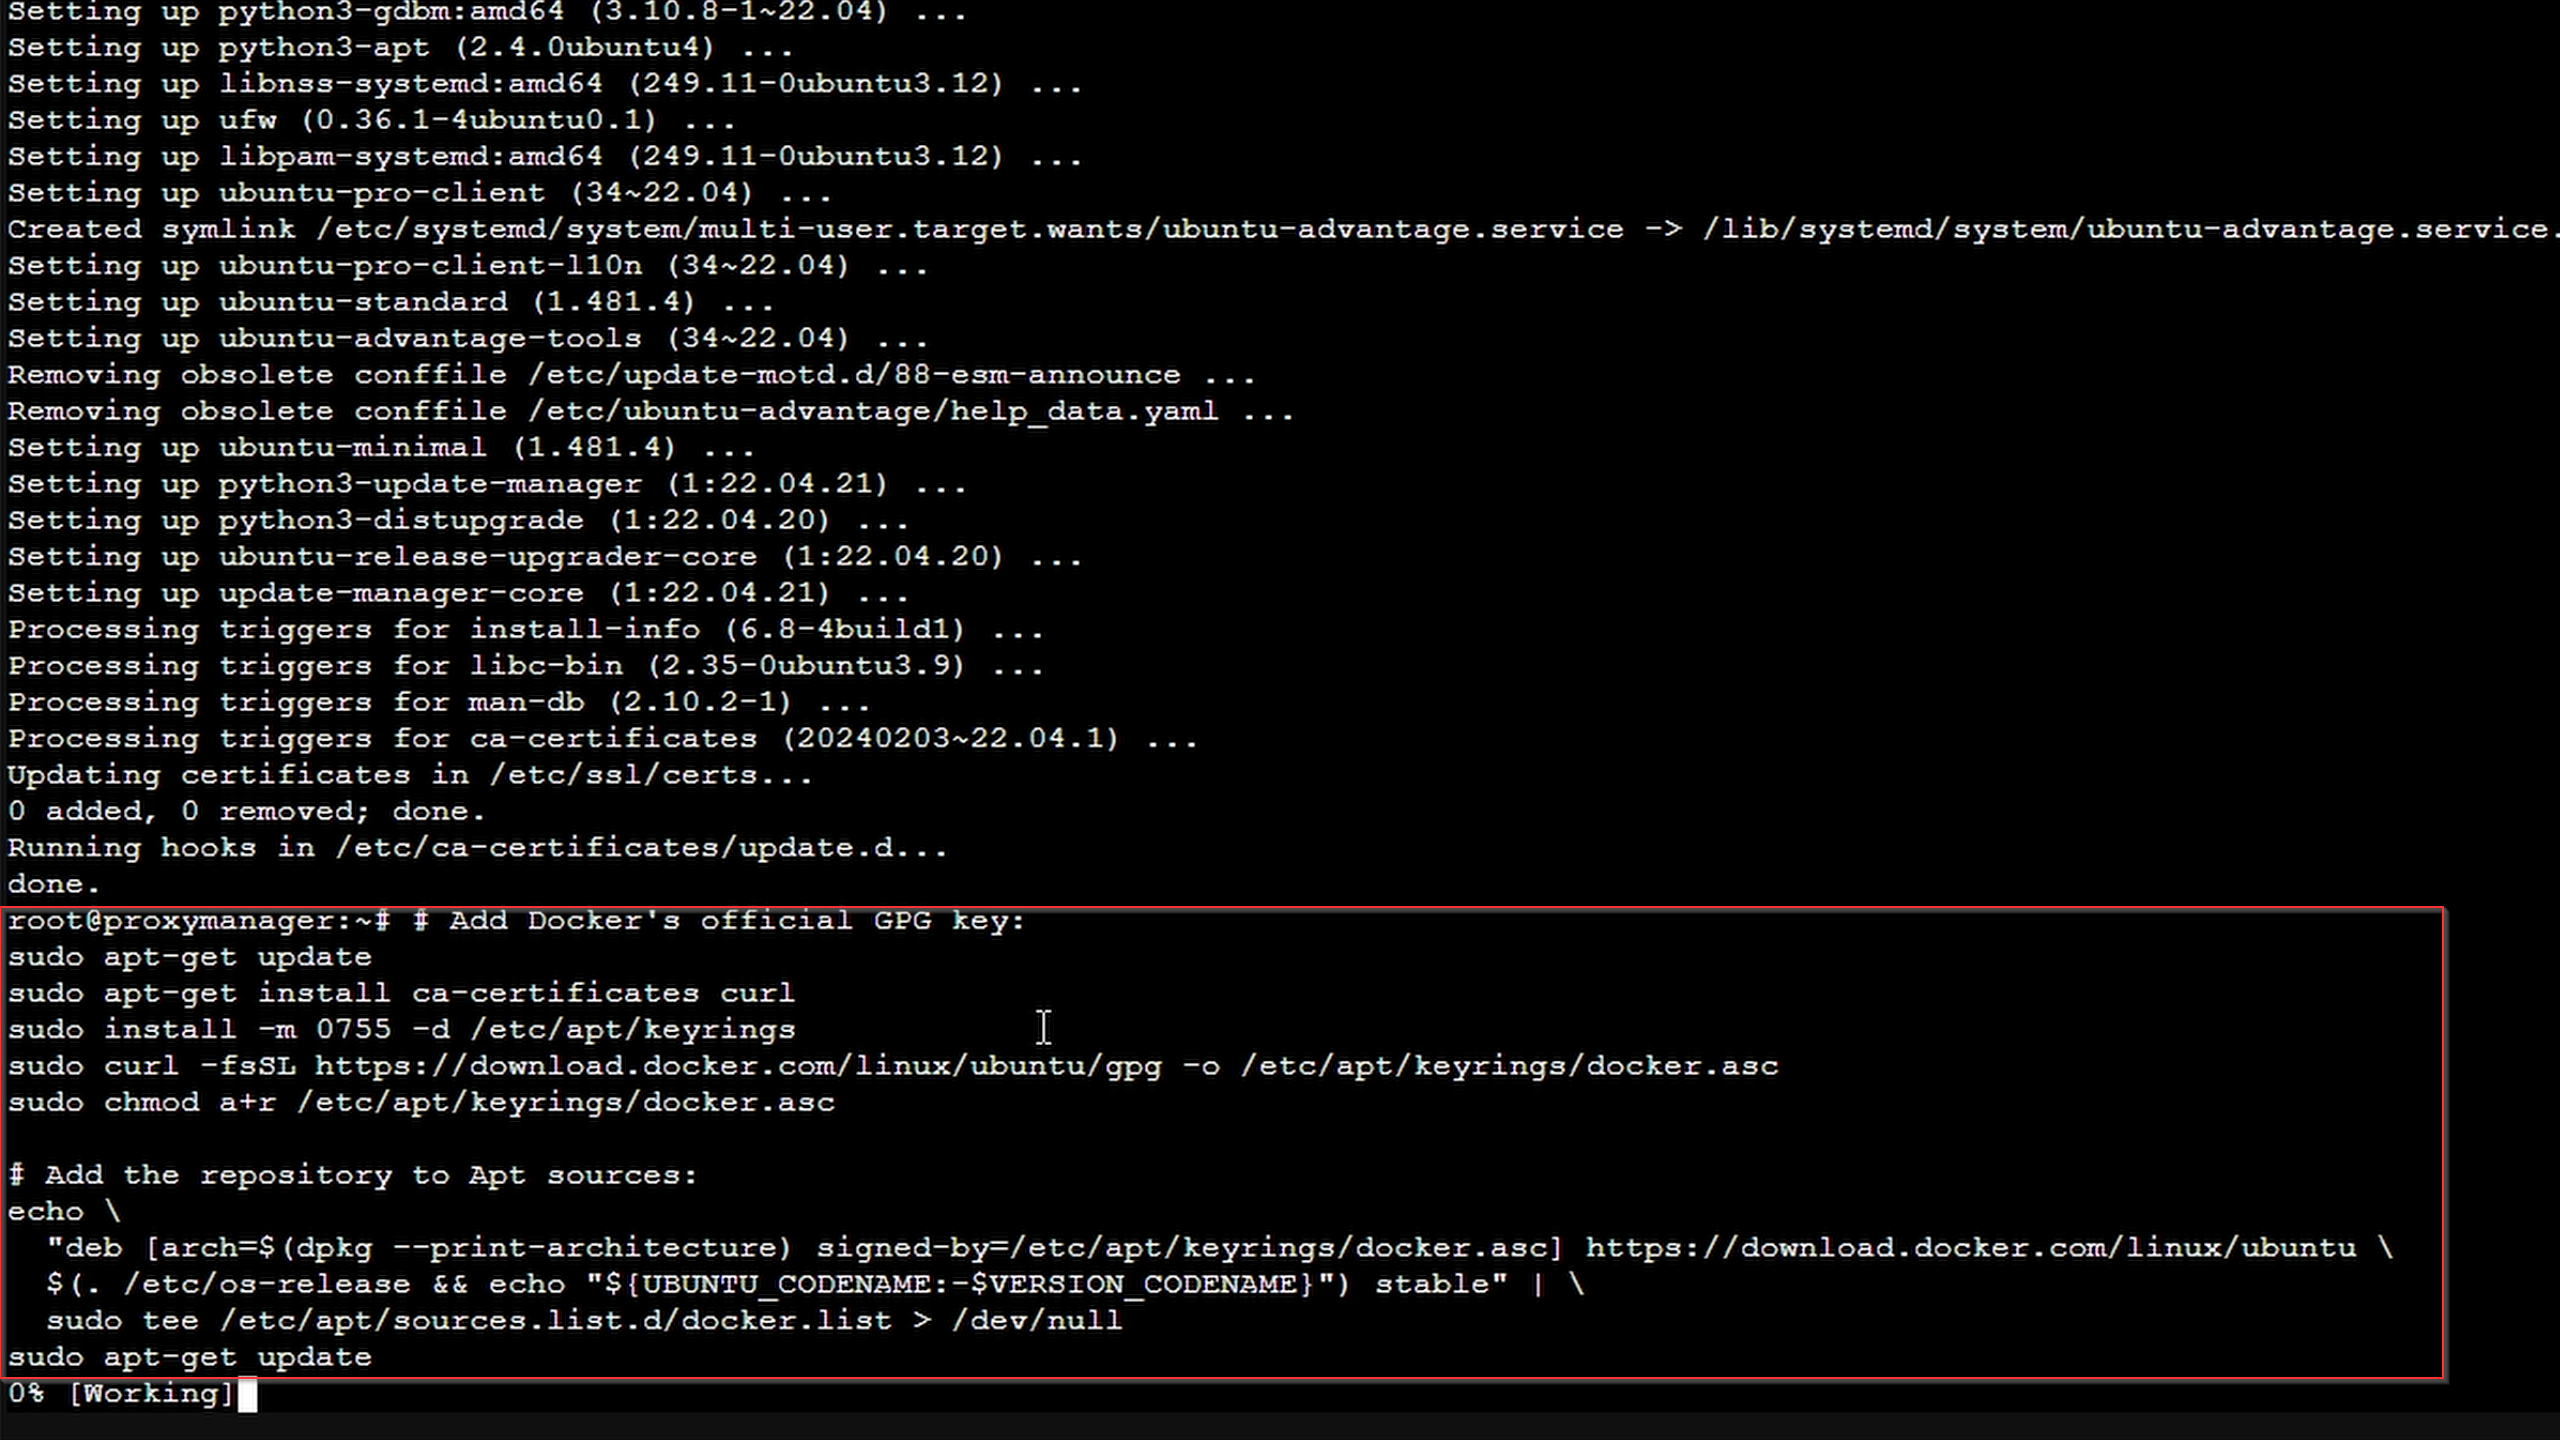
Next we need to set up Docker's apt repository.
# Add Docker's official GPG key:
sudo apt-get update
sudo apt-get install ca-certificates curl
sudo install -m 0755 -d /etc/apt/keyrings
sudo curl -fsSL https://download.docker.com/linux/ubuntu/gpg -o /etc/apt/keyrings/docker.asc
sudo chmod a+r /etc/apt/keyrings/docker.asc

# Add the repository to Apt sources:
echo \
  "deb [arch=$(dpkg --print-architecture) signed-by=/etc/apt/keyrings/docker.asc] https://download.docker.com/linux/ubuntu \
  $(. /etc/os-release && echo "${UBUNTU_CODENAME:-$VERSION_CODENAME}") stable" | \
  sudo tee /etc/apt/sources.list.d/docker.list > /dev/null
sudo apt-get update
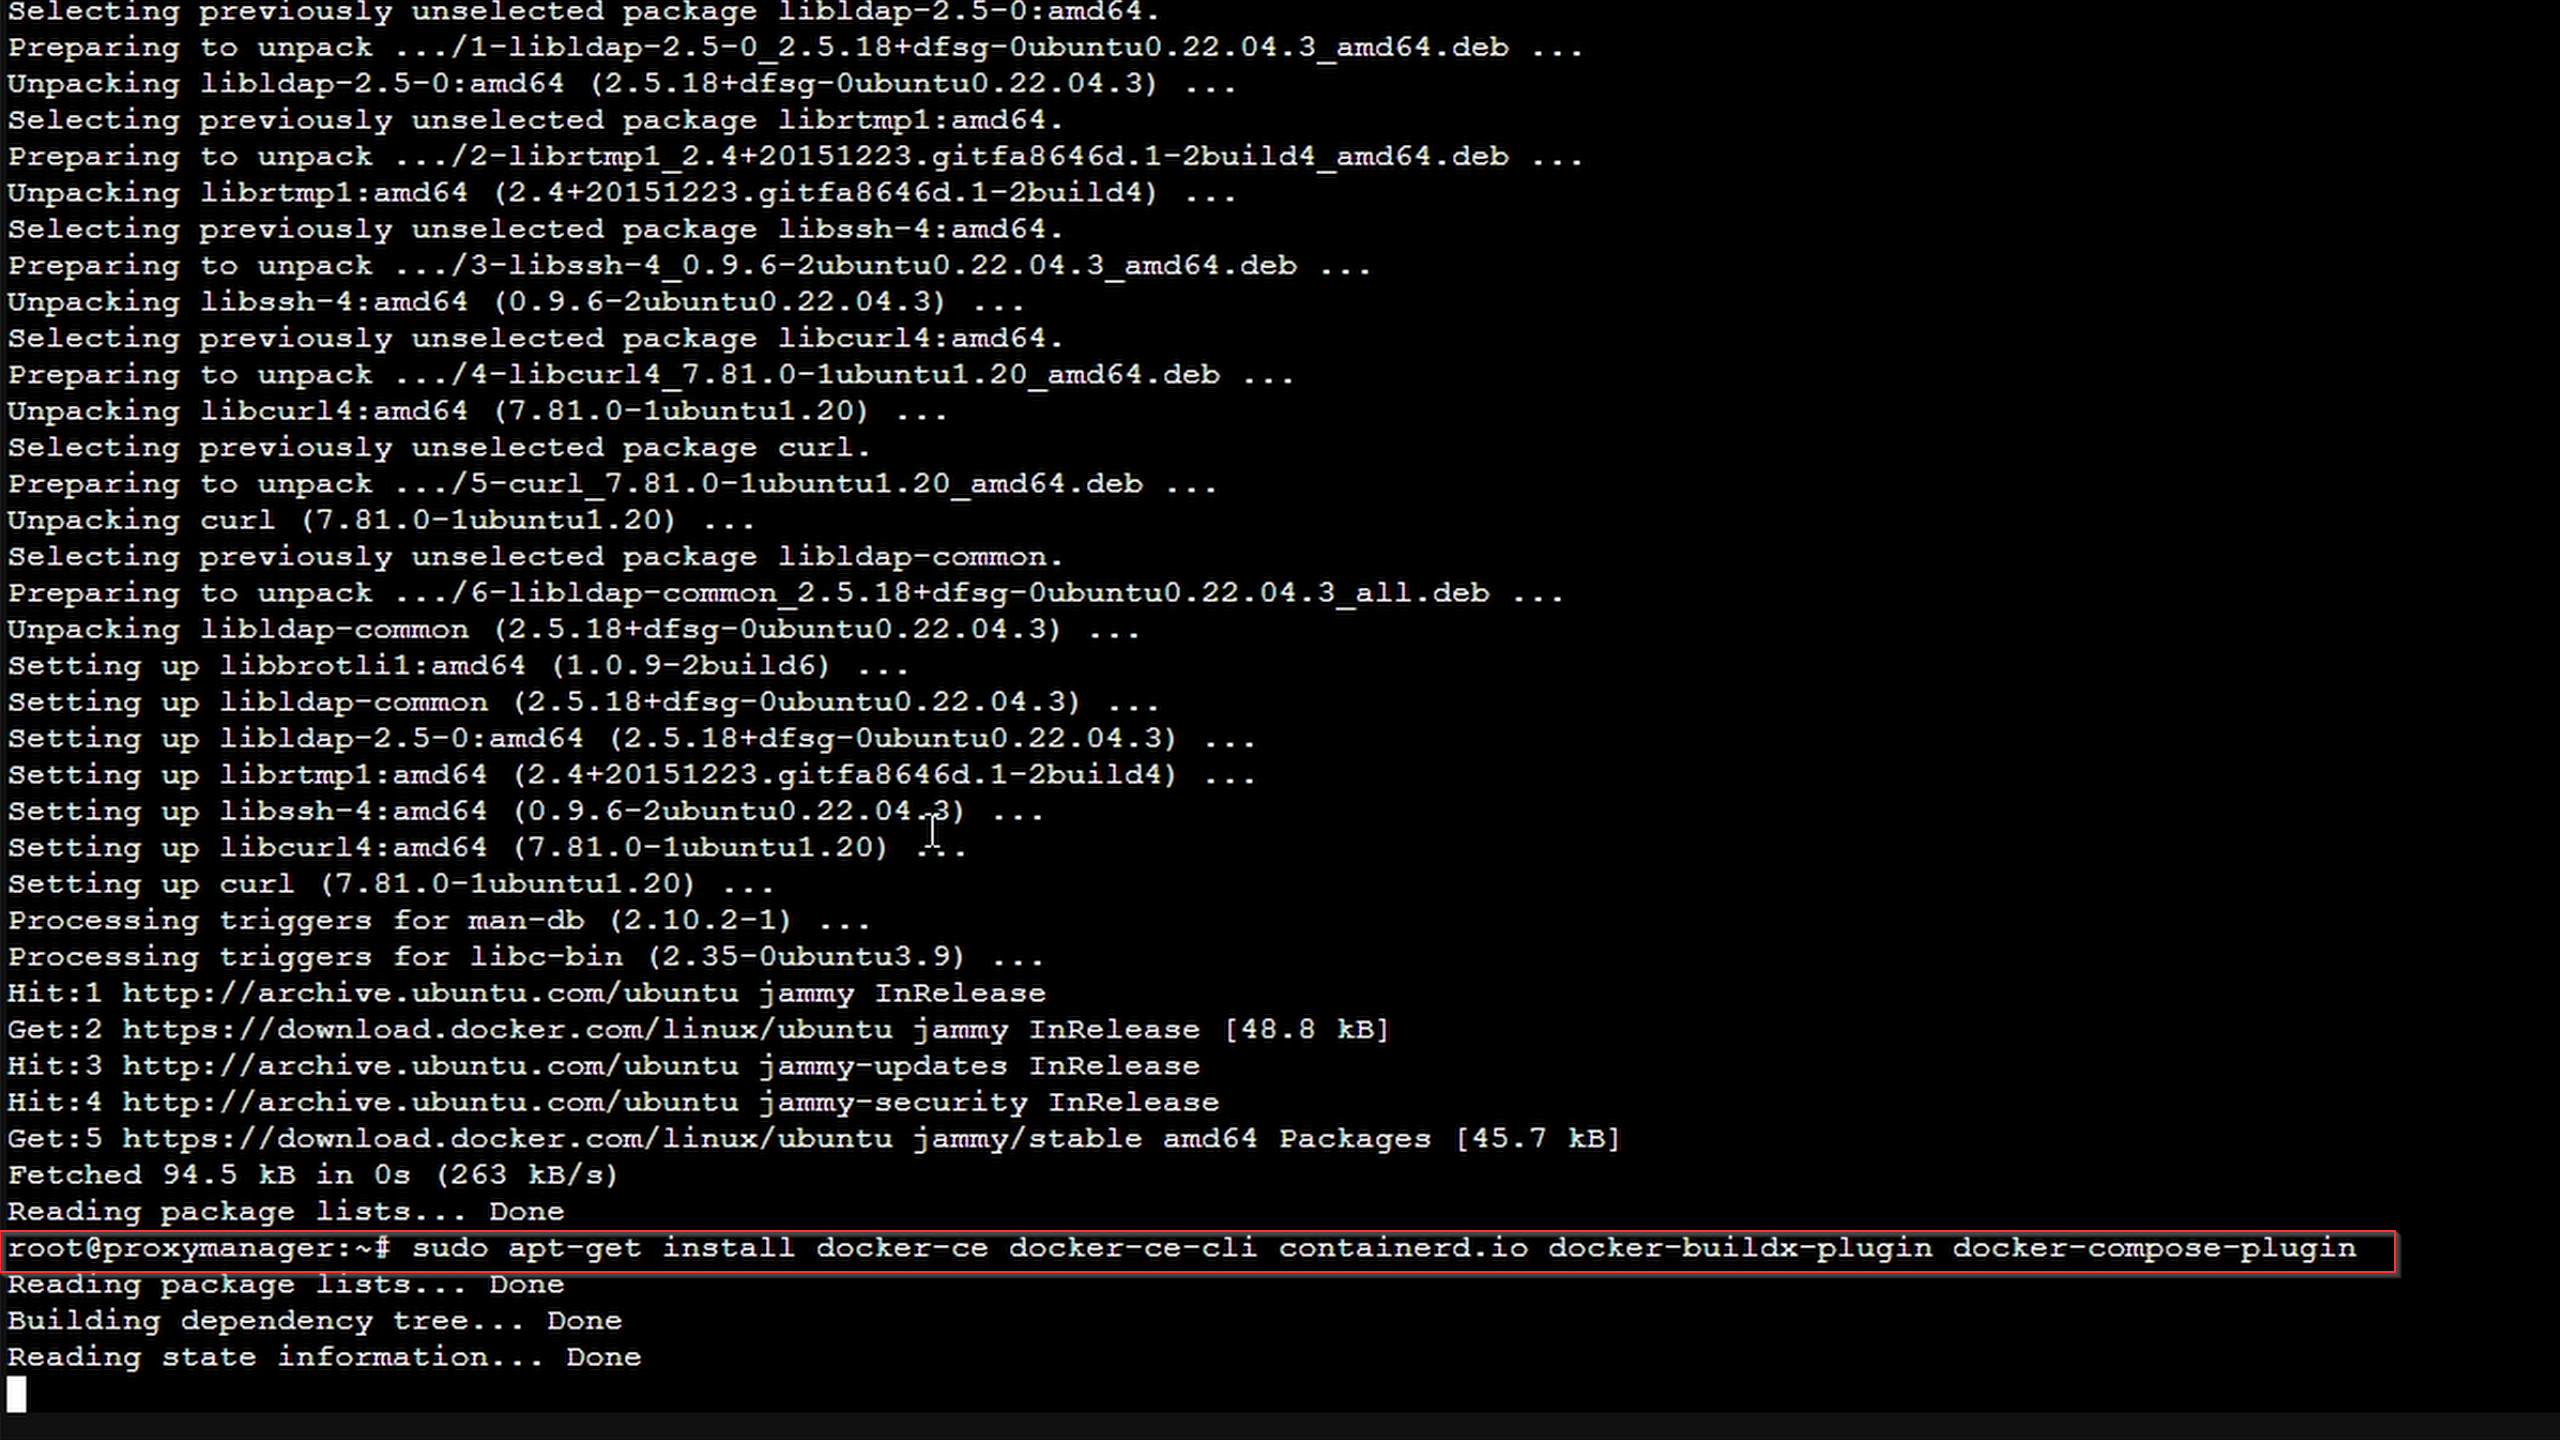
Install the Docker packages.
sudo apt-get install docker-ce docker-ce-cli containerd.io docker-buildx-plugin docker-compose-plugin
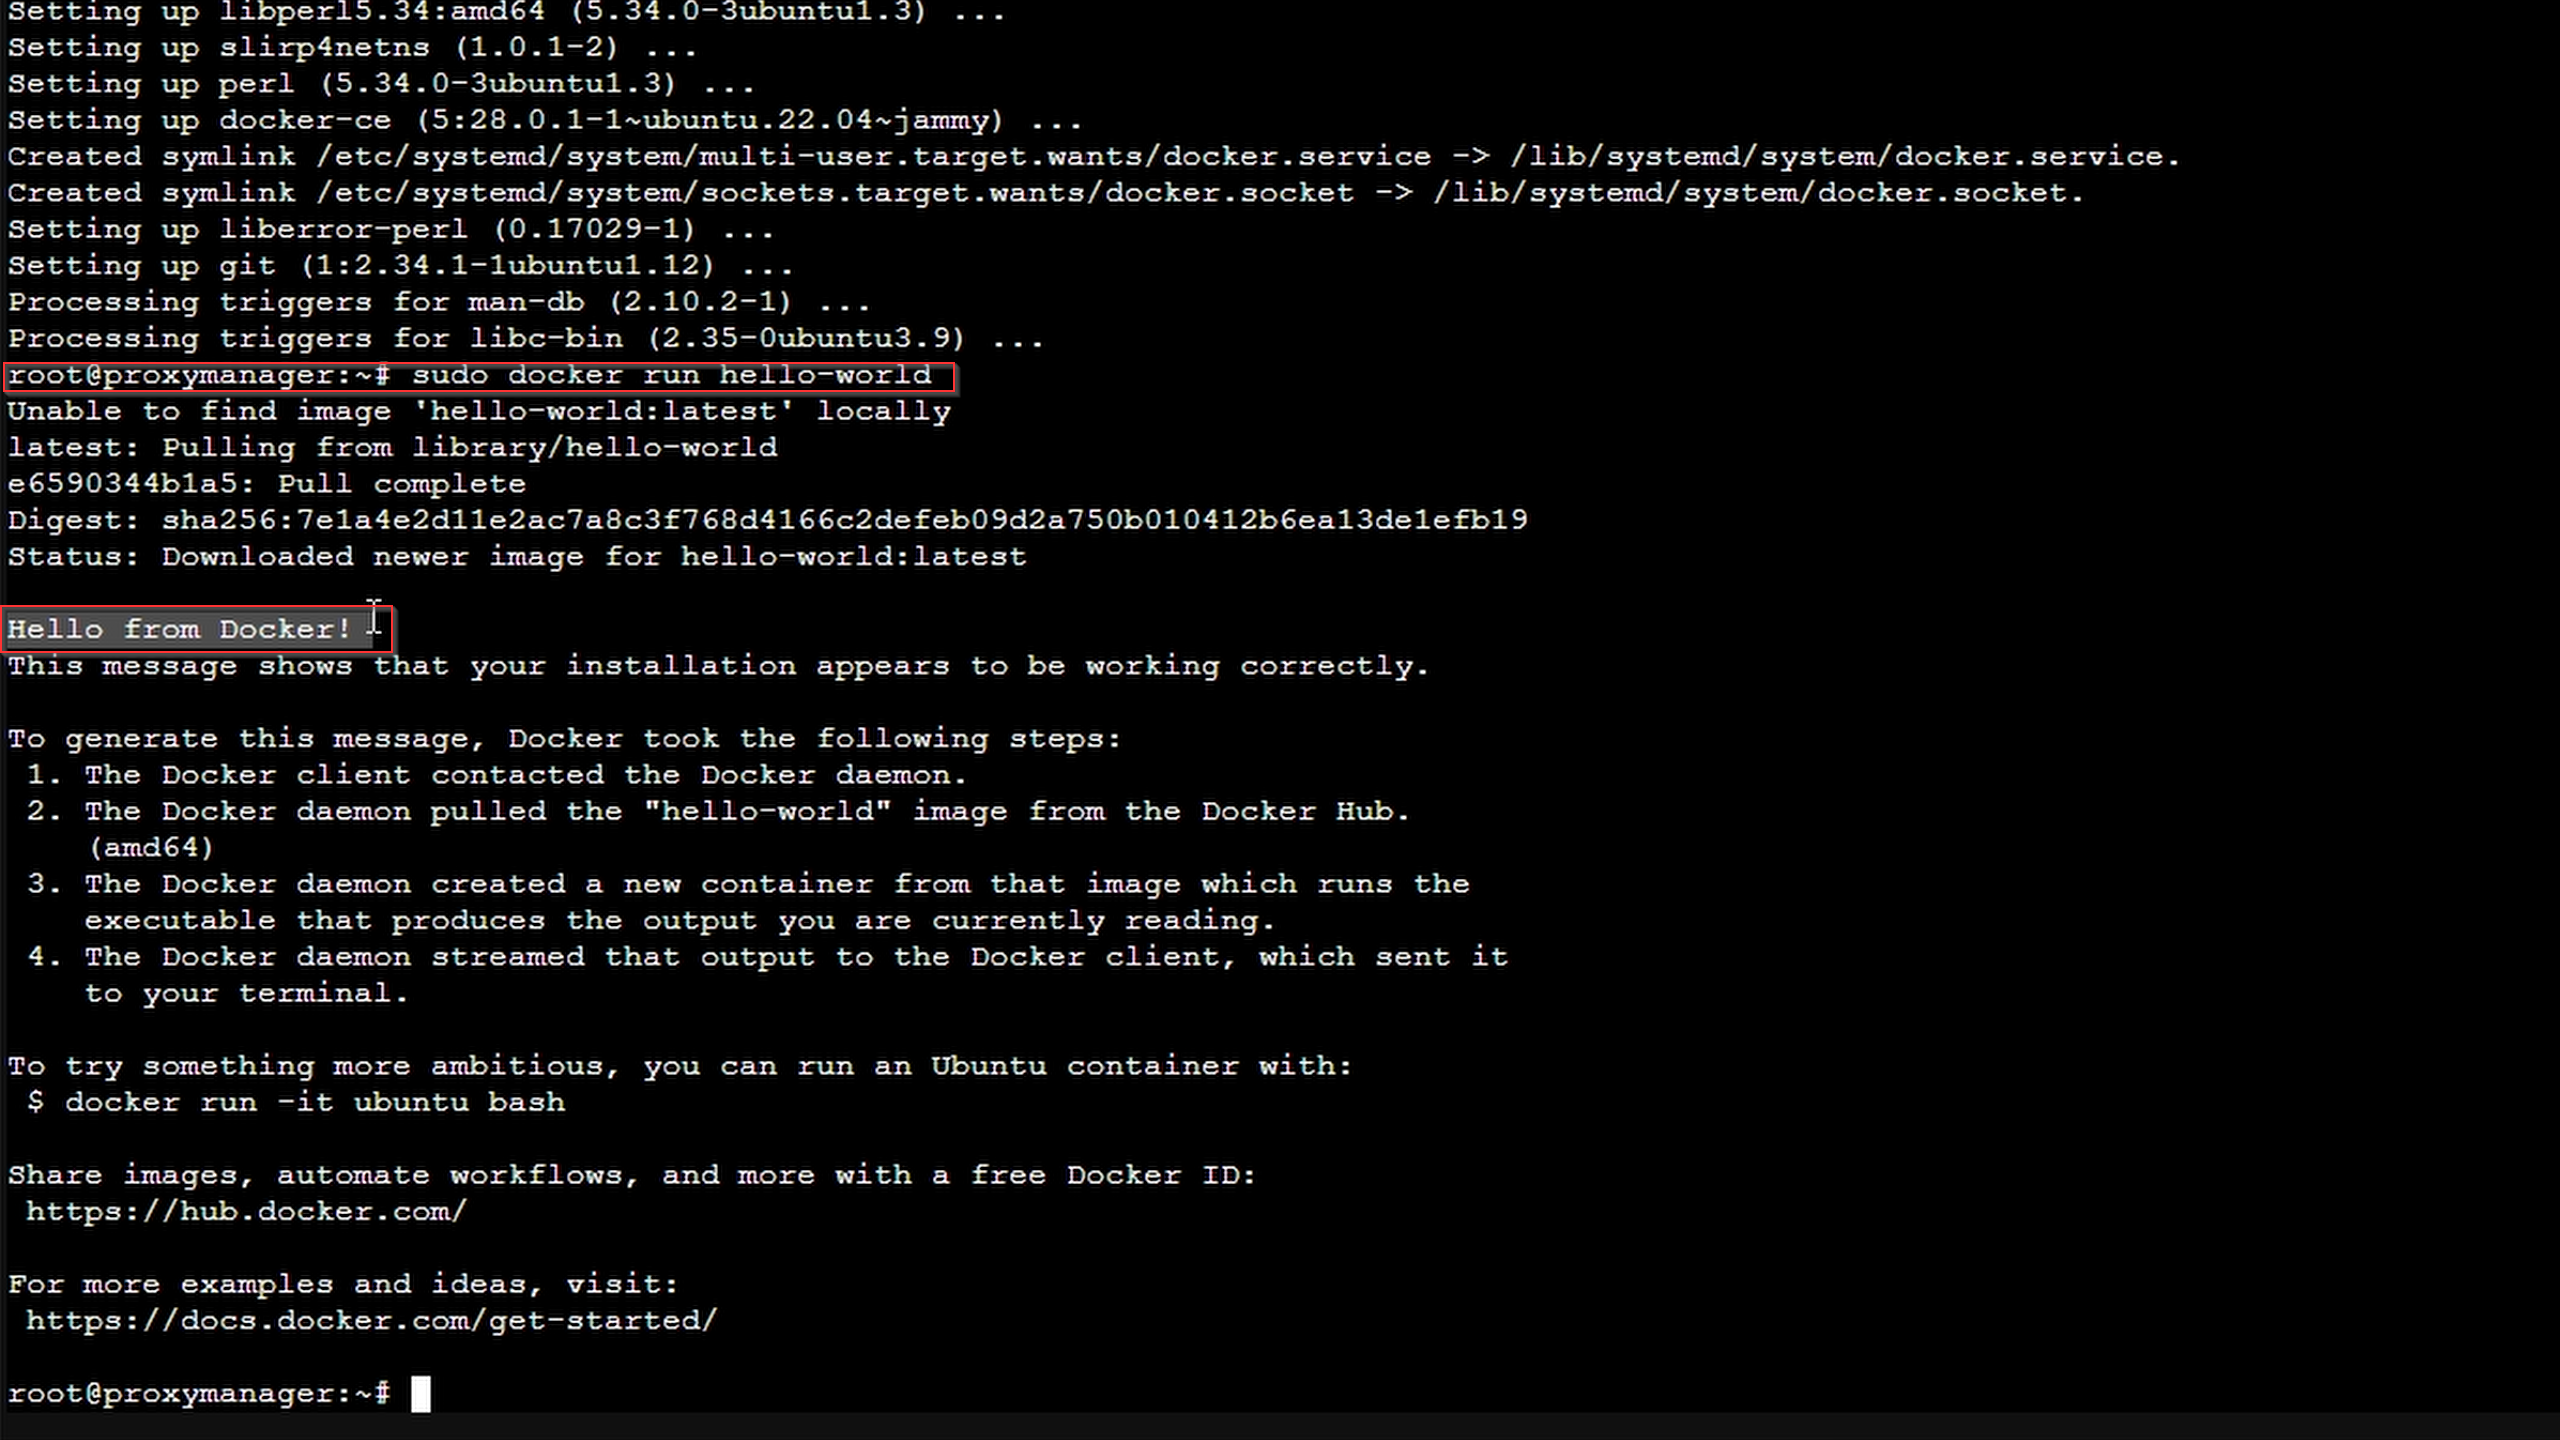
Verify that the installation is successful by running the hello-world image:
Creating the Nginx Docker Compose File
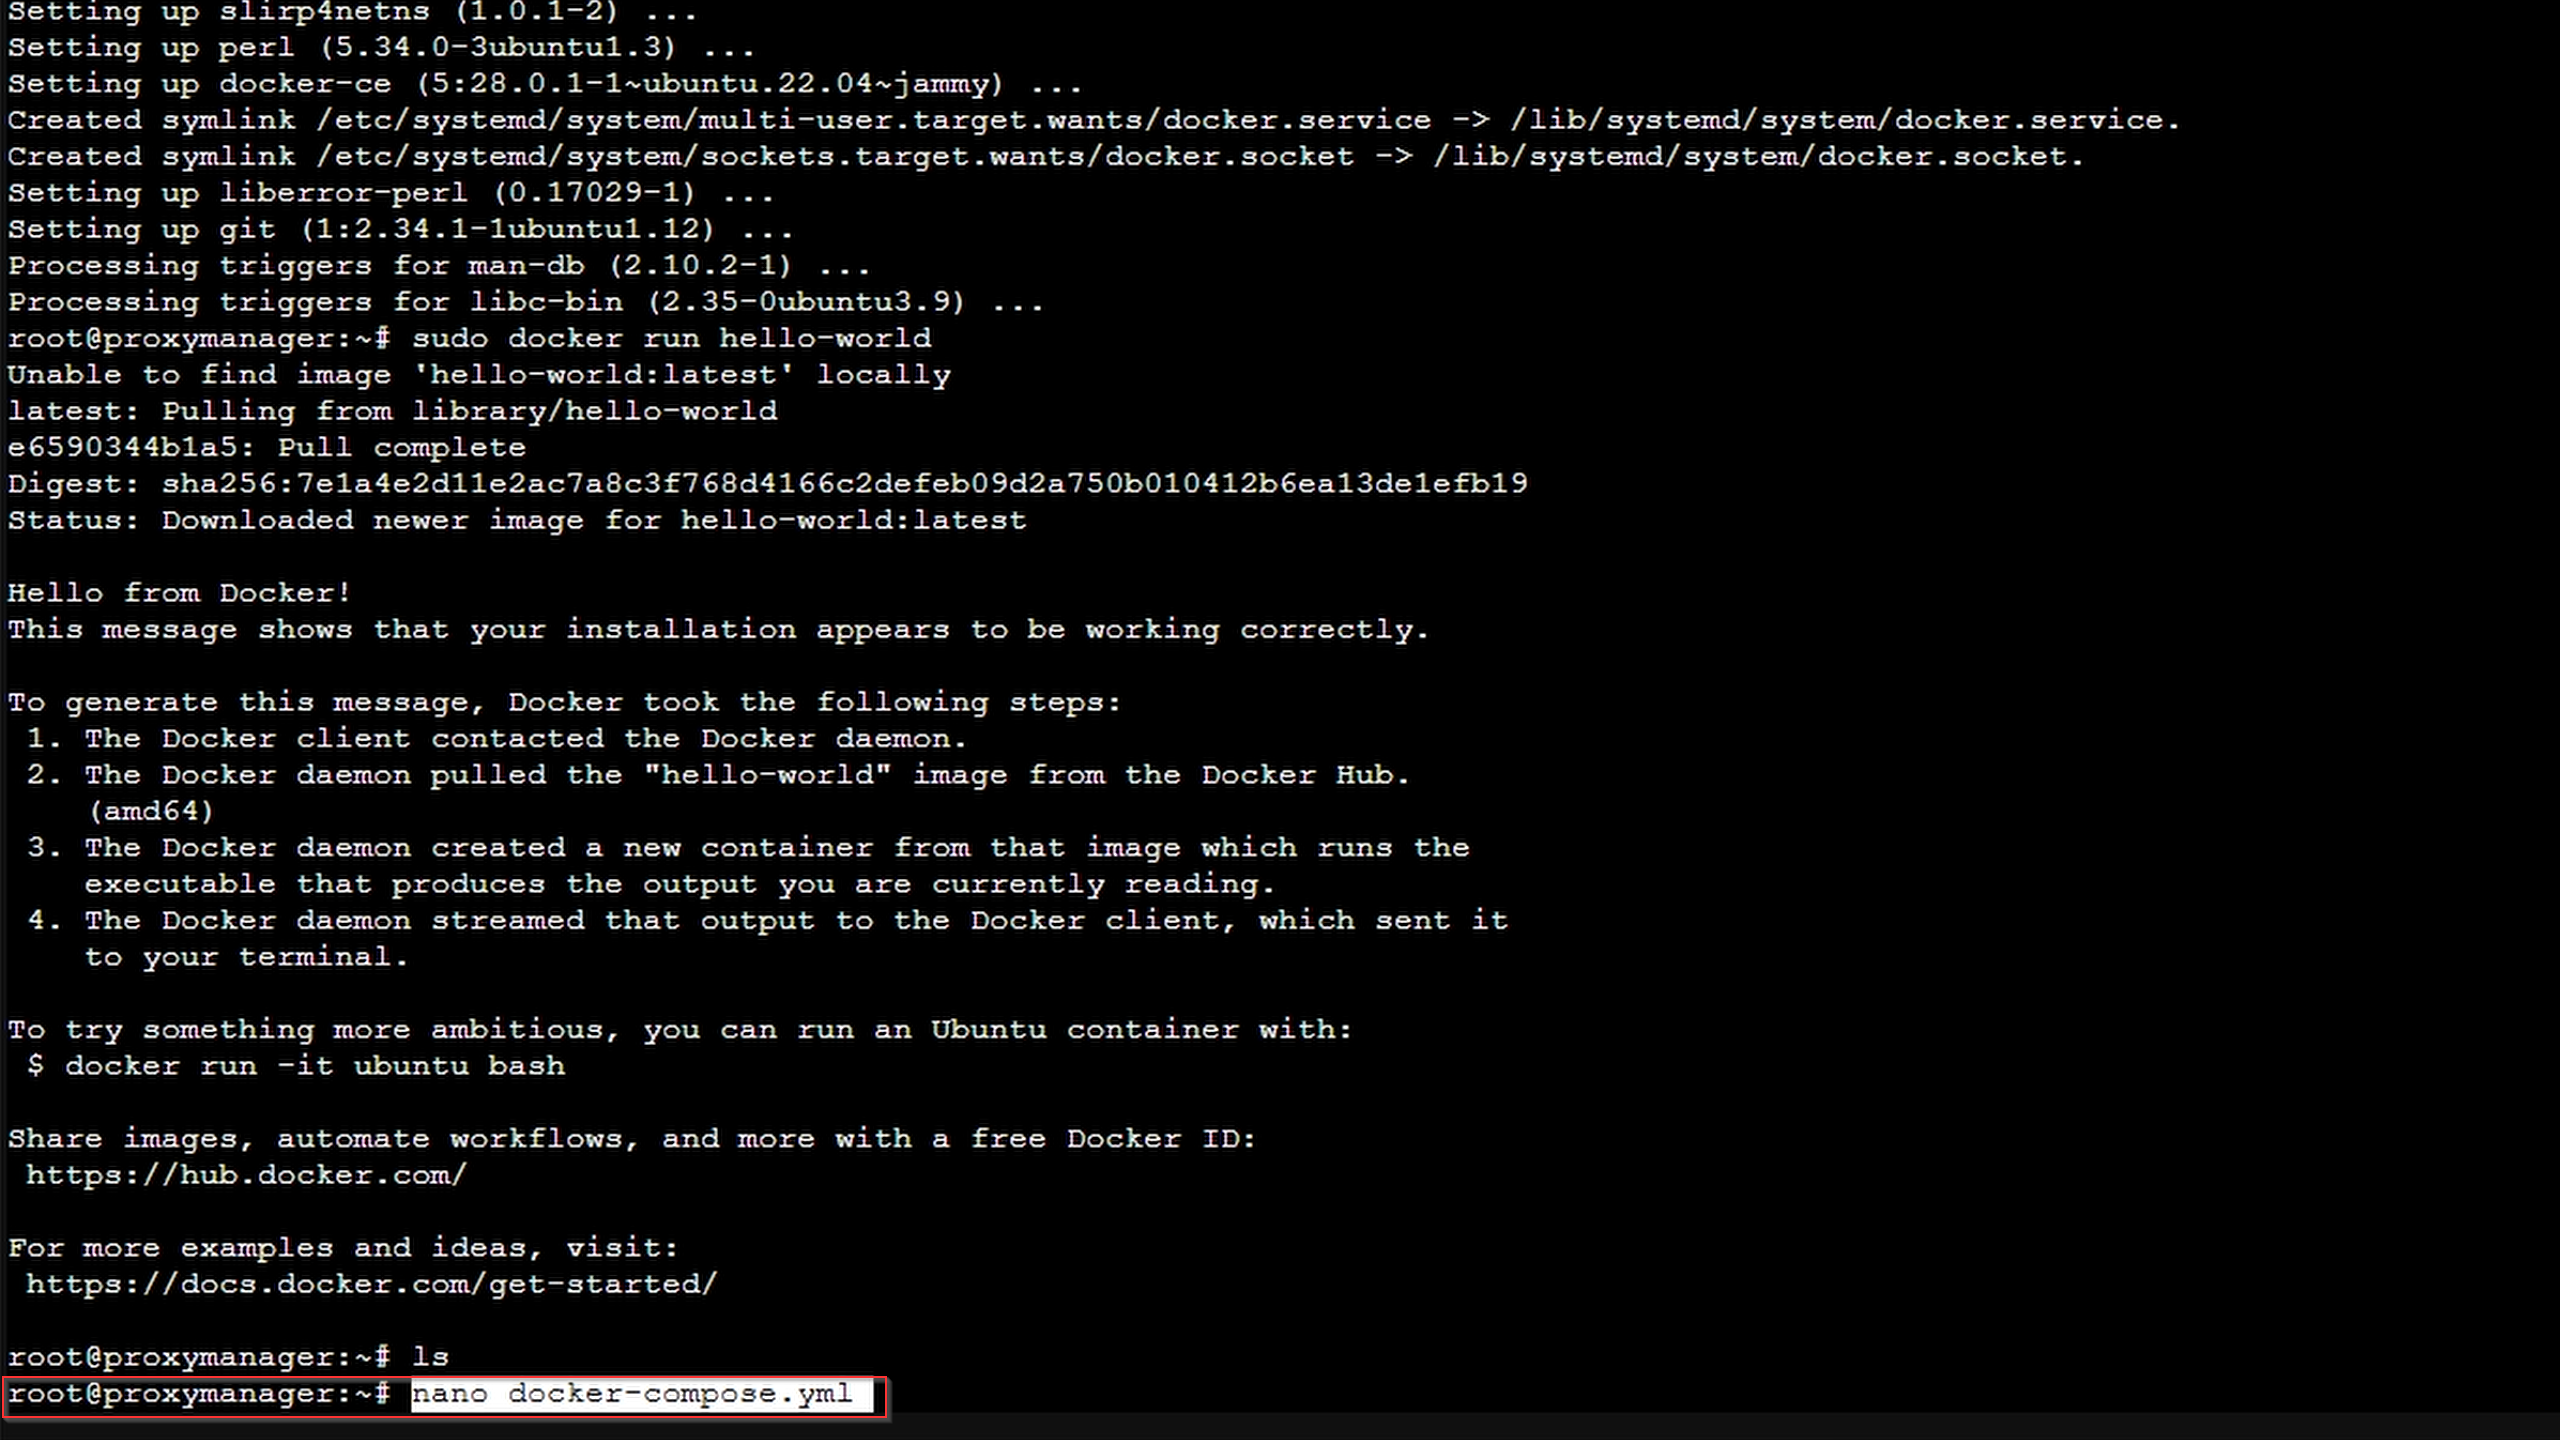
Go ahead and create the docker-compose file with
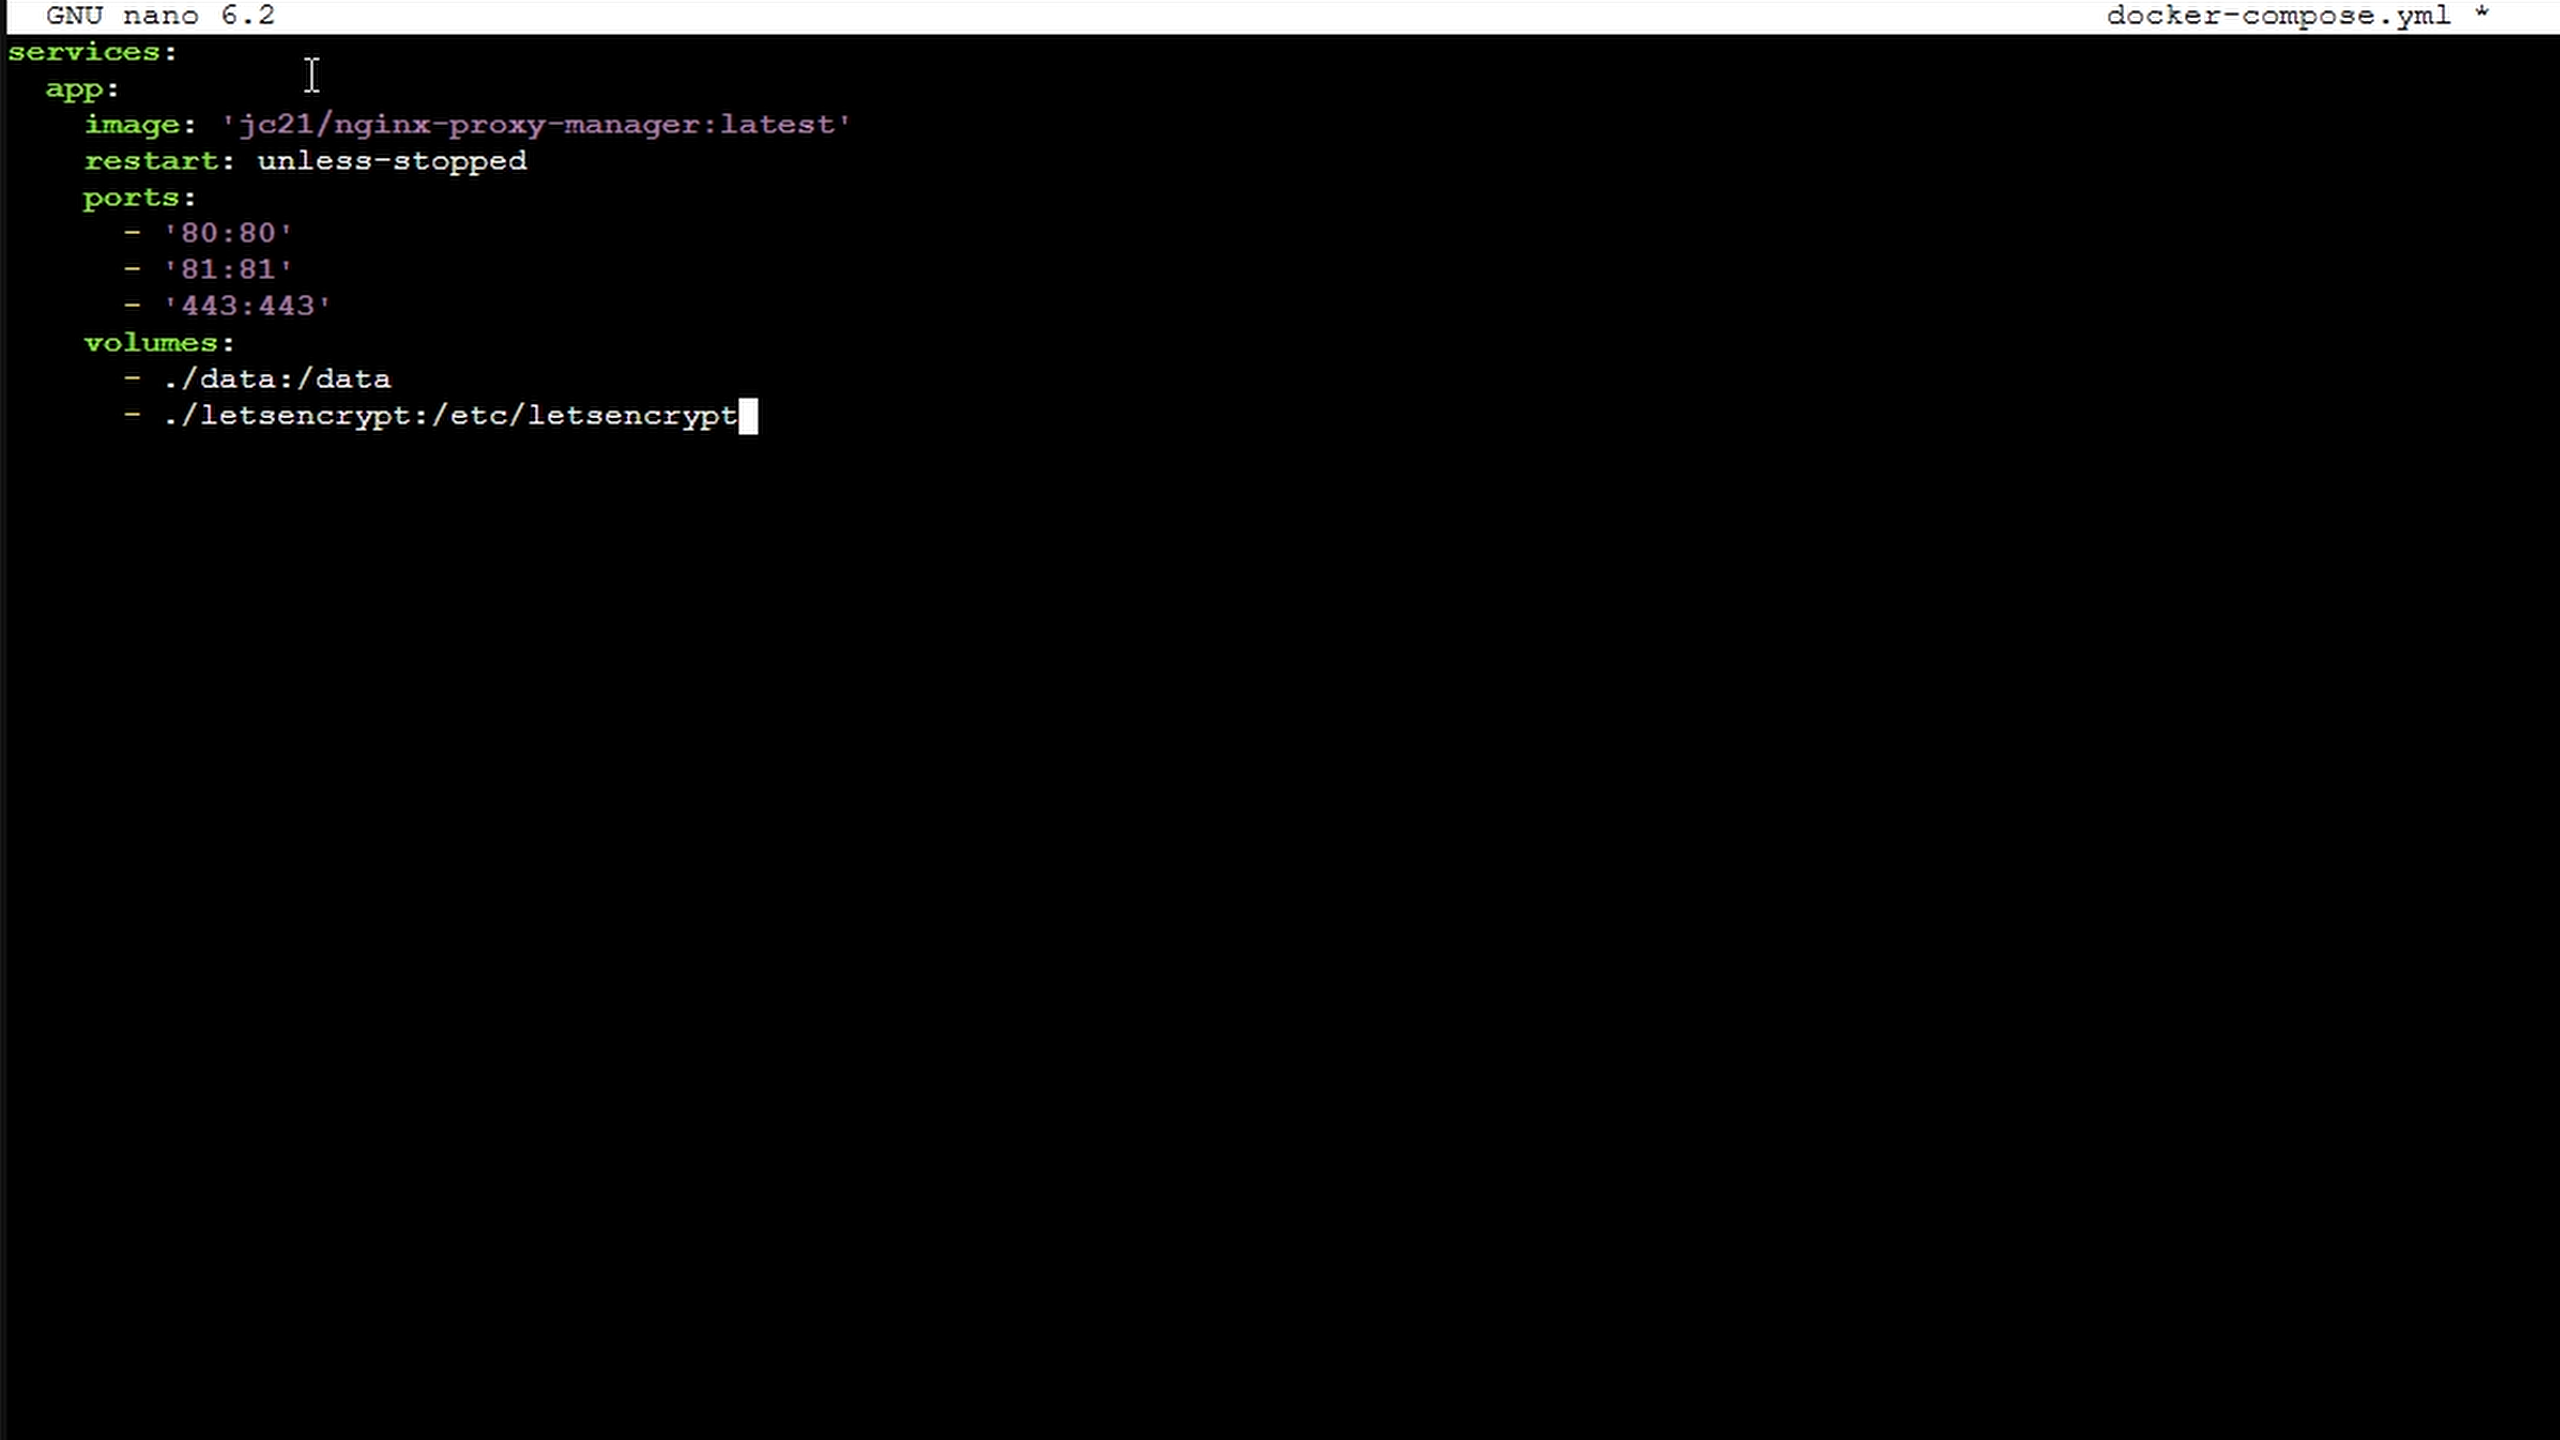
Then you need to paste the MINIMUM required to compose file content, which is:
services:
  app:
    image: 'jc21/nginx-proxy-manager:latest'
    restart: unless-stopped
    ports:
      - '80:80'
      - '81:81'
      - '443:443'
    volumes:
      - ./data:/data
      - ./letsencrypt:/etc/letsencrypt
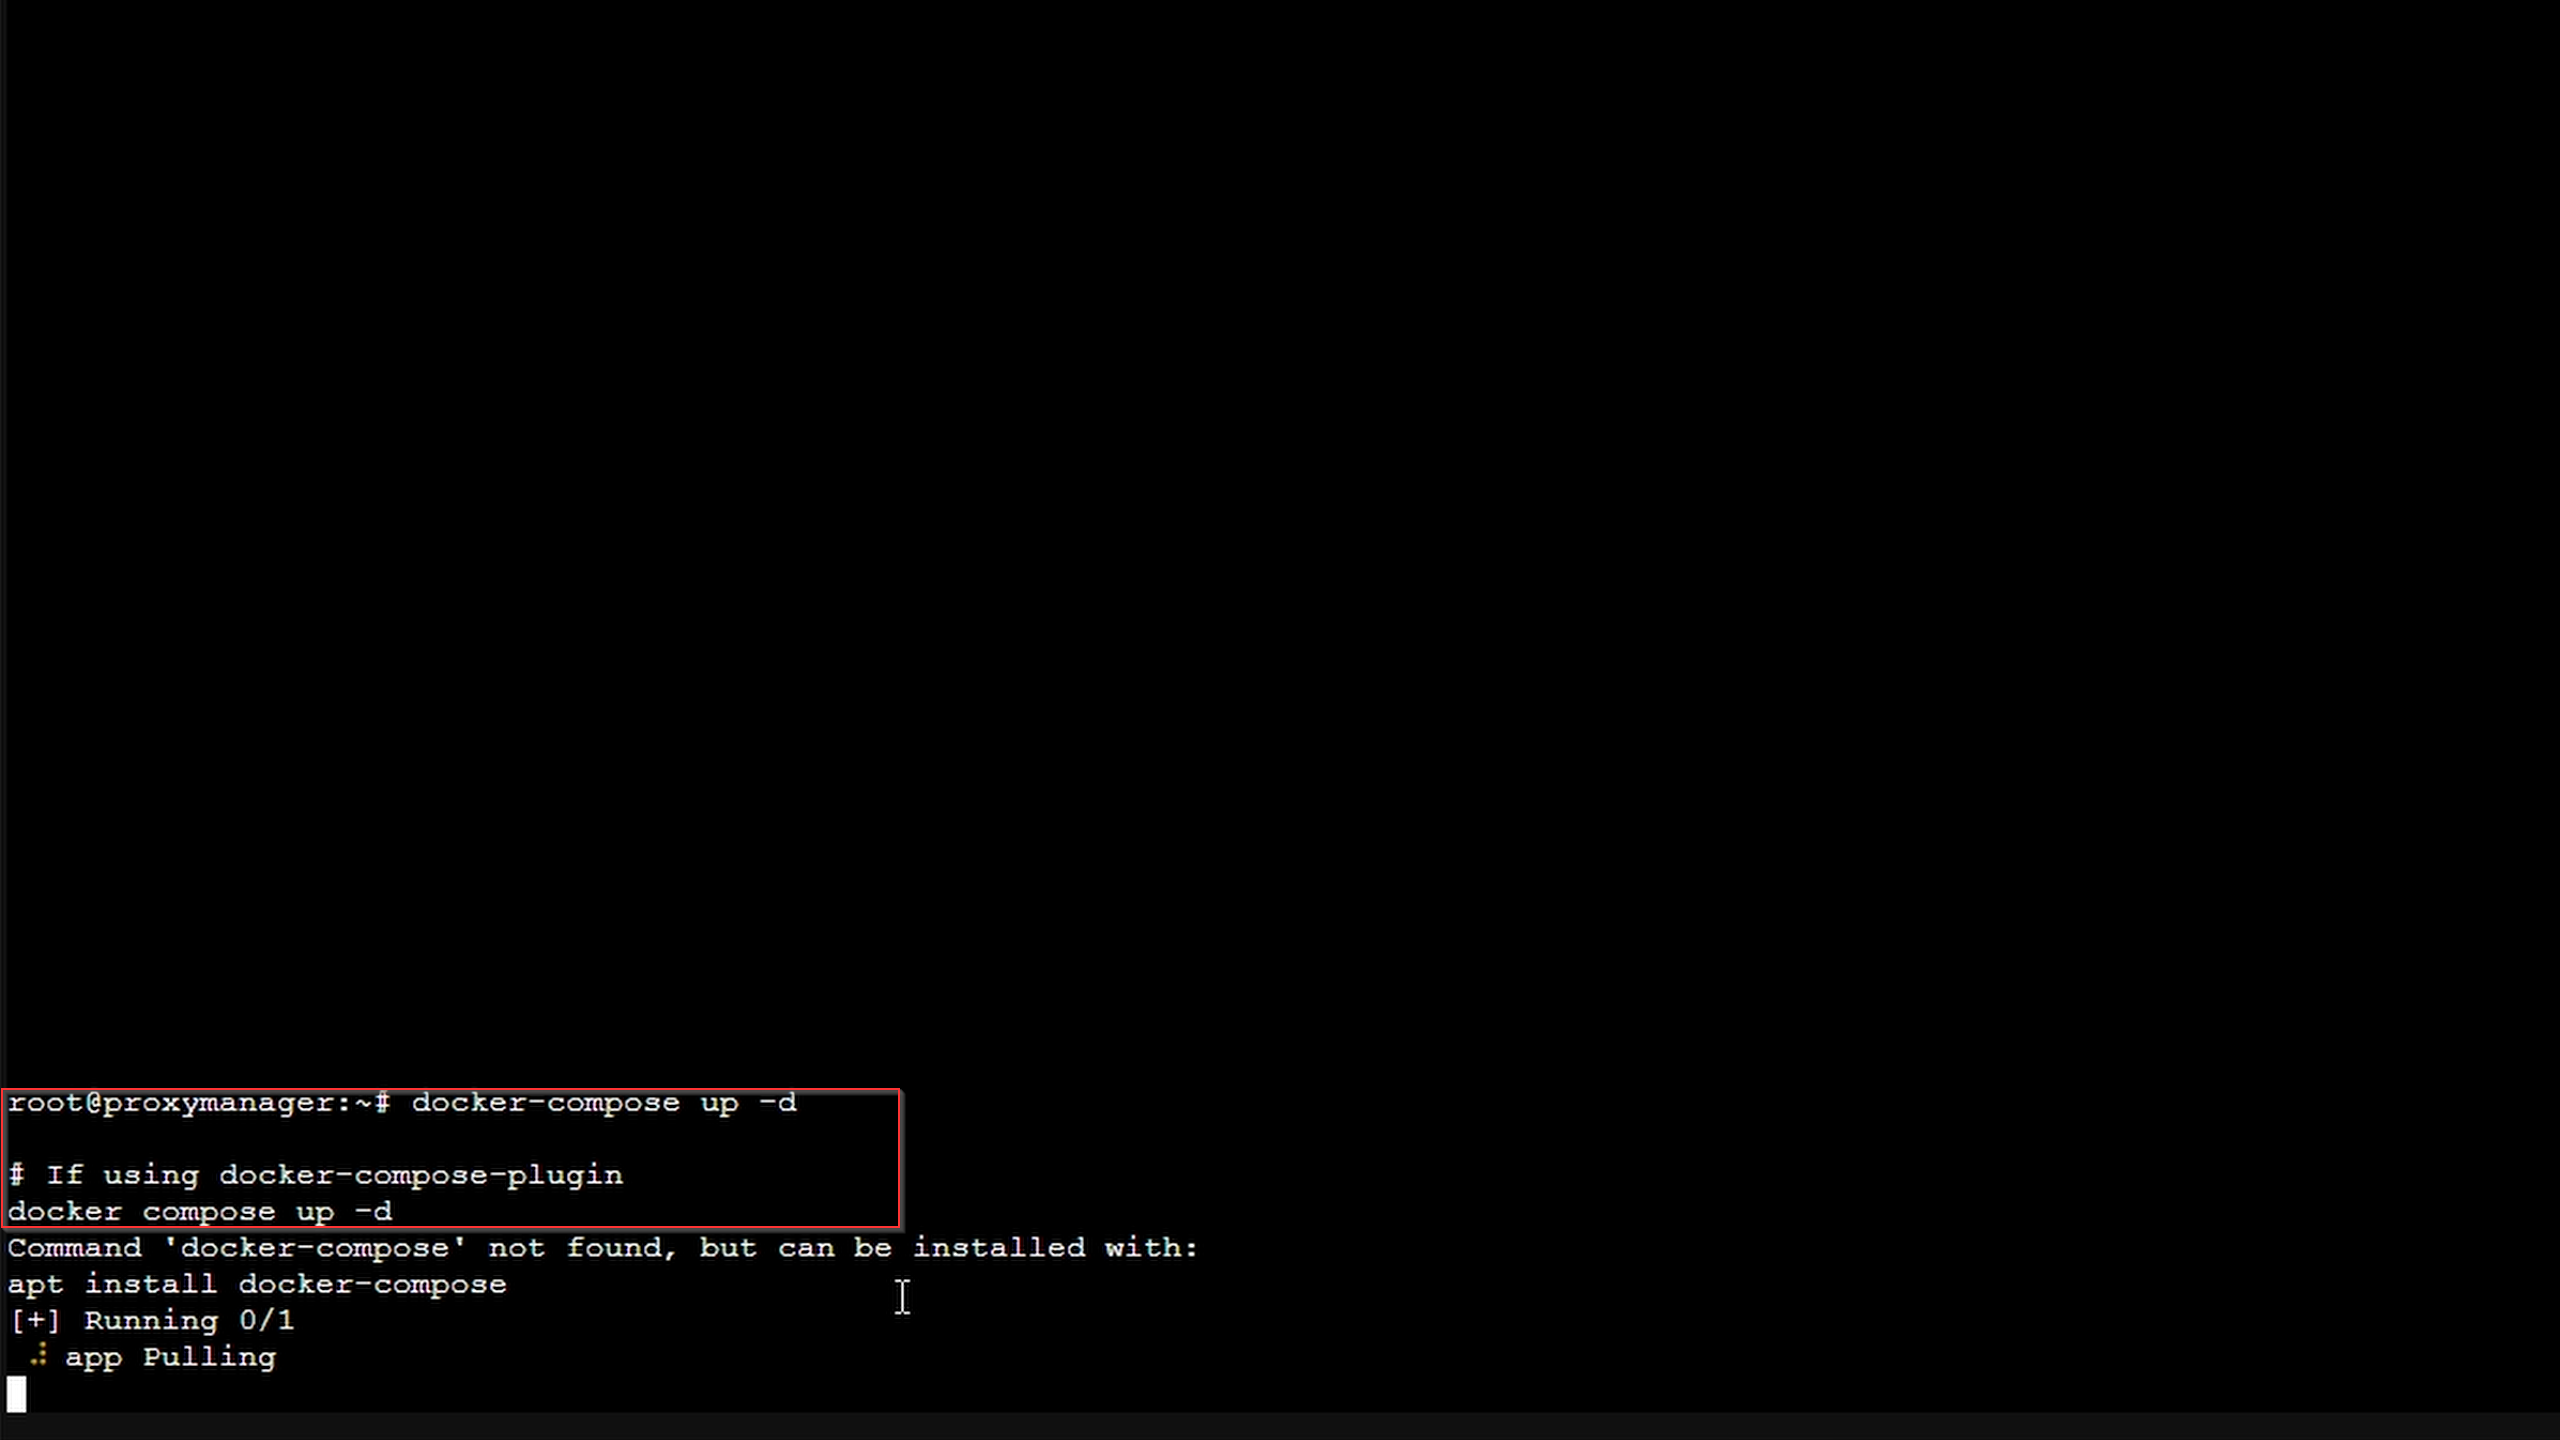
Bring up your stack with:
How to Login to Nginx Proxy Manager
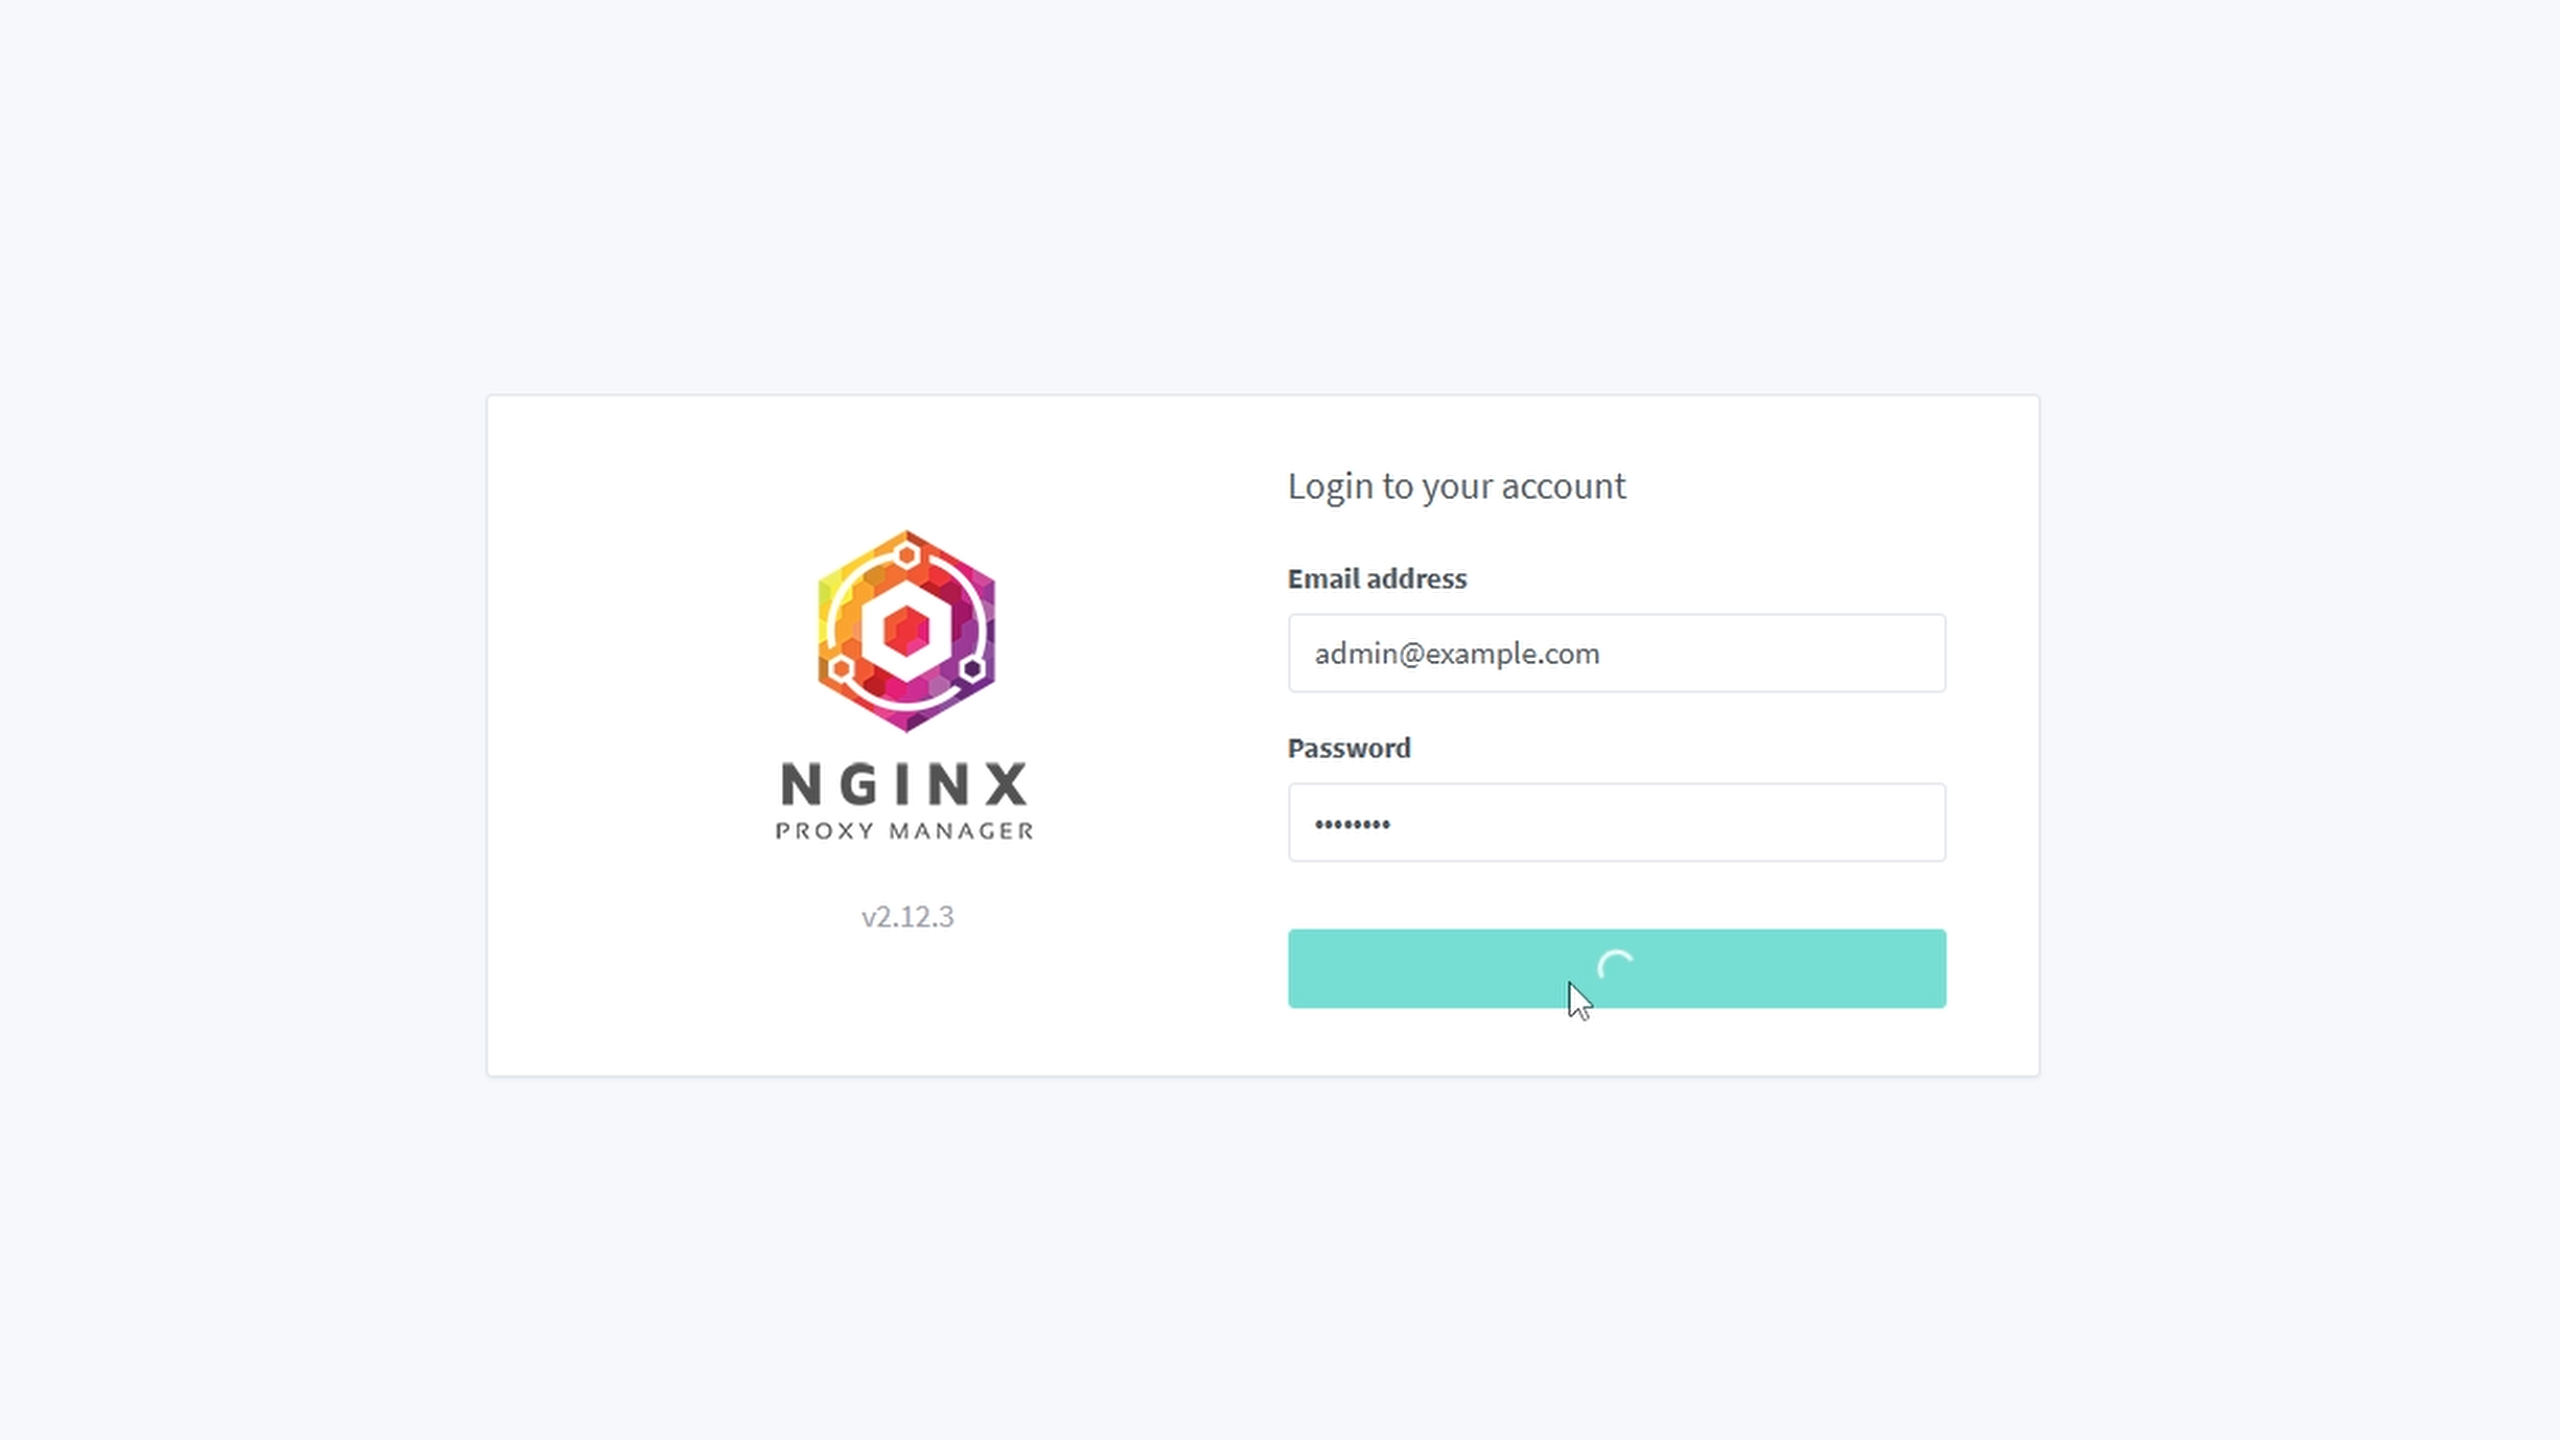
When your docker container runs, connect to the IP on the port 81 for the admin interface. Sometimes, this can take a little bit because of the entropy of keys. Then create your own username, email, and password.
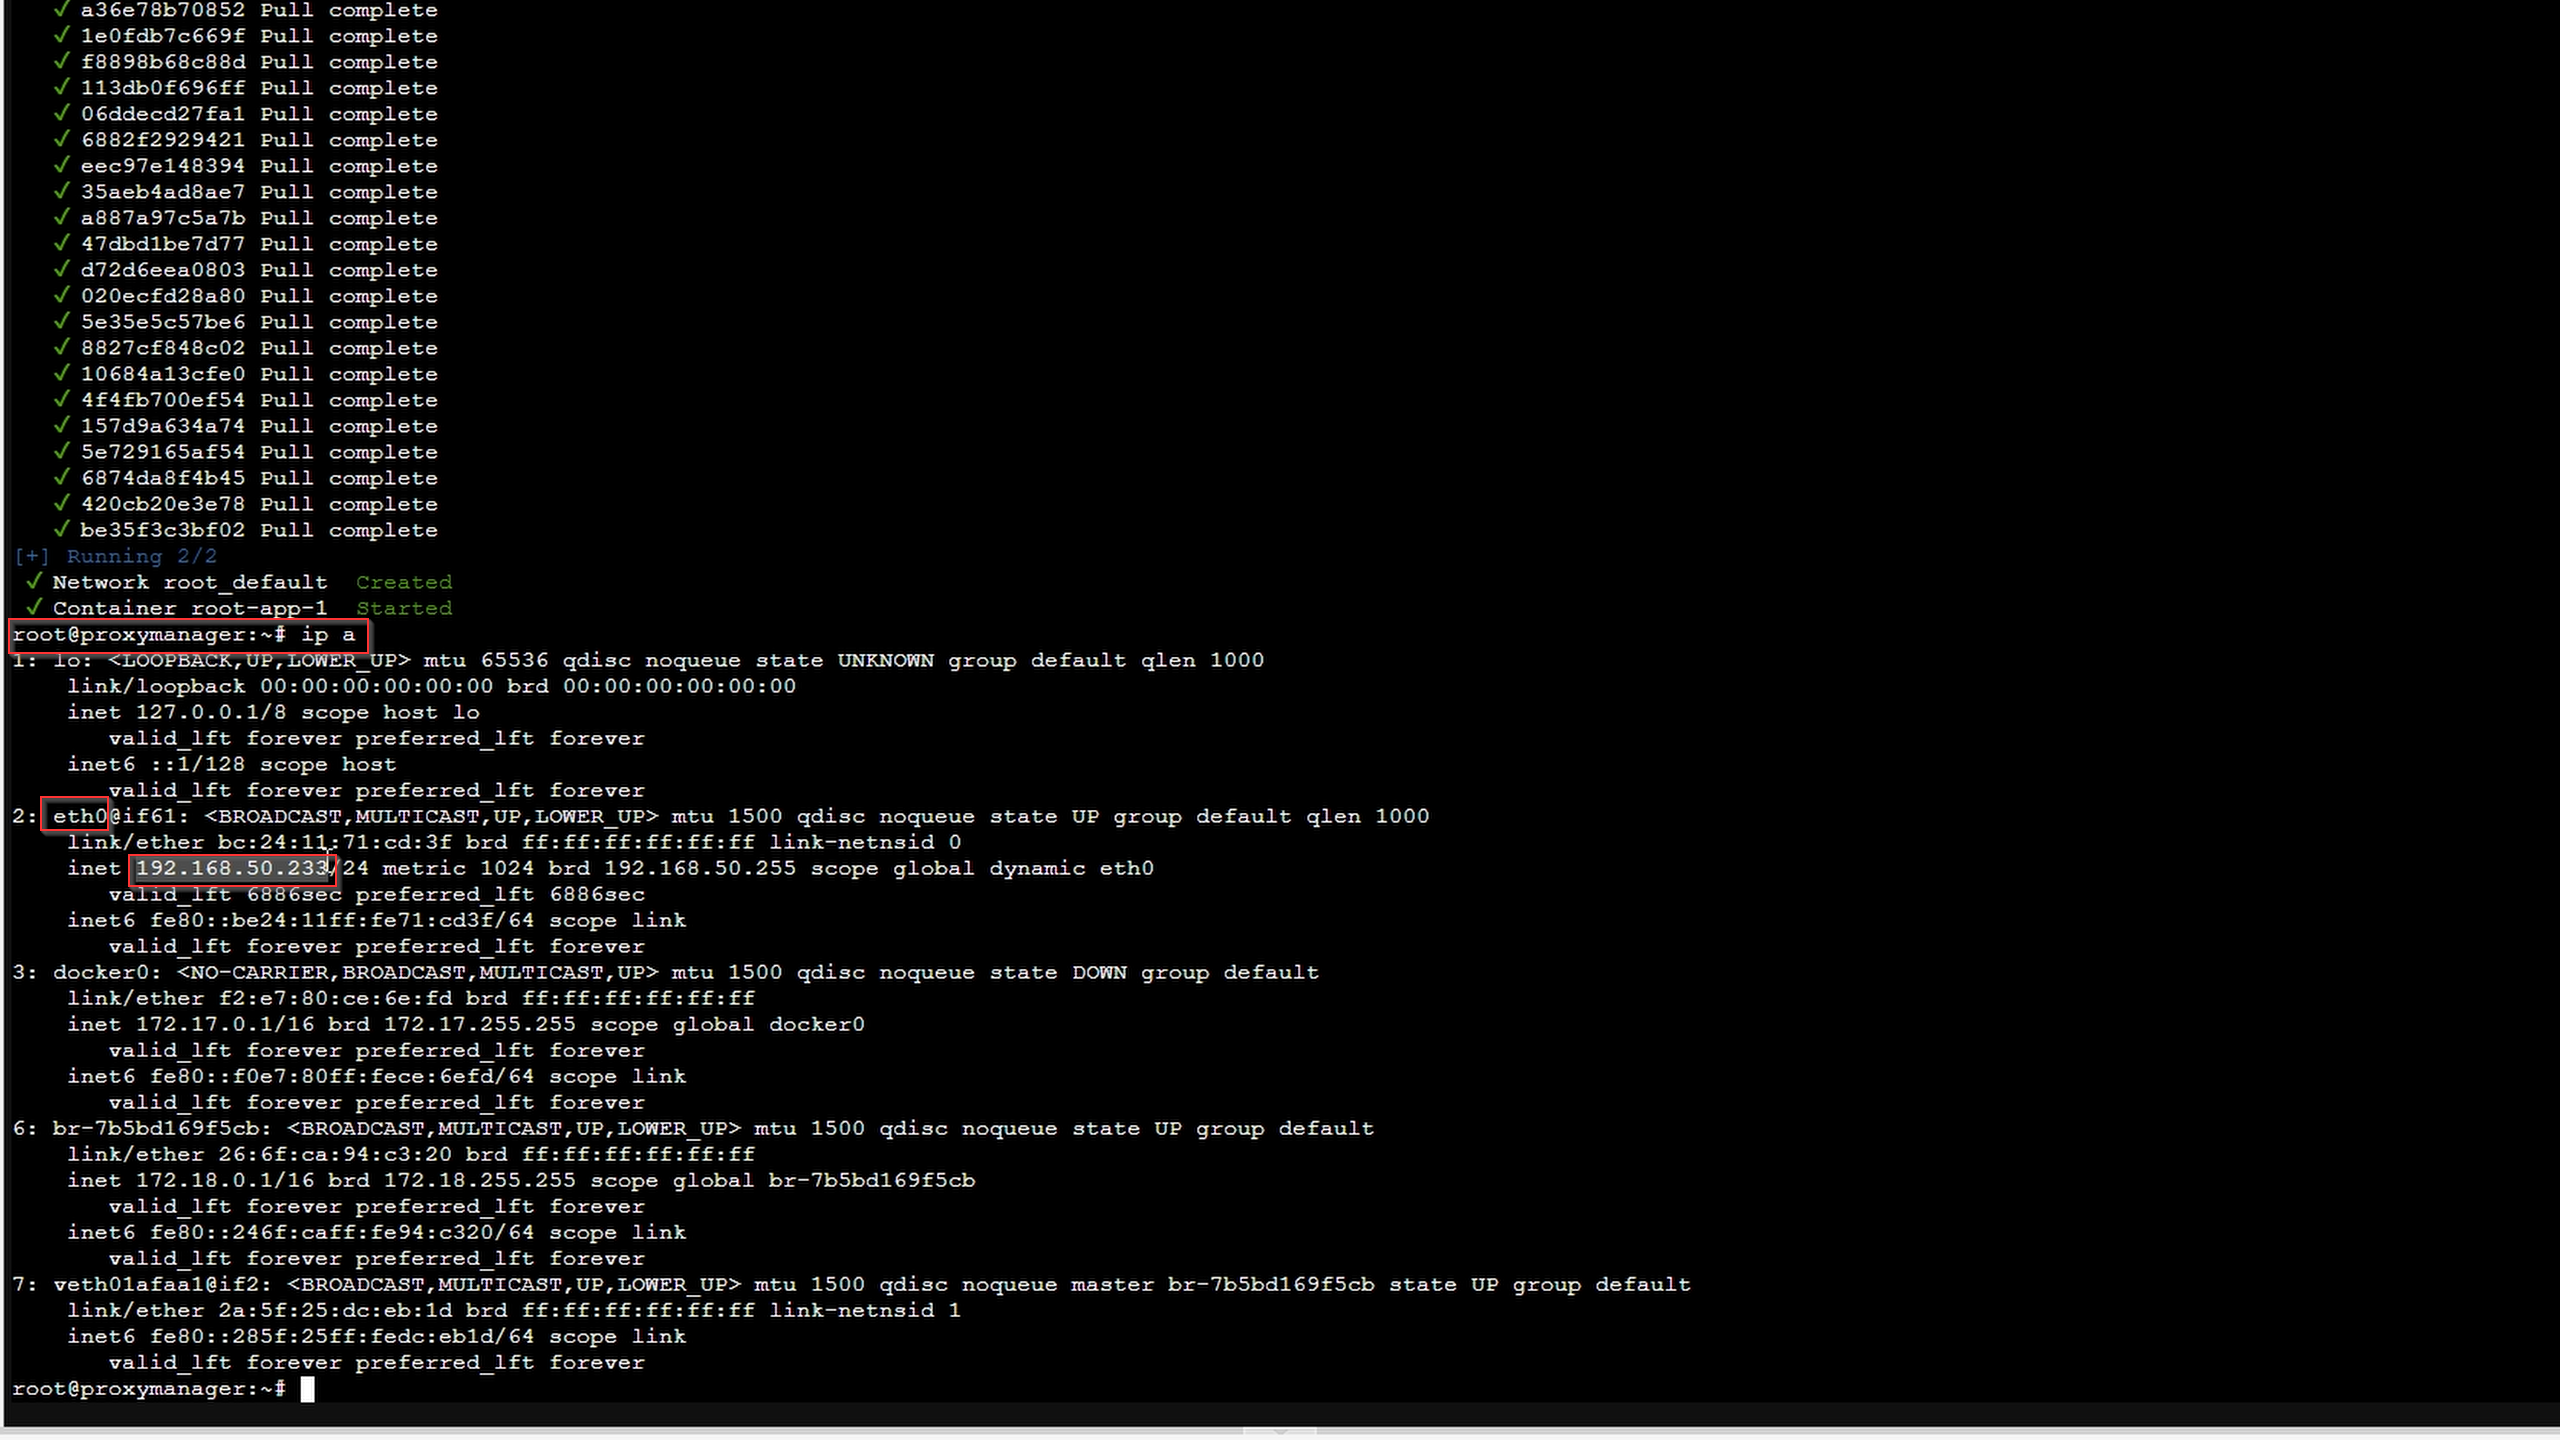
If you do not know your VM/CT IP you can use the following command to find it:
Then head to the site in your browser using:
Email:
Password:
Creating your DuckDNS SSL Certificate
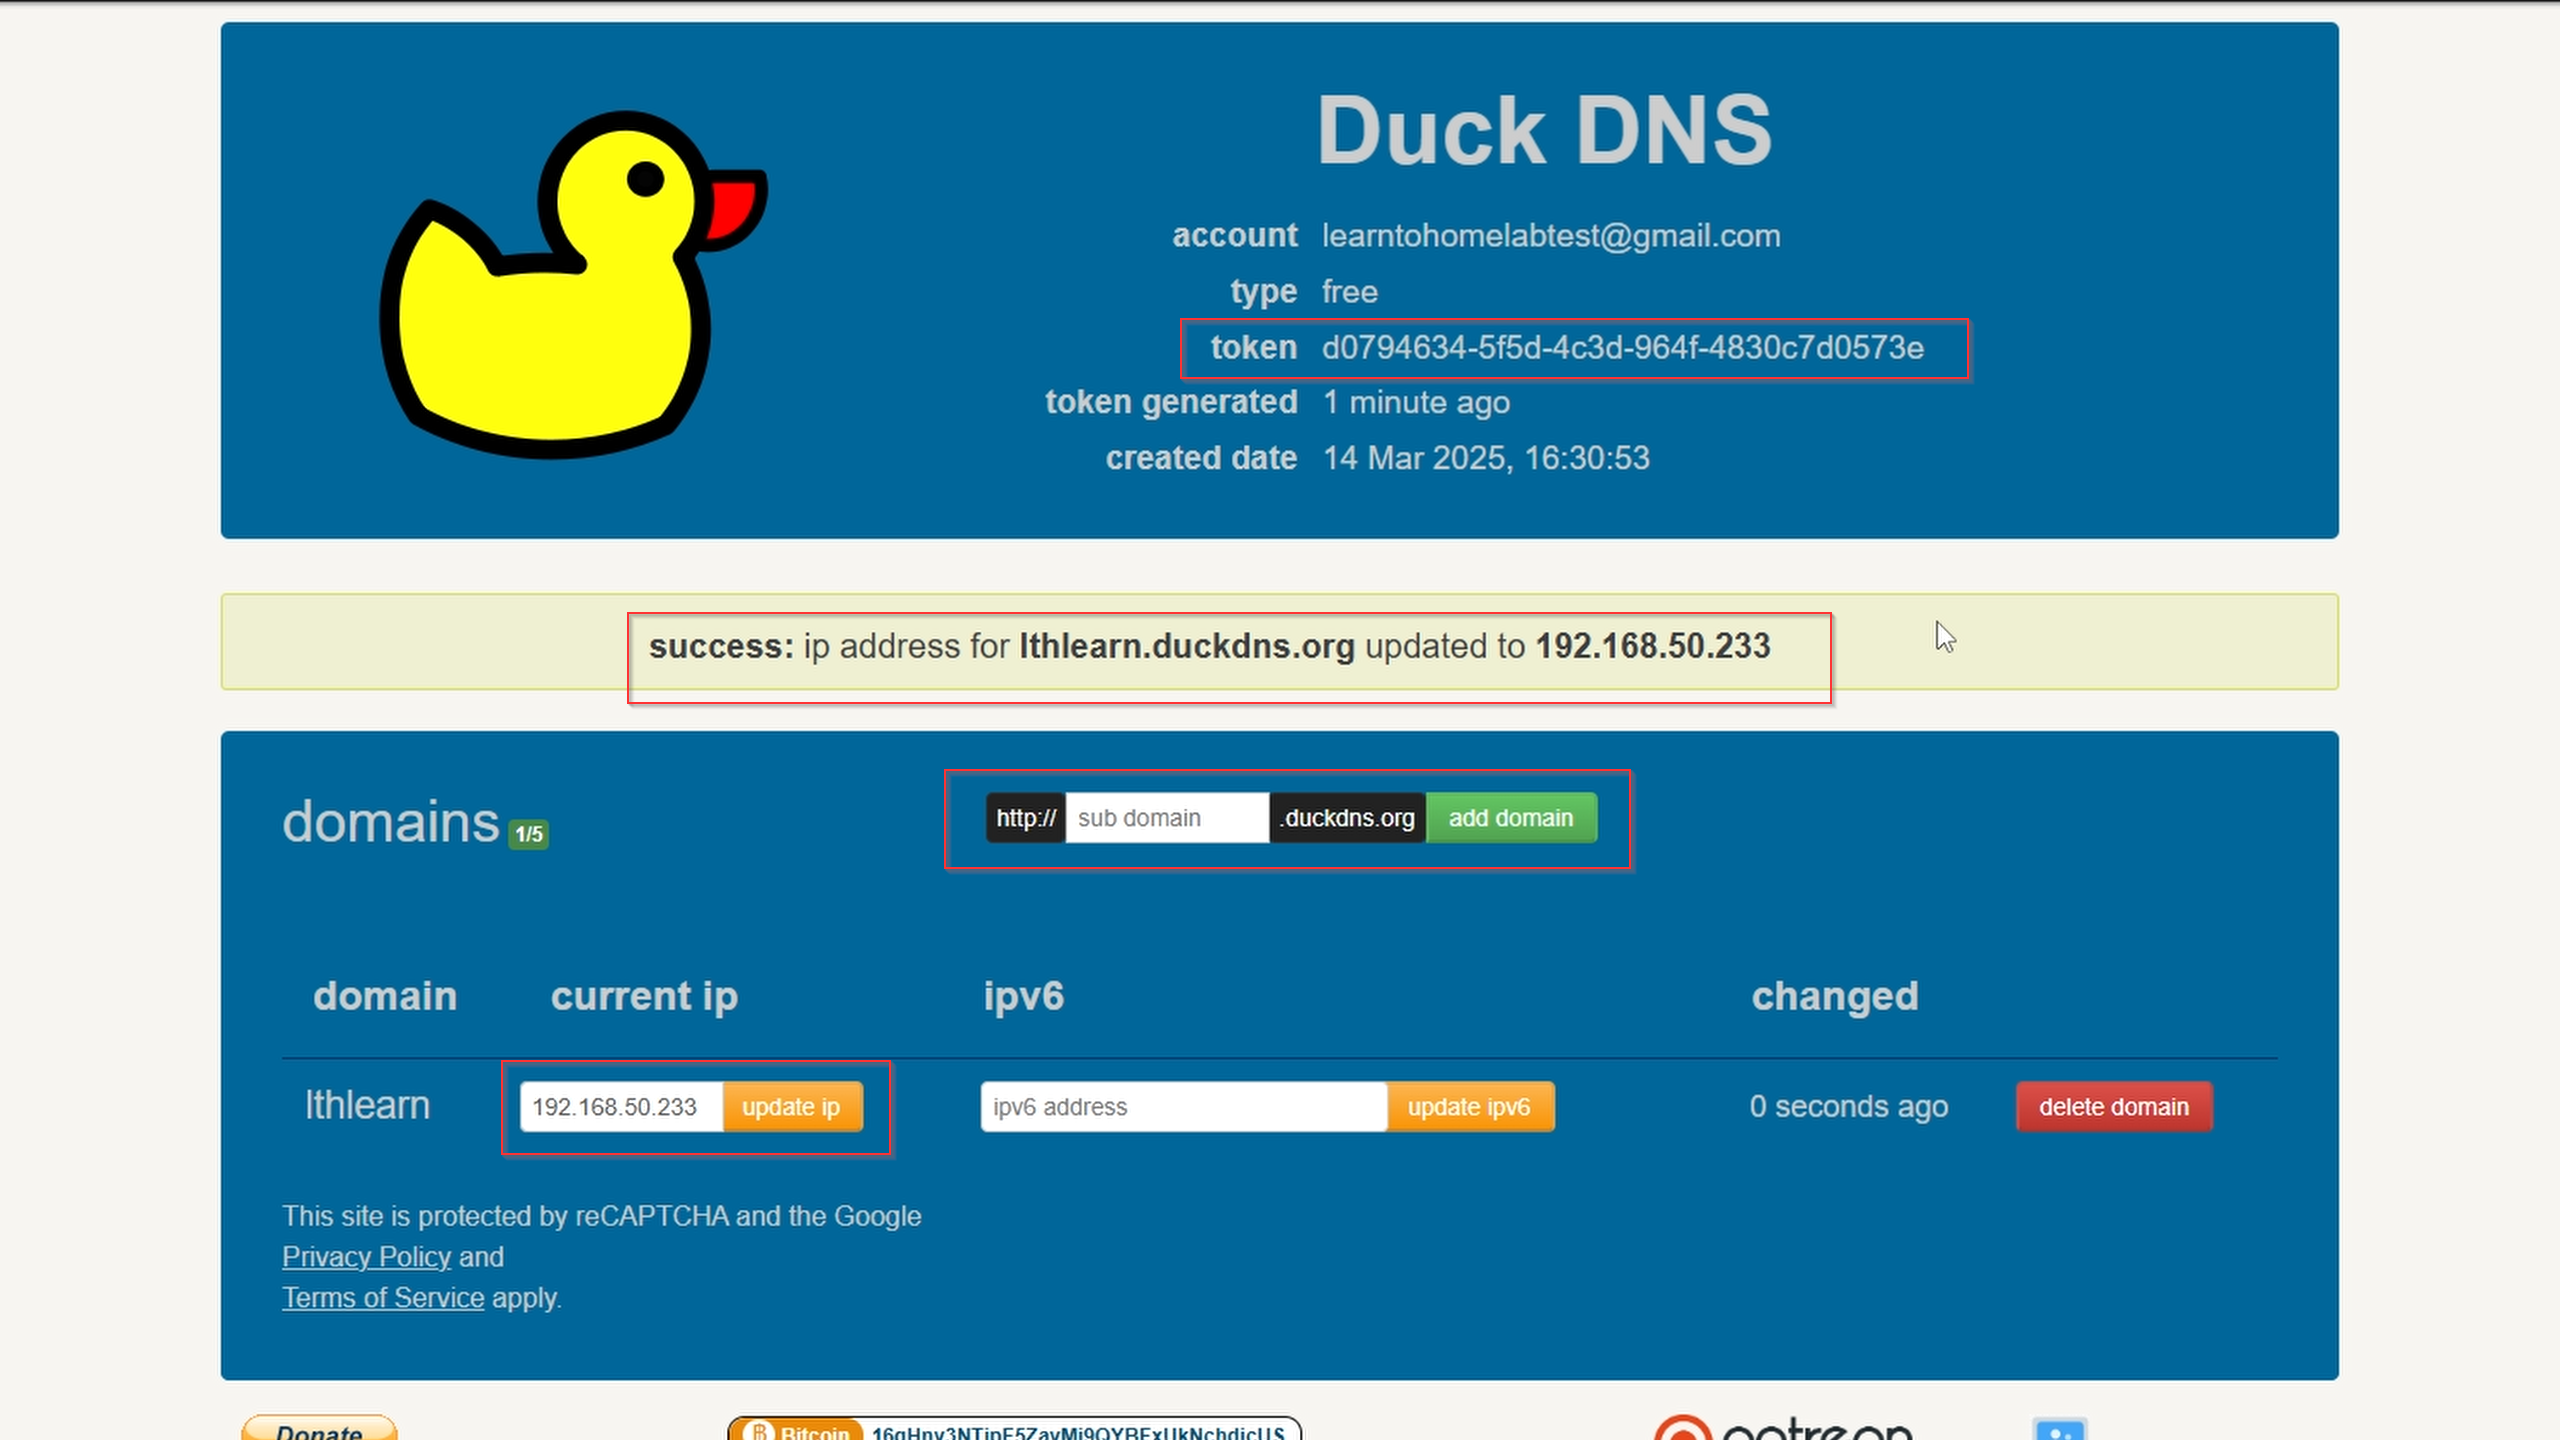
Head over to DuckDNS's website and login with your google account or other here
After you have logged in create a subdomain and add the IP address of your Nginx Proxy Manager VM/CT/Device.
NOTE: This is also where you will get your token ID.
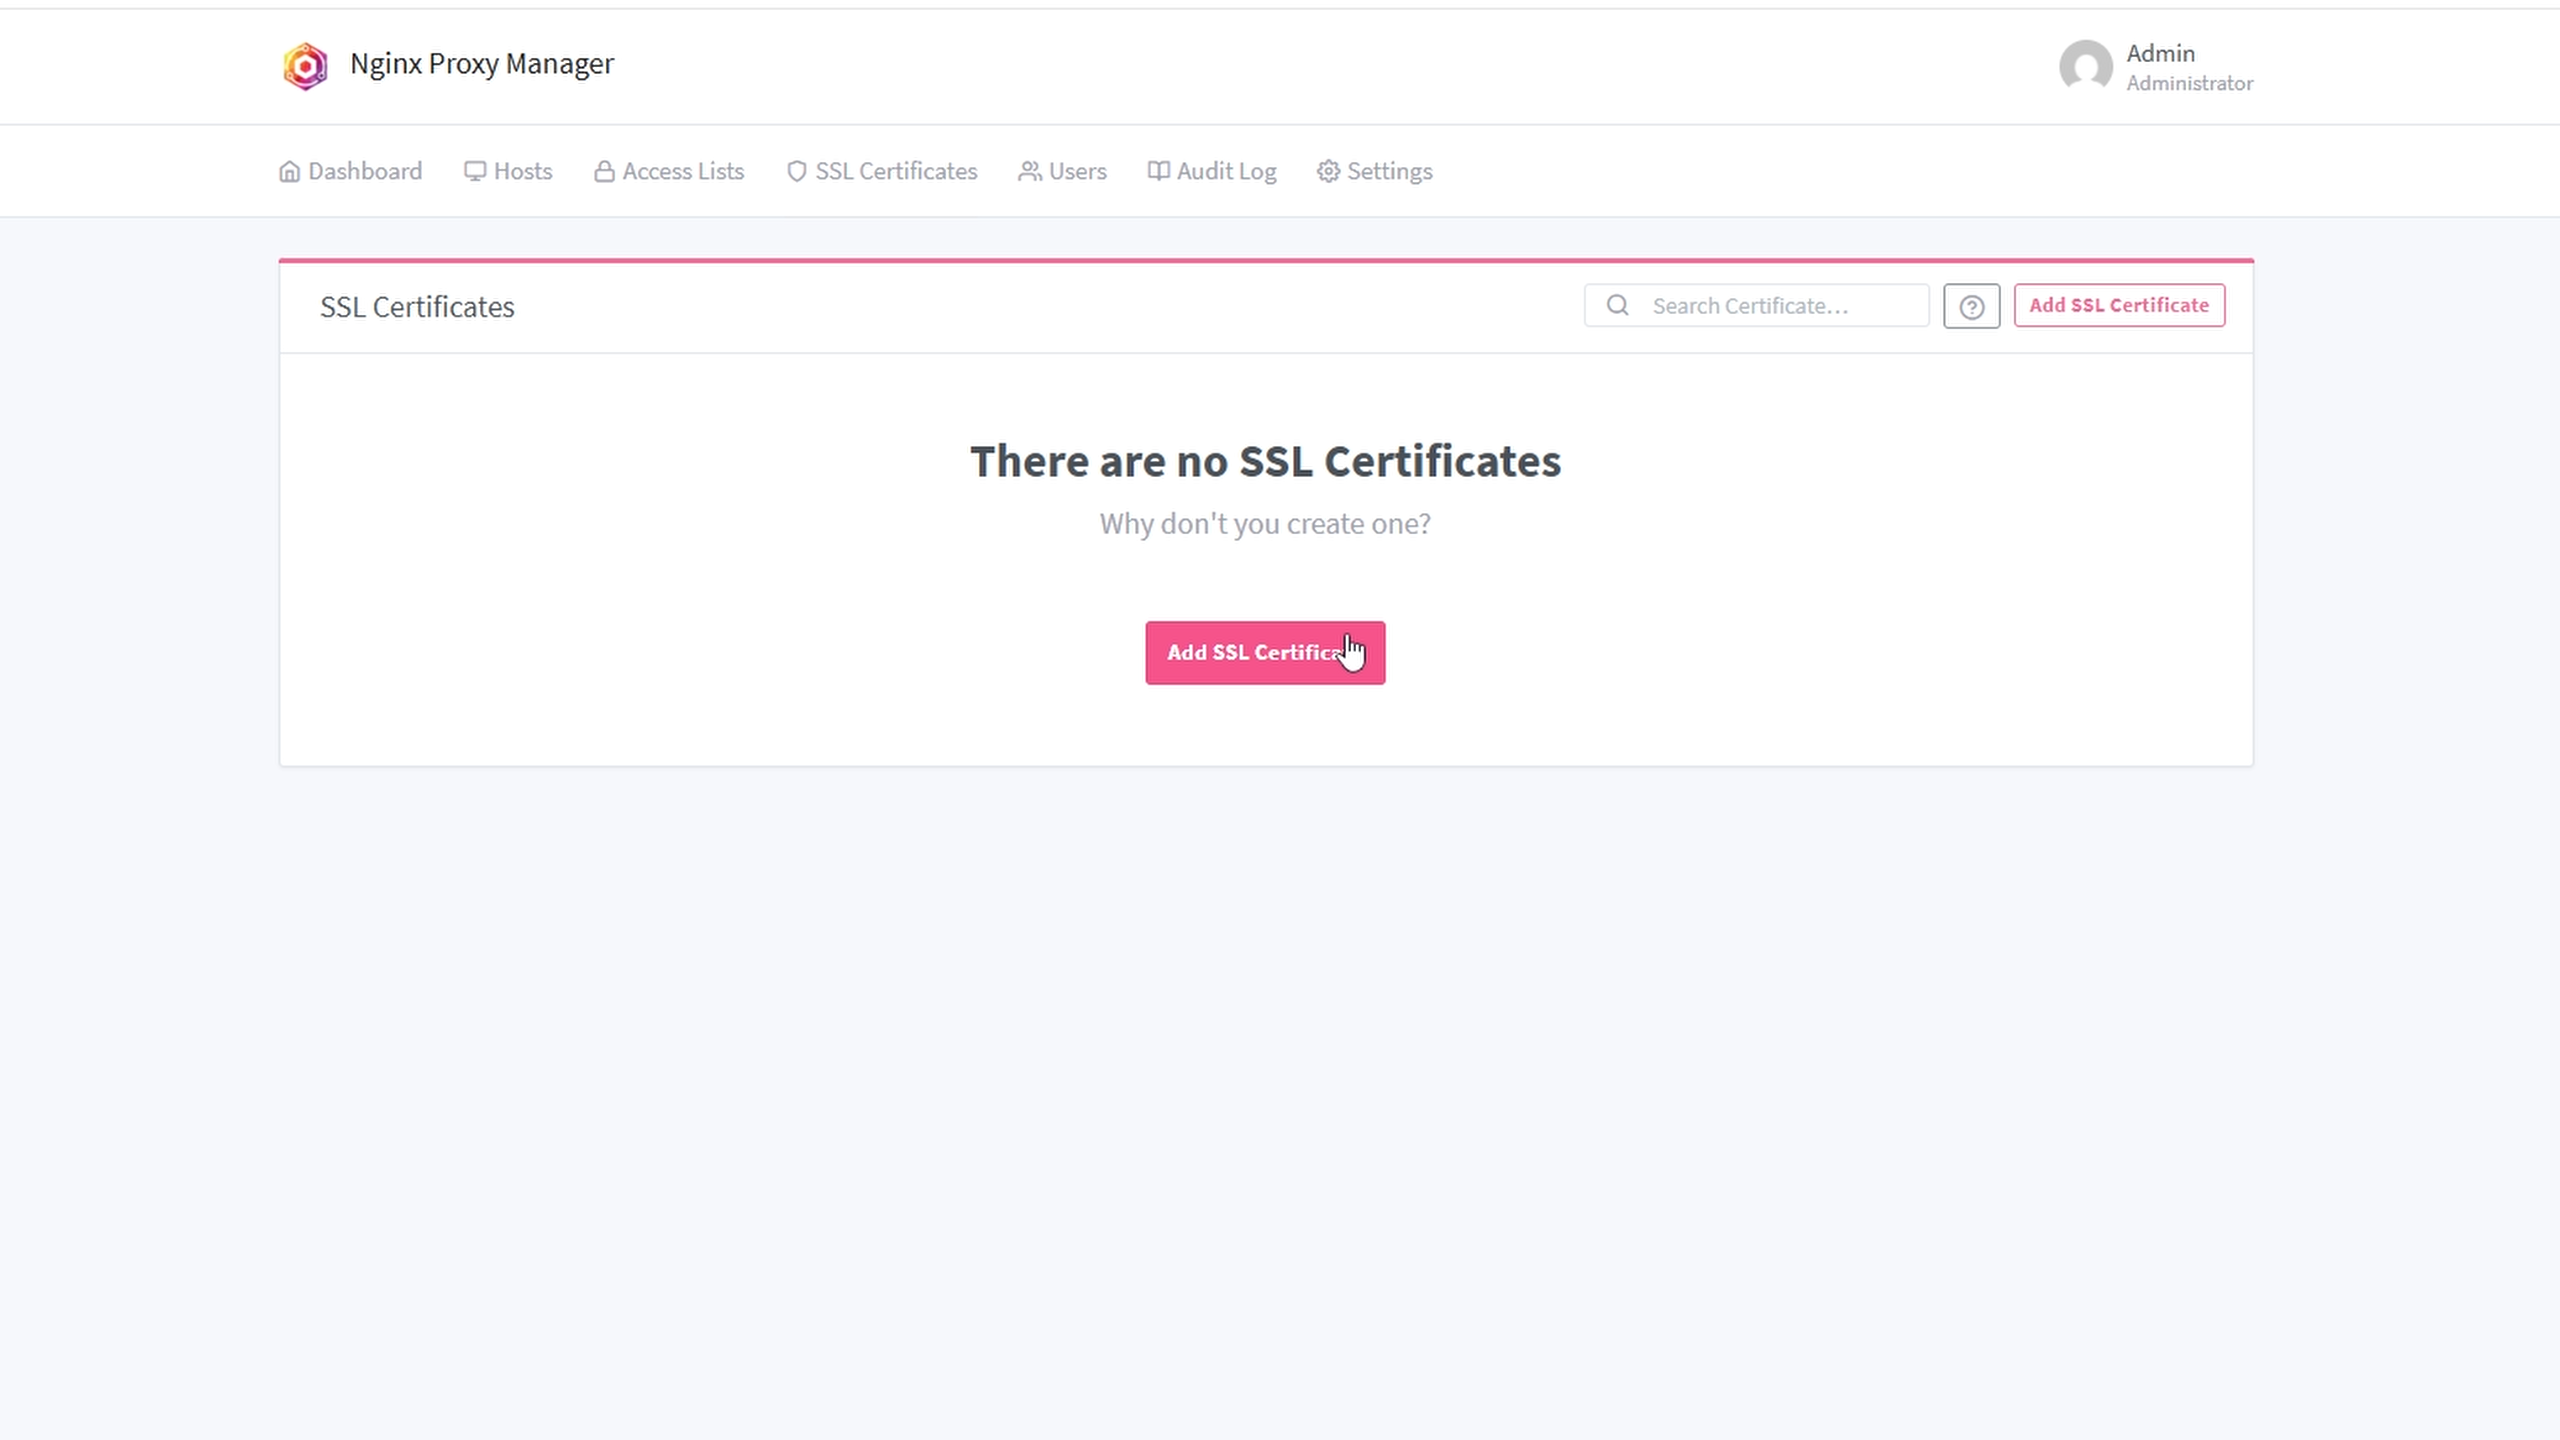
Now on your Nginx Proxy Manager Site click SSL certificates at the top and Add SSL Certificate
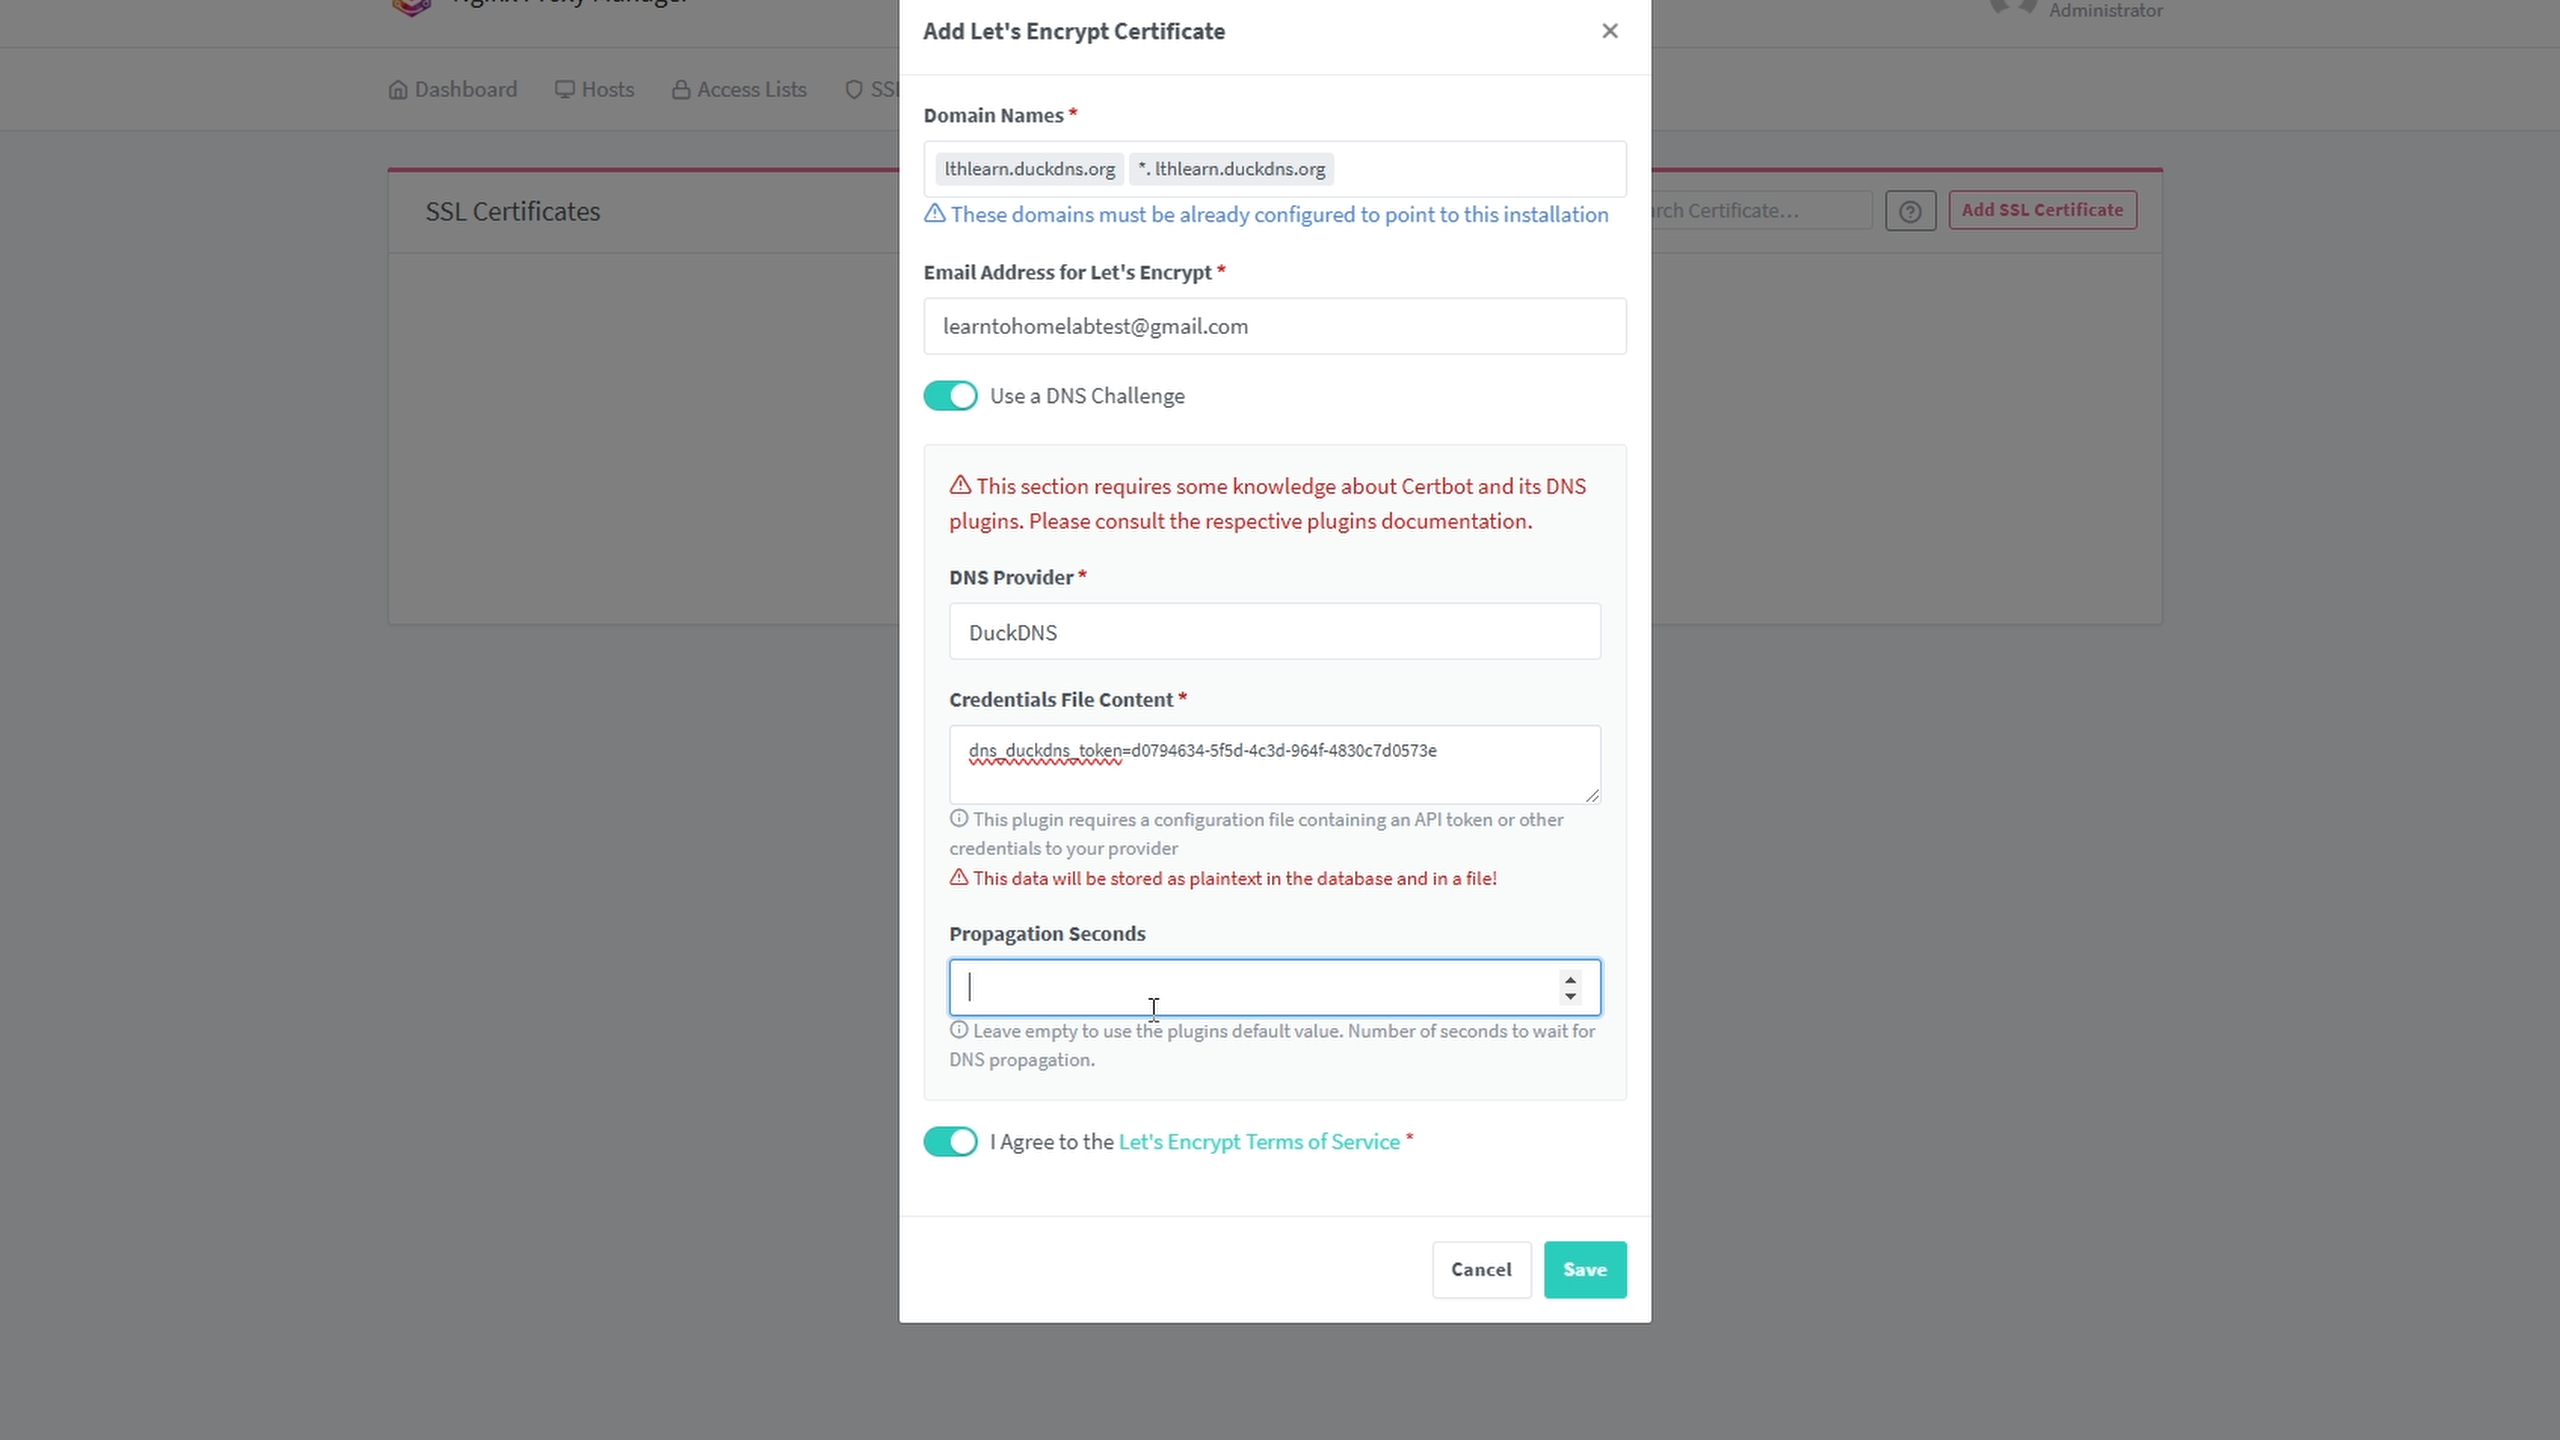
Fill out the information as shown below. Keep in mind you will add your <subdomain_youcreated>.duckdns.org AND a *.<subdomain_youcreated>.duckdns.org. Pay close attention to that wildcard, this will allow you to create many sub-sub domains on your local network!
YOU MAY GET A FAILED ERROR after clicking SAVE, this is due to all the public DNS servers in the world have not populated your new domain name yet. Wait a couple minutes, click save again and see if it works.
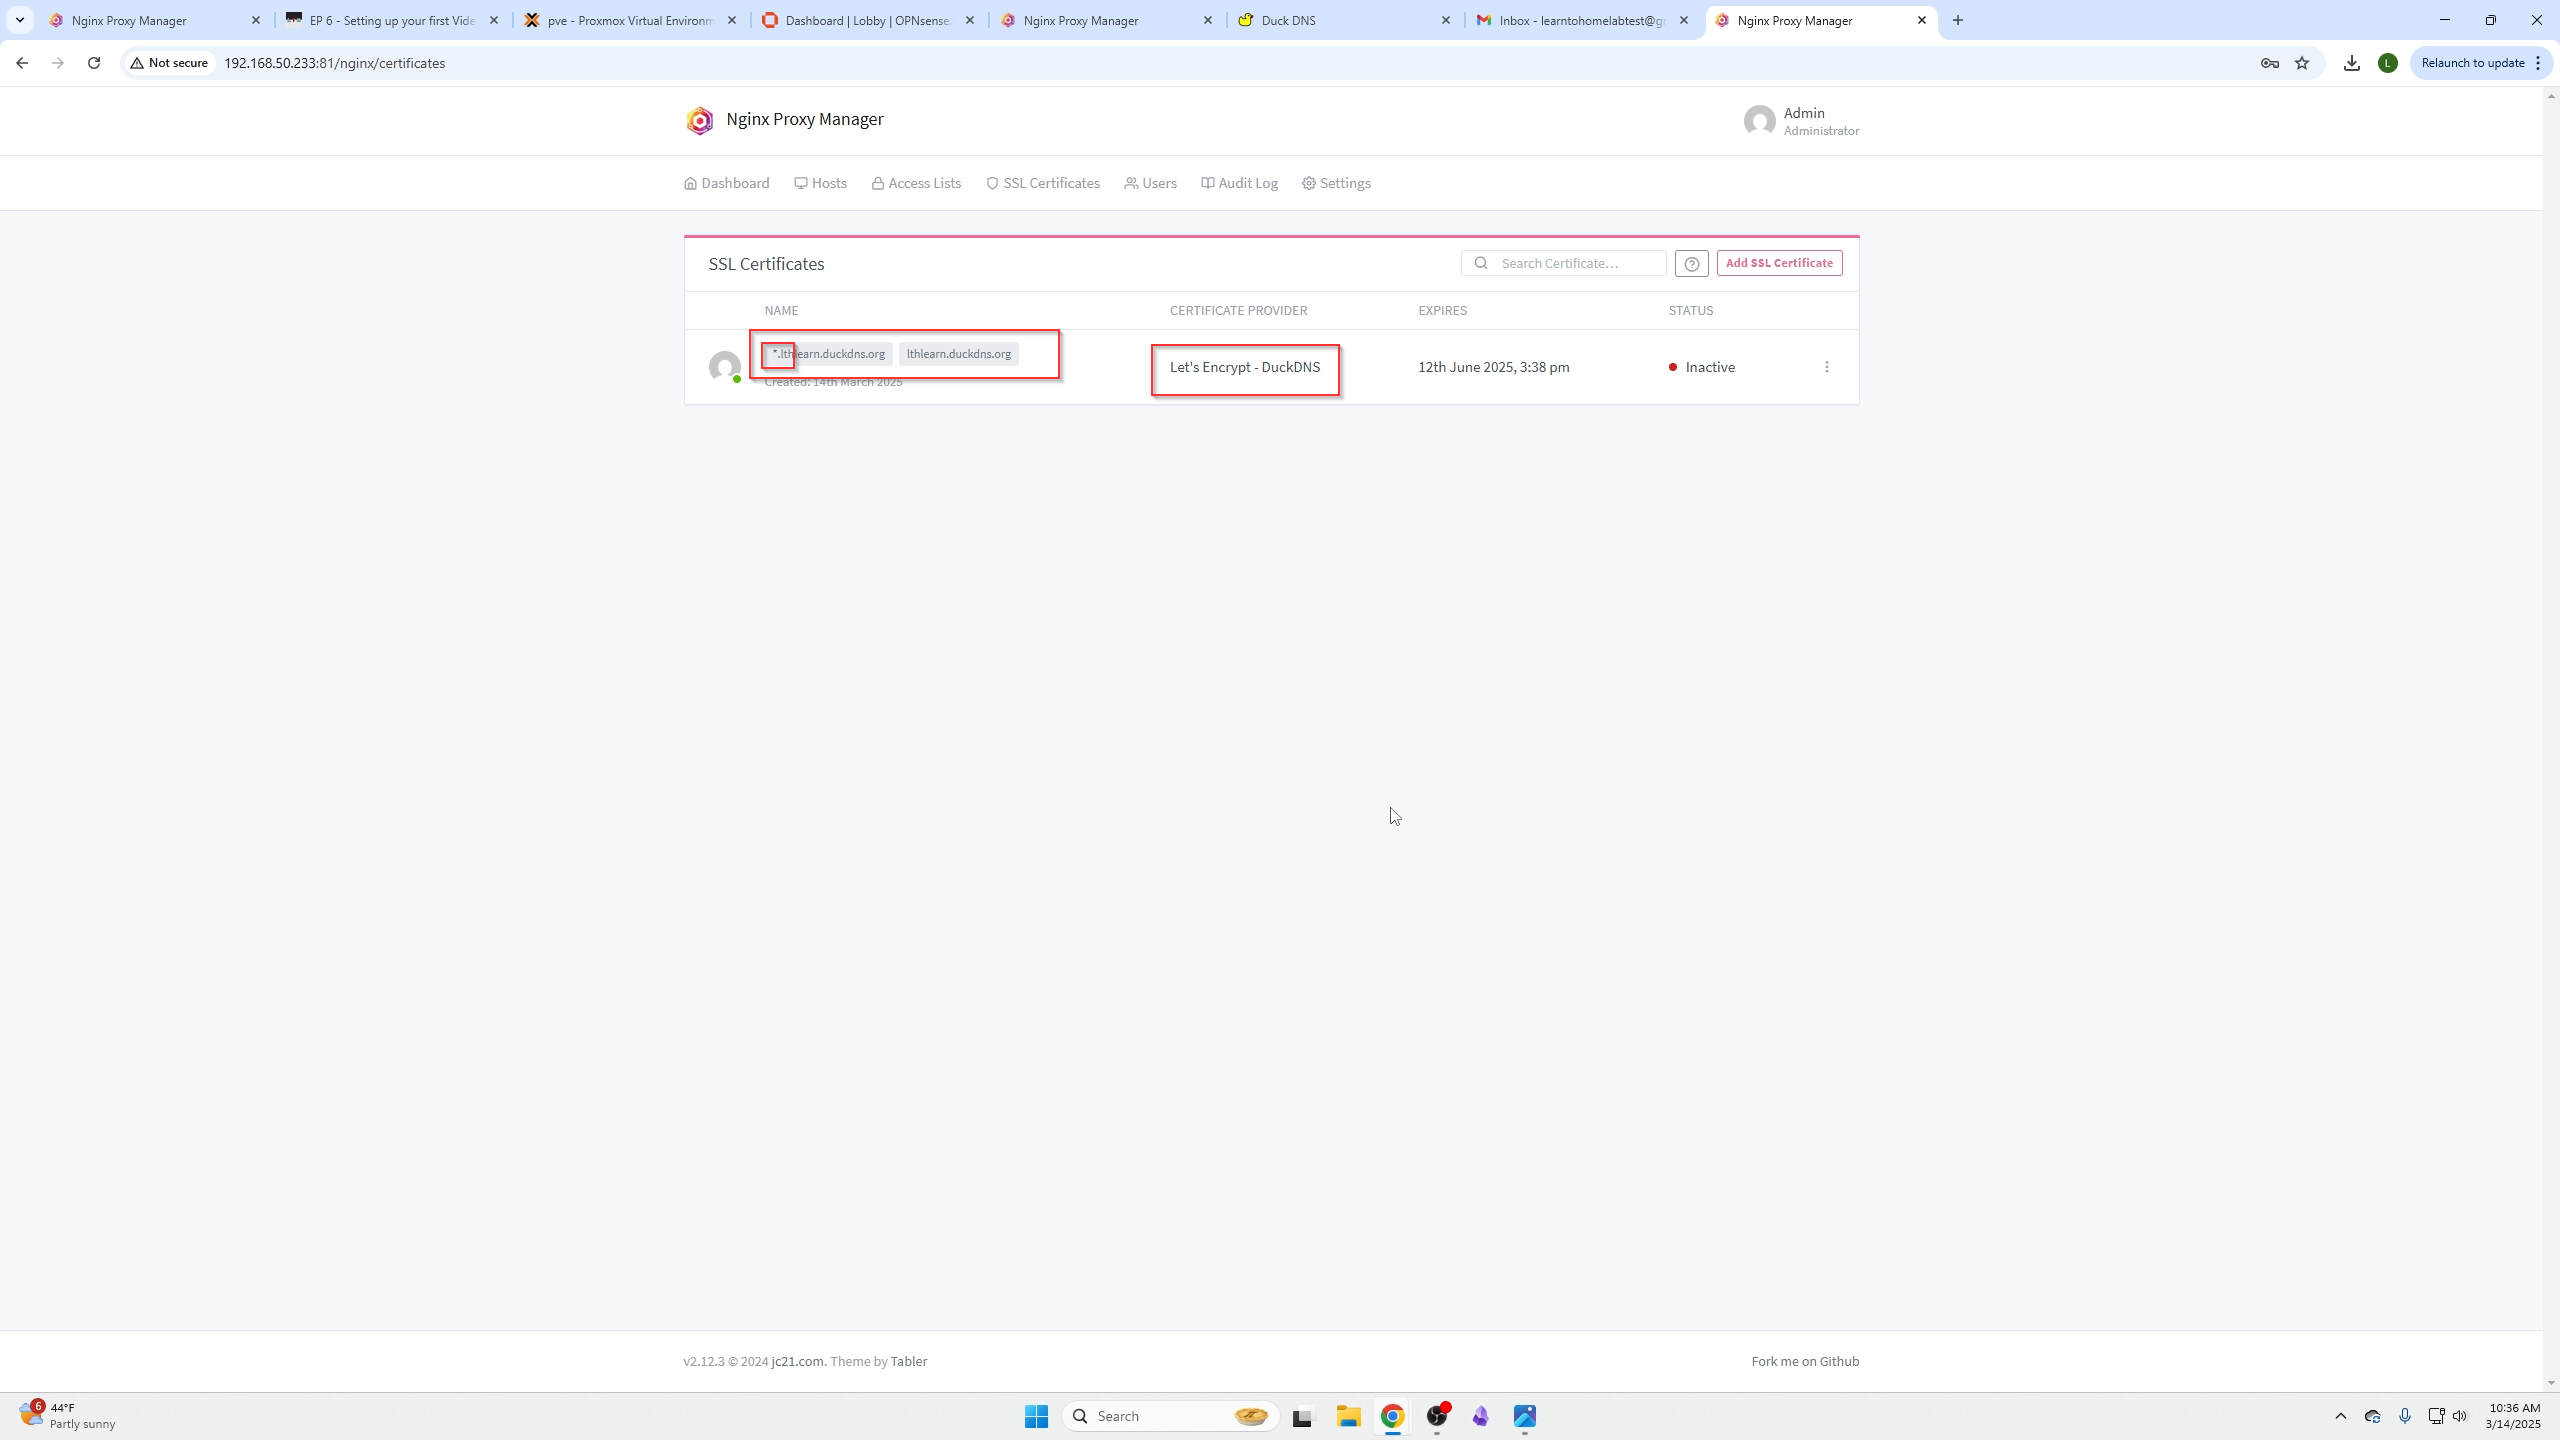
We now have a succesful SSL certificate (after about 5 minutes of waiting for the DNS record to populate around the world)
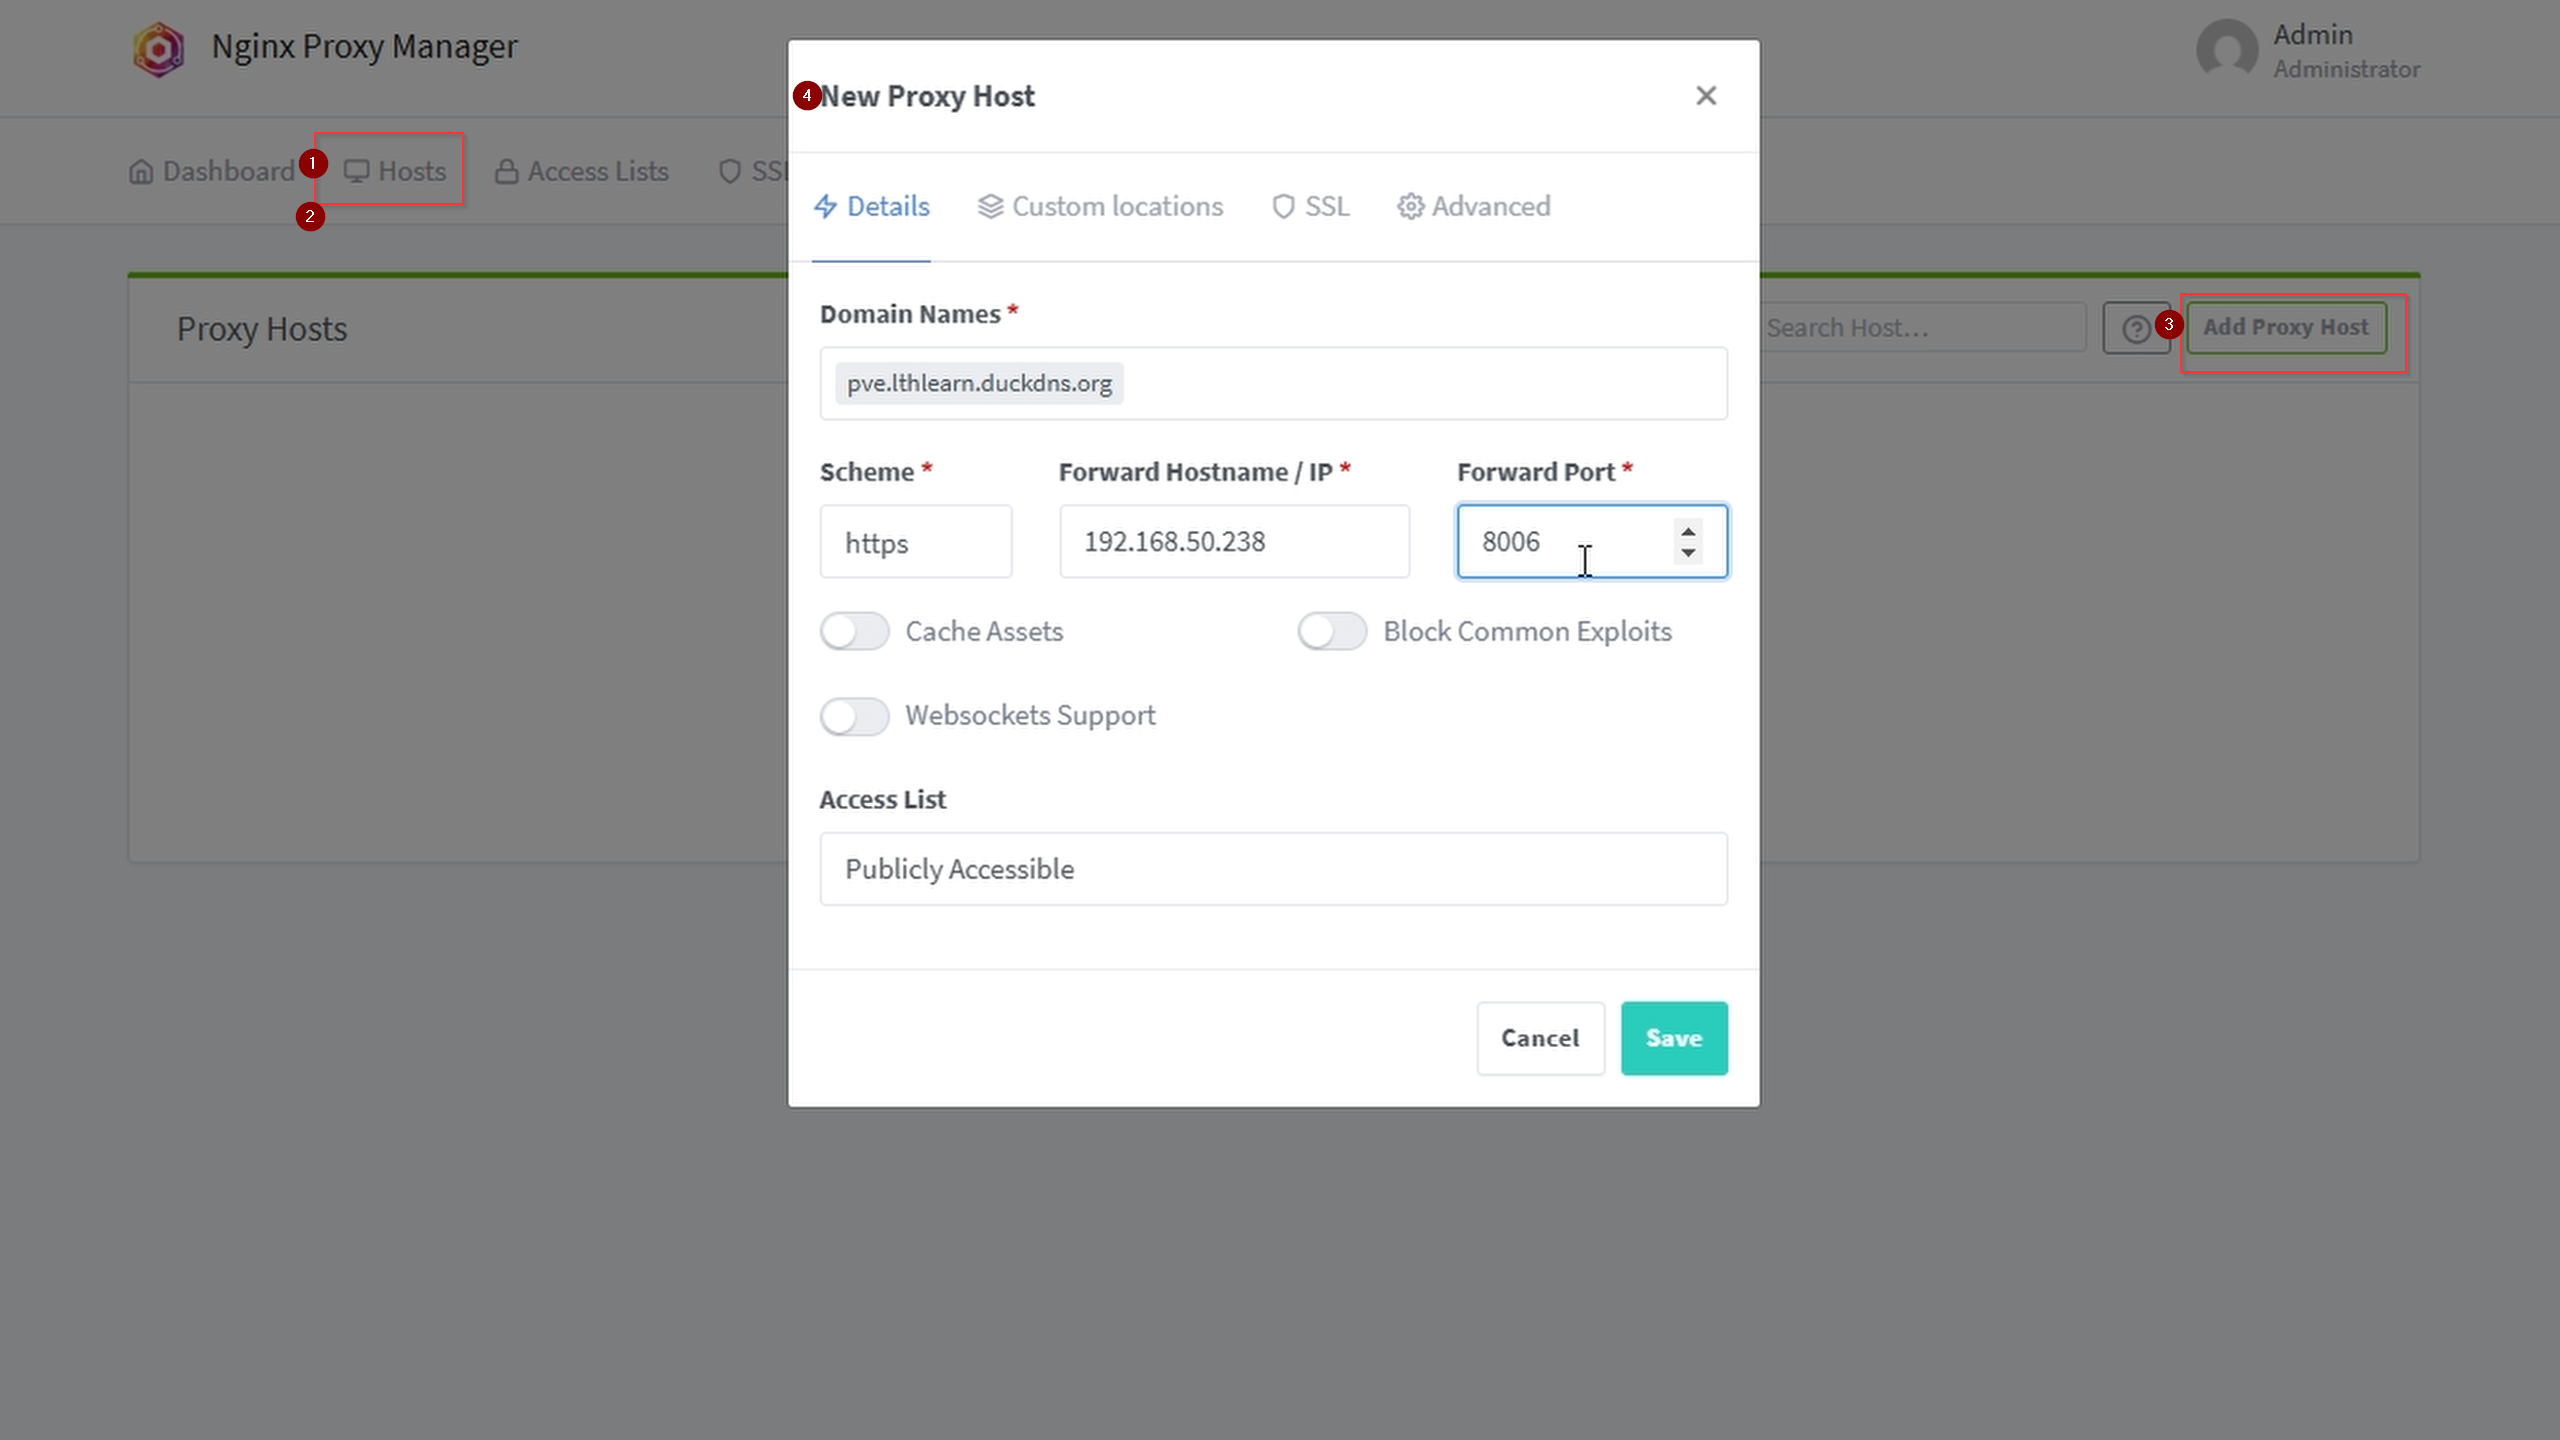
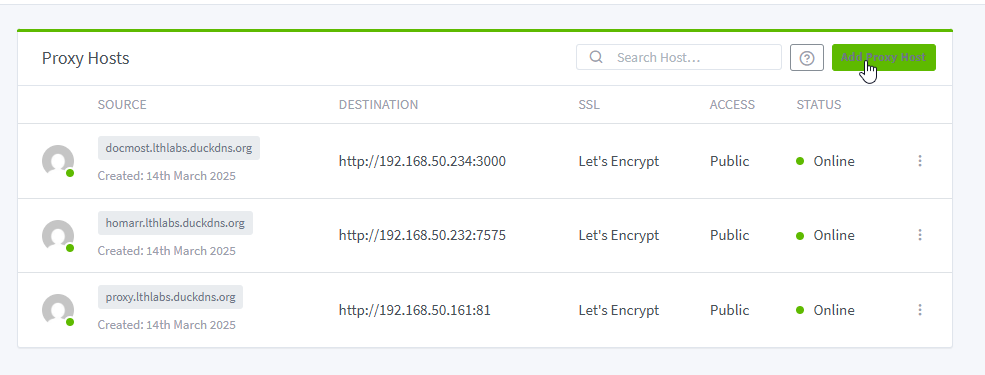
Now on your Proxy Dashboard click hosts at the top then click Proxy hosts then add proxy host at the top right.
In this example you can see we added the <pve> . part to our domain lthlearn.duckdns.org that is how we can use the wild card * we created earlier. For all services on our network we will replace that wildcard with the site name we want. Also be mindful, Proxmox uses HTTPs by default but for most services you will probably select HTTP in the scheme box.
Some services may require you to enable the `websockets support` option to work properly. Example: Code boxes that auto copy the commands require it.
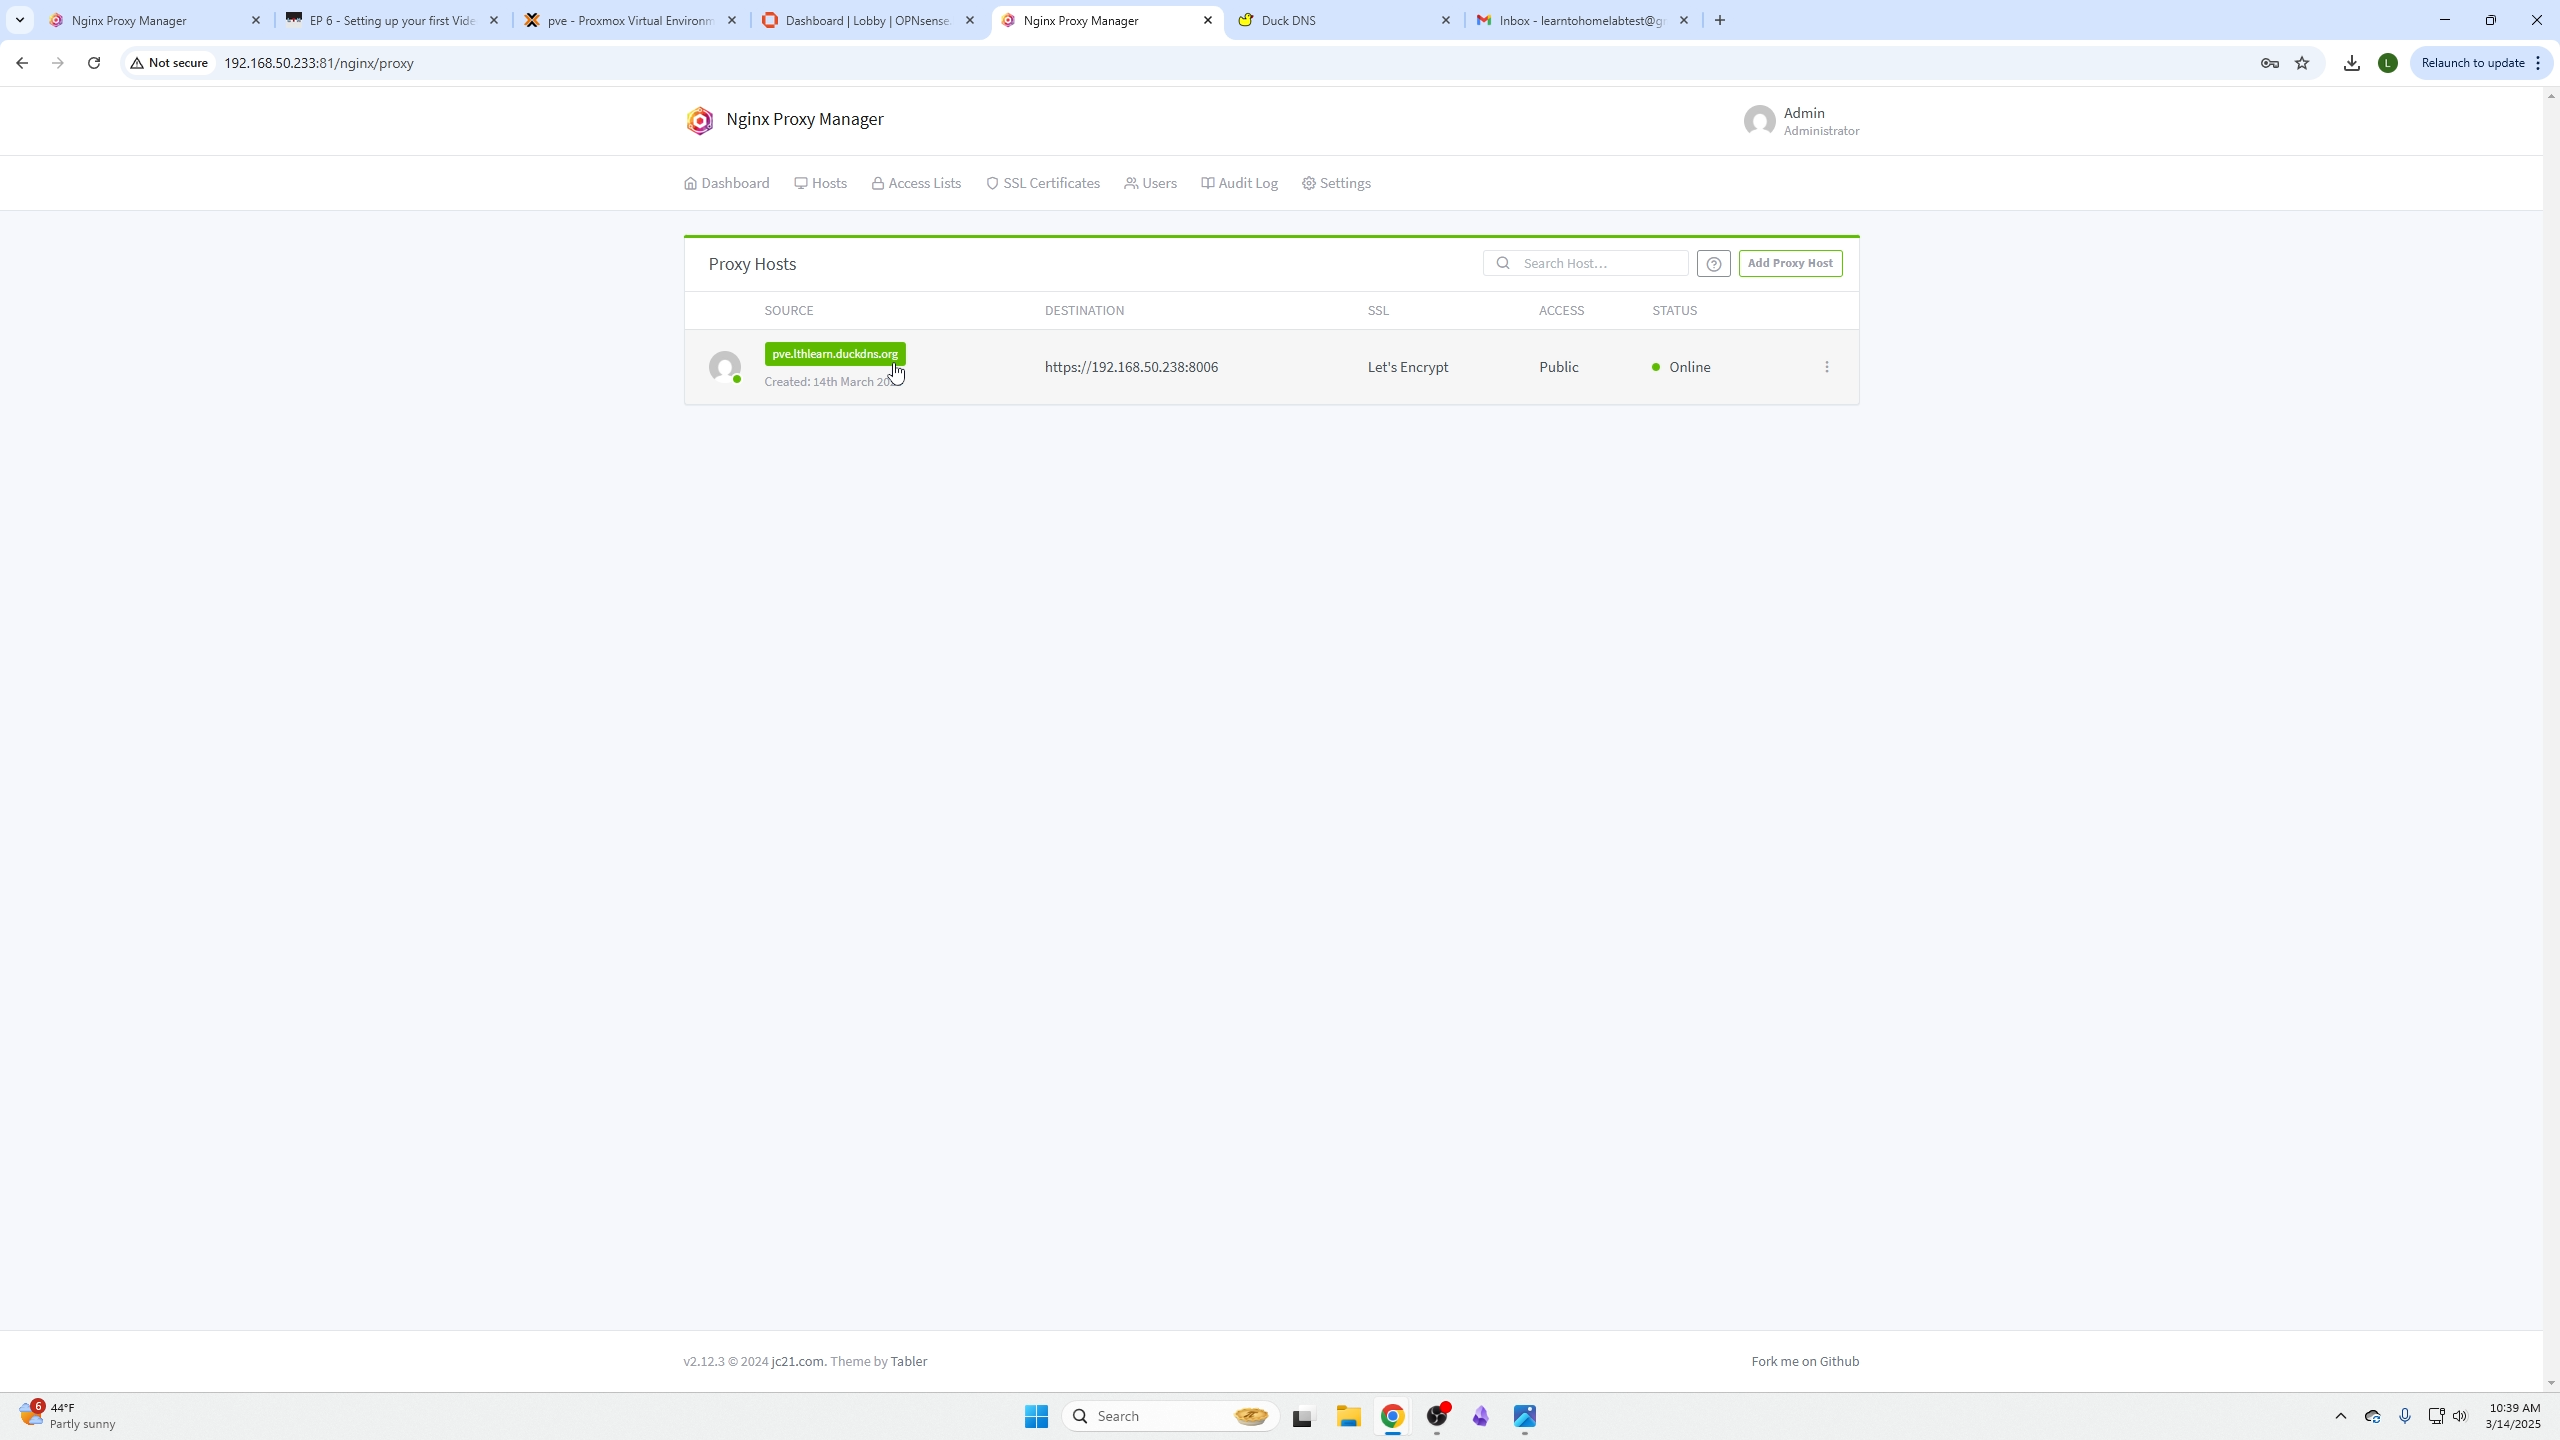
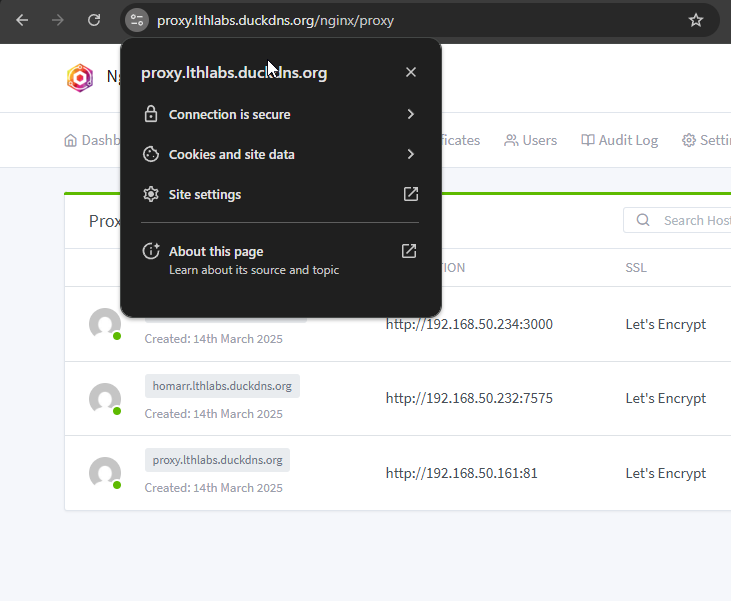
After you click save you should now see your SSL/Domain entry. Try clicking it, for some of you it may work! If you use OPNsense like me, it will not, it will be blocked so we have one more step!
Create an OPNSense Local DNS Wild Card Entry
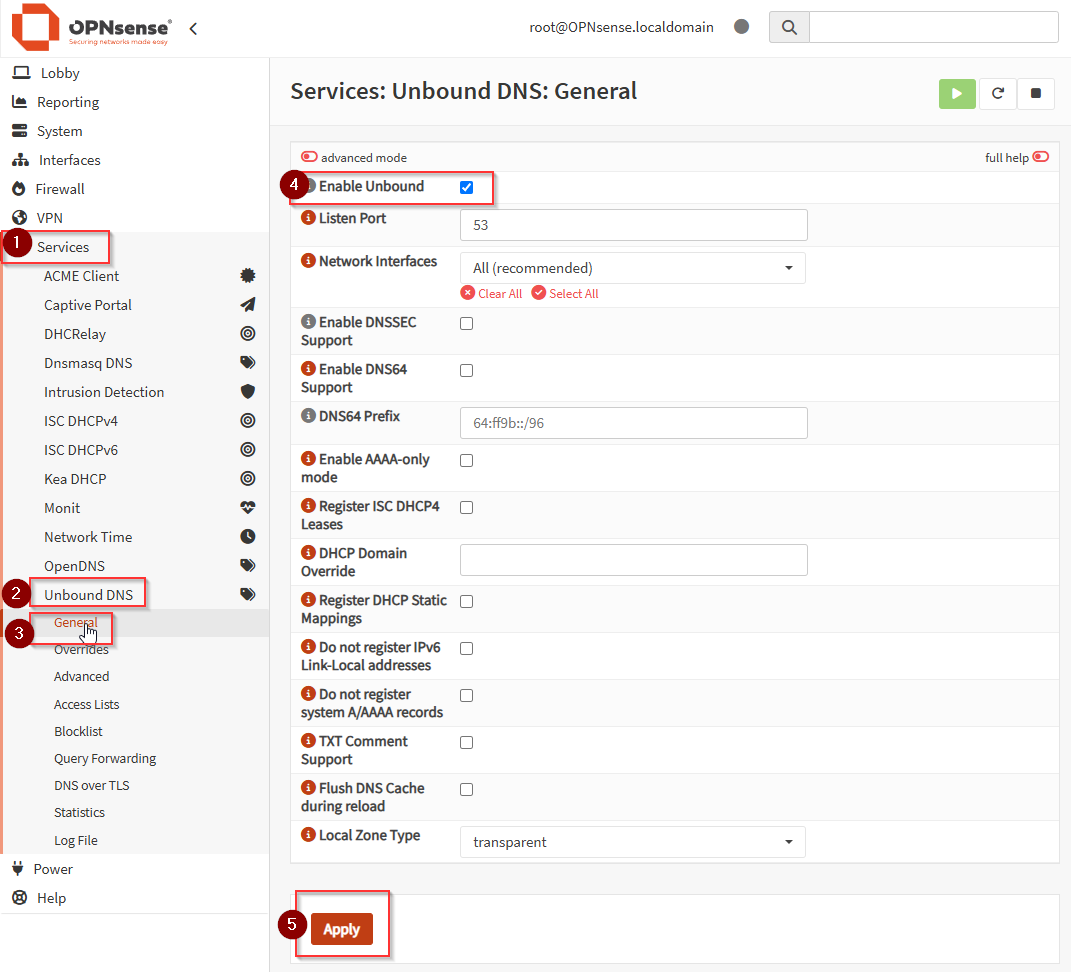
Enable Unbound DNS:
Navigate to Services > Unbound DNS > General Settings.
Ensure that Unbound DNS is enabled.
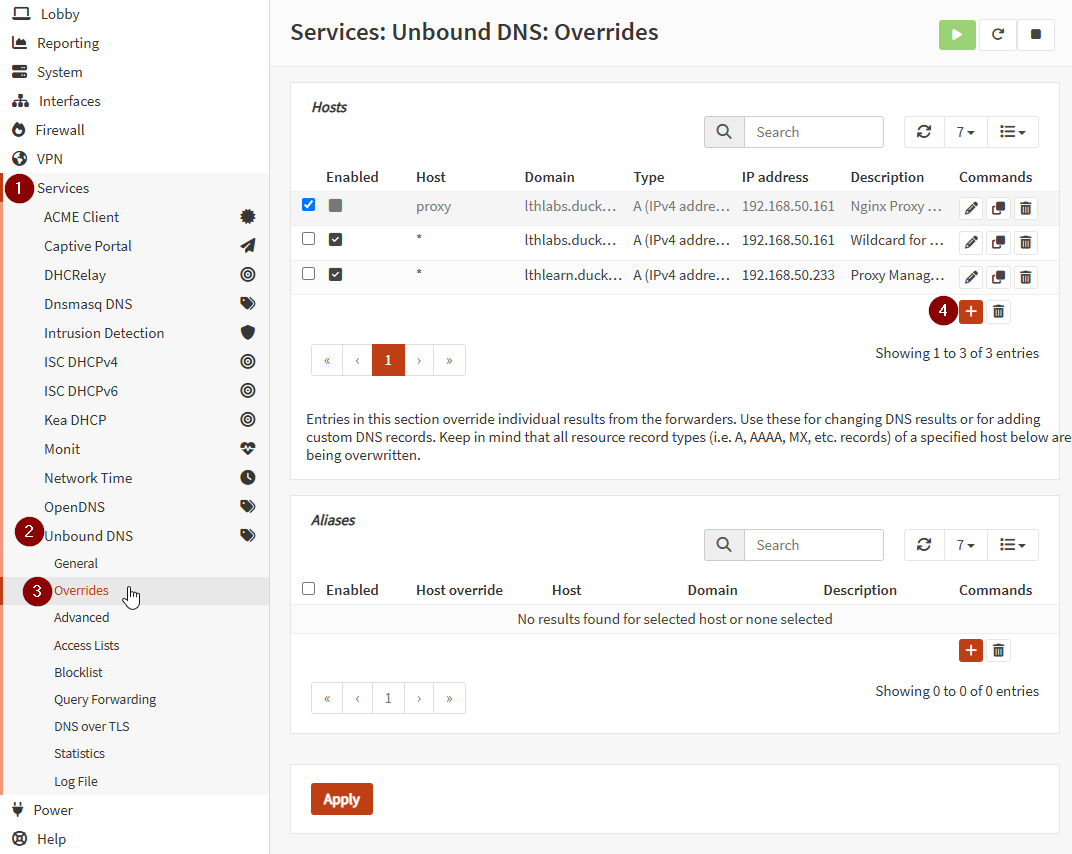
Add a Wildcard DNS Override:
Go to Services > Unbound DNS > Overrides.
Click the orange + Add button under Host Overrides.
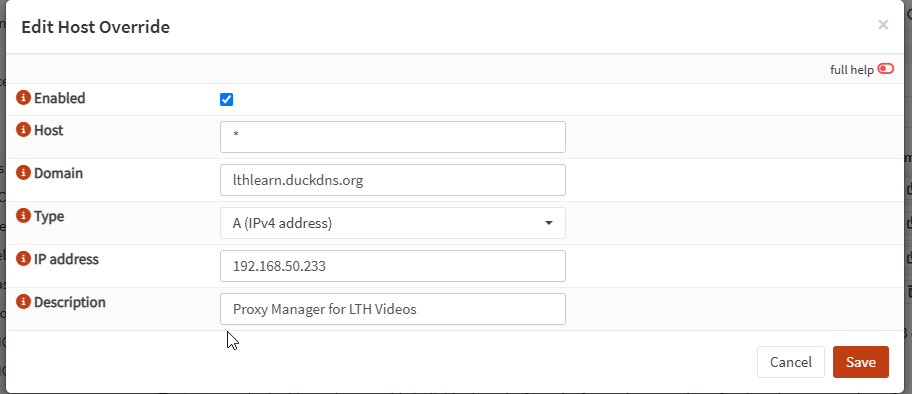
Fill out the form:
Host: * (wildcard for all subdomains).
Domain: duckdns.org.
Type: Select A for IPv4.
IP Address: Enter the internal IP of your Nginx Proxy Manager server (e.g., 192.168.50.234).
Optionally, add a description like "Wildcard for DuckDNS domains."
Save and apply changes.
Flush DNS Cache:
After creating the override, flush the DNS cache on your local machine:
Open your CMD and type the following:
Windows:
Assign More domains to your outher services
Now go back to your Nginx Proxy Manager and click on your domain again and it should work!
Repeat the proxy host process for all the services you want to have SSL certifications to get rid of those annoying unsecure SSL errors!
Secured websites are now working
