How to Install Docmost on Proxmox with SSL
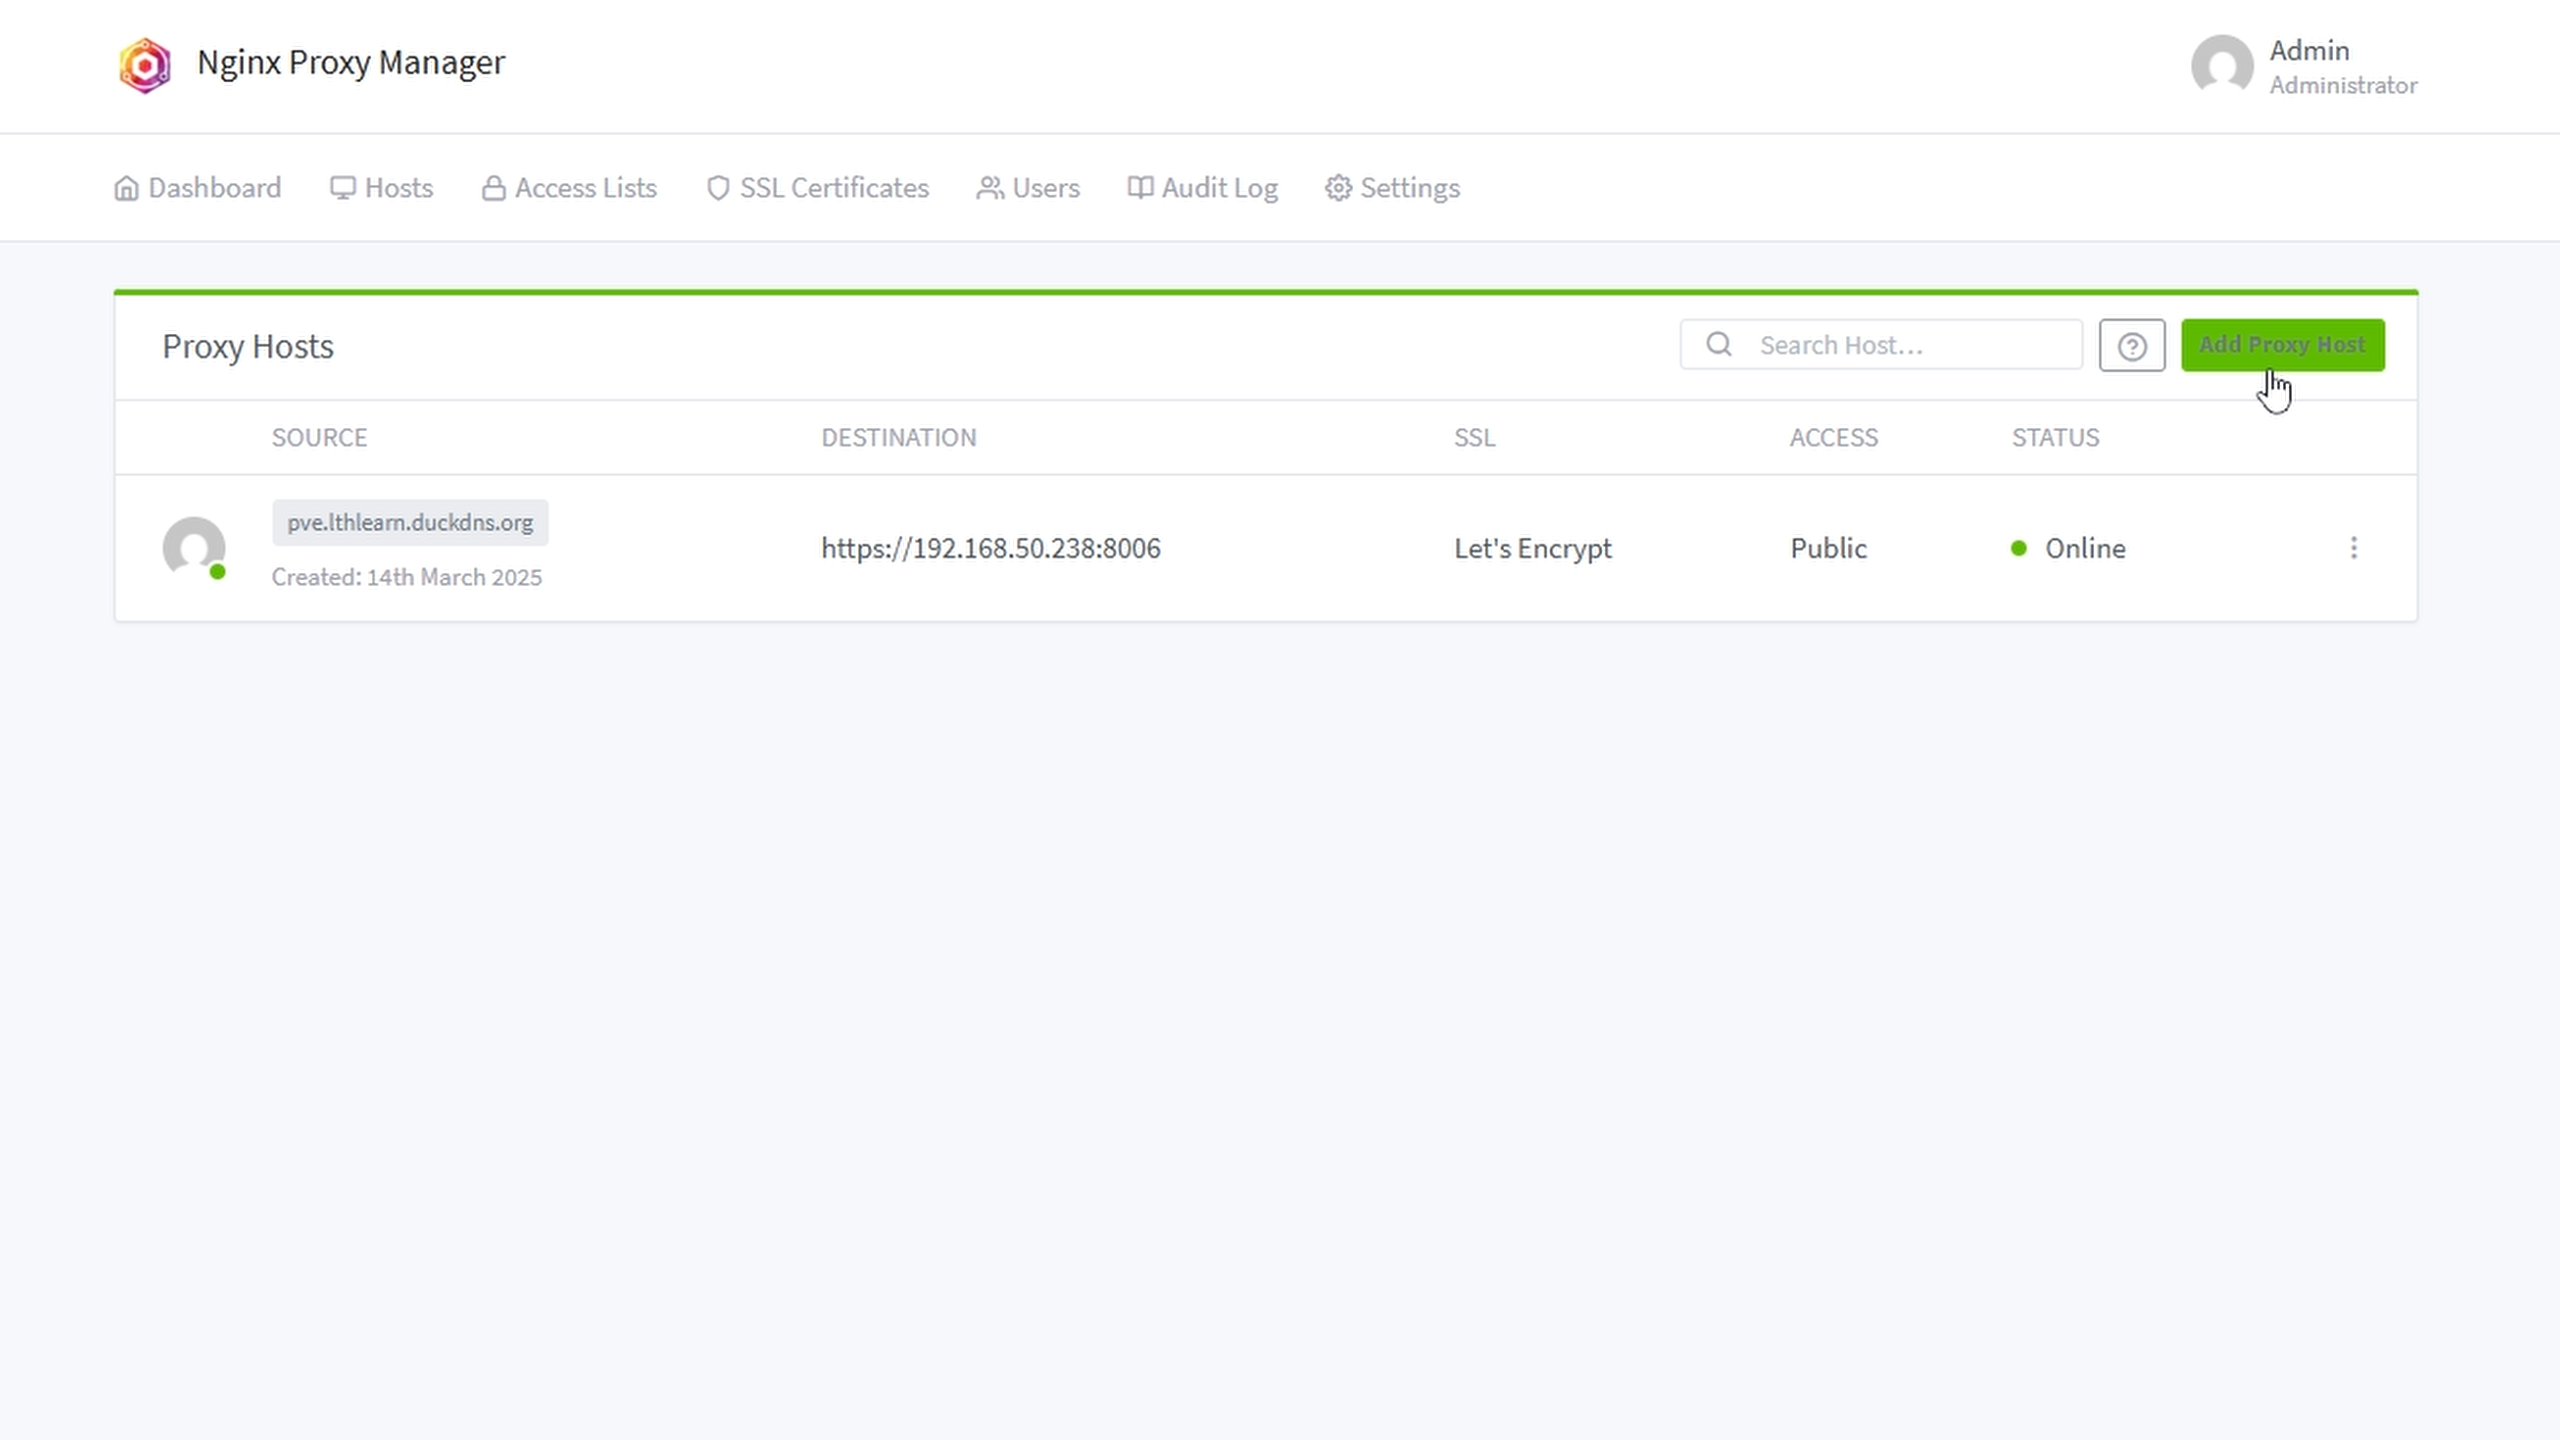
Welcome to another video guys, in this video we will cover how to install Docmost on Proxmox to include an SSL certificate for our site! The SSL certificate is required to get all the features out of Docmost. Any browser note taking application will require SSL and websocket support for features like code block auto copy and paste to work. You can follow the previous episode (episode 26) if you have not setup a reverse proxy with an SSL certificate.
Create a Container on Proxmox
This step has been covered in many episodes, if you want specific details please watch our video linked above.
-
Go to our node's local storage and download the CT Ubuntu template (if you have not done this already for previous CT installs you have done or videos you have followed from us).
-
Configure the CT settings (it is very important to select the correct Networking settings DHCP or self assign a static IP).
-
Then start our machine.
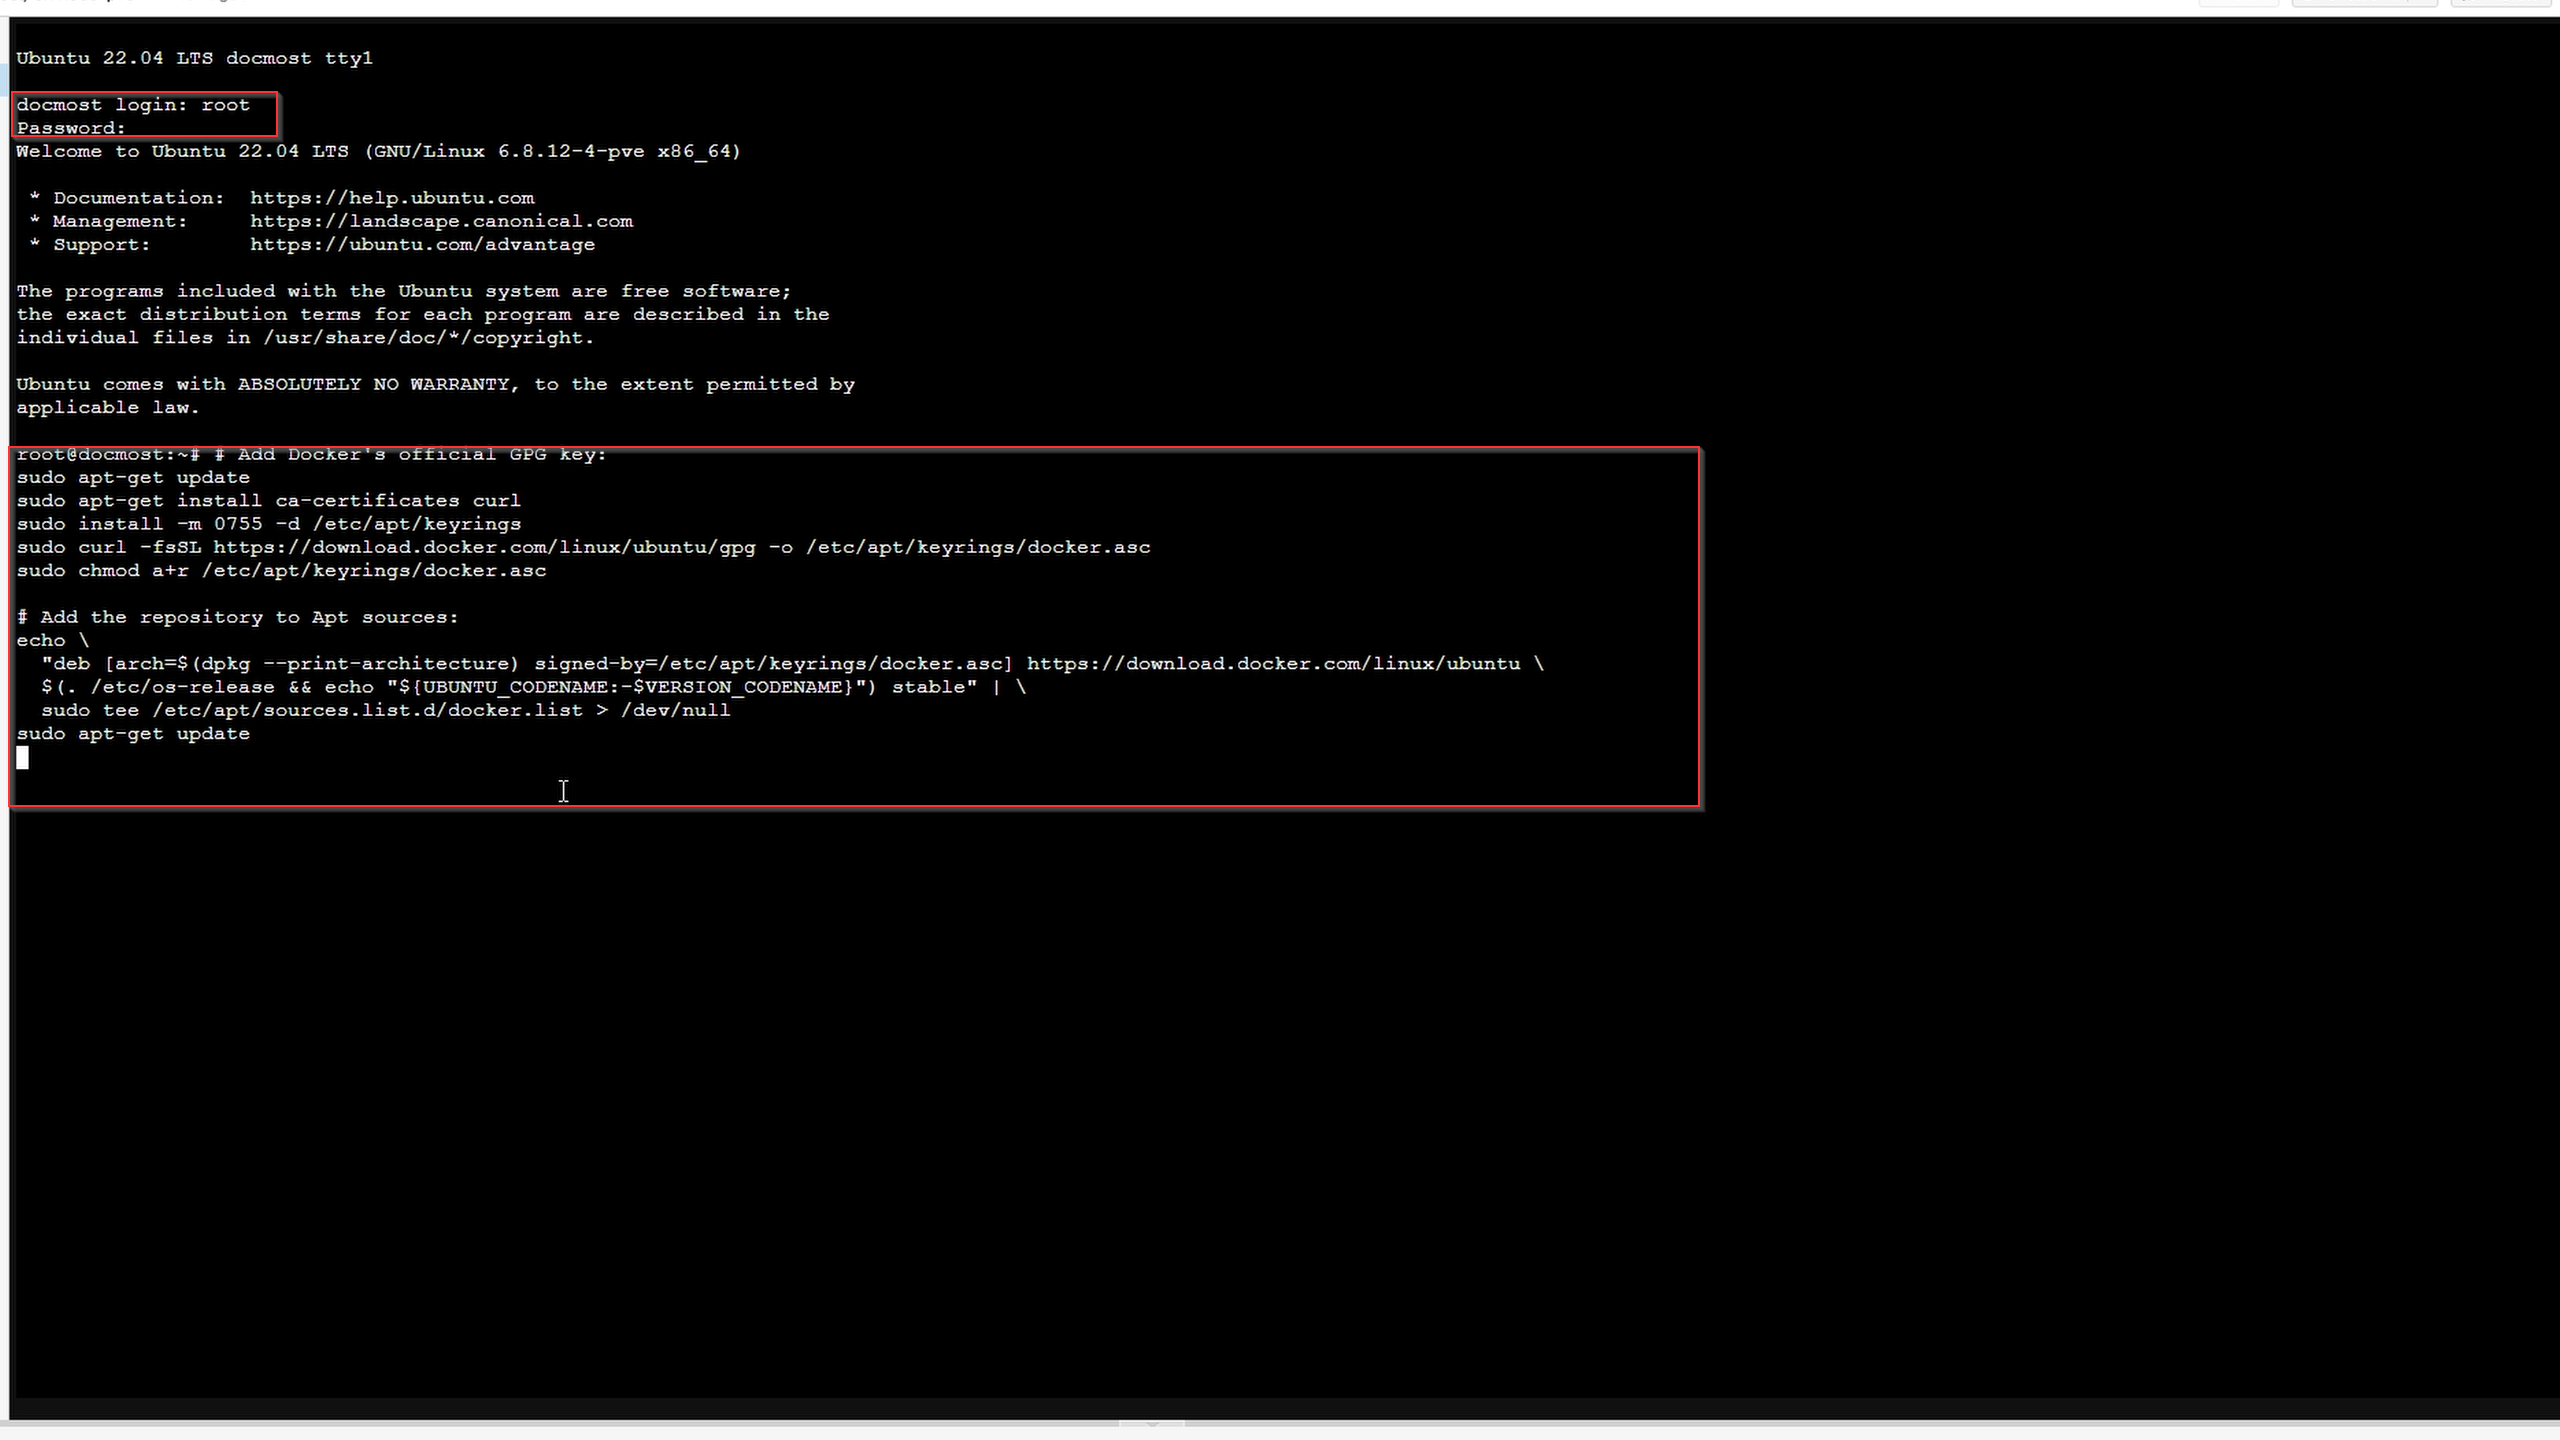
To Login to your CT, go to your console tab and type the following
-
Username:
root -
Password: (Is what you set during the creation of the CT)
Installing Docker
We are going to use their documentation found here
Set up Docker's apt repository.
# Add Docker's official GPG key:
sudo apt-get update
sudo apt-get install ca-certificates curl
sudo install -m 0755 -d /etc/apt/keyrings
sudo curl -fsSL https://download.docker.com/linux/ubuntu/gpg -o /etc/apt/keyrings/docker.asc
sudo chmod a+r /etc/apt/keyrings/docker.asc

# Add the repository to Apt sources:
echo \
  "deb [arch=$(dpkg --print-architecture) signed-by=/etc/apt/keyrings/docker.asc] https://download.docker.com/linux/ubuntu \
  $(. /etc/os-release && echo "${UBUNTU_CODENAME:-$VERSION_CODENAME}") stable" | \
  sudo tee /etc/apt/sources.list.d/docker.list > /dev/null
sudo apt-get update
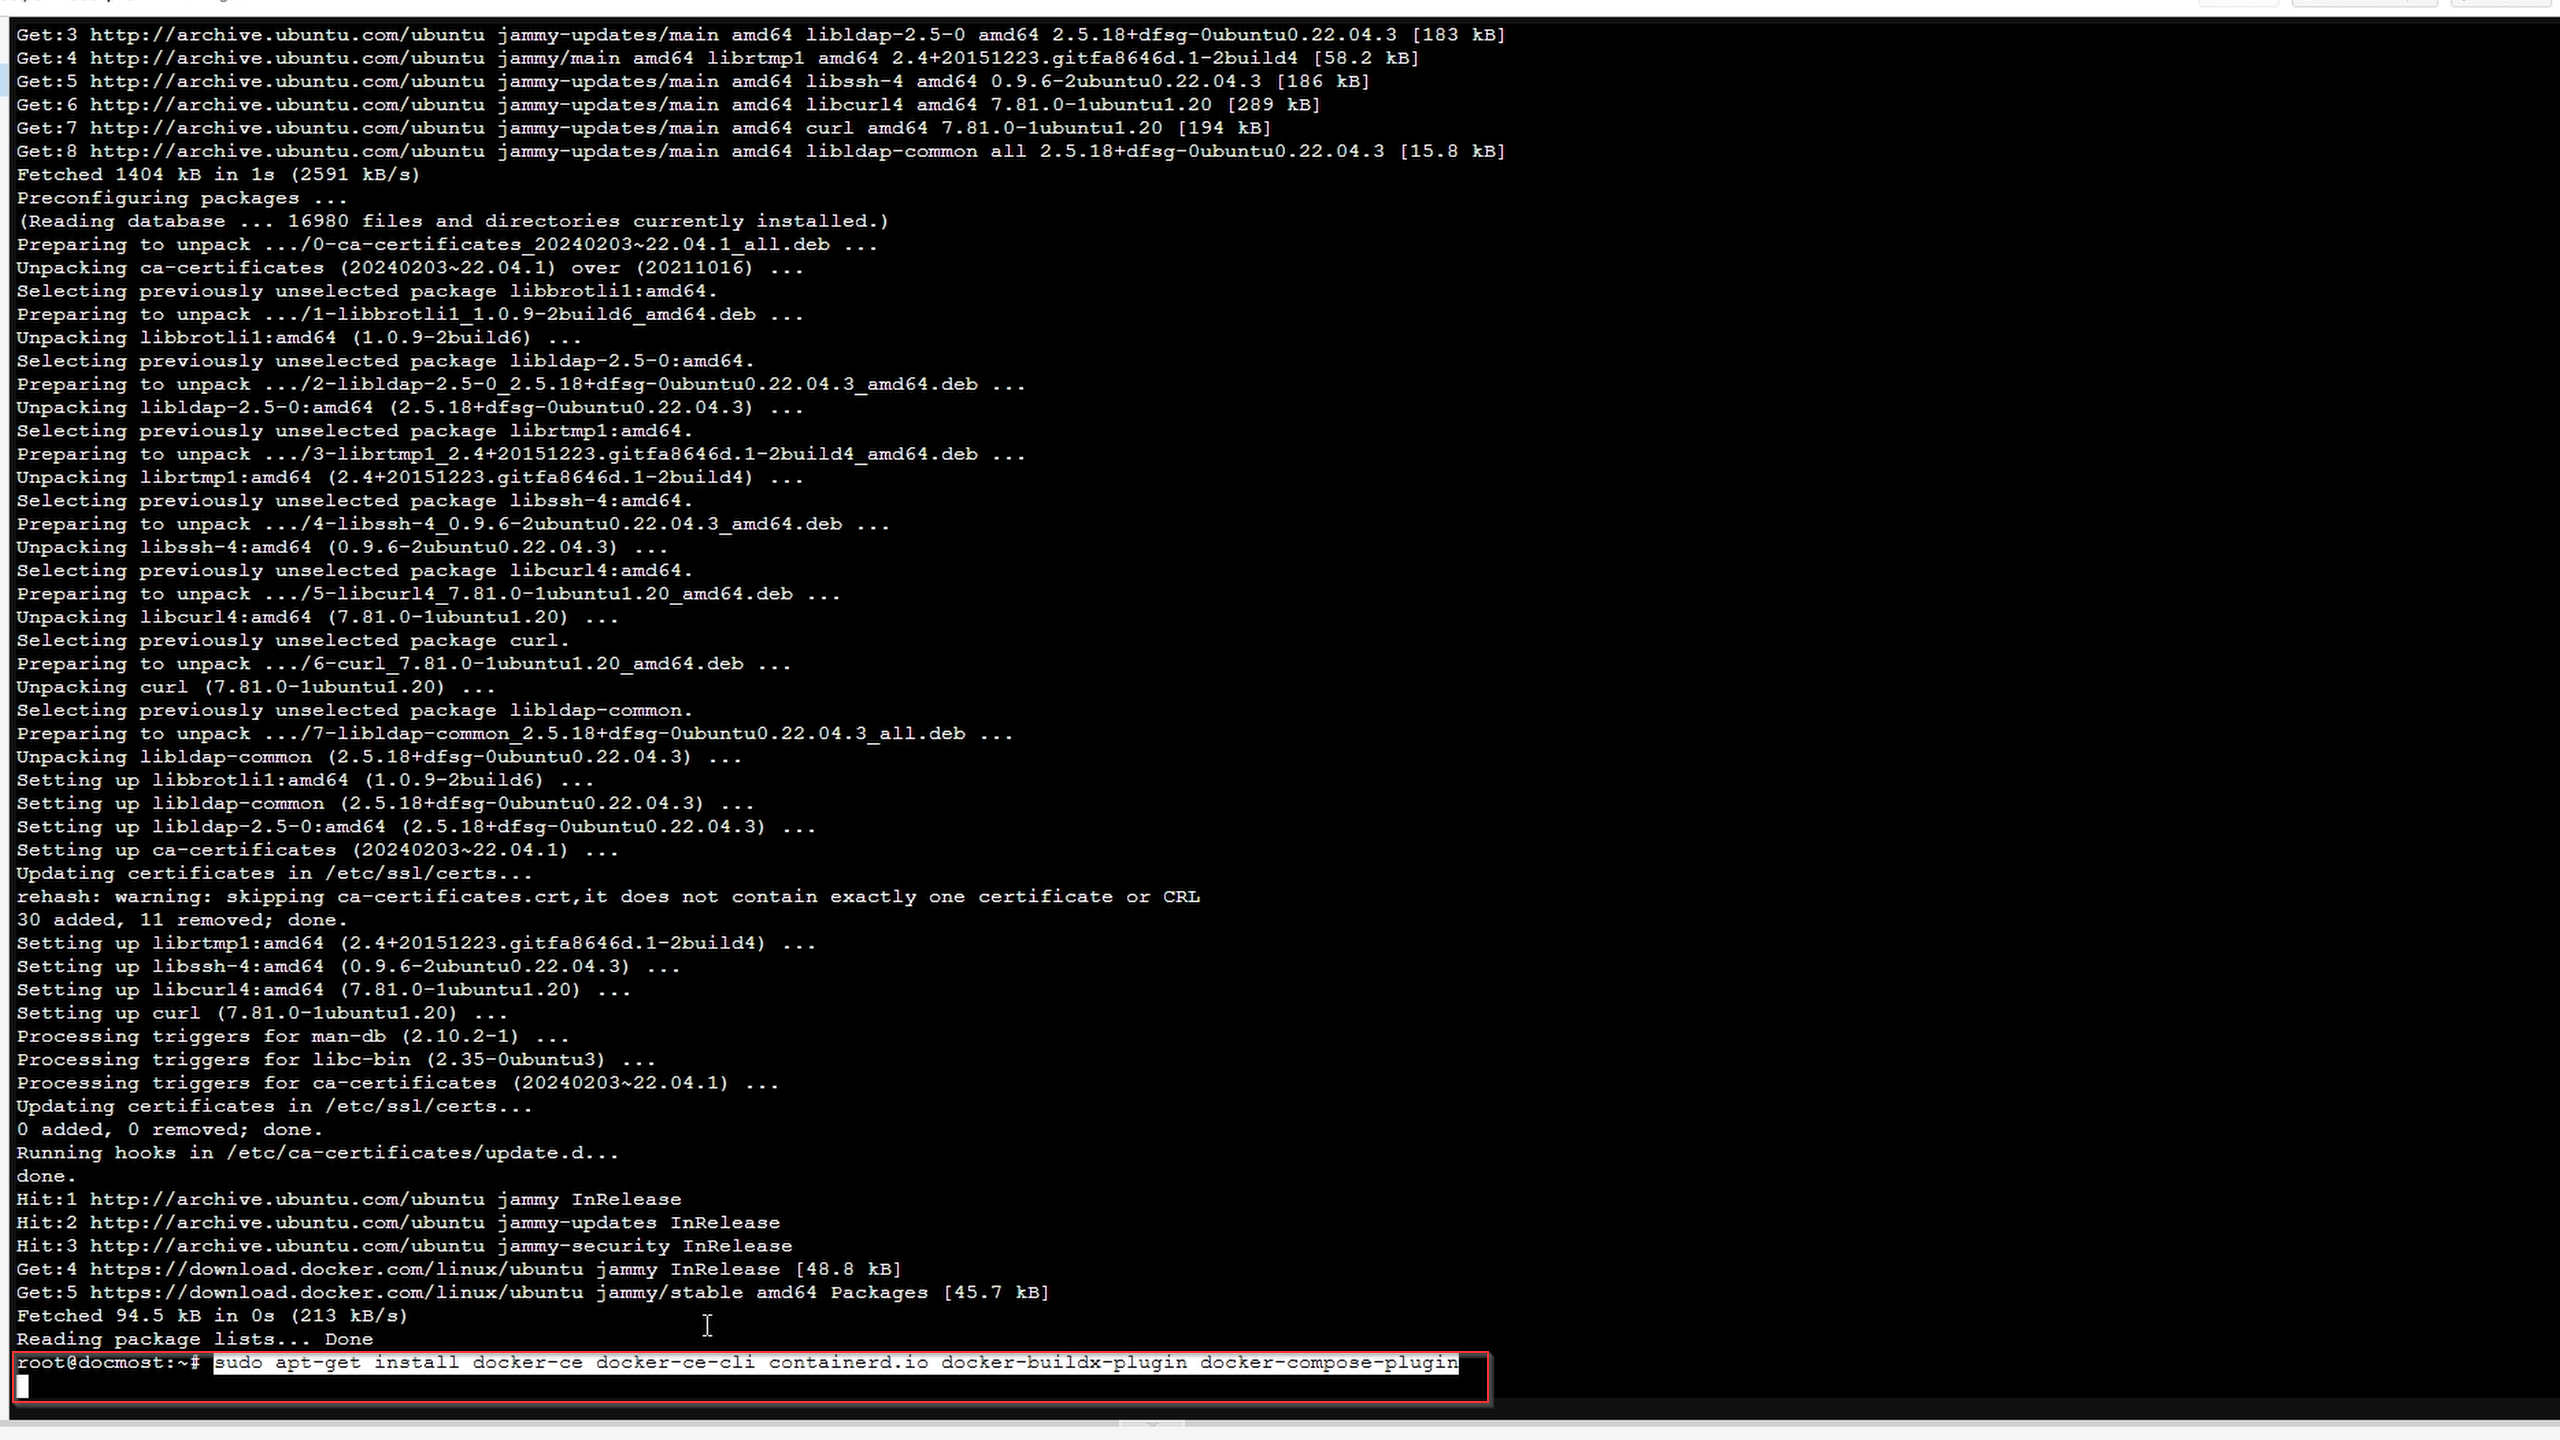
Install the Docker packages.
sudo apt-get install docker-ce docker-ce-cli containerd.io docker-buildx-plugin docker-compose-plugin
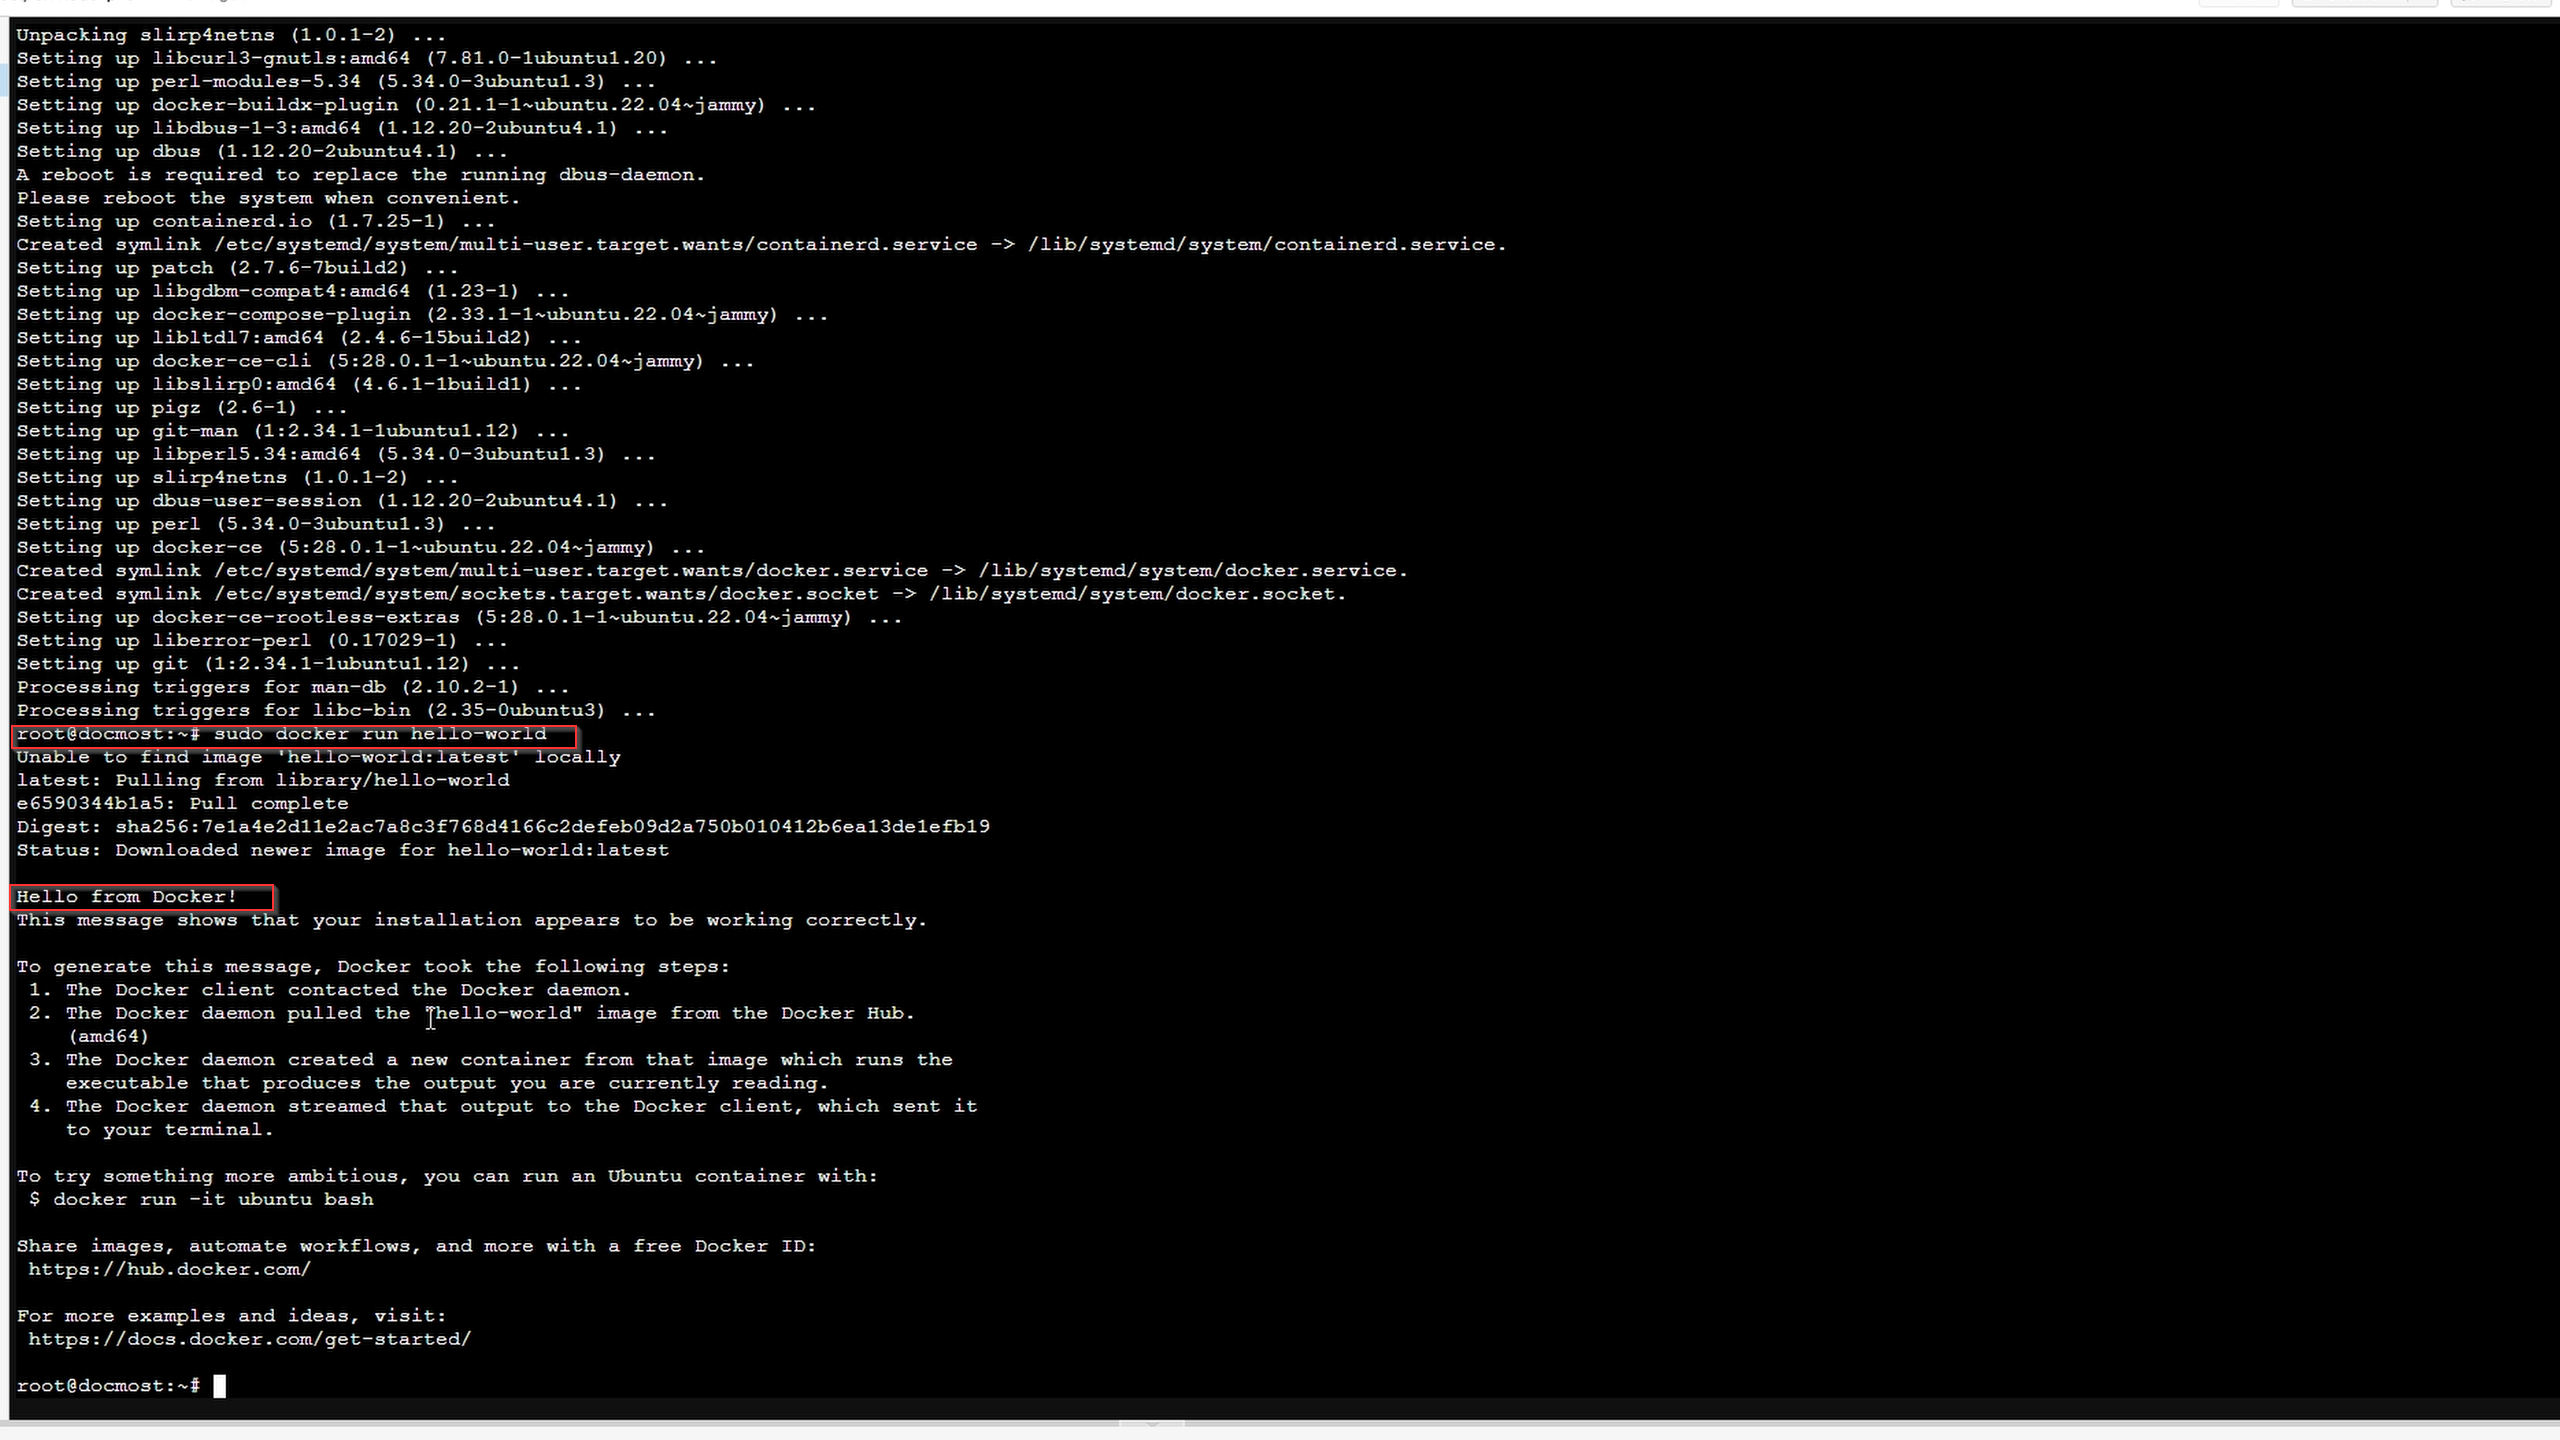
Verify that the installation is successful by running the hello-world image:
Install Docmost
Setup the Docker compose file
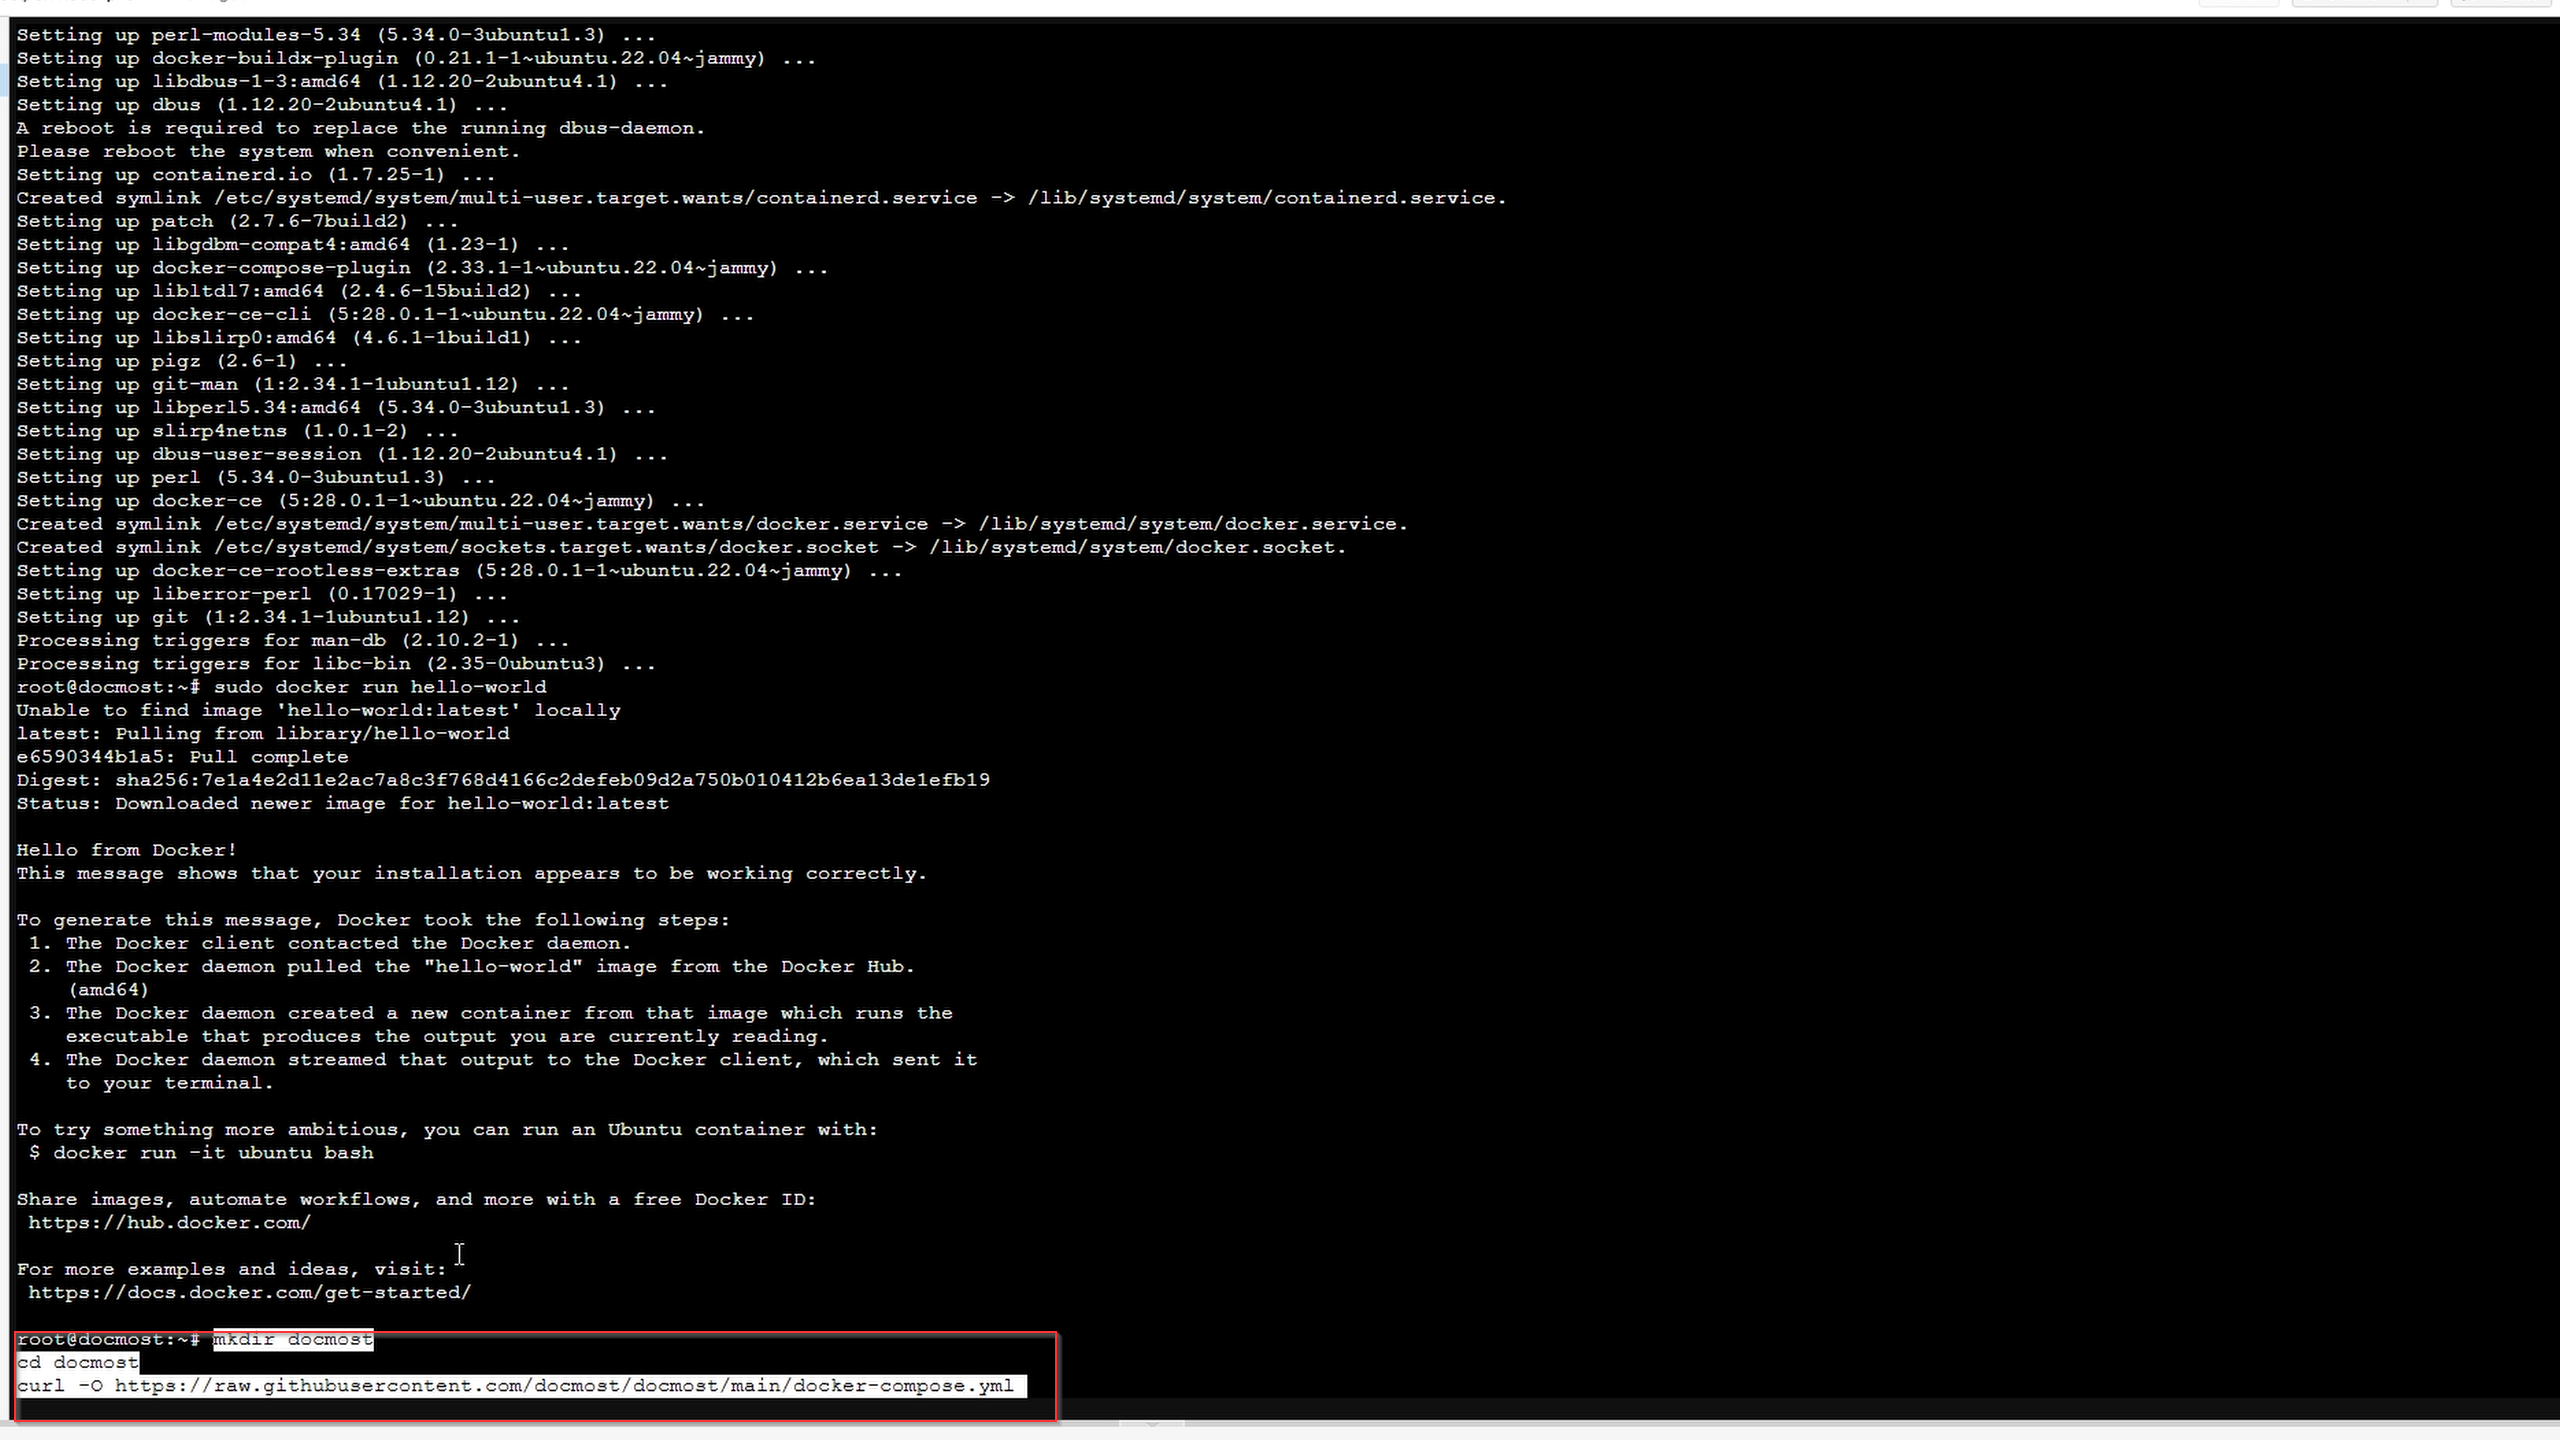
Create a new directory for Docmost and download the Docker compose file with commands below:
mkdir docmost
cd docmost
curl -O https://raw.githubusercontent.com/docmost/docmost/main/docker-compose.yml
We are going to use their documentation found here
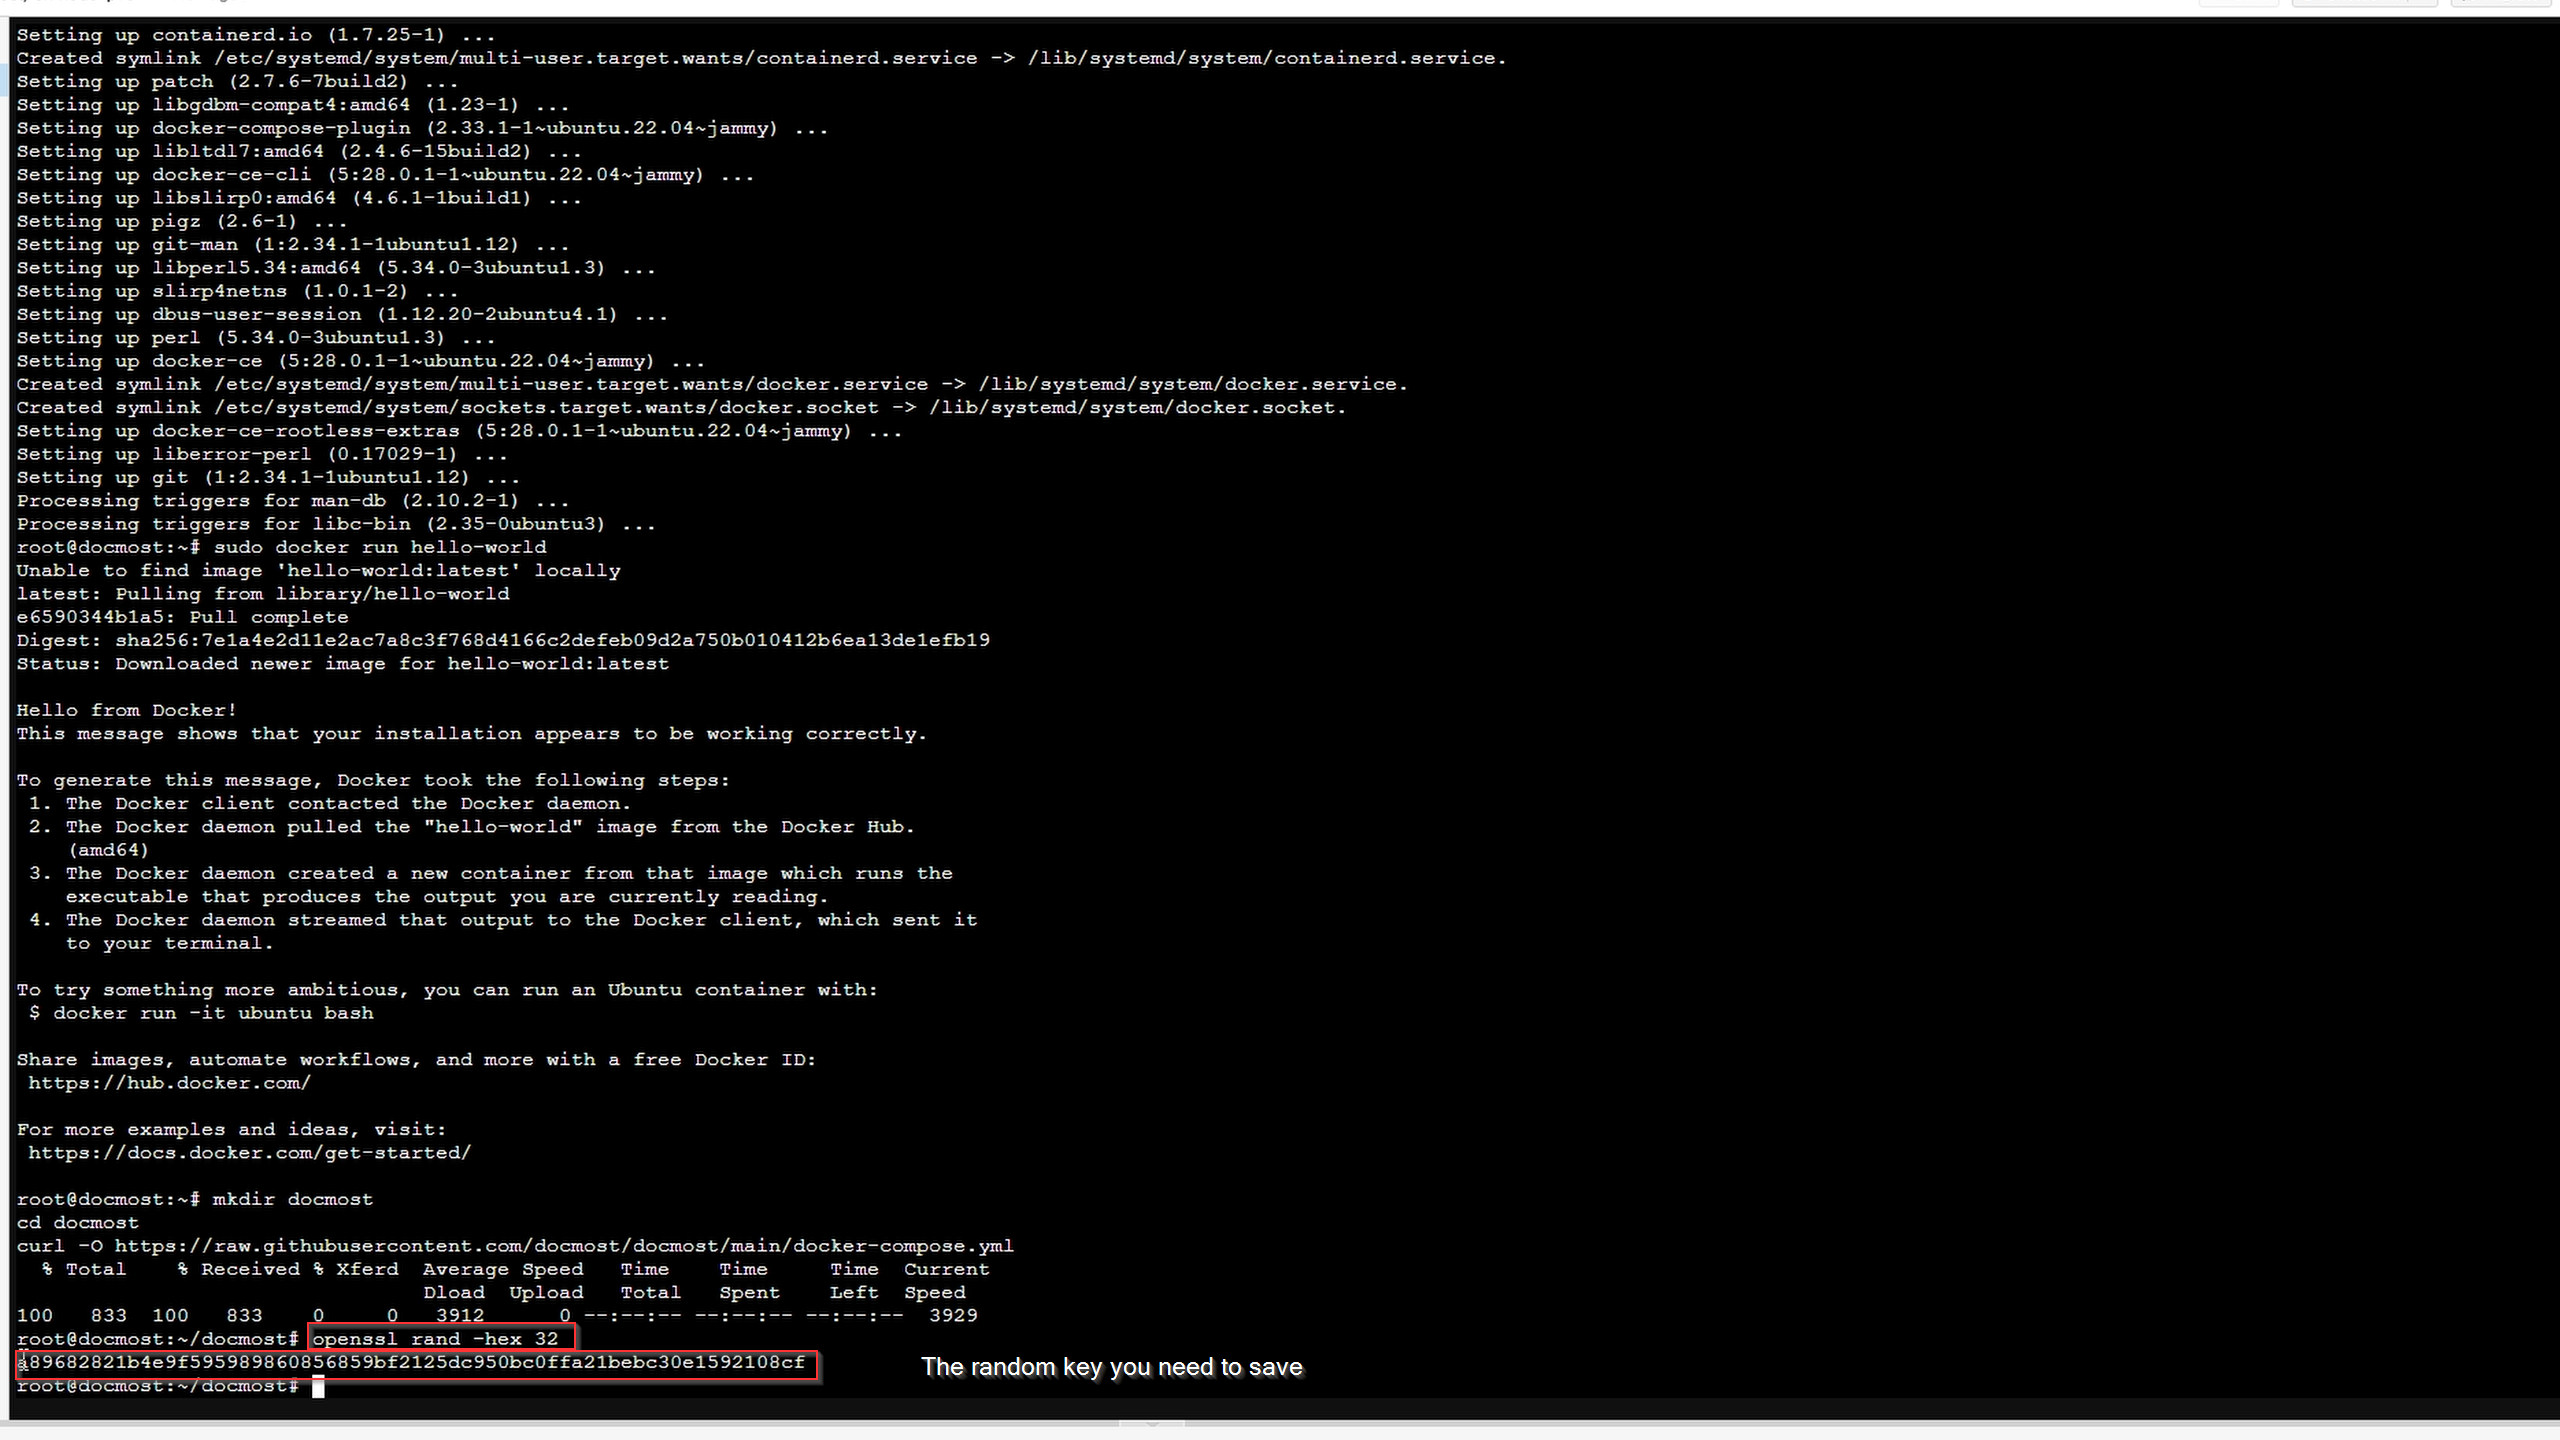
Before we edit that file we need to get a key for our app_secret which will be used in our docker compose file using the following command:
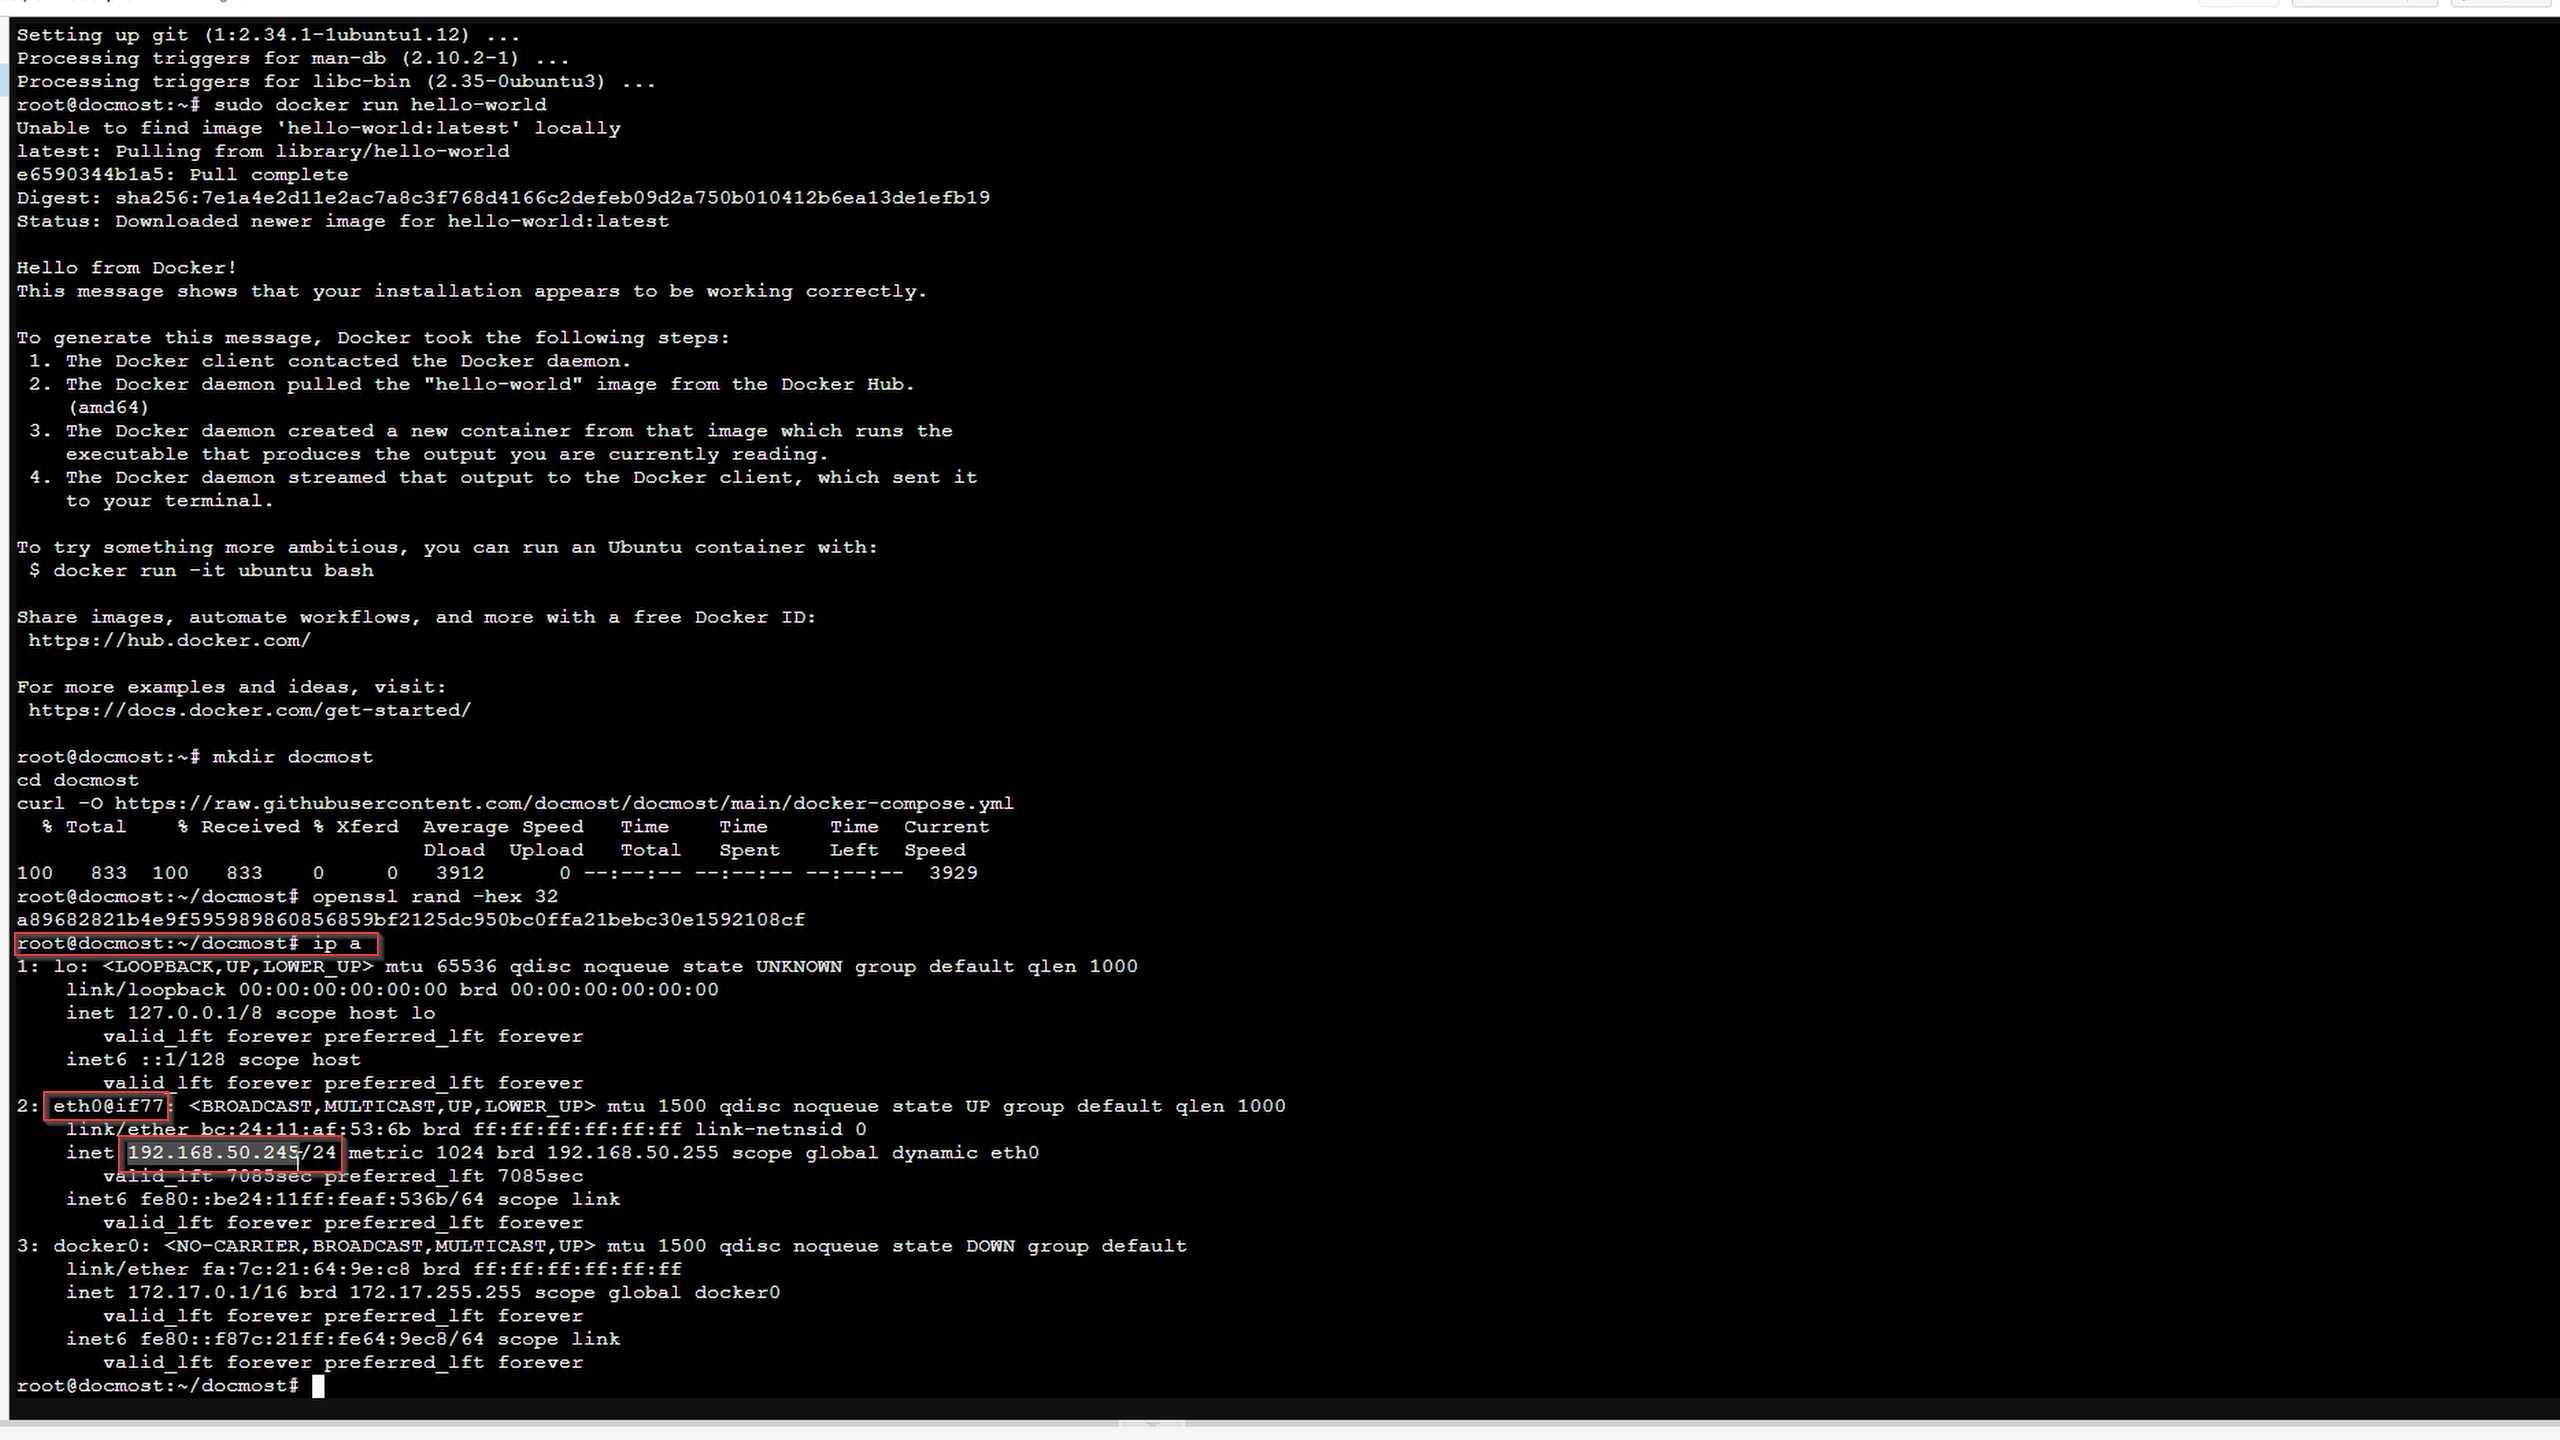
We then need to get our machines IP address to enter into this file using (make sure you write down your IP and key somewhere)
For the below exmapel you need to change the following parameters:
-
The
APP_URLshould be replaced with your chosen domain. E.g.https://example.comorhttps://docmost.example.com. -
The
APP_SECRETvalue must be replaced with a long random secret key (32 characters minimum) you created a second out with the openssl command. You can generate the secret with openssl rand -hex 32. If you leave the default value, the app will fail to start. -
Replace
STRONG_DB_PASSWORDin thePOSTGRES_PASSWORDenvironment variable with a secure password of your making. -
Update the
DATABASE_URLdefaultSTRONG_DB_PASSWORDvalue with your chosen Postgres password you created in step 3 (they need to match).
You are going to edit those four parameters in the following document:
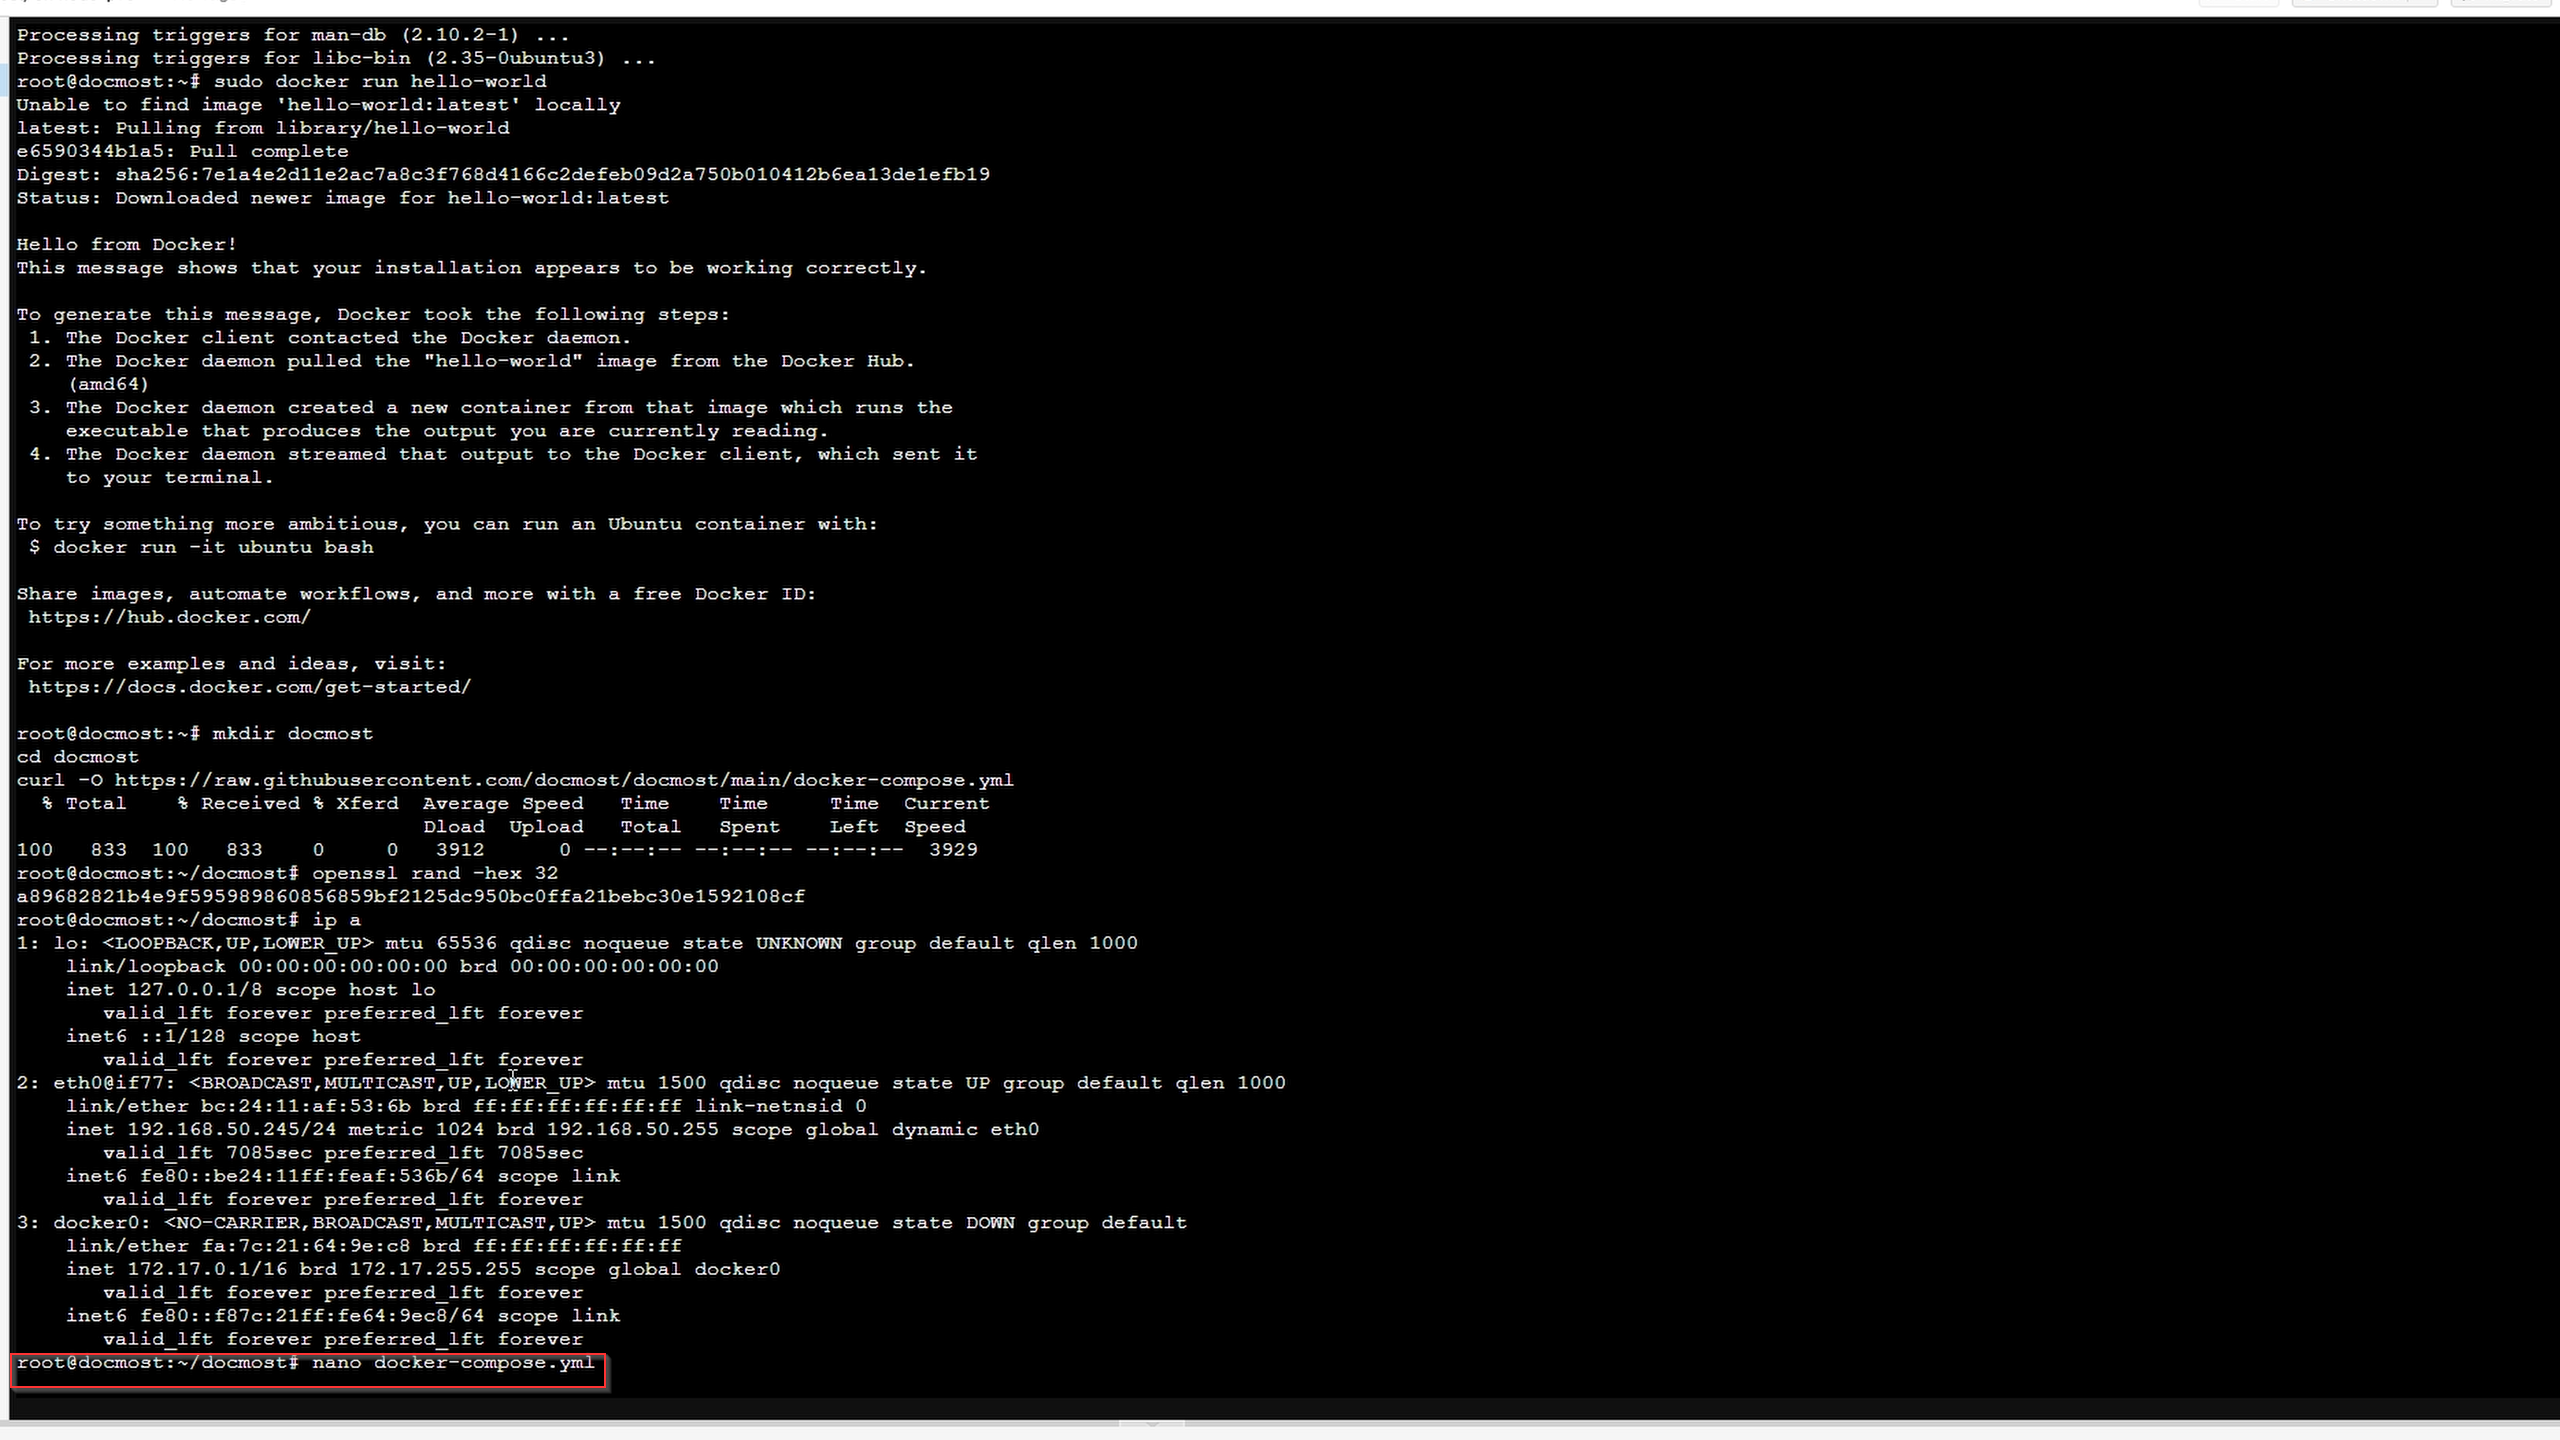
Open the file with nano:
Example/template:
version: "3"
services:
docmost:
image: docmost/docmost:latest
depends_on:
- db
- redis
environment:
APP_URL: "http://localhost:3000"
APP_SECRET: "REPLACE_WITH_LONG_SECRET"
DATABASE_URL: "postgresql://docmost:STRONG_DB_PASSWORD@db:5432/docmost?schema=public"
REDIS_URL: "redis://redis:6379"
ports:
- "3000:3000"
restart: unless-stopped
volumes:
- docmost:/app/data/storage
db:
image: postgres:16-alpine
environment:
POSTGRES_DB: docmost
POSTGRES_USER: docmost
POSTGRES_PASSWORD: STRONG_DB_PASSWORD
restart: unless-stopped
volumes:
- db_data:/var/lib/postgresql/data
redis:
image: redis:7.2-alpine
restart: unless-stopped
volumes:
- redis_data:/data
volumes:
docmost:
db_data:
redis_data:
```
<a href="/images/EP27_docmost/SSD 1_1.8.6.png" class="image-expand">
<img src="/images/EP27_docmost/SSD 1_1.8.6.png" alt="Description of your image">
</a>
## After Docmost Install
Start the Services
Make sure you are inside the docmost directory which contains the docker-compose.yml file.
To start the services, run:
<a href="/images/EP27_docmost/SSD 1_1.8.7.png" class="image-expand">
    <img src="/images/EP27_docmost/SSD 1_1.8.7.png" alt="Description of your image">
</a>

Now you can go to your Docmost instance at:
You will be prompted with the following screen to create your own account:
NOTE: it only asks for a password one time SO MAKE SURE YOU TYPE IT RIGHT!
How to Configure/Use Docmost
Change theme to light or dark mode
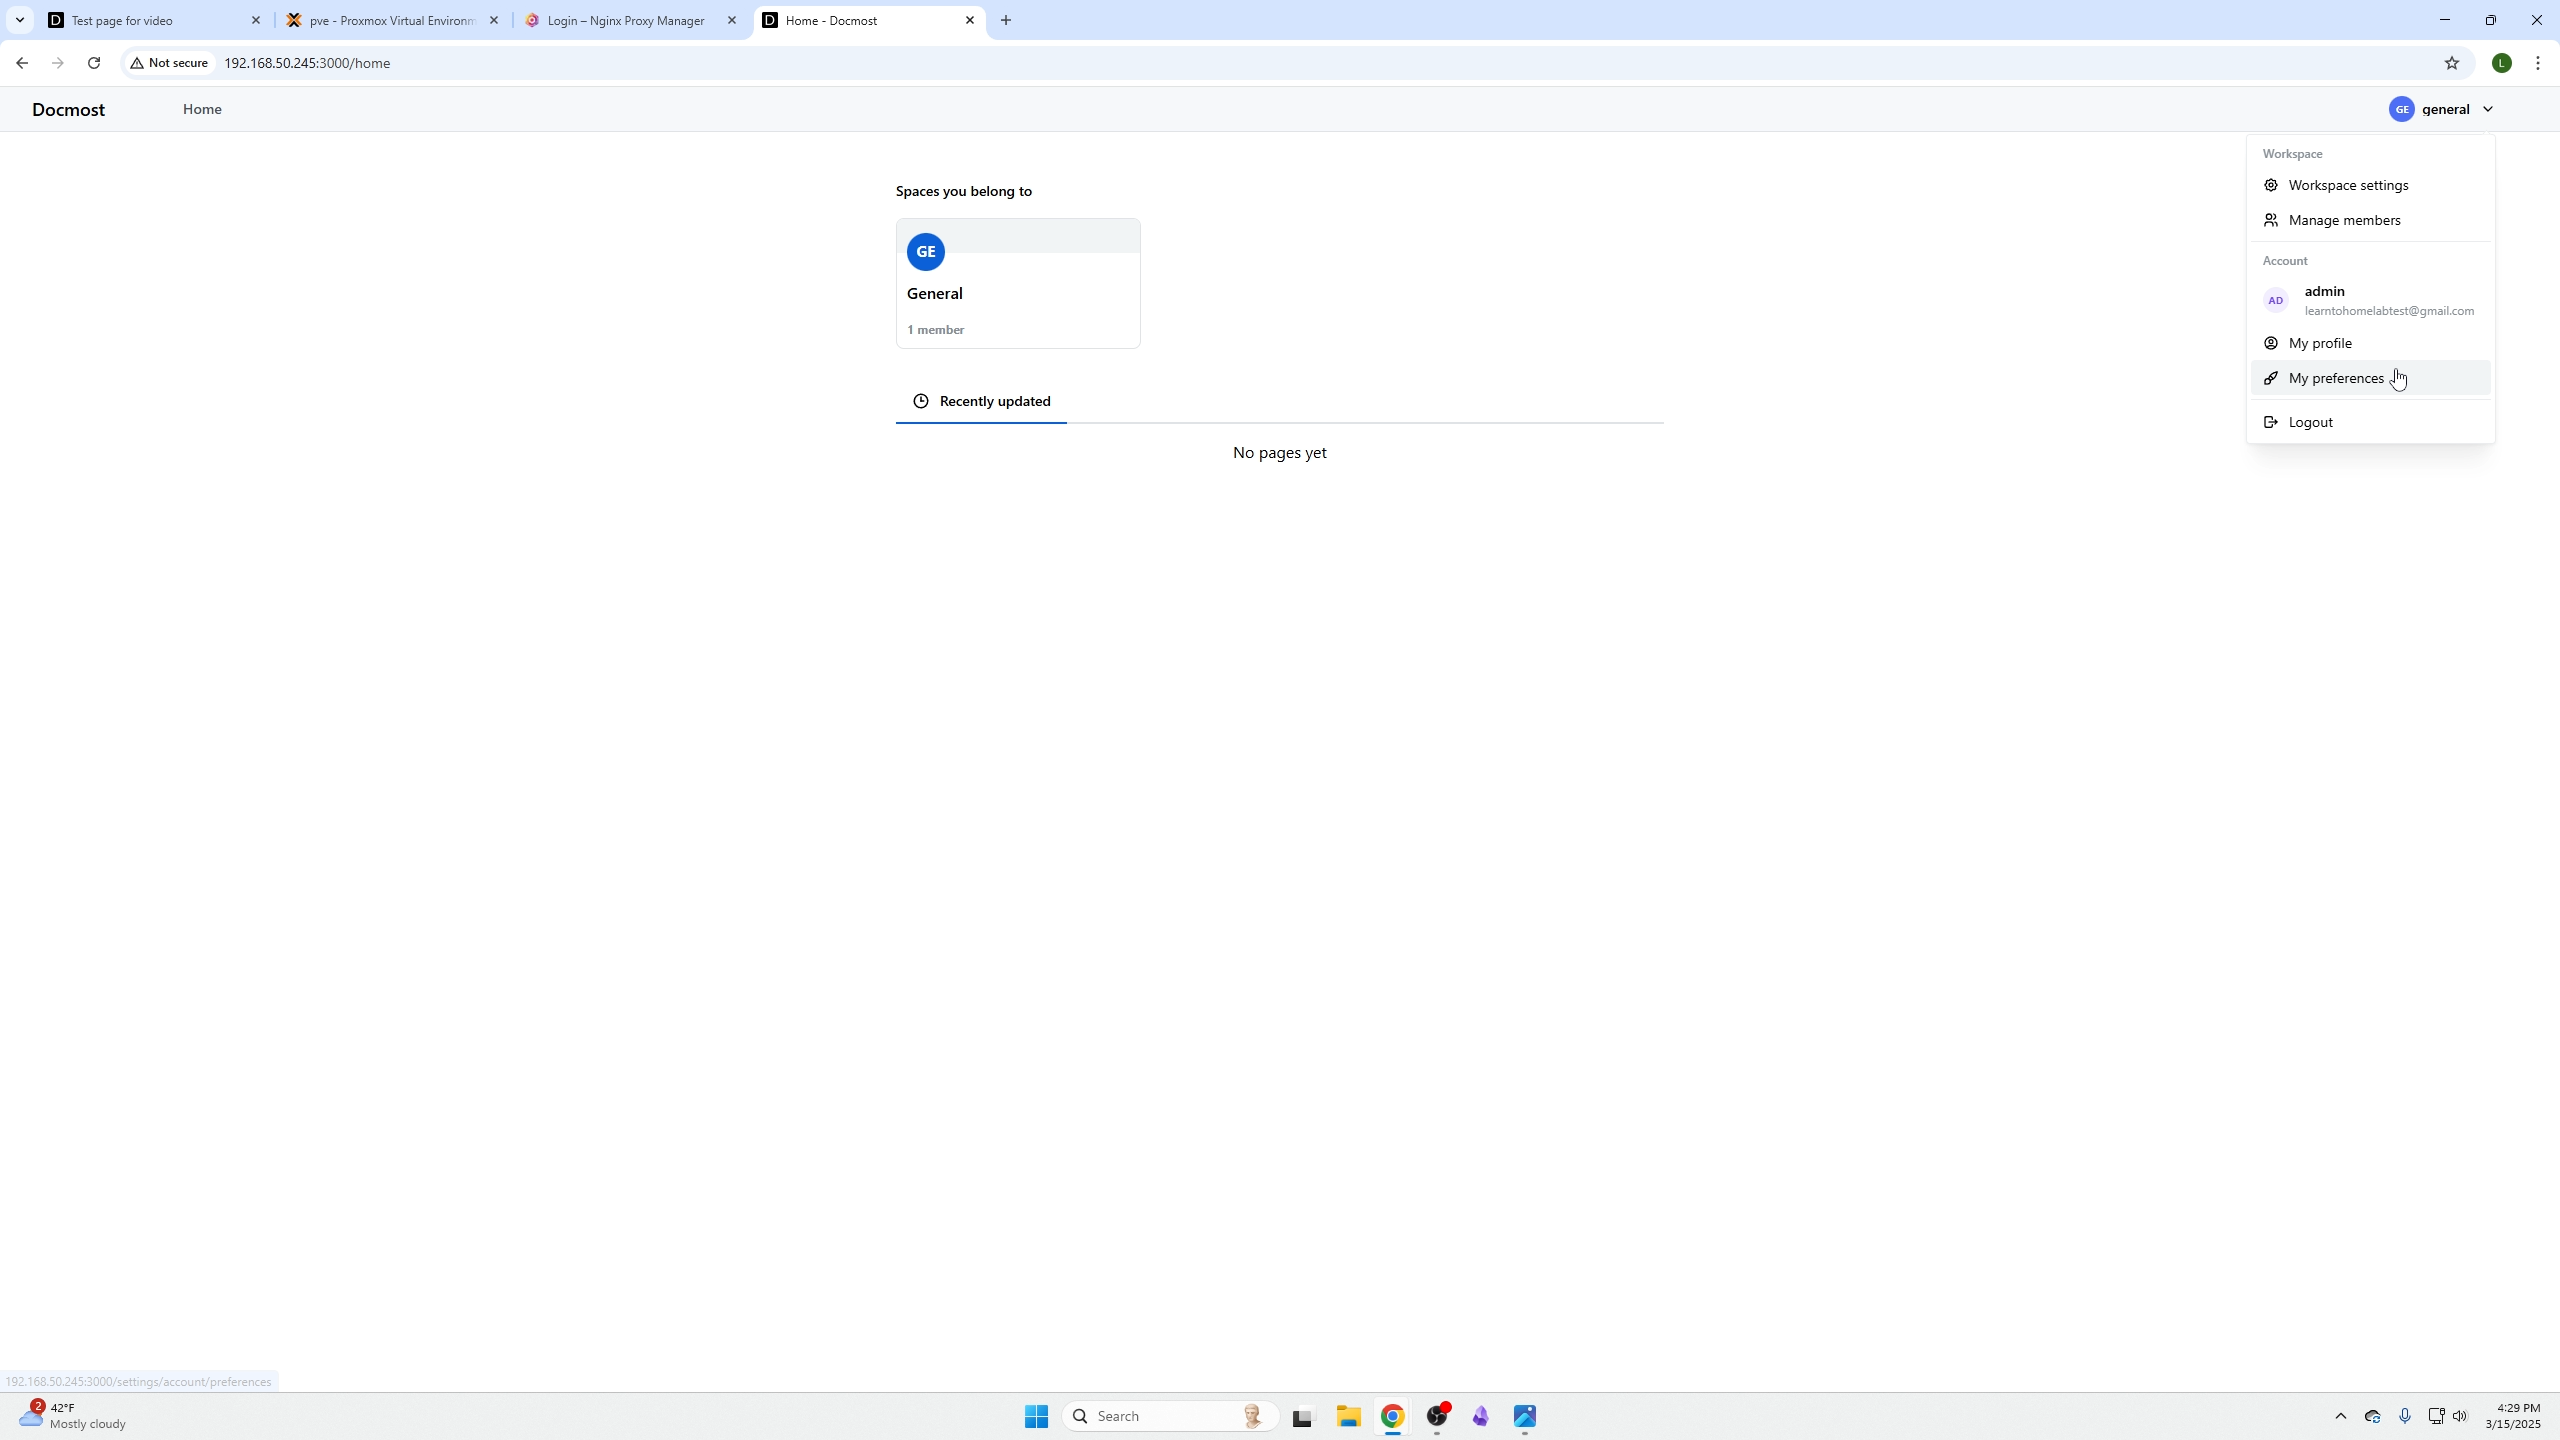
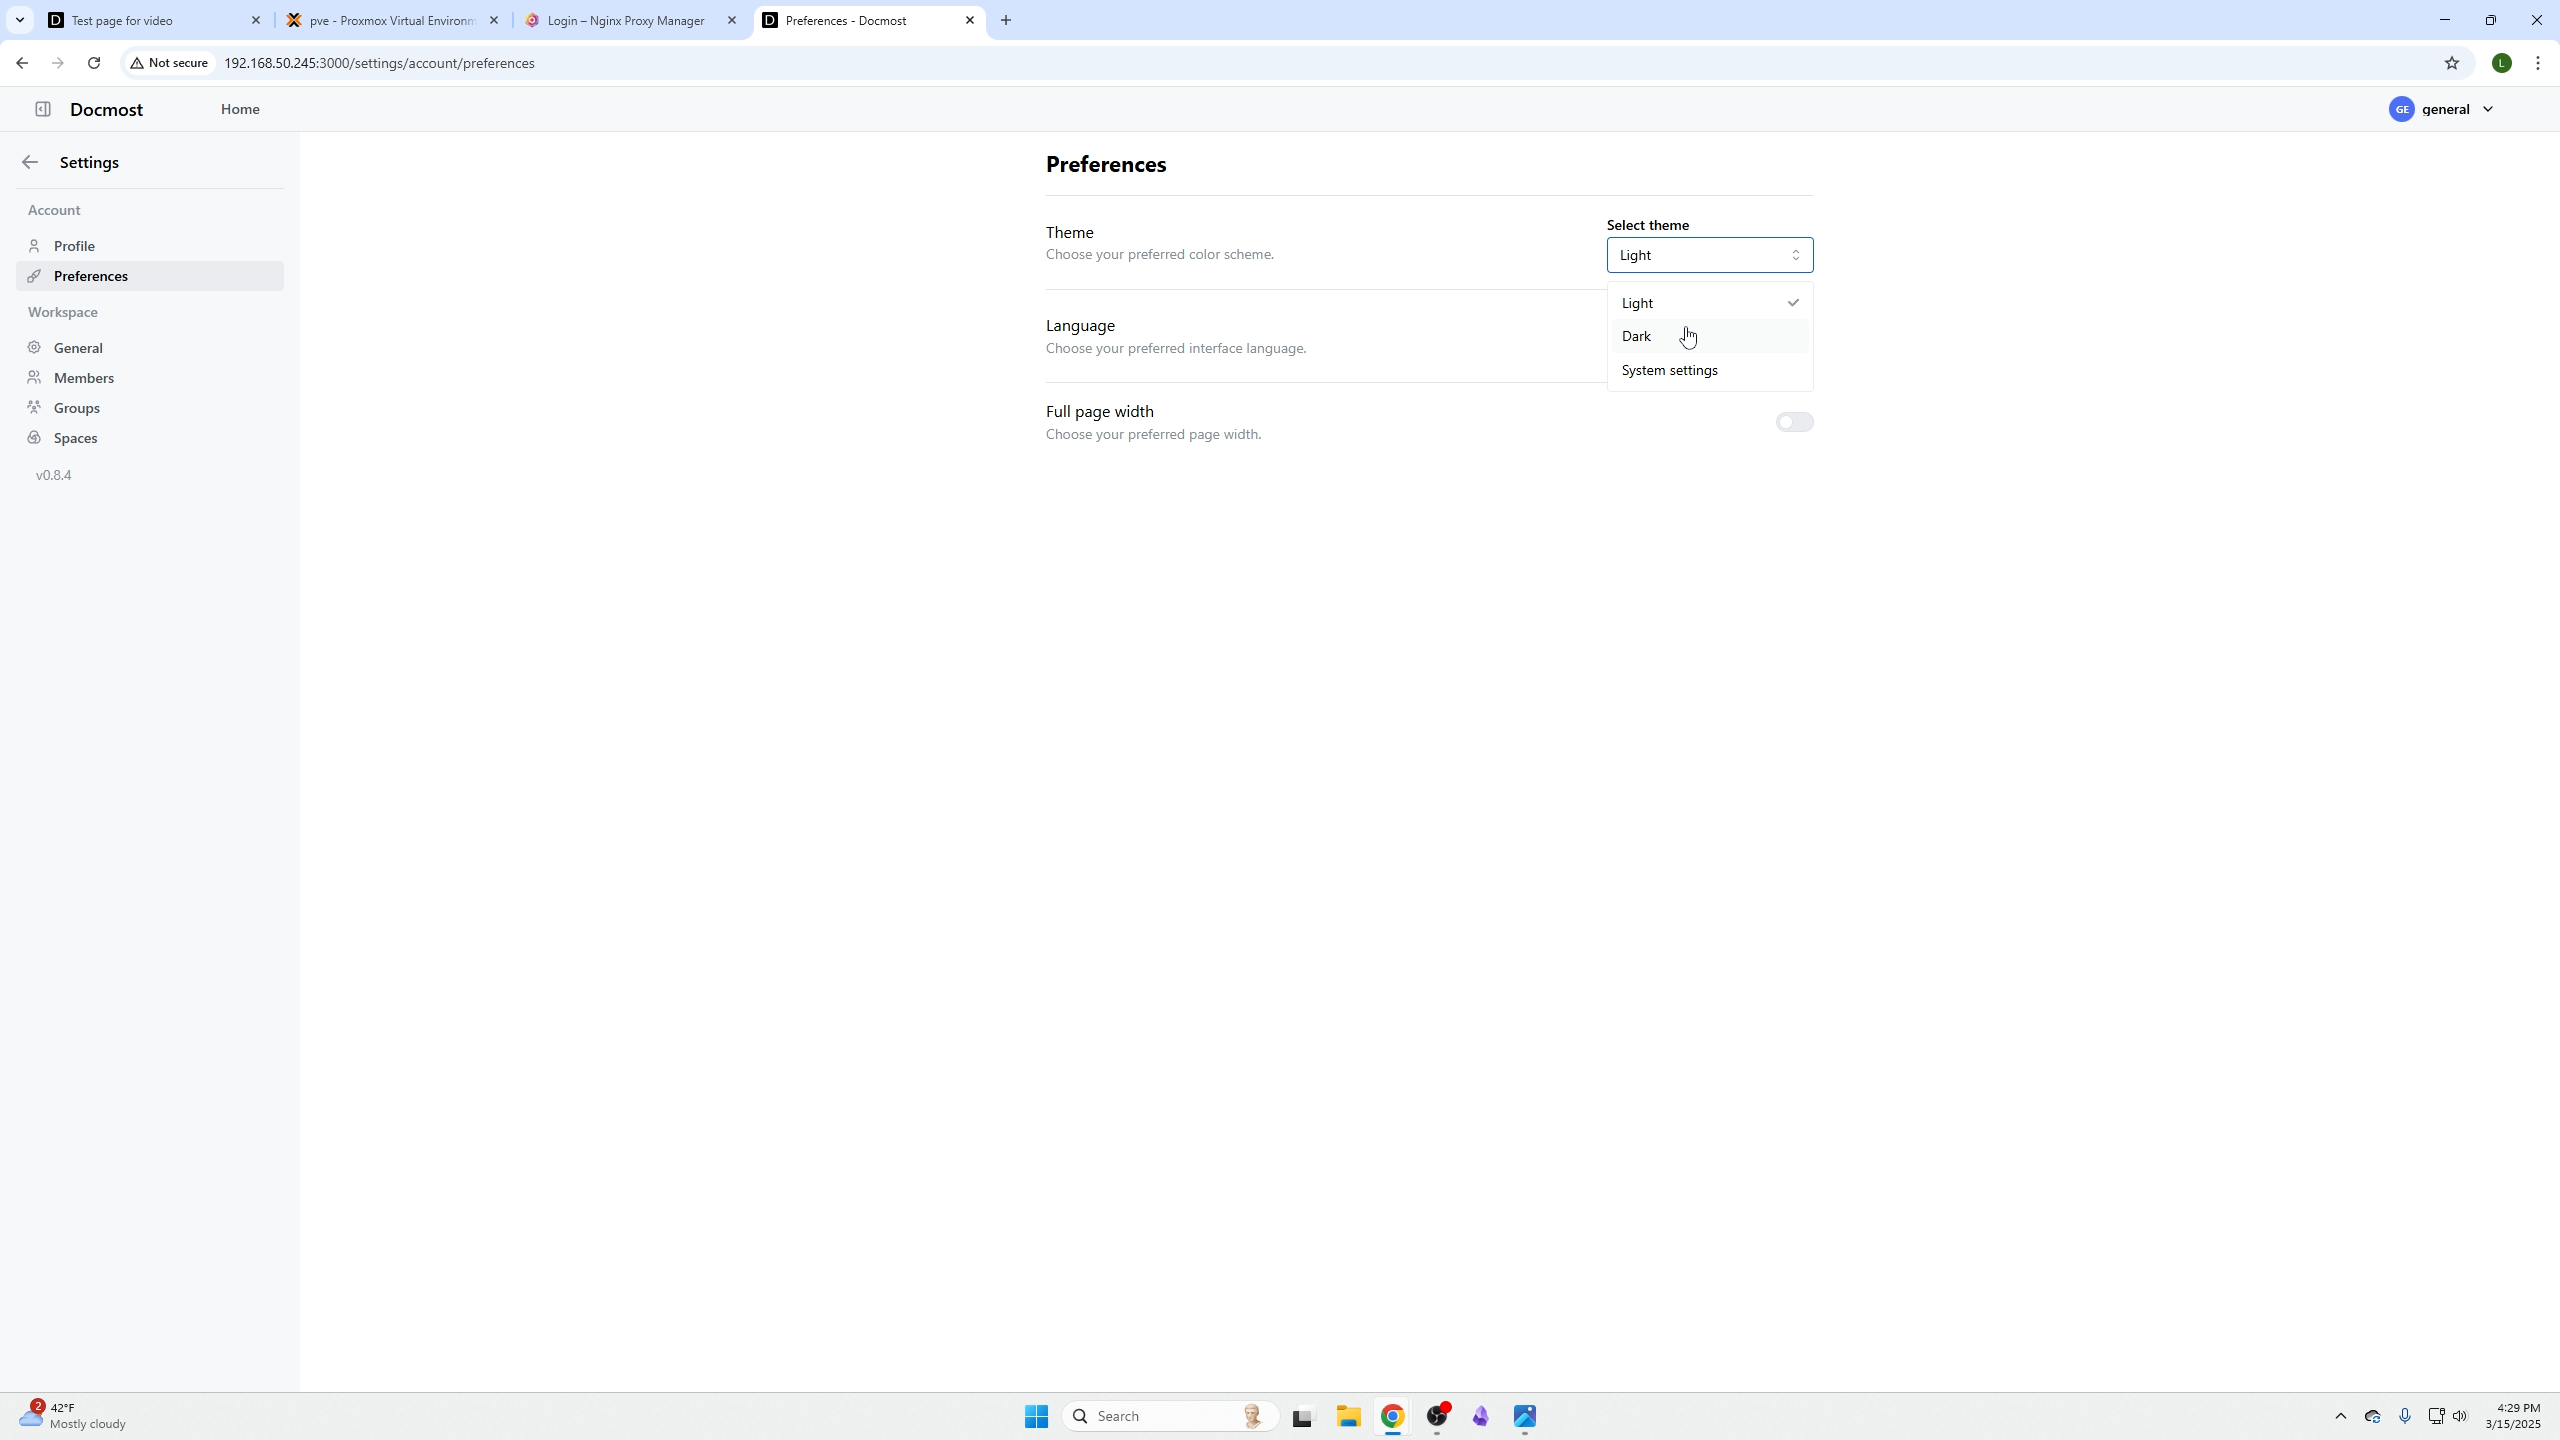
To change to Darkmost you can click your profile at the top right / my preferneces / and select dark mode under theme.
Create Spaces
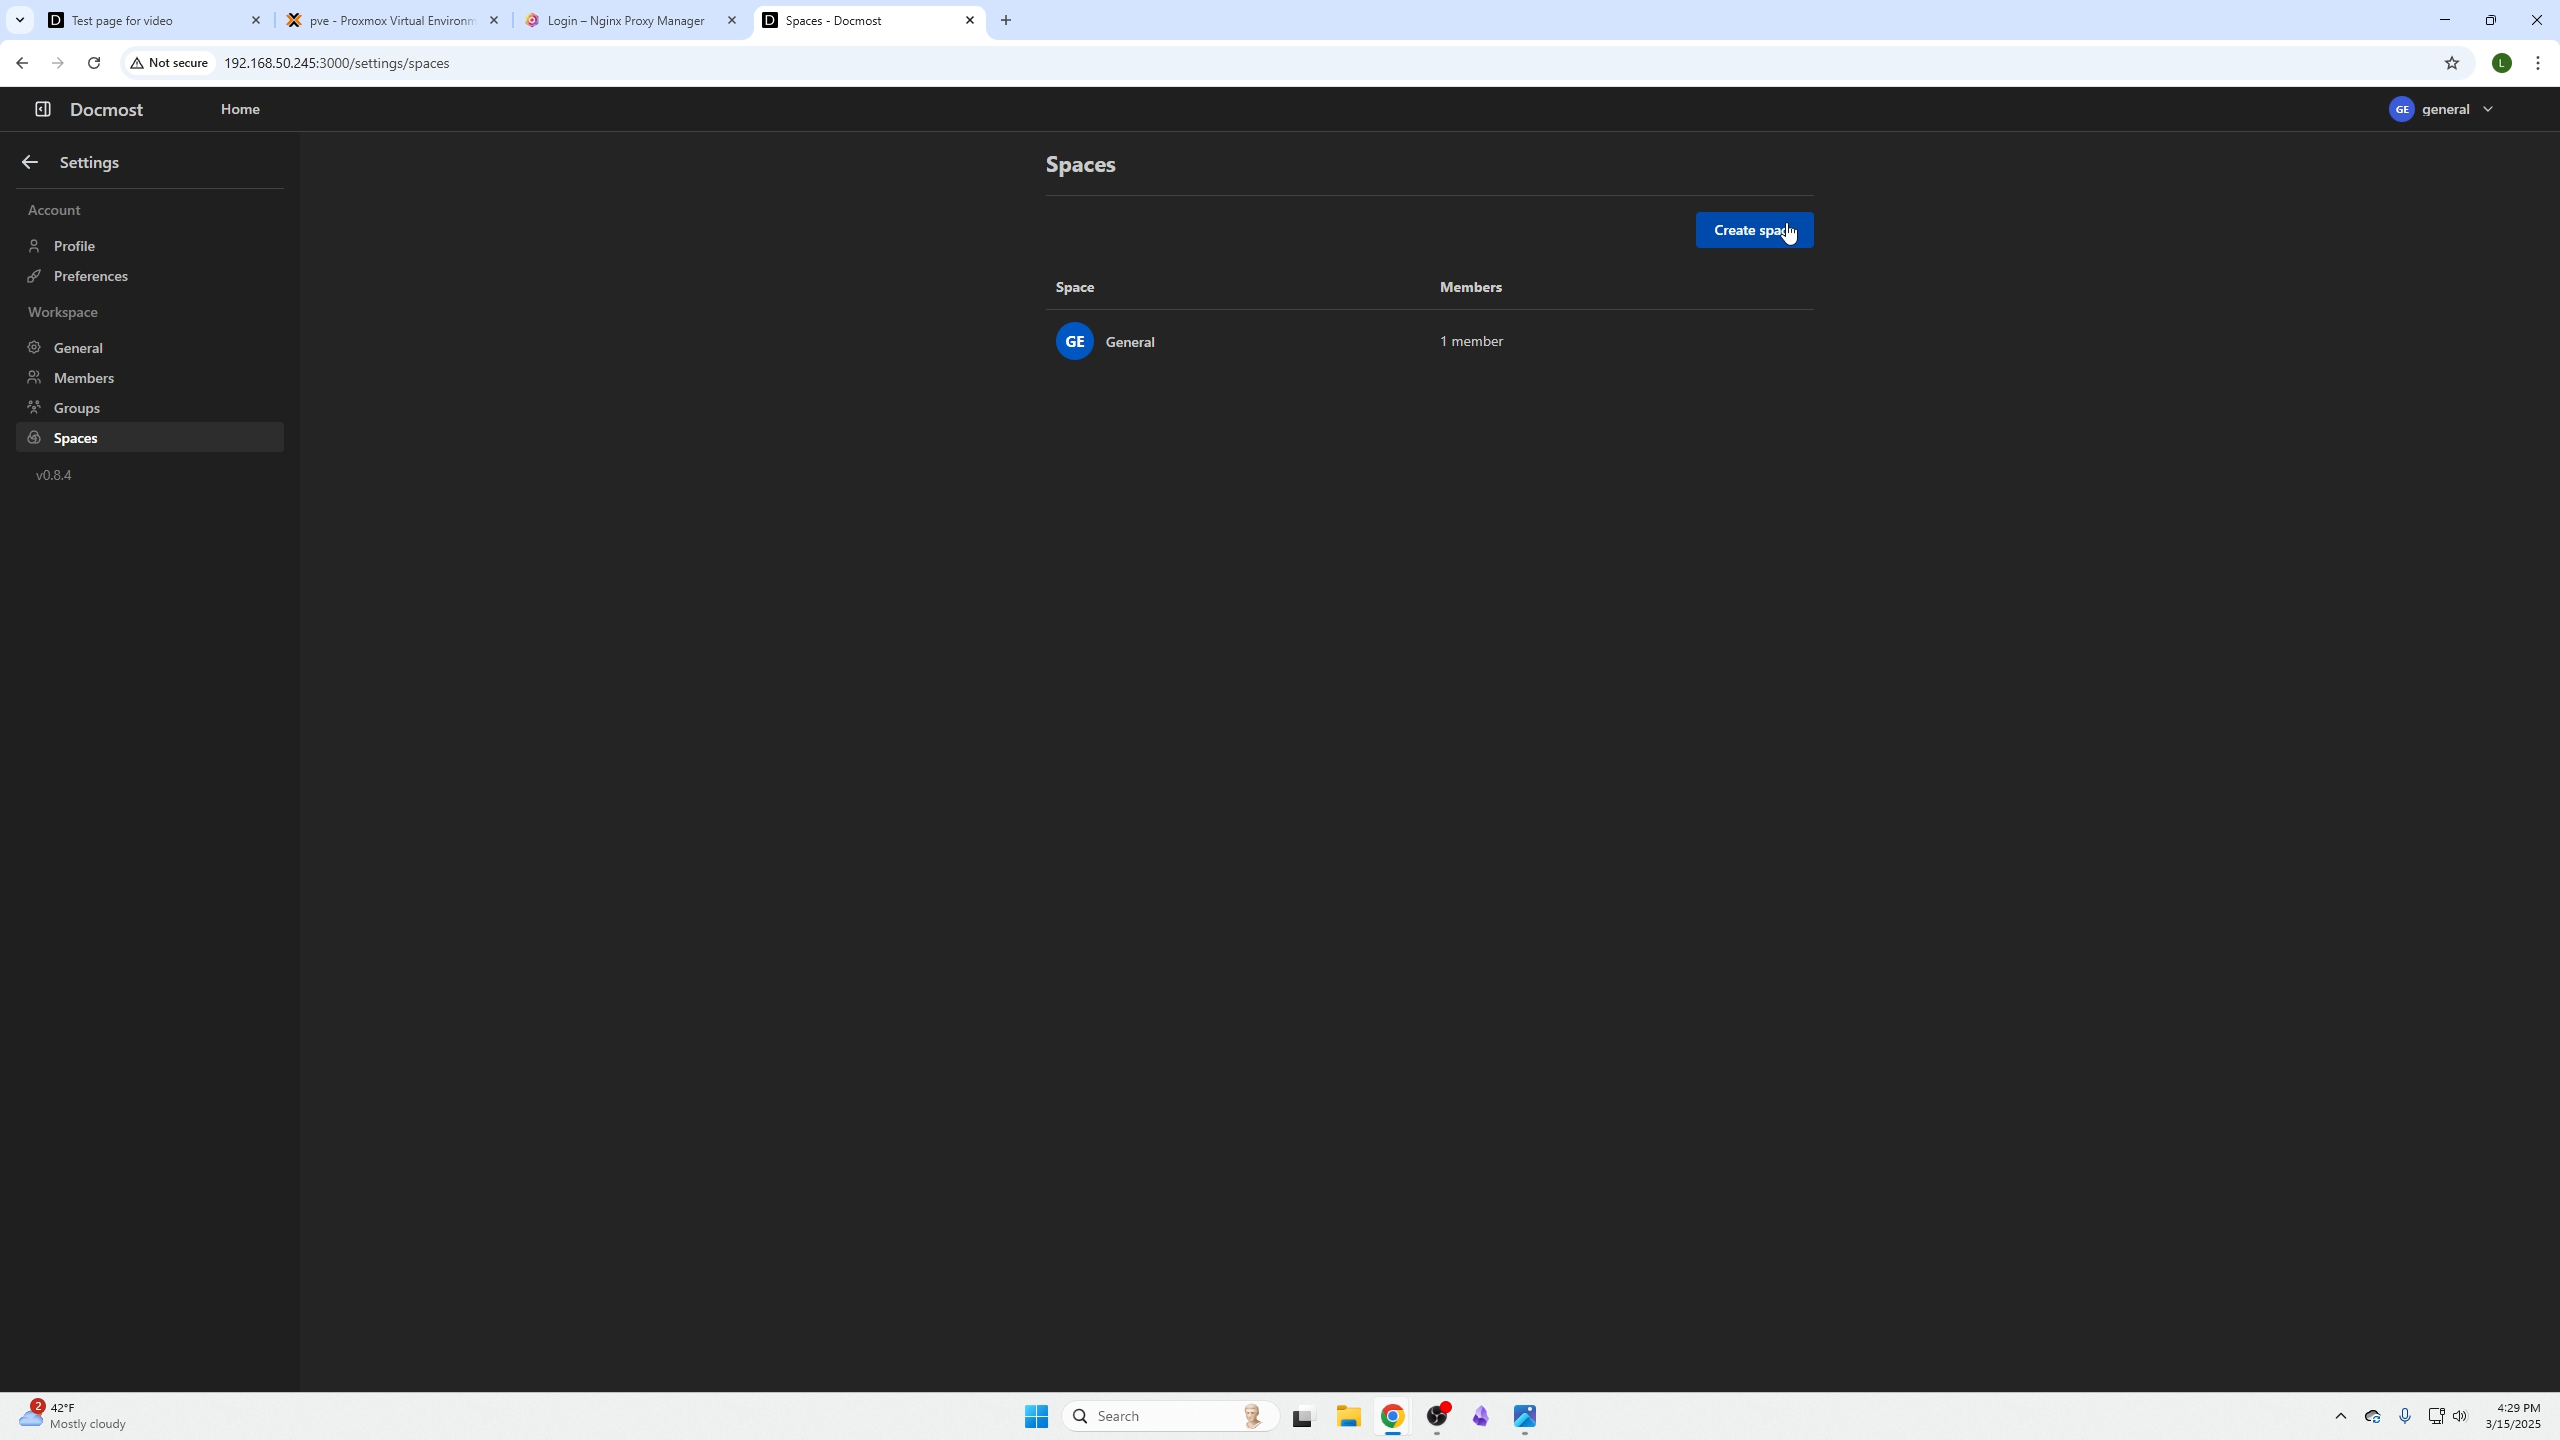
You can organize your notes into "books" or what they call Spaces. You can use Spaces for specific topics or control user access to spaces which is really cool. This can be found under settings / spaces
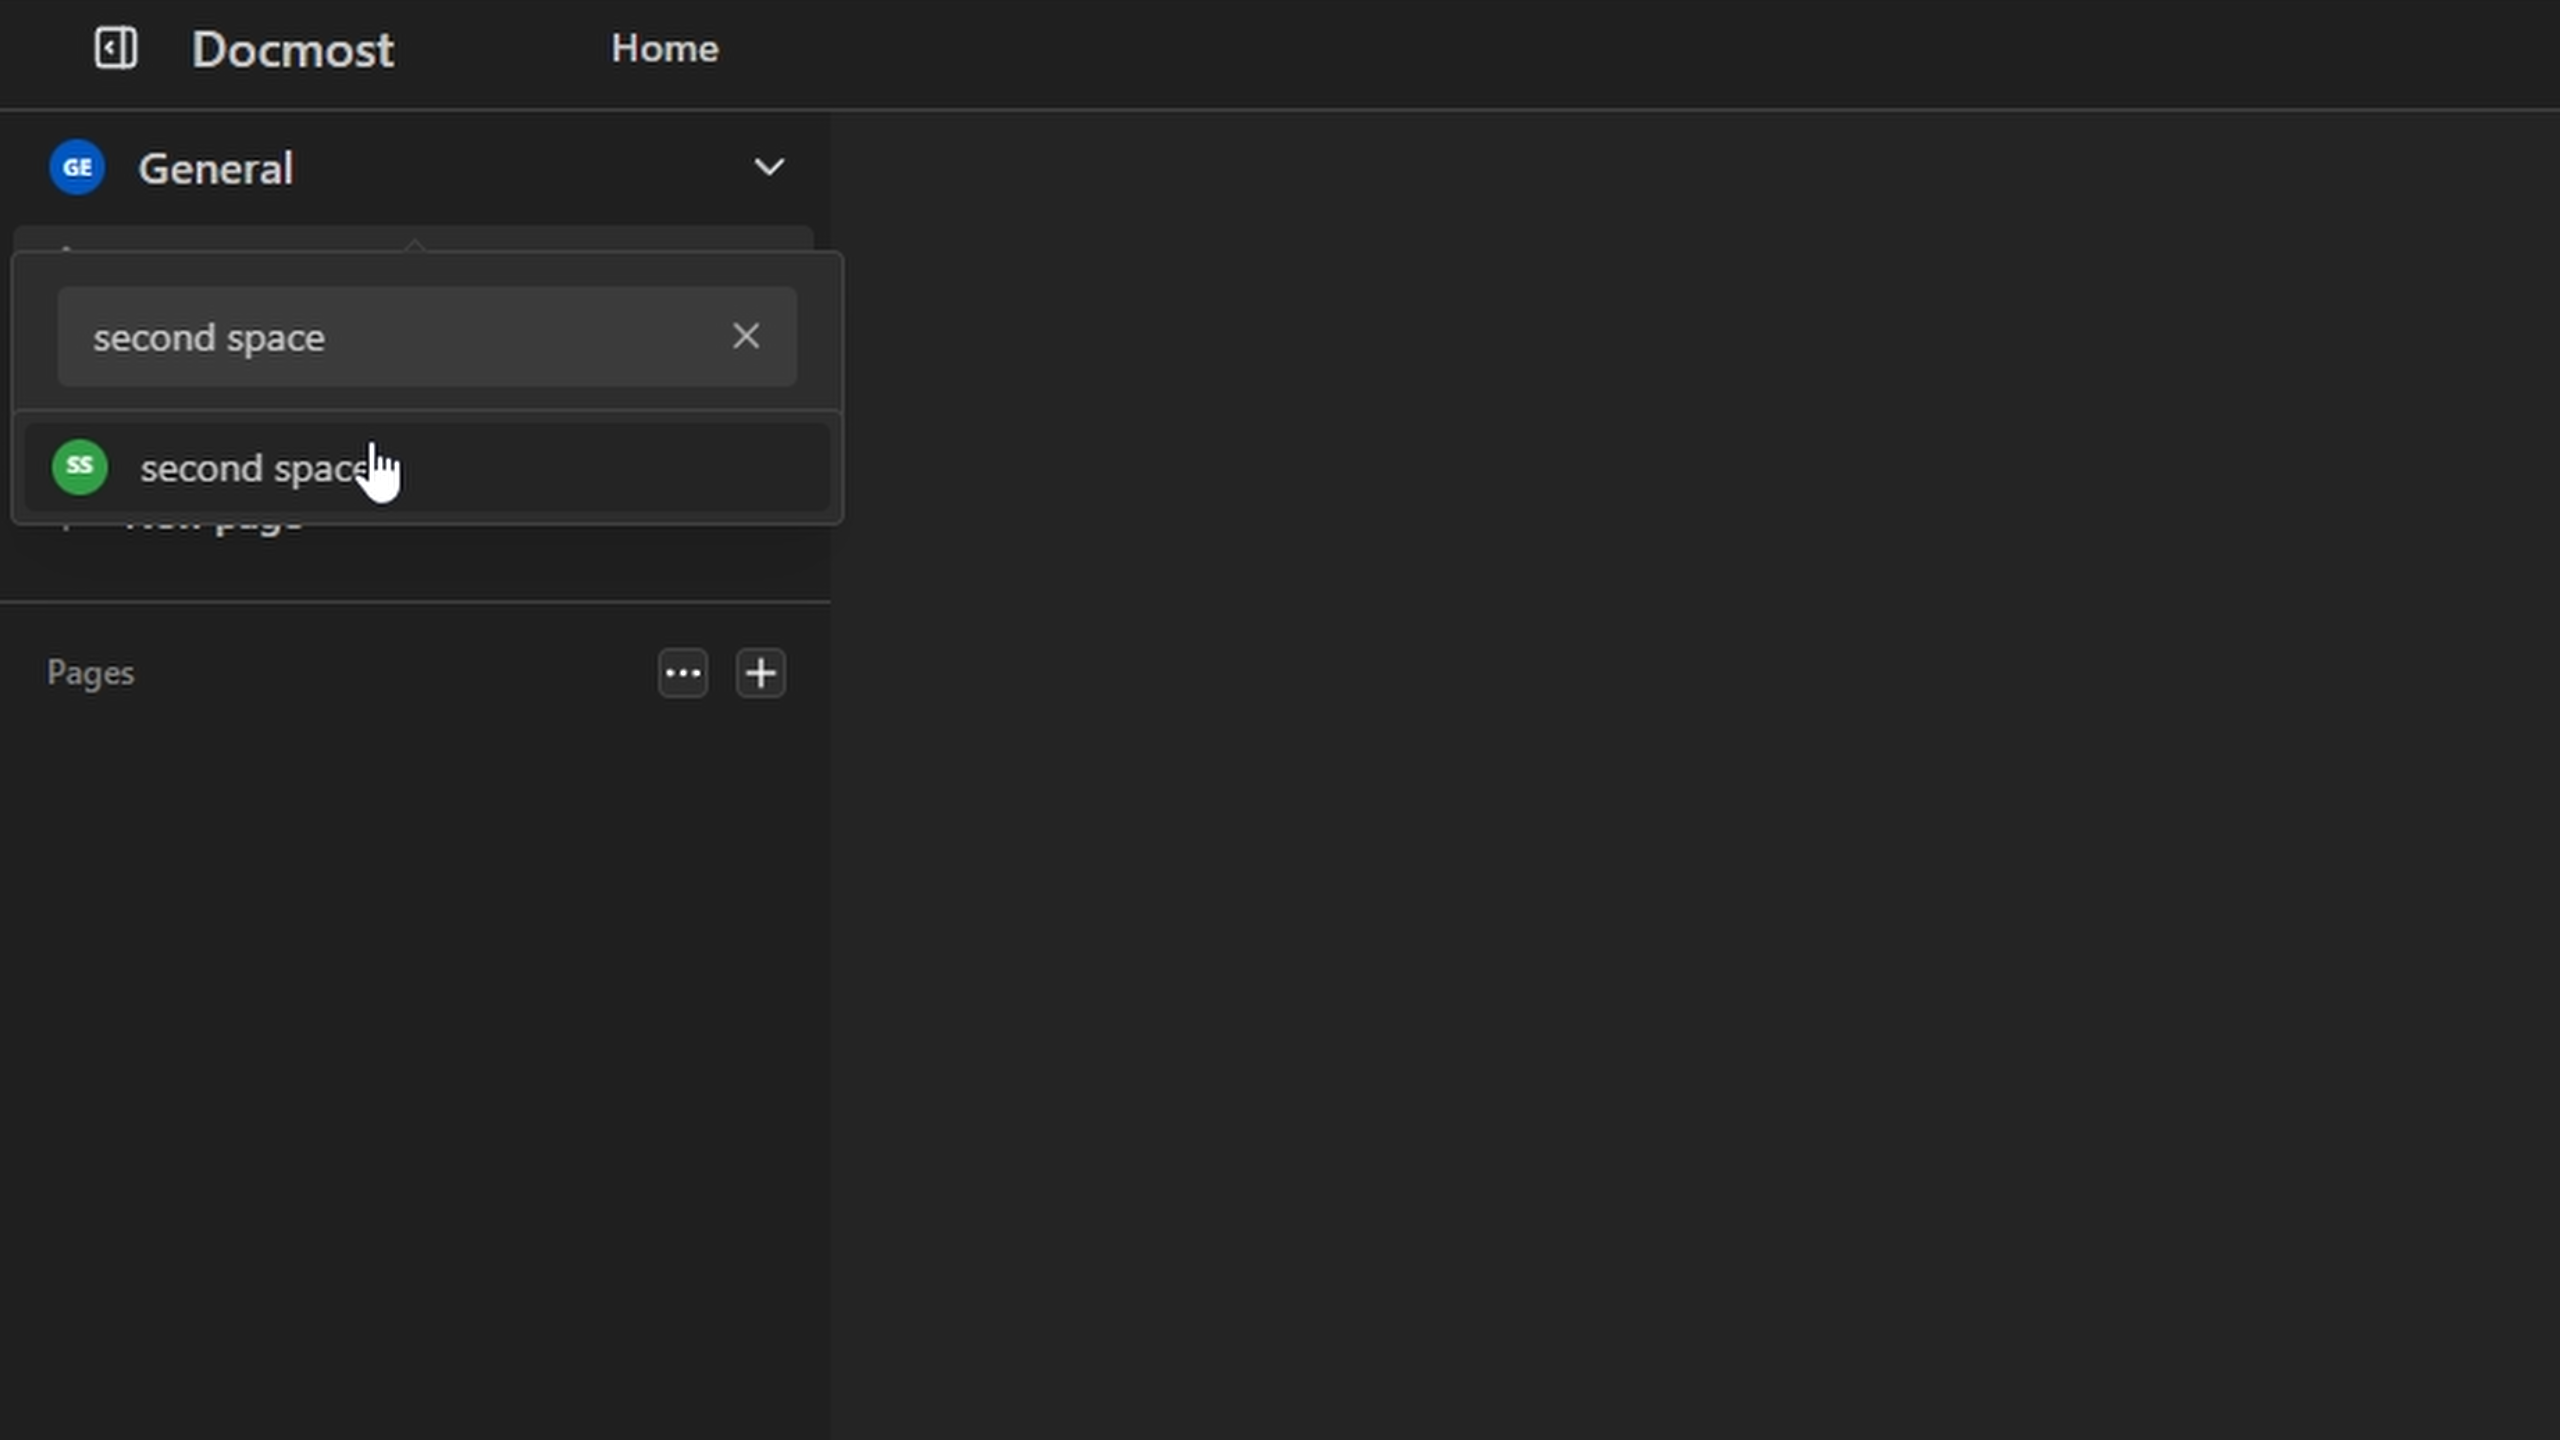
To change between spaces you will click the drop down when in notes. (Reminder, if you just created a space you may need to refresh your browser to see it)
Creat folders
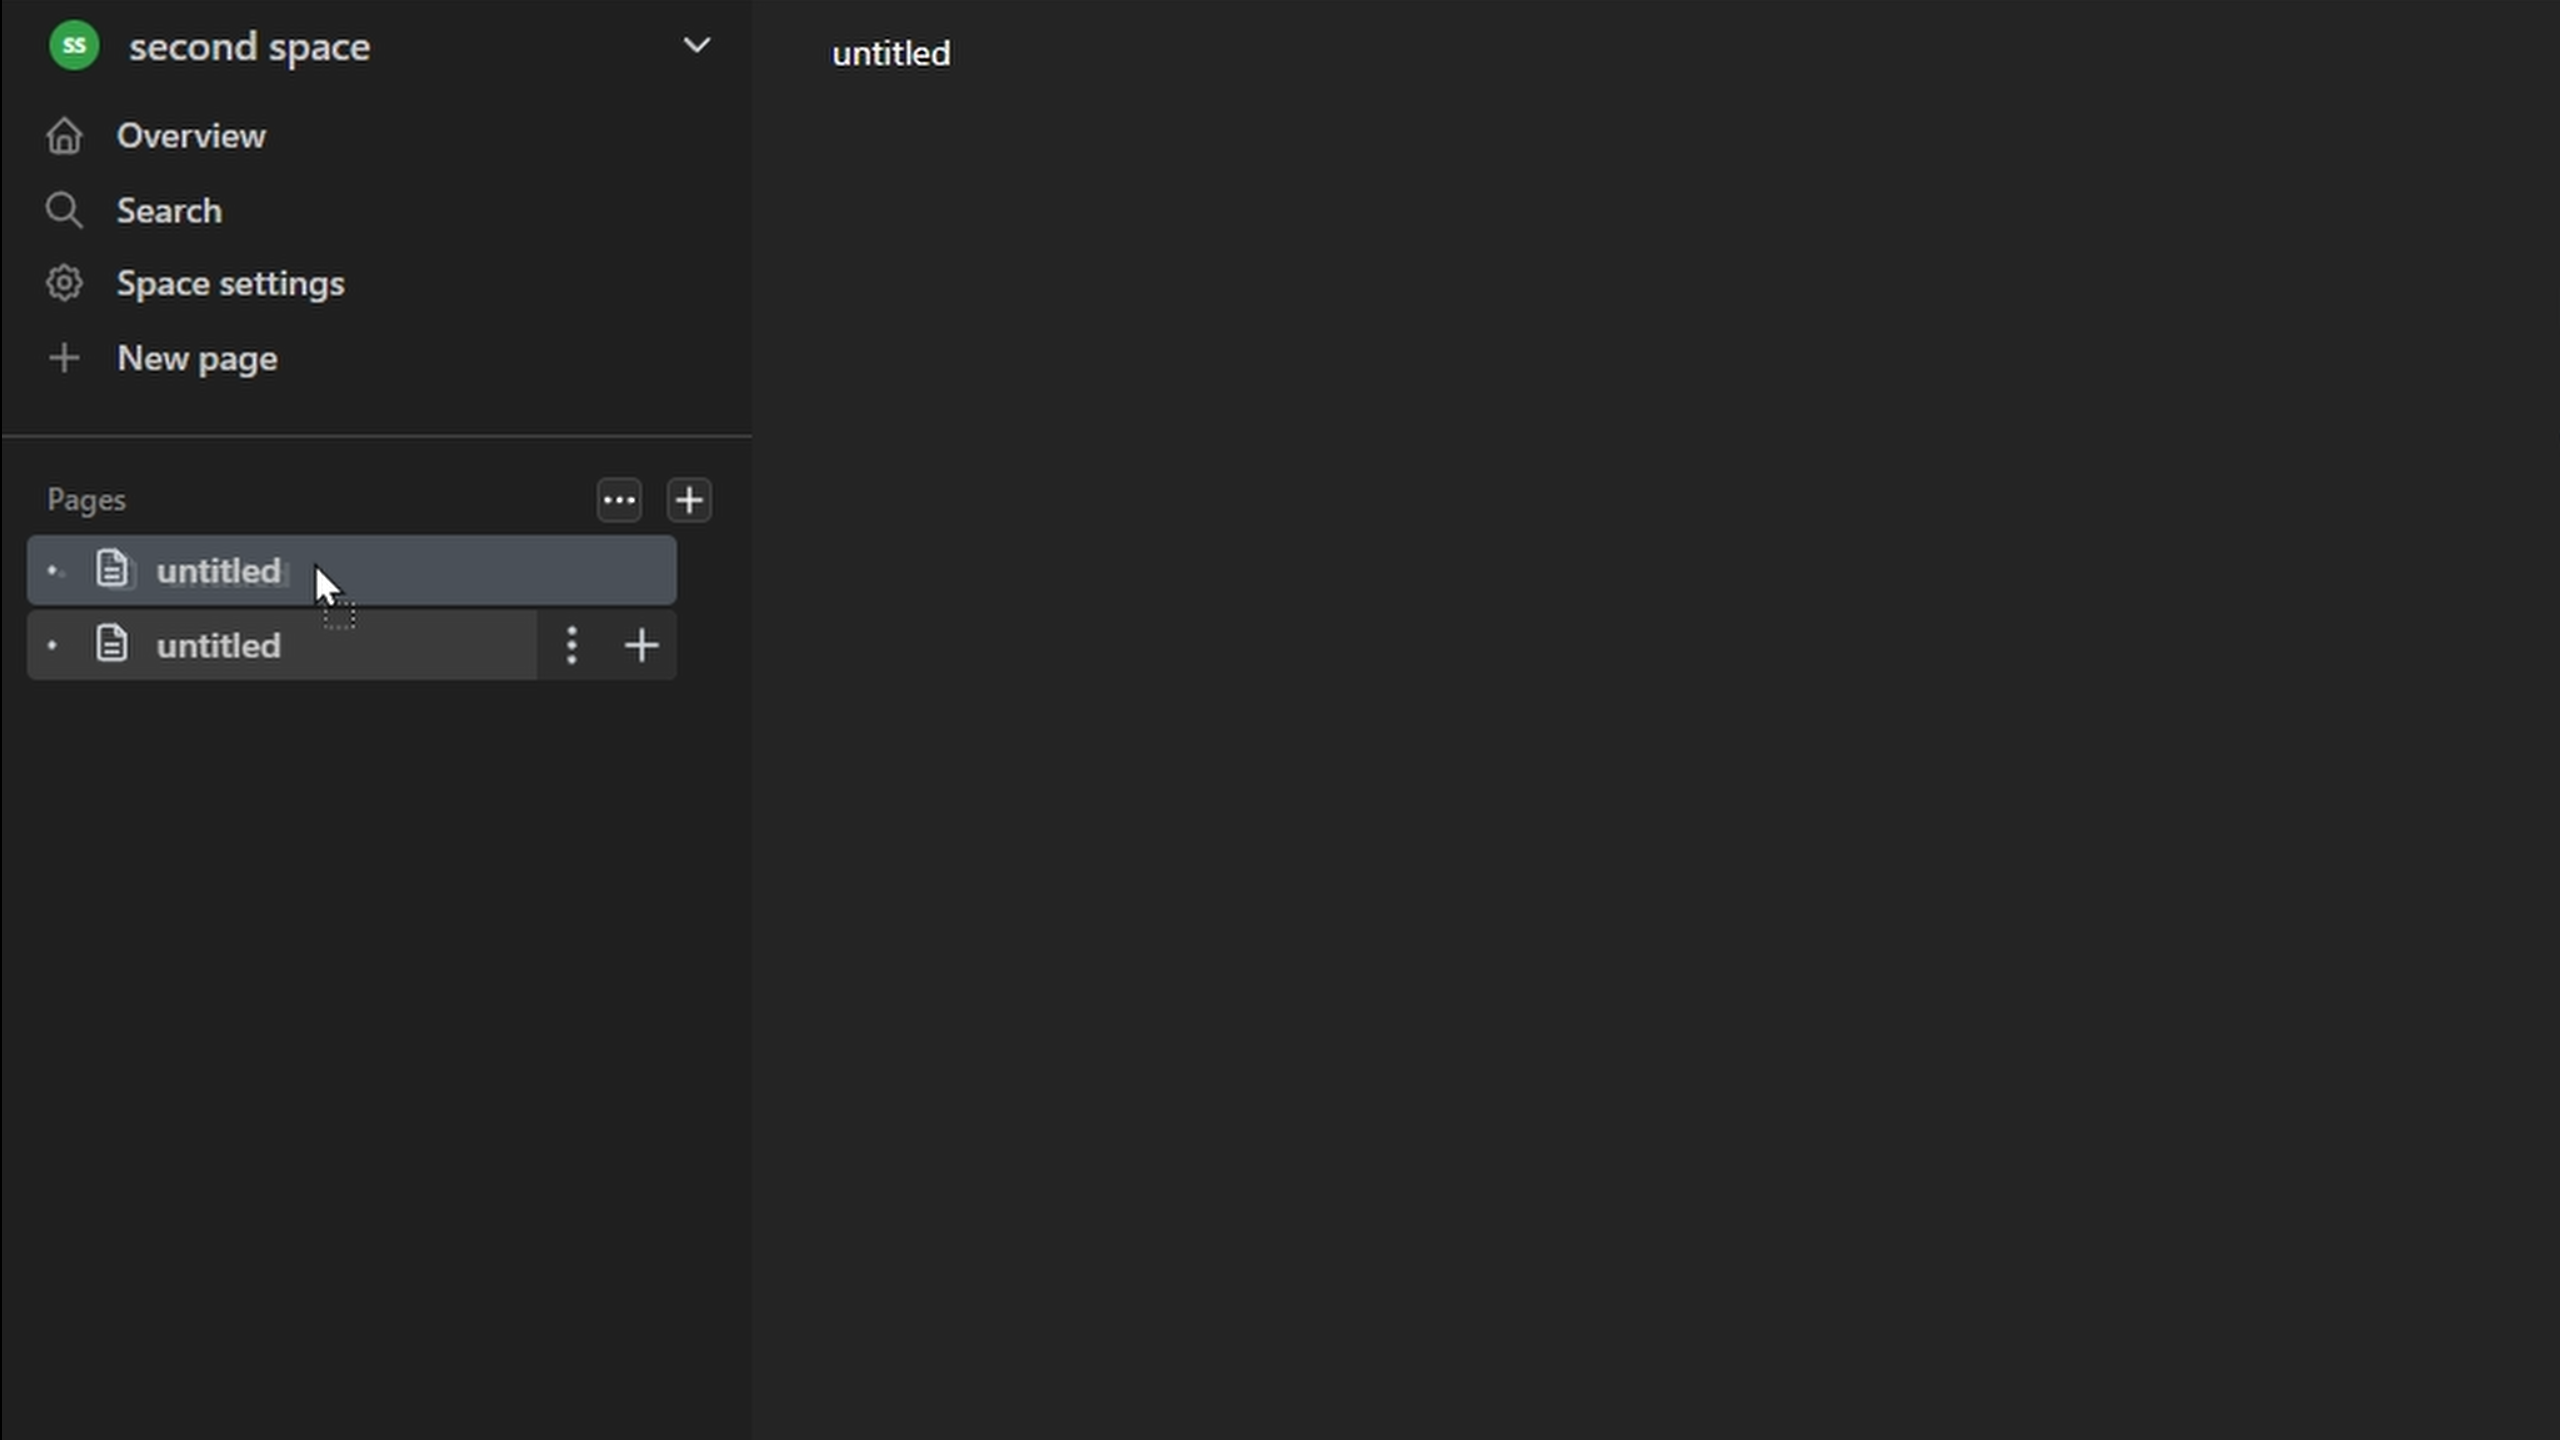
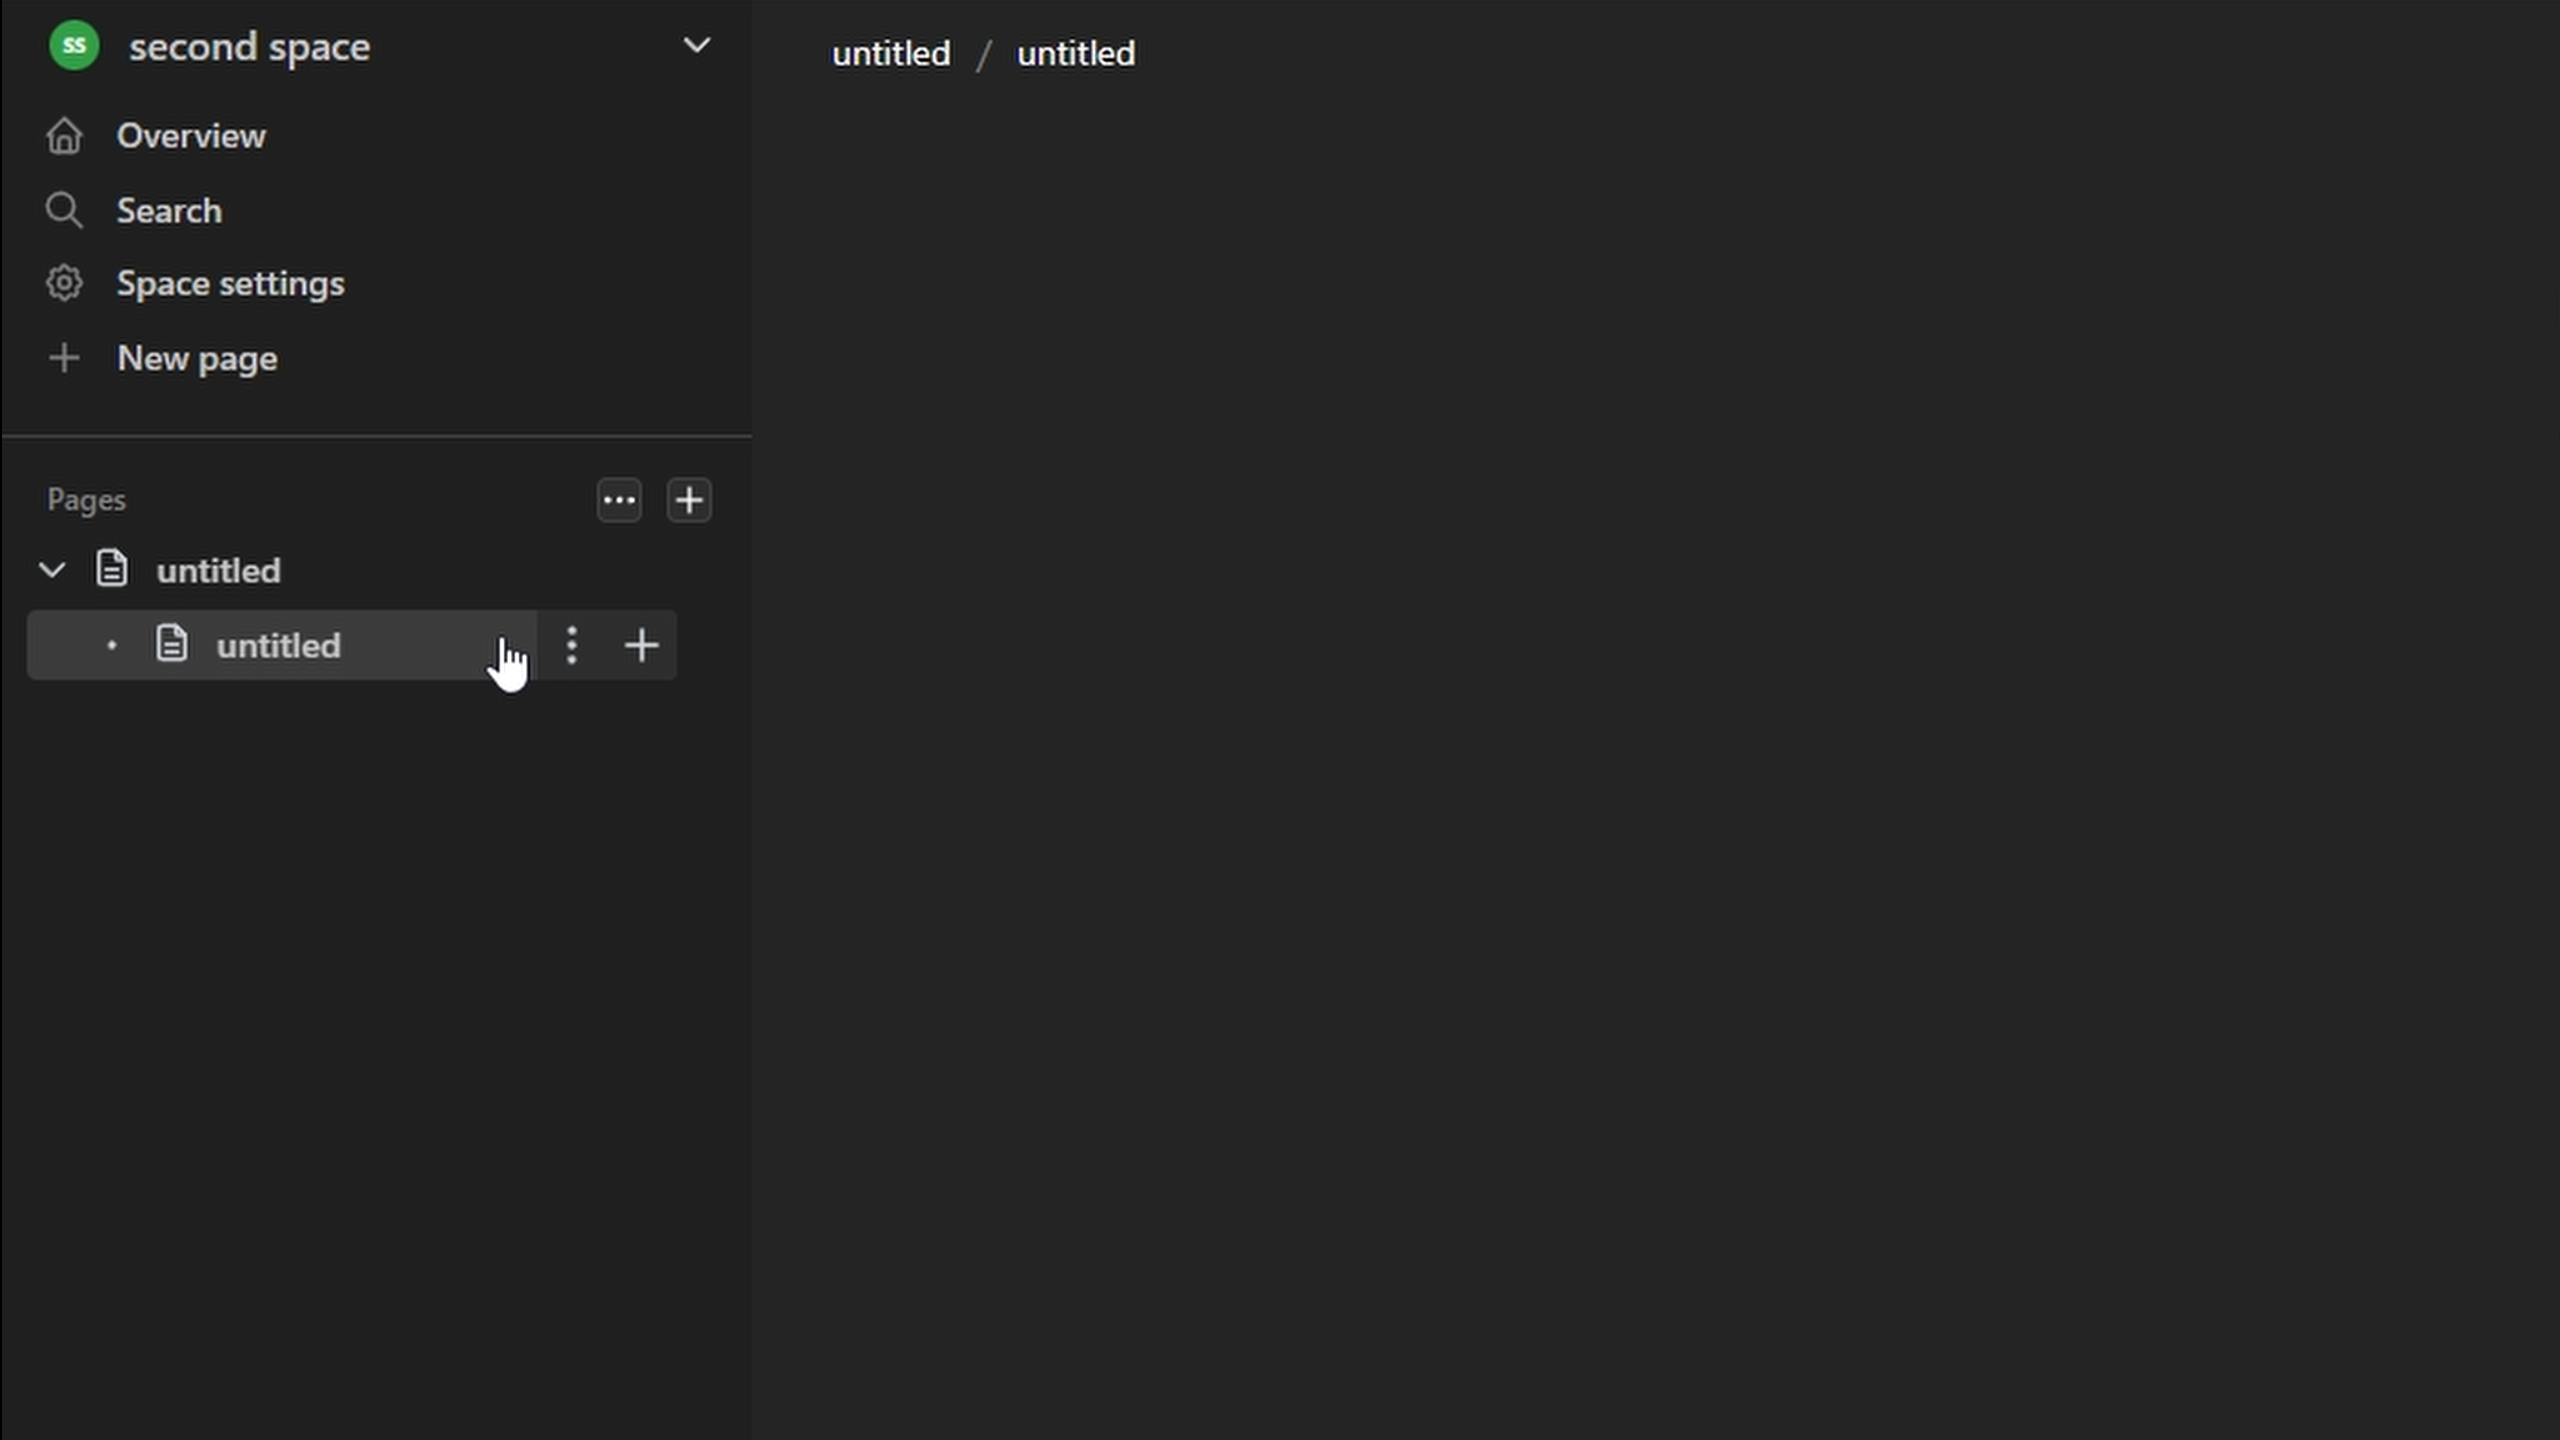
To create folders by topics you can create a page and then drag and hold it over another, this will imbed the page and create a drop down folder.
here is what that looks like
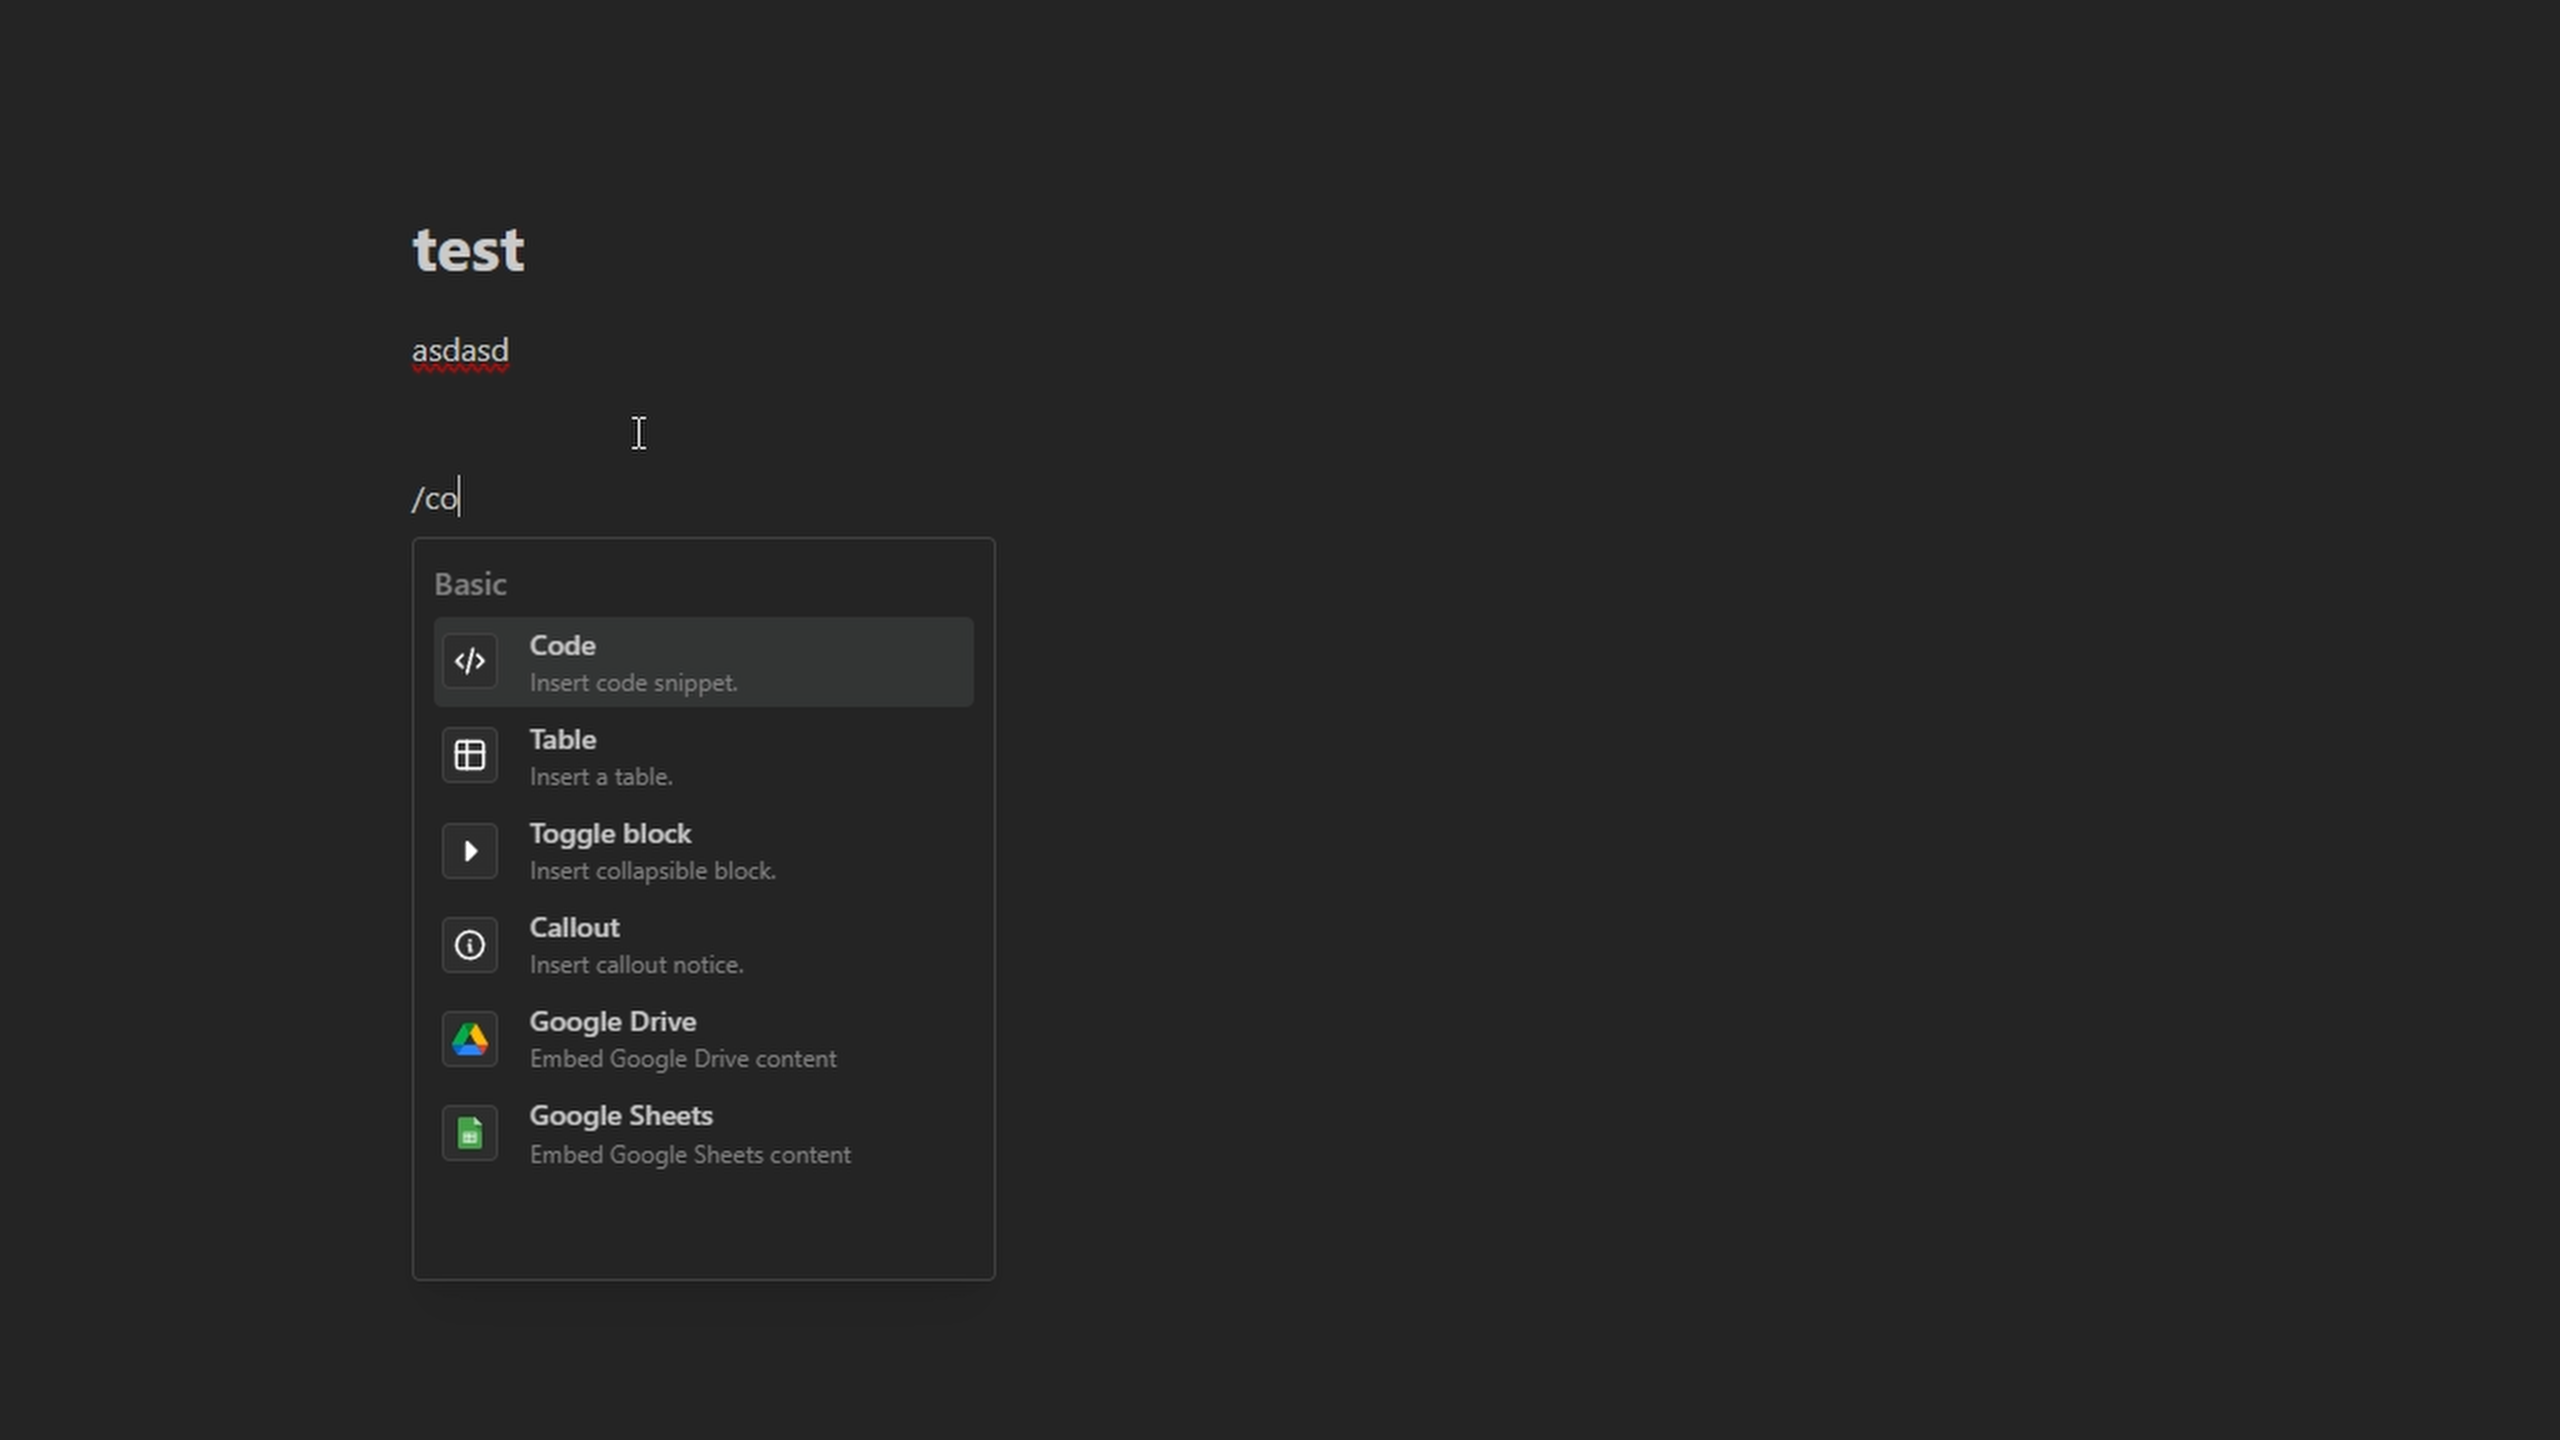
Adding sections / features / Code blocks
Docmost used the / command, this will then present you with a menu of all the items you can add to your page
Adding the SSL certificate
Again, if you do not have an SSL certificate for SSL you can watch our previous episode (EP 26) found in the far left column or on our YouTube Channel here
How to Update Docmost
To upgrade:
Make sure you run the following in your Docmost directory and run the following commands ALSO be sure to save any files or not be working in Docmost when performing these commands:
docker pull docmost/docmost
docker compose up --force-recreate --build docmost -d
(sorry I cannot make this a copy code box or it breaks the page for some reason)
