How to Install VaultWarden in 2025
We are using the documentation found here
Prerequisites
You will need to give this site an SSL certificate to be able to access the site. You also want this because it prevents man-in-the-middle attacks from seeing your passwords. We have made a video on that, you can find it here:
The article on our site can be found here
Create a Container/VM in Proxmox
The CT will be configured with 512MB of ram, 2 CPU cores, and 10 GB of storage.
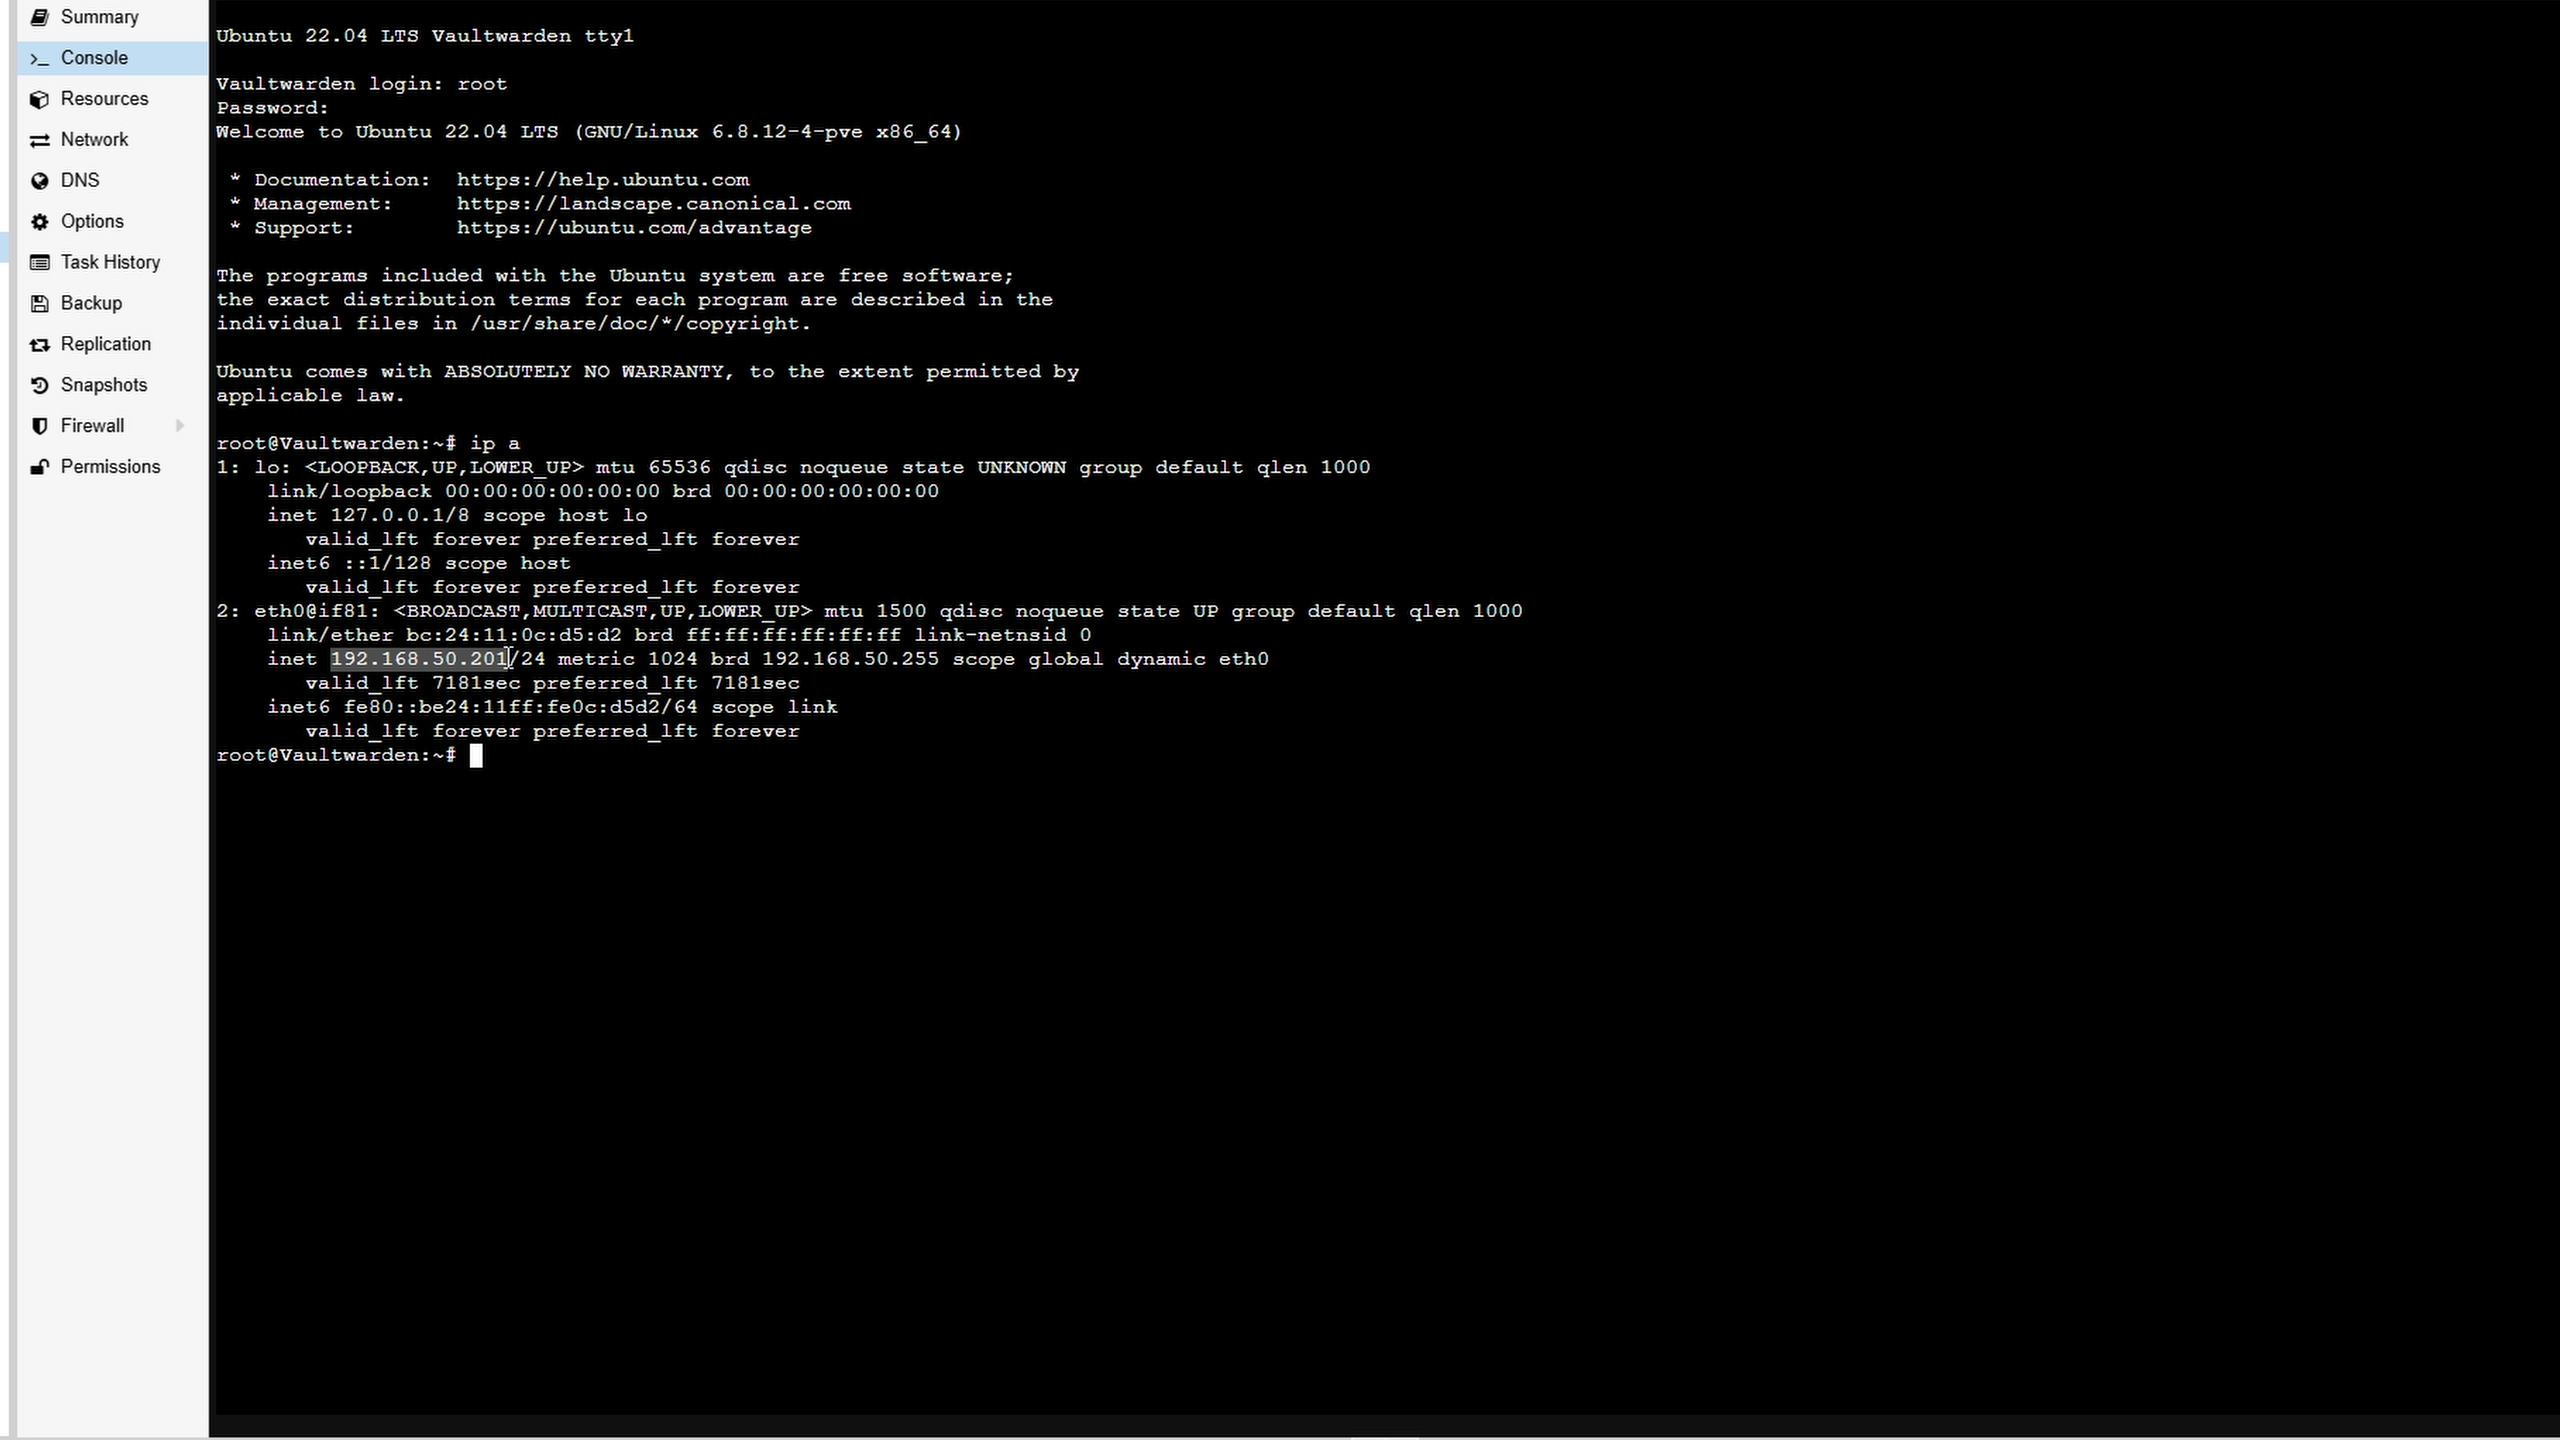
- Log in with the username root and the password you created during setup.
- Do the following command to get the IP address of your CT:
Installing Vaultwarden Video
Installing Docker & Compose
We will be following the documentation found here
See the following commands to install Docker:
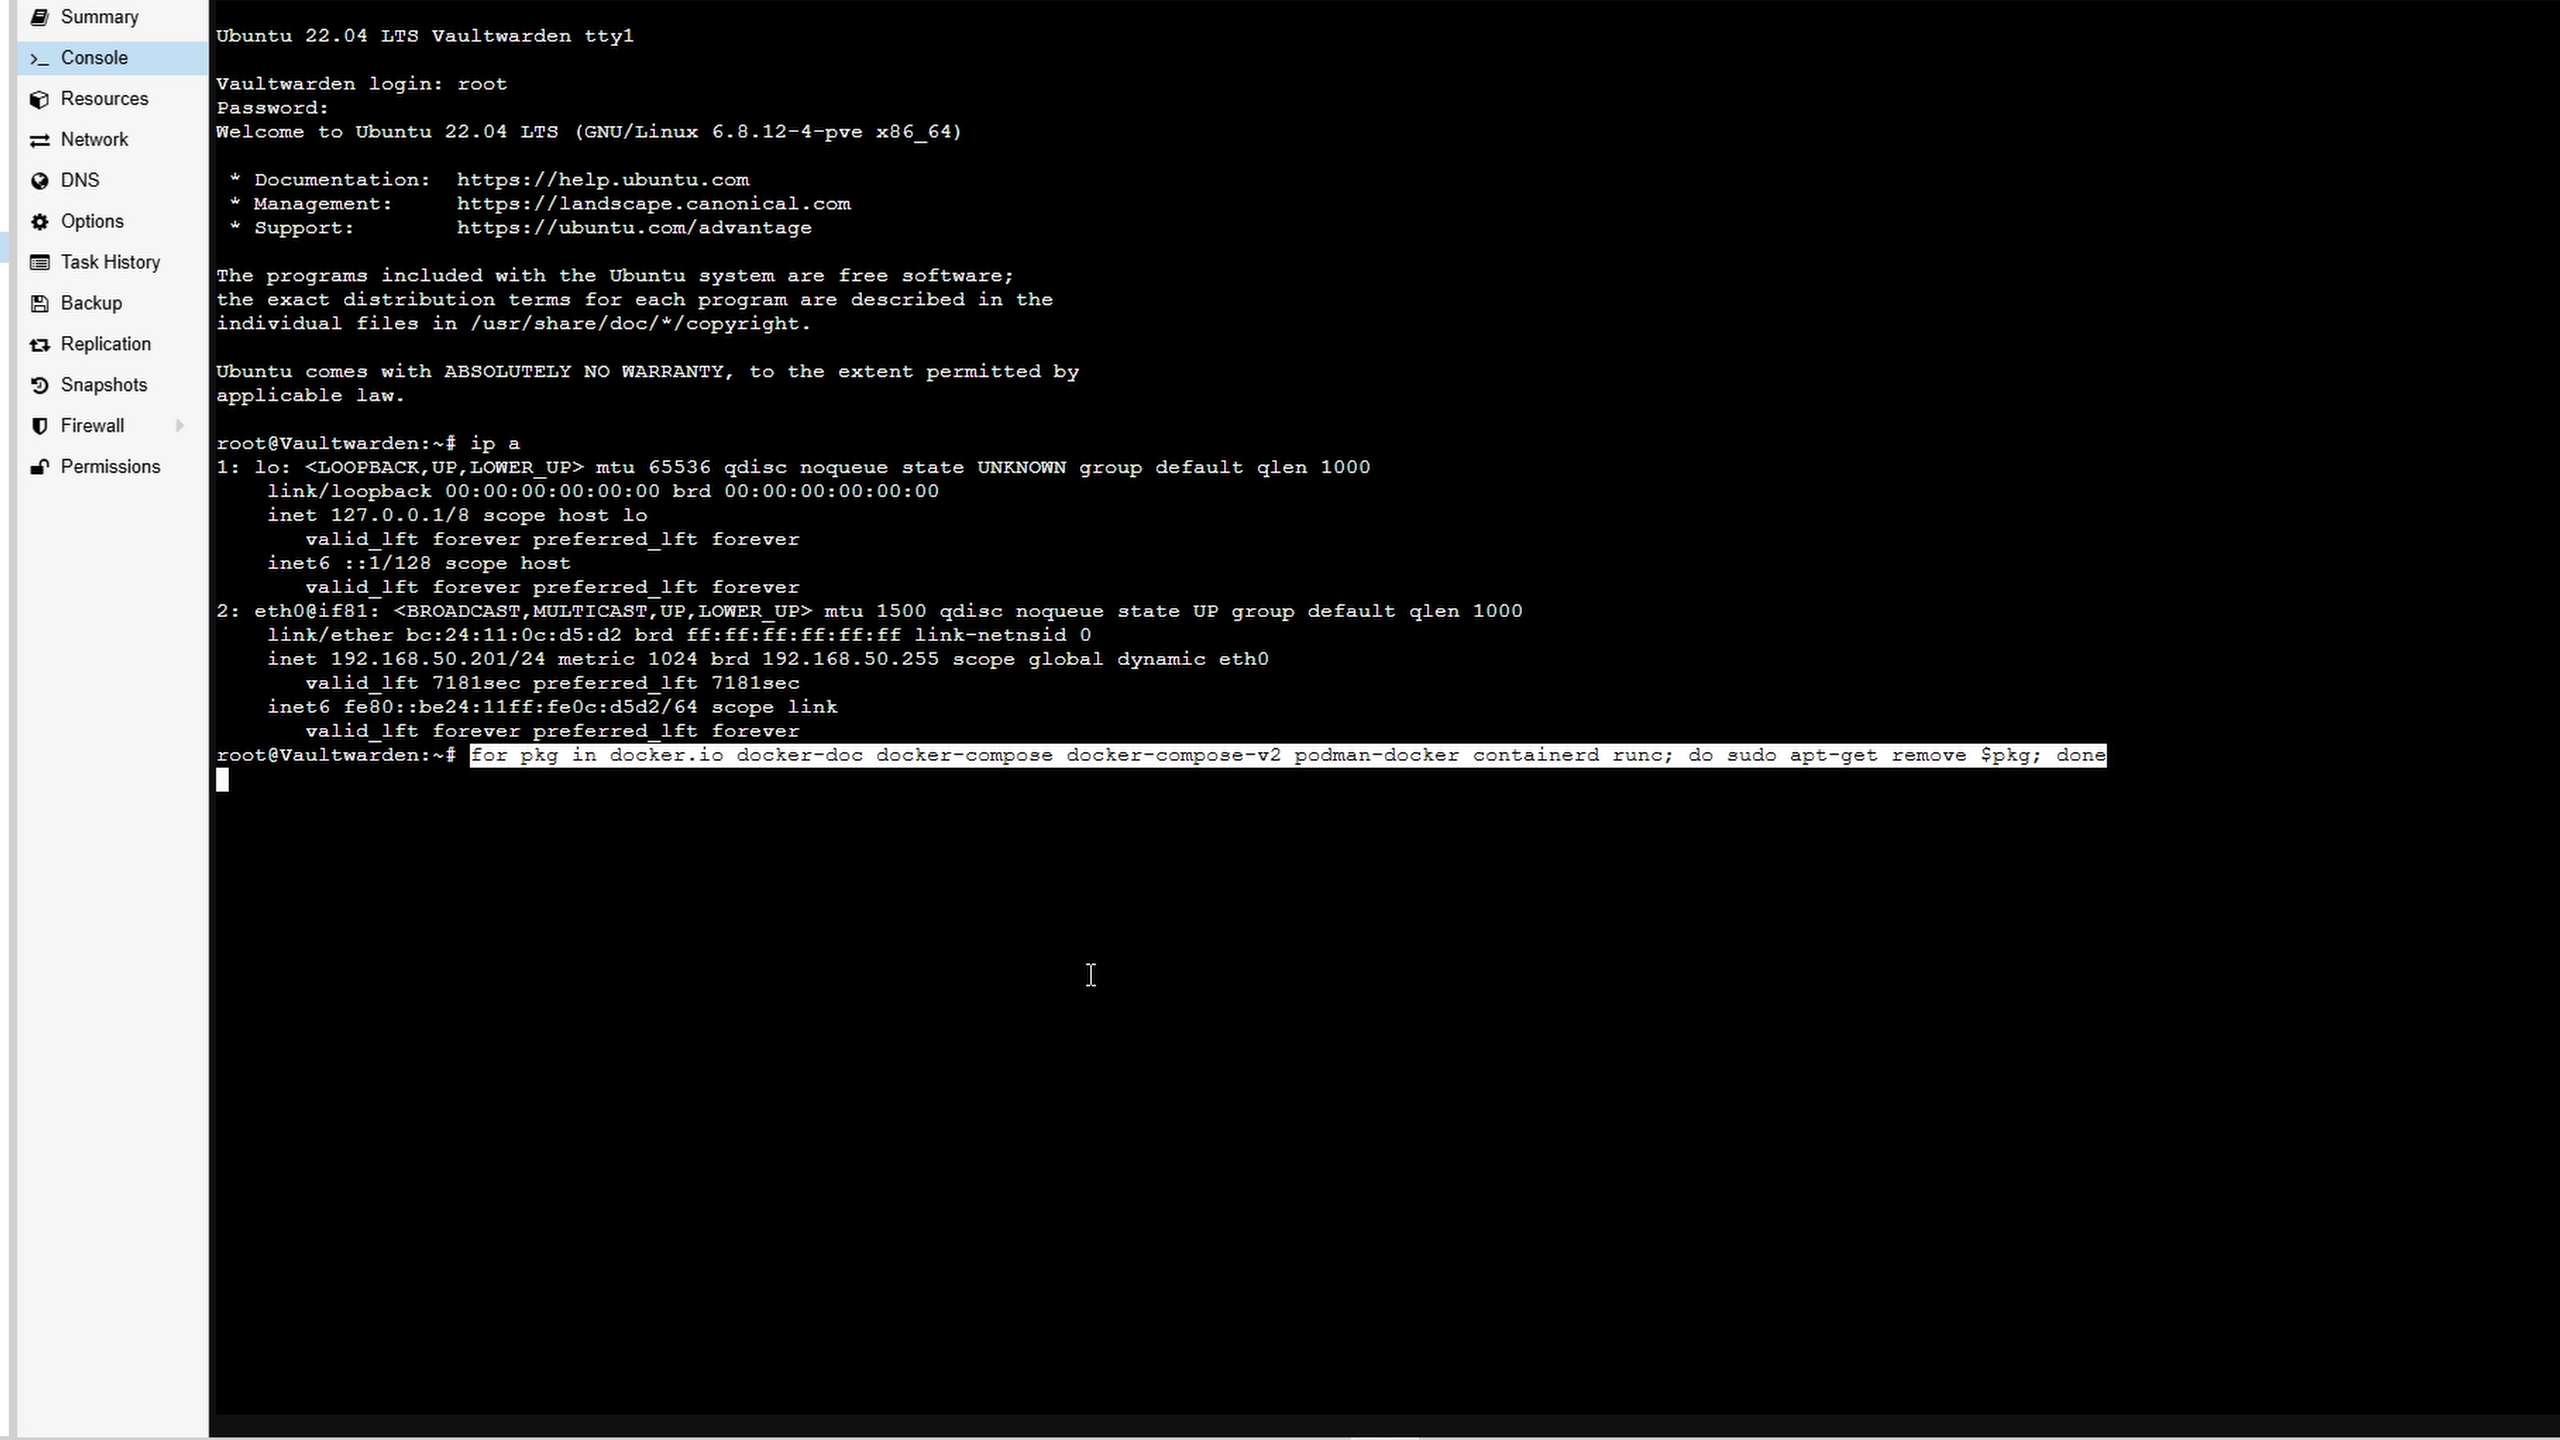
Run the following command to uninstall all conflicting packages:
for pkg in docker.io docker-doc docker-compose docker-compose-v2 podman-docker containerd runc; do sudo apt-get remove $pkg; done
Set up Docker's apt repository.
# Add Docker's official GPG key:
sudo apt-get update
sudo apt-get install ca-certificates curl
sudo install -m 0755 -d /etc/apt/keyrings
sudo curl -fsSL https://download.docker.com/linux/ubuntu/gpg -o /etc/apt/keyrings/docker.asc
sudo chmod a+r /etc/apt/keyrings/docker.asc

# Add the repository to Apt sources:
echo \
  "deb [arch=$(dpkg --print-architecture) signed-by=/etc/apt/keyrings/docker.asc] https://download.docker.com/linux/ubuntu \
  $(. /etc/os-release && echo "${UBUNTU_CODENAME:-$VERSION_CODENAME}") stable" | \
  sudo tee /etc/apt/sources.list.d/docker.list > /dev/null
sudo apt-get update
Install the Docker packages.
sudo apt-get install docker-ce docker-ce-cli containerd.io docker-buildx-plugin docker-compose-plugin
Verify that the installation is successful by running the hello-world image:
Verify the compose version:
Create a compose file
To use Docker Compose, you need to create a compose.yaml which will hold the configuration for running the Vaultwarden container.
Then you paste the following configuration:
services:
  vaultwarden:
    image: vaultwarden/server:latest
    container_name: vaultwarden
    restart: unless-stopped
    environment:
      DOMAIN: "https://vw.domain.tld"
    volumes:
      - ./vw-data/:/data/
    ports:
      - 80:80
Start the Docker Compose file with (the -d runs it in the background so you can still use your CLI:)
Set up your SSL Certificate
If you have not followed our previous video on how to set up SSL certificates with Nginx Proxy Manager, please follow that video here
After logging into Vaultwarden
- Open Vaultwarden via the new URL you created.
- Create a username and password
- login
- Select “Install Browser Extension.”
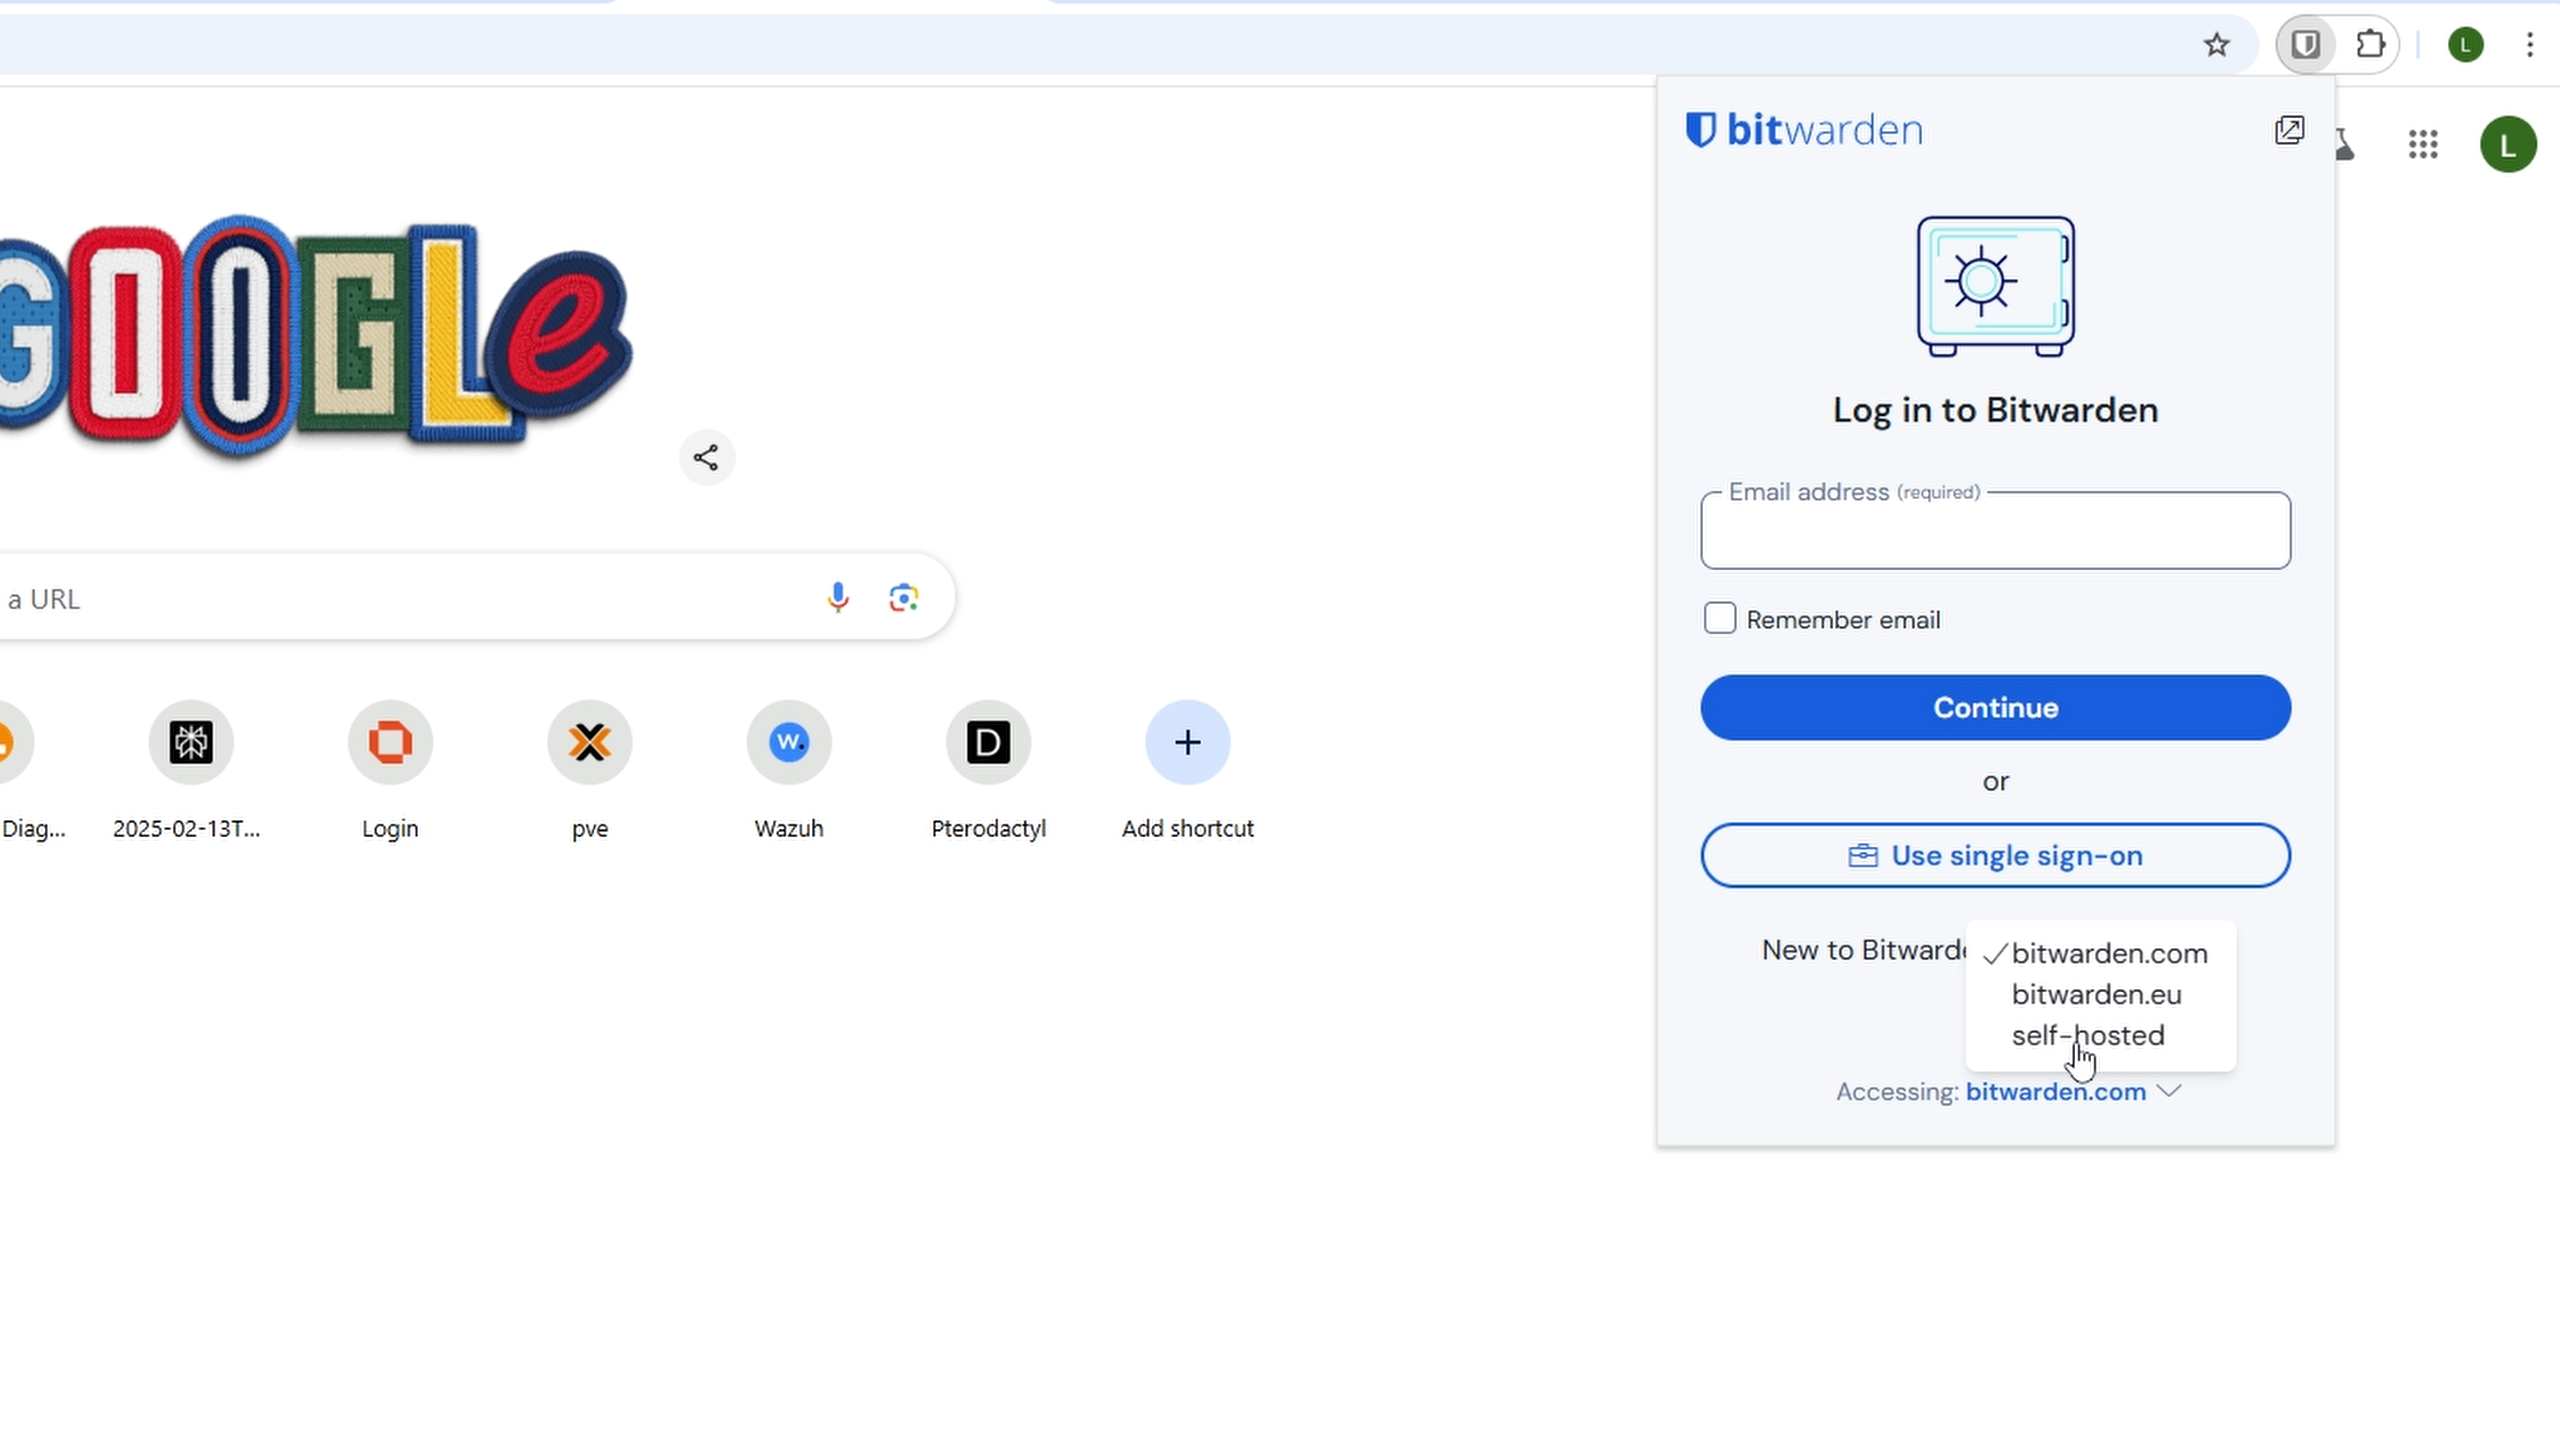
- On the top right of Chrome, find your Vaultwarden extension
- Select “Accessing” (Bitwarden), there will be a self-hosted option, select that, and type the URL of your own Bitwarden server.
- You will then be able to go to your common websites and add your username and password into Vaultwarden for use at later times, change your passwords to a more complex password, and much more.