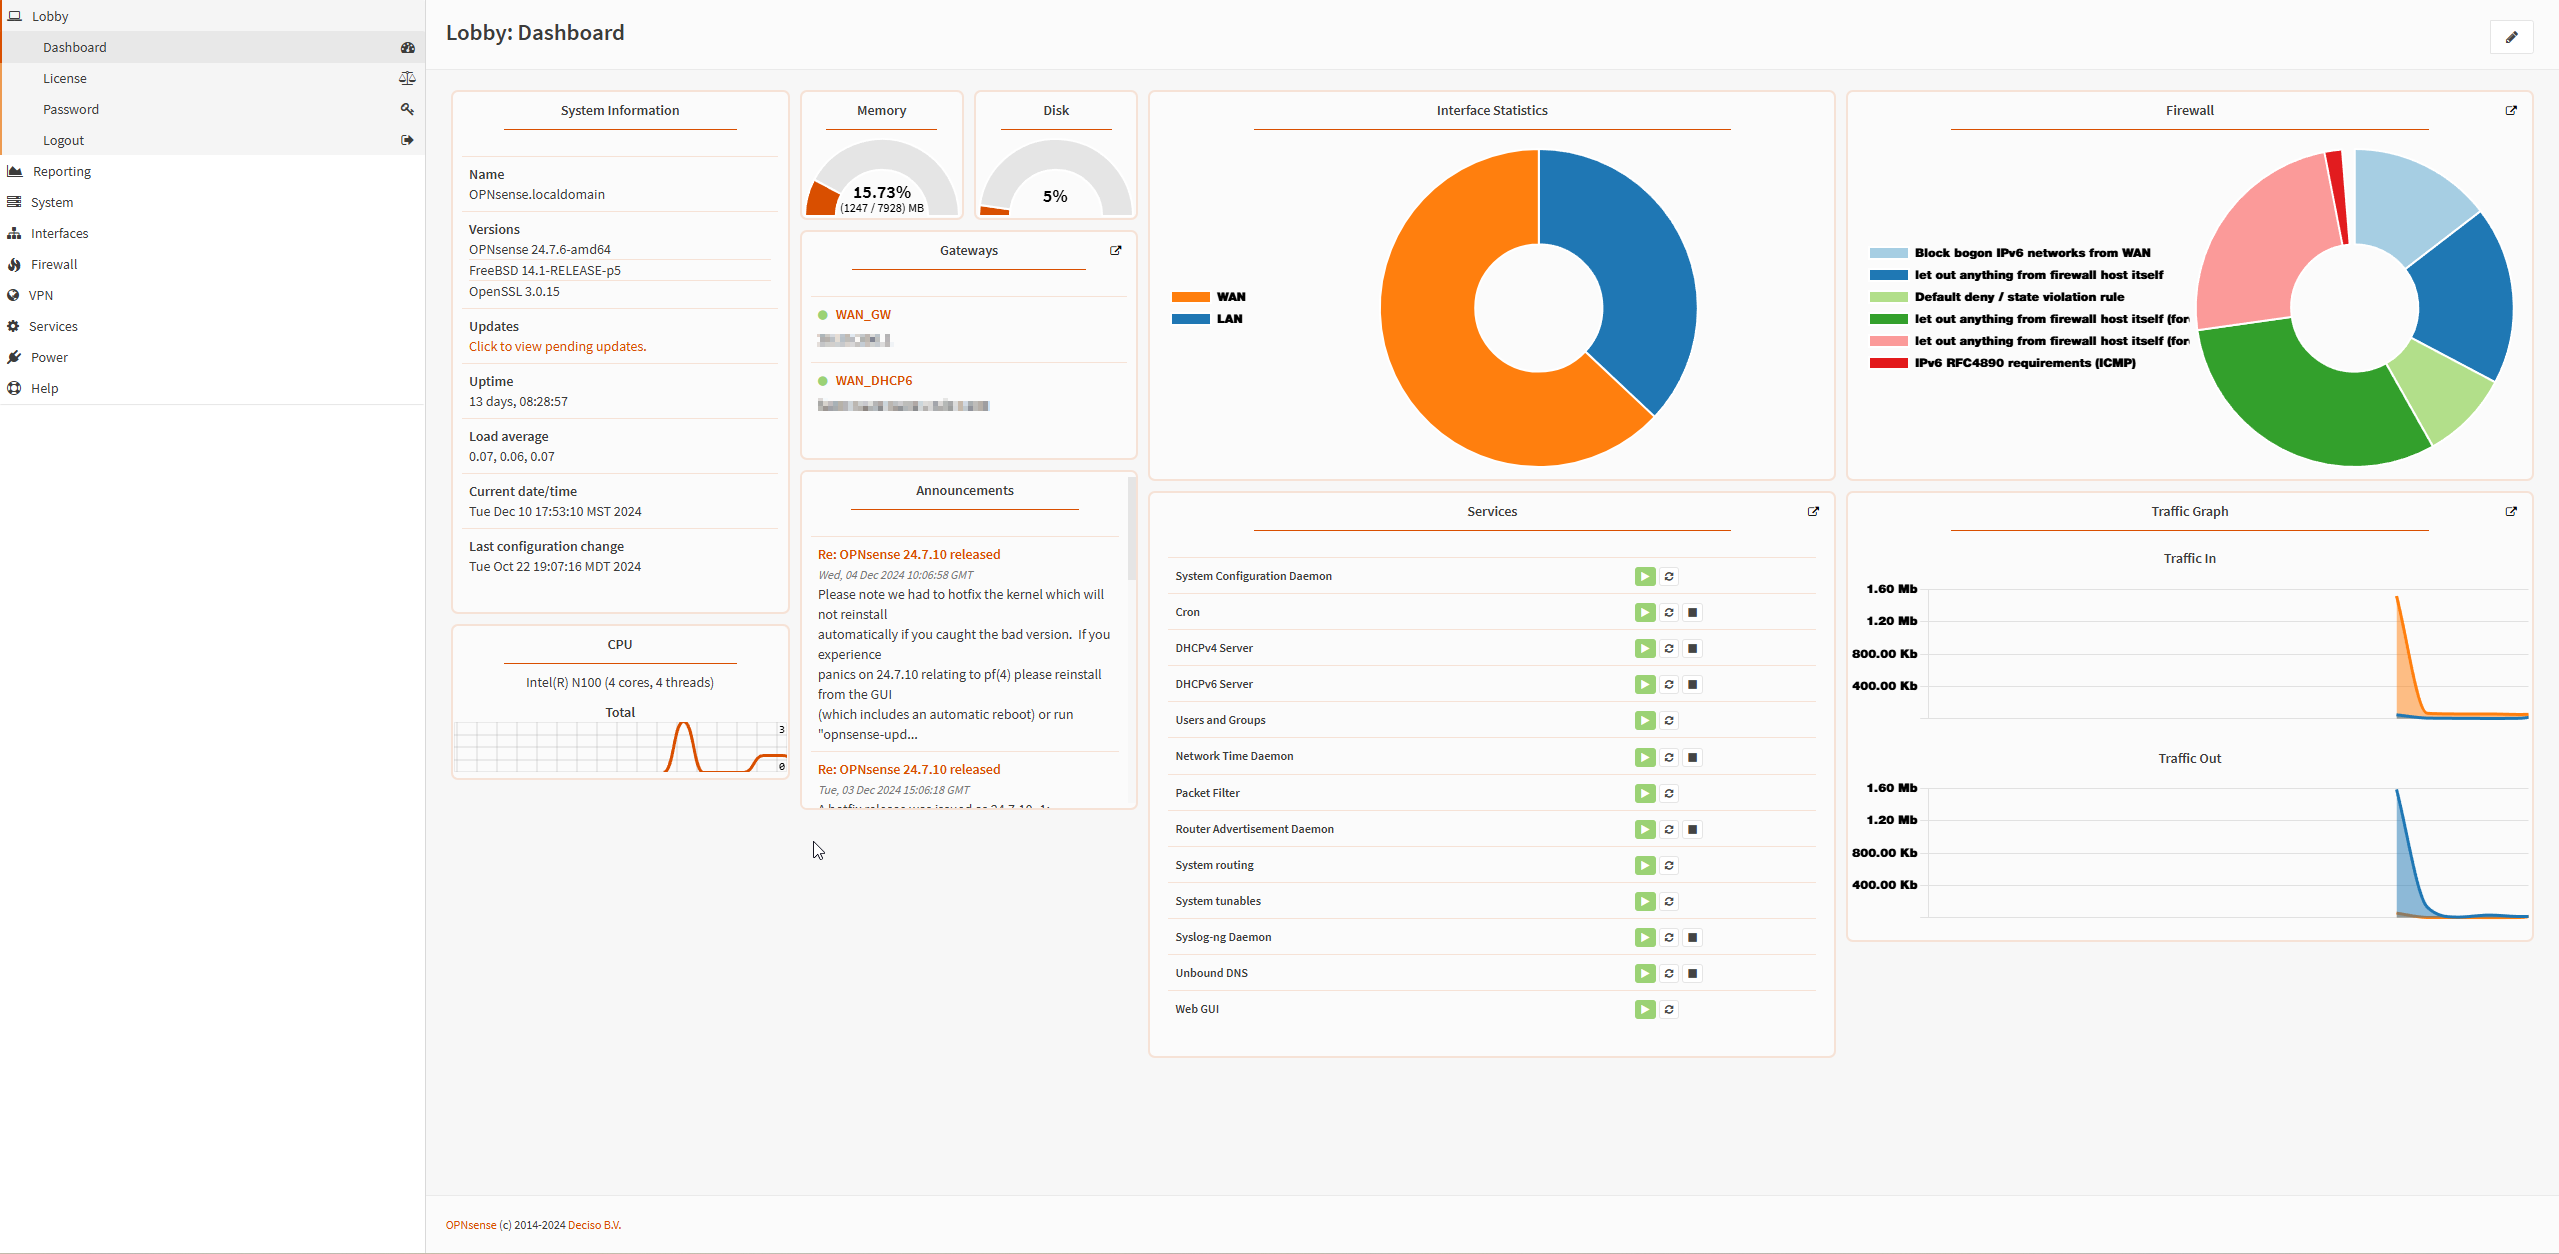
Topic: How to set up a Pfsense/OPNsense firewall
Remember this video/device/article is not required to be successful in this series. Having an enterprise-grade firewall will allow you hands-on experience to talk to in an interview and potentially unlock capabilities you may find yourself needing in the future as your homelab/home network expands.
Introduction:
If you have found yourself here it is because you want to install an enterprise-grade firewall, and we will do just that. PfSense/OPNsense allows for a reliable network backbone, routing, VPN connections, security features, failover scenarios, and inter-VLAN routing. This tutorial is part 2 of our HomeLab series, teaching you how to maintain your own "enterprise" style network at home. The advantage of a homelab allows for real-world experience you can put on your resume and speak to in an interview when asked questions related to your technical expertise.
How to use this guide:
LTH handles teaching very differently from other industry standards. This is because we believe they truly lack in teaching you. There will be very lengthy commands, and for the sake of time, go ahead and copy and paste those commands. HOWEVER, please read what the command does, or you will never learn. Linux is notorious for using abbreviations; without reading what it does, you will never understand what you are configuring.
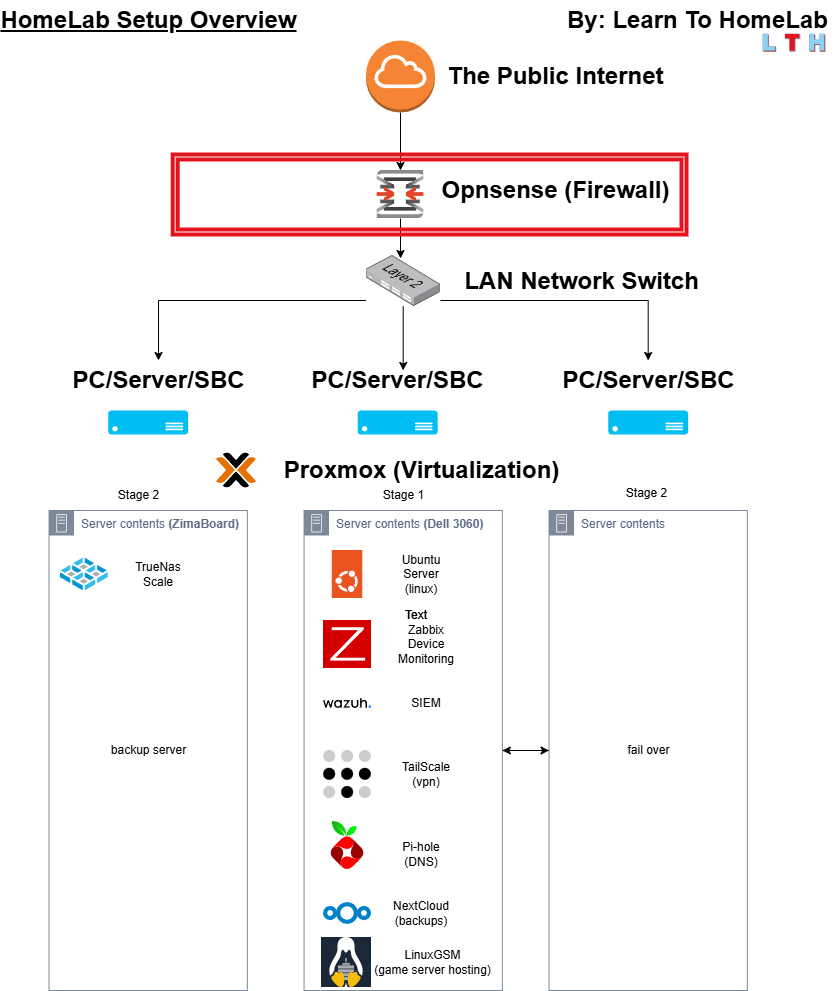
Topology
A network topology is the physical and logical arrangement of nodes and connections in a network:
Required Items:
The firewall being used in this guide: firewall Alternative: Beelink U59 dual ethernet or you can use any mini PC of your choosing and equip the USB 3.0 ports with a USB to ethernet adapter
- [x] Firewall Appliance (this could be a mini-PC with two ethernet ports)
- [x] USB Thumb Drive
Walkthrough/Commands:
The start of the tutorial:
Step 1:
Etcher allows us to create a bootable flash drive, this is how we will get OPNsense on to the firewall appliance. Download Etcher here.
Step 1 Download OPNsense
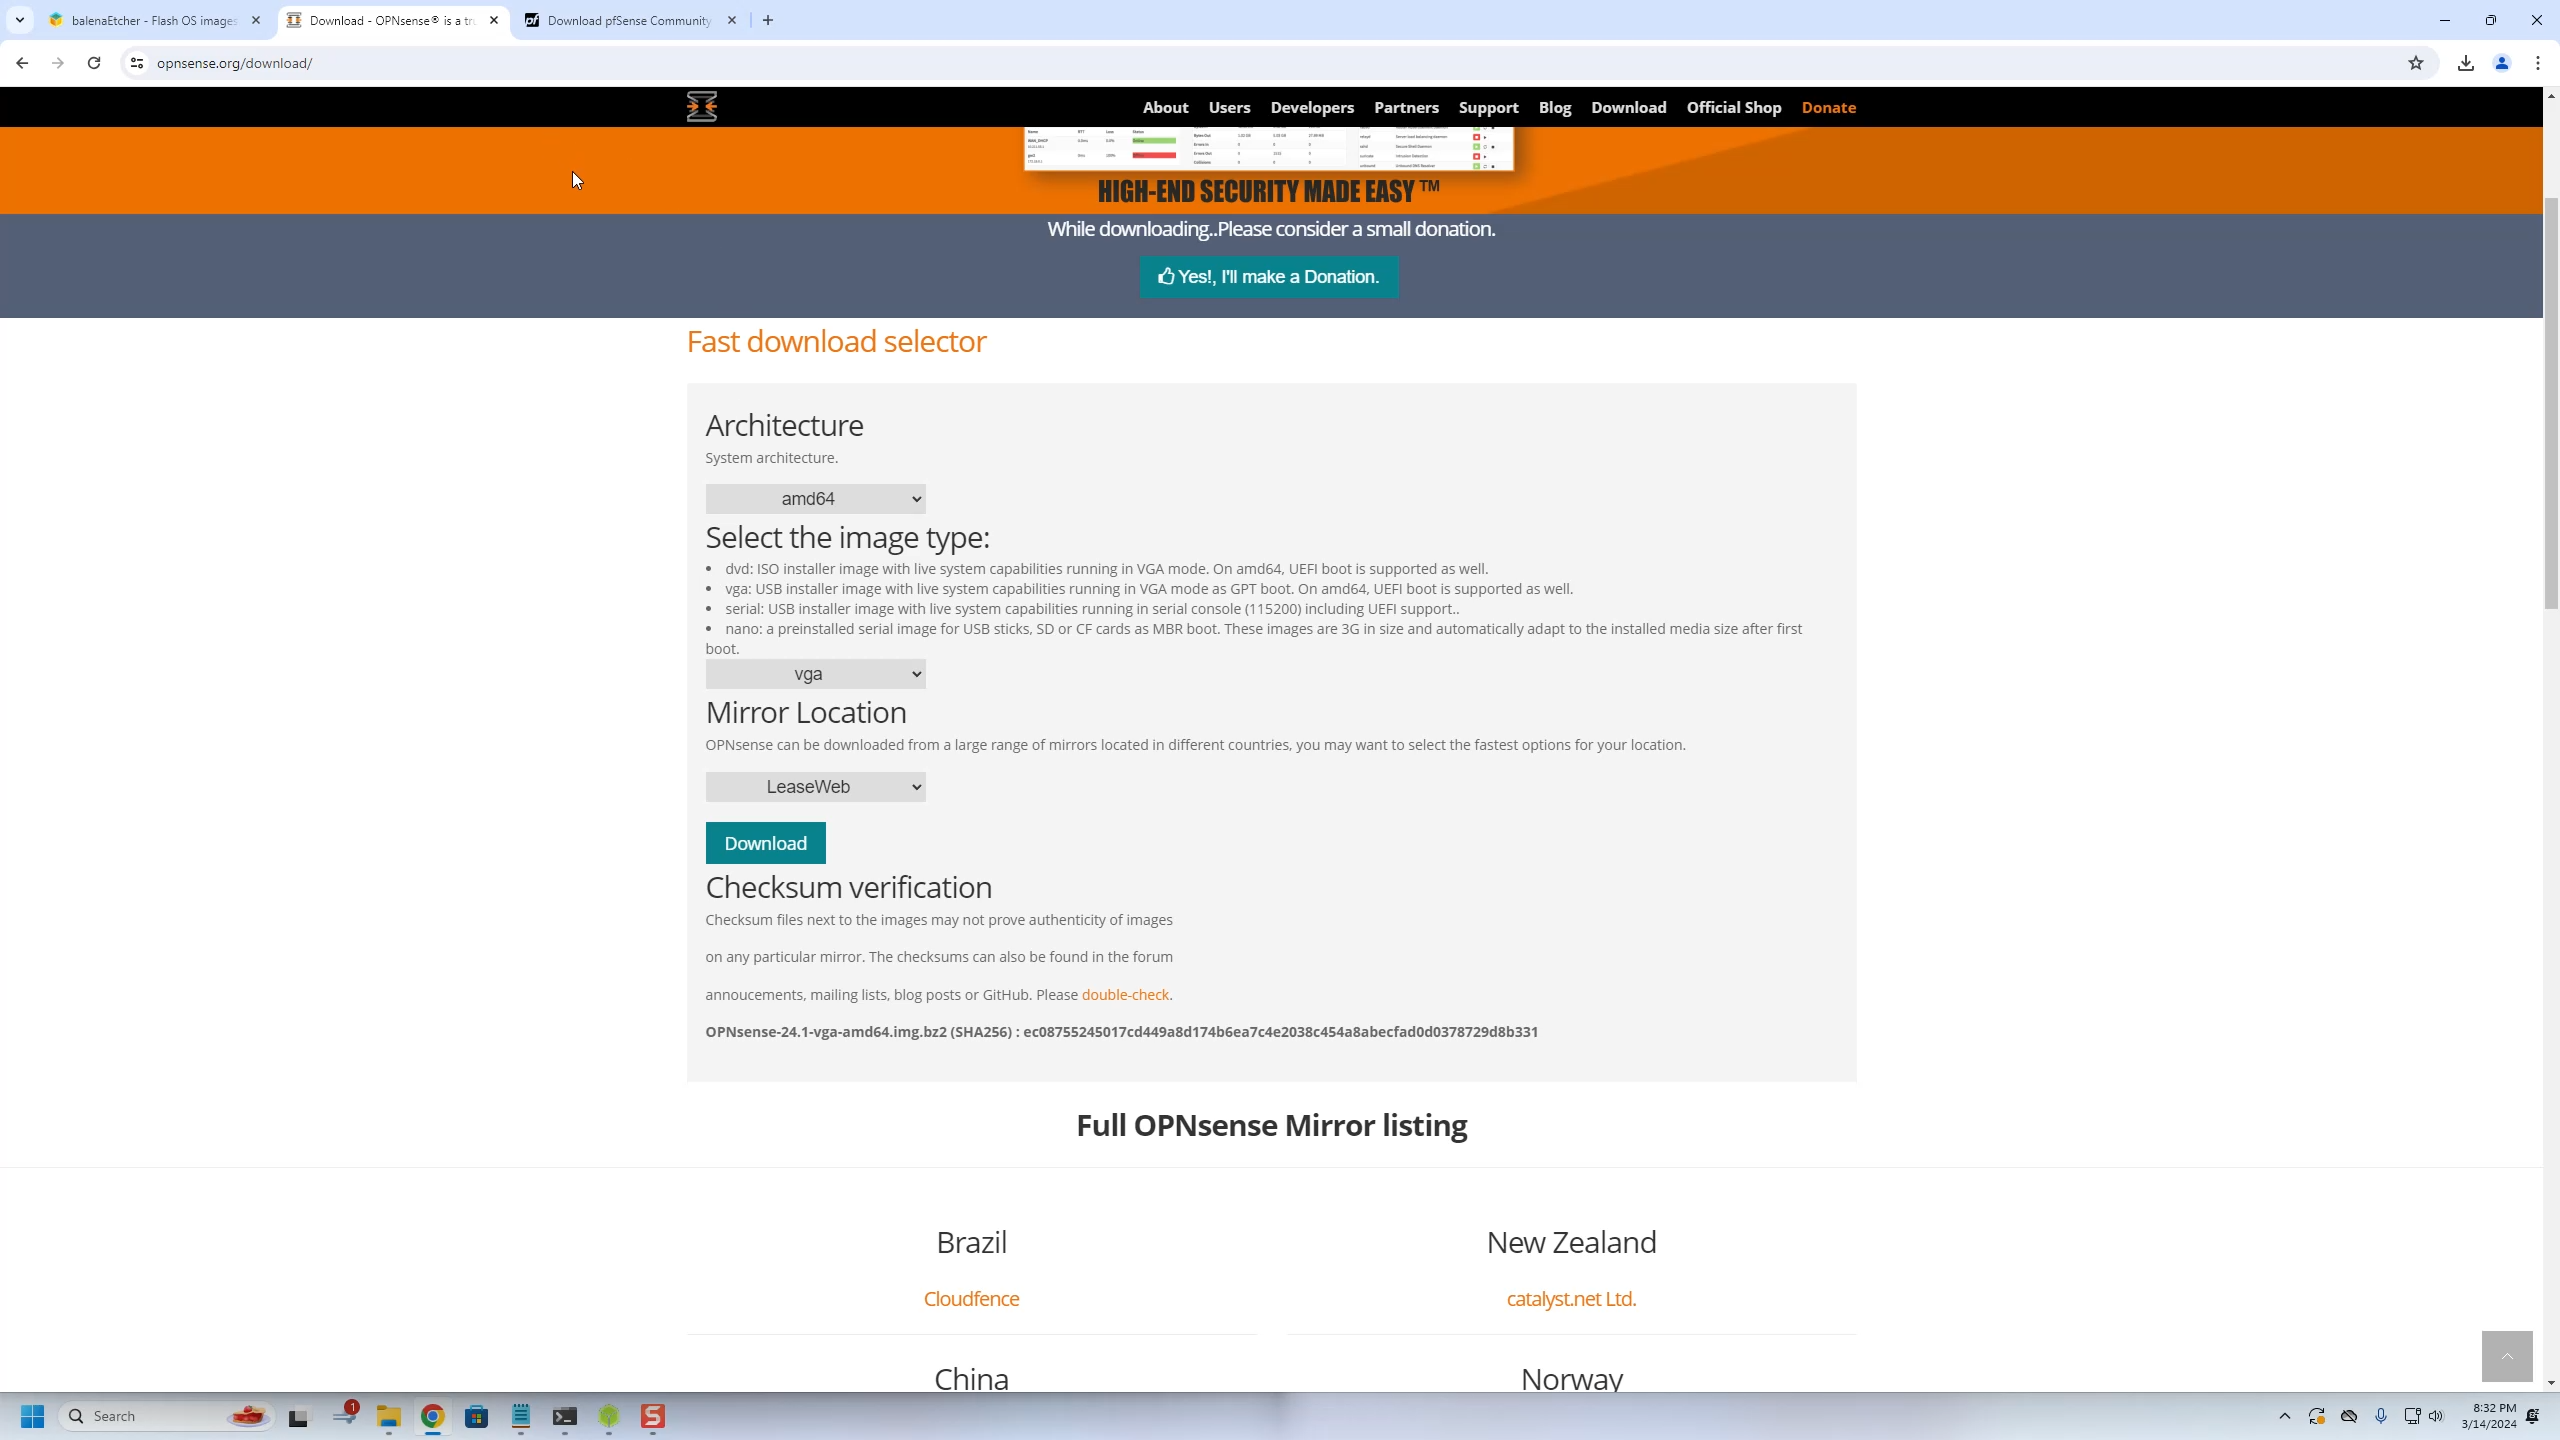
Download either PFsense or OPNsense (the process will be the same but for the purpose of this tutorial we will be using OPNsense). For Opnsense leave all the download selections as shown in the image. For PFsense you will select Architecture: AMD64 (64-bit) Installer: DVD Image (ISO) Installer.
1 - Go to either Opnsense.org/Downloads or Pfsense.org/Downloads
2 - Next go to the folder where OPNsense or PFsense was downloaded right click details tab, and then copy the file name.
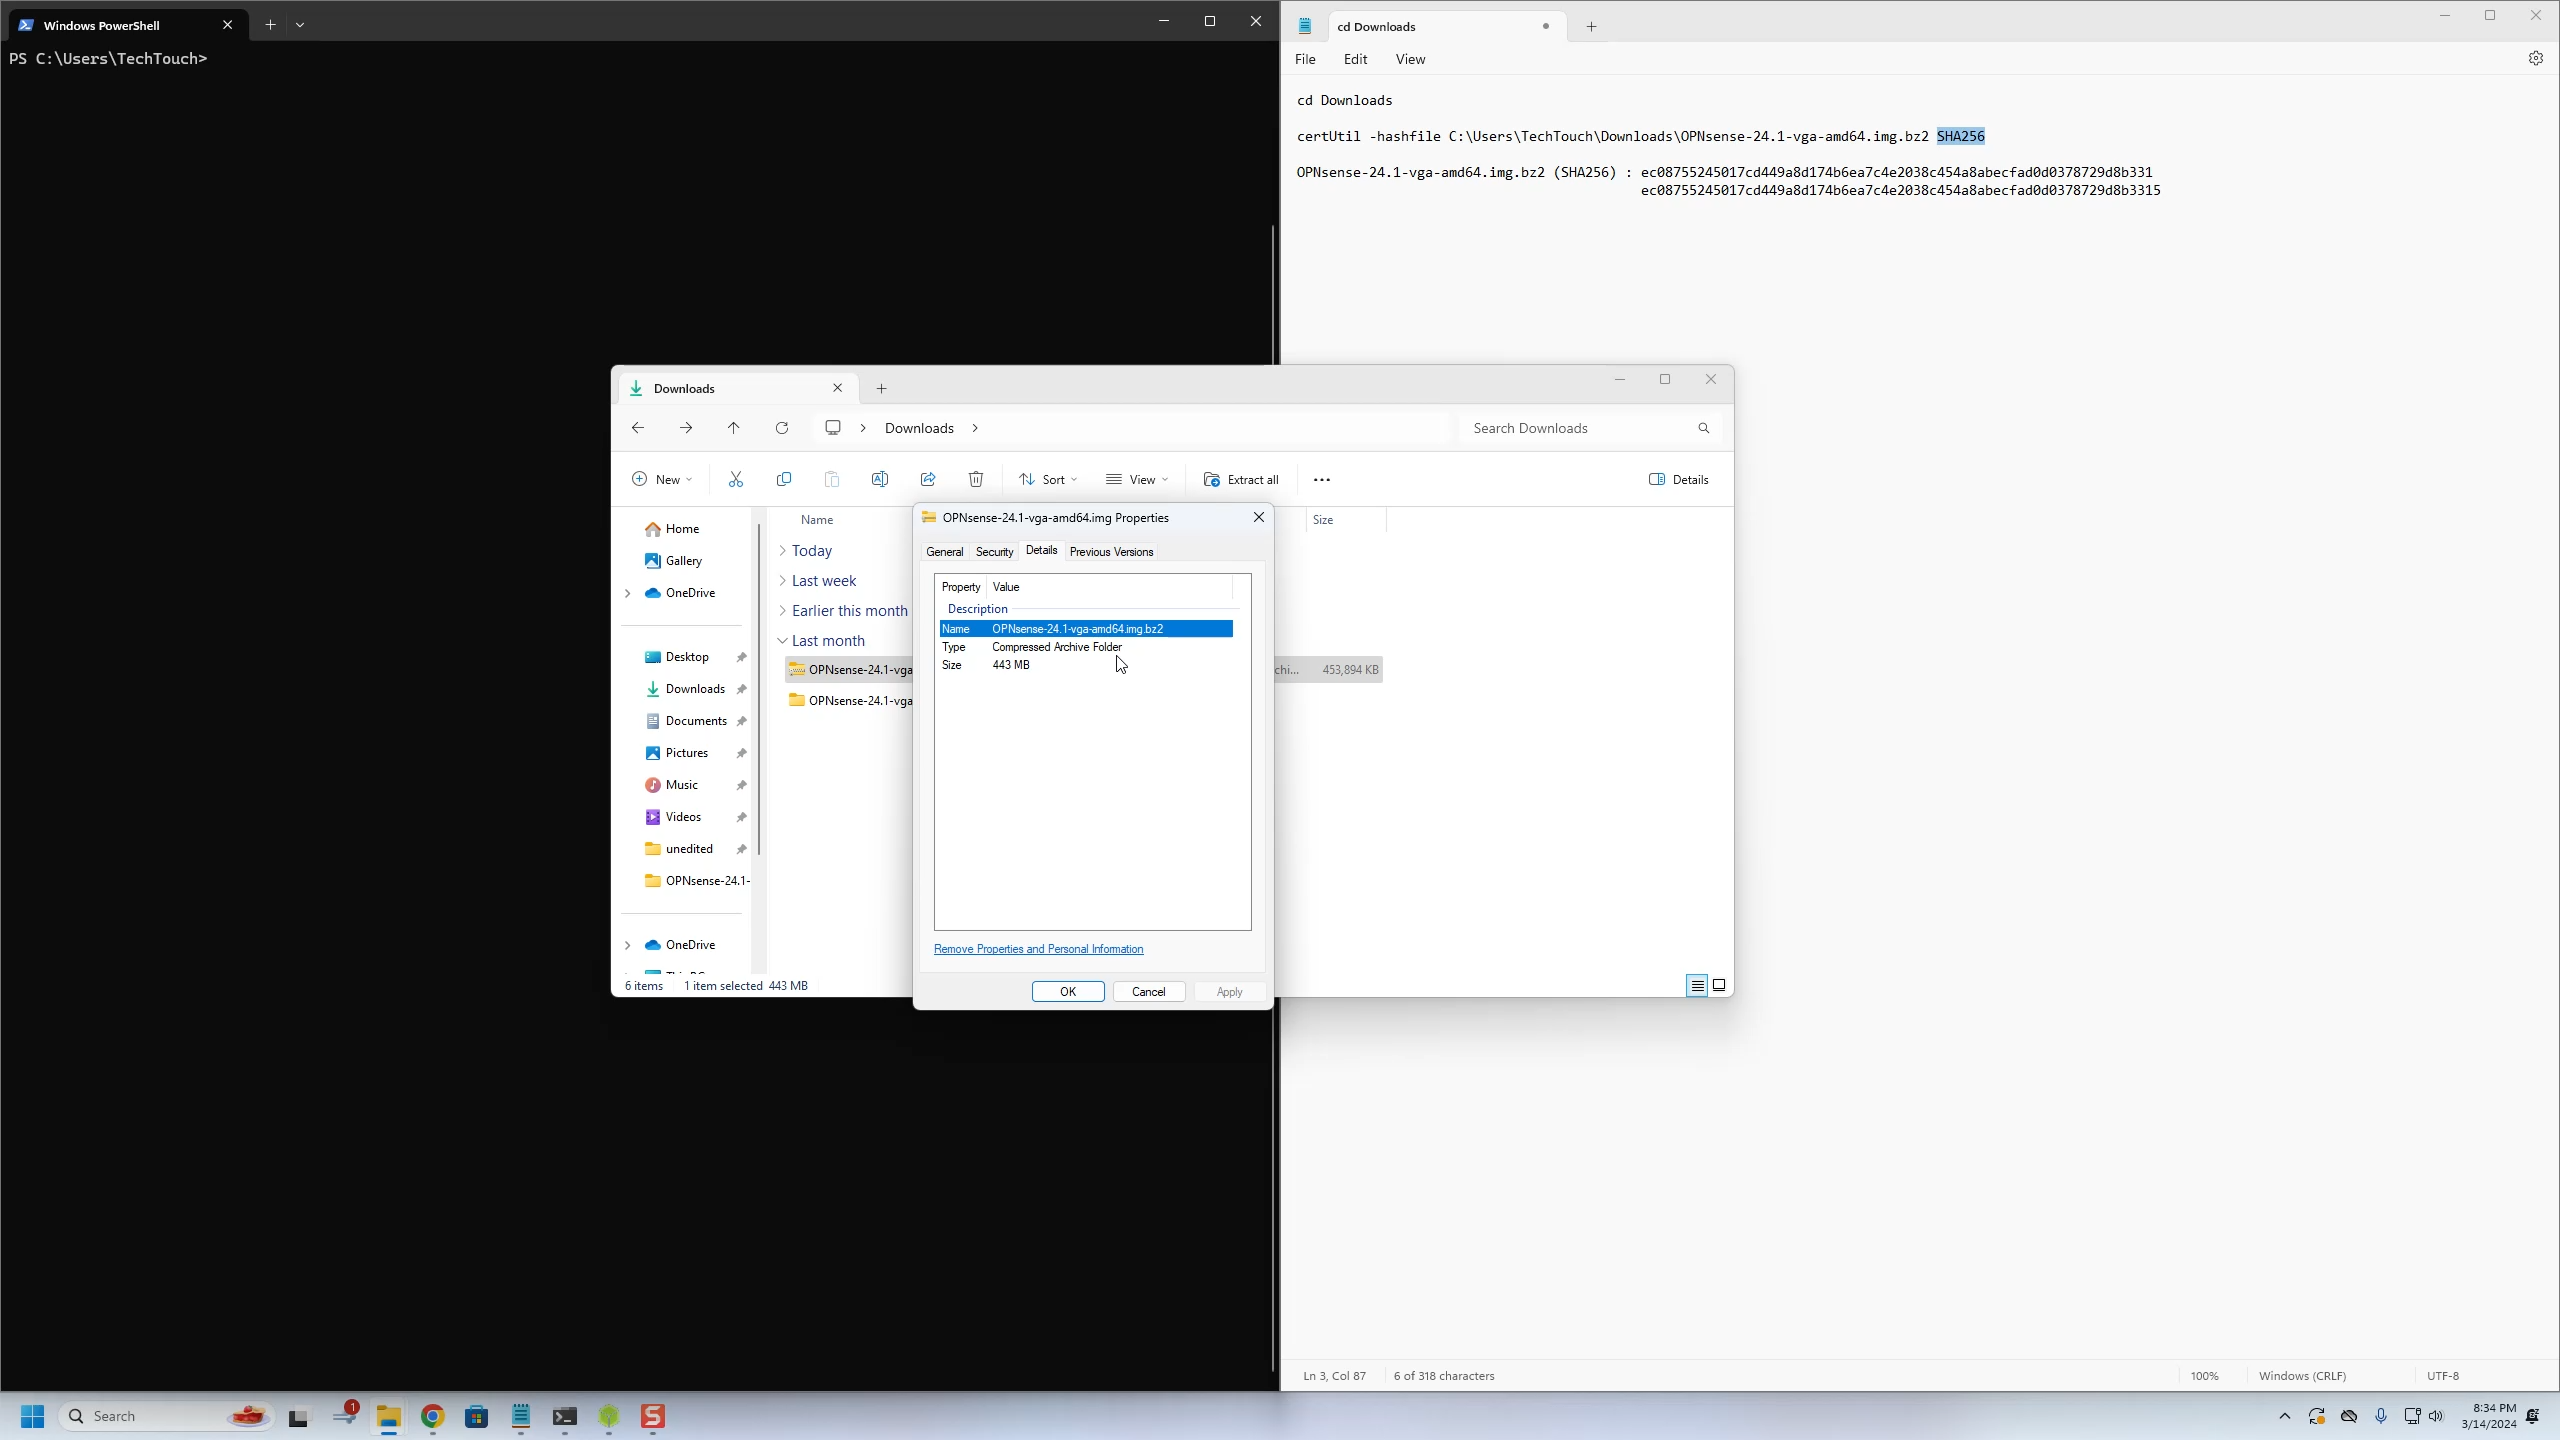
3 - You will then use the following command to verify the SHA256 hash, as seen in step 1 right below the download button. !Remember that the SHA256 value will change with every update, so verify it against what is currently showing on their website!
EXMAPLE: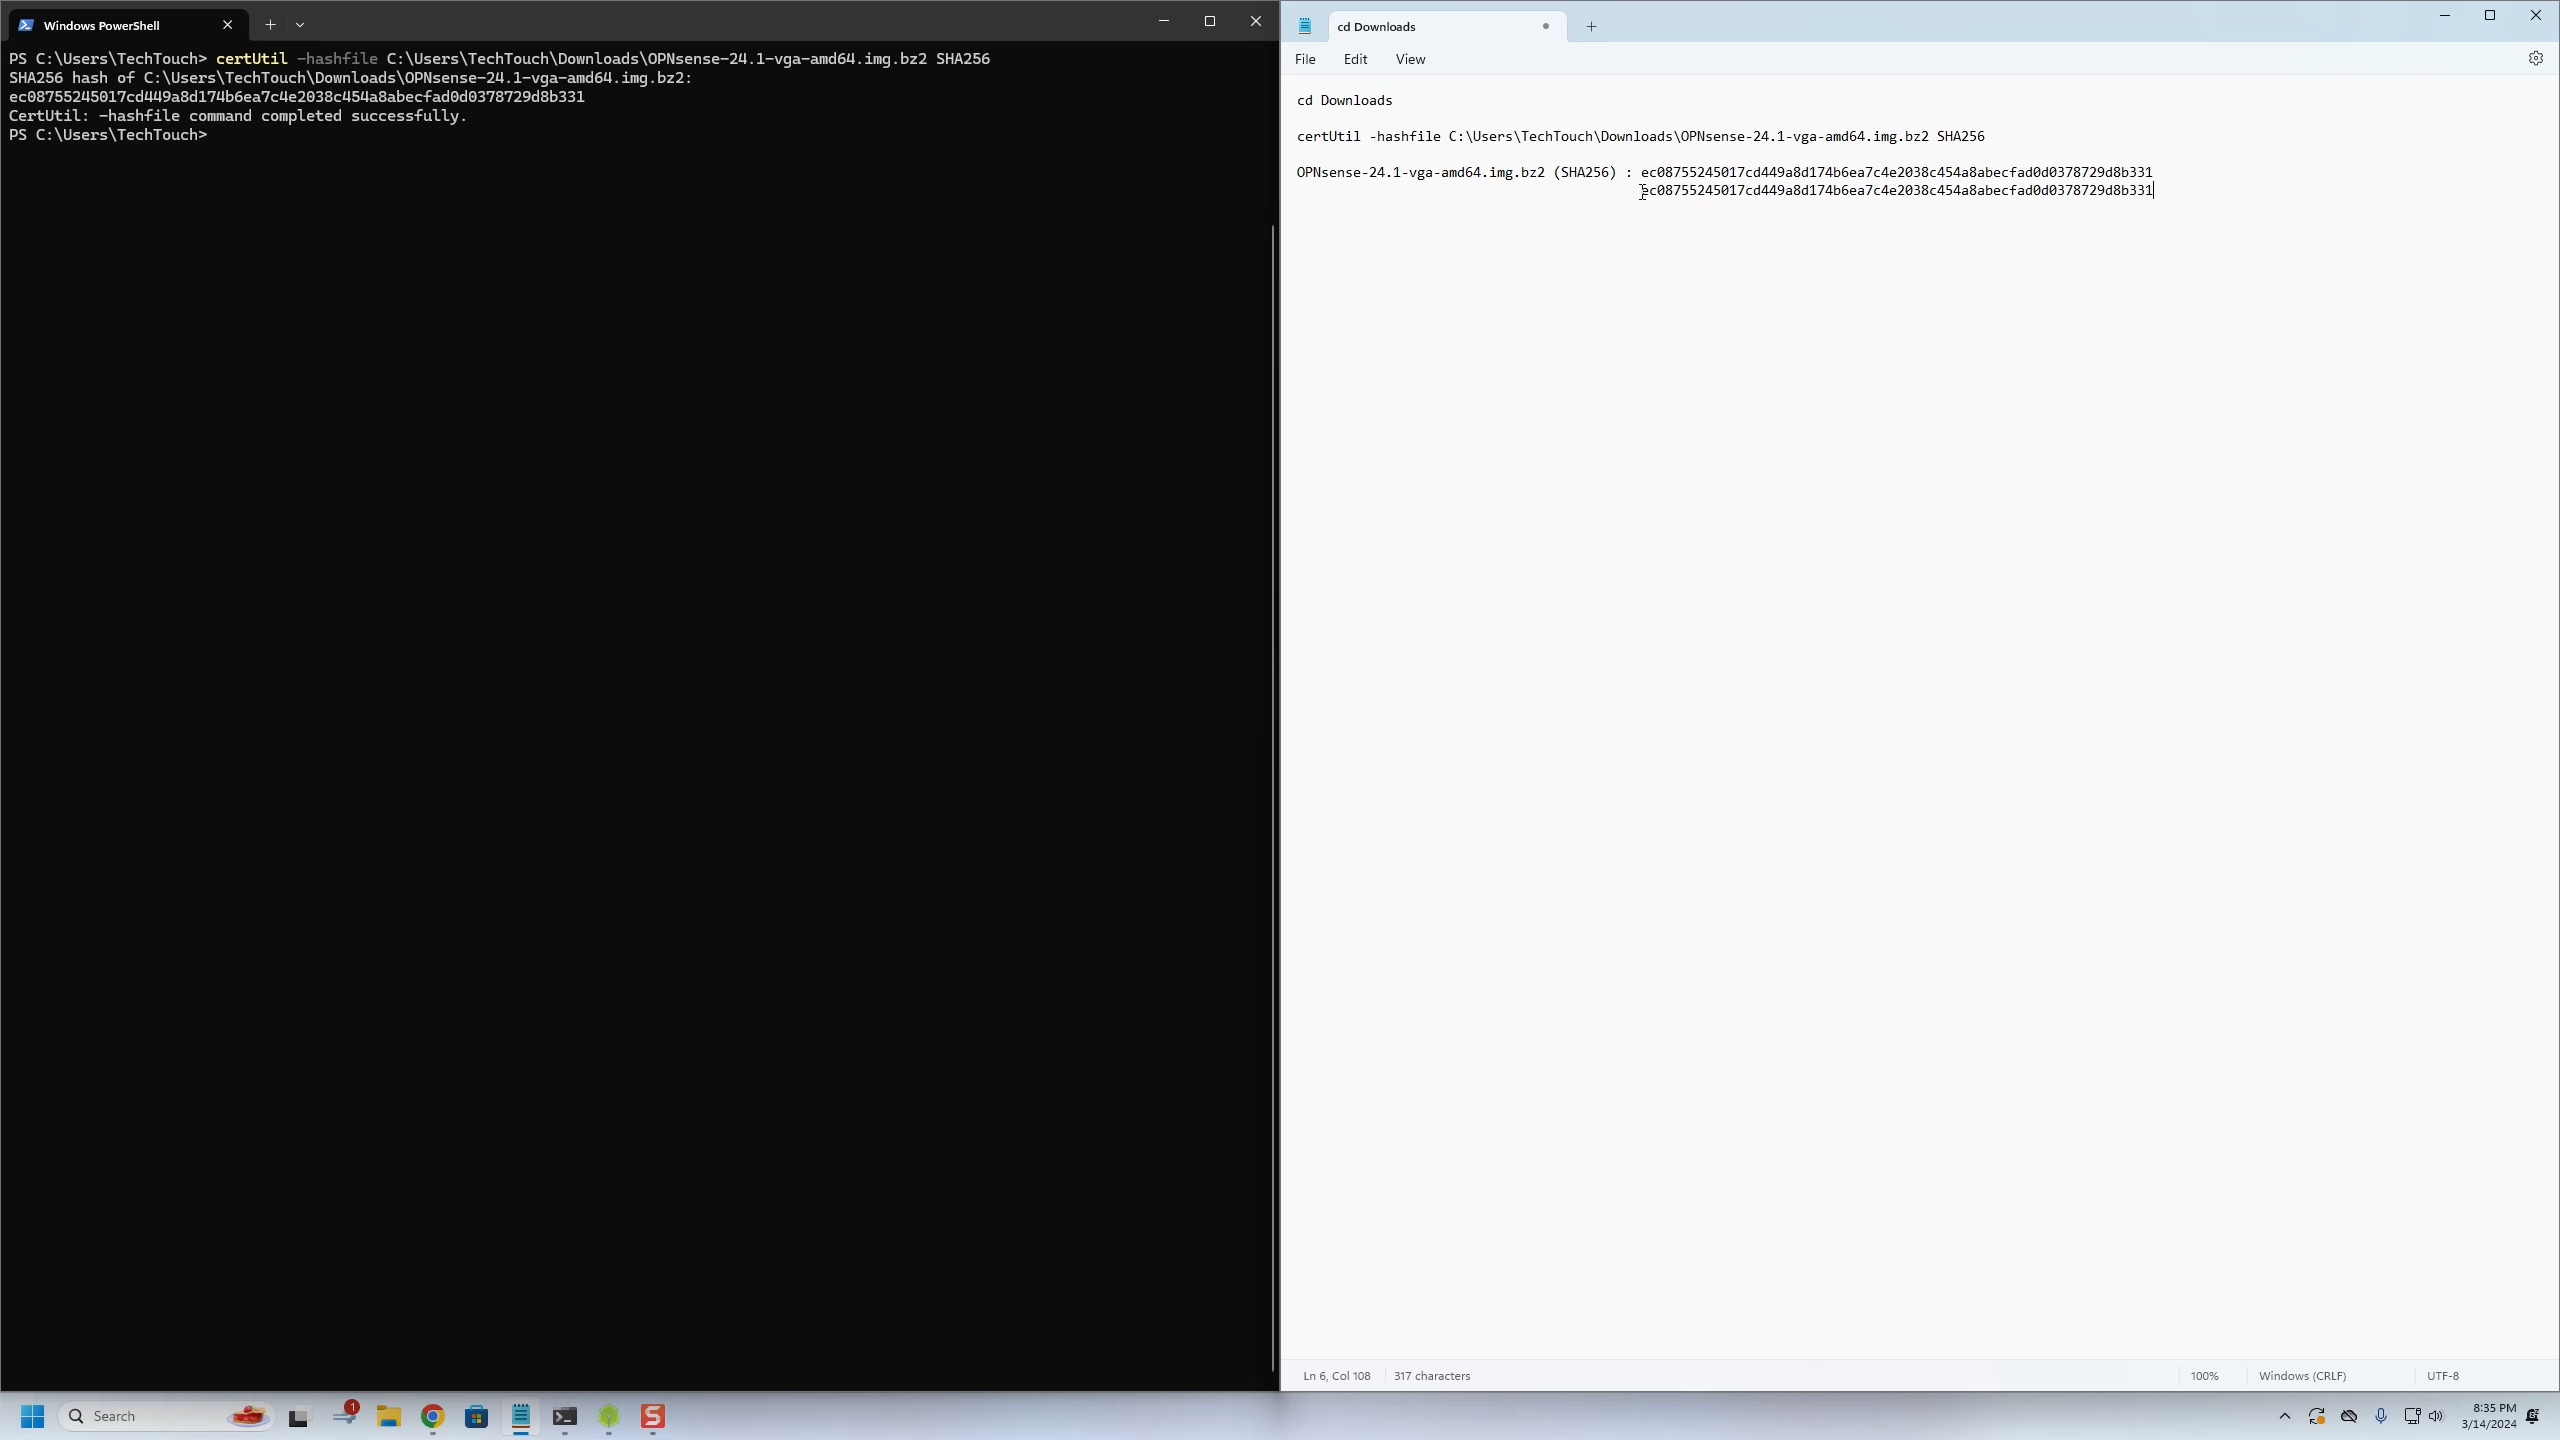
Now move on to Step 2: Downloading Etcher and create a bootable USB flash drive.
Step 2 Download 7-zip/Install & Extract OPNsense
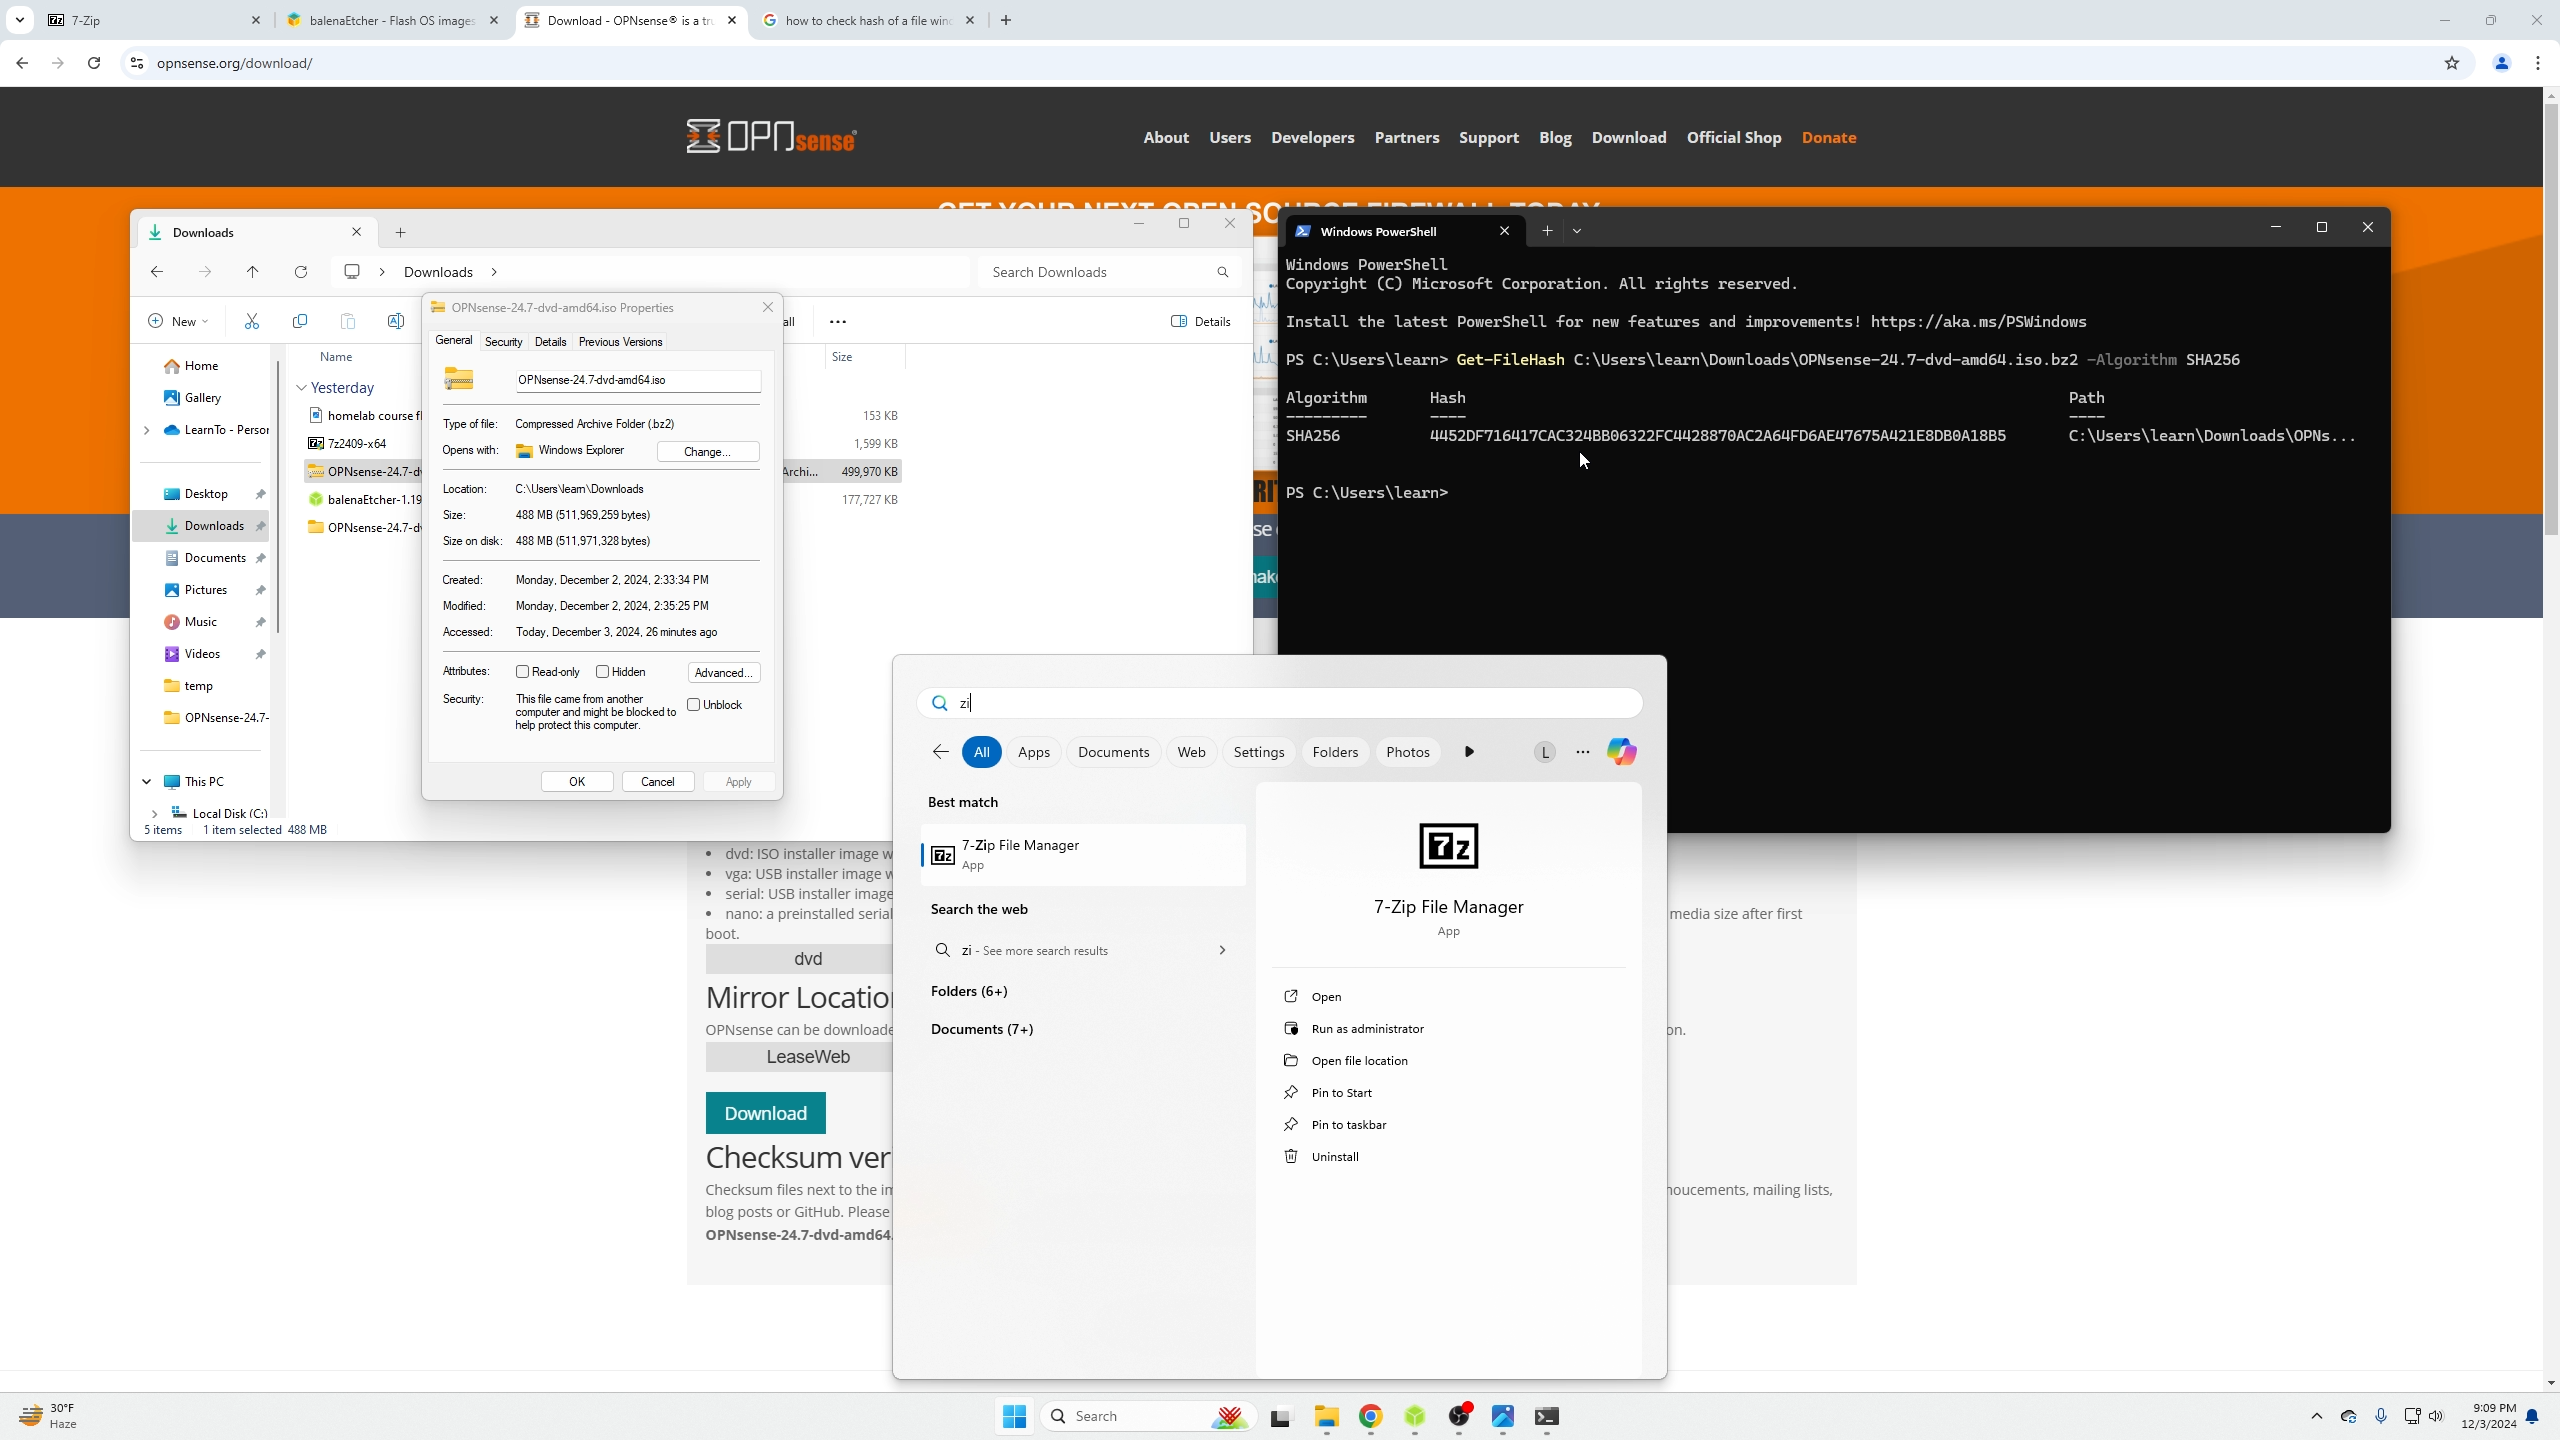
First go ahead and install 7-Zip after you downloaded it. Then open it up!
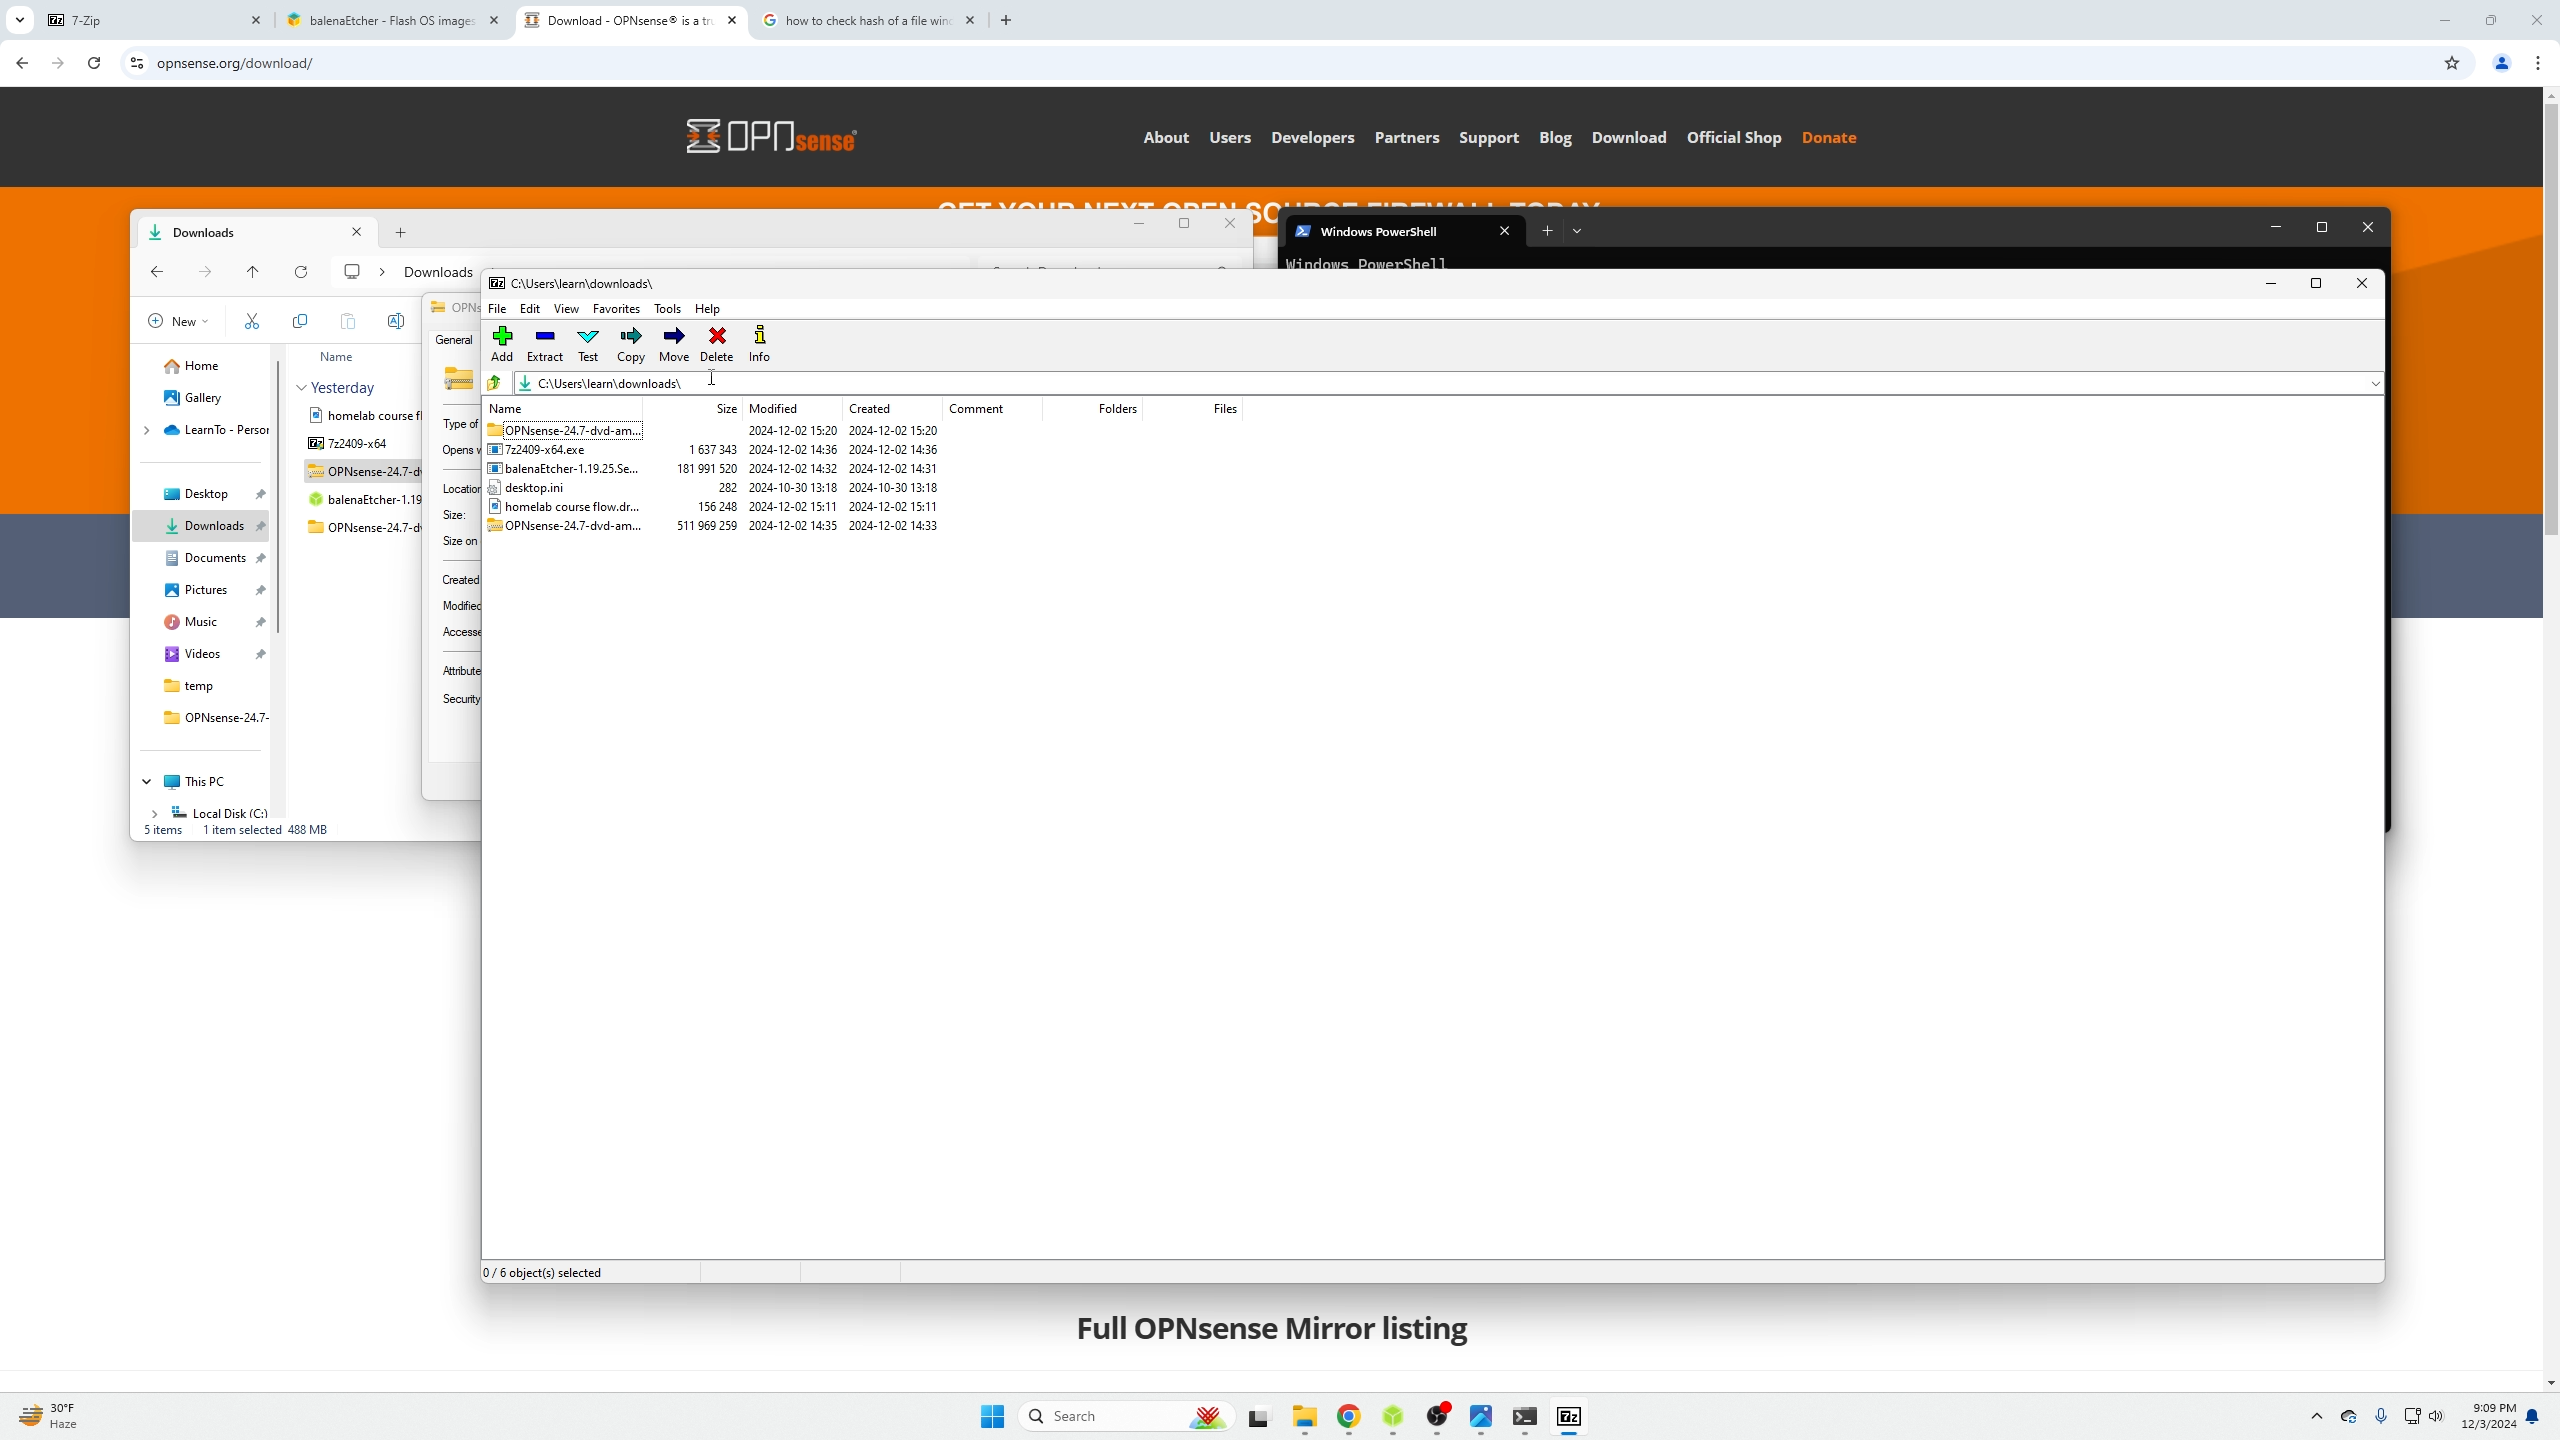
 Here you can see we went to our users download folder.
 C:\Users\learn\downloads\ you will then select the zipped folder and click the blue bar extract button at the top.
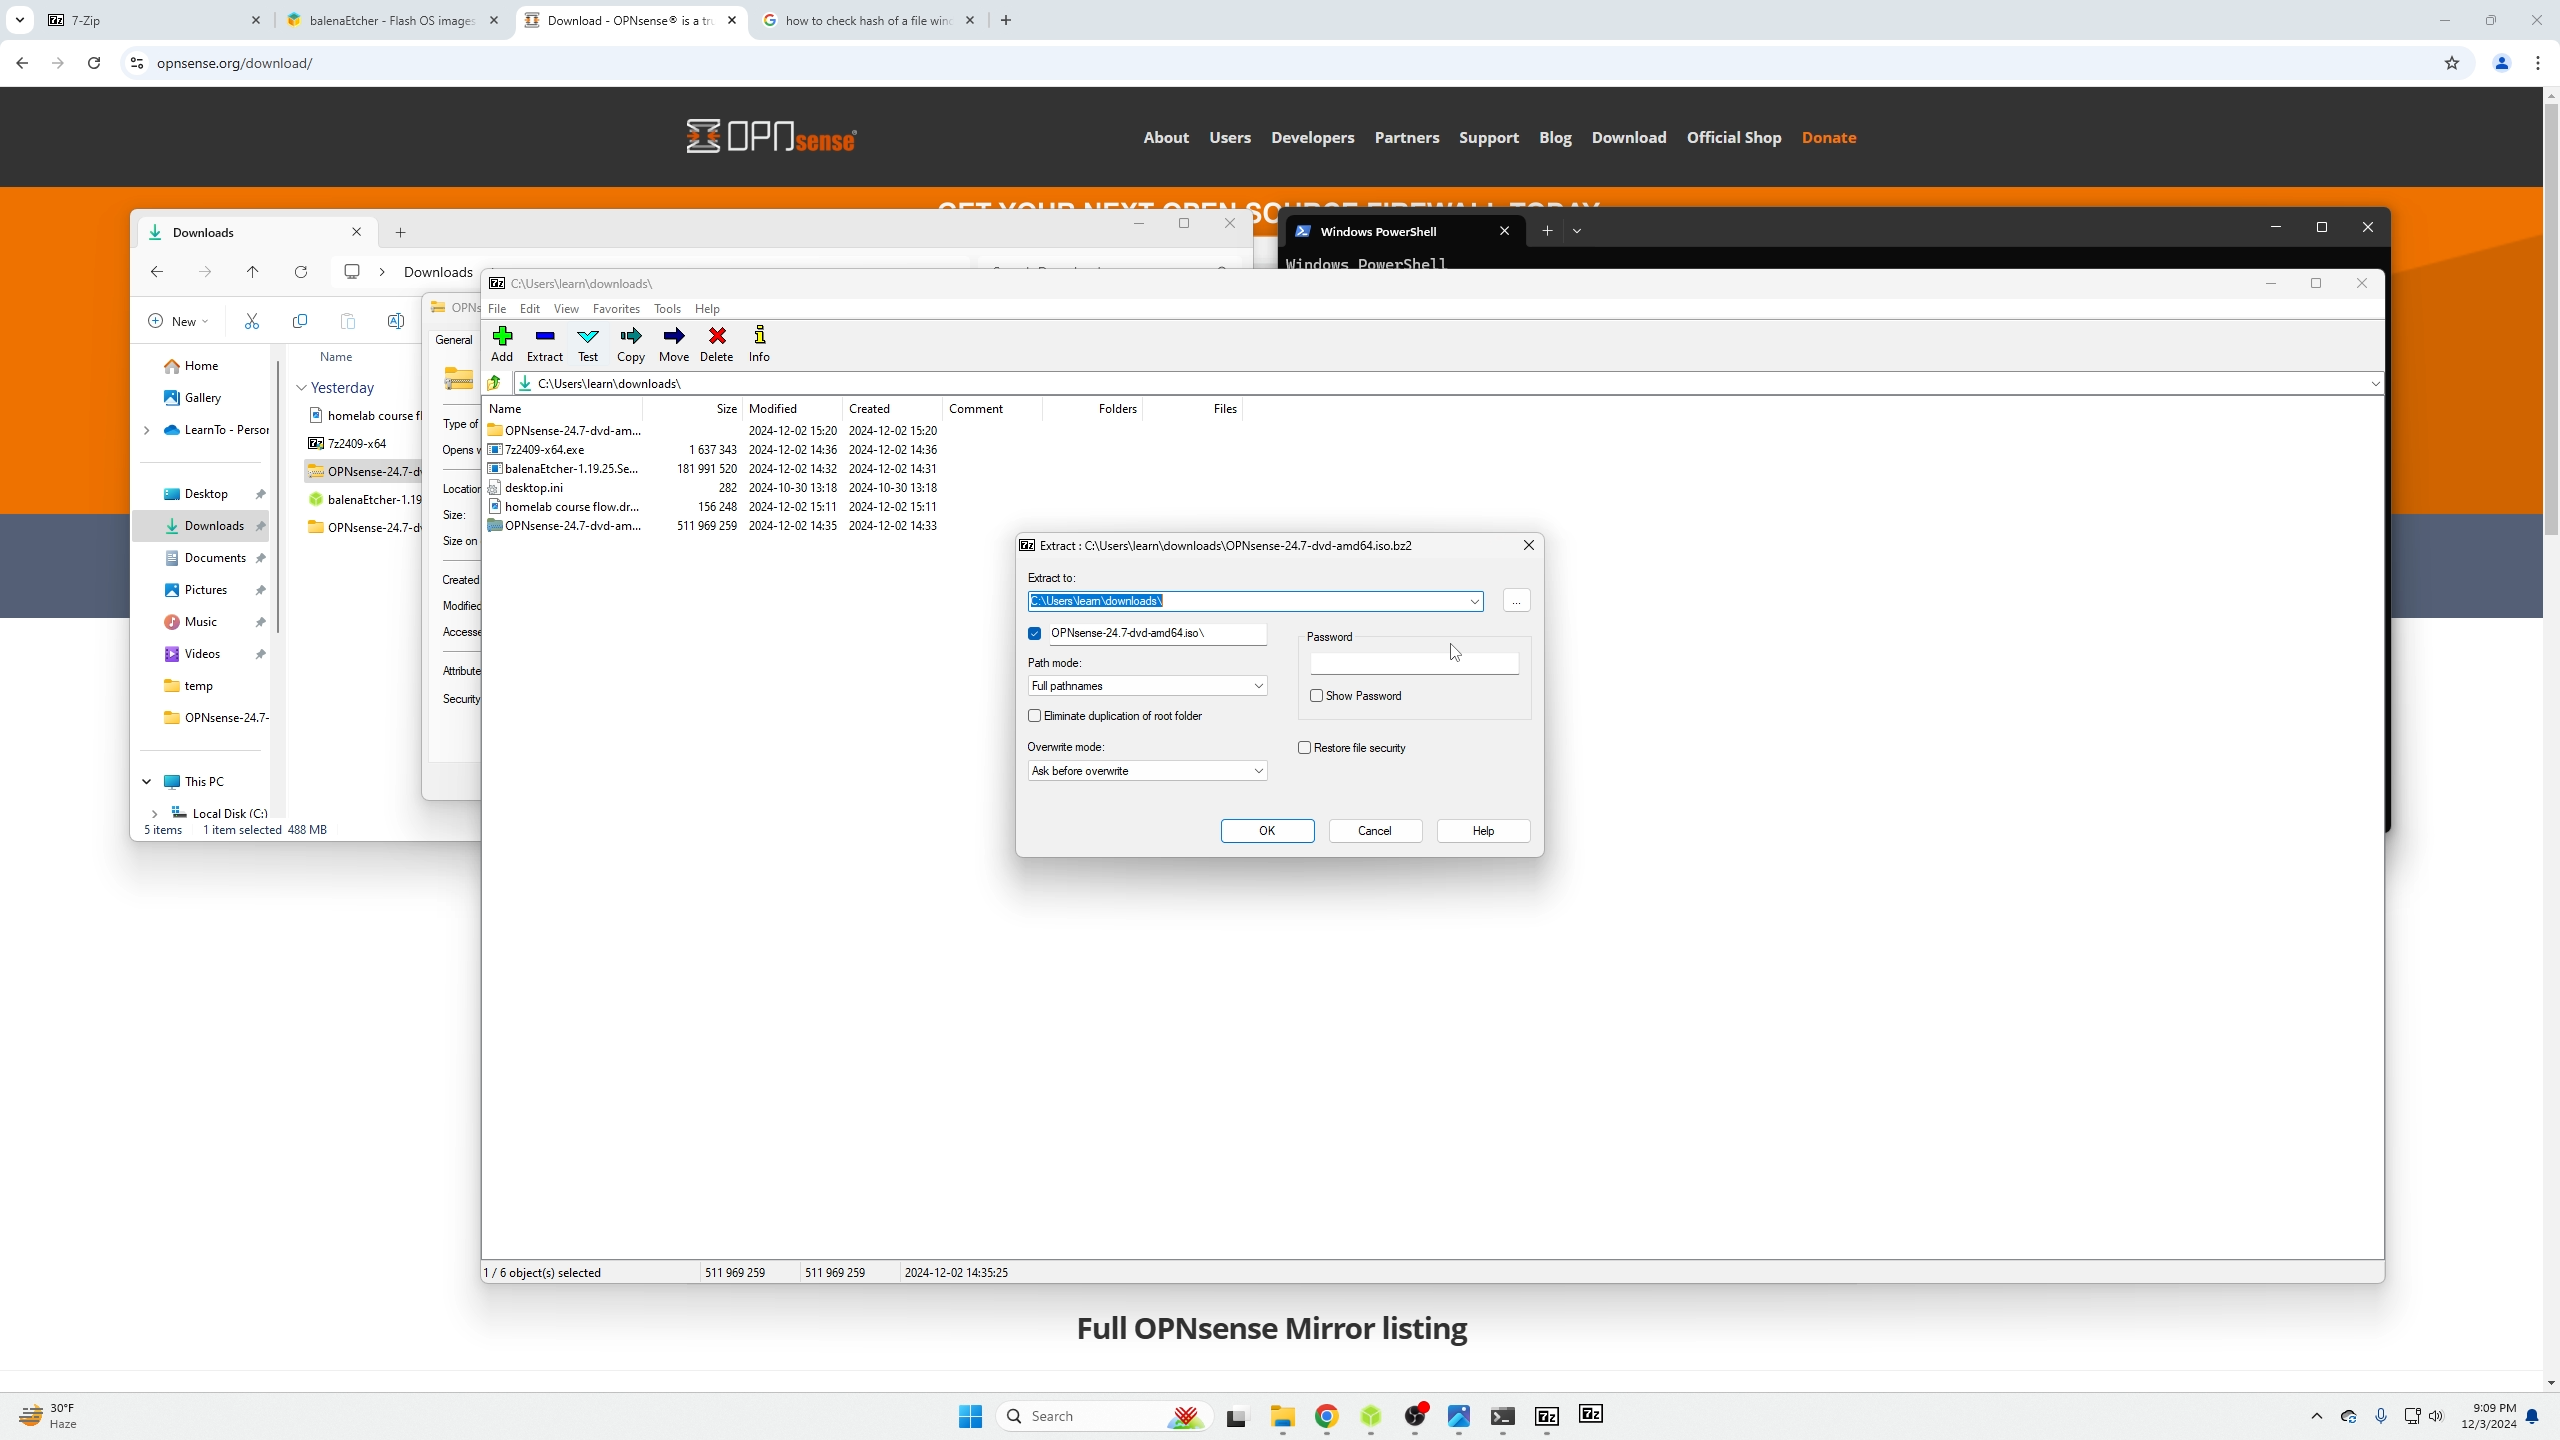
 You will be prompted with this window, you are totally okay with extracting it into the downloads folder.
Step 3 Download Etcher (bootable USB application)
1 - Etcher allows us to create a bootable flash drive, this is how we will get OPNsense on to the firewall appliance. Download Etcher here.
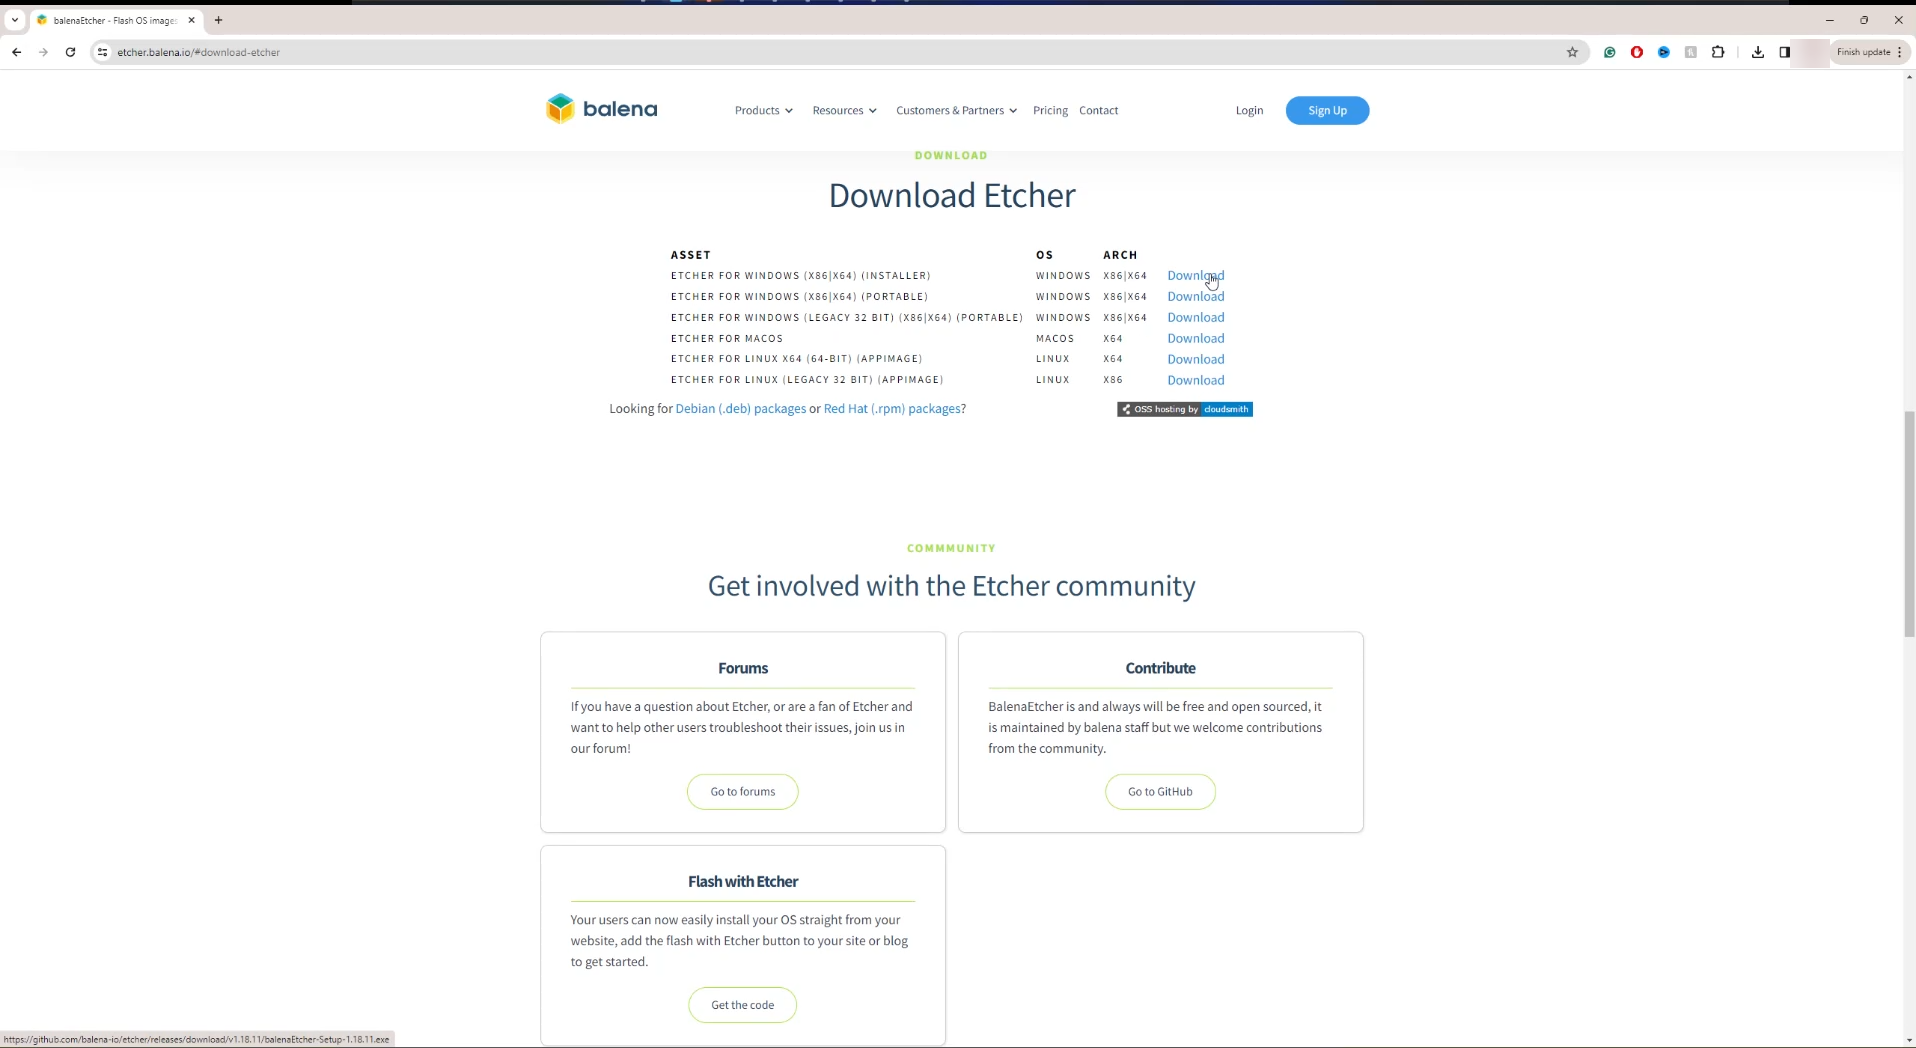
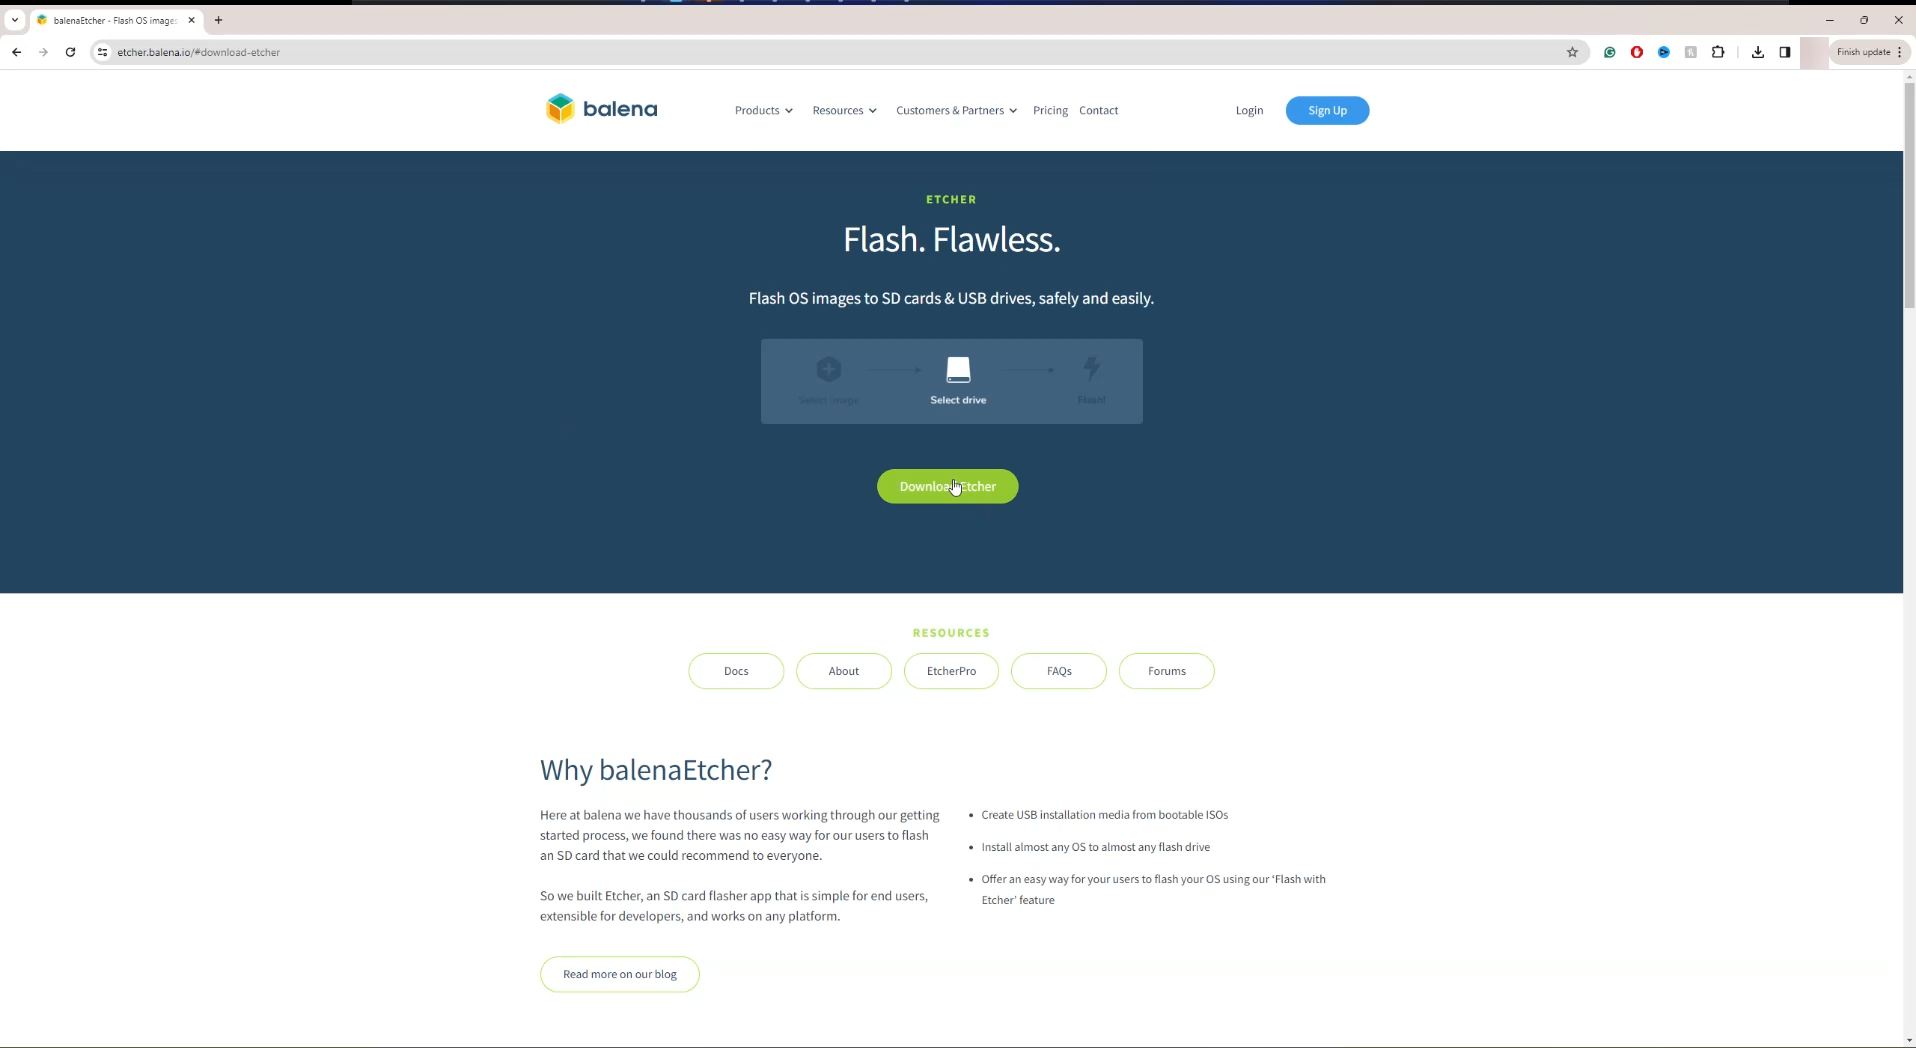 2 - Pick the correct download for your operating system.
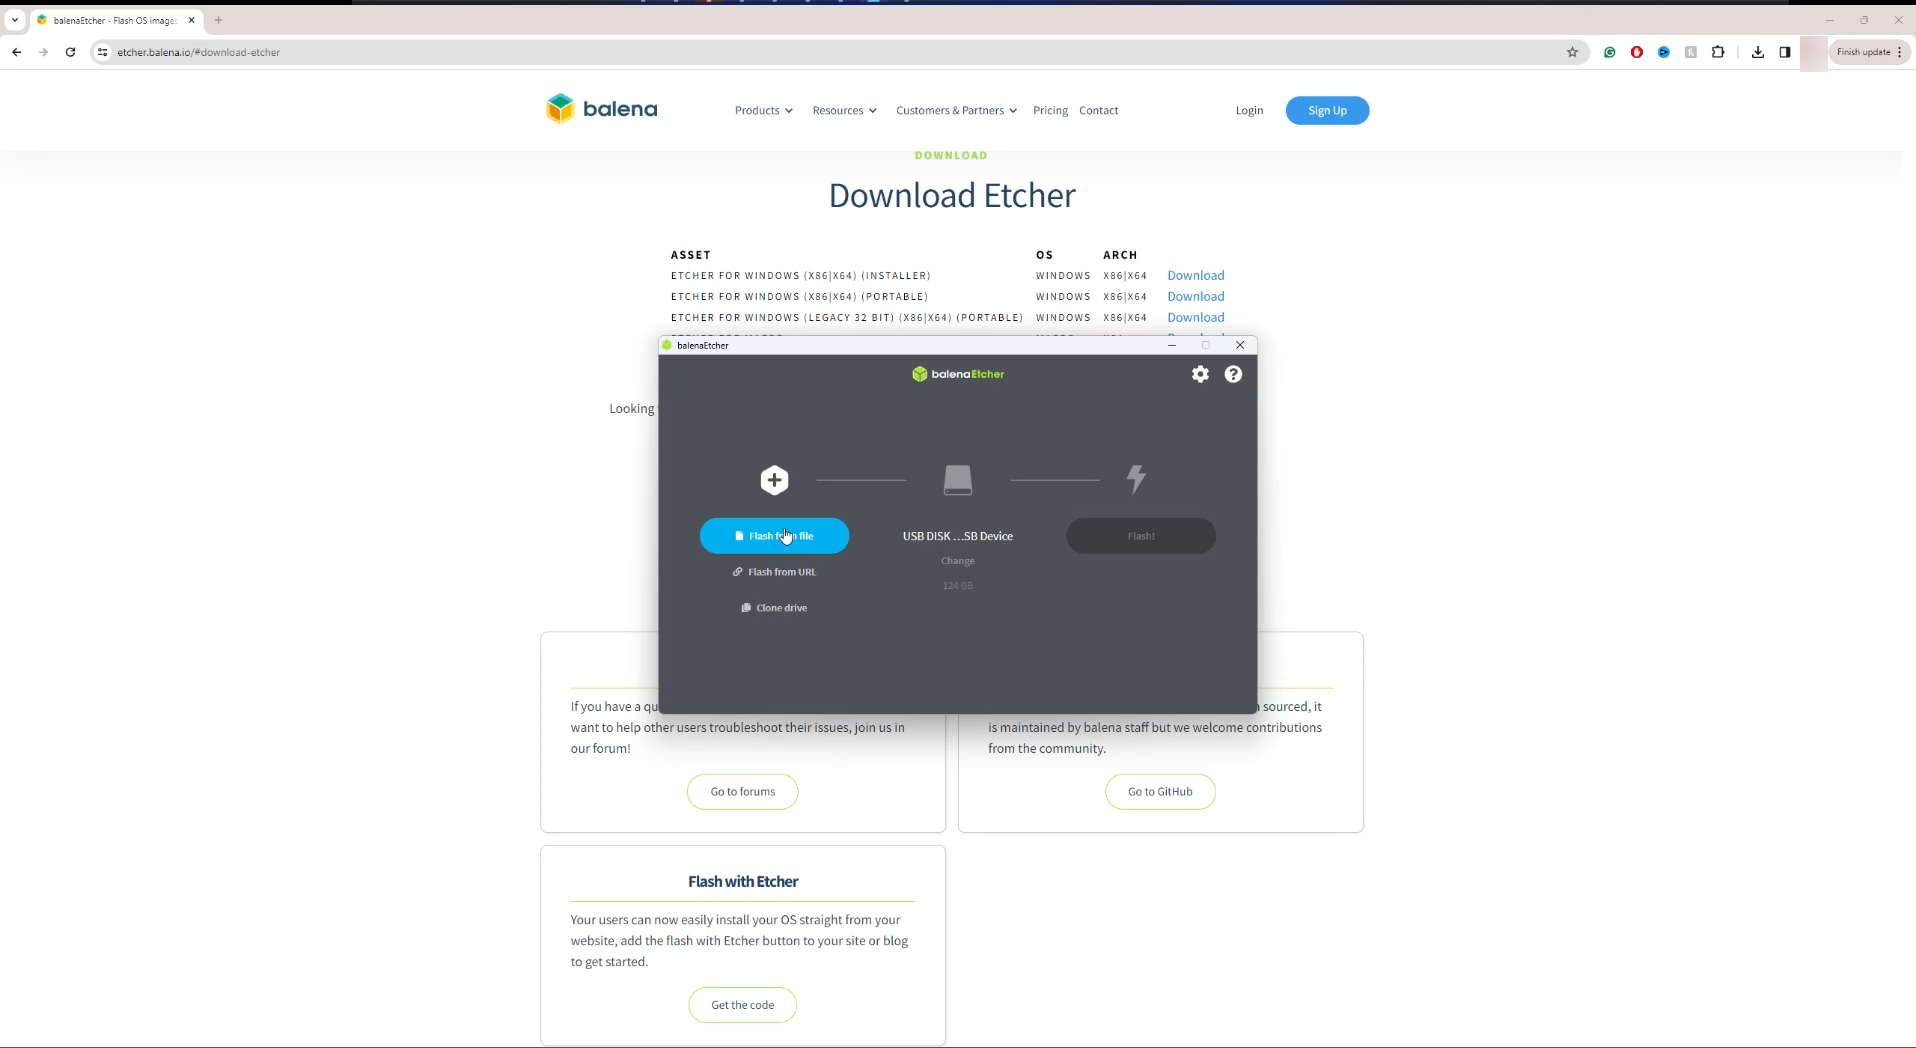
 3 - Select flash from file
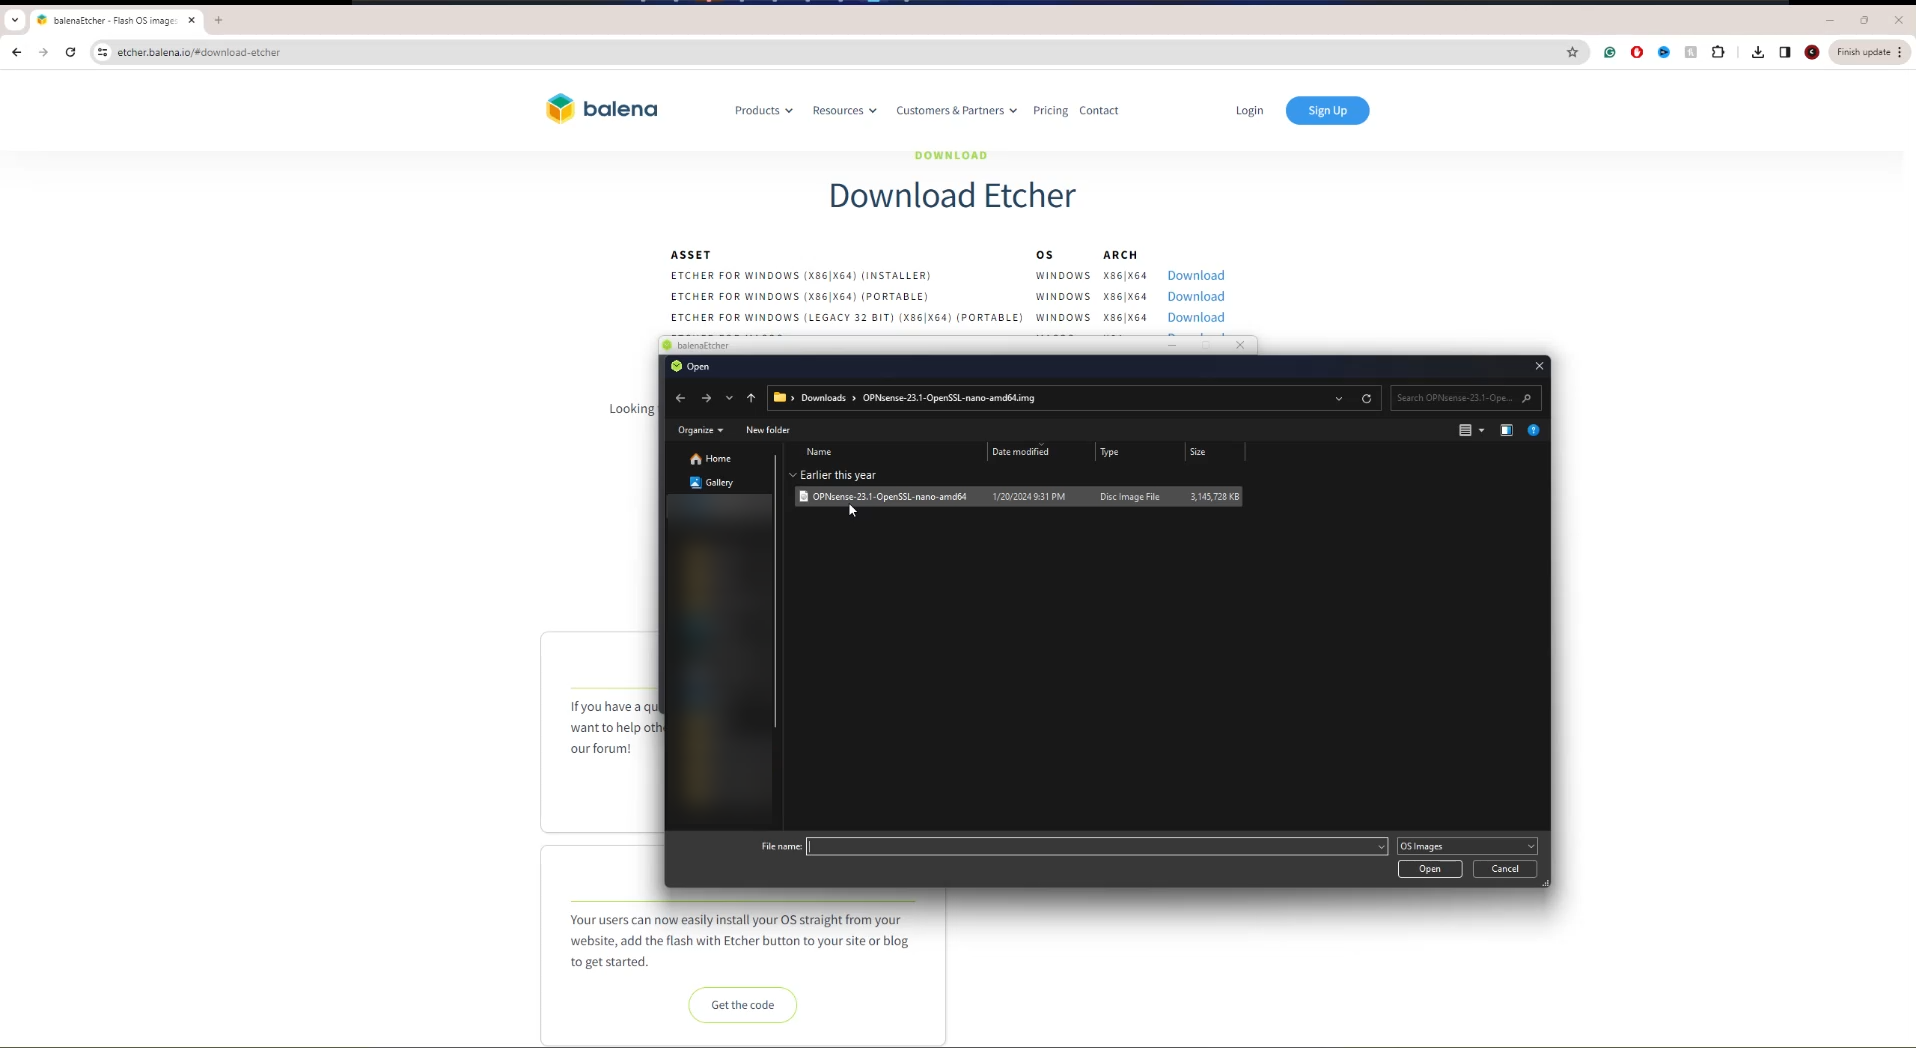
 4 - Select your OPNsense or PFsense download.
 5 - Now select the USB thumb drive. !WARNING THIS WILL DELETE EVERYTHING ON THE THUMB DRIVE!
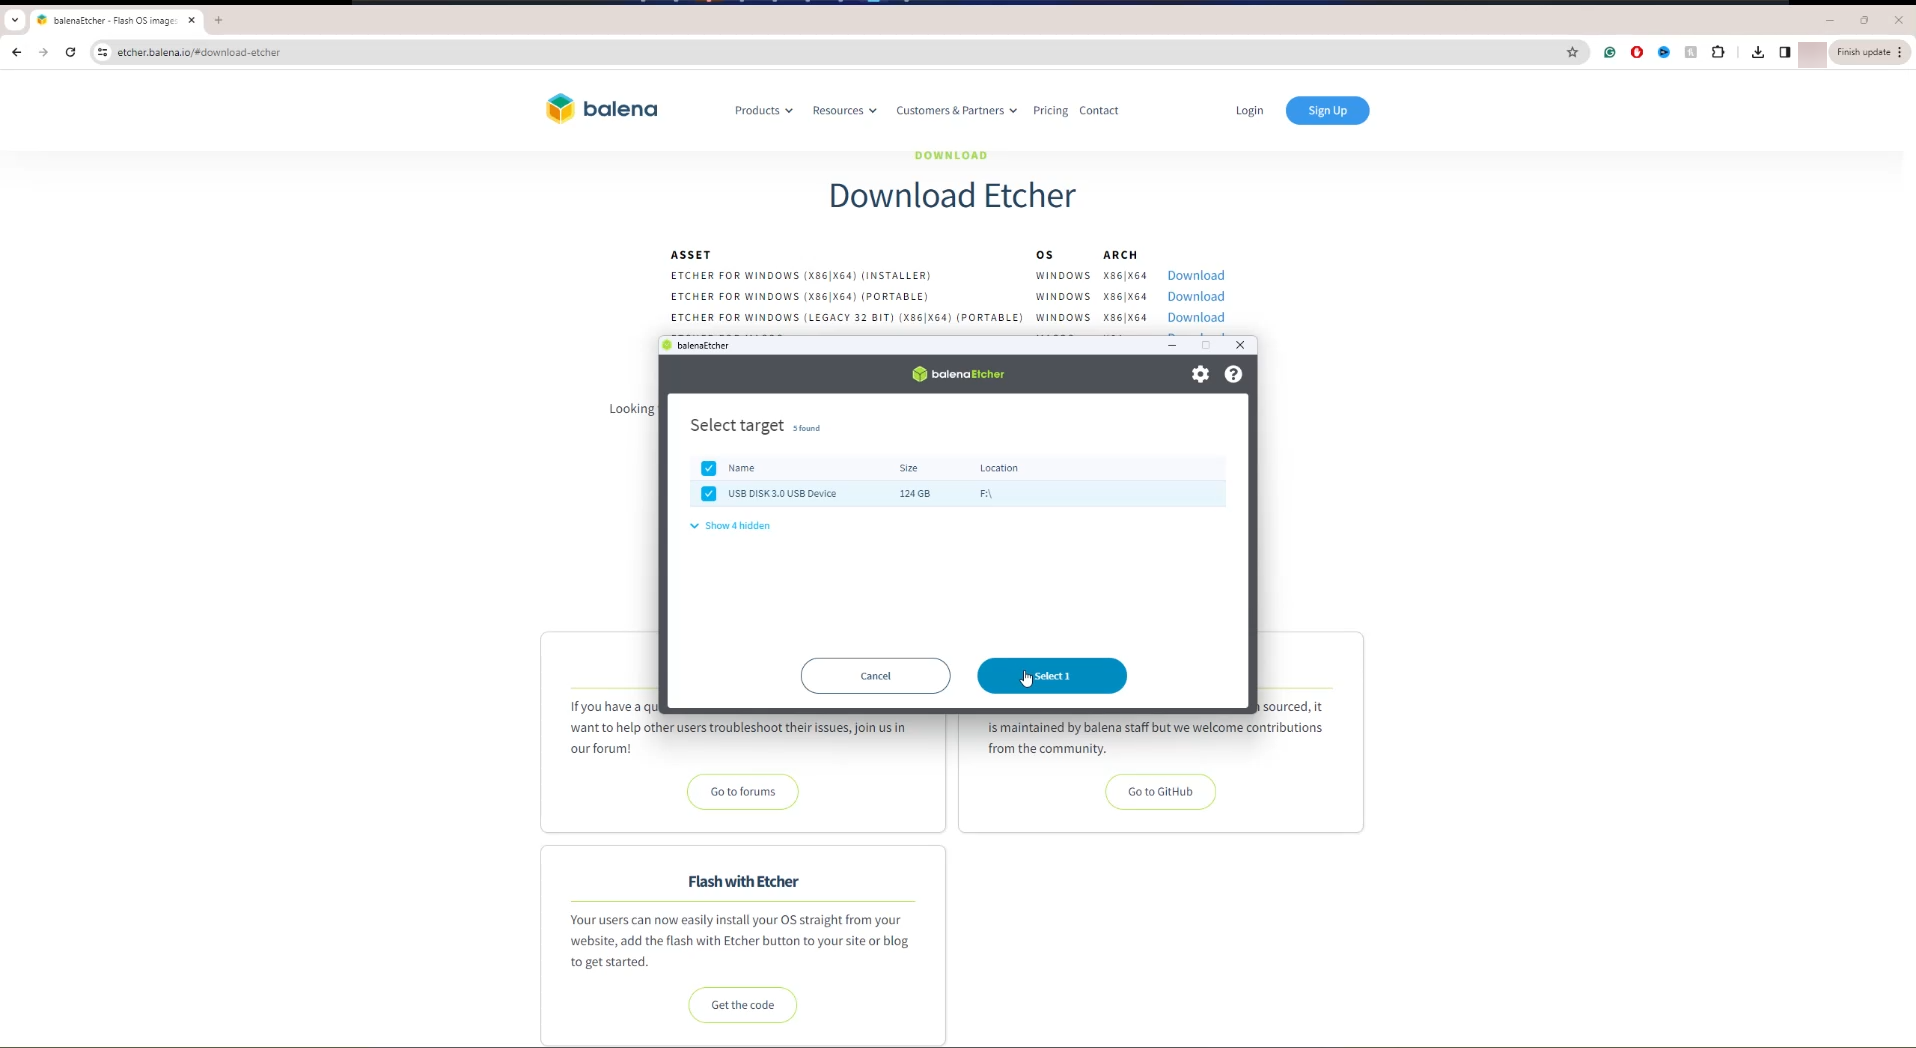 6 - You can now remove the thumb drive from your device and plug it into your firewall appliance !MAKE SURE YOUR APPLIANCE IS CURRENTLY TURNED OFF!
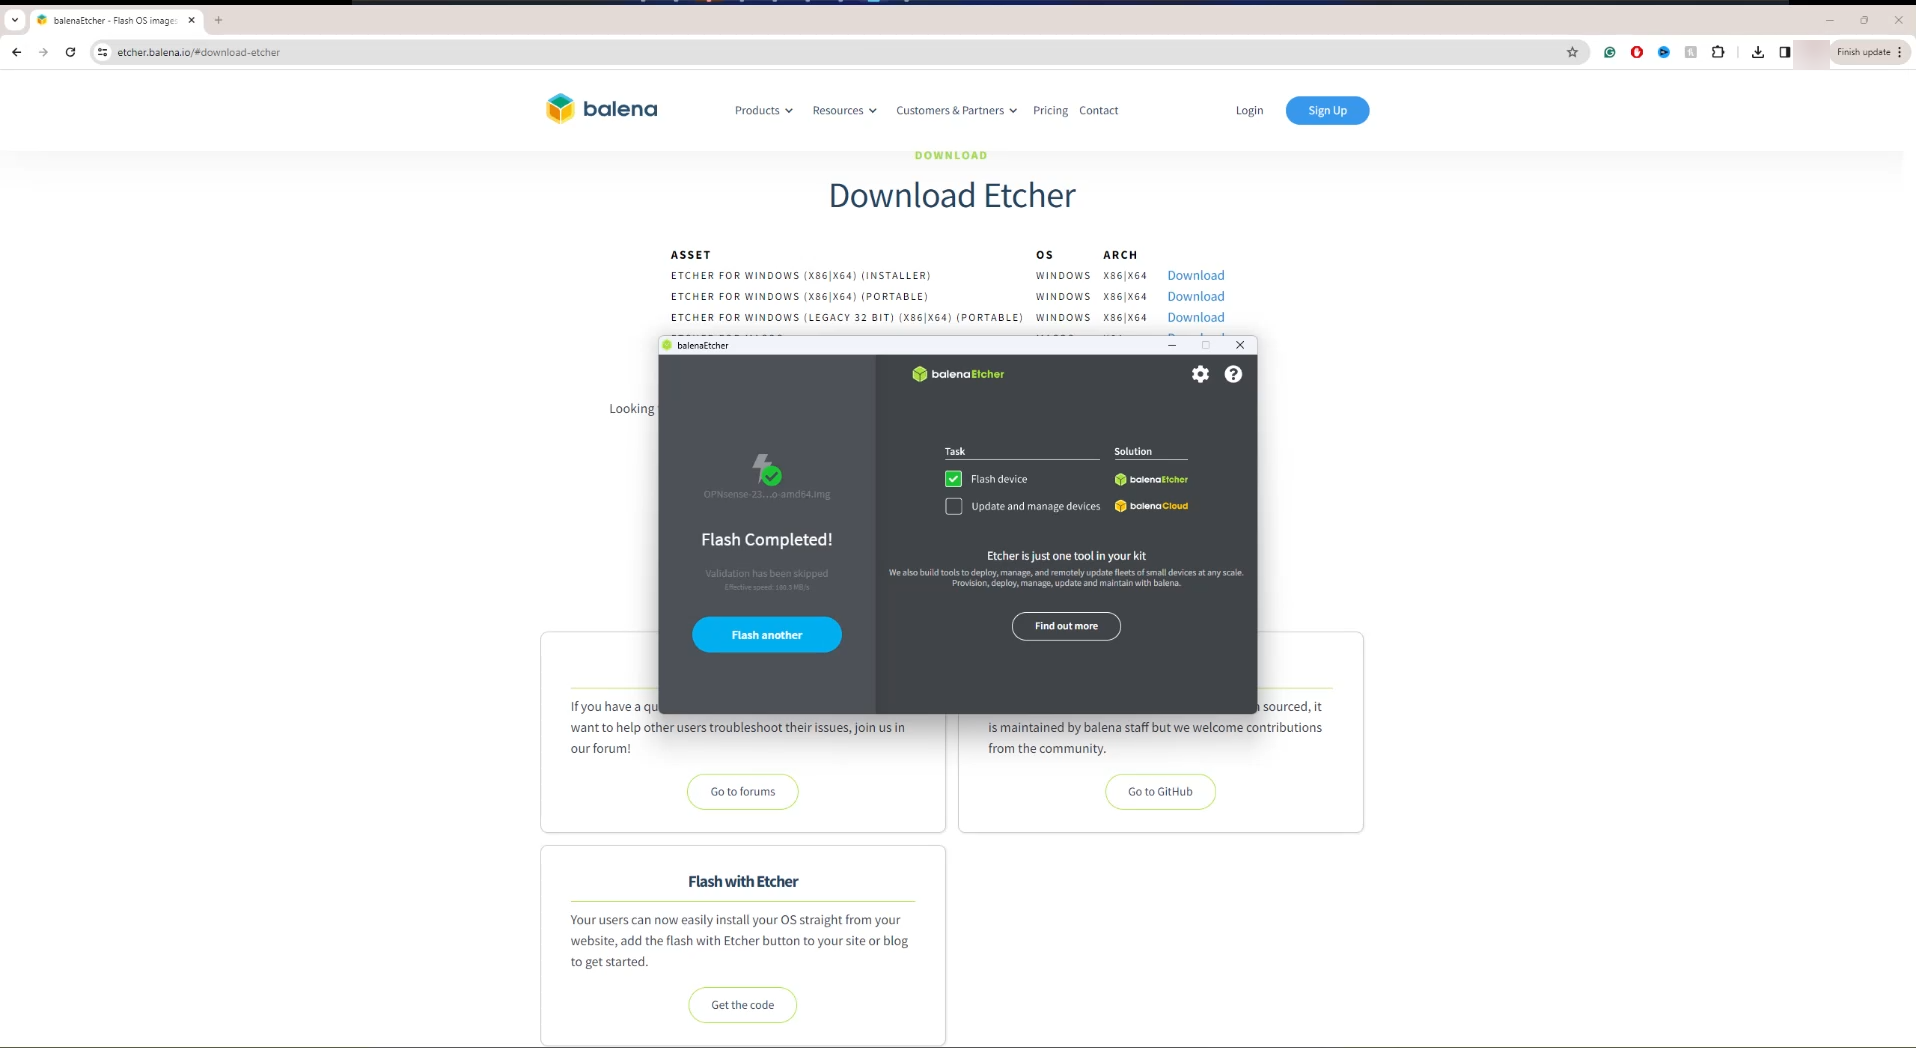
Step 4 (boot to OPNsense on your firewall client)
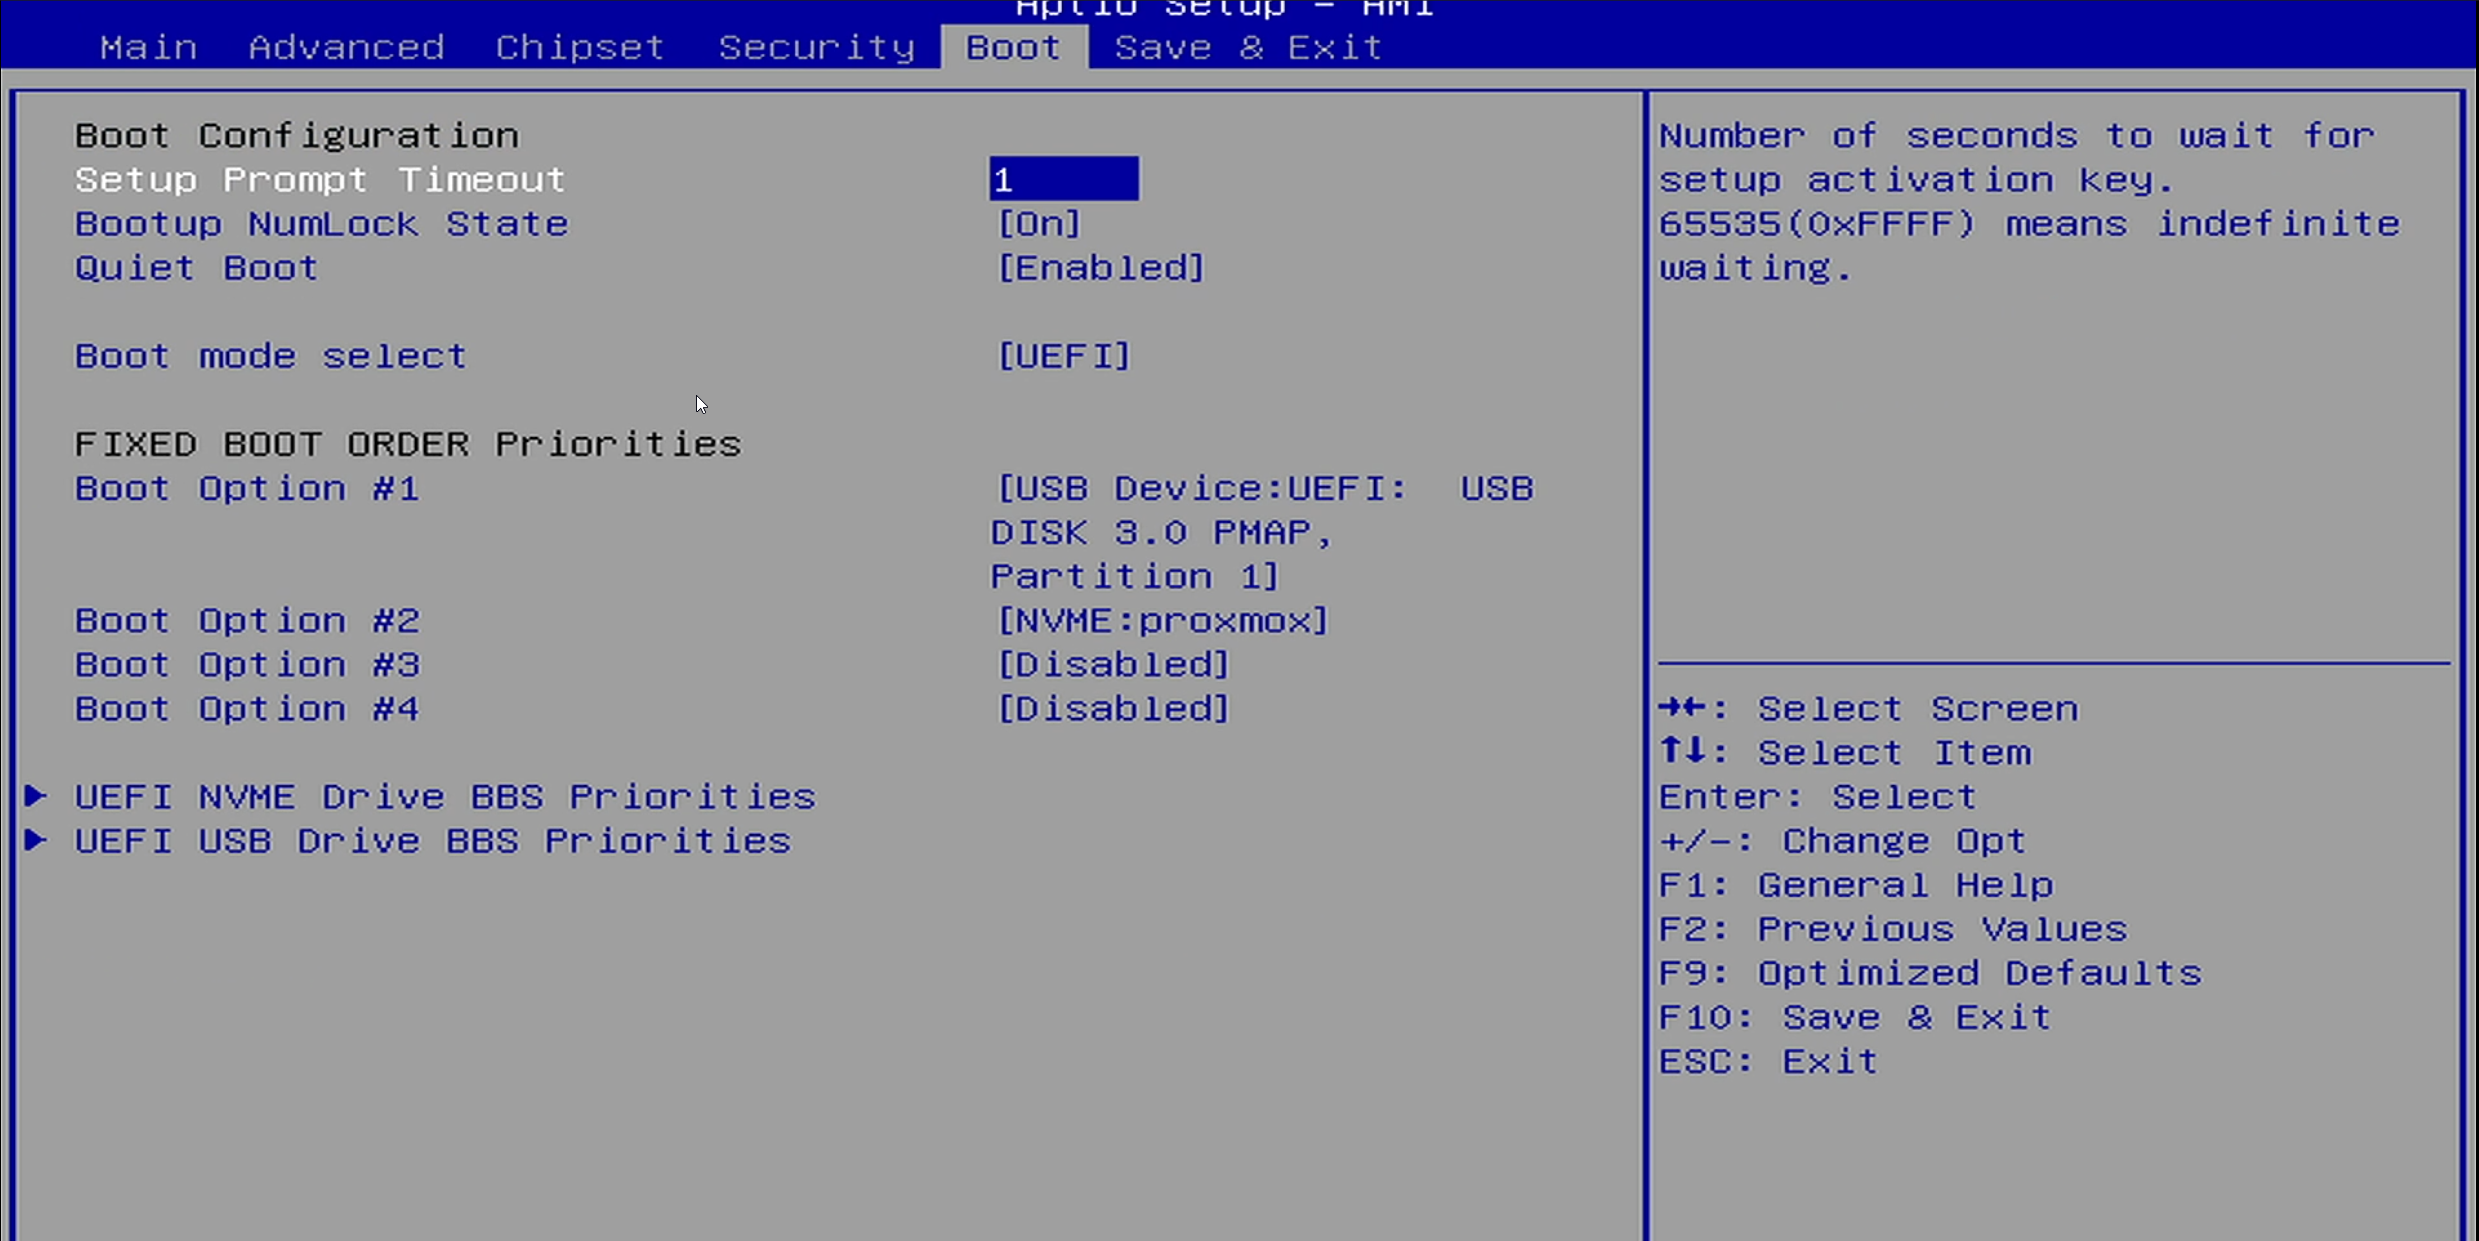
After you have plugged the USB drive into your firewall appliance turn it on while tapping the Del (delete) key until the BIOS comes up.
1 - use your arrow keys and get to the BIOs tab, select your USB device, then move over to the exit tab, save changes and exit.
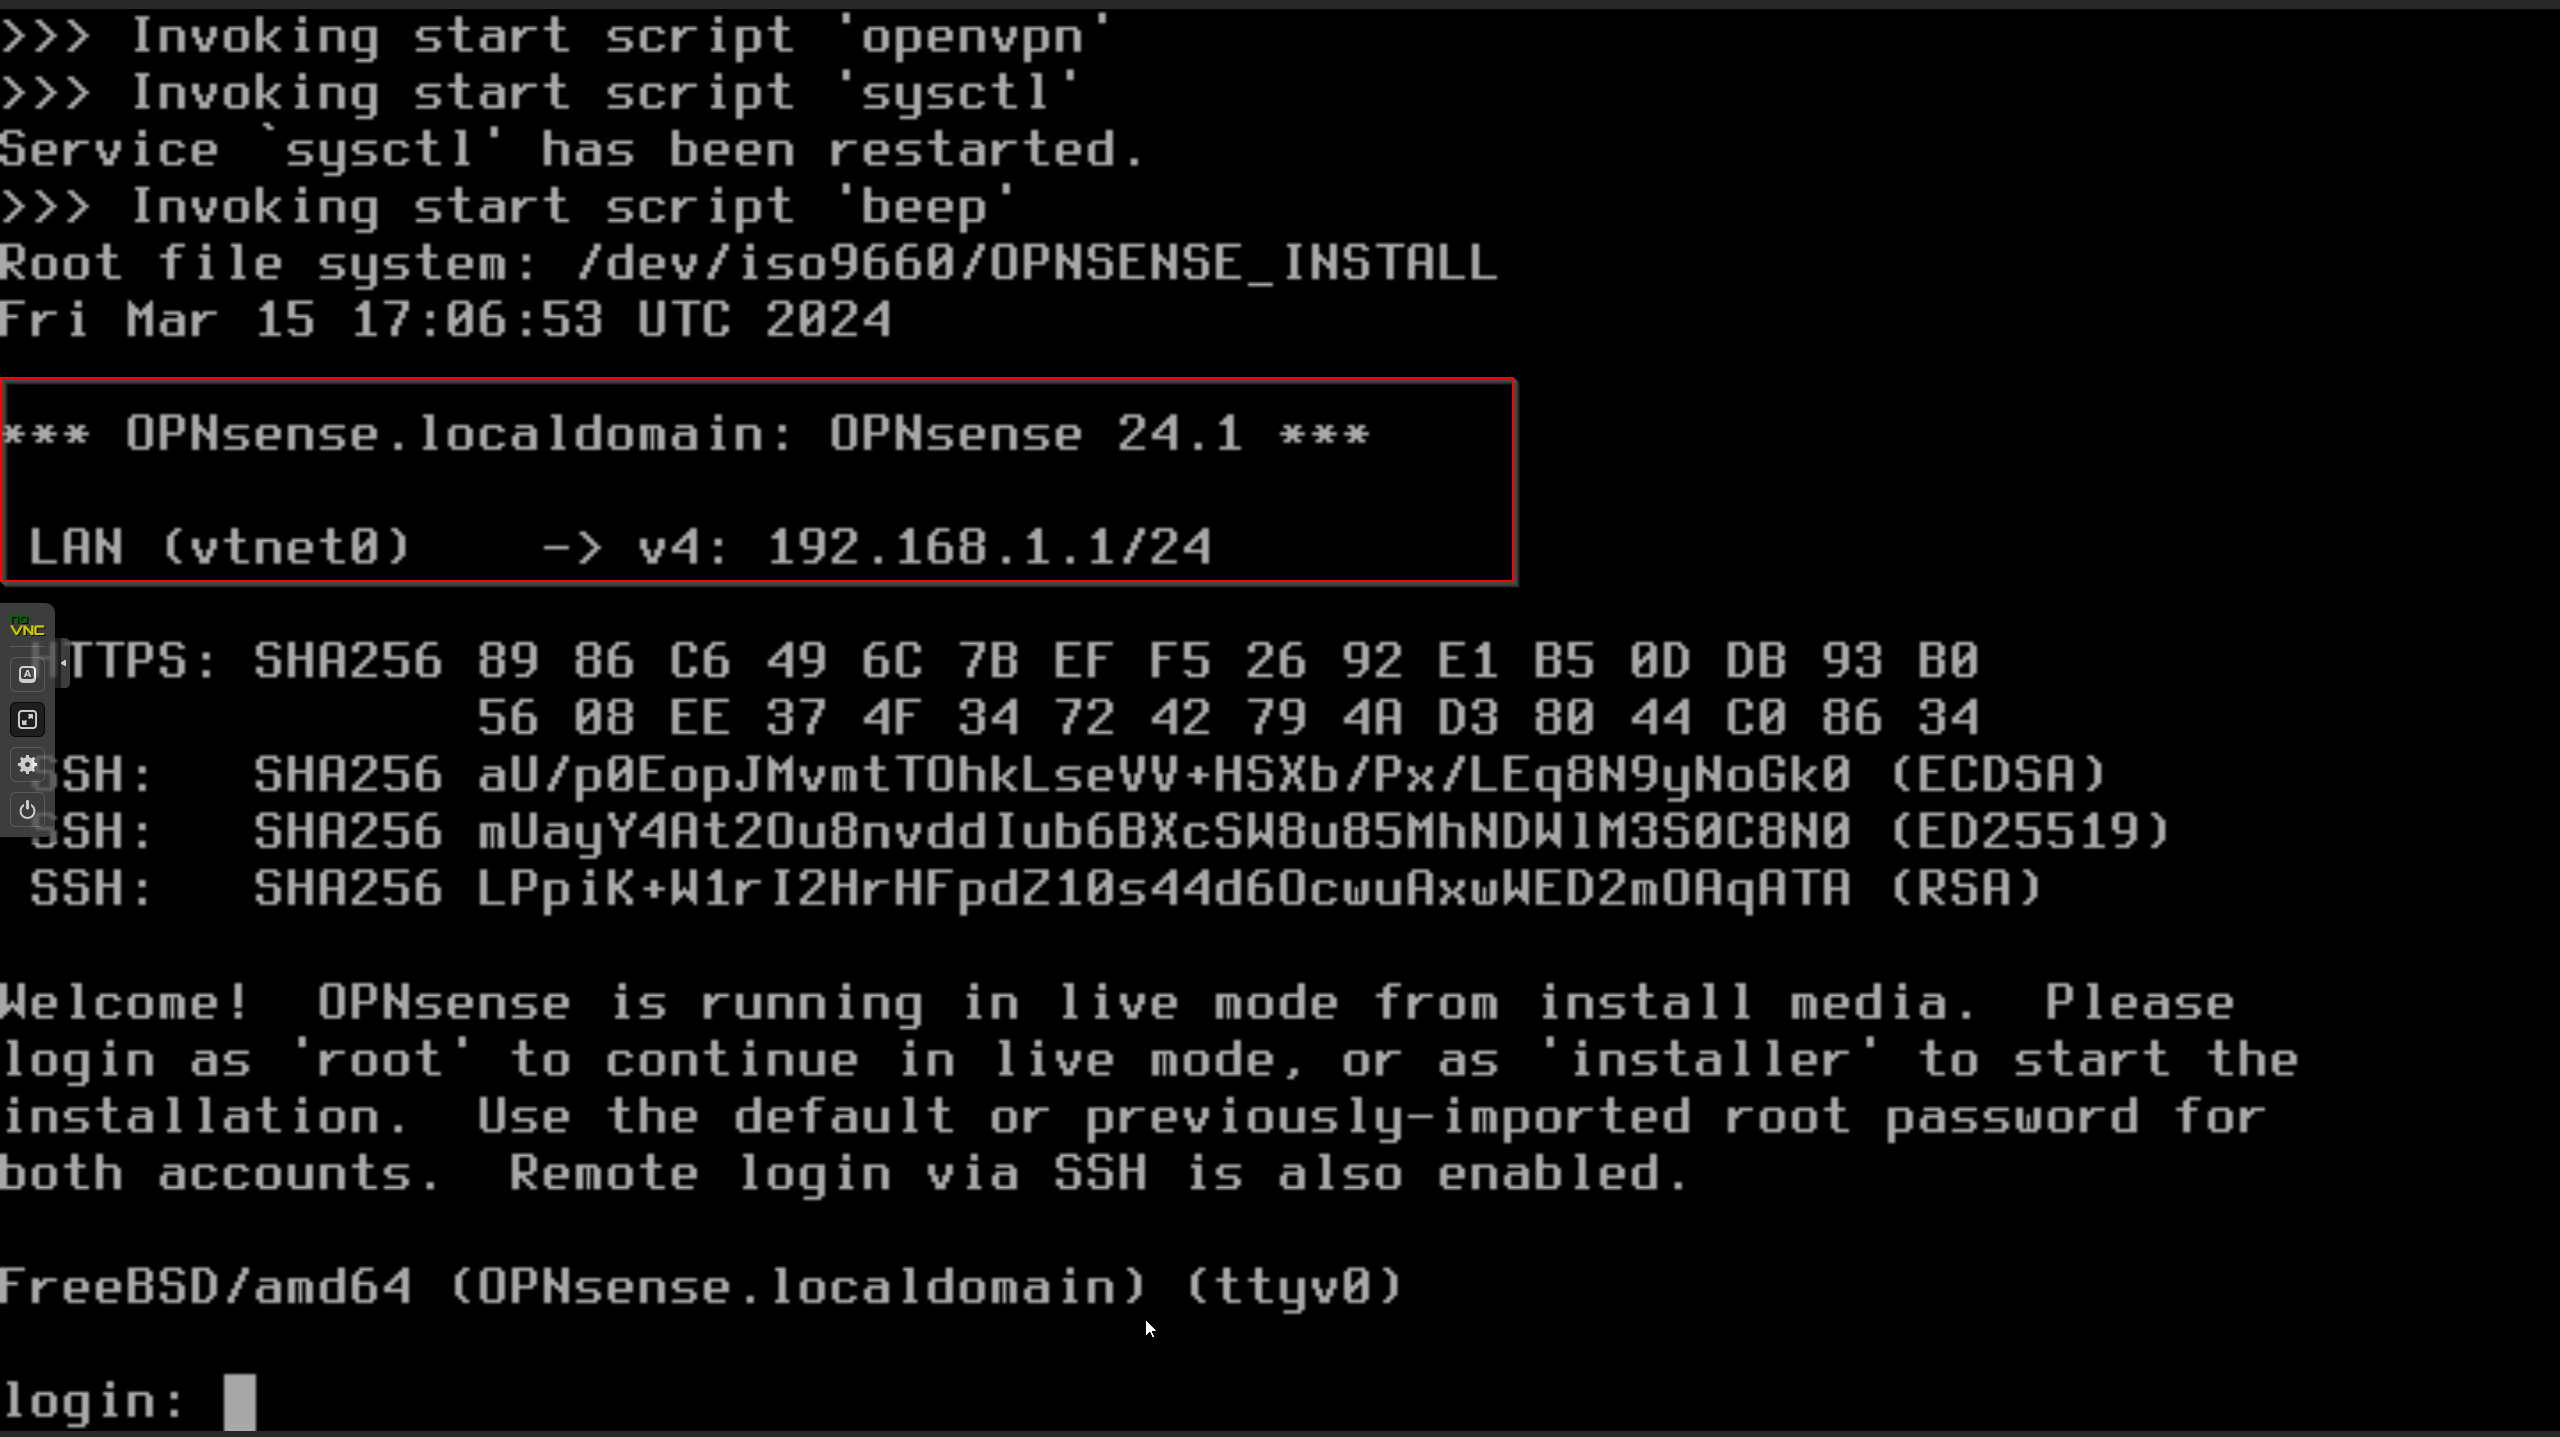
2 - After your device is booted you should see this screen with the IP address of your device. !YOU WILL NEED TO BE DIRECTLY CONNECTED TO THIS DEVICE OVER ETHERNET AND THEN GO TO THAT IP ADDRESS!
Take note: the below image shows (vtnet0) this is the port that is being used for the LAN interface, because your appliance has multiple ethernet switchports you may need to plug into each until you can access the website at that IP address.
3 - After you have connected to that IP you will see this screen. Follow the wizard.
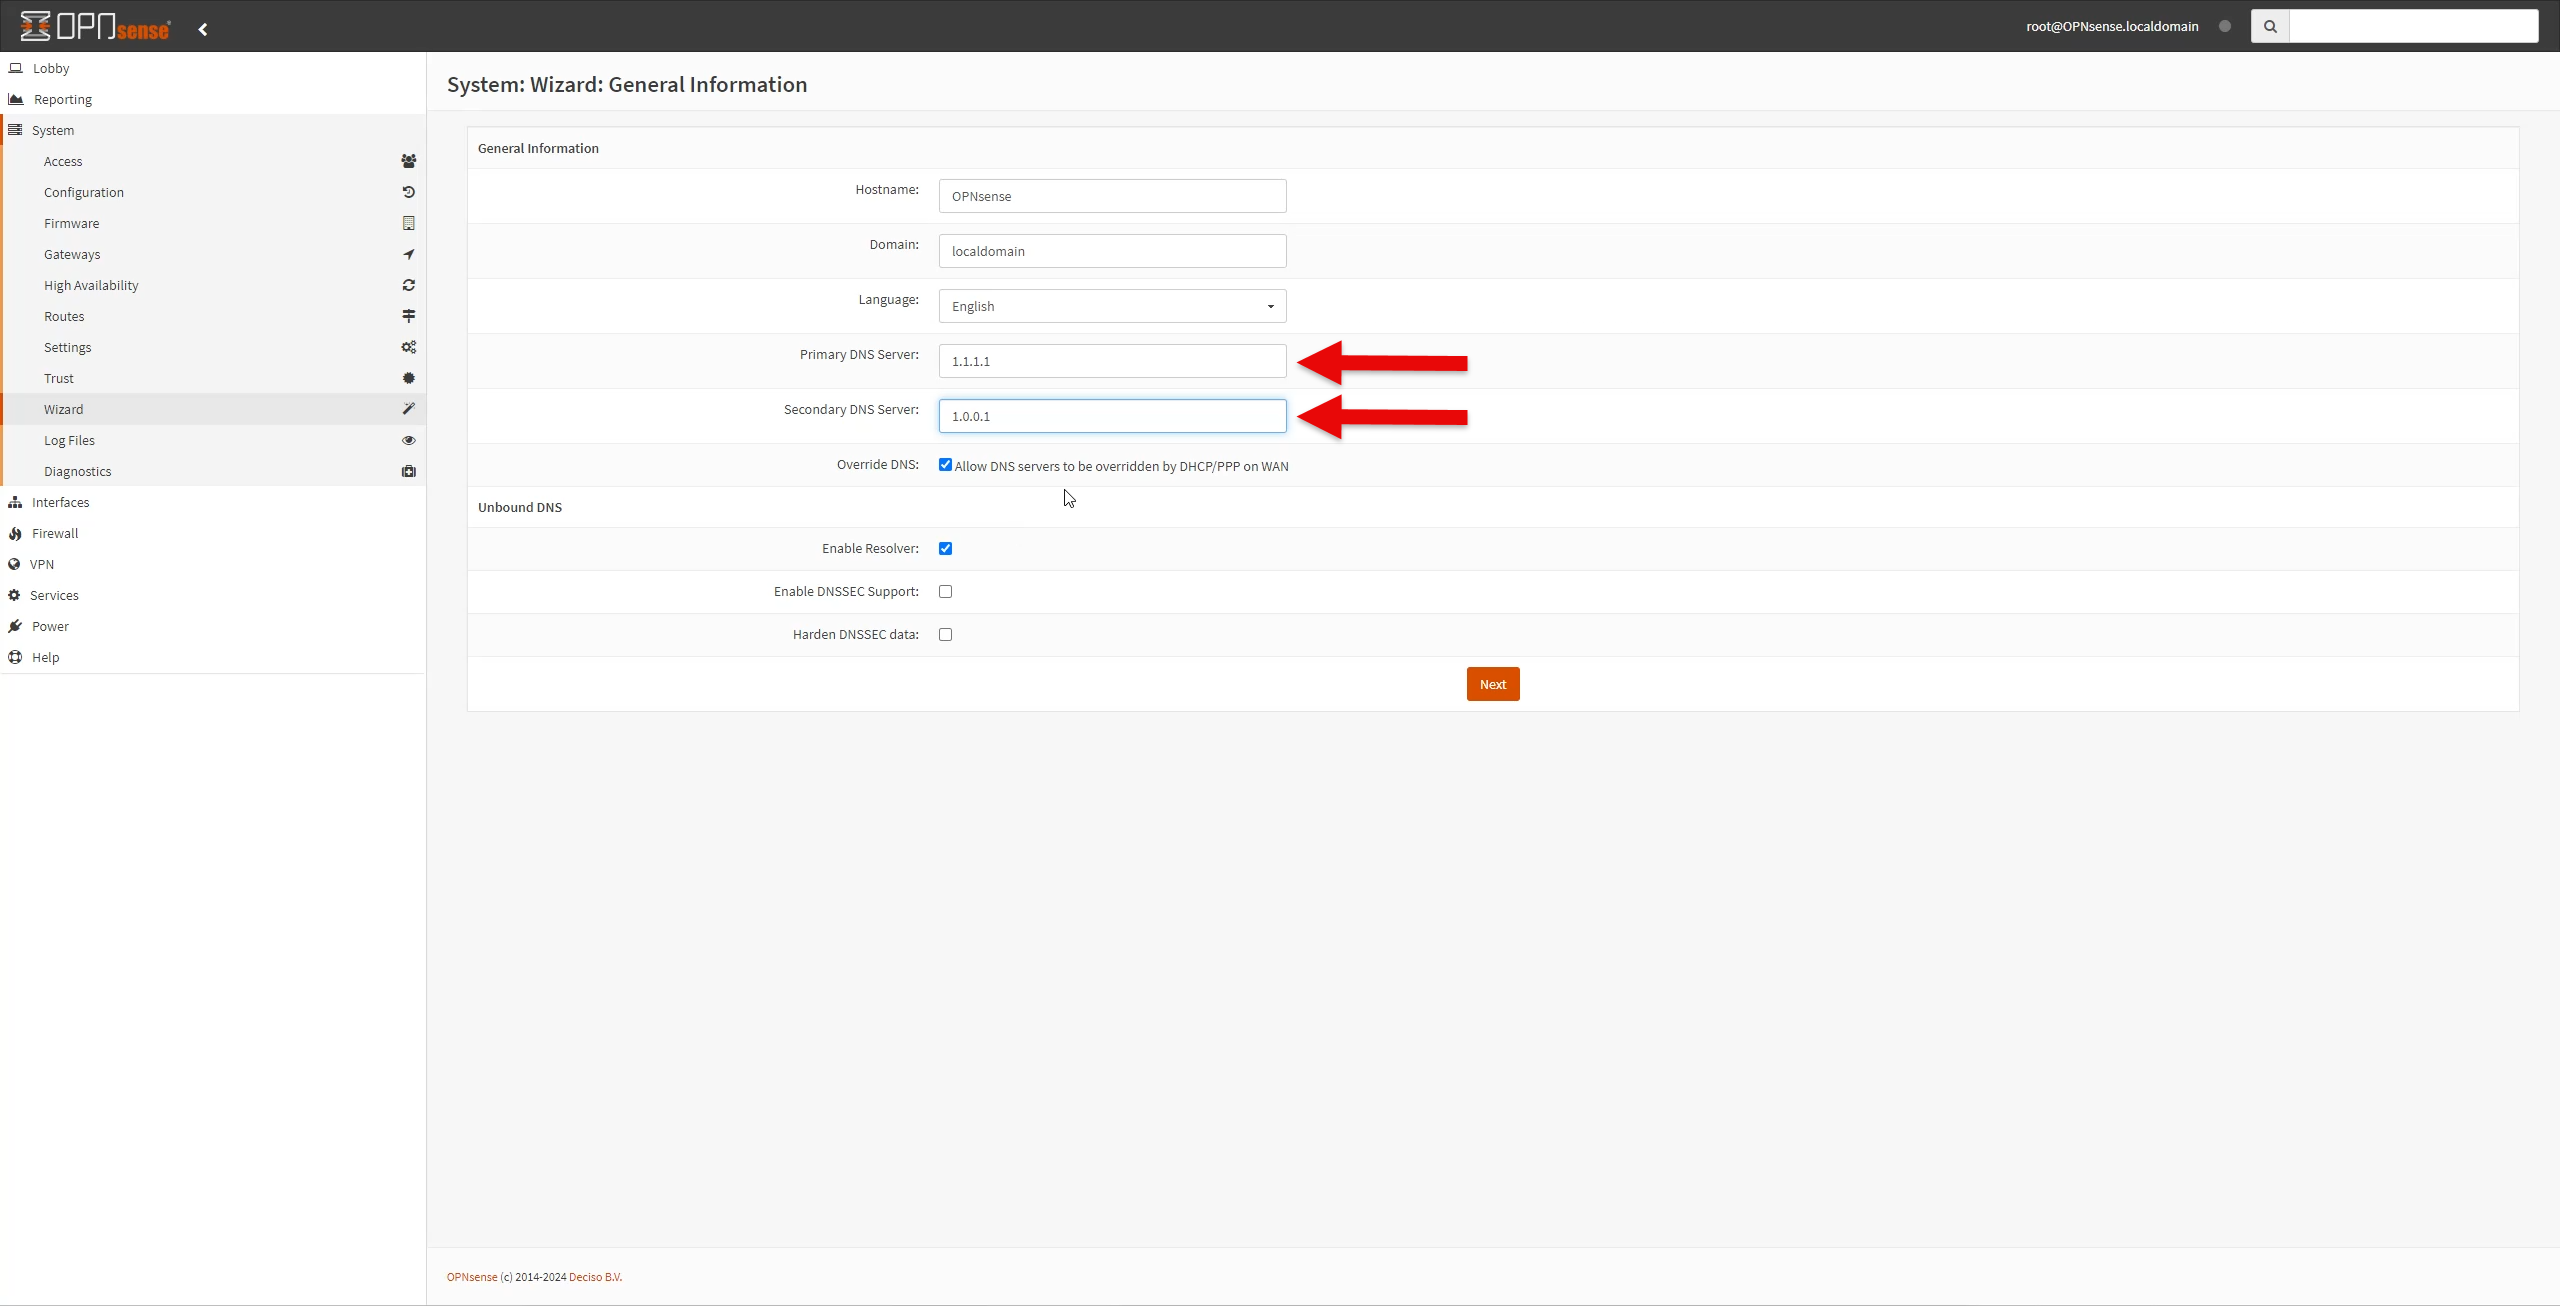
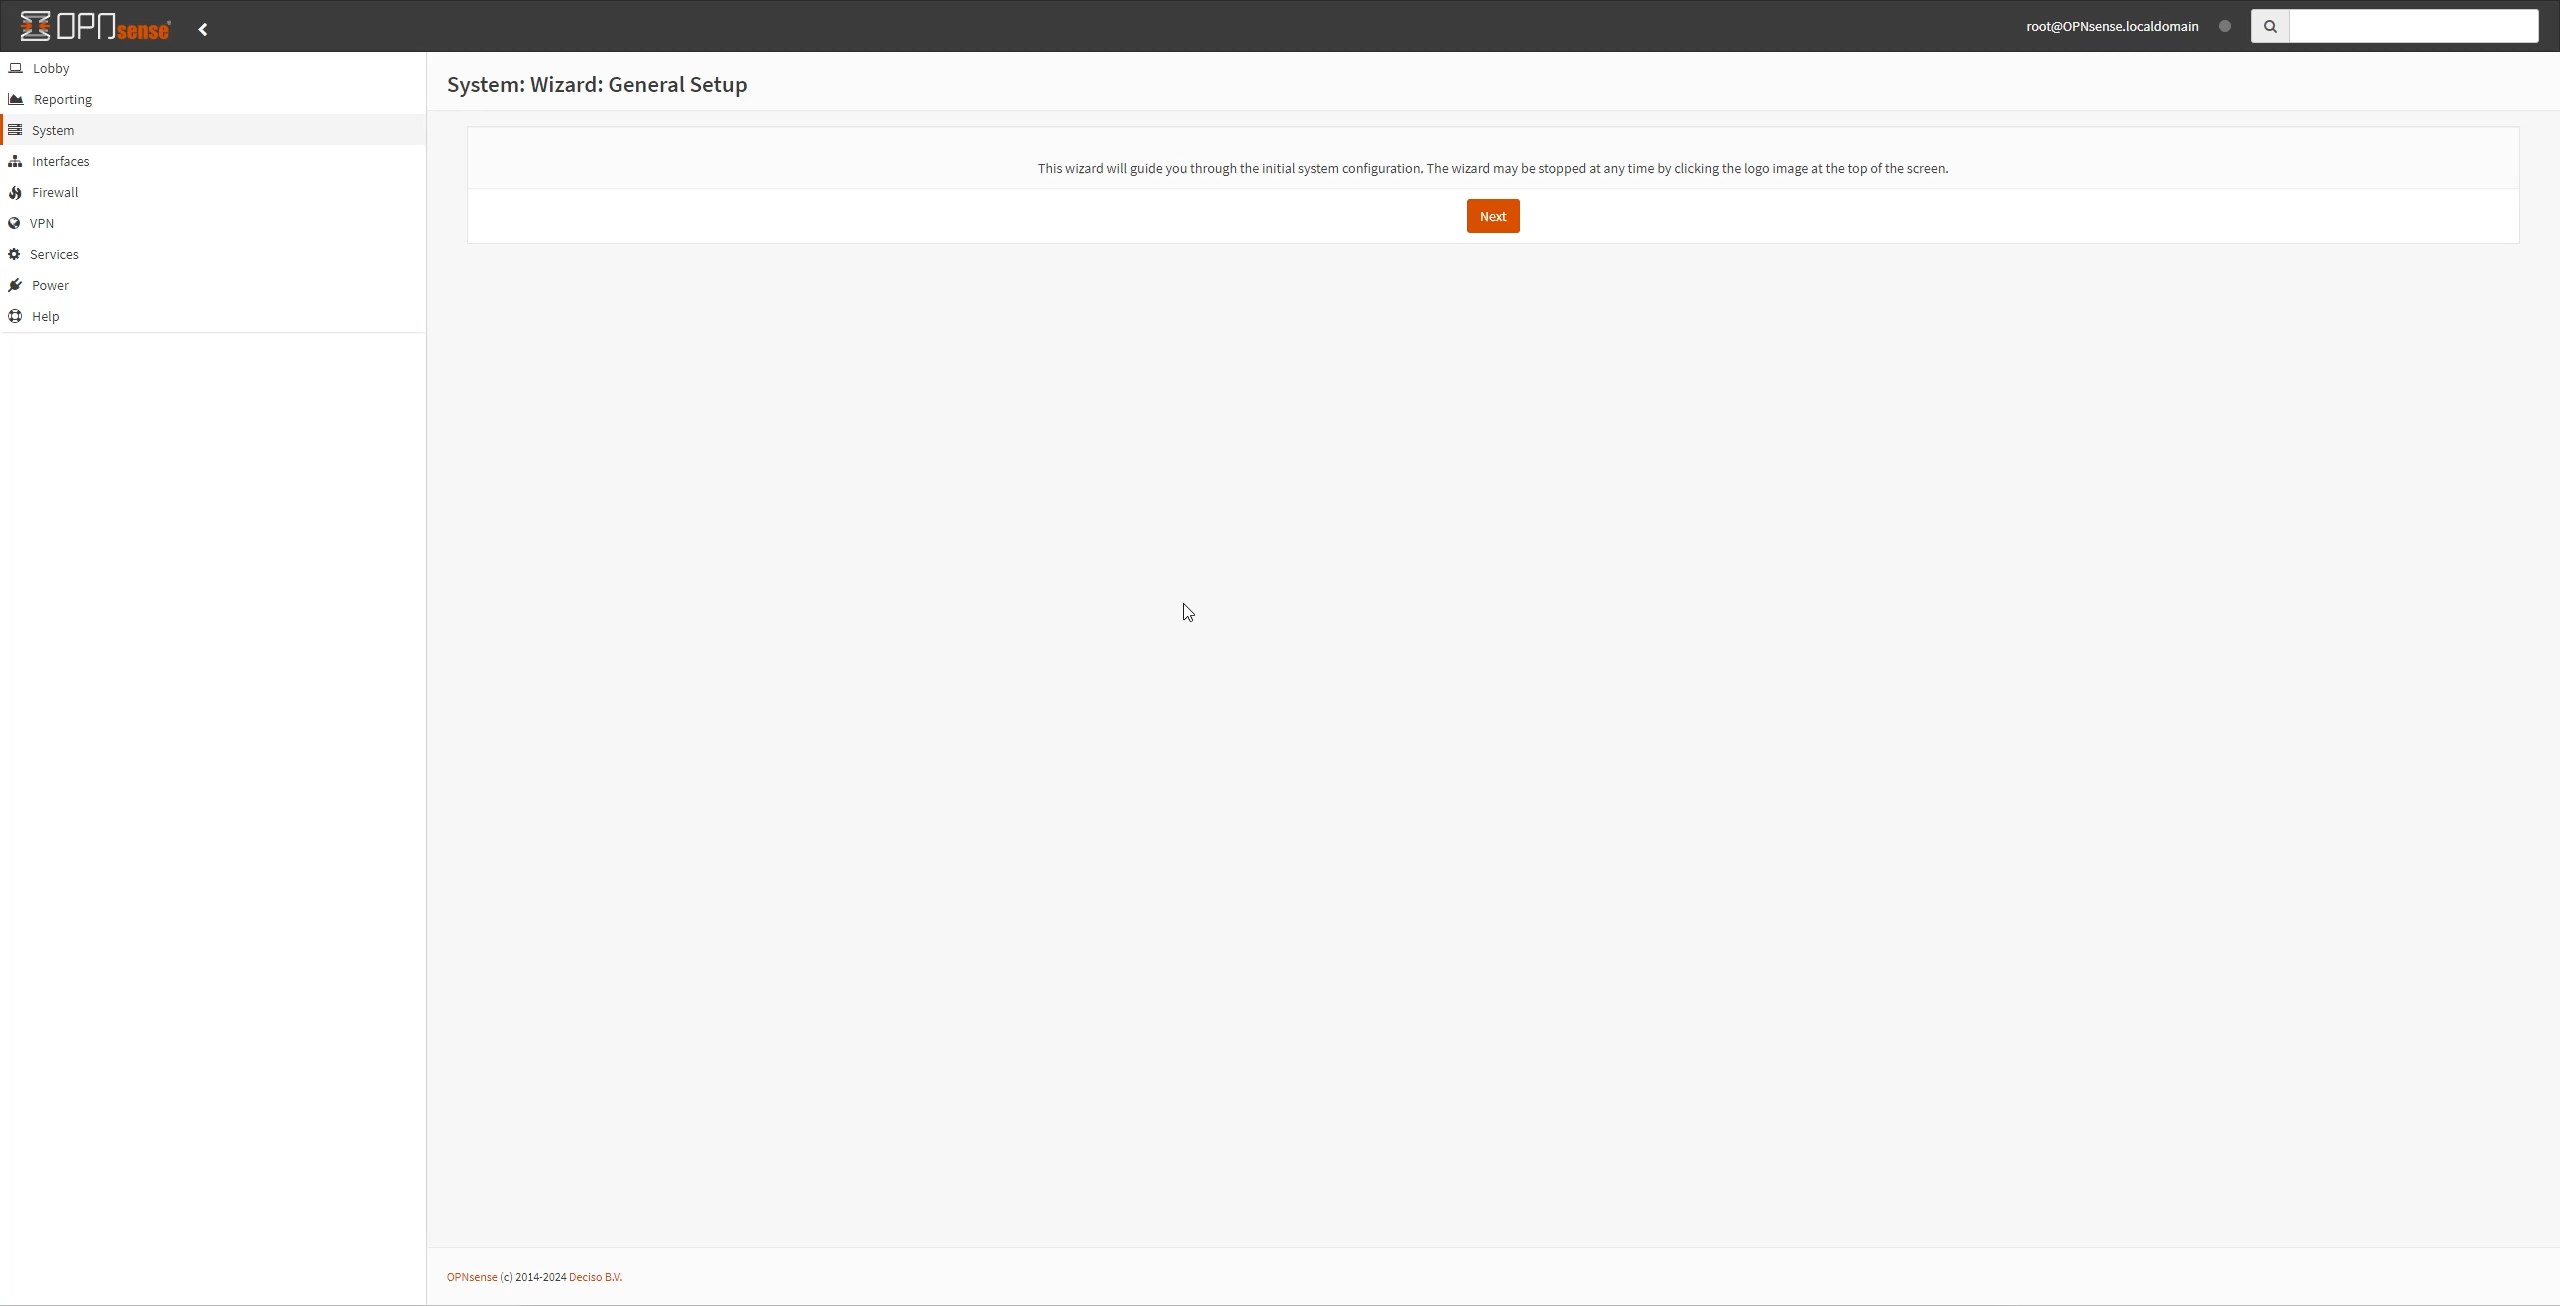 4 - We are going to use Cloudflare DNS servers, they are usually much faster than ones provided by your ISP.
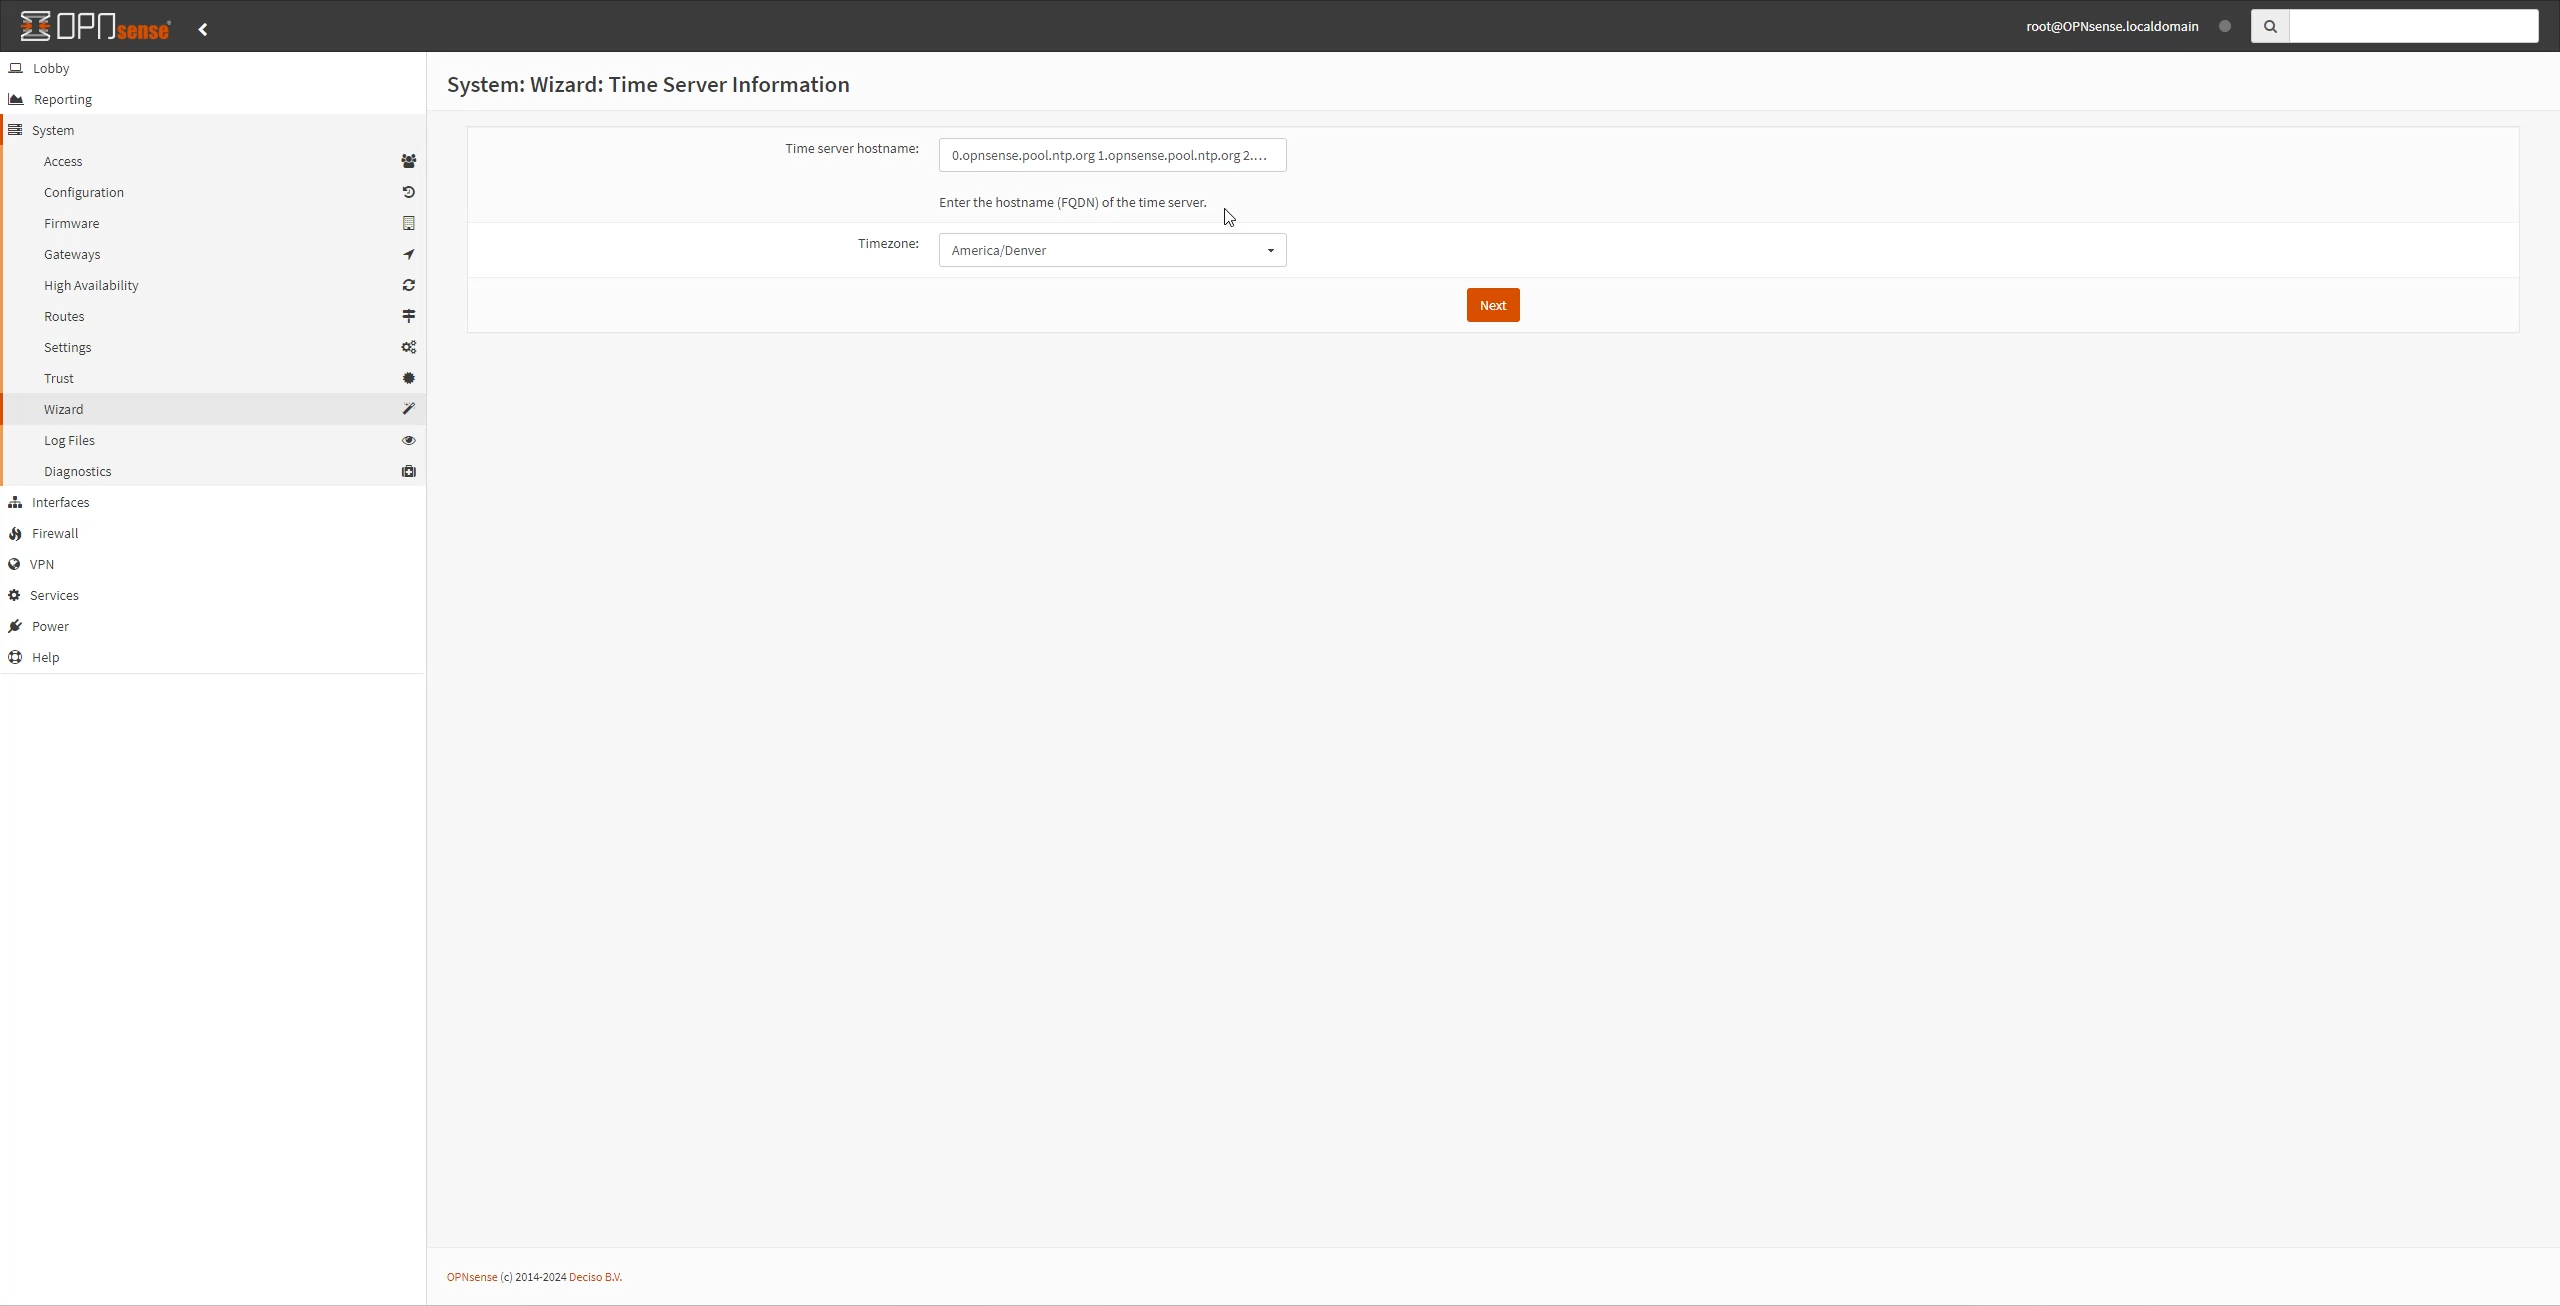
 5 - Pick your respective time zone.
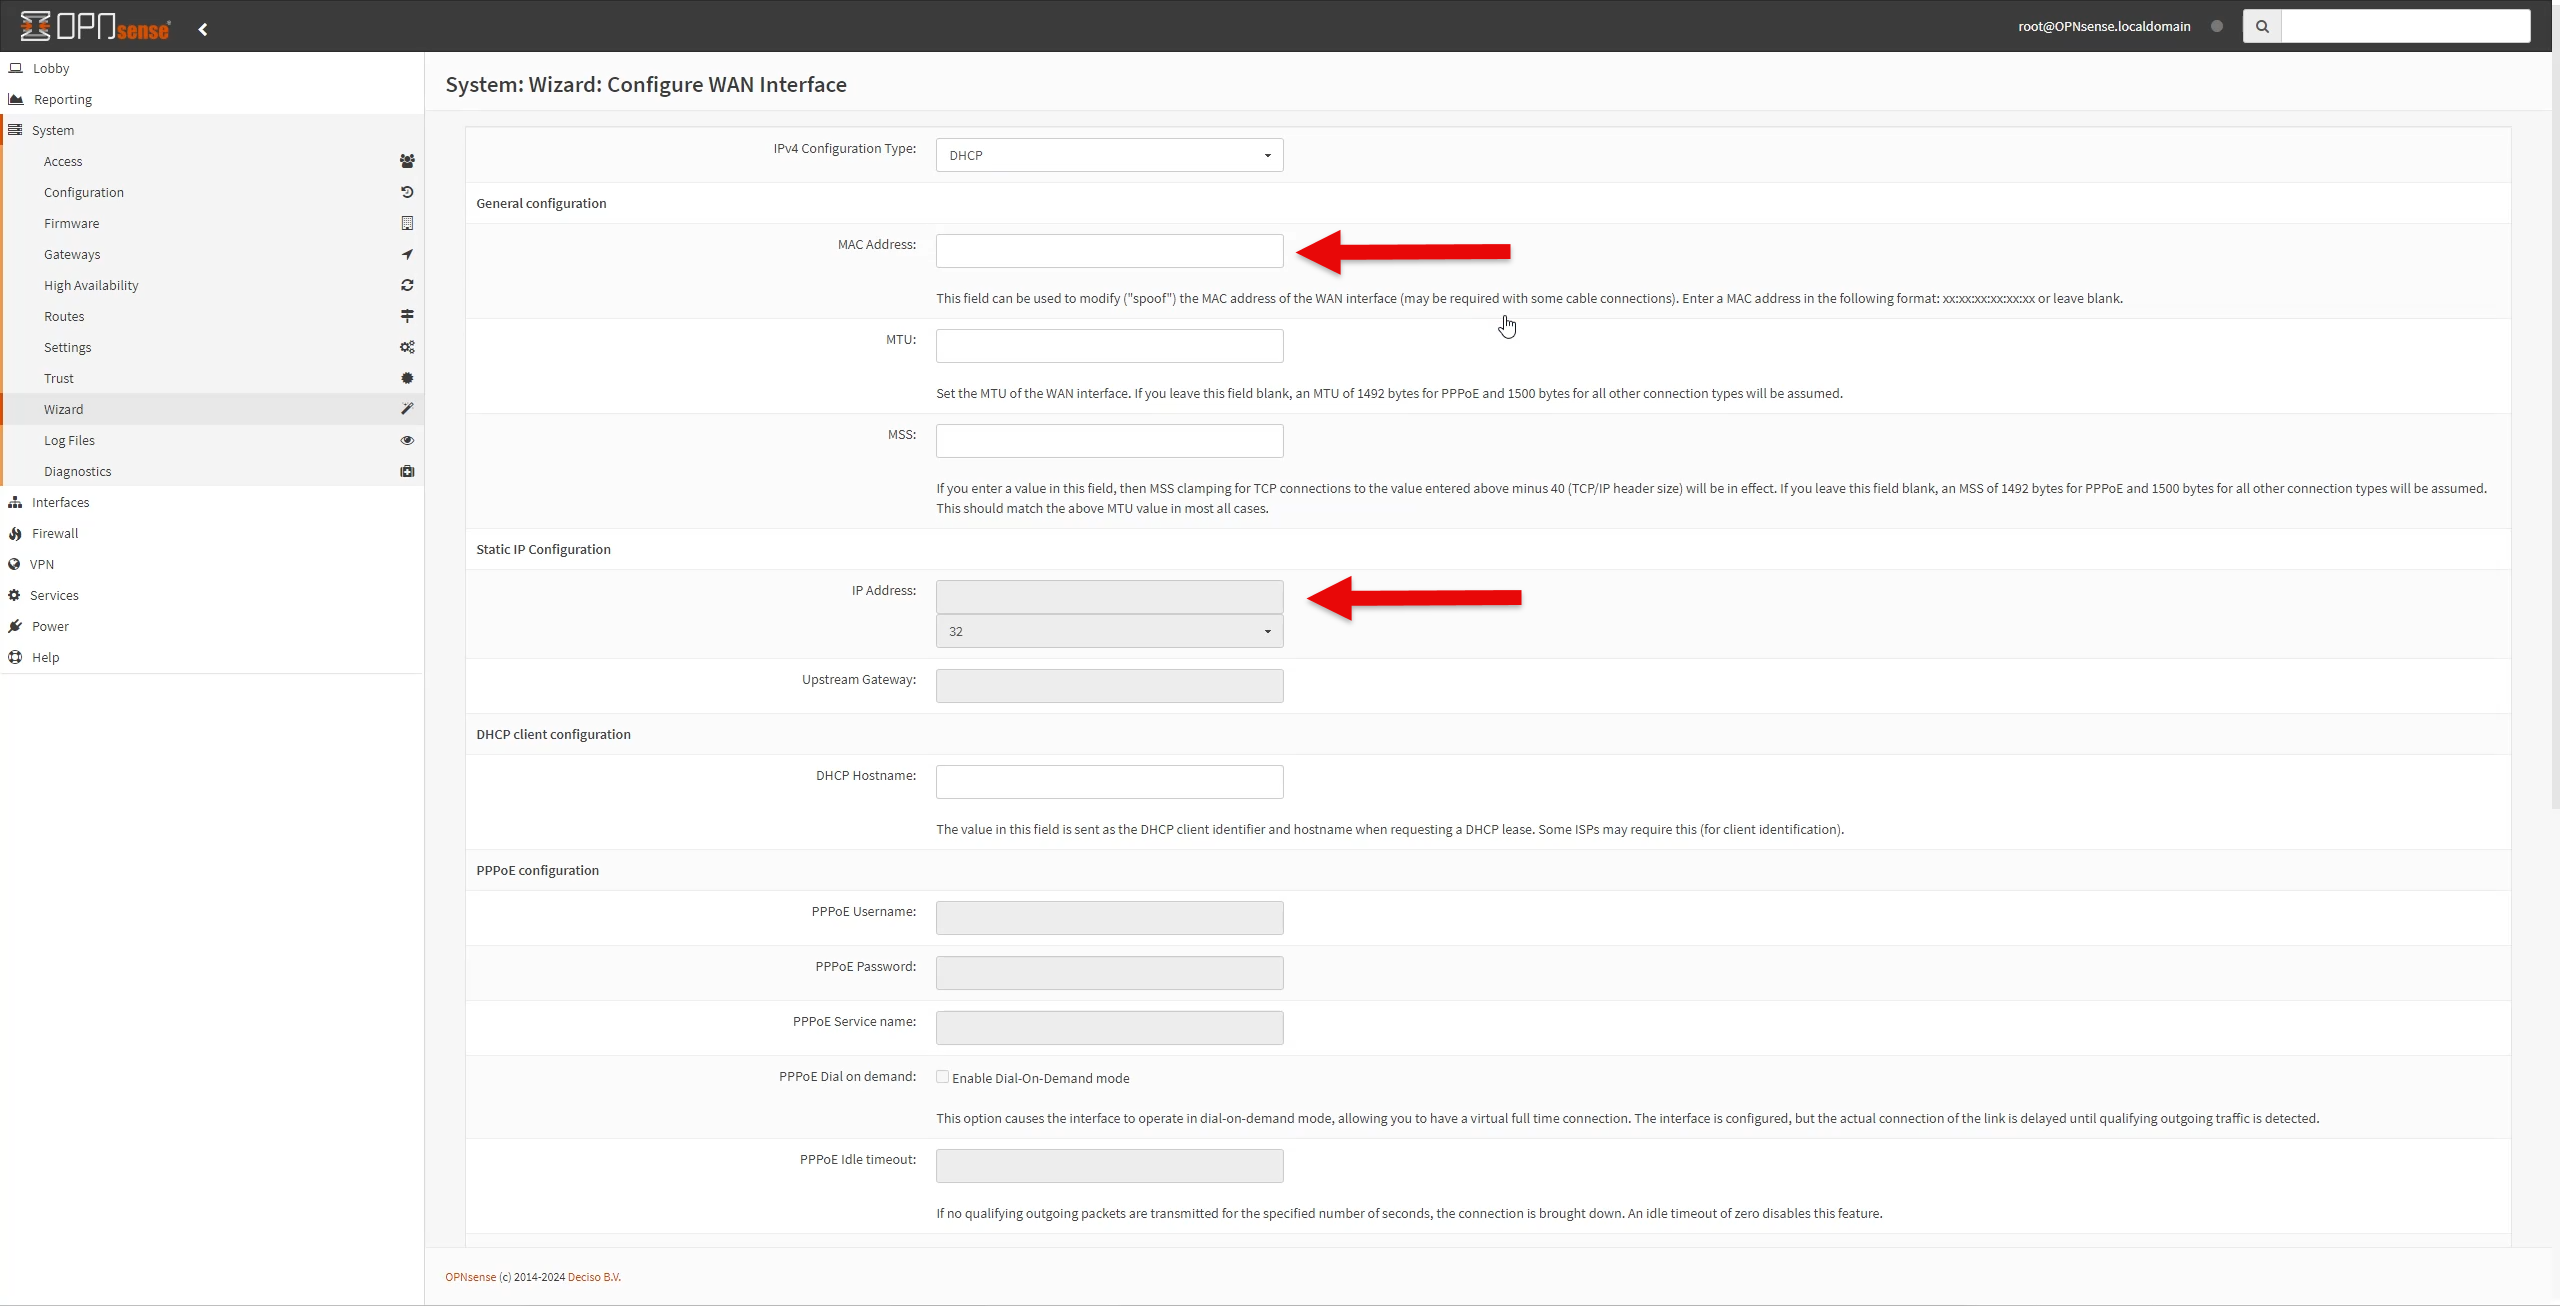
 6 - If your internet service provider (ISP) uses MAC address security and want to avoid calling their support to give them your new MAC address you can simply copy your old routers MAC into the MAC address field. If you get a static IP address from your ISP you will also input that here.
 7 - Here, you can pick whatever private IP range you like; default is fine, too. If you want a list of private IP ranges, you can find that here.
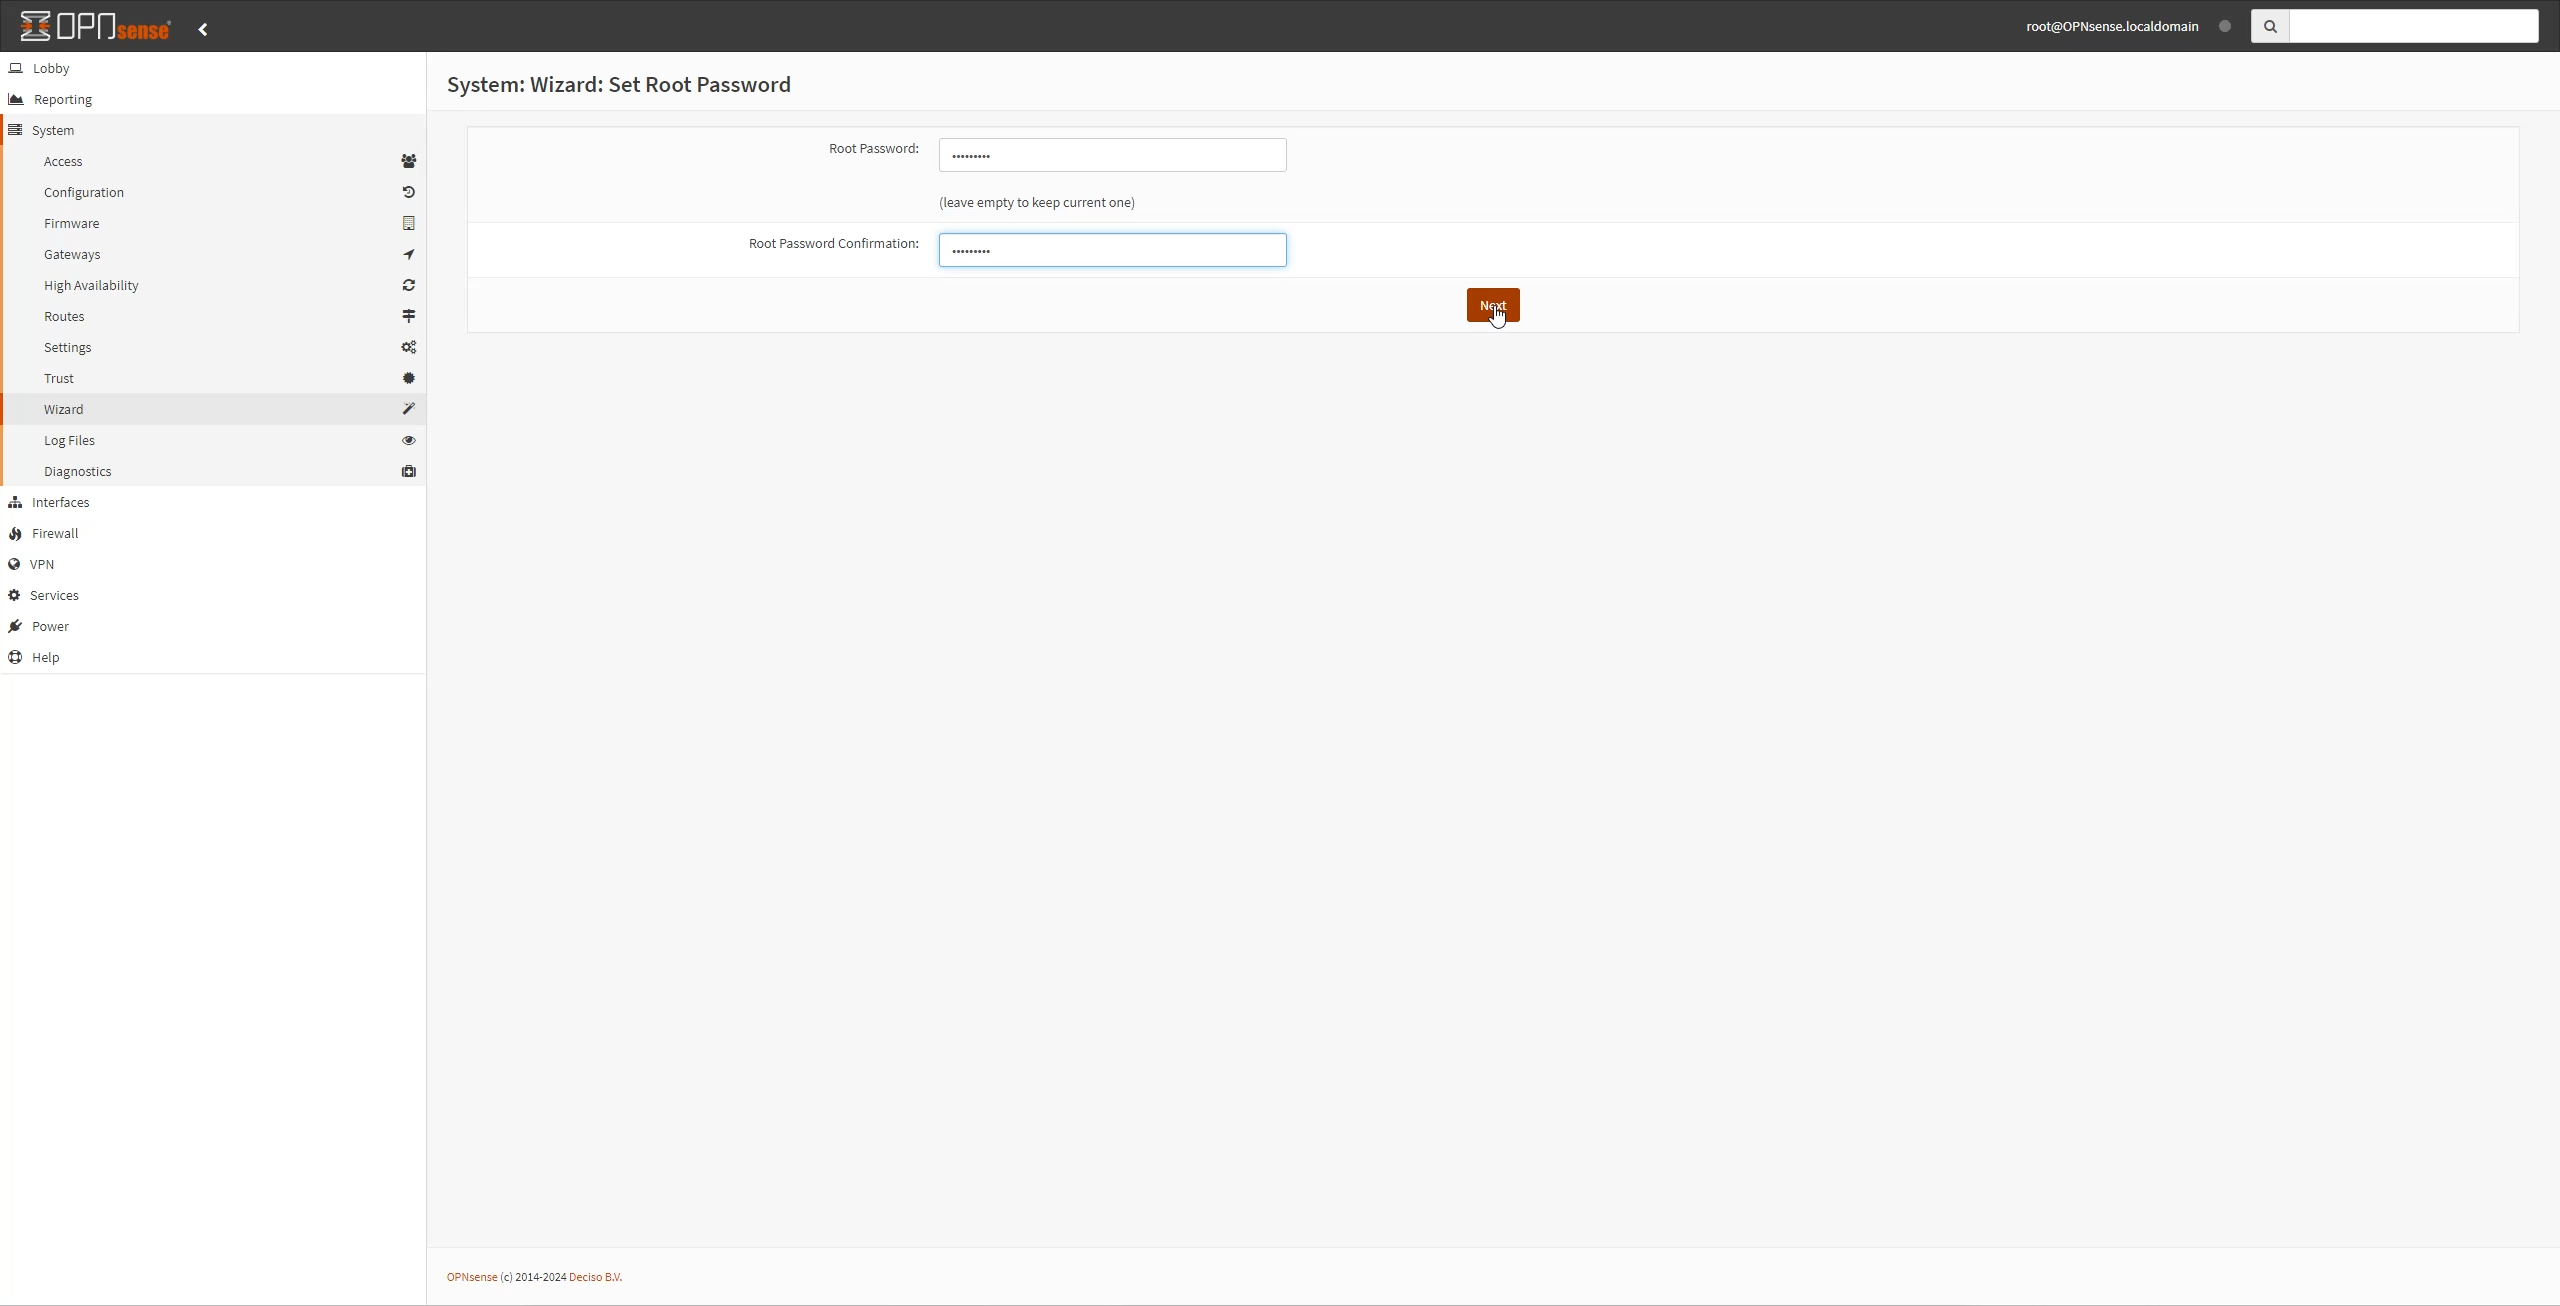
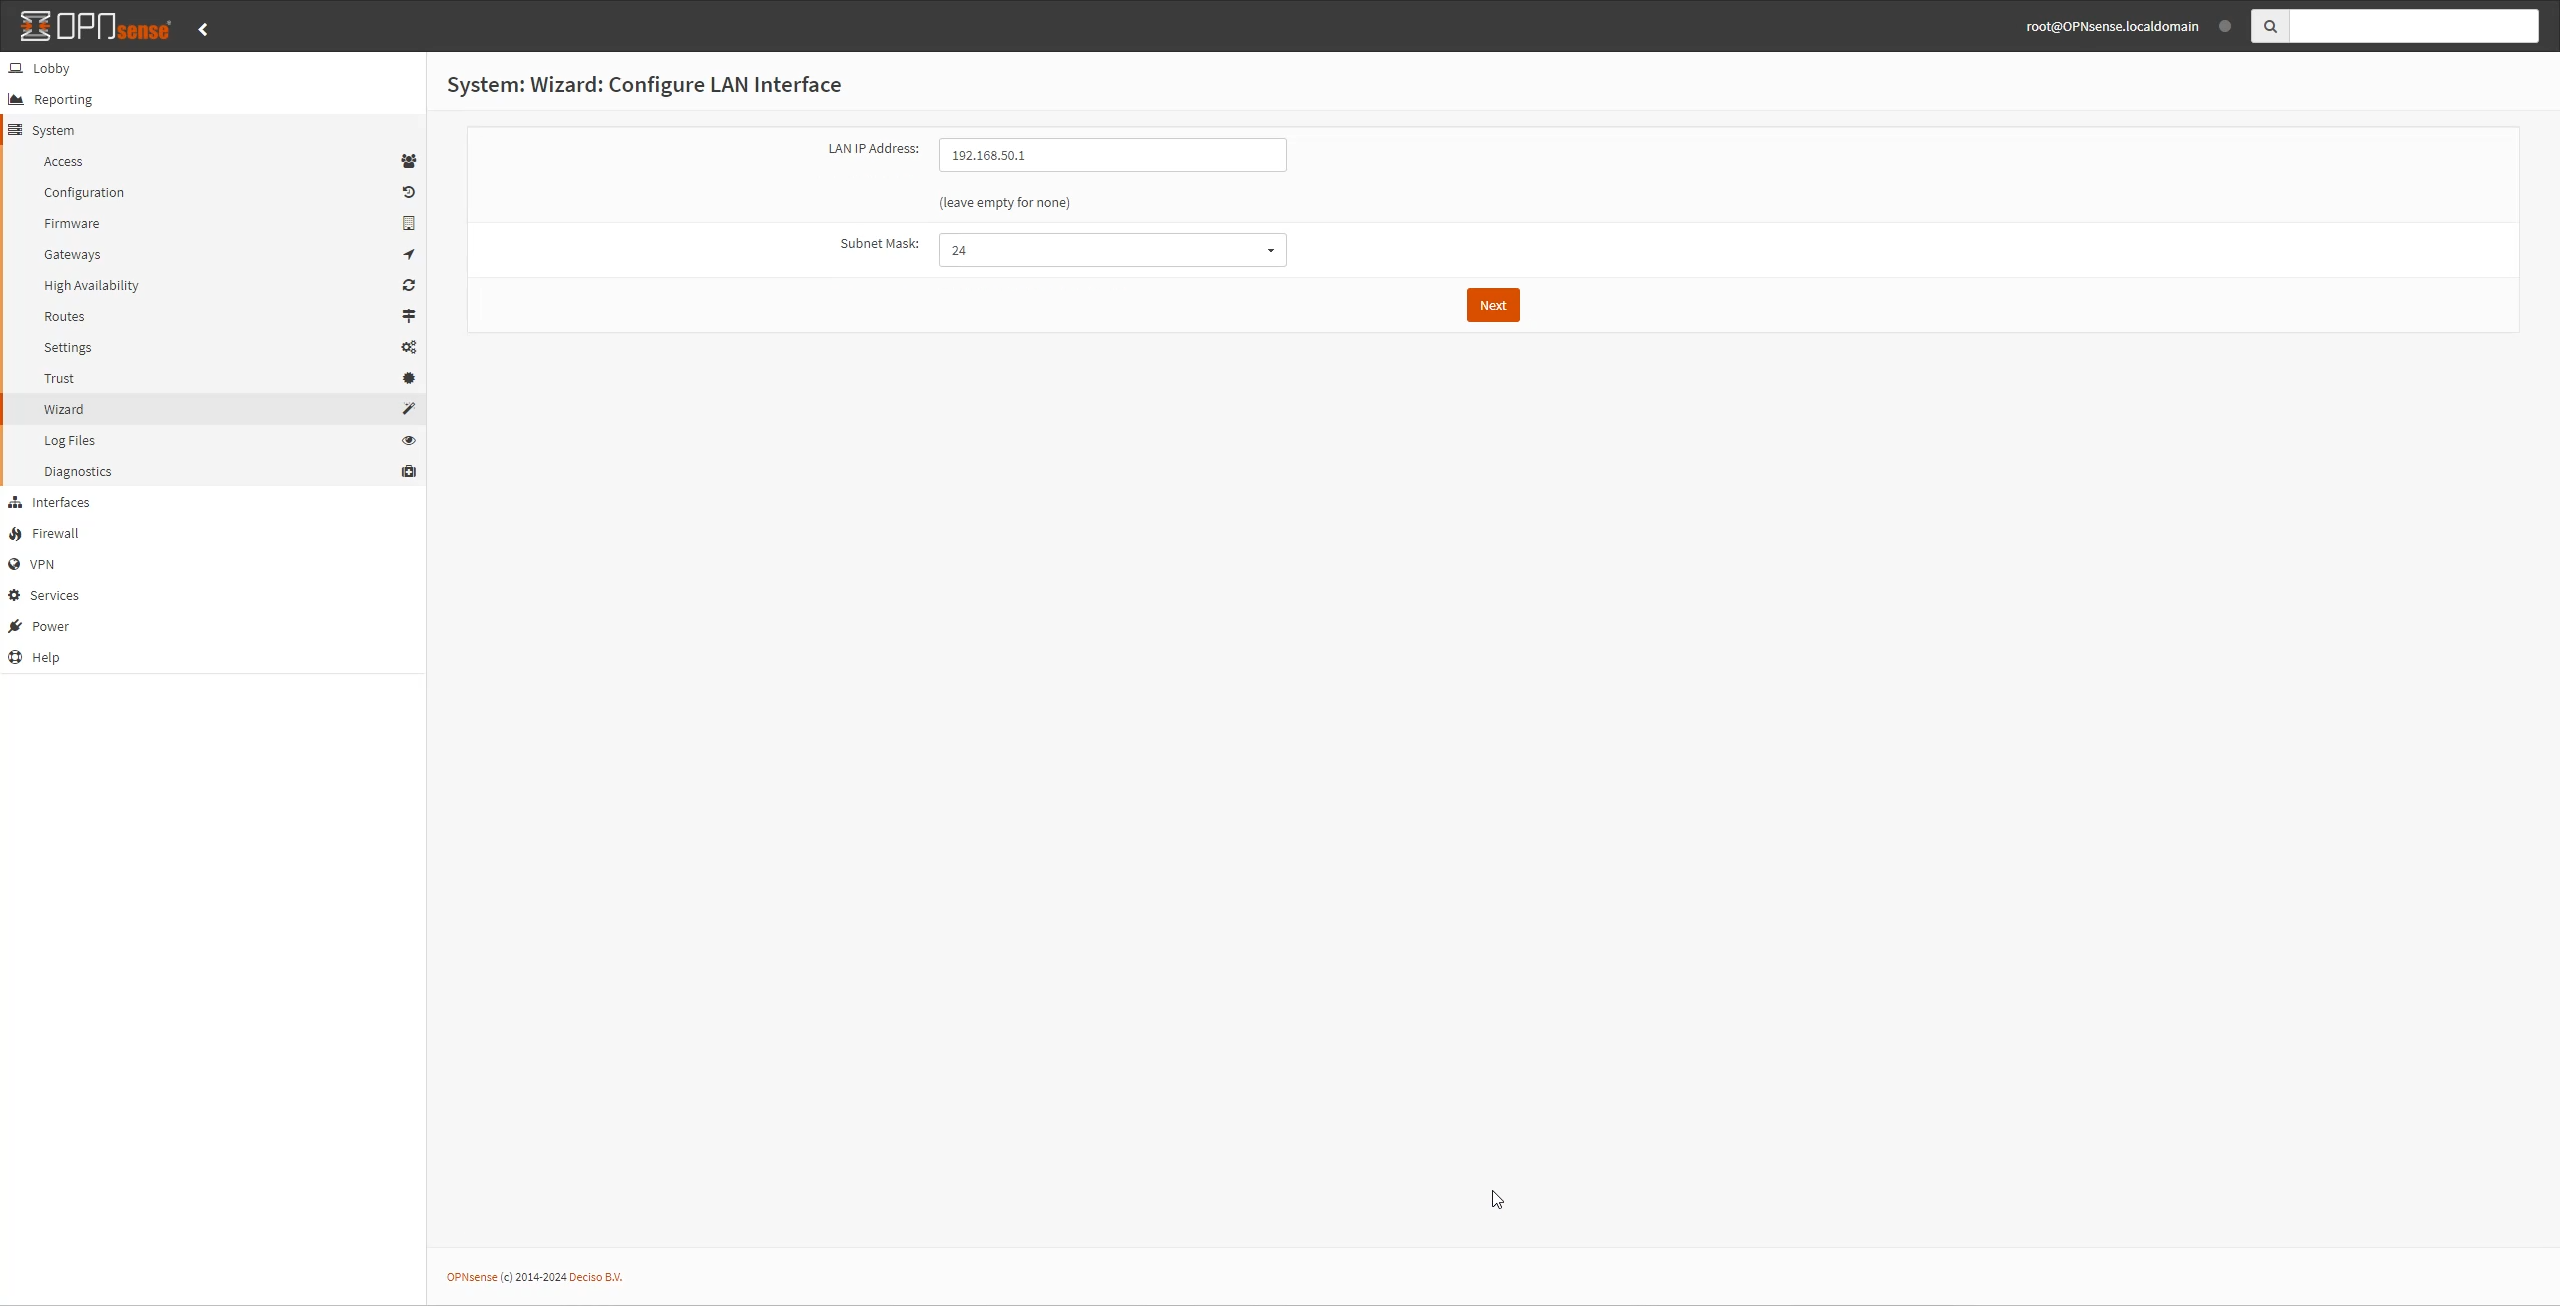 8 - Set a strong password here.
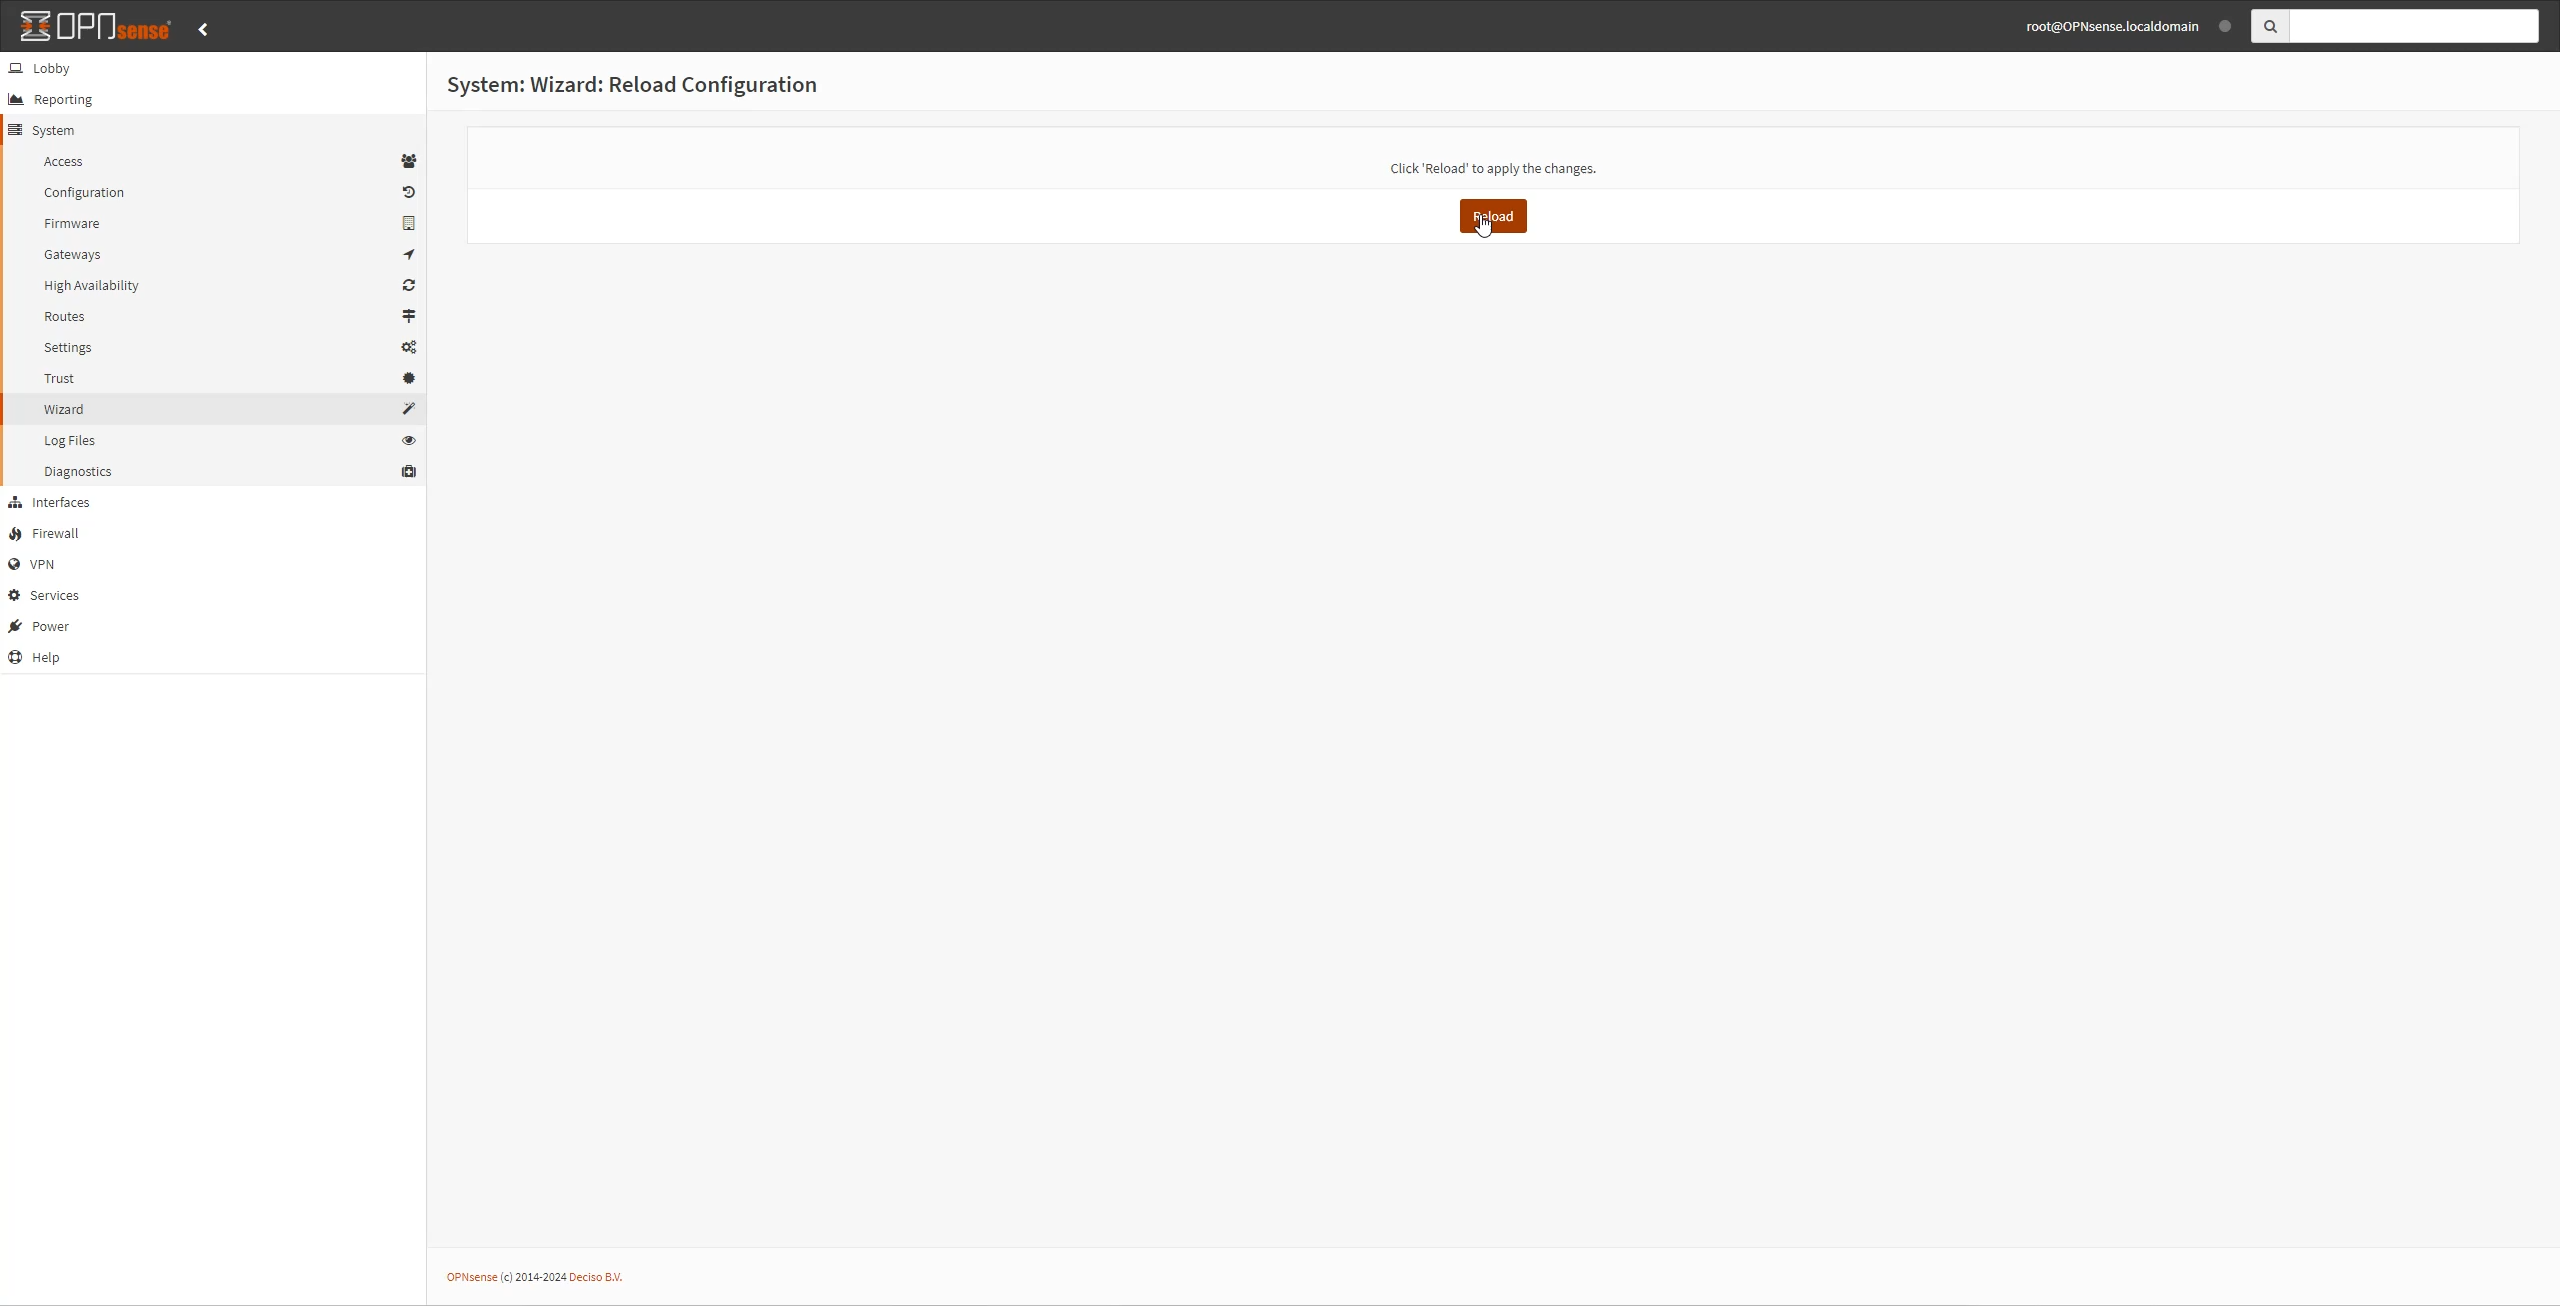
 9 - You are all done, go ahead and reload!
 10 - left click and go to your dashboard.
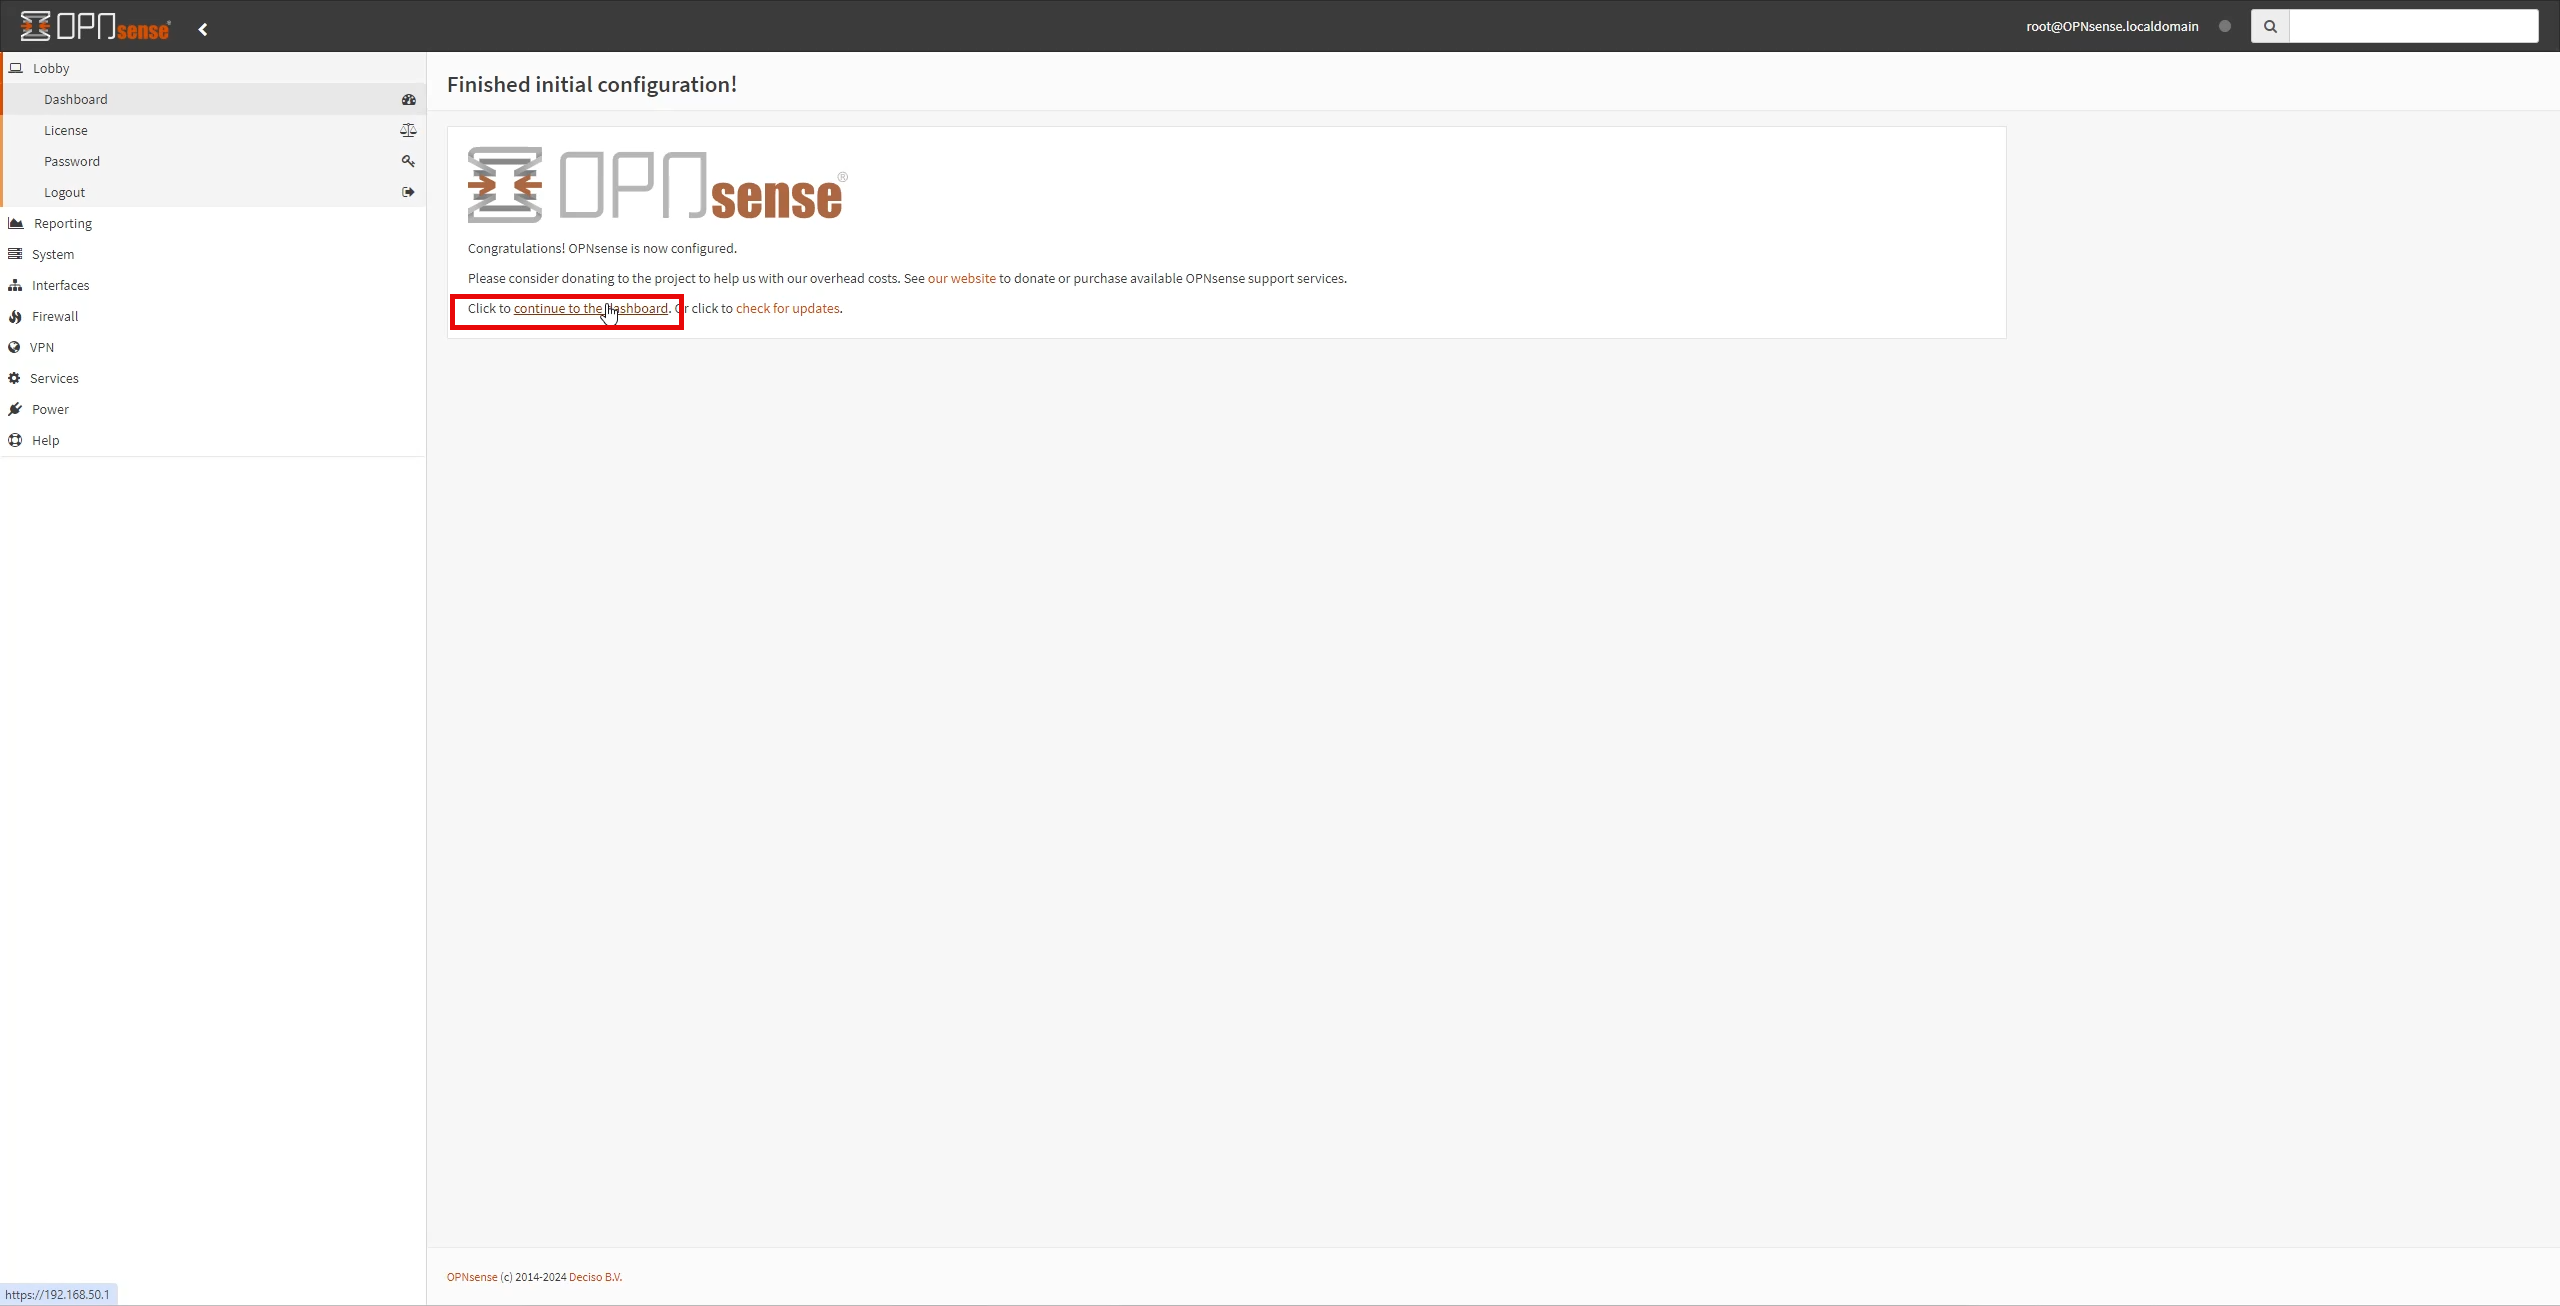 11 - You are all set, Opnsense/Pfsense is now setup and ready for use! Future videos will dive more into OPNsense configurations based on setting up our homelab, but you can find their documentation here
