Installing Your First VM (Ubuntu) on Proxmox
This episode will go over how to setup your first virtual machine (VM) inside Proxmox.
This is a beginner-friendly course, so we understand many of you may find this lesson to be a review, but these fundamental concepts are very important for beginners when using Proxmox.
Installing your VM
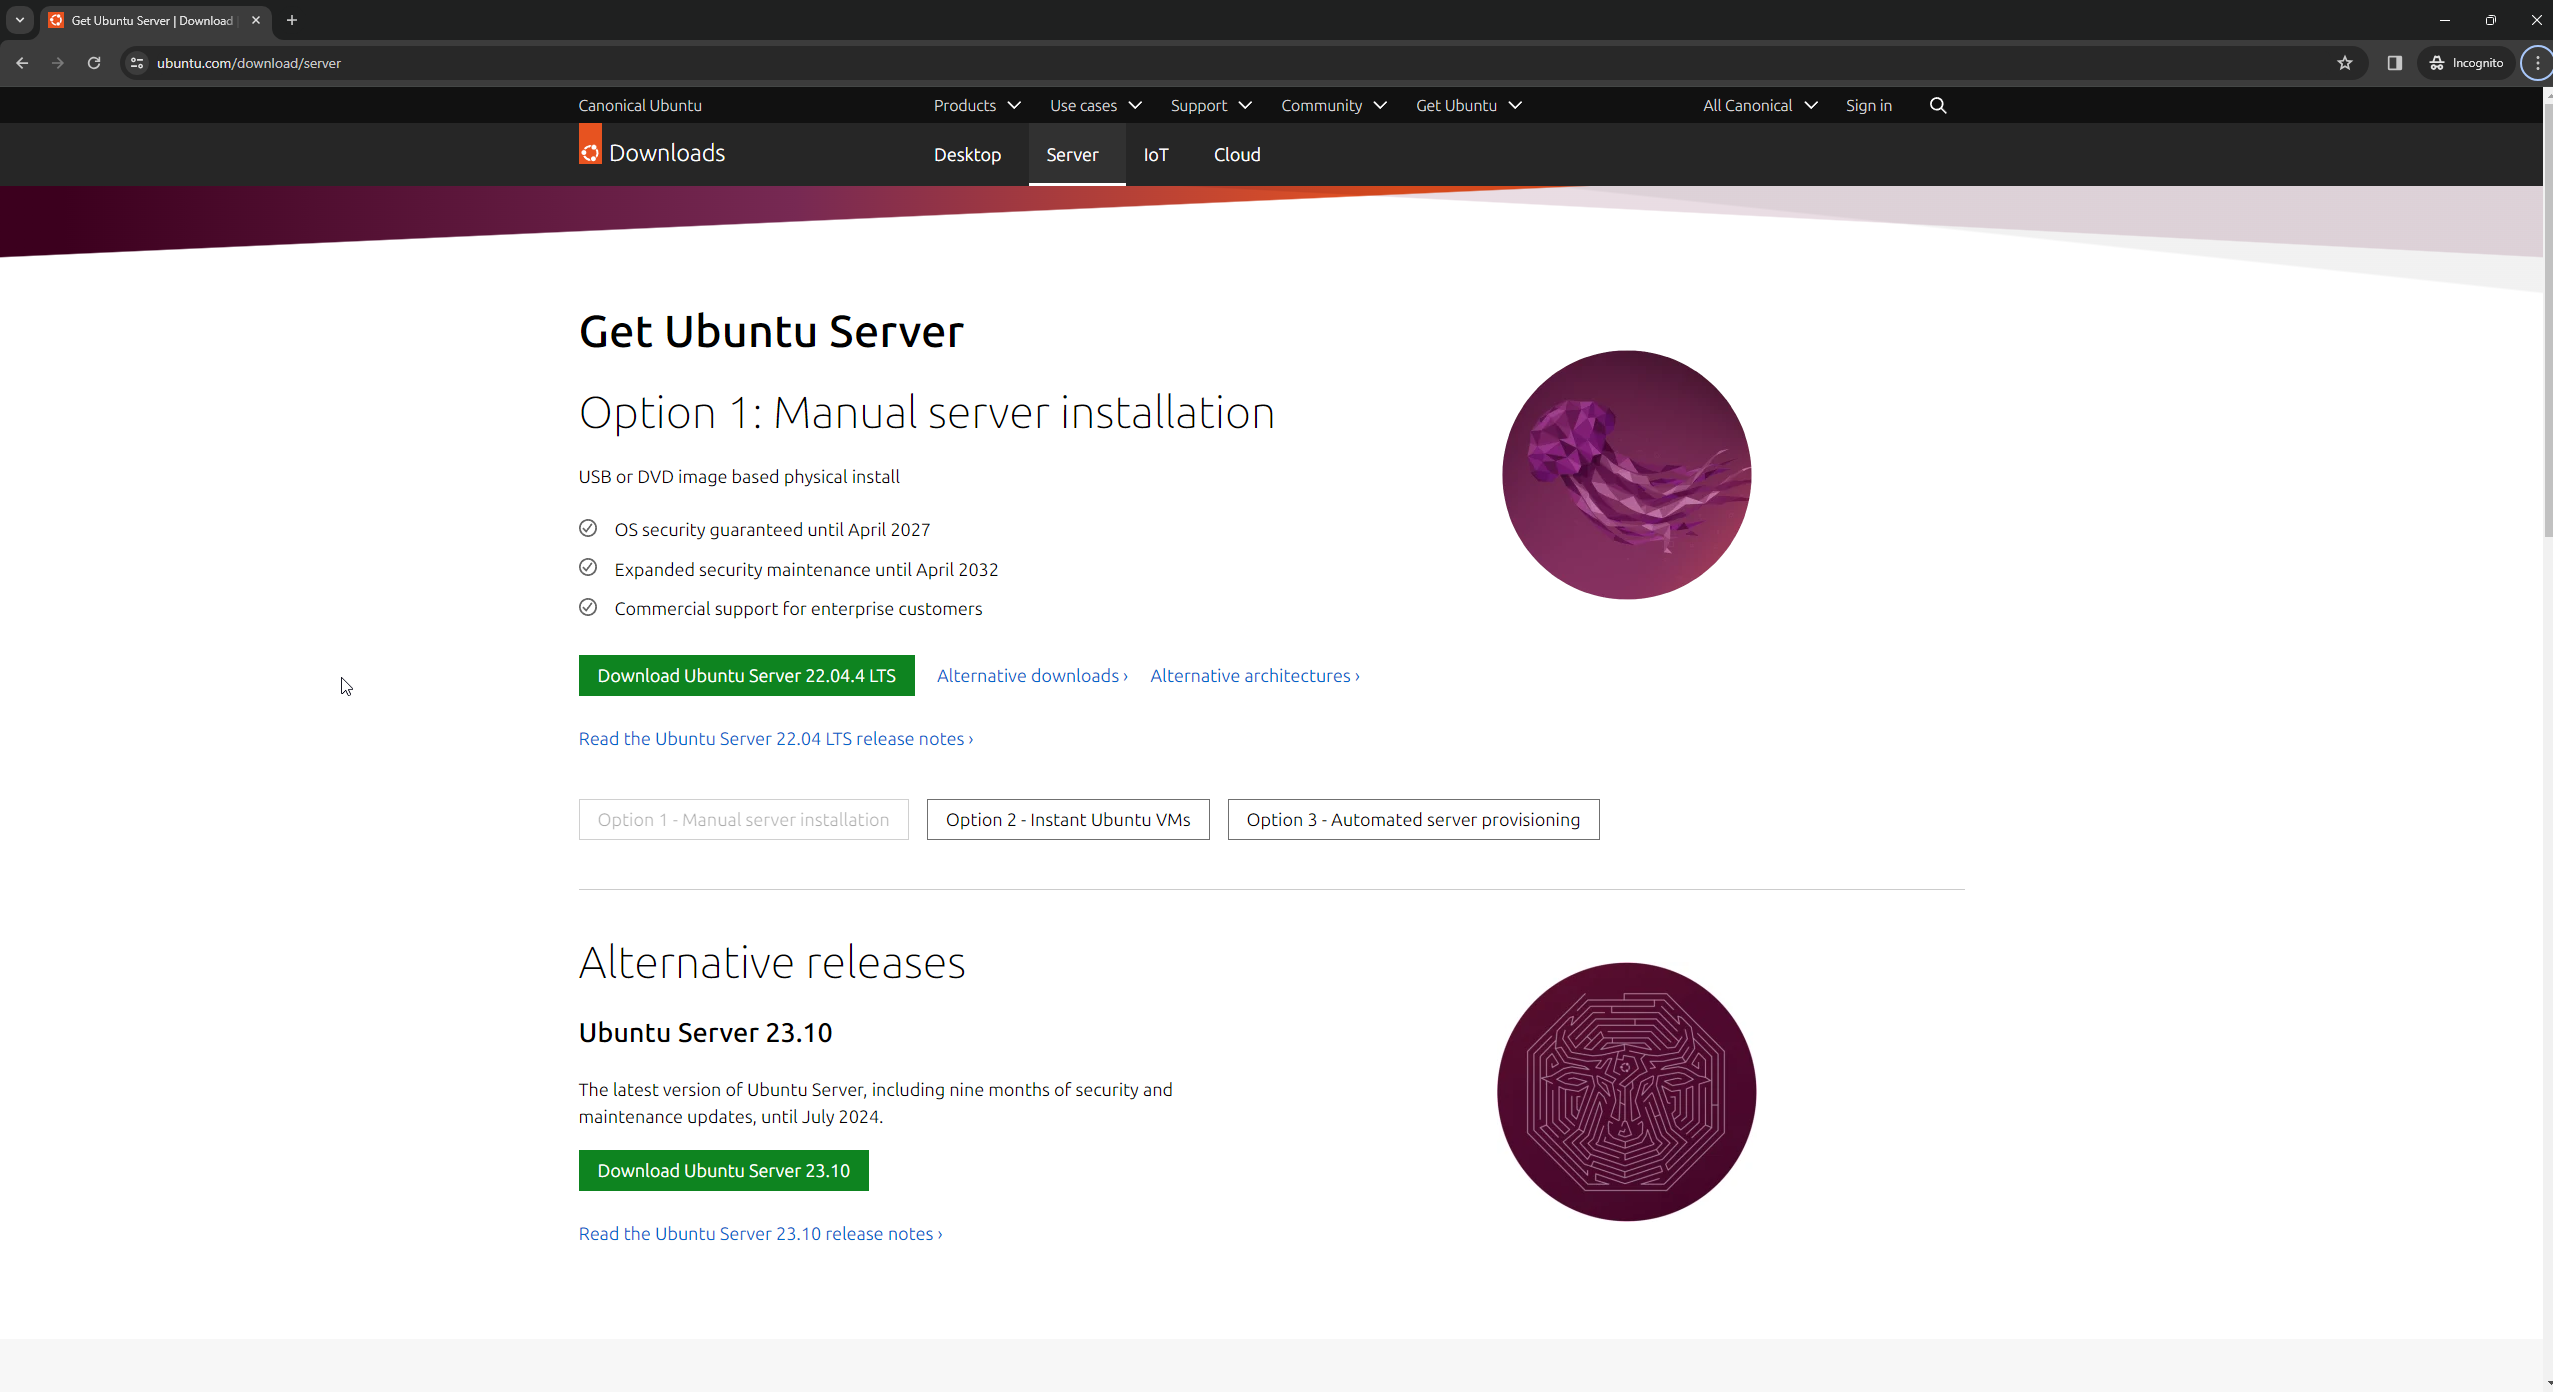
Step 1. head over to https://ubuntu.com/download/server and download Ubuntu Server 22.x (x= whatever the latest version is).
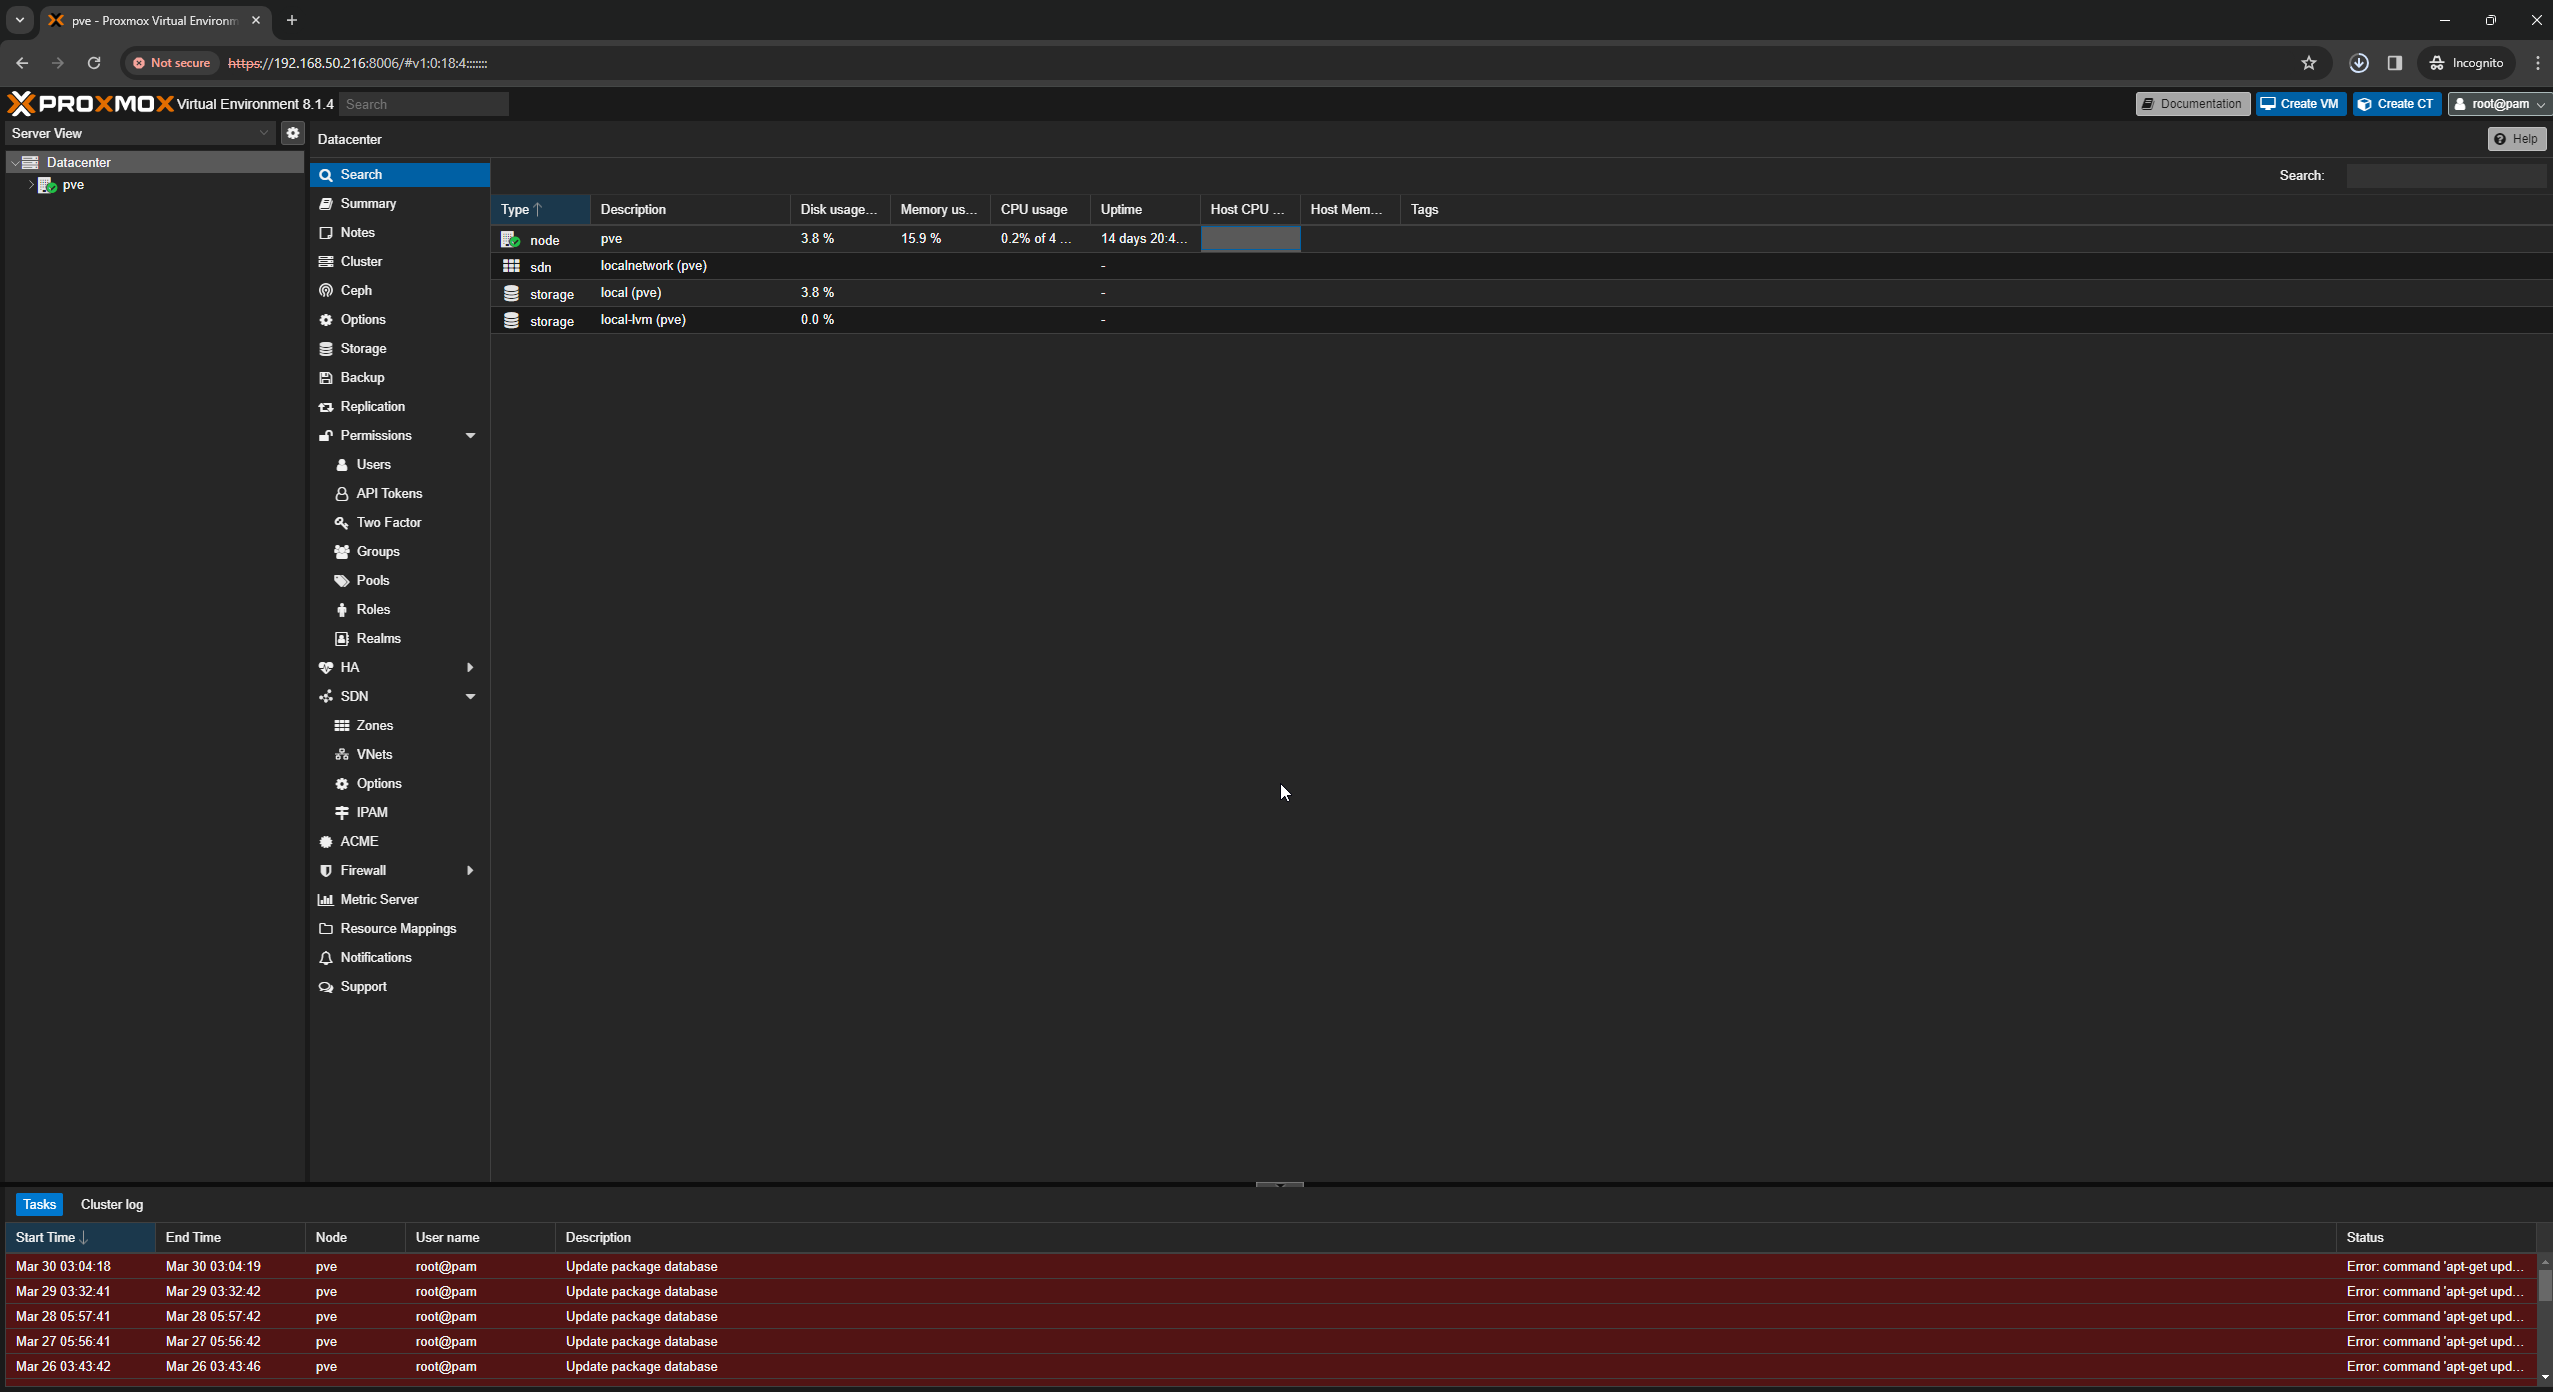
 Step 2. After you have downloaded it, navigate to the IP address of your server or mini PC where you installed Proxmox on it. You should be presented with a screen like this:
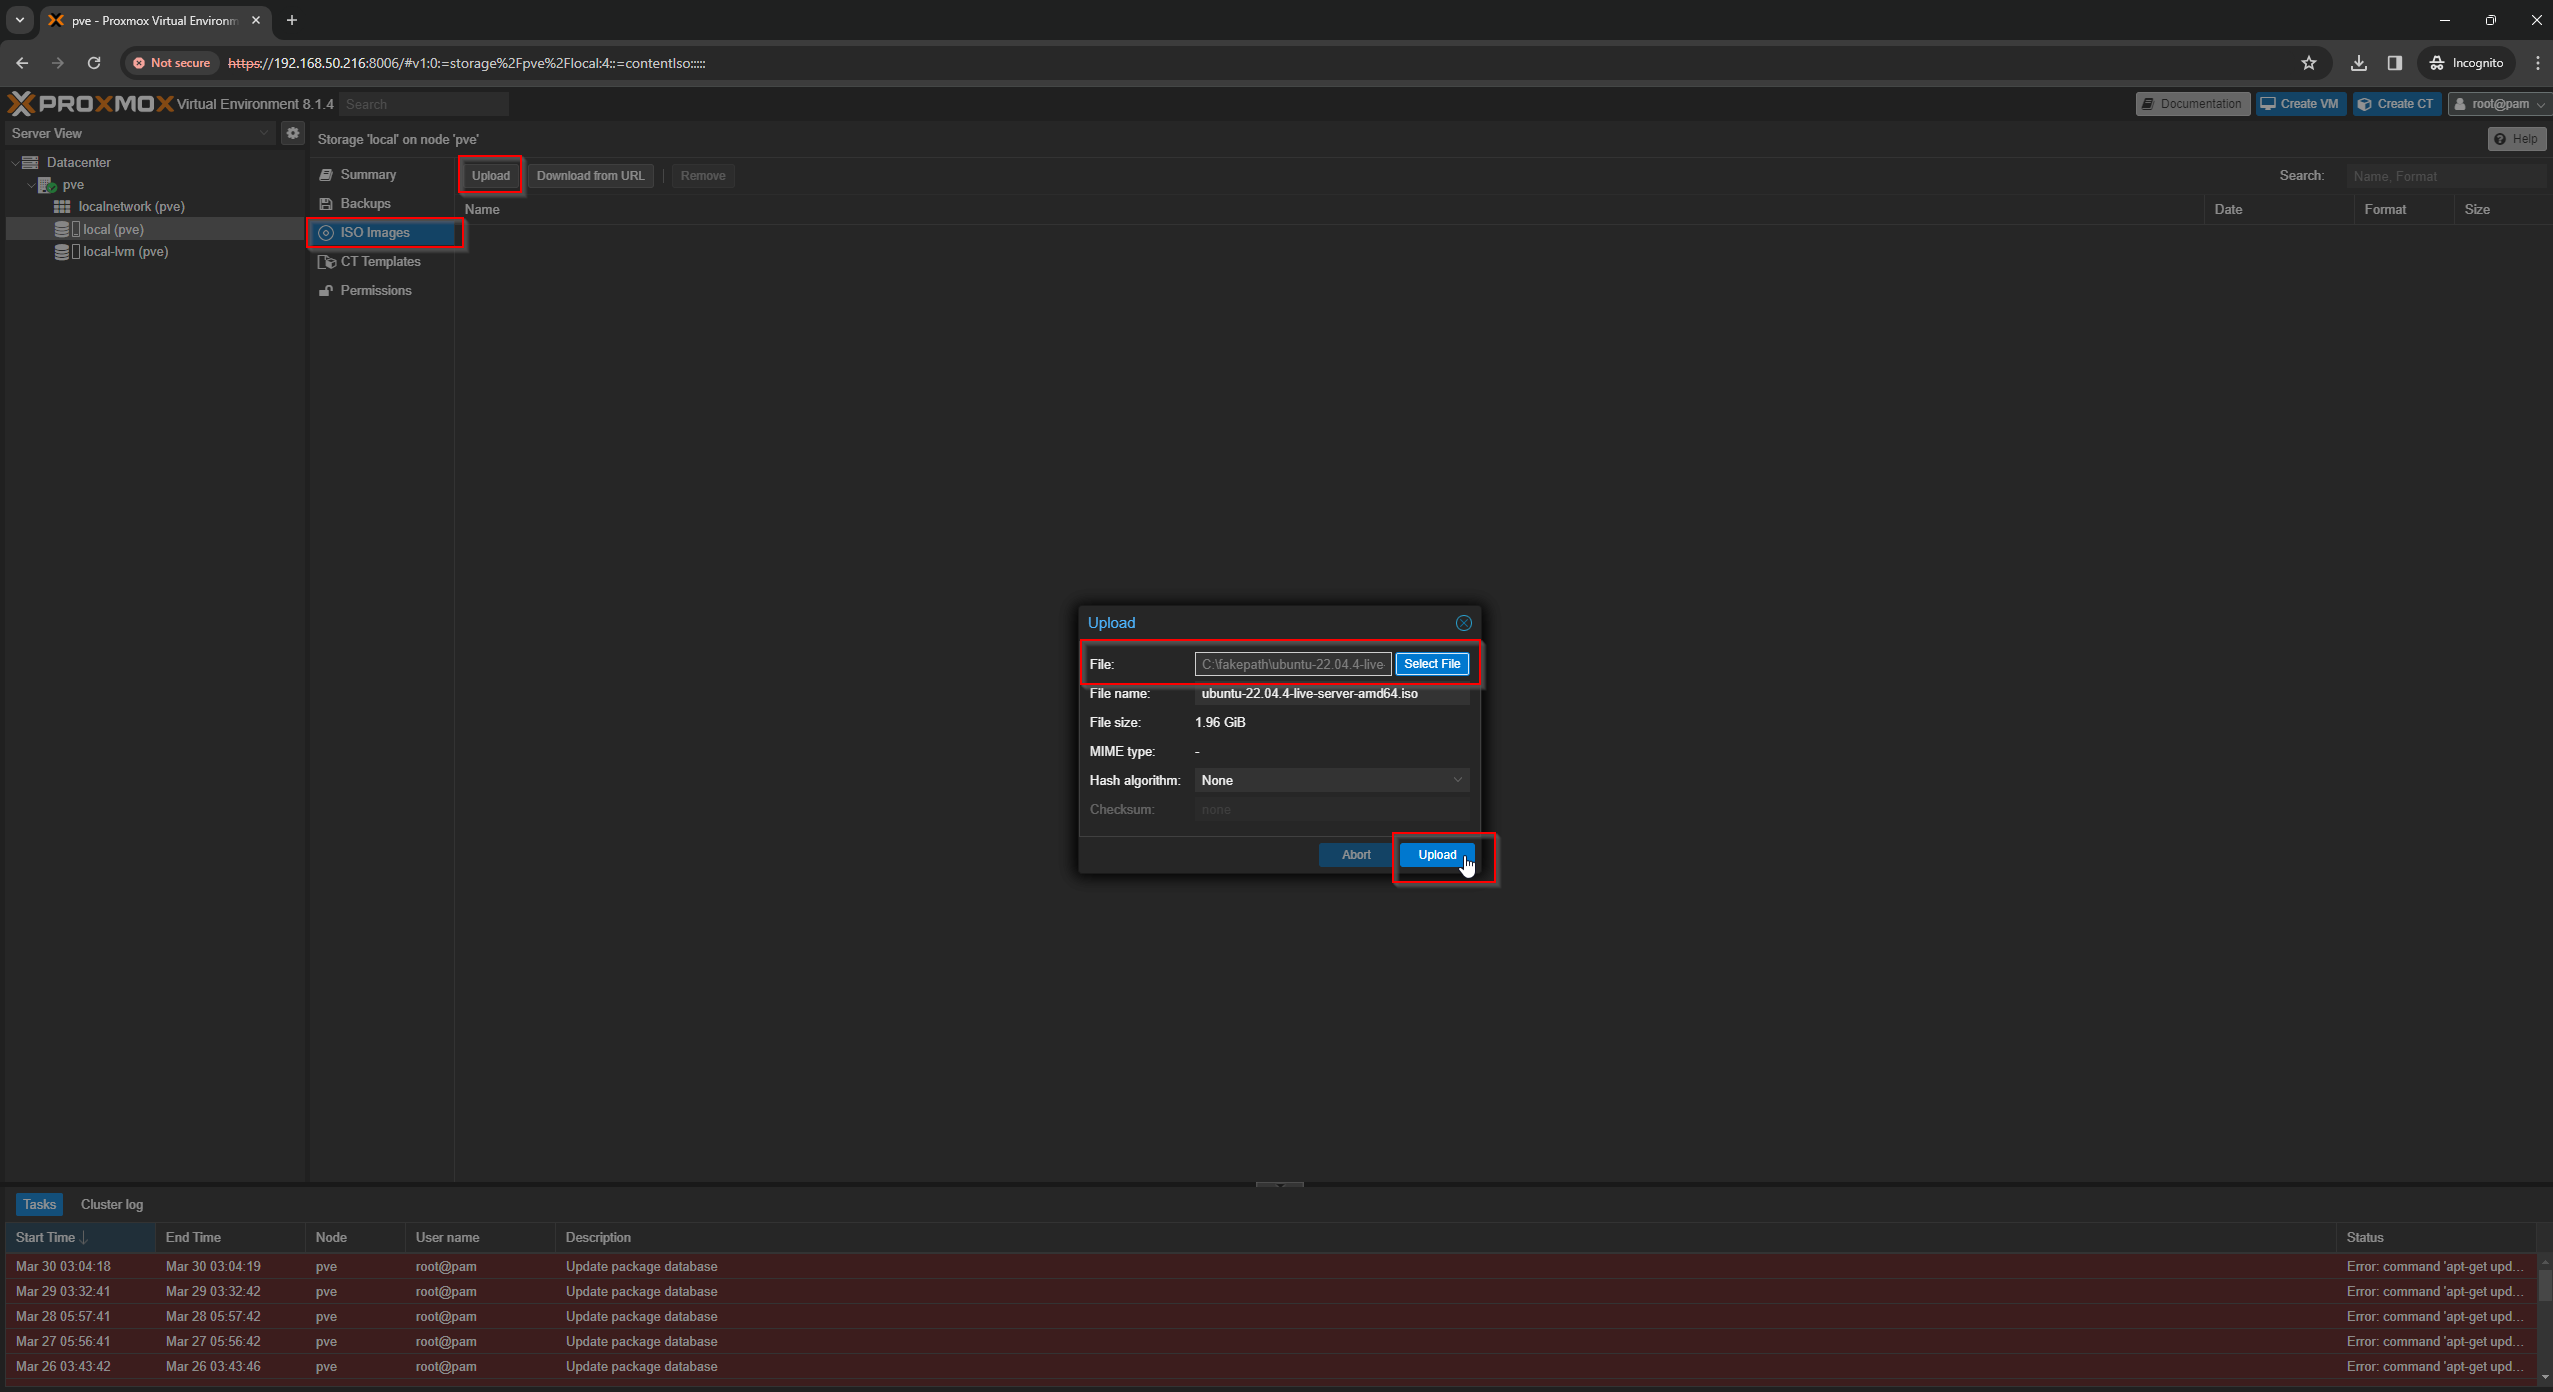
 Step 3. Select your server (our case pve), then local (pve), and ISO images. Upload your Ubuntu Server .iso image there.
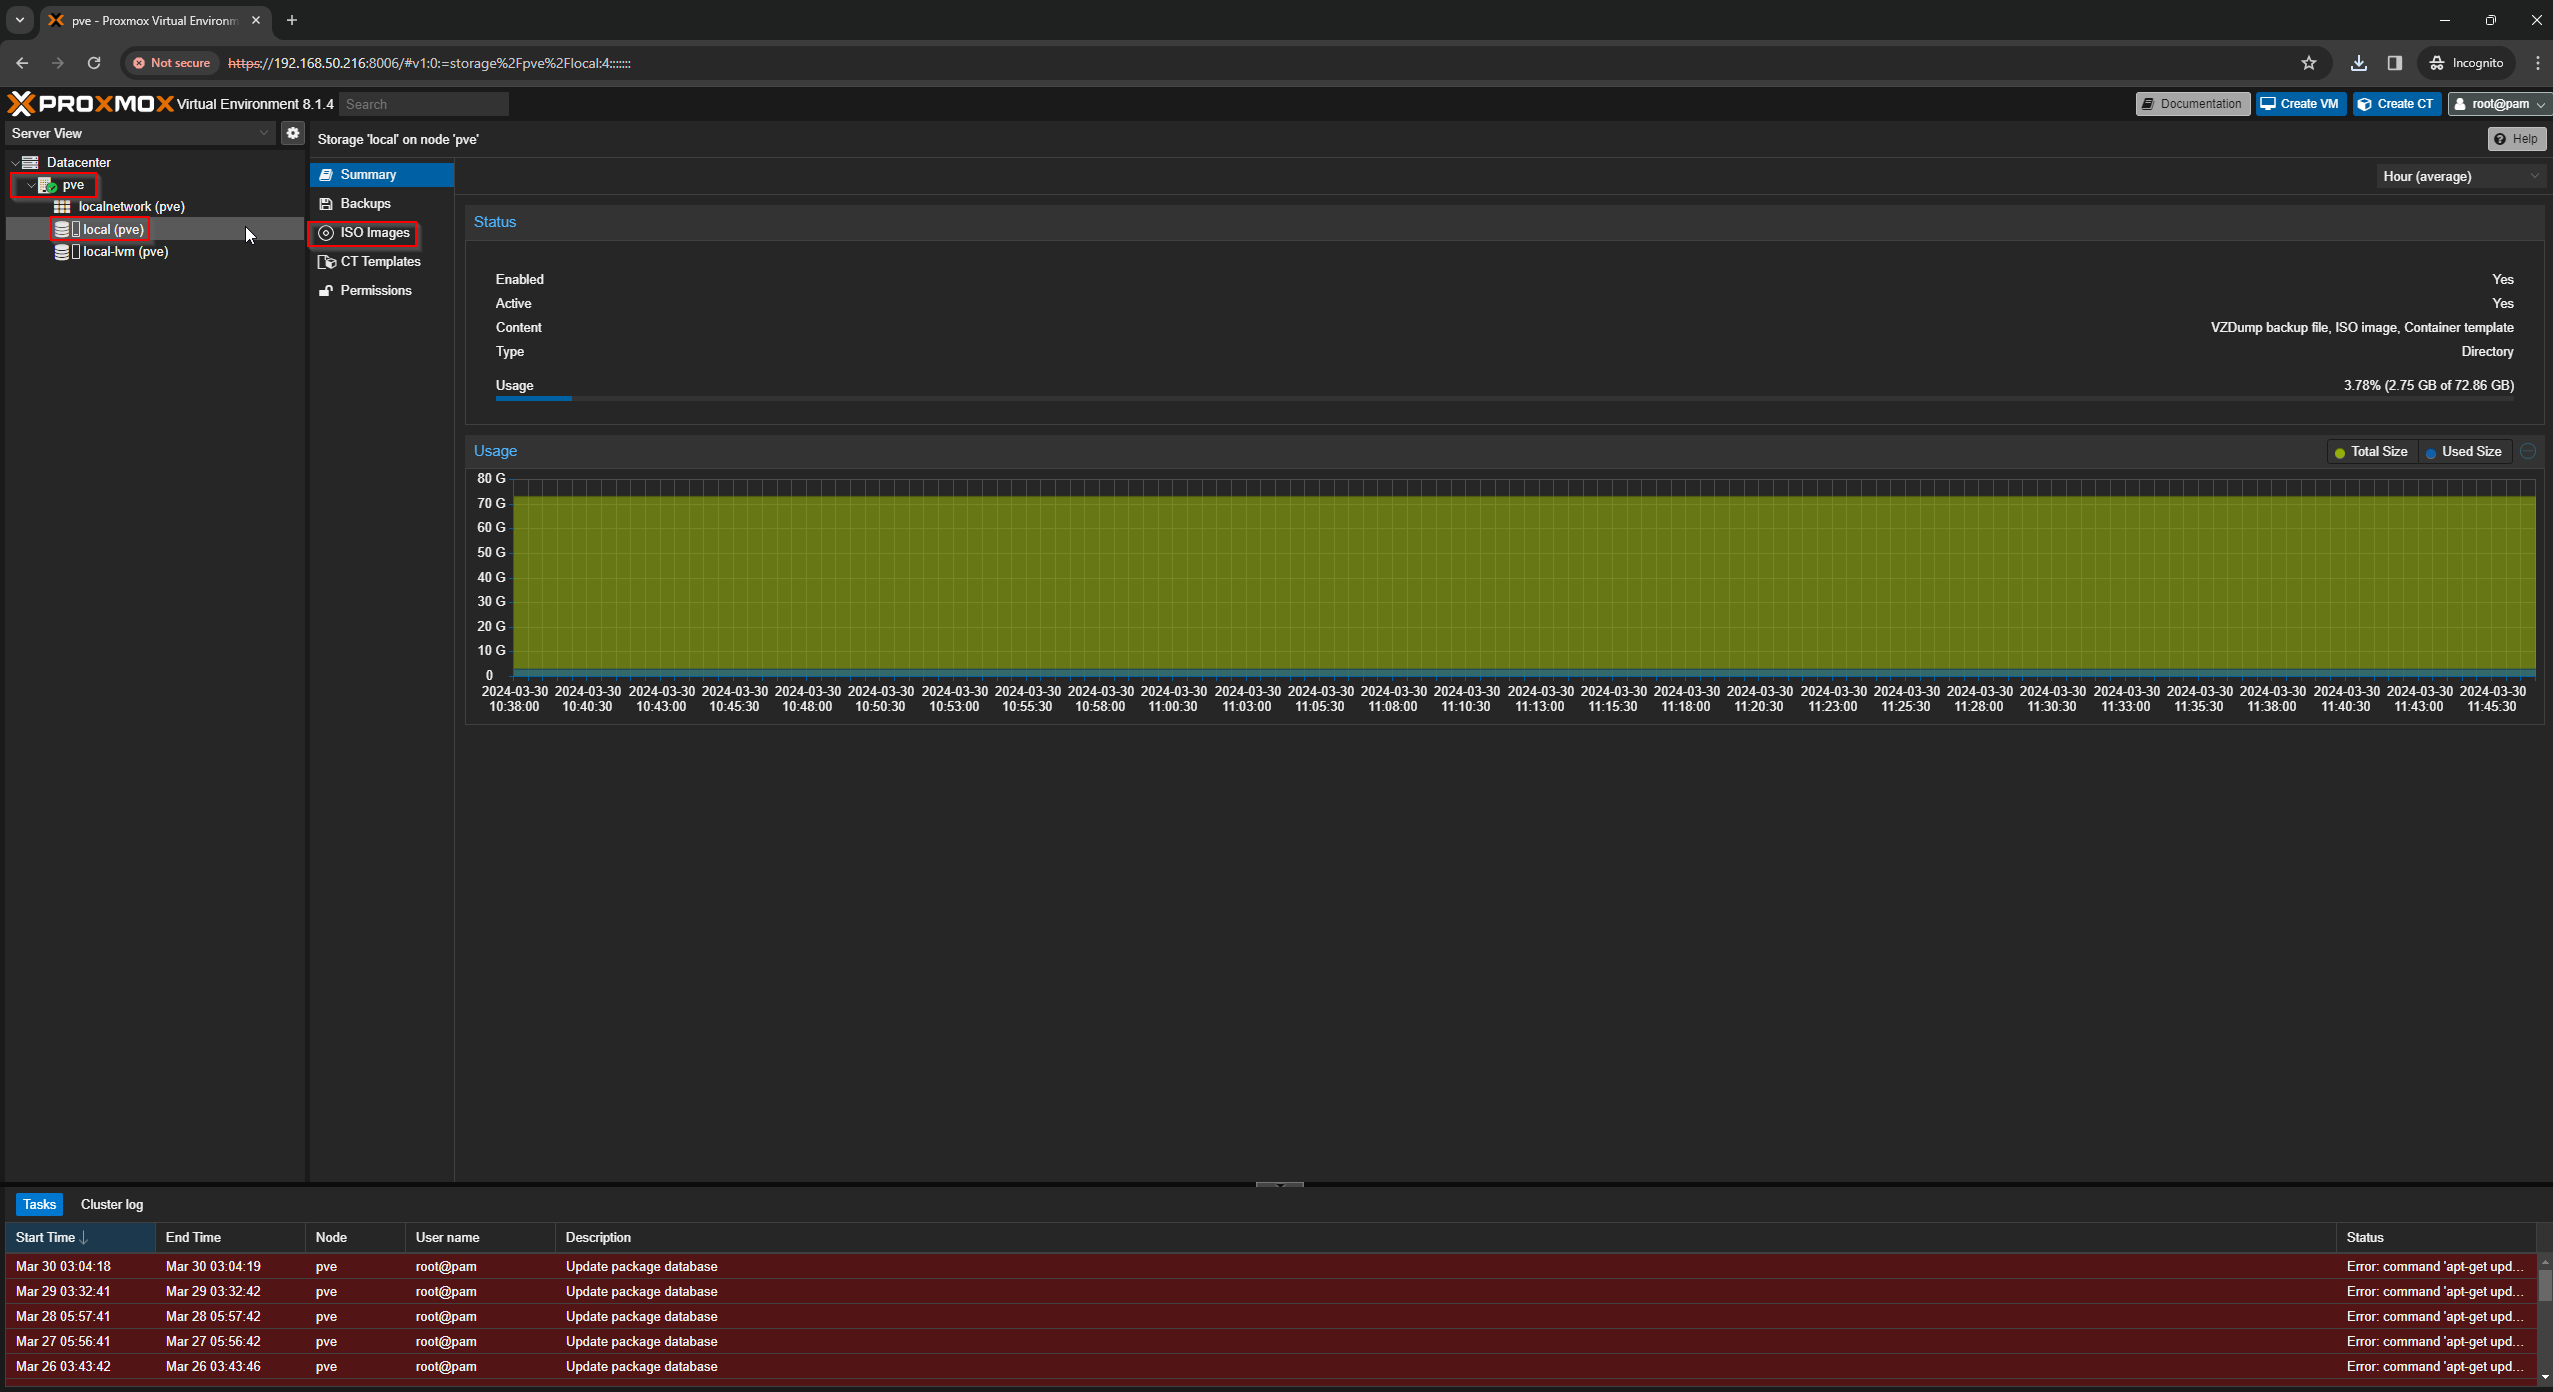 Step 4. Select iso images, upload, select file, and upload. After exit out of the pop up.
 Step 5. We can now select create a vm, and follow the install process.
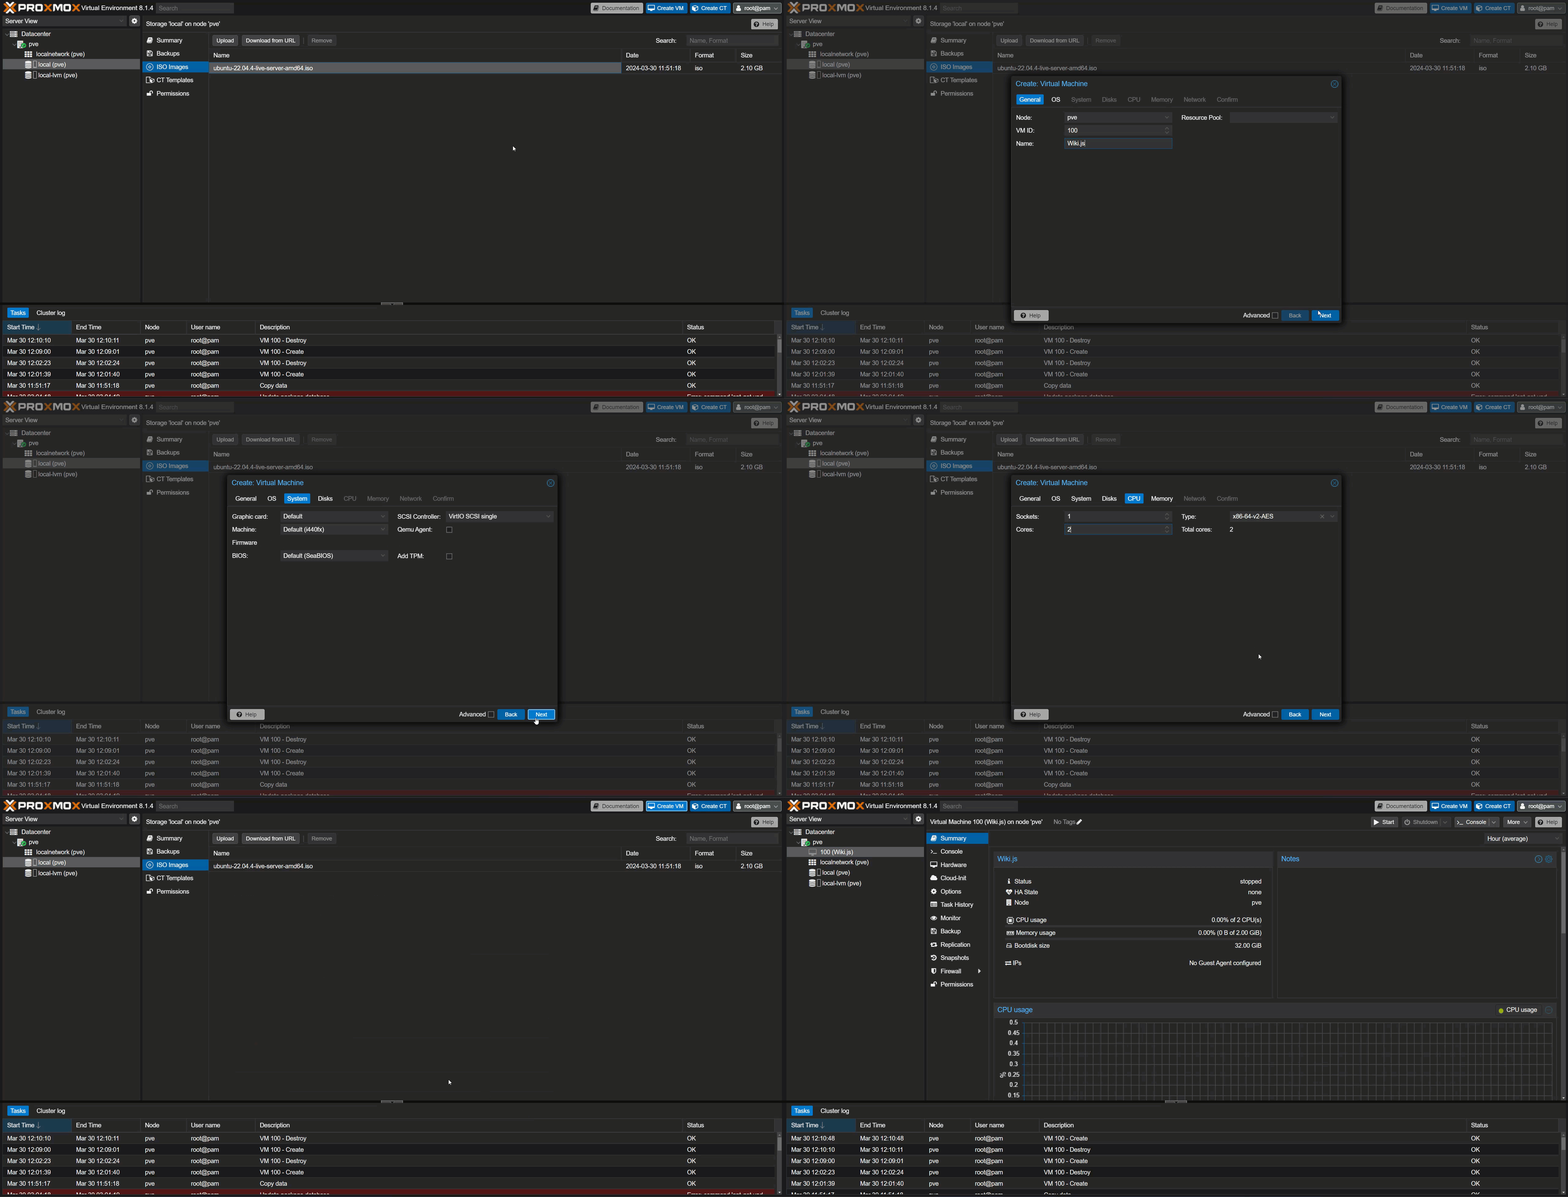
VM settings for Proxmox
Settings:
-General Tab. Node: (select whatever Proxmox server or mini-PC you want to install to (our case, it is still pve). VM Id: does not matter (you can leave default). Name: (Describe what you install on the Ubuntu server (Wiki.Js, ARK server, Minecraft, Zabbix, etc).
-OS Tab: ISO image: select the ubuntu file we just uploaded.
-System Tab: All settings can stay default here.
-Disk Tab: Disk Size (GiB): (set based on the requirement of whatever software we are installing), i.e., Wiki.Js recommends at least 1gig of storage, and Ubuntu Server requires 20gigs, so we should have no less than 22gigs. (I would recommend going up at least 5 gigs for small installs and at least double for other applications where you know you will be uploading lots of content, i.e., mods, pictures, user accounts, etc.
-CPU Tab: Again, this will be based on the requirements of what you are installing. Wiki.js requires 2 cores and Ubuntu Server so that we will select 2 cores.
-Memory Tab: Again, based on system requirements. Wiki.js wants 2 gigs of RAM. Ubuntu Server recommends 4 gigs of RAM, but you can get away with 1-2, depending on your installation. In our case, for Wiki.js, we are going to keep 2gigs.
-Network Tab: This can stay default.
-Confirm Tab: Please check over all your settings and click finish.
Installing Ubuntu Server on your Proxmox VM
- Now we can boot the new virtual machine by selecting the console tab and then start now.
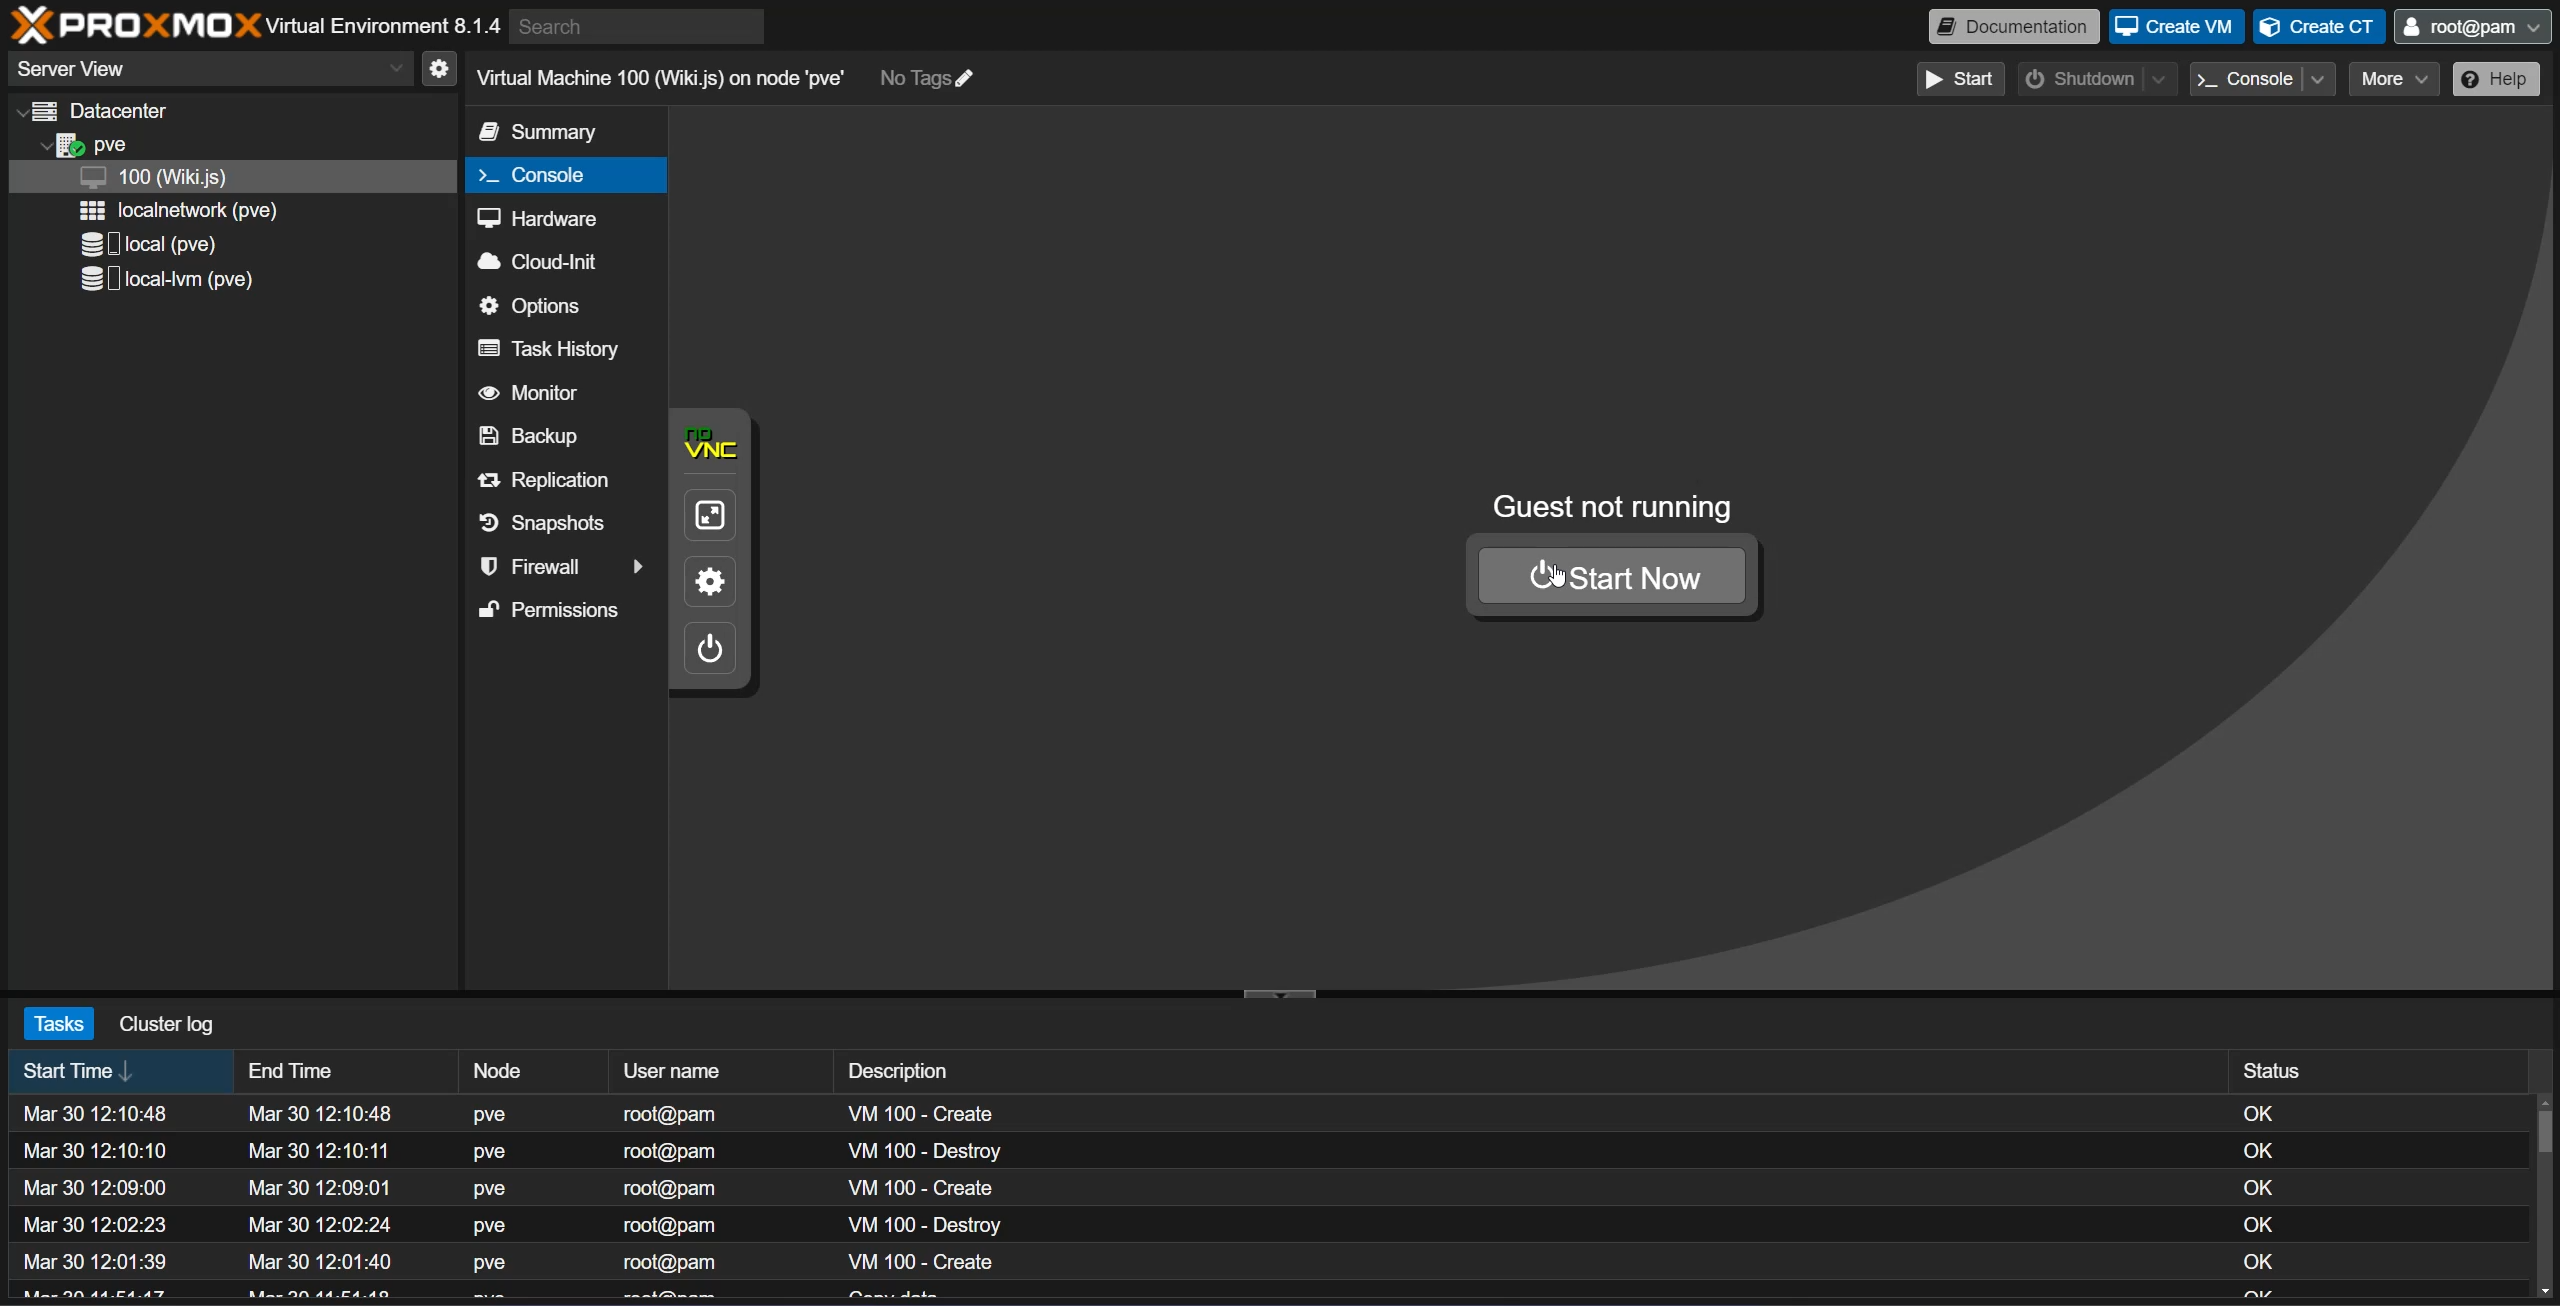
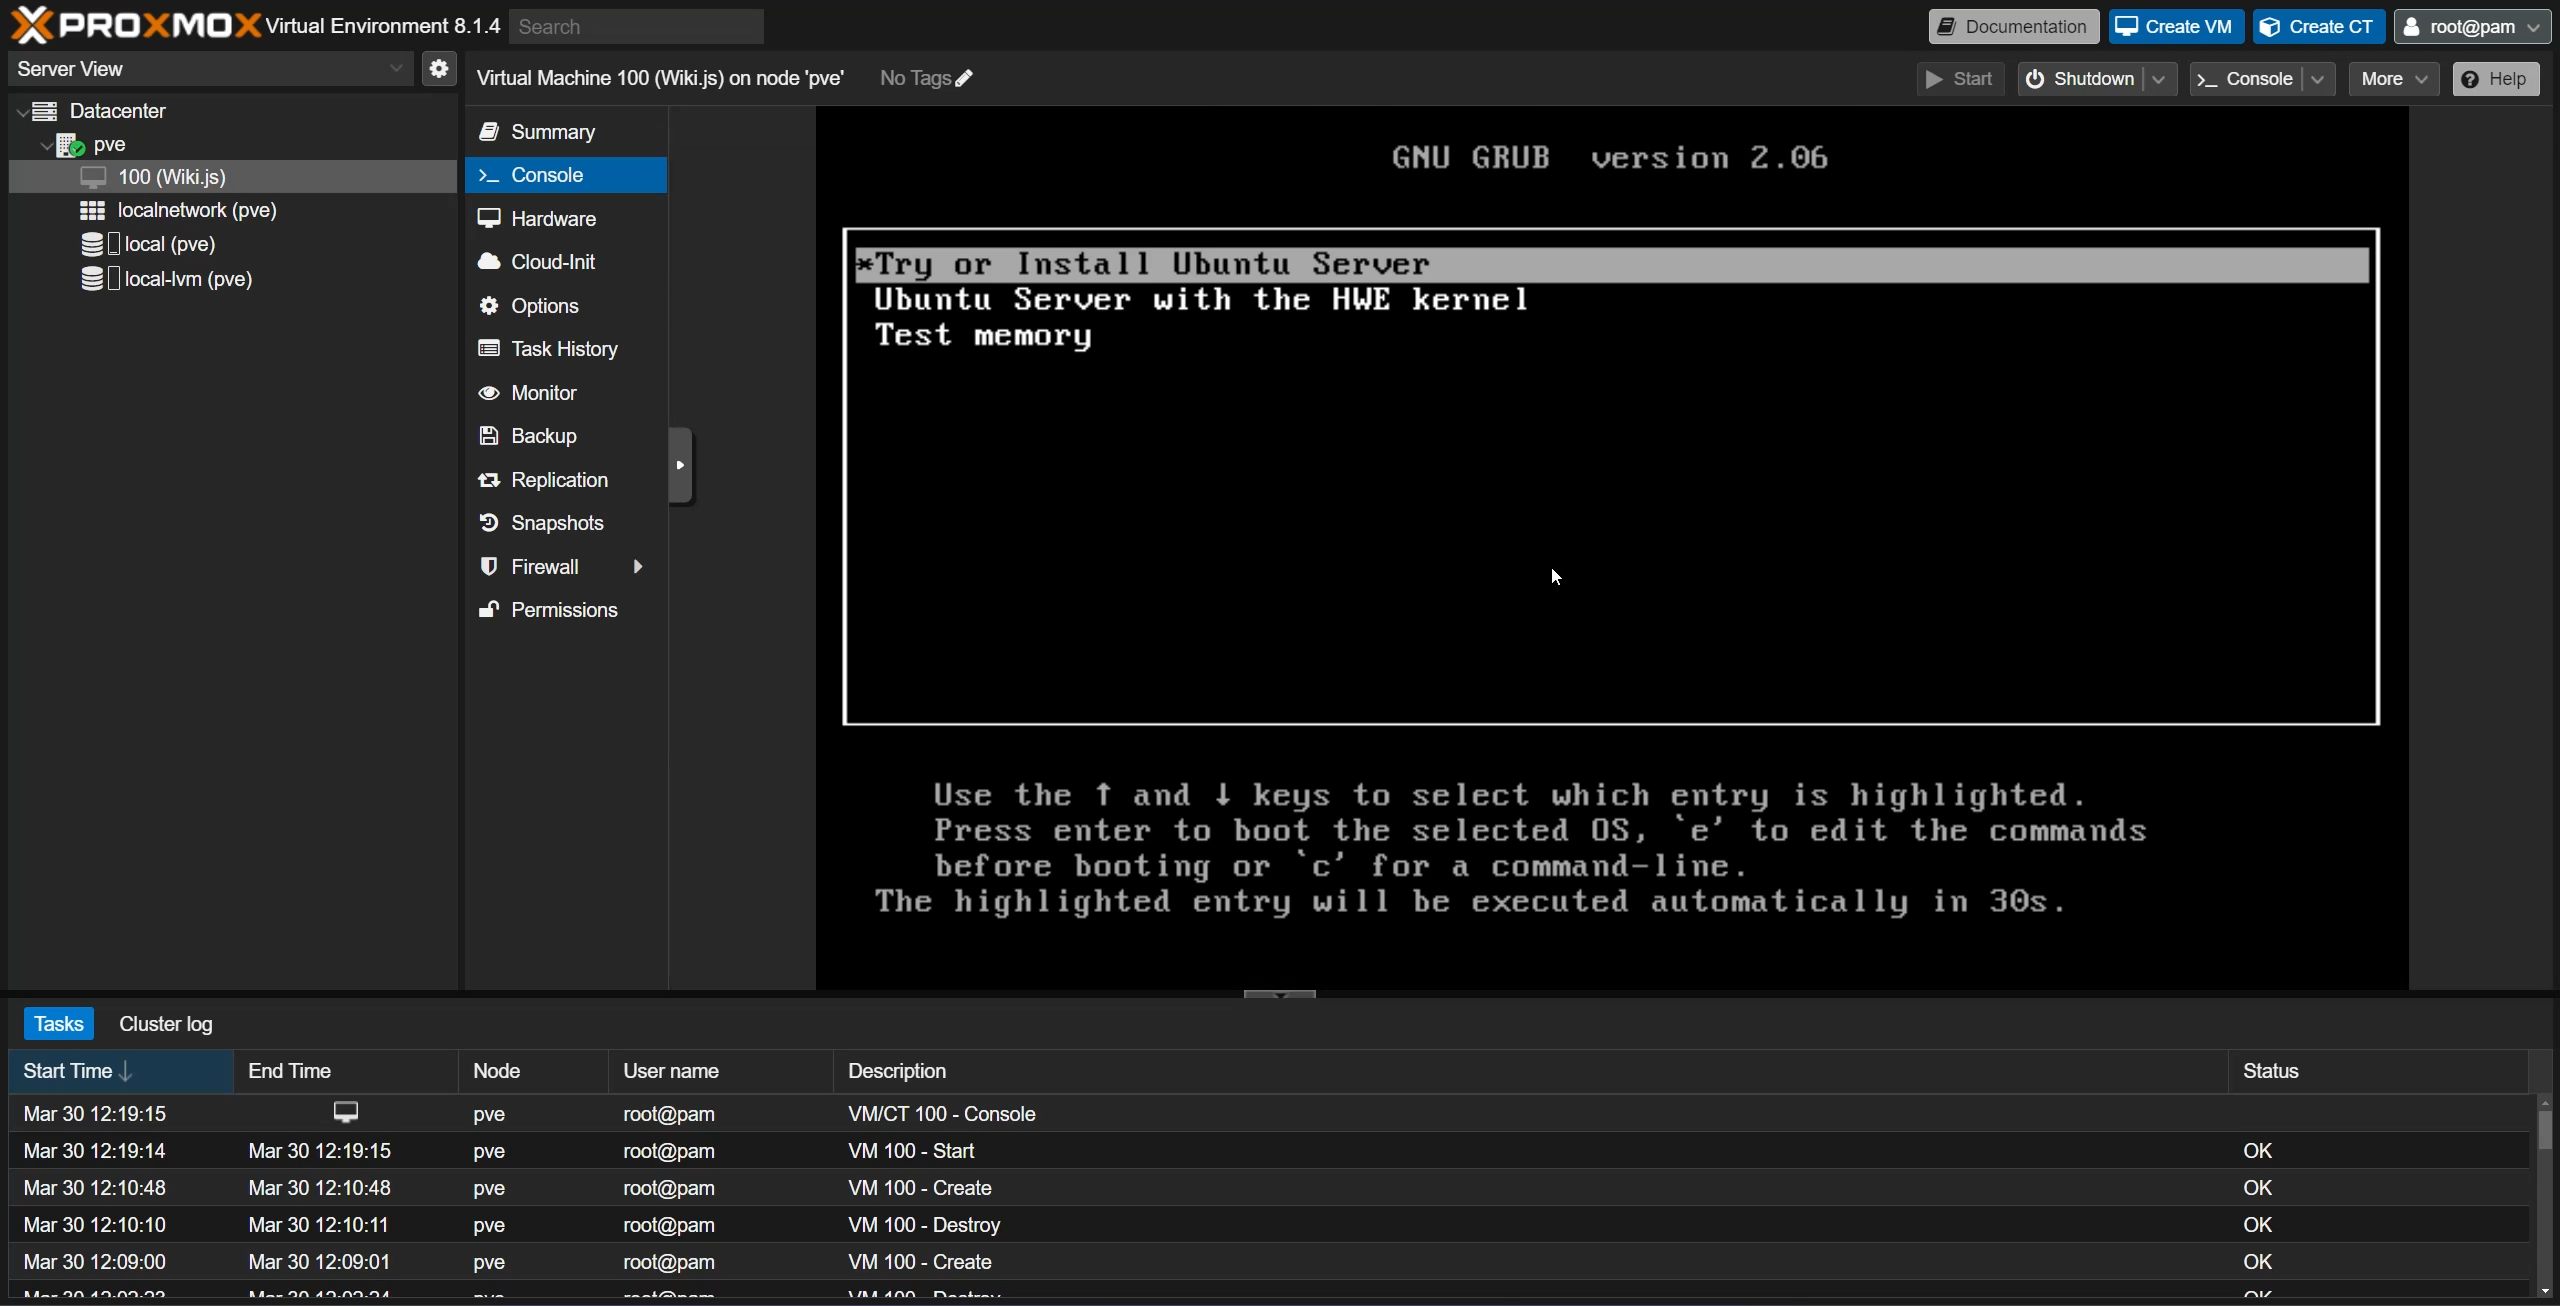
- Select the top option, install Ubuntu Server.
- Now Select your language.
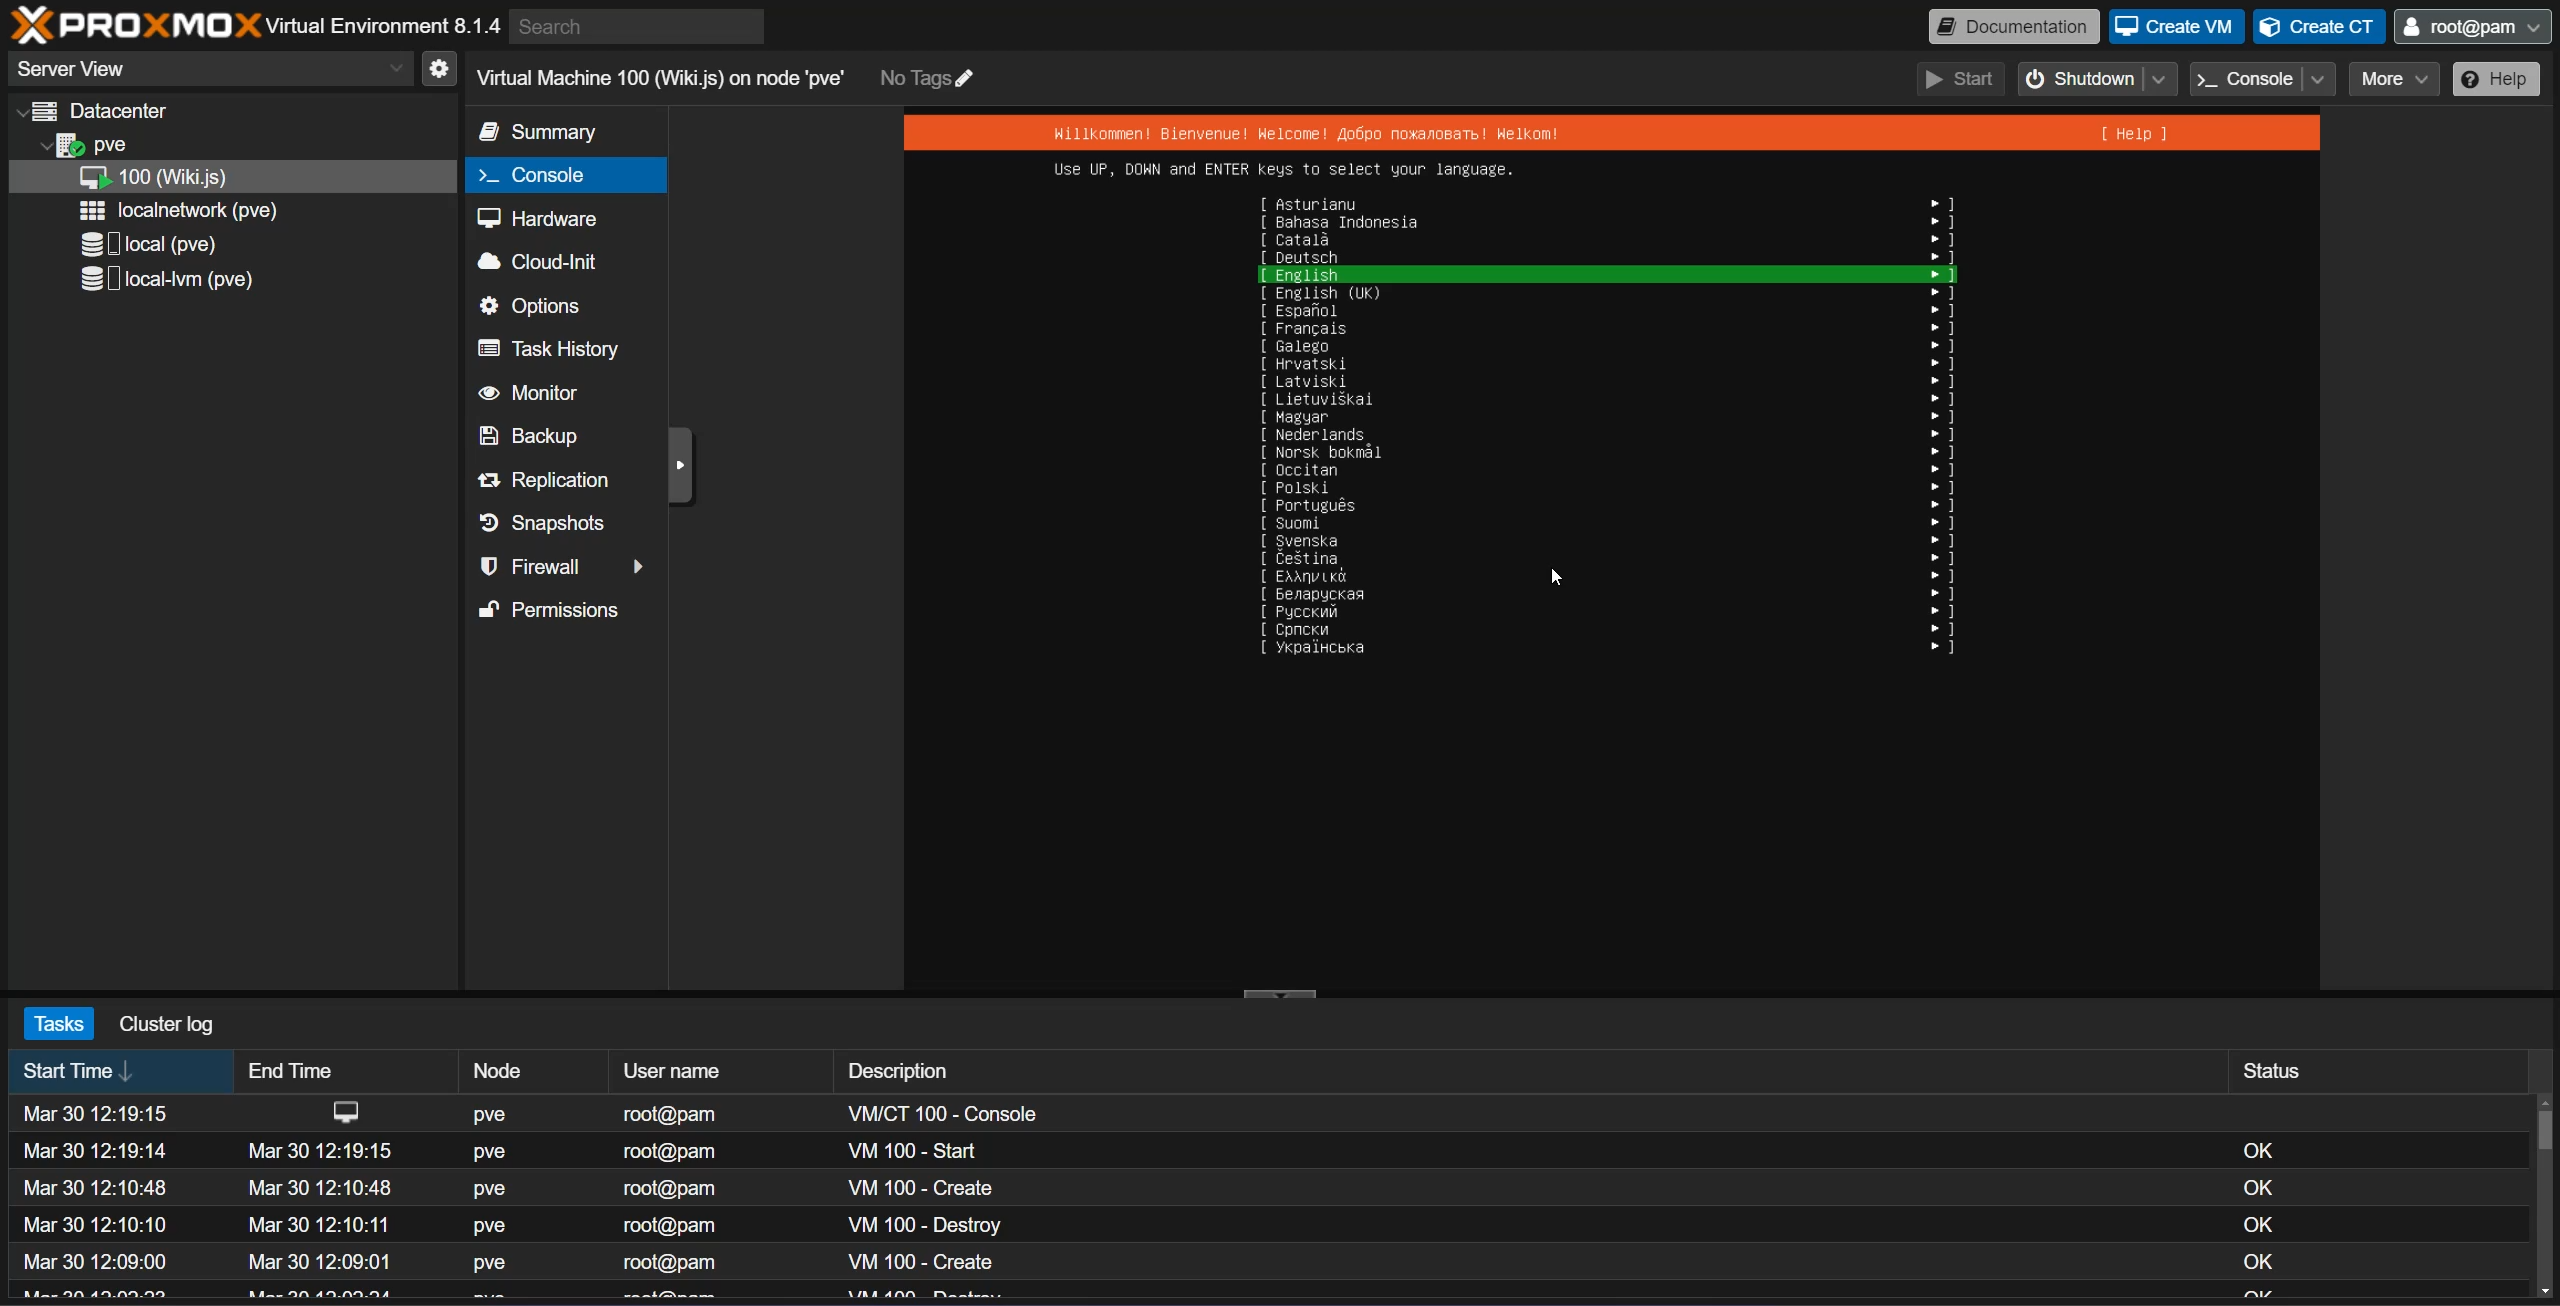
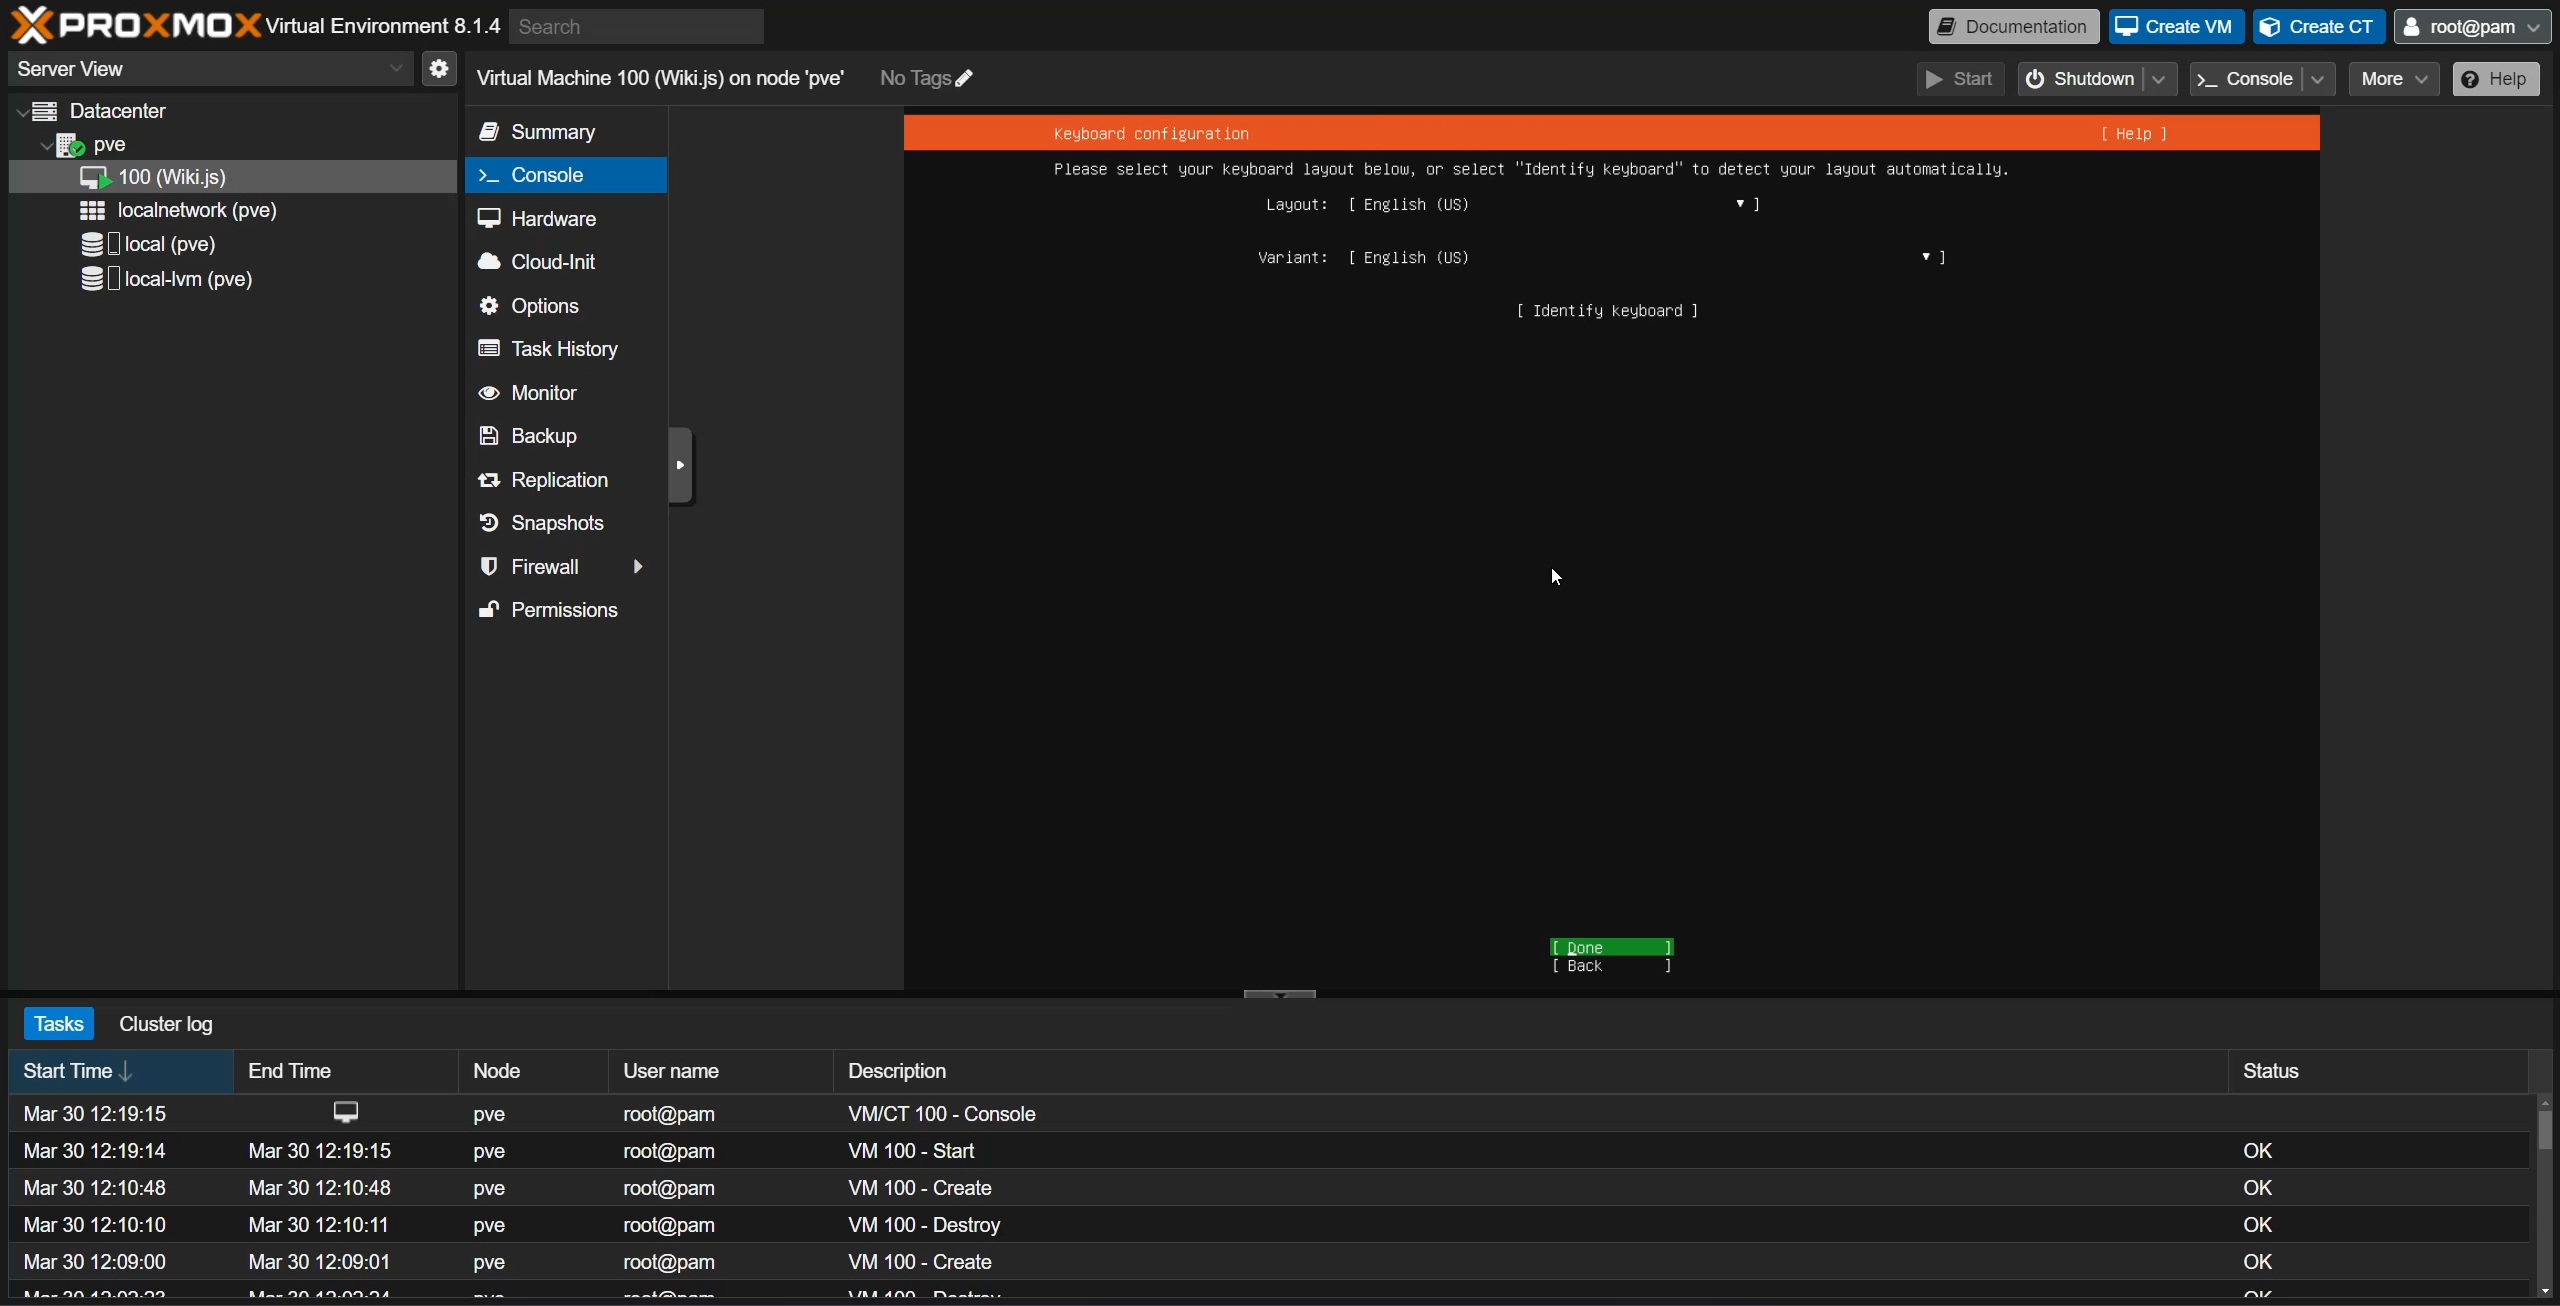
- Pick your Keyboard layout/variant.
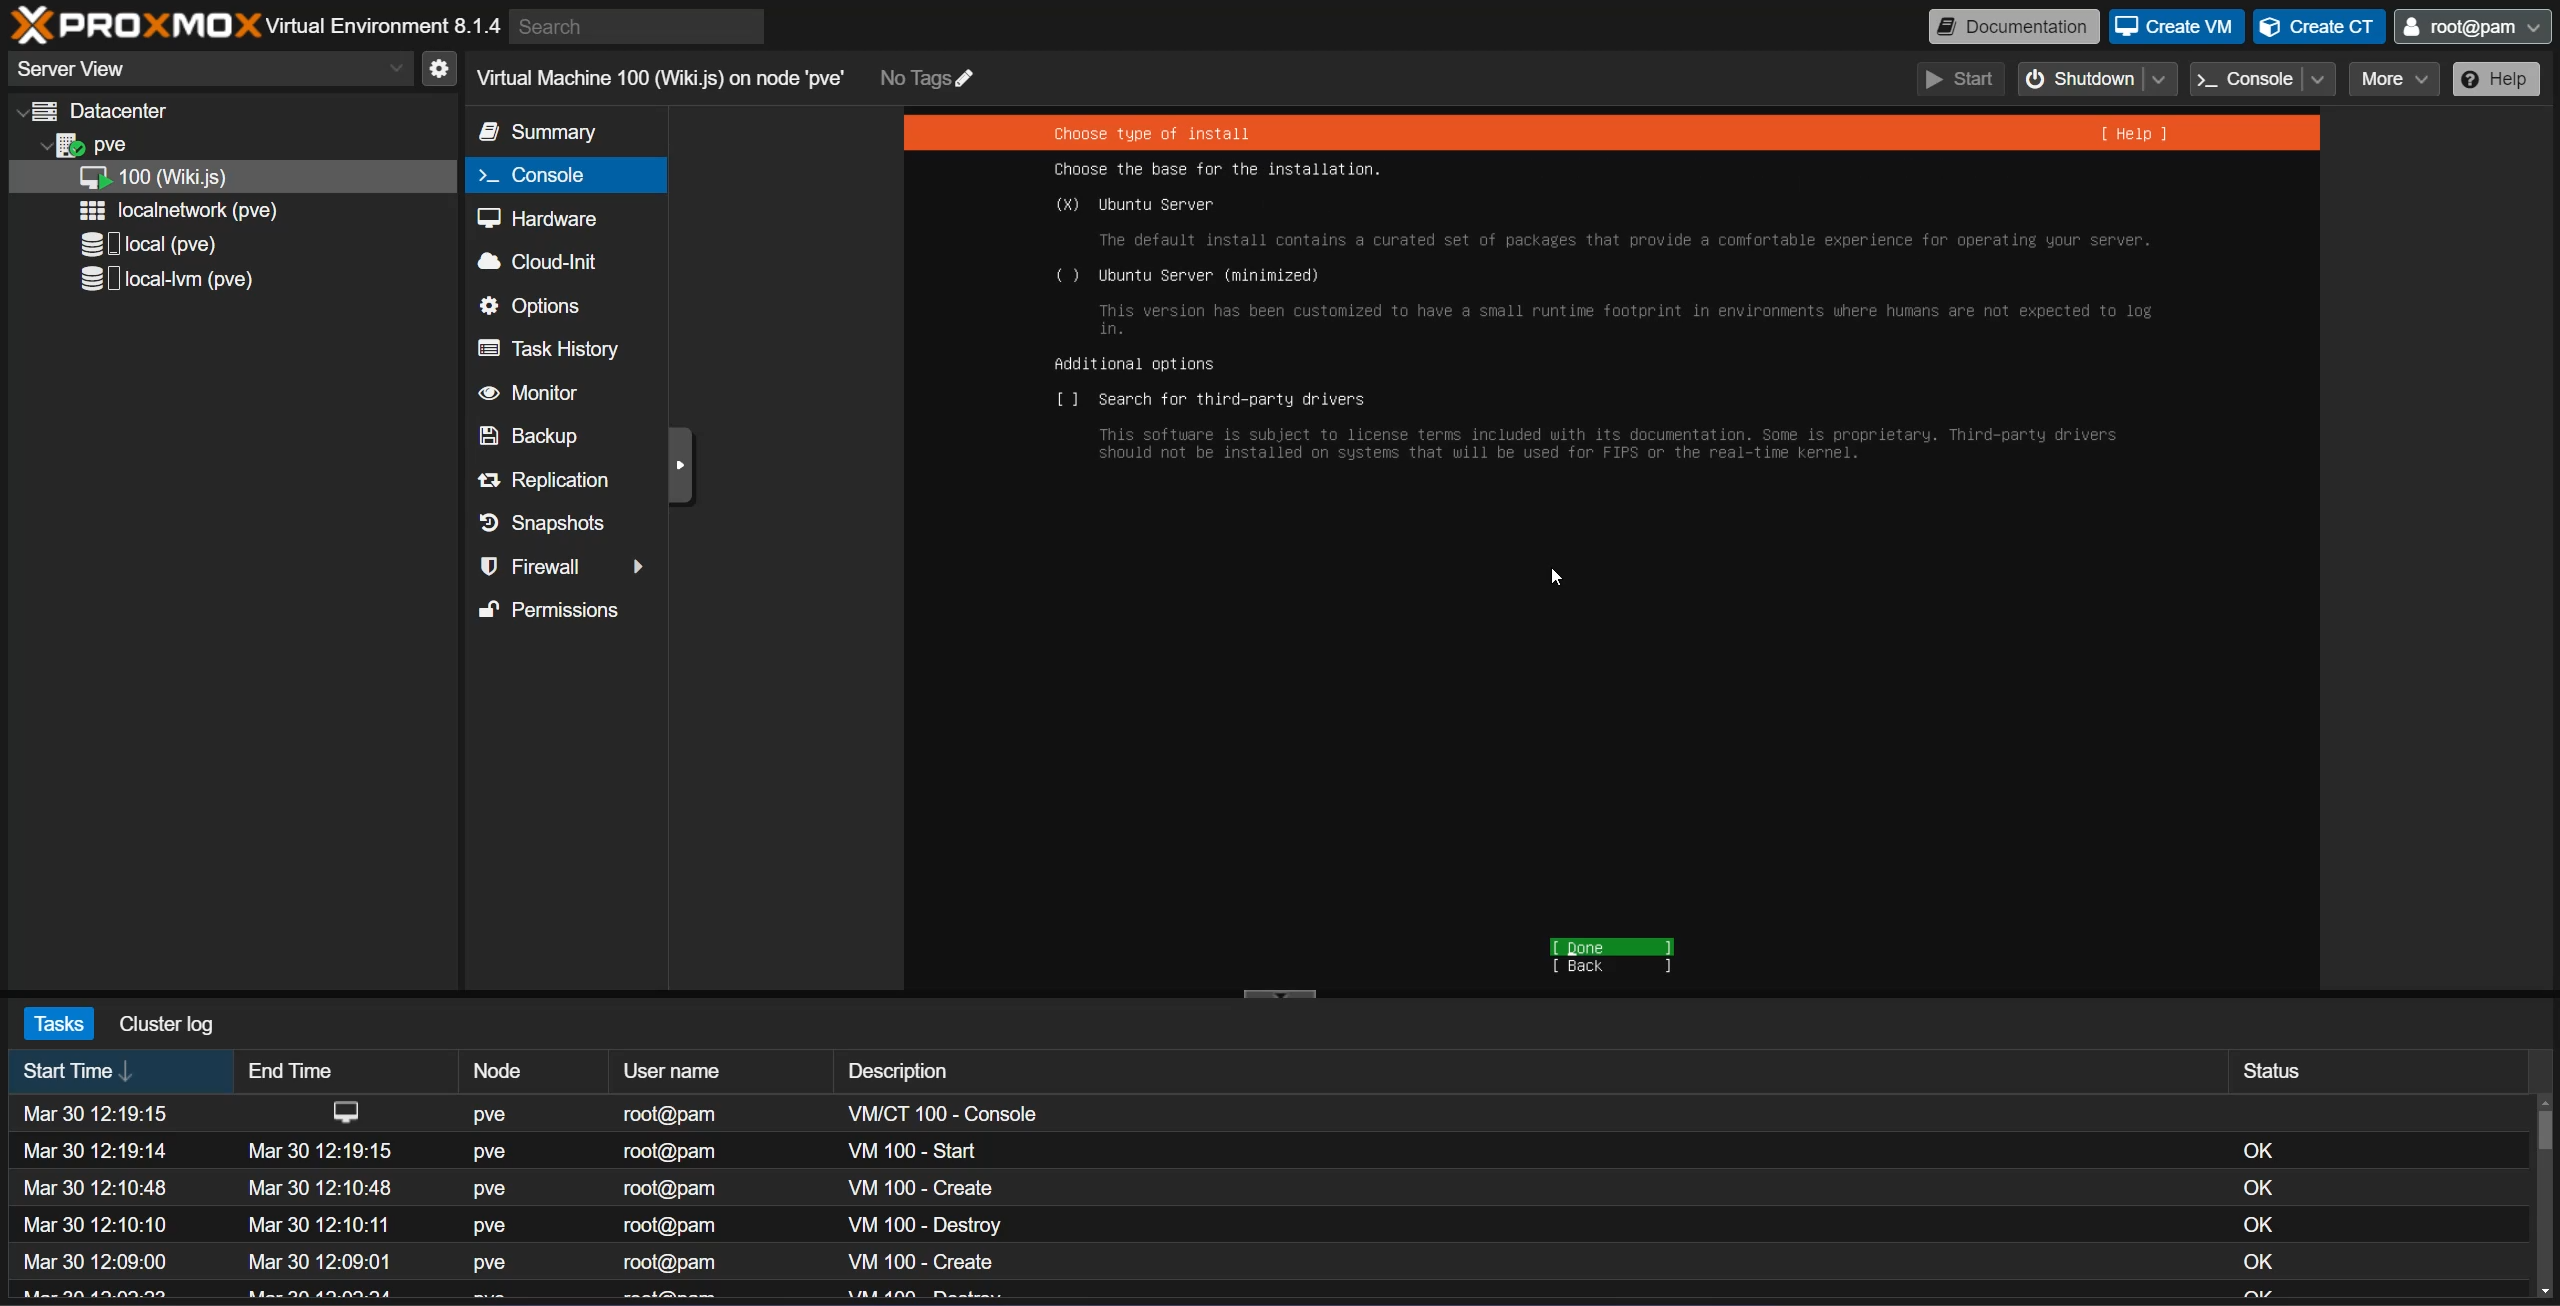
- We are selecting the Ubuntu Server
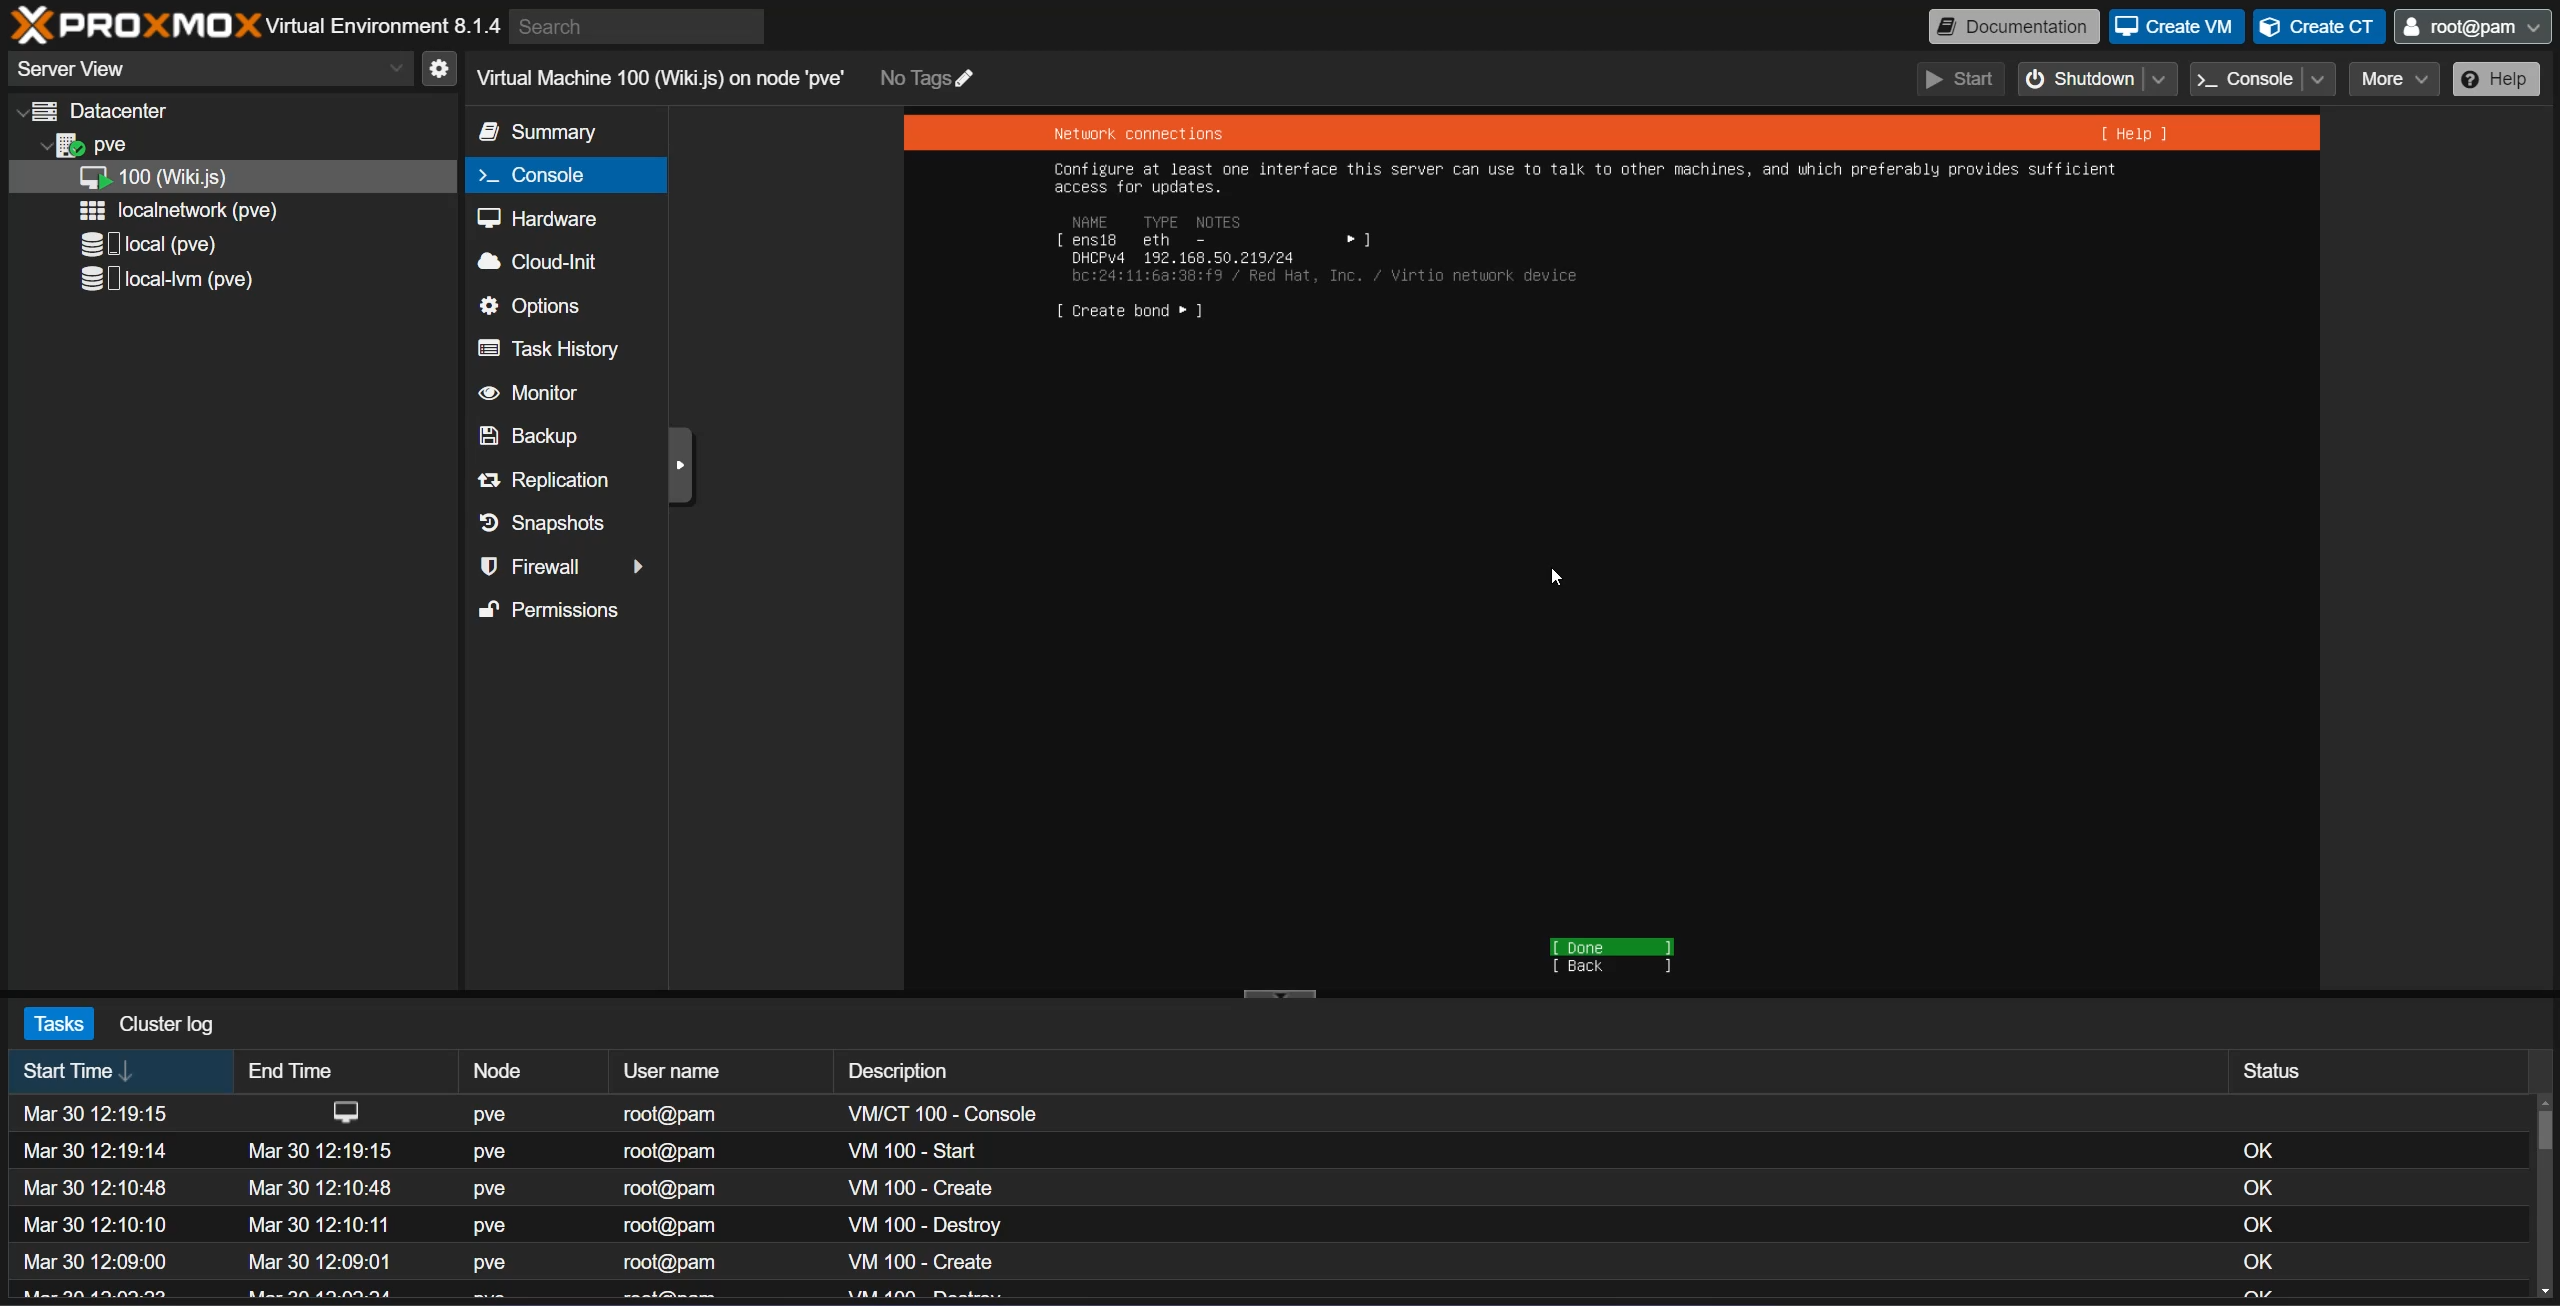
- We can leave this default because most of you will use DHCP.
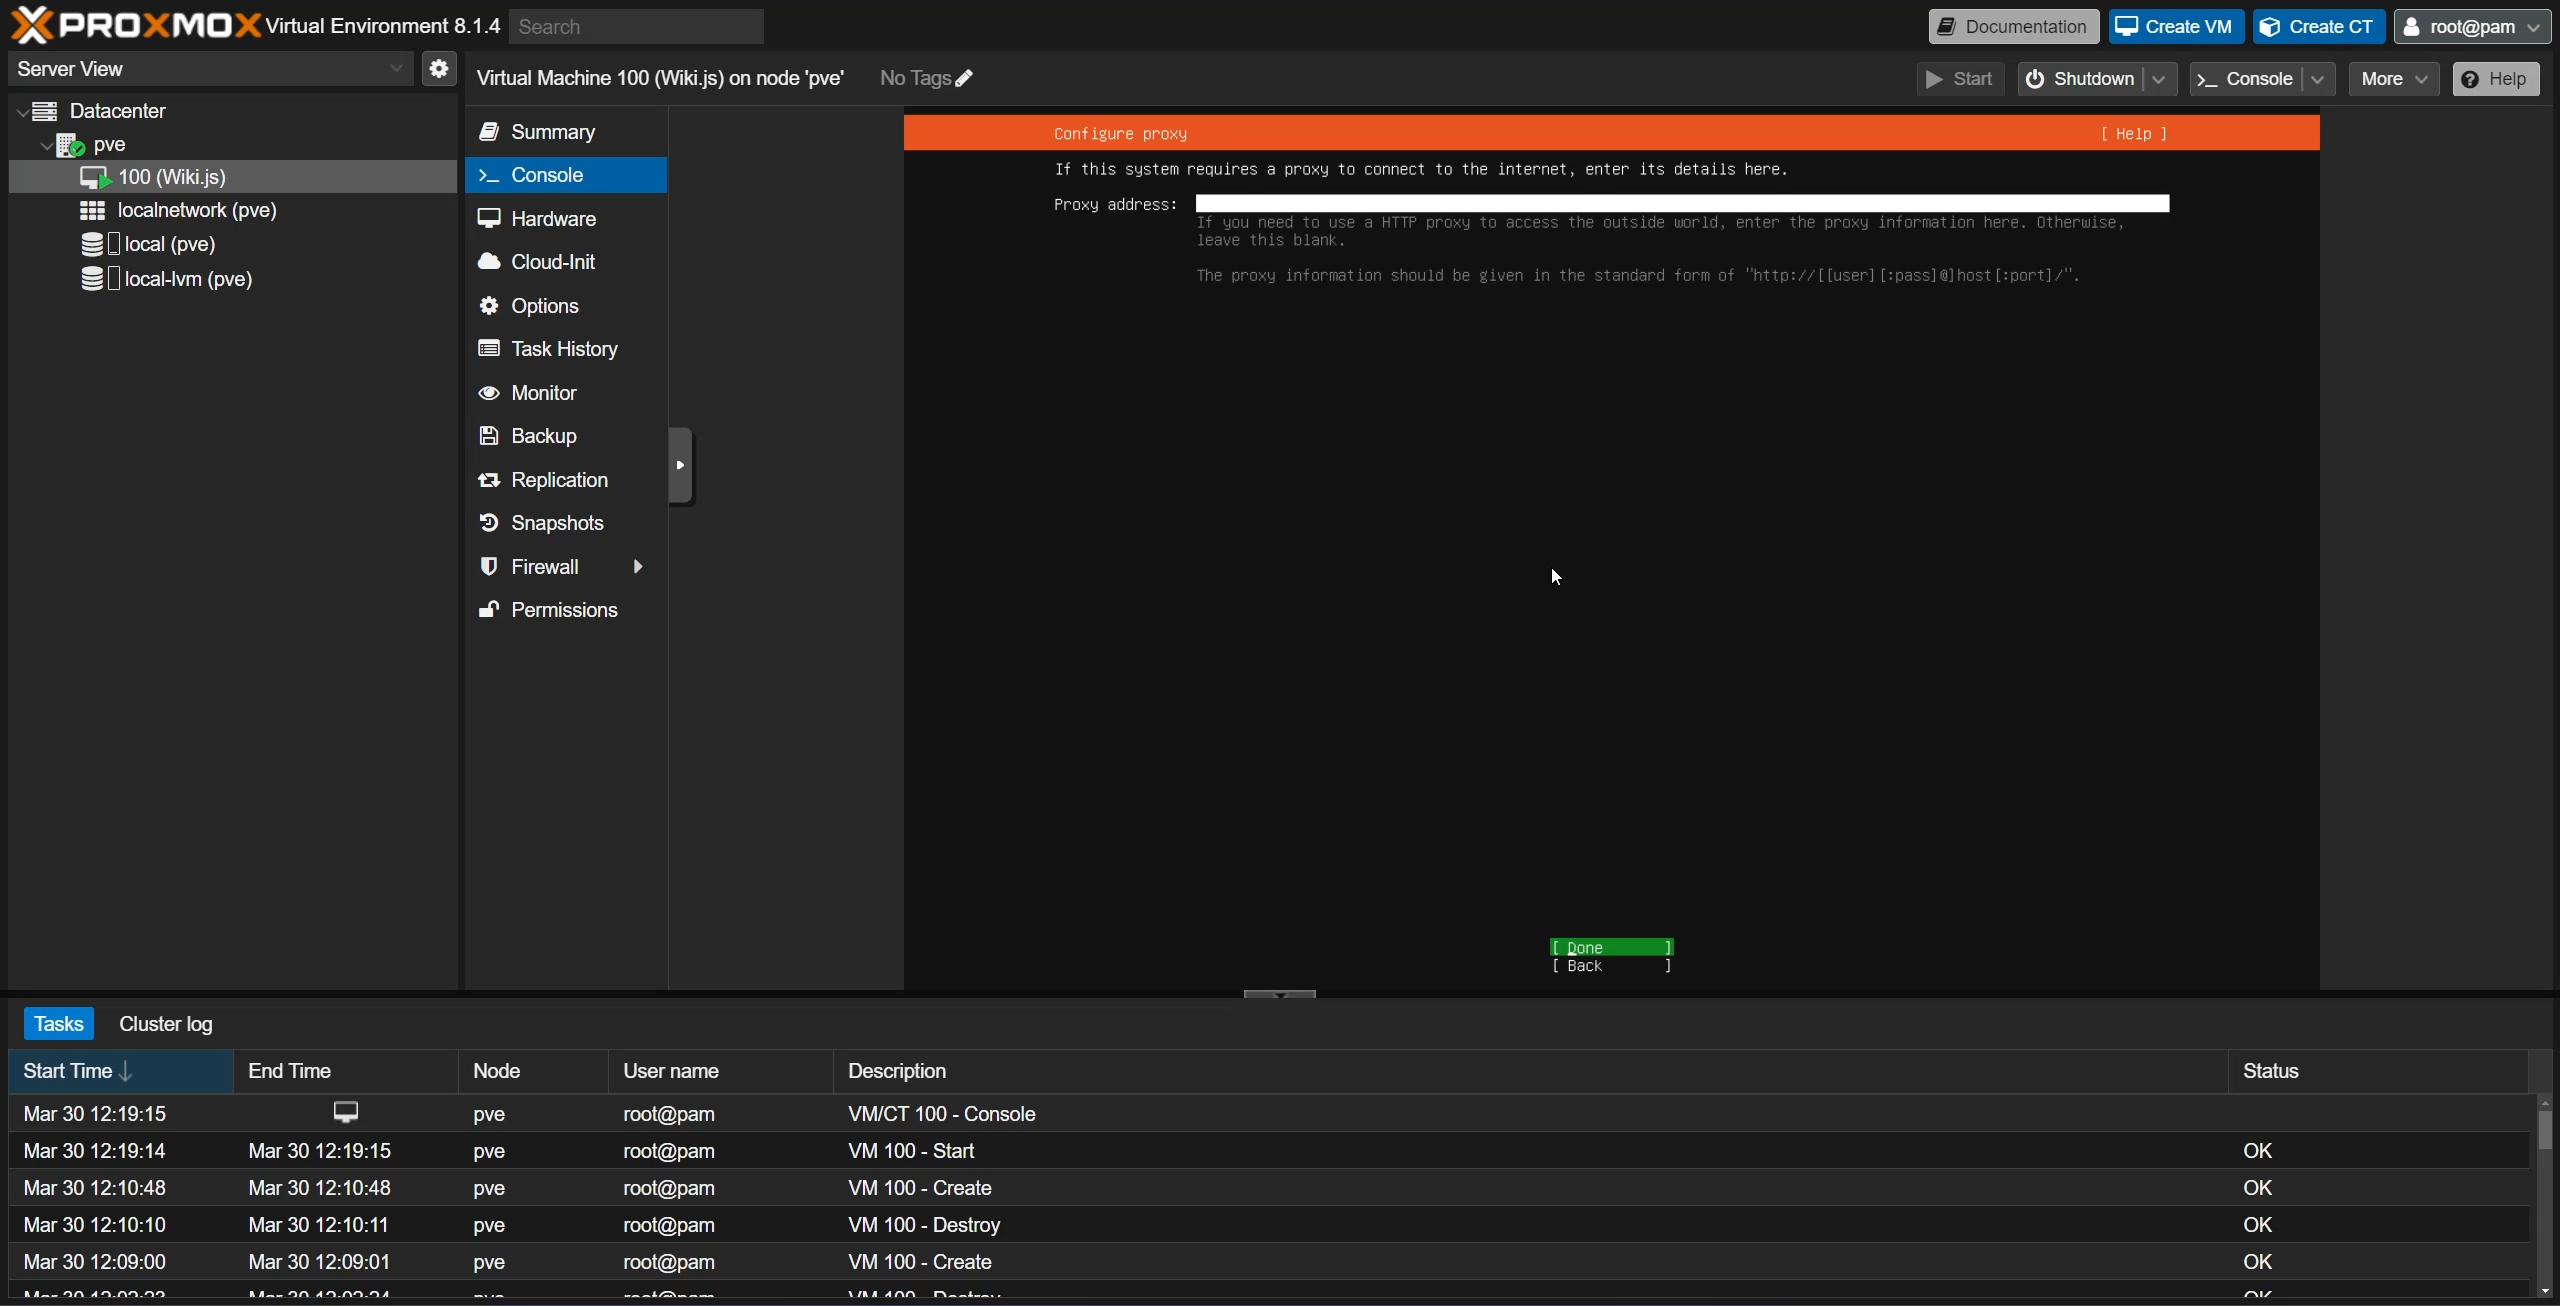
- We can skip this because we are not using a proxy.
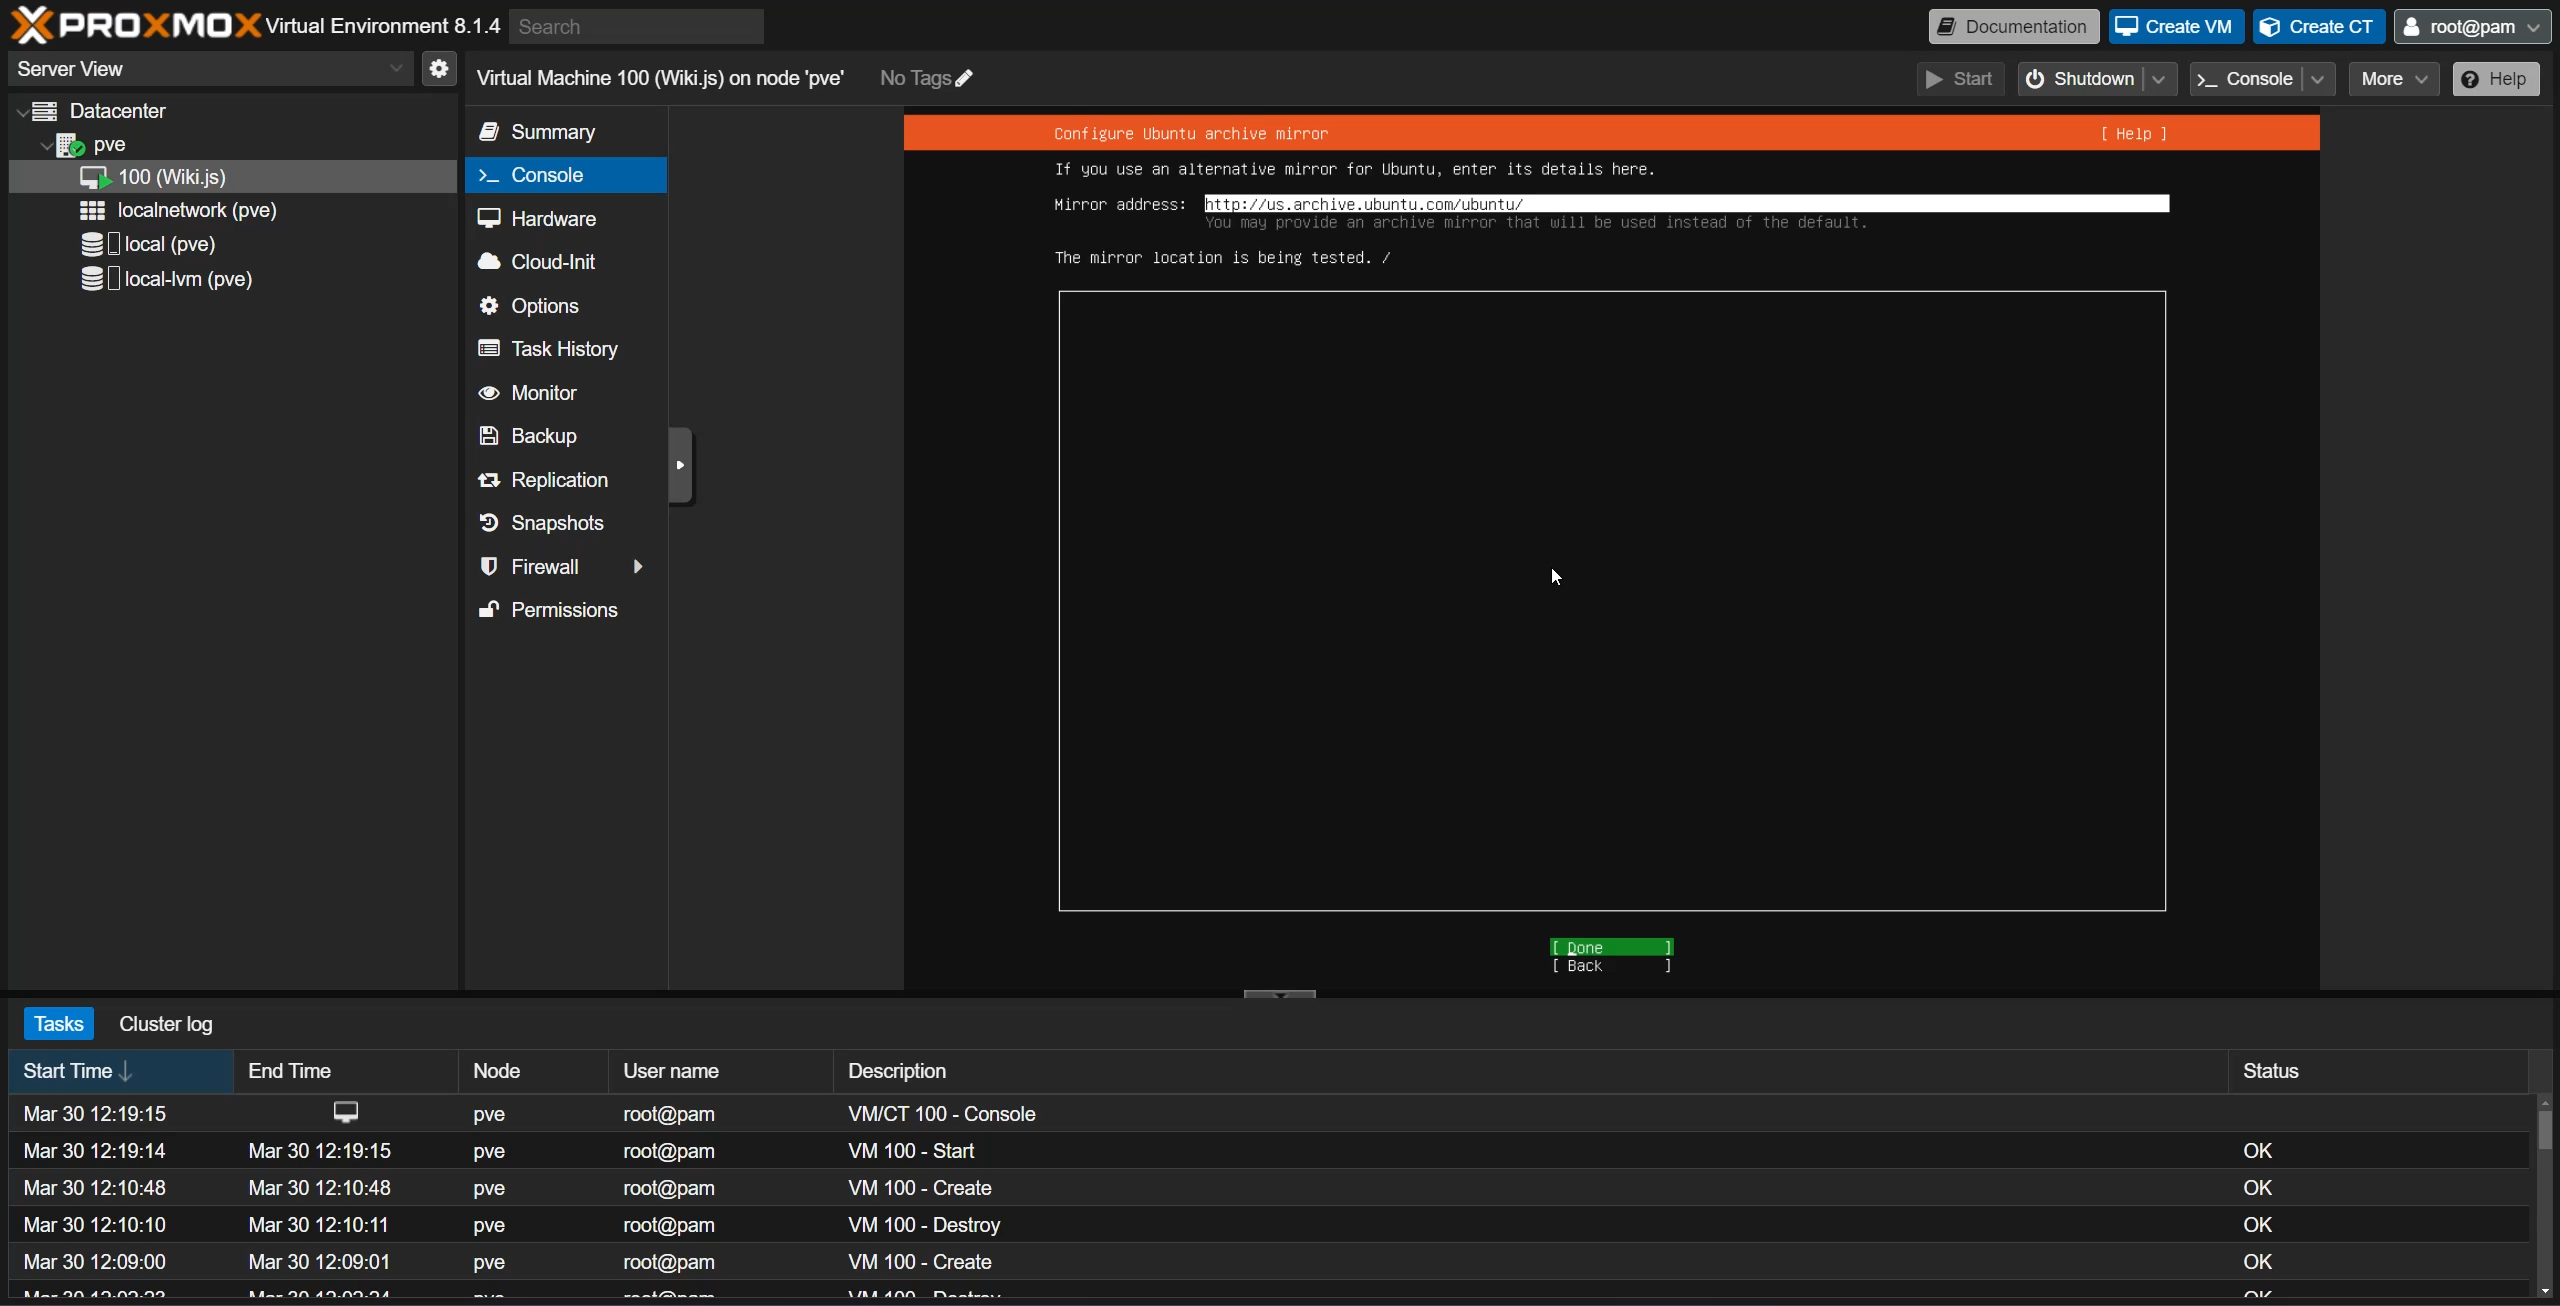
- Our Ubuntu server is testing the mirror (a way to grab updates), after the mirror connection is confirmed you can select done.
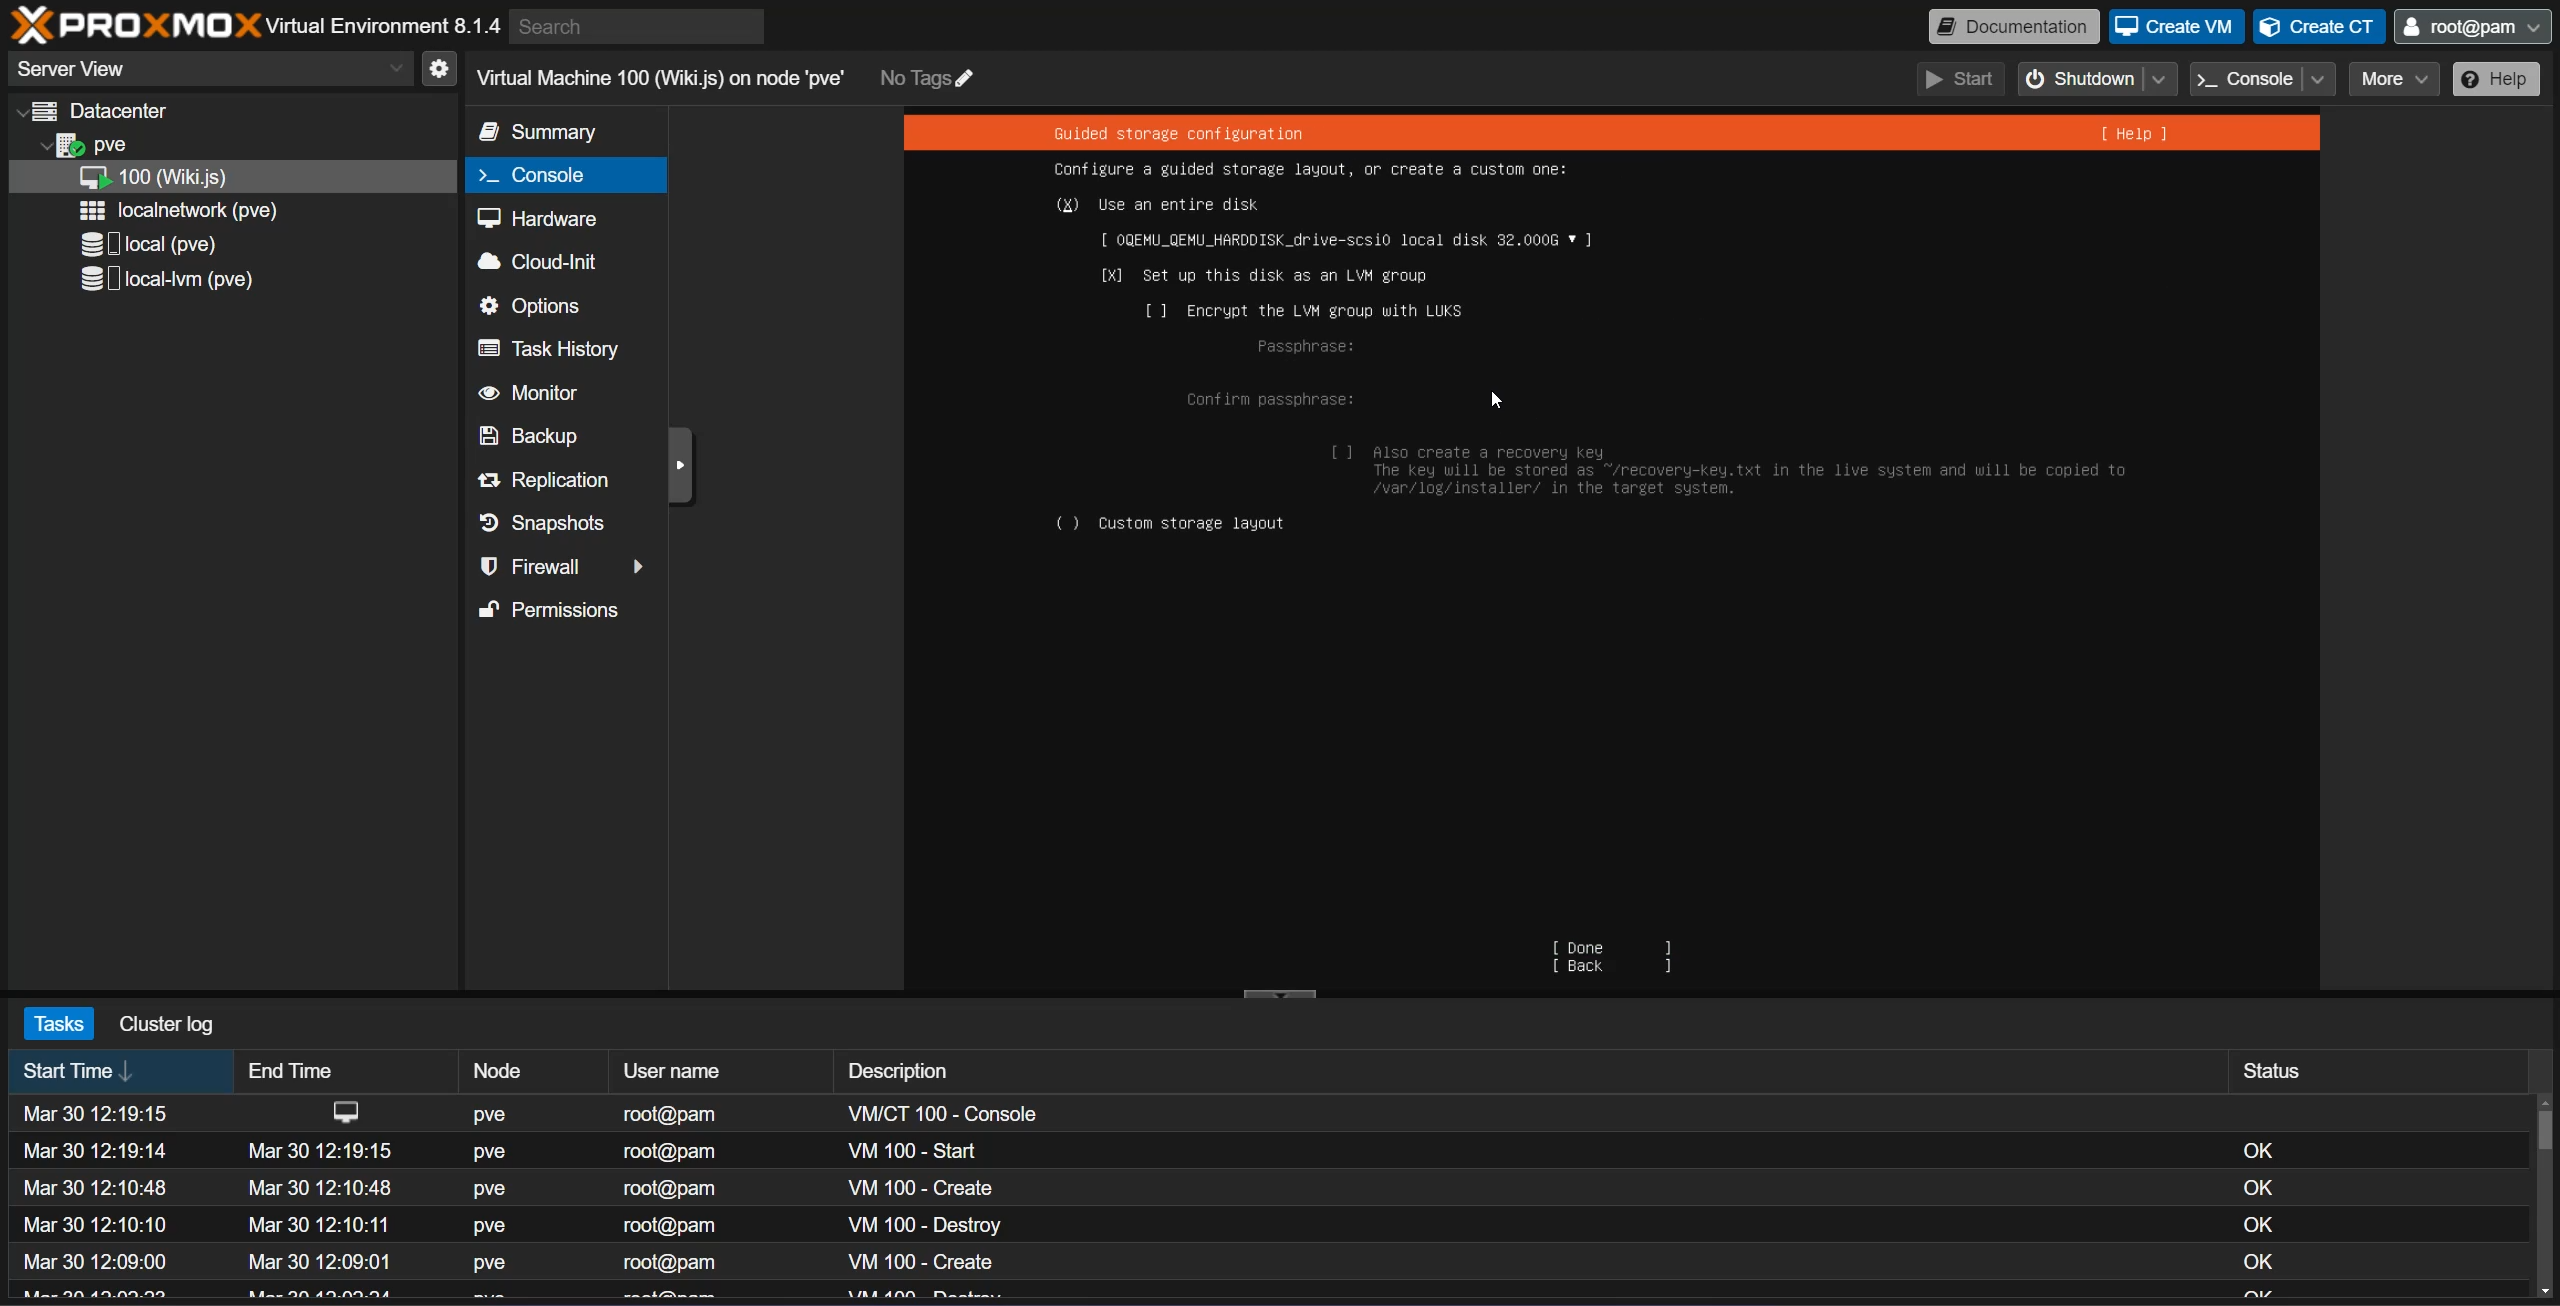
- In the case of Proxmox, we are creating a virtual machine, and during the setup of our Proxmox VM, we set the disk drive size, meaning our VM can only see the virtualized partitioned disk drive (this prevents you from overwriting any other VM disk partitions on your server). You are good to go ahead and use the WHOLE disk drive in this case.
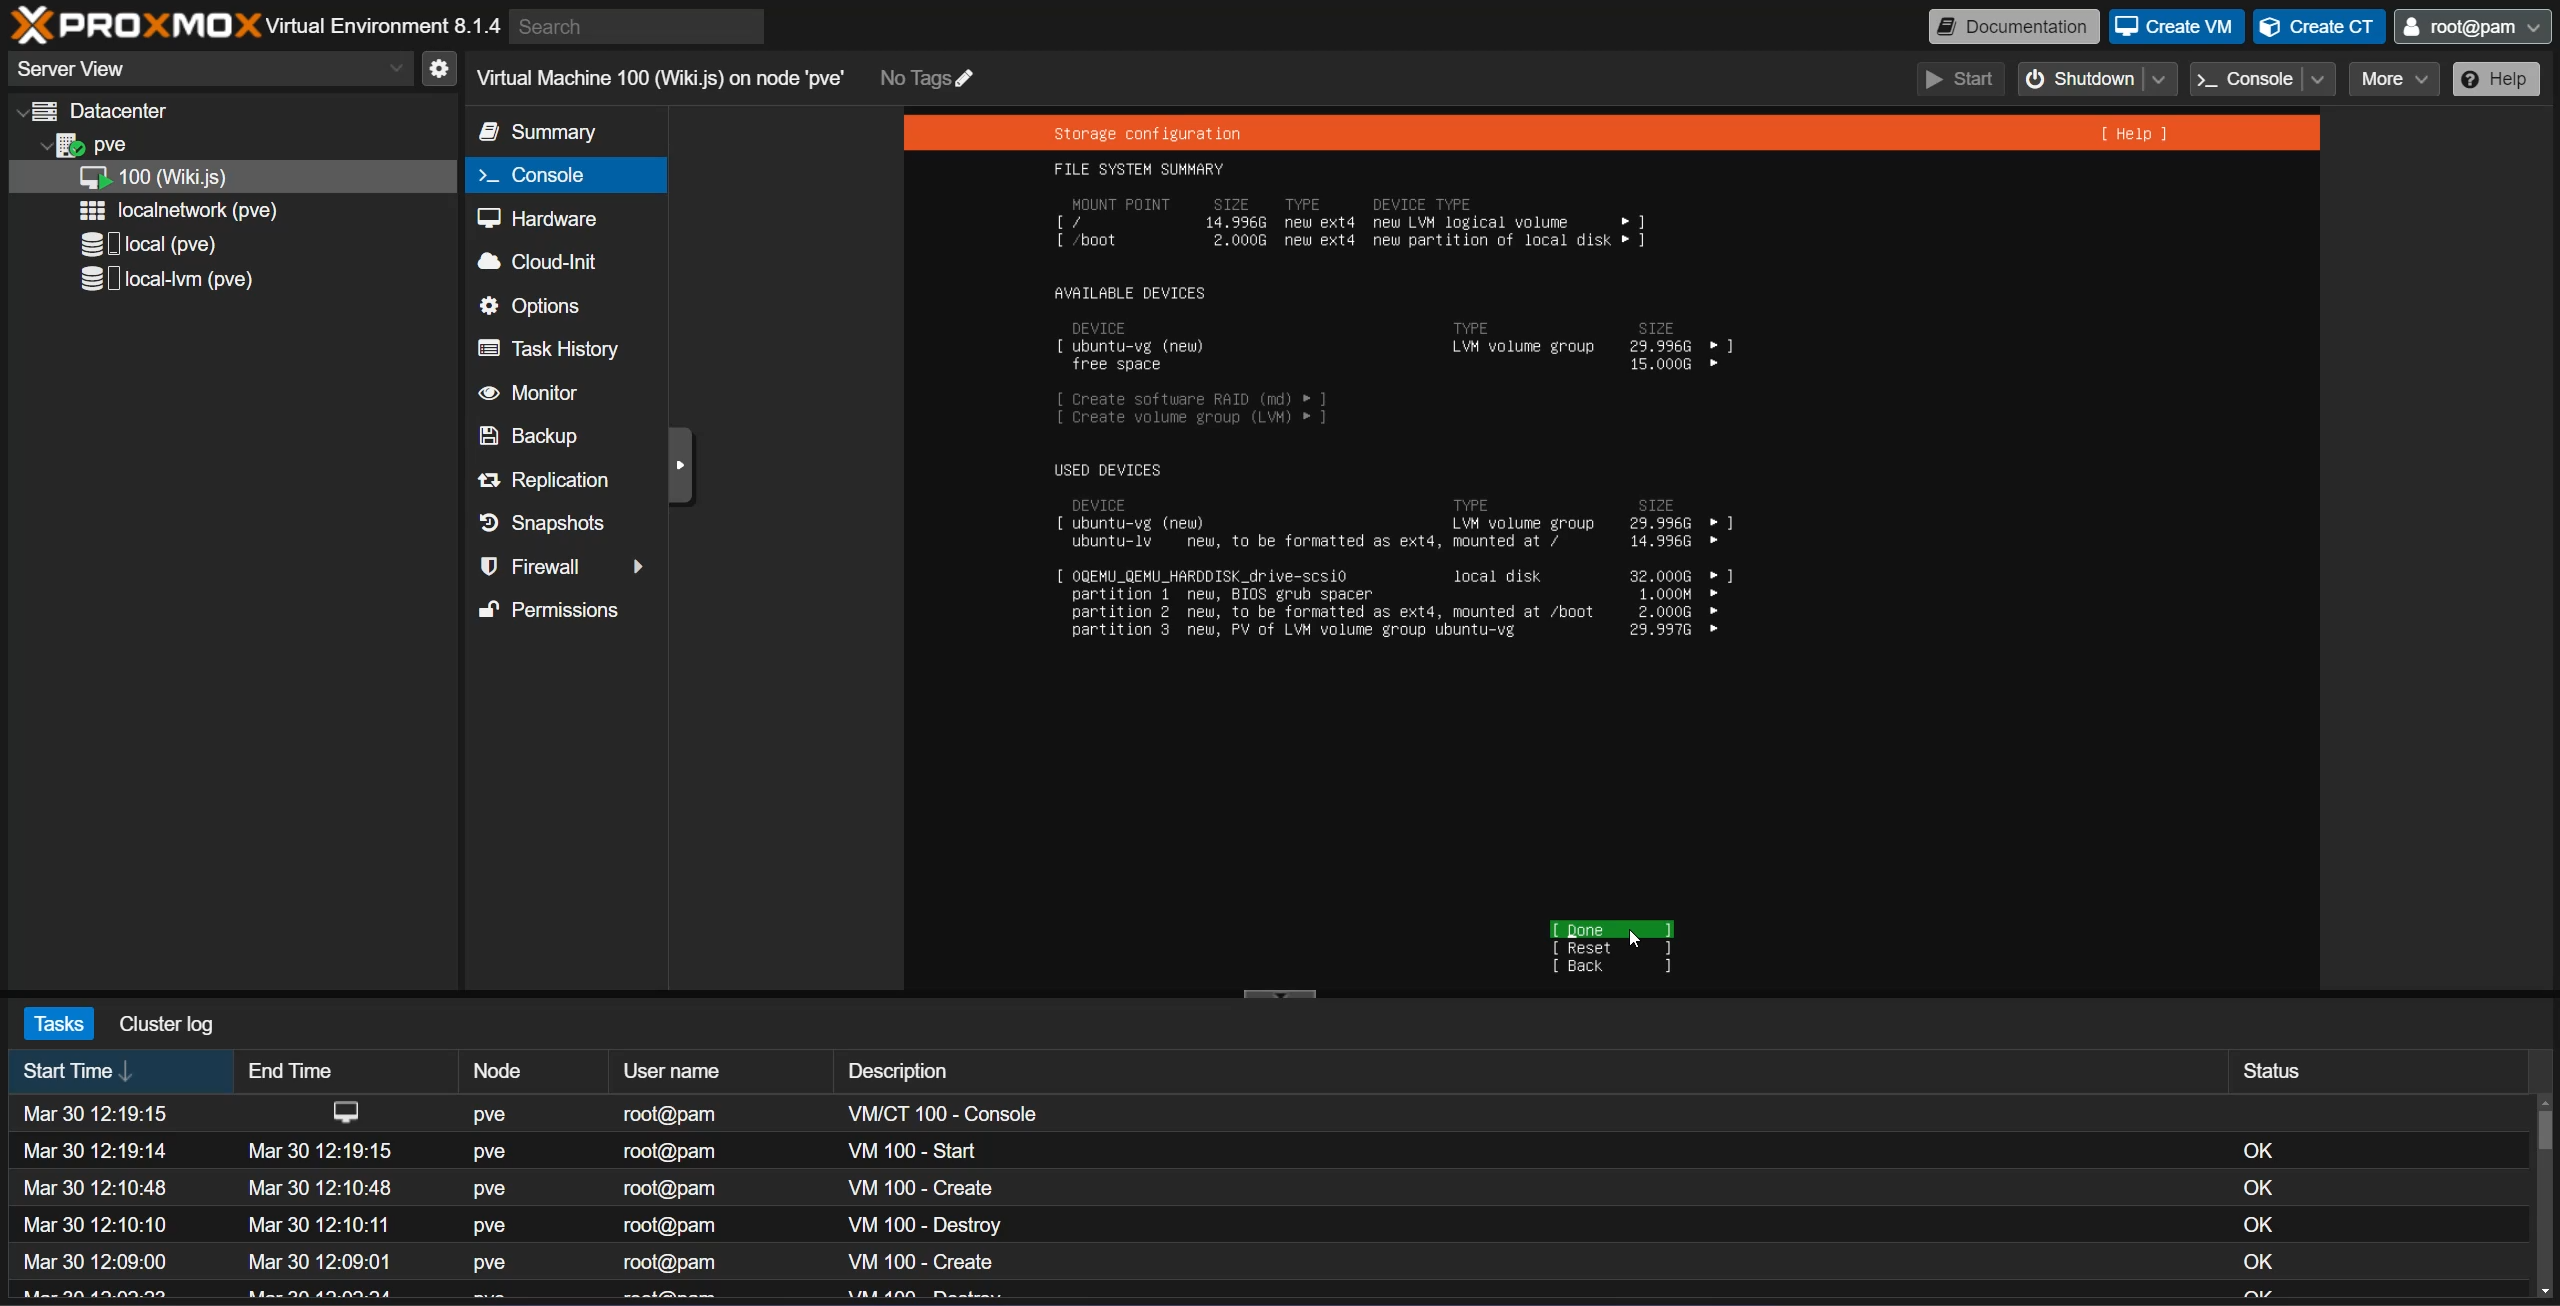
- This is just giving you a breakdown of that partitioned disk and how much space is going to each resource.
- Your name can be set to the same as the username. The username and password is what will be used when we SSH into this (VM SO DO NOT FORGET THEM!). Setting the server name is very important, this is how your VM will appear to all other devices on your network, make is something memorable that explains what this VM is.
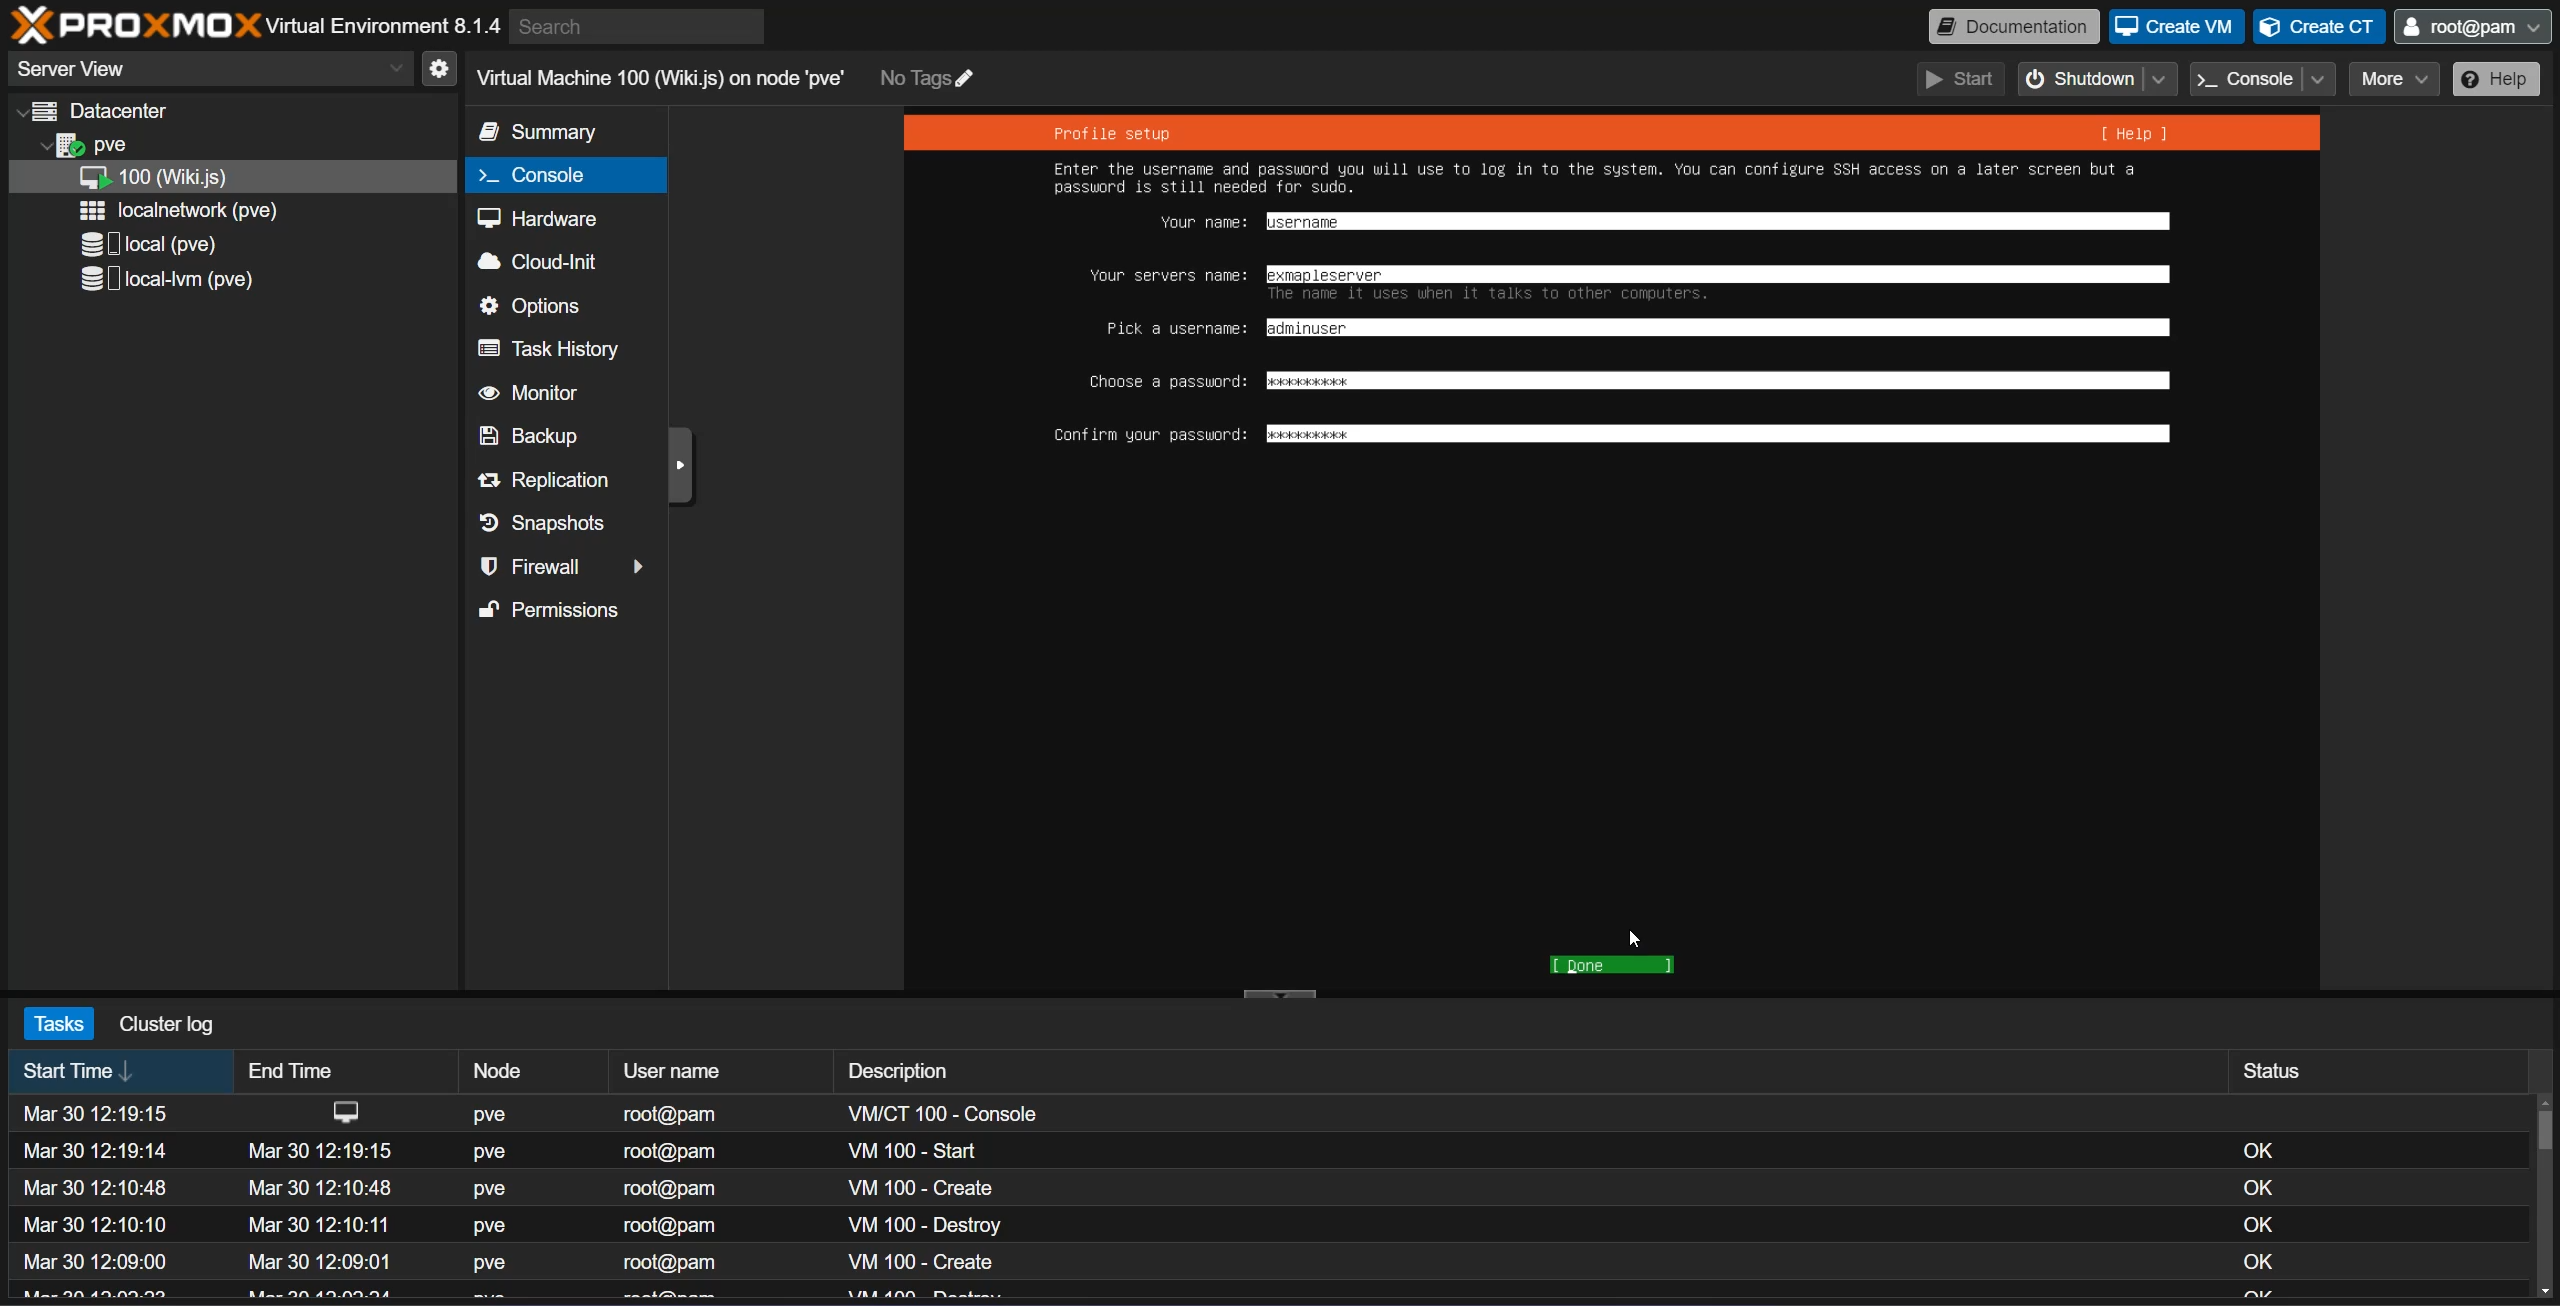
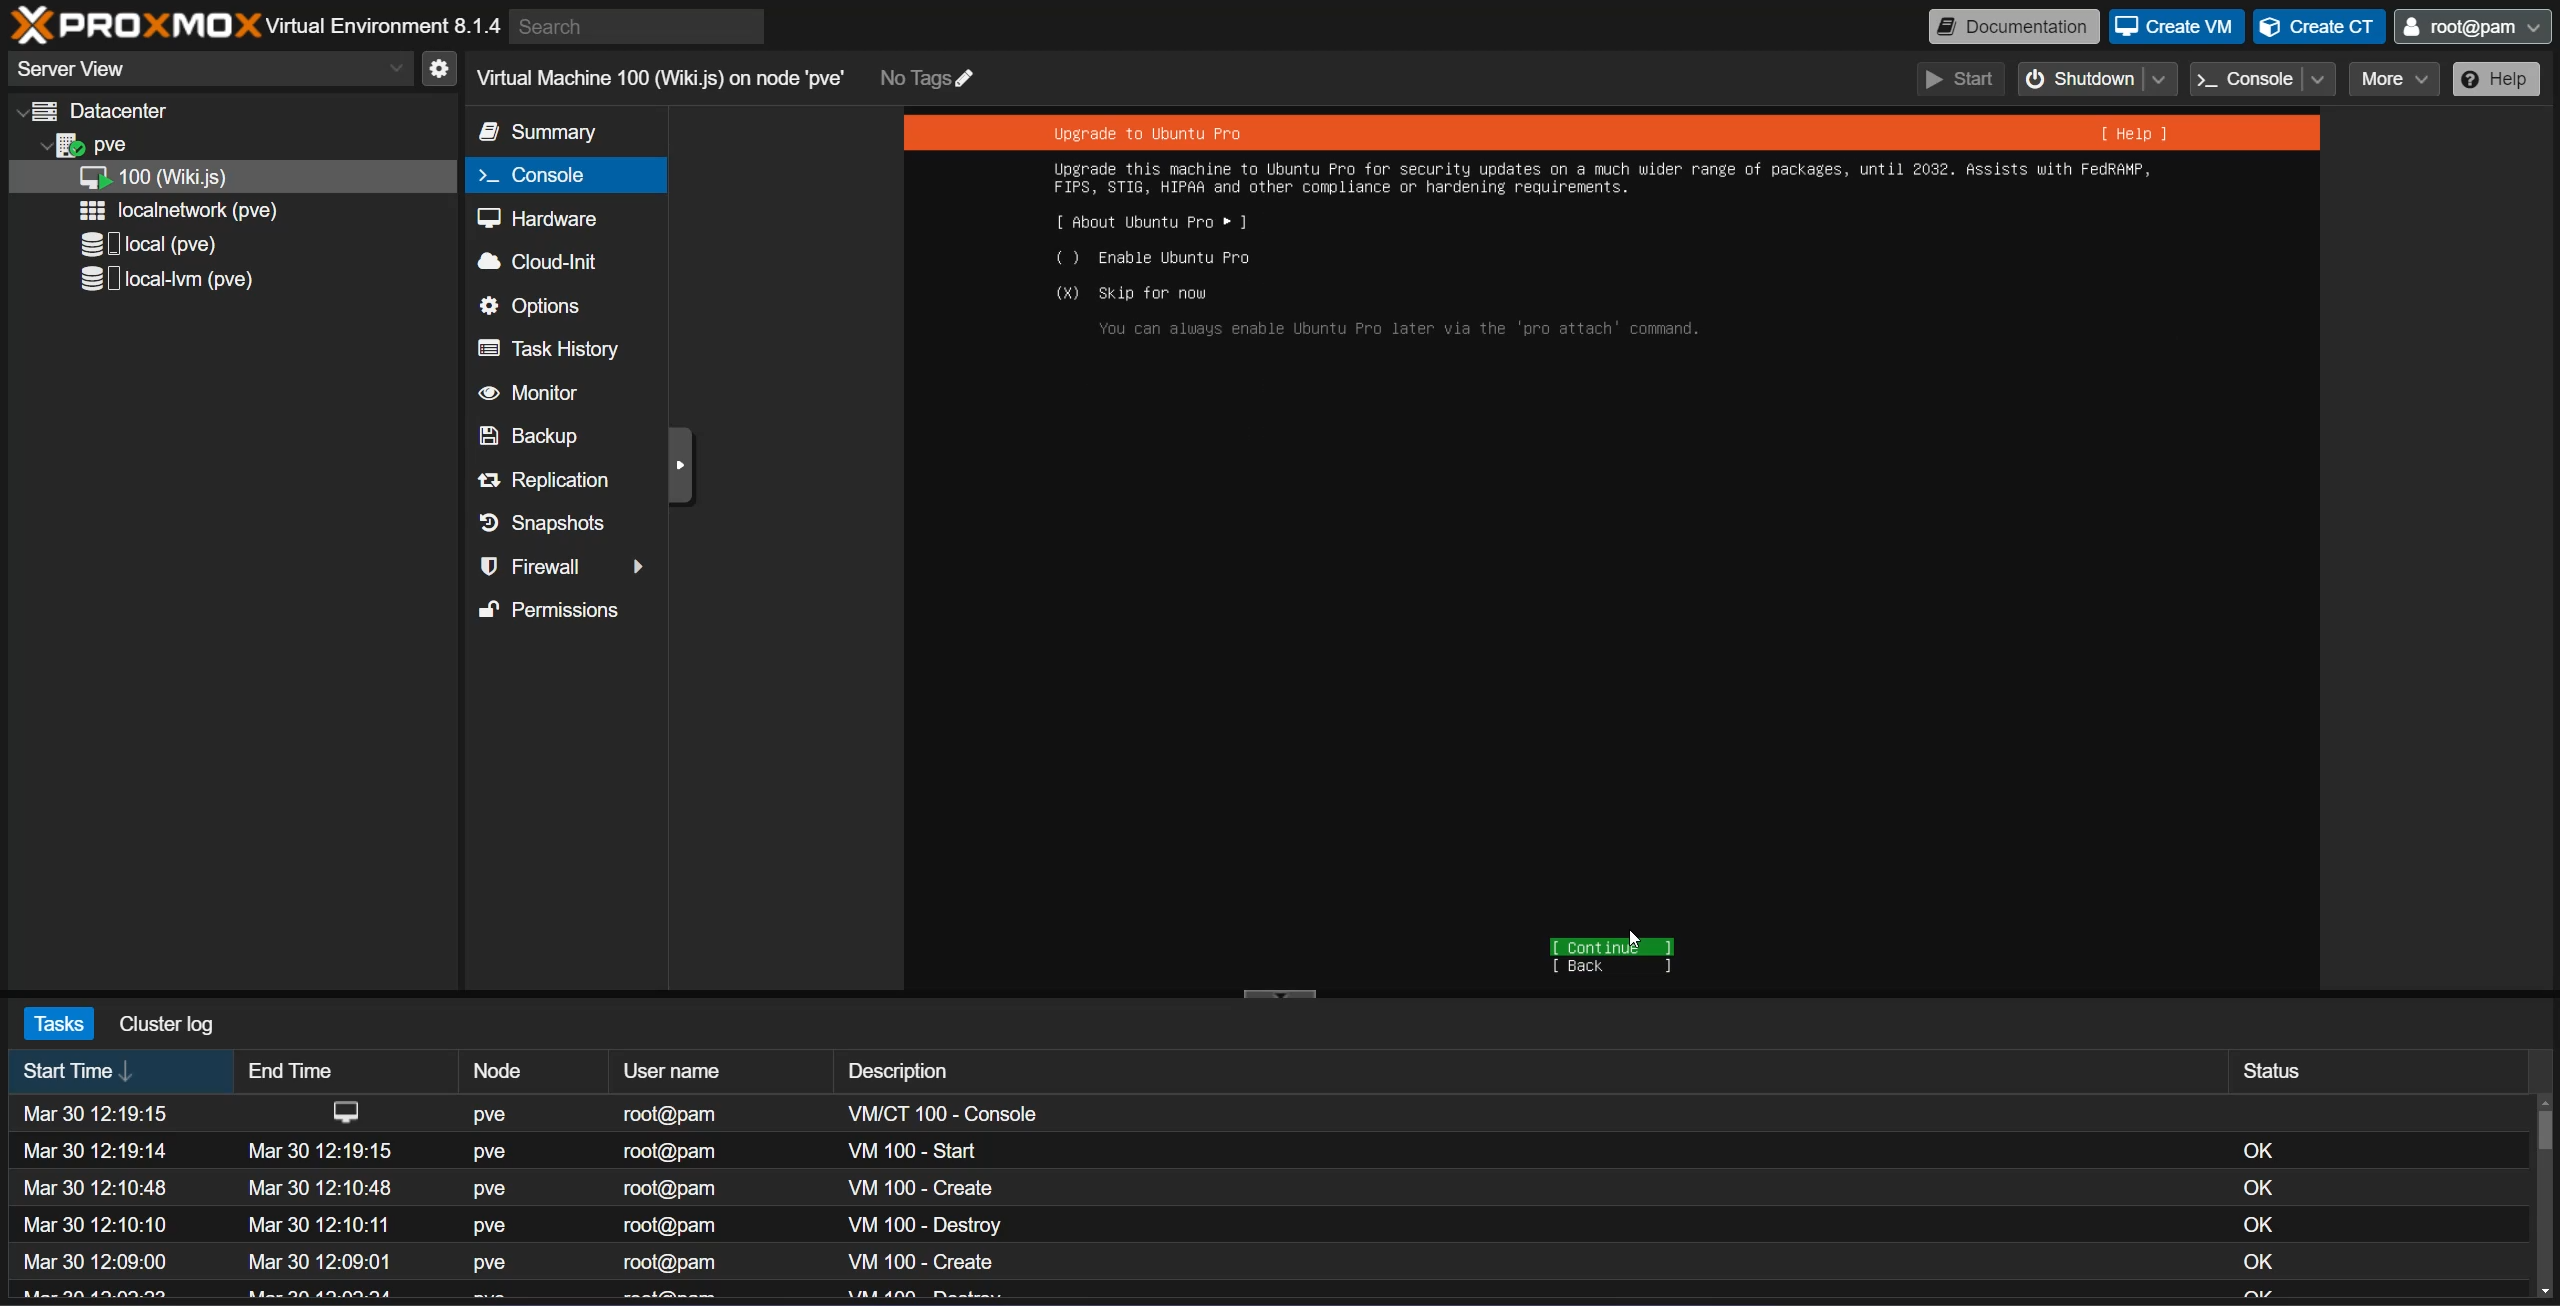
- You can skip this and select done.
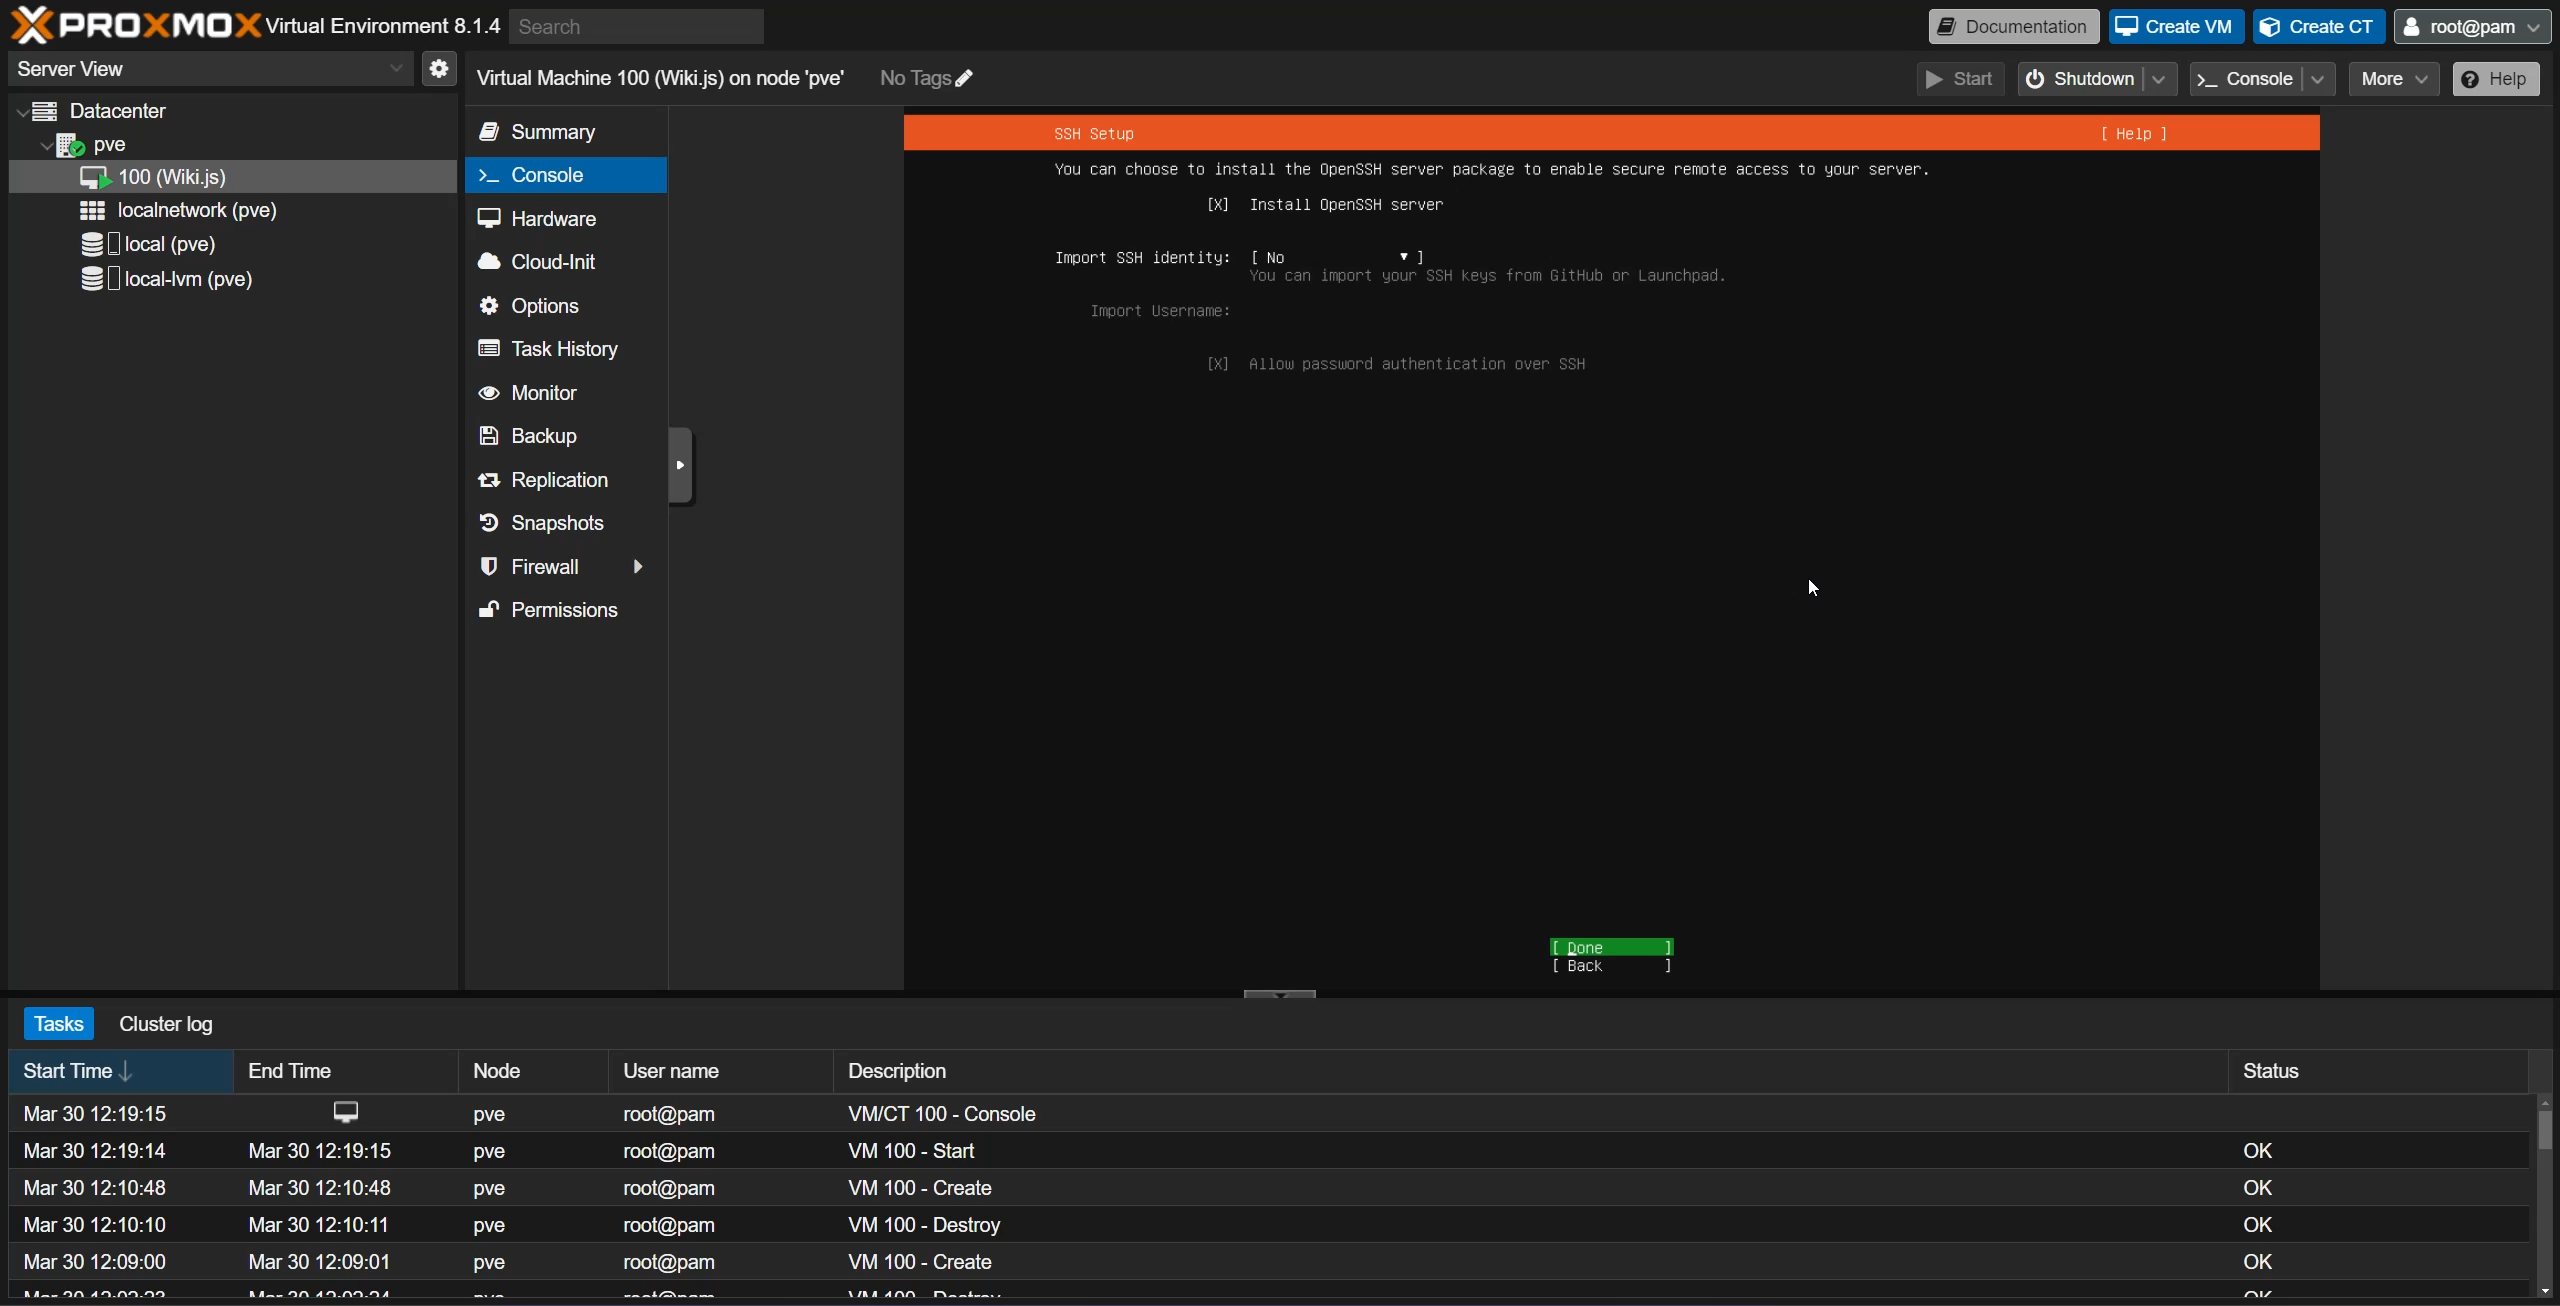
- This part is so important, make sure you click enter on your keyboard and there is a 'X' in the openssh box. This allows us to SSH into your server. {.is-warning}
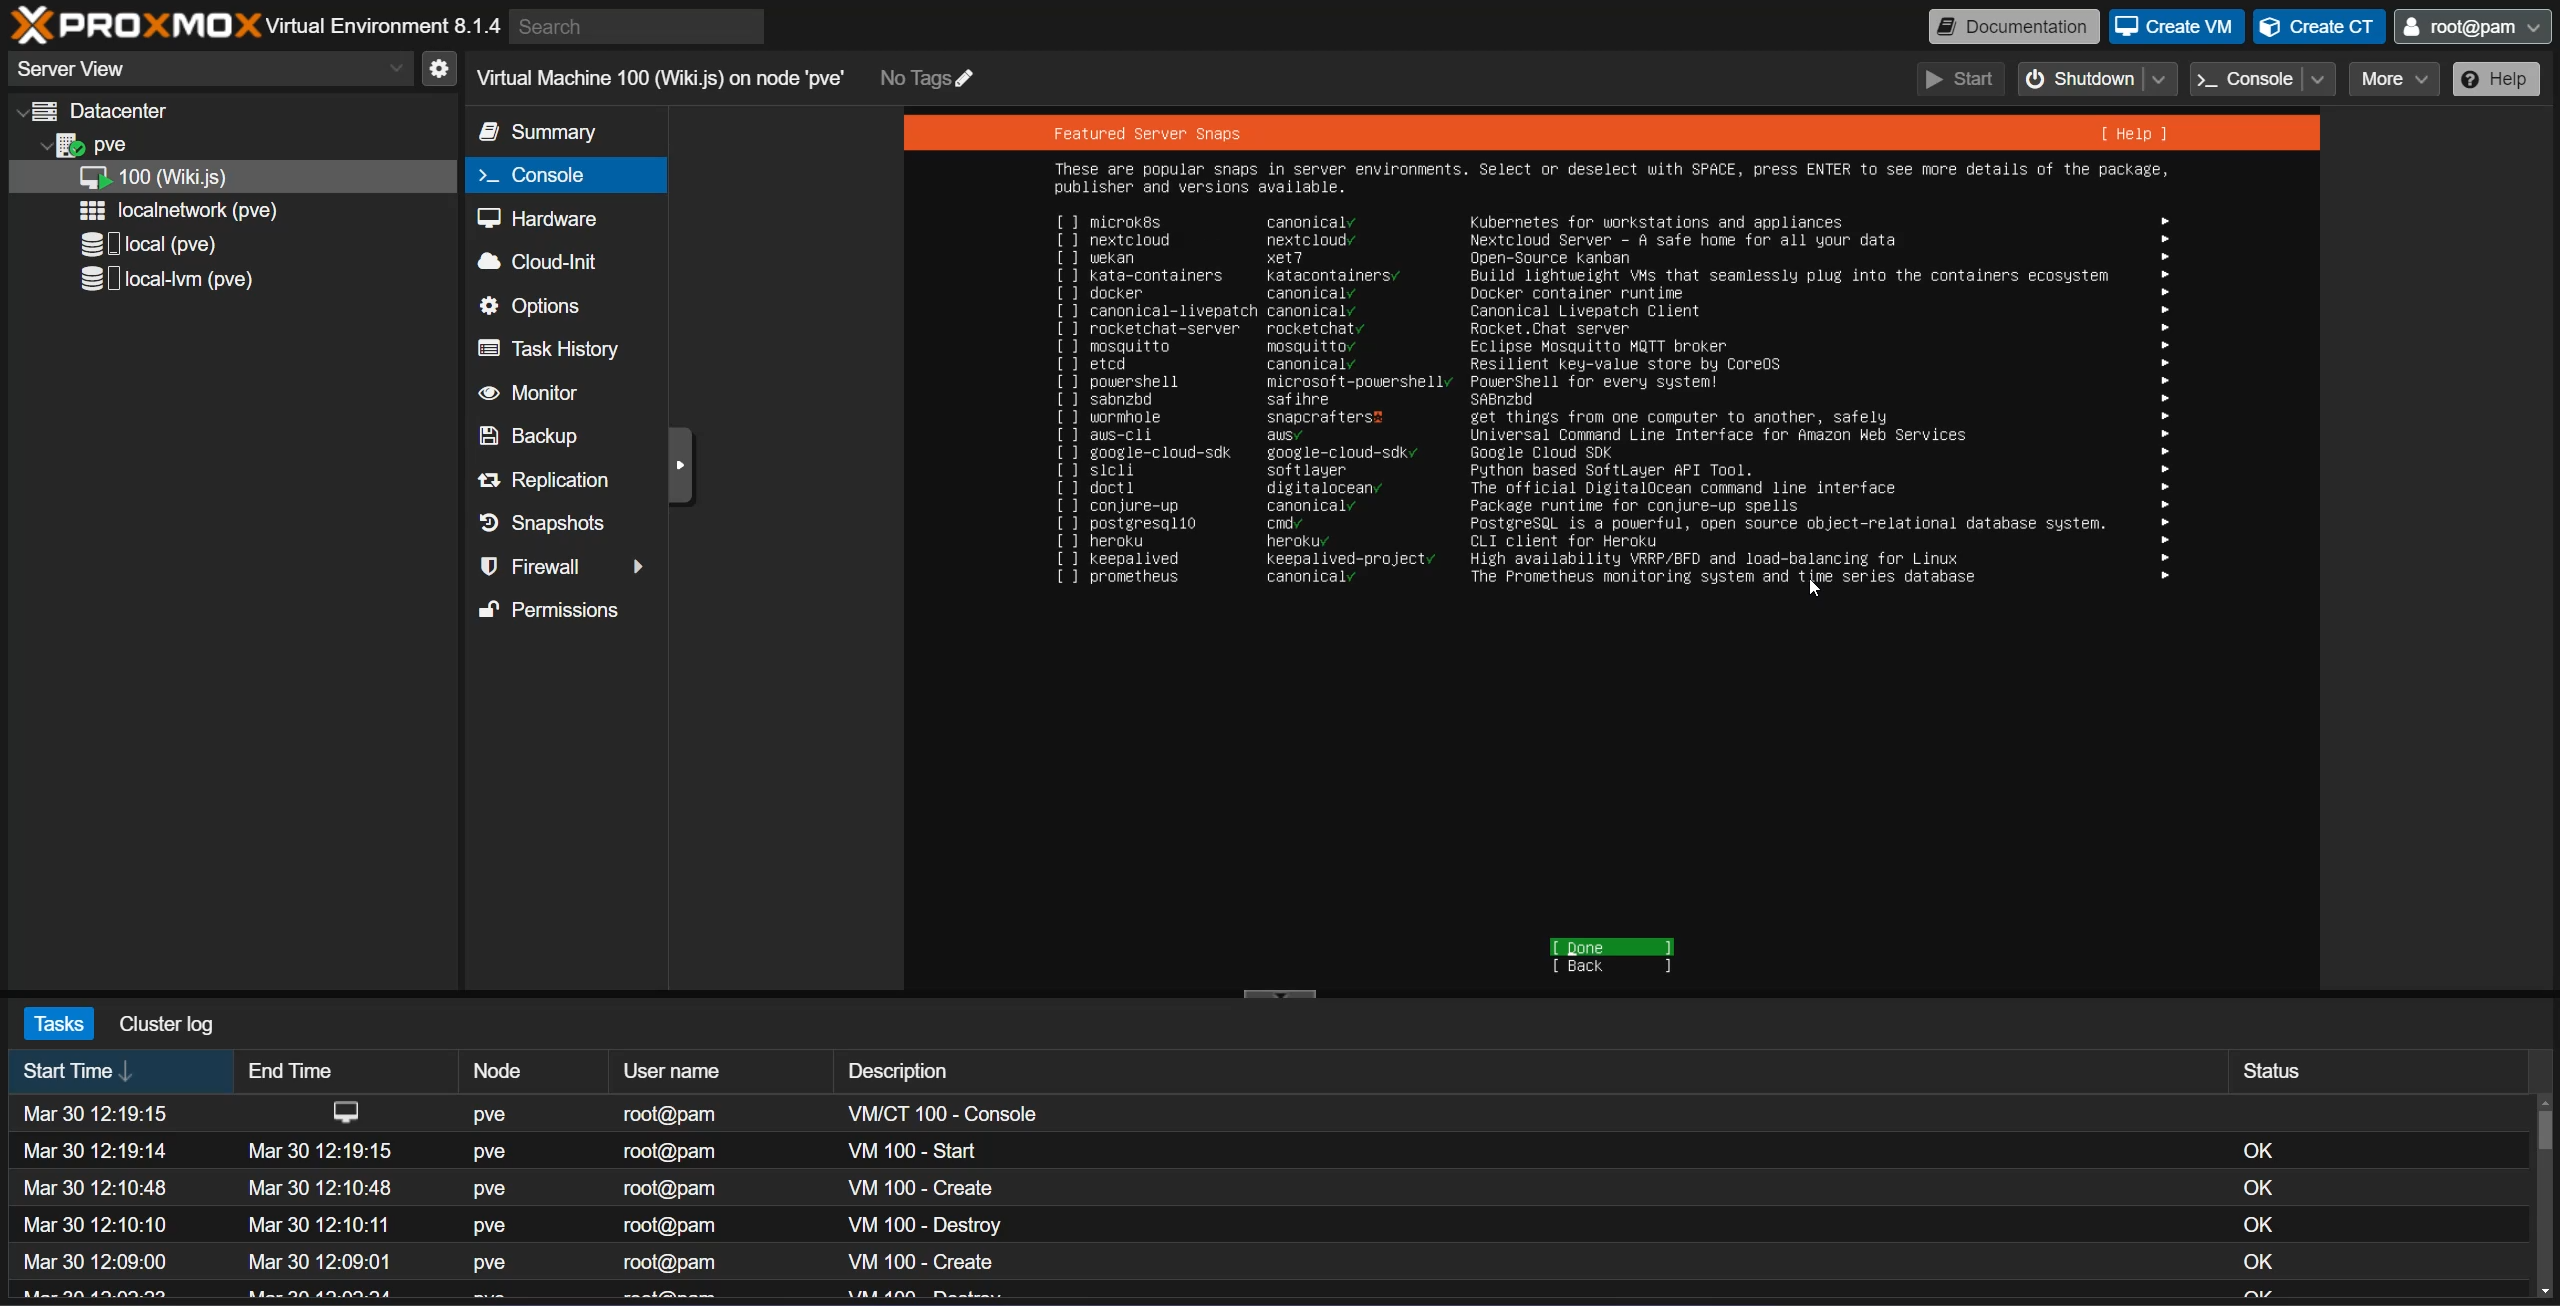
- You can skip all this content.
- Wait for the VM to finish installing.
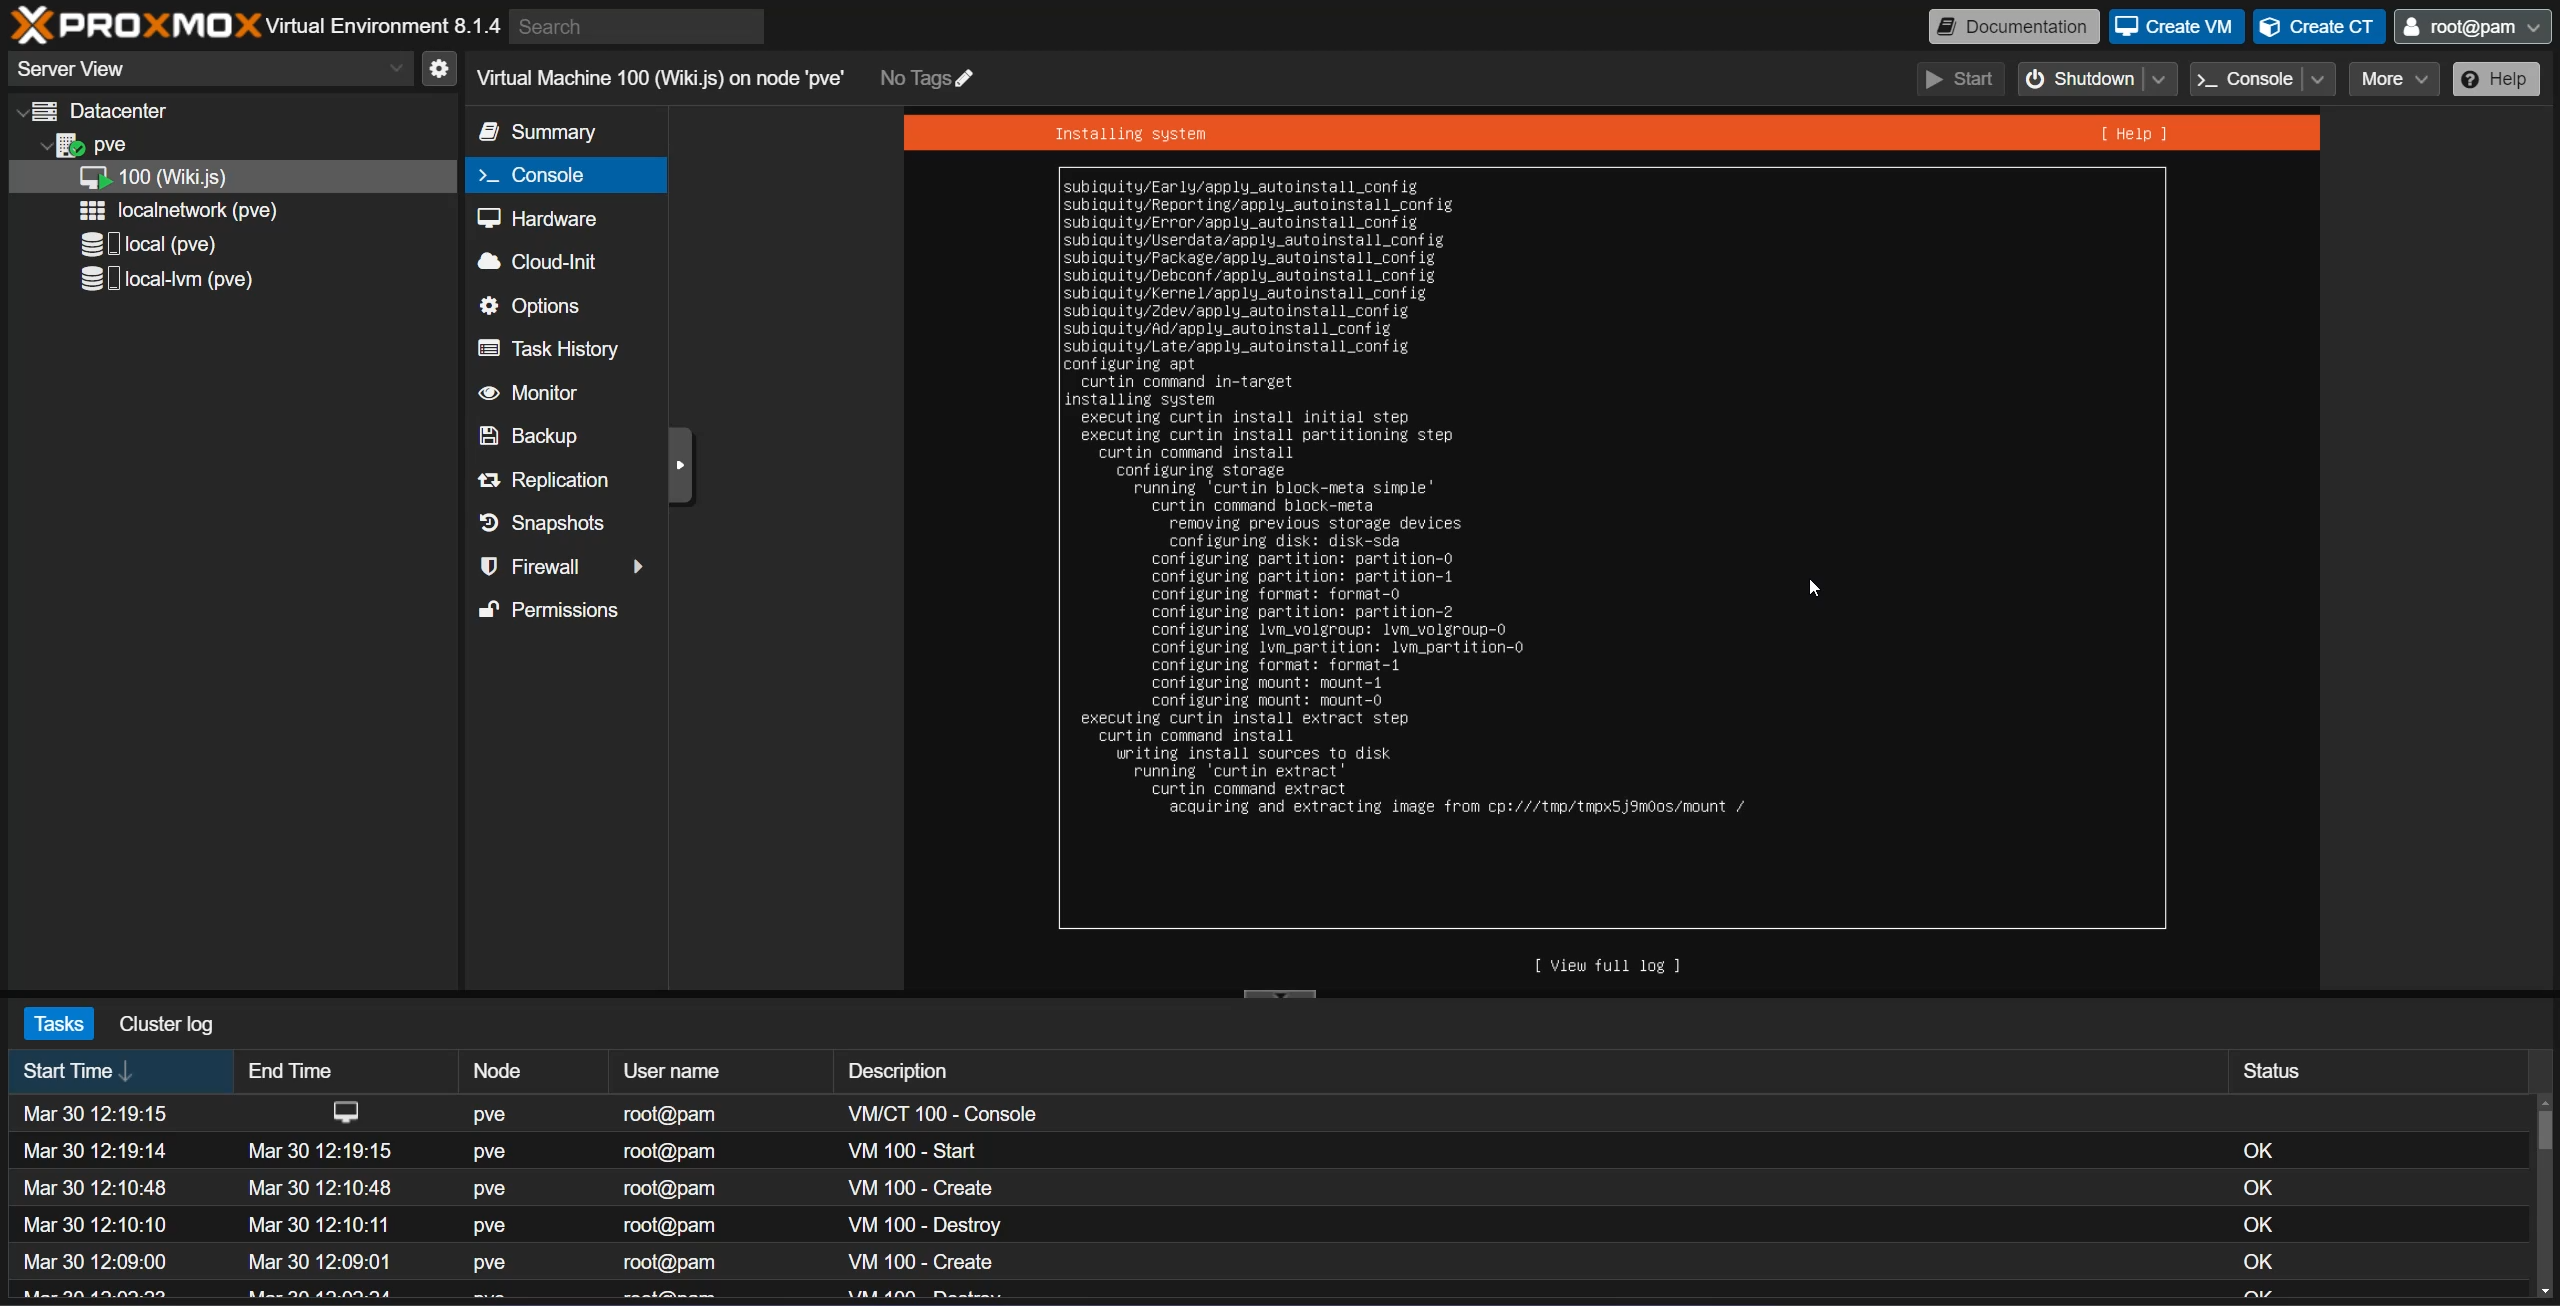
- Reboot now after that is complete.

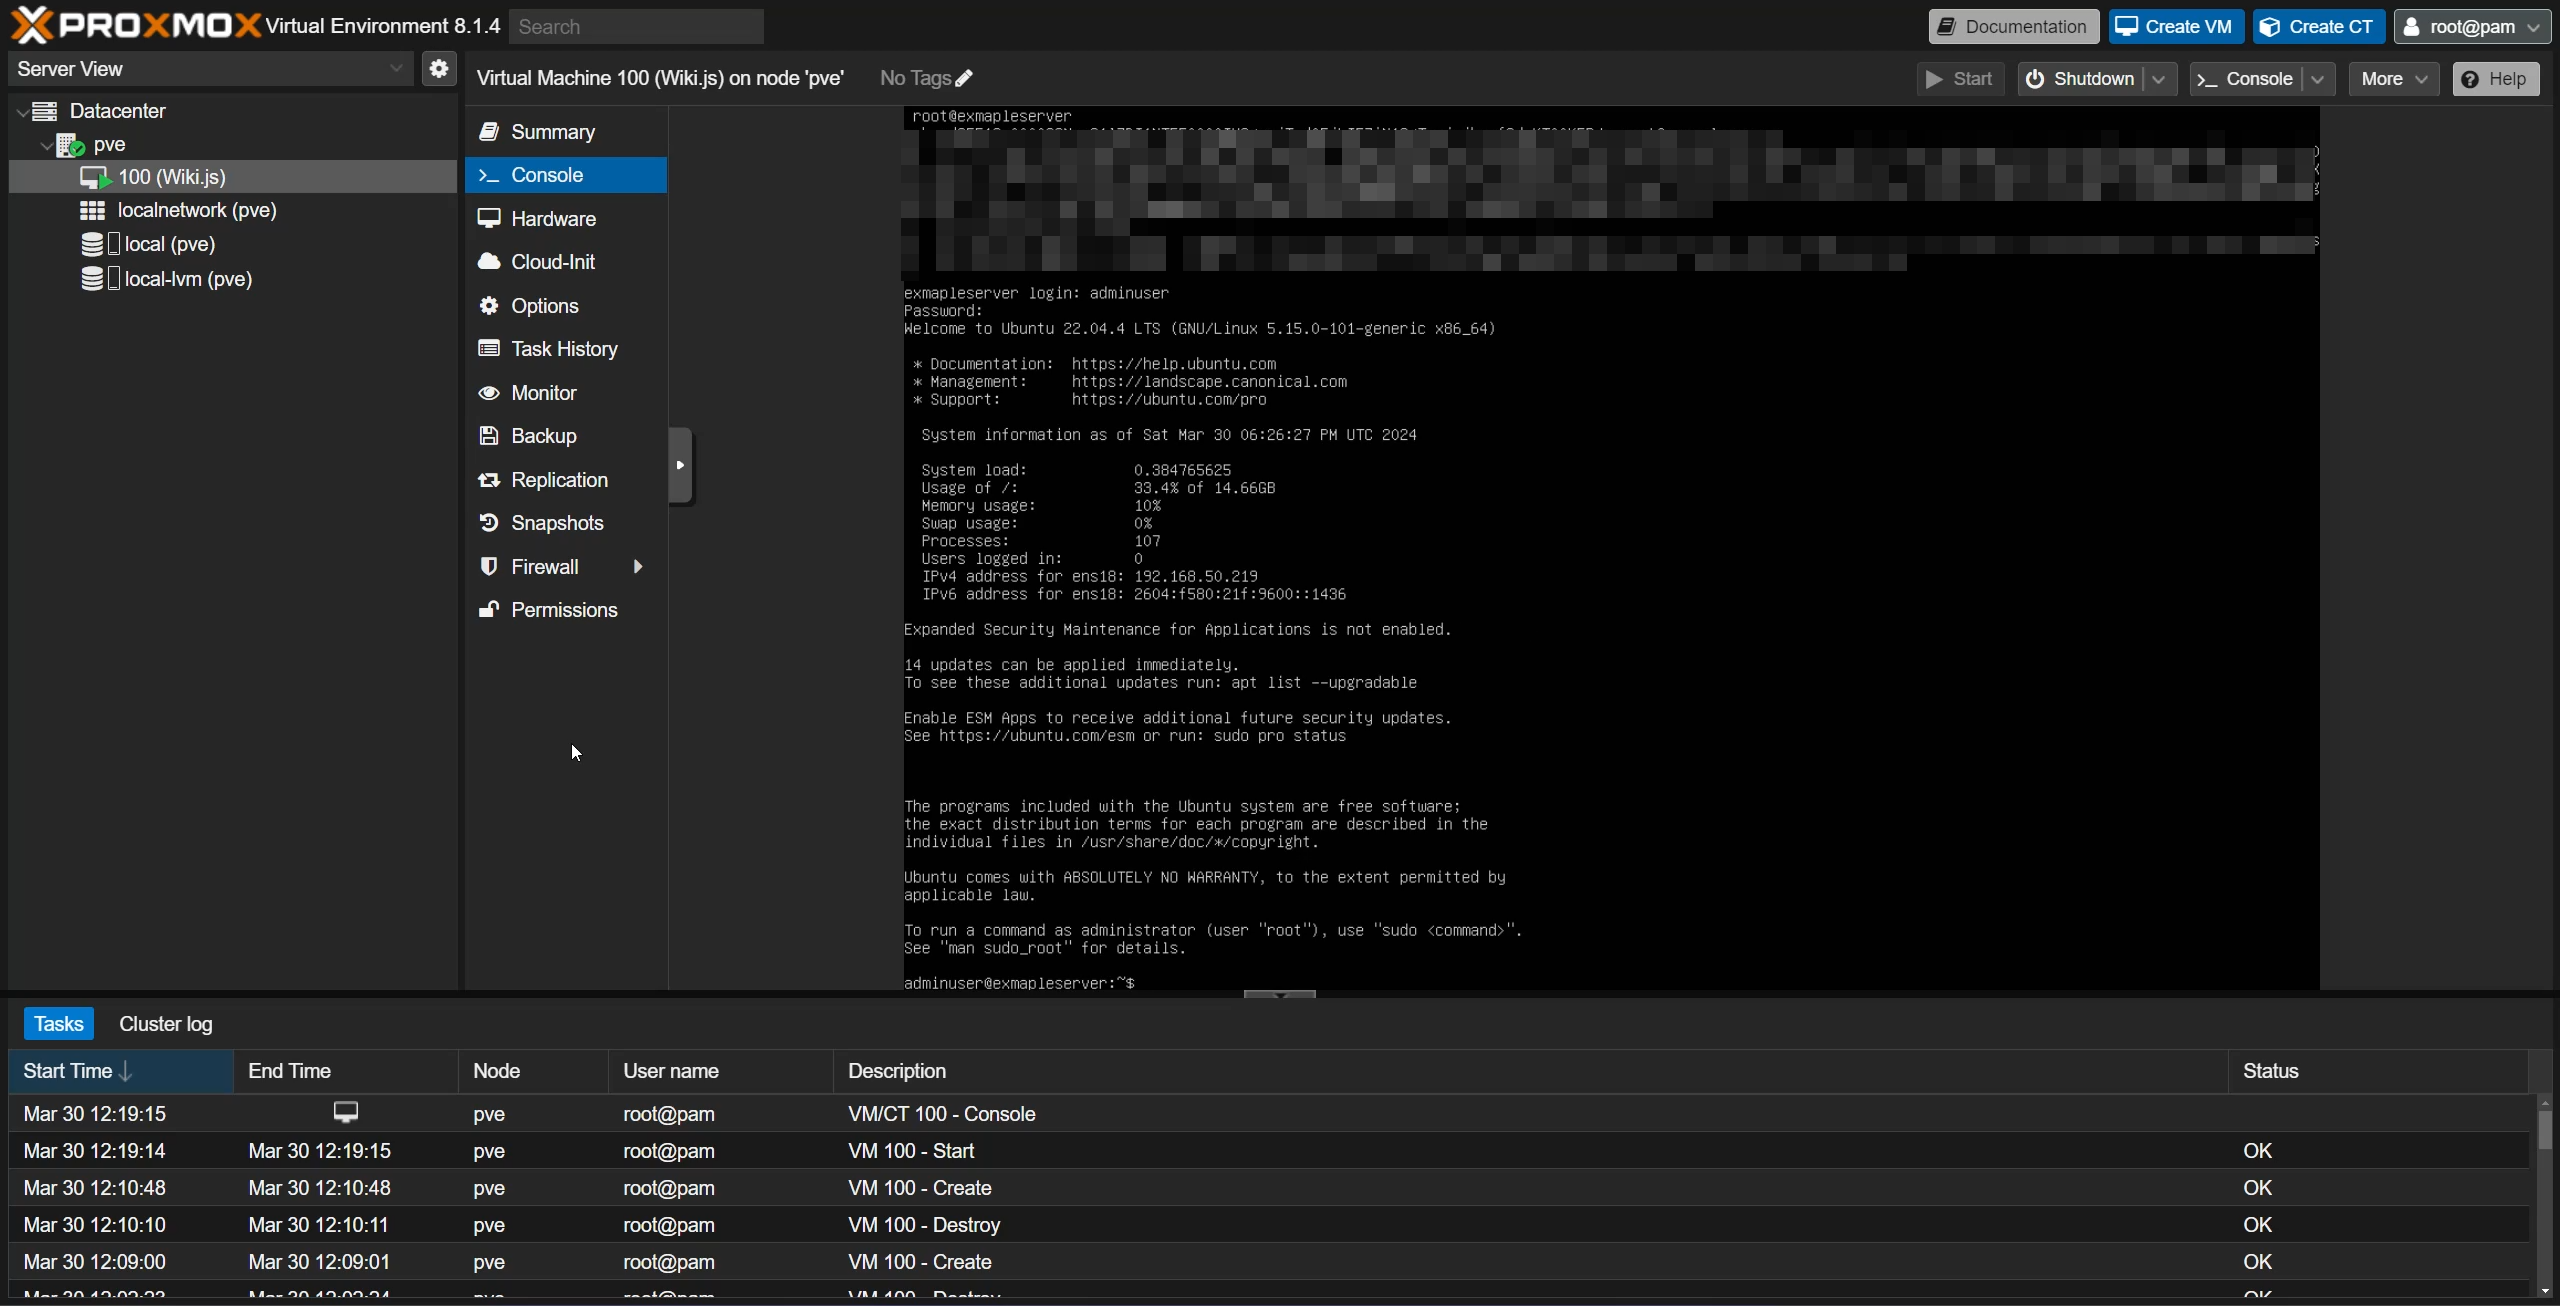
- Now you can login to your VM with the credentials you made earlier, this will allow you to see the IP address of your VM so we can use Putty and SSH to control it.
- If you are on Windows 11 or newer we reccomend using Windows command line (CLI) to SSH into your machines, this allows you to copy and paste.
- You can also login with SSH on Linux.
- If you are on Windows 10 or prior we reccomend using Putty
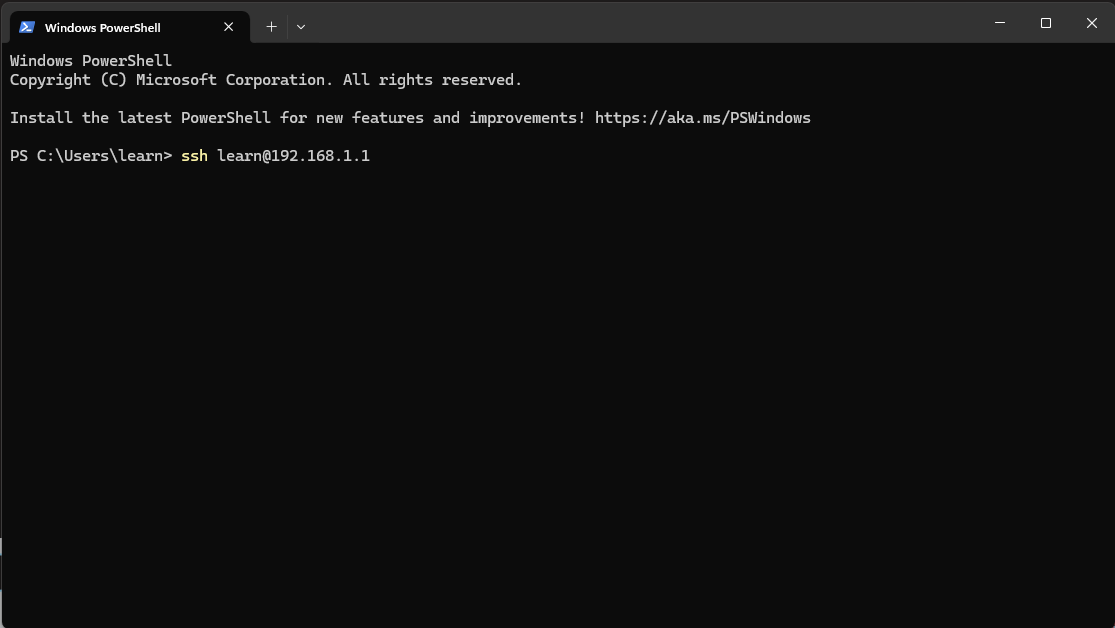
The command to use SSH in the CLI is:
Example:
Using SSH is important for future videos because it allows you to copy and paste content into your CLI and important data from your local machine to your VM.
