Setting up your first Video Game Server (Minecraft Example)!
Hey guys, in this episode we are going to cover setting up any SteamCMD based video game server using LinuxGSM and PlayitGG. In this example we are going to cover this topic with a Minecraft server. I personally love this project, and I got into computers more than 13 years ago now because of video game server hosting, it is what sparked the passion of computers for me!
Do not forget, on the right side of the screen are subject topics to easily move throughout this walkthrough!
Grabbing everything you need to get started
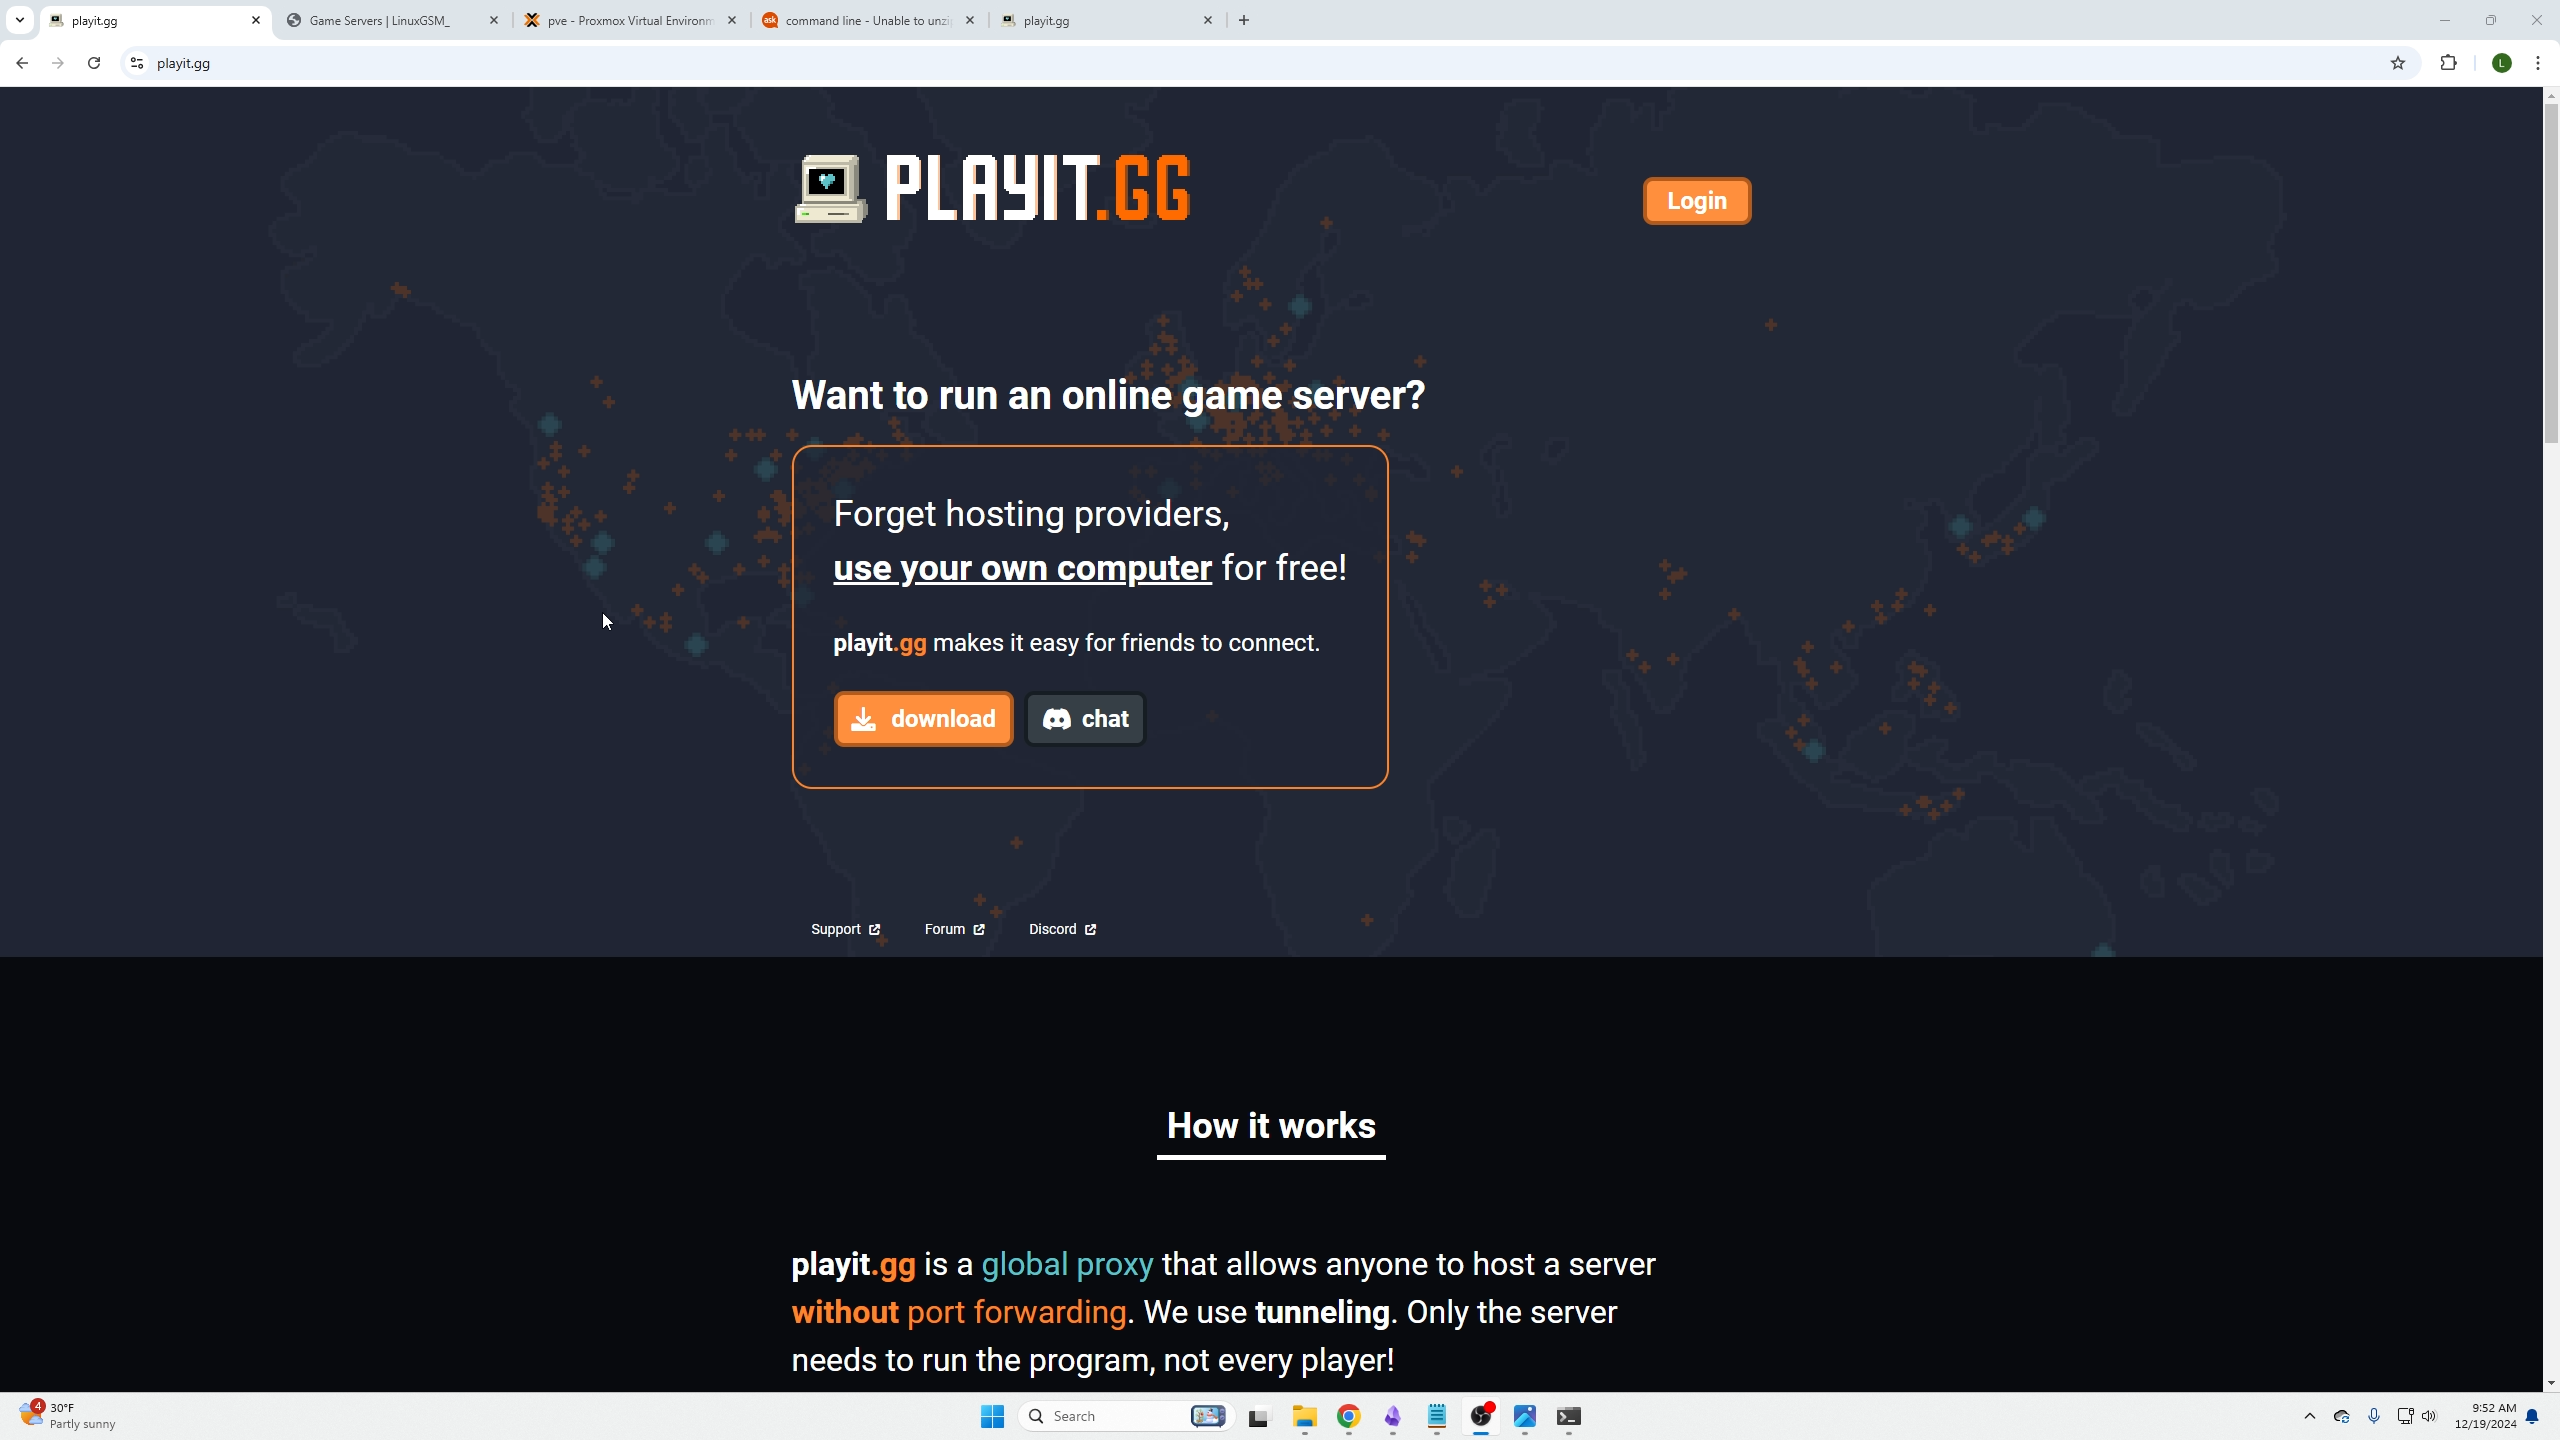
First you need to access PlayIt.GG.
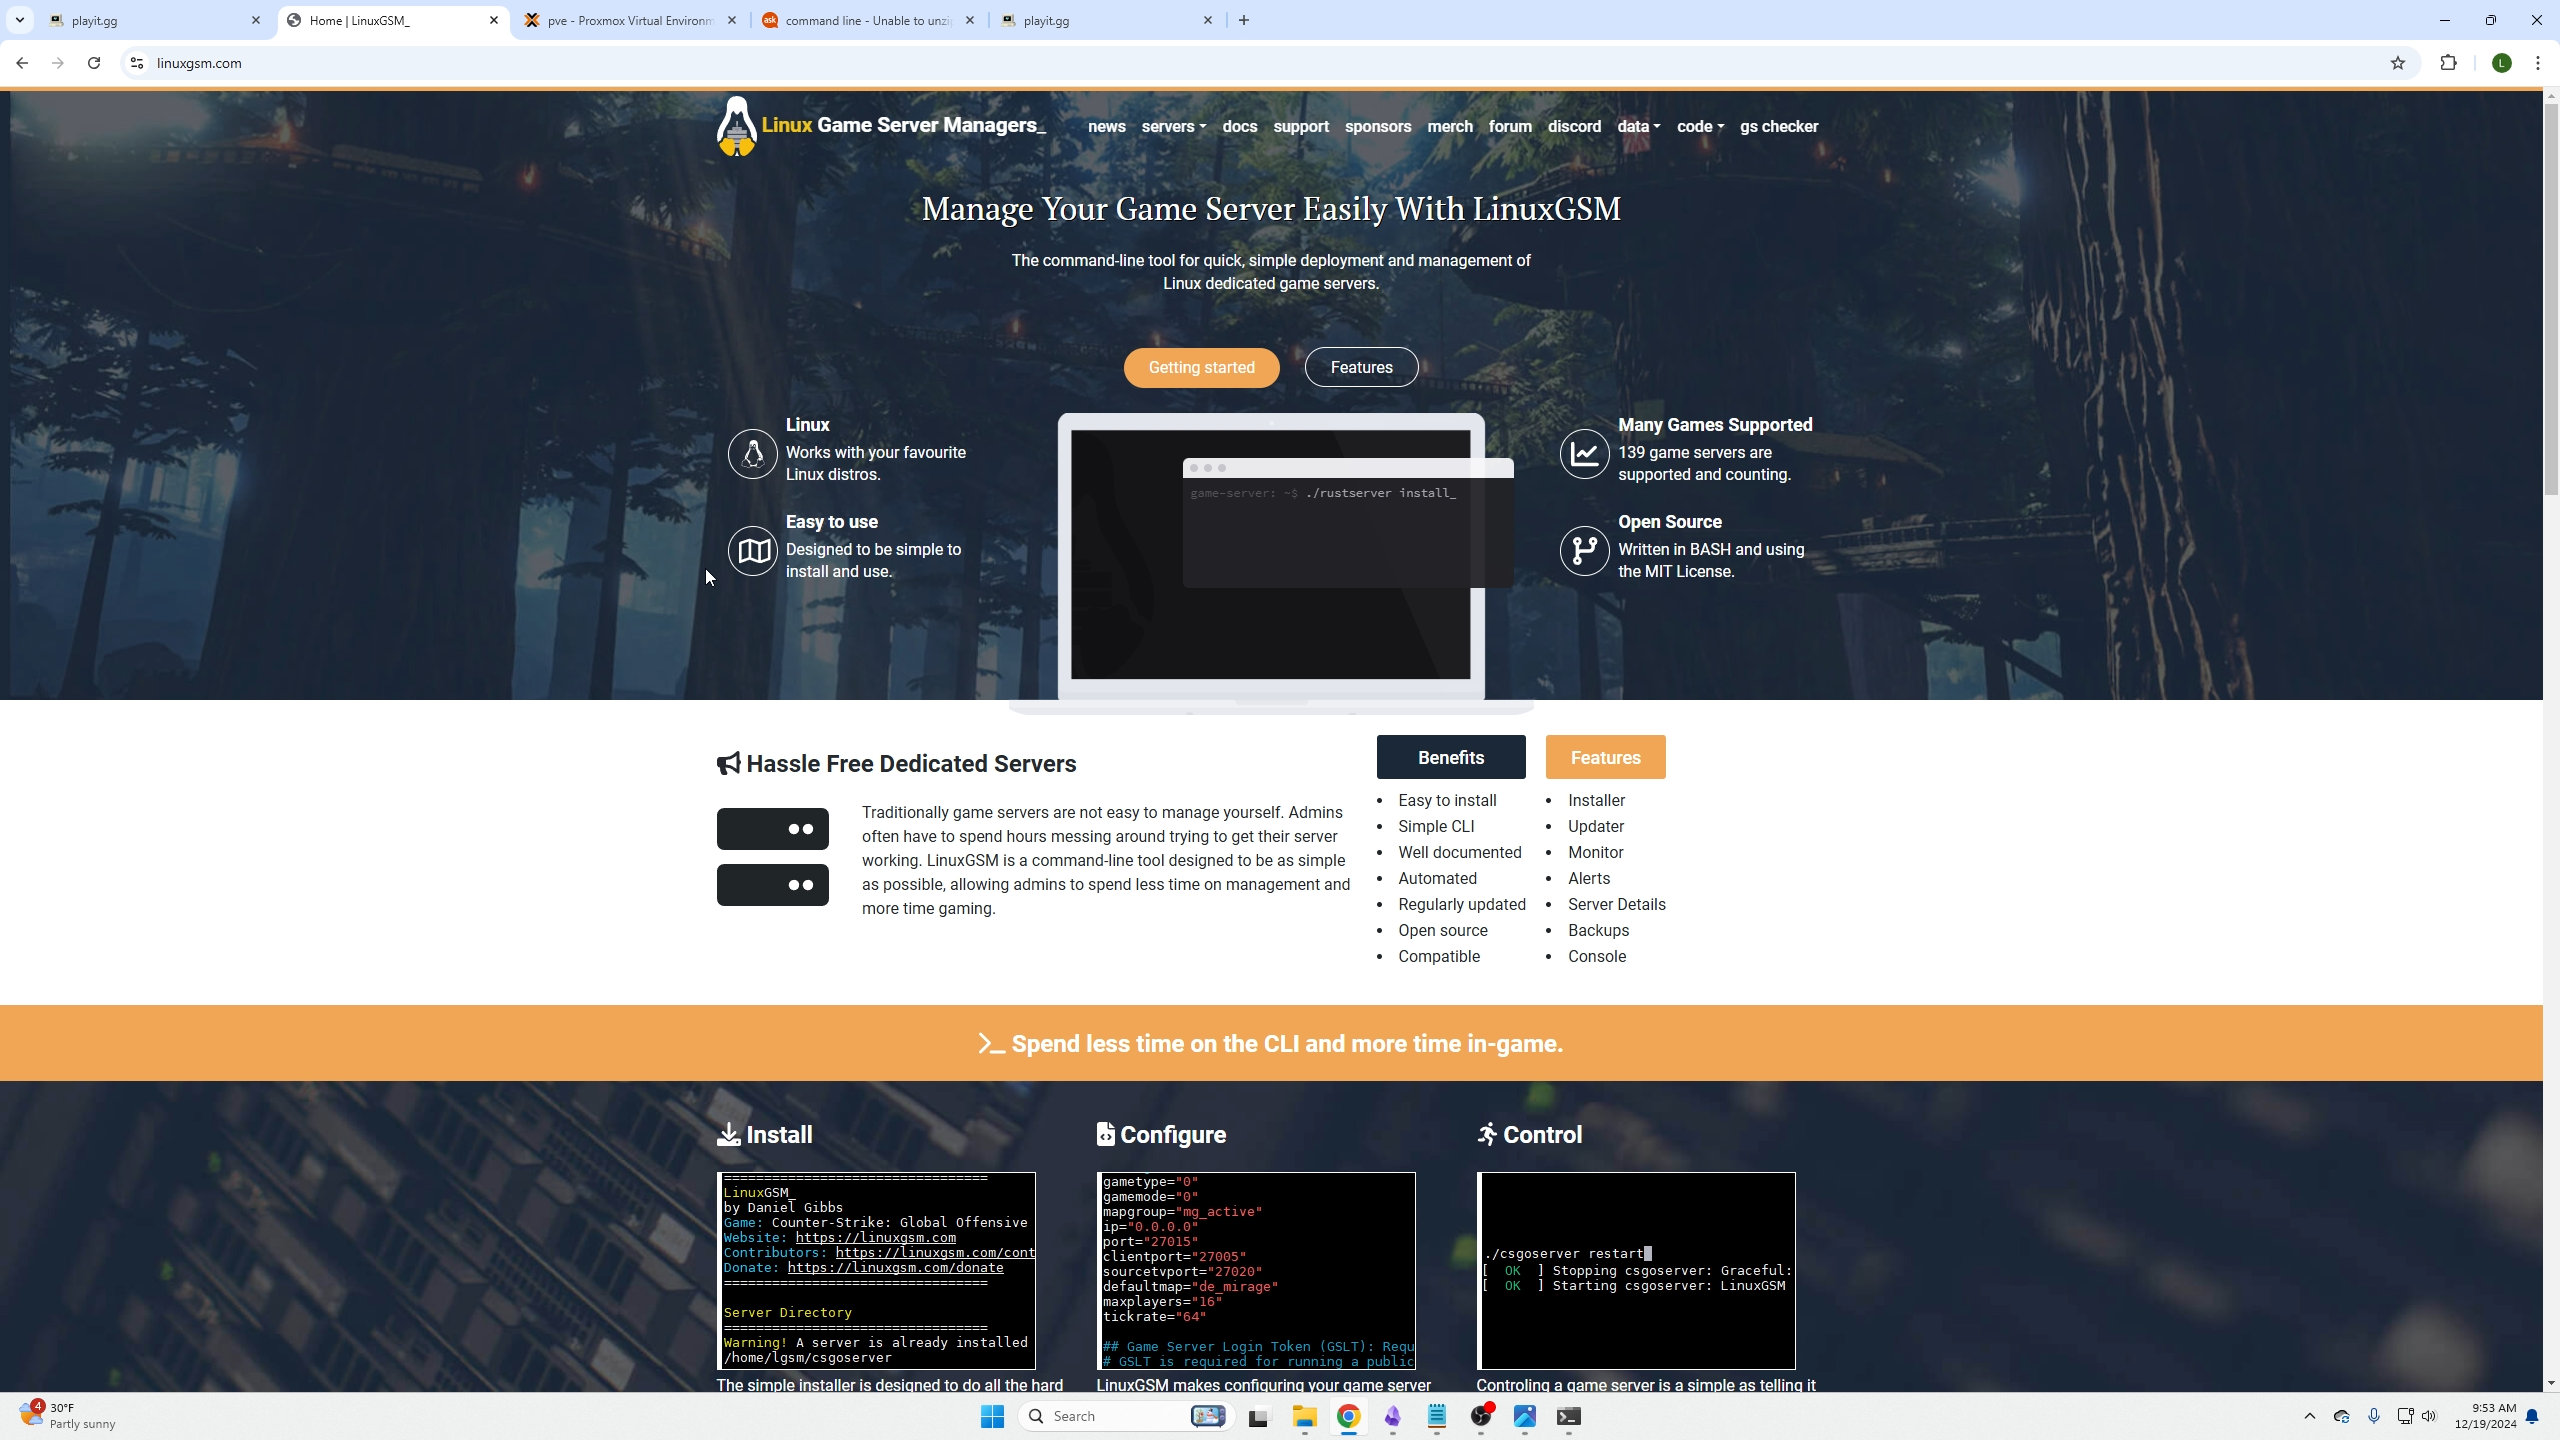
You can find LinuxGSM.
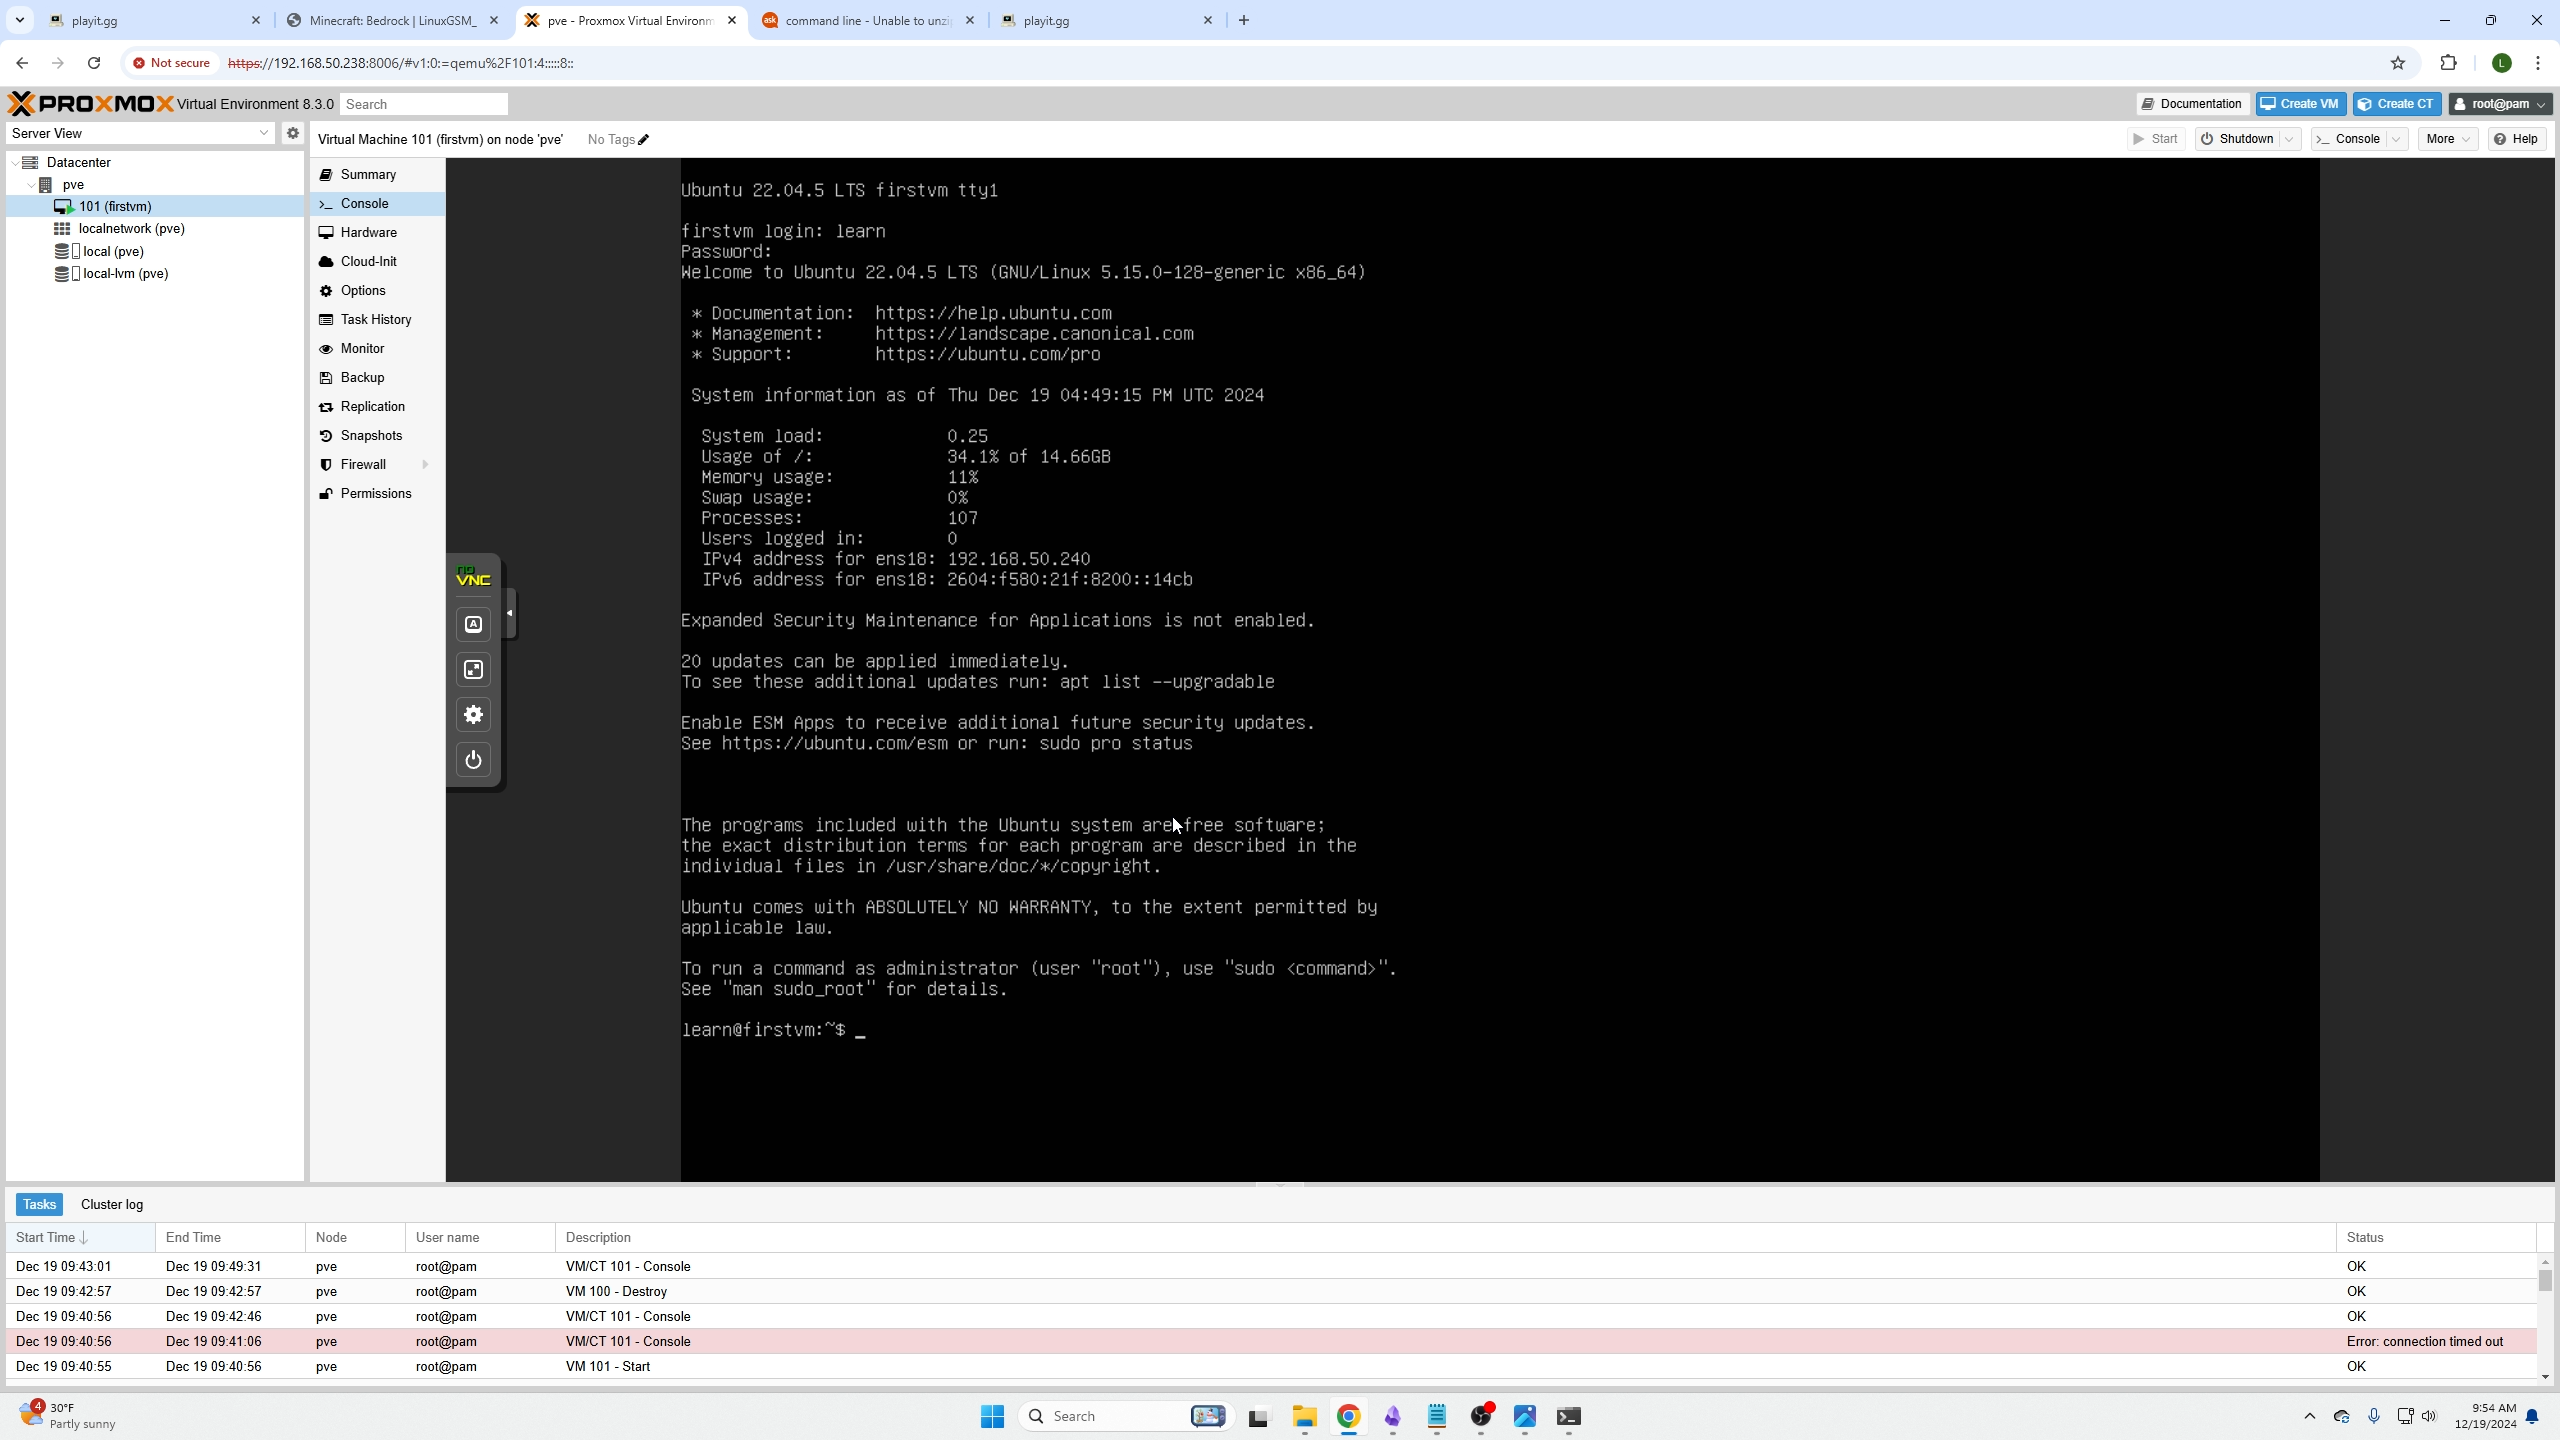
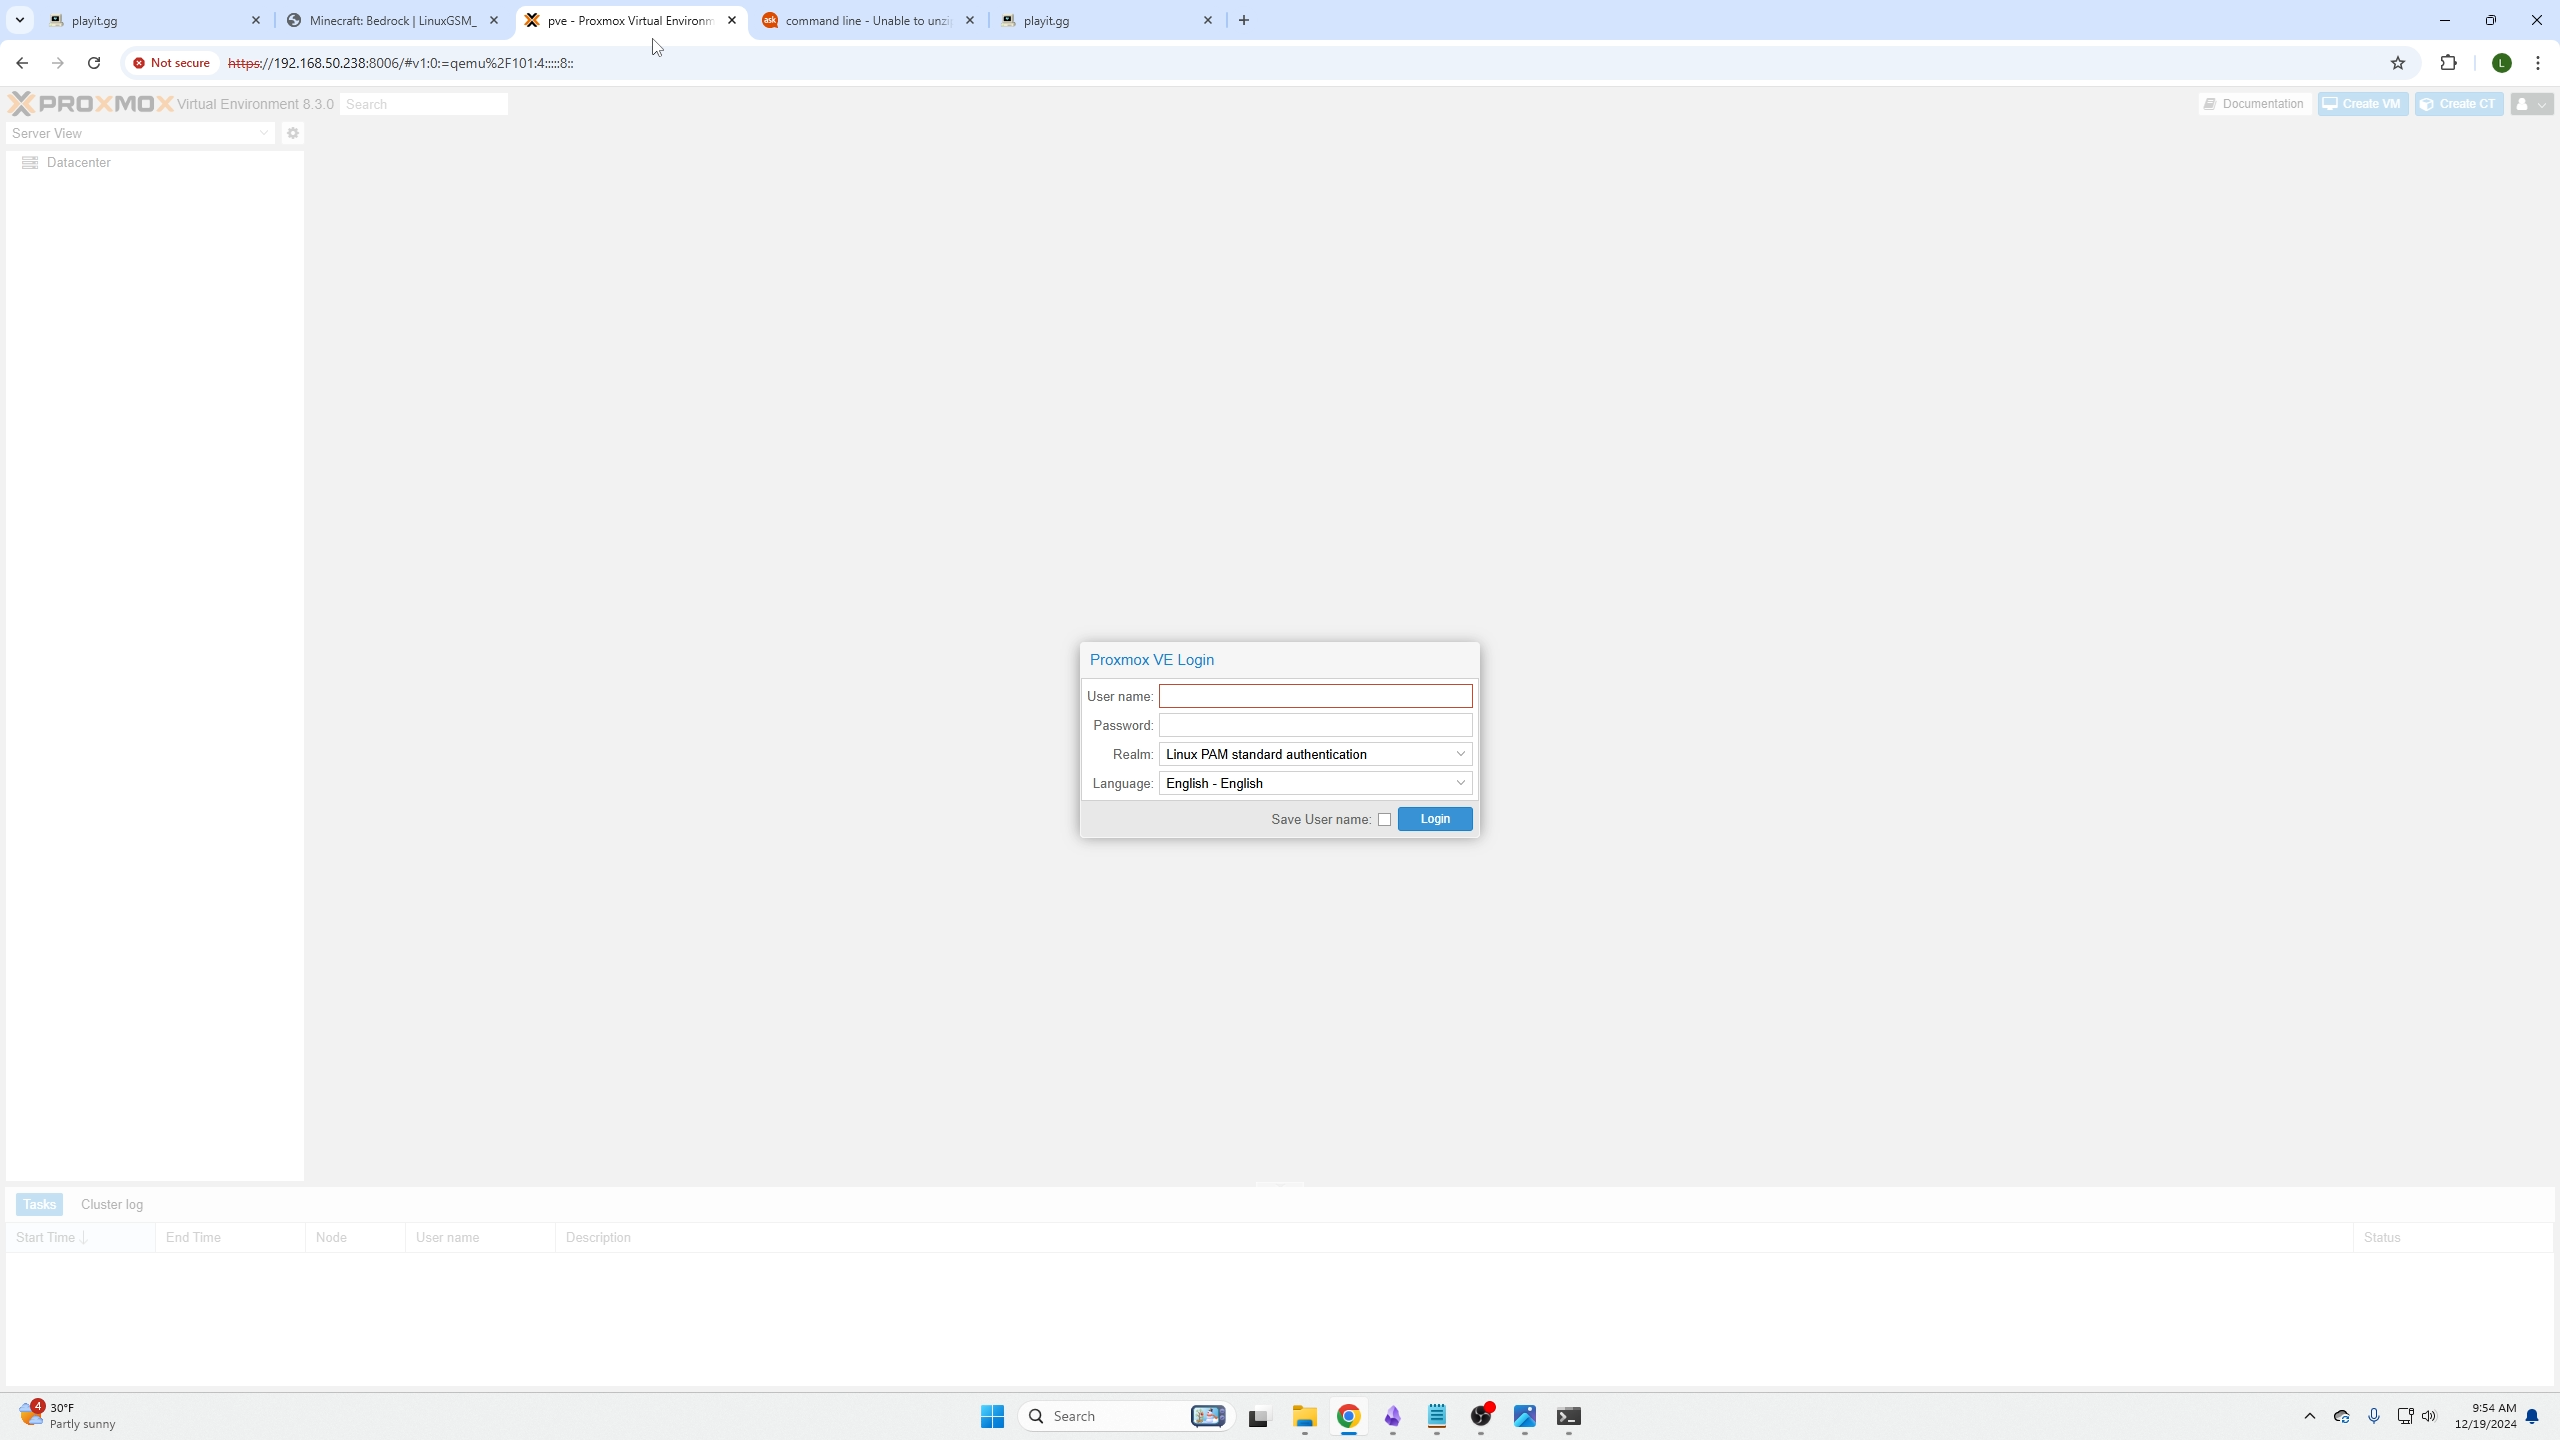
Next, if you do not remember your VMs IP address you will need to login into your Proxmox Machine, login to the VM, and then grab it.
Getting your Ubuntu Server up to date (step by step)
-
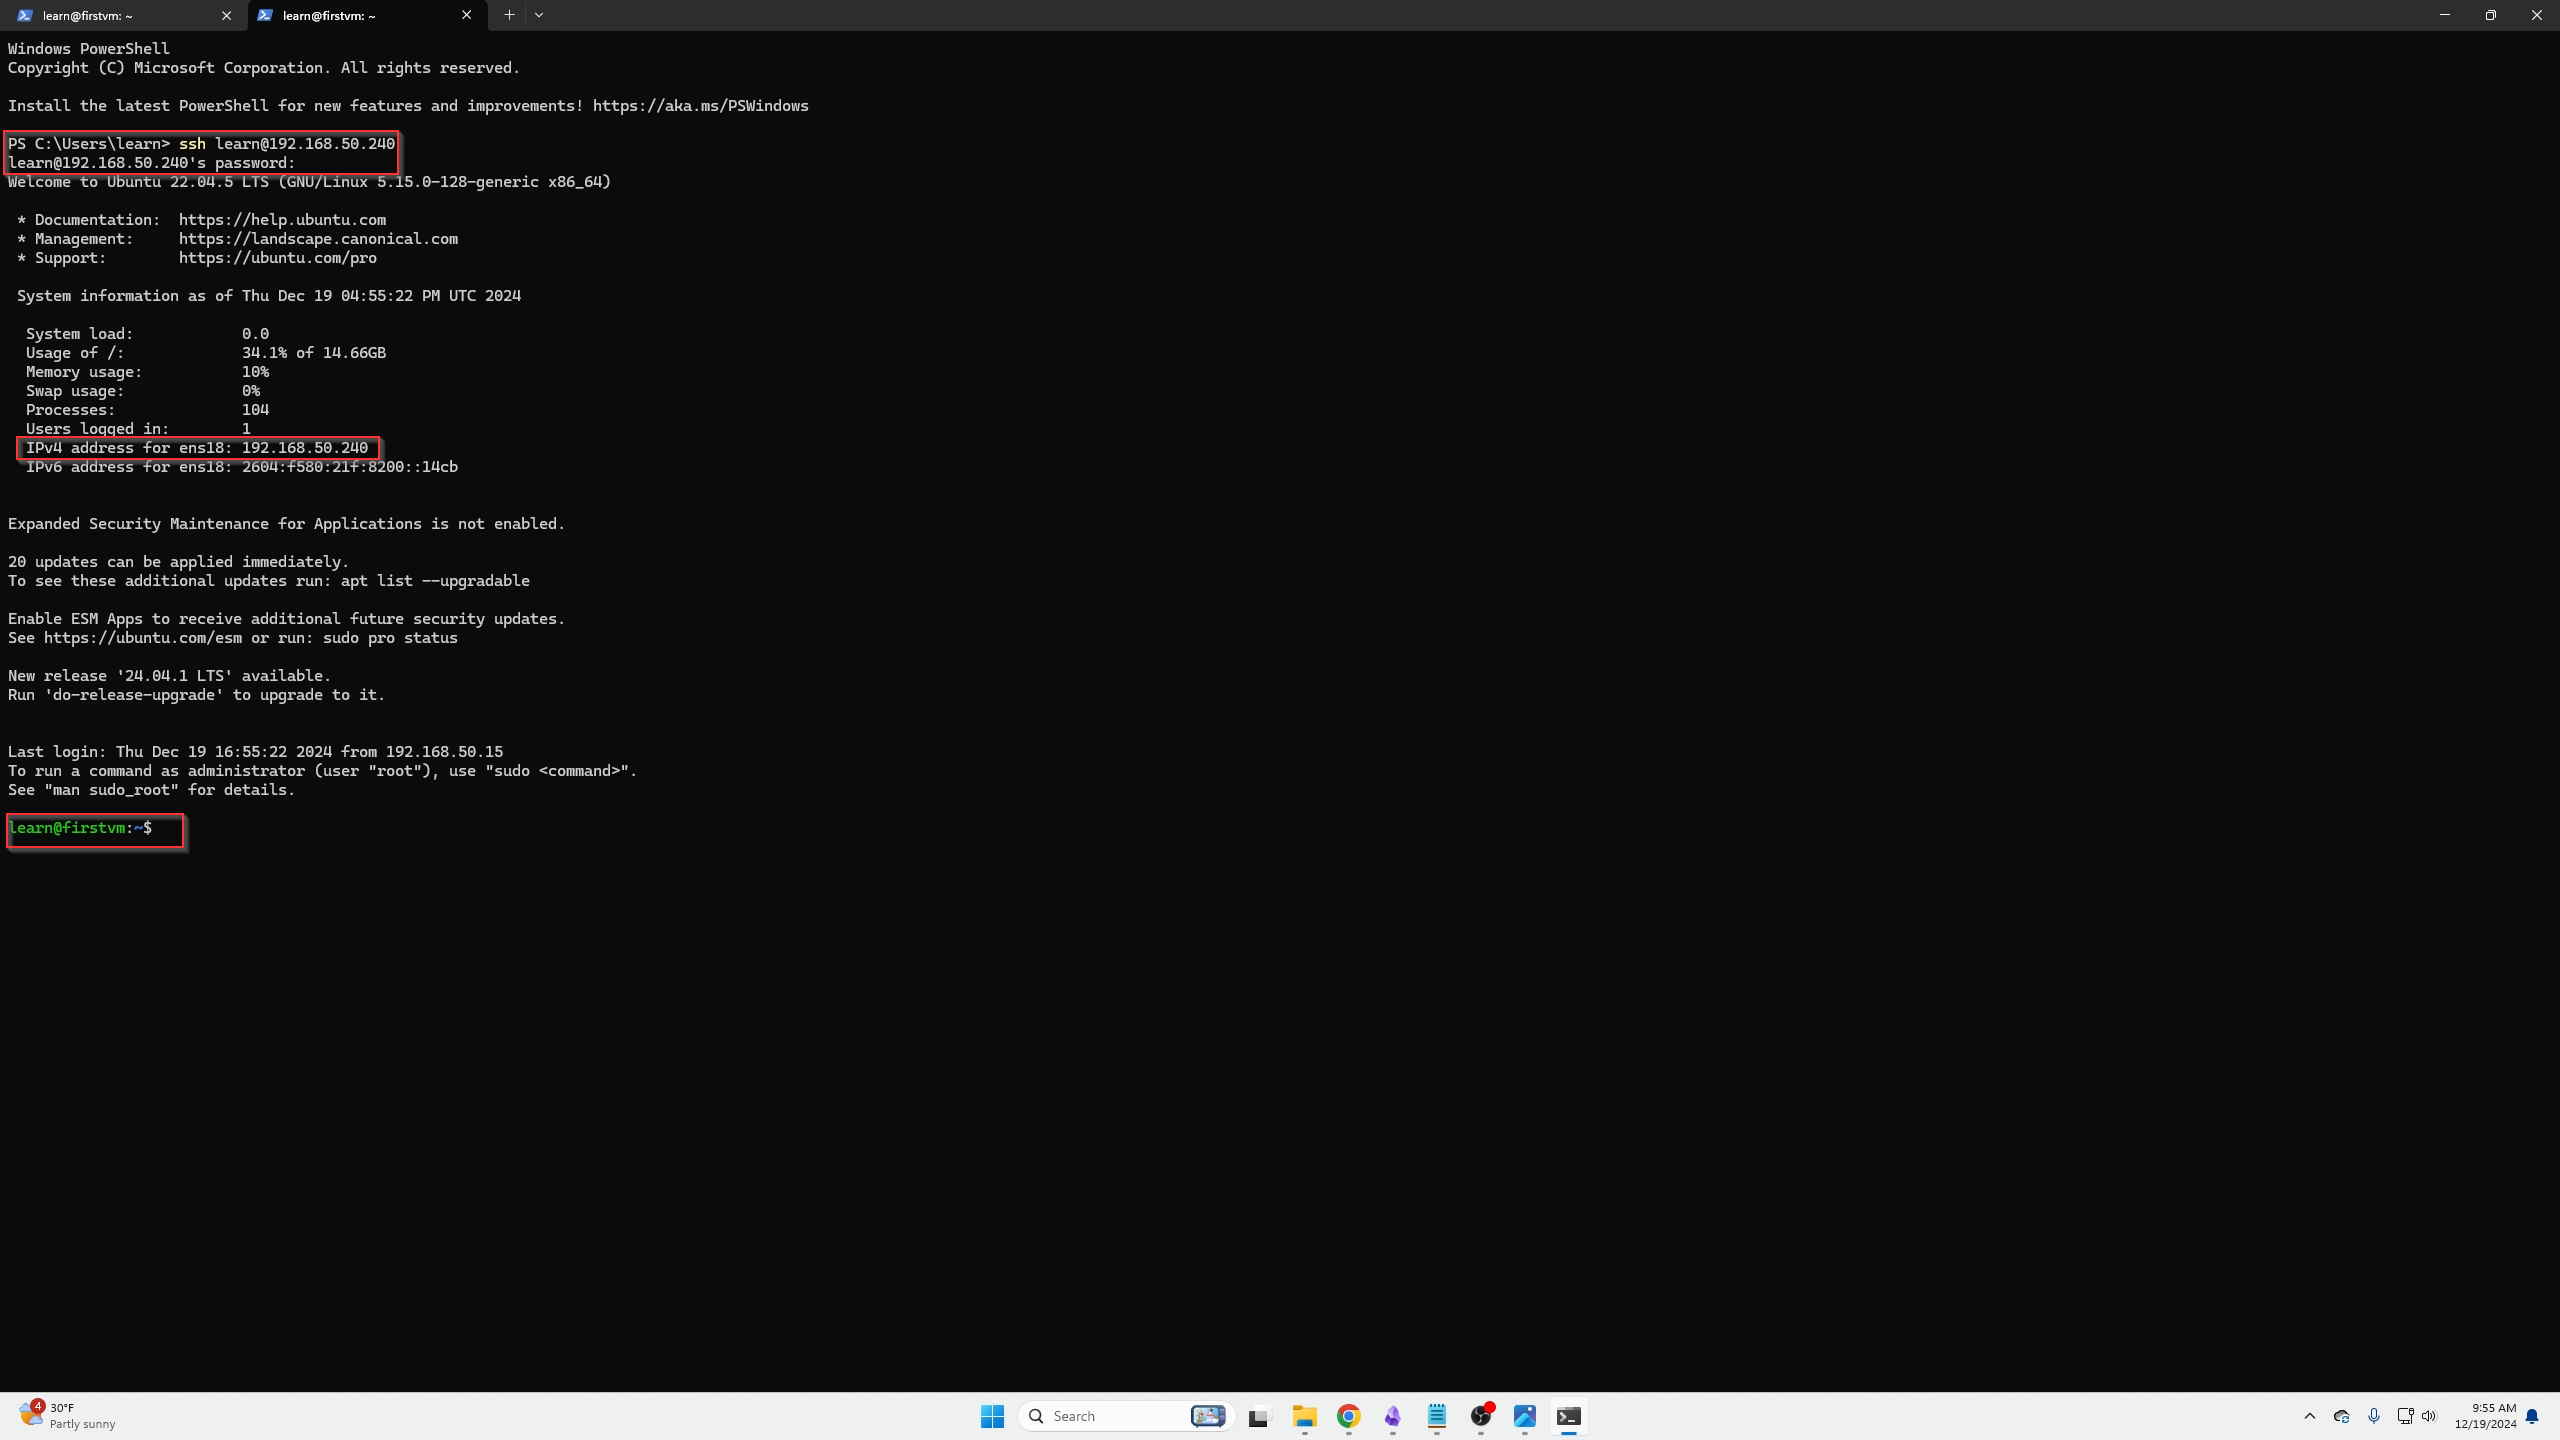
SSH into your server TWICE to perform the following commands (later there will be a case where we need two SSH sessions open).
-
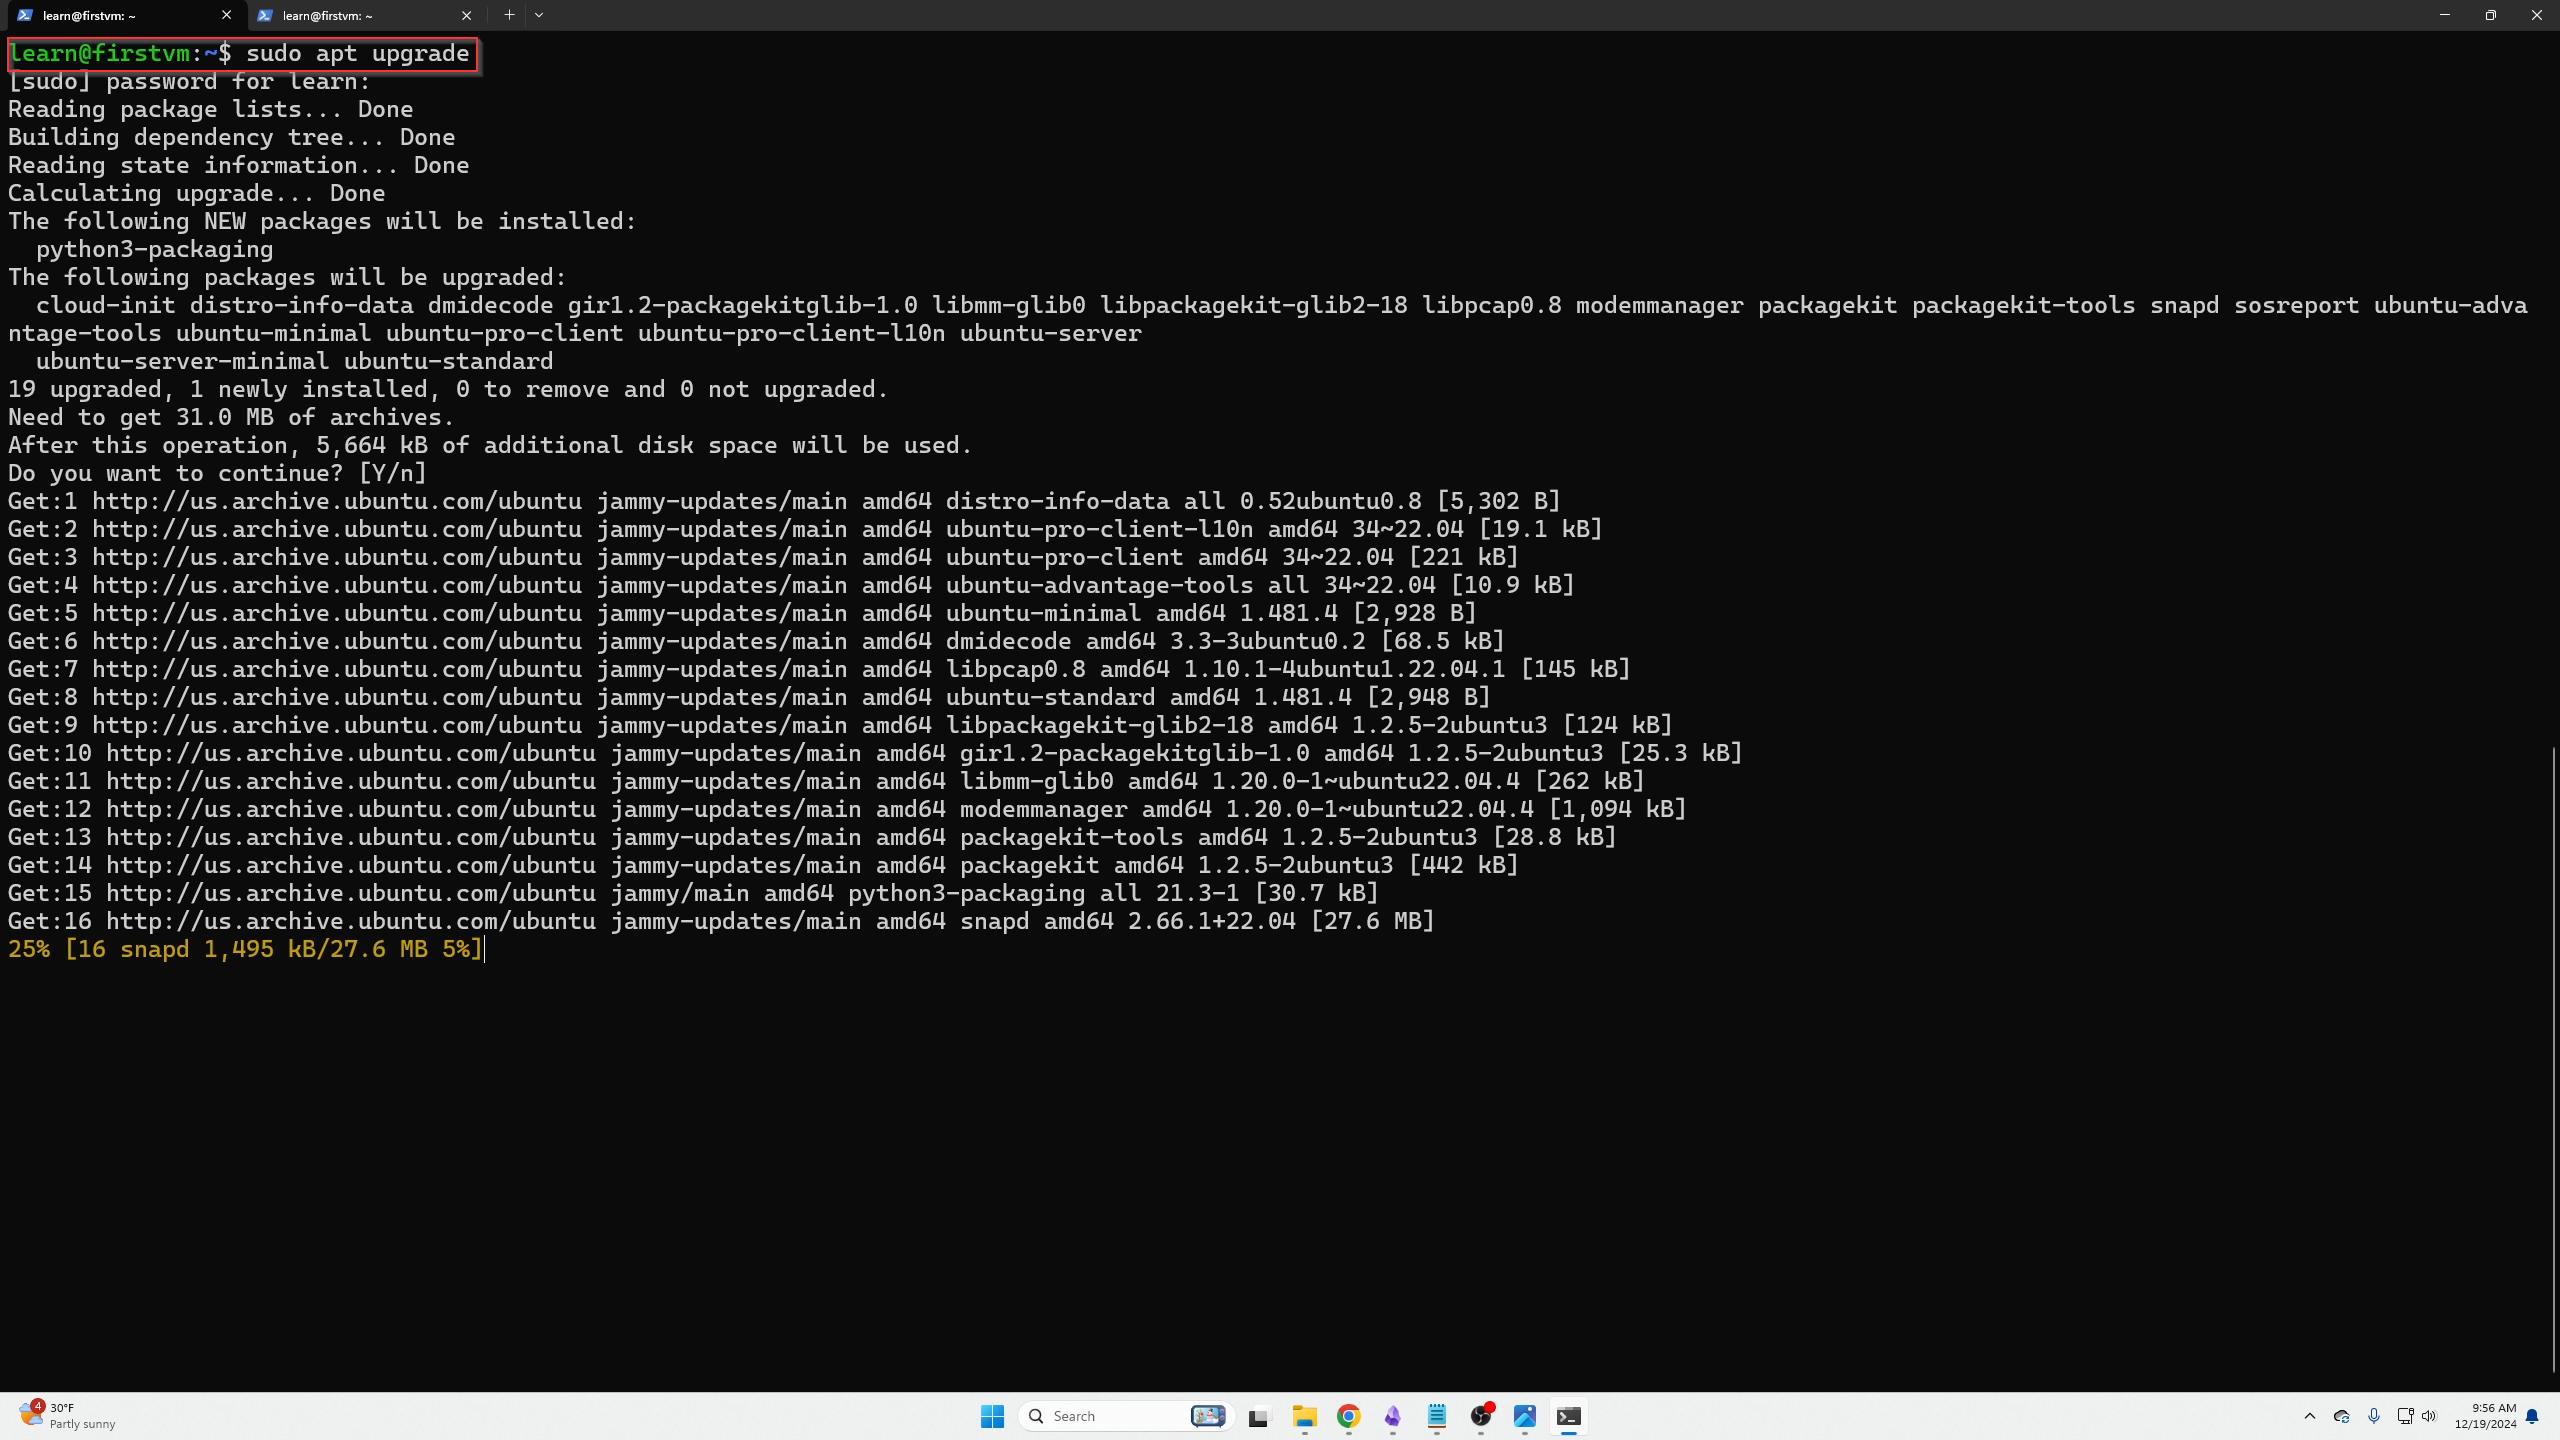
Get ubuntu to reach out and find new dependencies to install.
- AND Update those out of date dependencies.
Installing LinuxGSM Minecraft Server
Now we can start installing our video game server, in this example it is a Minecraft Bedrock Edition. The commands can be found here
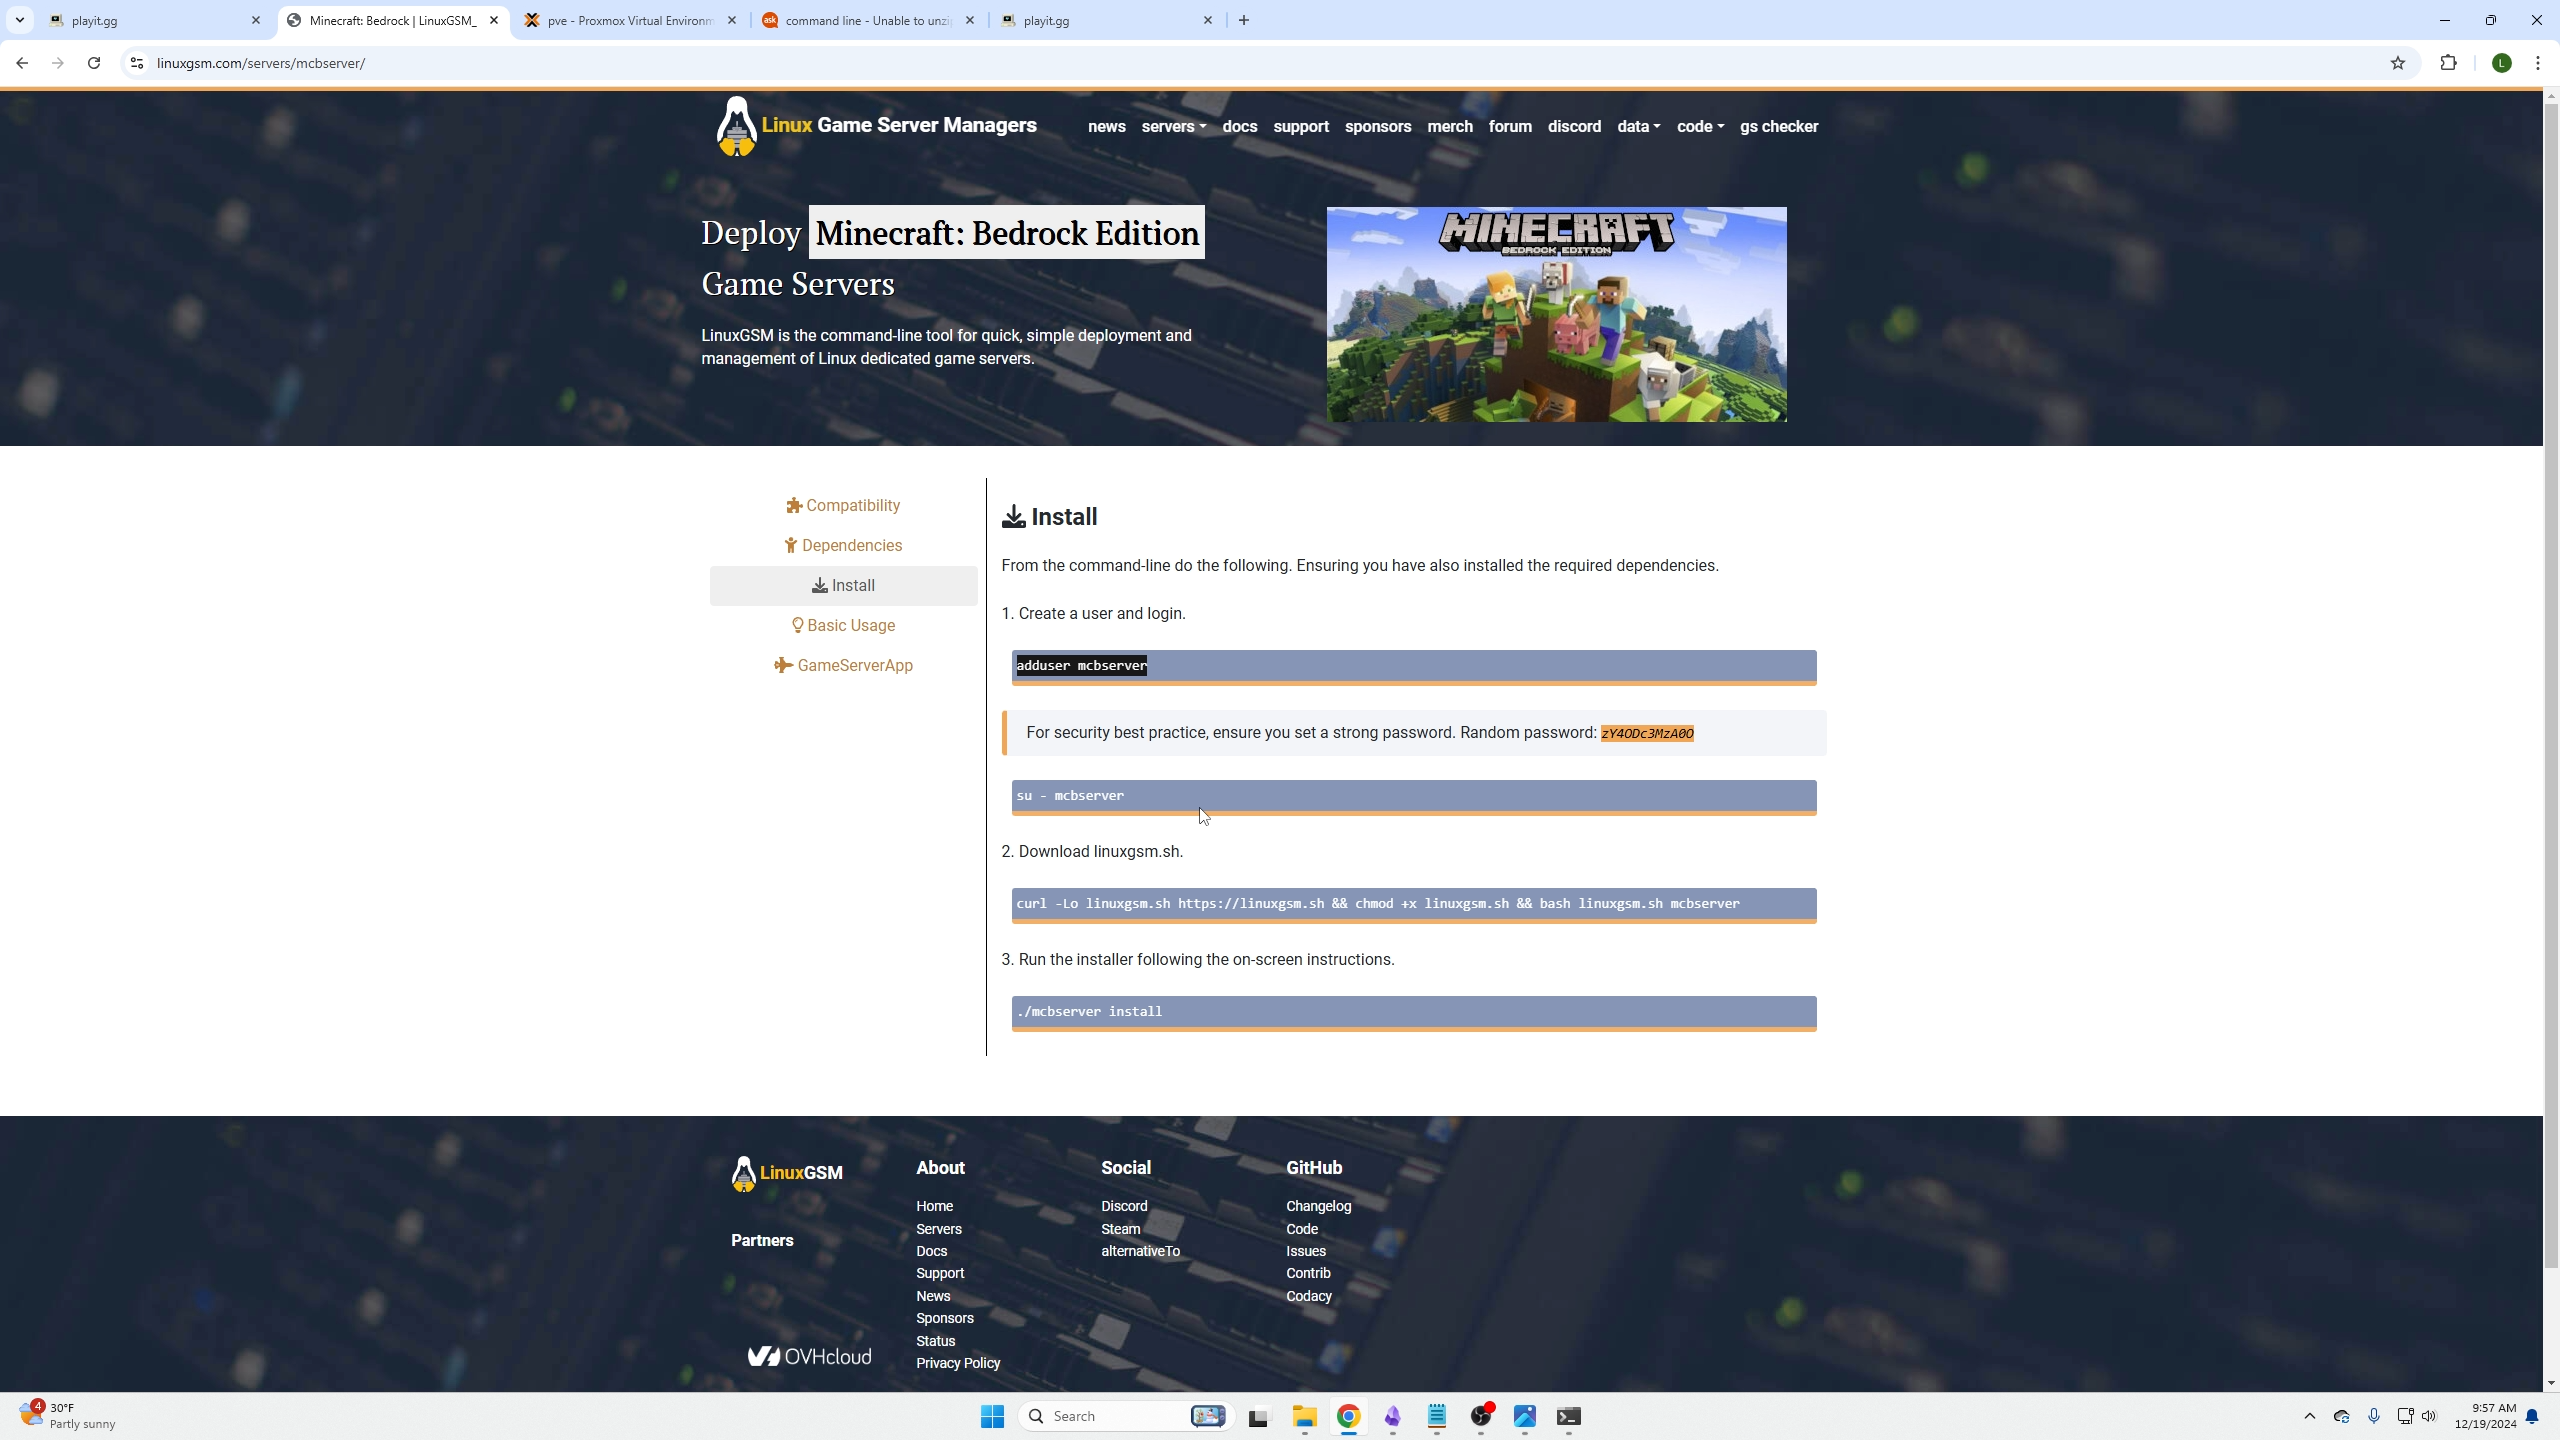
Now we need to create the user. You will notice I just clicked enter and bypassed all the user info.
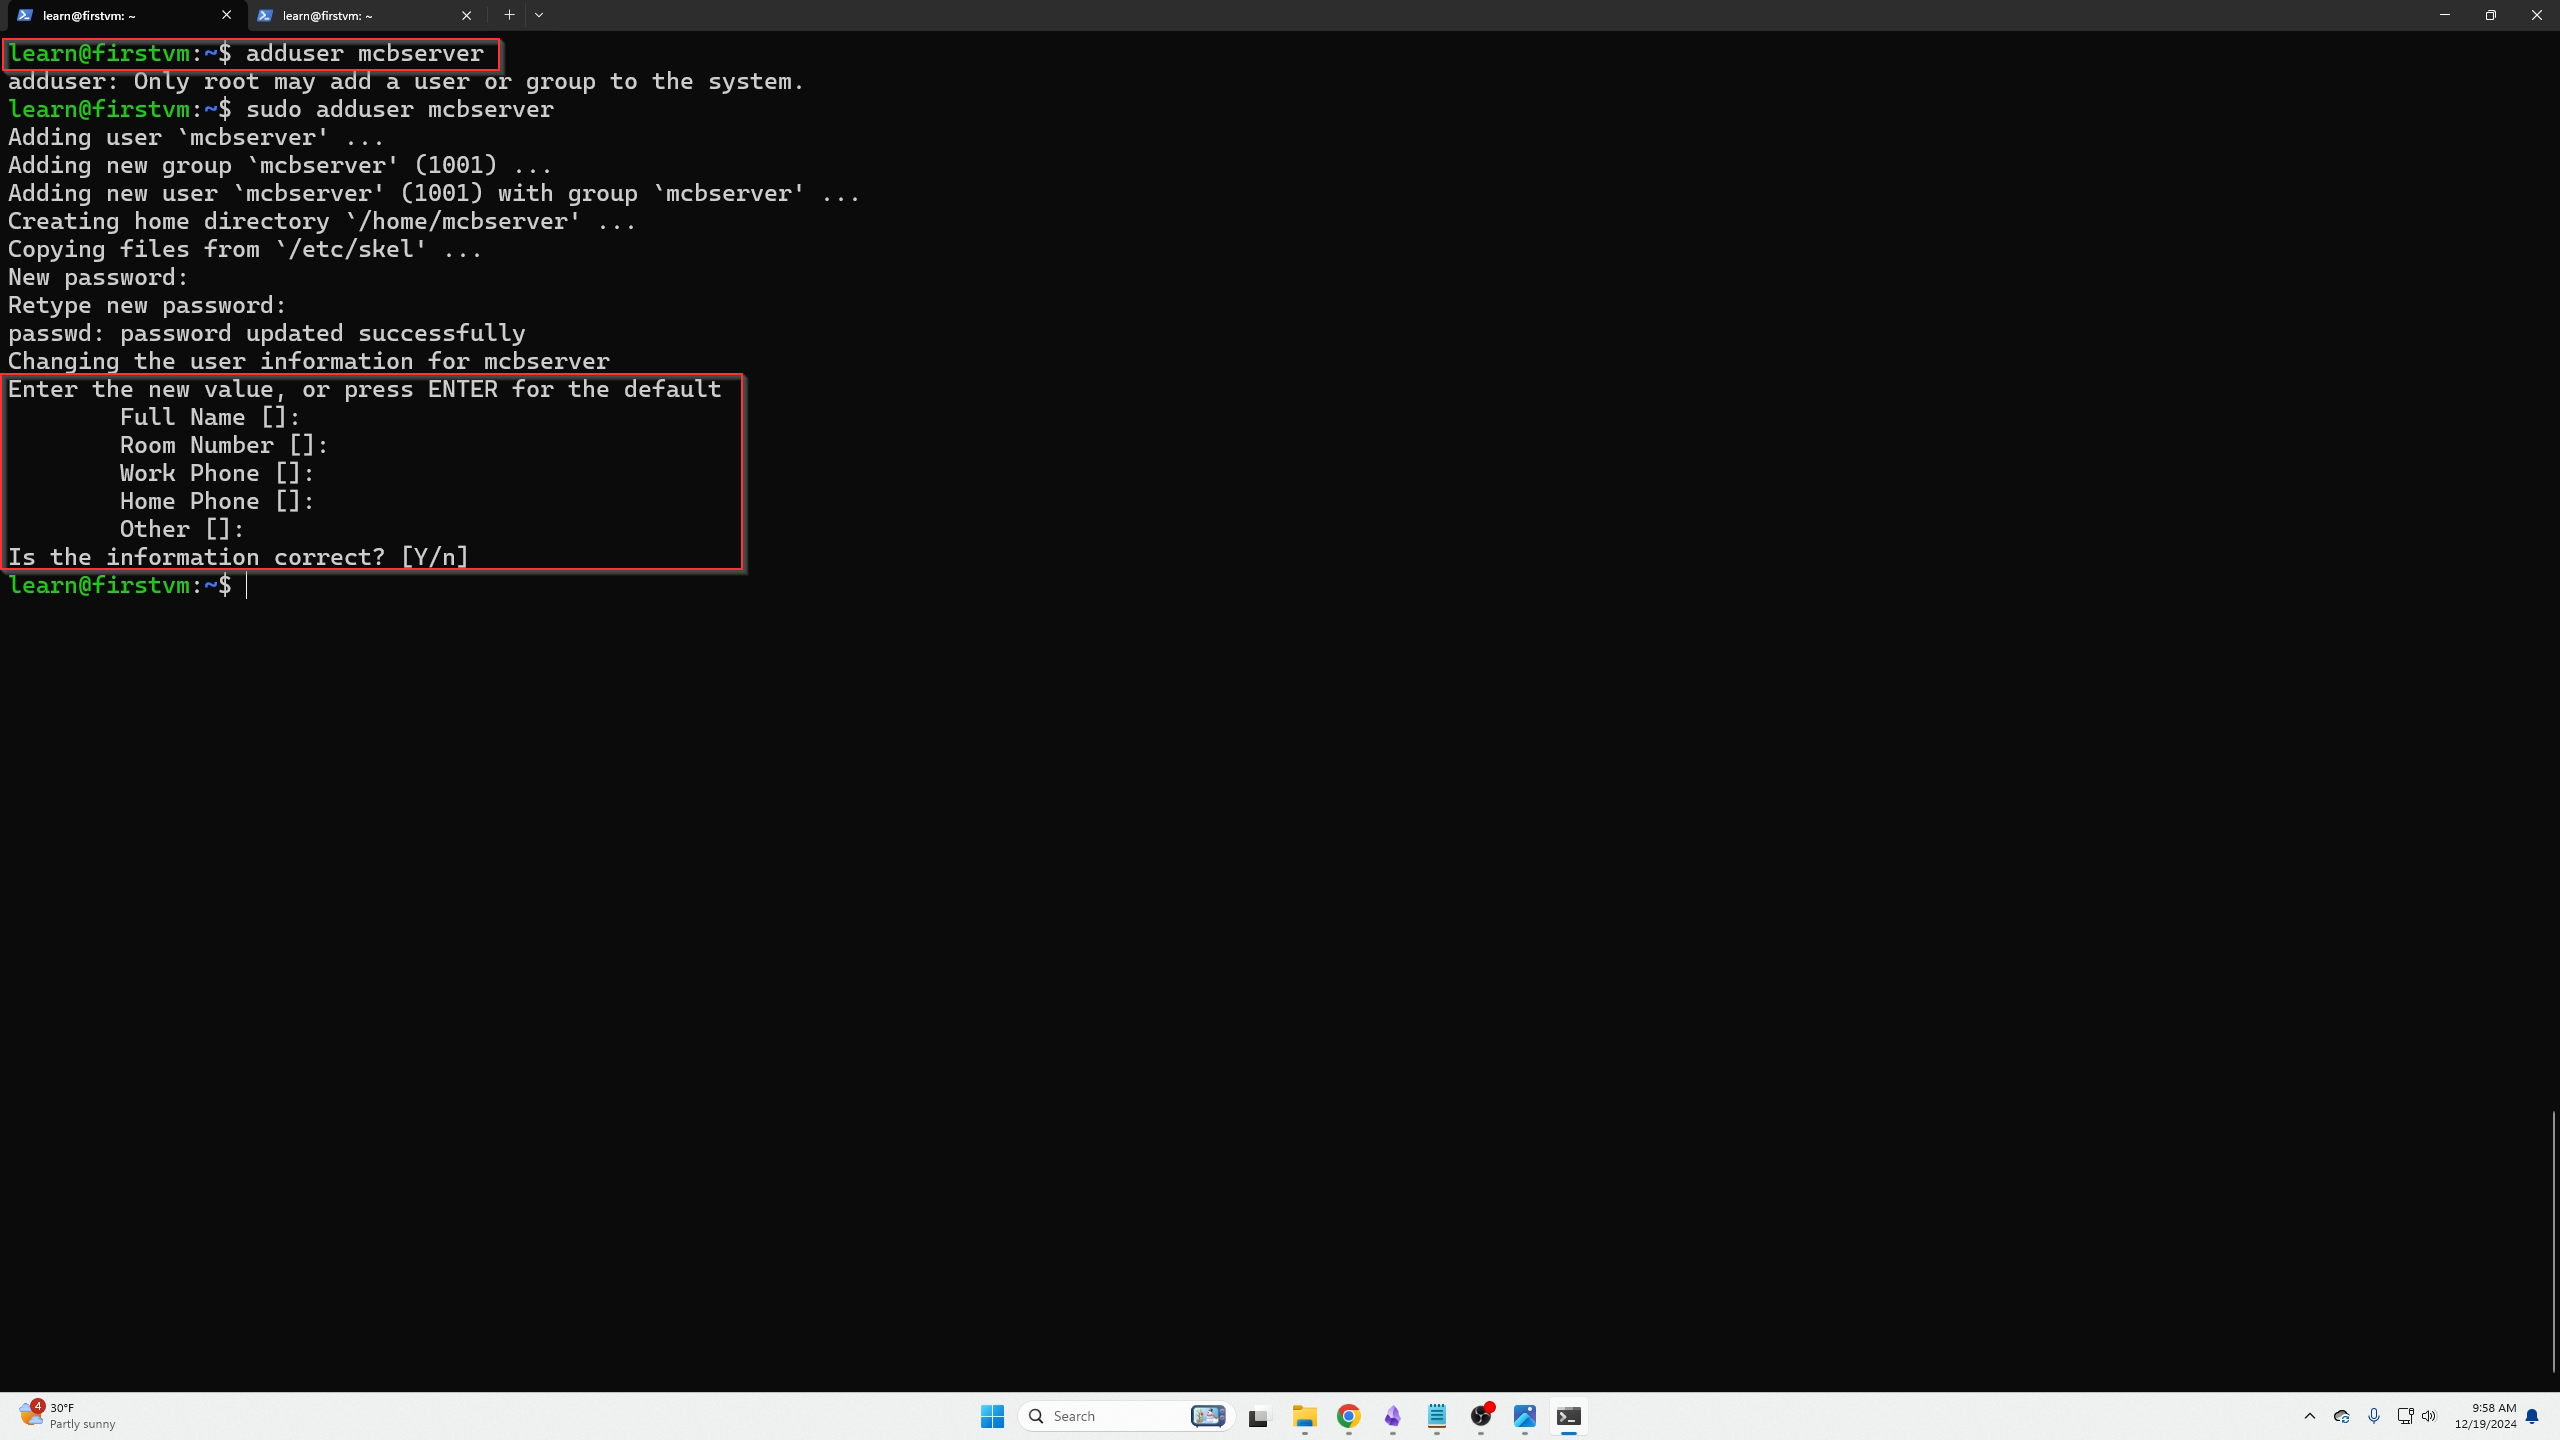
Currently out of our TWO SSH windows that are open, you are going to see that I login to user MCBserver in the LEFT window.
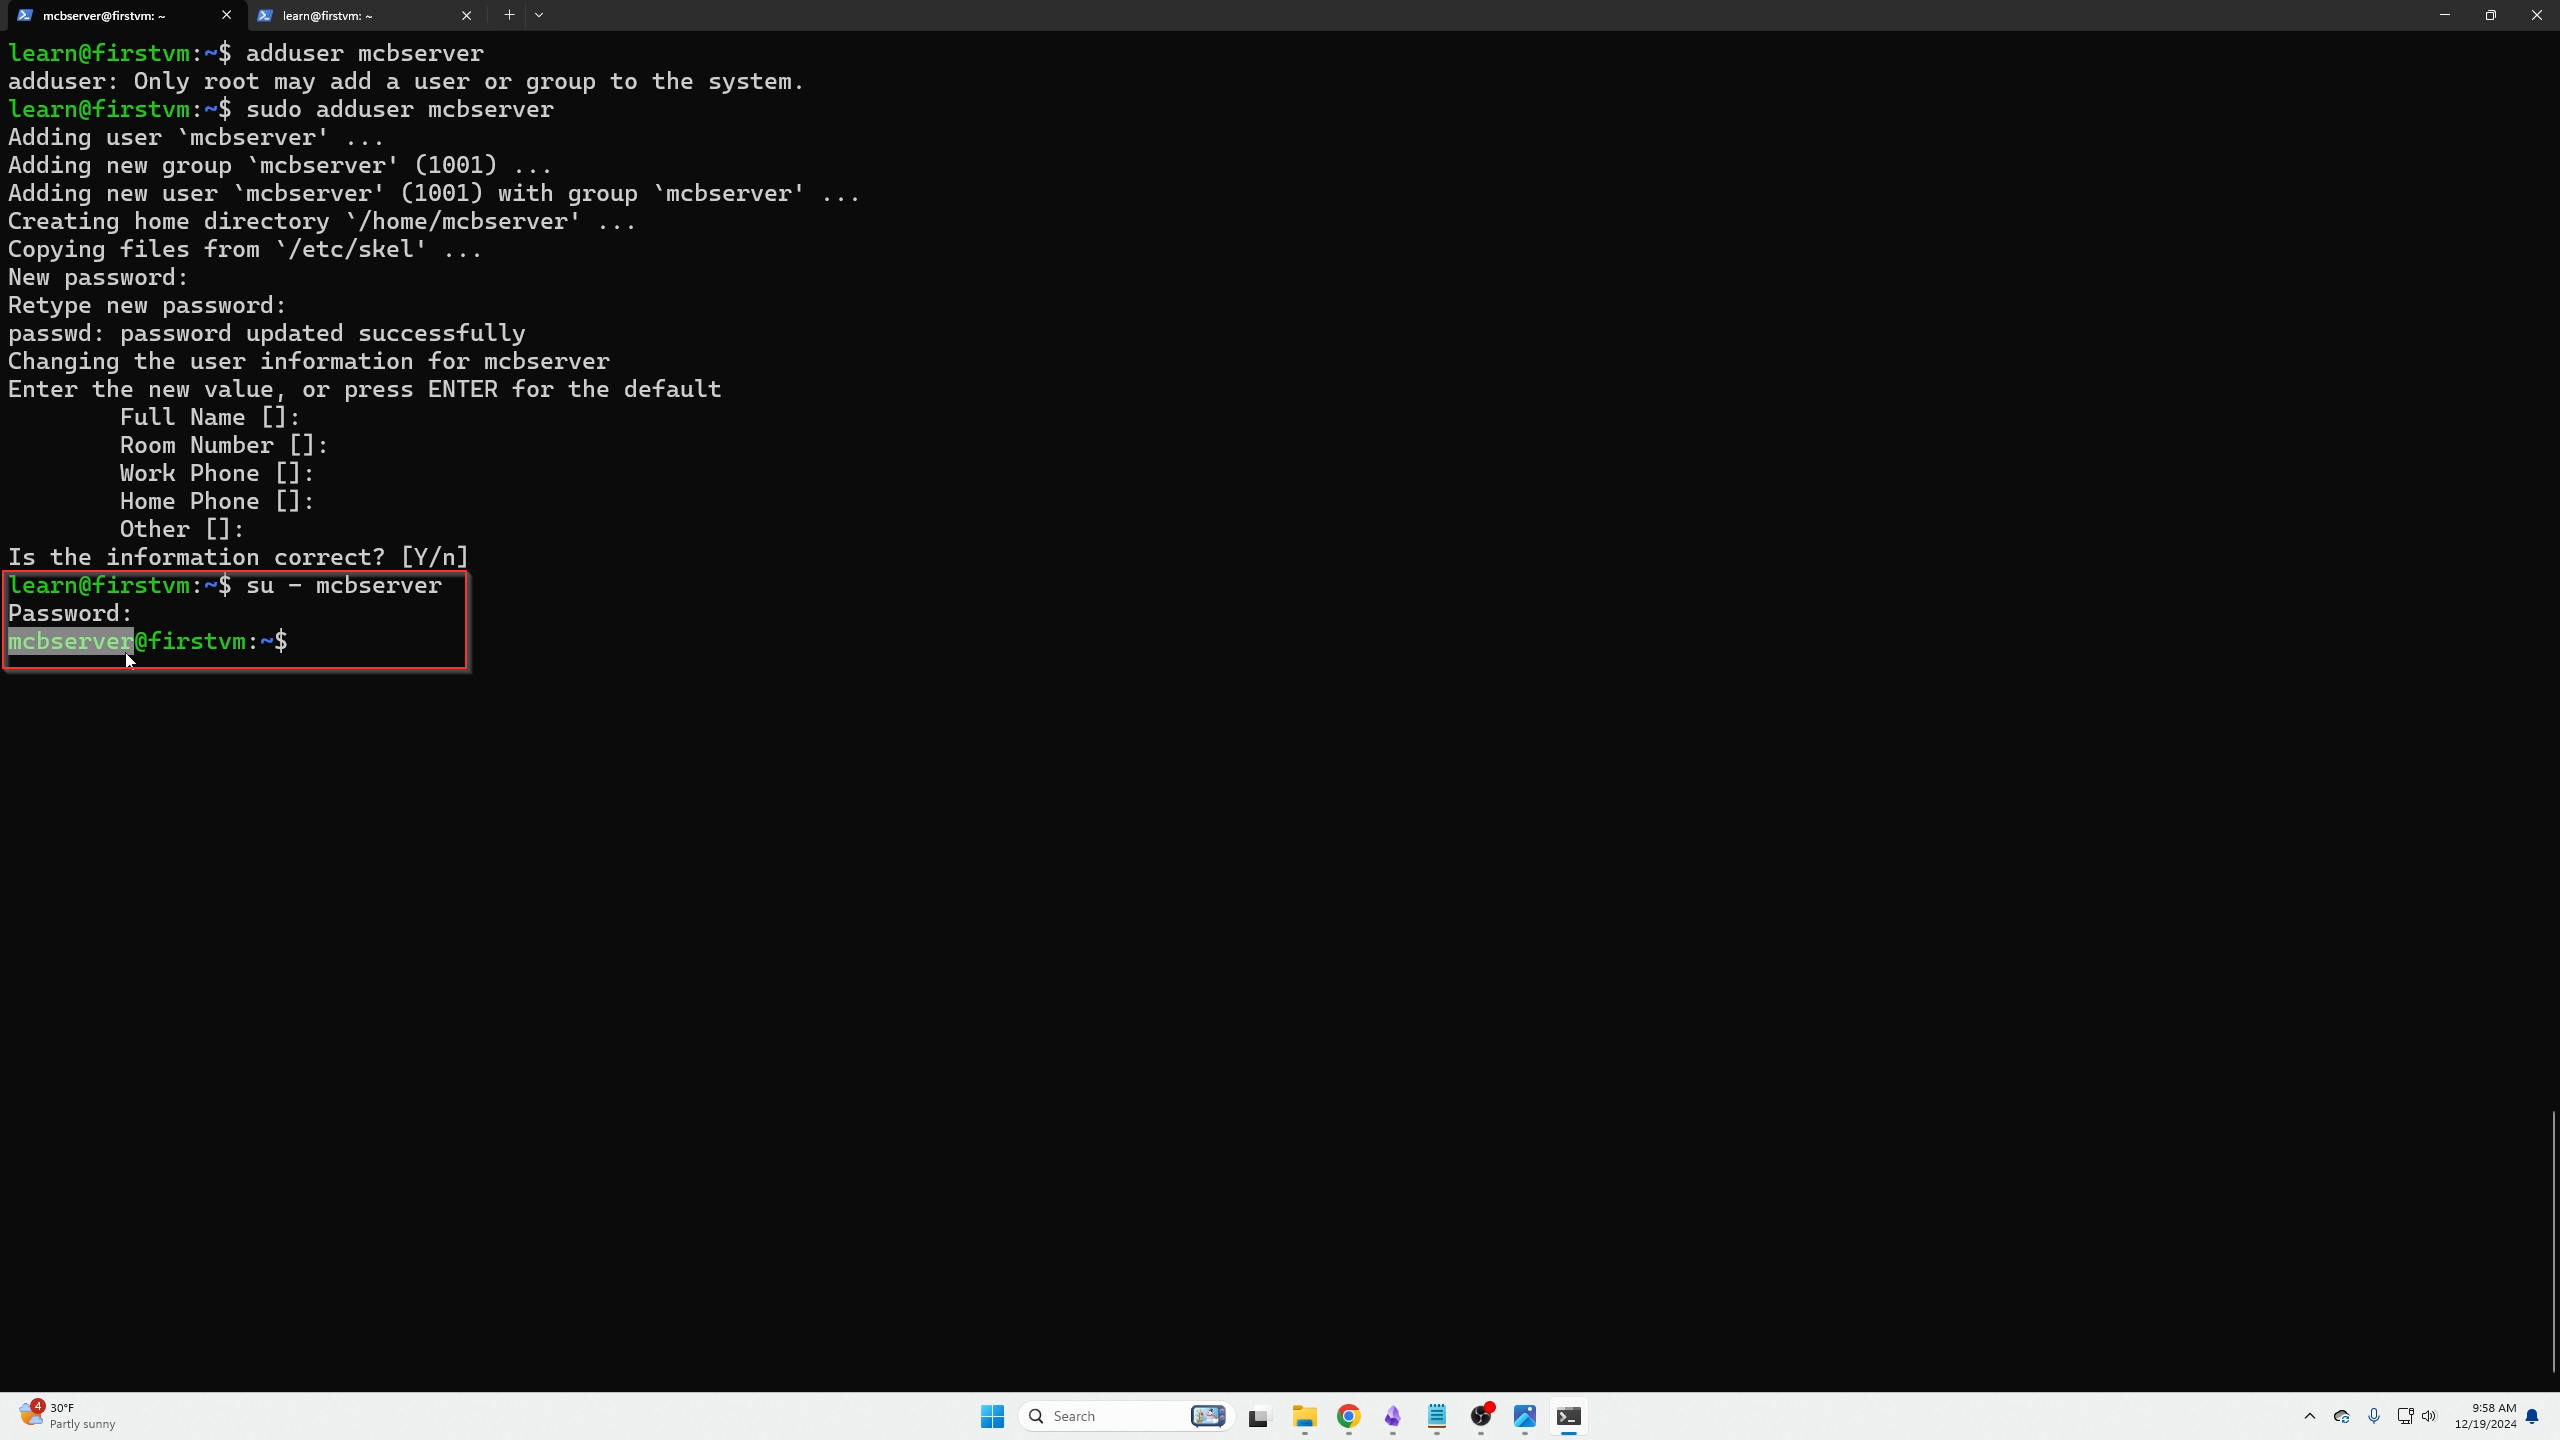
Now we are going to request the LinuxGSM client contents IN THE LEFT SSH TAB.
Now we can see we are missing some files because our VM was unable to locate them and we are missing the Unzip utility tool, we need to install those now.
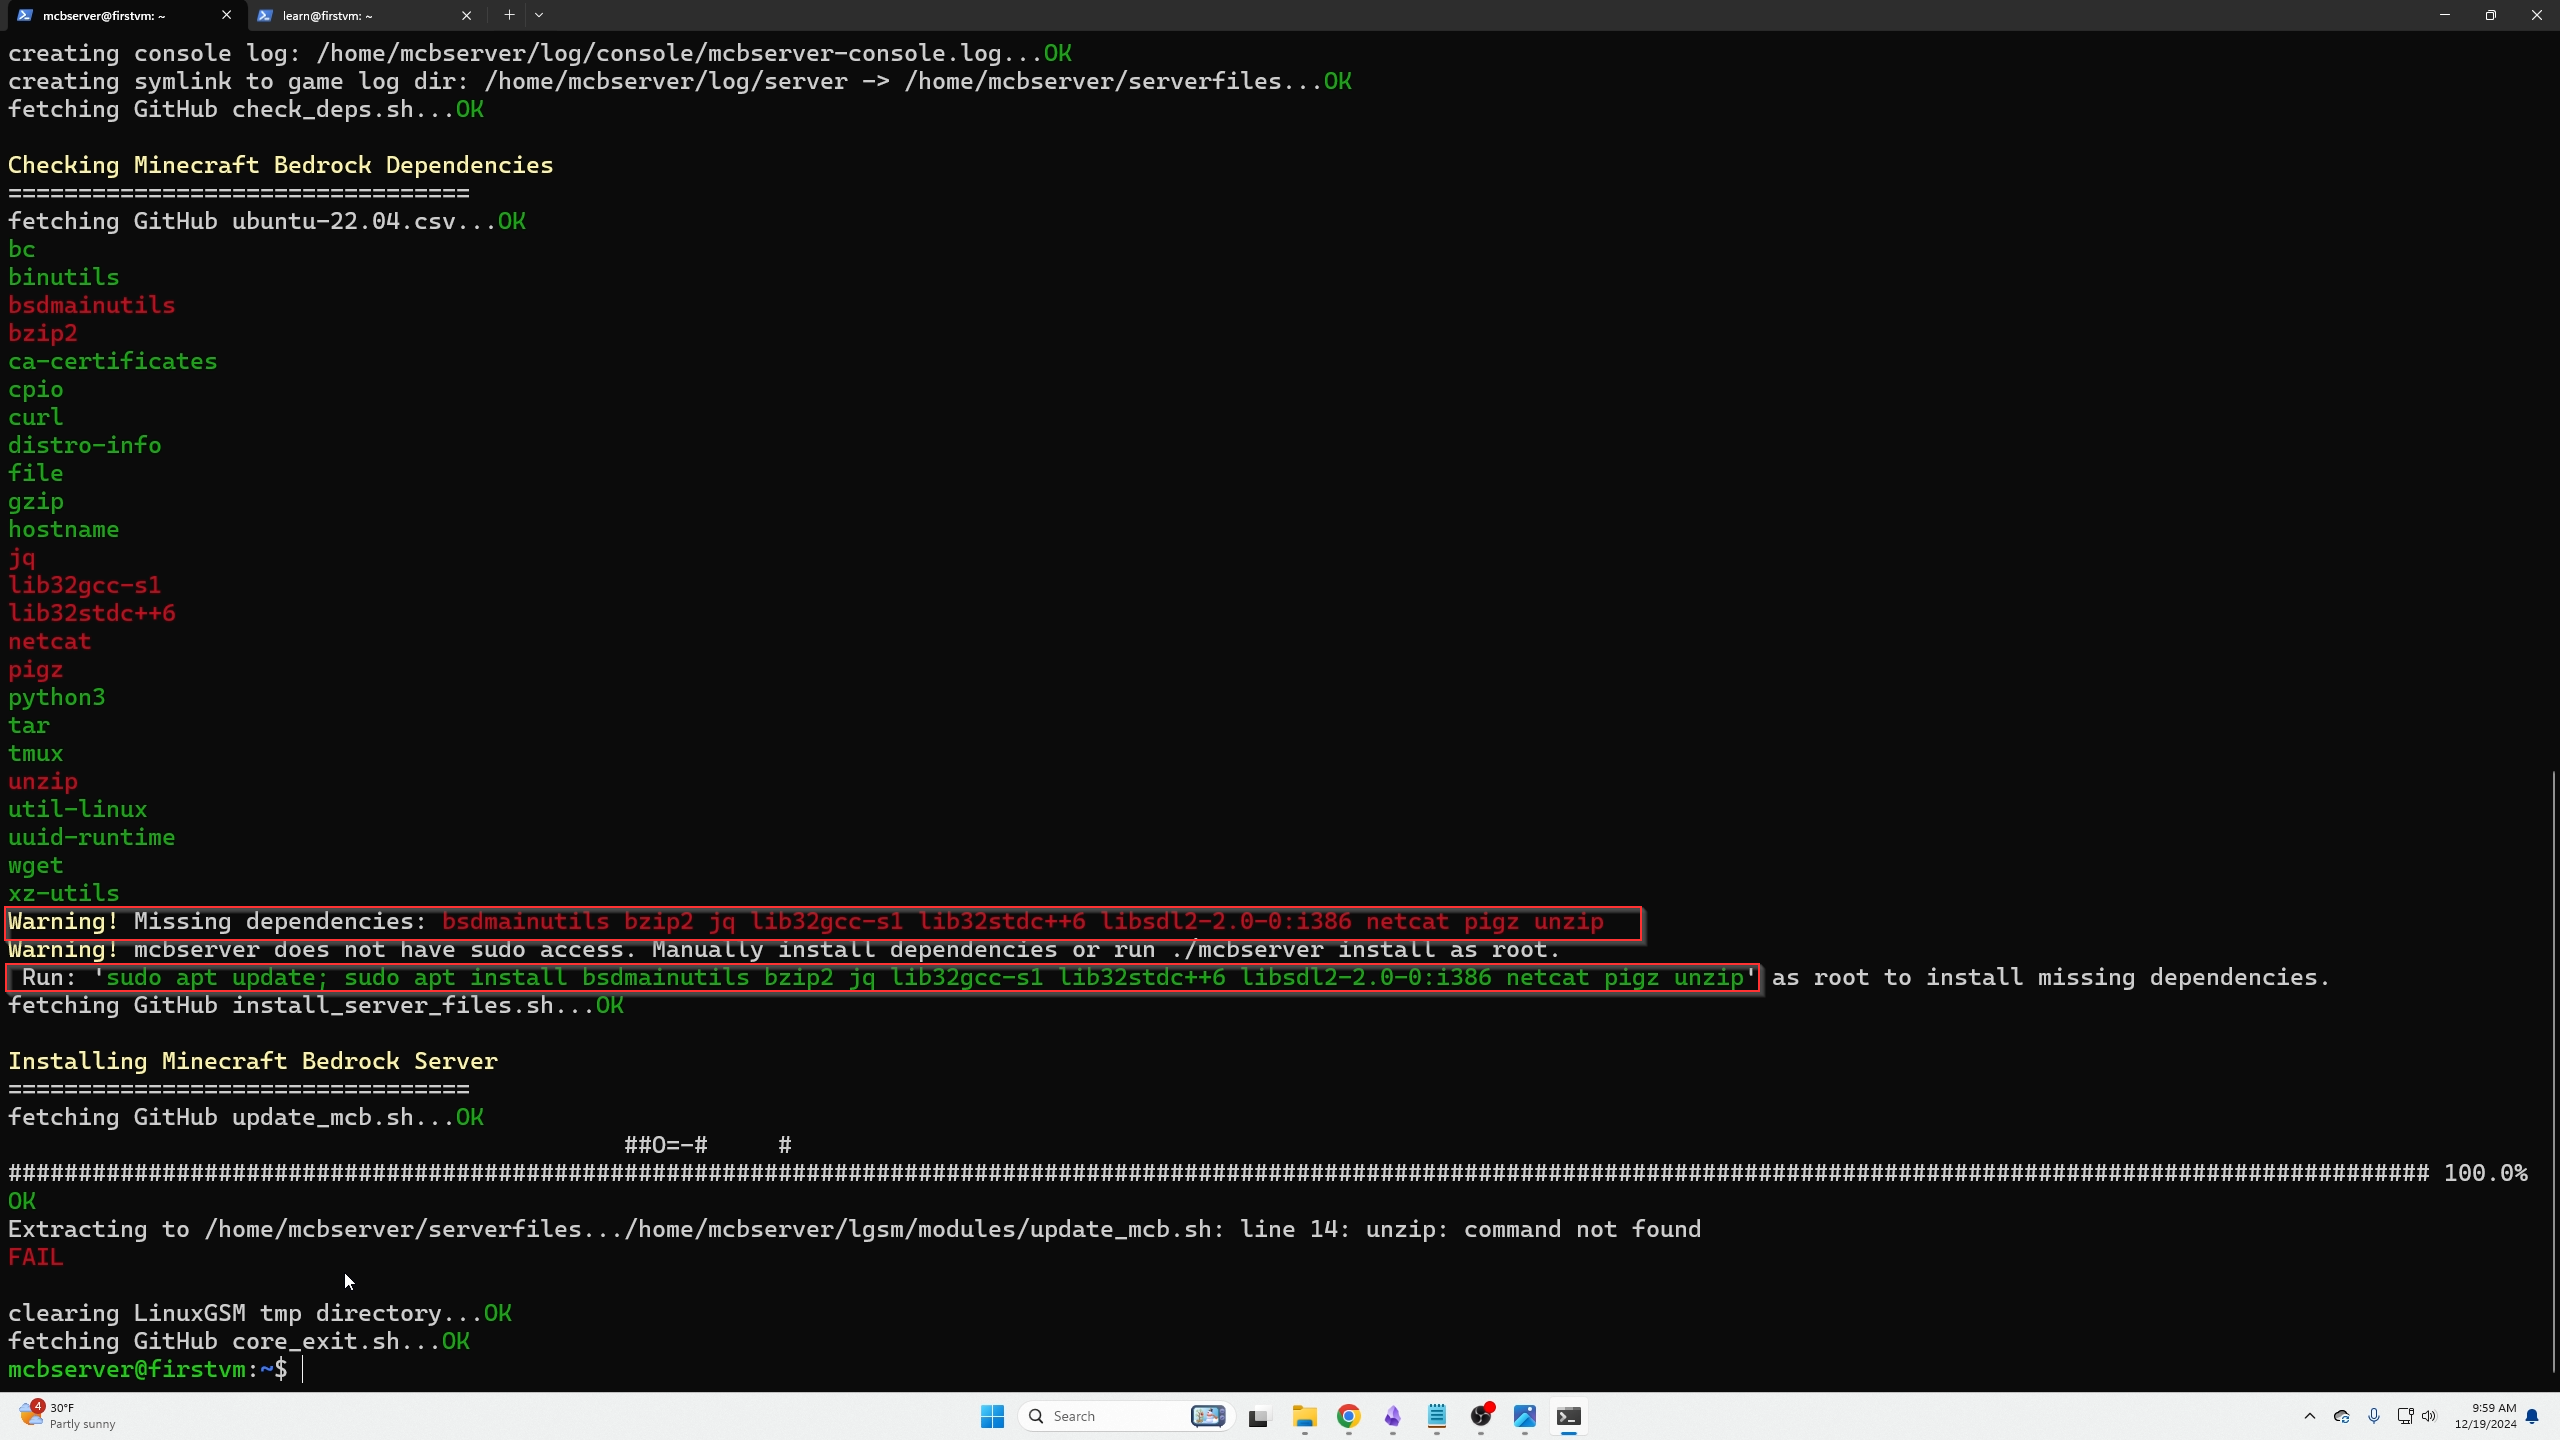 IN THE RIGHT SSH TAB we are going to type the following:
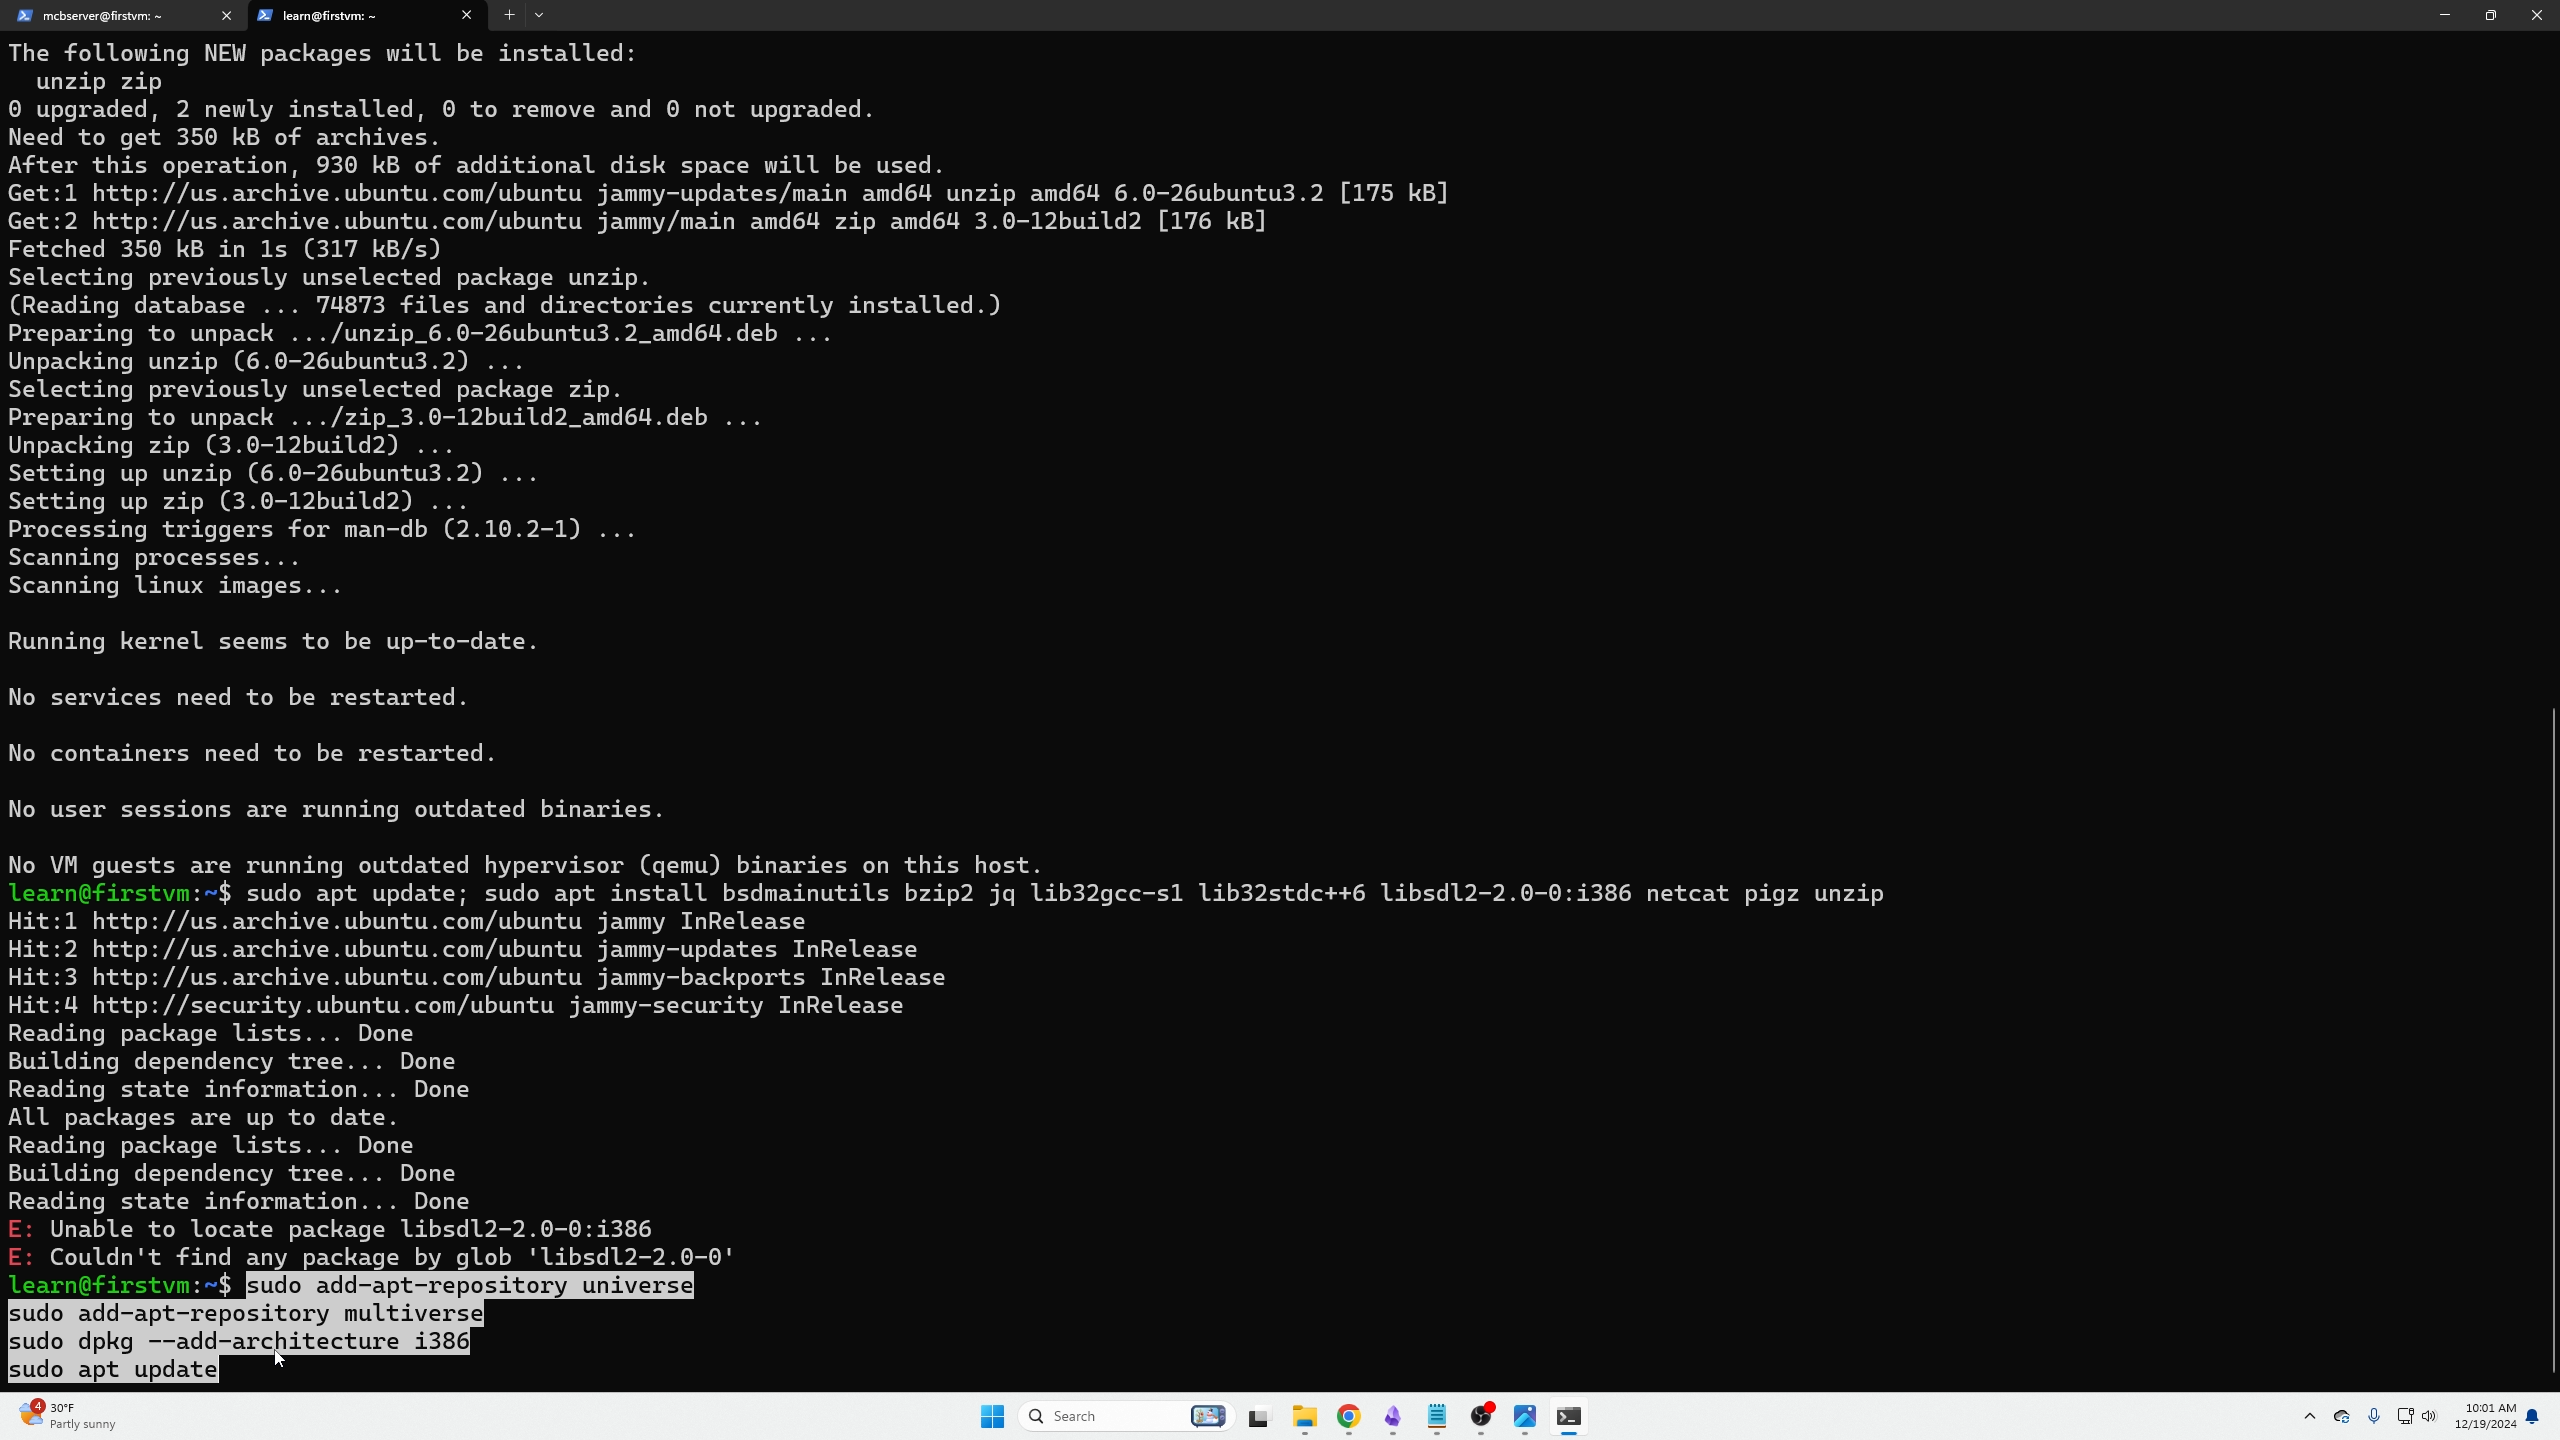
The following commands will allow our VM to find the missing files, download them, and unzip them
sudo add-apt-repository universe
sudo add-apt-repository multiverse
sudo dpkg --add-architecture i386
sudo apt update
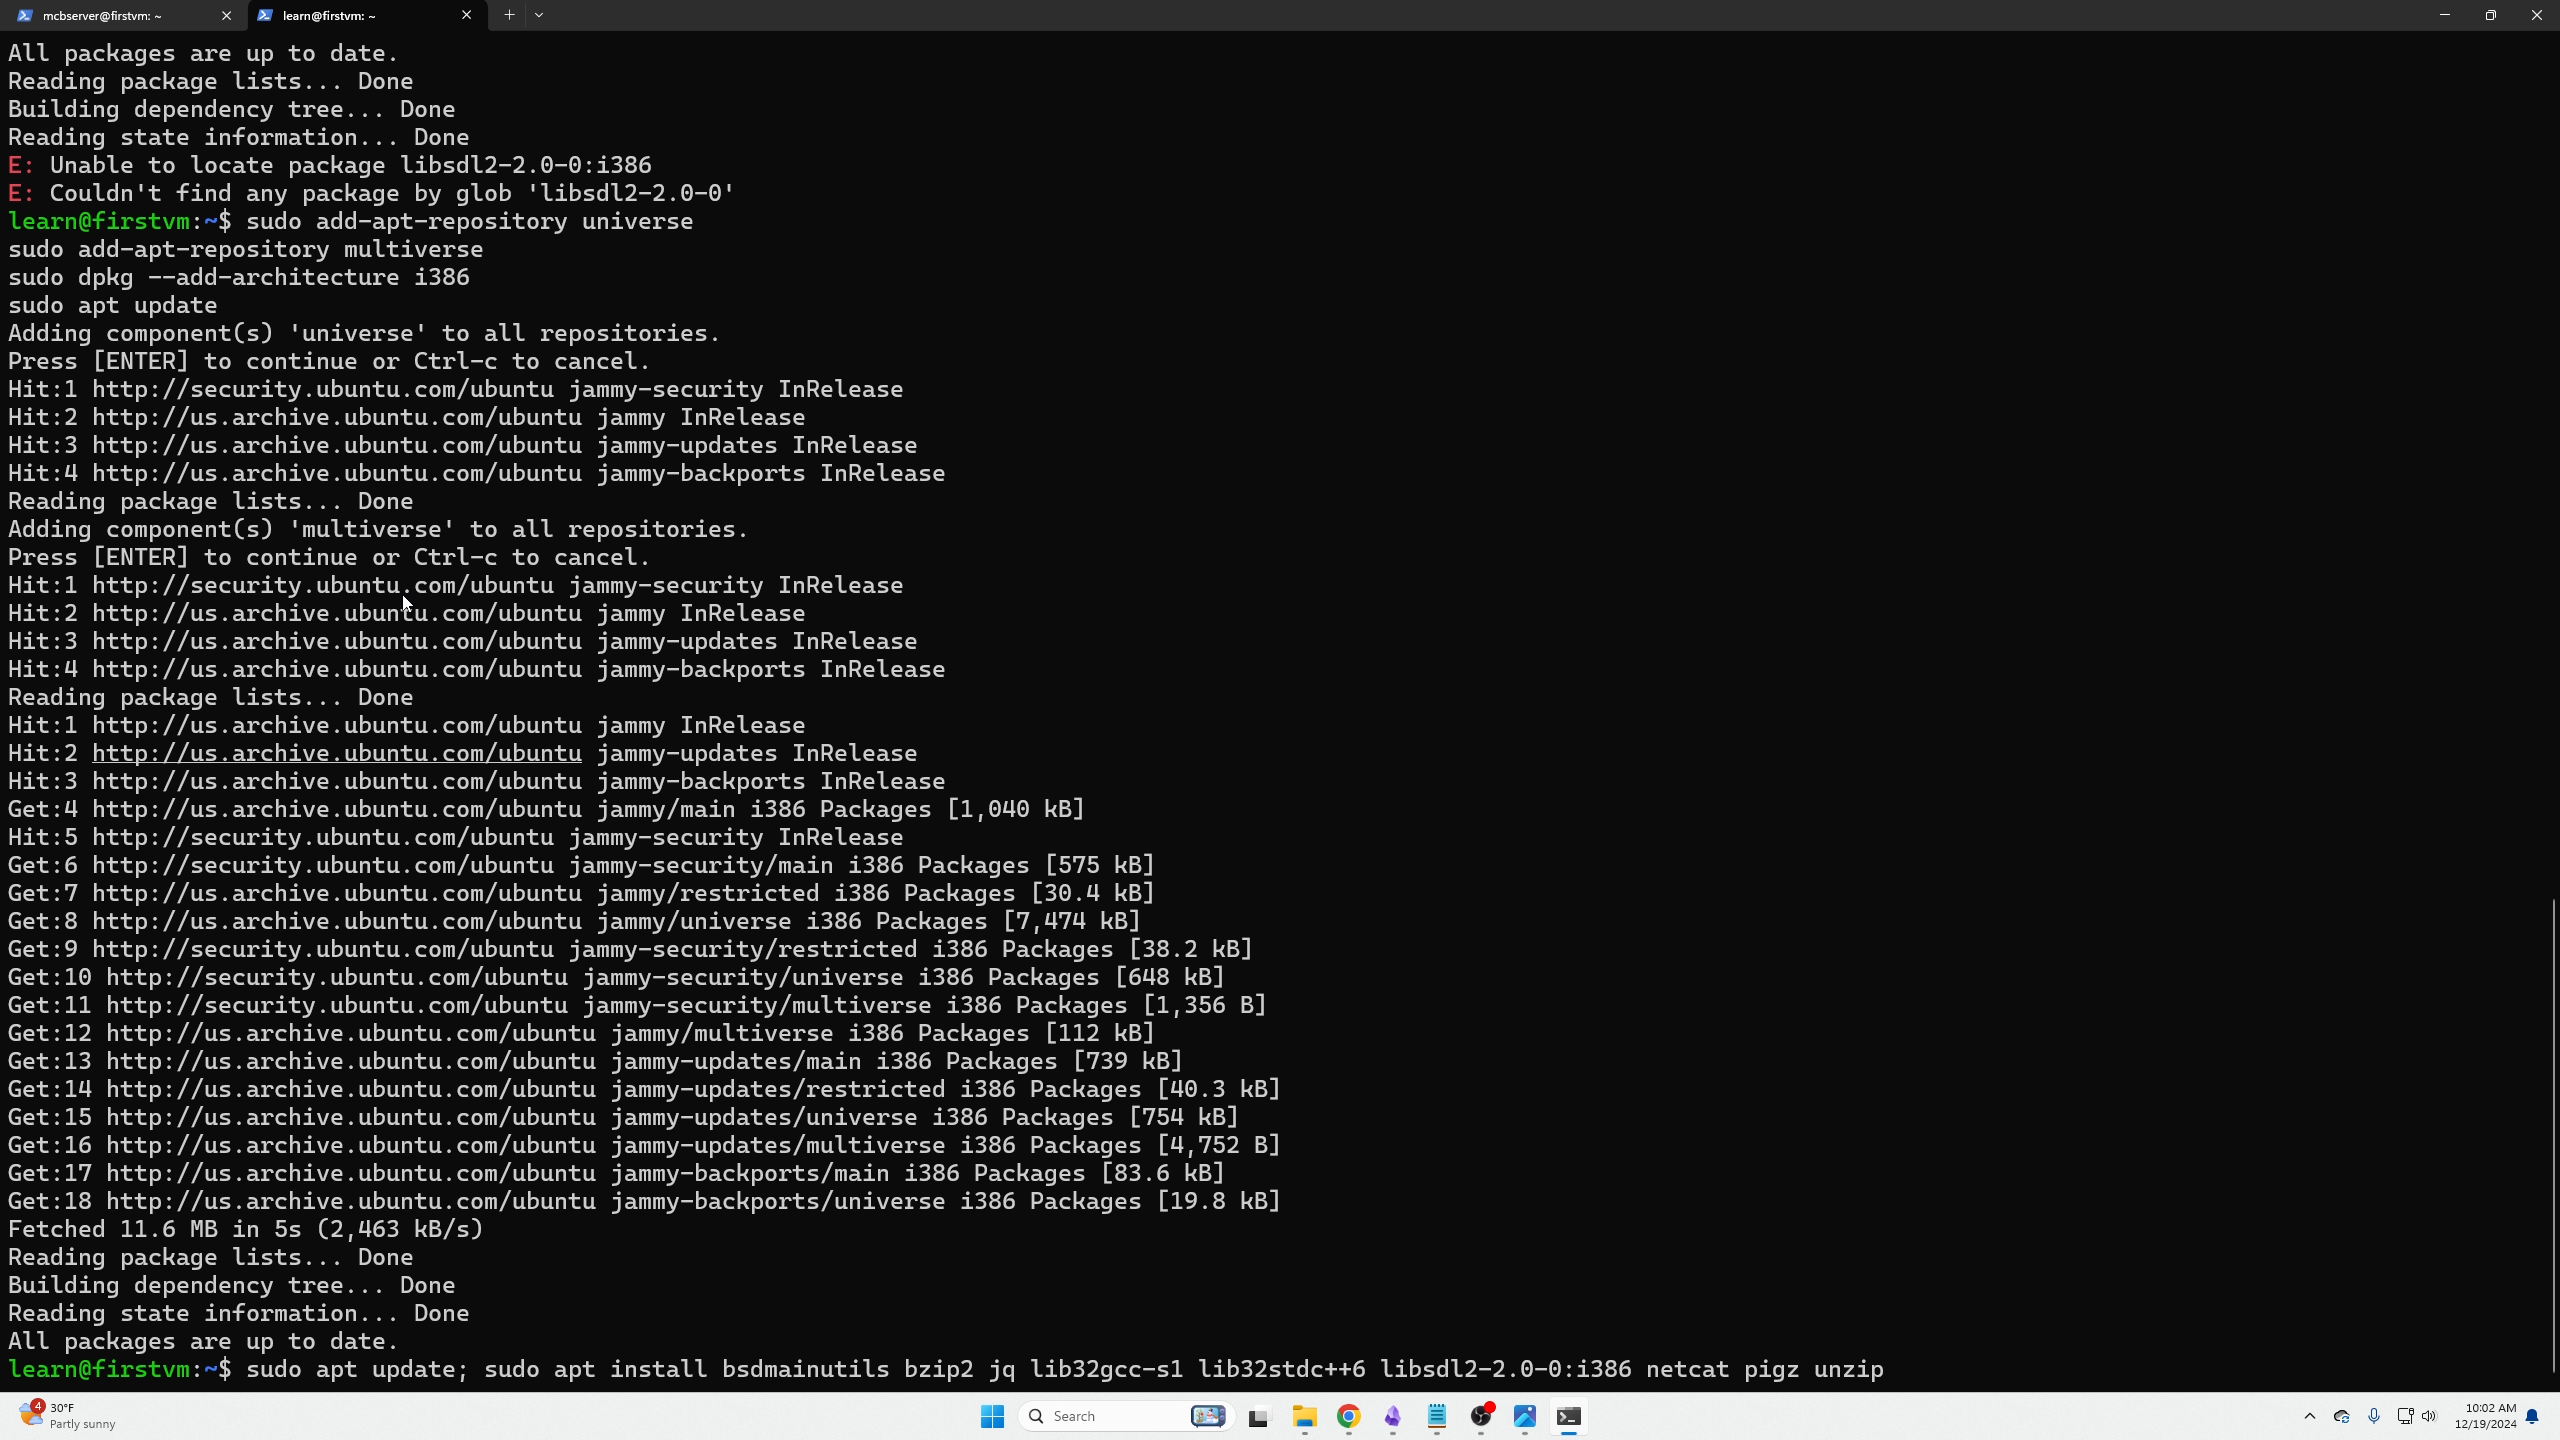
Now we can request those missing files found two pictures ago
sudo apt update; sudo apt install bsdmainutils bzip2 jq lib32gcc-s1 lib32stdc++6 libsdl2-2.0-0:i386 netcat bigz unzip
Now in our LEFT SSH tab we can continue where we left off, now that we have all the correct packages:
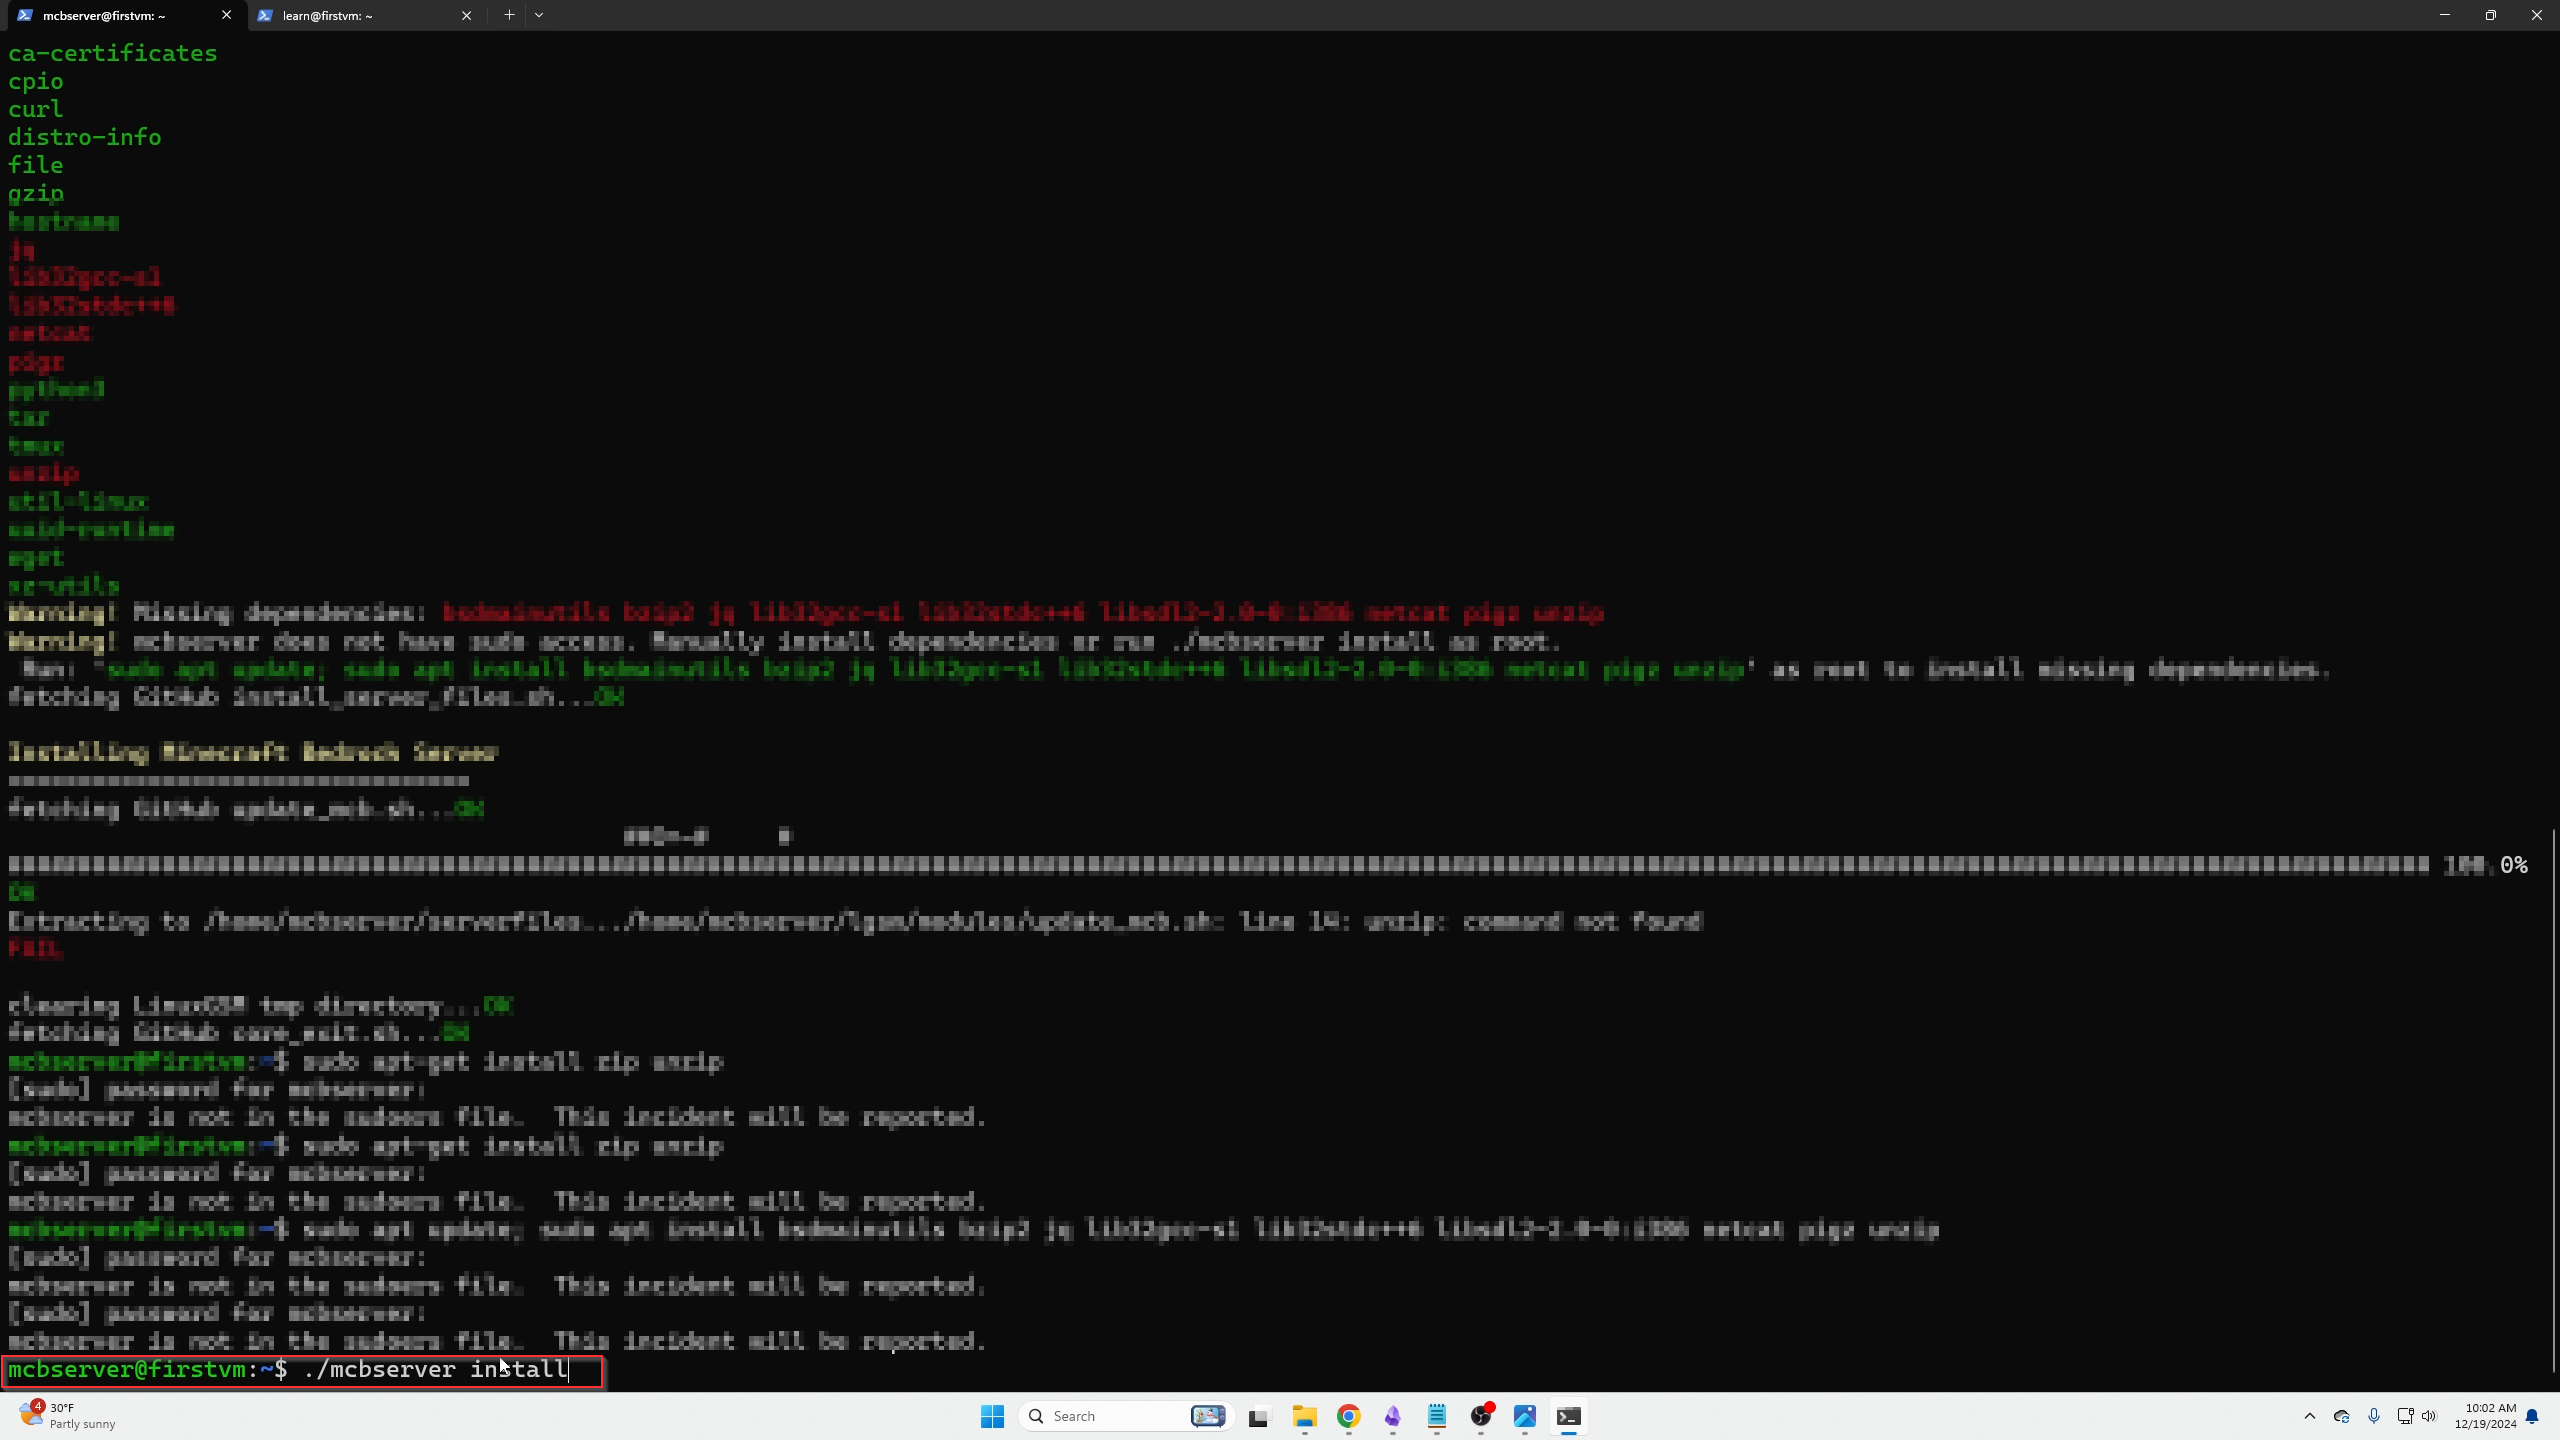
We can see after installing our (mcb =Minecraft bedrock) server, we get all green files now, so we know it worked.
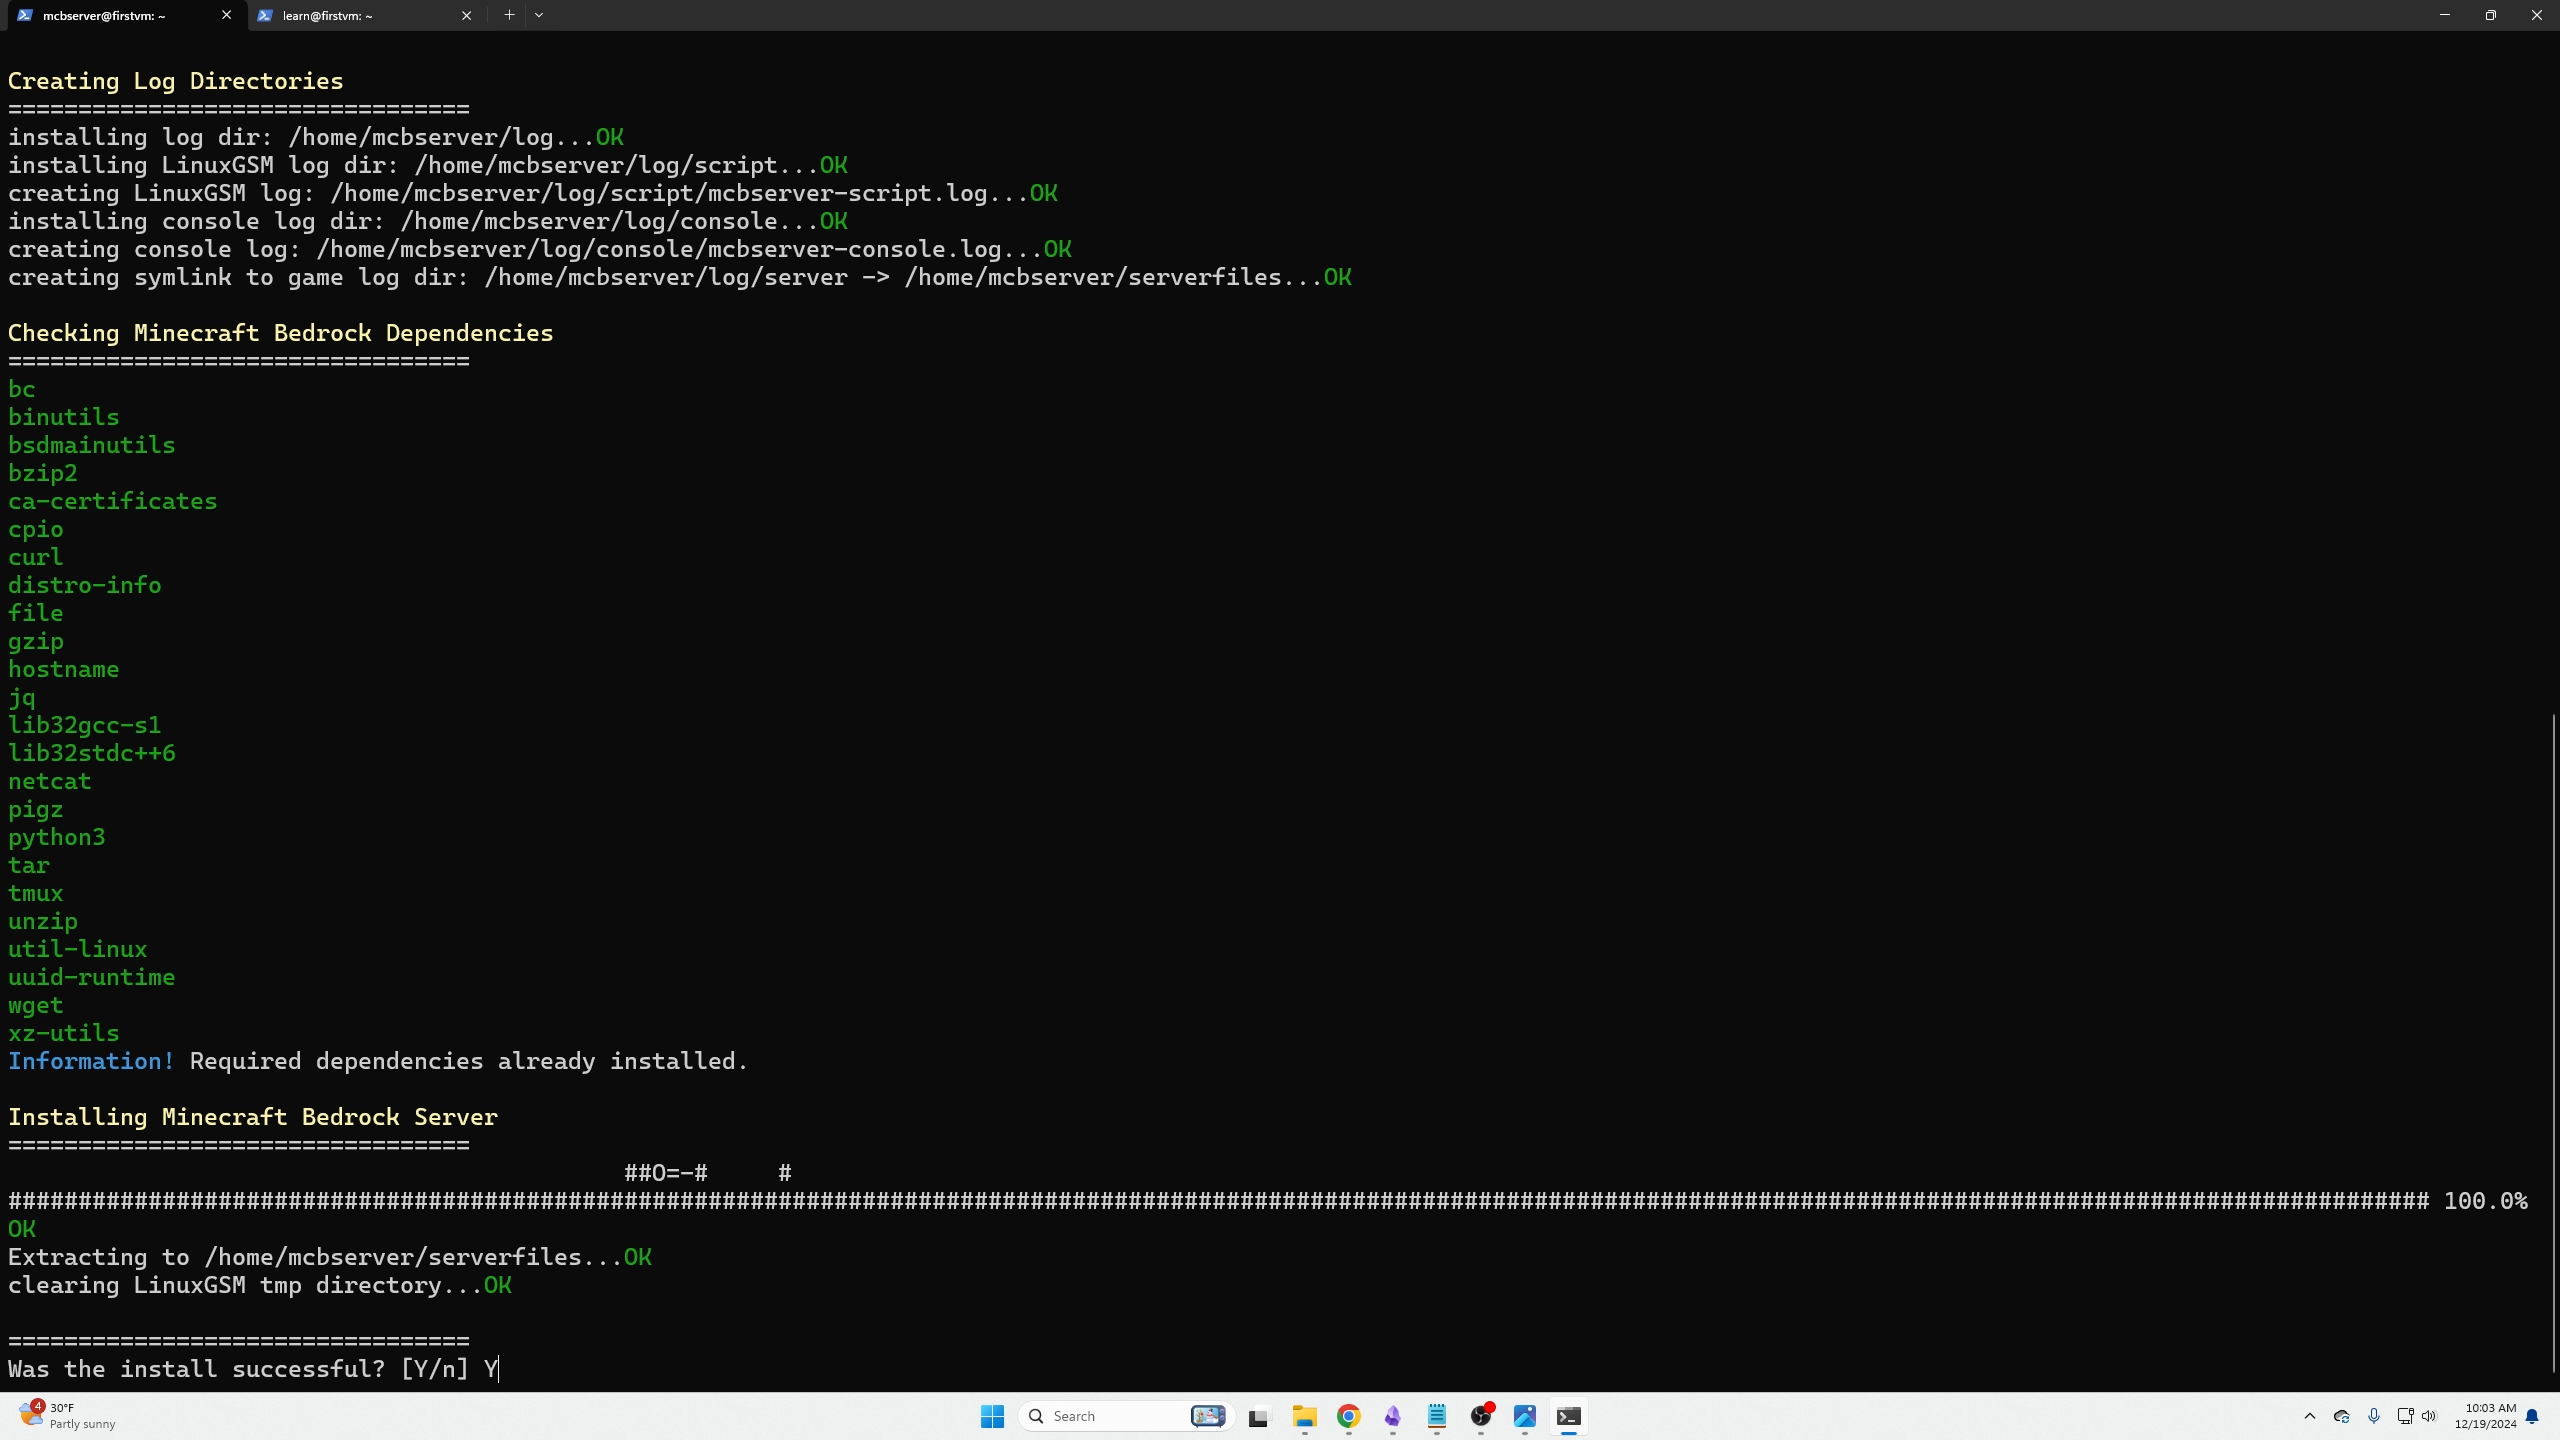
The most important area of LinuxGSM is knowing where to find your configuration files, they will always be stated under the (./(game_server_type) details) after typing the following command and the status of your server (if it is running or stopped).
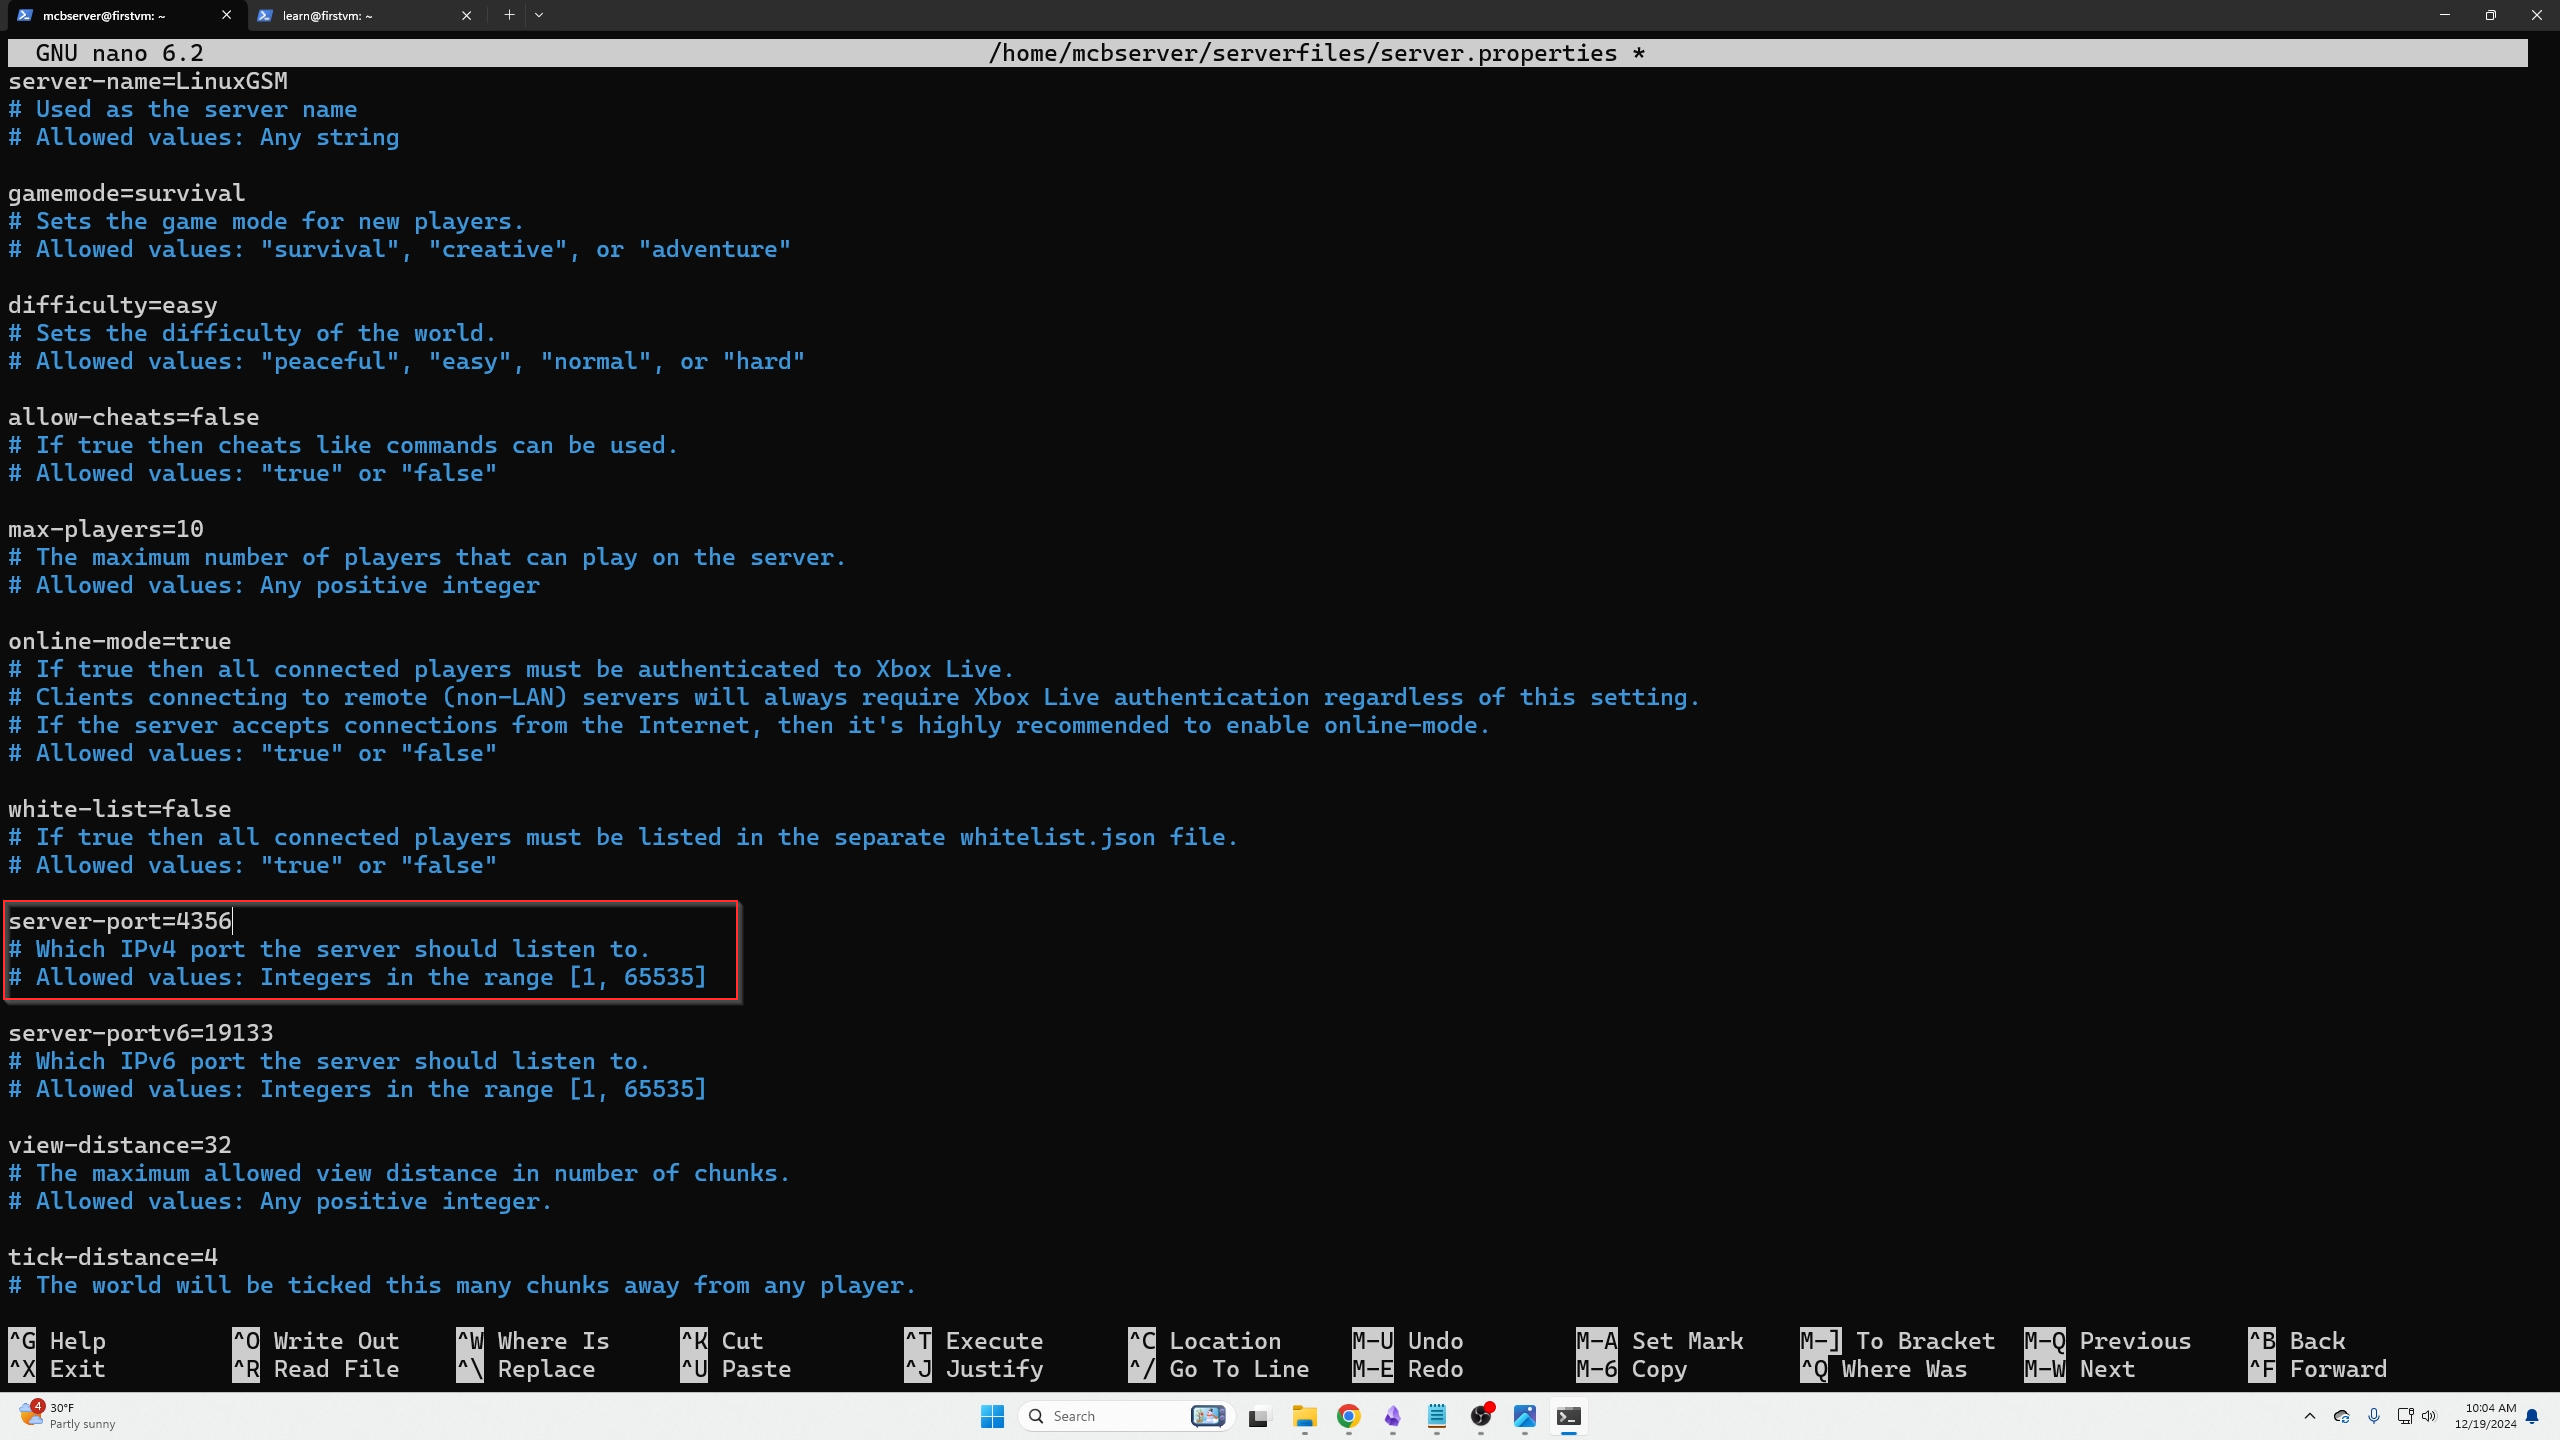
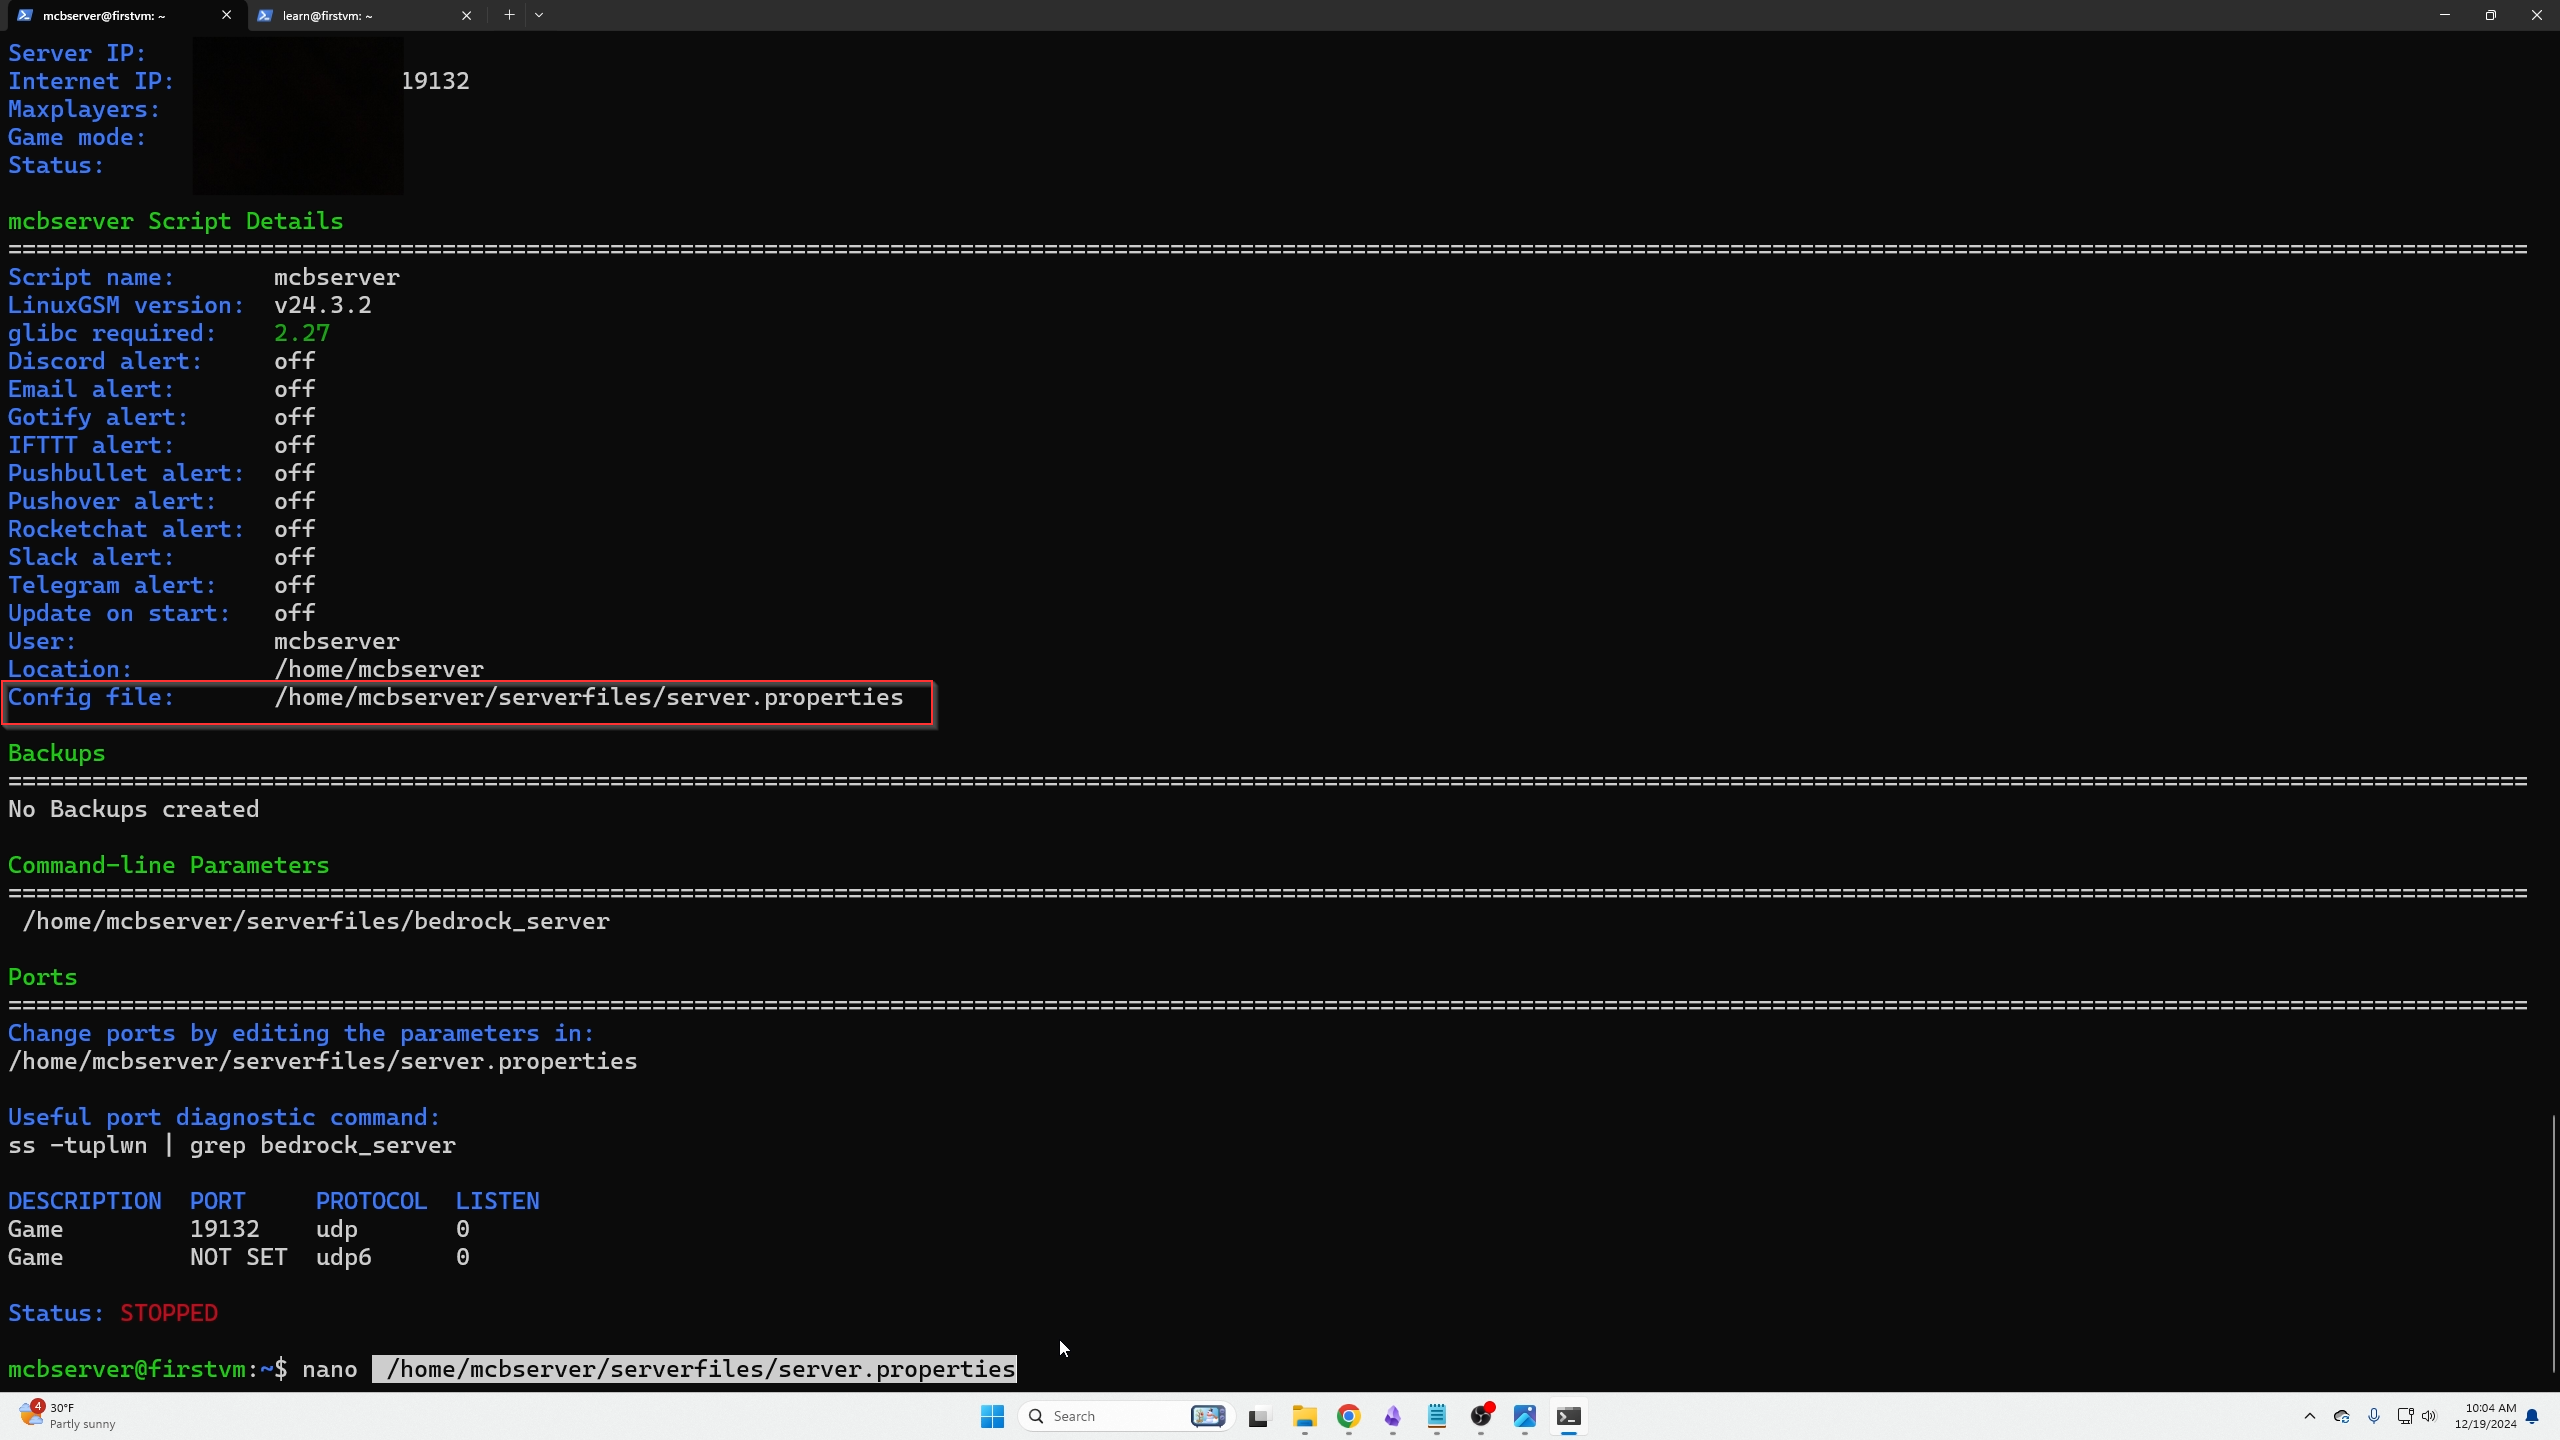 To edit this configuration file, we are going to use nano.
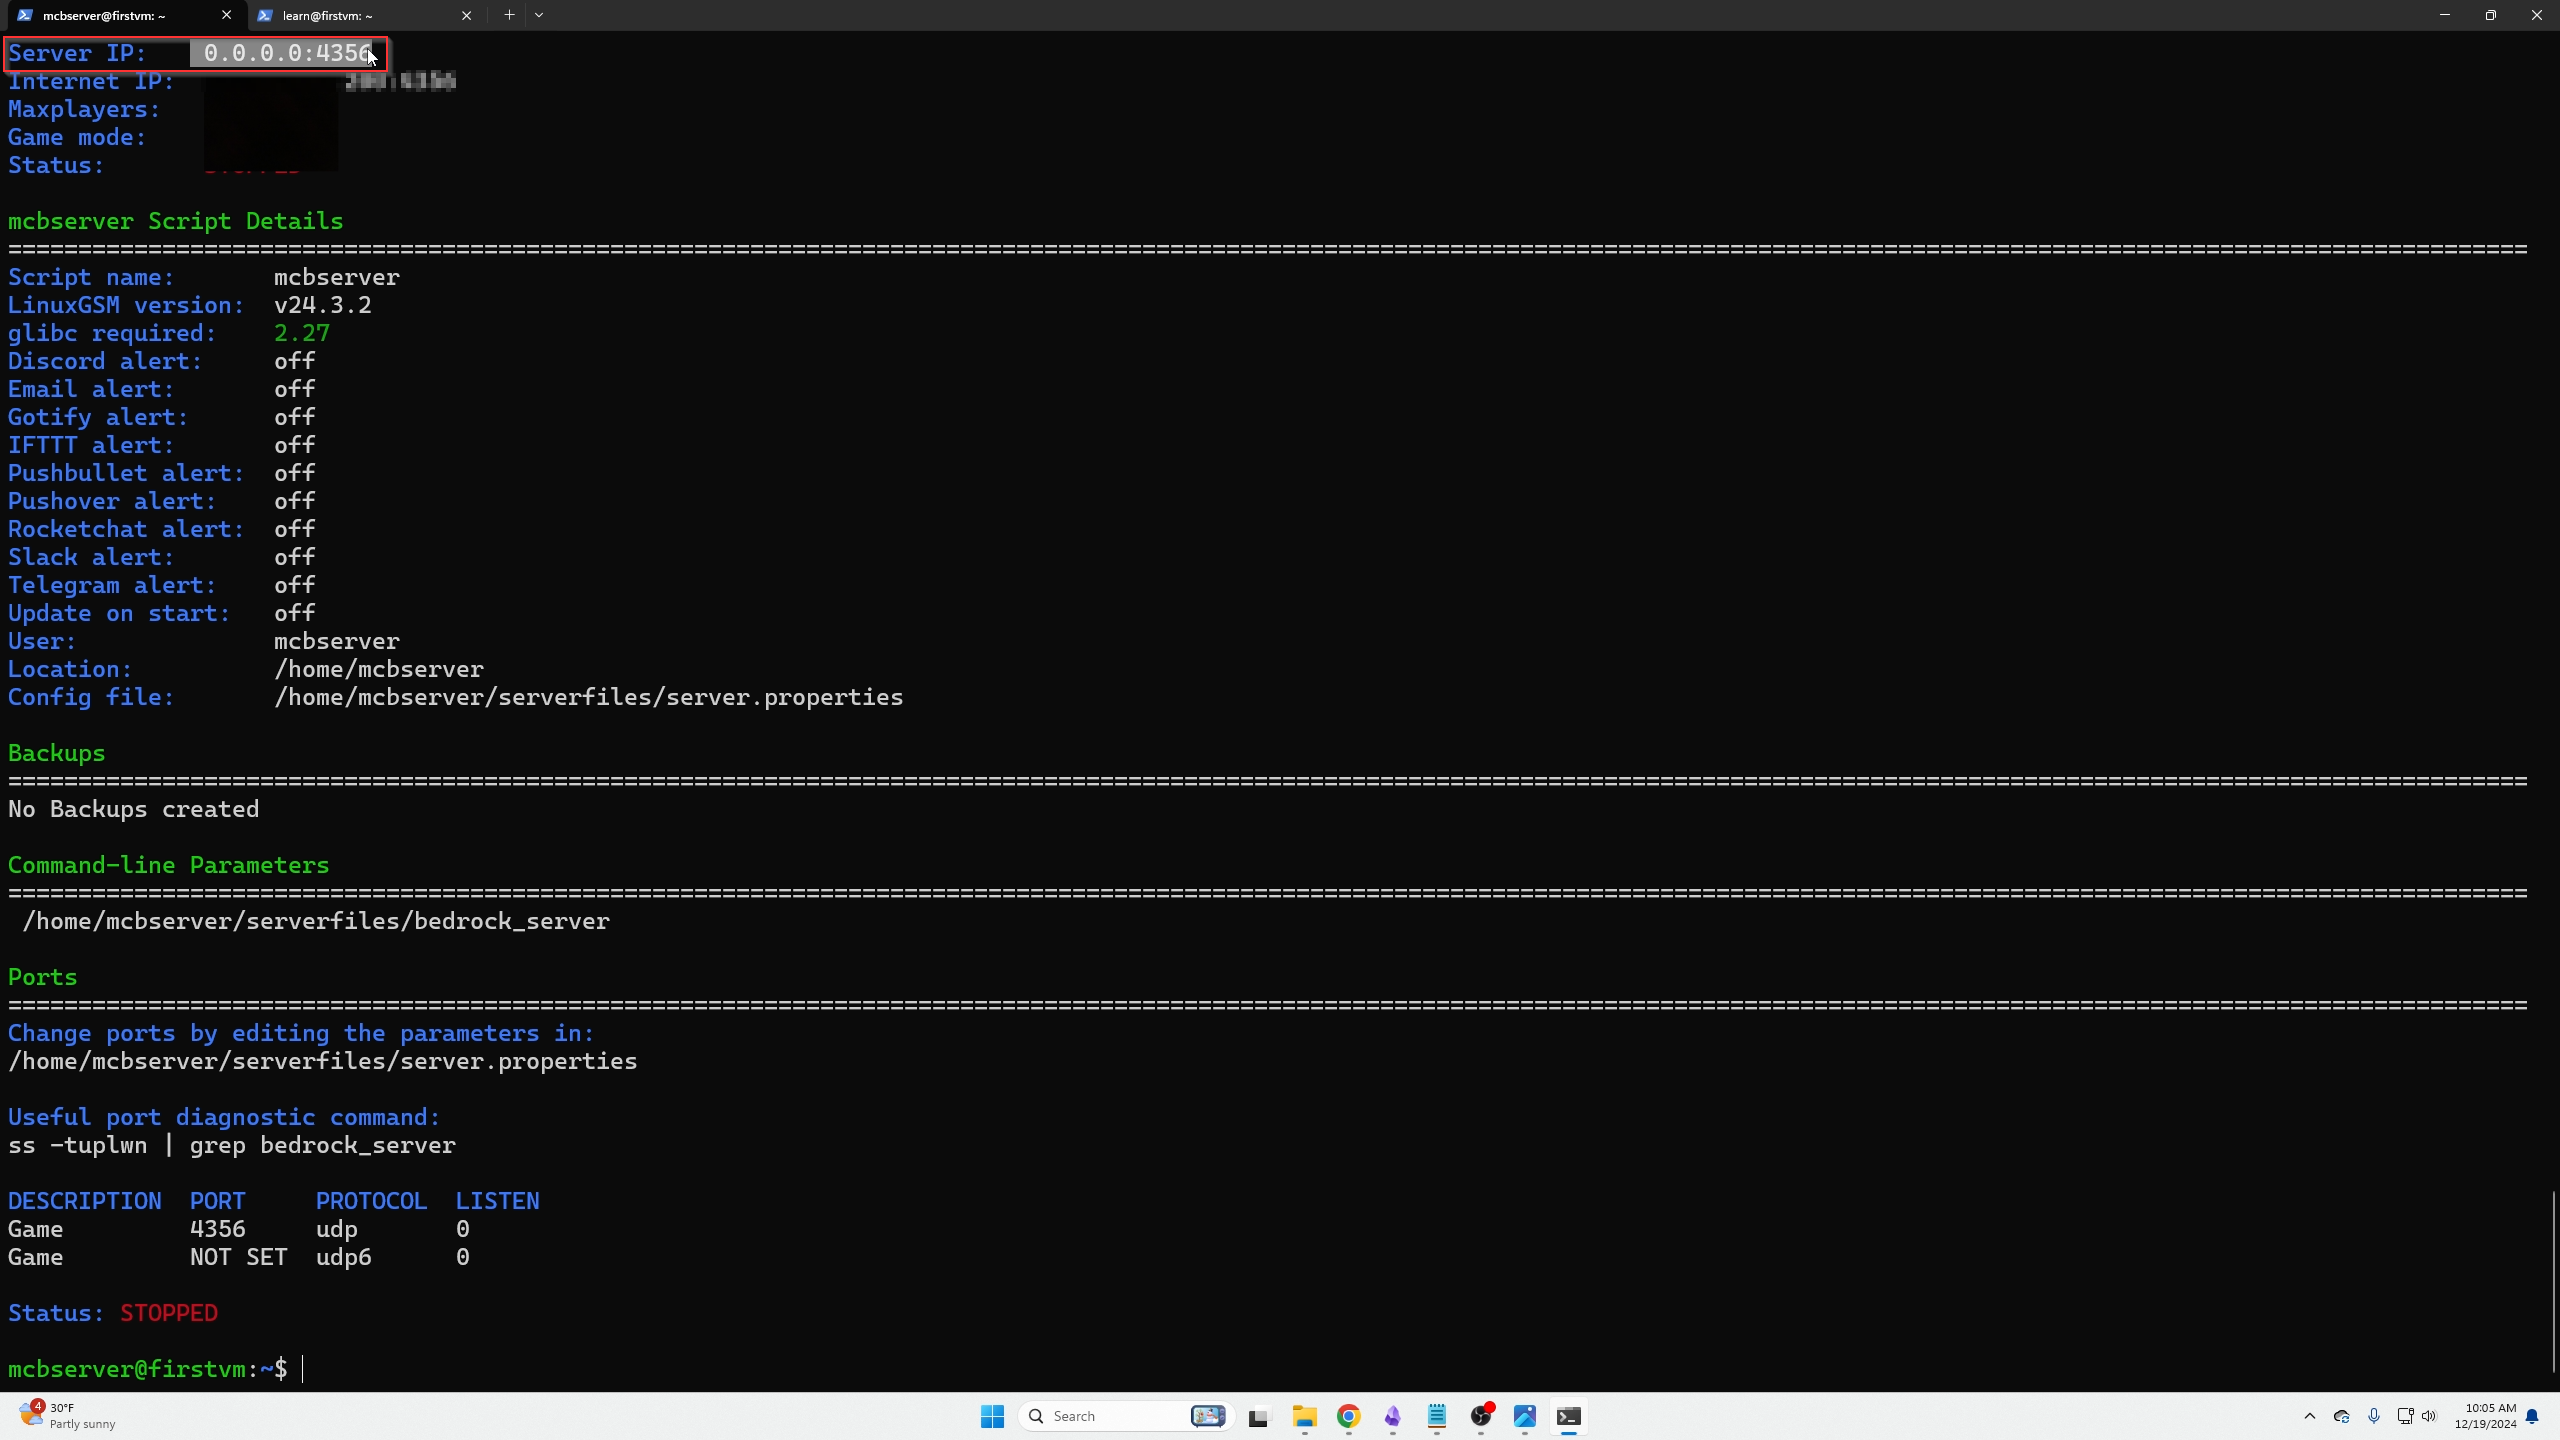
Here is what ours looks like, we are going to use our arrow keys to go down to server-port and change it to [4356]
After that to exit, you will type Ctrl + X then type Y at the next prompt to confirm changes and lastly to save it you will click Enter
Then we can confirm our changes by typing the following command and confirming the change
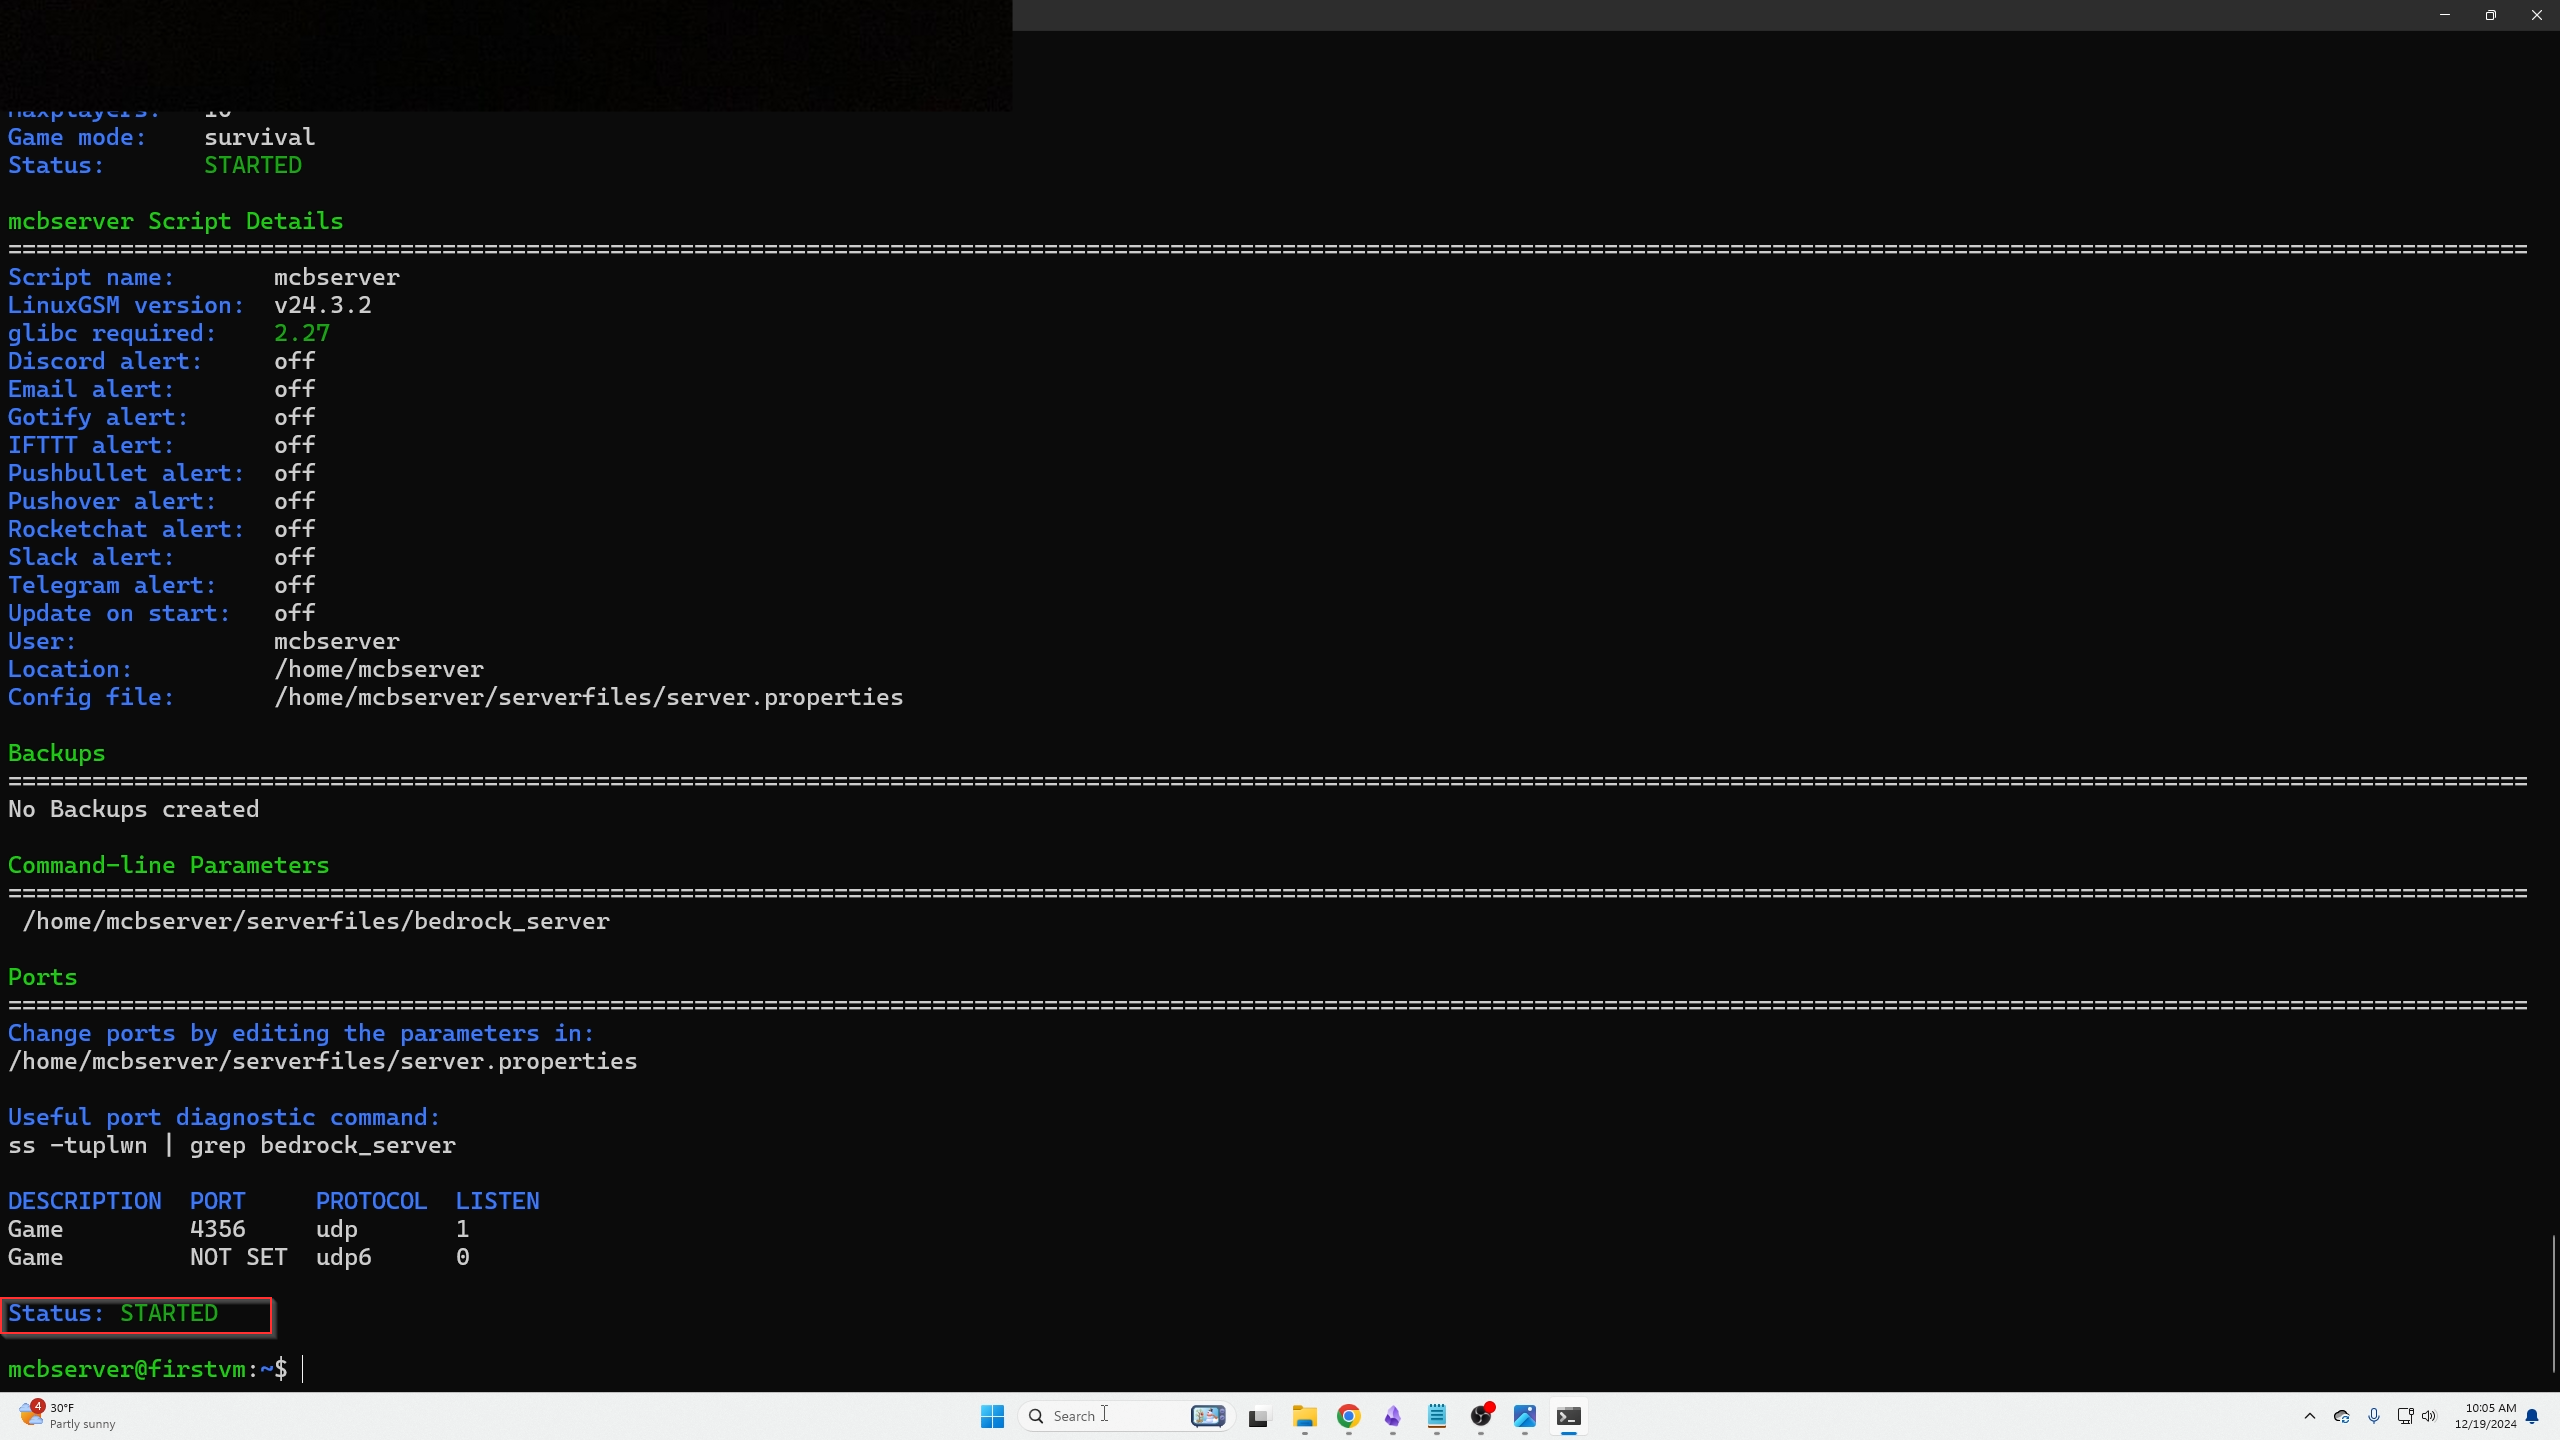
Now we are done, and we can start our Minecraft server with the following command, you will now see it started properly when the status shows a green started indicator
Installing PlayitGG
Now we have gotten LinuxGSM out of the way, we are going to install PlayitGG in the RIGHT SSH window and leave the left window open.
On PlayitGG's site we are going to copy the following command into our RIGHT SSH window.
curl -SsL https://playit-cloud.github.io/ppa/key.gpg | gpg --dearmor | sudo tee /etc/apt/trusted.gpg.d/playit.gpg >/dev/null
echo "deb [signed-by=/etc/apt/trusted.gpg.d/playit.gpg] https://playit-cloud.github.io/ppa/data ./" | sudo tee /etc/apt/sources.list.d/playit-cloud.list
sudo apt update
sudo apt install playit
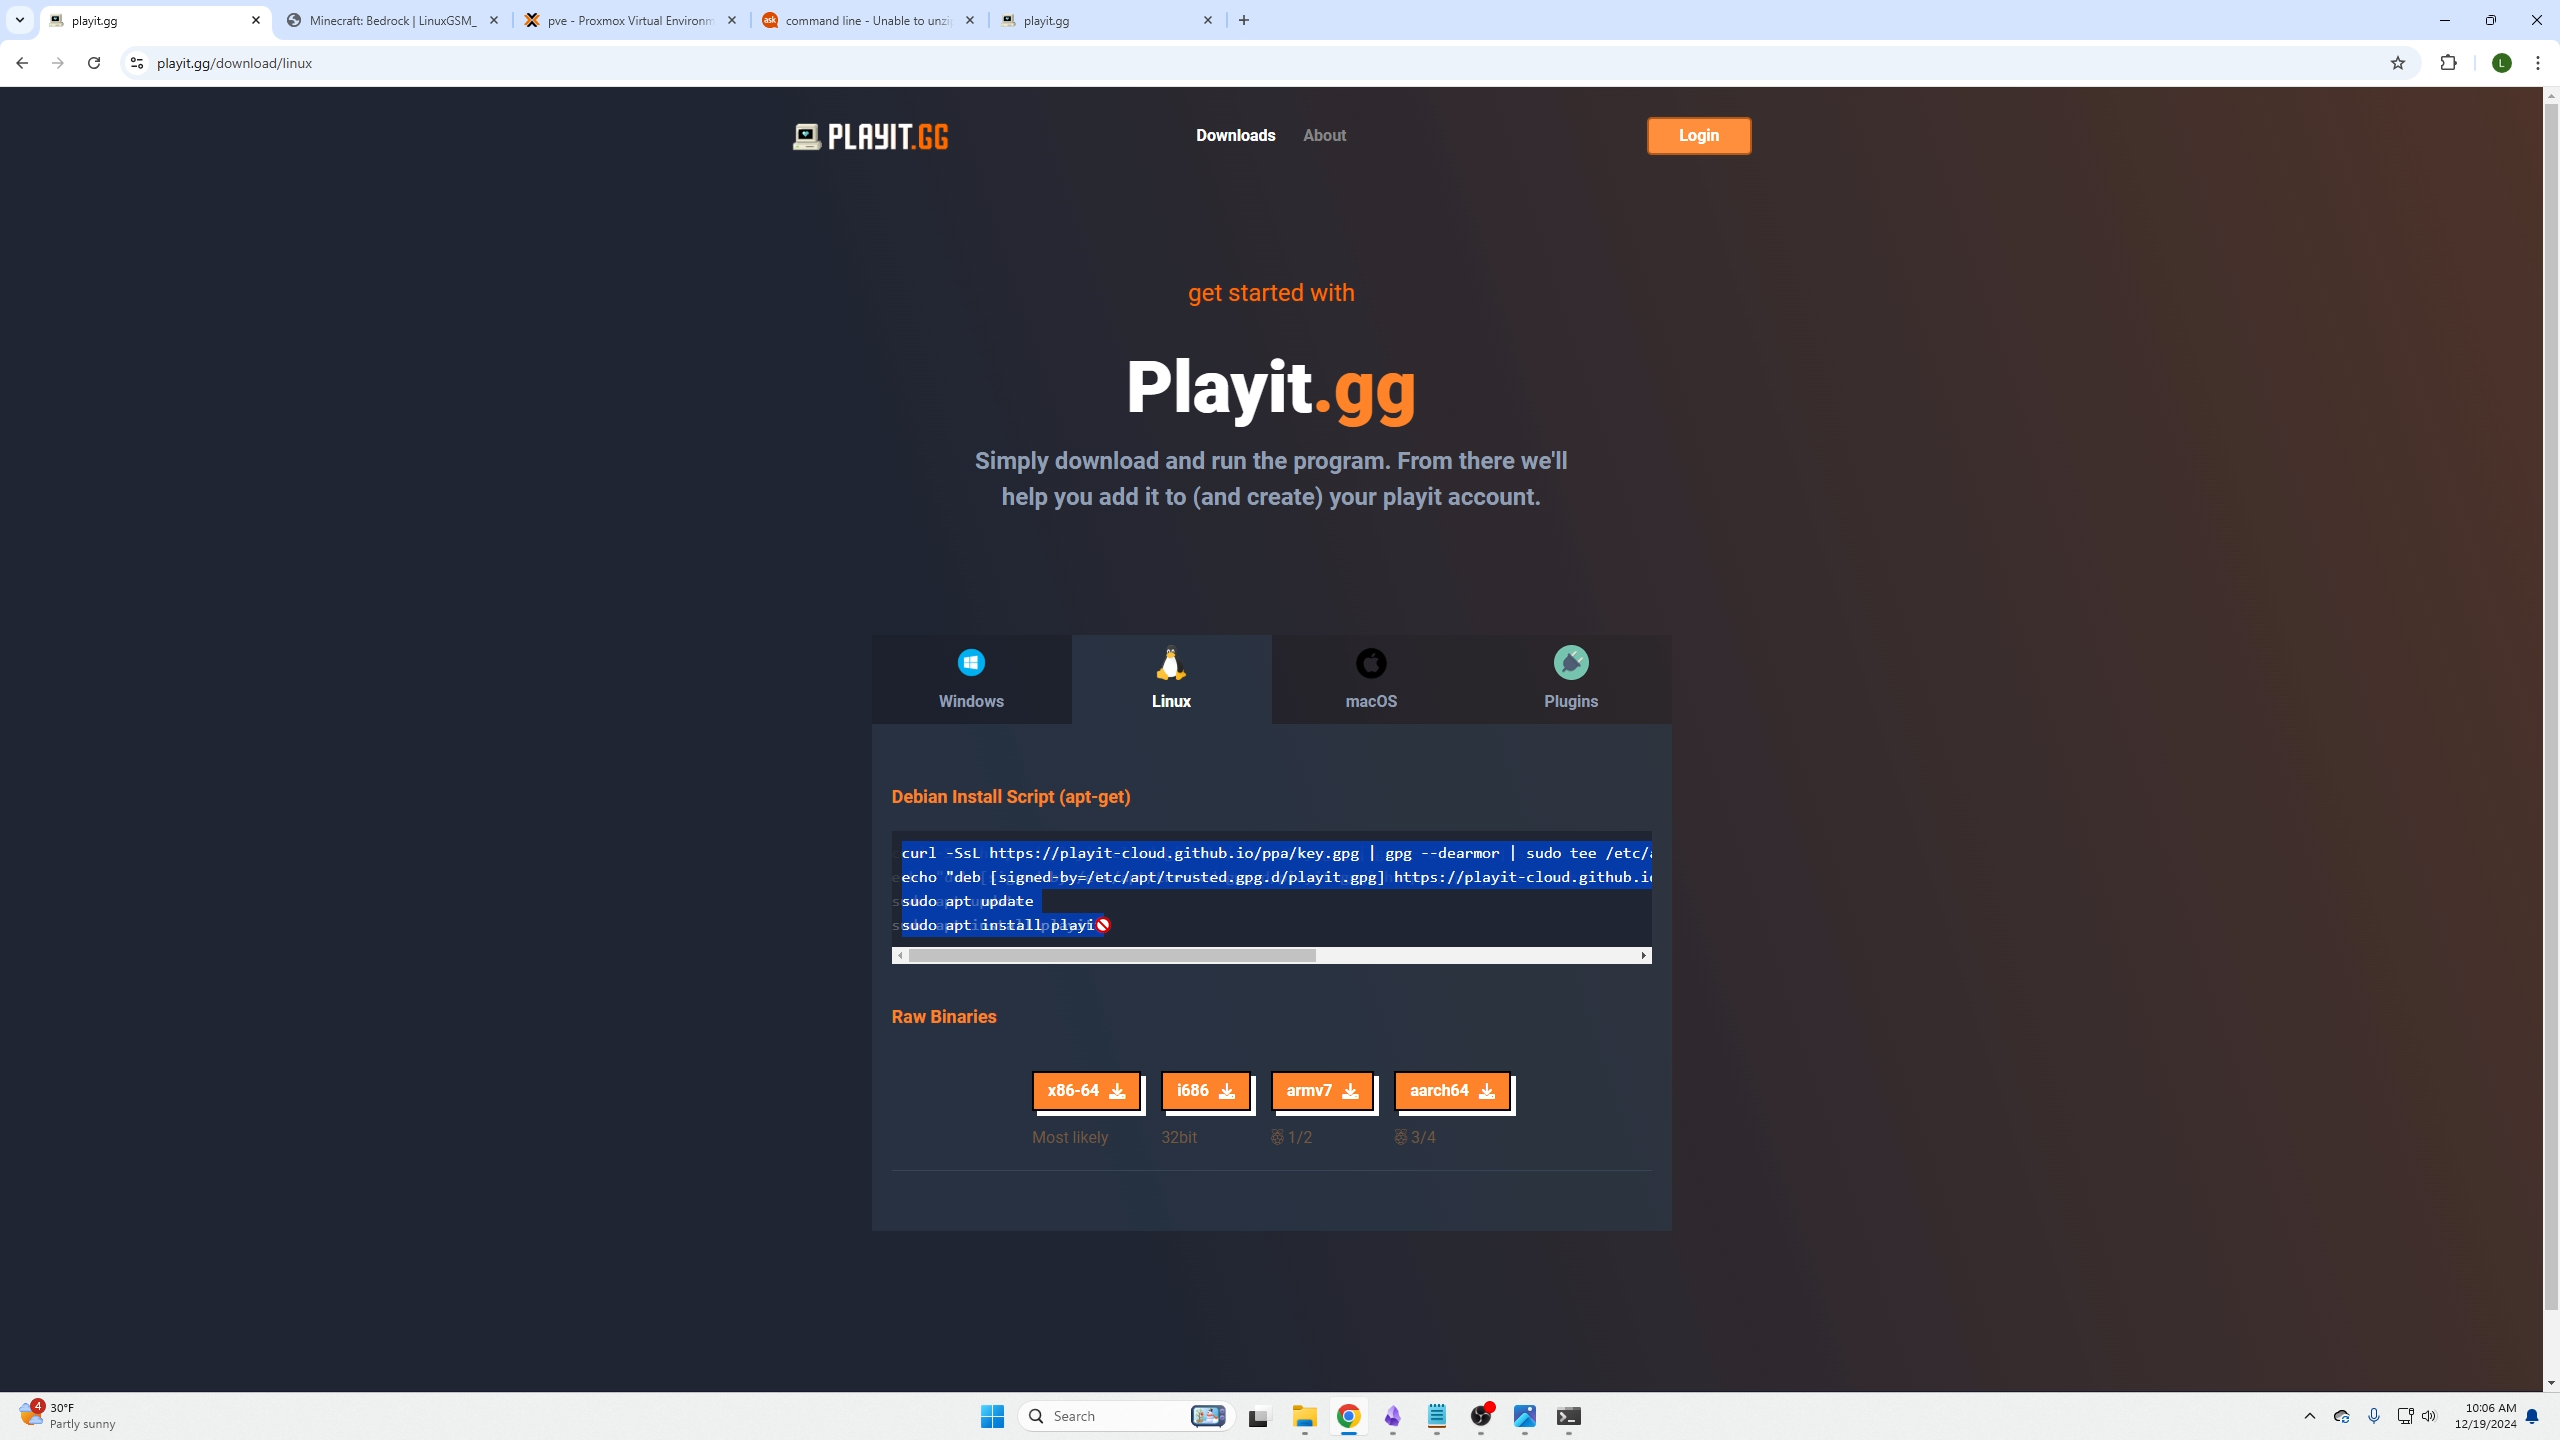
After that is done, to start the PlayitGG service, we need to simply type the following command
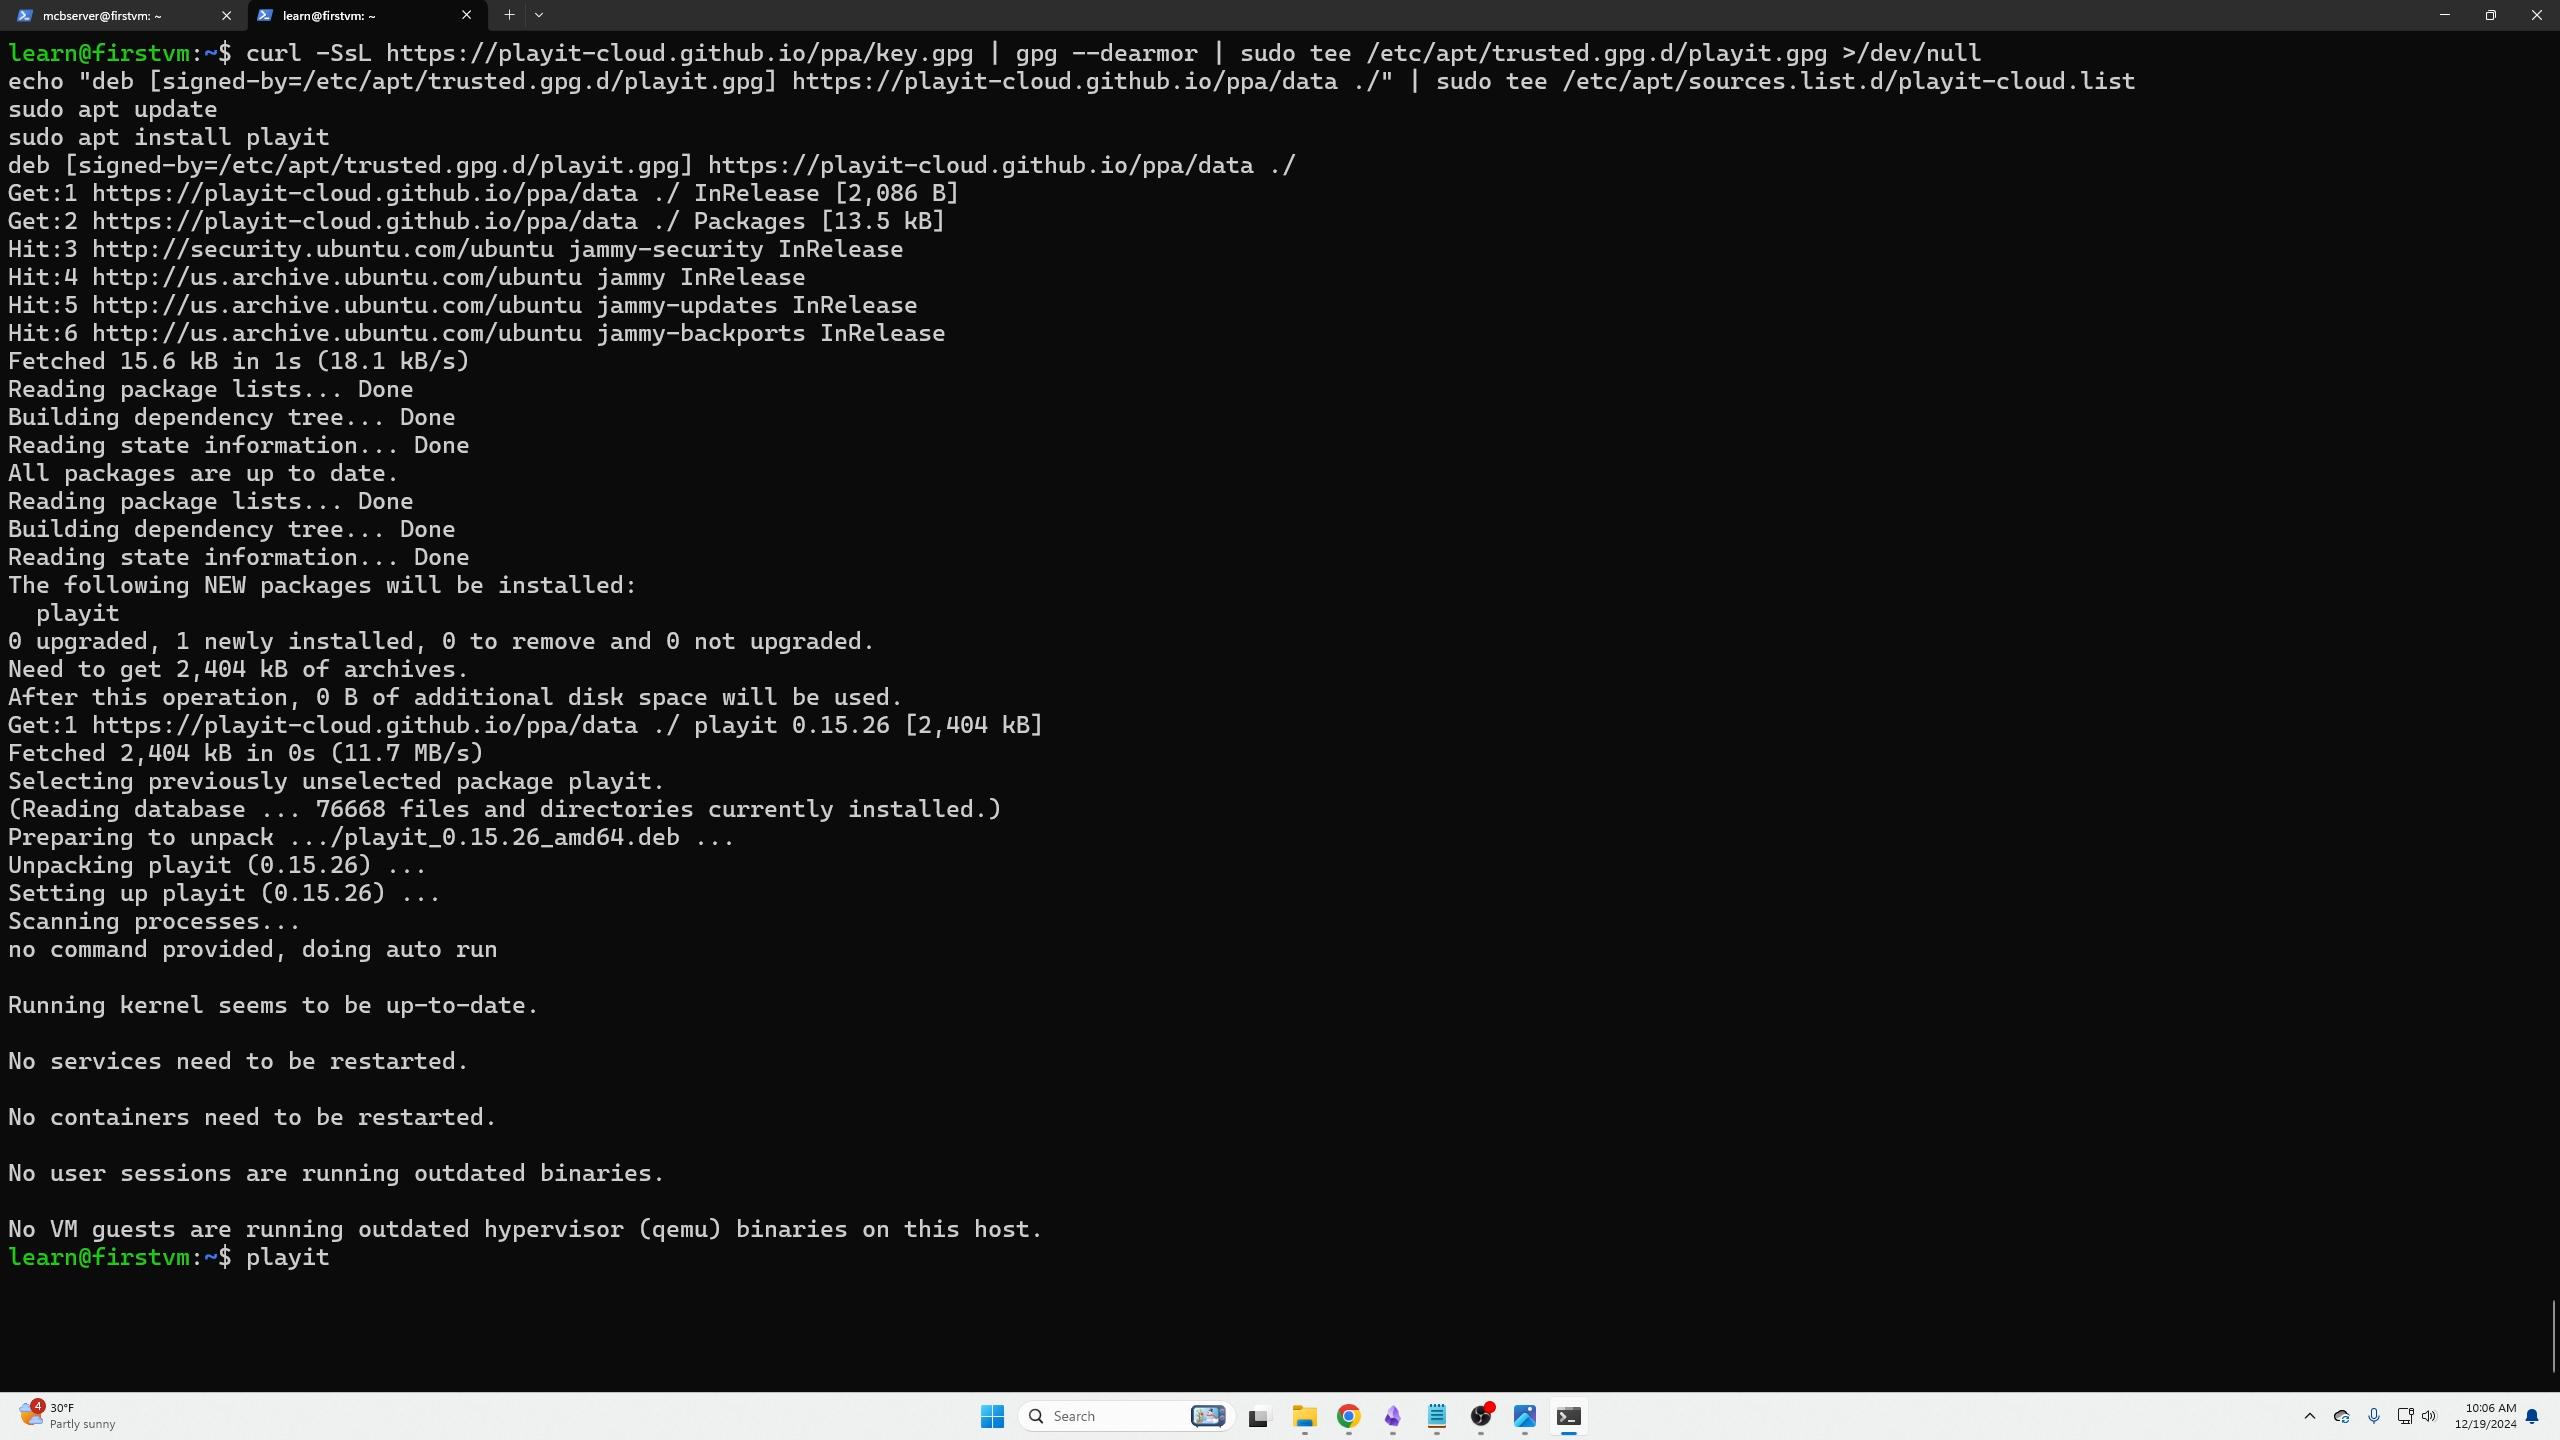
You will then be prompted with the following screen; you will need to do Ctrl + left click to follow the link.
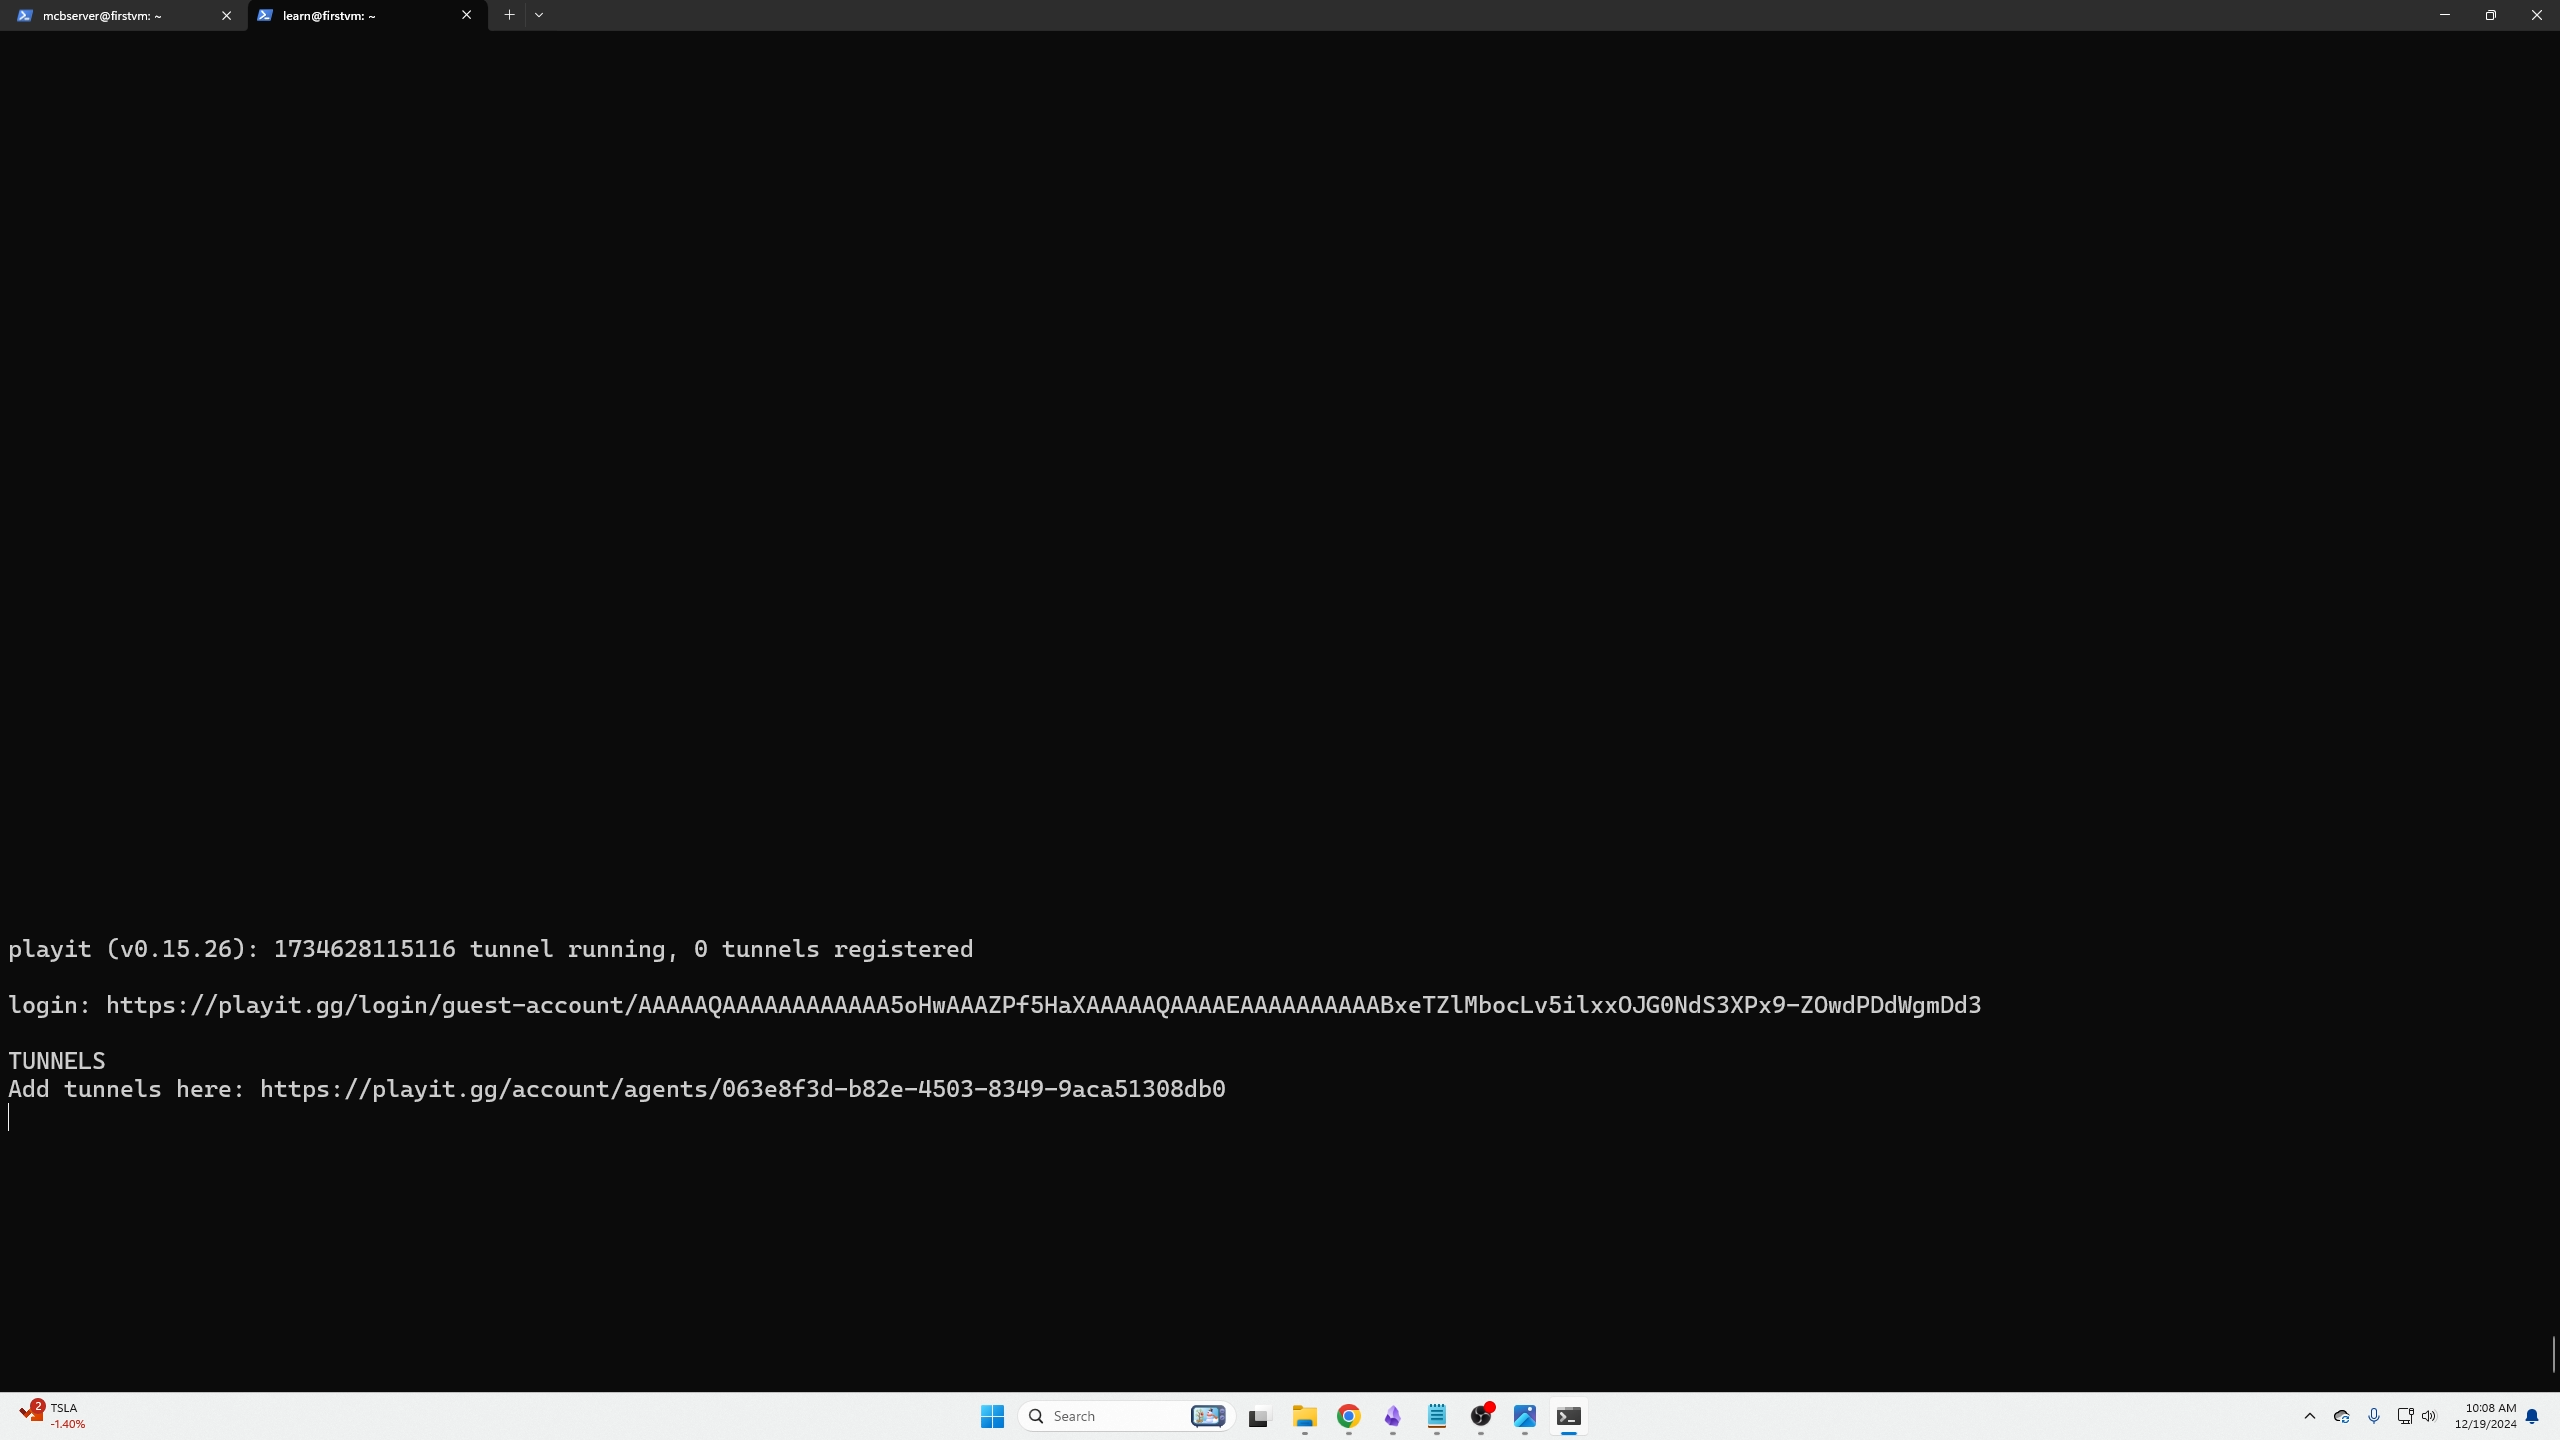
Now you are going to wait 1-5 minutes for the PlayitGG servers to find your tunnel calling out to it.
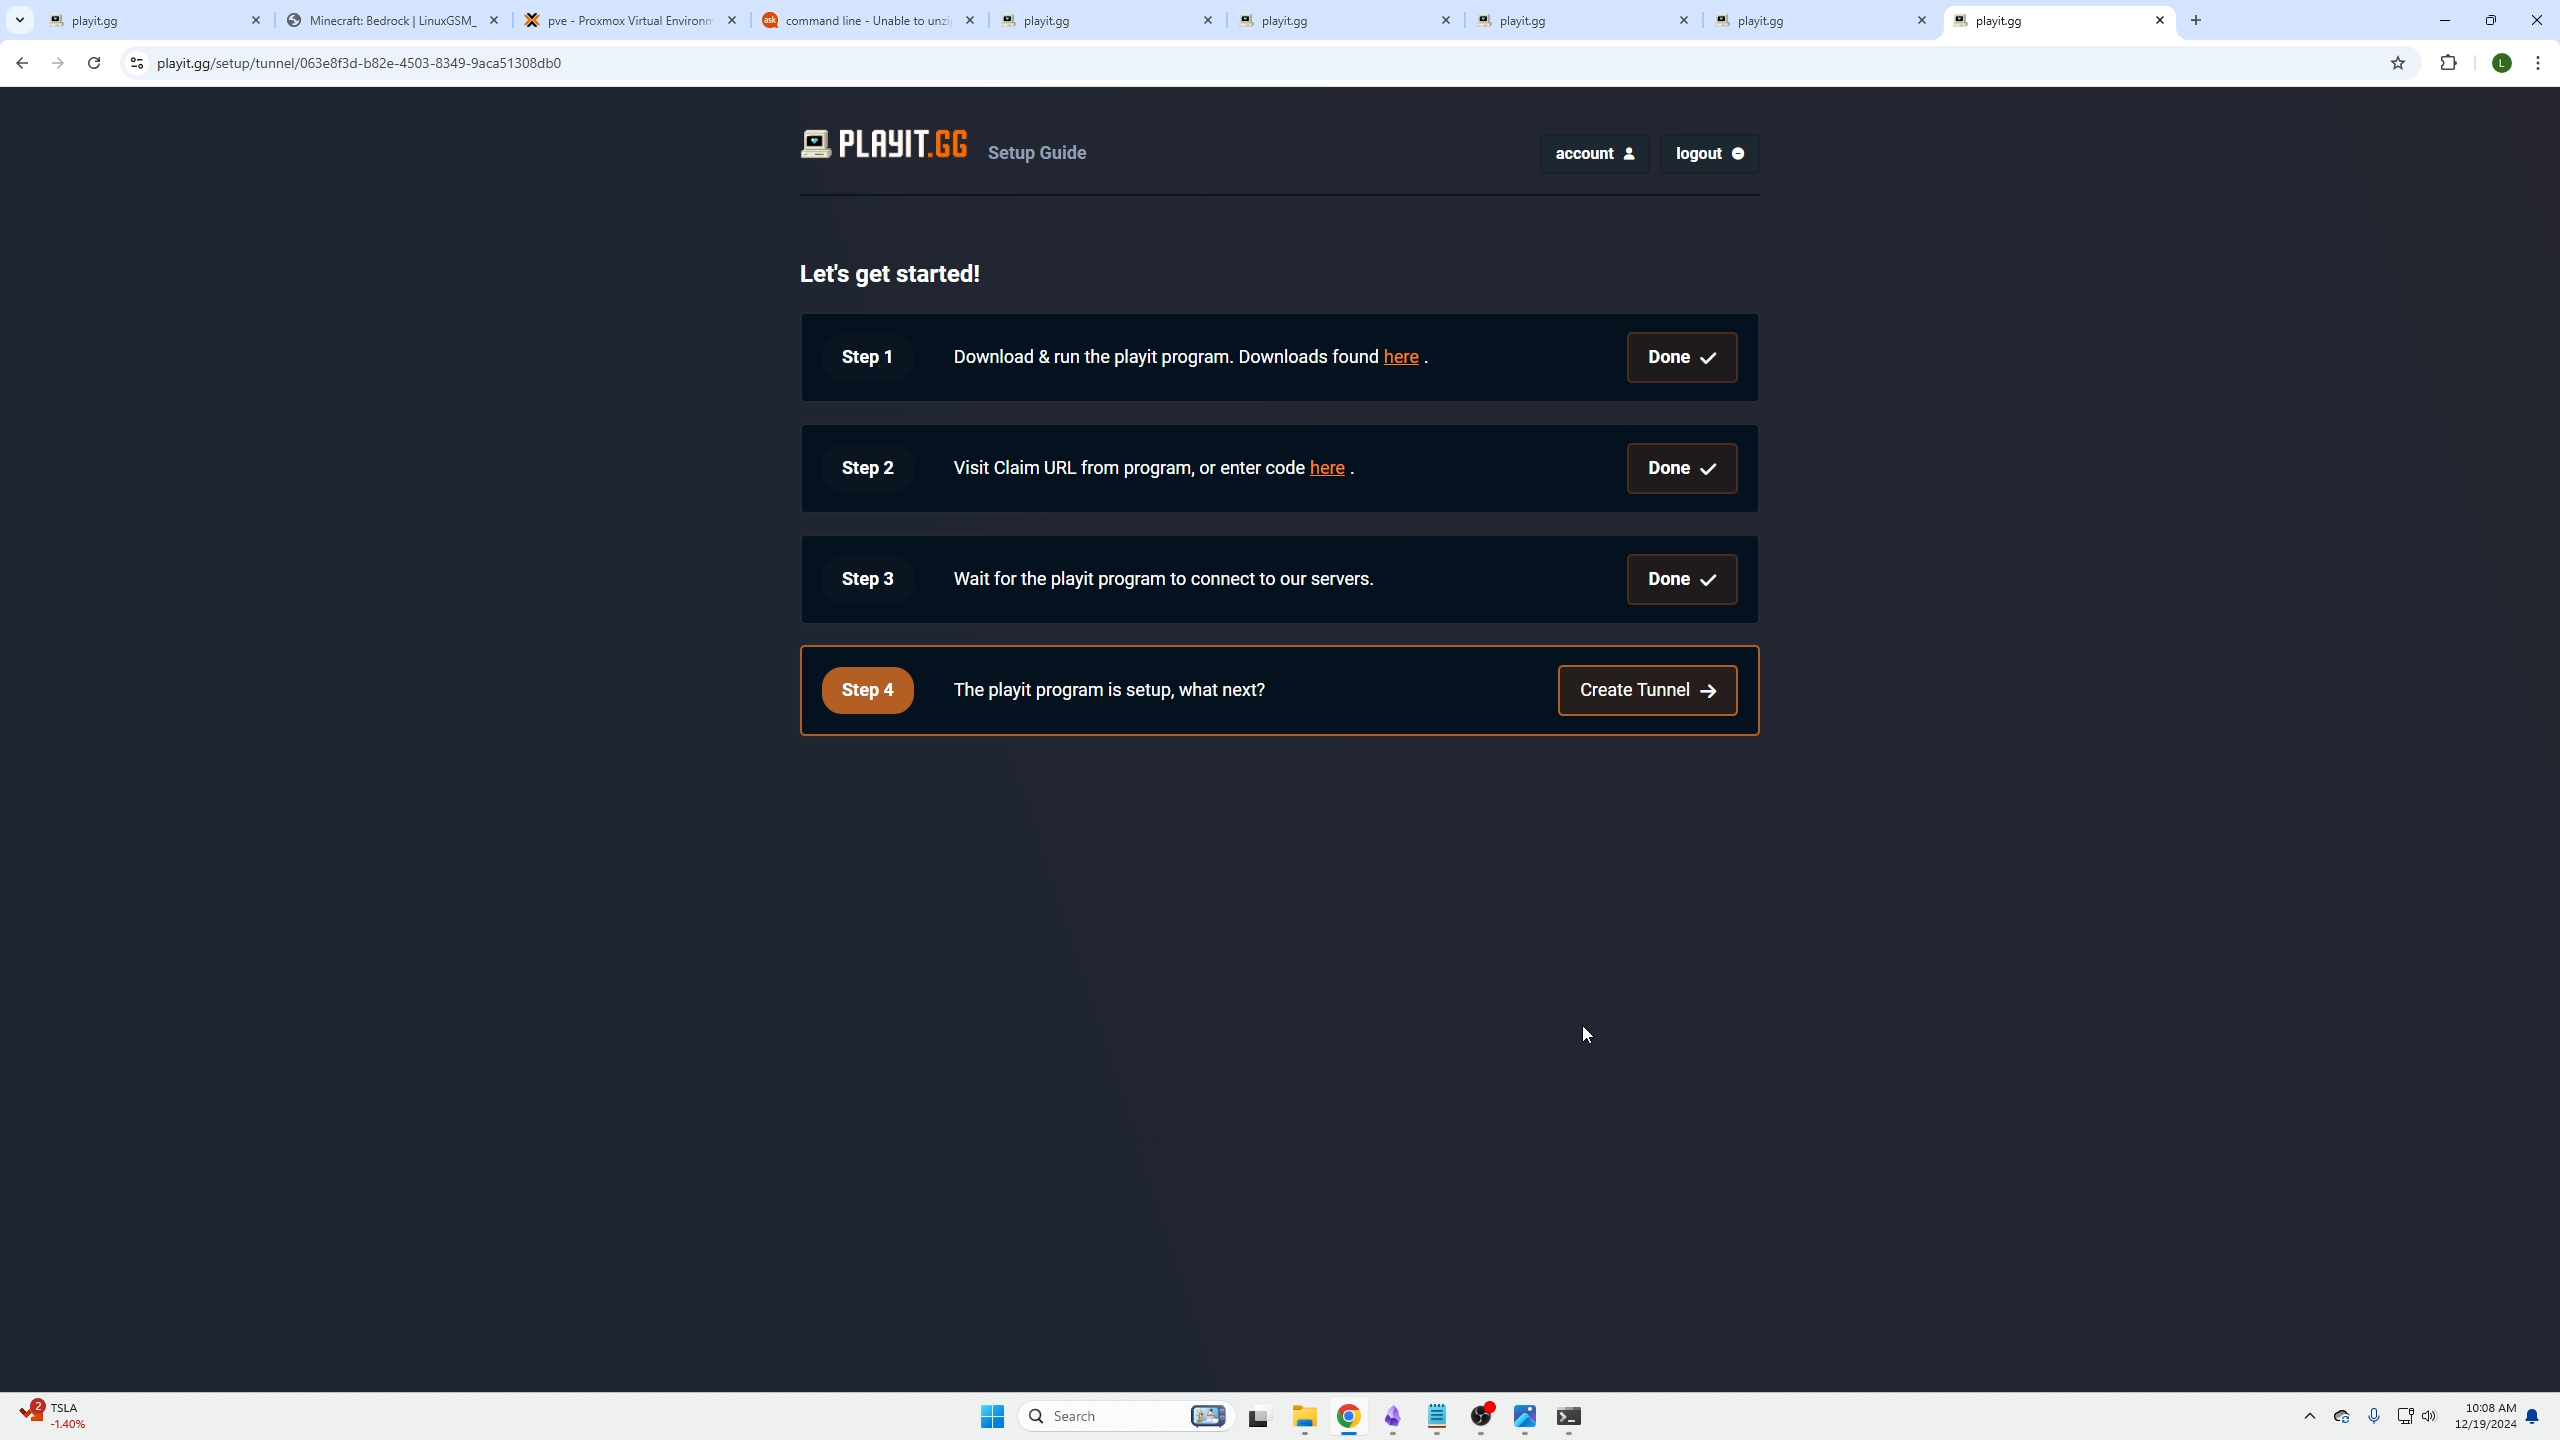
Going to the next page you will be prompted with a screen like such, we are going to select the tunnel type for bedrock edition
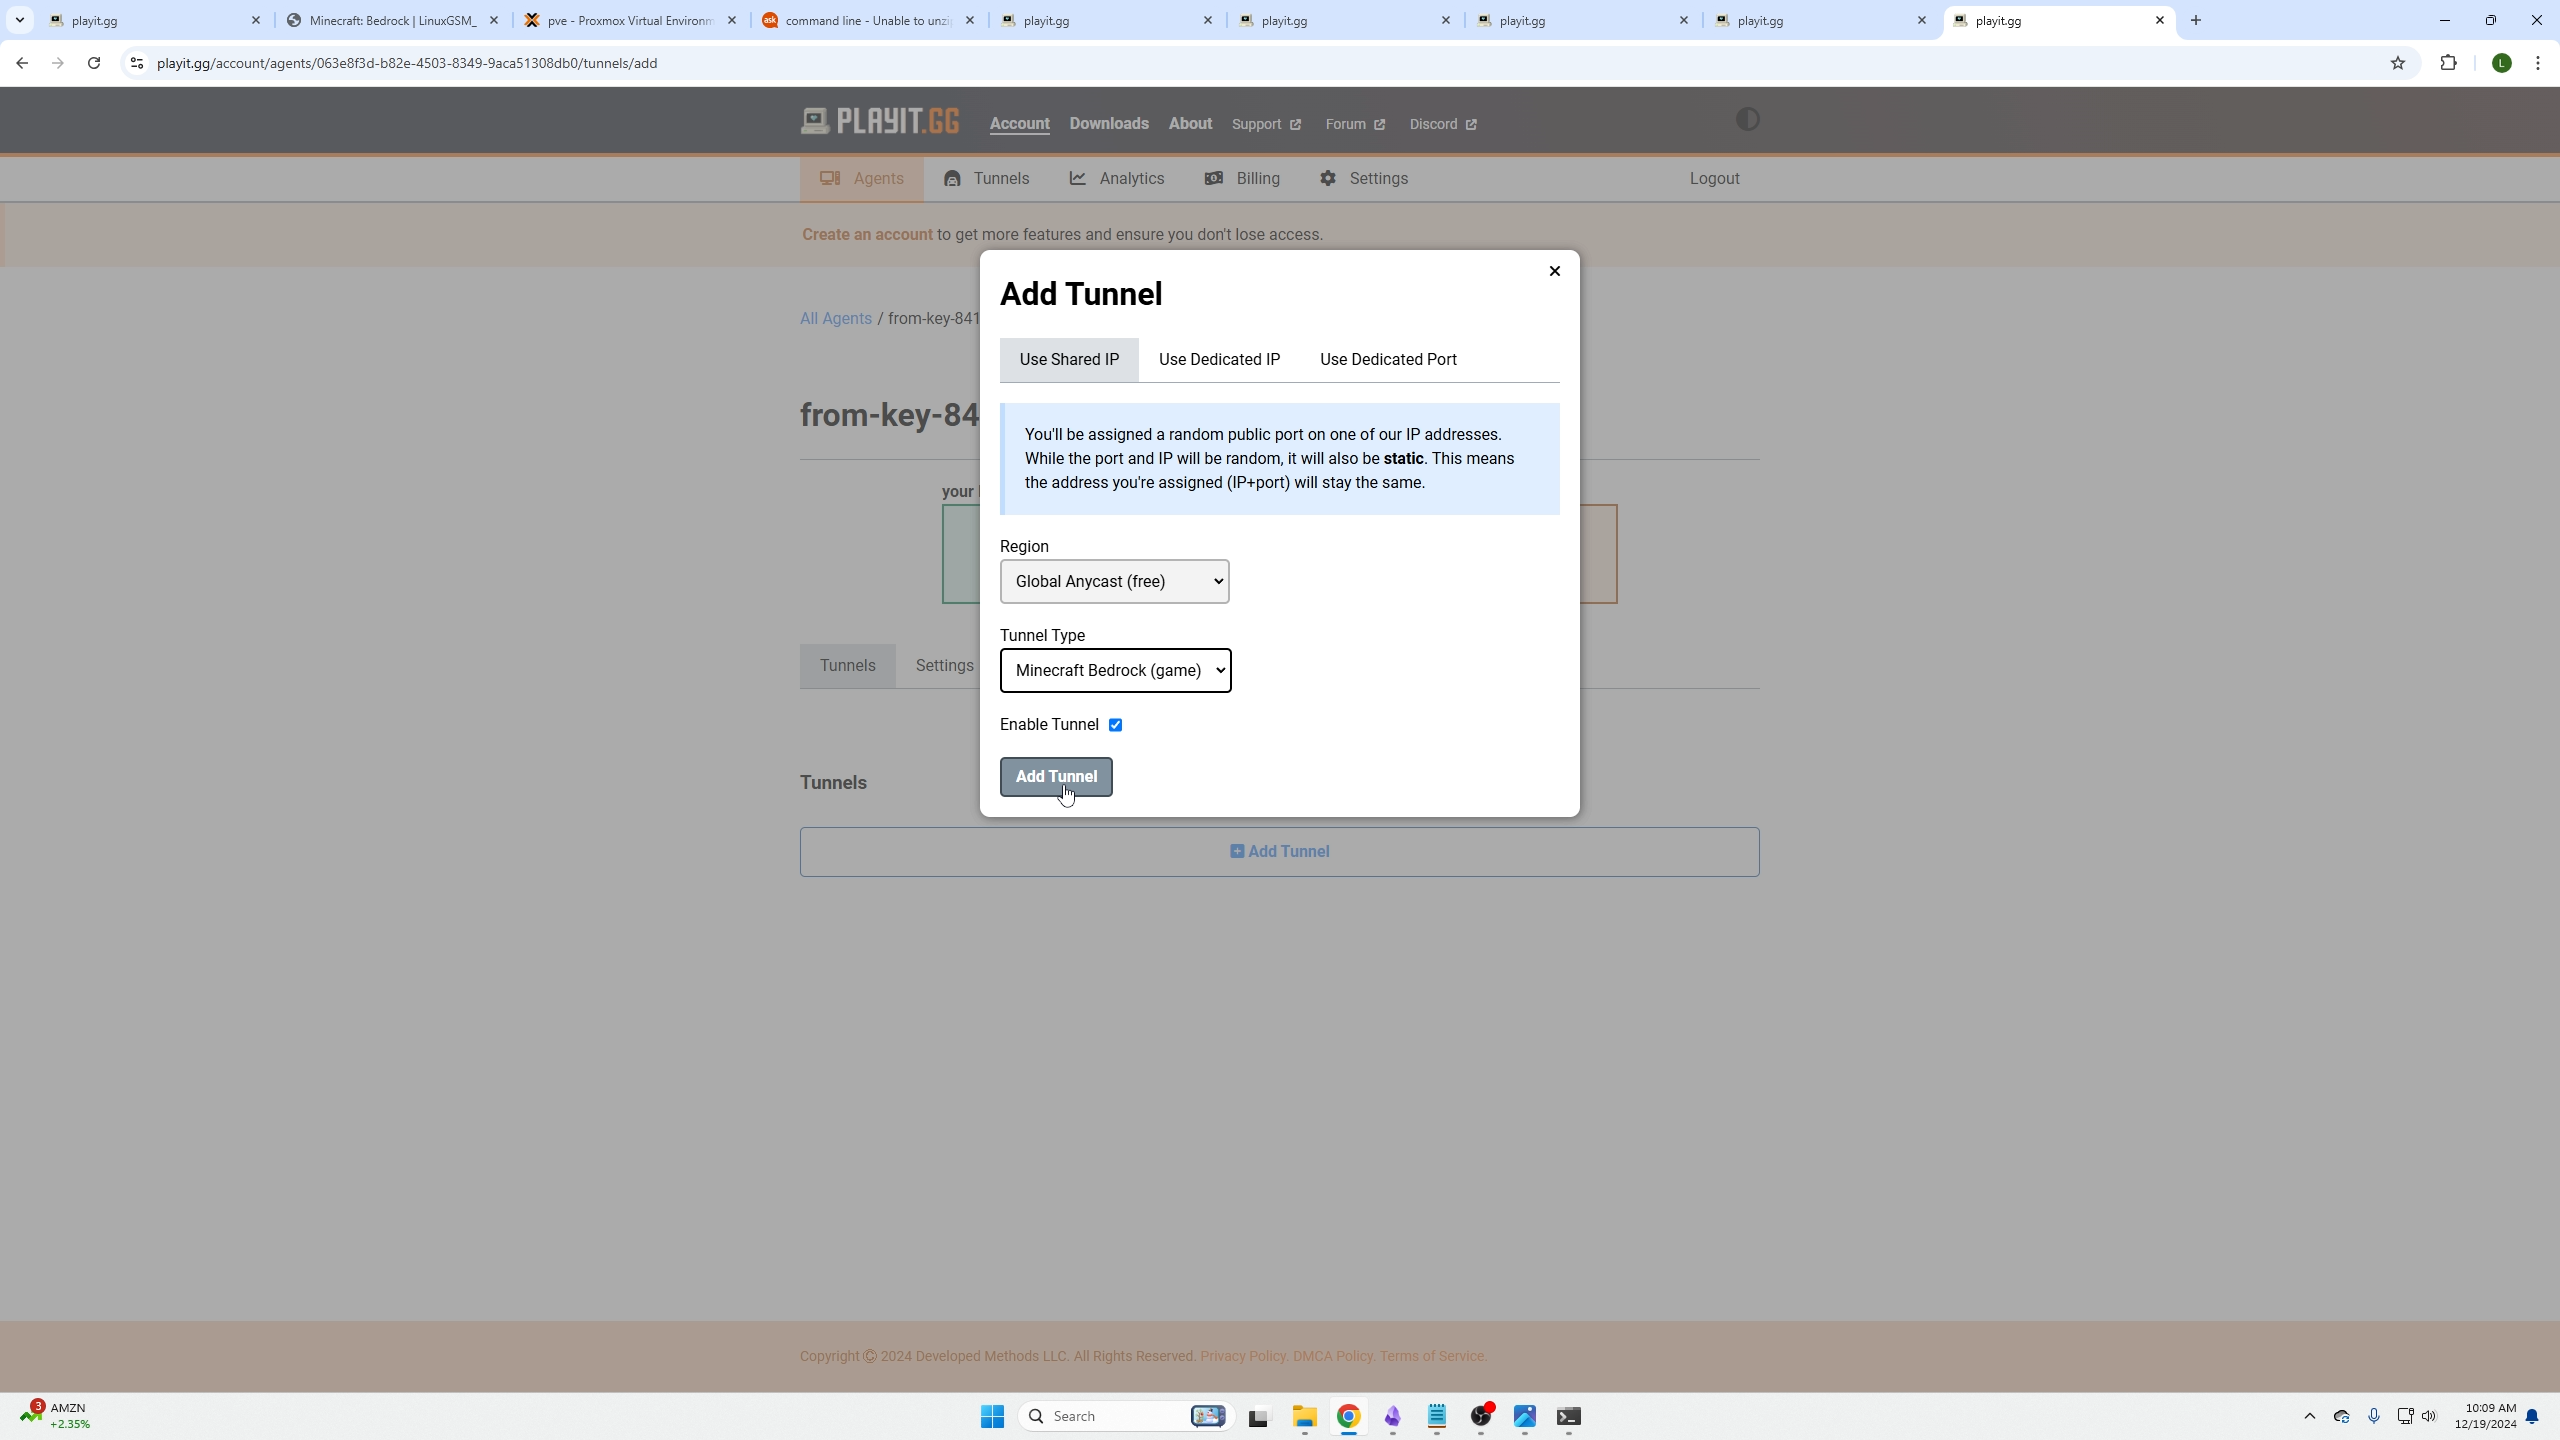
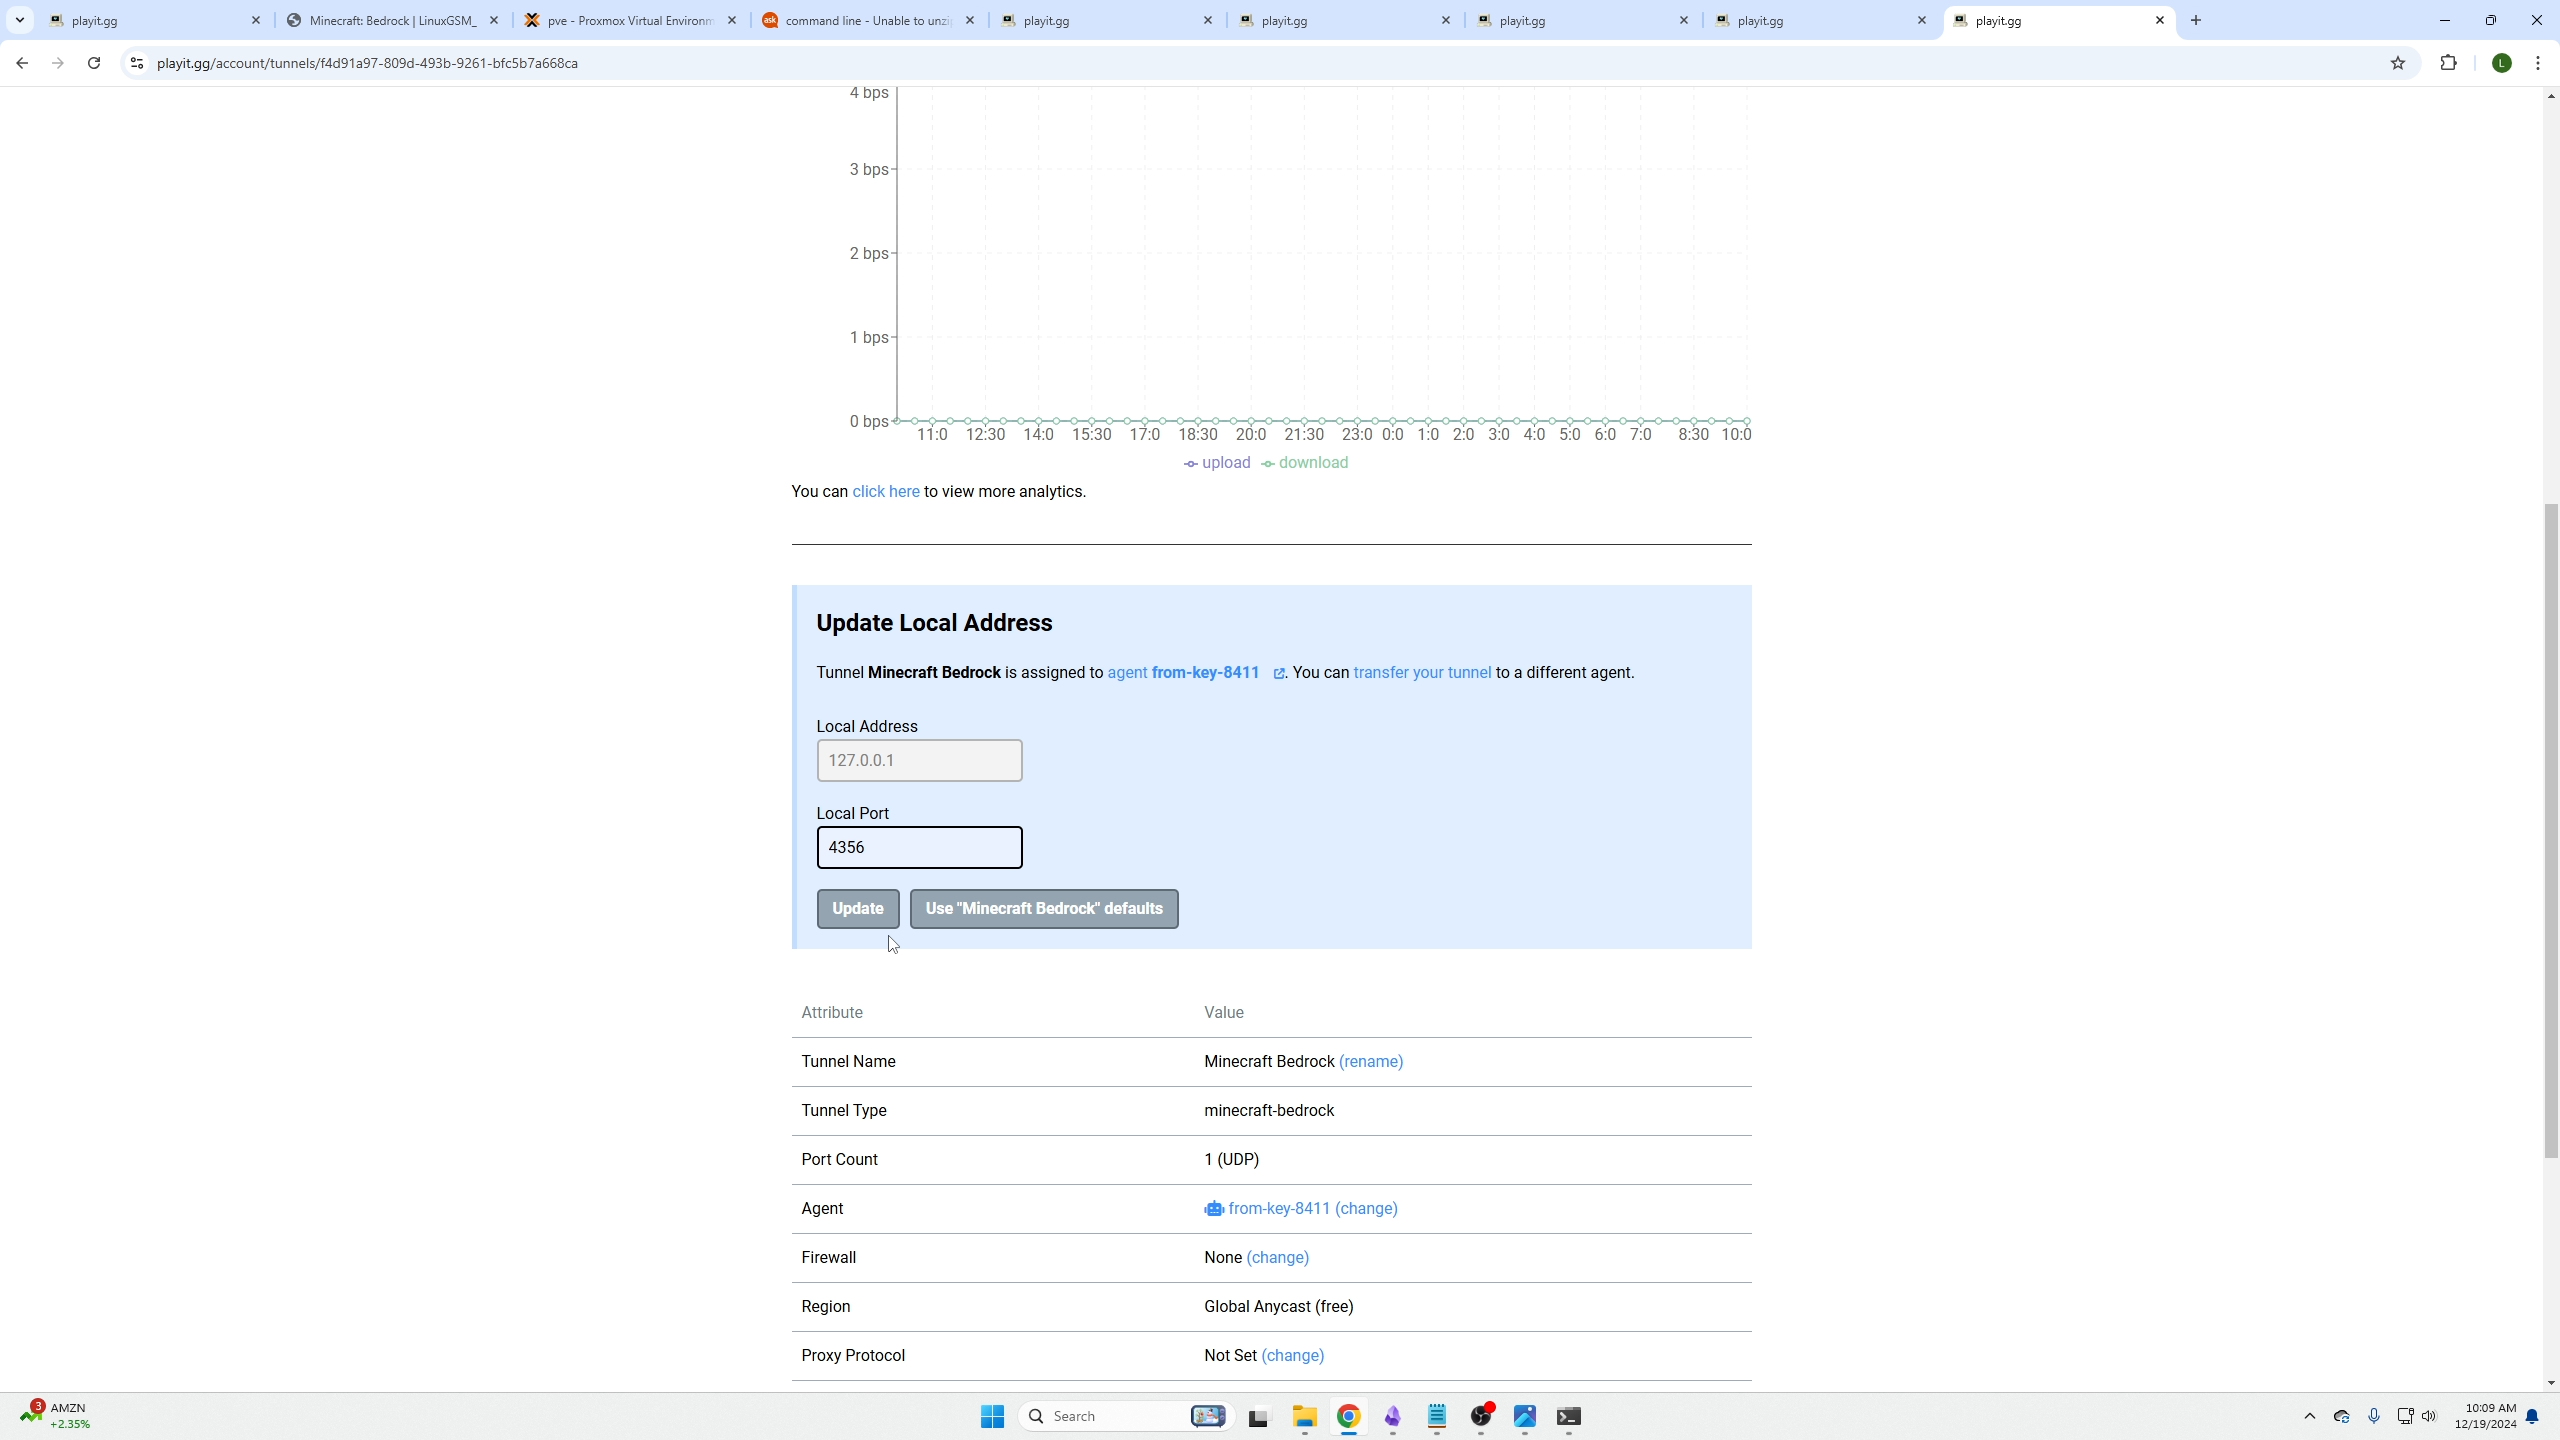
Then on that same Tunnels page we need to change our port to [4356] just like we did in the LinuxGSM config file.
How do you restart your server if your Proxmox Machine restarts or any of your stuff needs an update?
So, if your Proxmox machine needs an update, your VM needs an update, etc. You will need to restart your services.
PlayitGG is super simple, just type the following command and it will start right up.
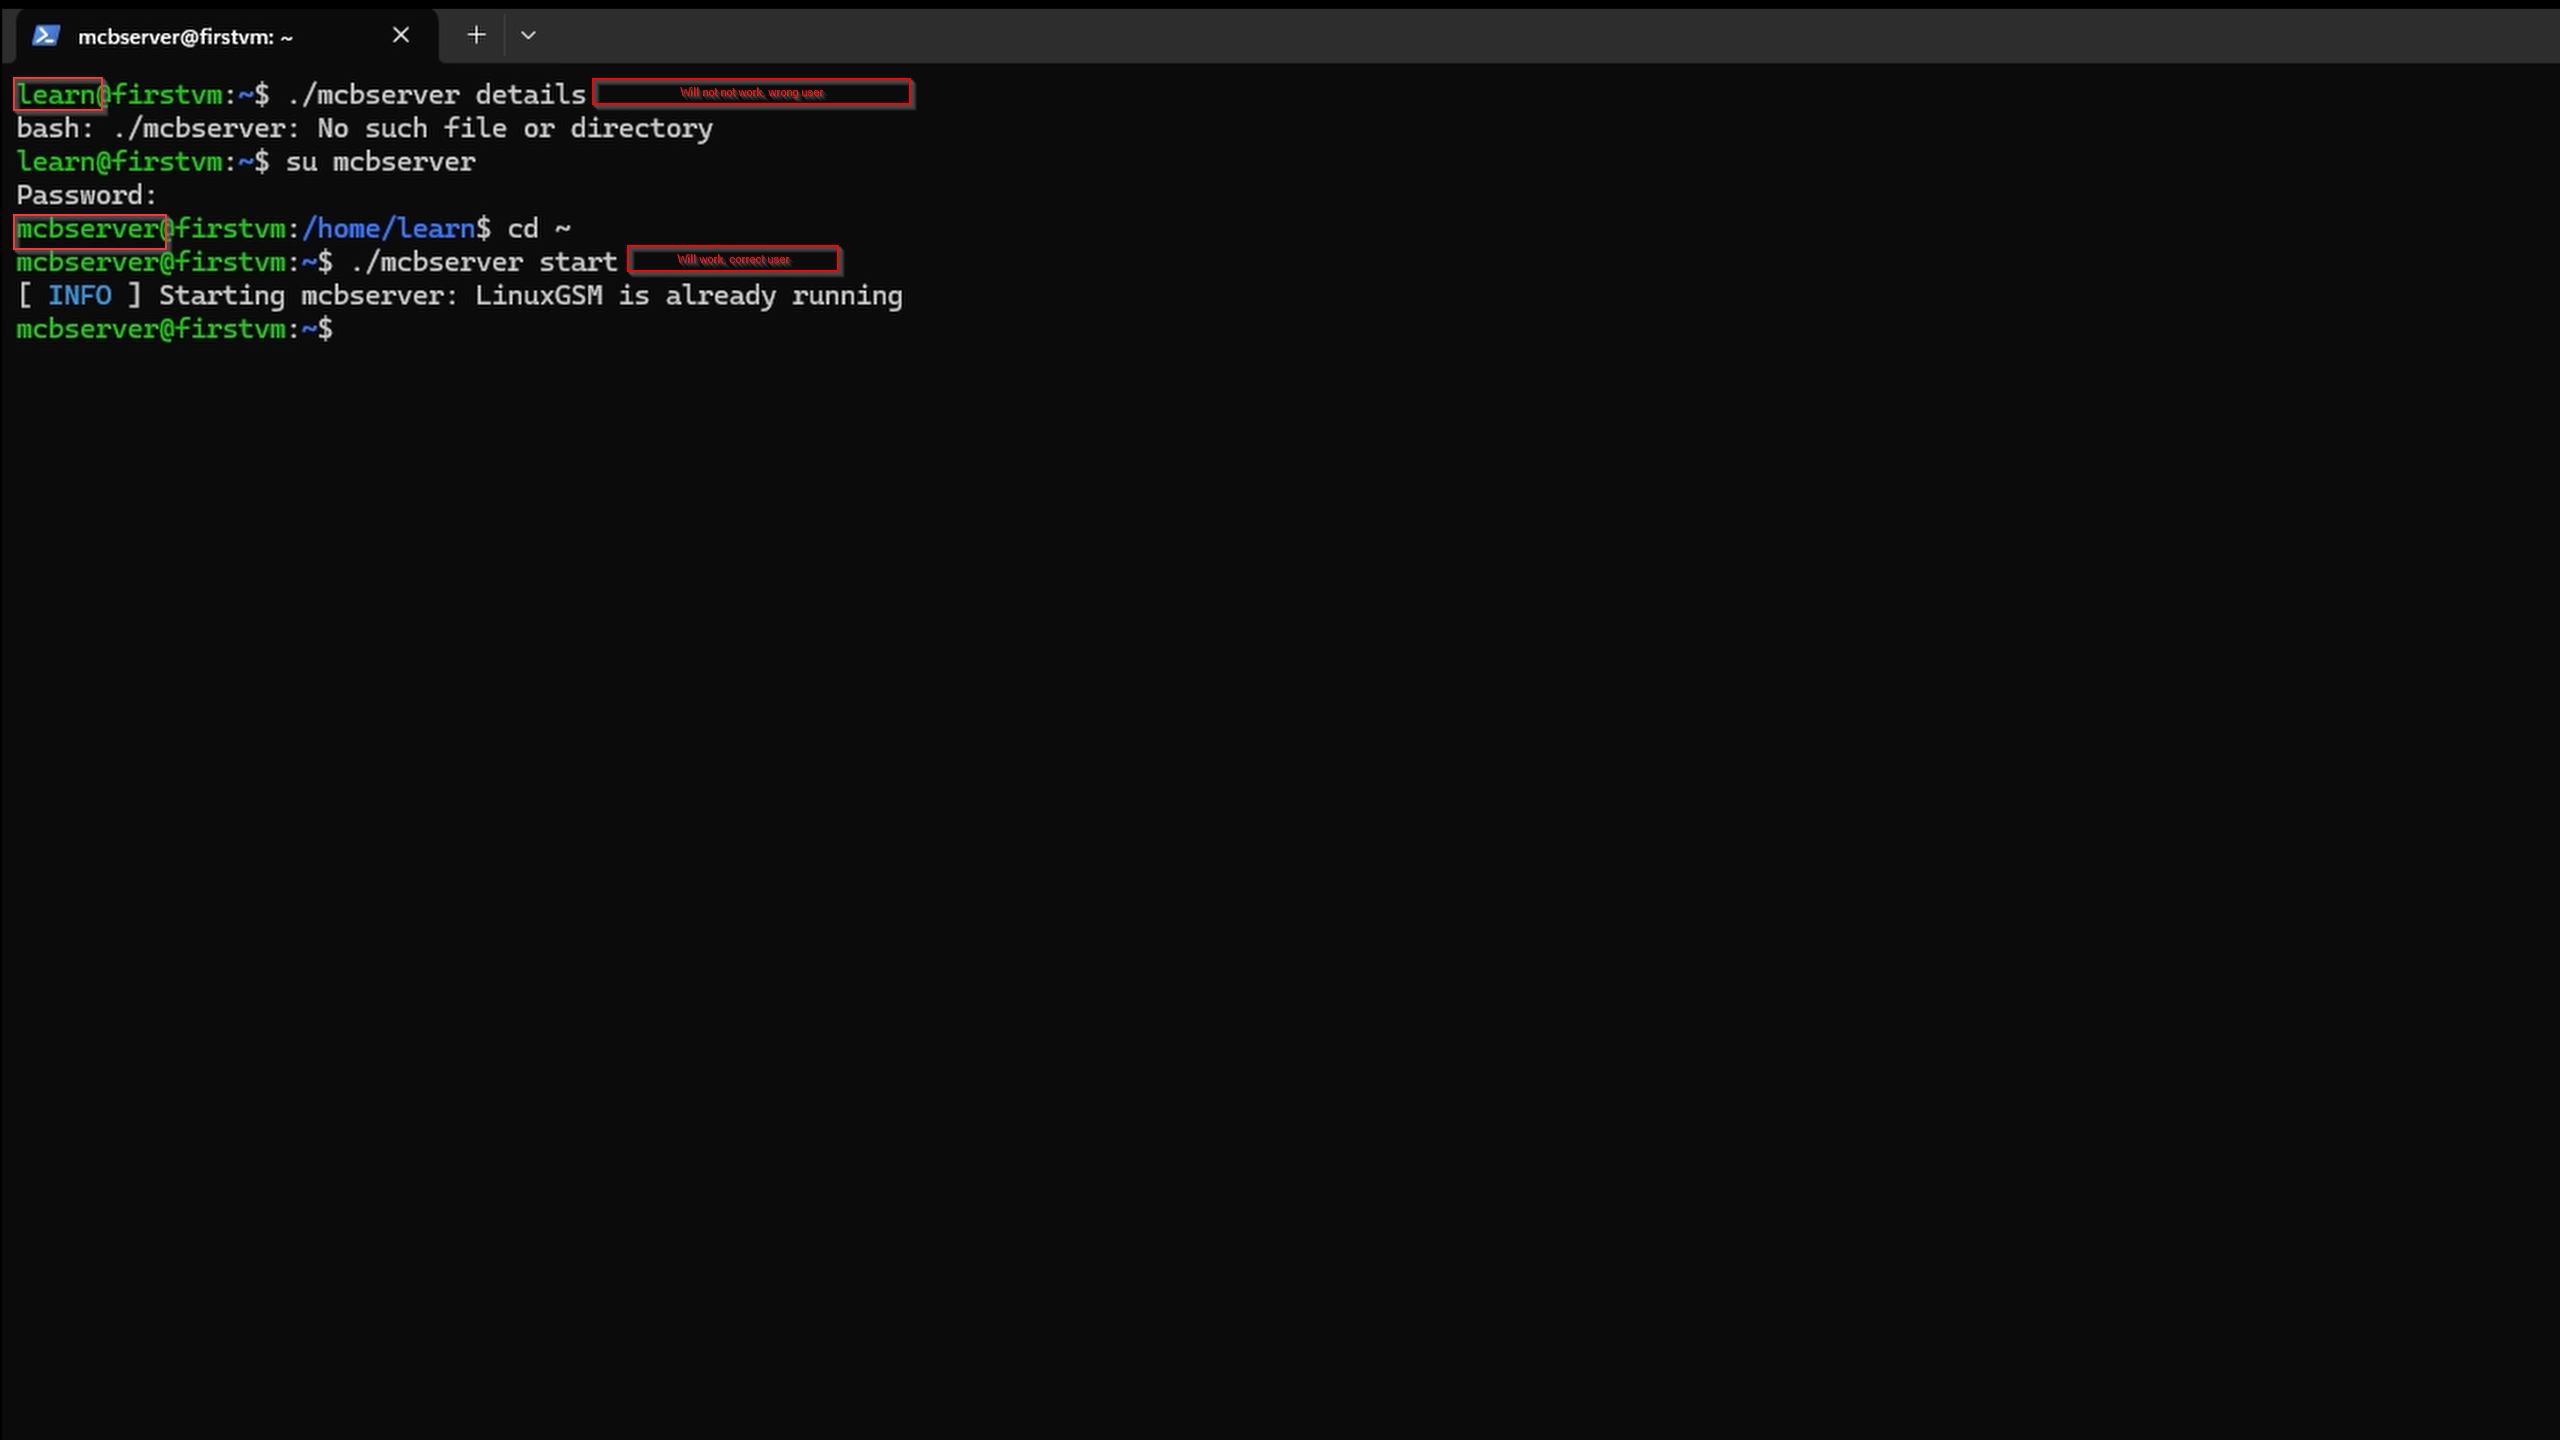
Now to start your Minecraft server backup, update it, or make changes you will need to again open another SSH tab because we do not want to stop the PlayitGG service and do the following.
- Login to your VM:
- Change users
- Change to your users directory
Then you will be able to perform the LinuxGSM commands like ./mcbserver details, start, stop, update, etc.
Logging into your Video Game server with friends
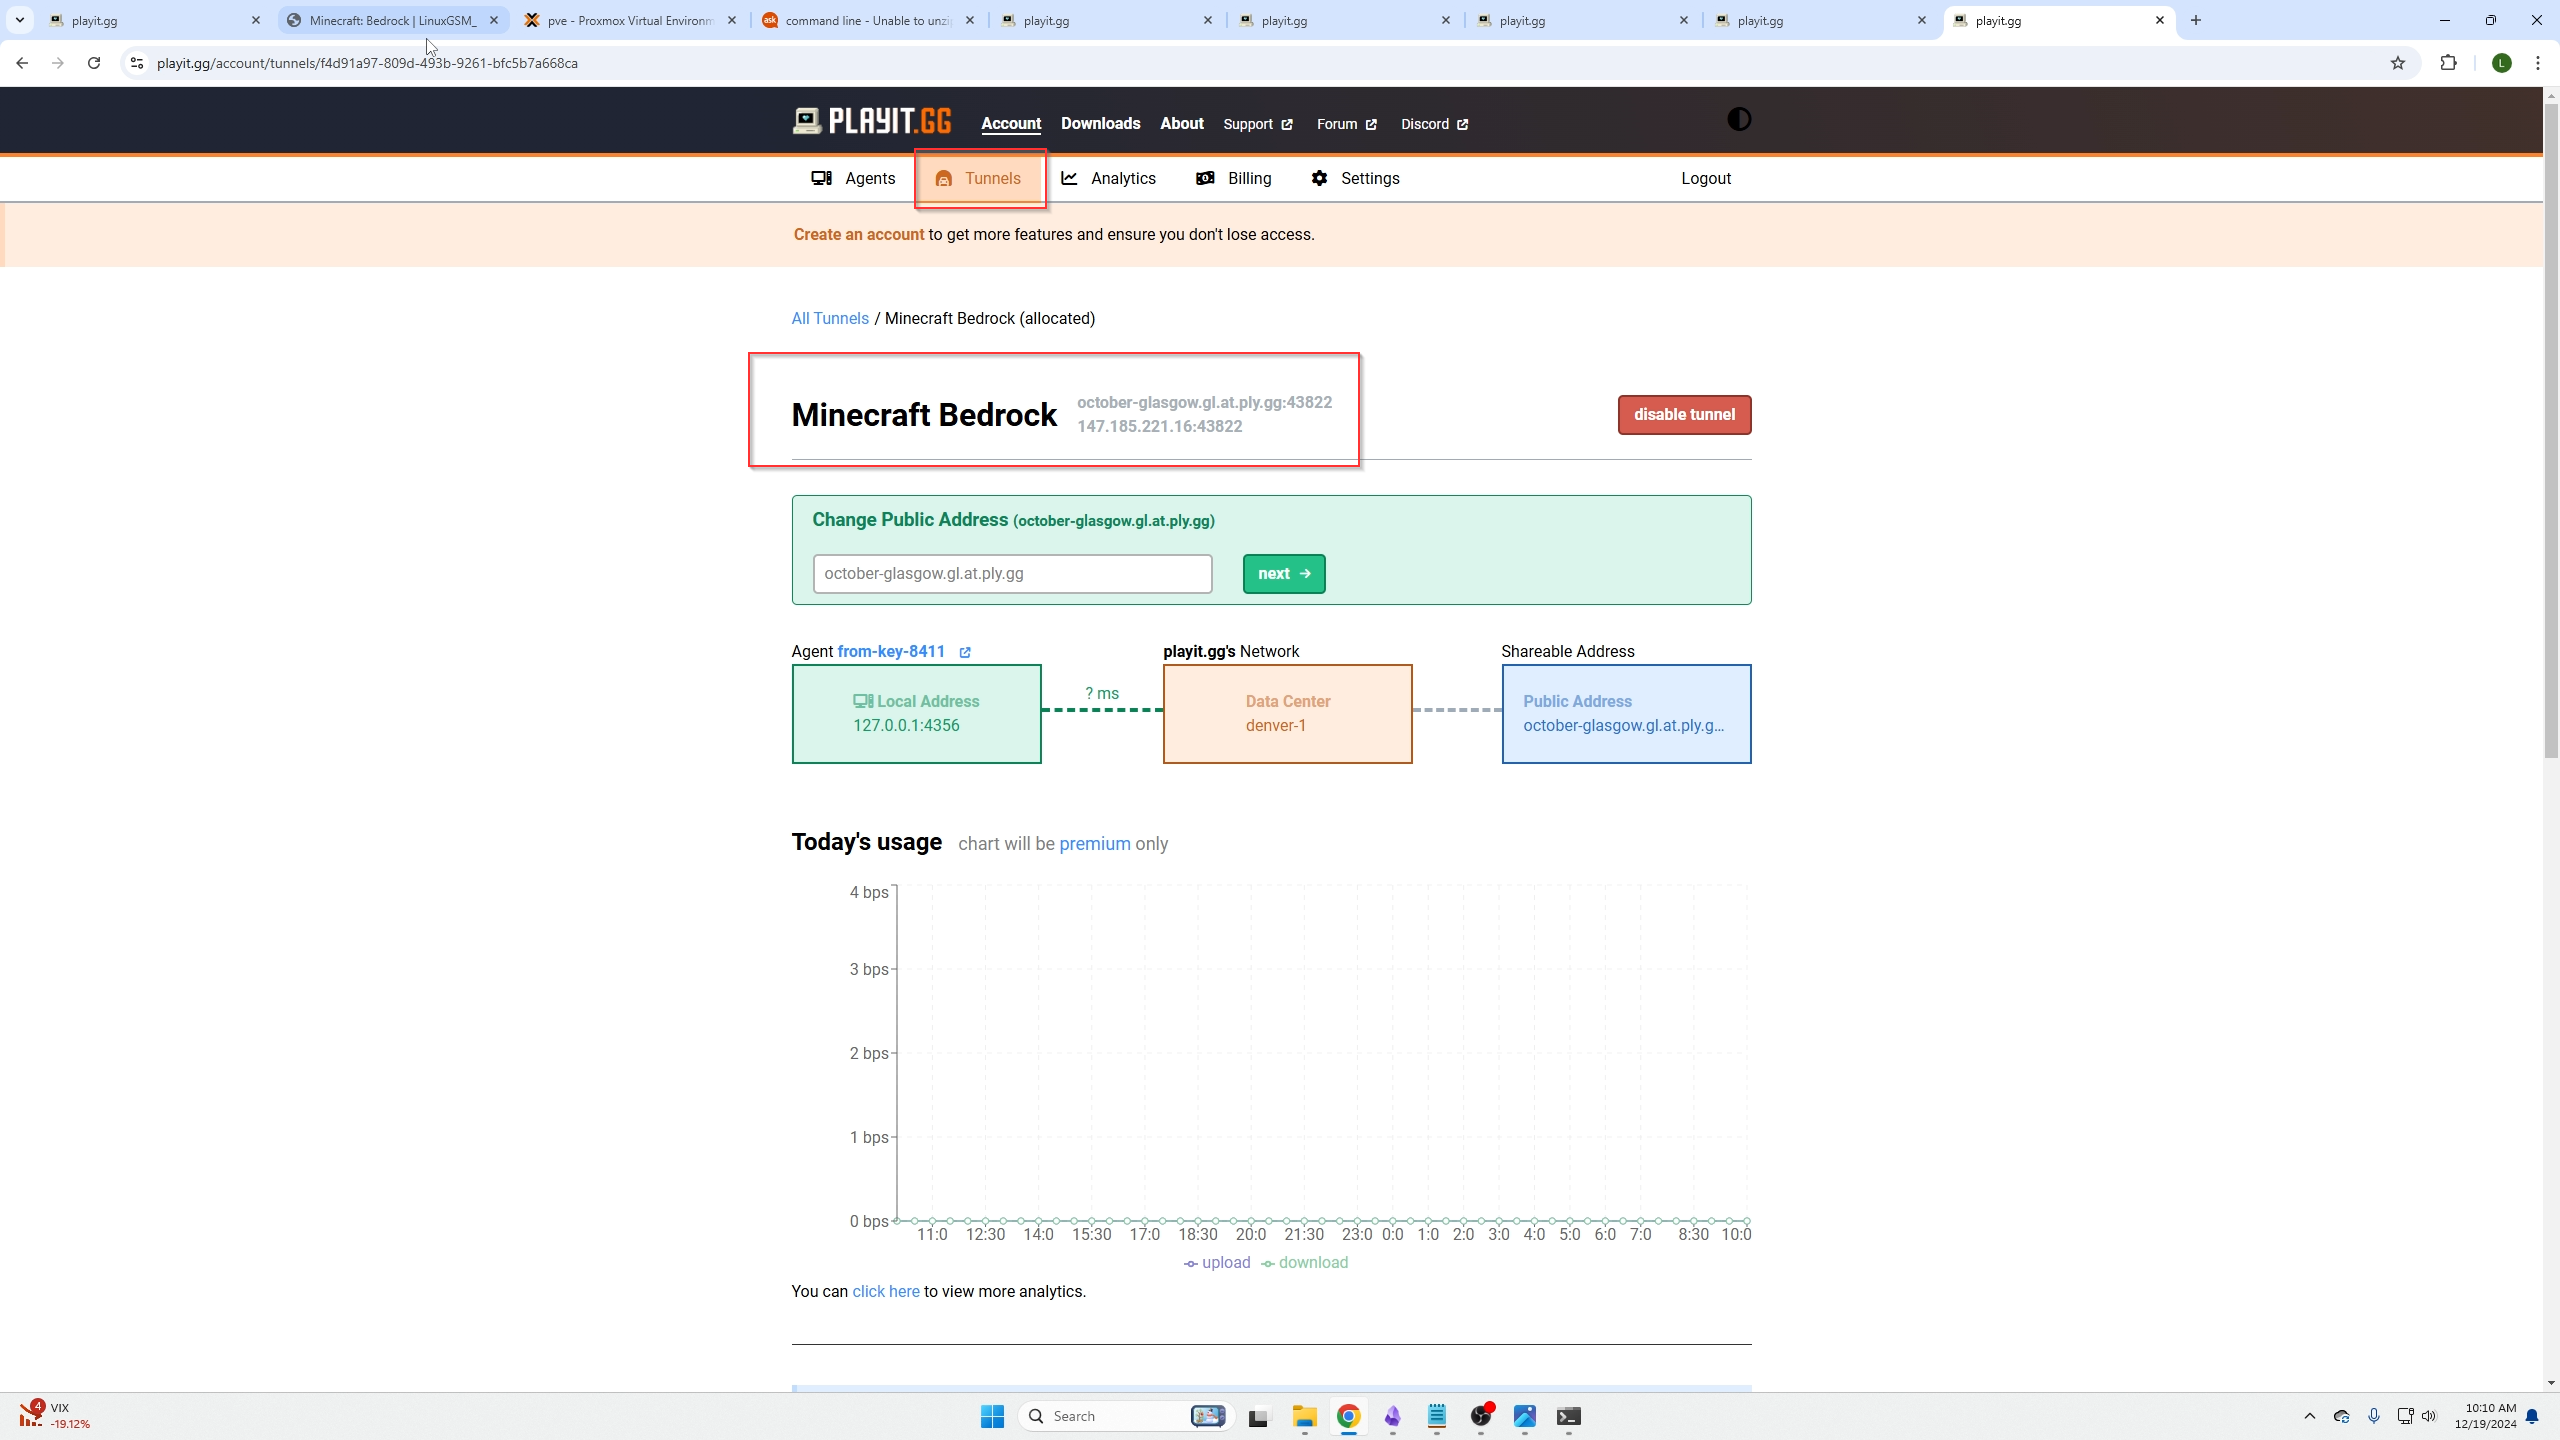
Now the information to connect to your server will be found on the Tunnels page. Remember though, if you are a local user (within the home network your Video game server is hosted) you can use that VMs IP address and the port number [4356], anyone outside
your network will need to use the information like shown below found on the PlayitGG tunnels page.
Typed into Minecraft it will look like this
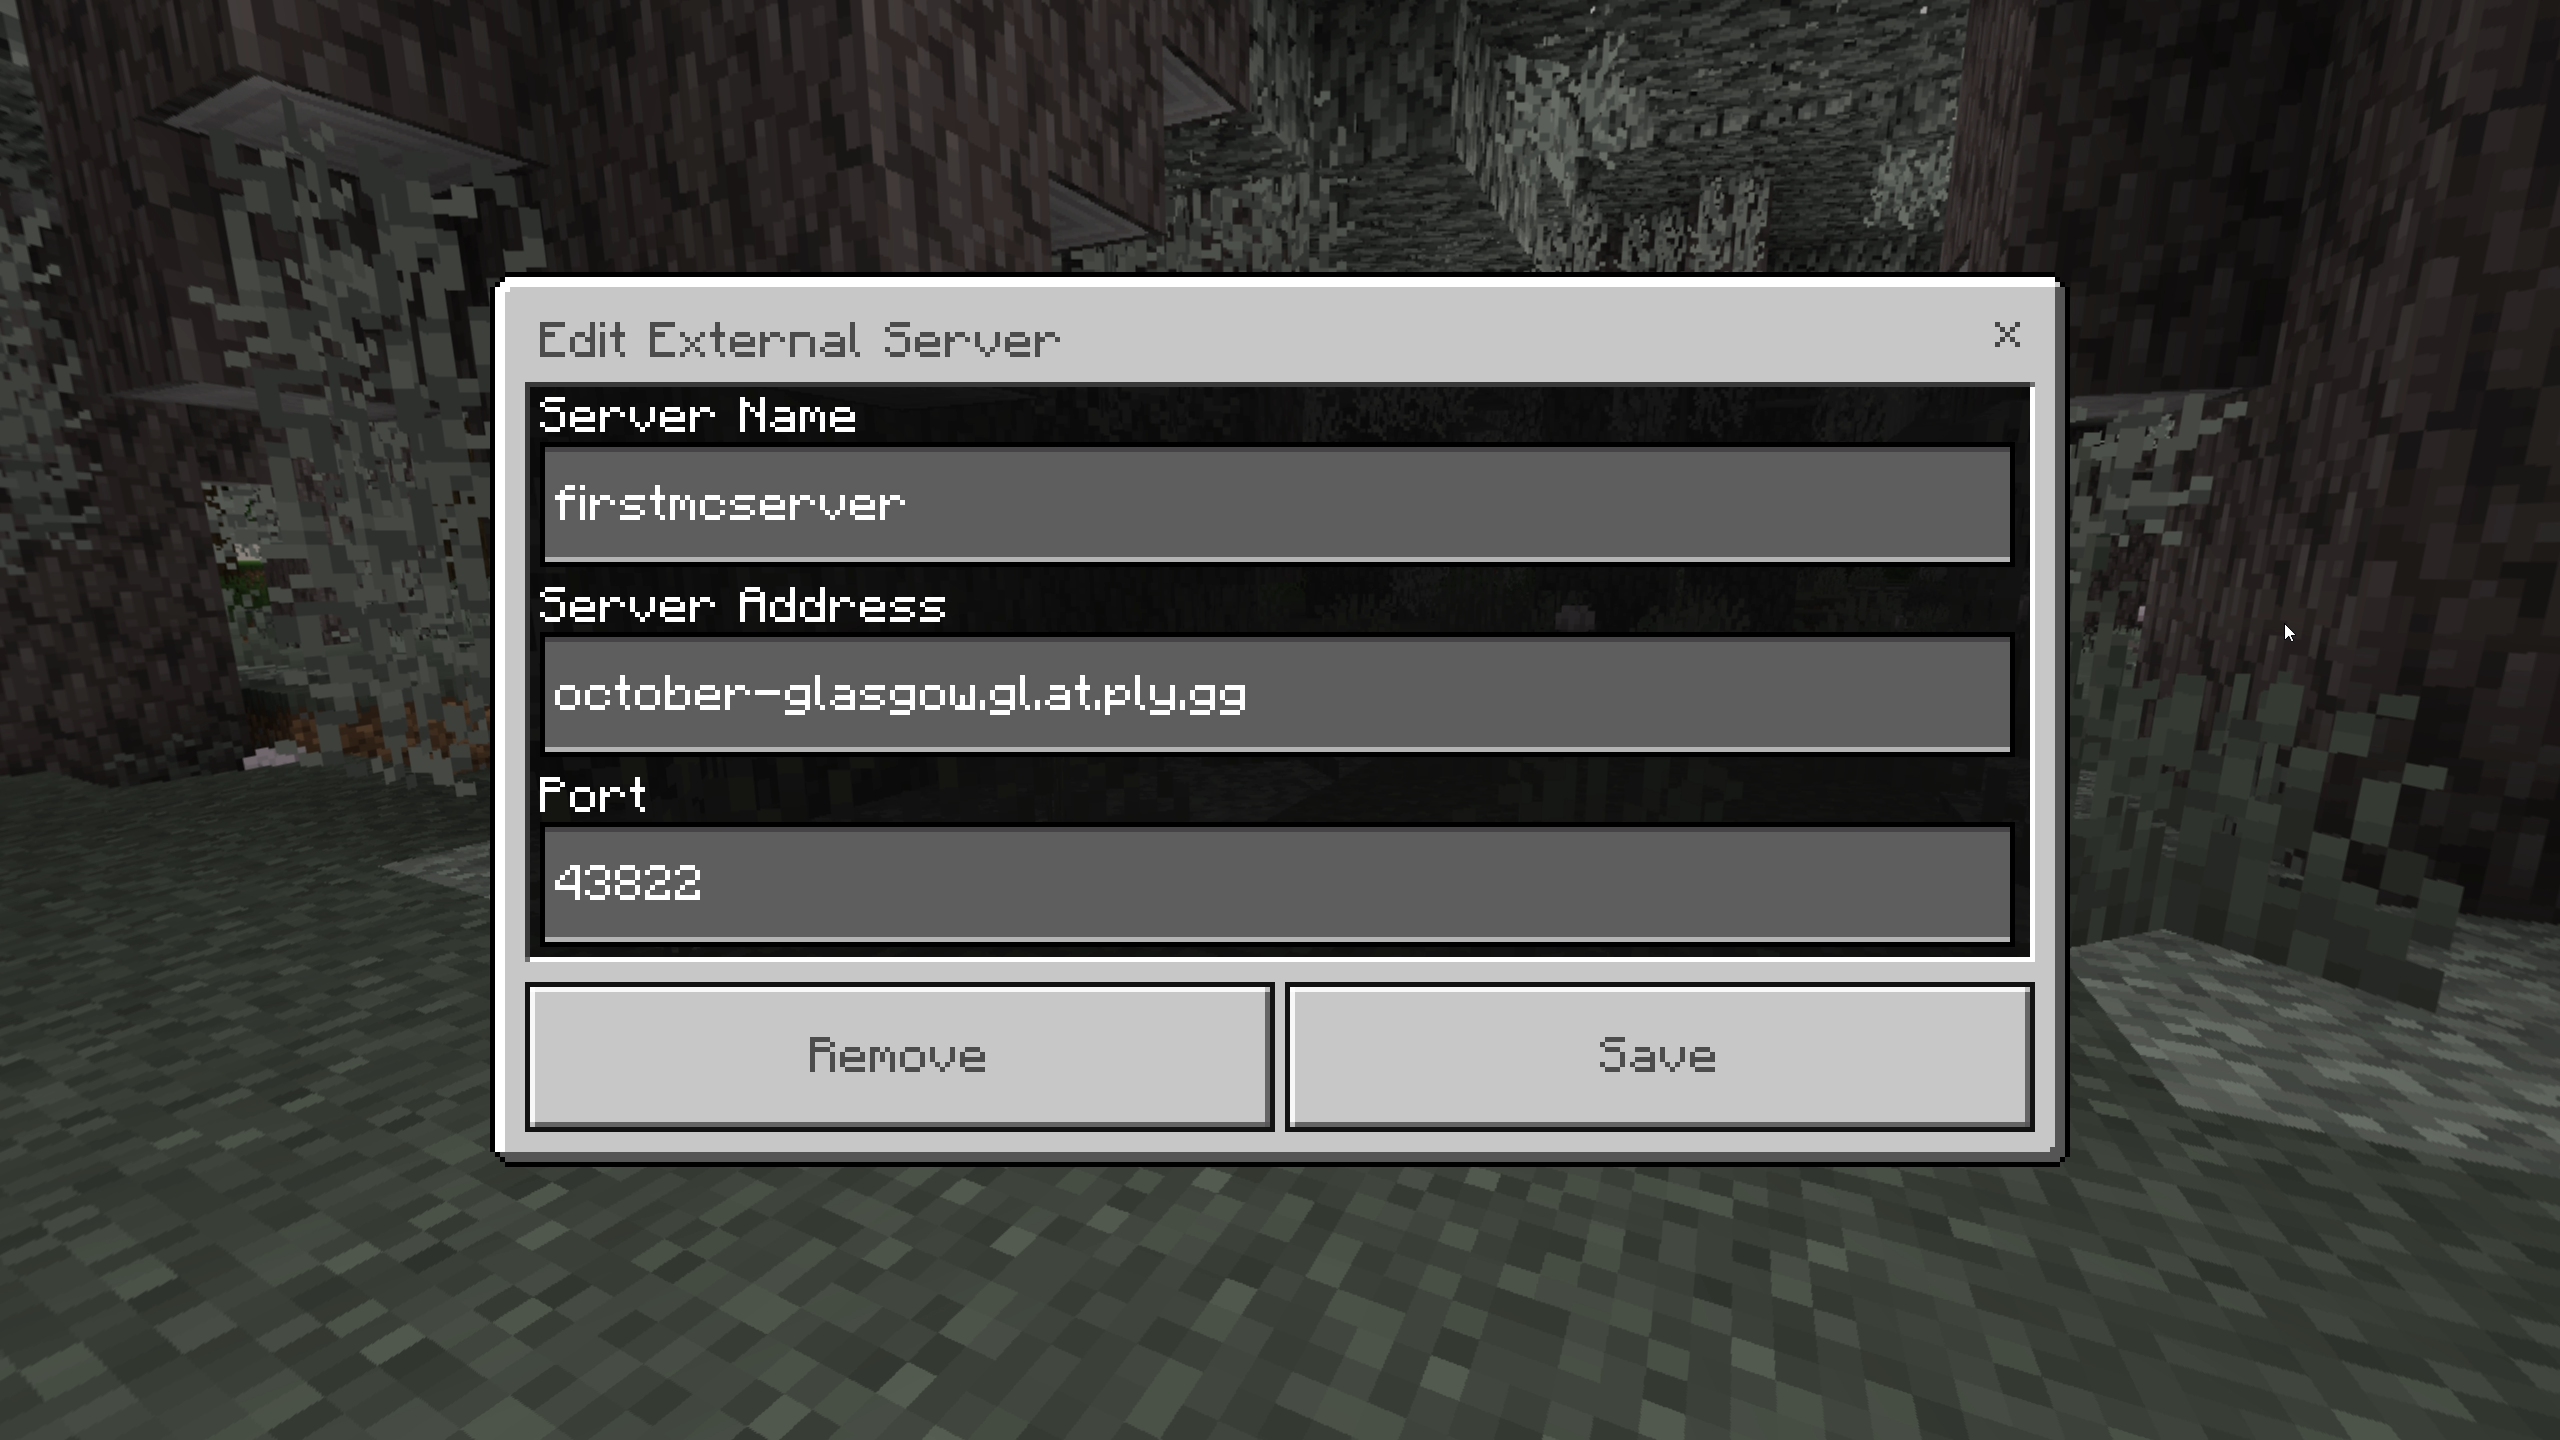
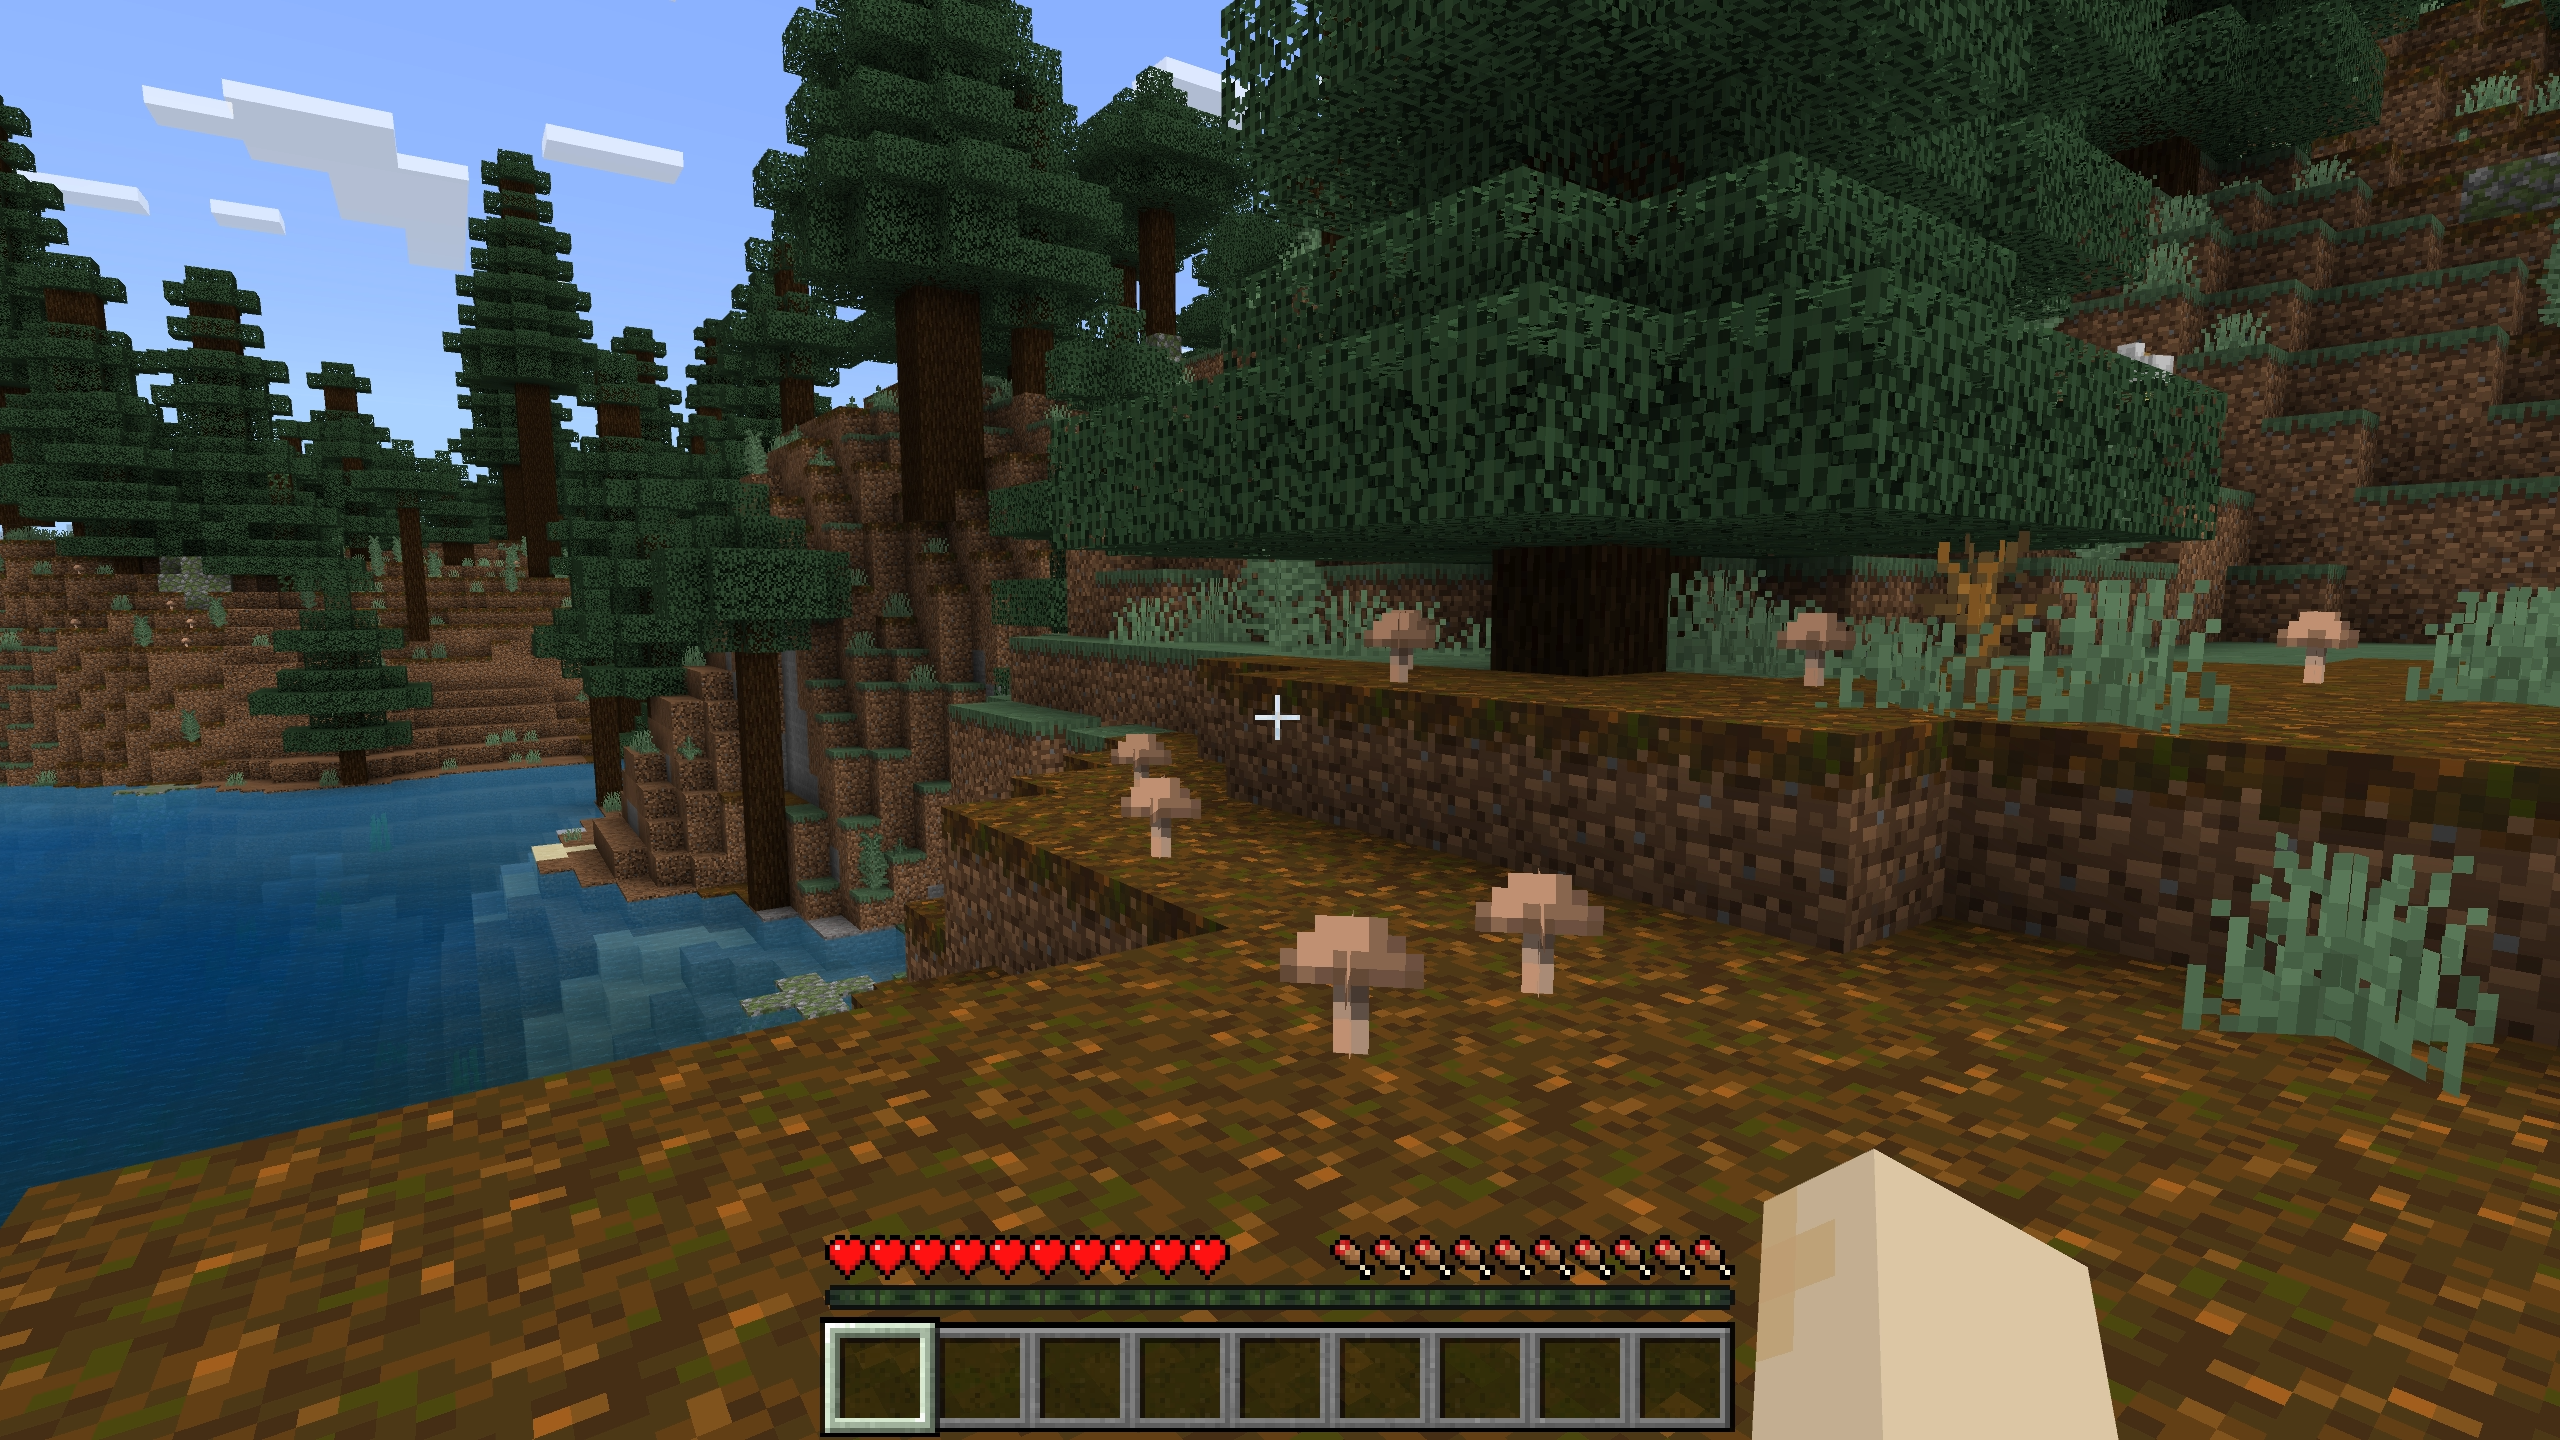
Would you look at that, you are in! Potentially your first video game server setup EVER, congrats!
