Set up Pi-Hole With Proxmox (Network Wide Ad Blocker)
In this episode we will cover how to set up Pi-Hole (a network-wide ad blocker), using Proxmox, assigning your Pi-Hole server a static IP address, and adding to the block list to increase its effectiveness.
Watch the video we made on this topic:
What you need to get started
- Login to your Proxmox server.
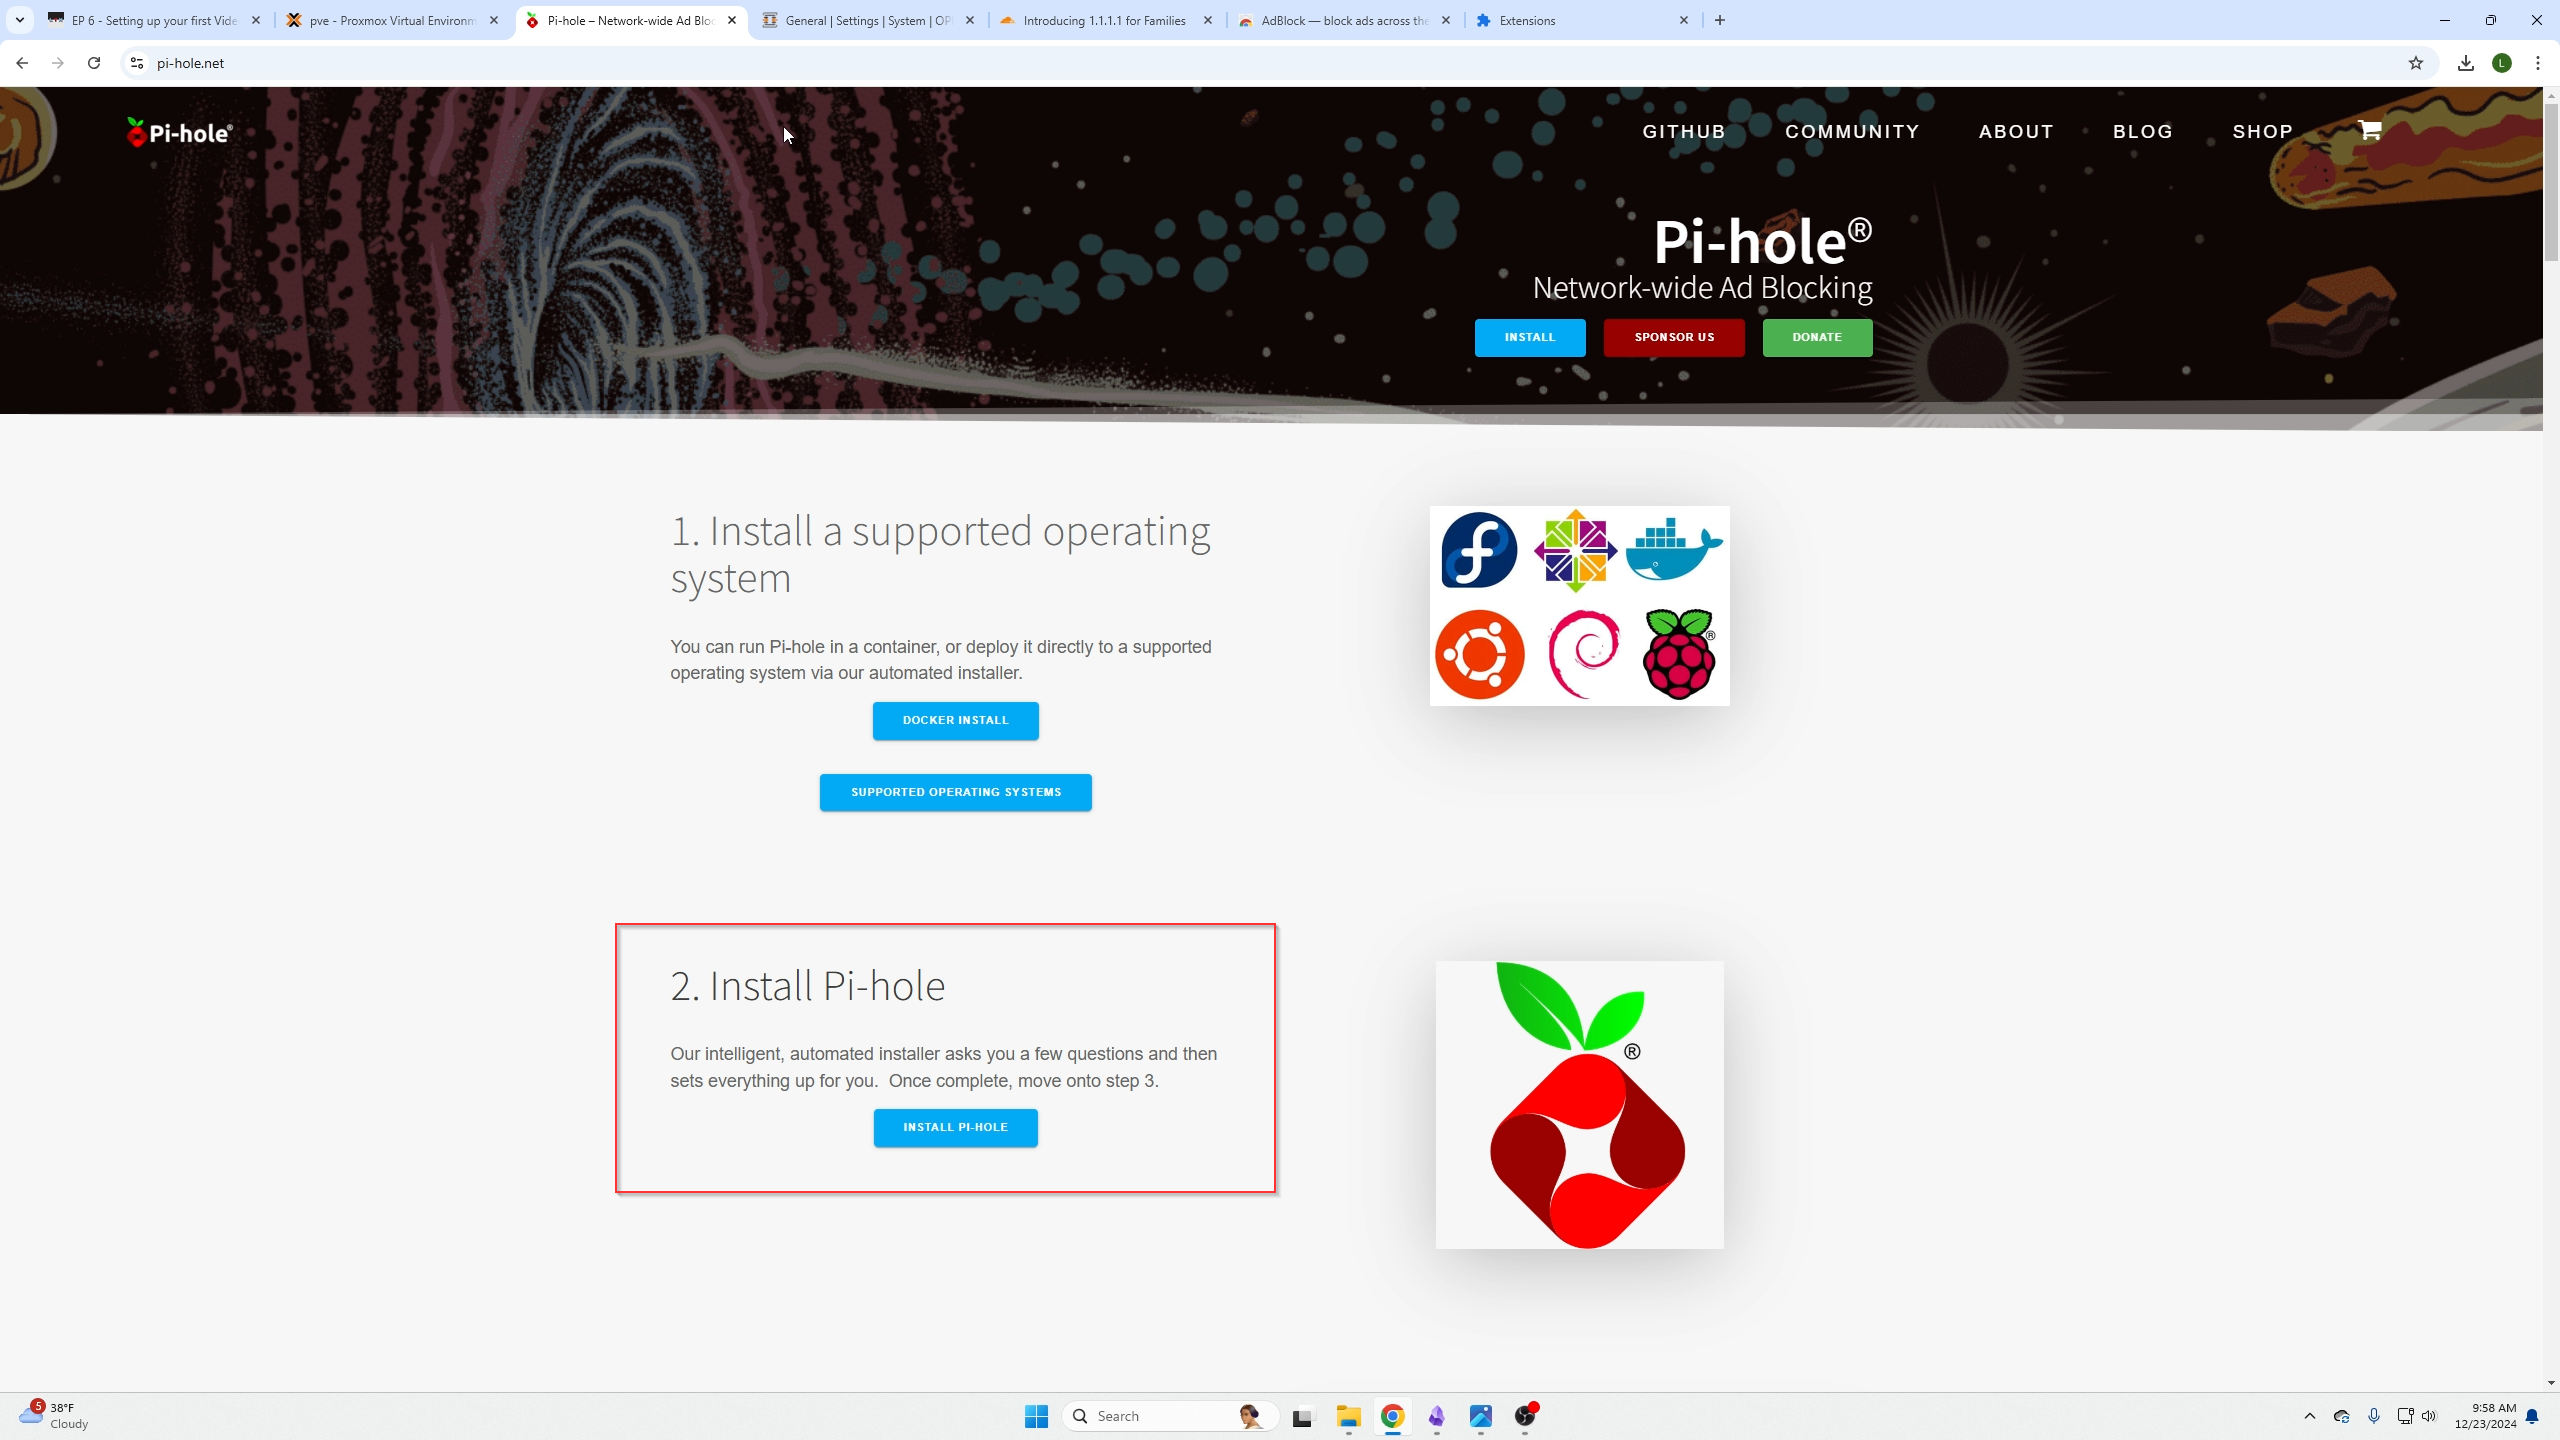
- Go to Pi-hole's website here
- Login to your OPNsense firewall (or home router).
- Check this site out for more block lists that we will add to Pi-Hole here
- Here is CloudFlares site with the alternative DNS options for advanced malware and Adult Content filtering here
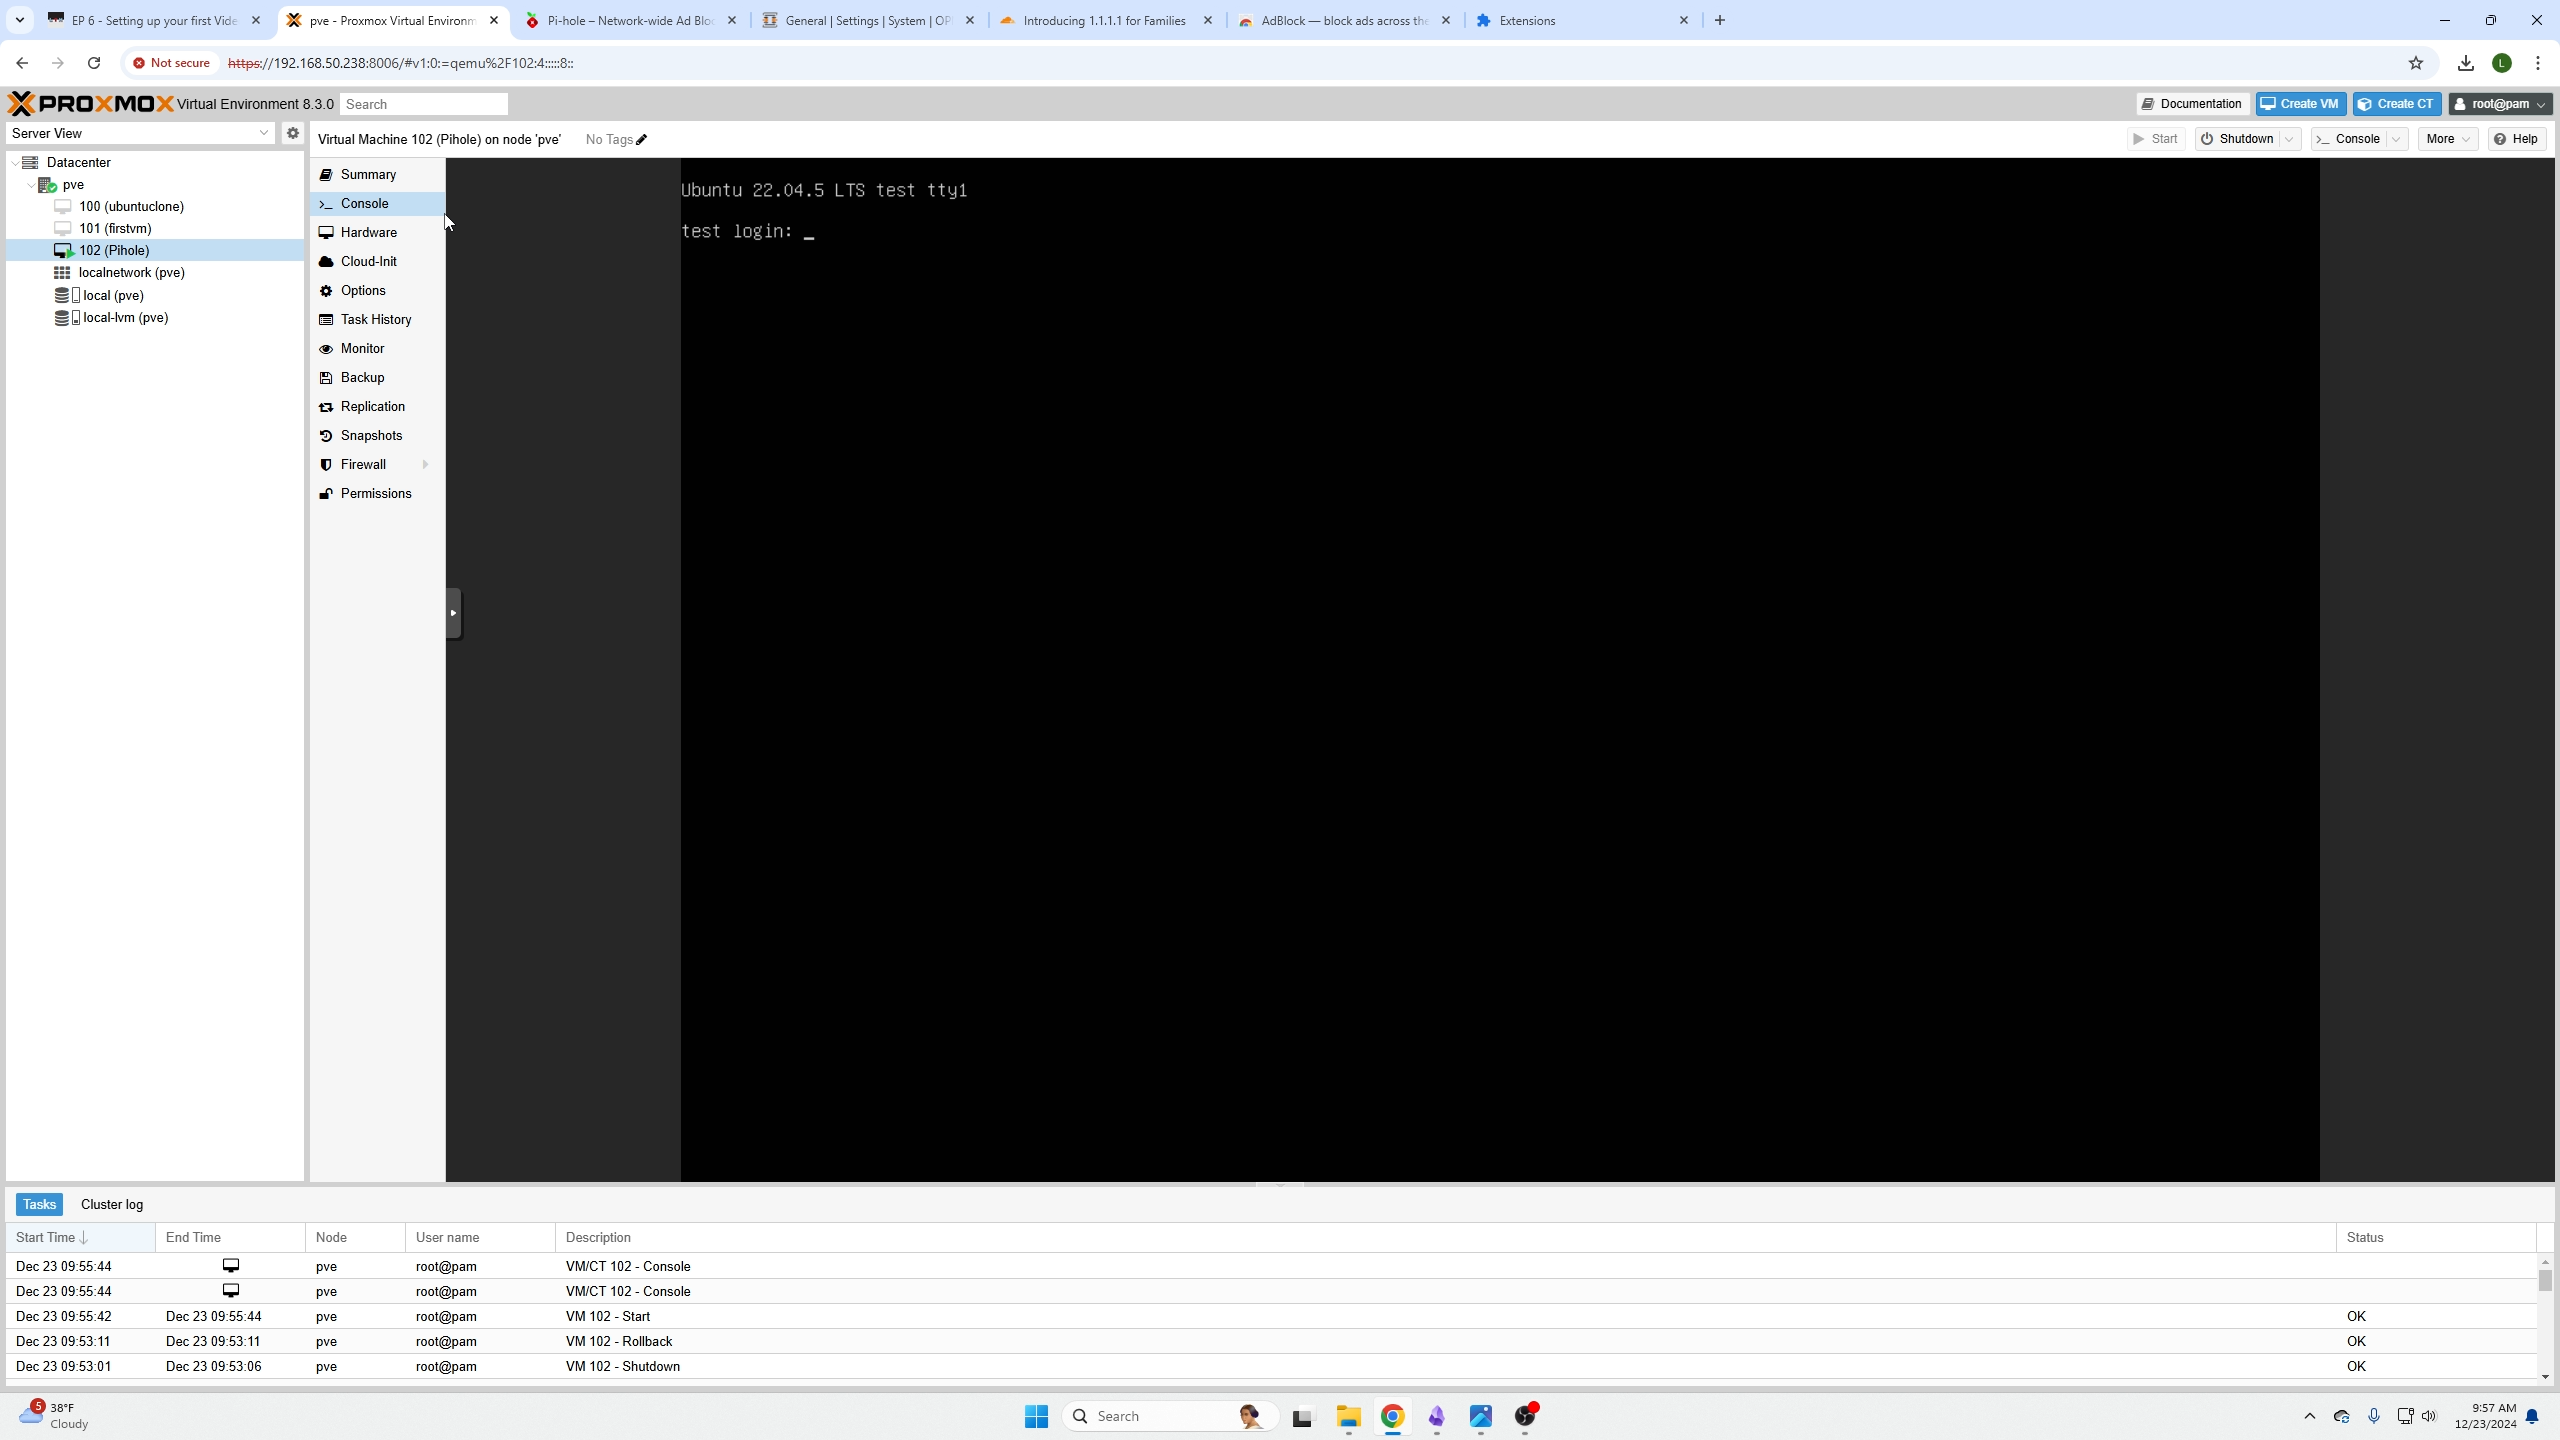
First you guys need to open your Proxmox machine and create a new VM for Pihole using Ubuntu (please see our video on how to setup your first VM) if you are unsure how to do this here We used default settings, 2GB of ram, 32gb, and 2v cores.
Next Go to Piholes website and click install:
Create a VM for your Pi-Hole instances
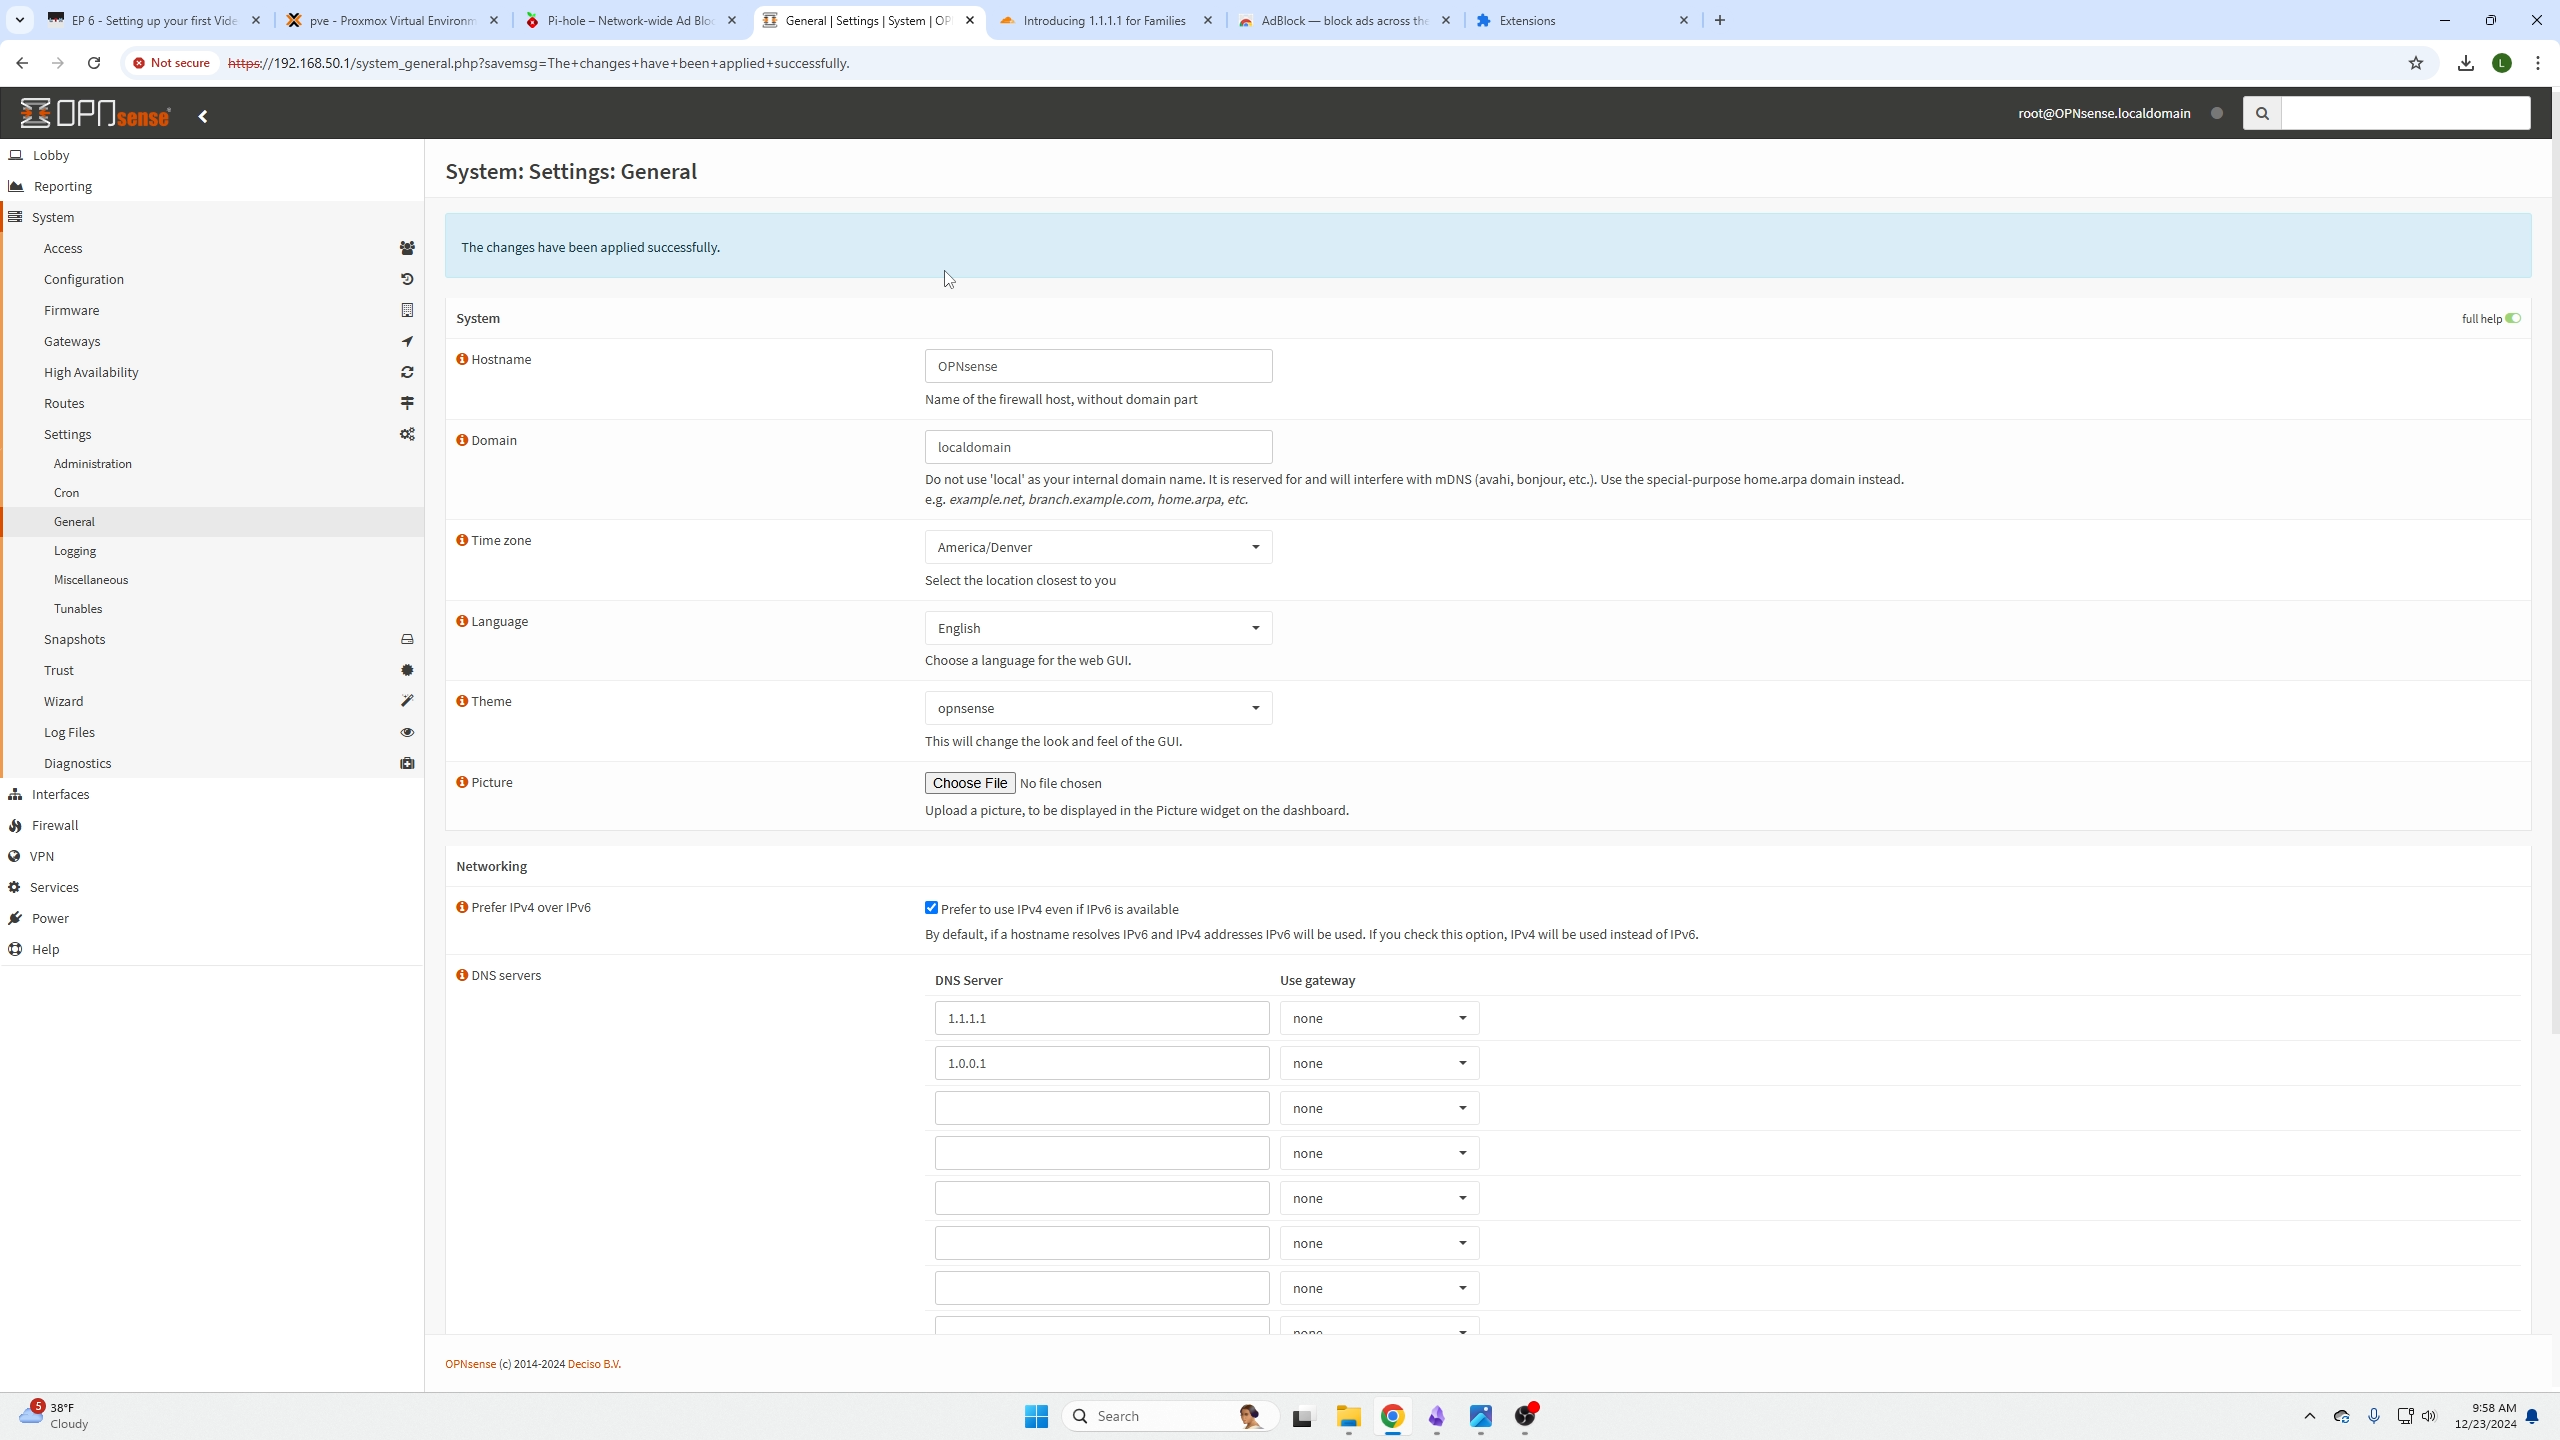
Then log into your Opnsense Machine and go to the menu System / Settings / General tab. If you are doing this on your home router you will need to find where your DNS settings are stored.
Installing Pi-Hole
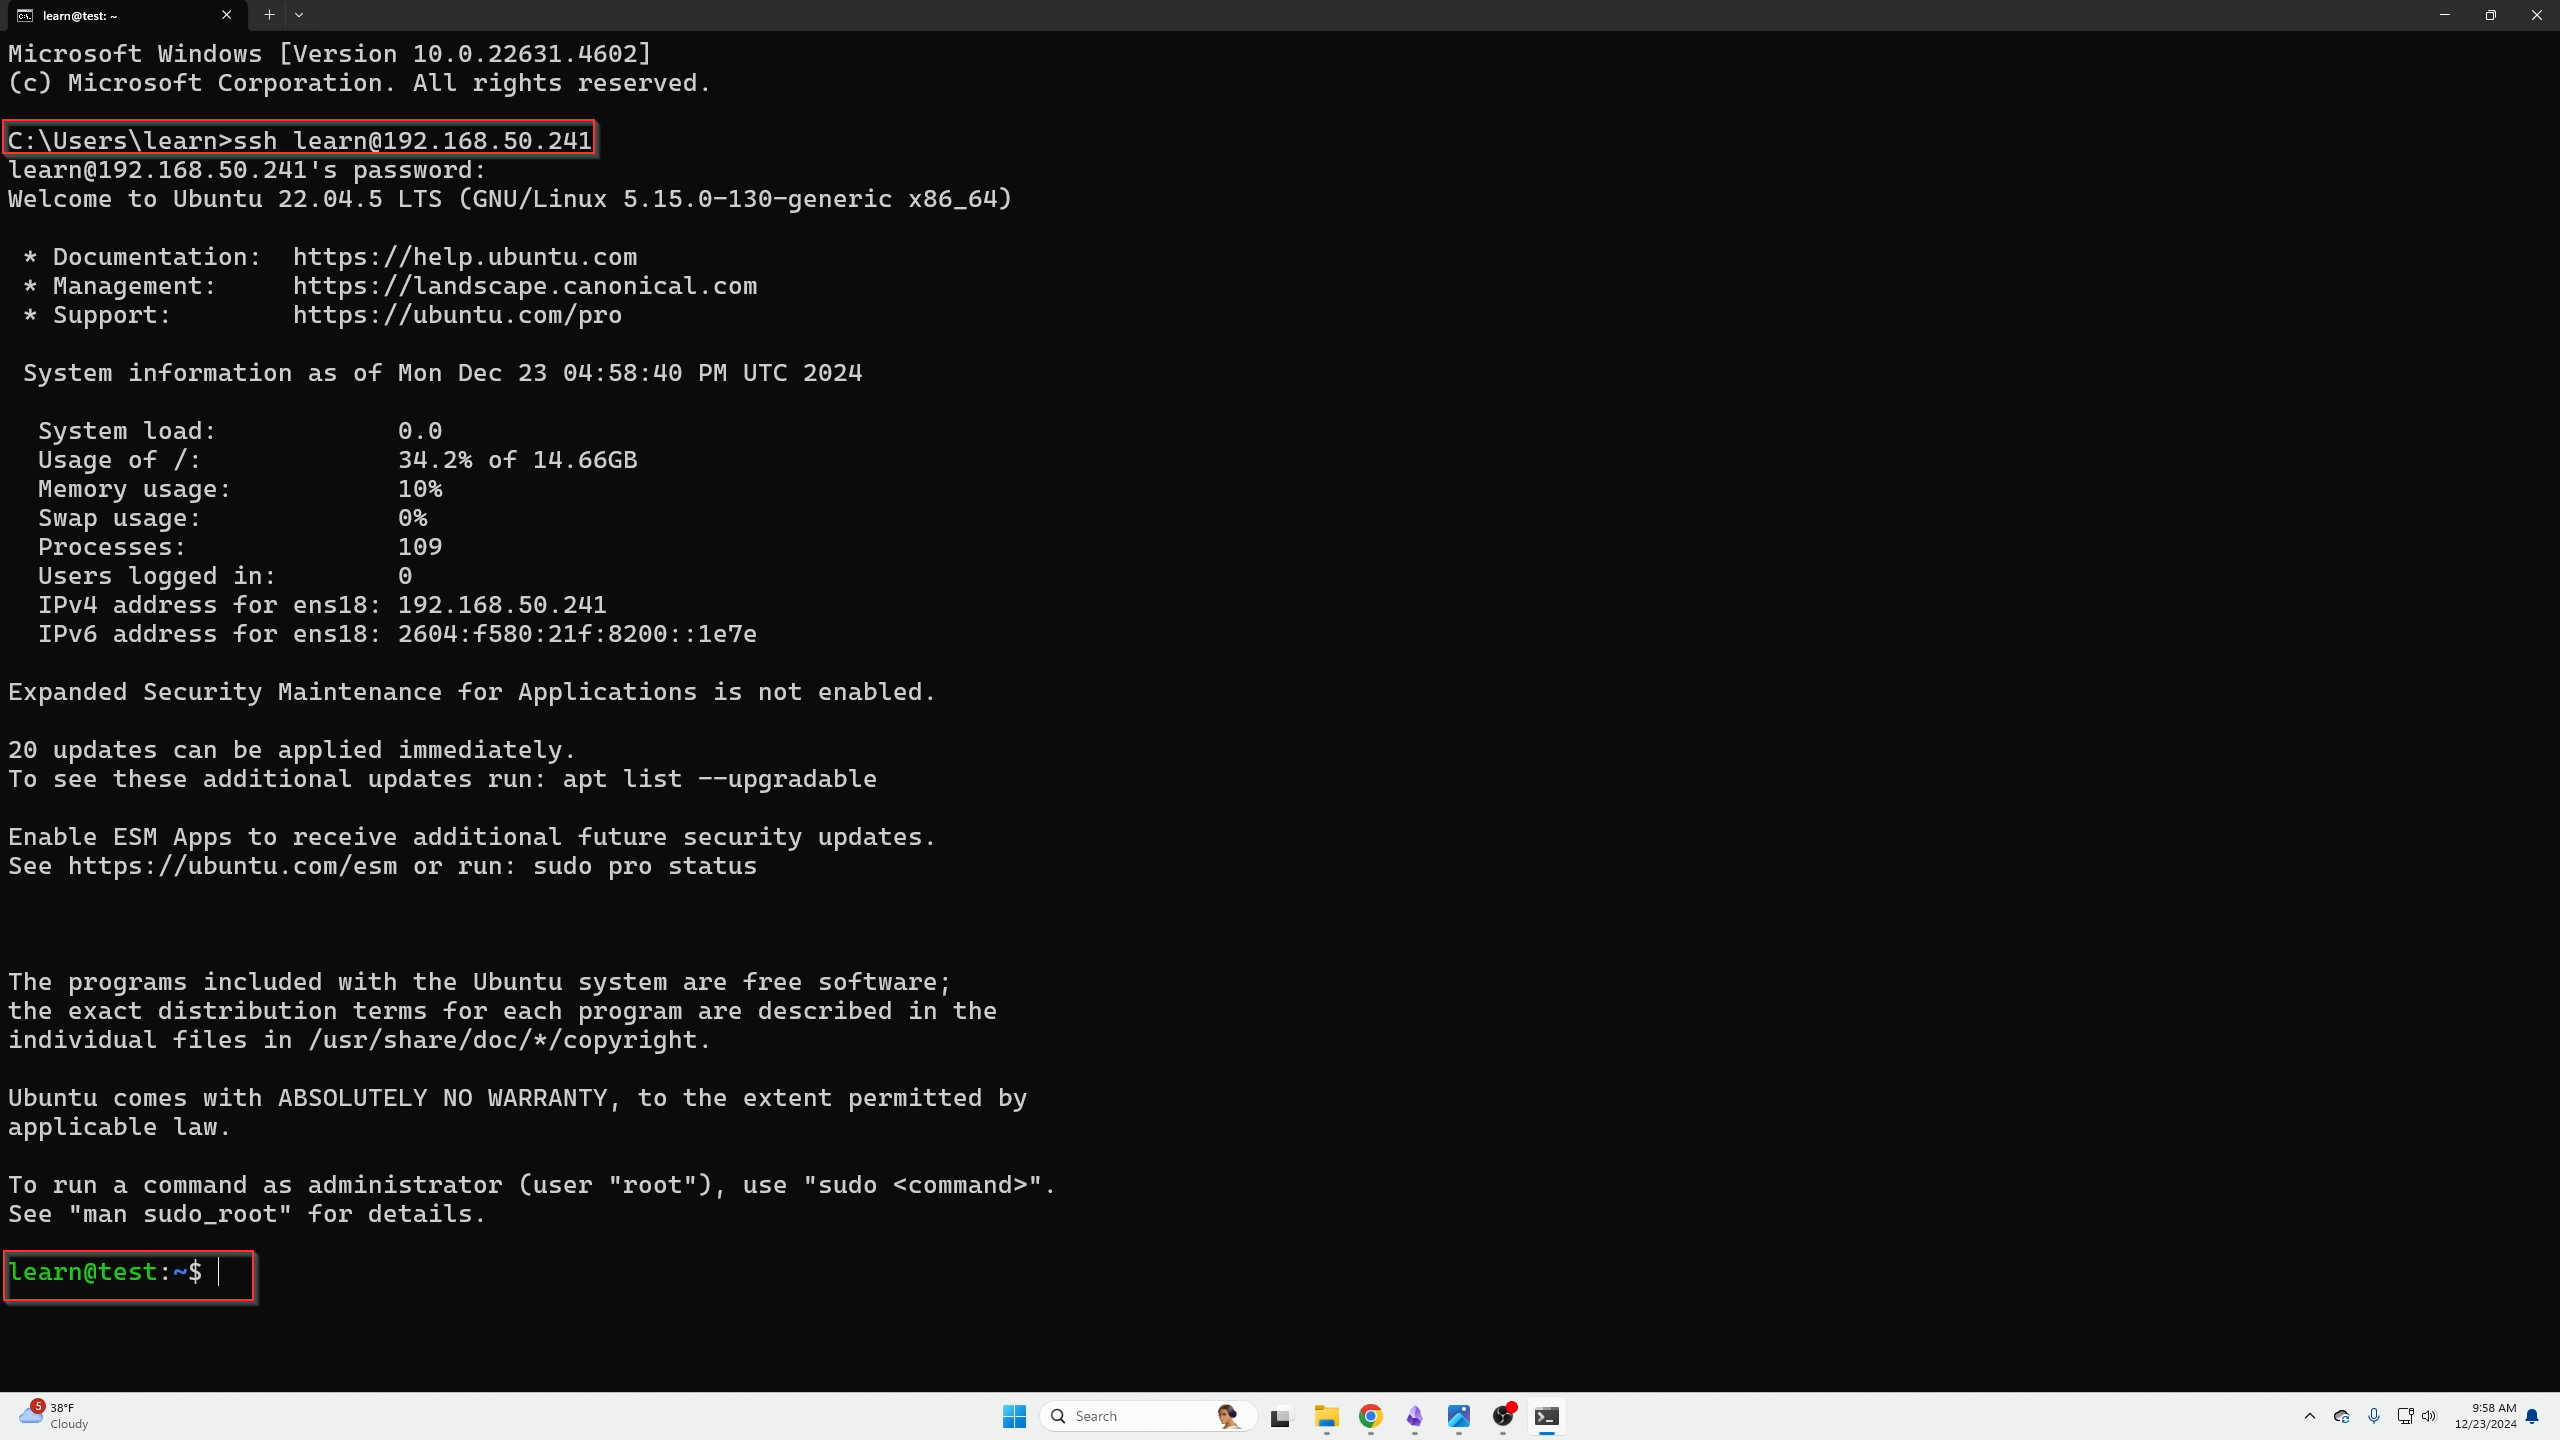
Next you need to login to your freshly created VM that we are going to install Pi-Hole on using the SSH command:
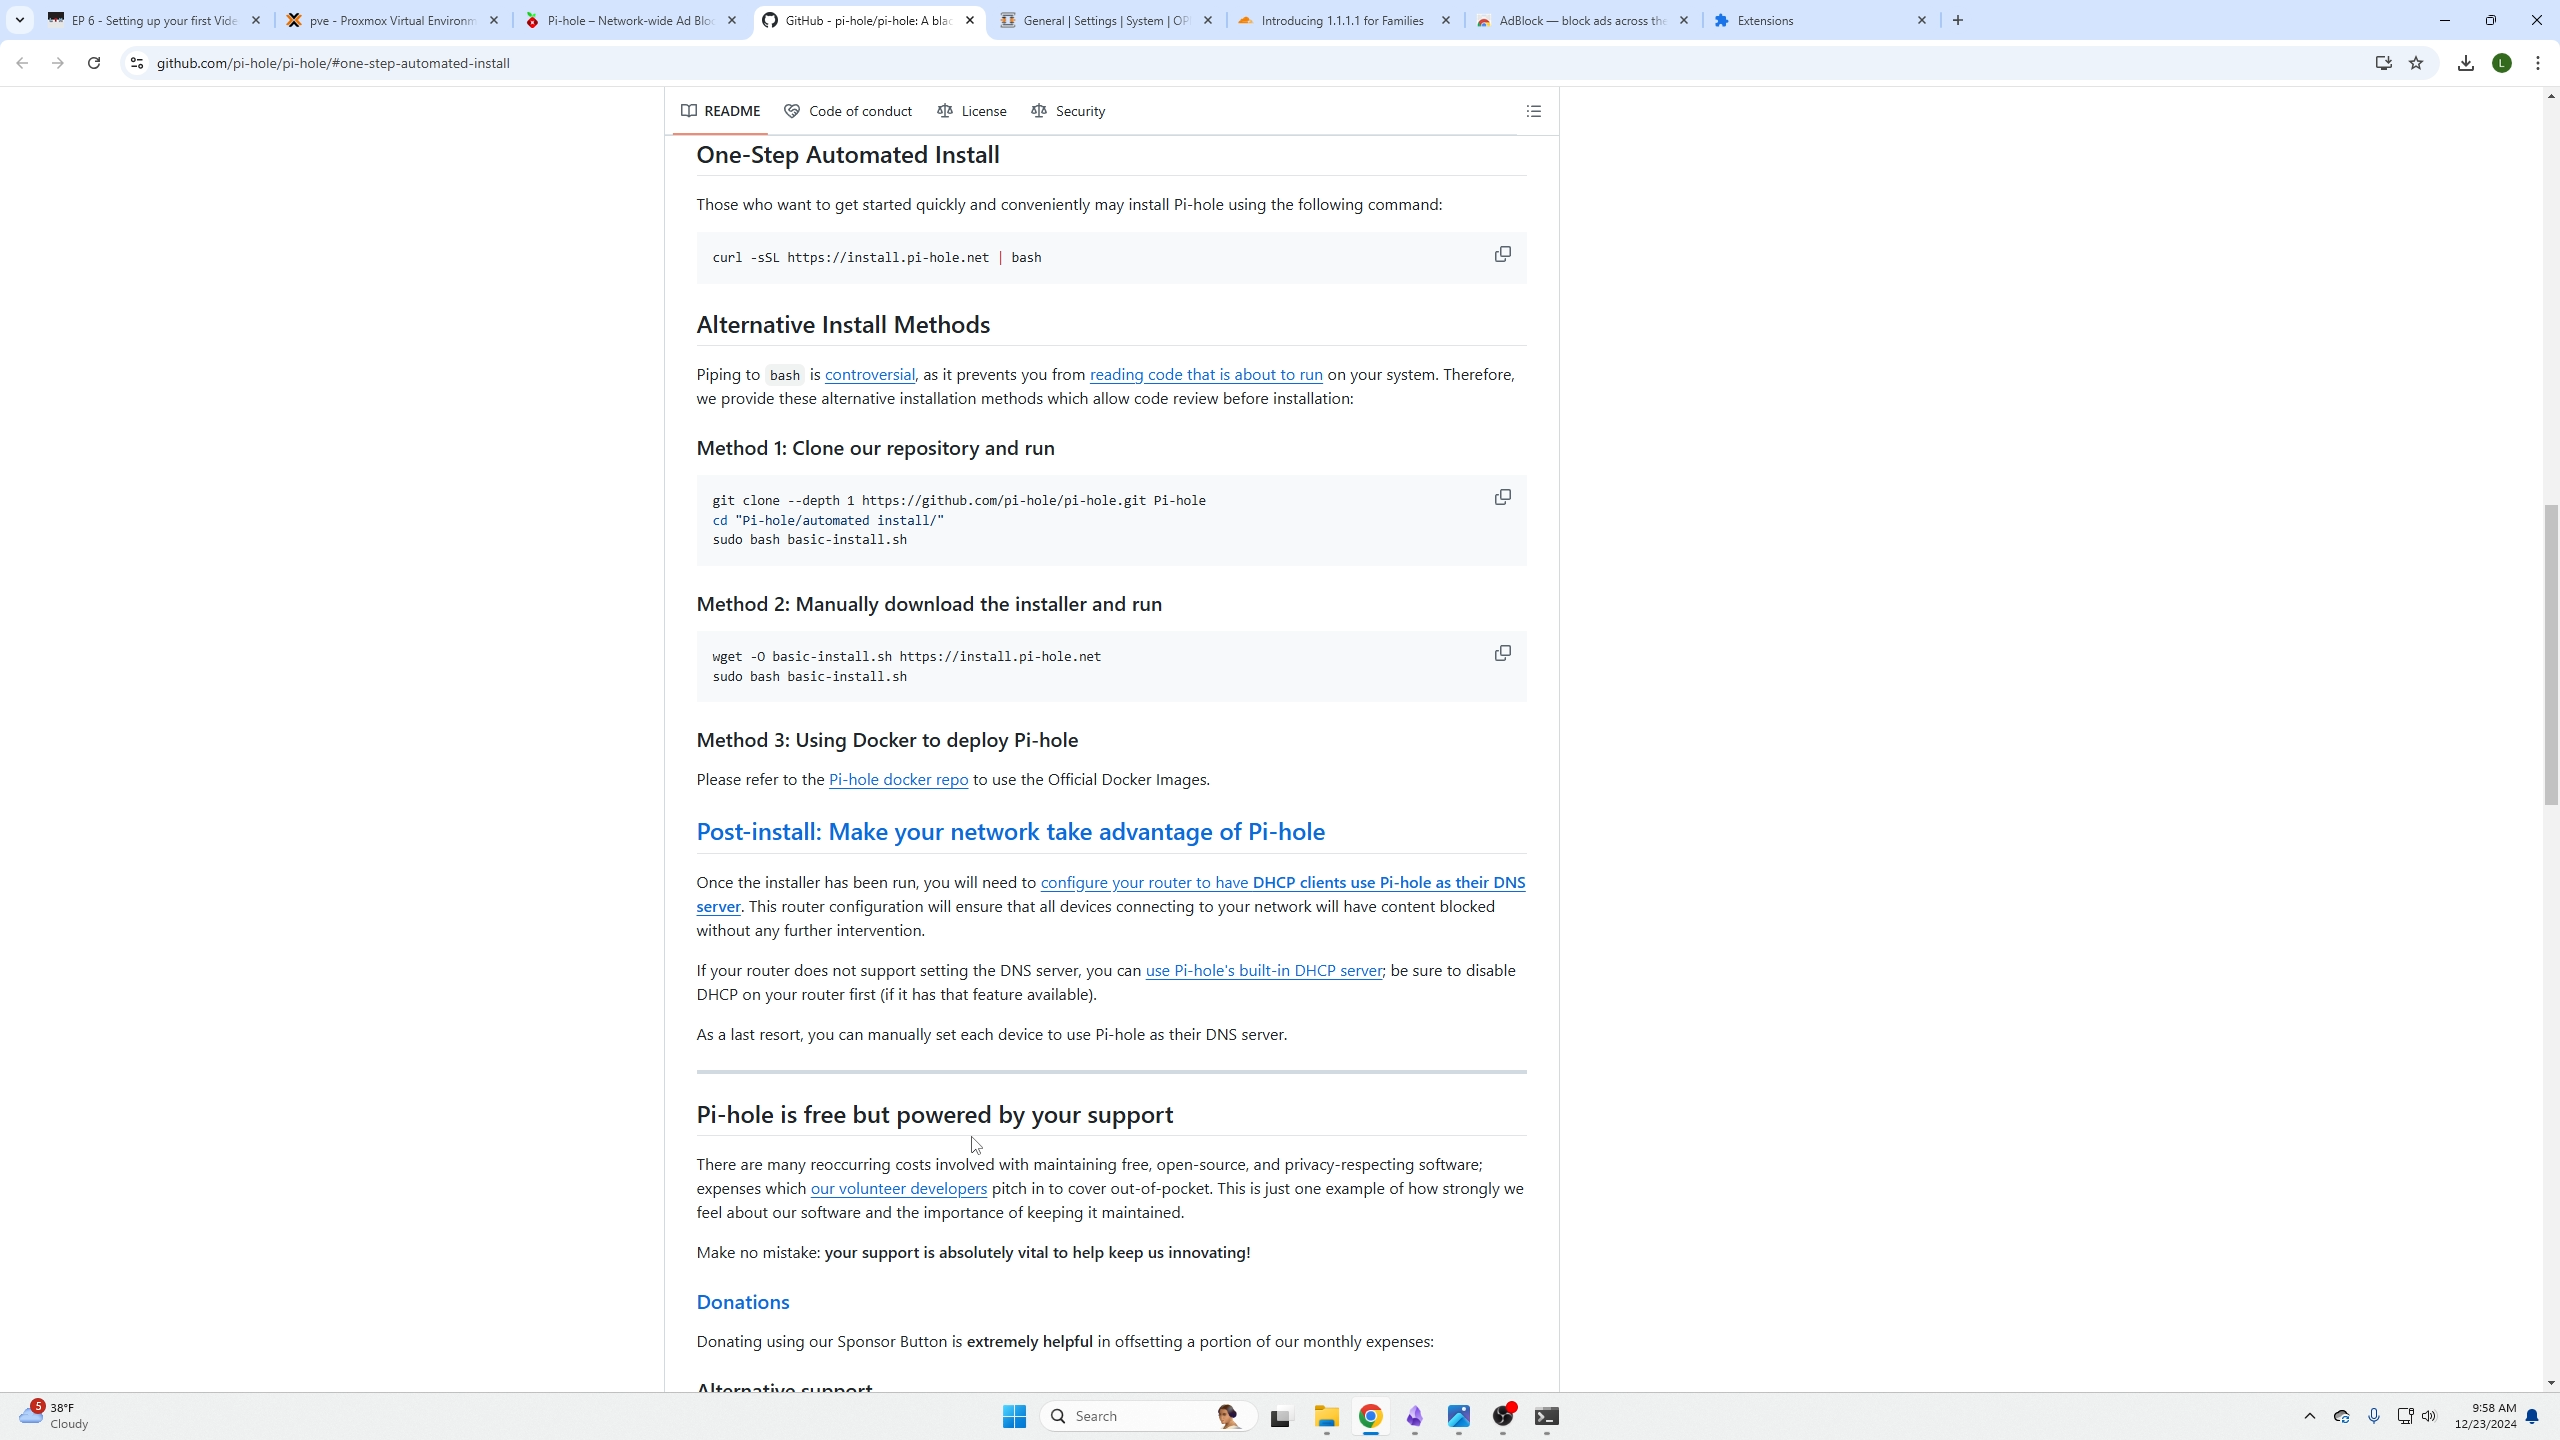
Next we are going to go over to the download Github page we were directed to when we clicked download on Pi-holes site, copy the One-Step Automated Install command:
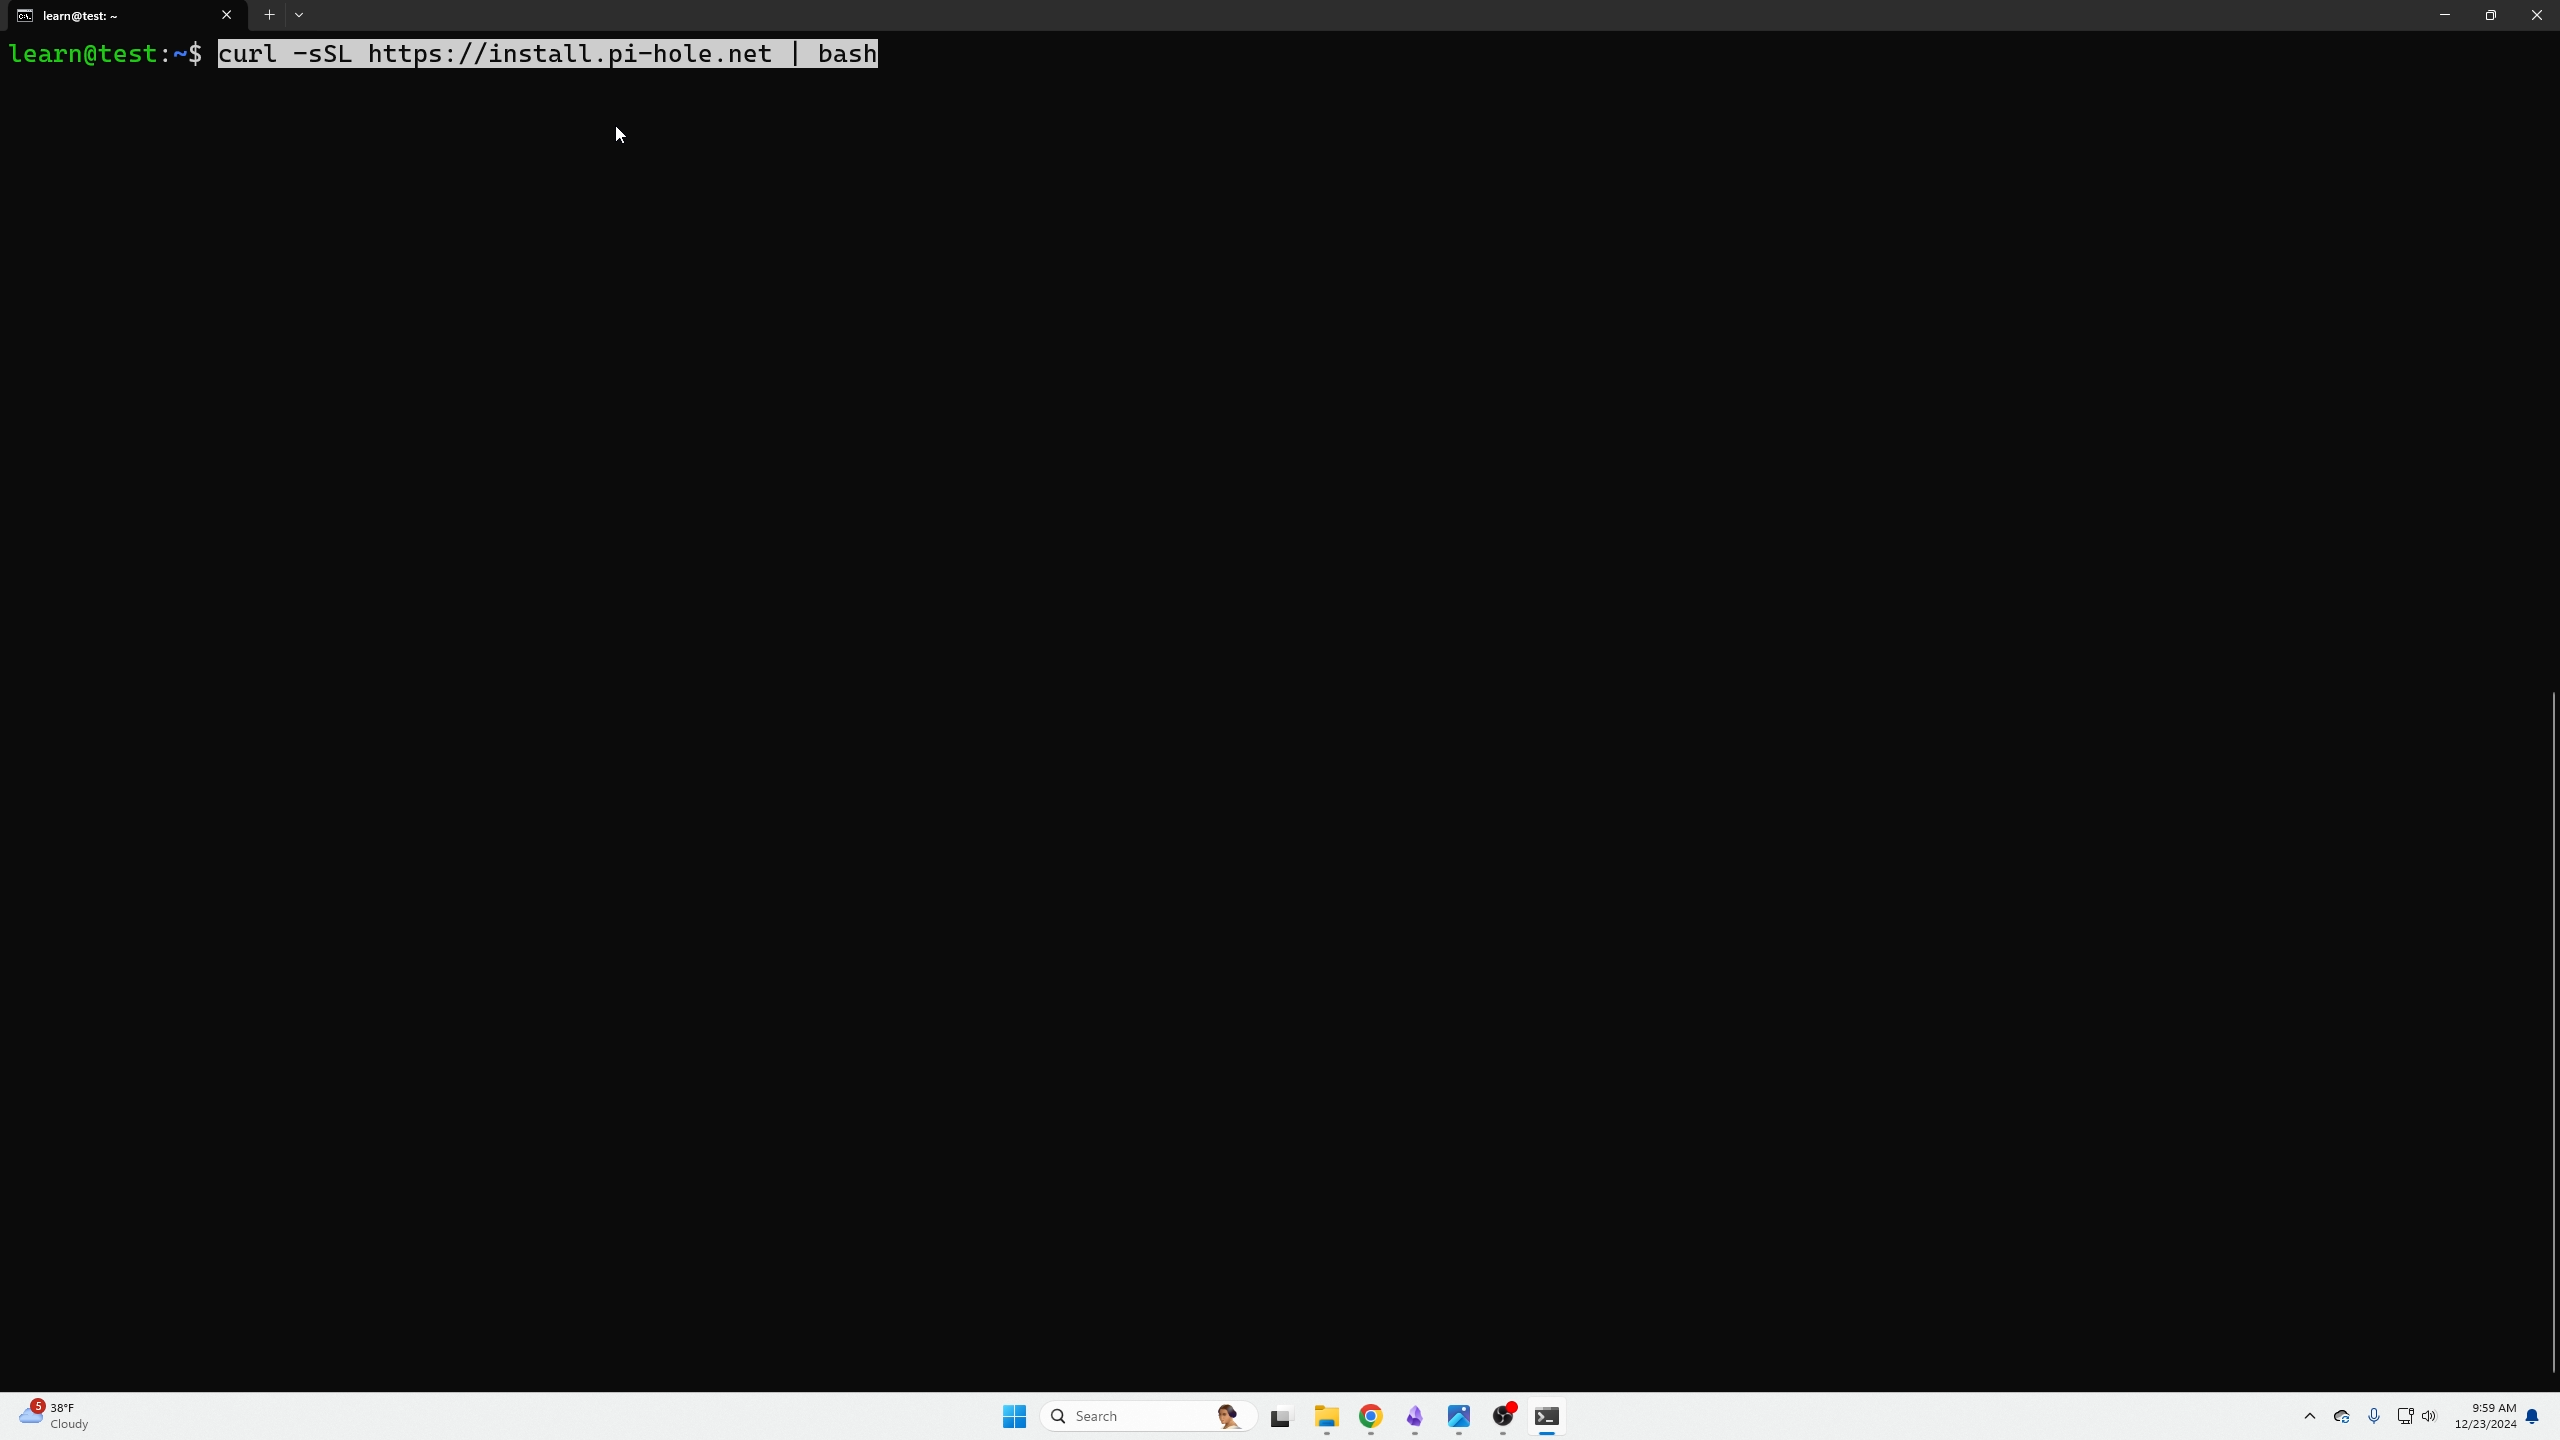
We are going to go back to our SSH session and paste this command in:
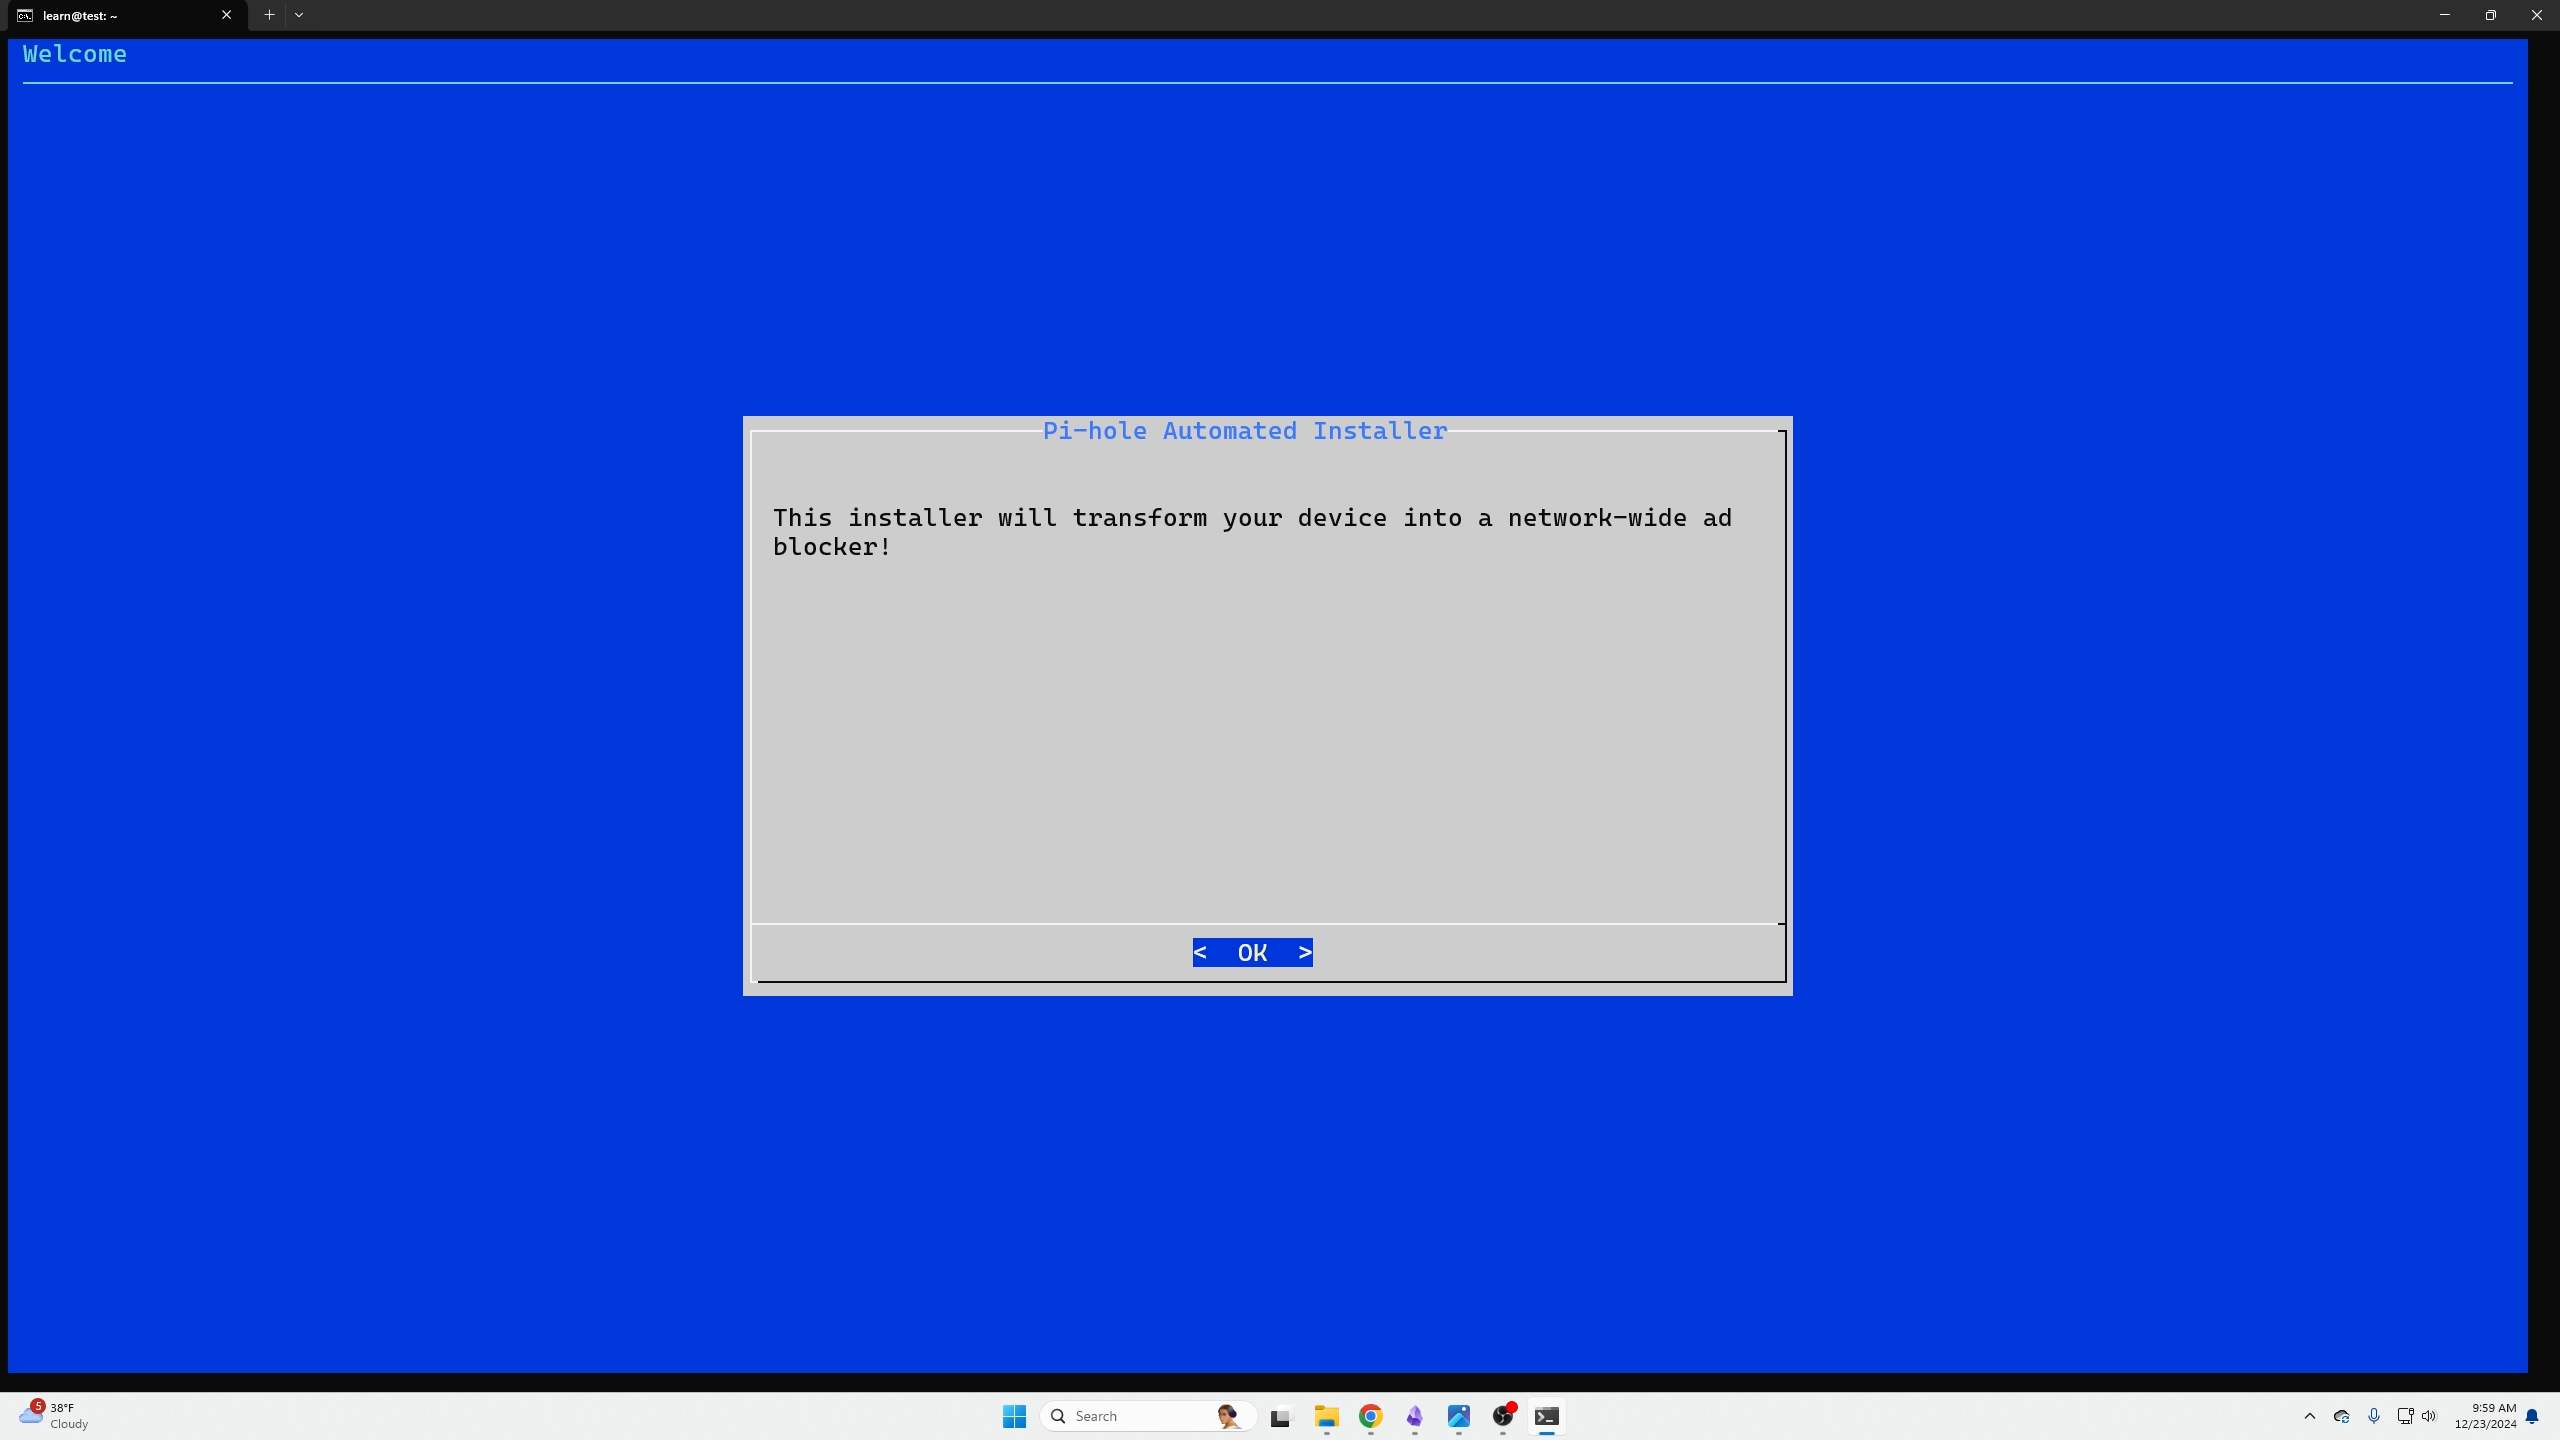
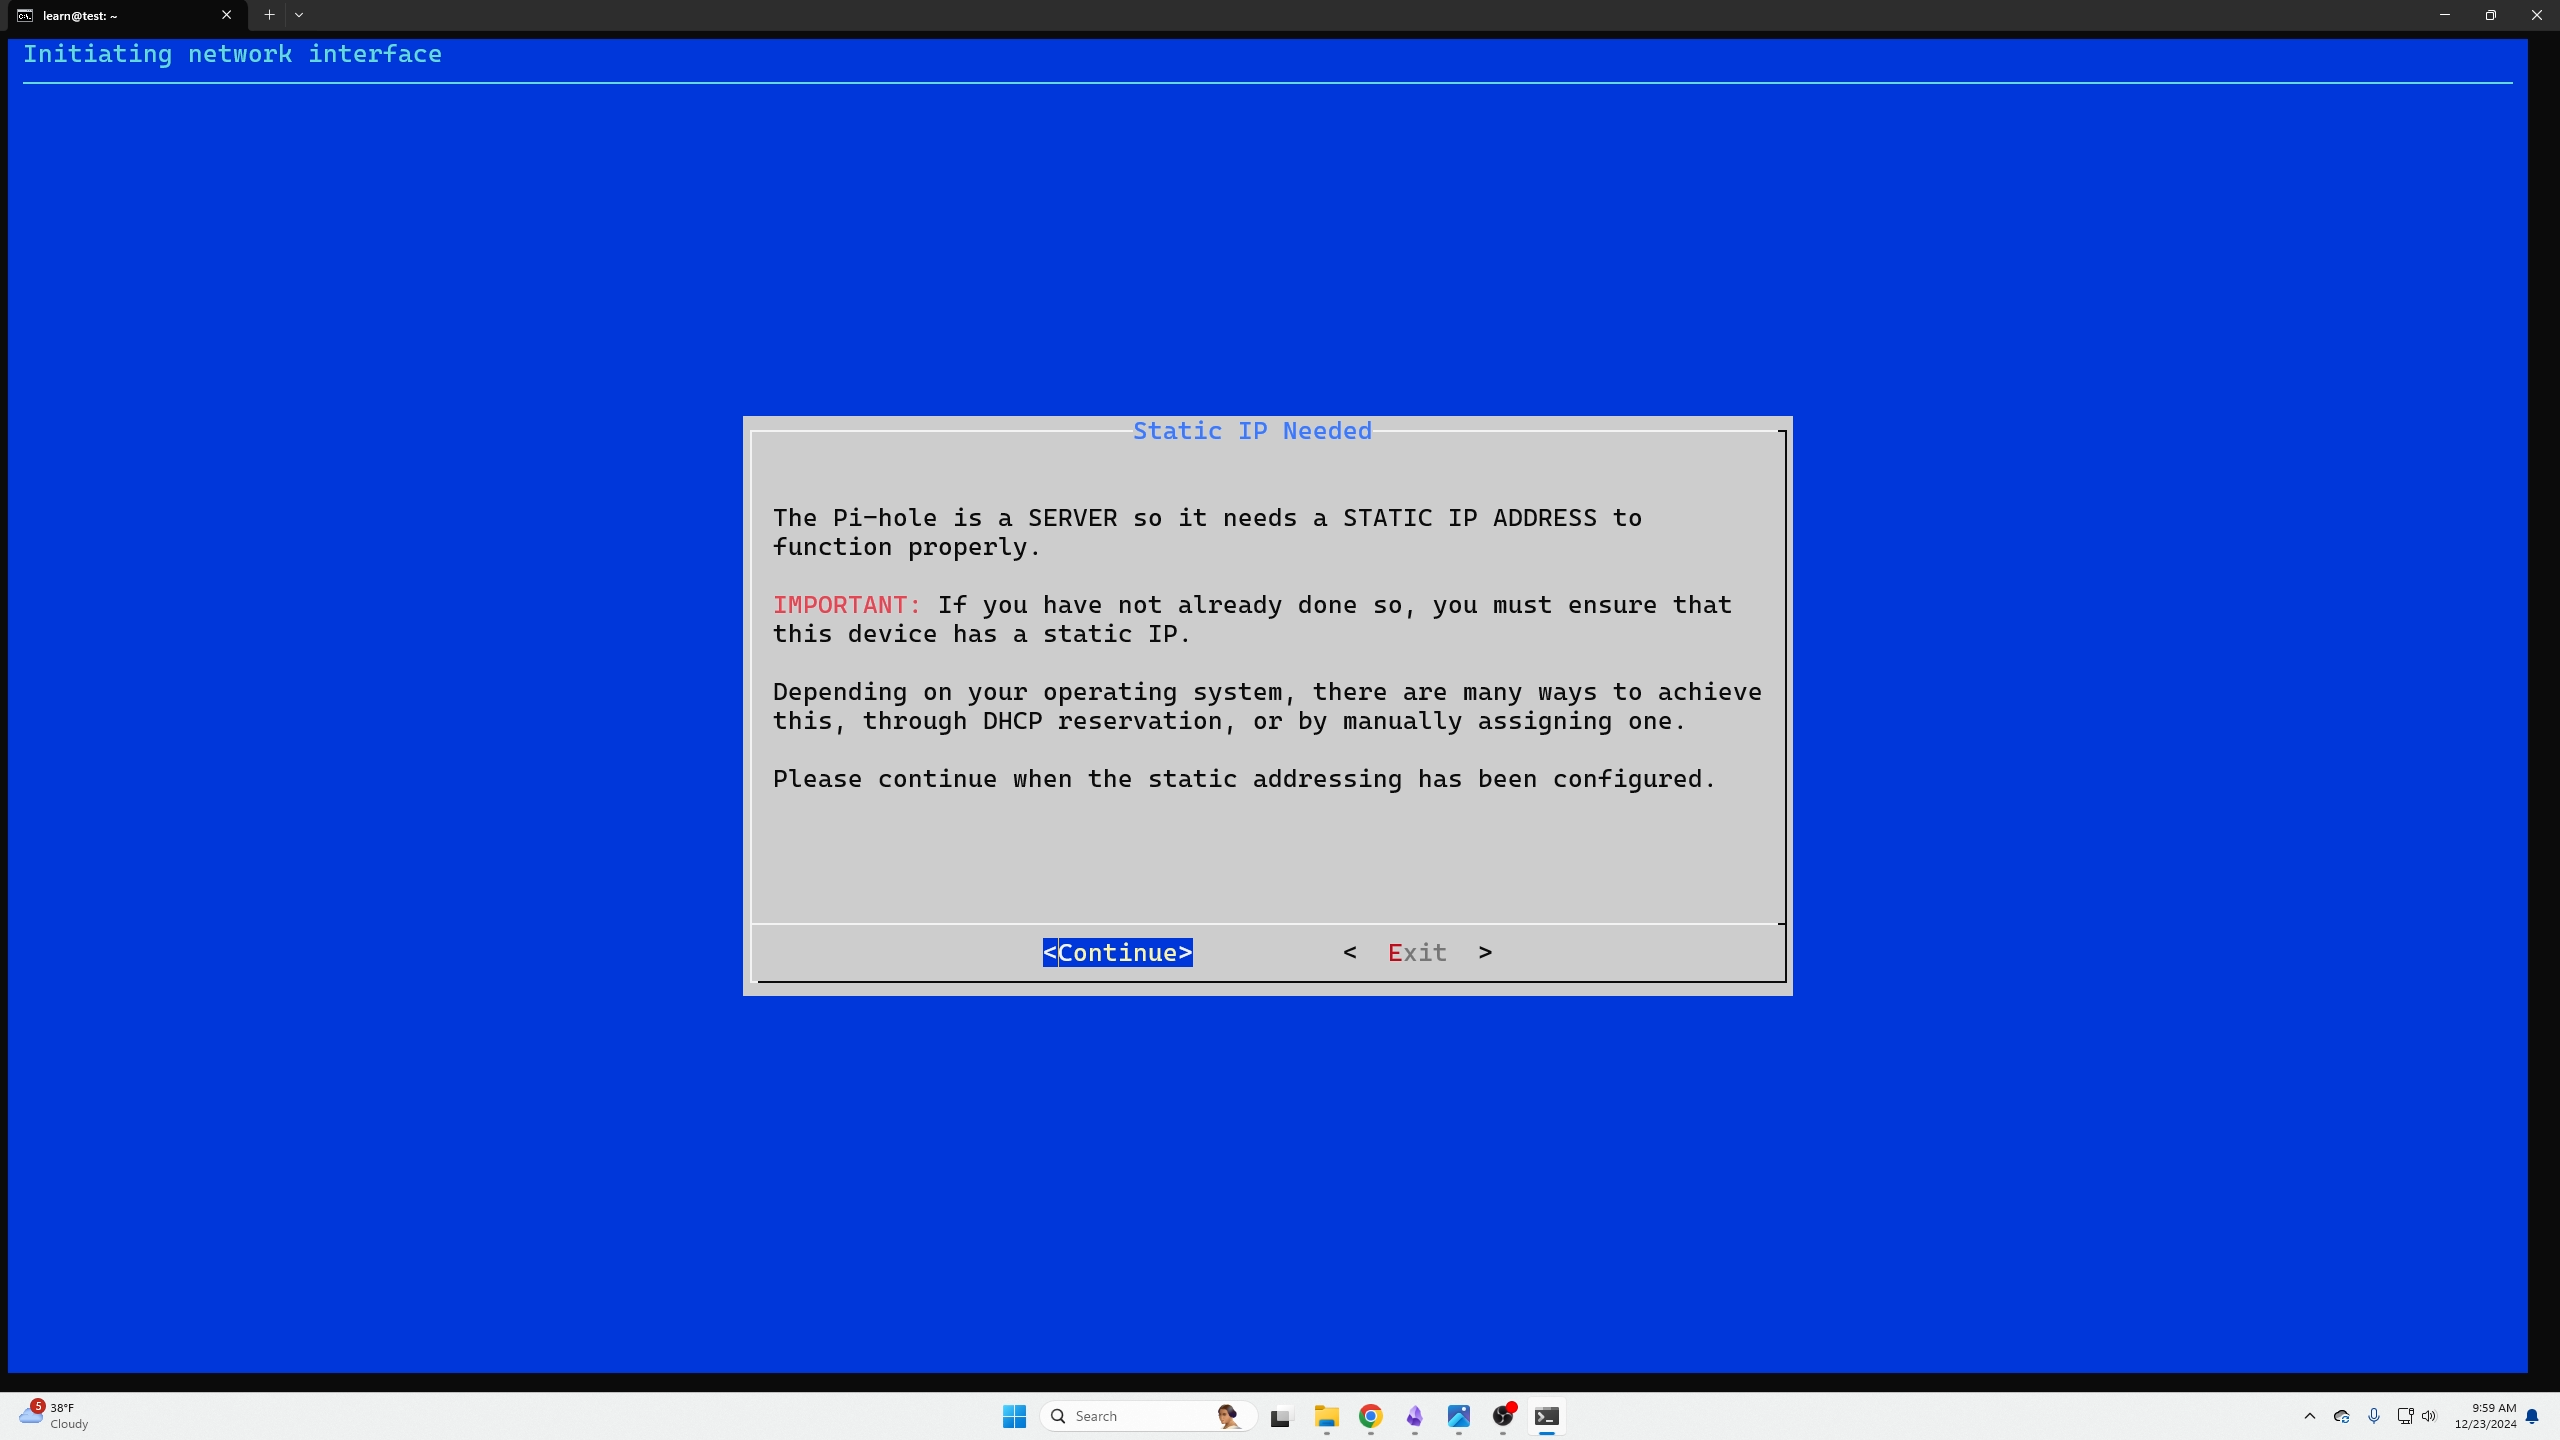
The following steps are very self-explanatory but just follow the install Wizard all the way through without changing anything other then the following examples:
We will set the static IP address later in this article within OPNsense!
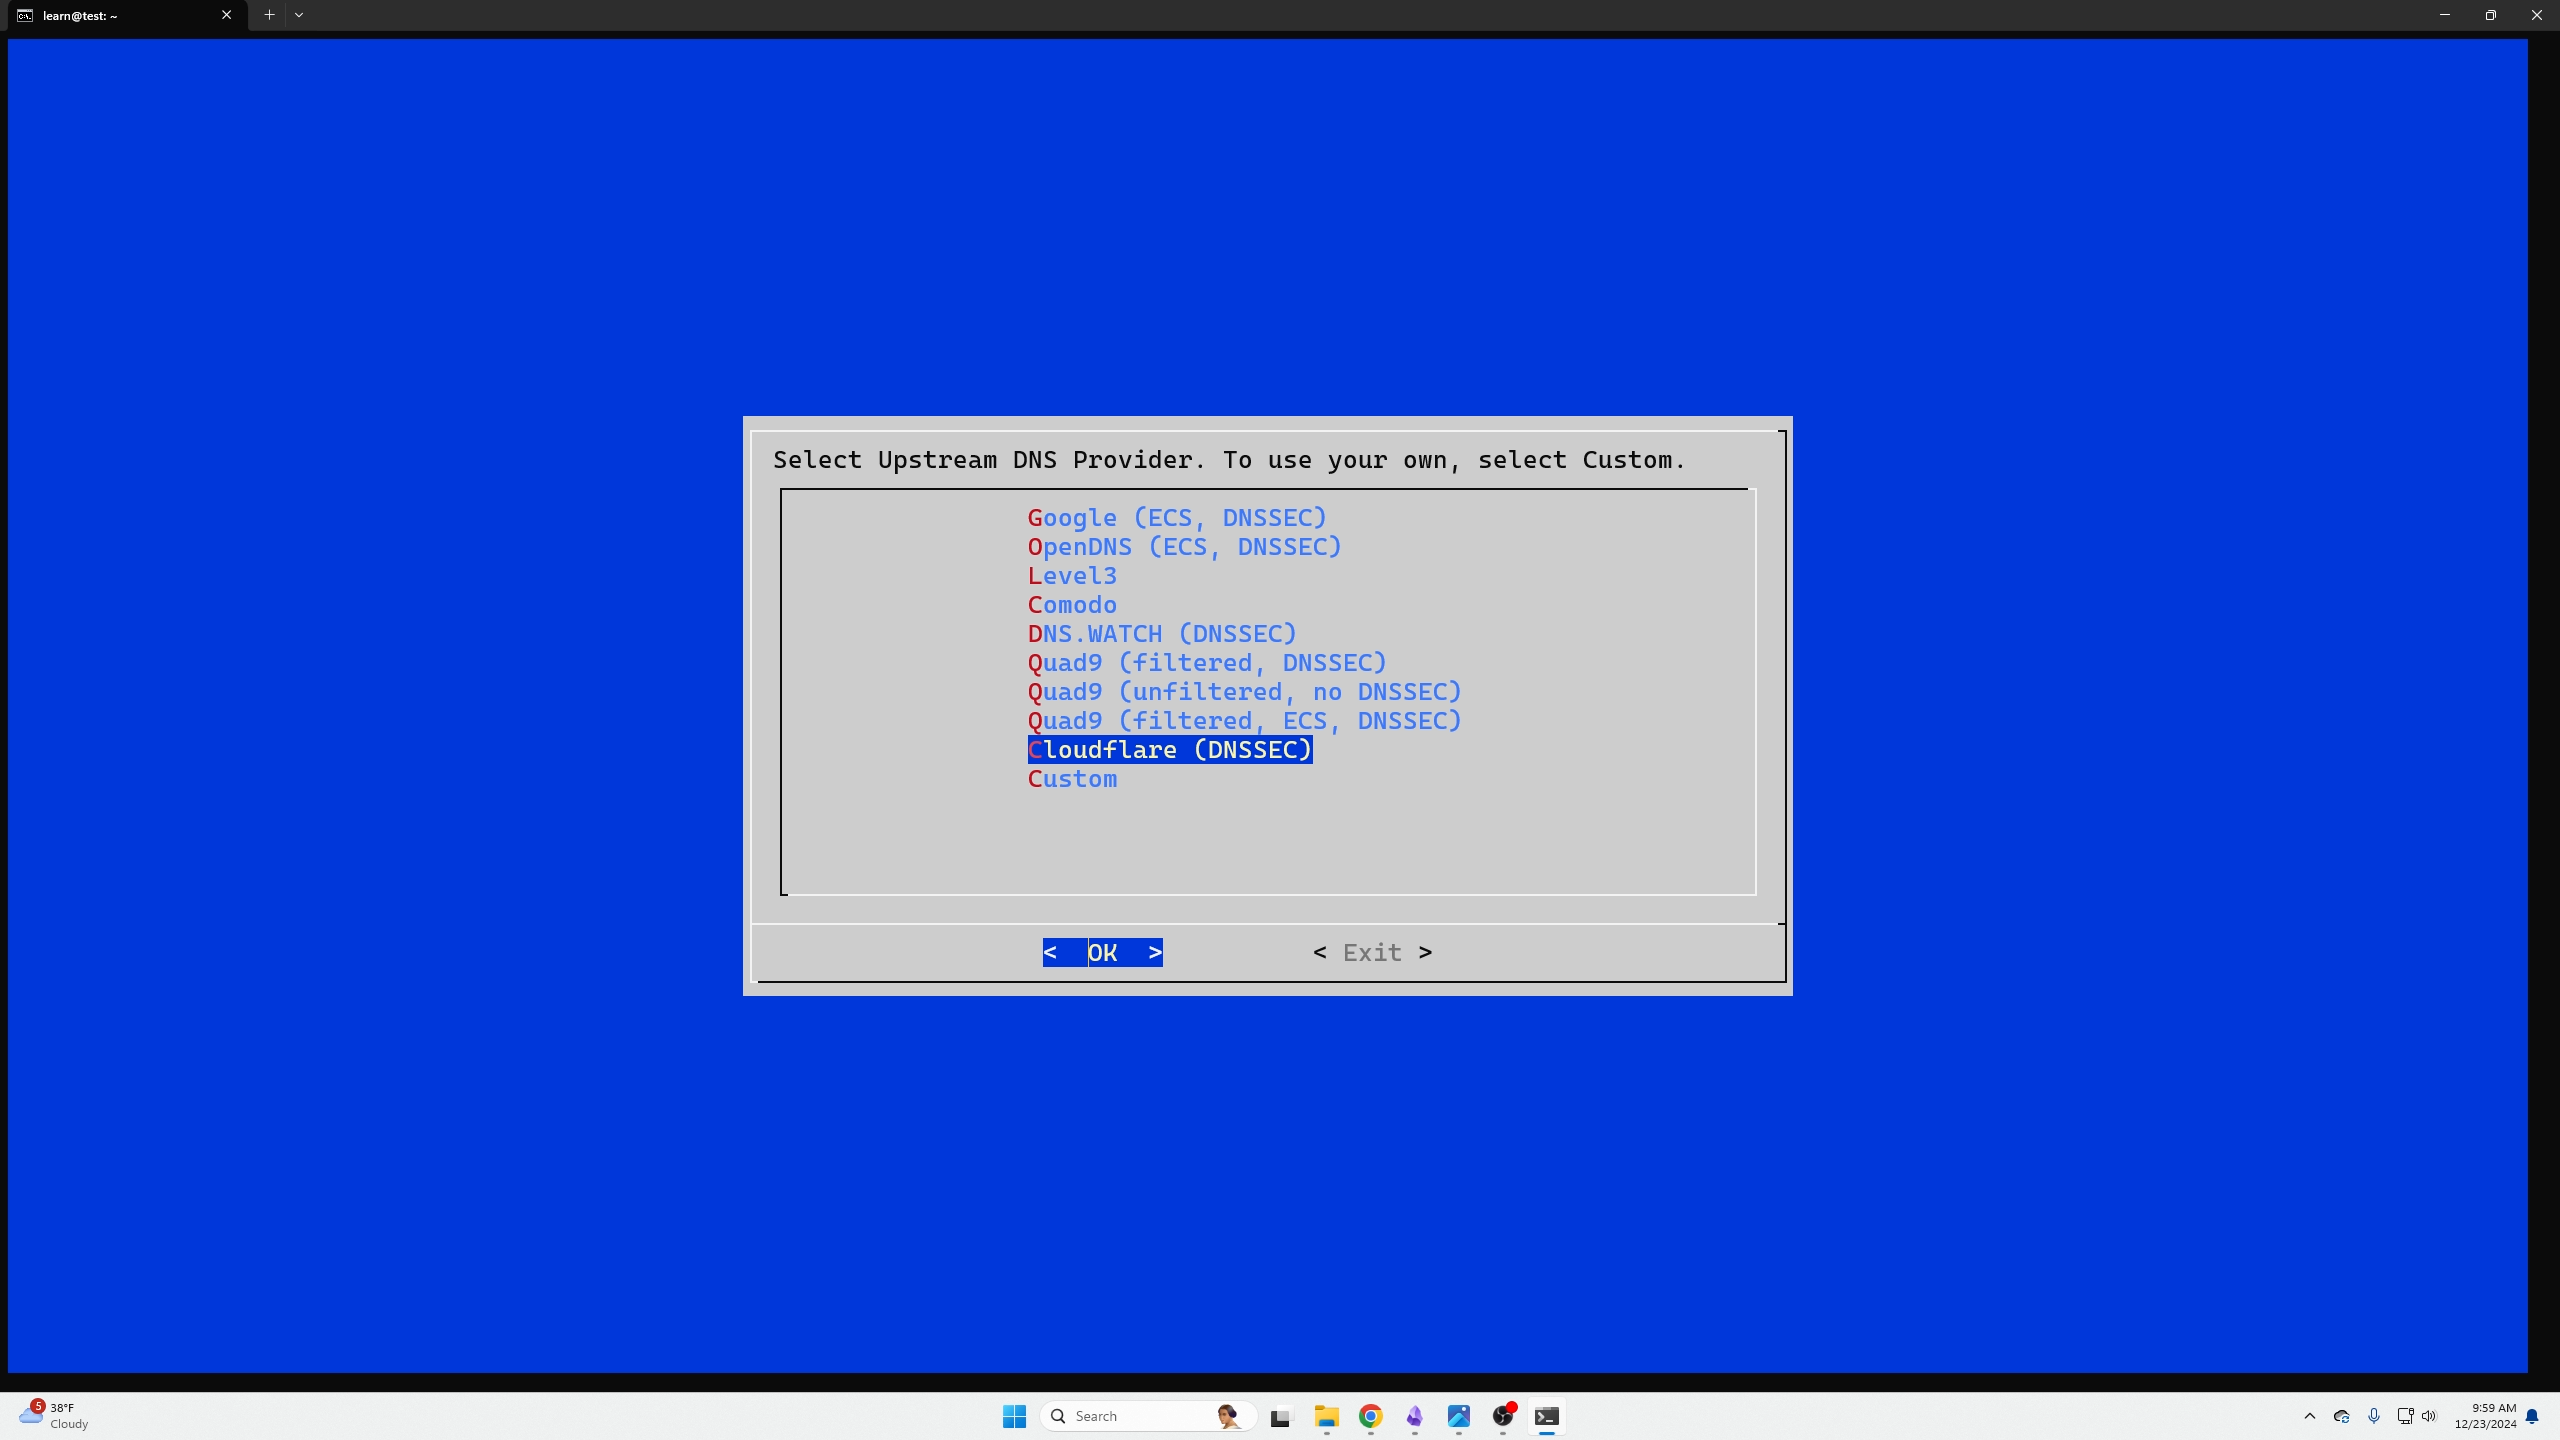
You can select CloudFlares DNS for right now (it is what we suggest for the fasted resolution times). After that, just follow the rest of the wizard with all oks or continues
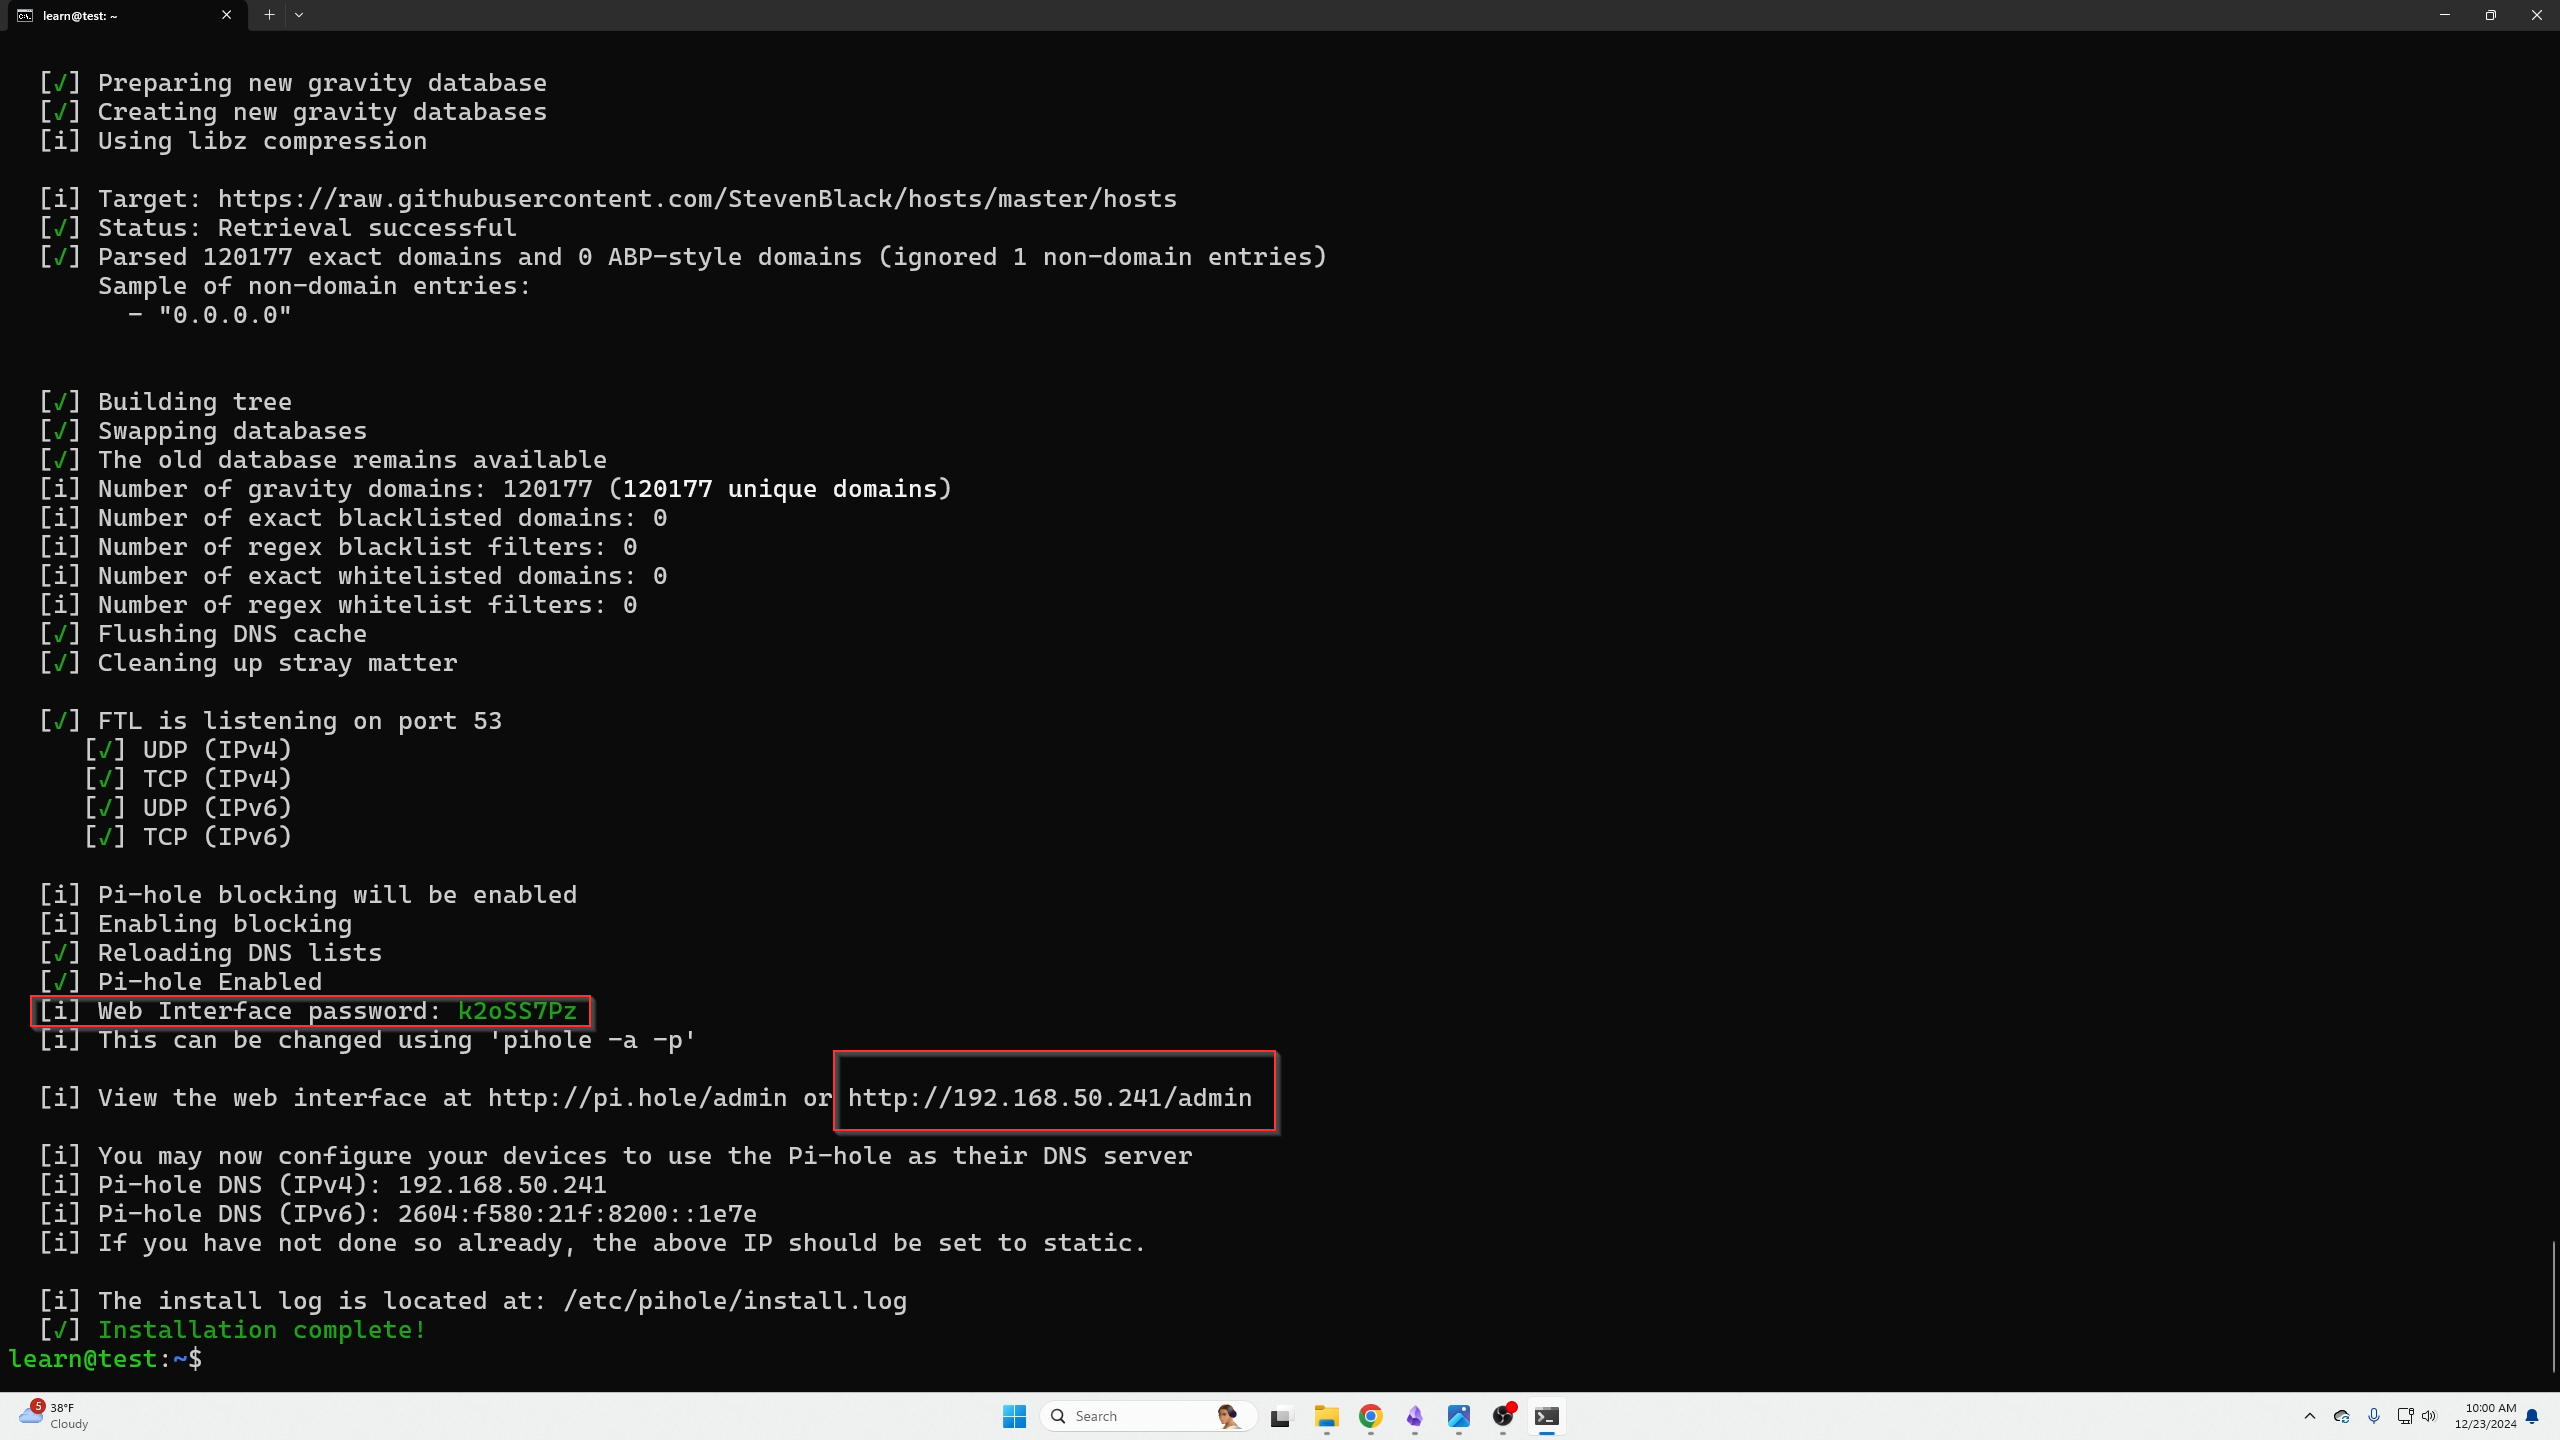
You will then be presented with this screen, click enter to ok and we will be presented with another screen that also gives us the URL and password to login.
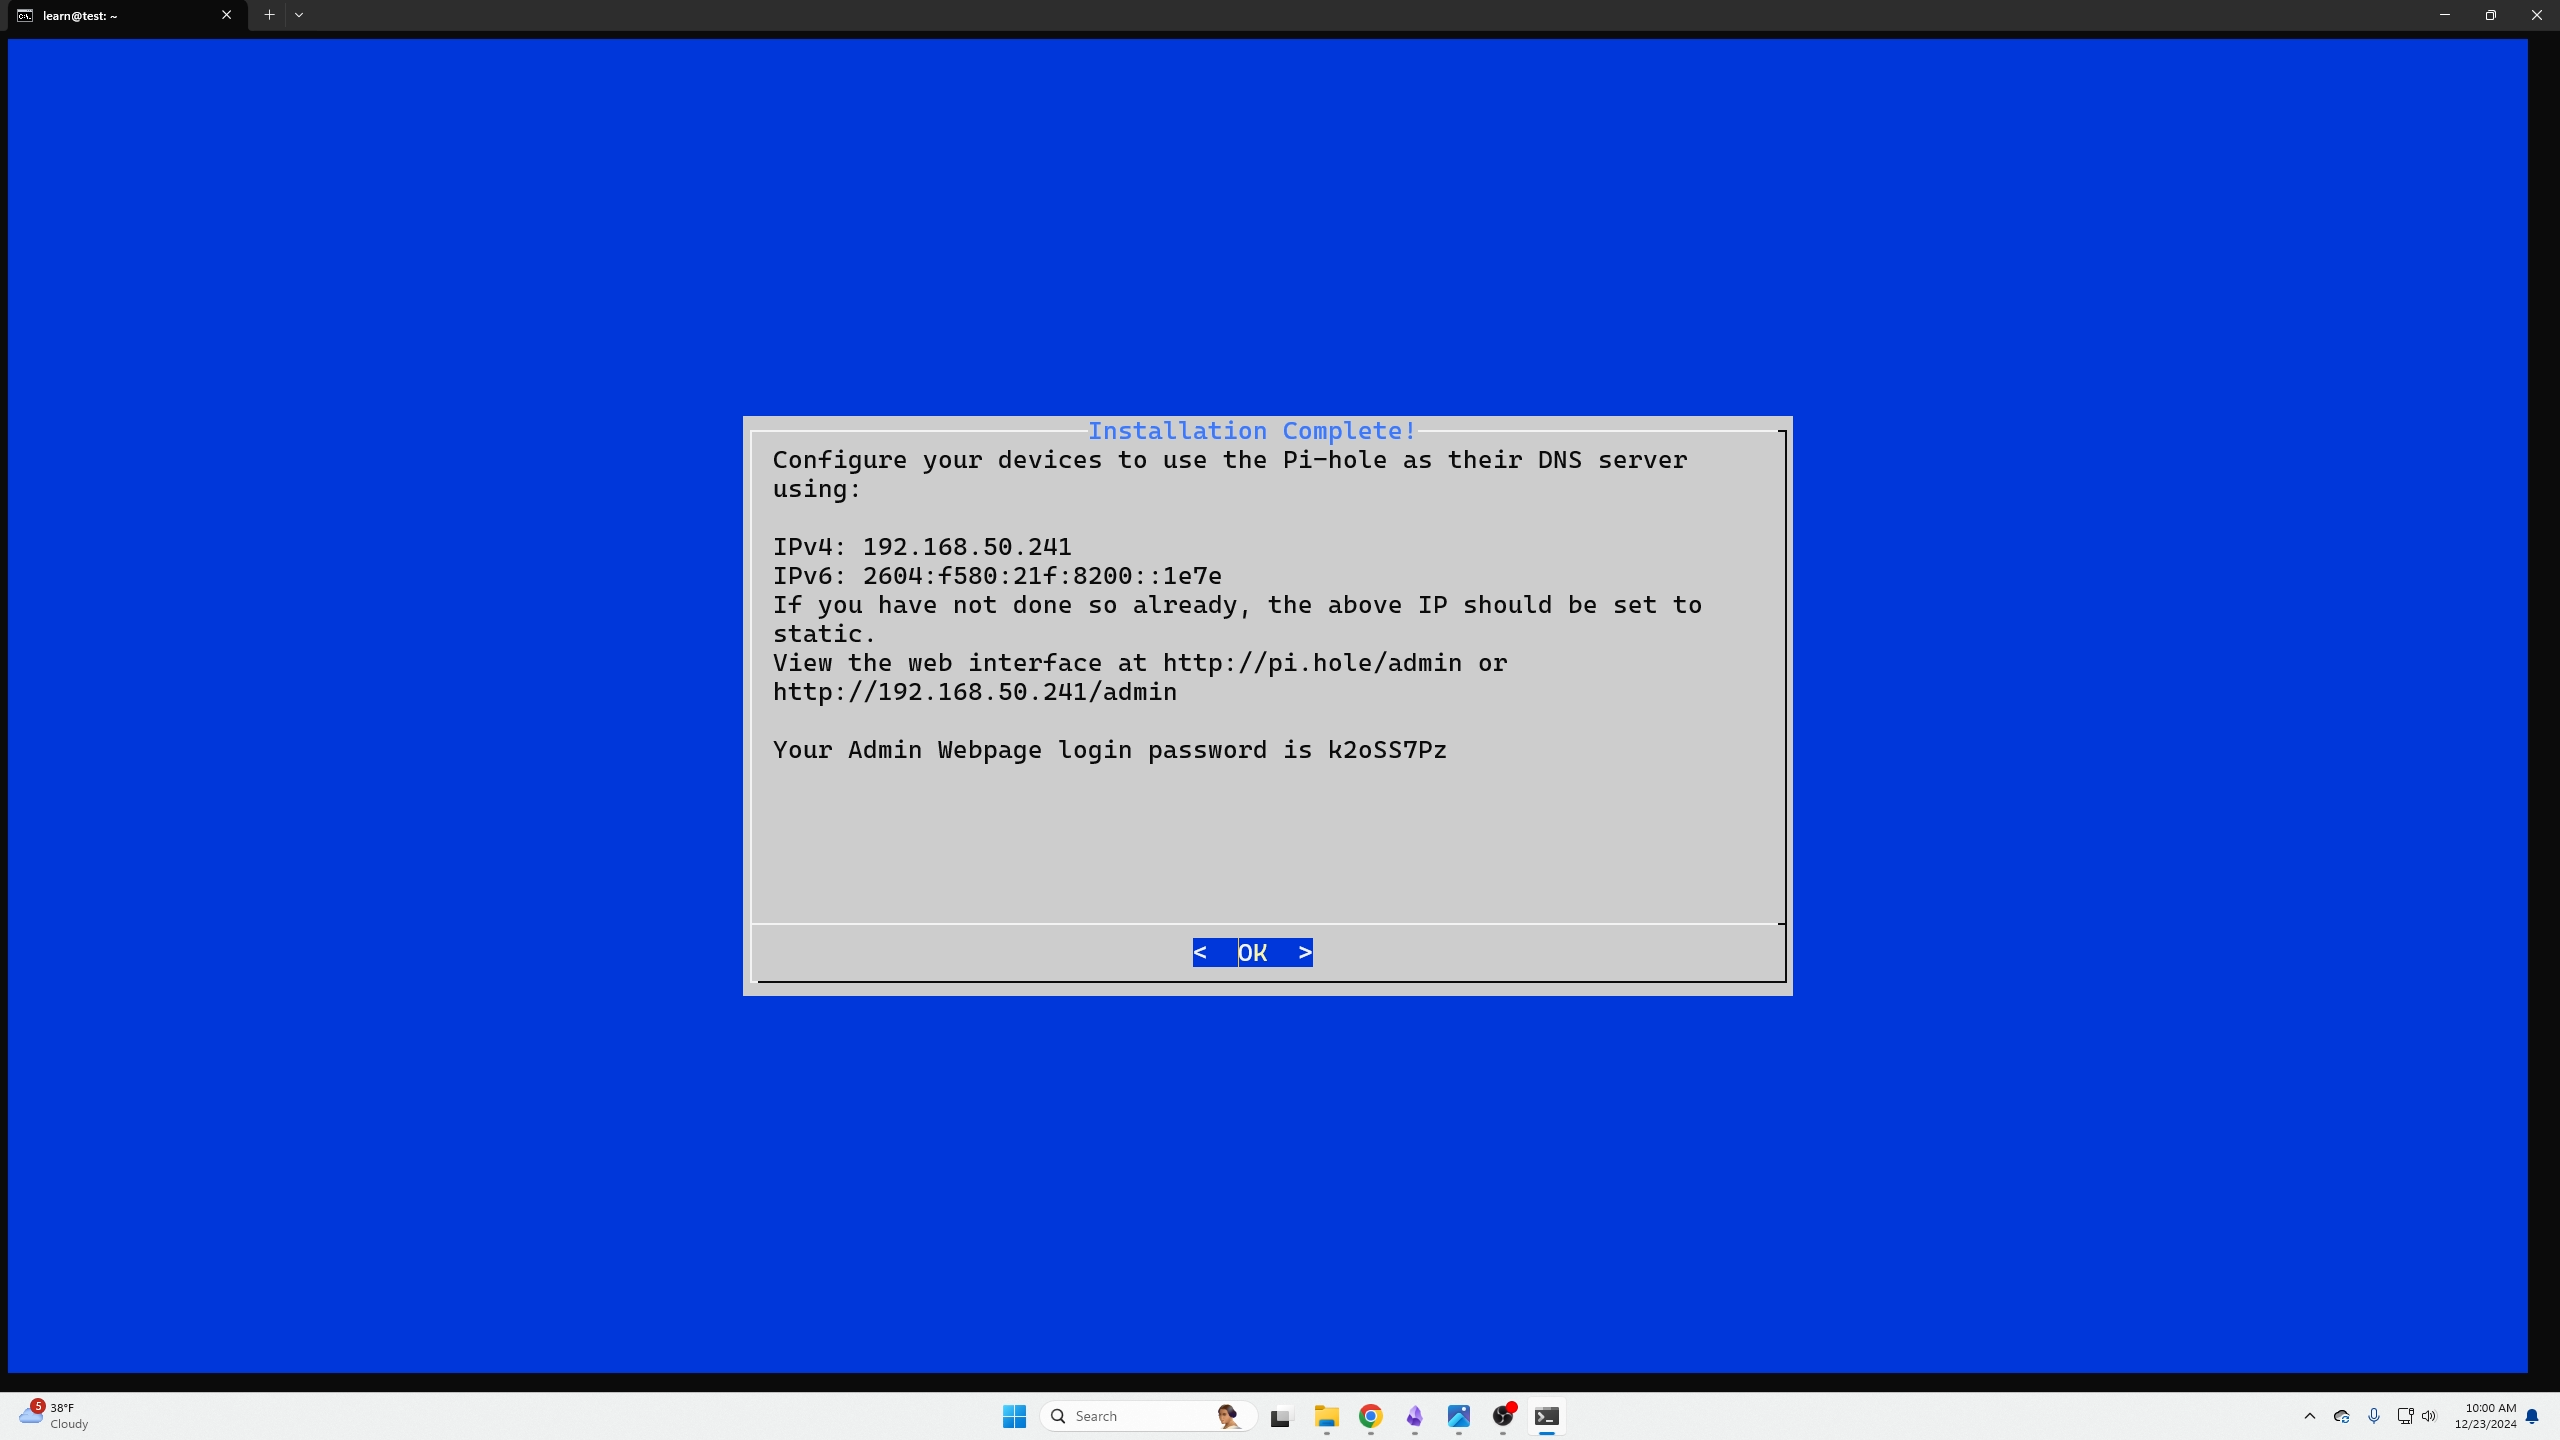
Here is that other screen with a clickable link:
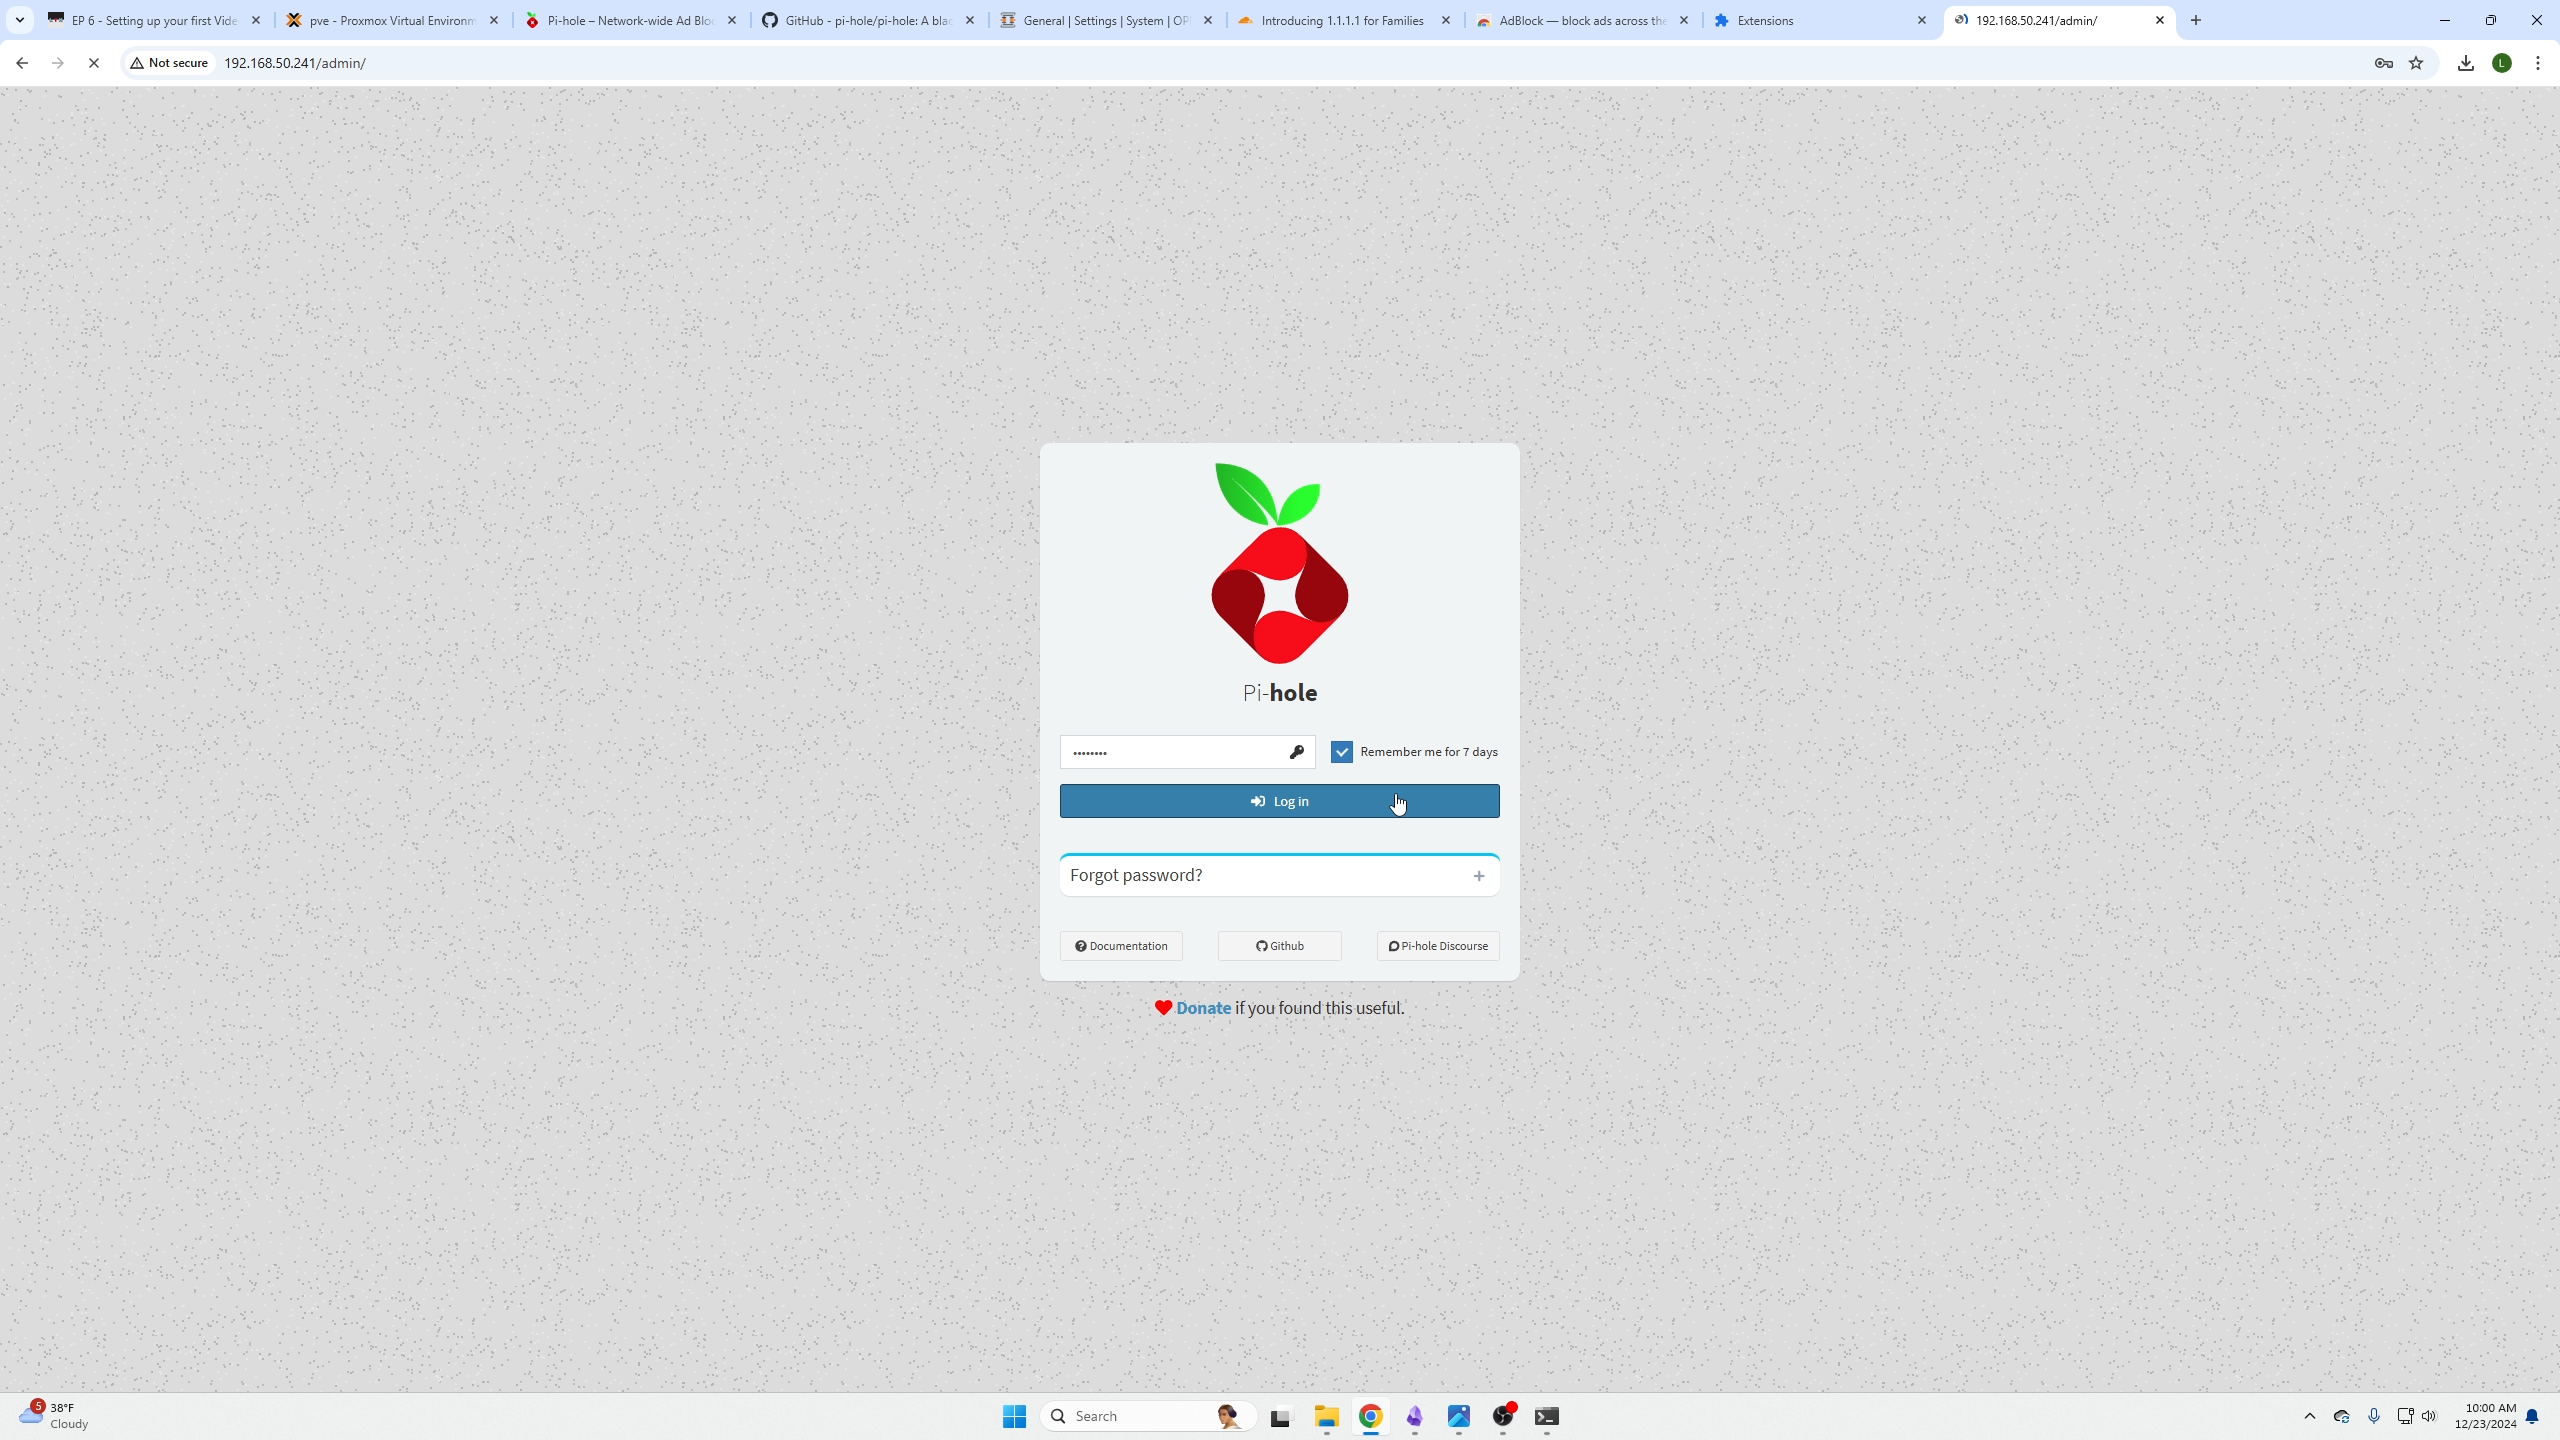
Now login to your Pi-Hole instance.
Changing our DNS settings
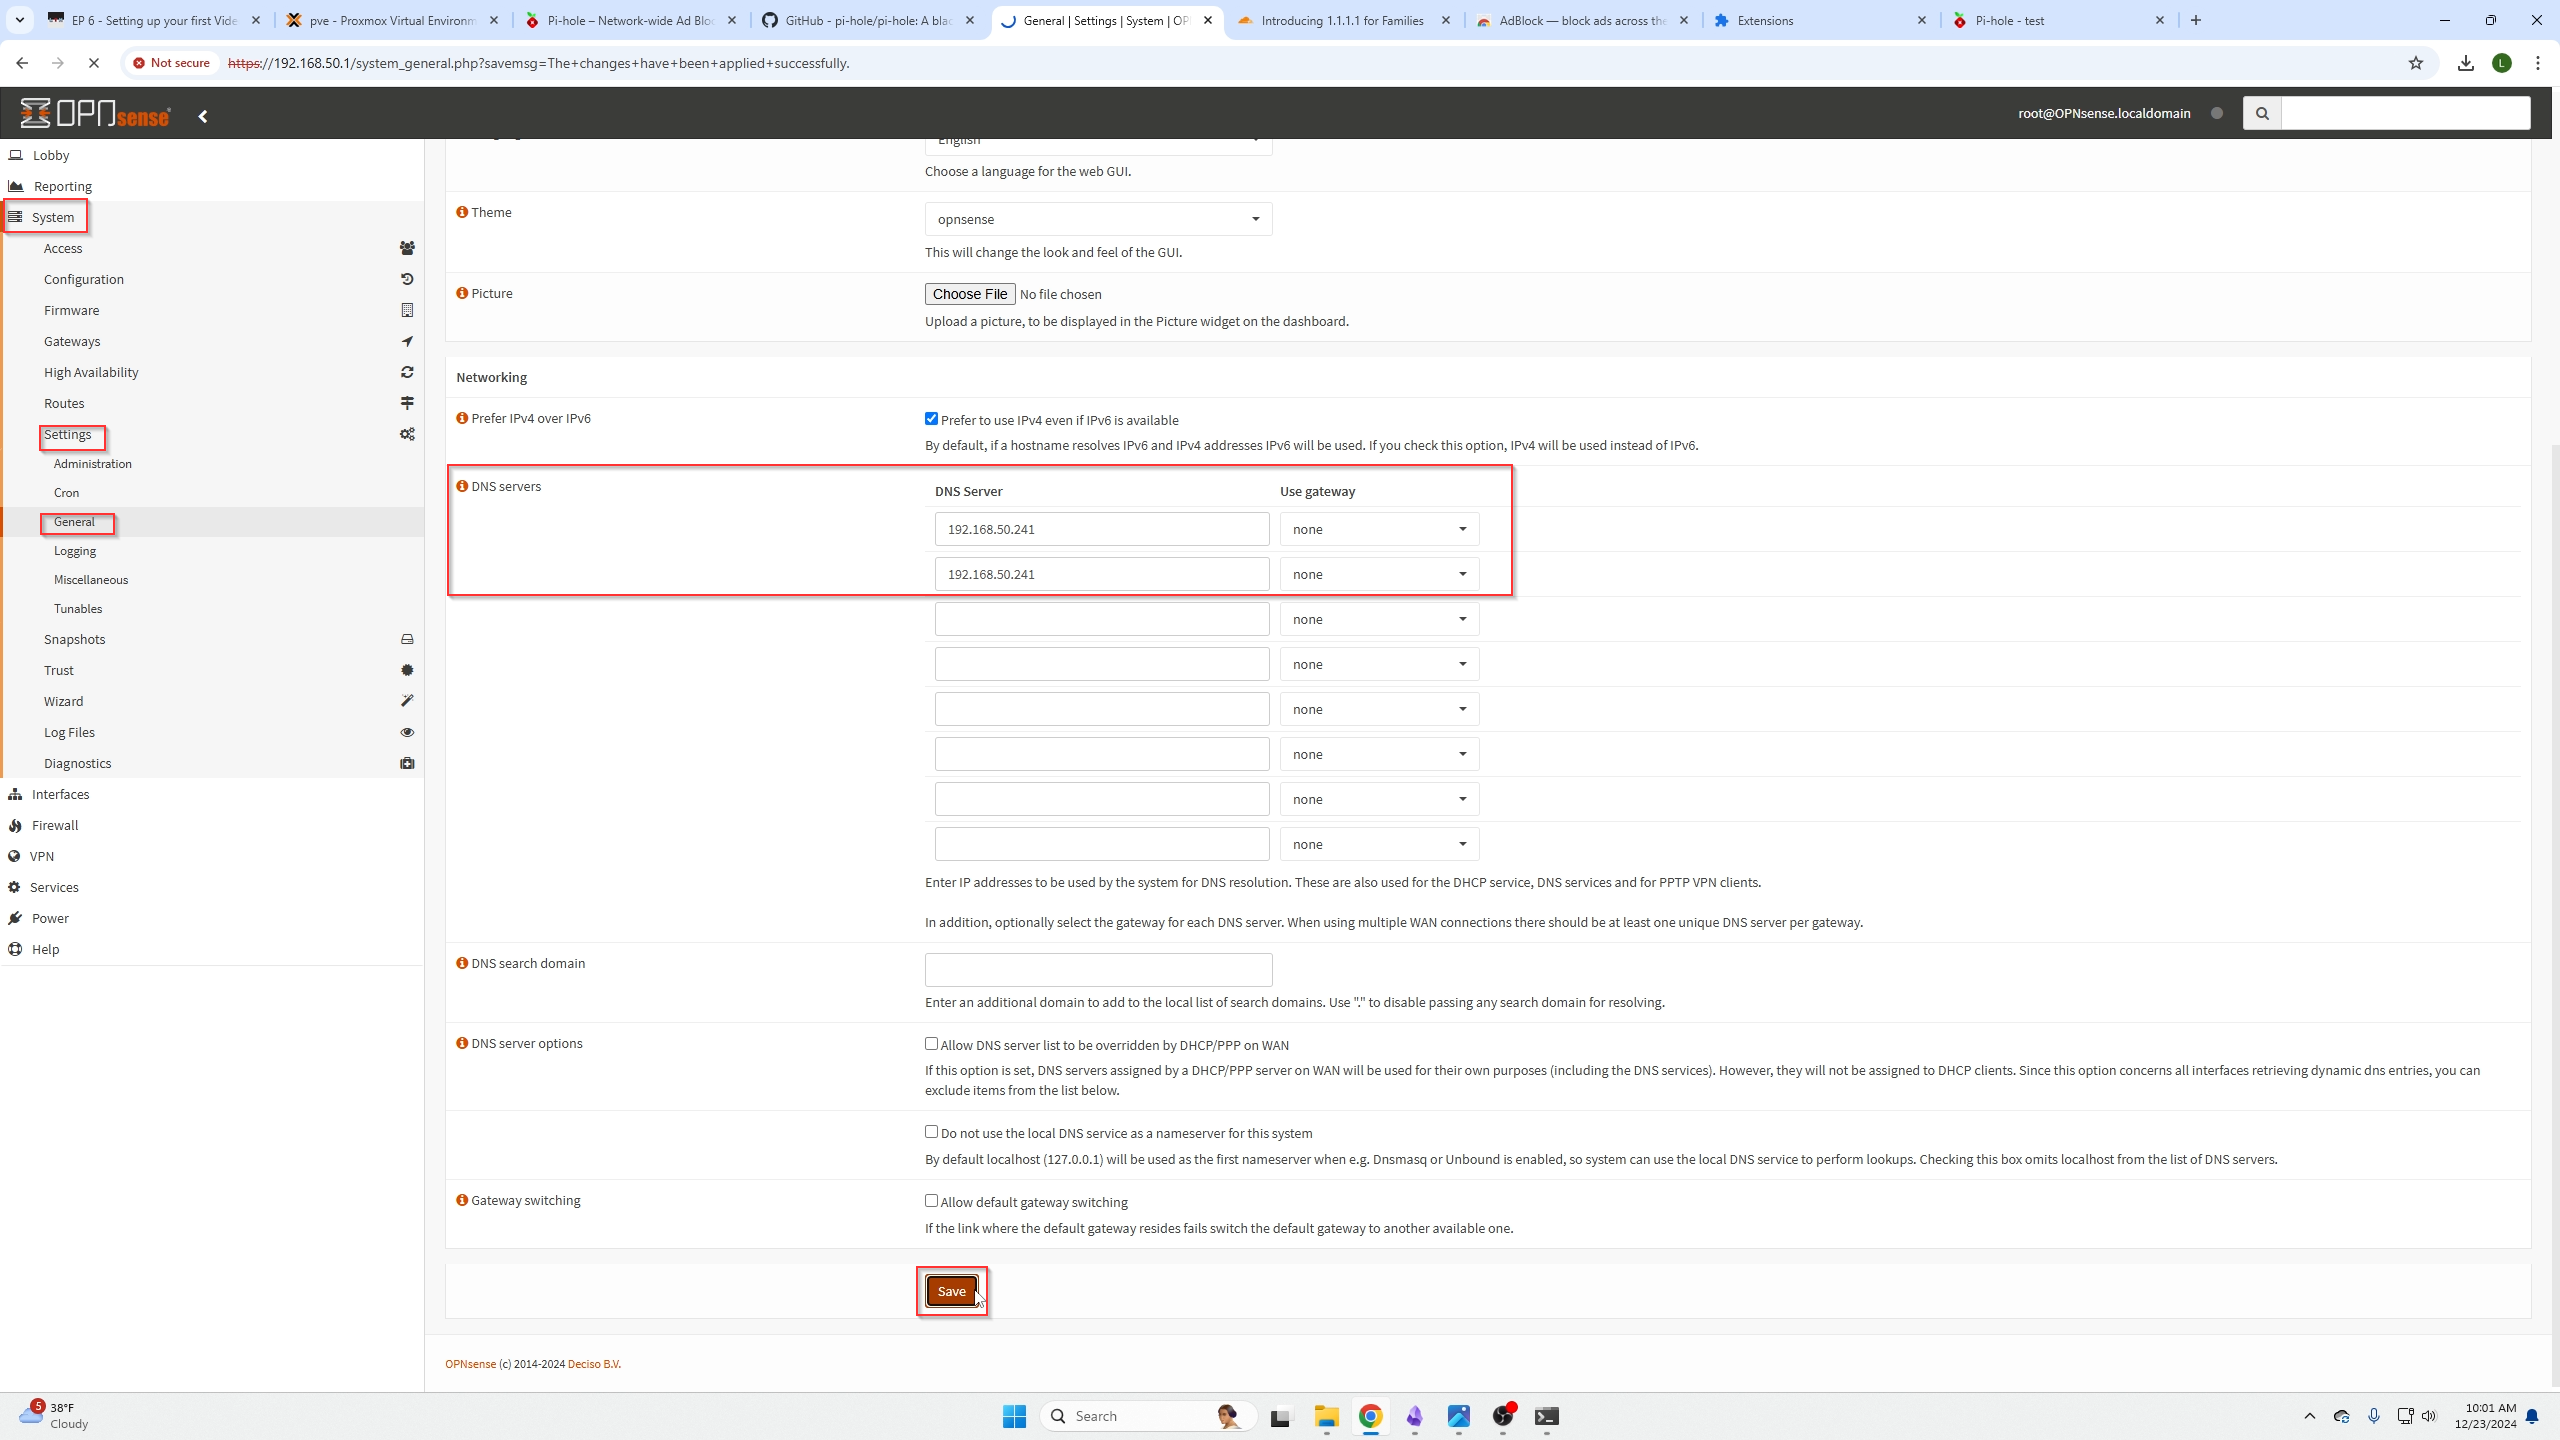
Now we need to change our DNS settings. If you forgot, go to the following menu as shown below System / Settings / General tab. Then input your Pi-Hole servers IP address into the following two dns boxes and then scroll down and select save.
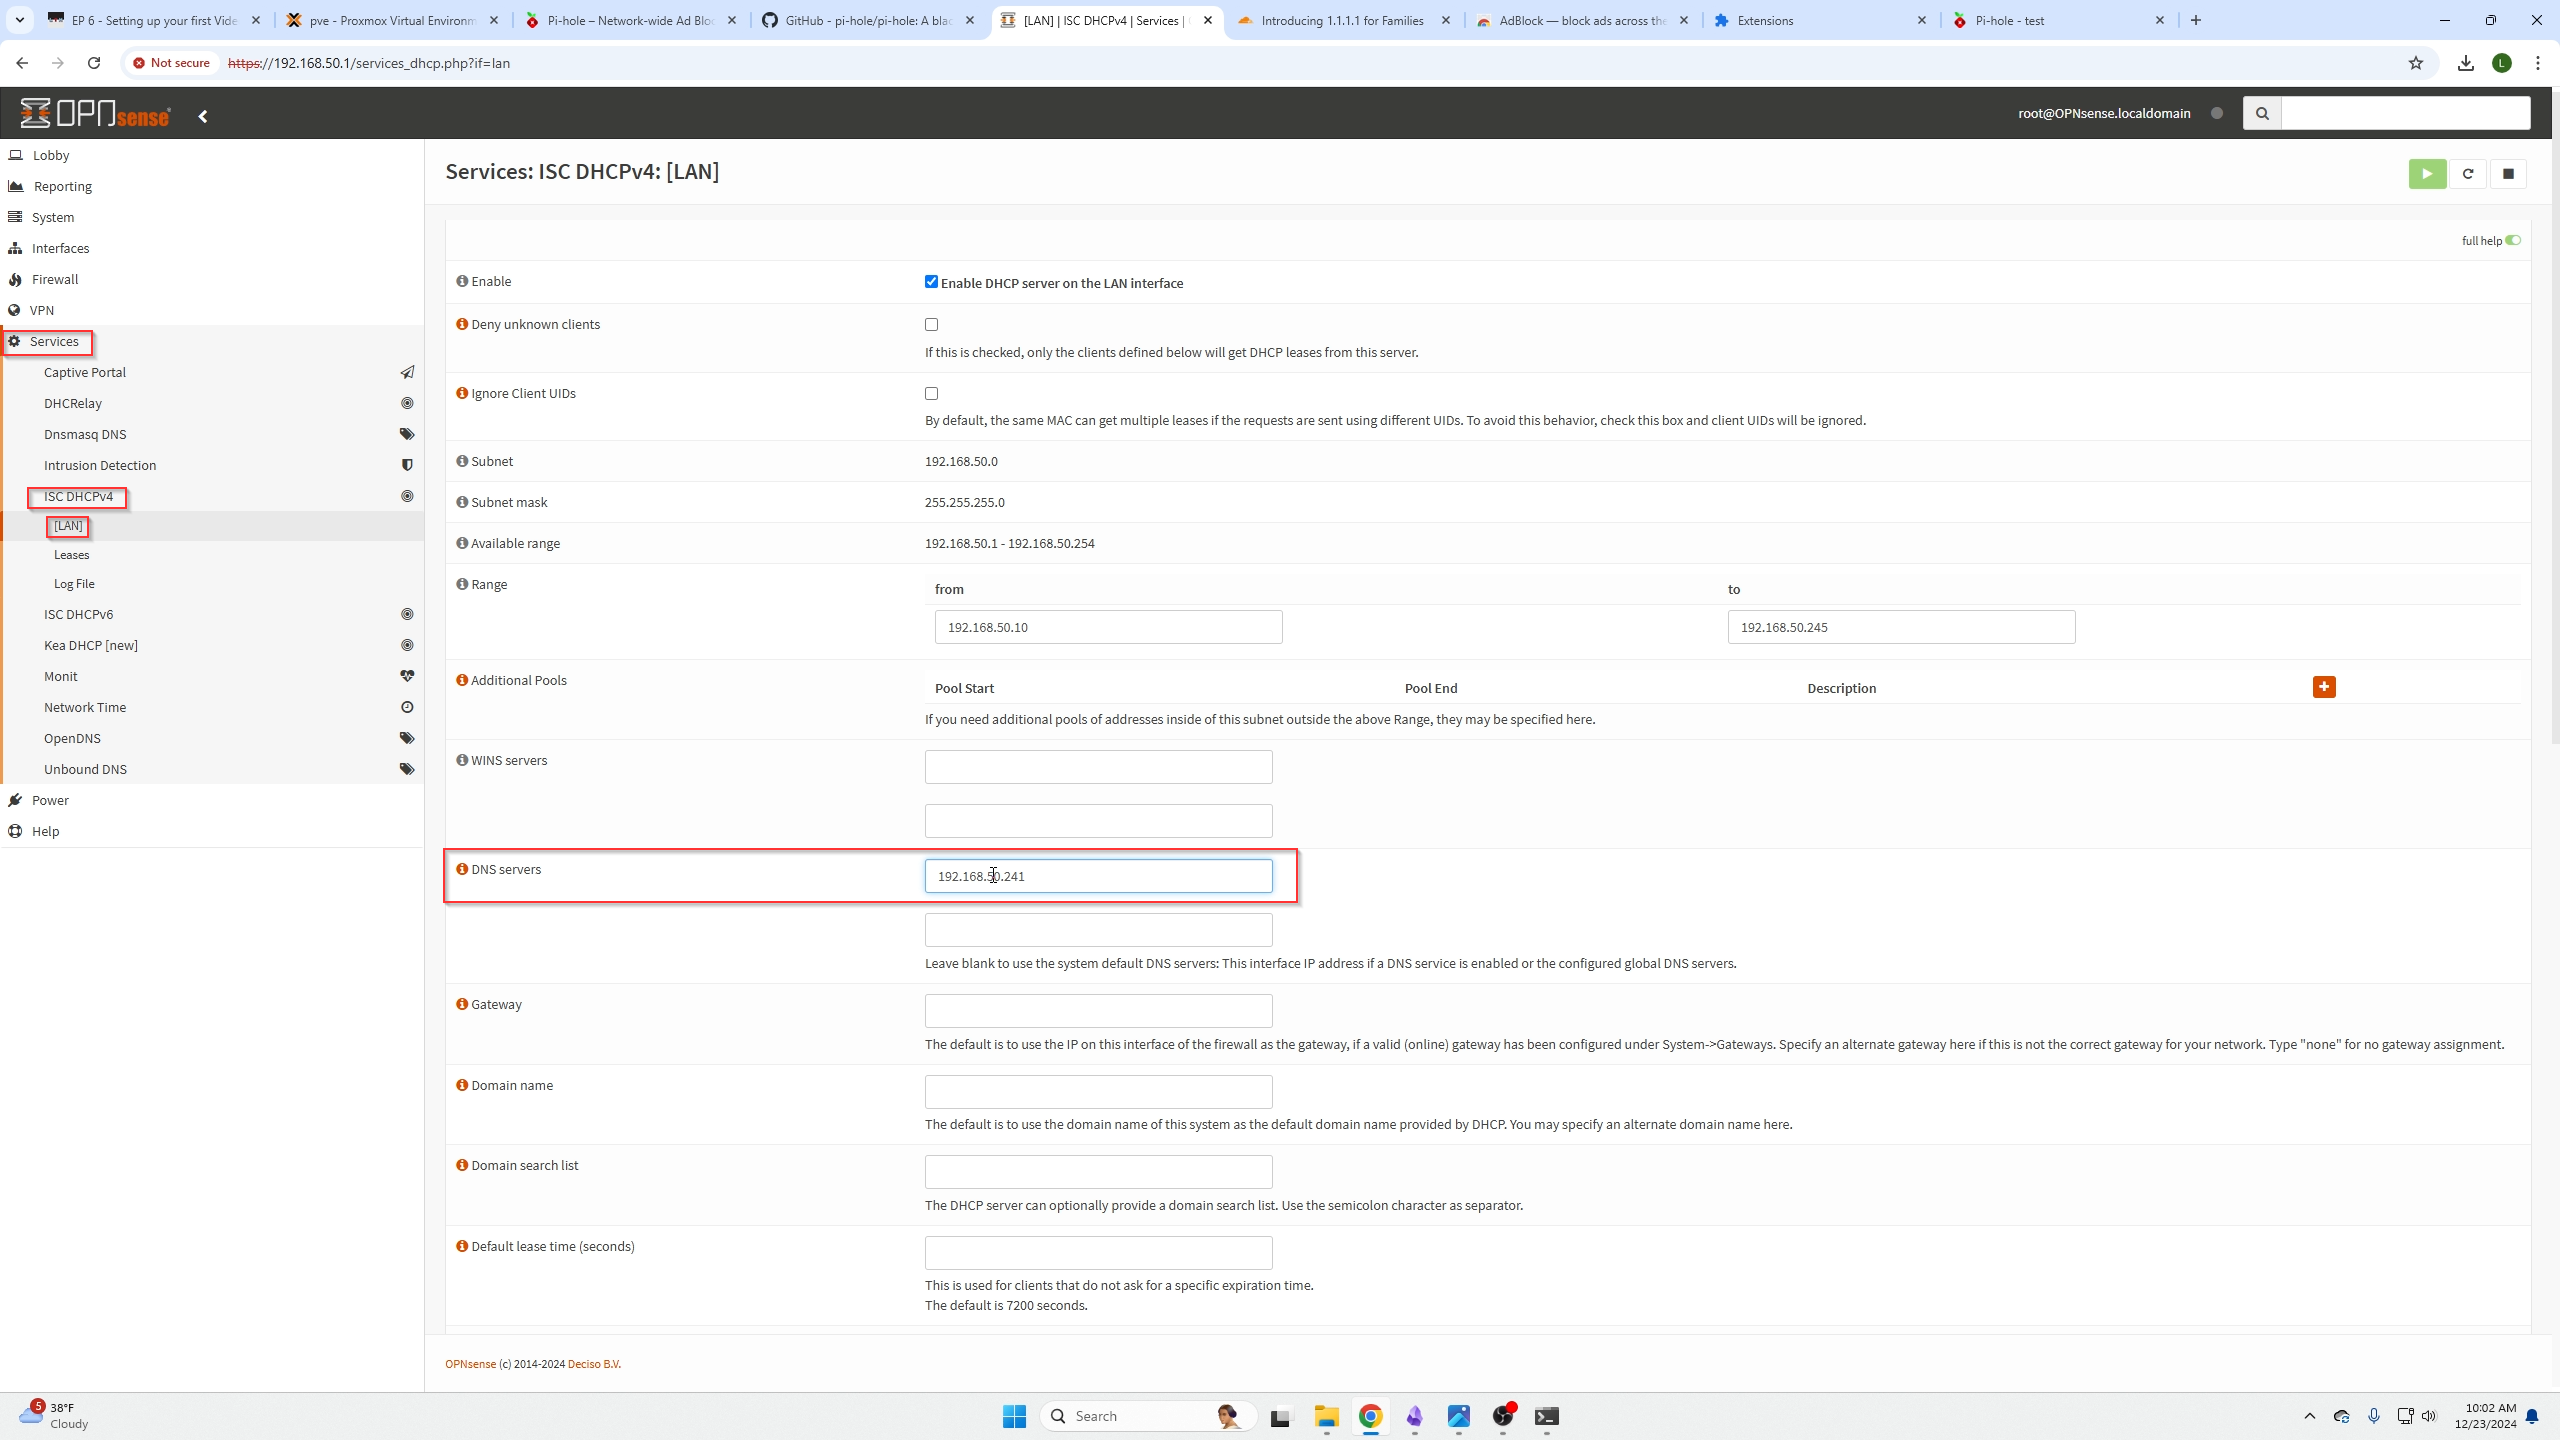
We need to add our Pi-Hole's IP address to one more DNS record found under services / ISC DHCPv4 / [LAN] then scroll down and select save as well.
Set a Static IP address in OPNsense
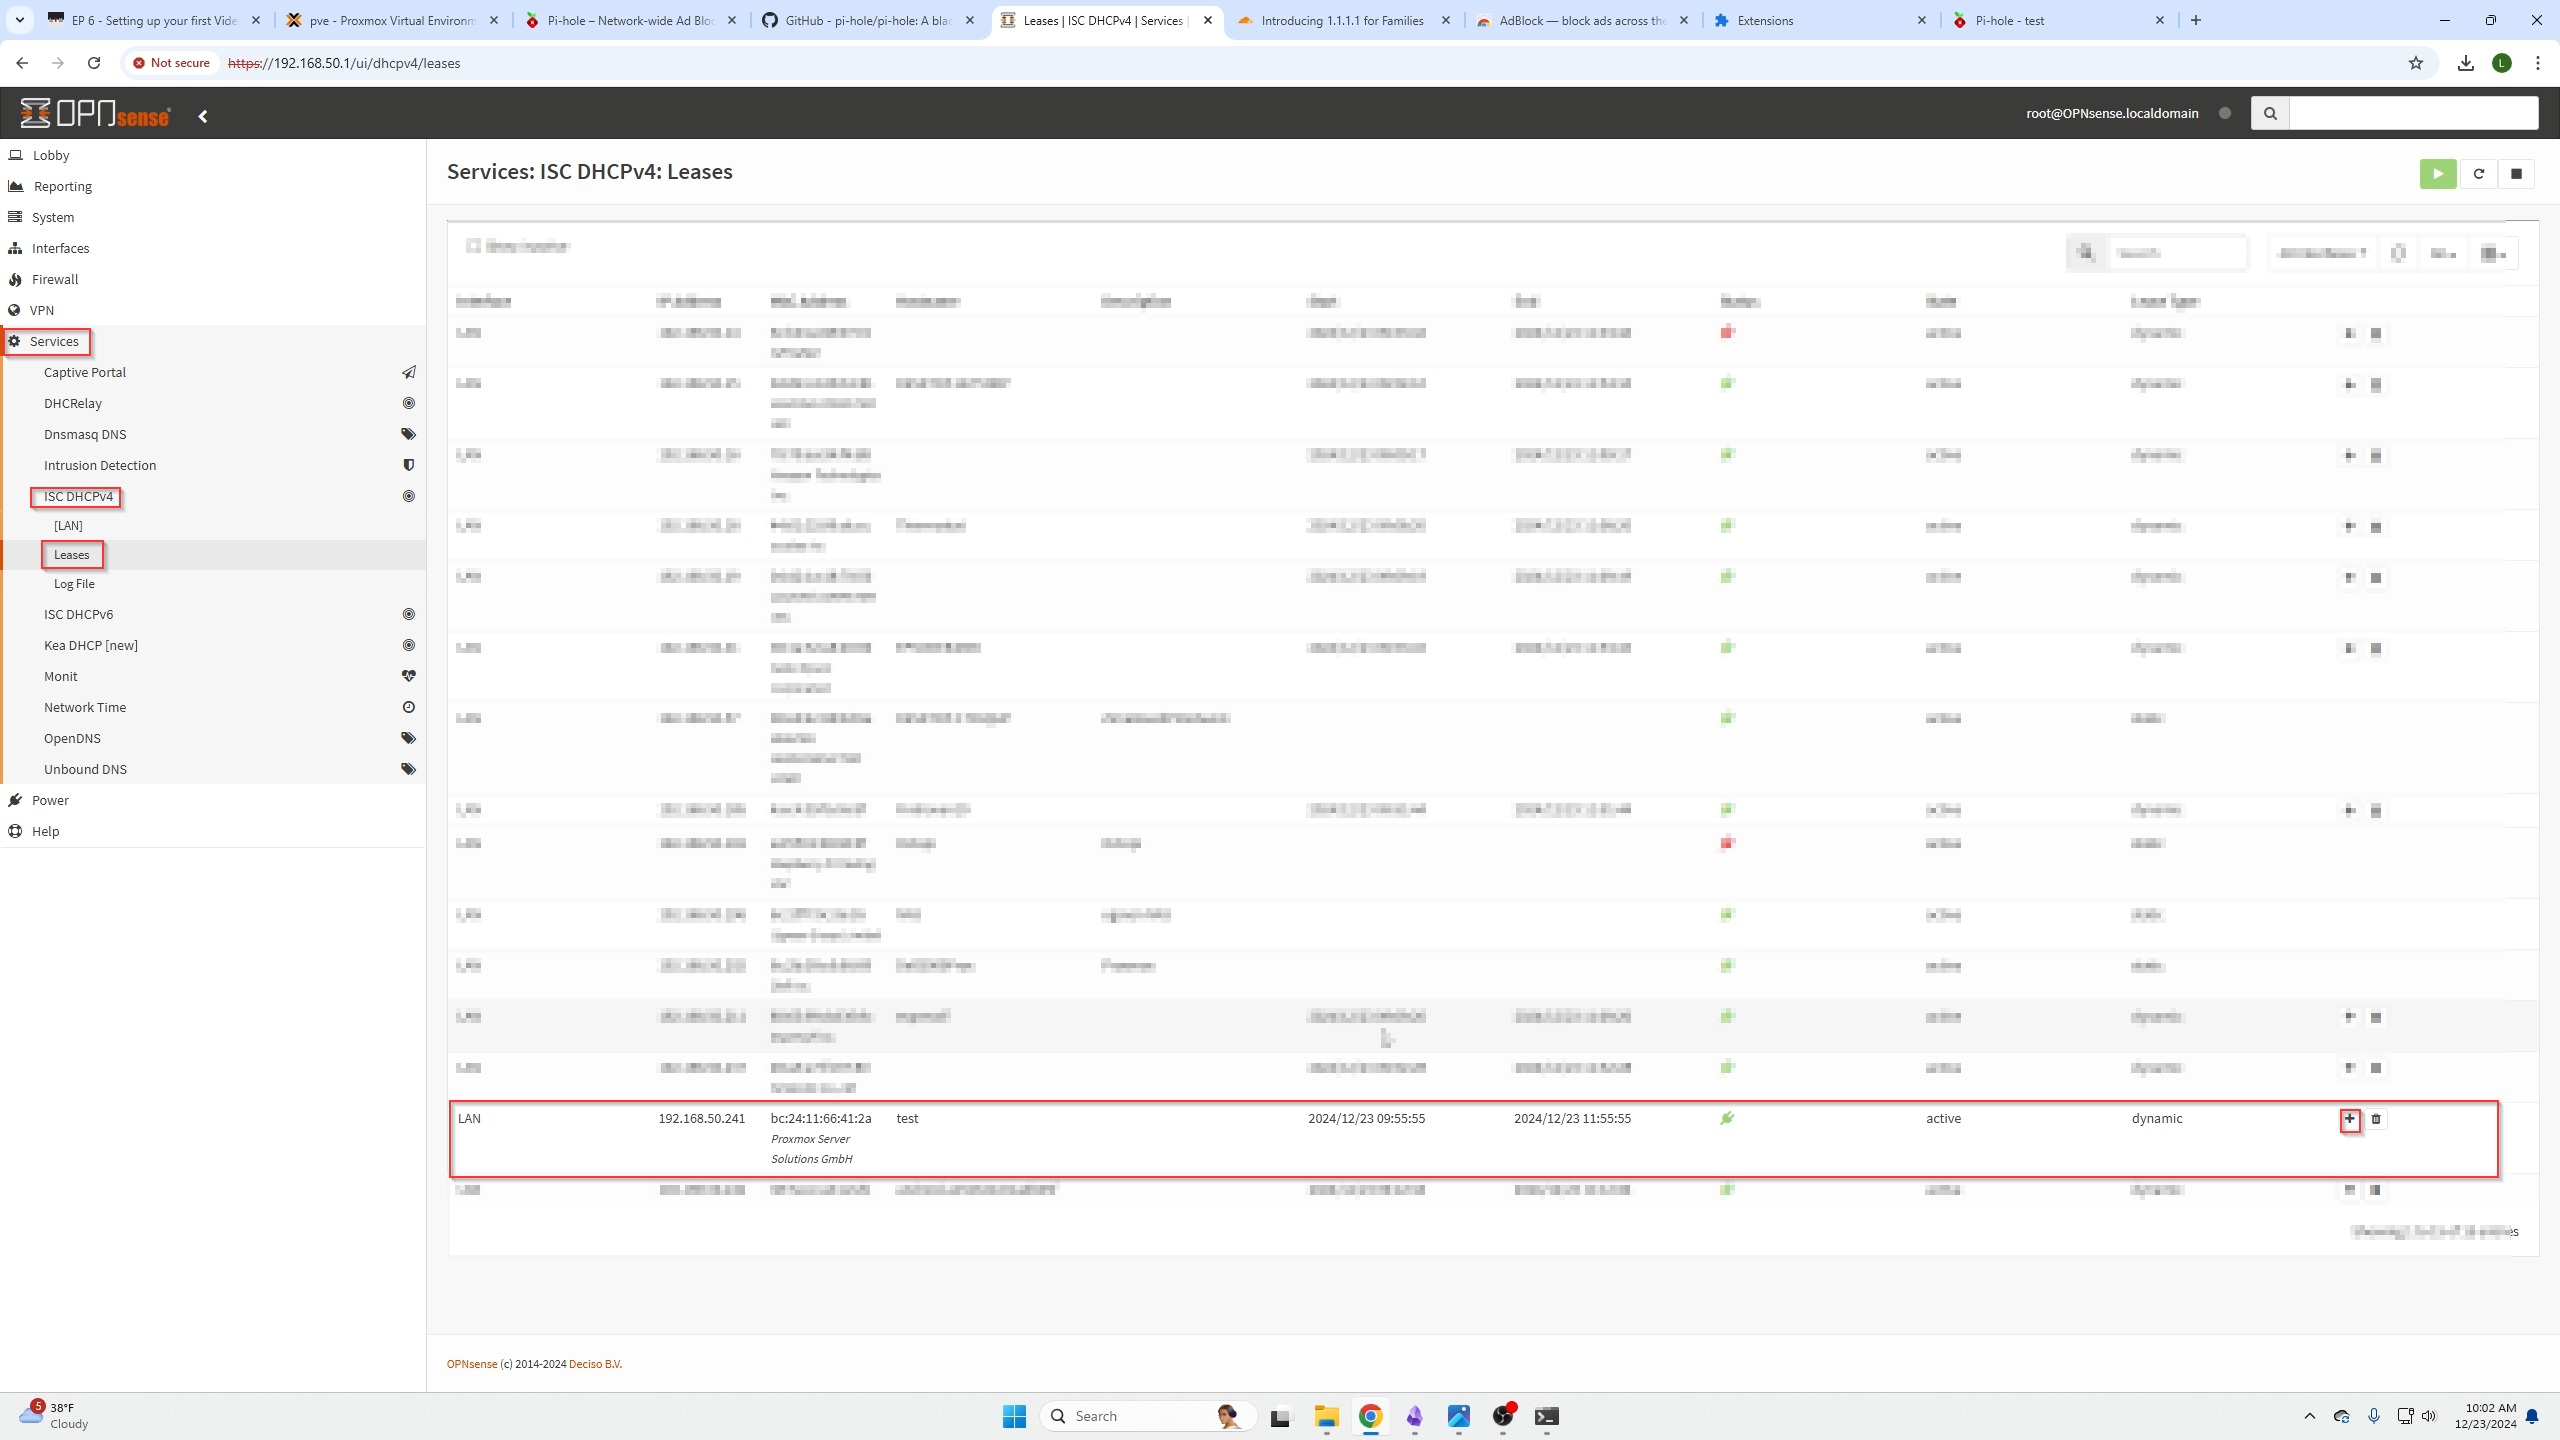
Now right under the LAN section is leases this is where we set the static IP address for our Pi-Hole Machine.
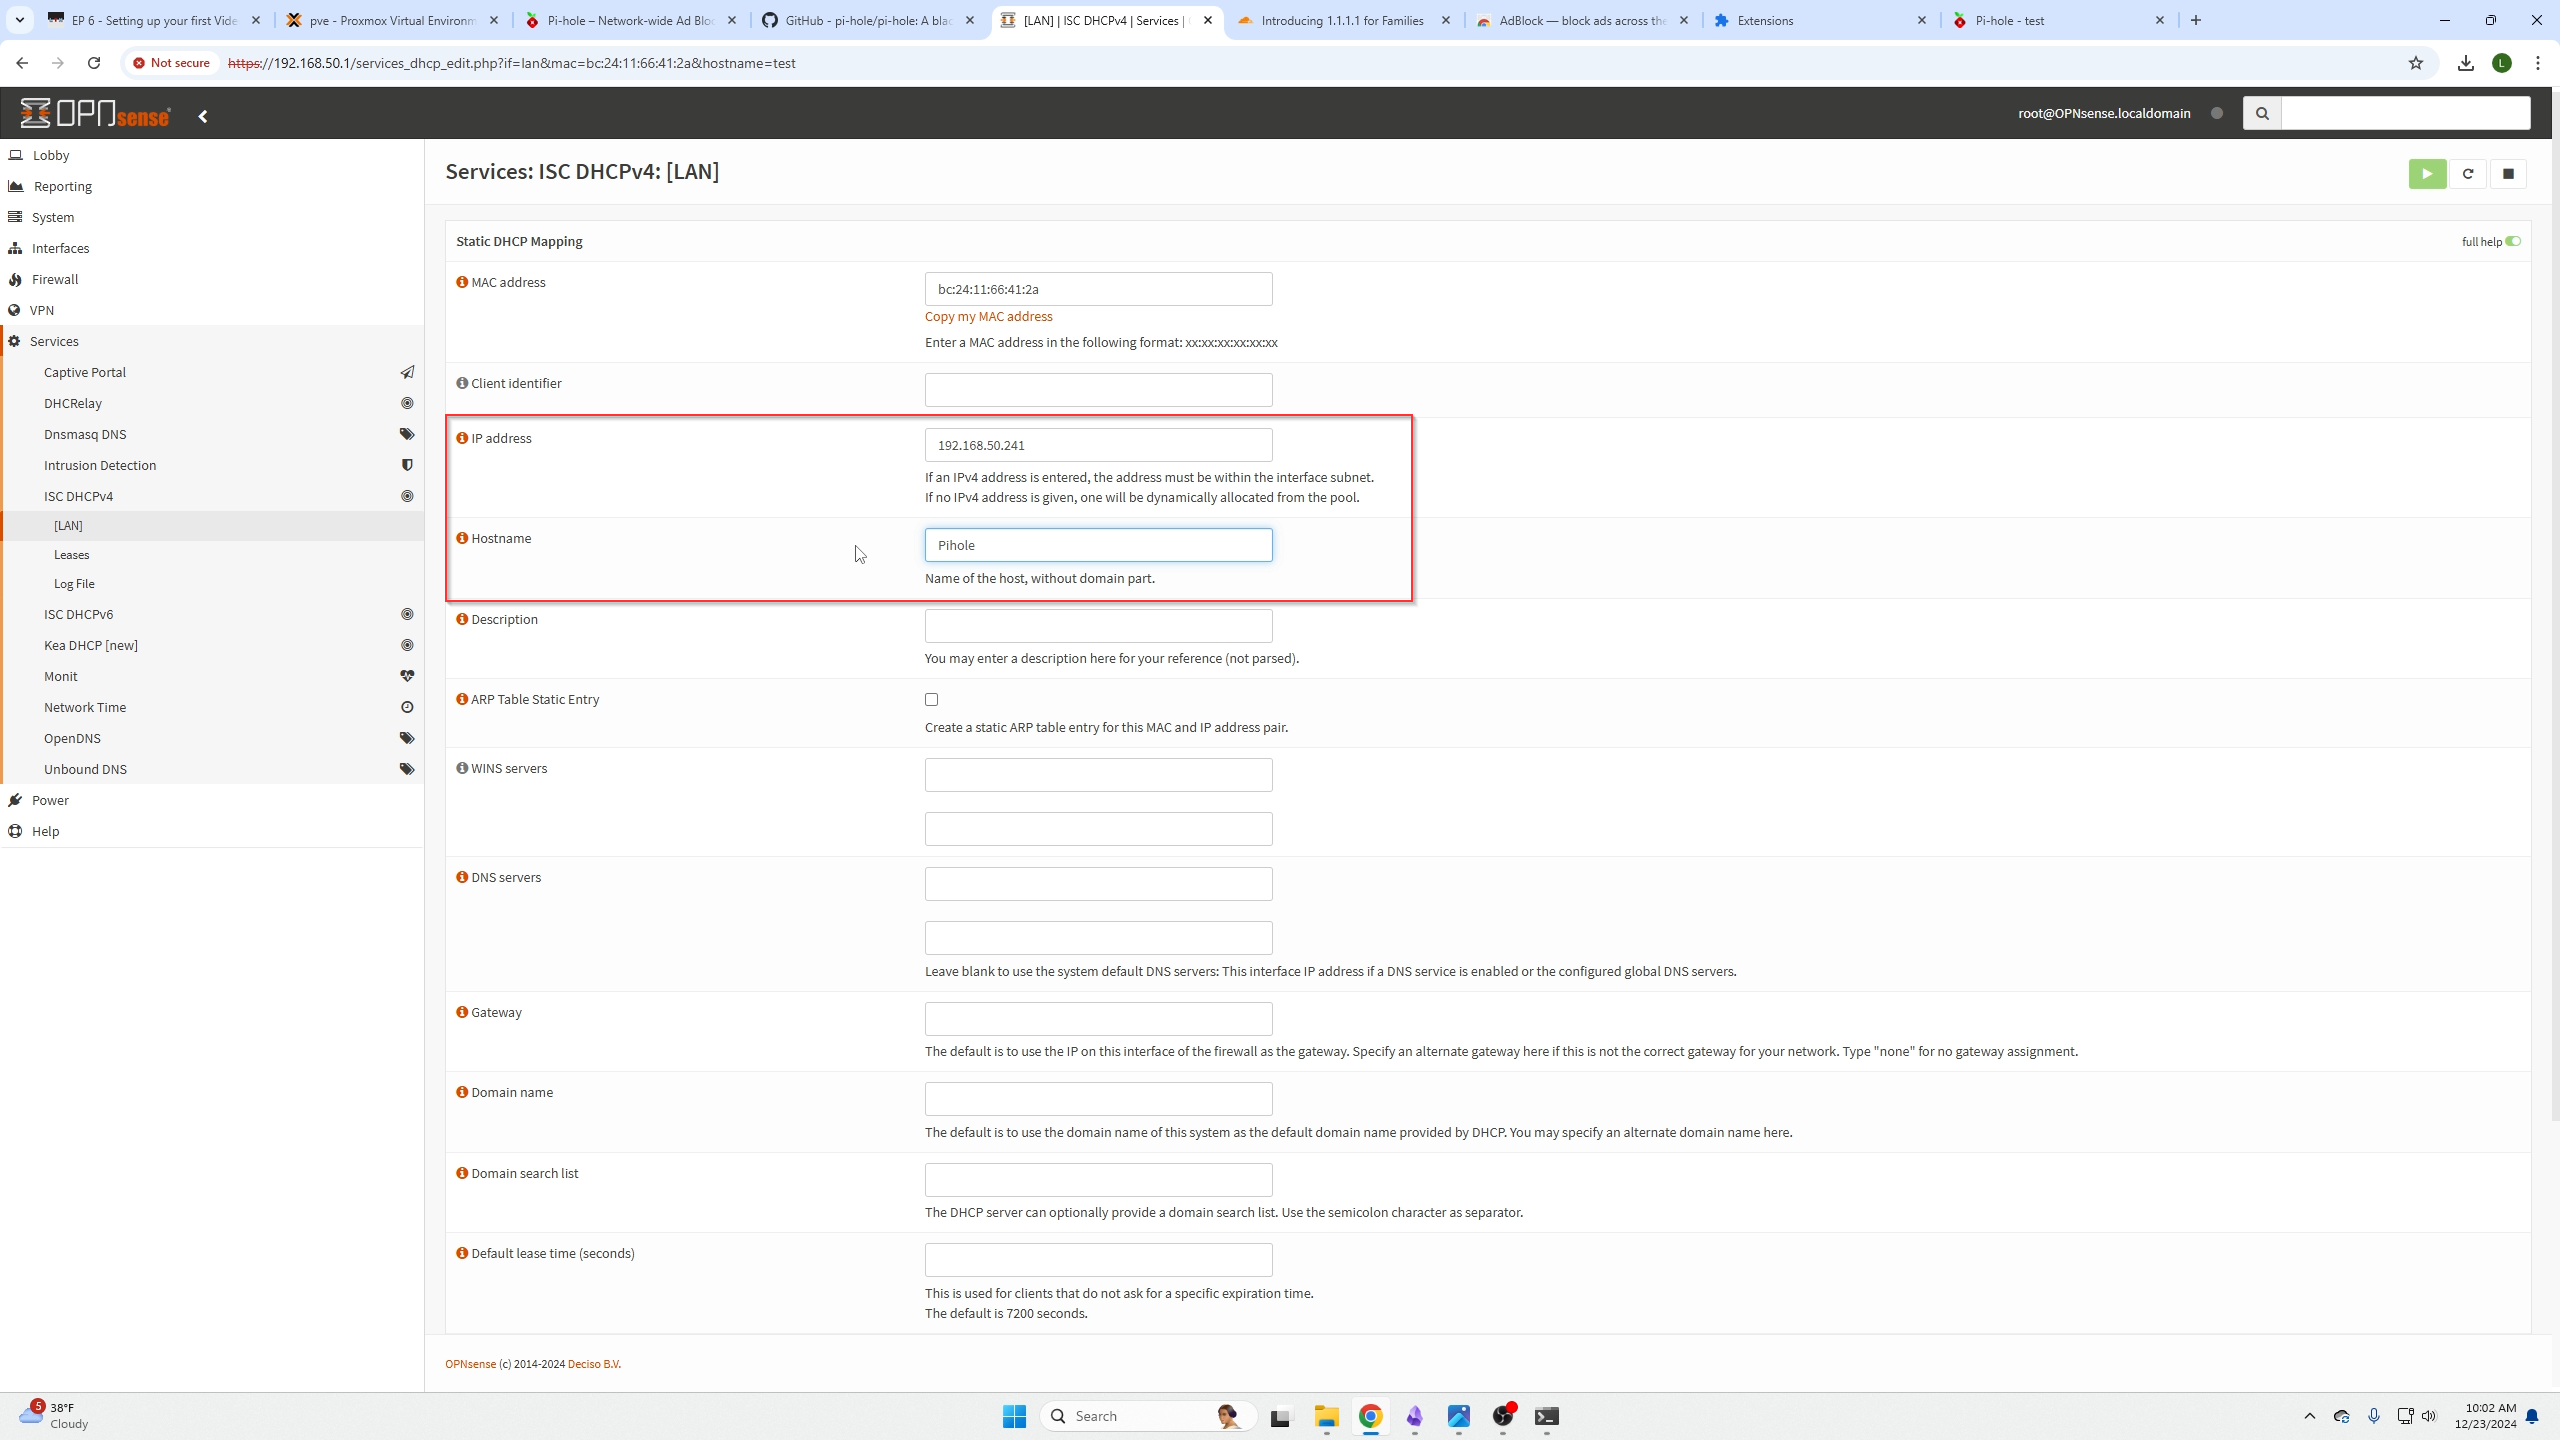
Find the IP address of your machine and click the + icon next to it
You will be presented with this screen where you will set the IP address to the IP address that was already assigned to your machine via DHCP and give it a name.
Scroll down and click save
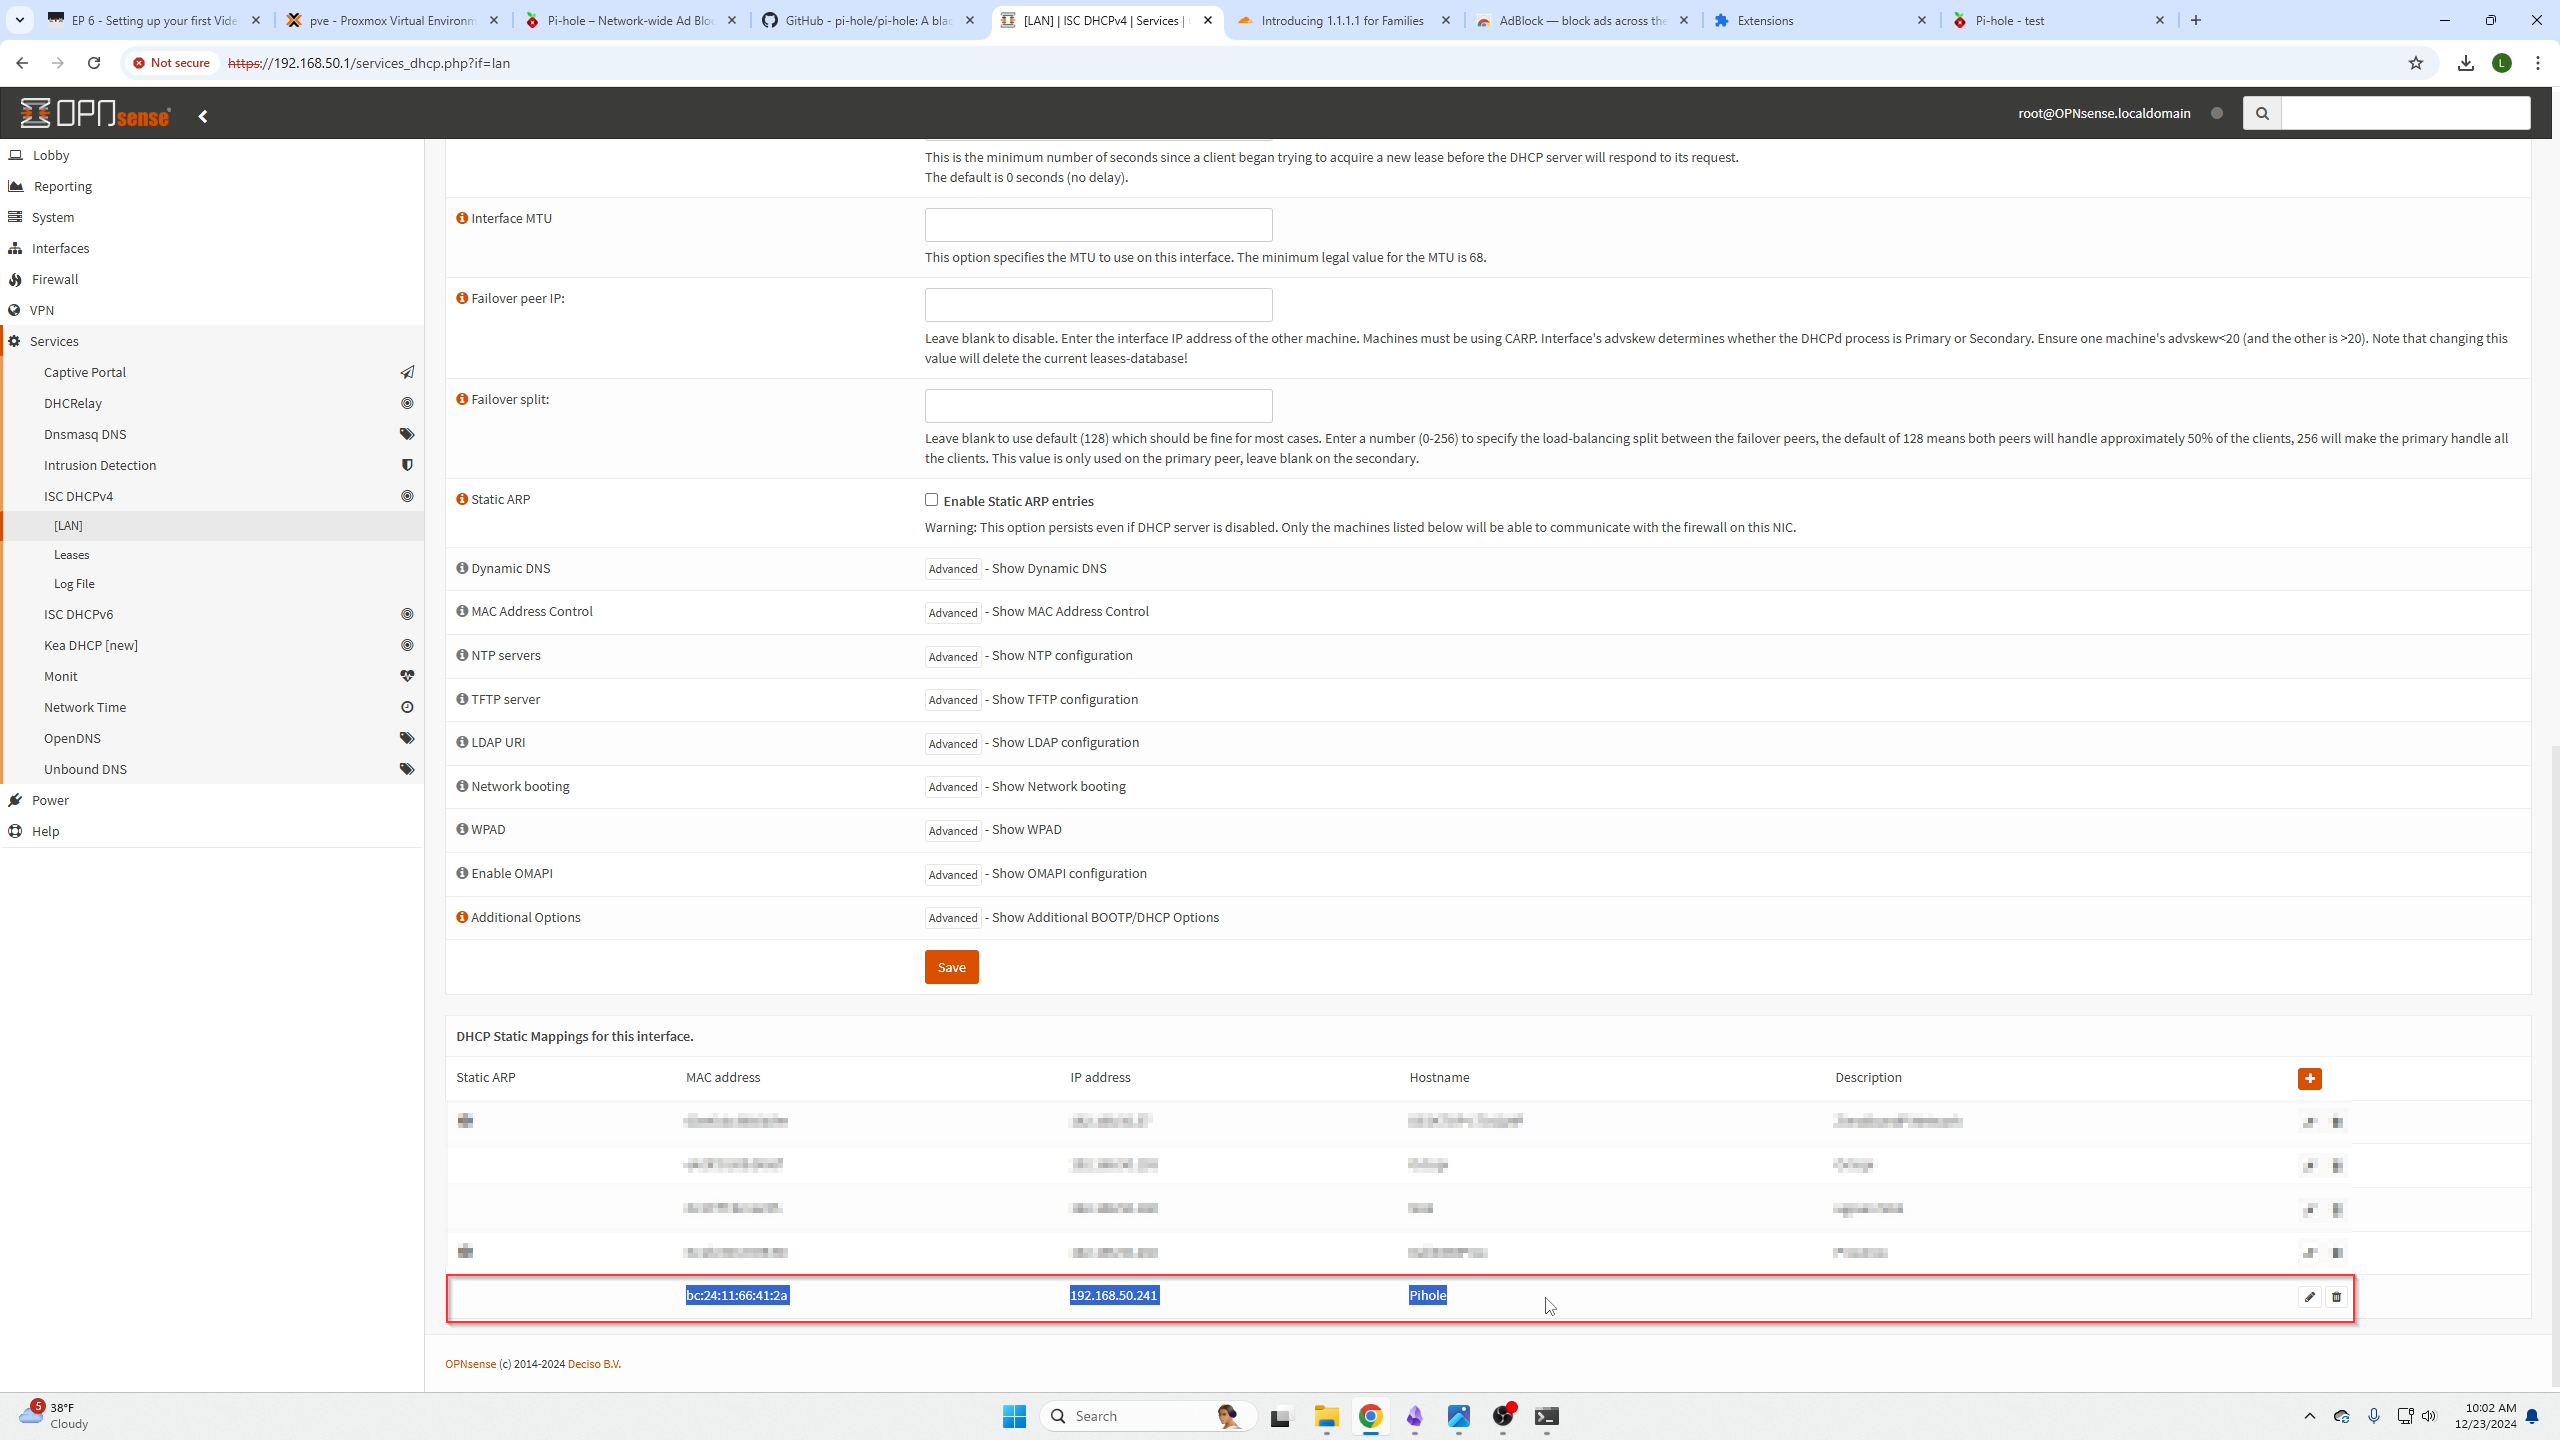
After selecting save, we will be kicked over to this menu, scroll down to the bottom and confirm your Pi-Hole instance has a static address.
Configuring Pi-Hole
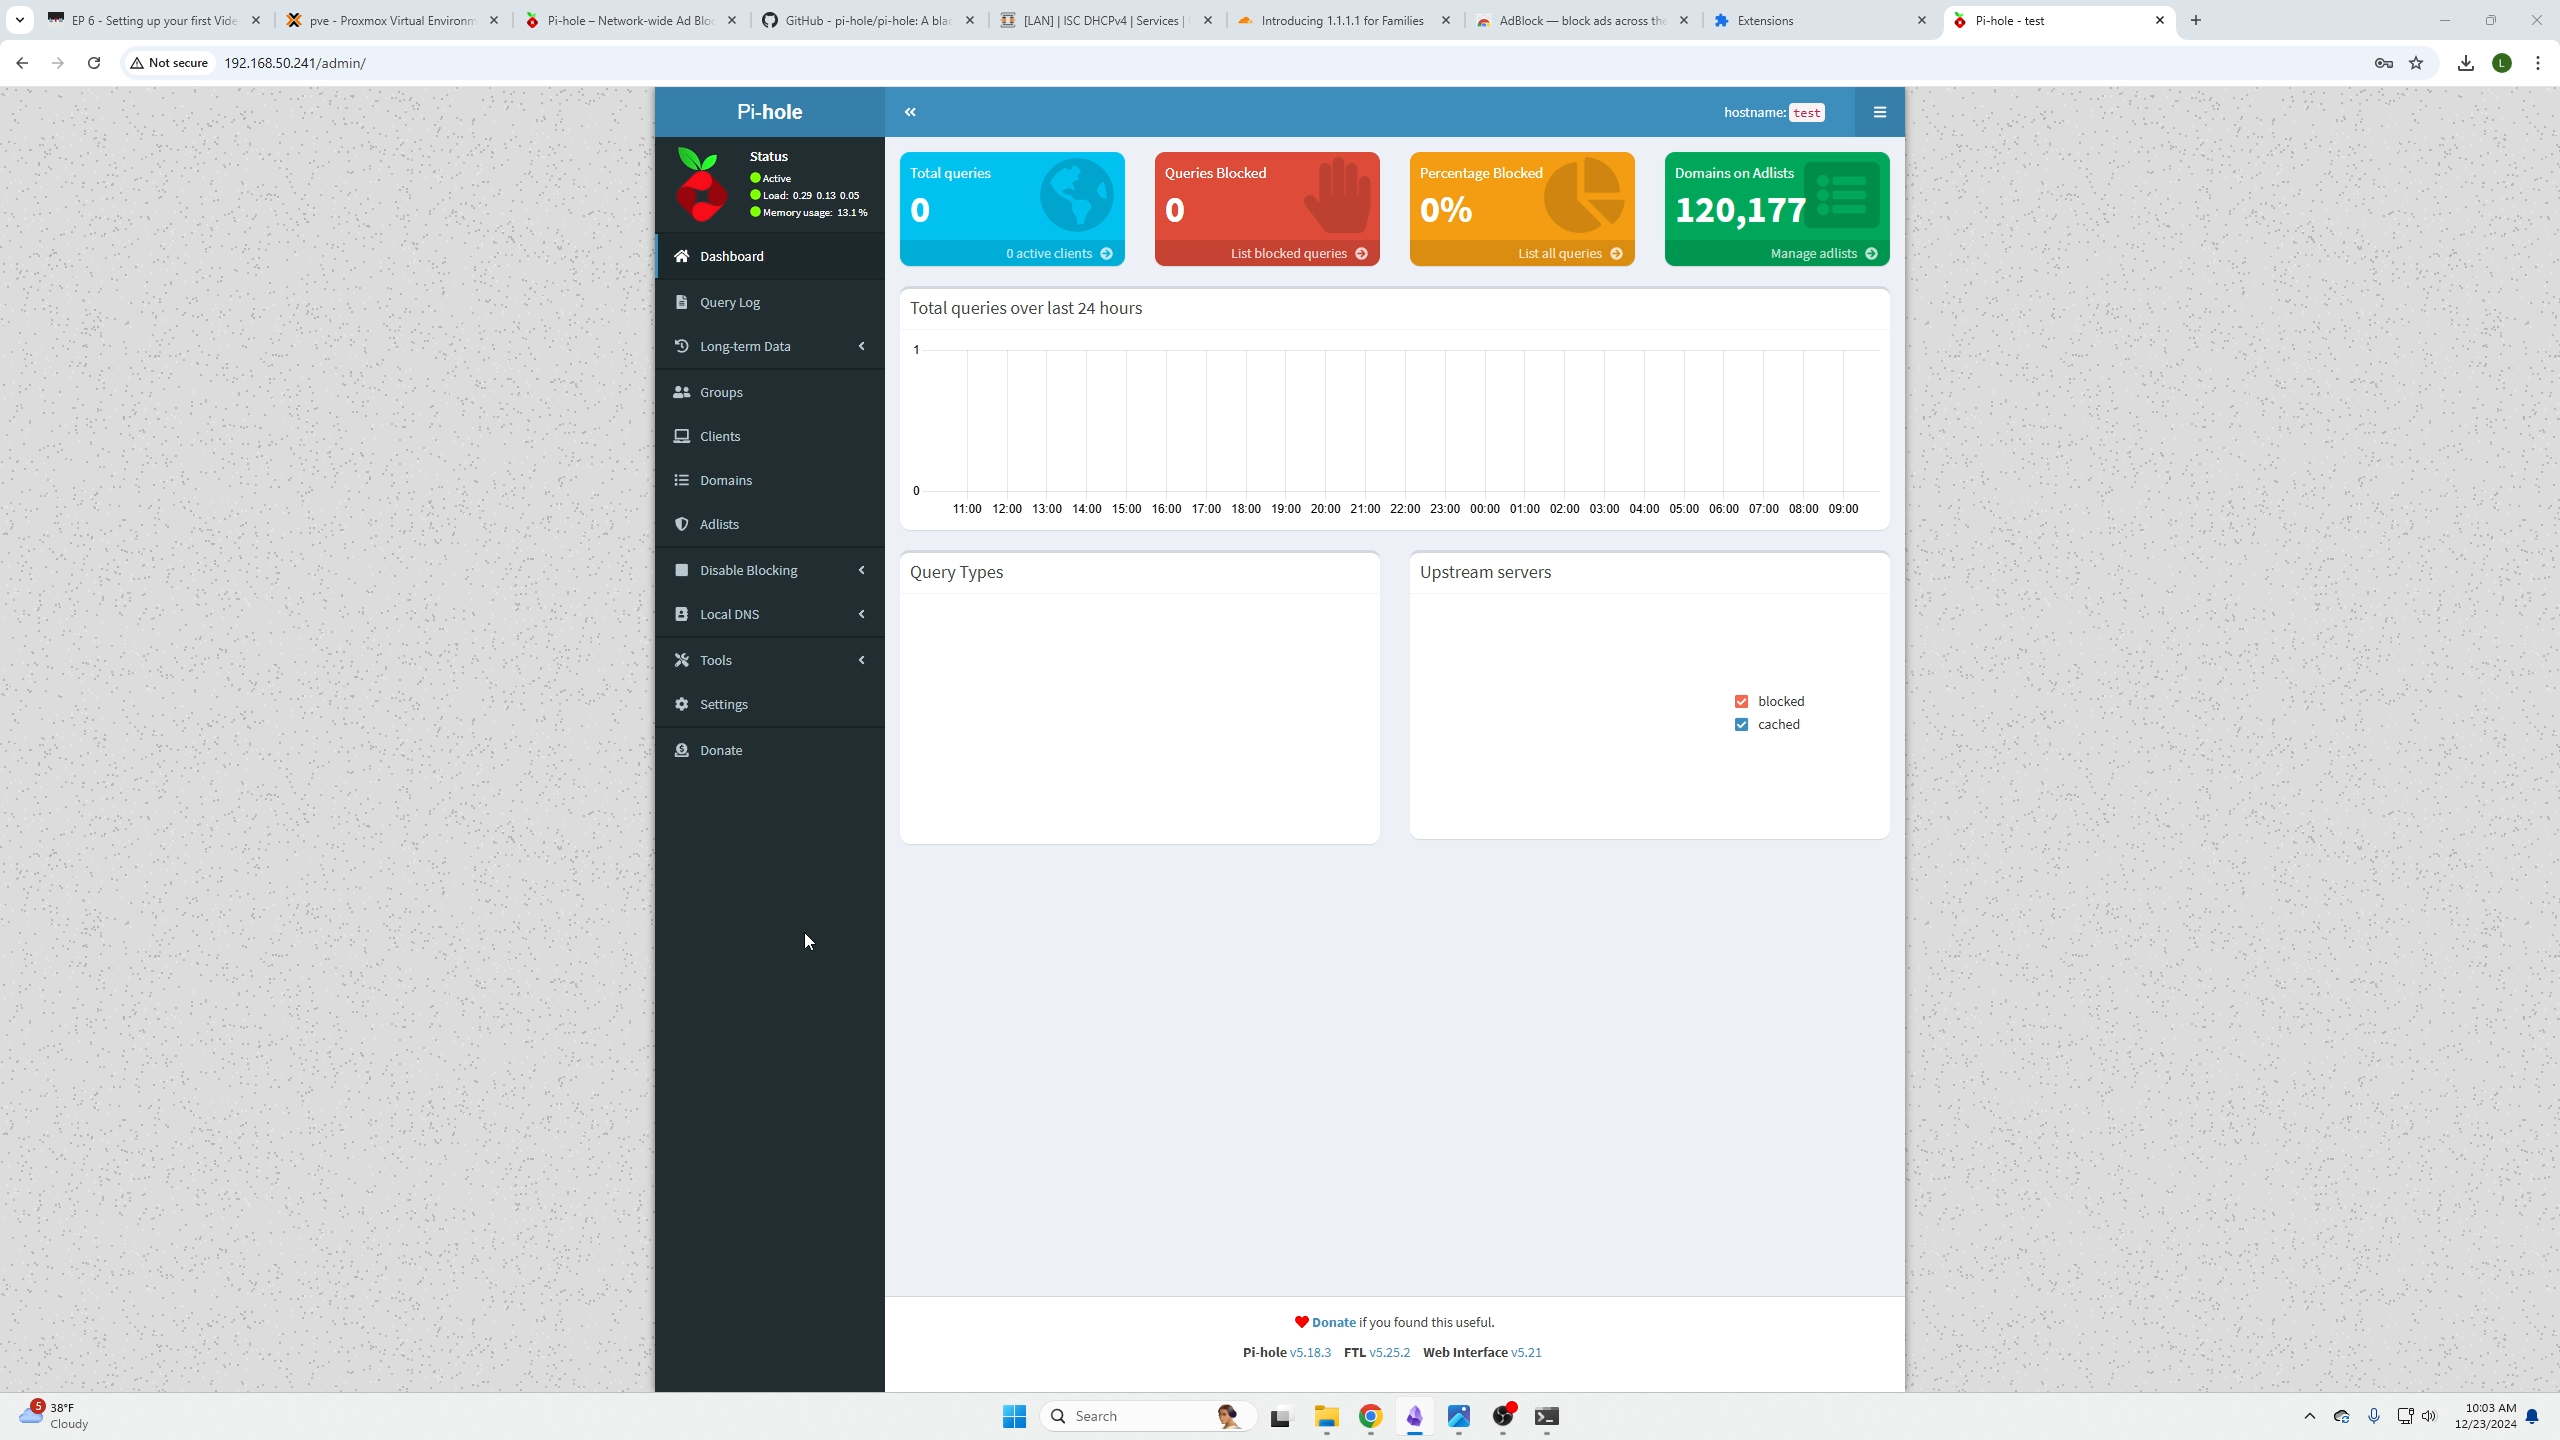
Moving back over to our Pi-Hole machine we logged into a few steps ago, we are presented with the landing page, we can see in blue, we have no hosts or any blocks yet.
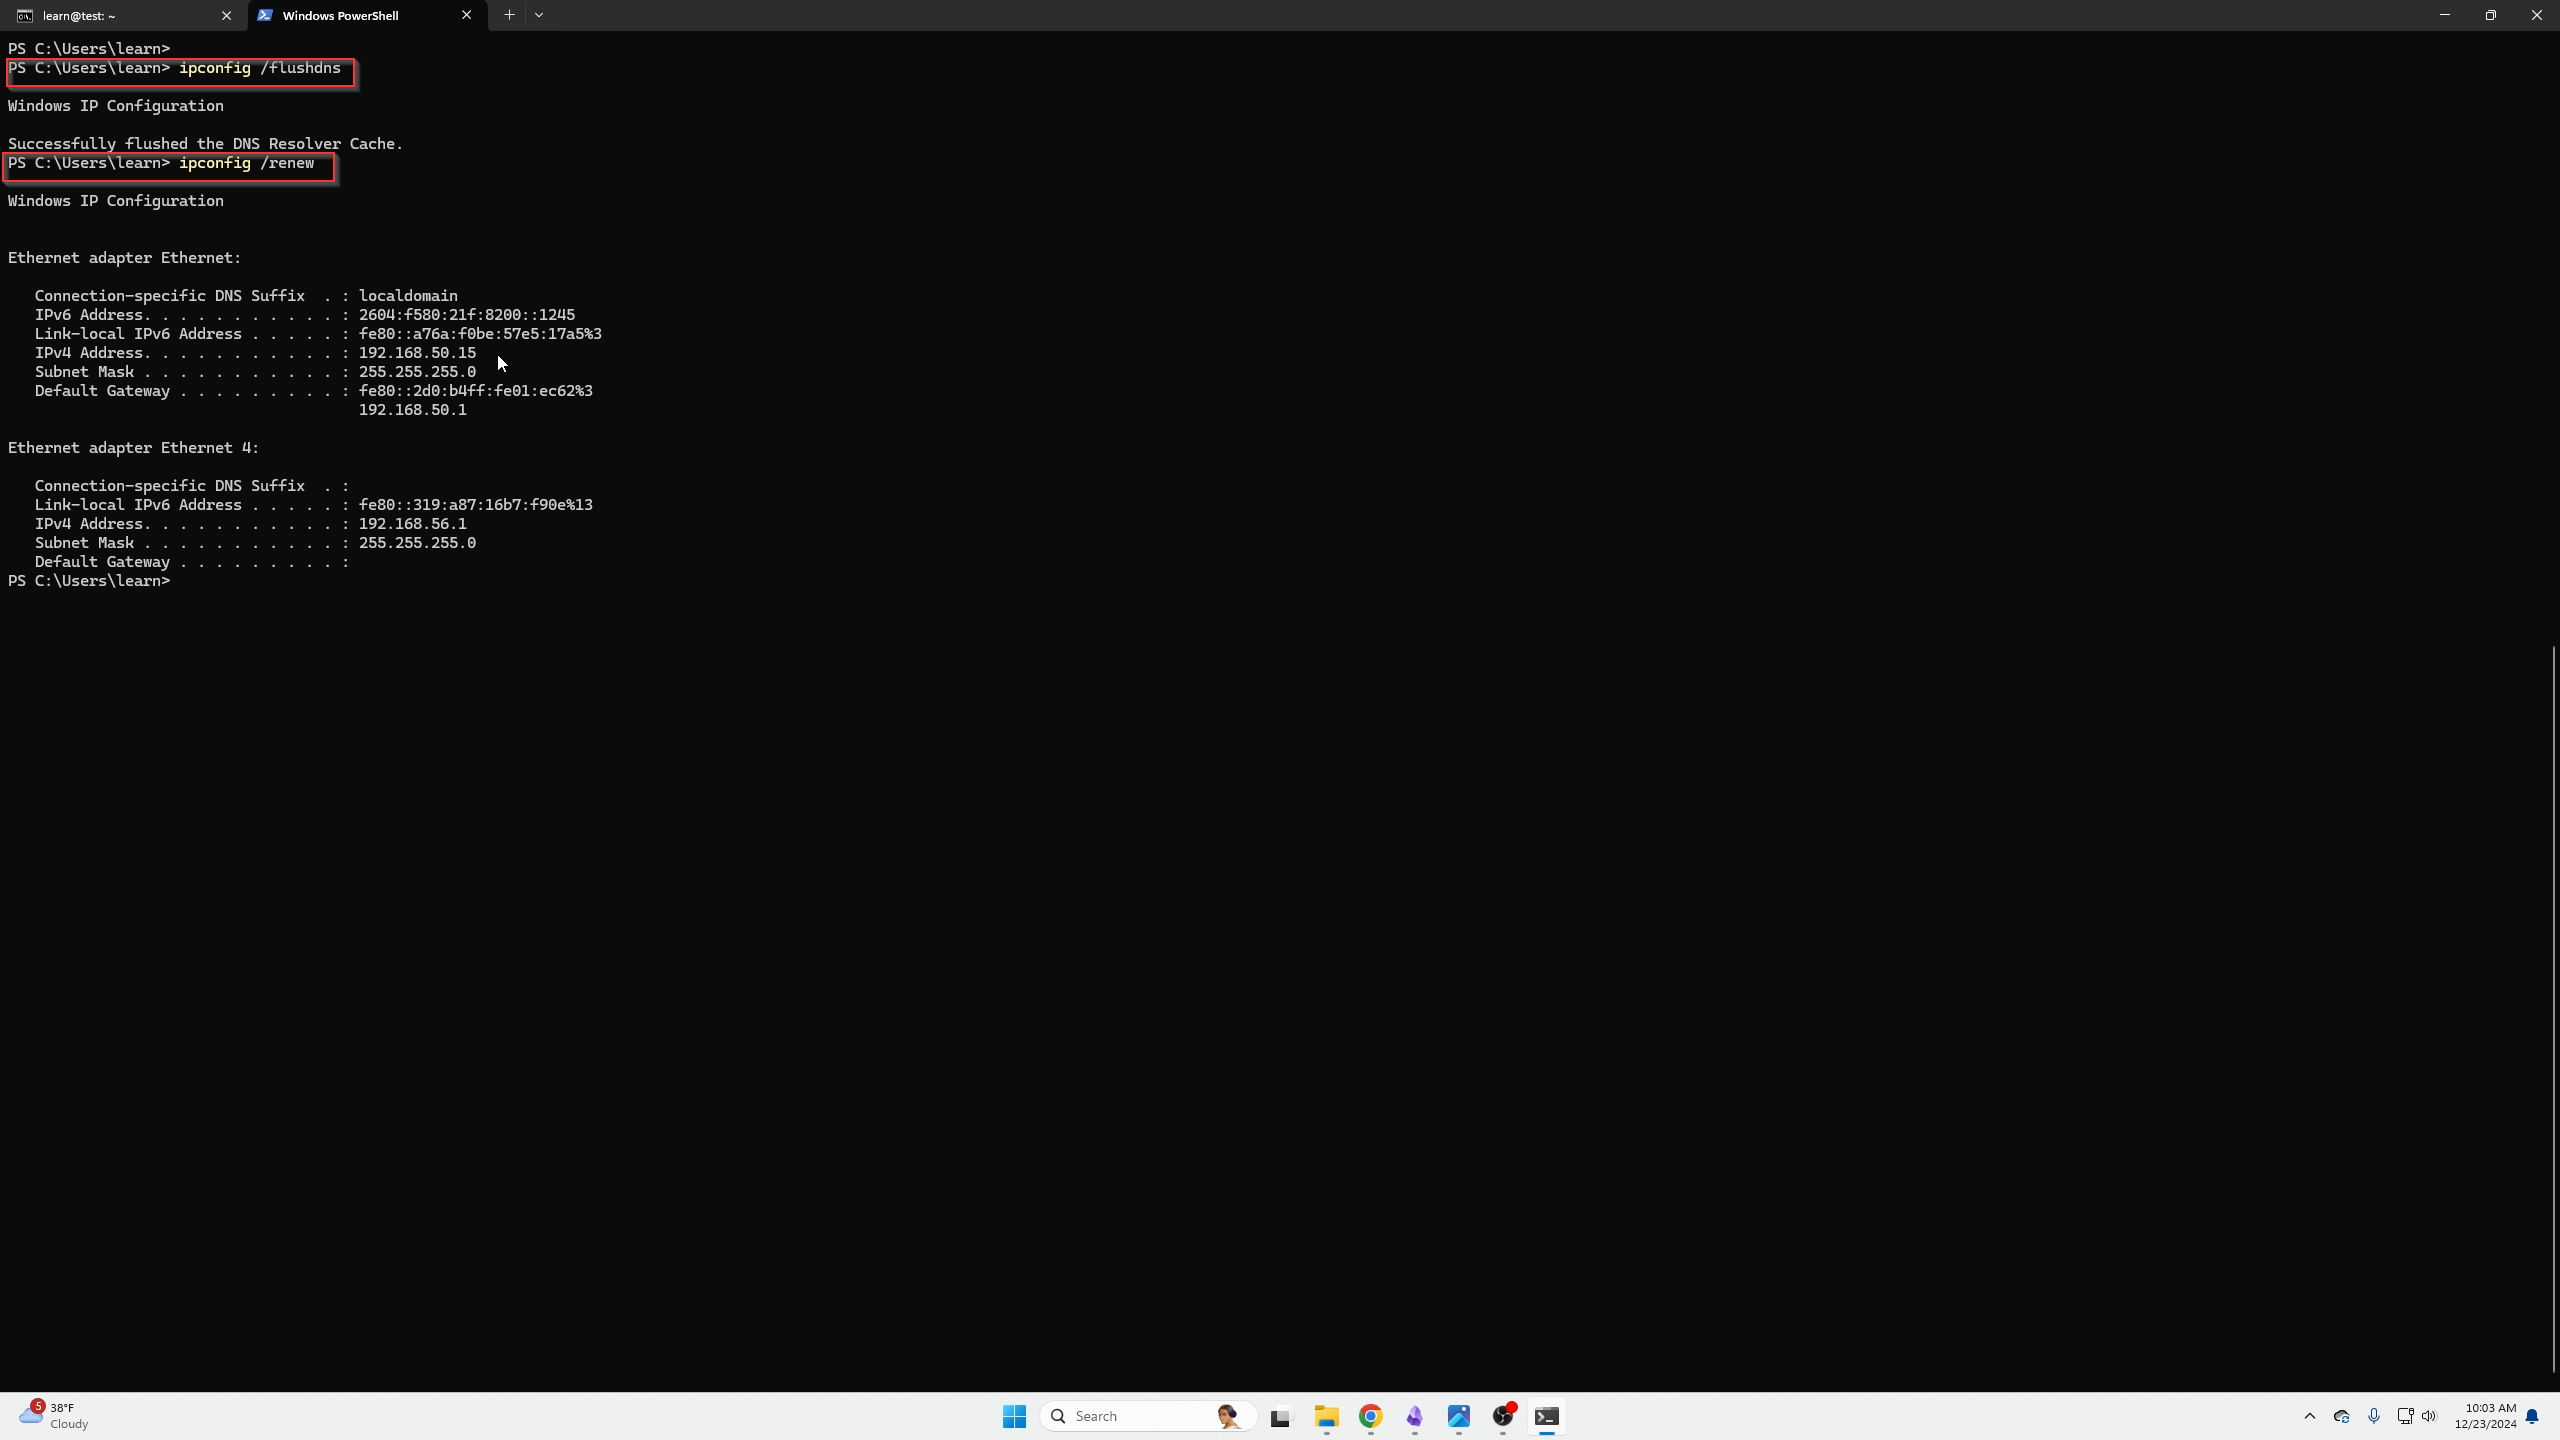
DNS takes roughly 15 minutes to spread through a small network but we can speed that up with some following commands.
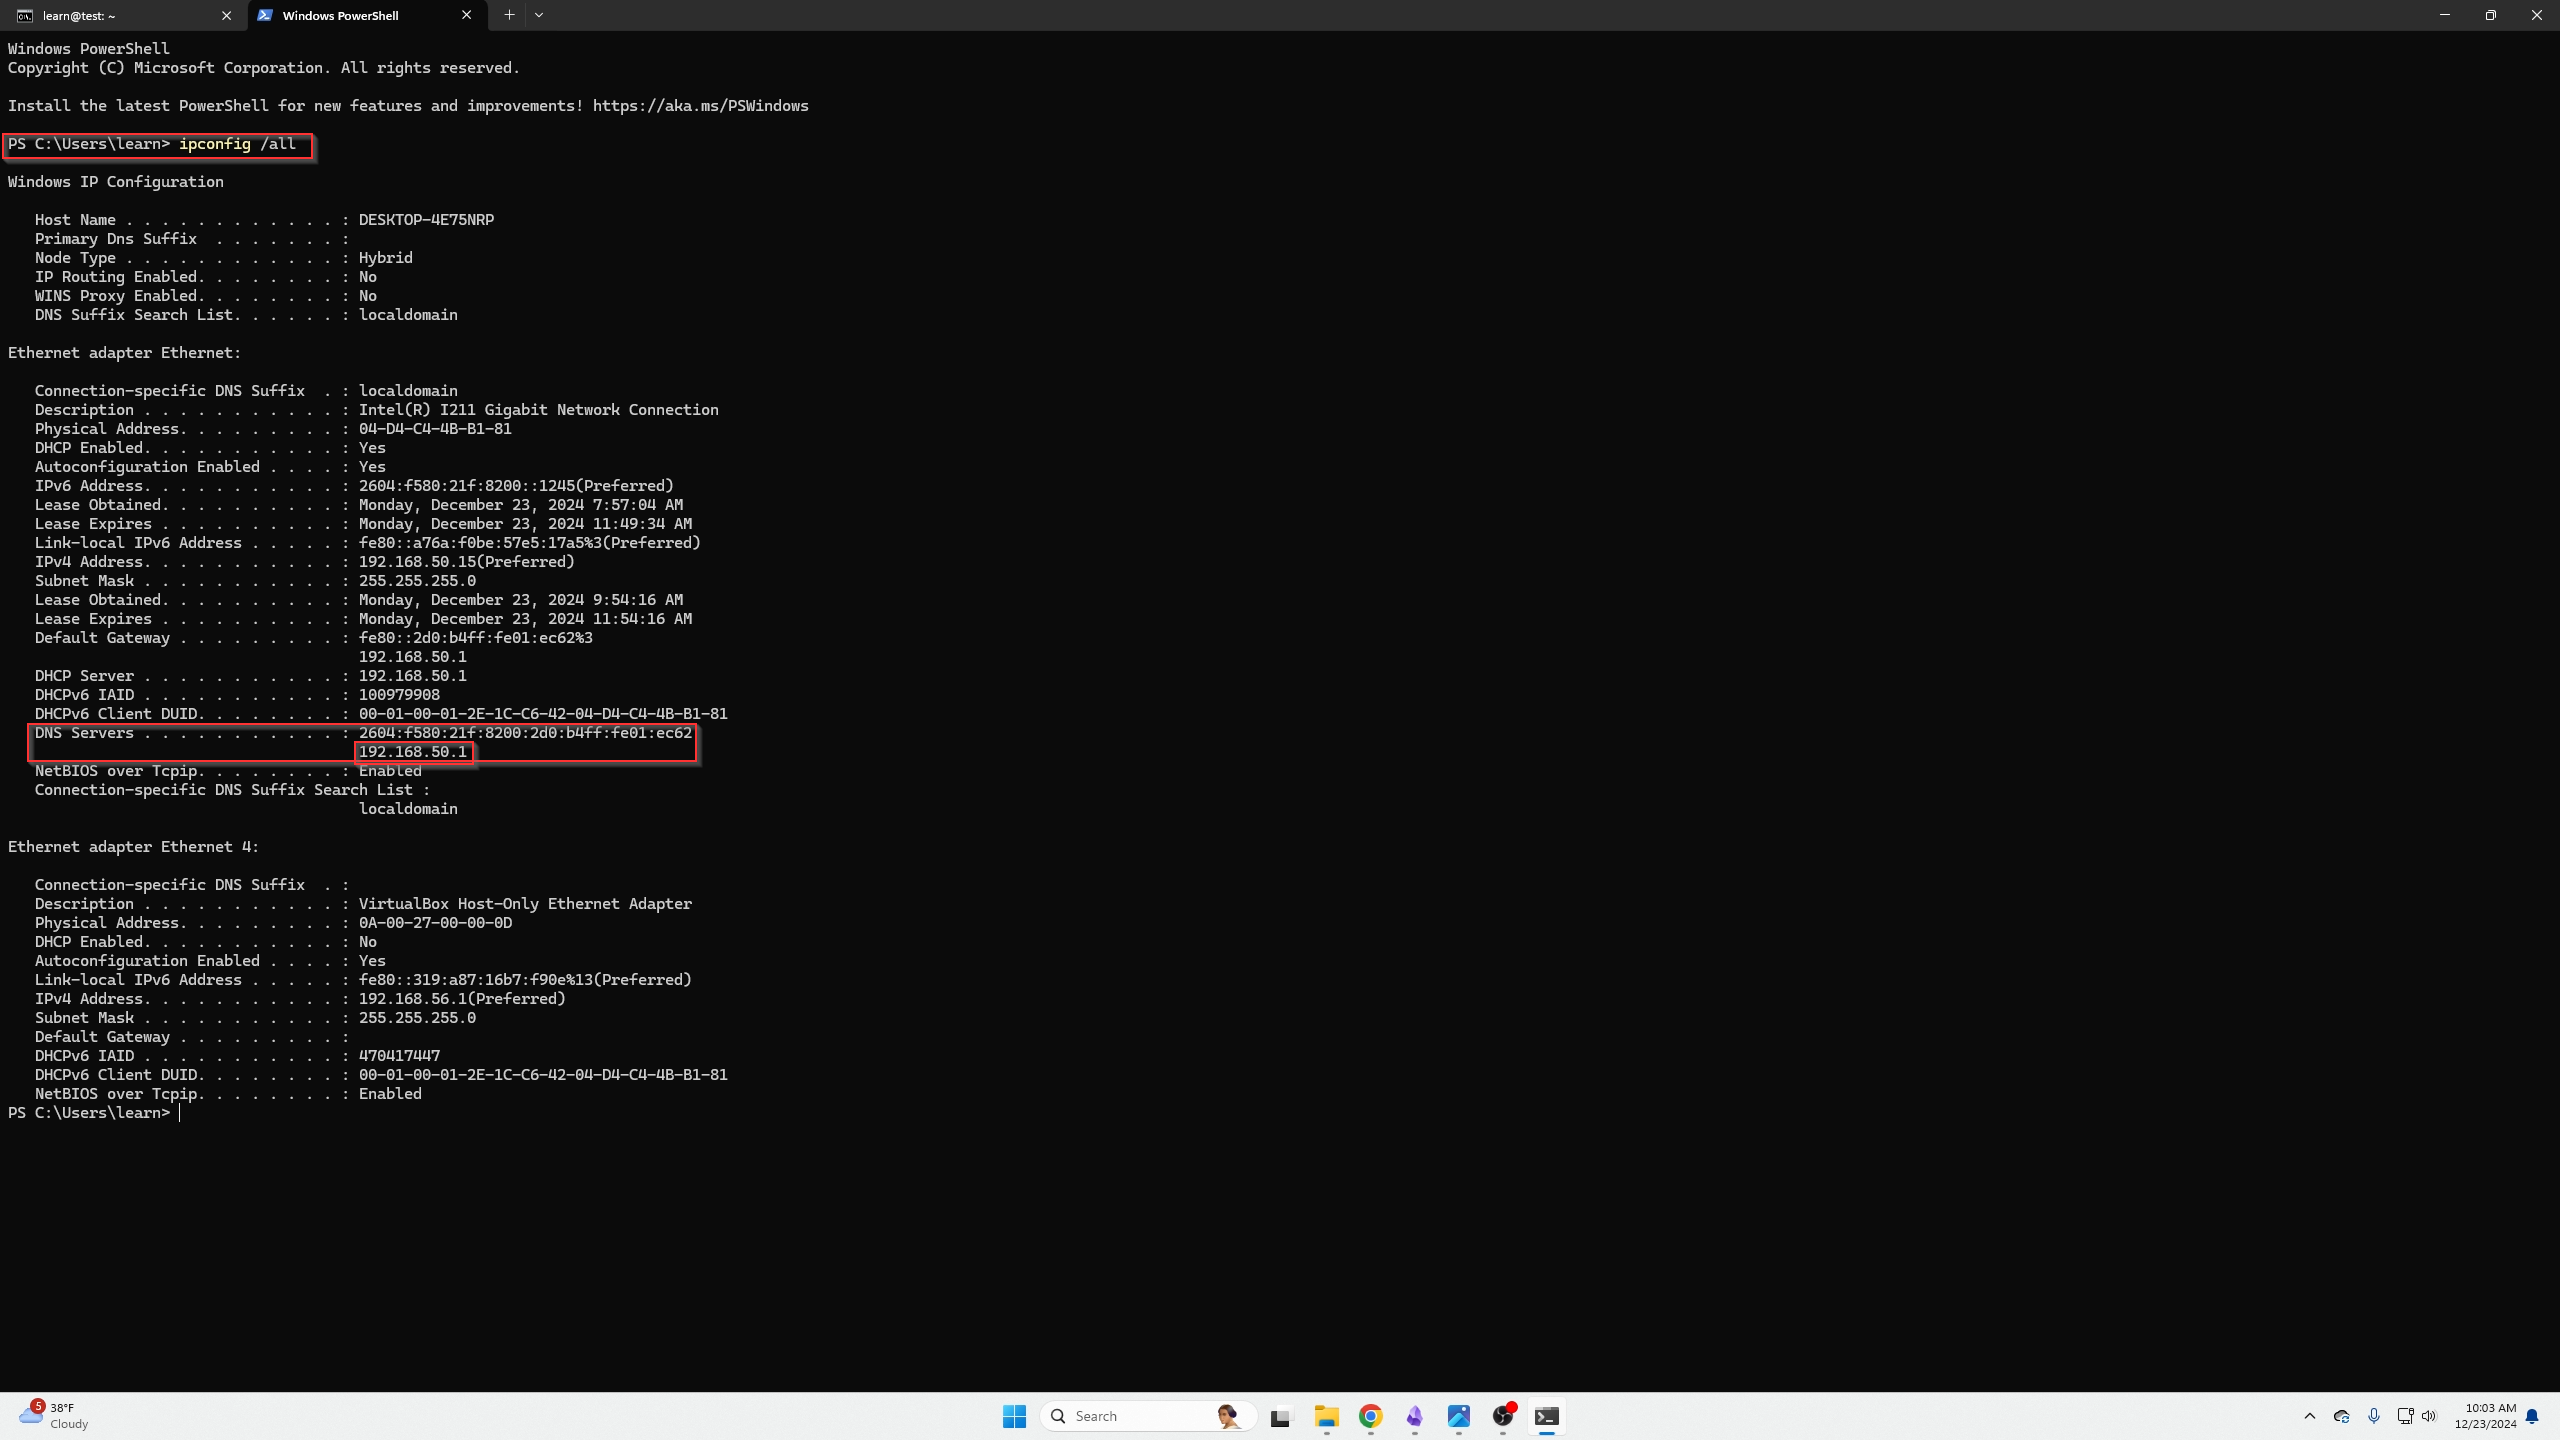
To speed the process up first let me show you what it looked like BEFORE:
Our DNS server was set to 192.168.50.1 NOT the 192.168.50.241 of our Pi-Hole machine.
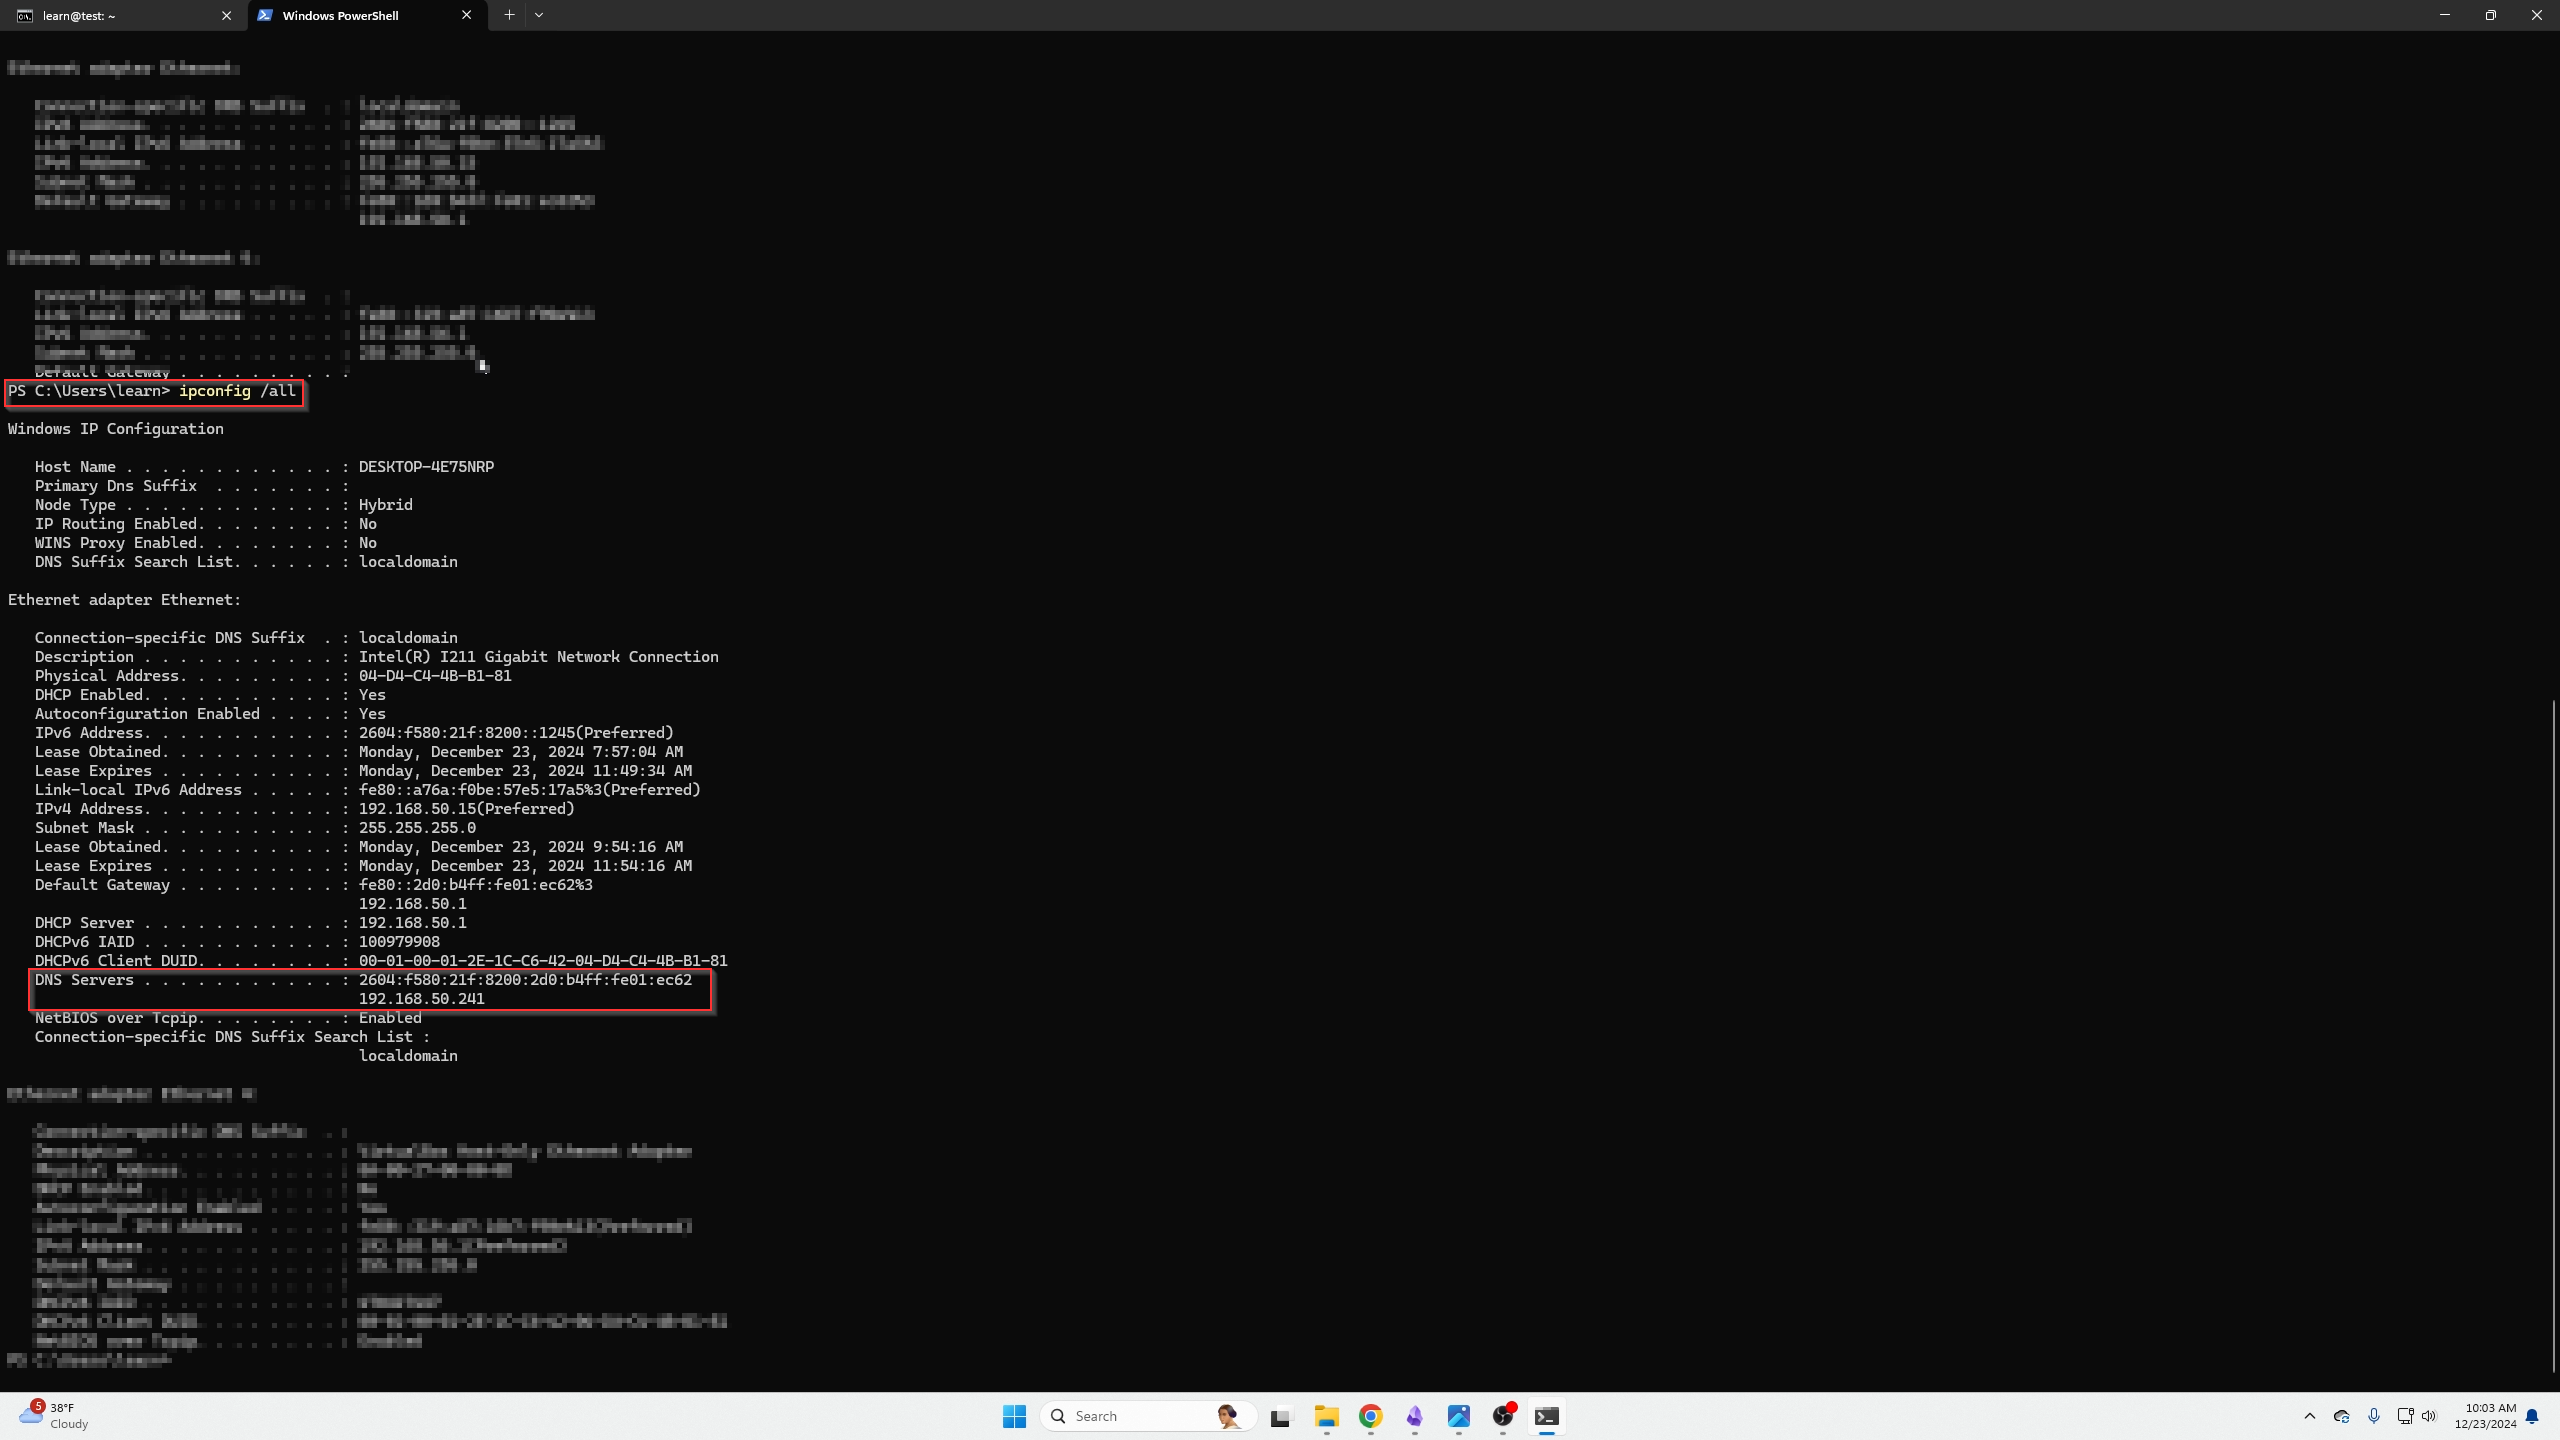
To quickly verify and resolve to the new DNS server we can perform the following commands:
and
Then we can check our DNS servers one more time using
here we can see it has changed to our Pi-Hole machine.
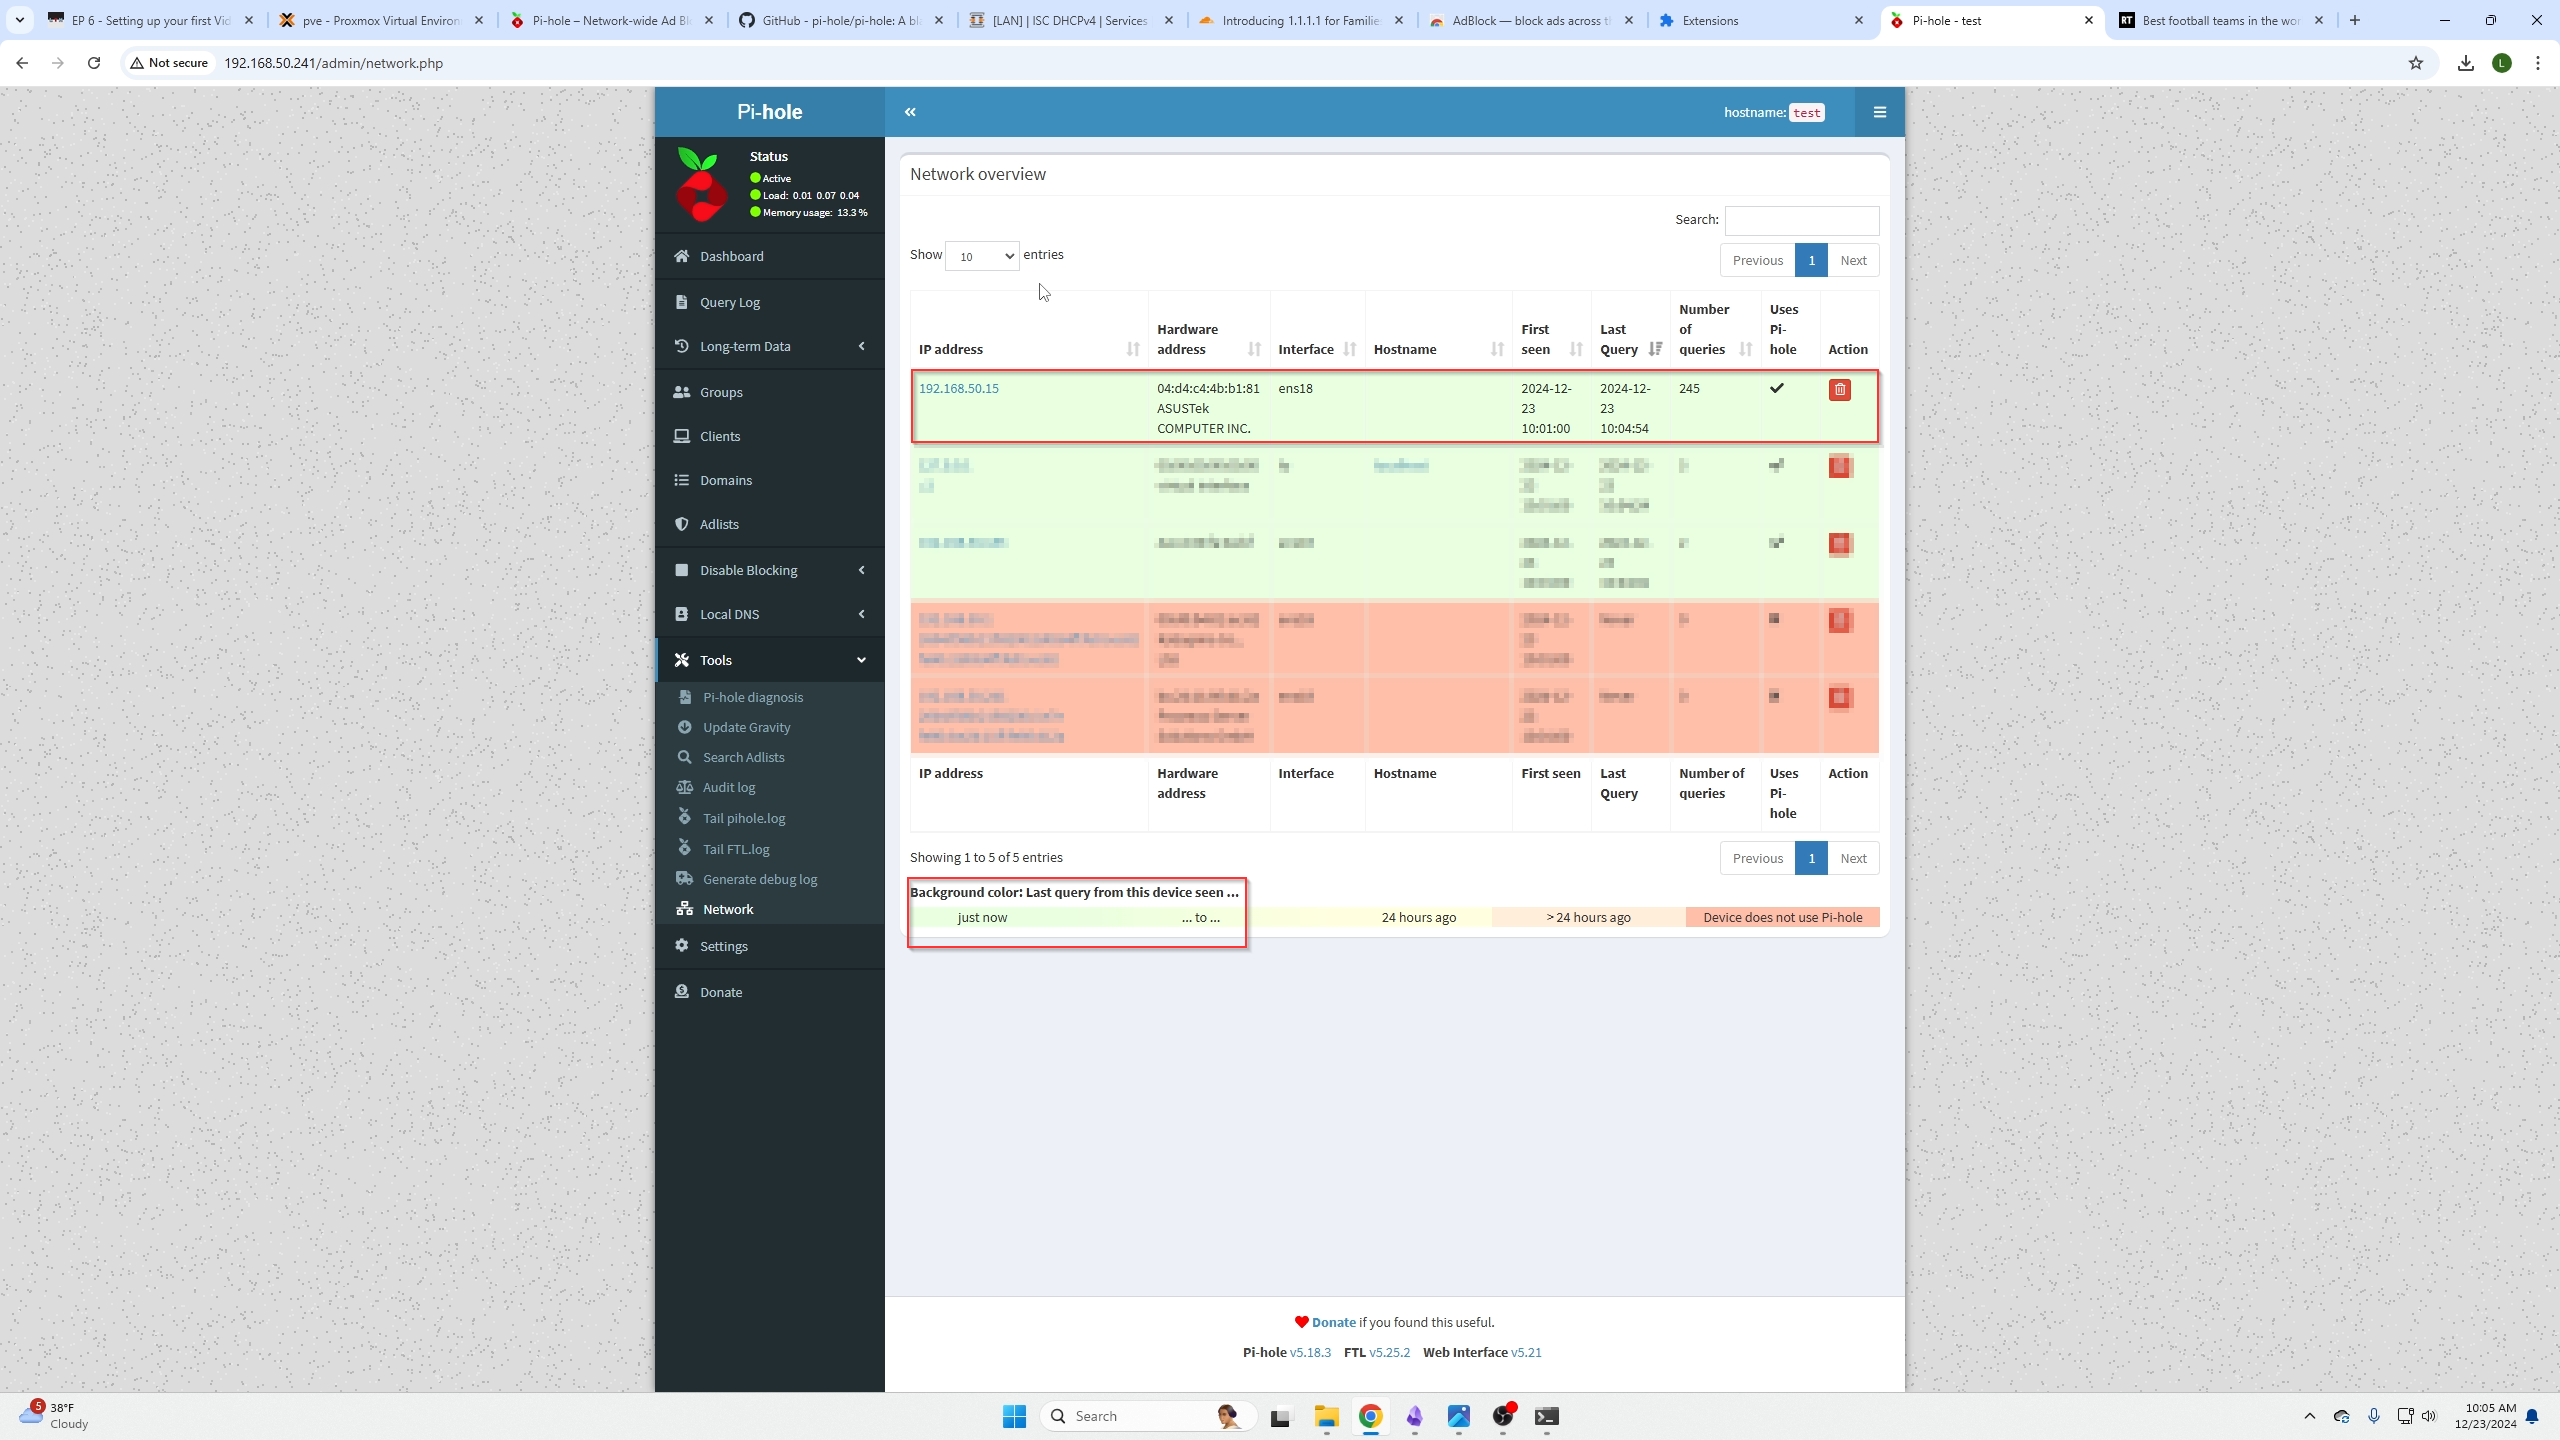
We can also go back to Pi-Hole and select the blue total quaries icon on the front page and find our device in there, if it is now green we know the machine is using Pi-Hole for DNS.
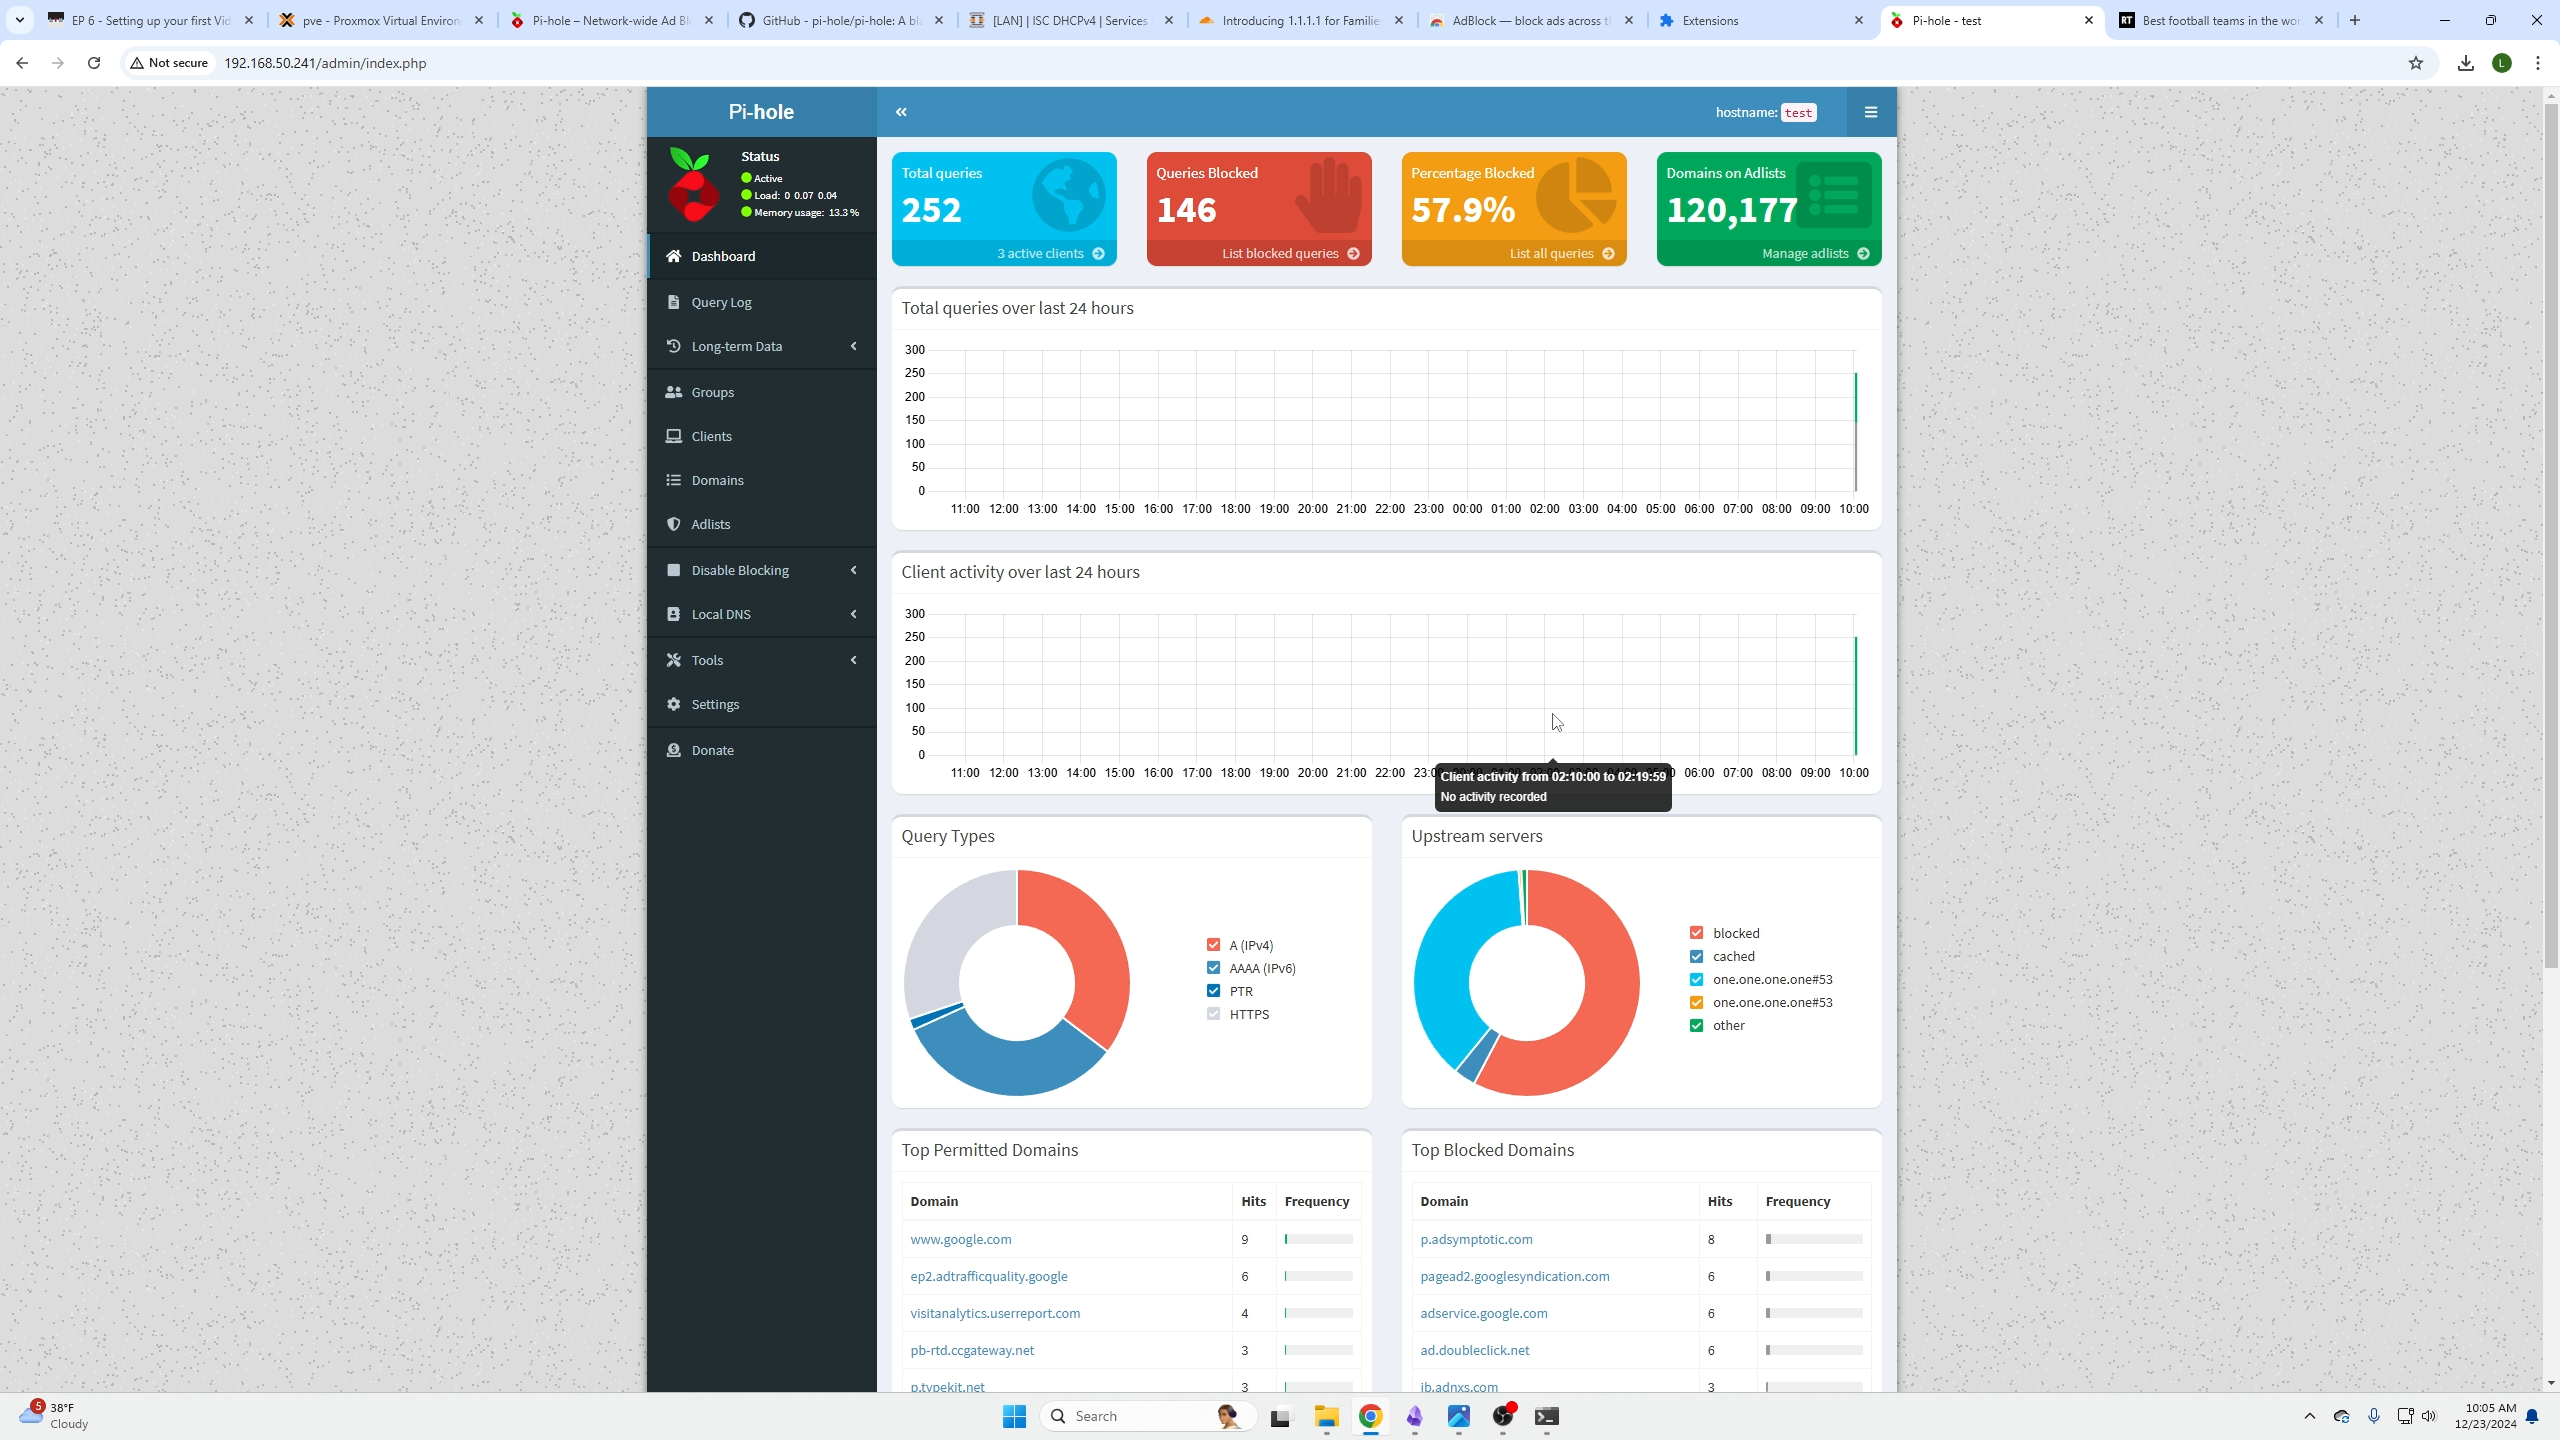
Now on the front page we can see queries taking place as well as blocks occurring!
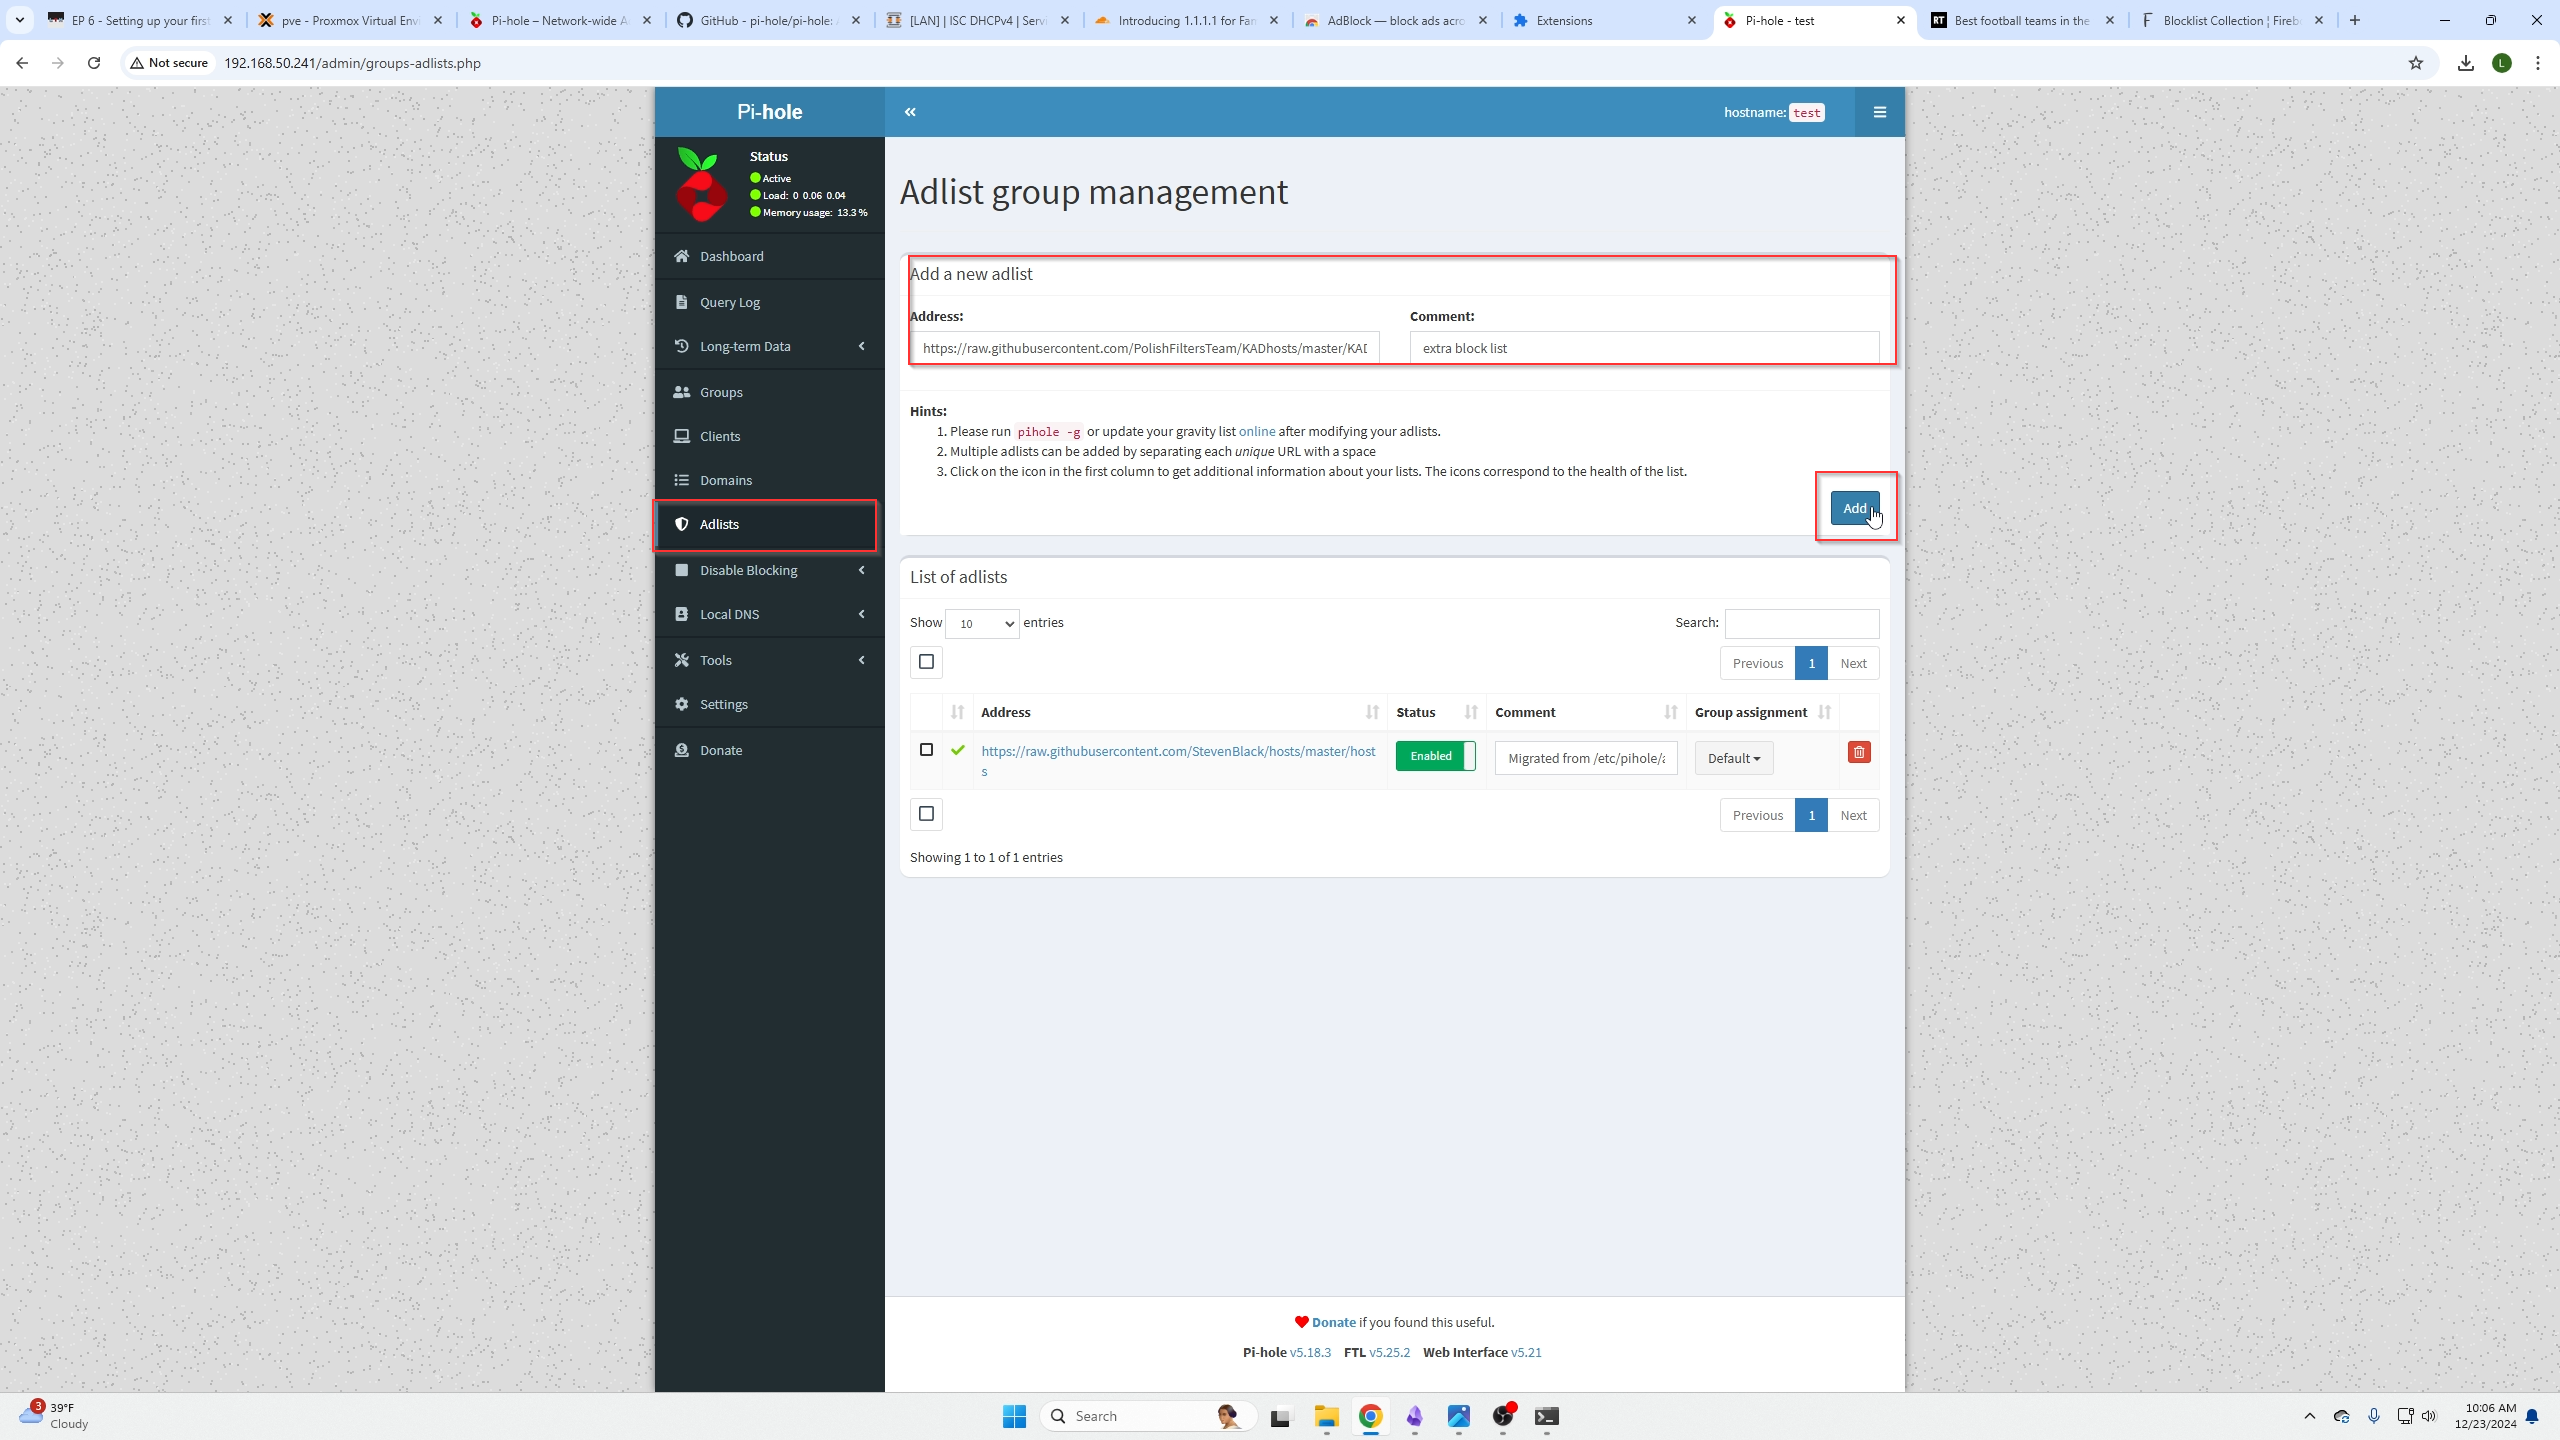
Adding blocklists to Pi-Hole
If you would like to add more blocklists fireborg is a great website to do that which can be found here
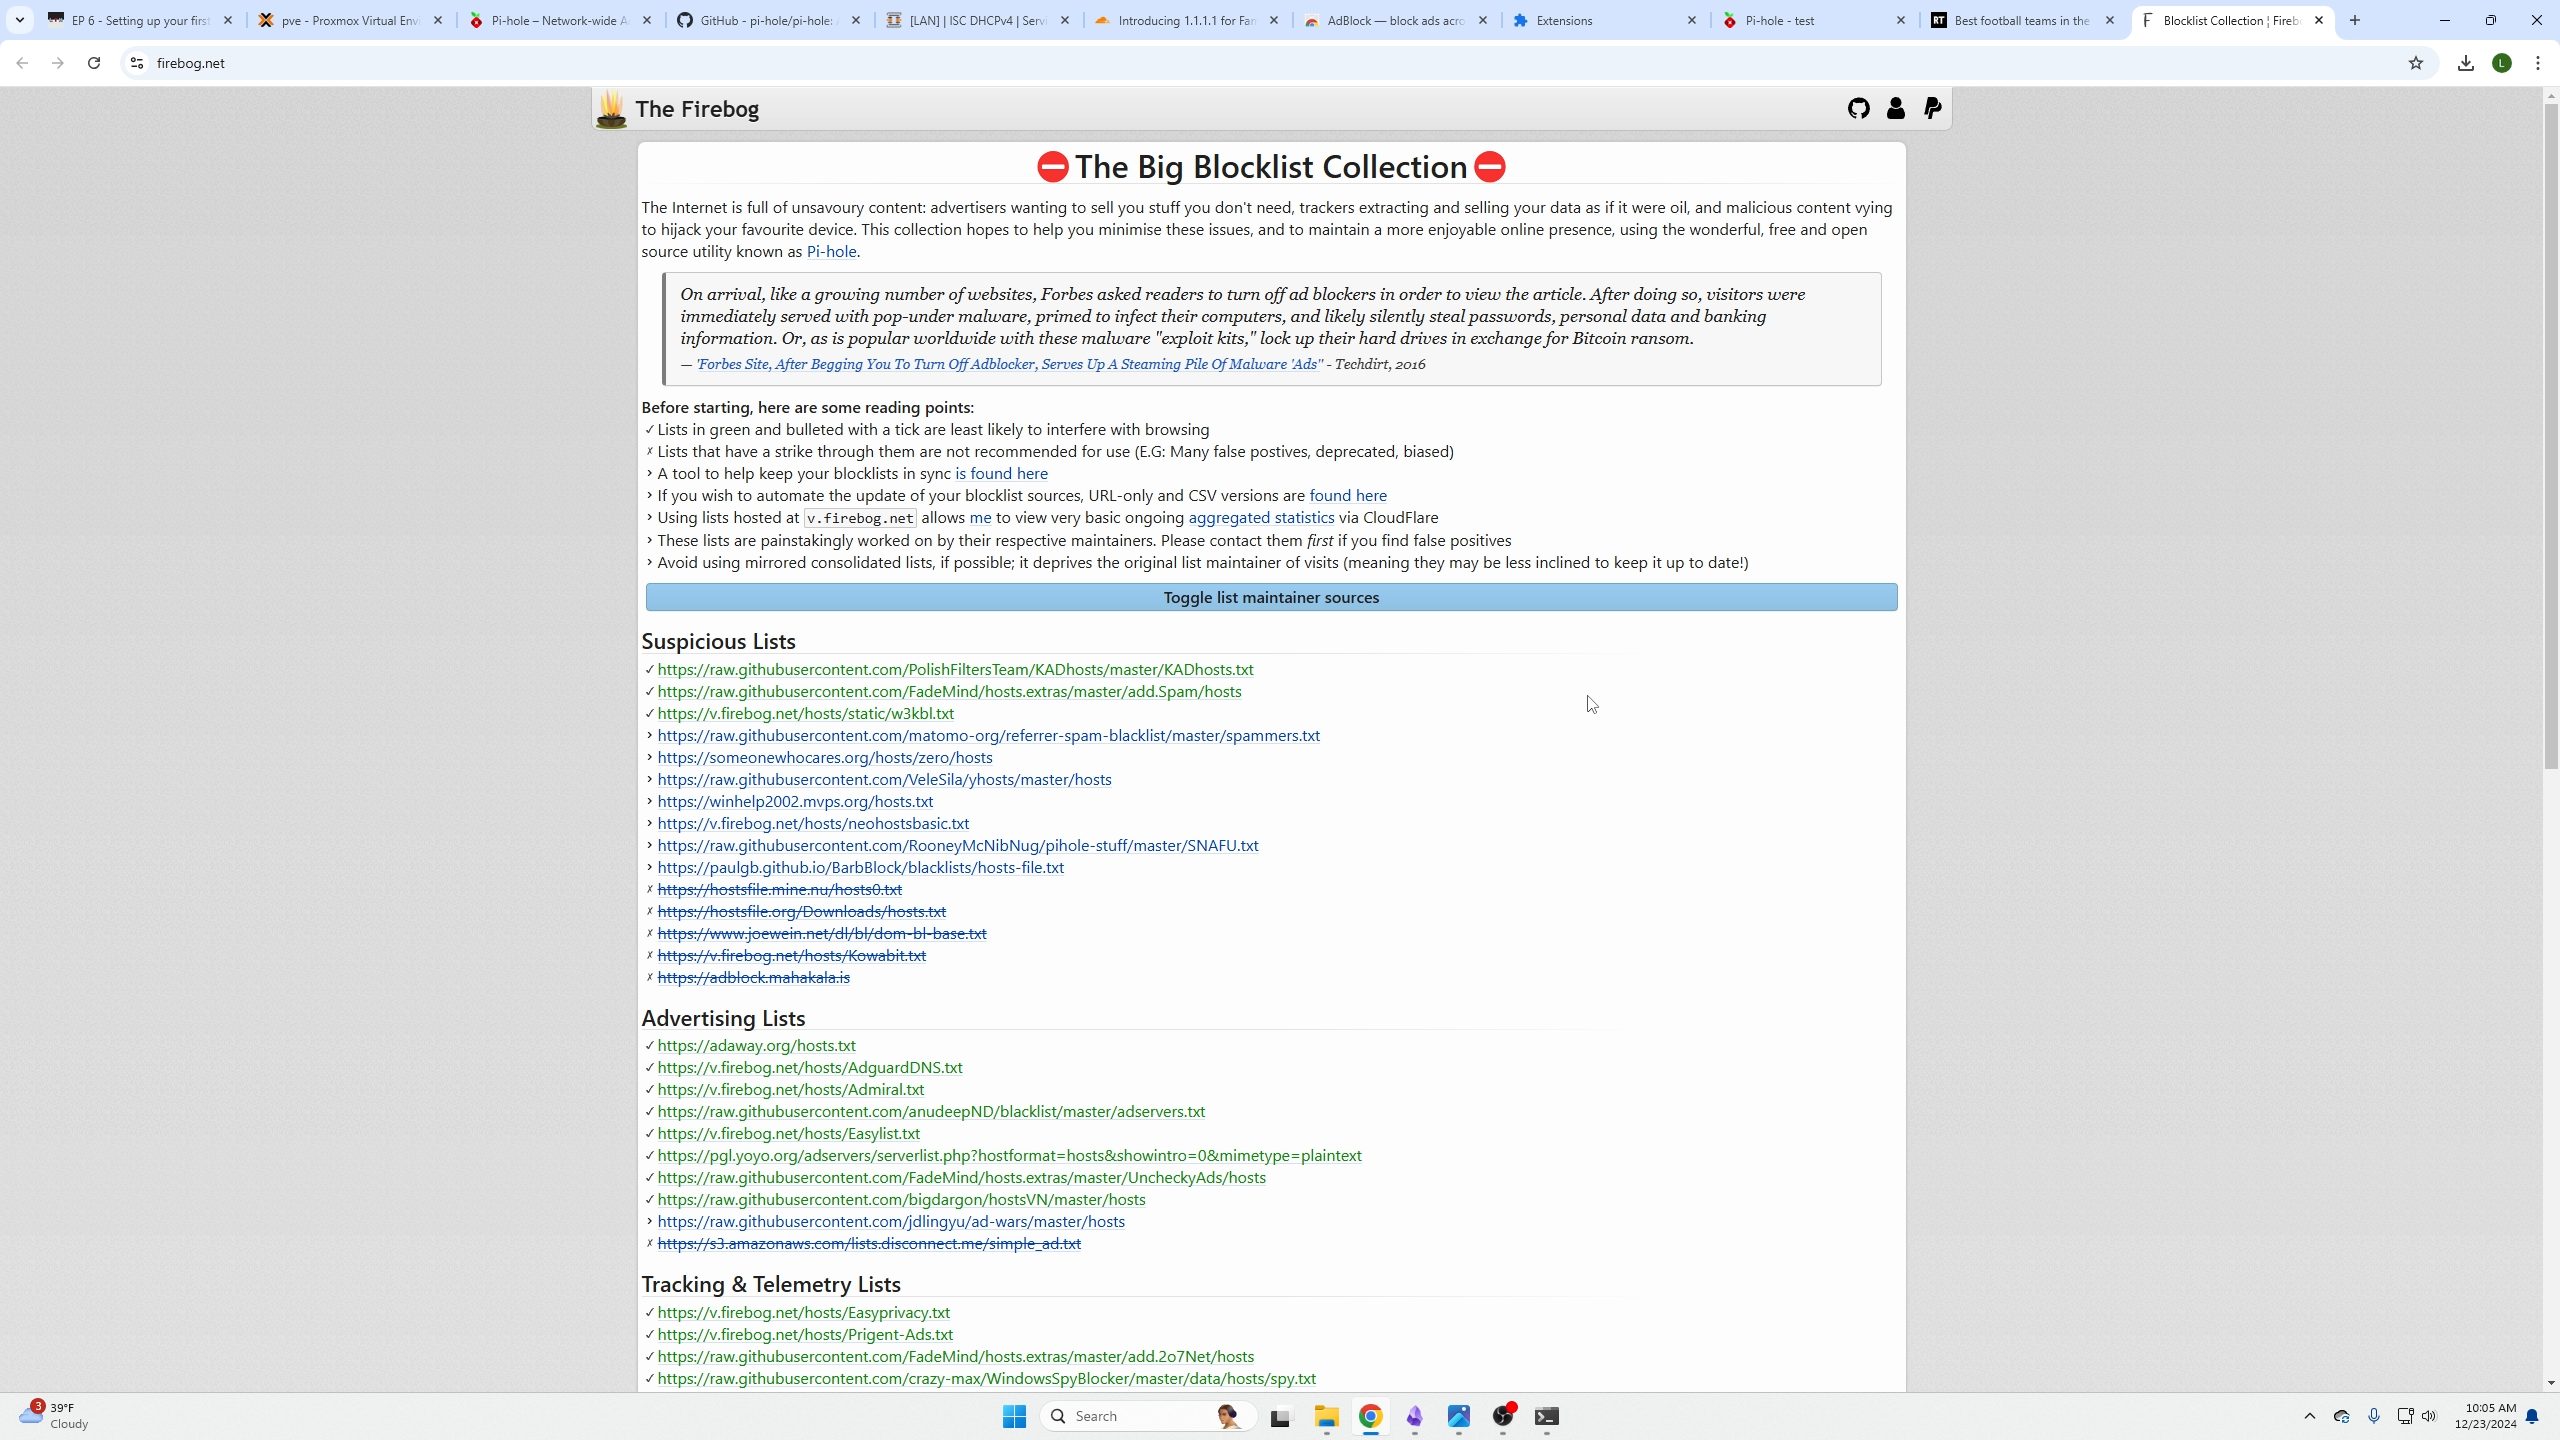
You will then copy and paste those URLs into Pi-Hole under the Adlist tab.
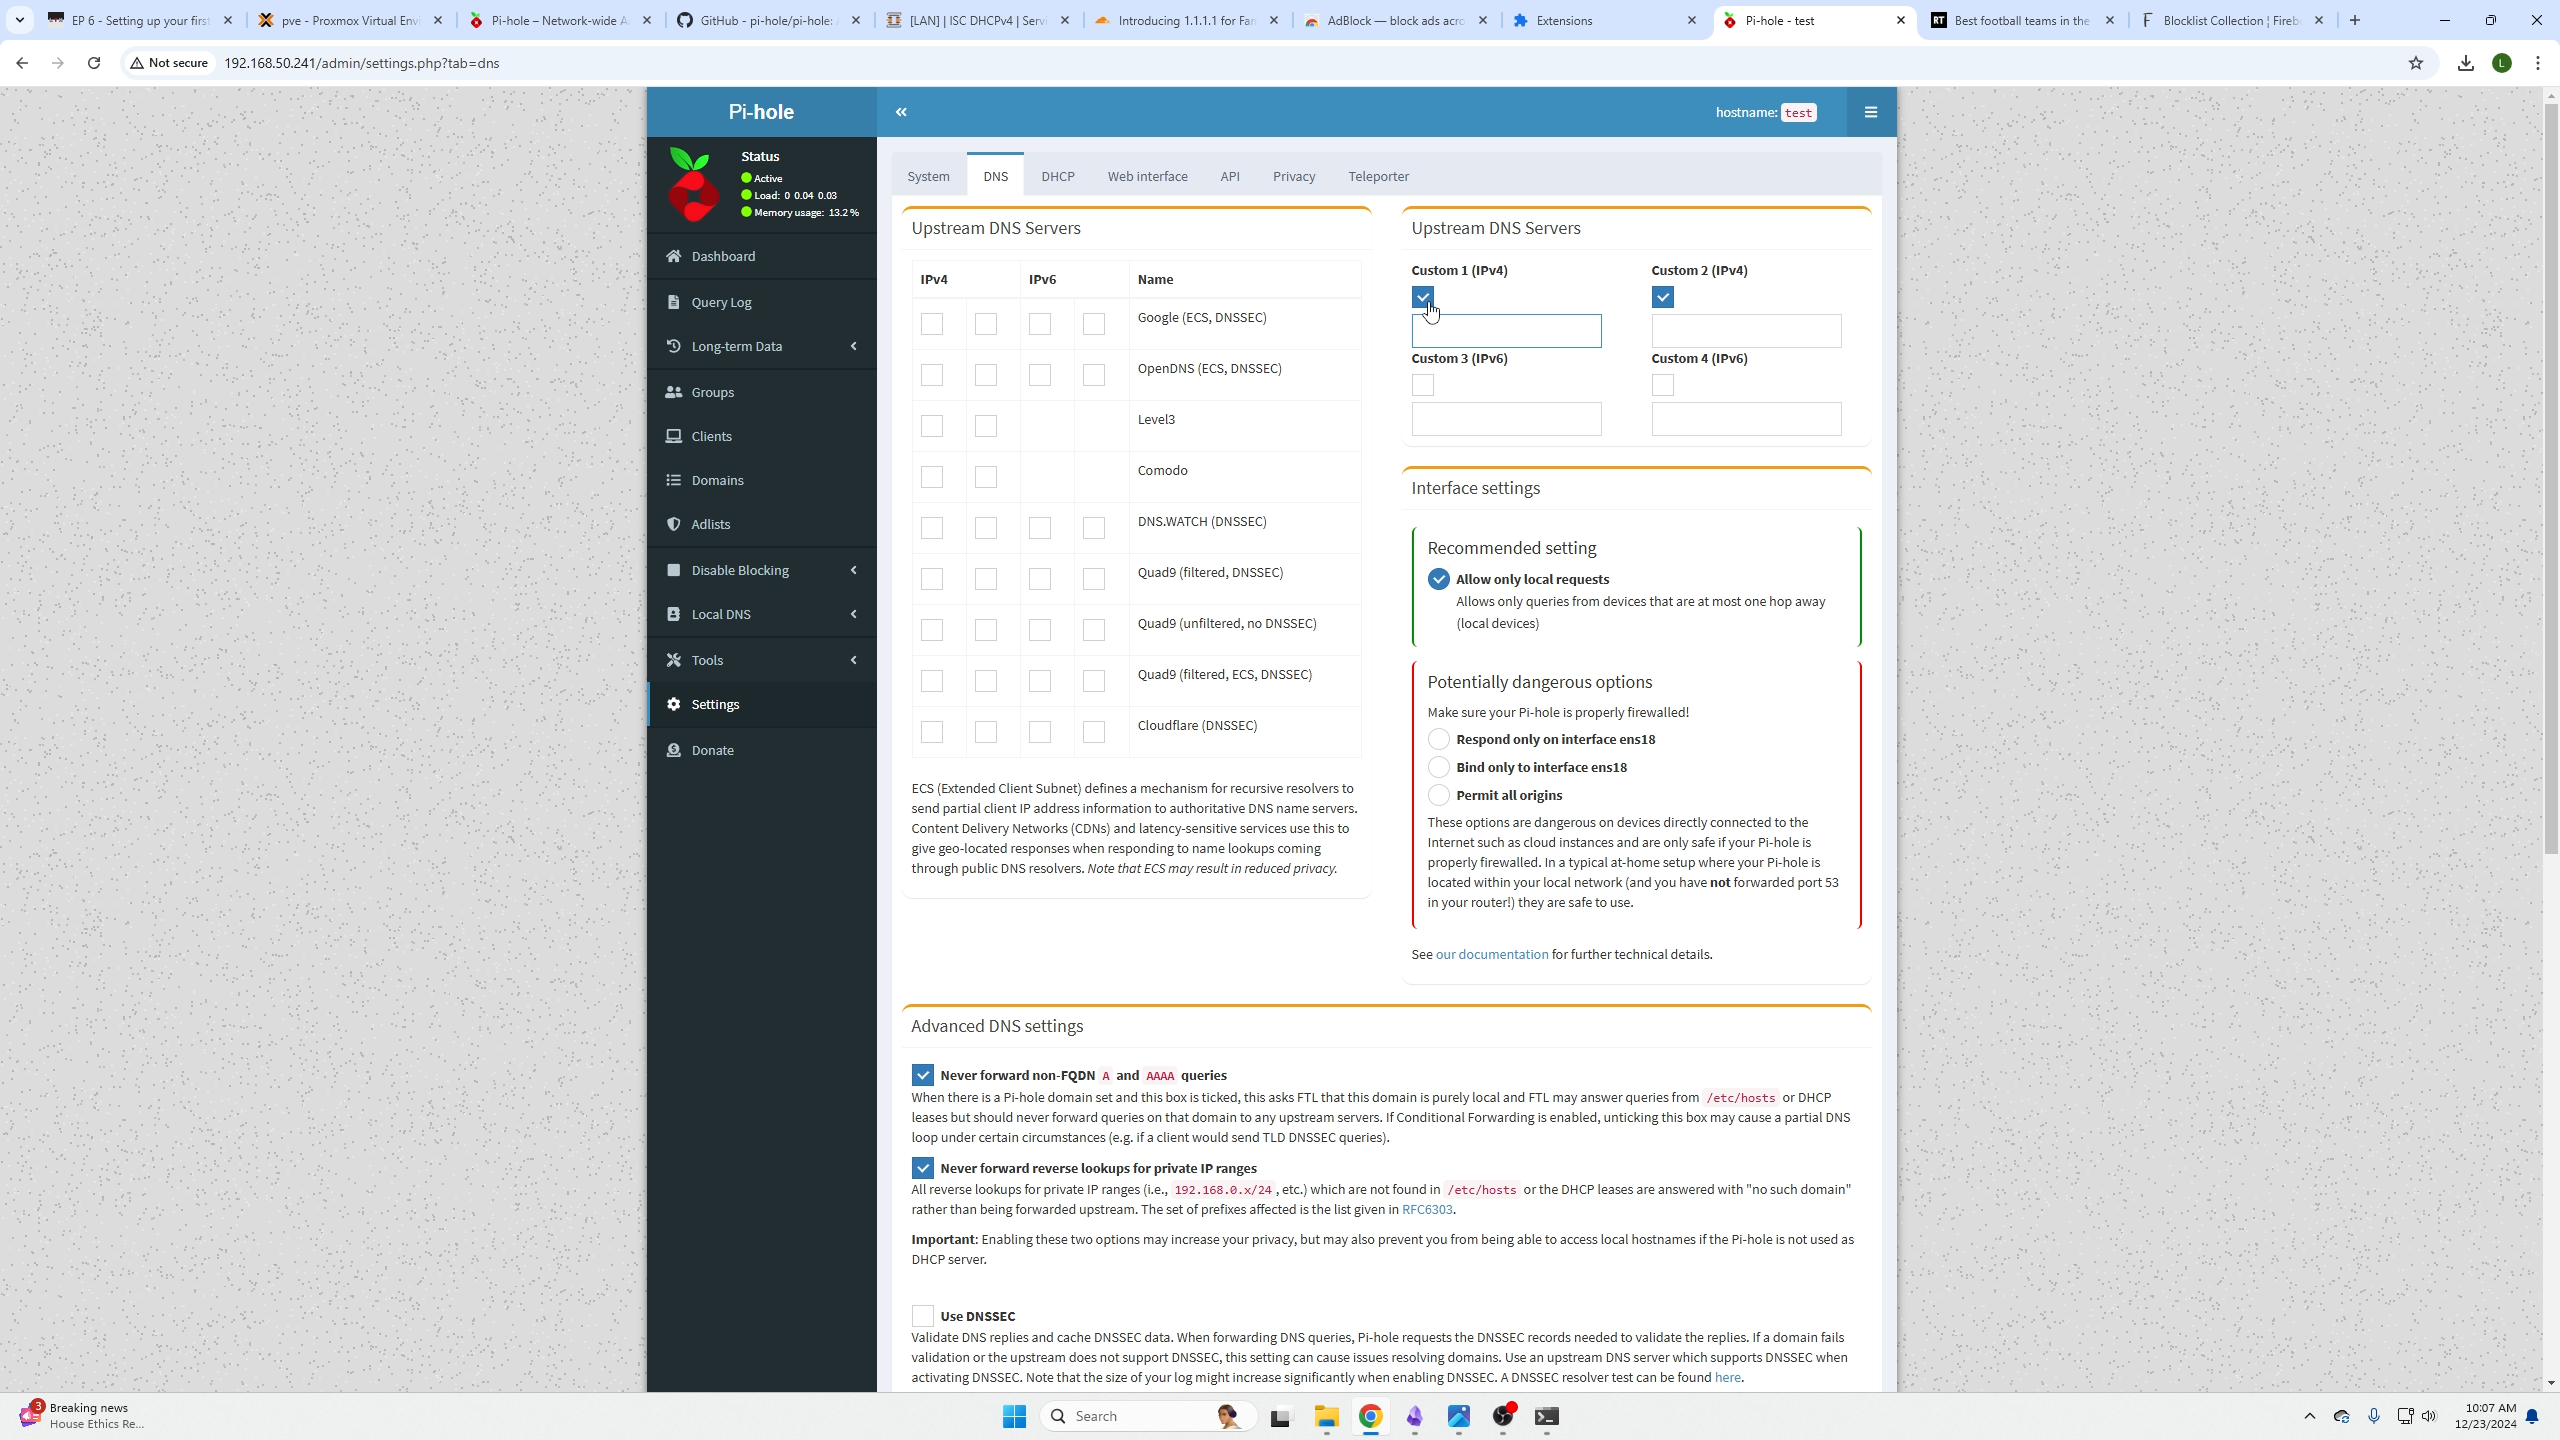
Changing your DNS upstream servers
If you would like to use a custom self-hosted Unbound DNS server or a more advanced CloudFlare DNS server like one which increases malware protection or adult content filtering, this is the page to do that.
You will unselect the CDNs on the left and select the custom ones on the right and then input the IP addresses for your new upstream DNS server.
We recommend the following CloudFlare DNS servers for added features:
Malware Blocking Only
Primary DNS:
Secondary DNS:
Malware and Adult Content
Primary DNS:
Secondary DNS:
Closing Thoughts
That is it, you have set up your Pi-Hole network wide add blocker! We do however recommend you pair this with a host based ad blocker as well. The one we recommend can be found here