NextCloud Setup inside of Proxmox
In this episode, we are going to cover how to set up a NextCloud server (container) within Proxmox Virtual environment in just a few clicks using TurnKey. These container templates come with Proxmox already, making it a super simple task to have a network-wide backup server for your pictures and documents.
Back Story
Learn from me: my wife went on a honeymoon cruise to the Bahamas and virtually have NO pictures of our trip because our phones got water damaged! Backing up your pictures at the end of each day to your NextCloud server could save you much heartache! We learned, though, that our Europe trip of 2024 was full of me backing up our content daily! This Episode won't cover how to back up your content outside of your network, but our TailScale episode will!
Install Steps
First log into Proxmox and go to:
- server / local (pve) (or whatever your server name is)
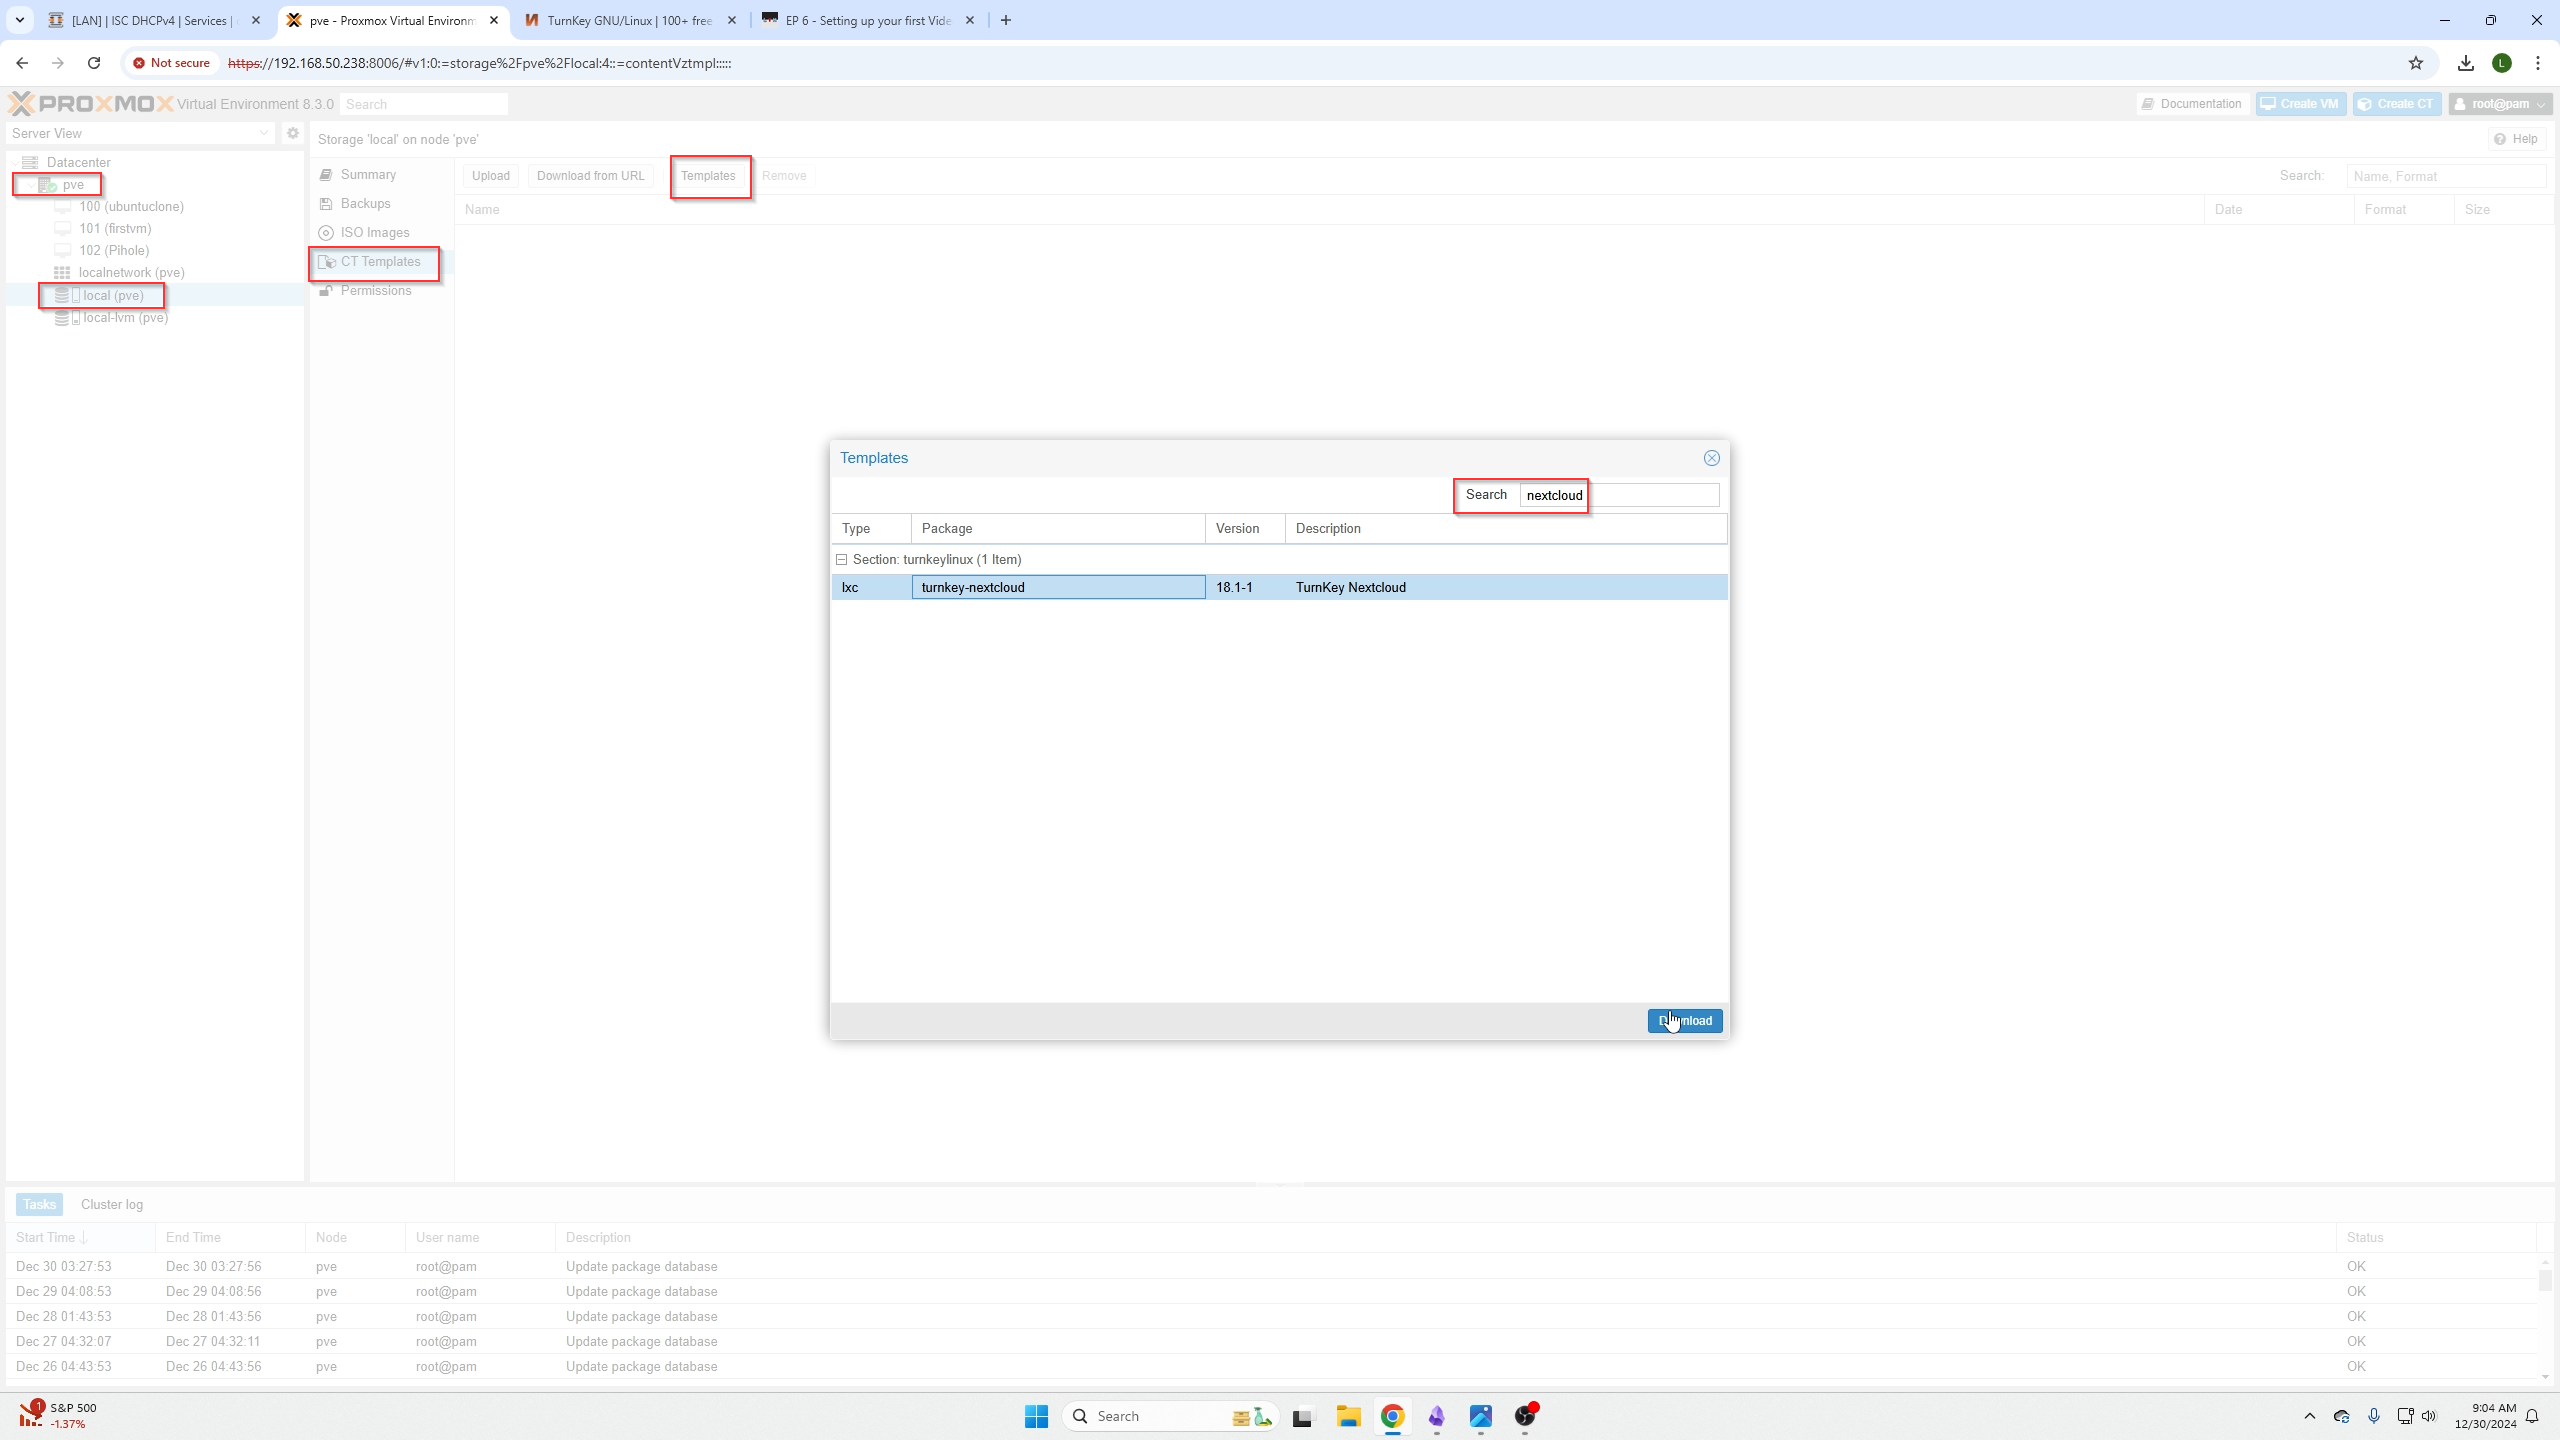
- / CT Templates / Templates
and then search for Nextcloud and select download! Wait for that Task OK and move on with the next steps!
Now we are going to click create CT on the top right of our environment and follow the creation wizard for our container.
The general tab password is for the containers root user. The container default username is root and then the password you set.
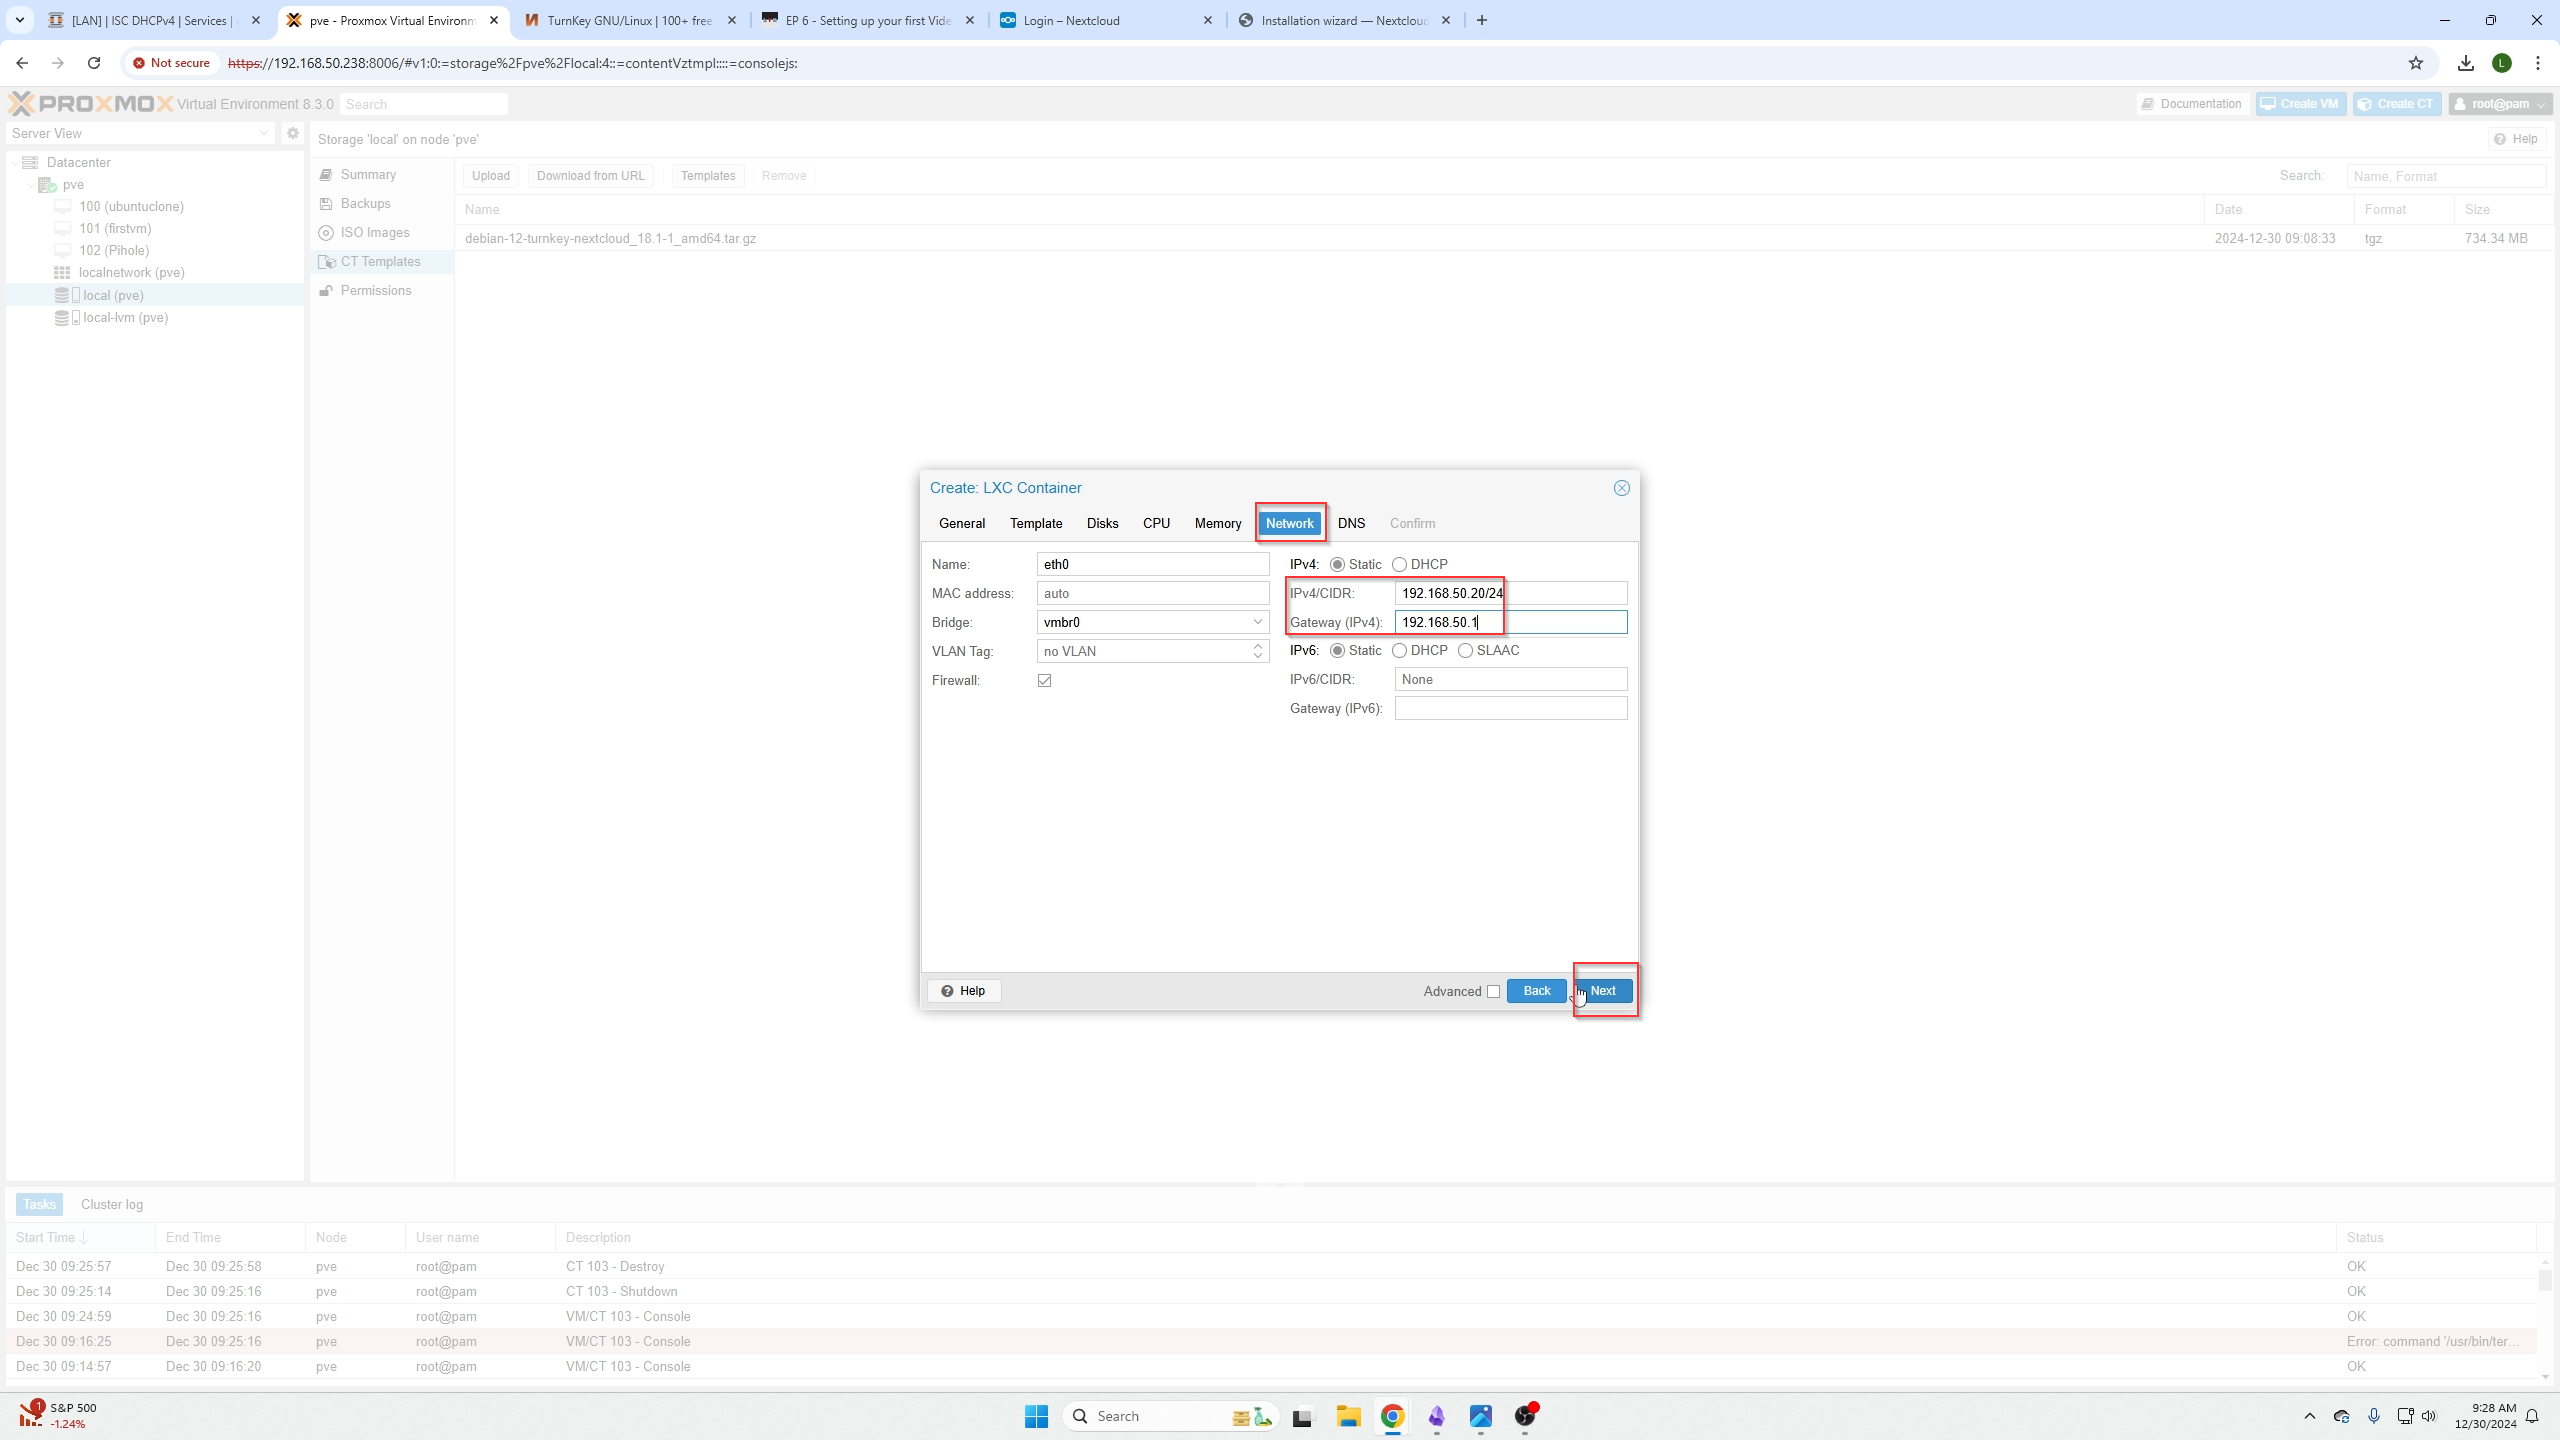
I am not going to show every tab, but you can see from the image below there is general, templates, etc. We are concerned about the templates tab where you will select nextcloud, the Disks tab SET THIS AS HIGH AS YOU CAN. This is determines how many pictures you can save., and then under the network tab we need to set a static IP address for our machine. We need to ensure in OPNsense or your router that the IP you are assigning has not already been issued to another machine.

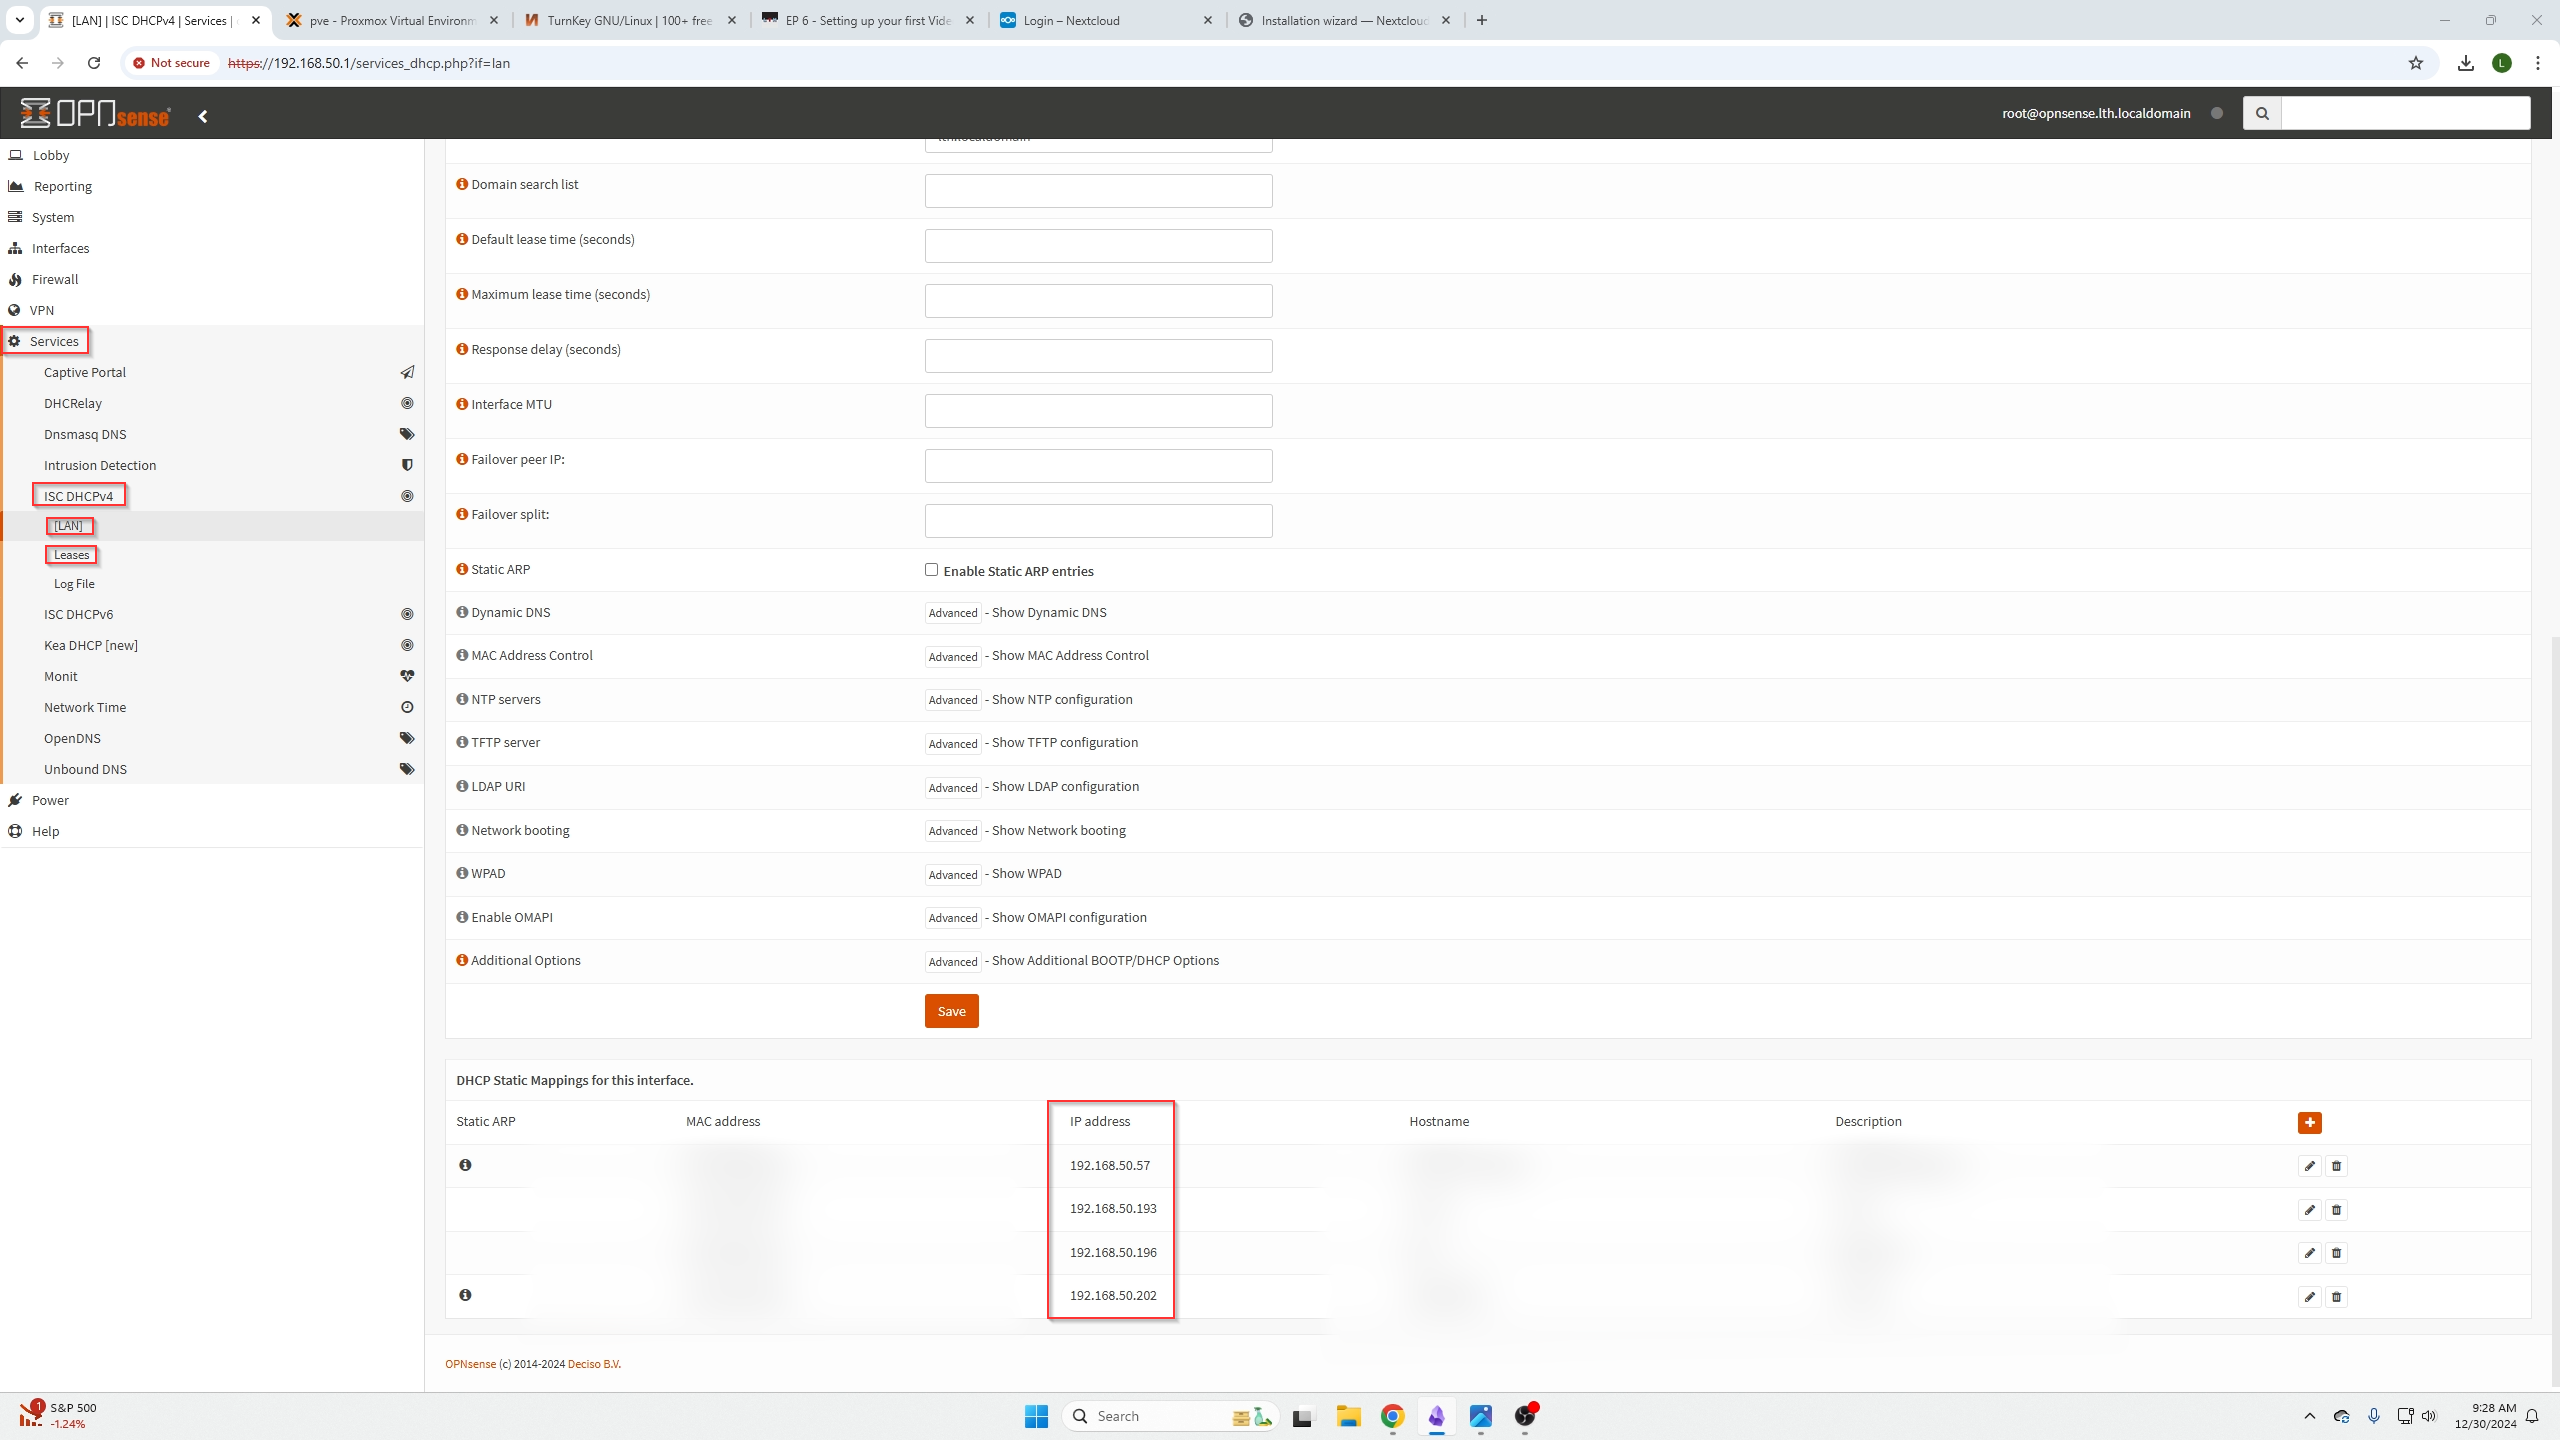
We can verify what FREE IP addresses we have by opening OPNsense and going to (Services / ISC DHCPv4 / [LAN] & Leases) tabs. As long as you do not see either one of those tabs with the IP you want to use, you are good to assign the container that address.
Going back to Proxmox we can see we have moved all the way to the Network Tab. AGAIN, do not forget to assign the proper disk space to save images and the other CPU and memory tab could be left default if you want.
Now assign the IPv4 address you have chosen and ensure you add your networks CIDR notation to the end. 99% of you it will be a /24 for a basic home network.
Then assign the gateway which is the IP of your home router or OPNsense box.
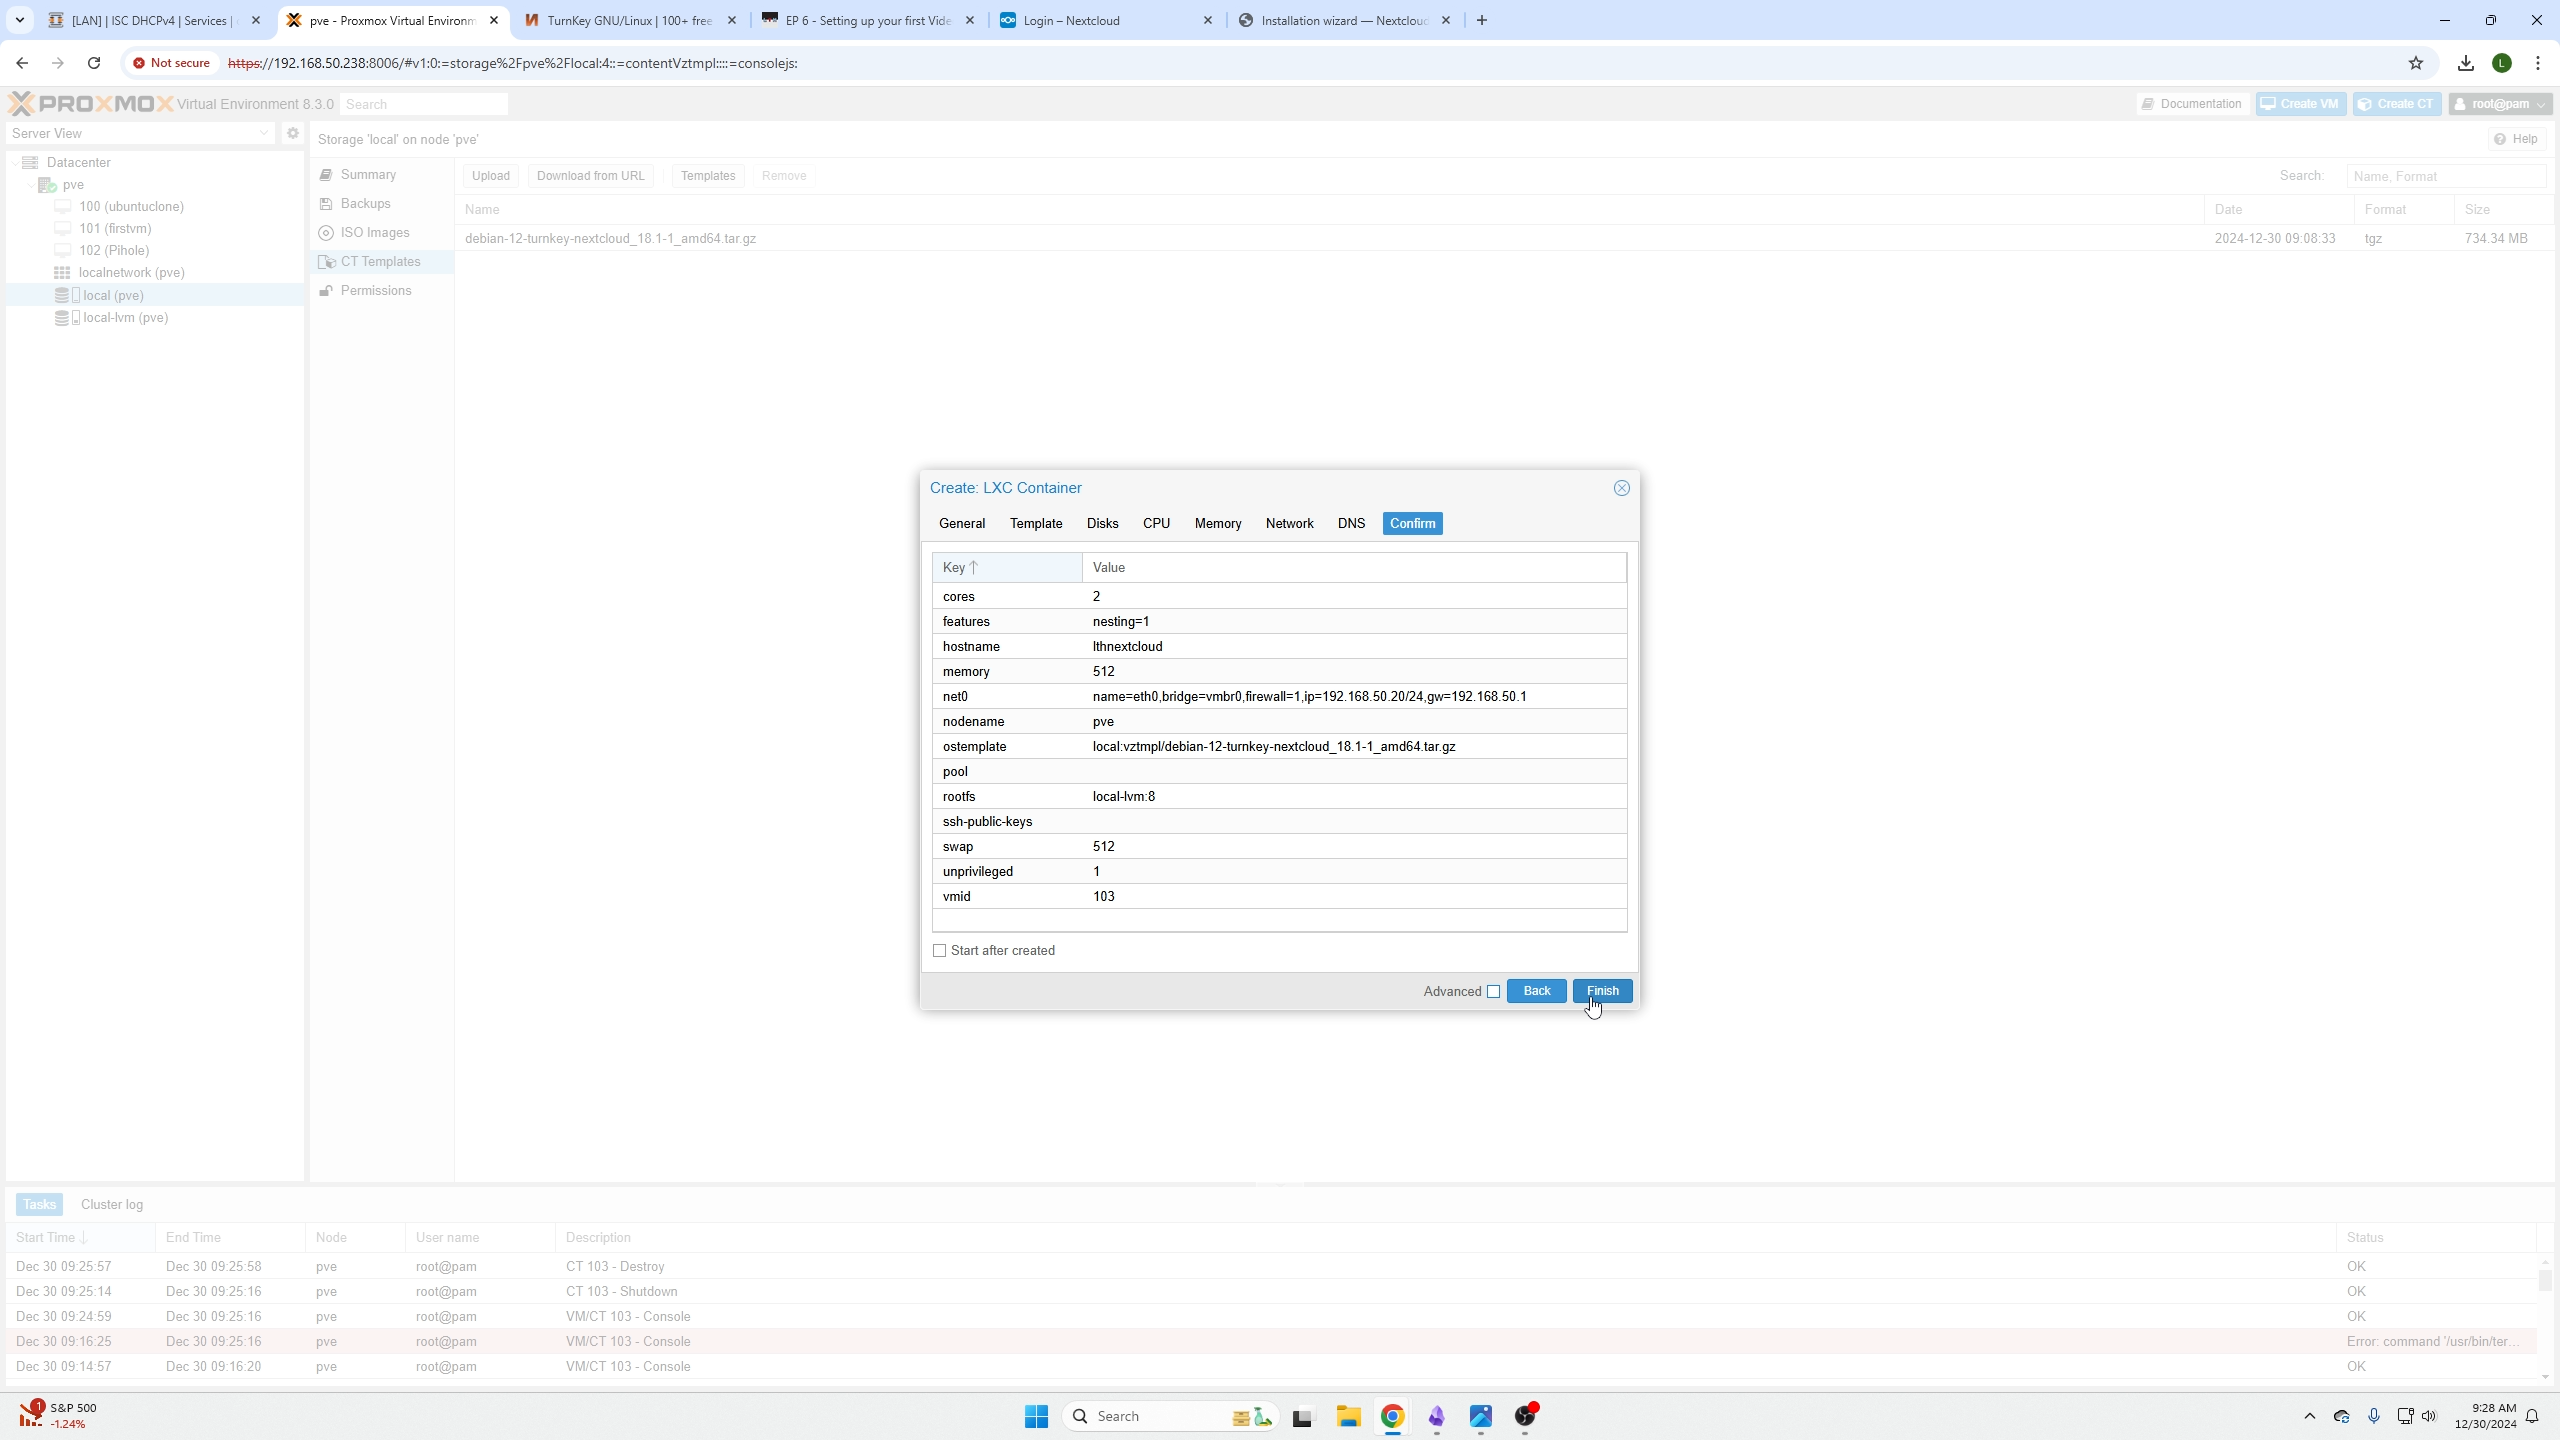
Here is an overview of my Containers settings. Disk is not shown but again make sure you make that nice and big so you can save loads of images. You will probably want somewhere in the ballpark of 100Gbs+.
Nextcloud Install Wizard
Select your container from the right menu, you will notice containers sit above Virtual Machines so make sure you aren't missing it!
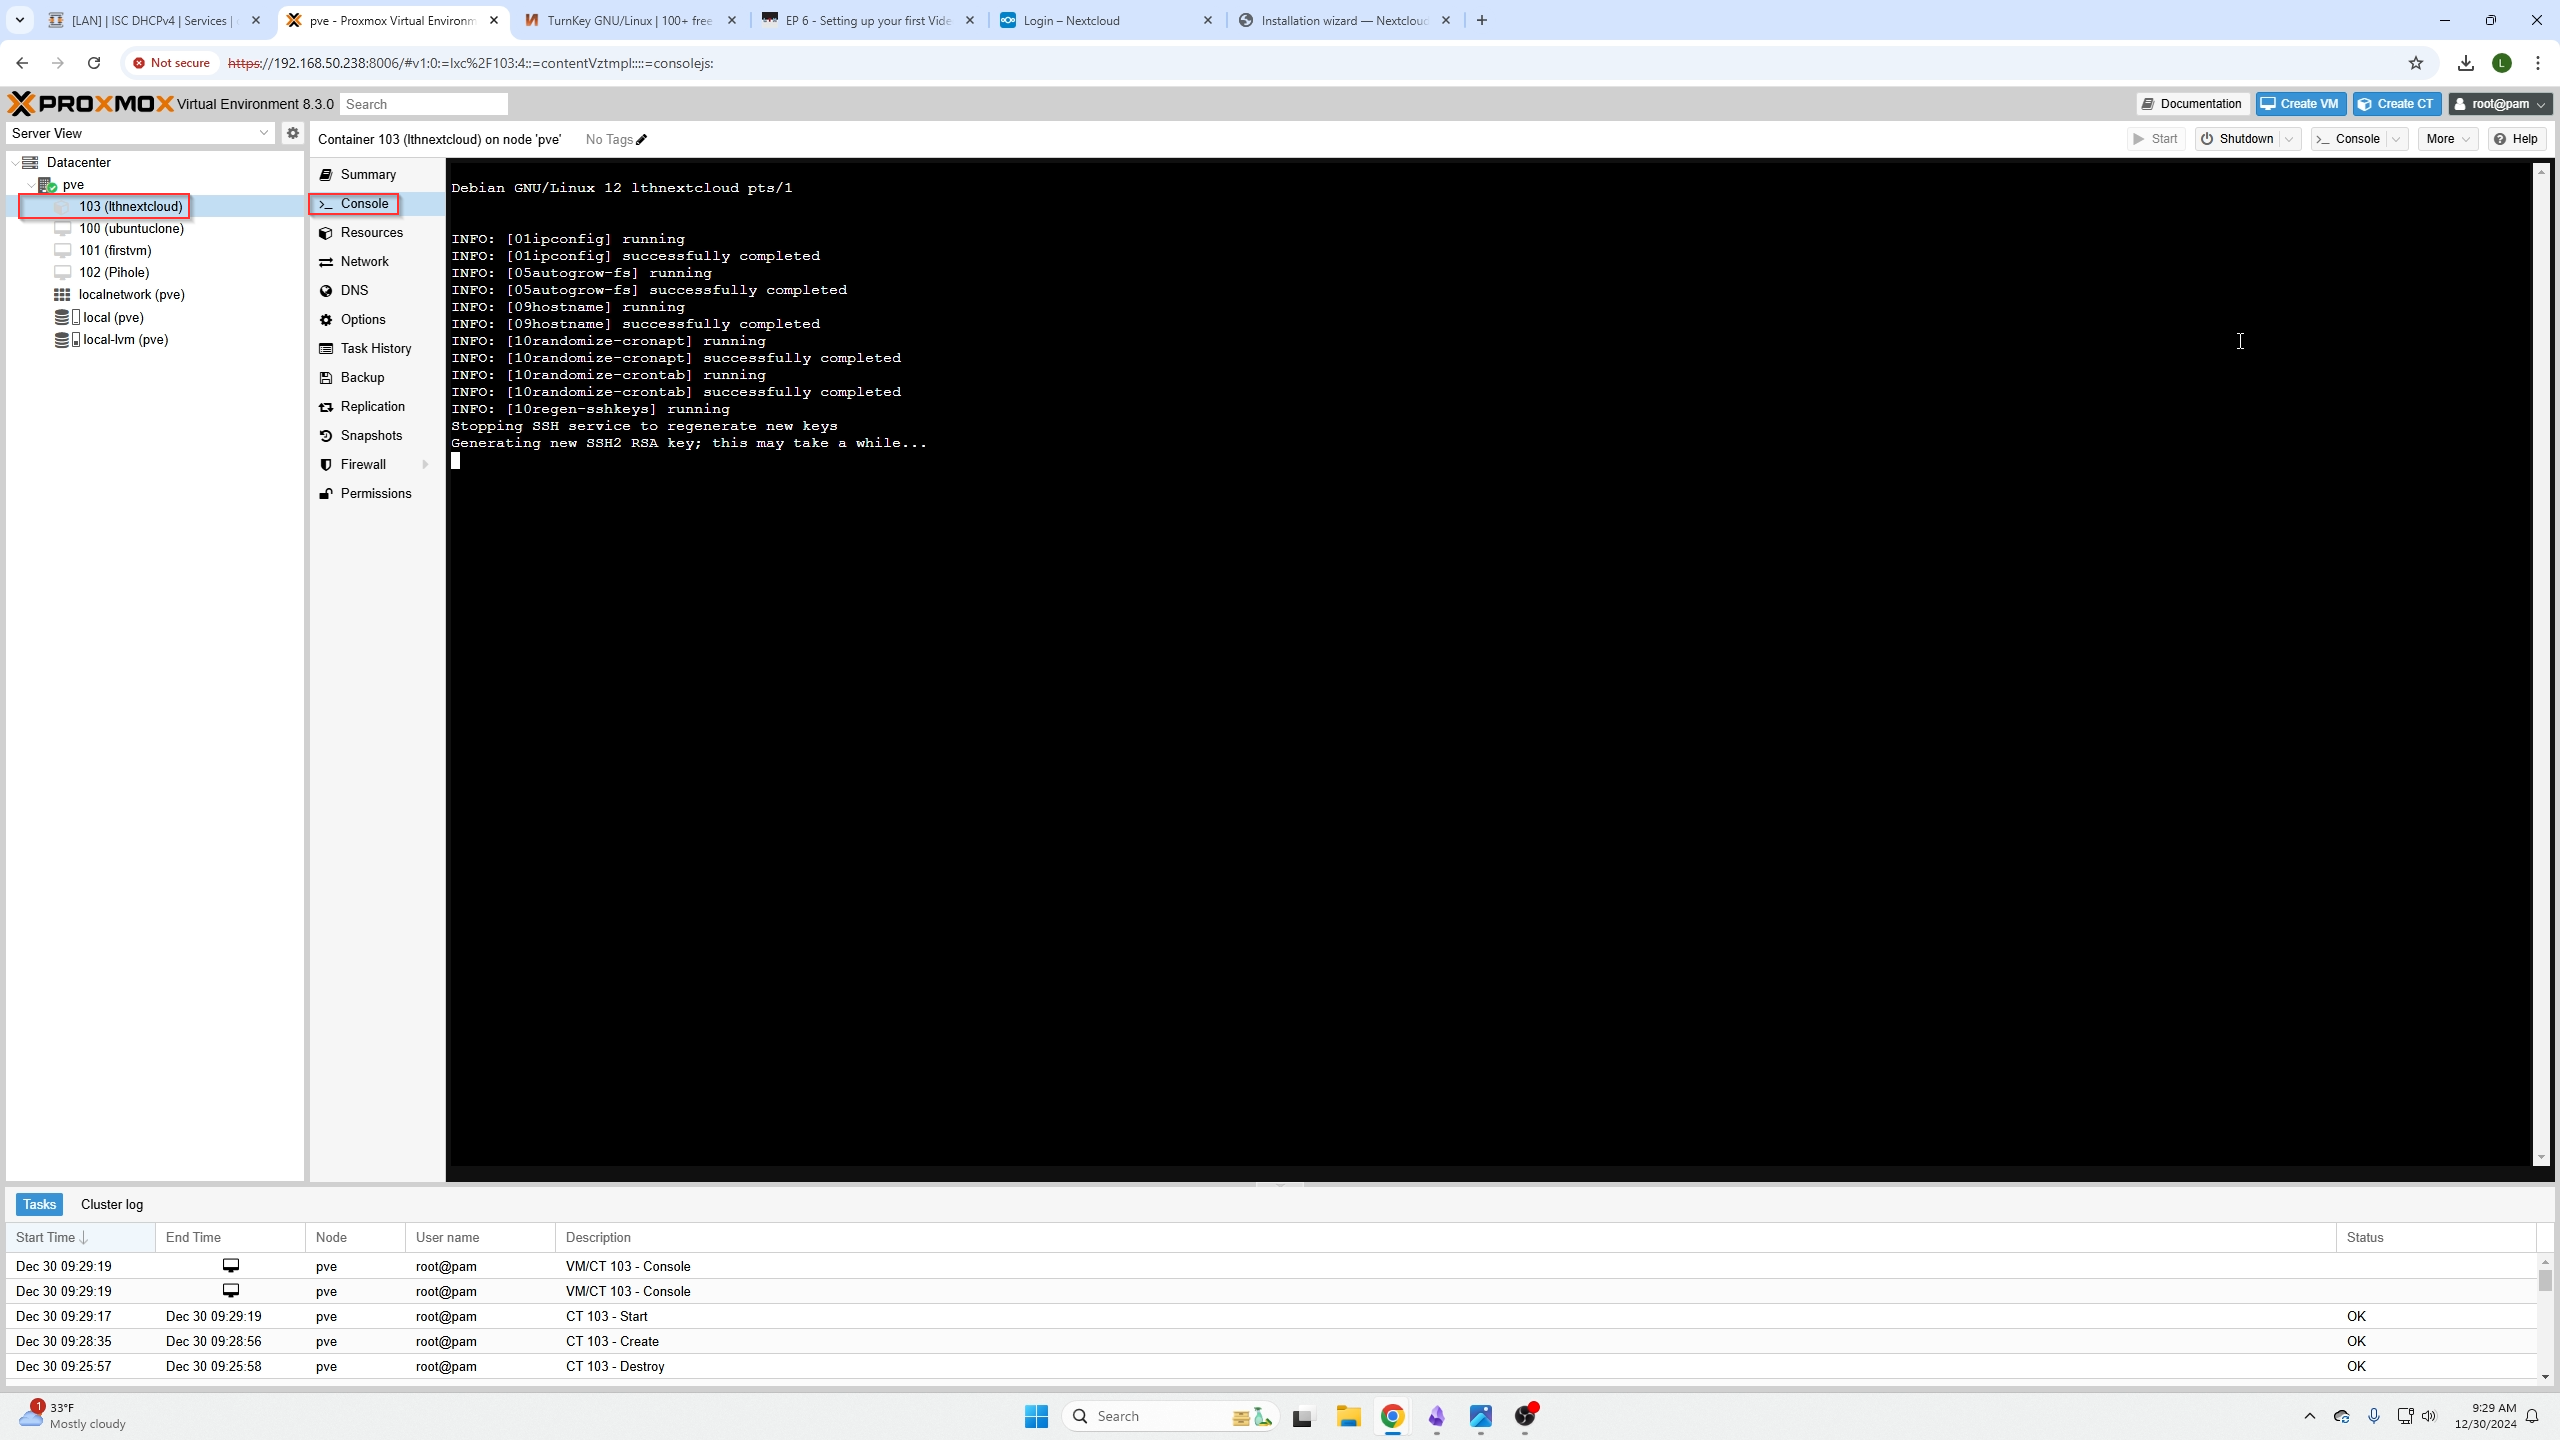
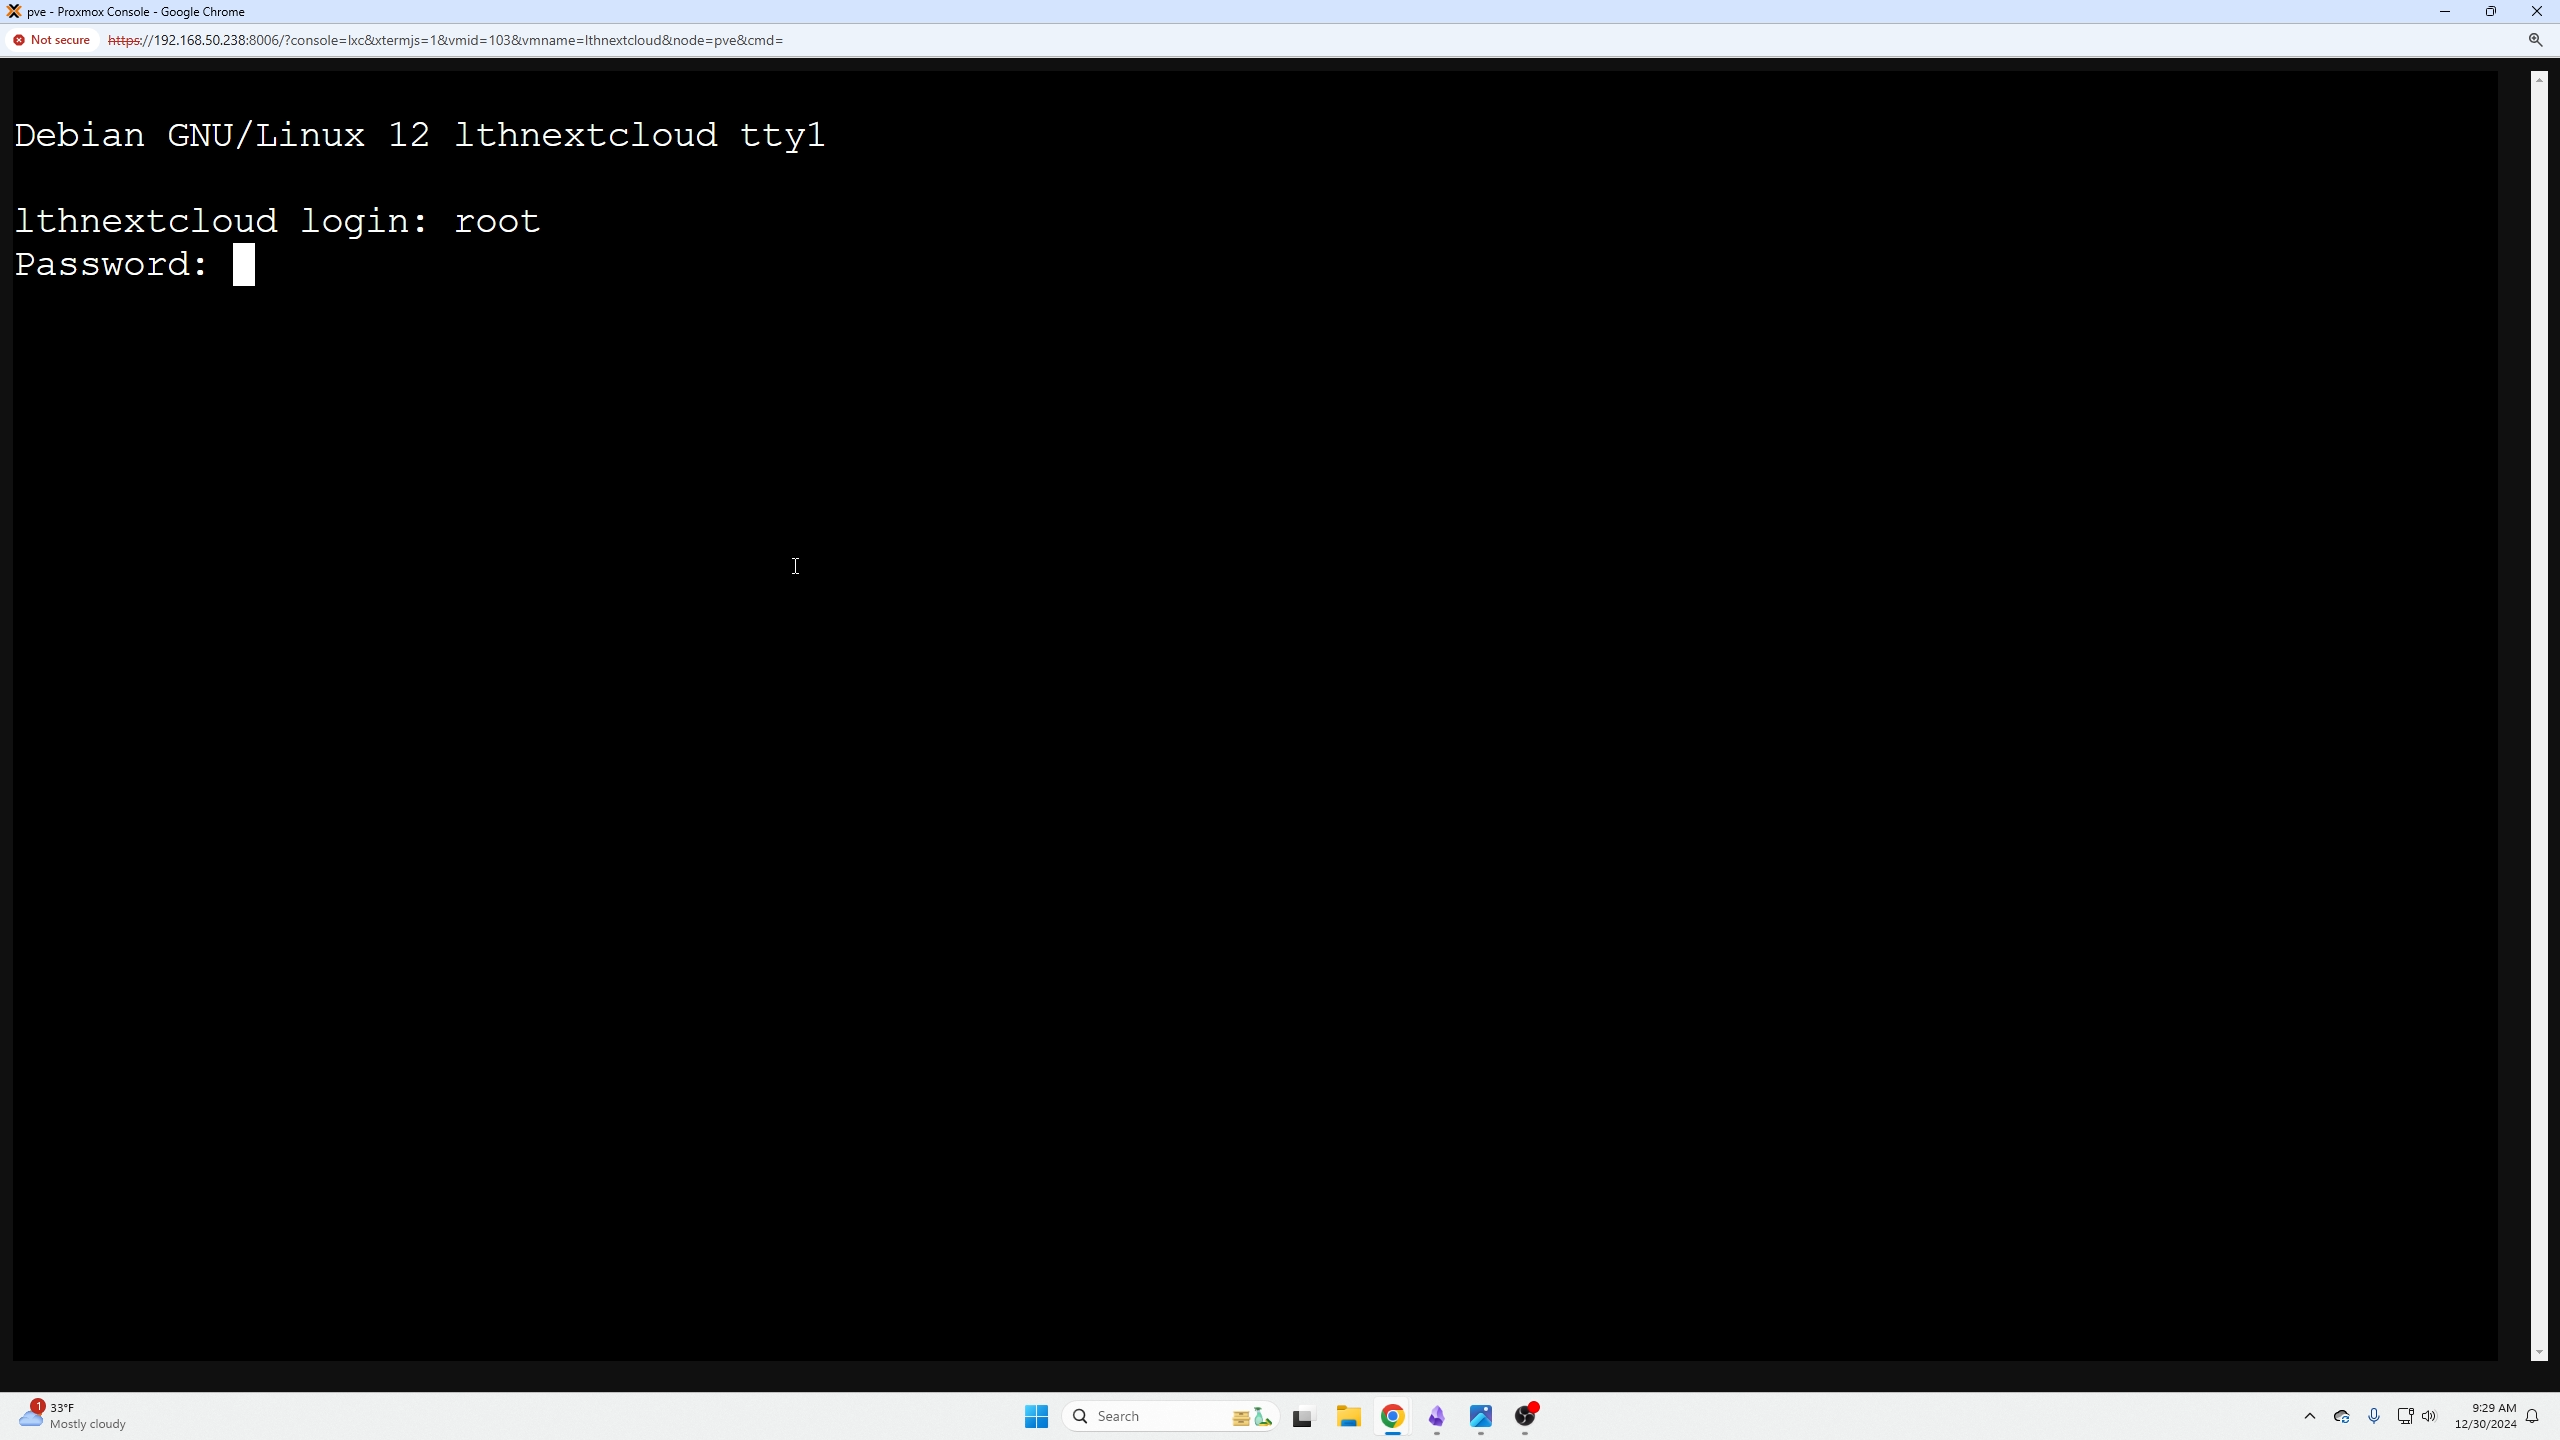
under the console tab click start, and after boot login with
Username: Root
Password: (the one you set on the general tabs page of container creation)
Login screen image:
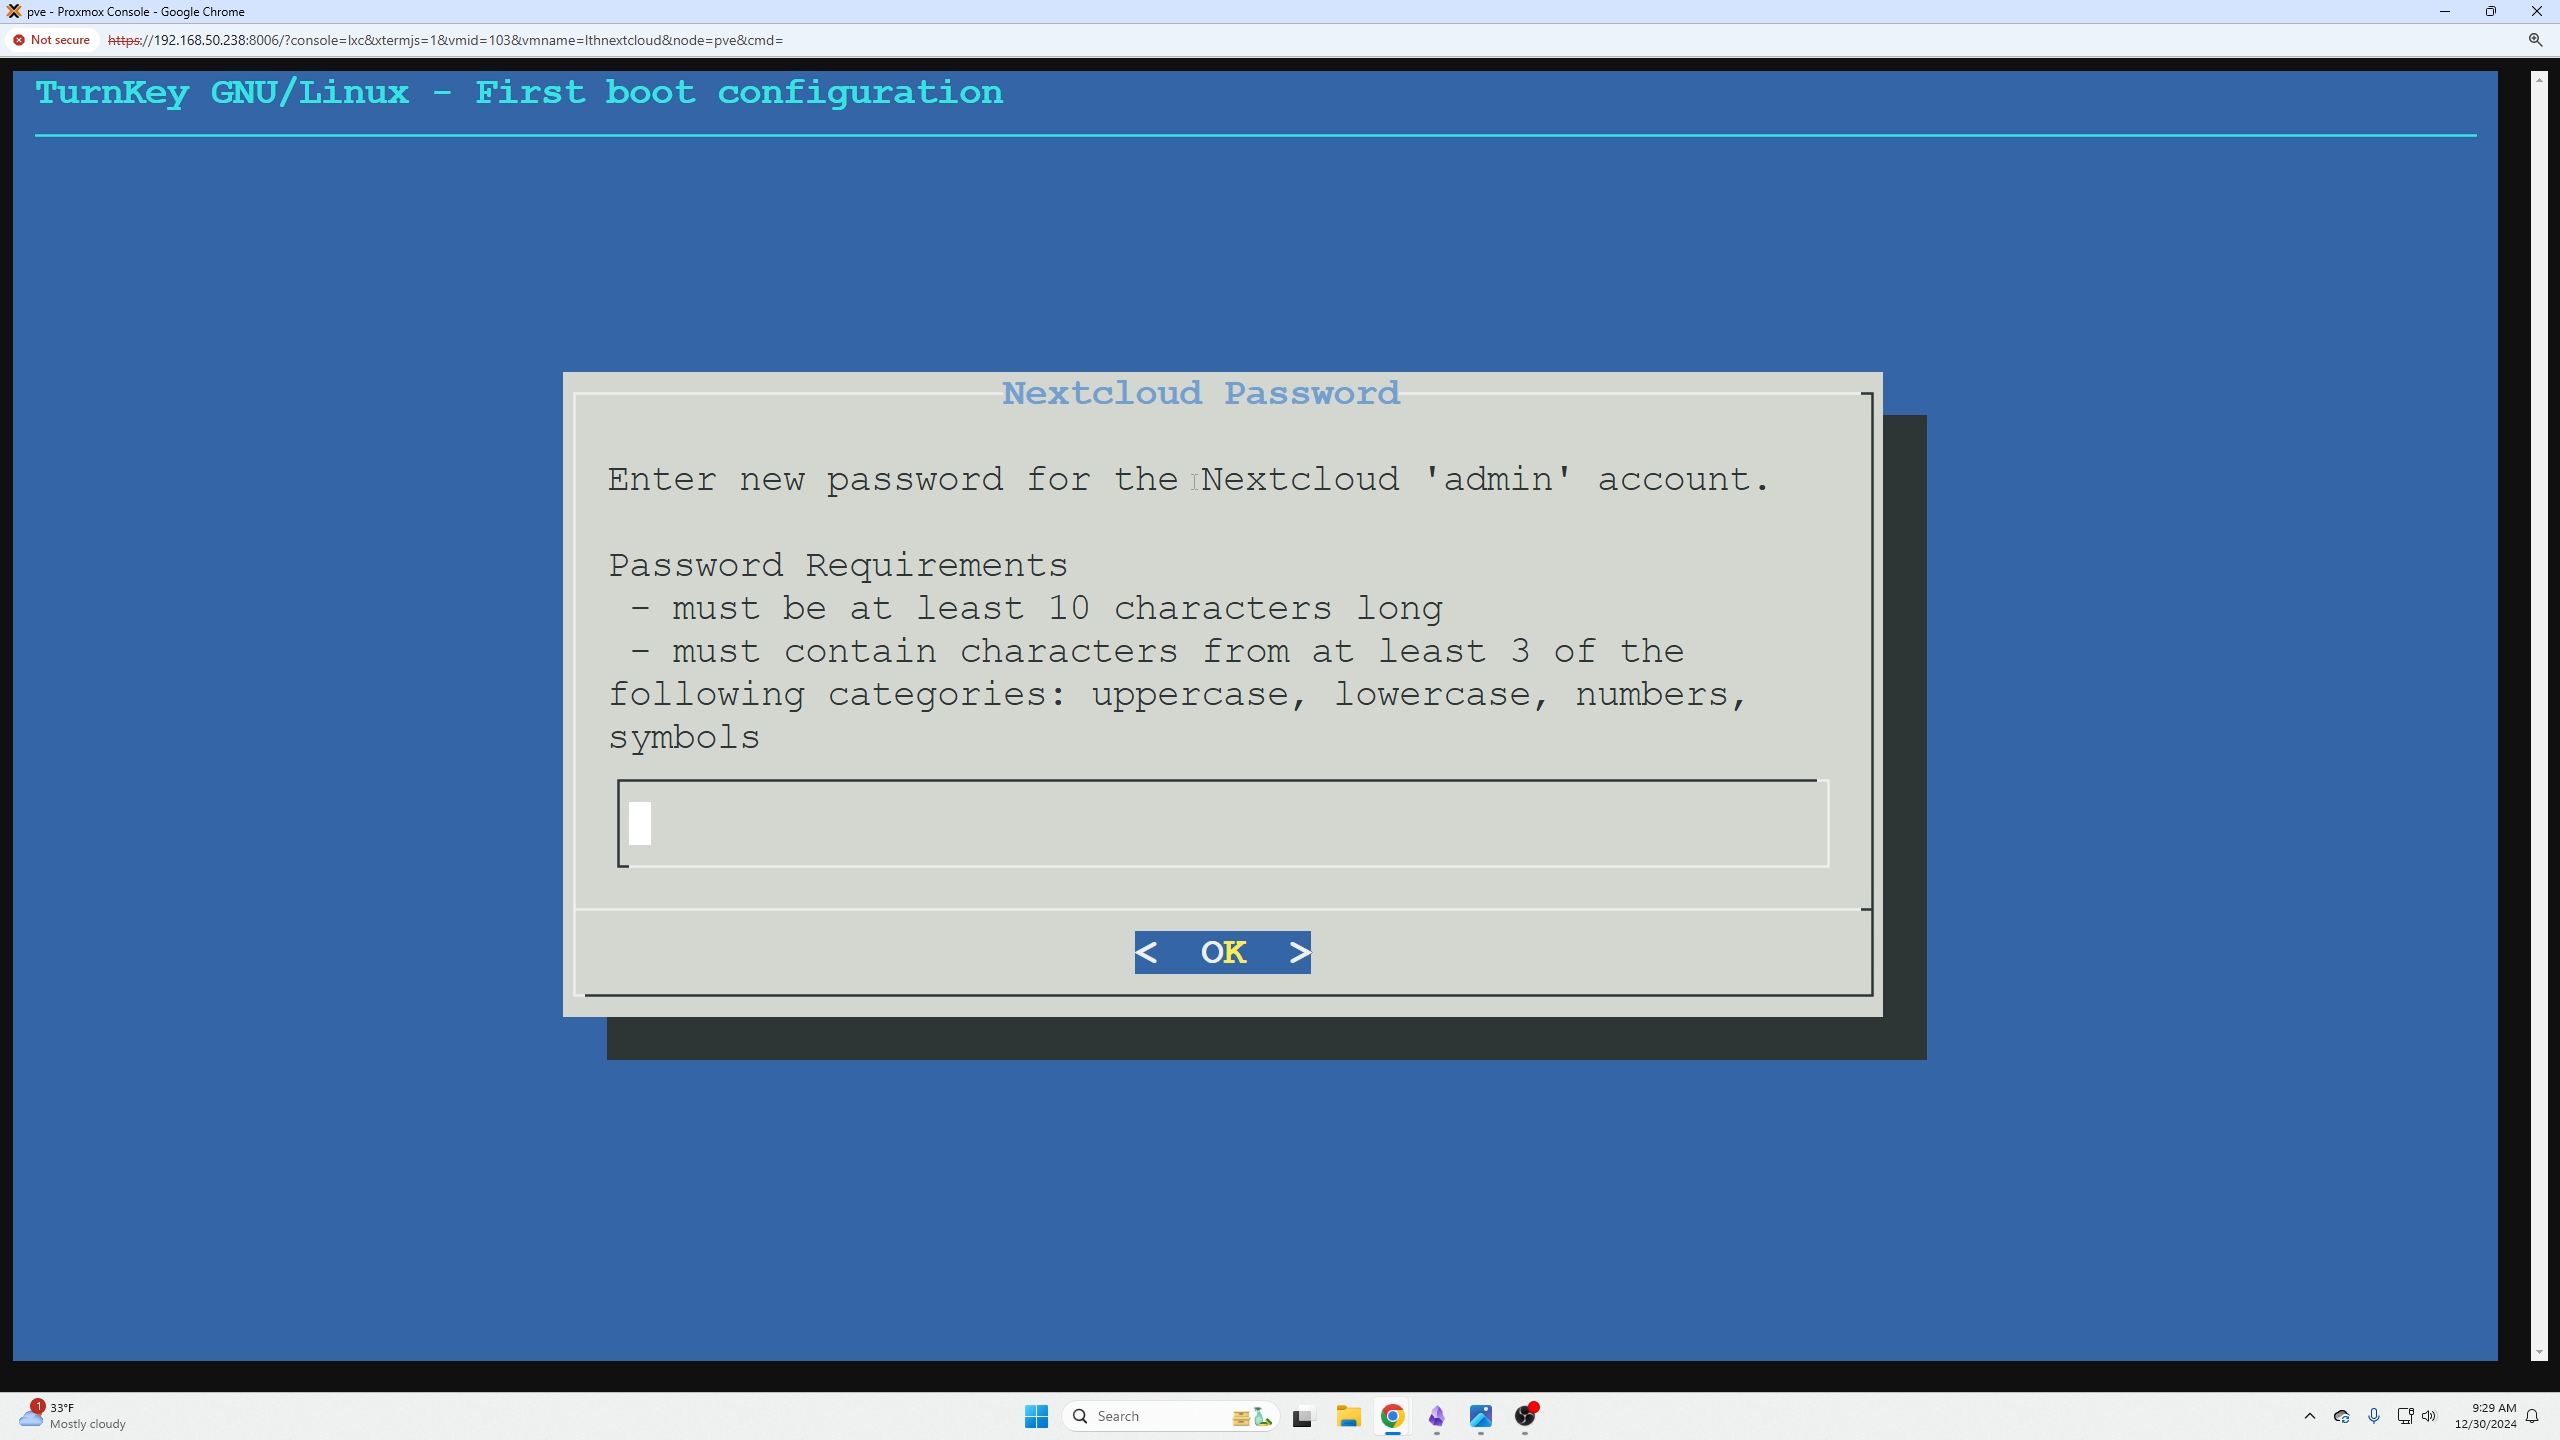
Soon as you login you will be prompted by the NextCloud install wizard.
Follow the wizard through, it is very explanatory, and you are really creating passwords for accounts.
Keep these account passwords stored in your notes for later!
Mysql

Nextcloud Admin (YOU WILL LOGIN WITH THIS ONE!)
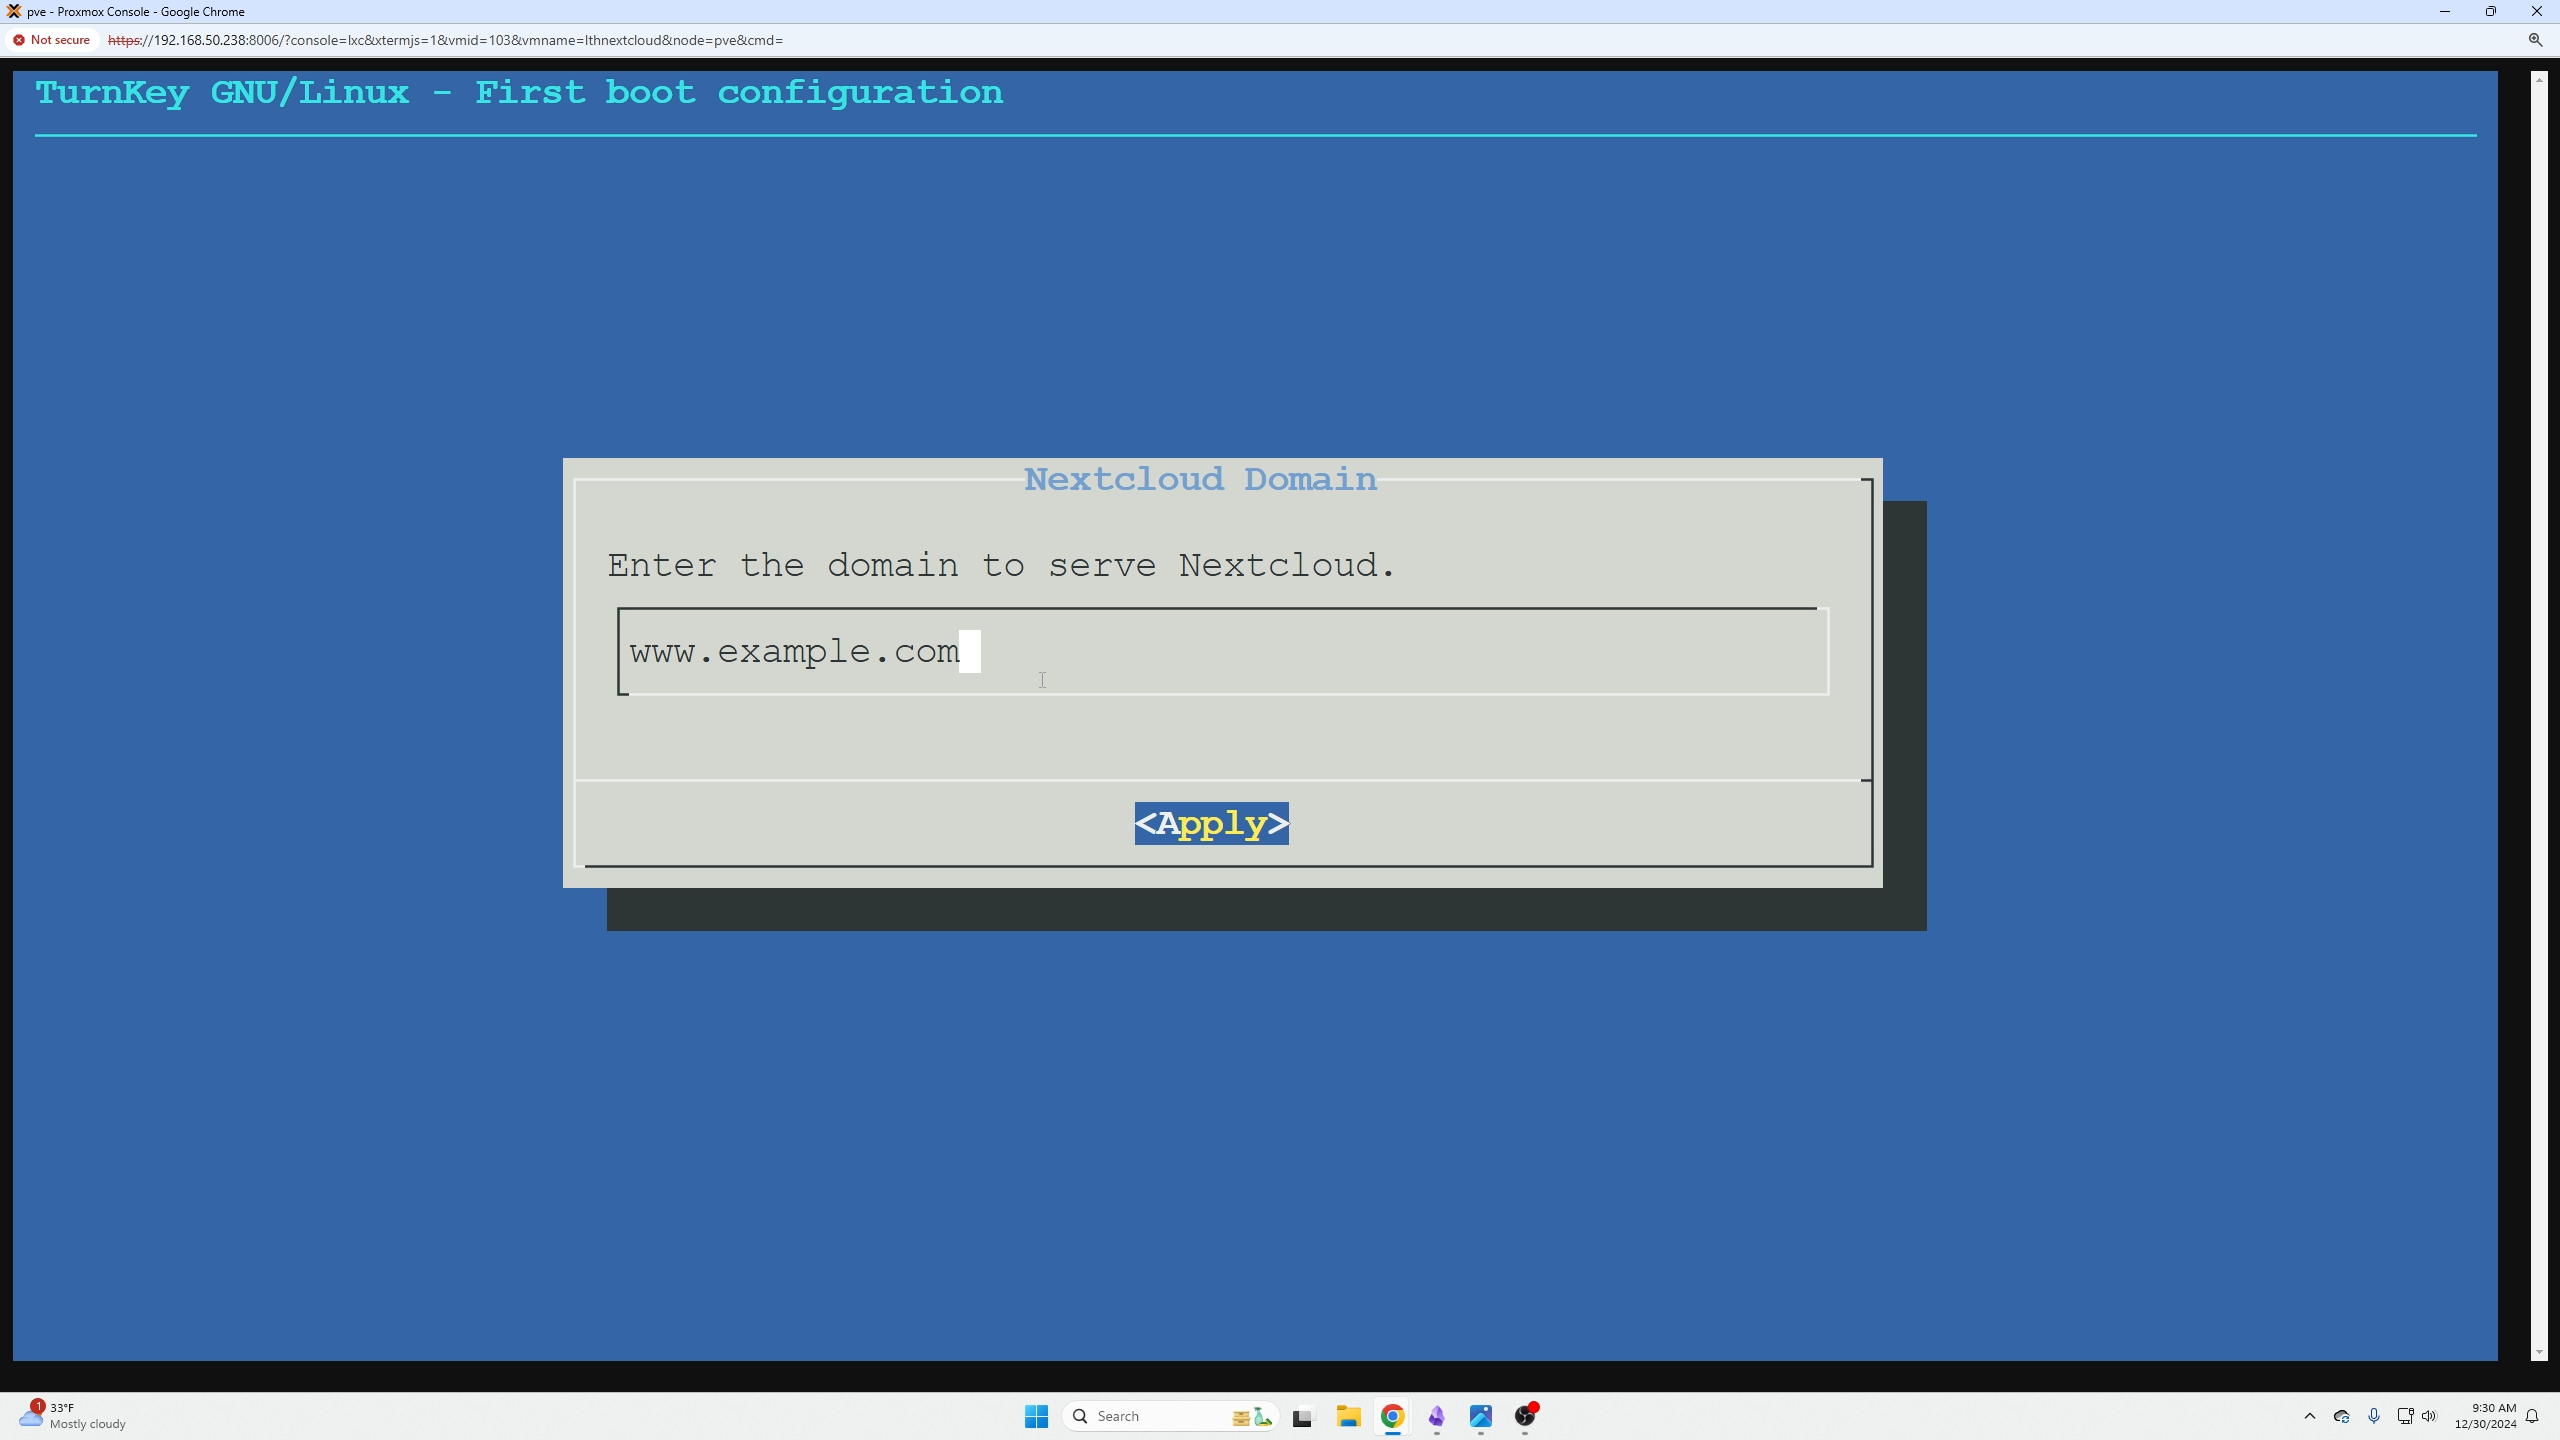
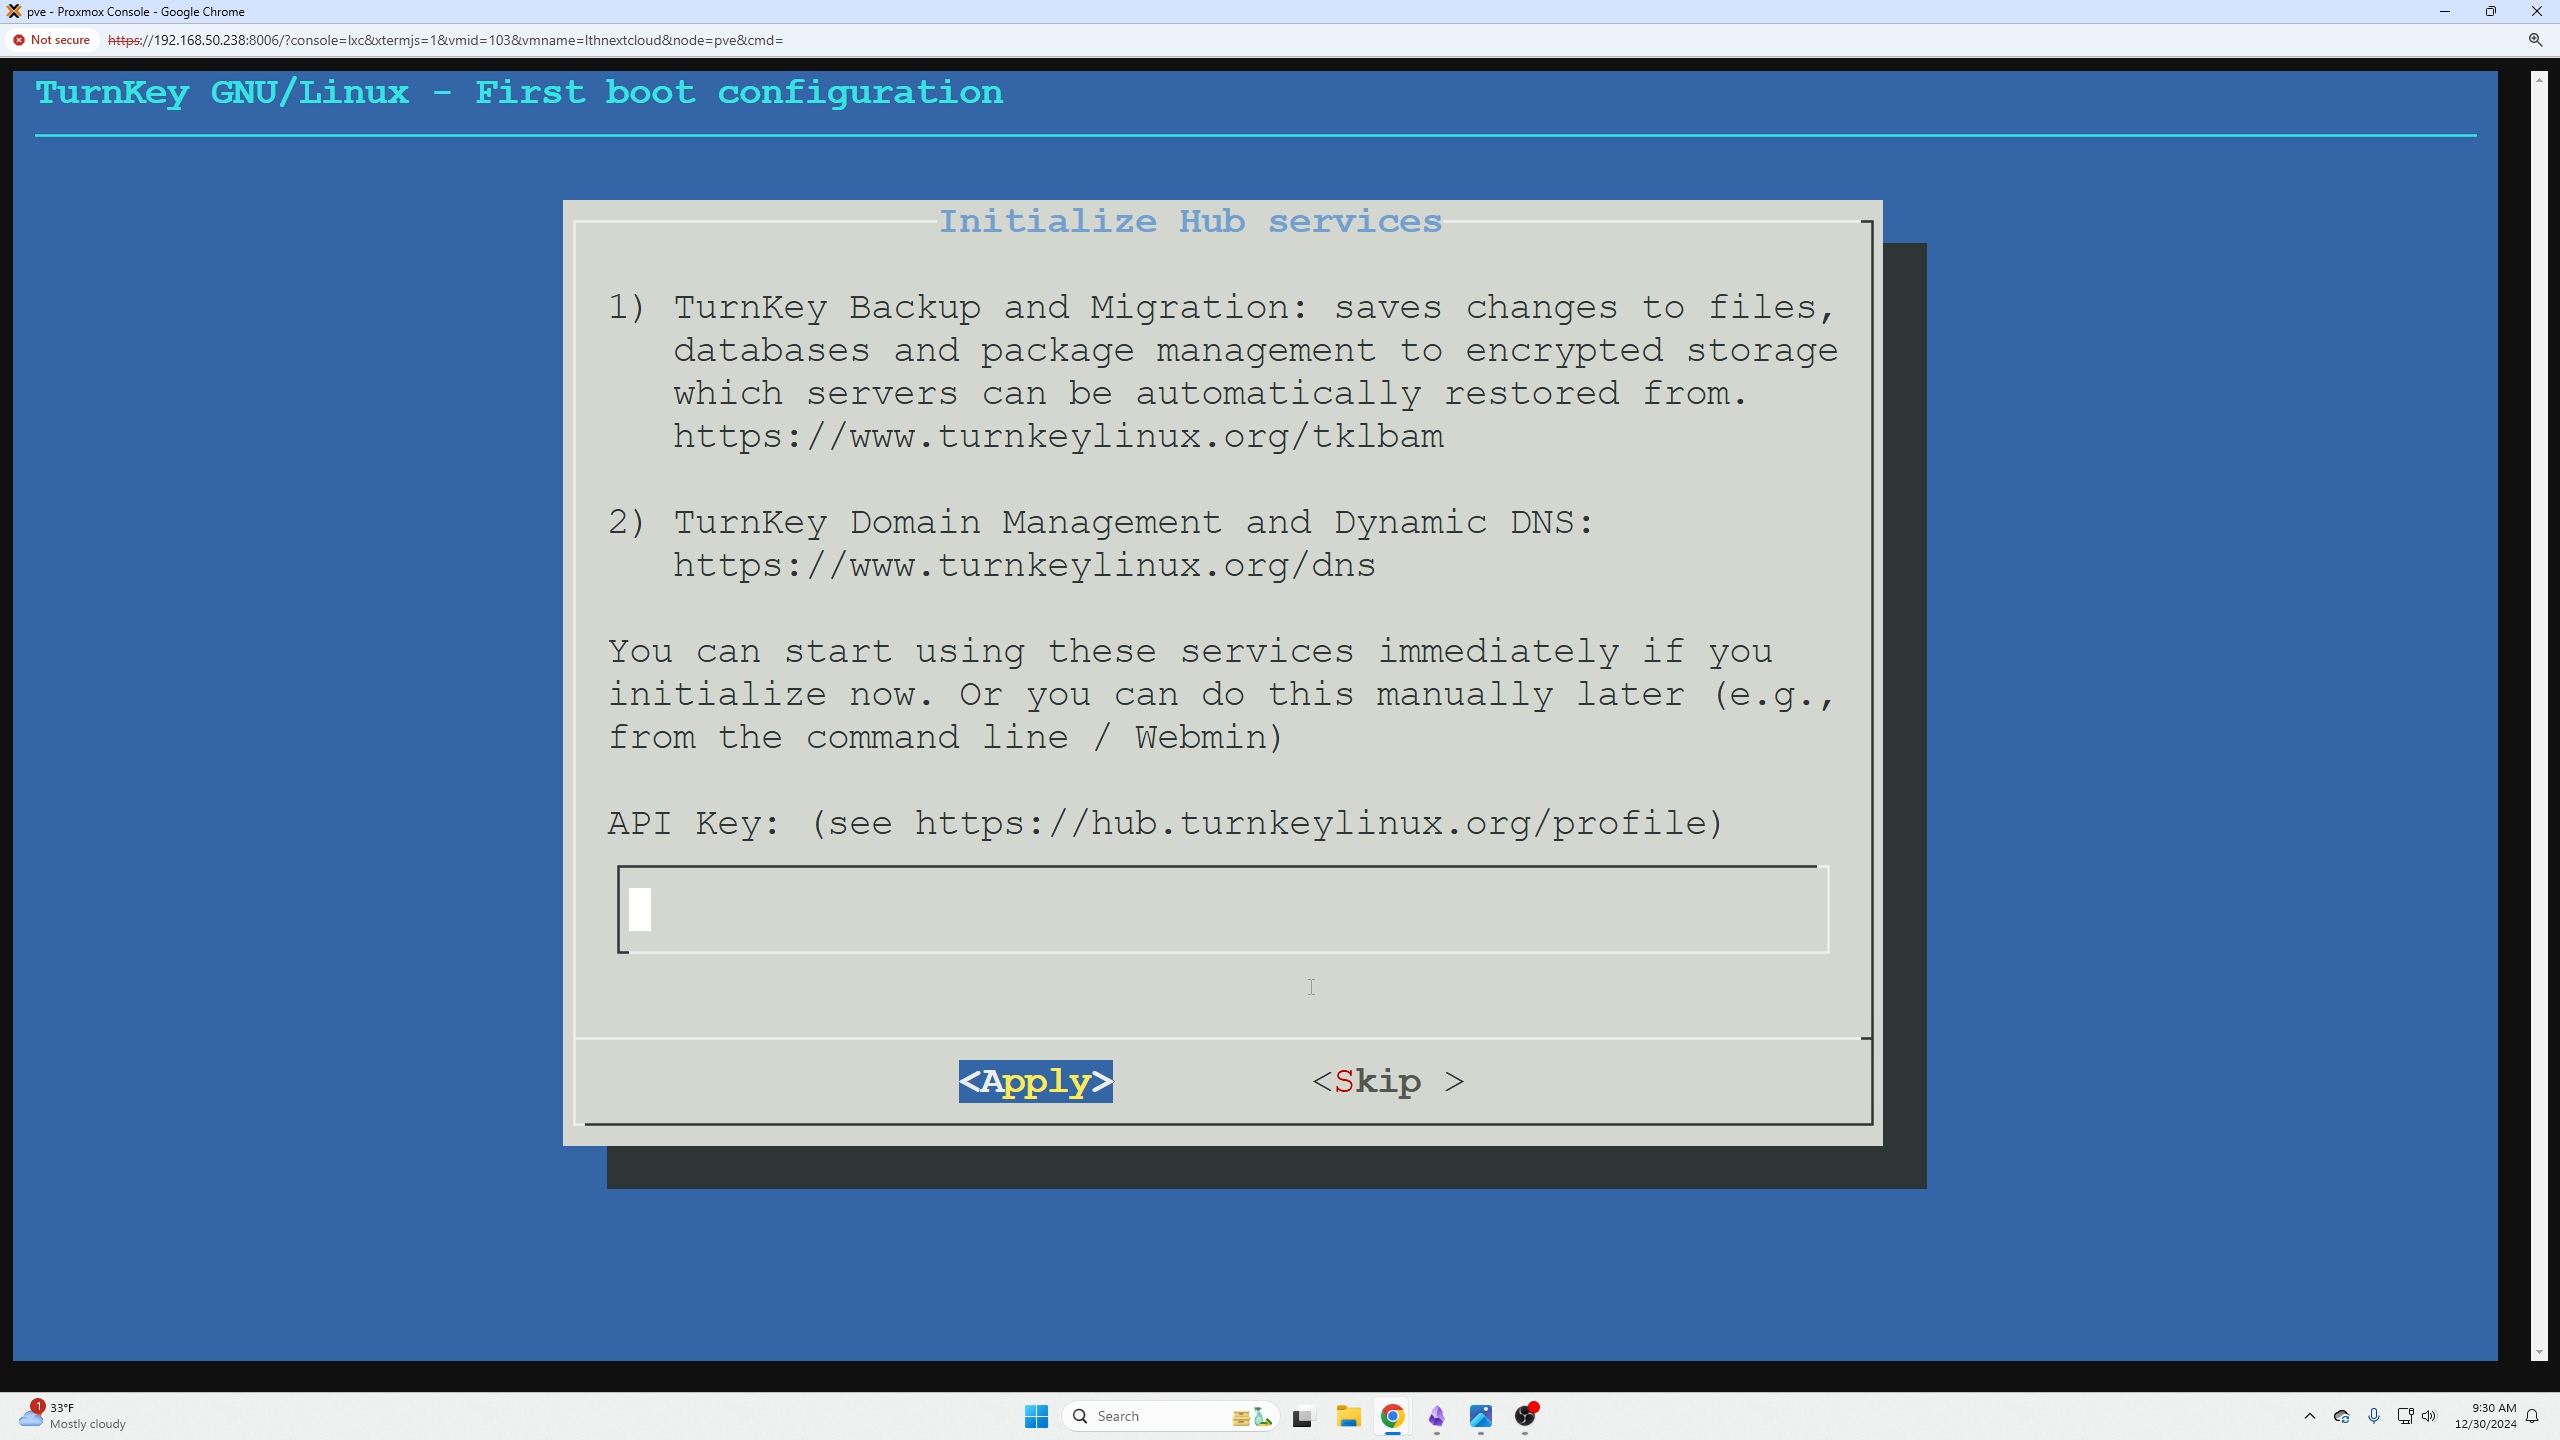
You can skip this one, we are not going to access Nextcloud with a URL.
We are not going to use Turnkey backup so you can click your tab key twice and then enter for skip.
You can enter an email here for notifications if you'd like.

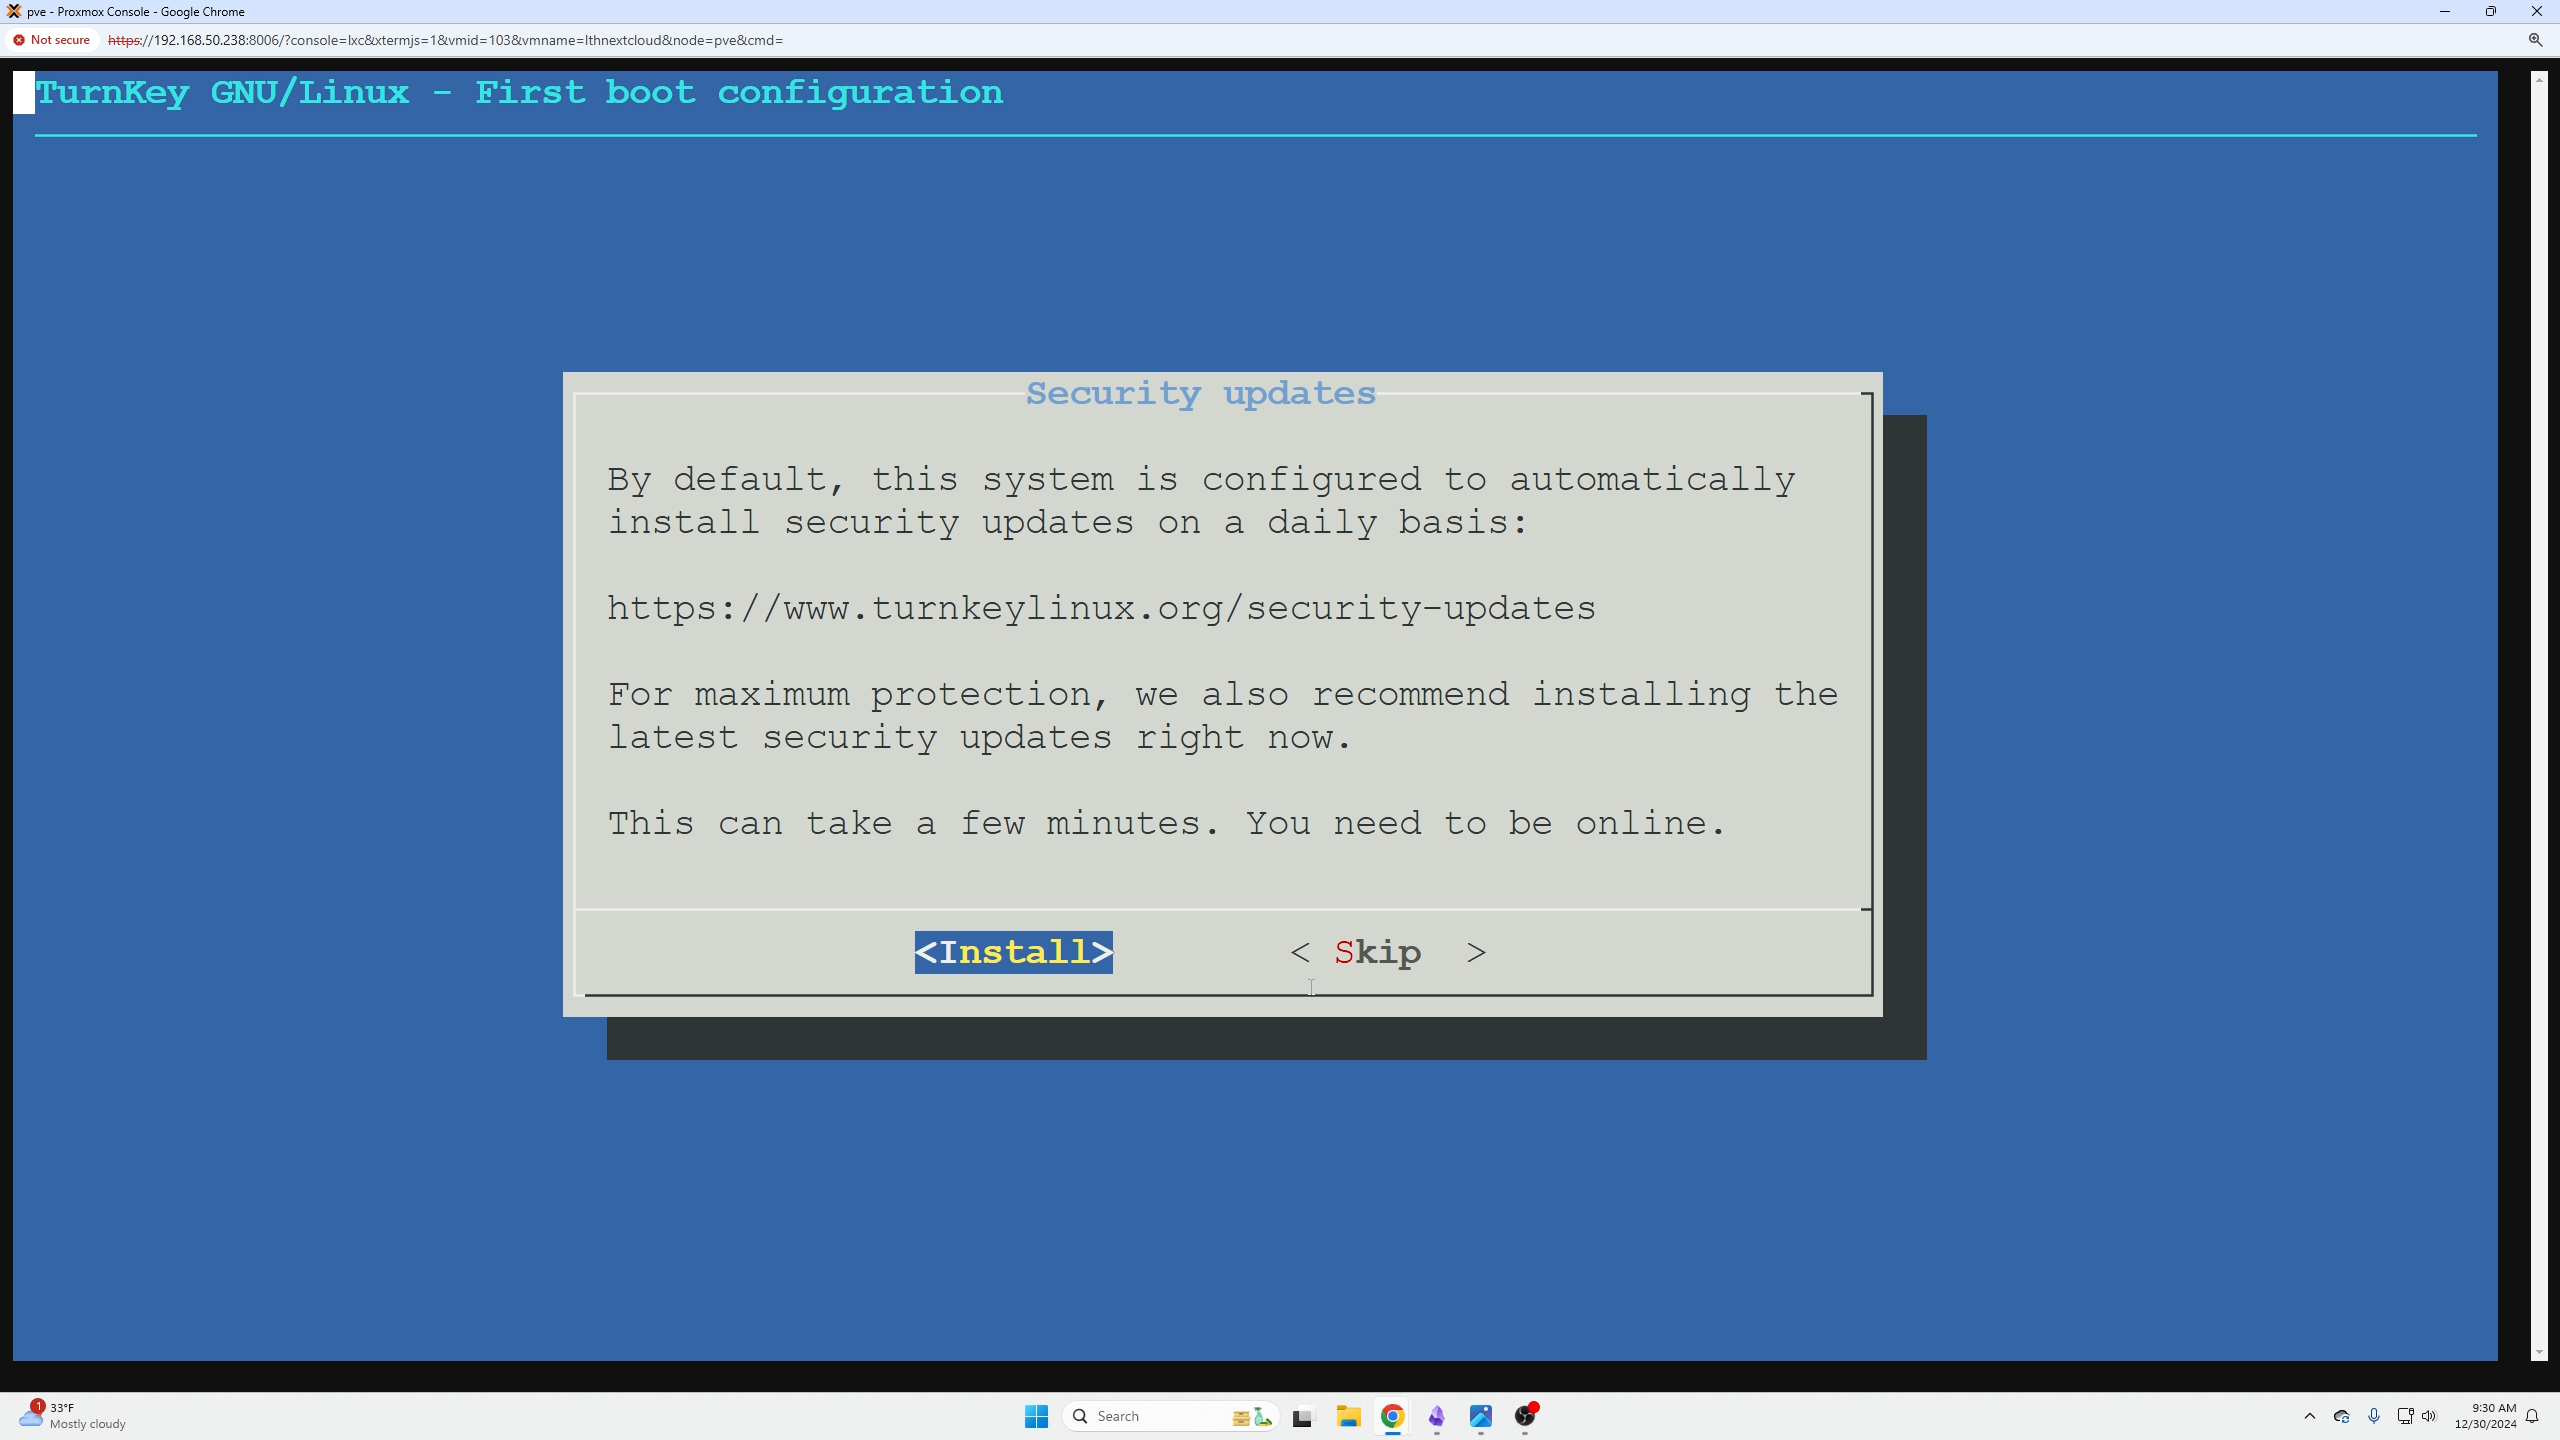
Always ensure you have the latest security updates so click install.
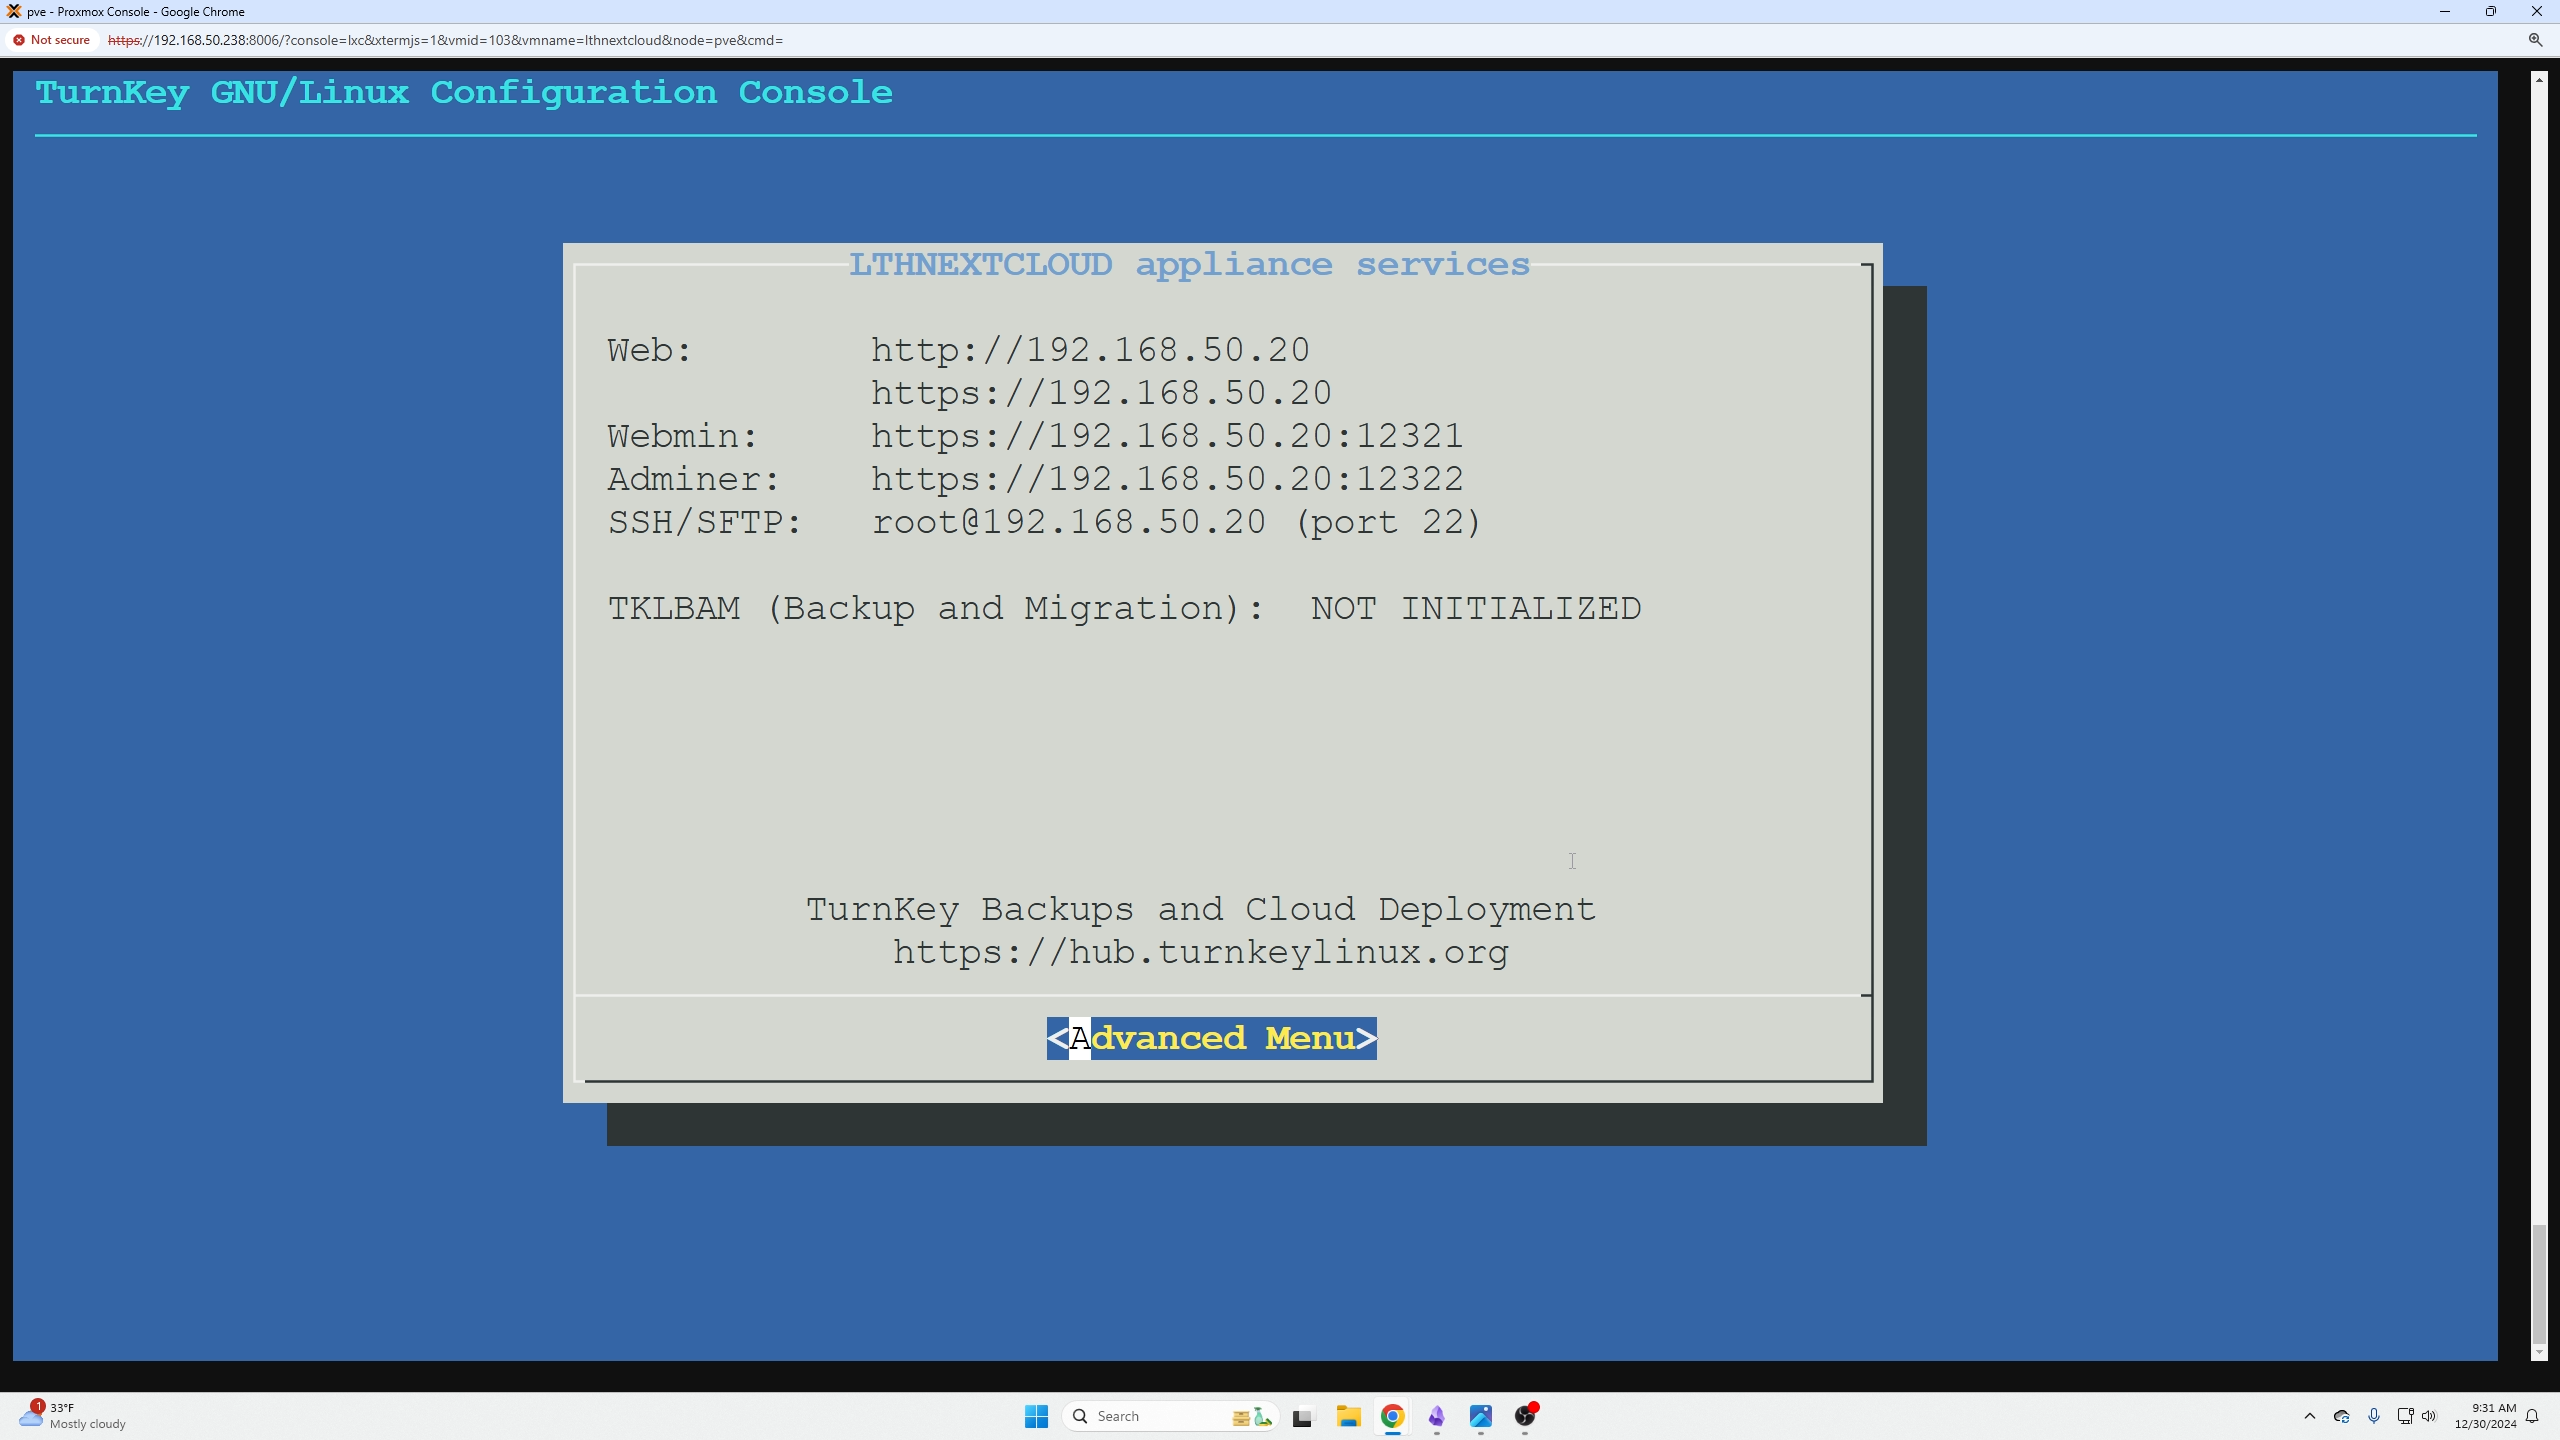
At this point you have reached the end, copy this info into your notes and then you can do ctrl + enter to exit the menu.
Going to the Nextcloud IP address in our browser we can see there is a security feature that prevents us from accessing it:

If click doumentation we are taking to this page that gives us some insight on how to fix this.
We need to go into the following settings directory to make the correct changes.

You will be presented with the following file and we are going to edit the following 'trusted_domains' section.
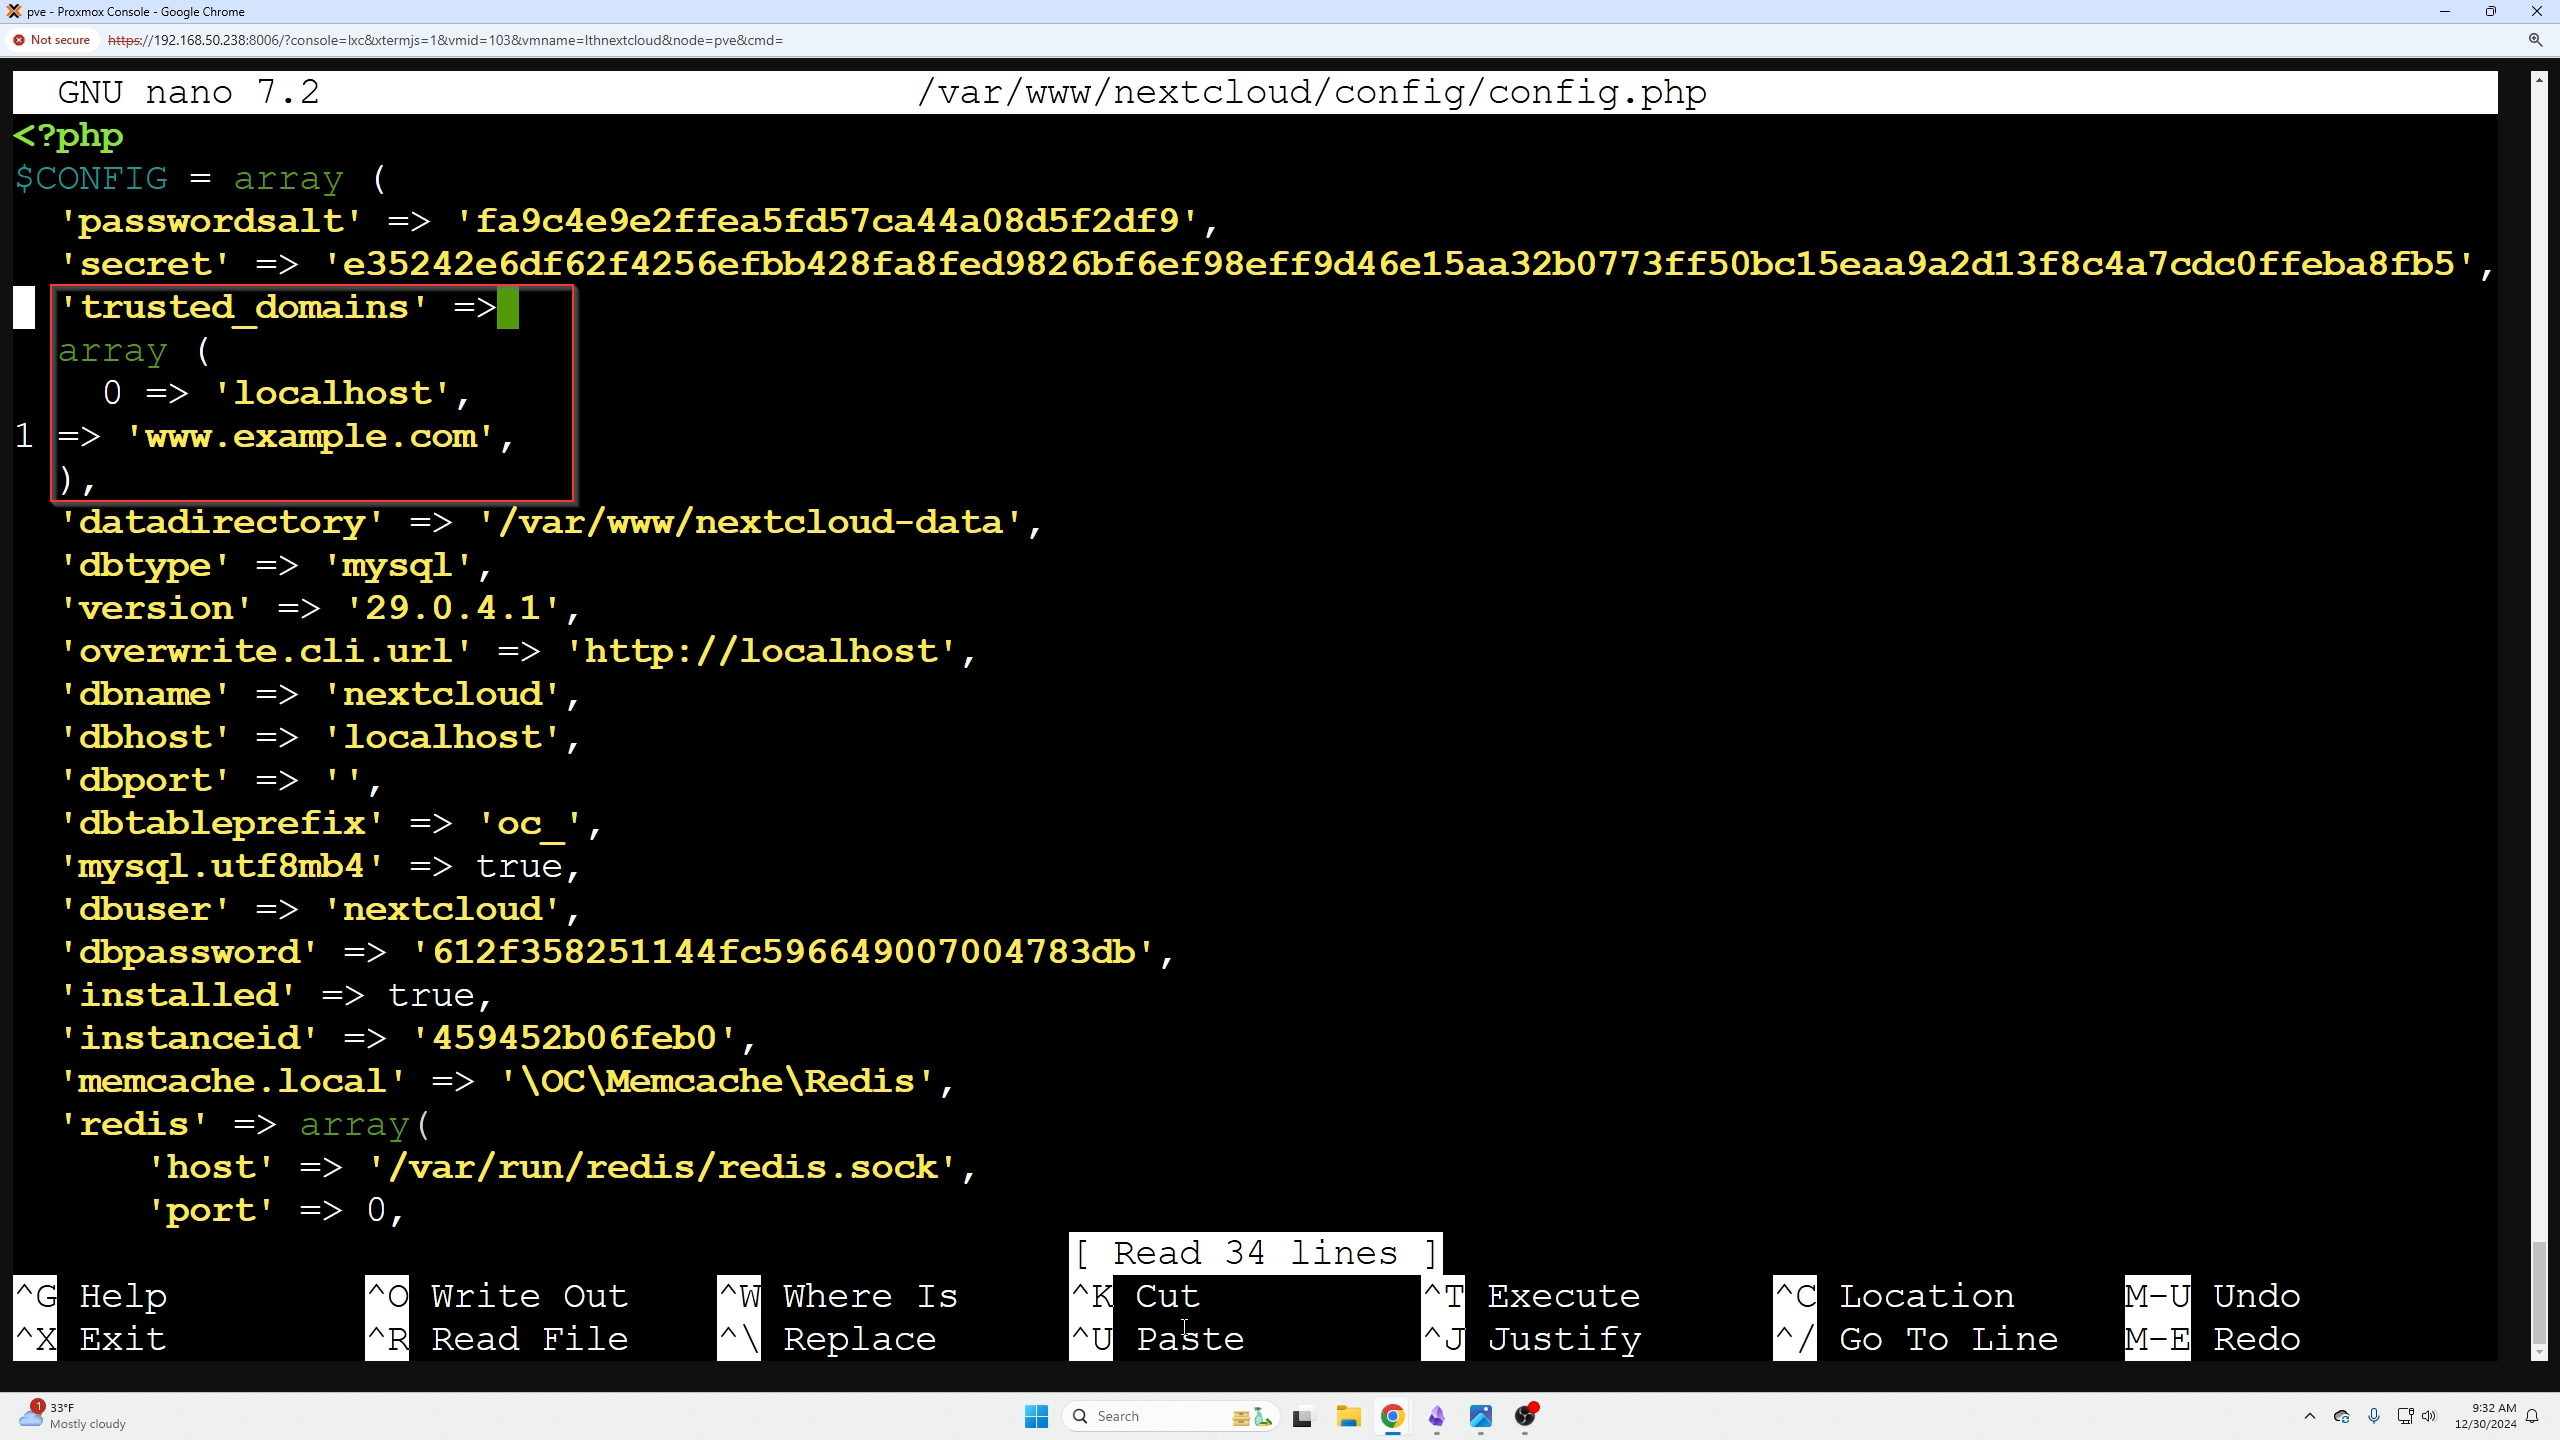
We want to make that sections in ours look like this:
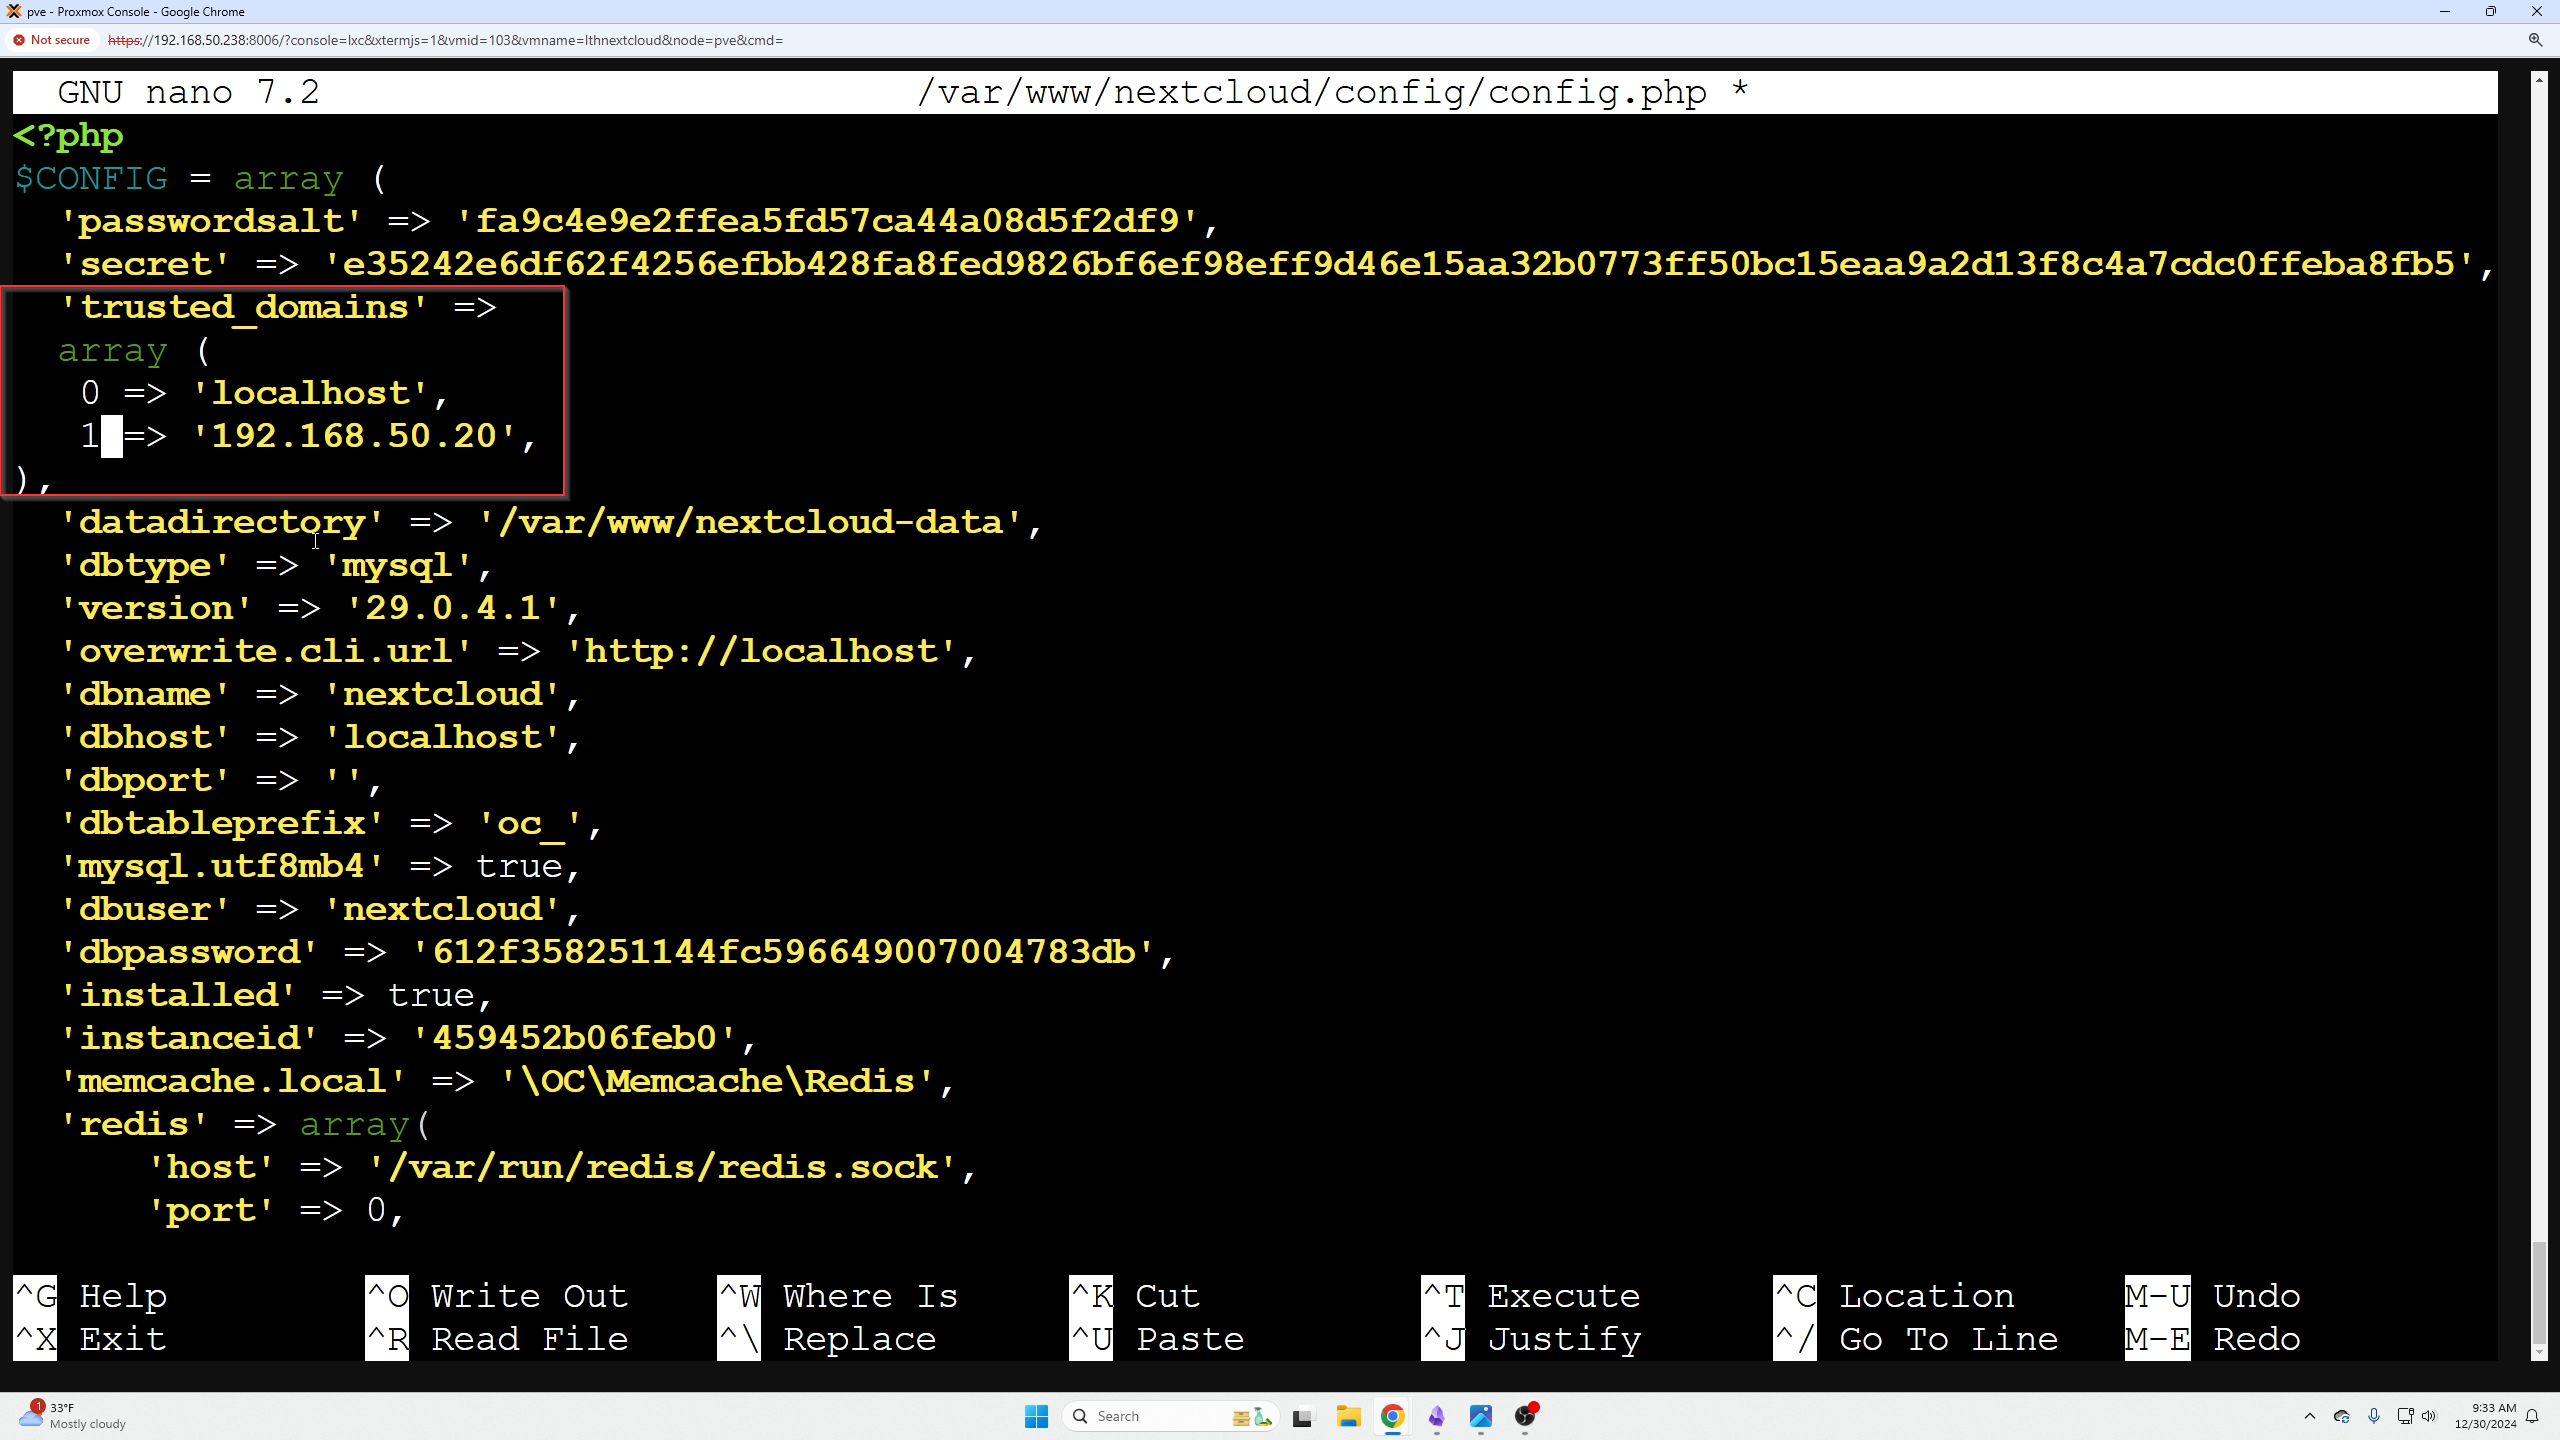
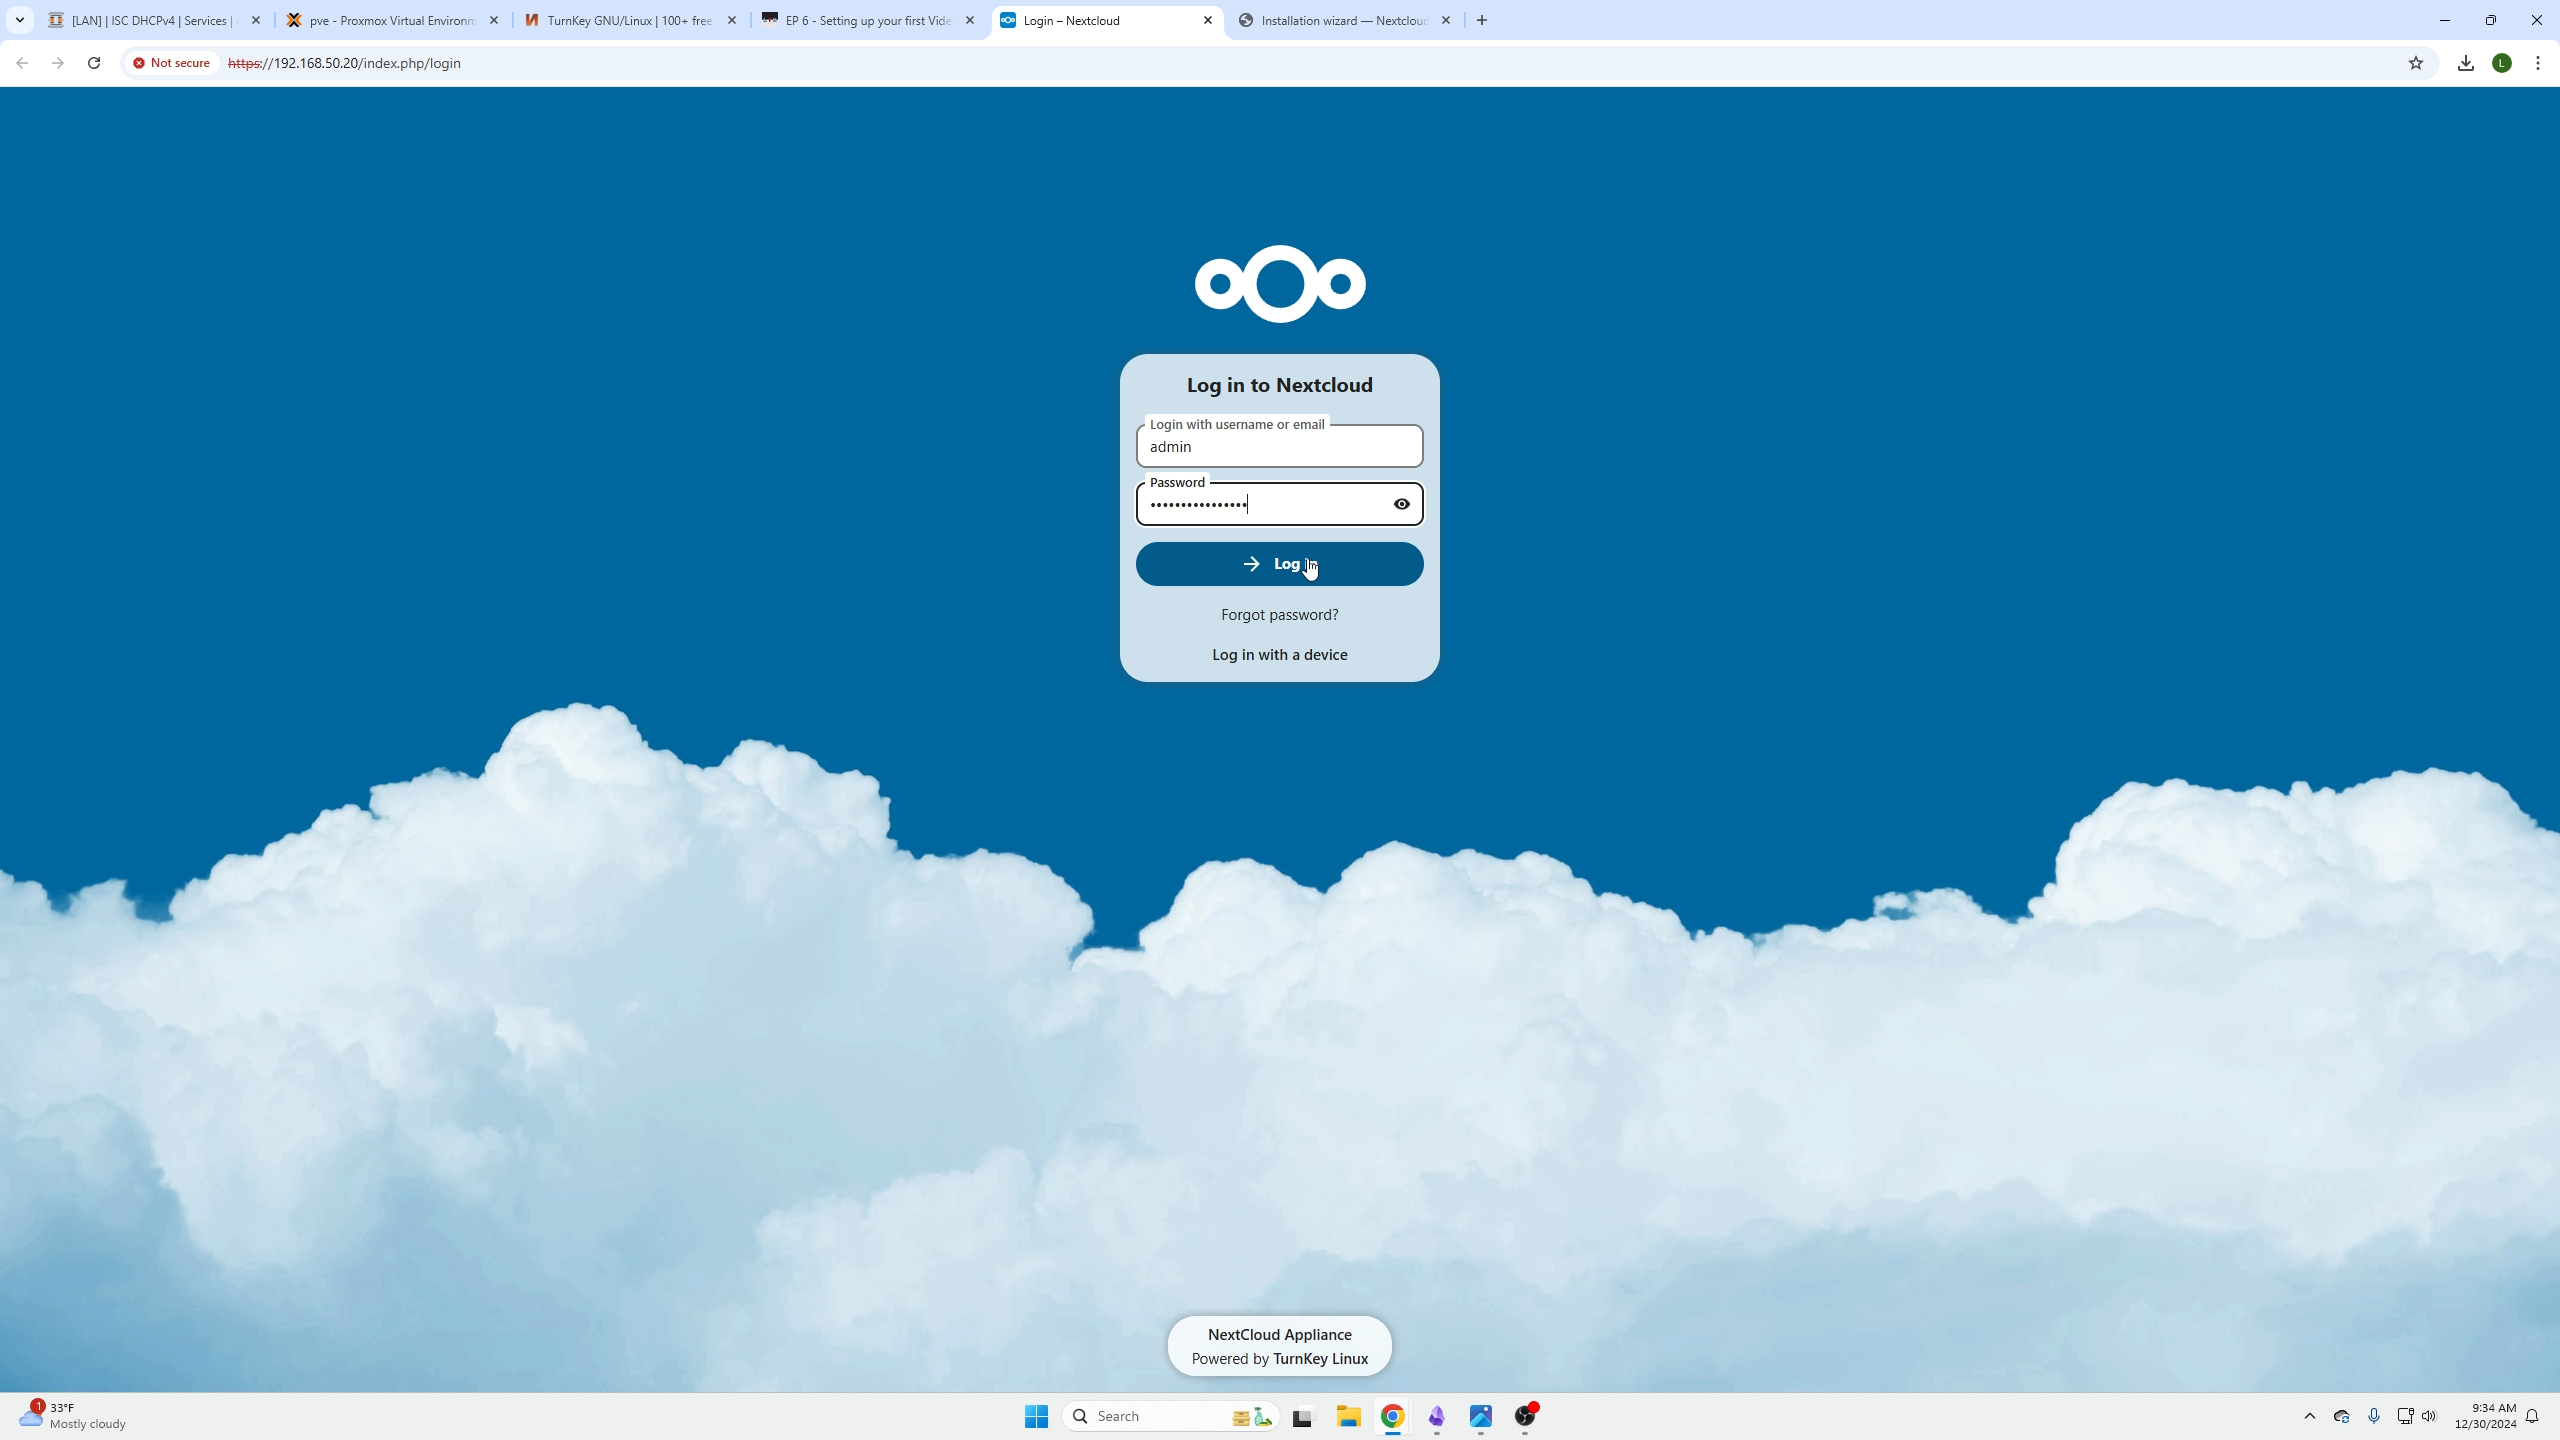
Now we can go back to the site and login:
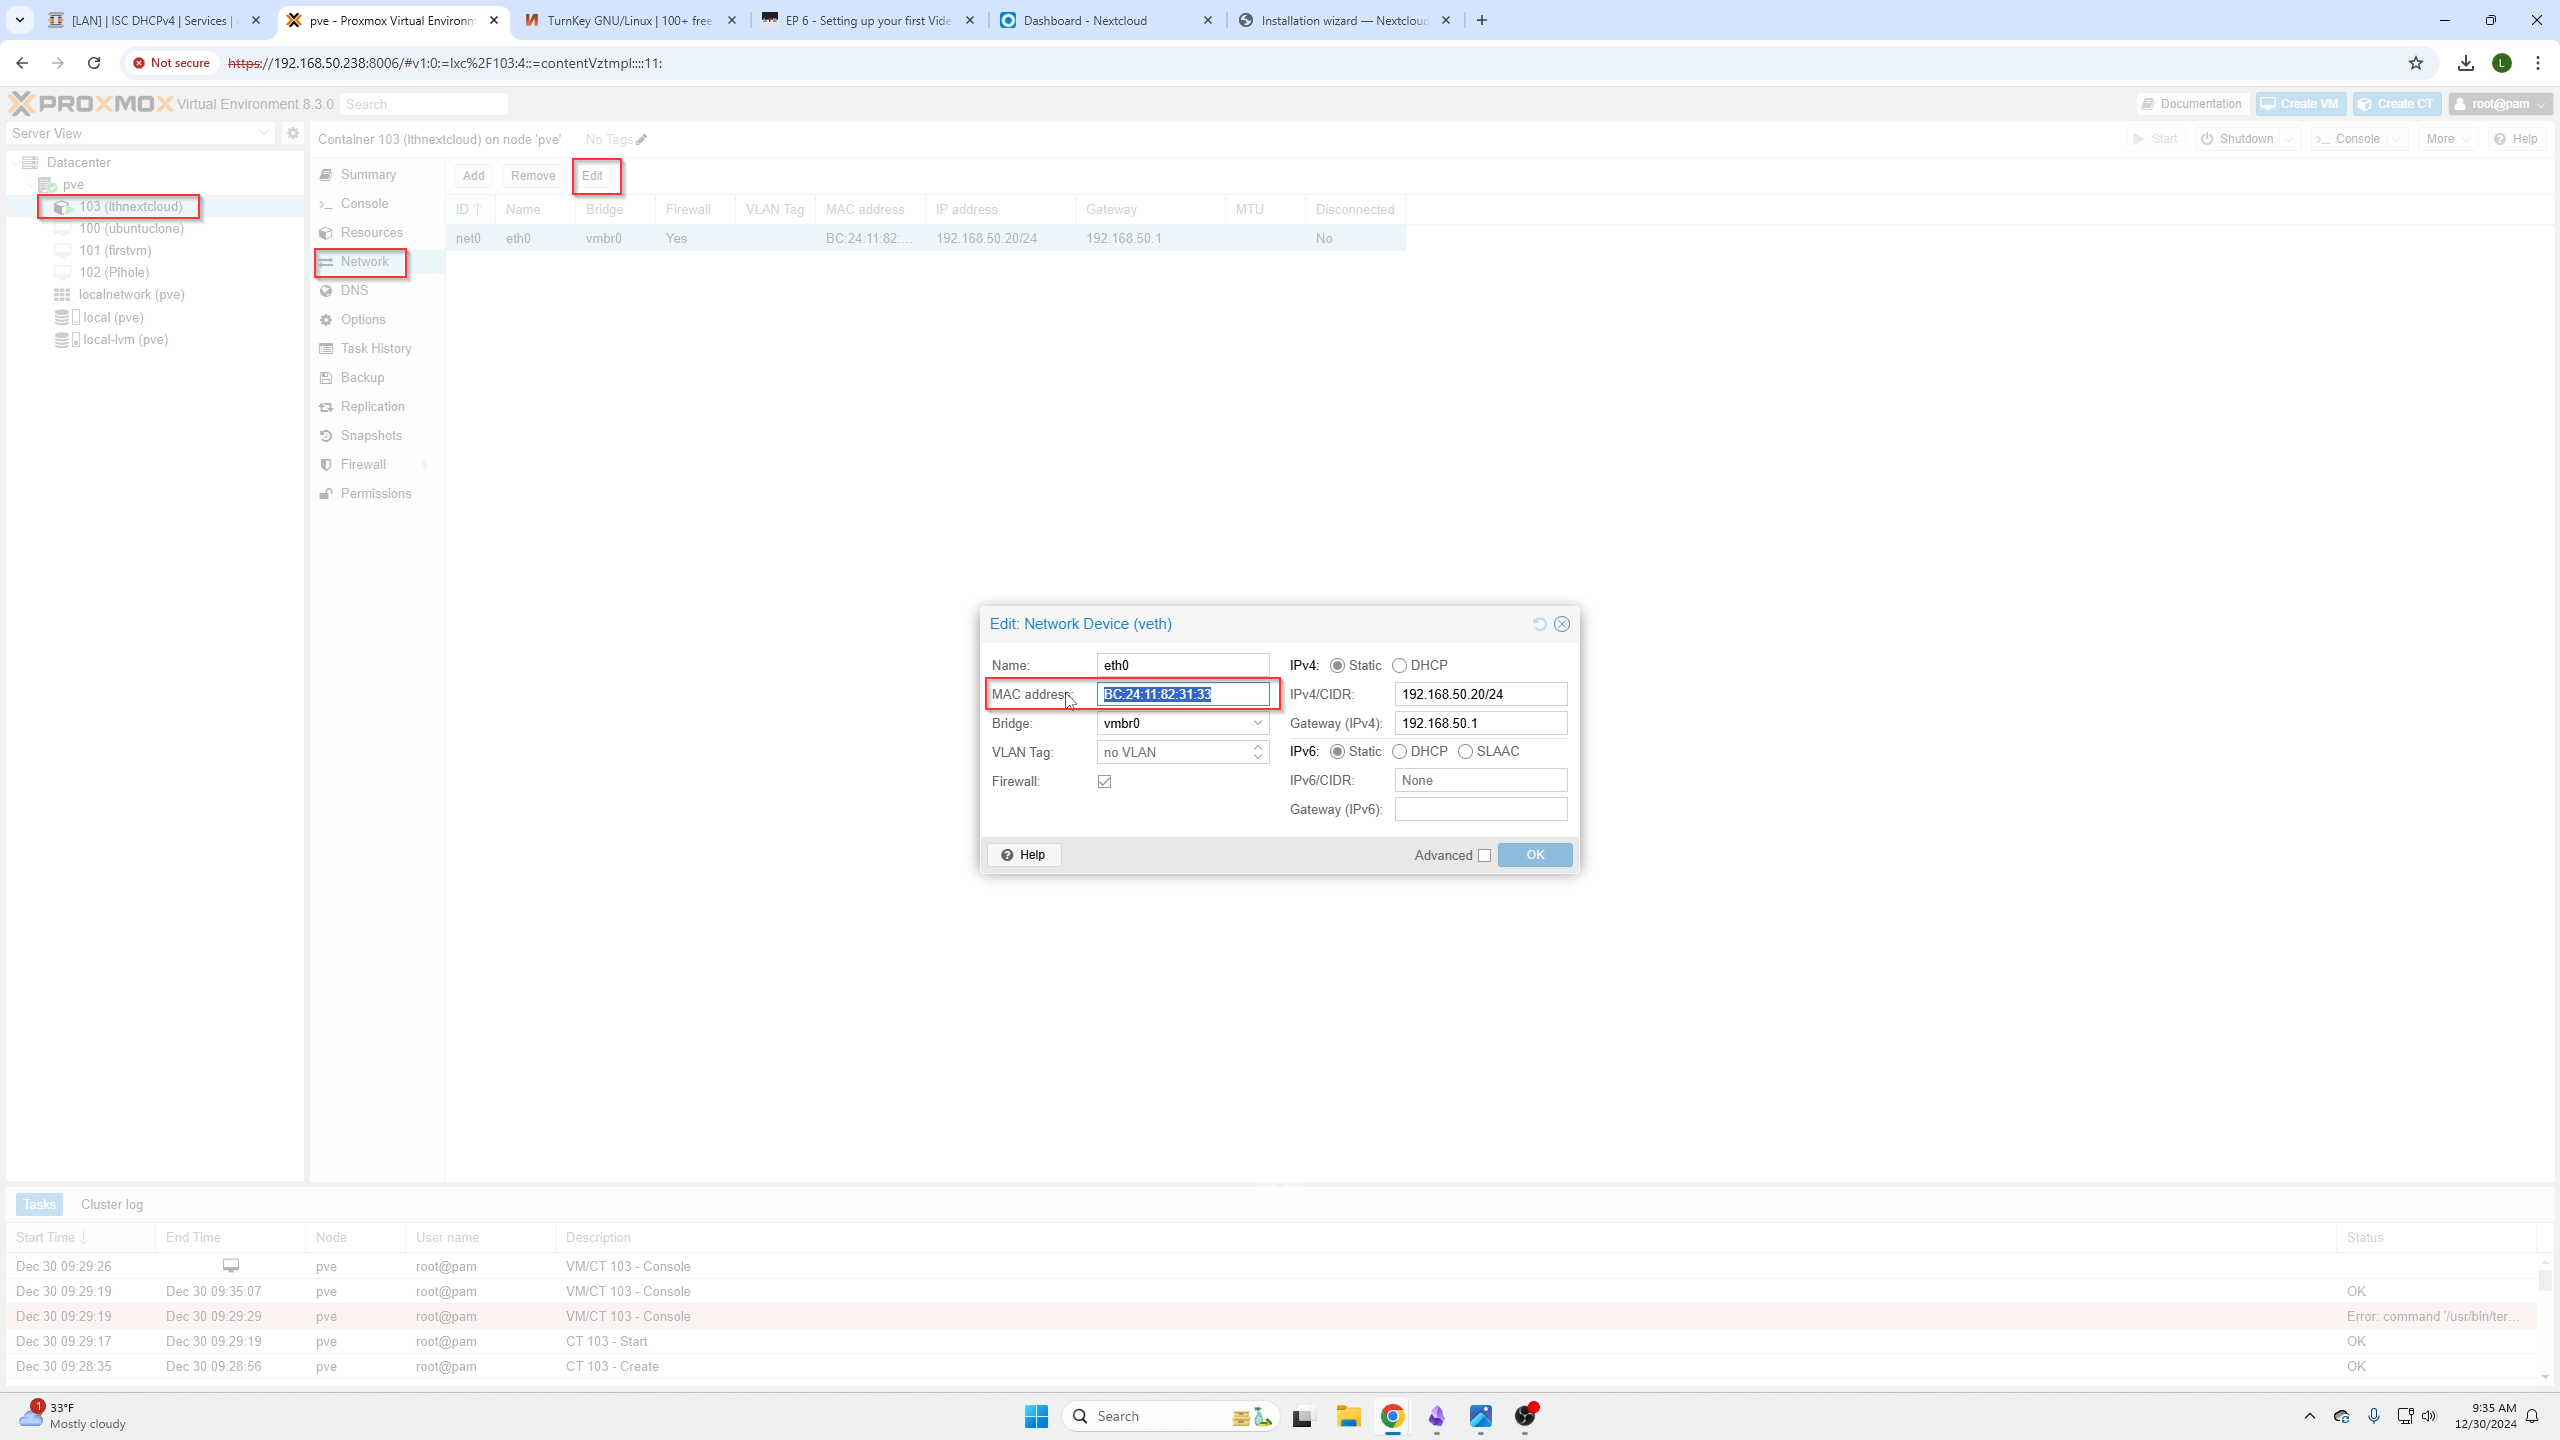
Before we continue, we need to set the static IP address of our NextCloud container in OPnsense.
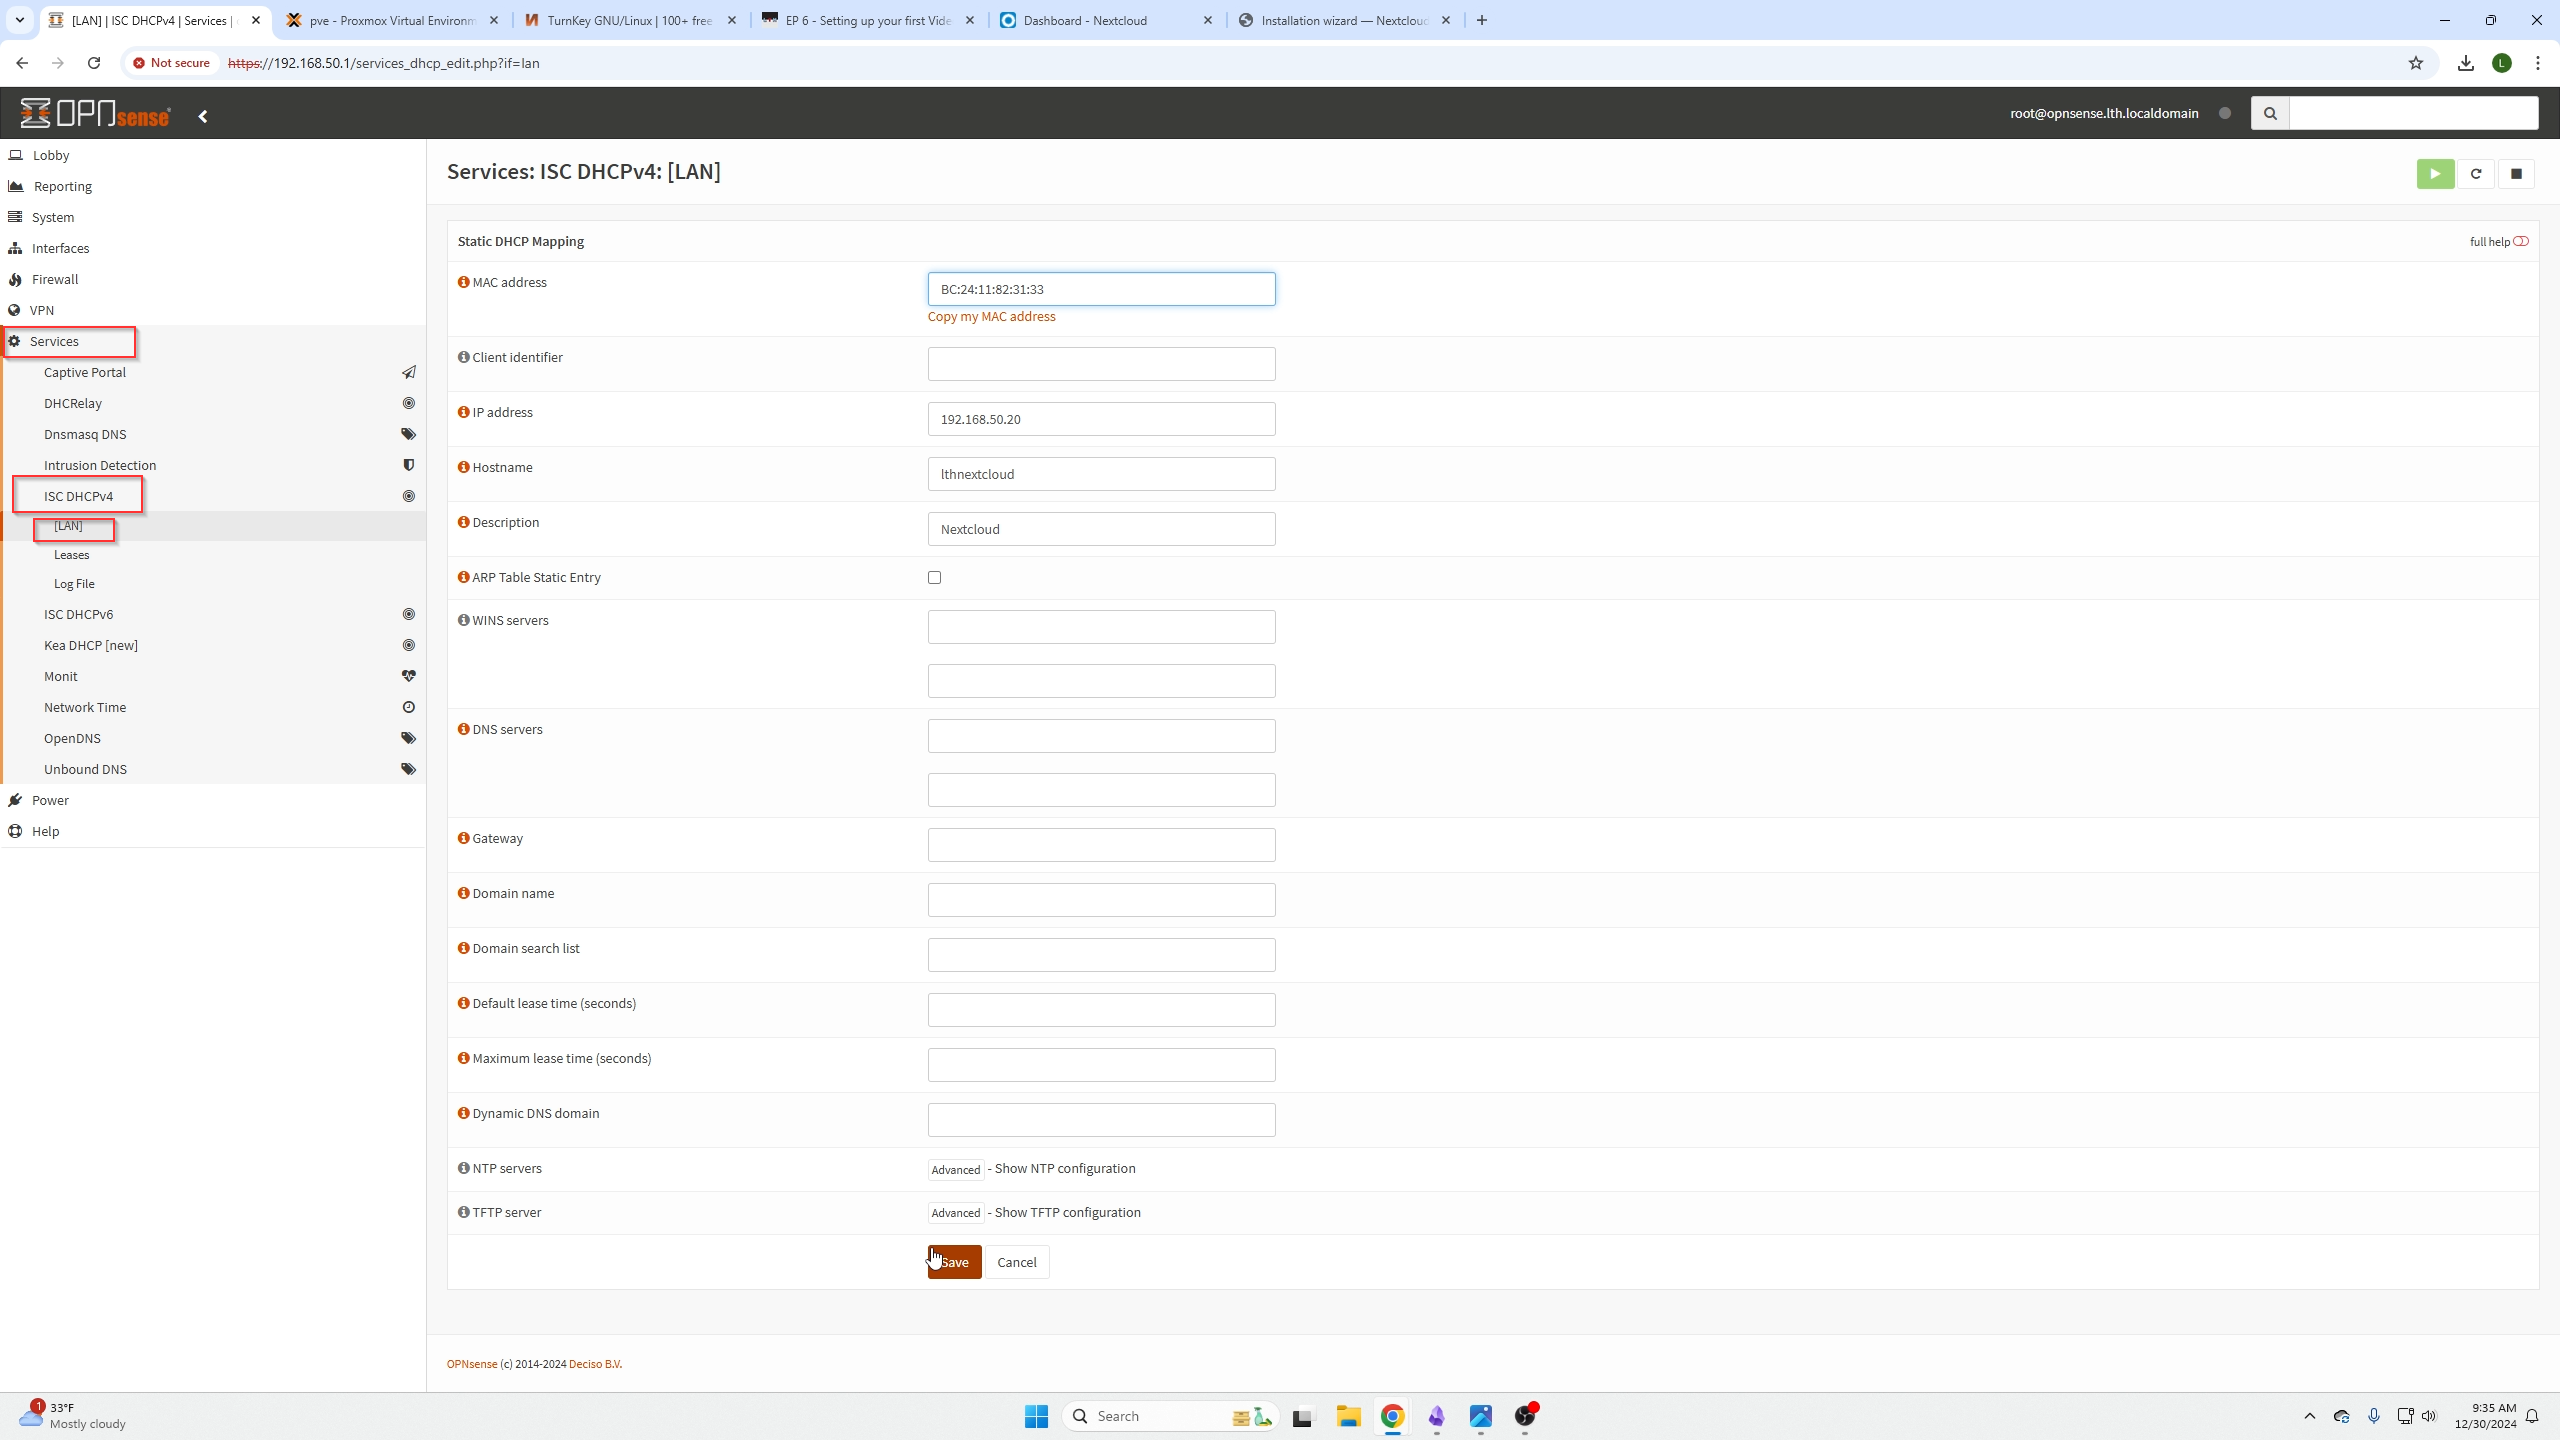
First lets grab the Mac address of our container under our container network settings location. Select the network card and click edit, they copy the MAC.
Now go over to OPNsense and we can create a static listing under Services / ISC DHCPv4 / [LAN] and selecting the + button.
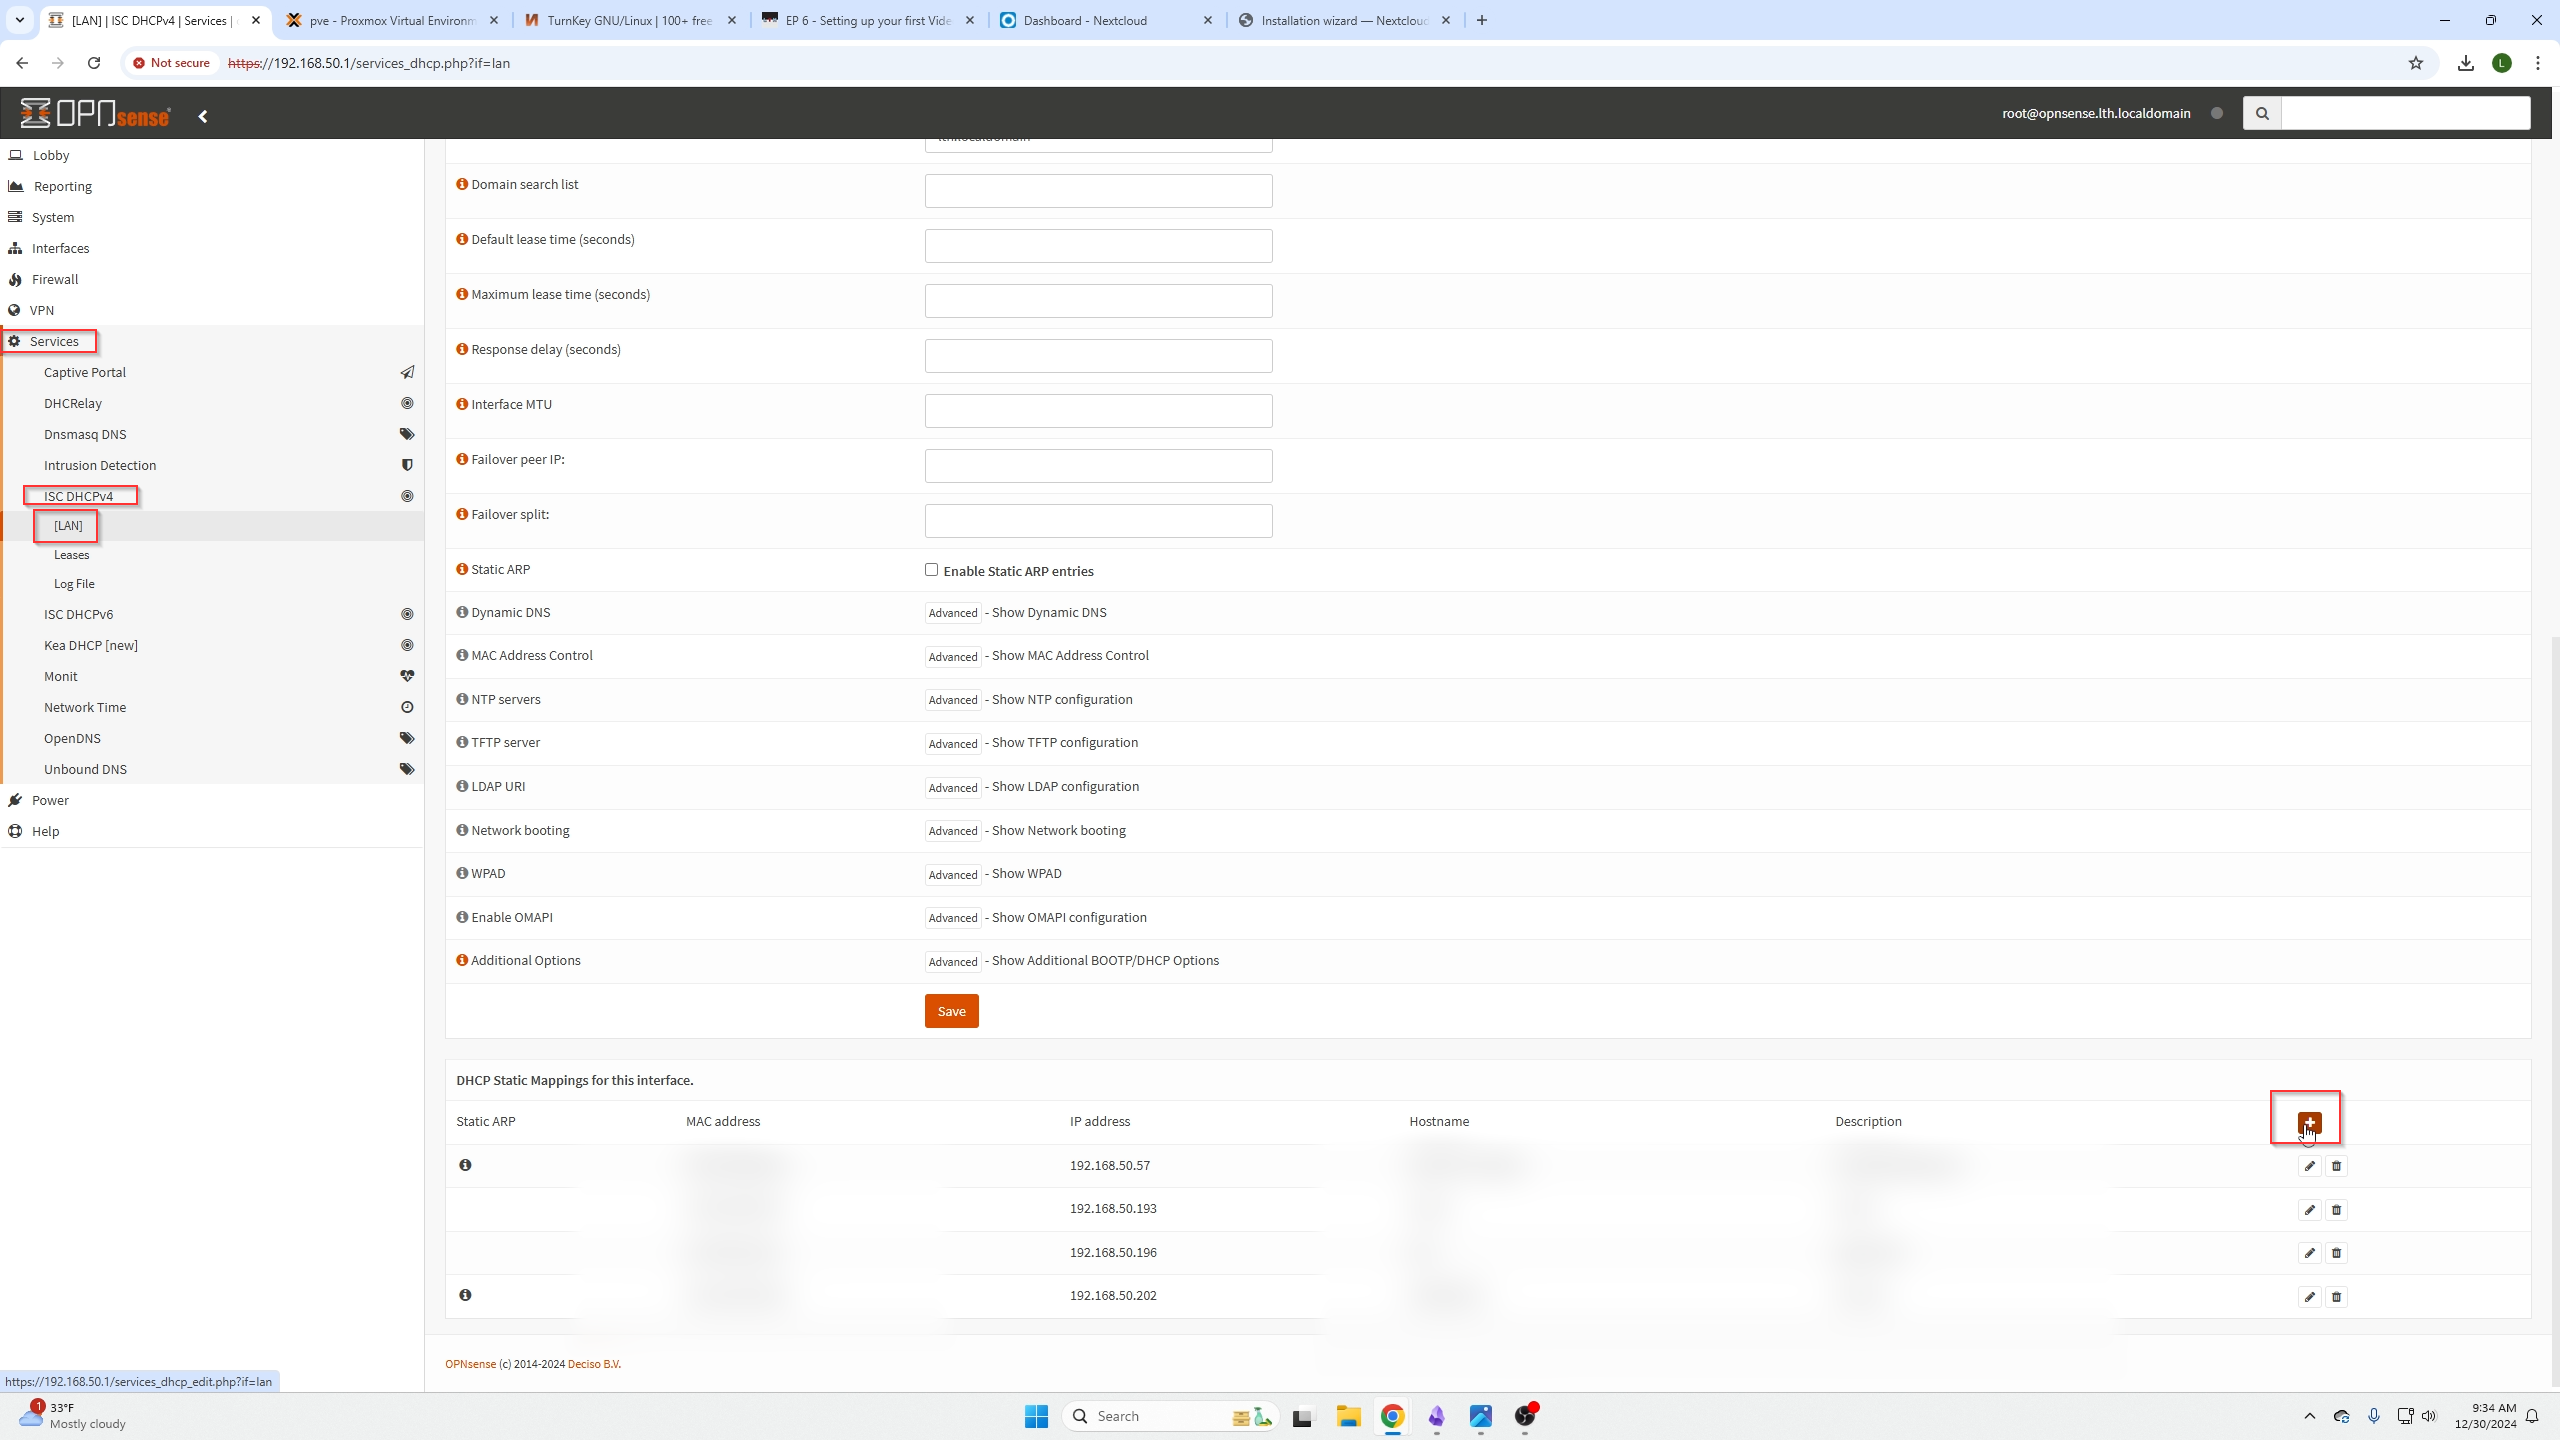
Now we can take that MAC address and our IP address and add it into our static assignment. Then click save.
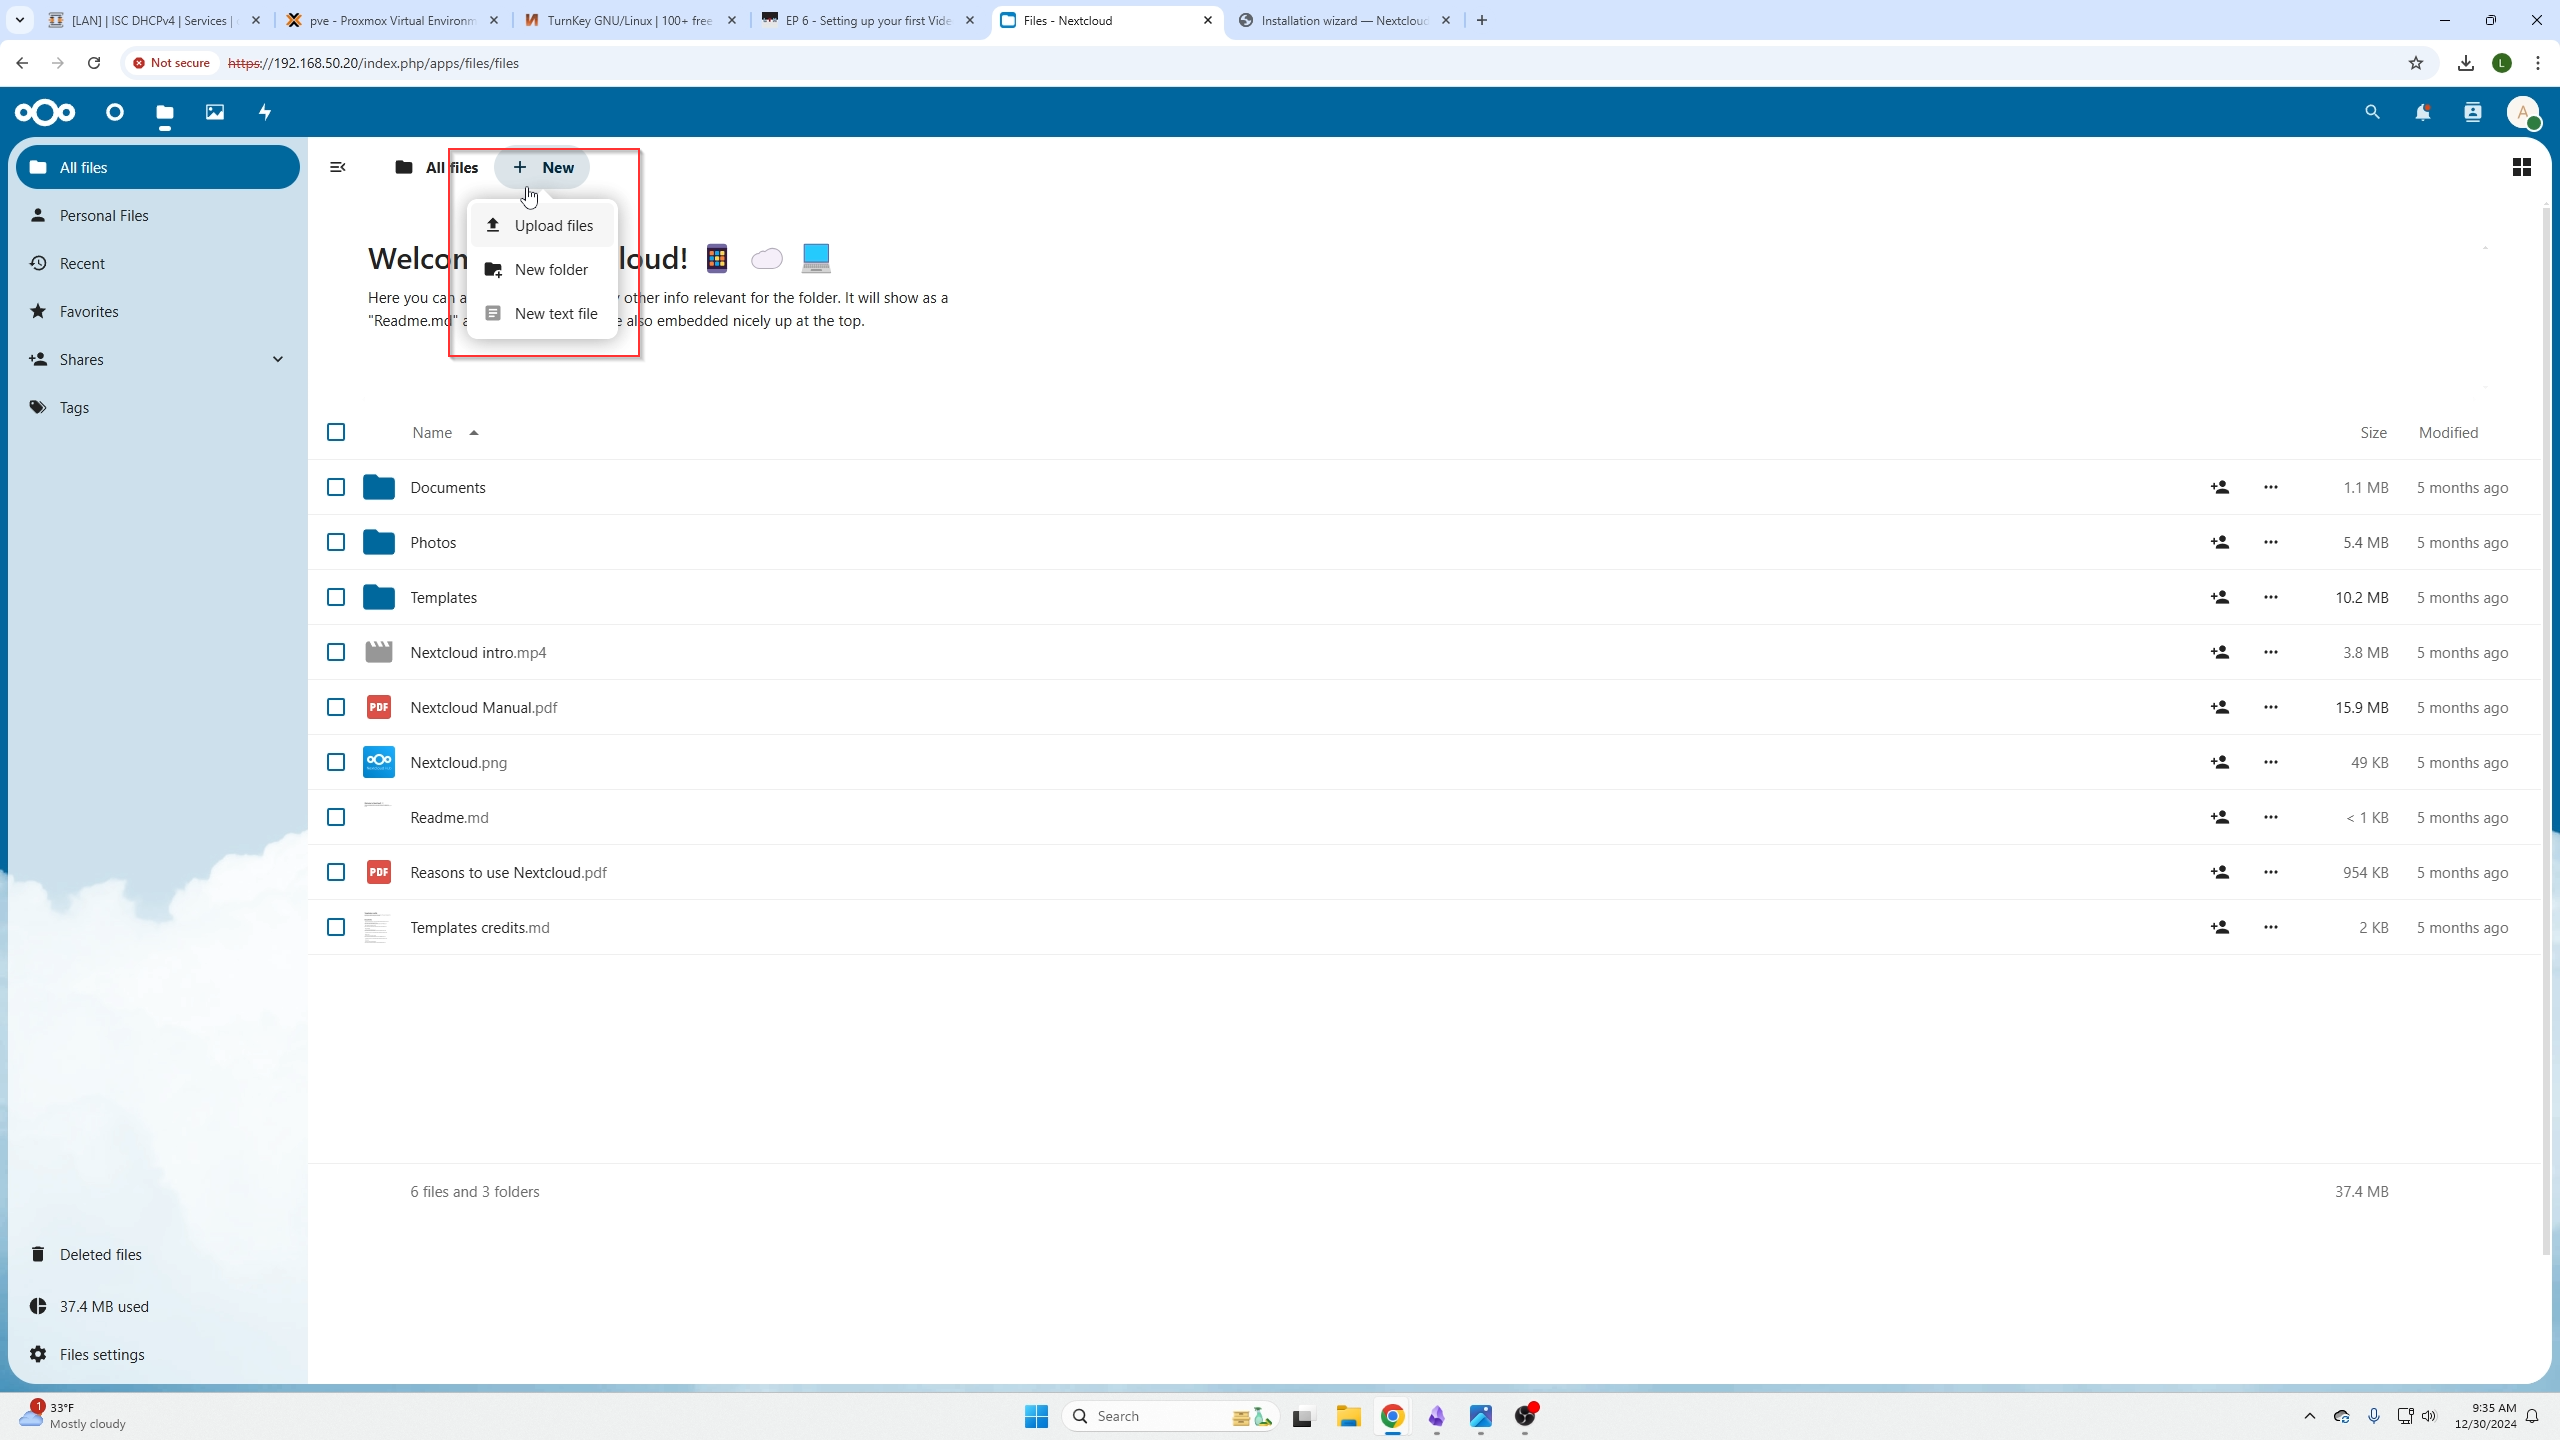
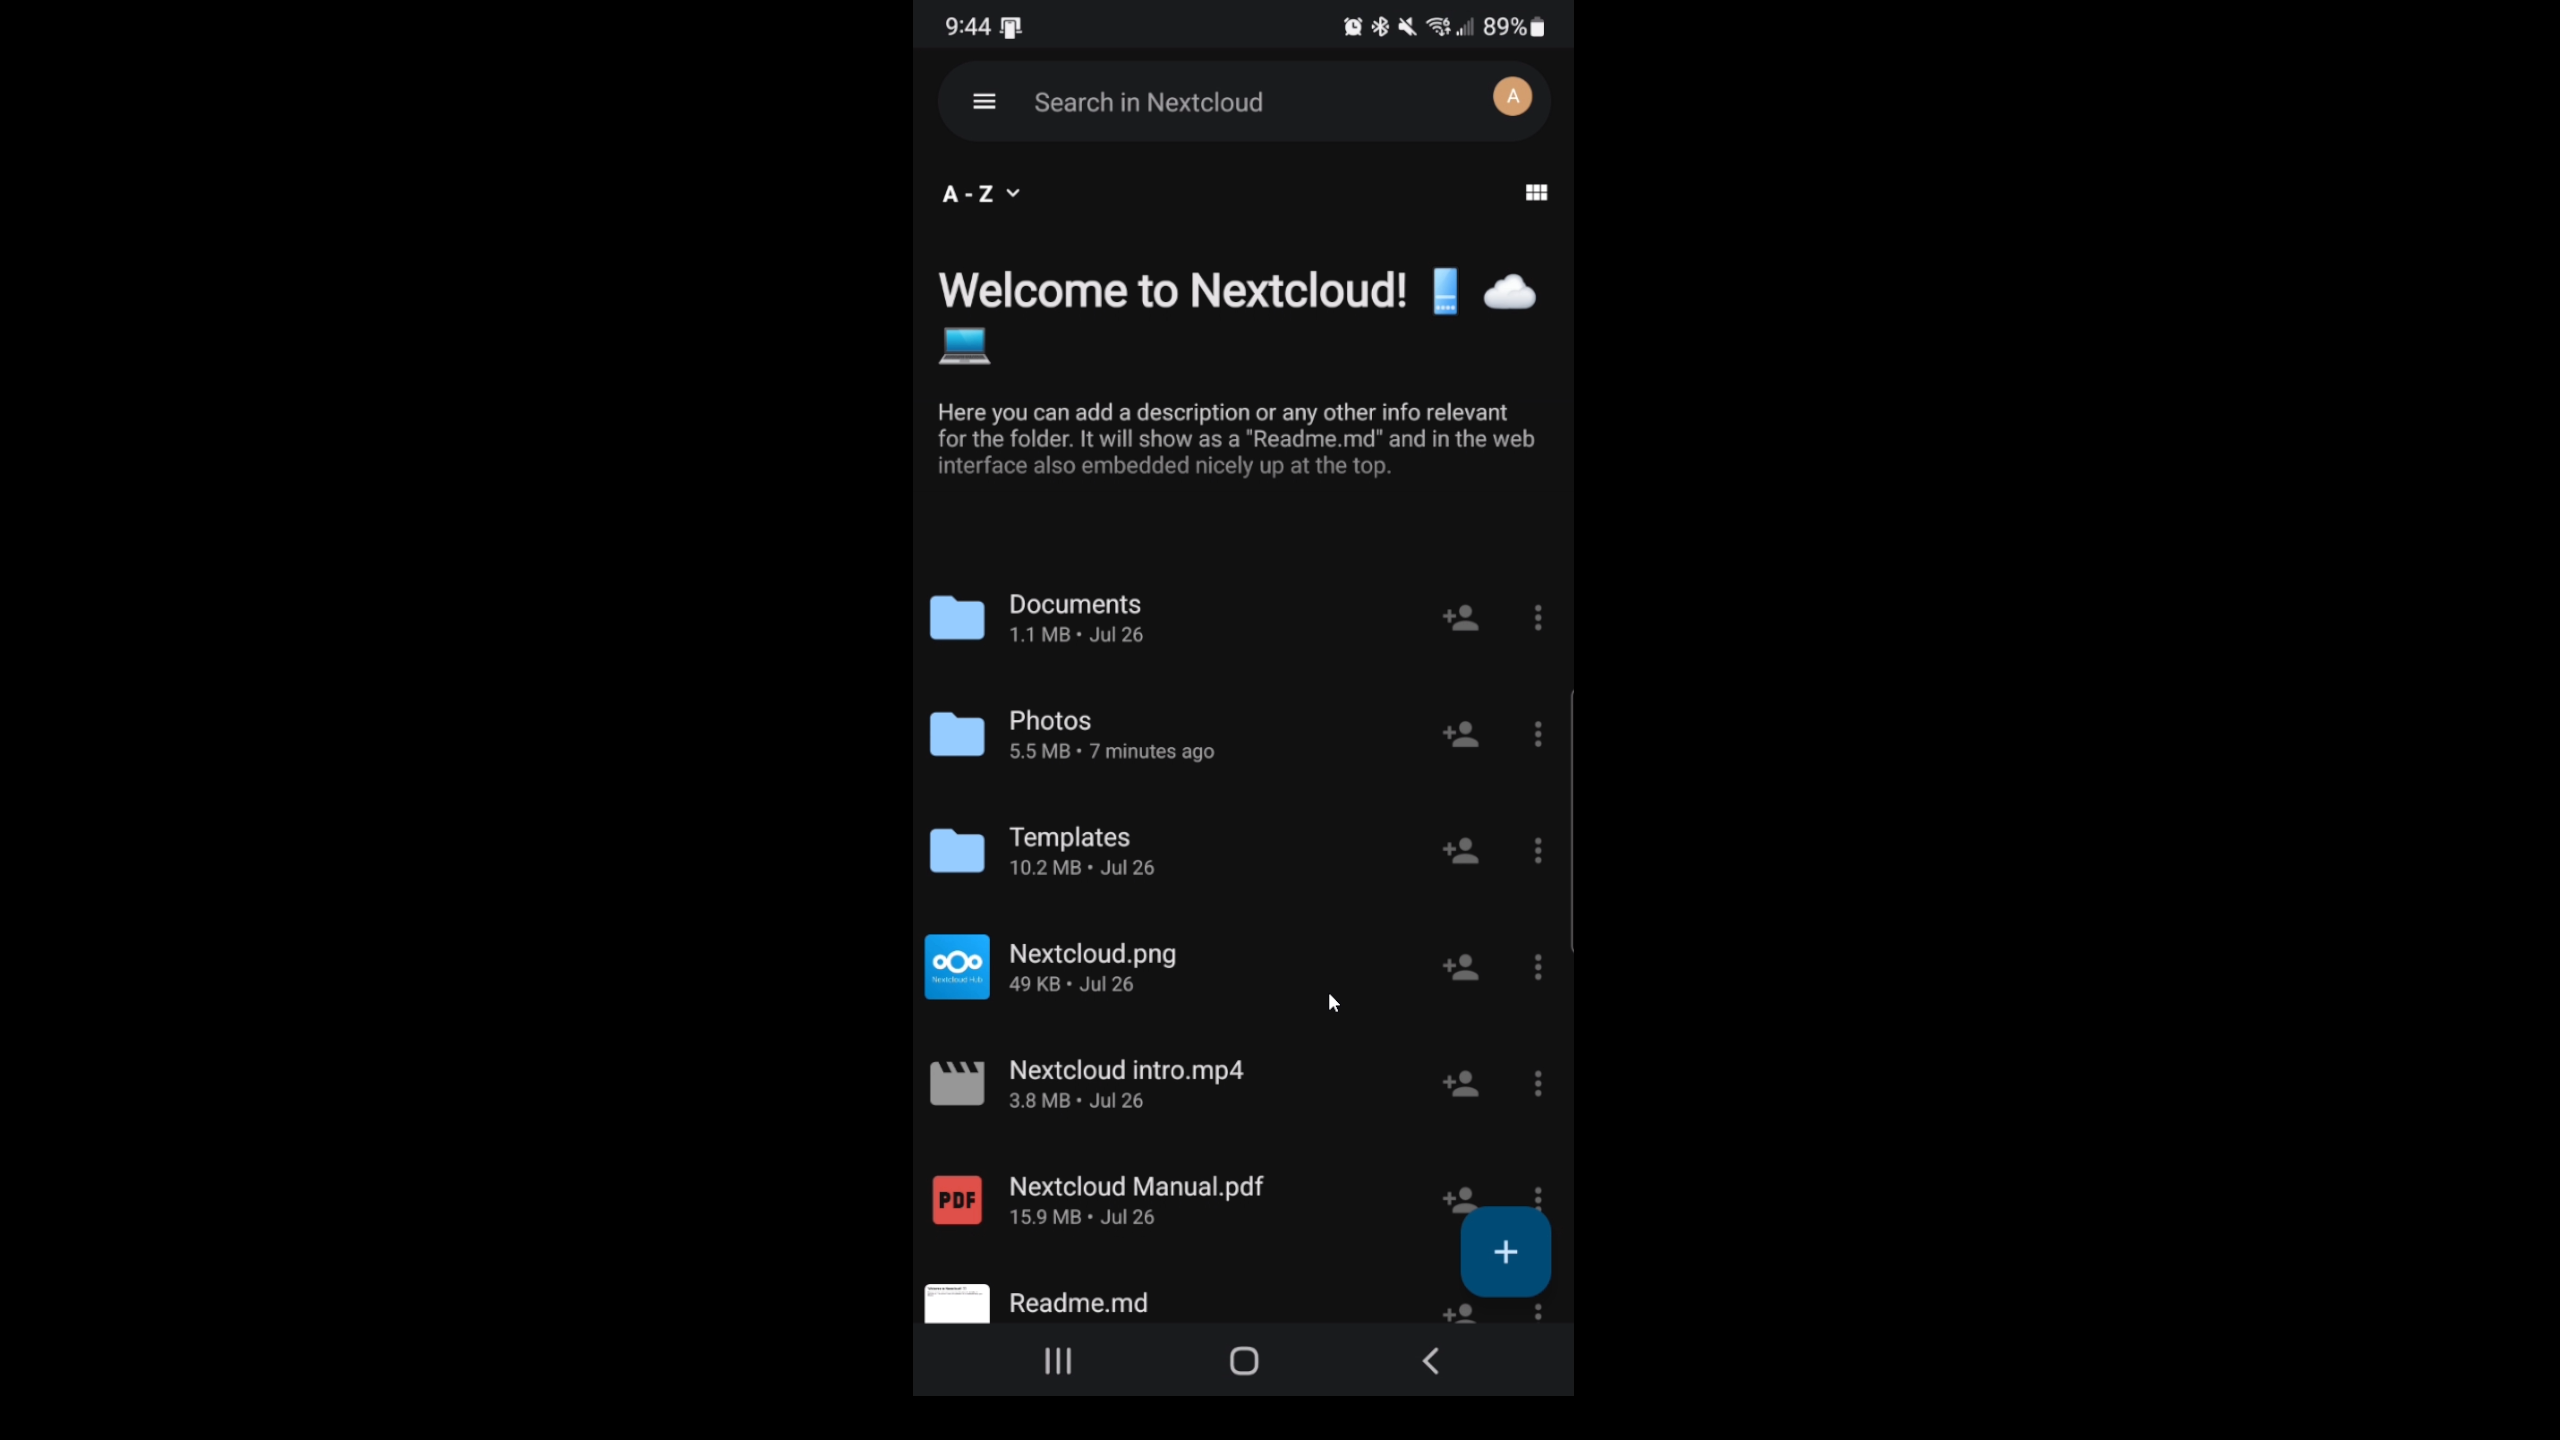
Going back over to Nextcloud after you logged in, we can use the new button to create new folders or upload a file to the current folder you are in.
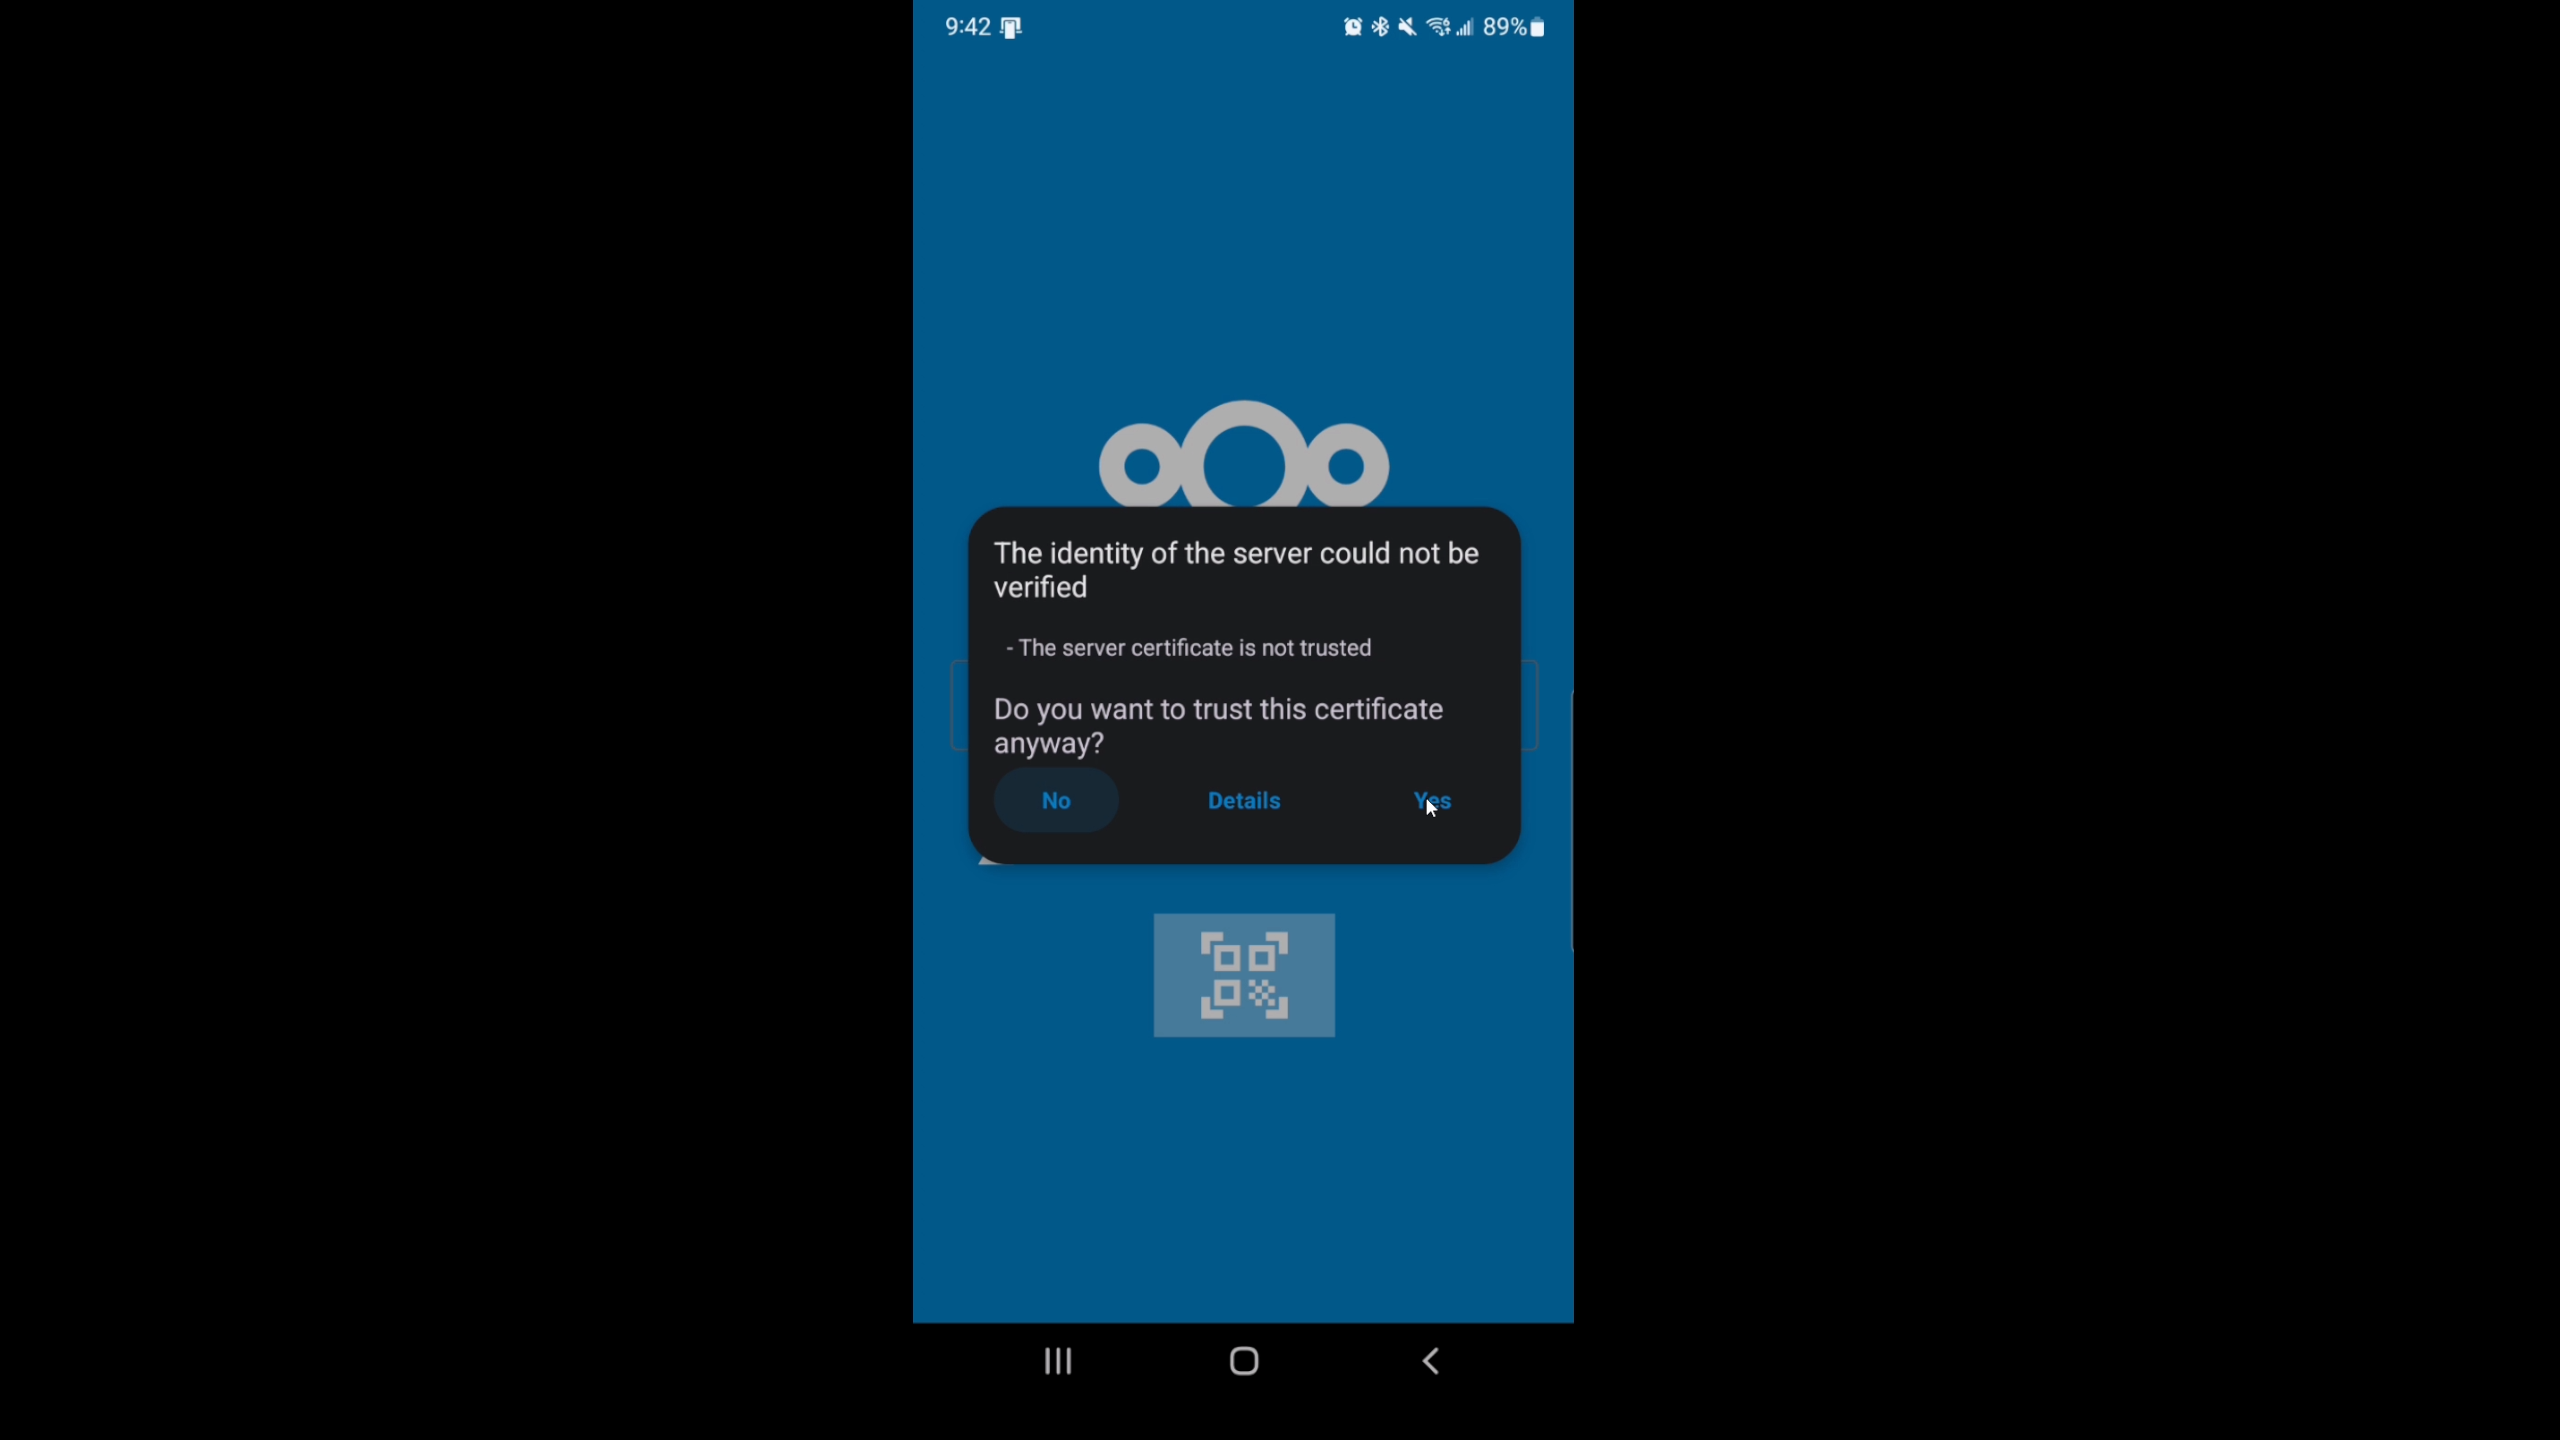
Login on your phone
Download the NextCloud app and you can connect to your server using that IP address just like you did in your browser.
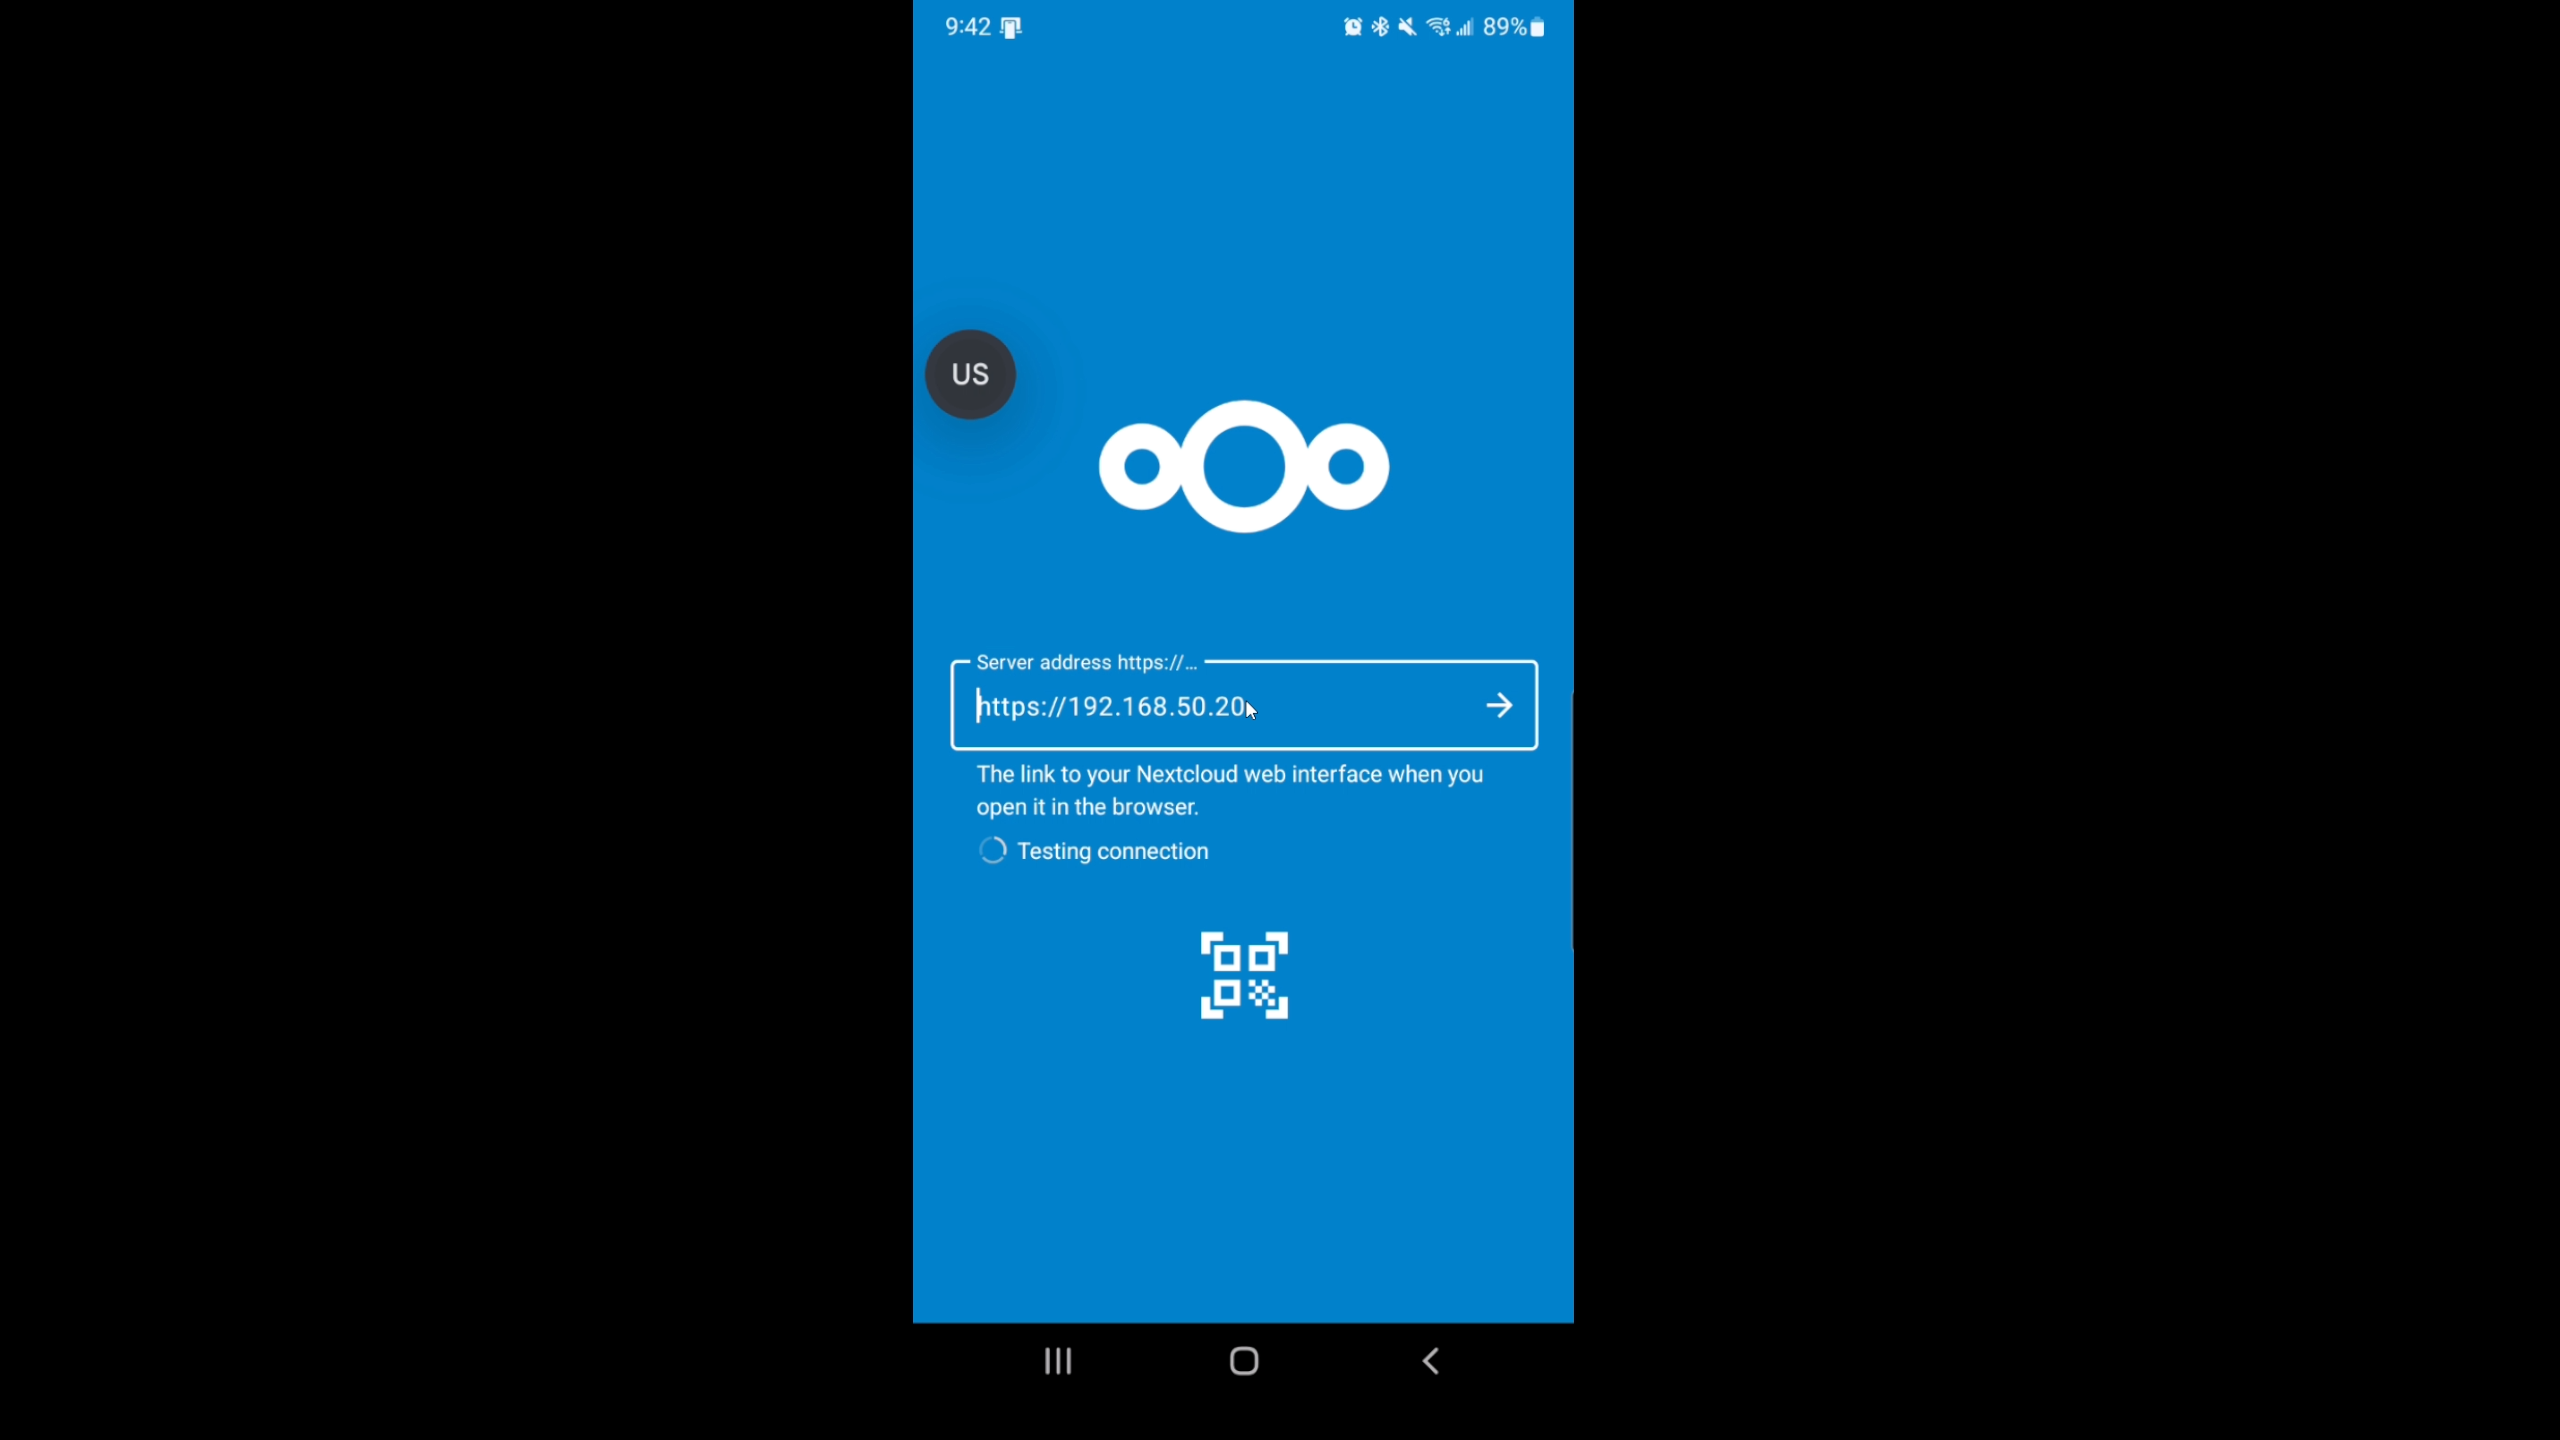
Select yes on the certificate, we trust it because its our certificate!
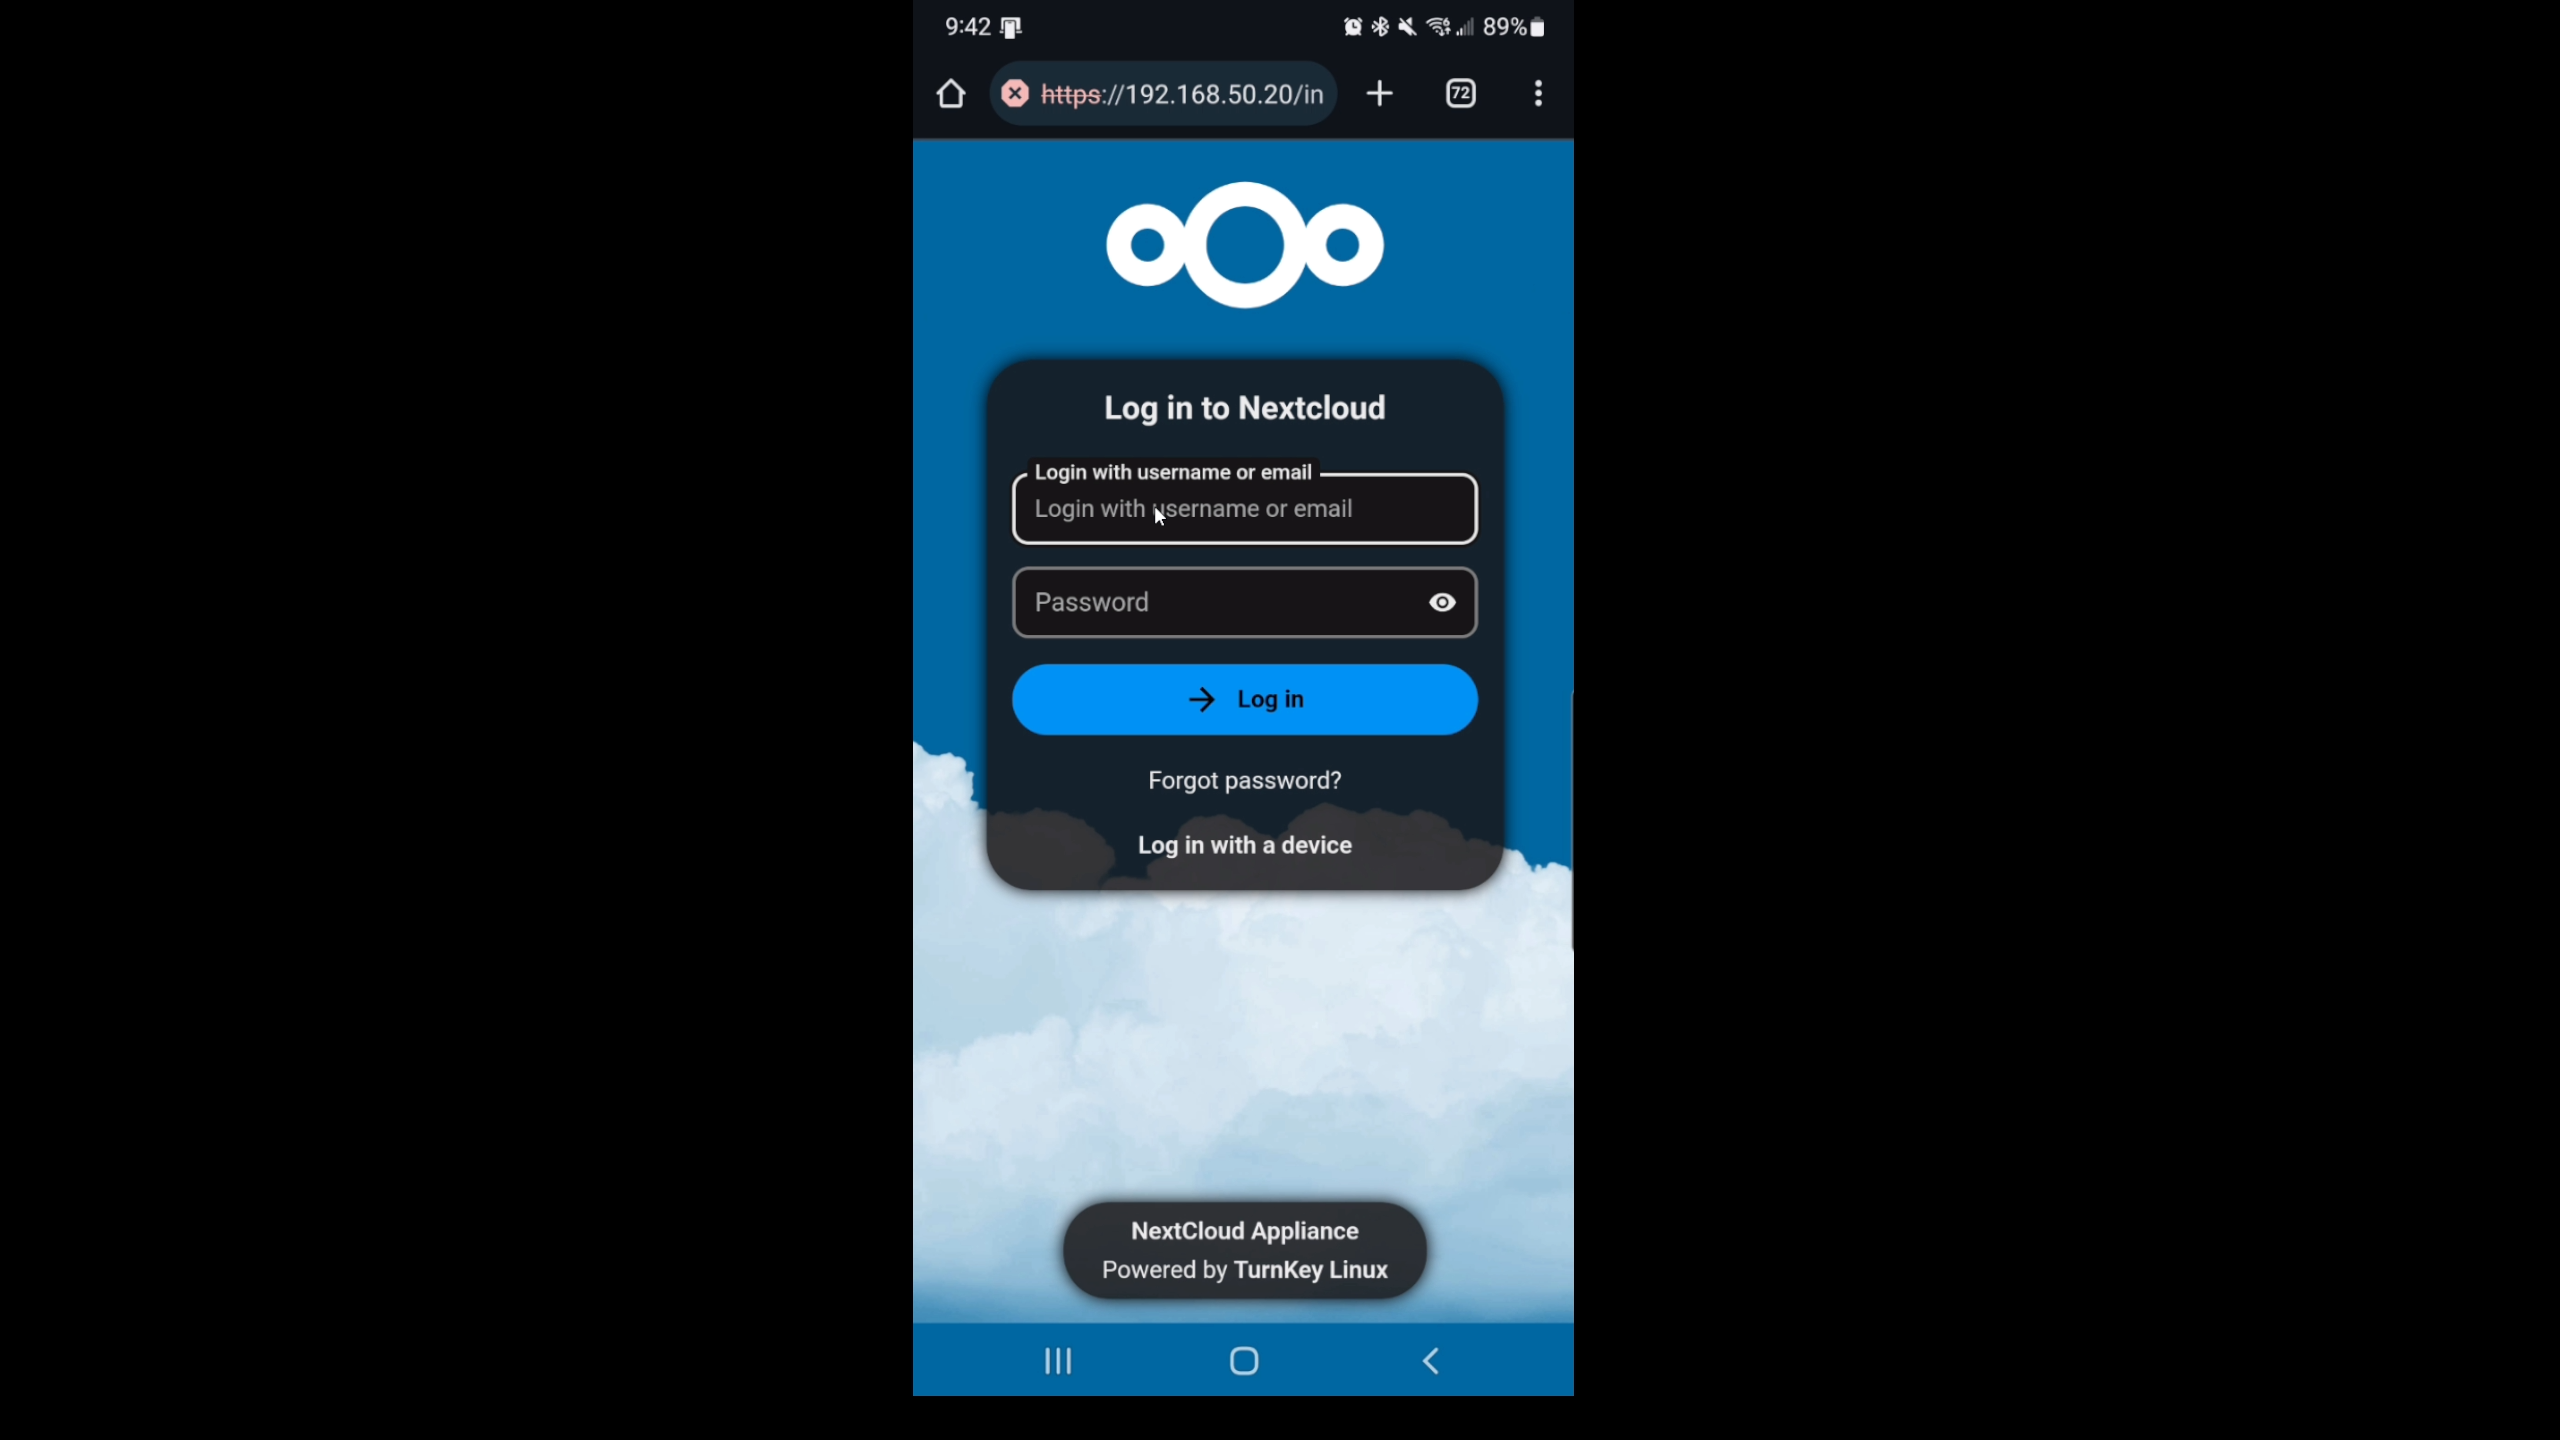
Then you can login.
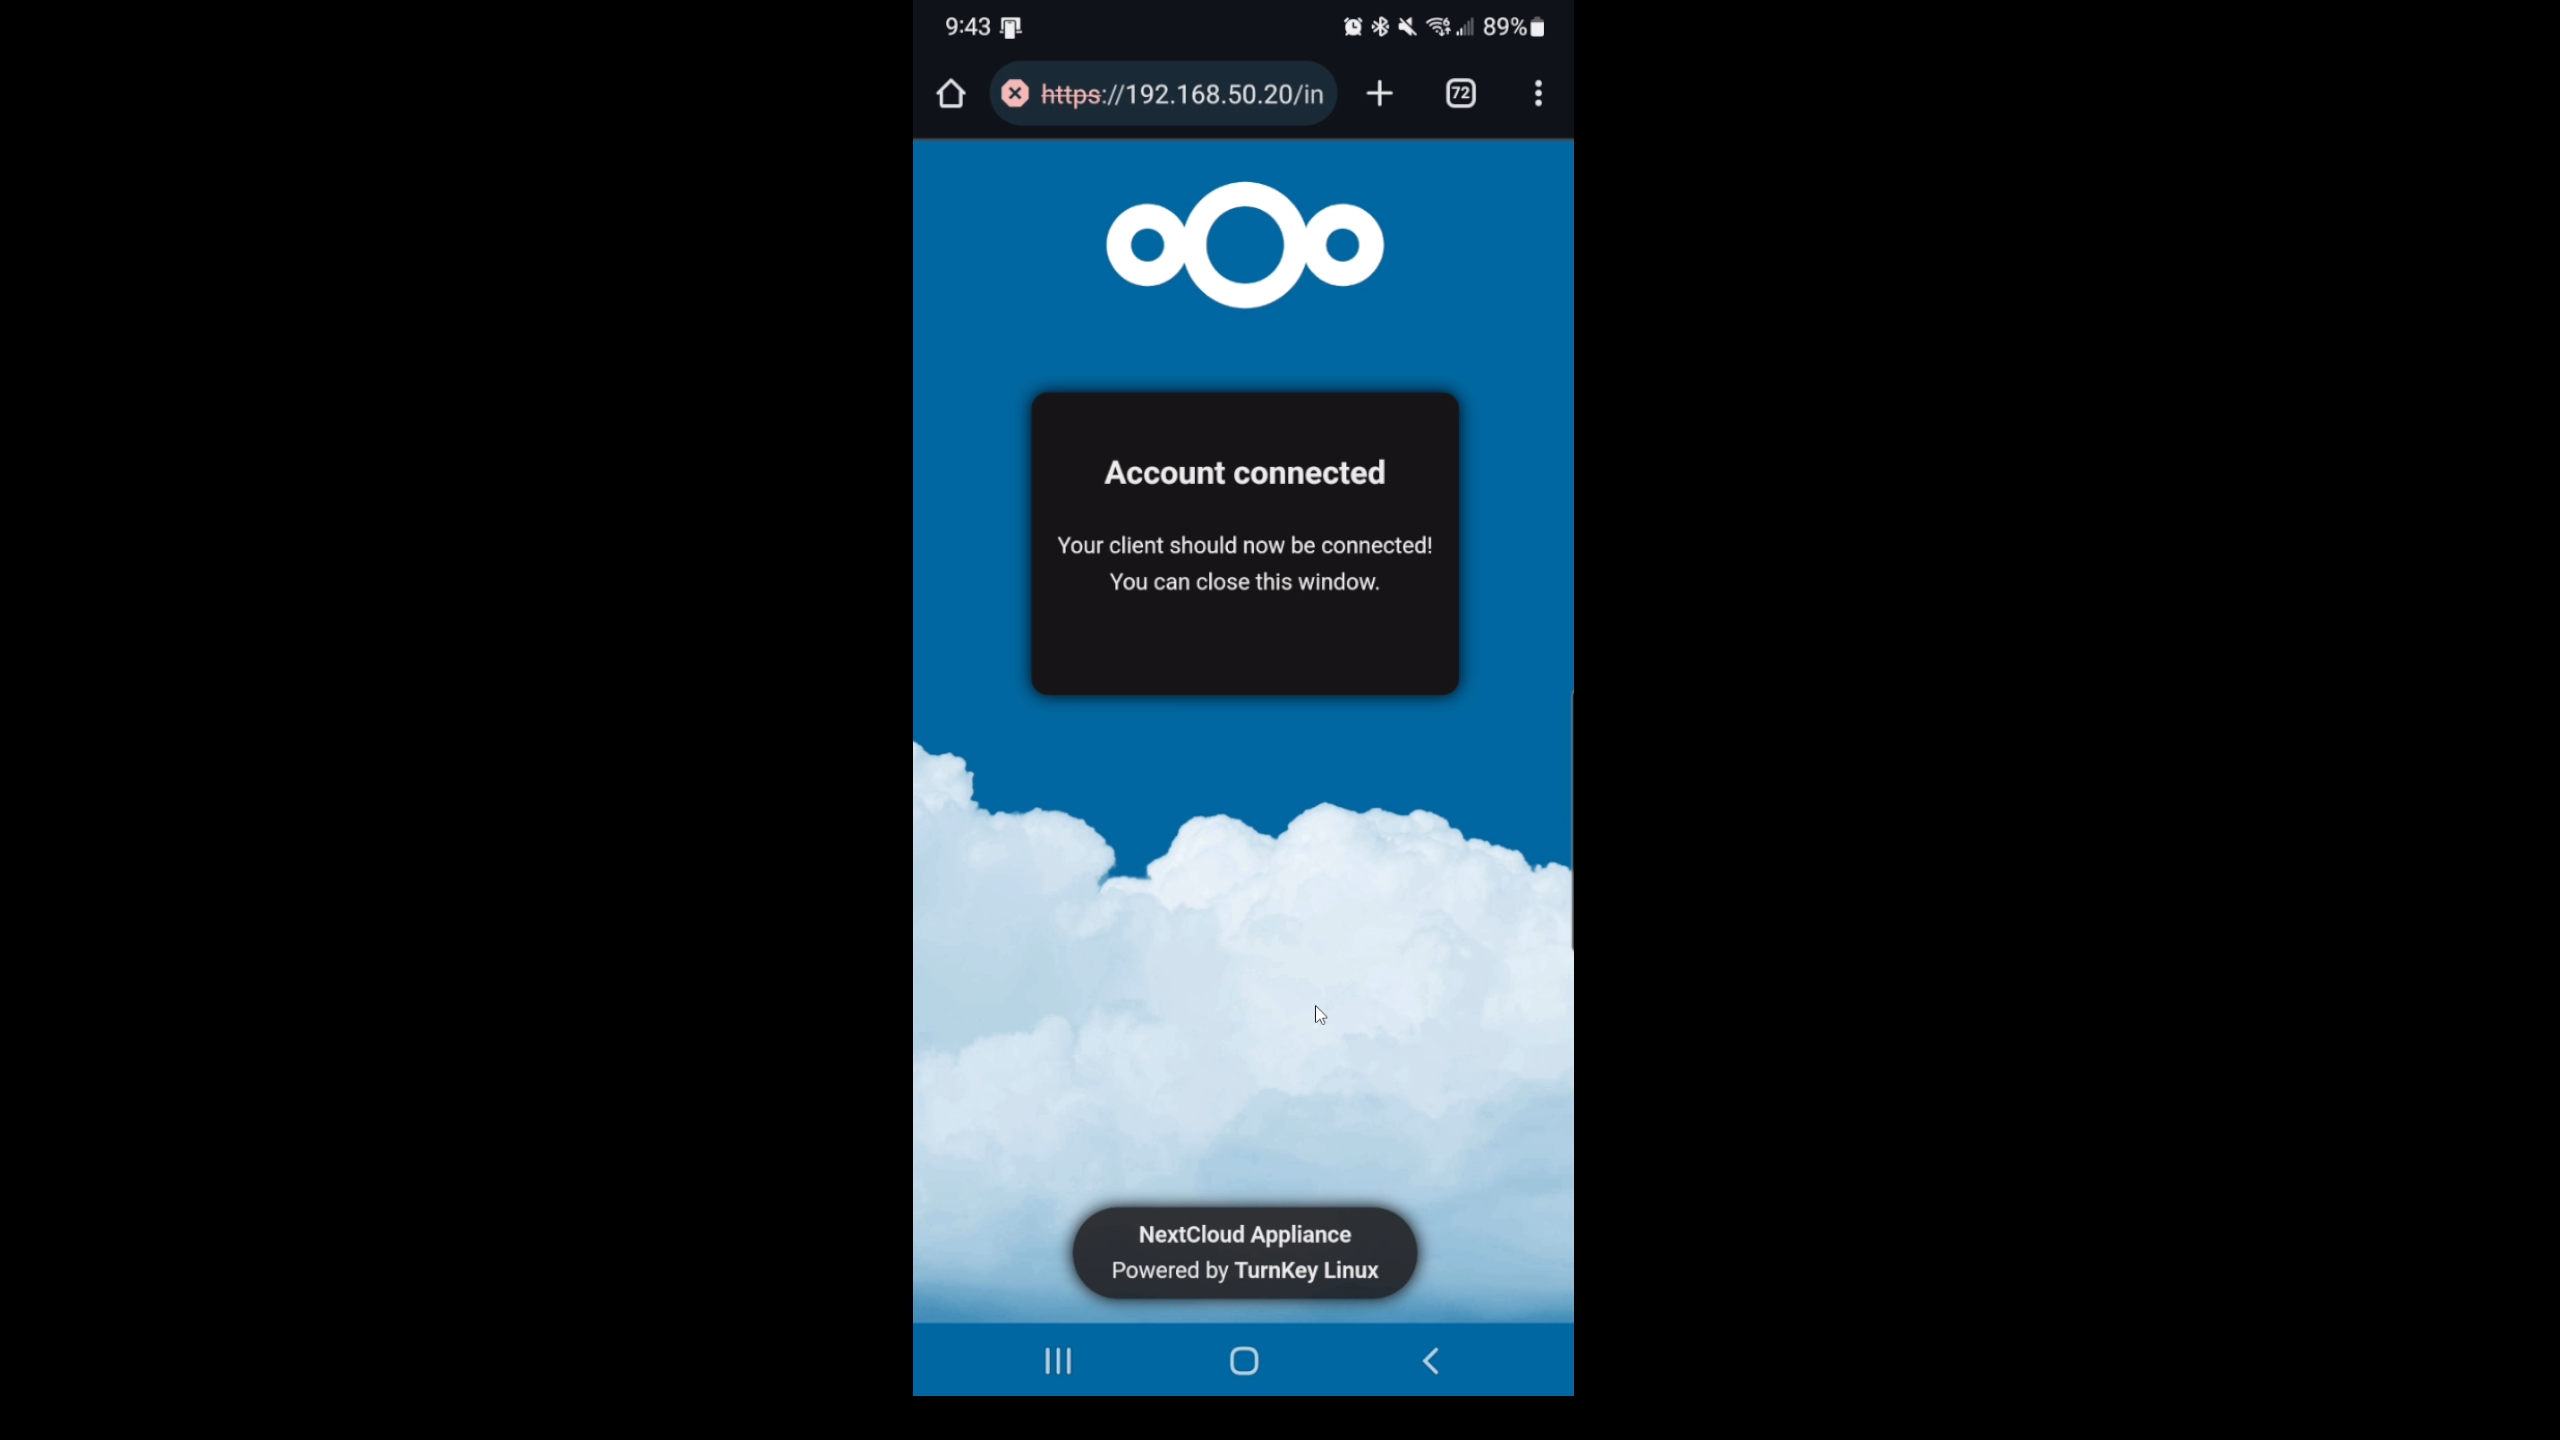
Now your connected, go back over to your app to use NextCloud.
Then we can use the + button just like the site and upload pictures or create folders.
Closing comments
That is it, I hope you guys enjoyed! In a later episode we will cover Tailscale and how to access your NextCloud from outside your network.