NextCloud on TrueNas
This Article you are about to read is a stand alone tutorial but is also apart of our homelab series if you are following that.
Warning
If you are following this series from start to finish, this episode is a "repeat" in the manner that we have already covered NextCloud but this time we are hosting it on TrueNas and not Proxmox. The advantage you get here is your pictures are now saved within a RAID which gives you some fault tolerence to a failed drive so you don't lose your treasured pictures or vacations!
(In reality, this is how I do it) but I wanted to share the Proxmox way for smaller homelabs or people with smaller budgets where they cannot afford multiple devices.
SO YOU CAN SKIP THIS EPISODE IF YOU ARE FOLLOWING THE COURSE AND WANTED TO USE THE PROXMOX WAY
Installing NextCloud Steps
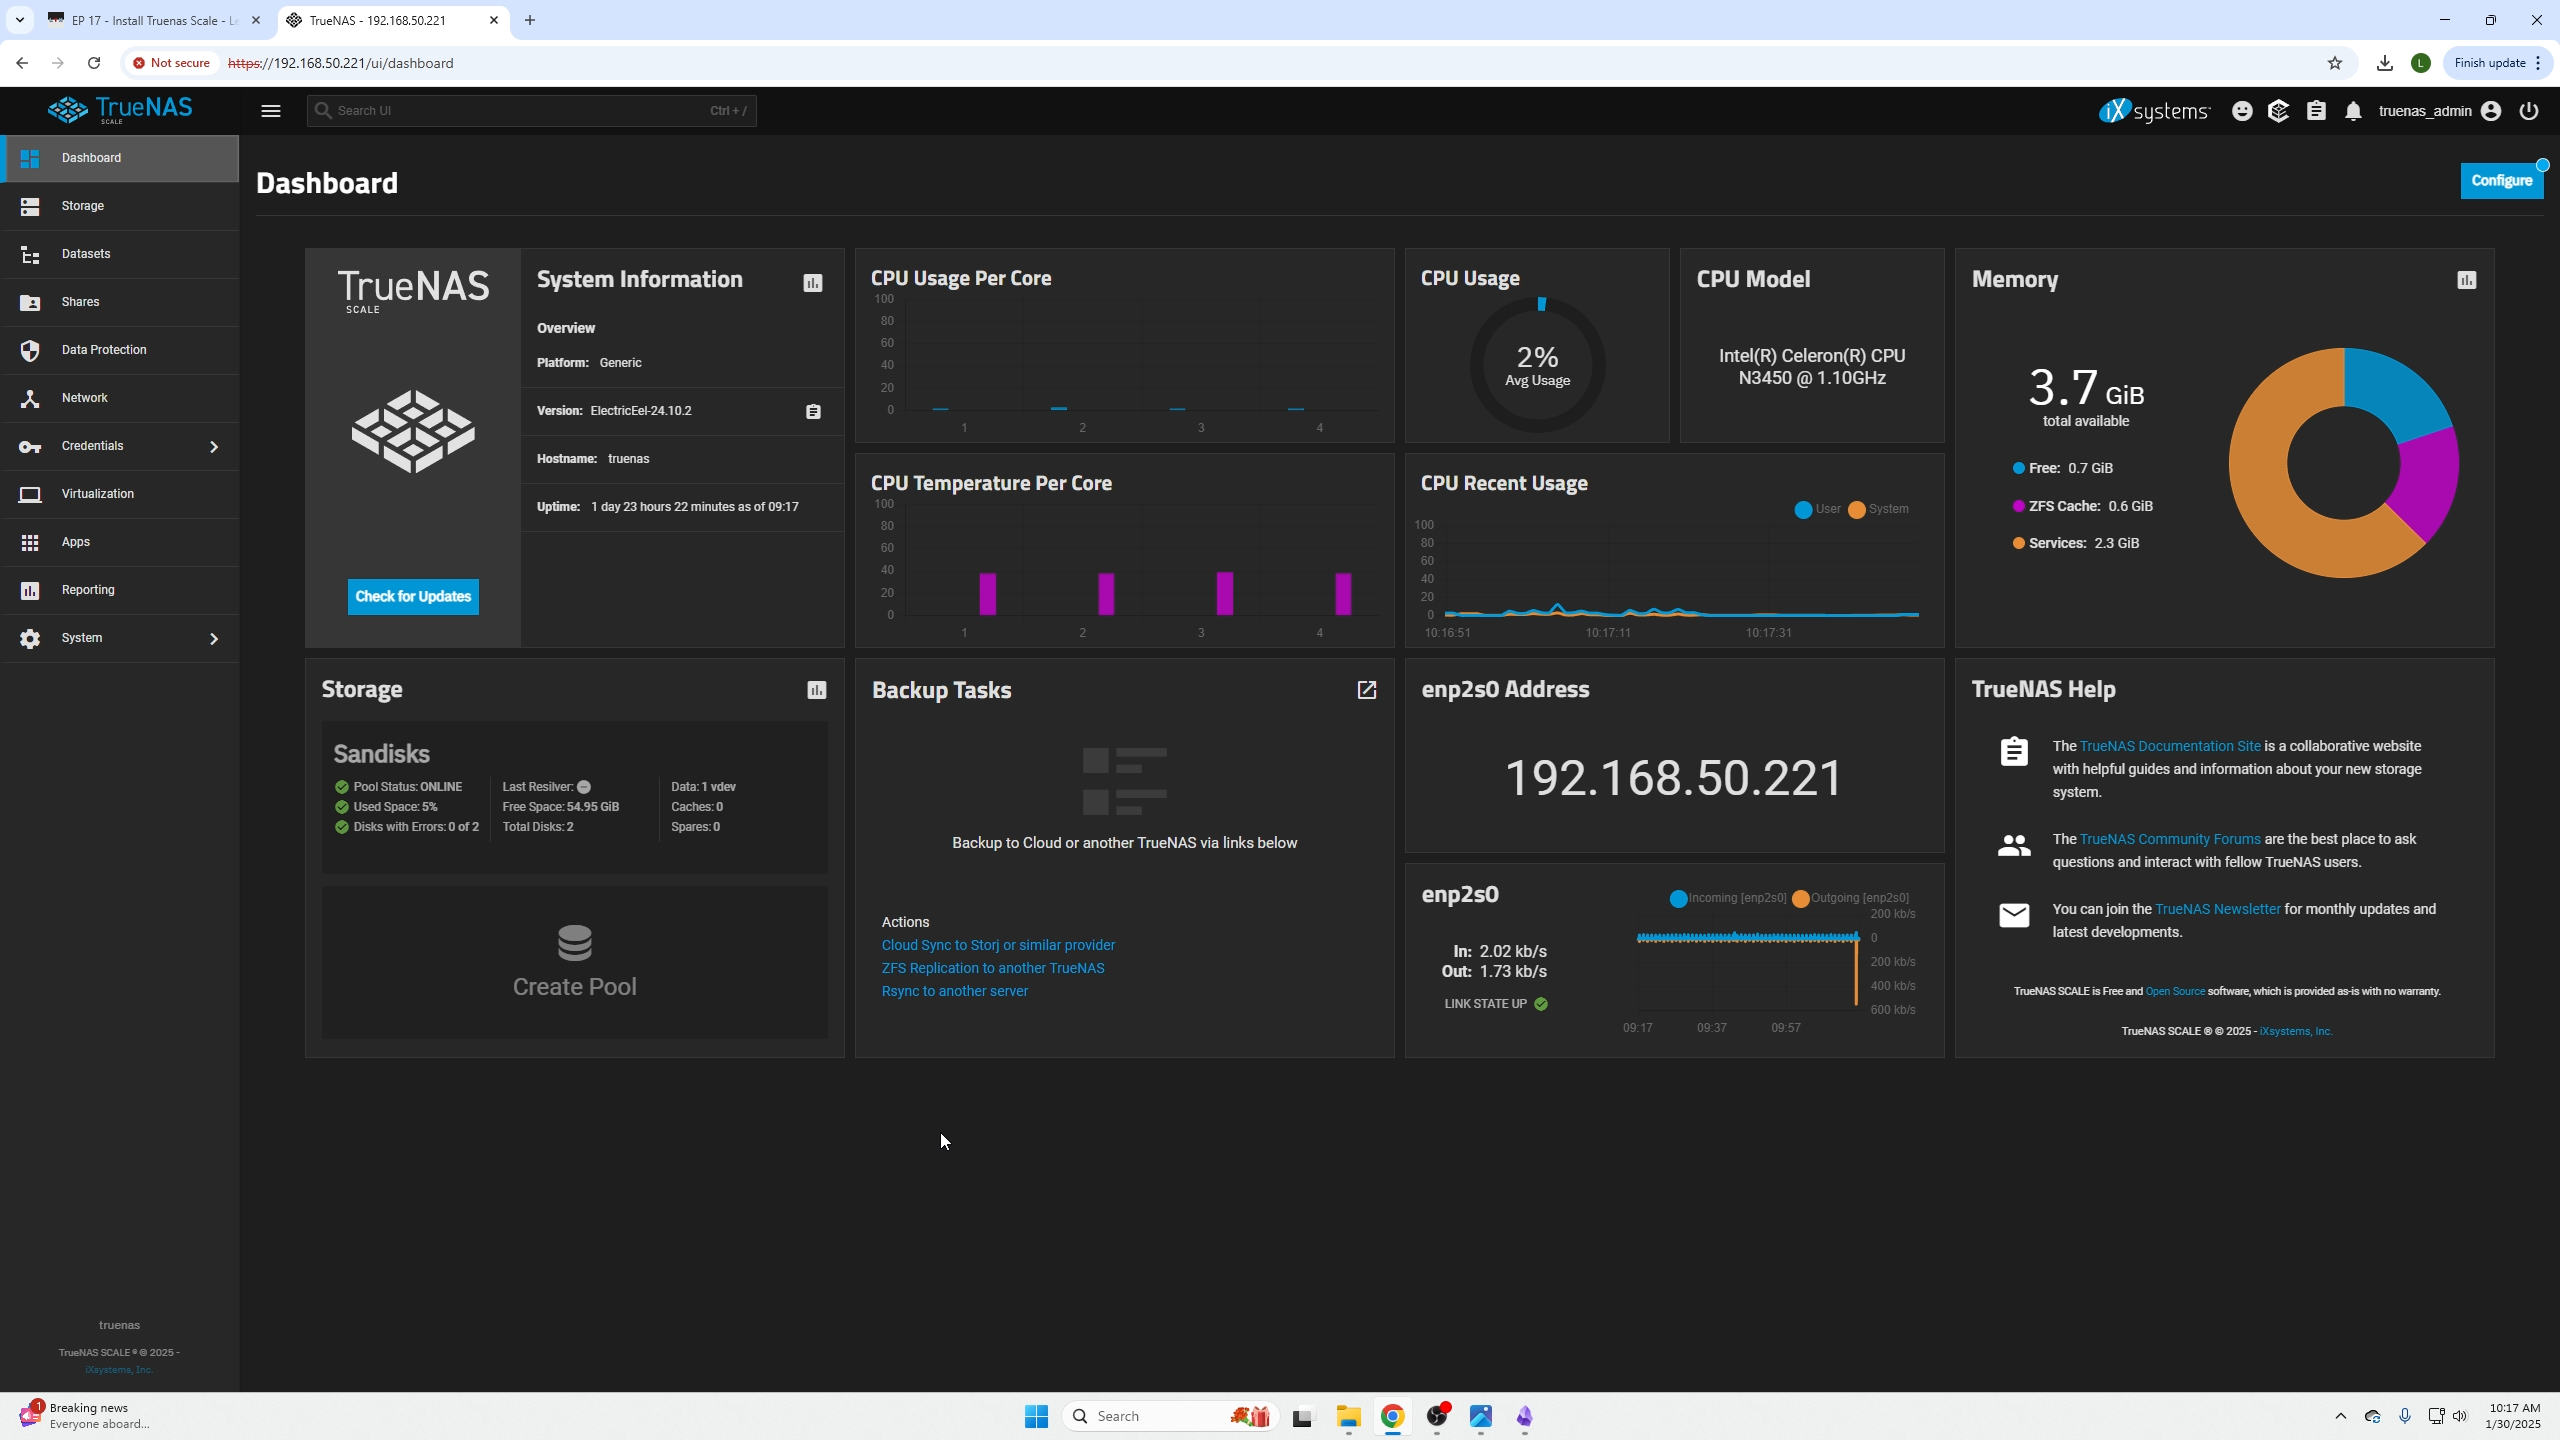
Go ahead and login to your TrueNas dashboard you can also learn how to install TrueNas from our previous episode here
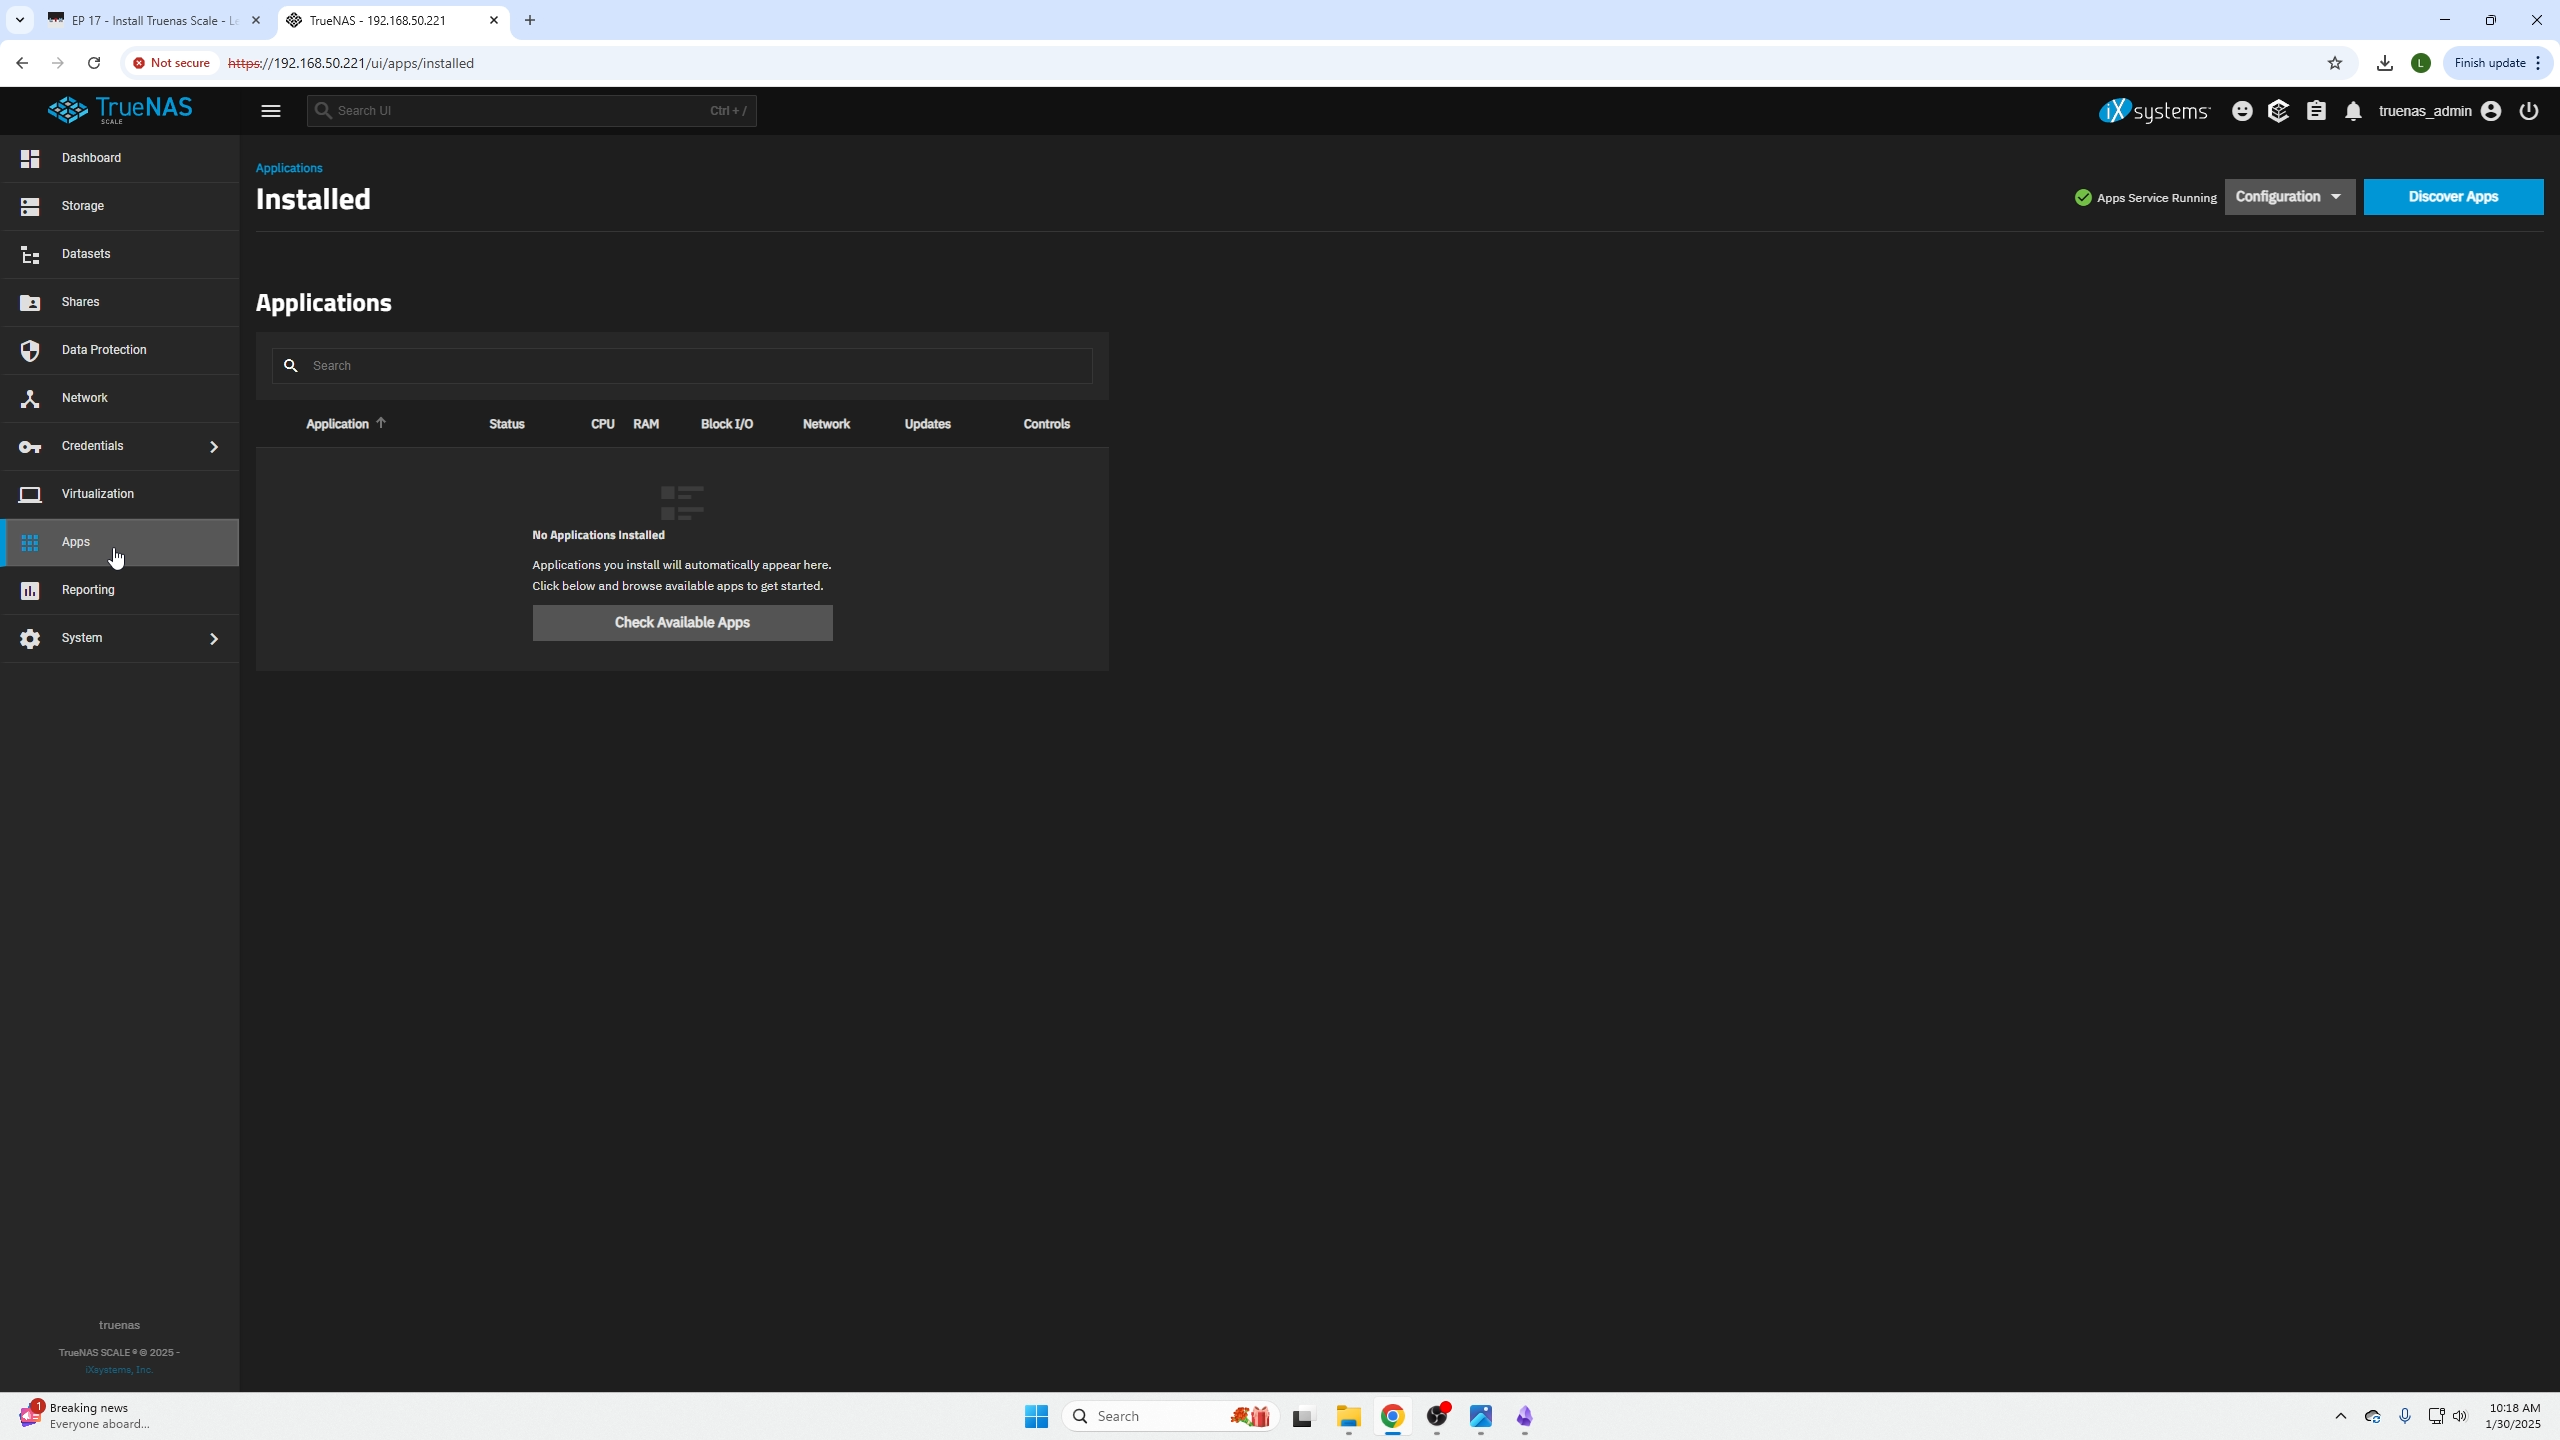
Select the "Apps" tab on the right and then click on "Check Available apps"
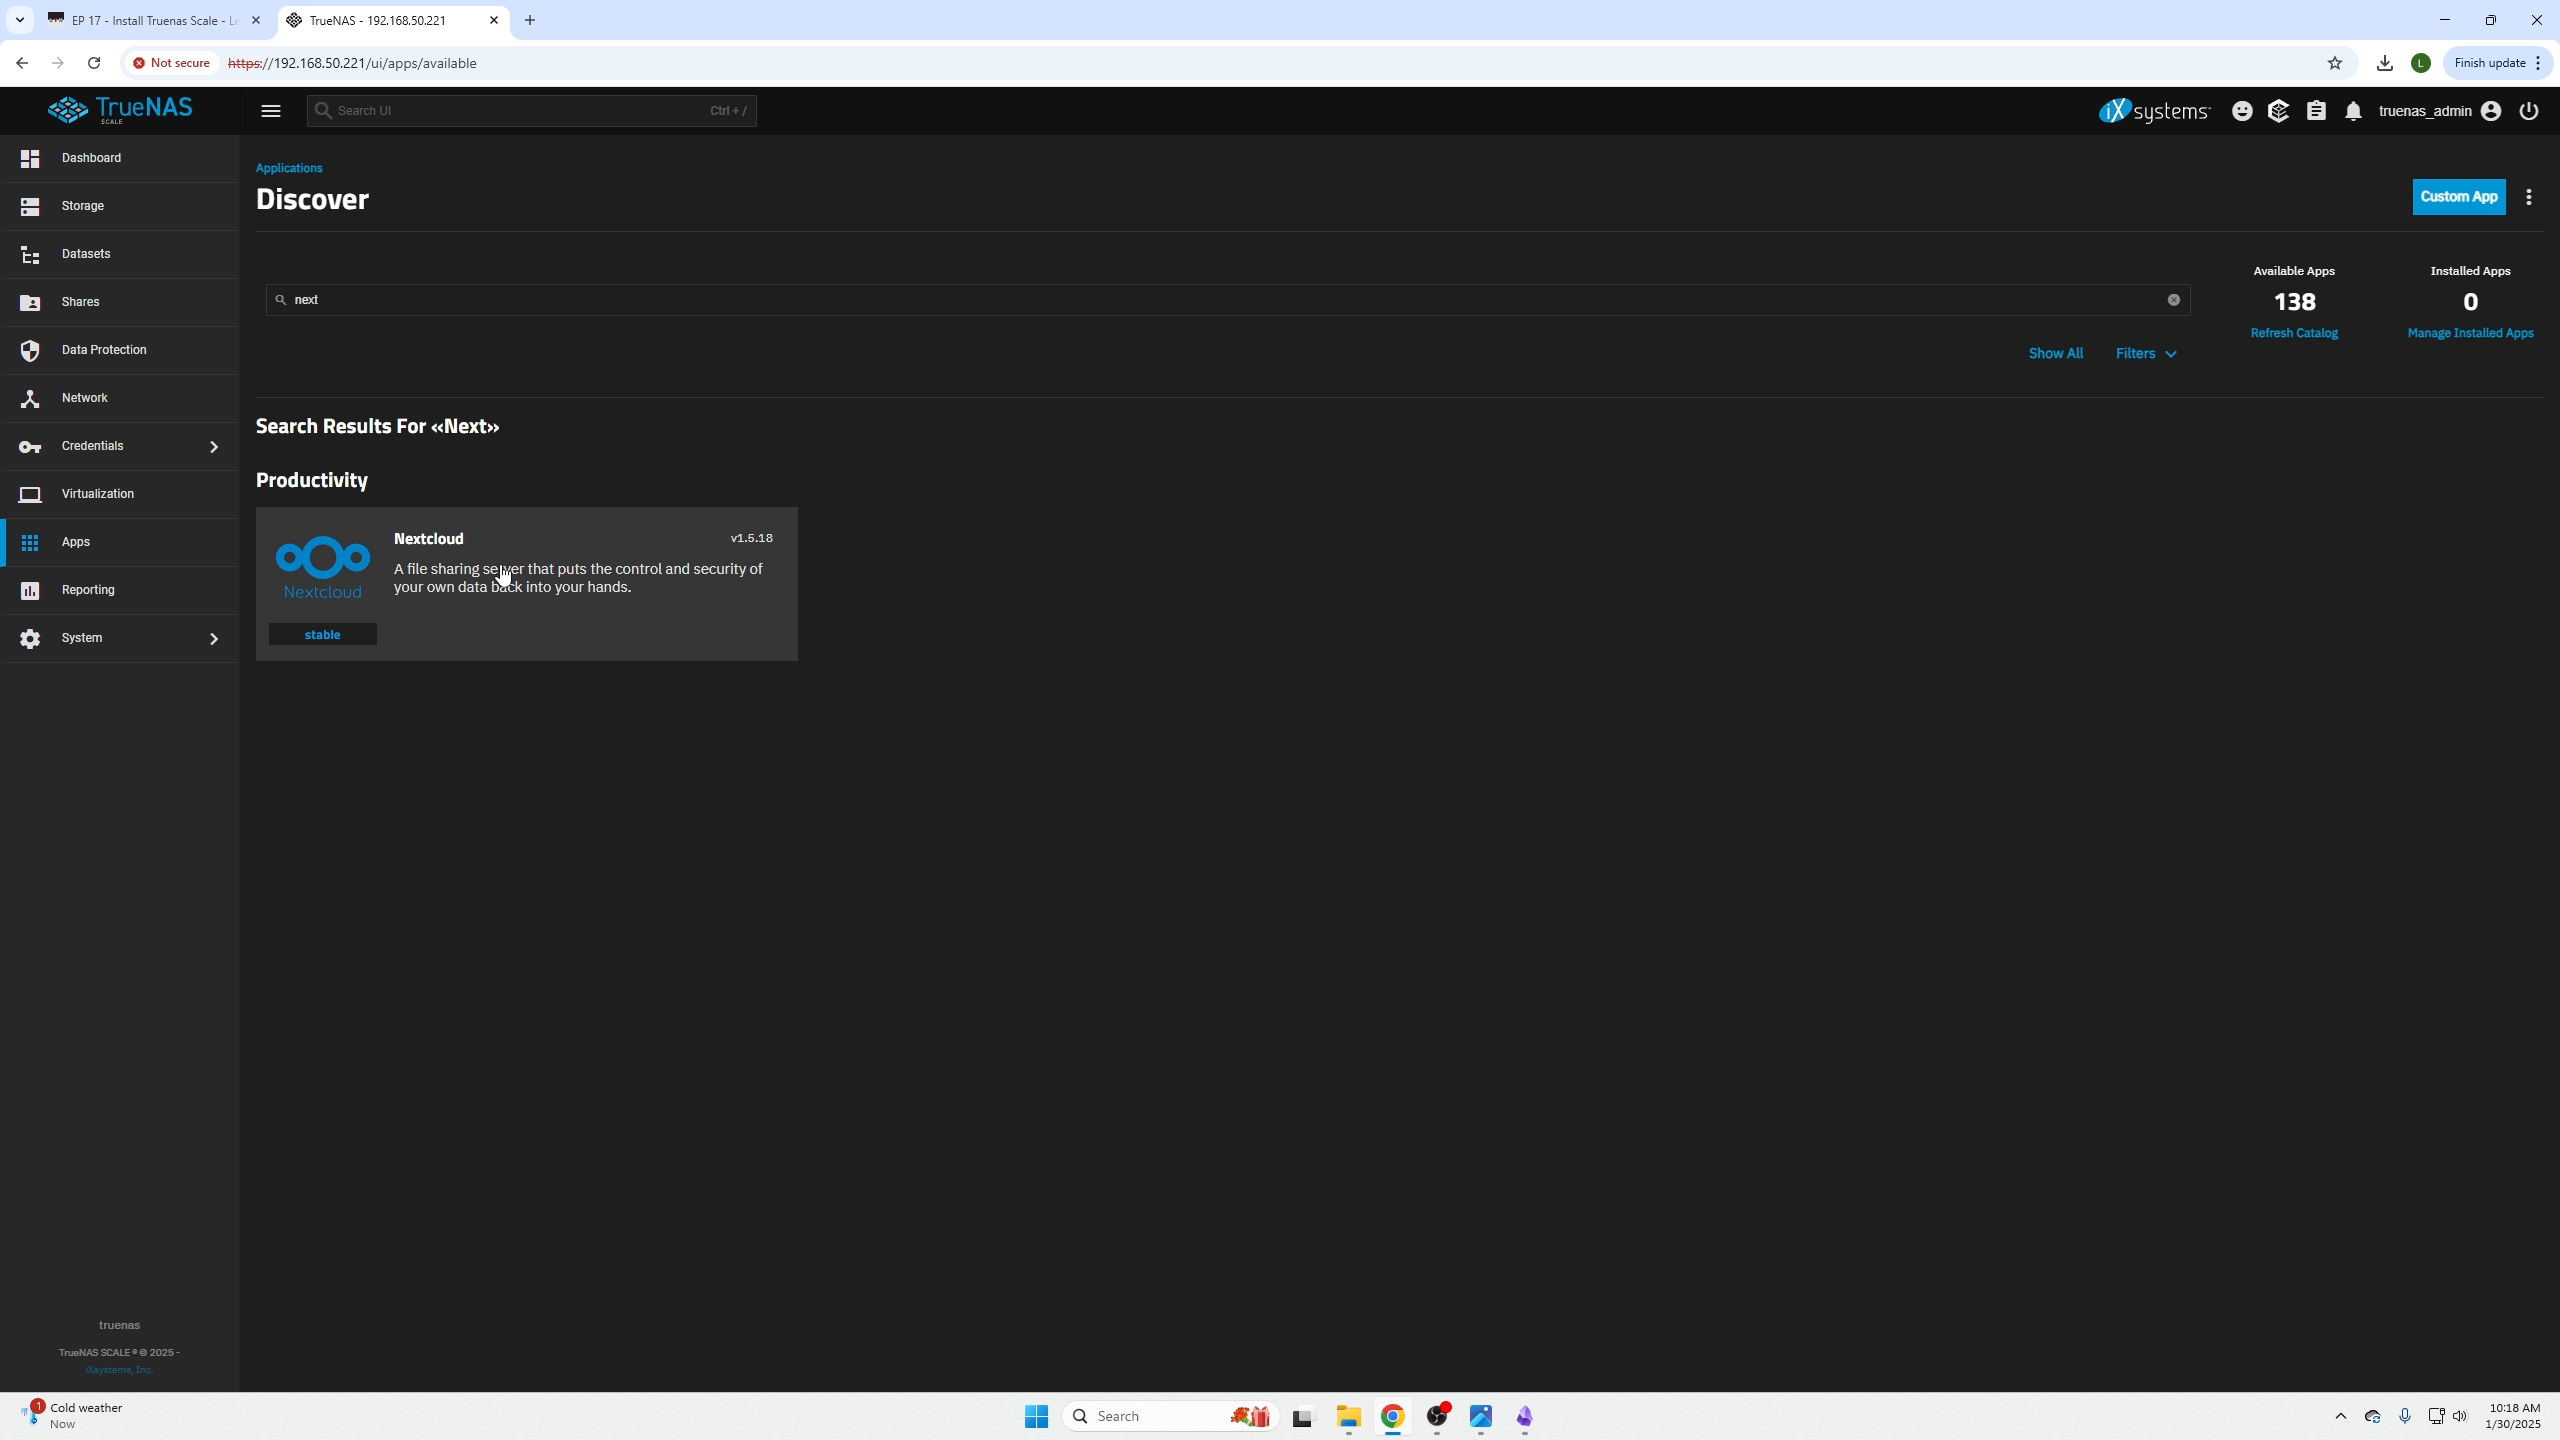
next search for (NextCloud) and select it.
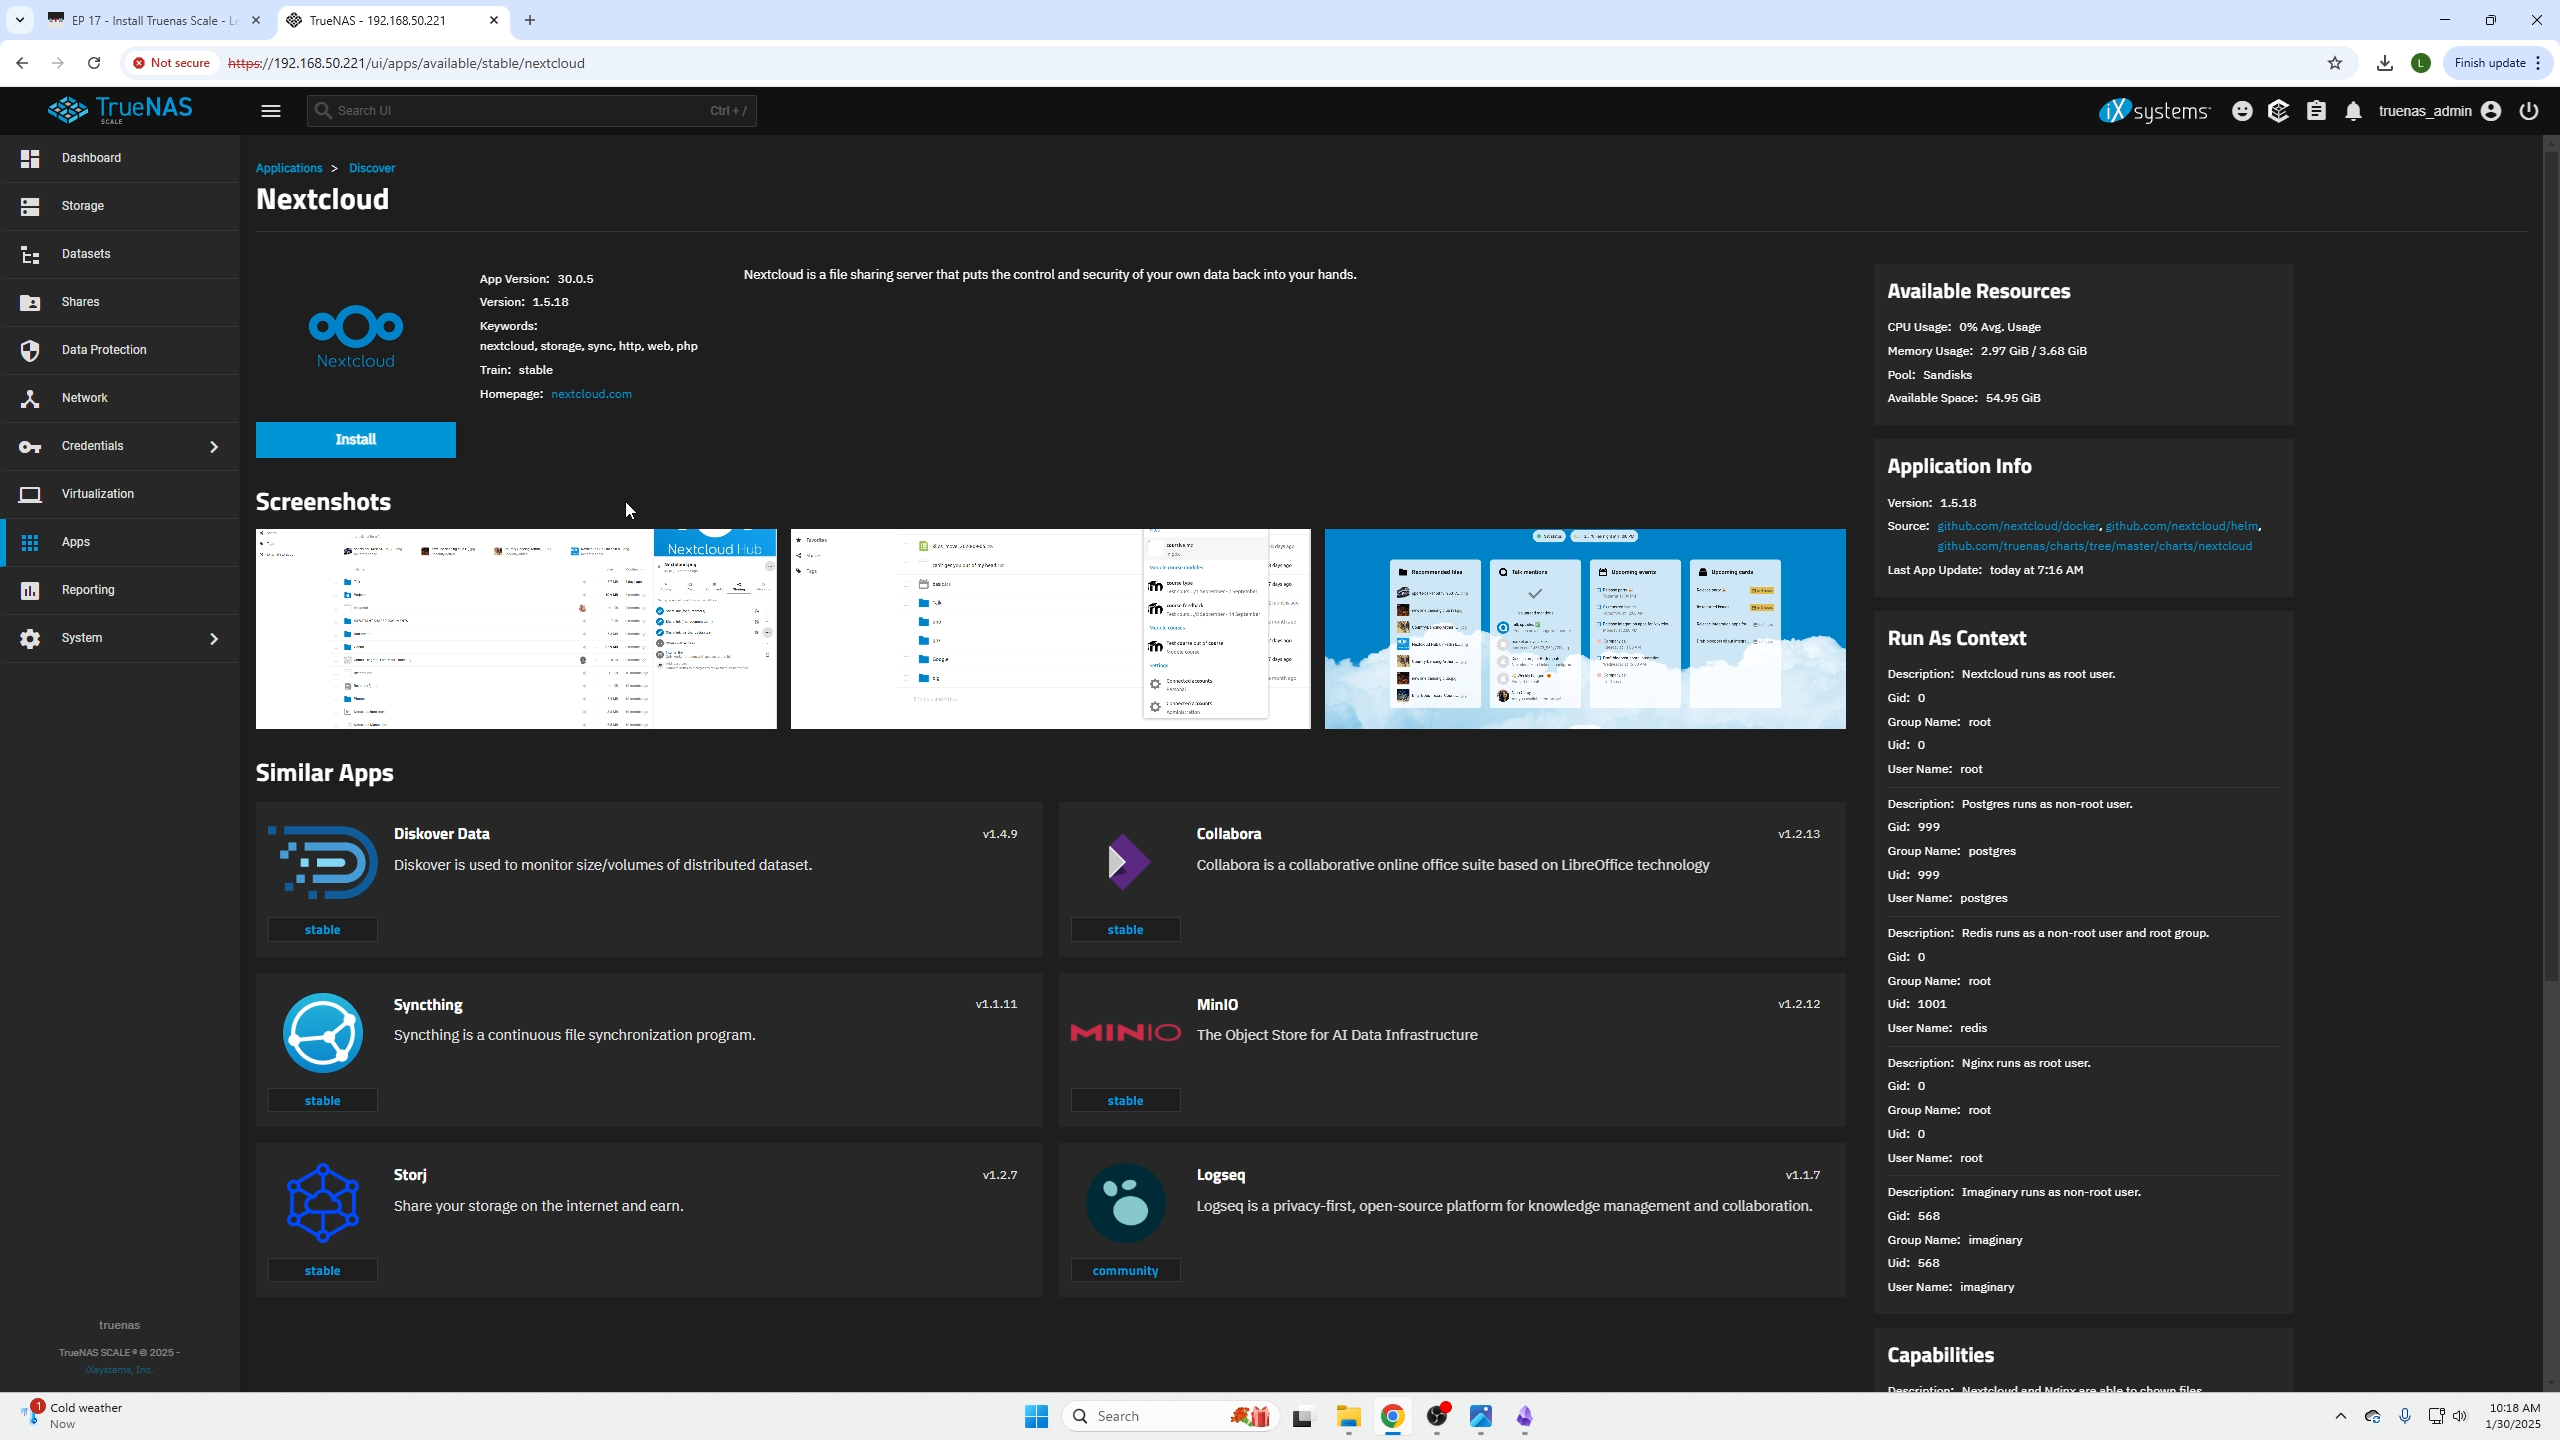
Click the blue isntall button.
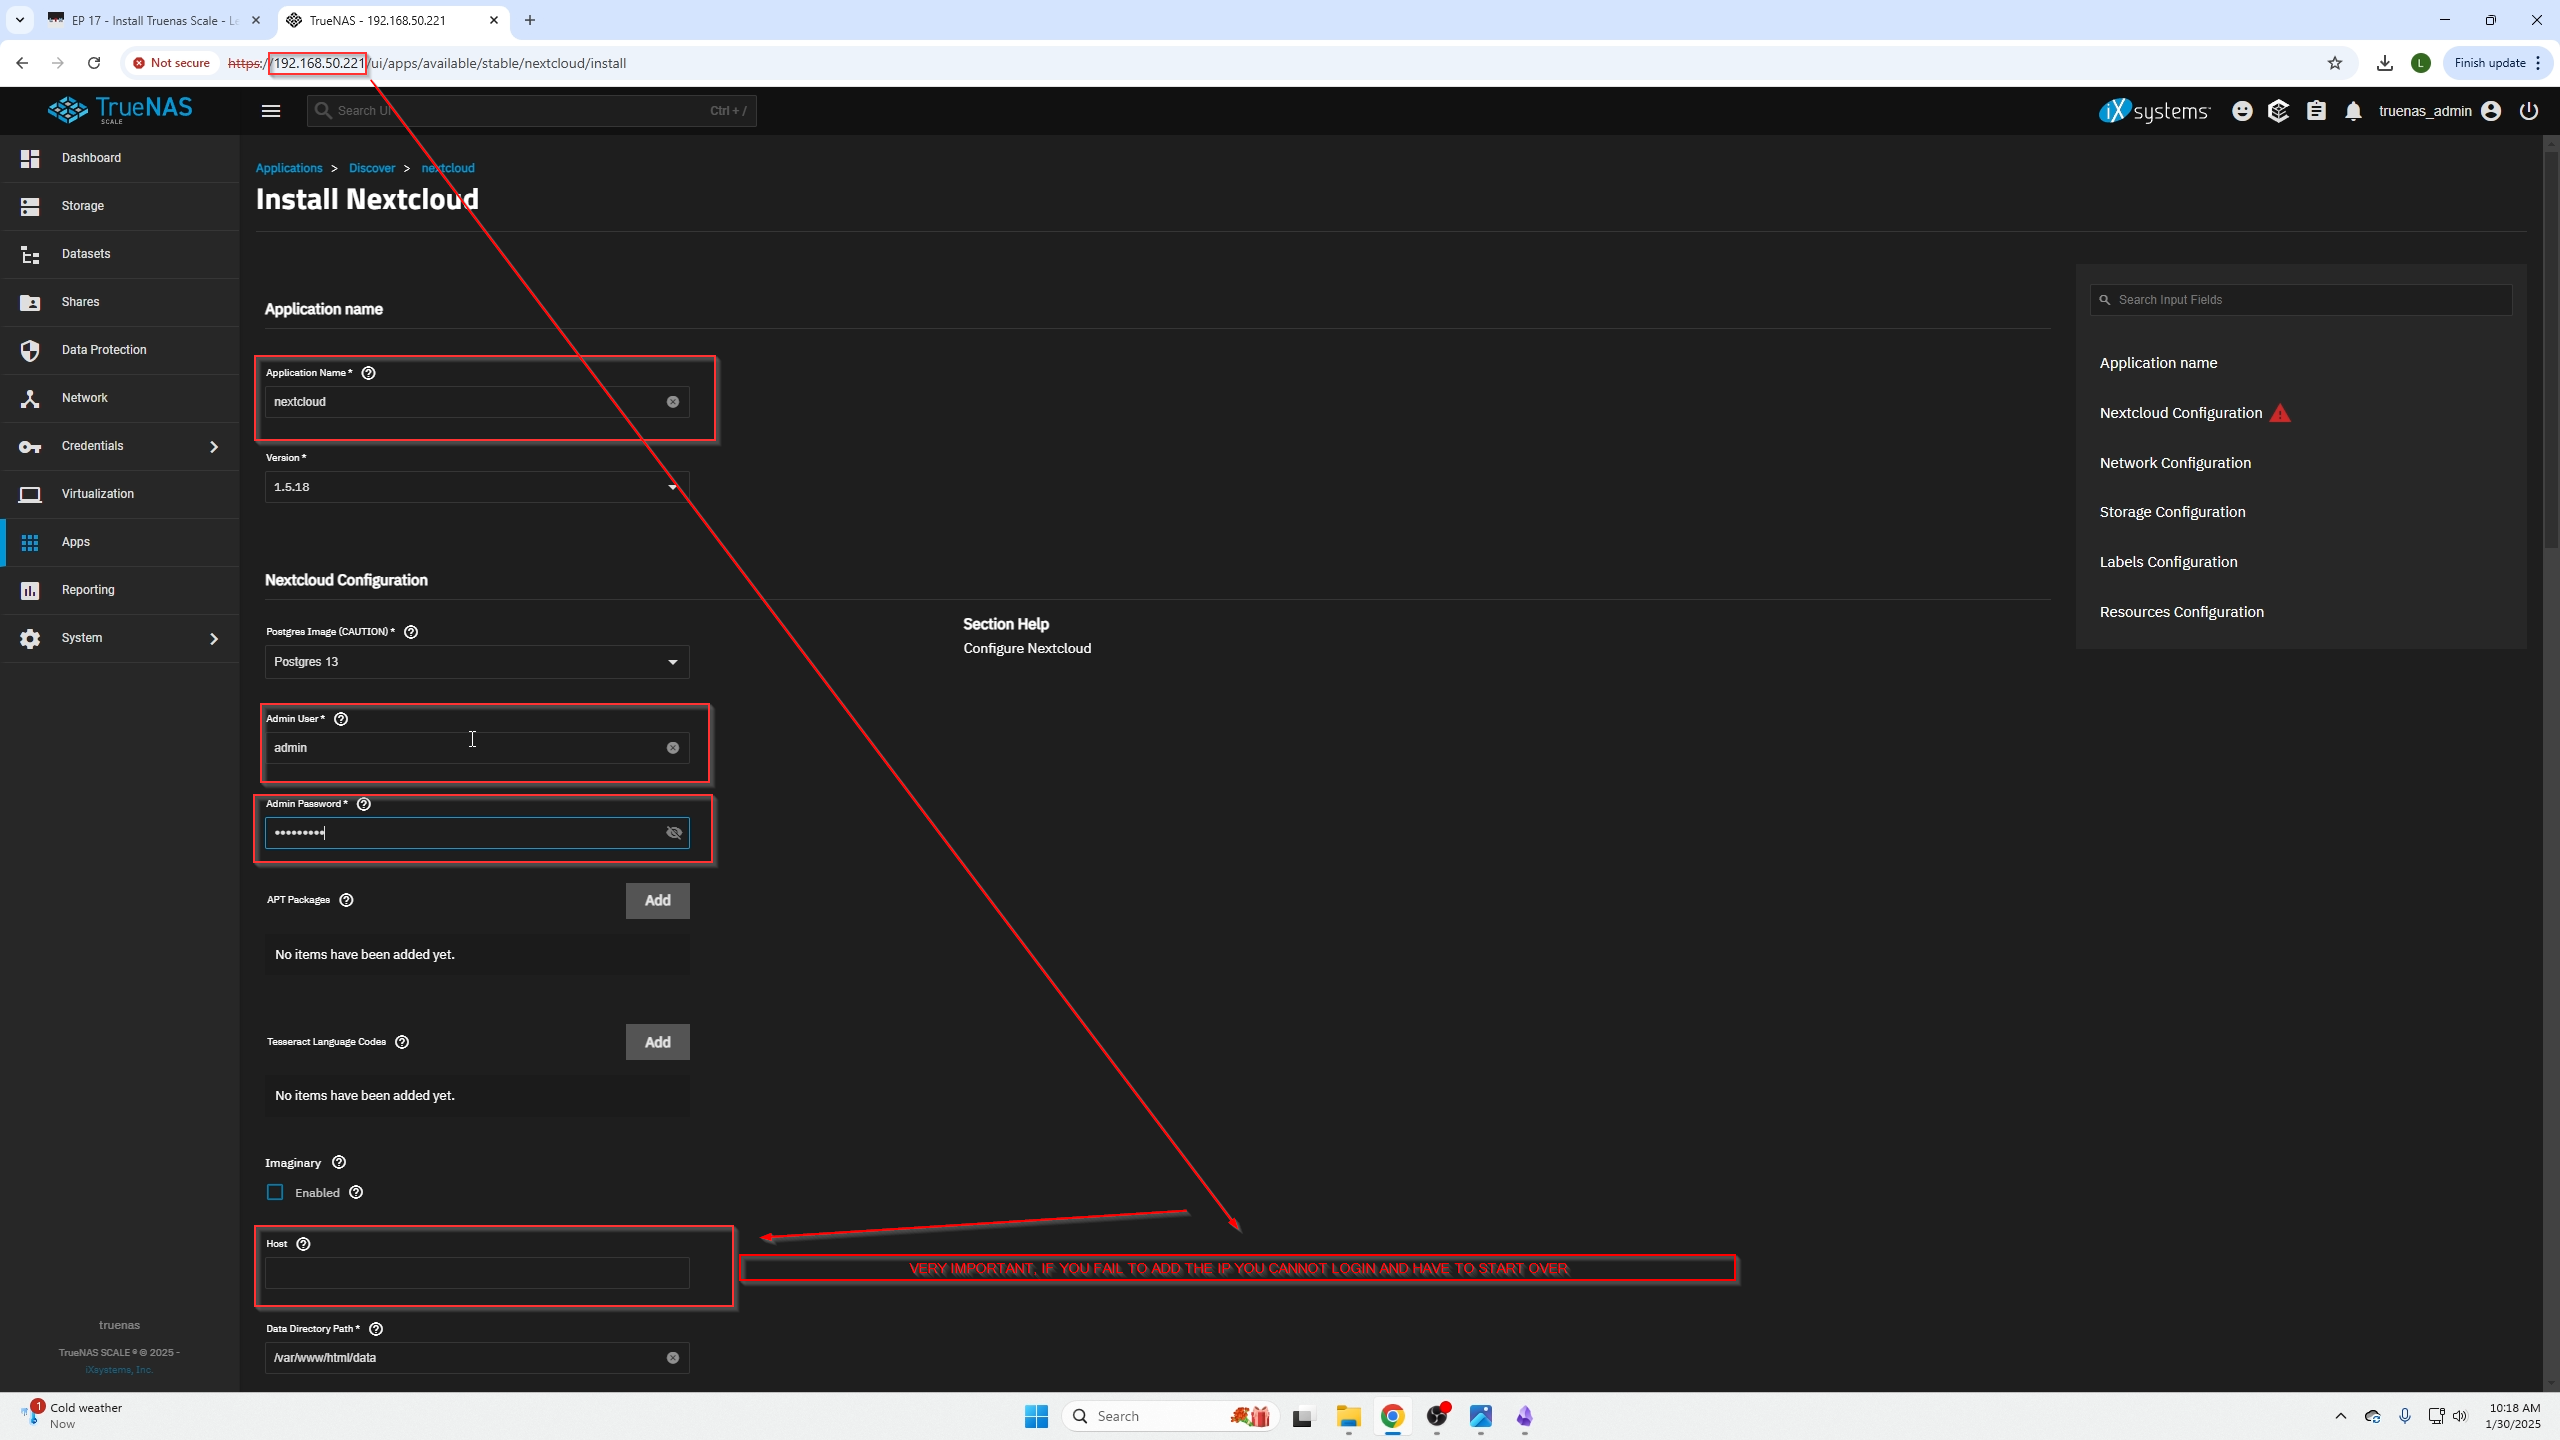
Now a lot of this CAN be left the same but we have a couple things WE MUST FILL OUT.
- (Application name) give your NextCloud Container a name.
- (Admin User) Create a username to login to NextCloud with.
- (Admin Password) Set the password you are going to use to login.
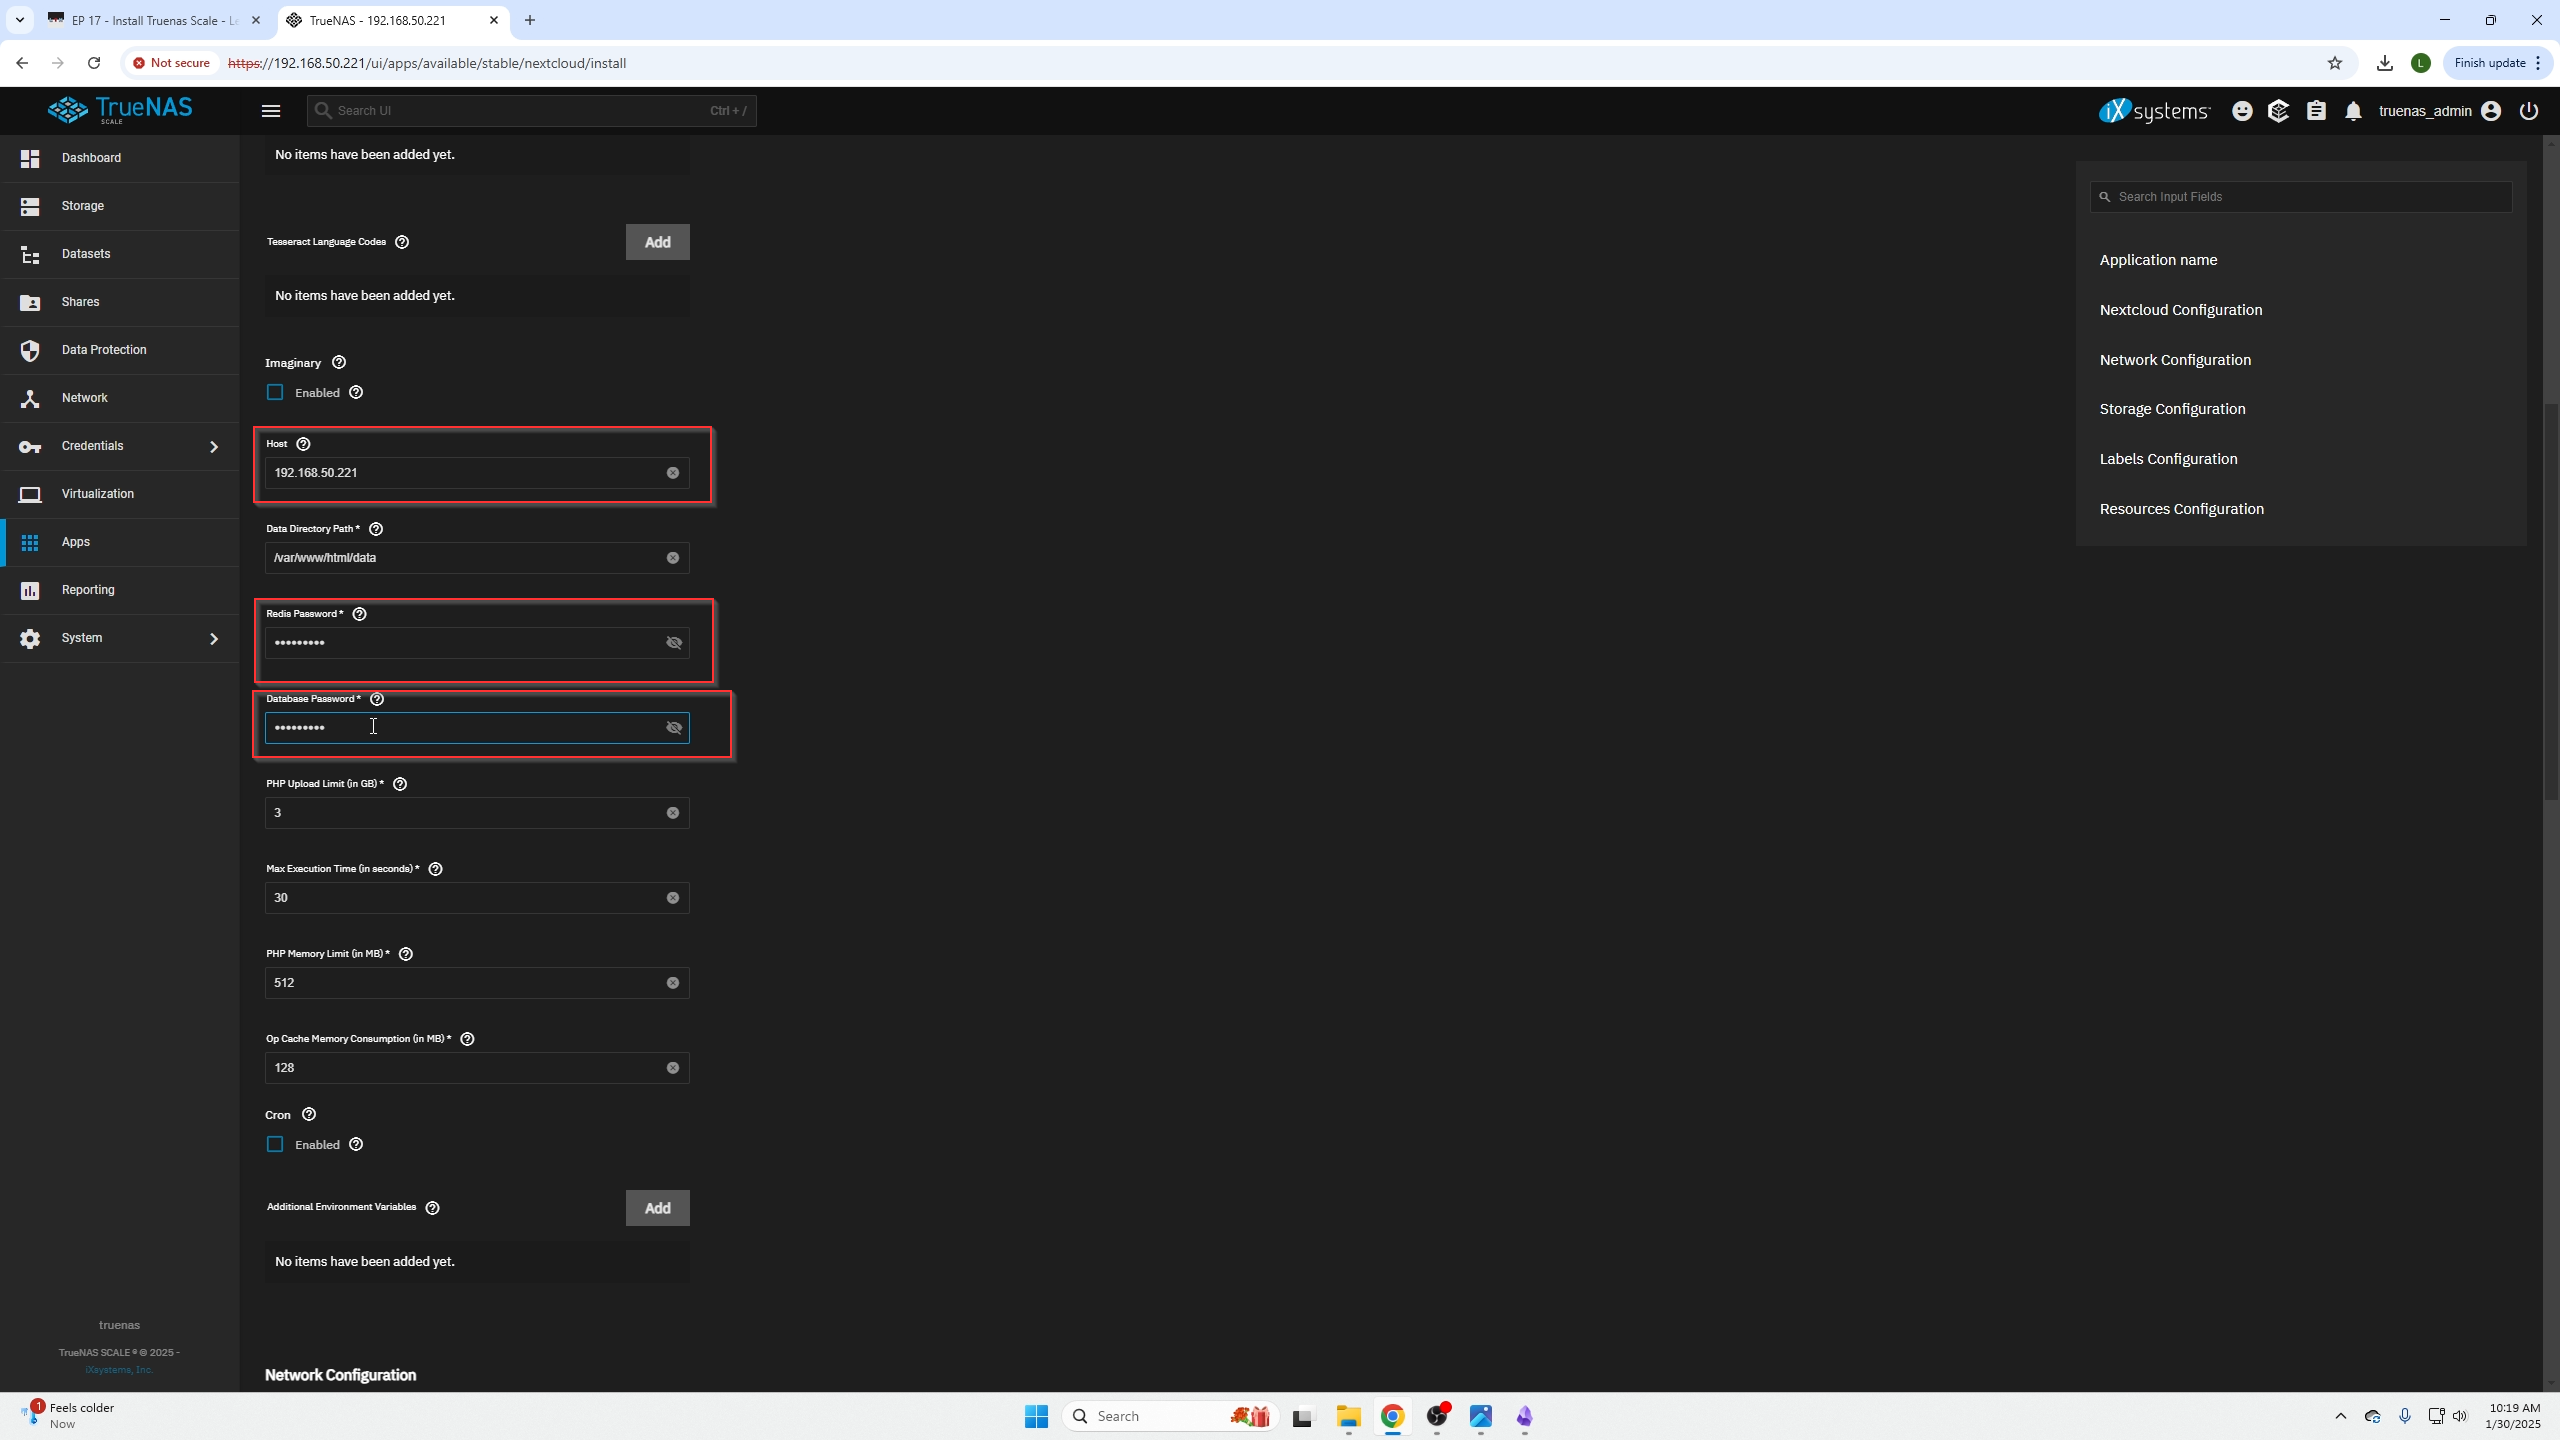
- (Host) This will be the IP address of your TrueNas machine, you can see the IP address of your TrueNas machine in your browsers URL. The example like ours is 192.168.50.221.
- (Redia Password) Create a password.
- (Database Password) Create a password.
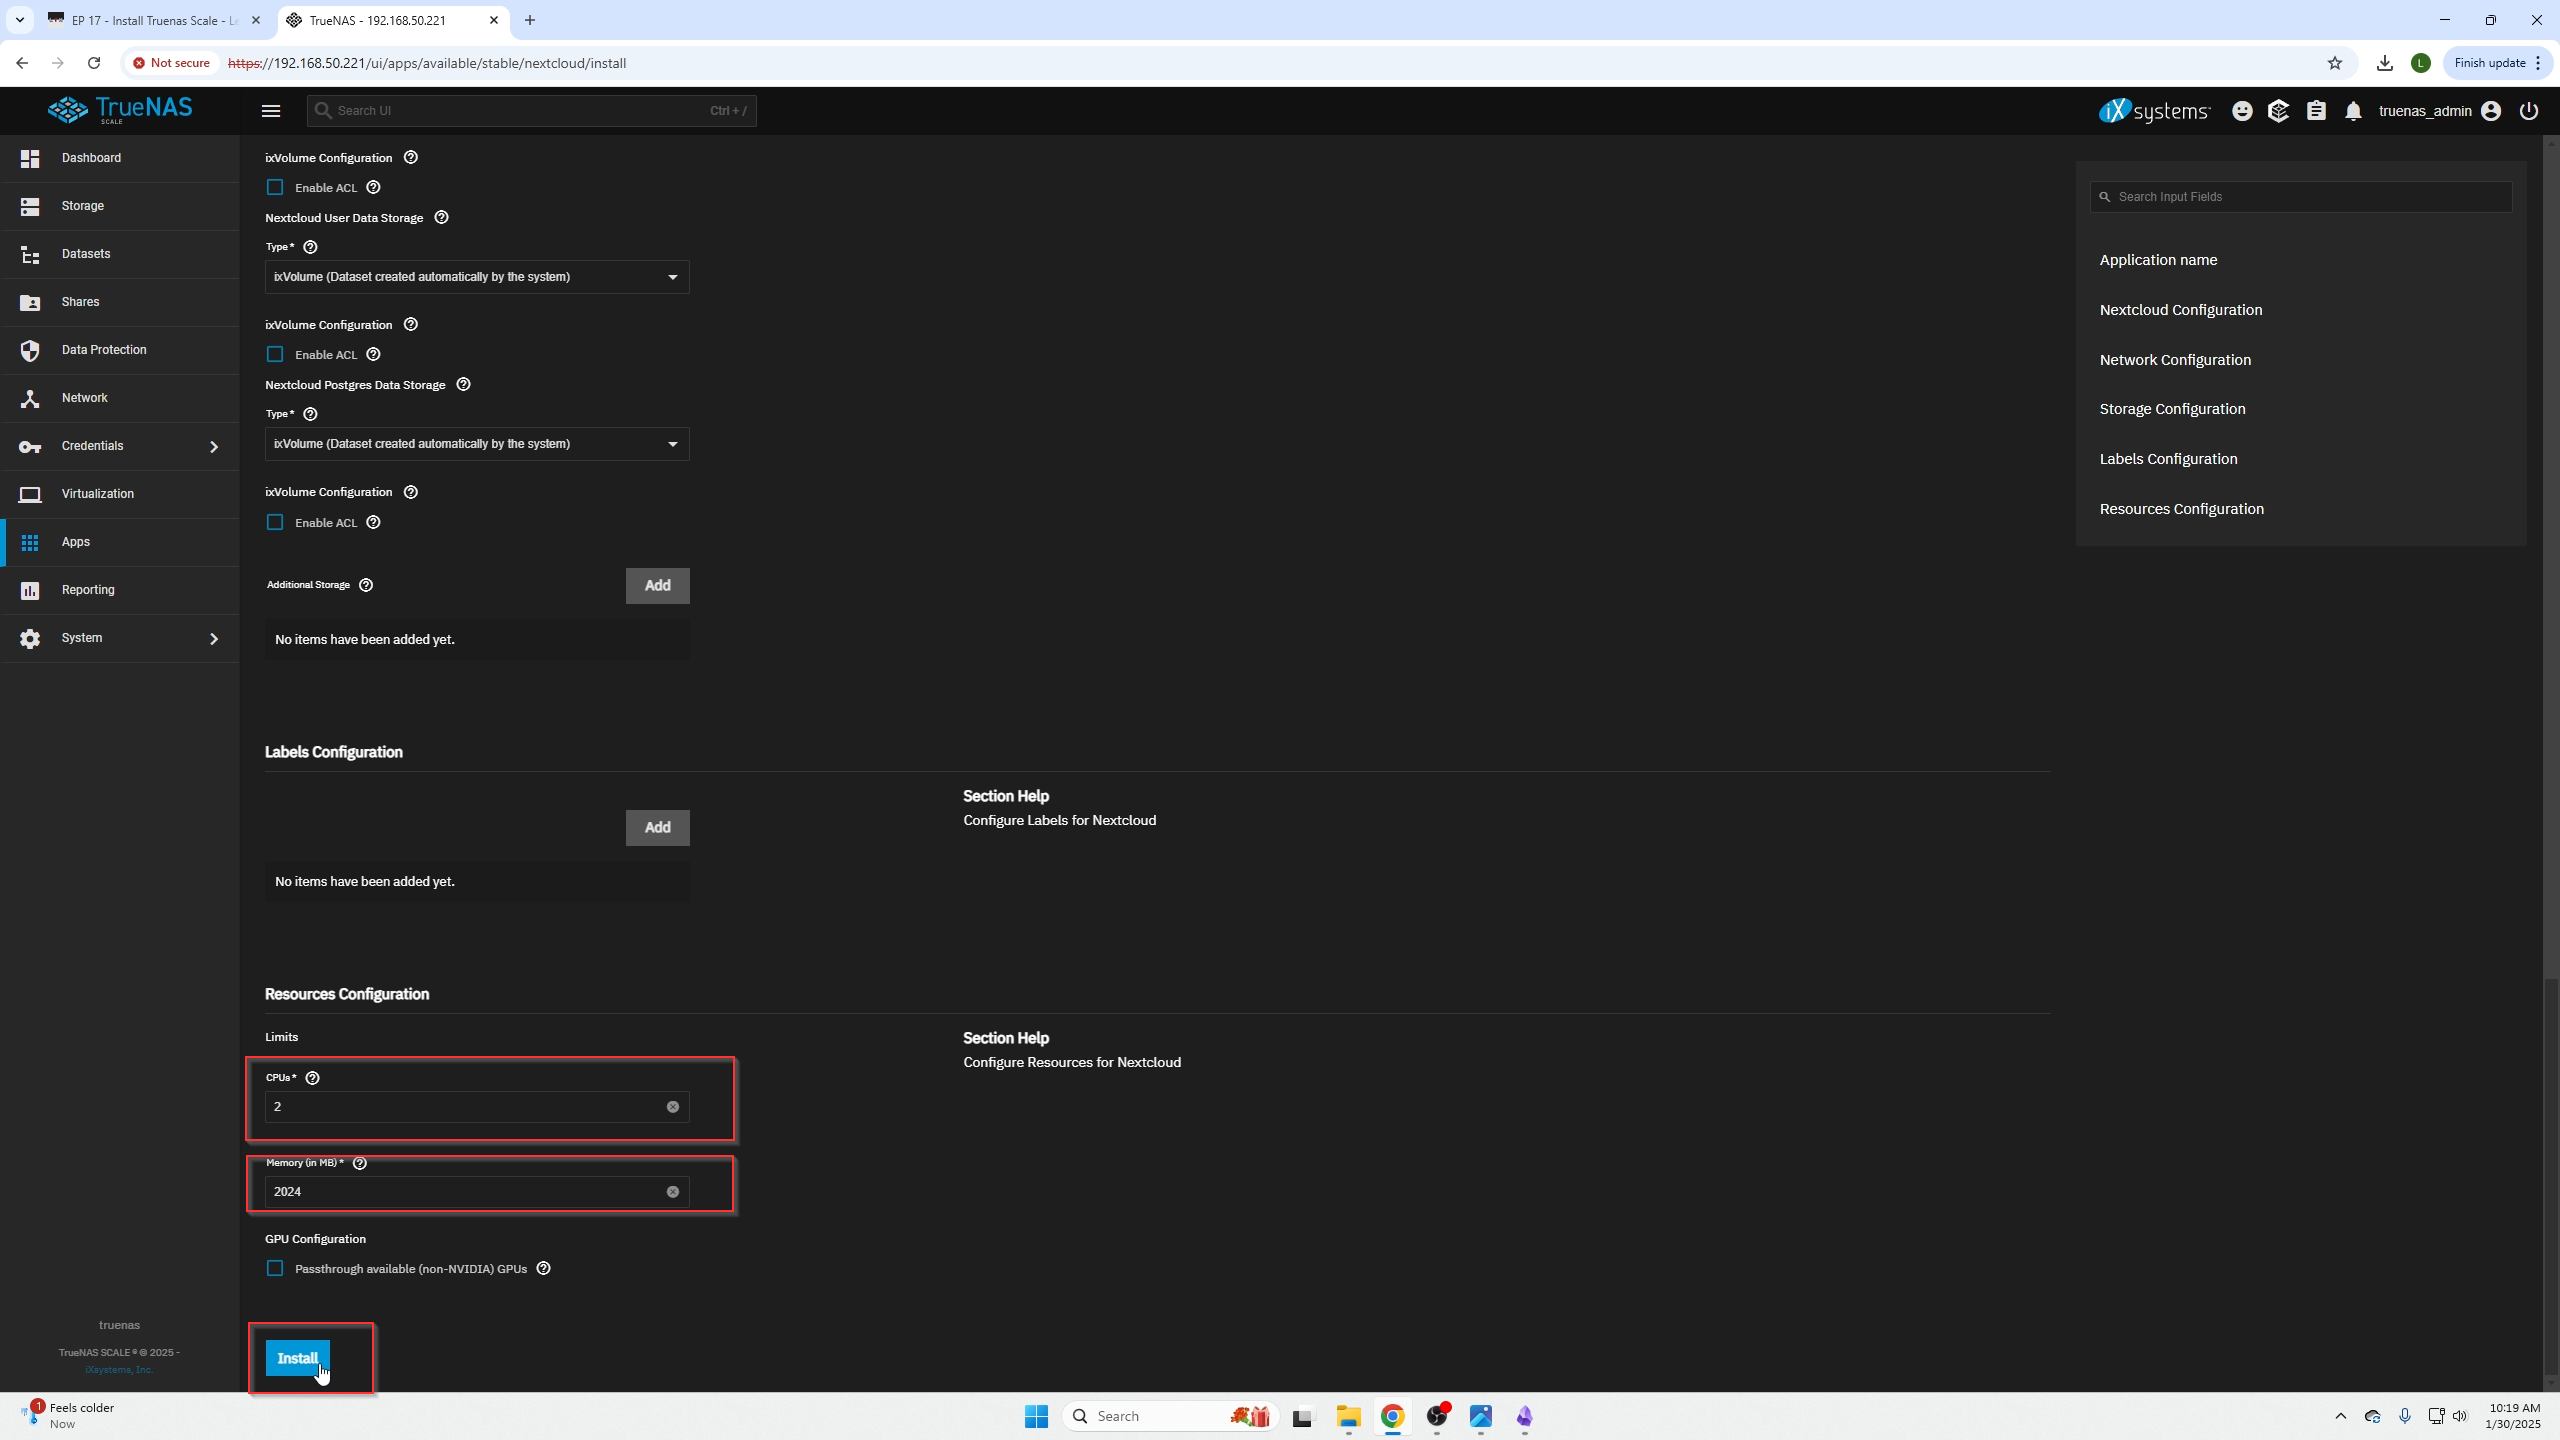
- (CPU) You can raise or lower how much of the CPU you want this NextCloud container to have access to.
- (Memory in MB) You can raise or lower how much of the RAM you want this NextCloud container to have access to, more is better.
Second screenshot of the settings page settings that need to be changed as explained in the numbered list above.
Last screenshot of the settings page, select install.
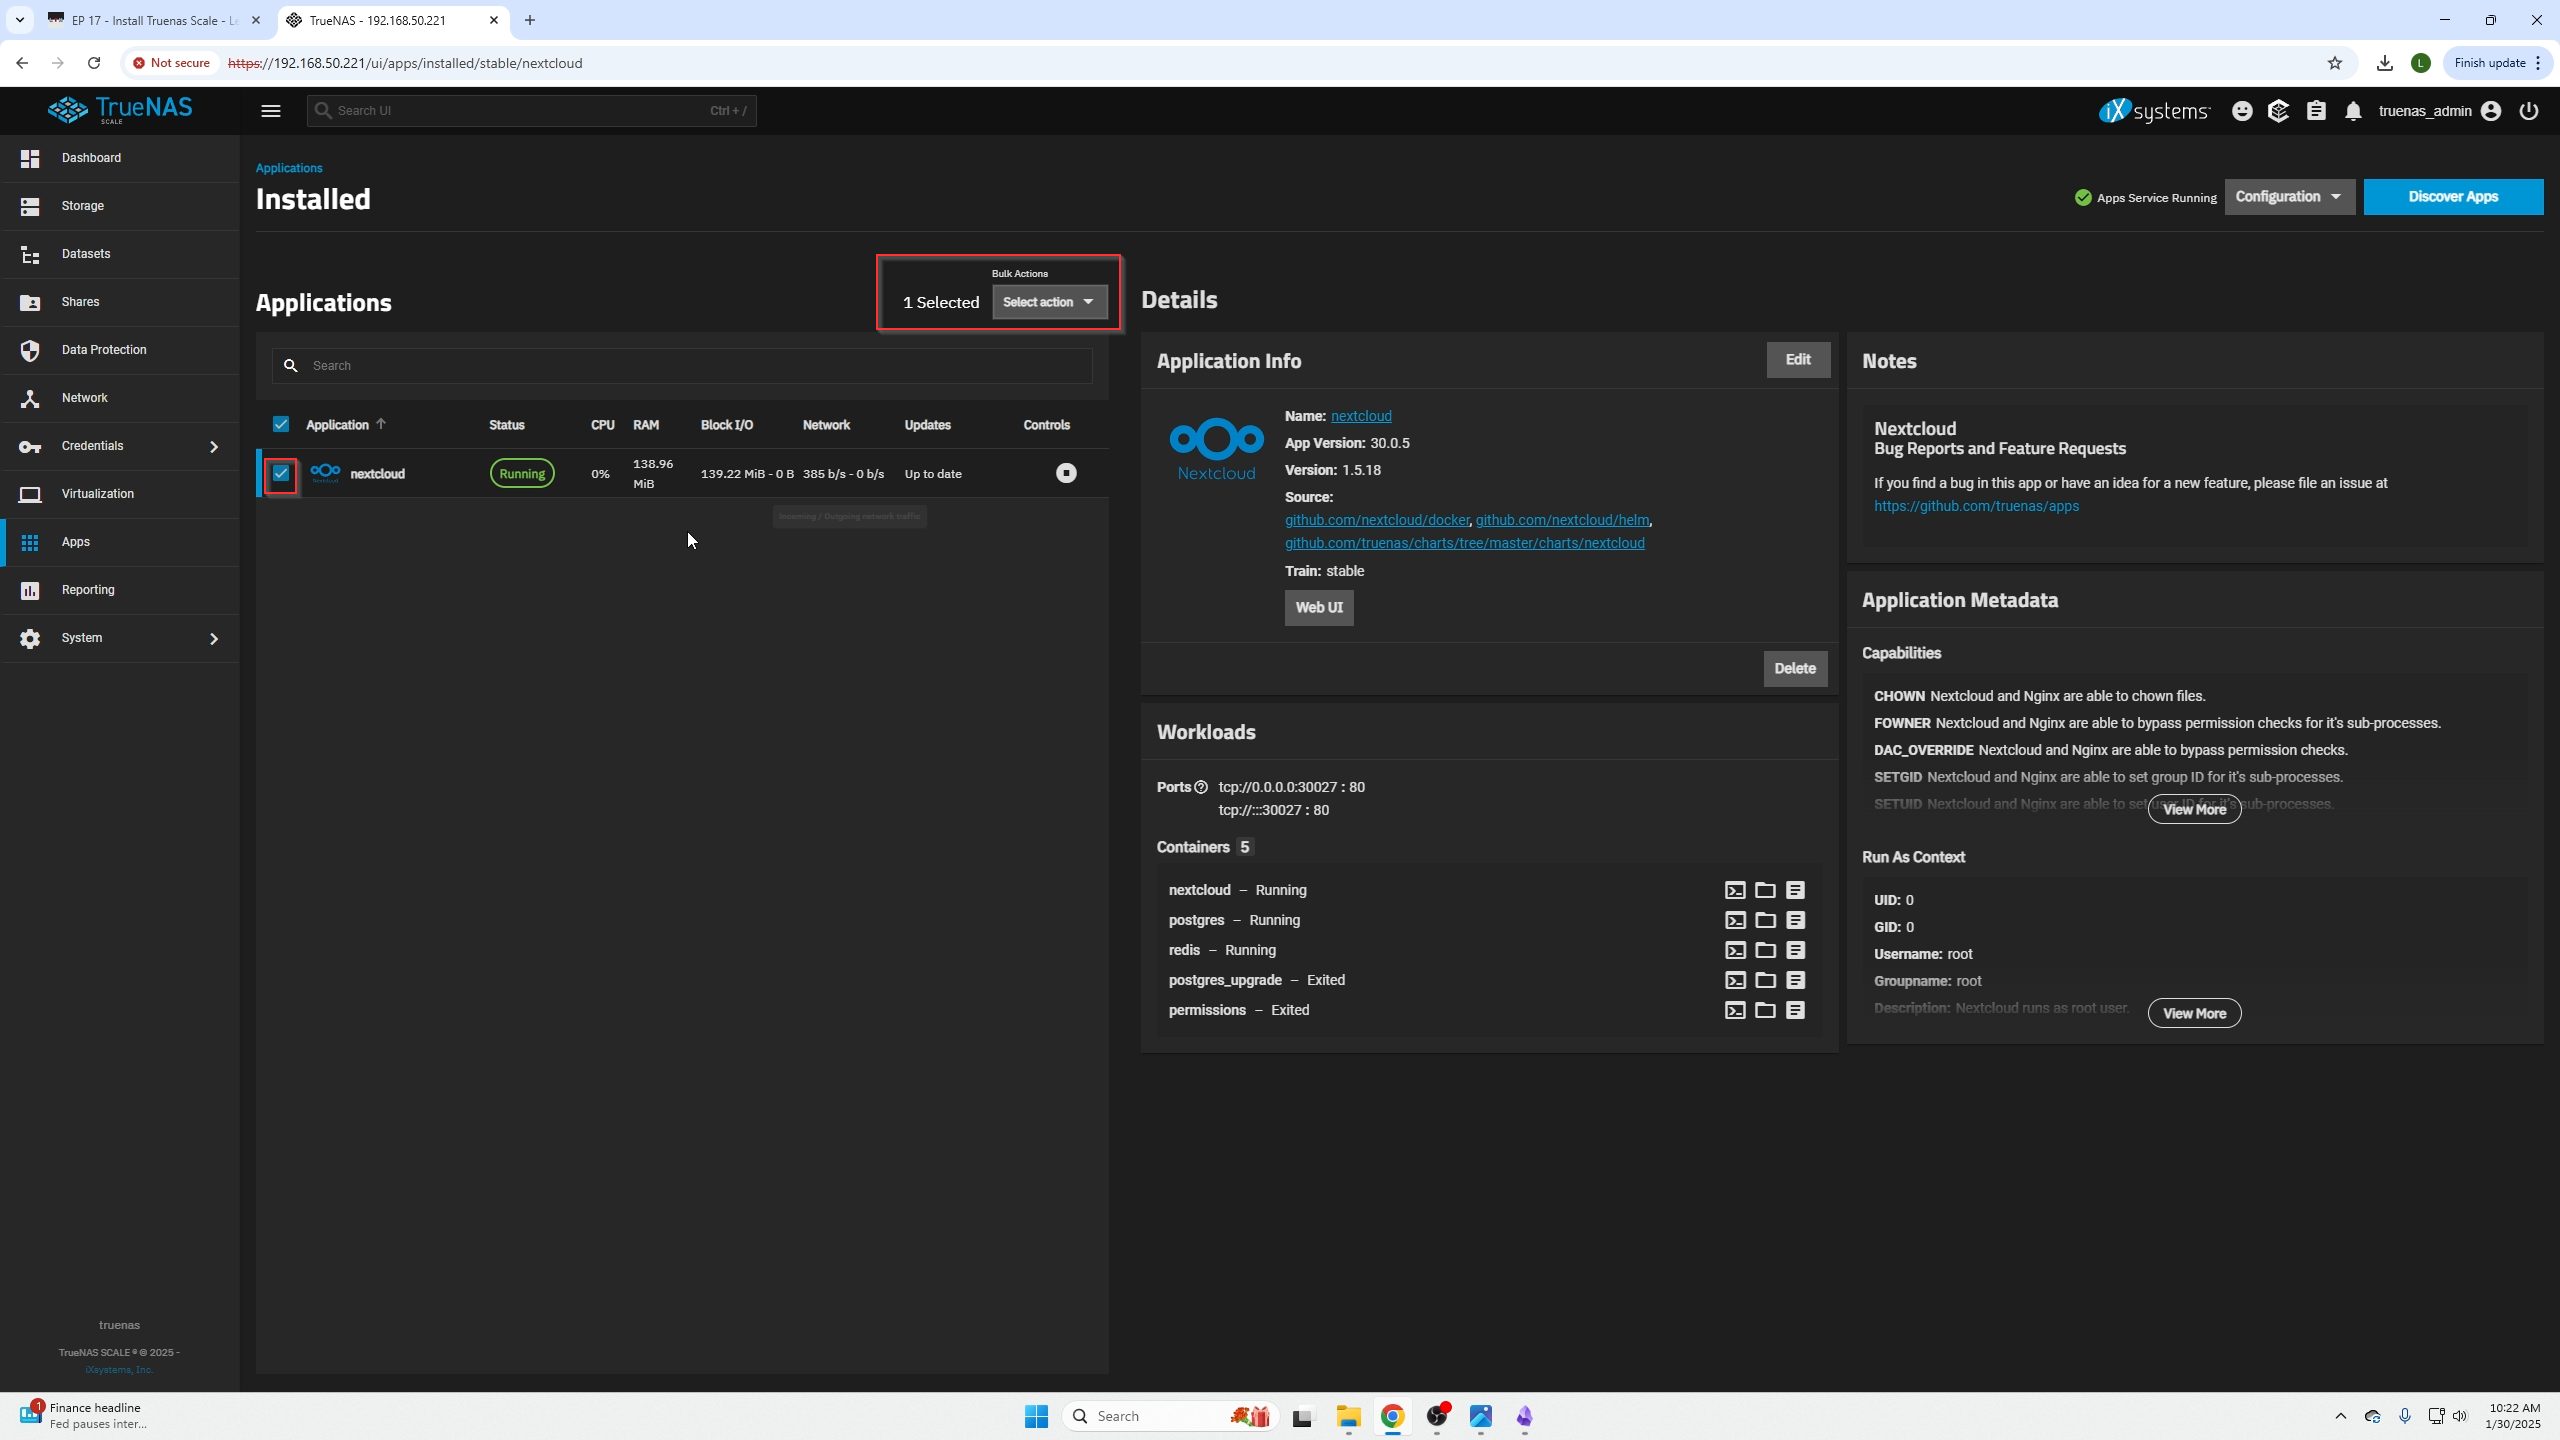
Wait until you see the status shown as running. You can then access your NextCloud instance by clicking the WebUI button.
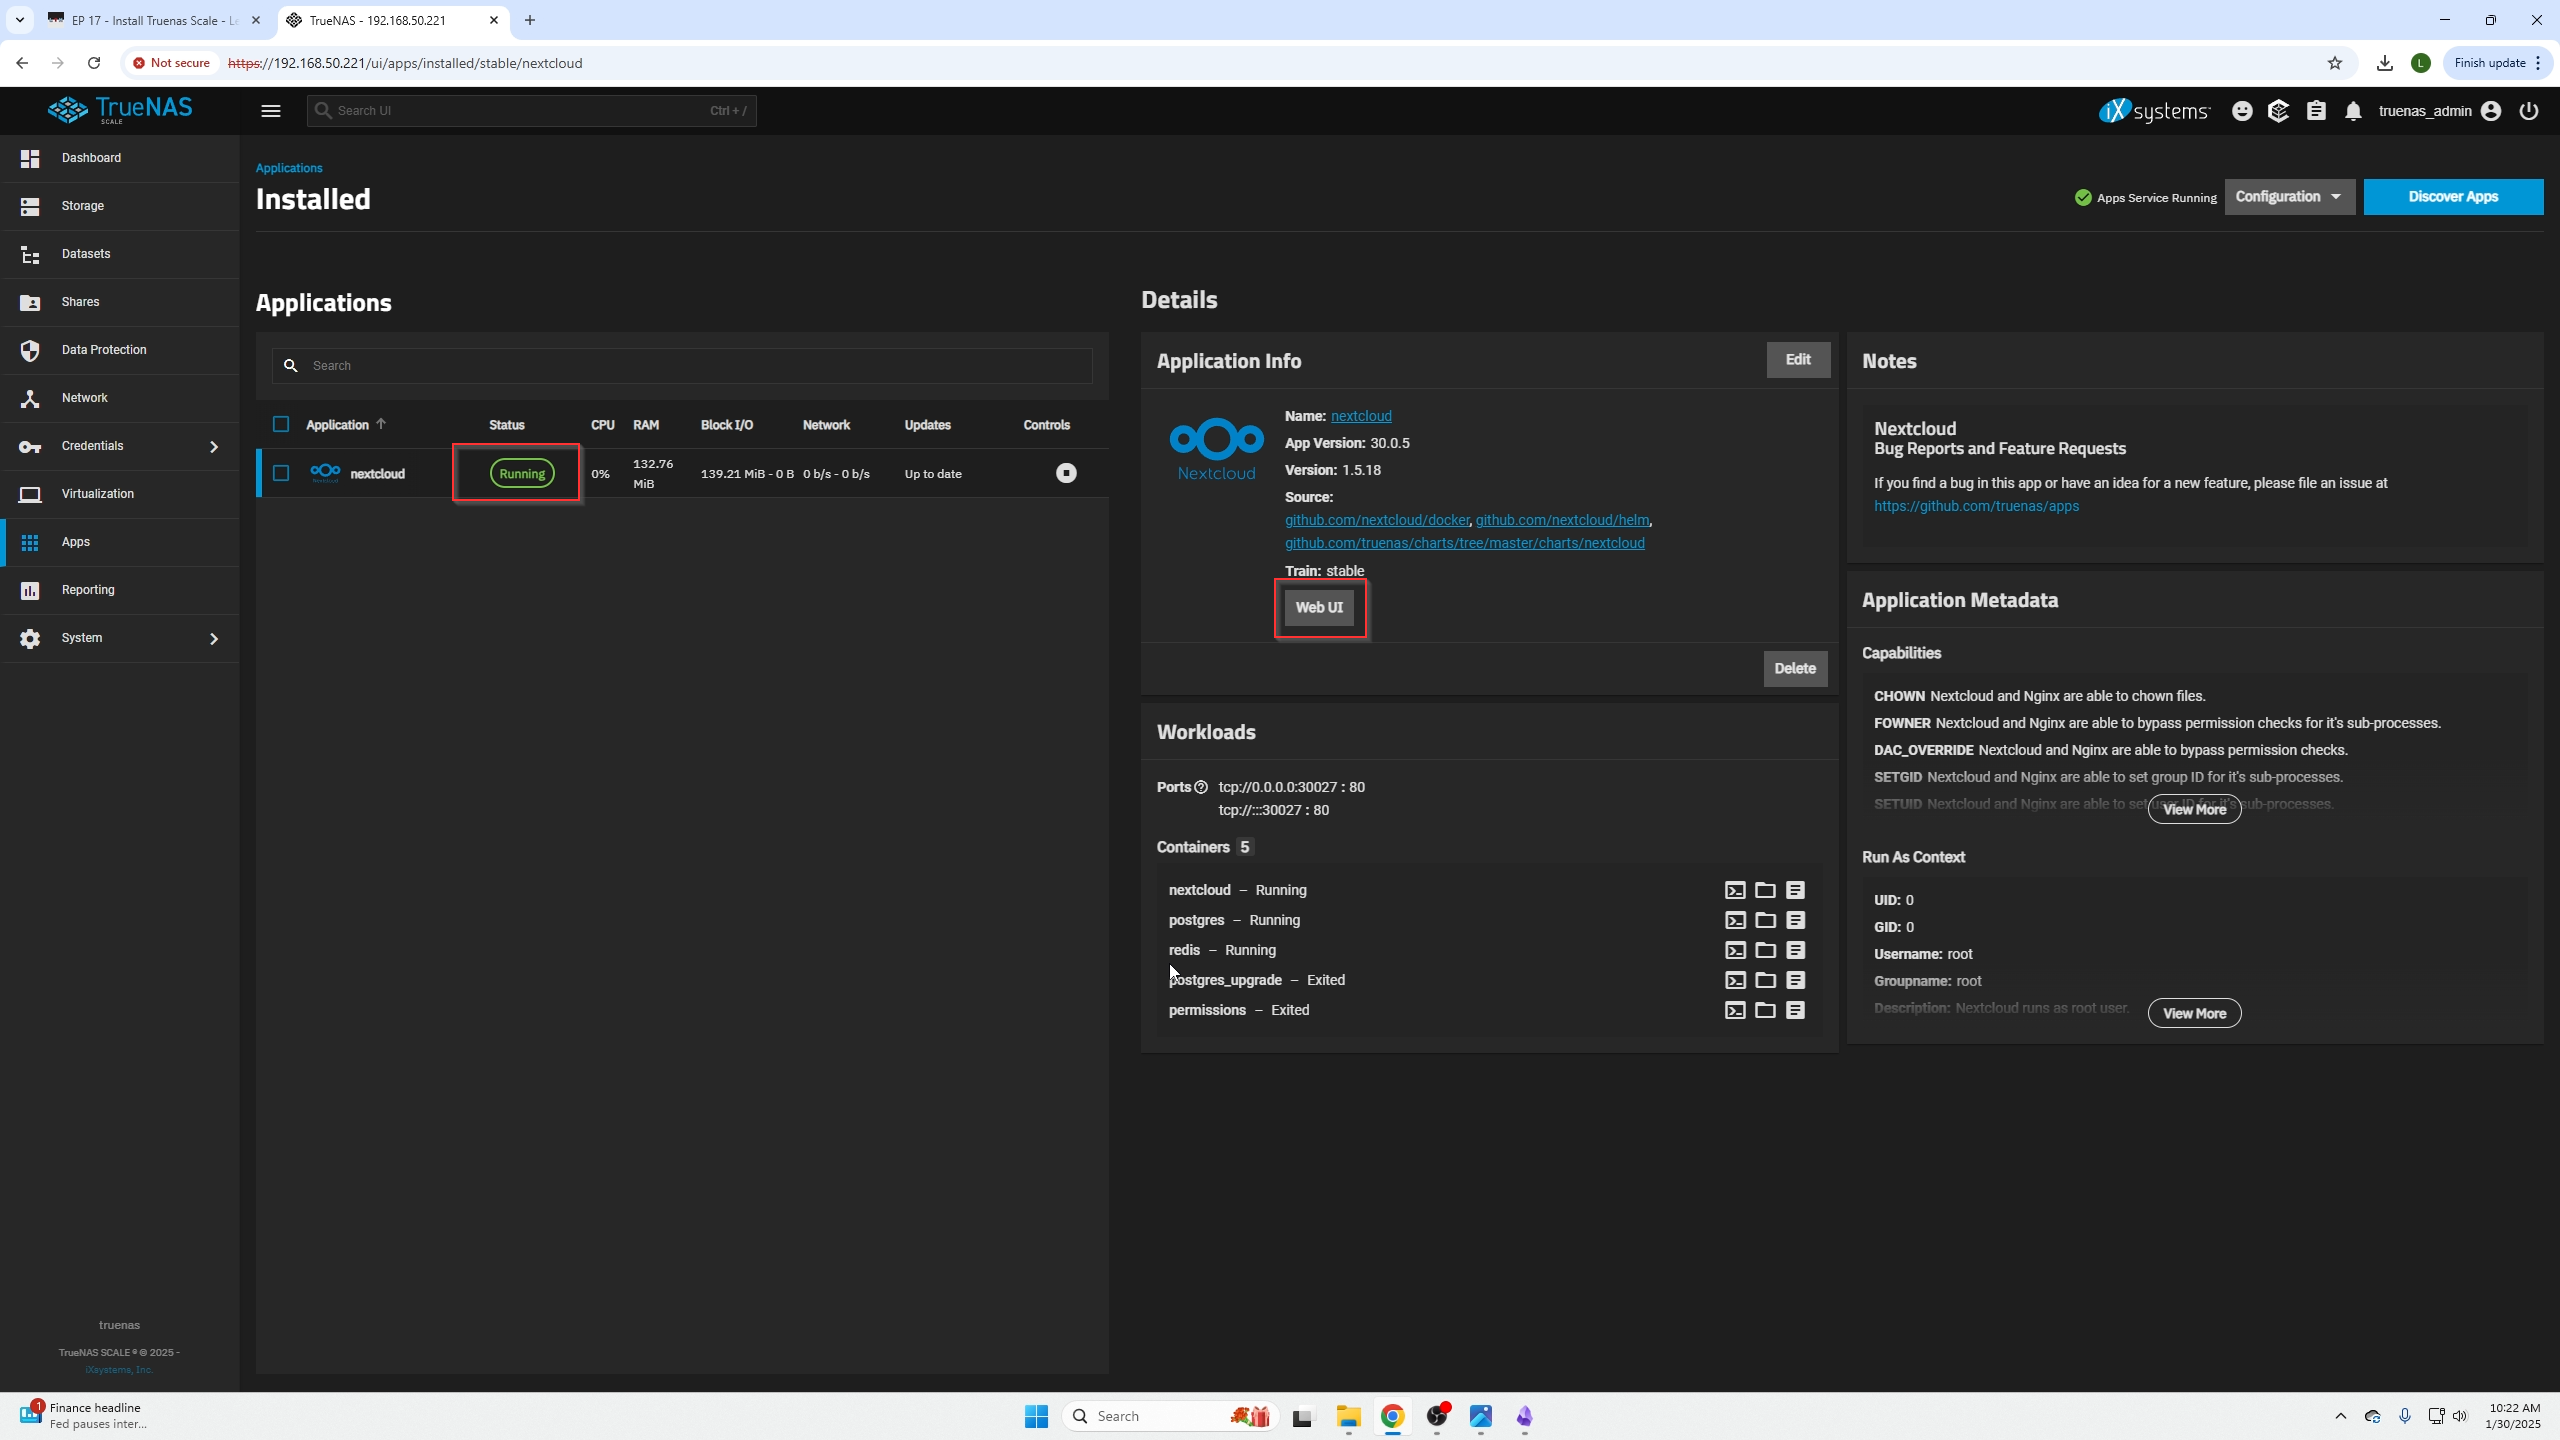
If you need to delete your NextCloud Container you can also select it on the far left and an actions box will open, click that for options like delete.
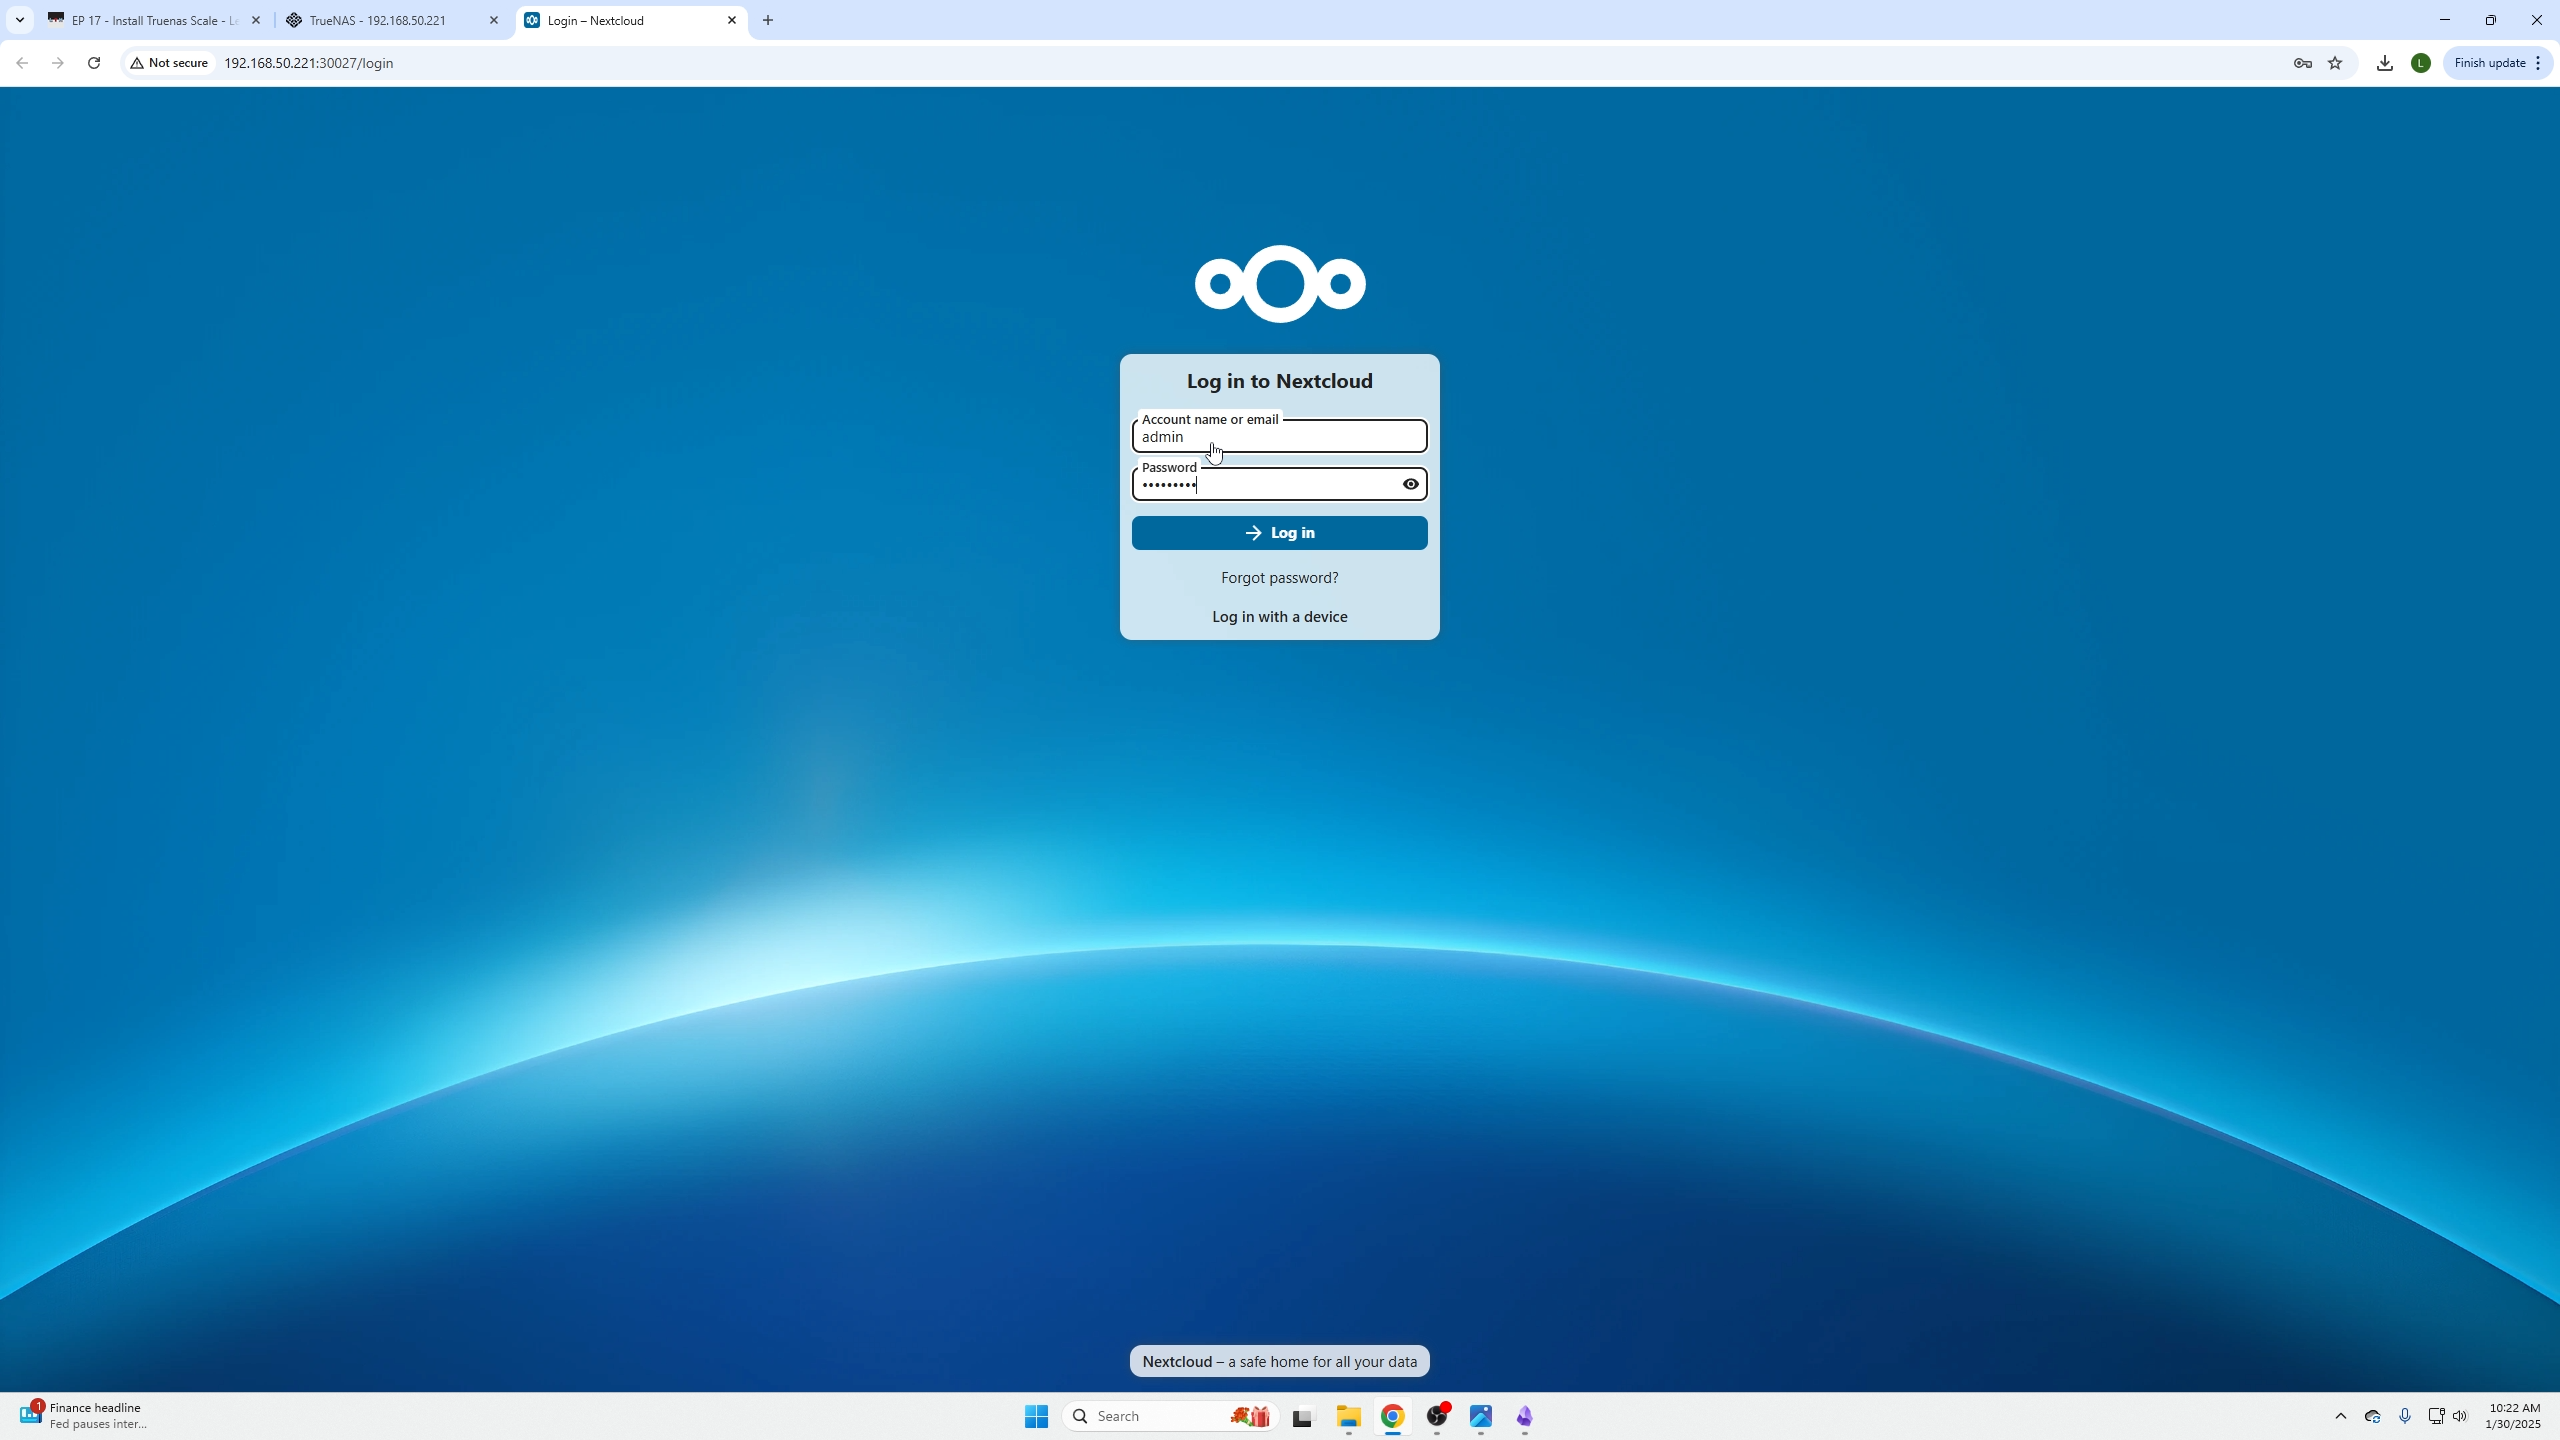
After selecting the WebUI botton you will be on the login page, go ahead and put in the admin credentials you just created a minute ago.
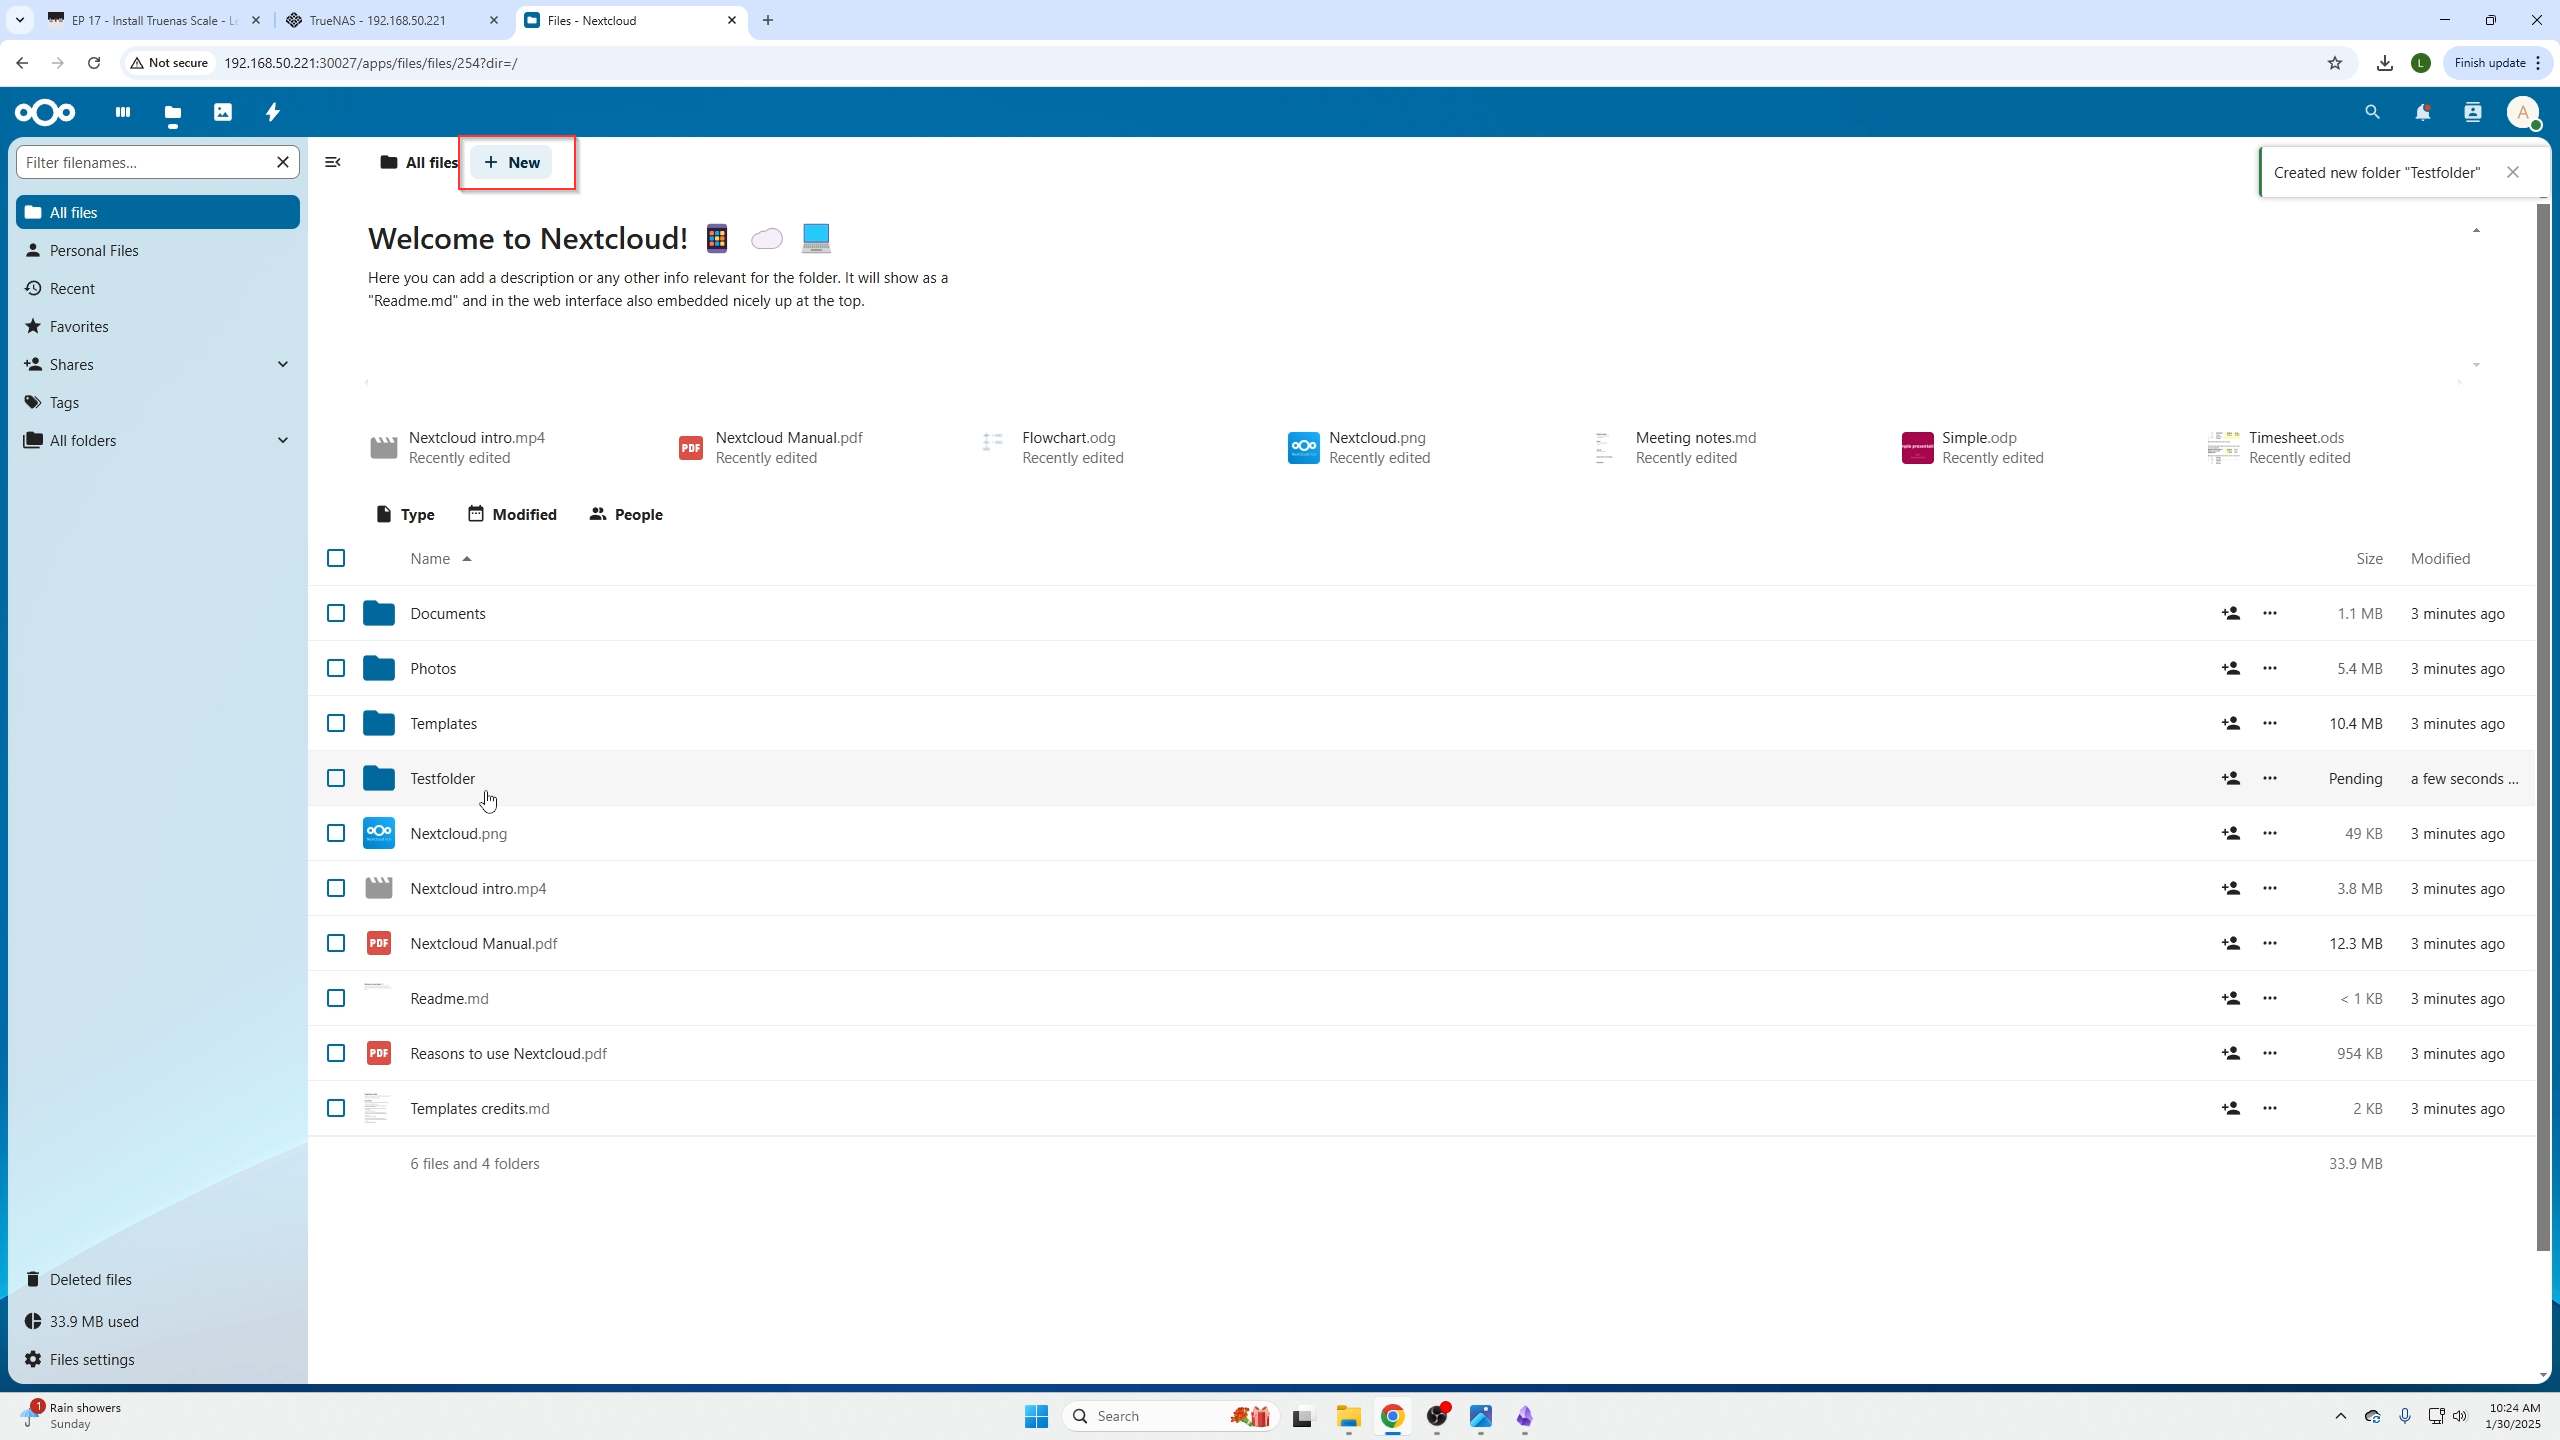
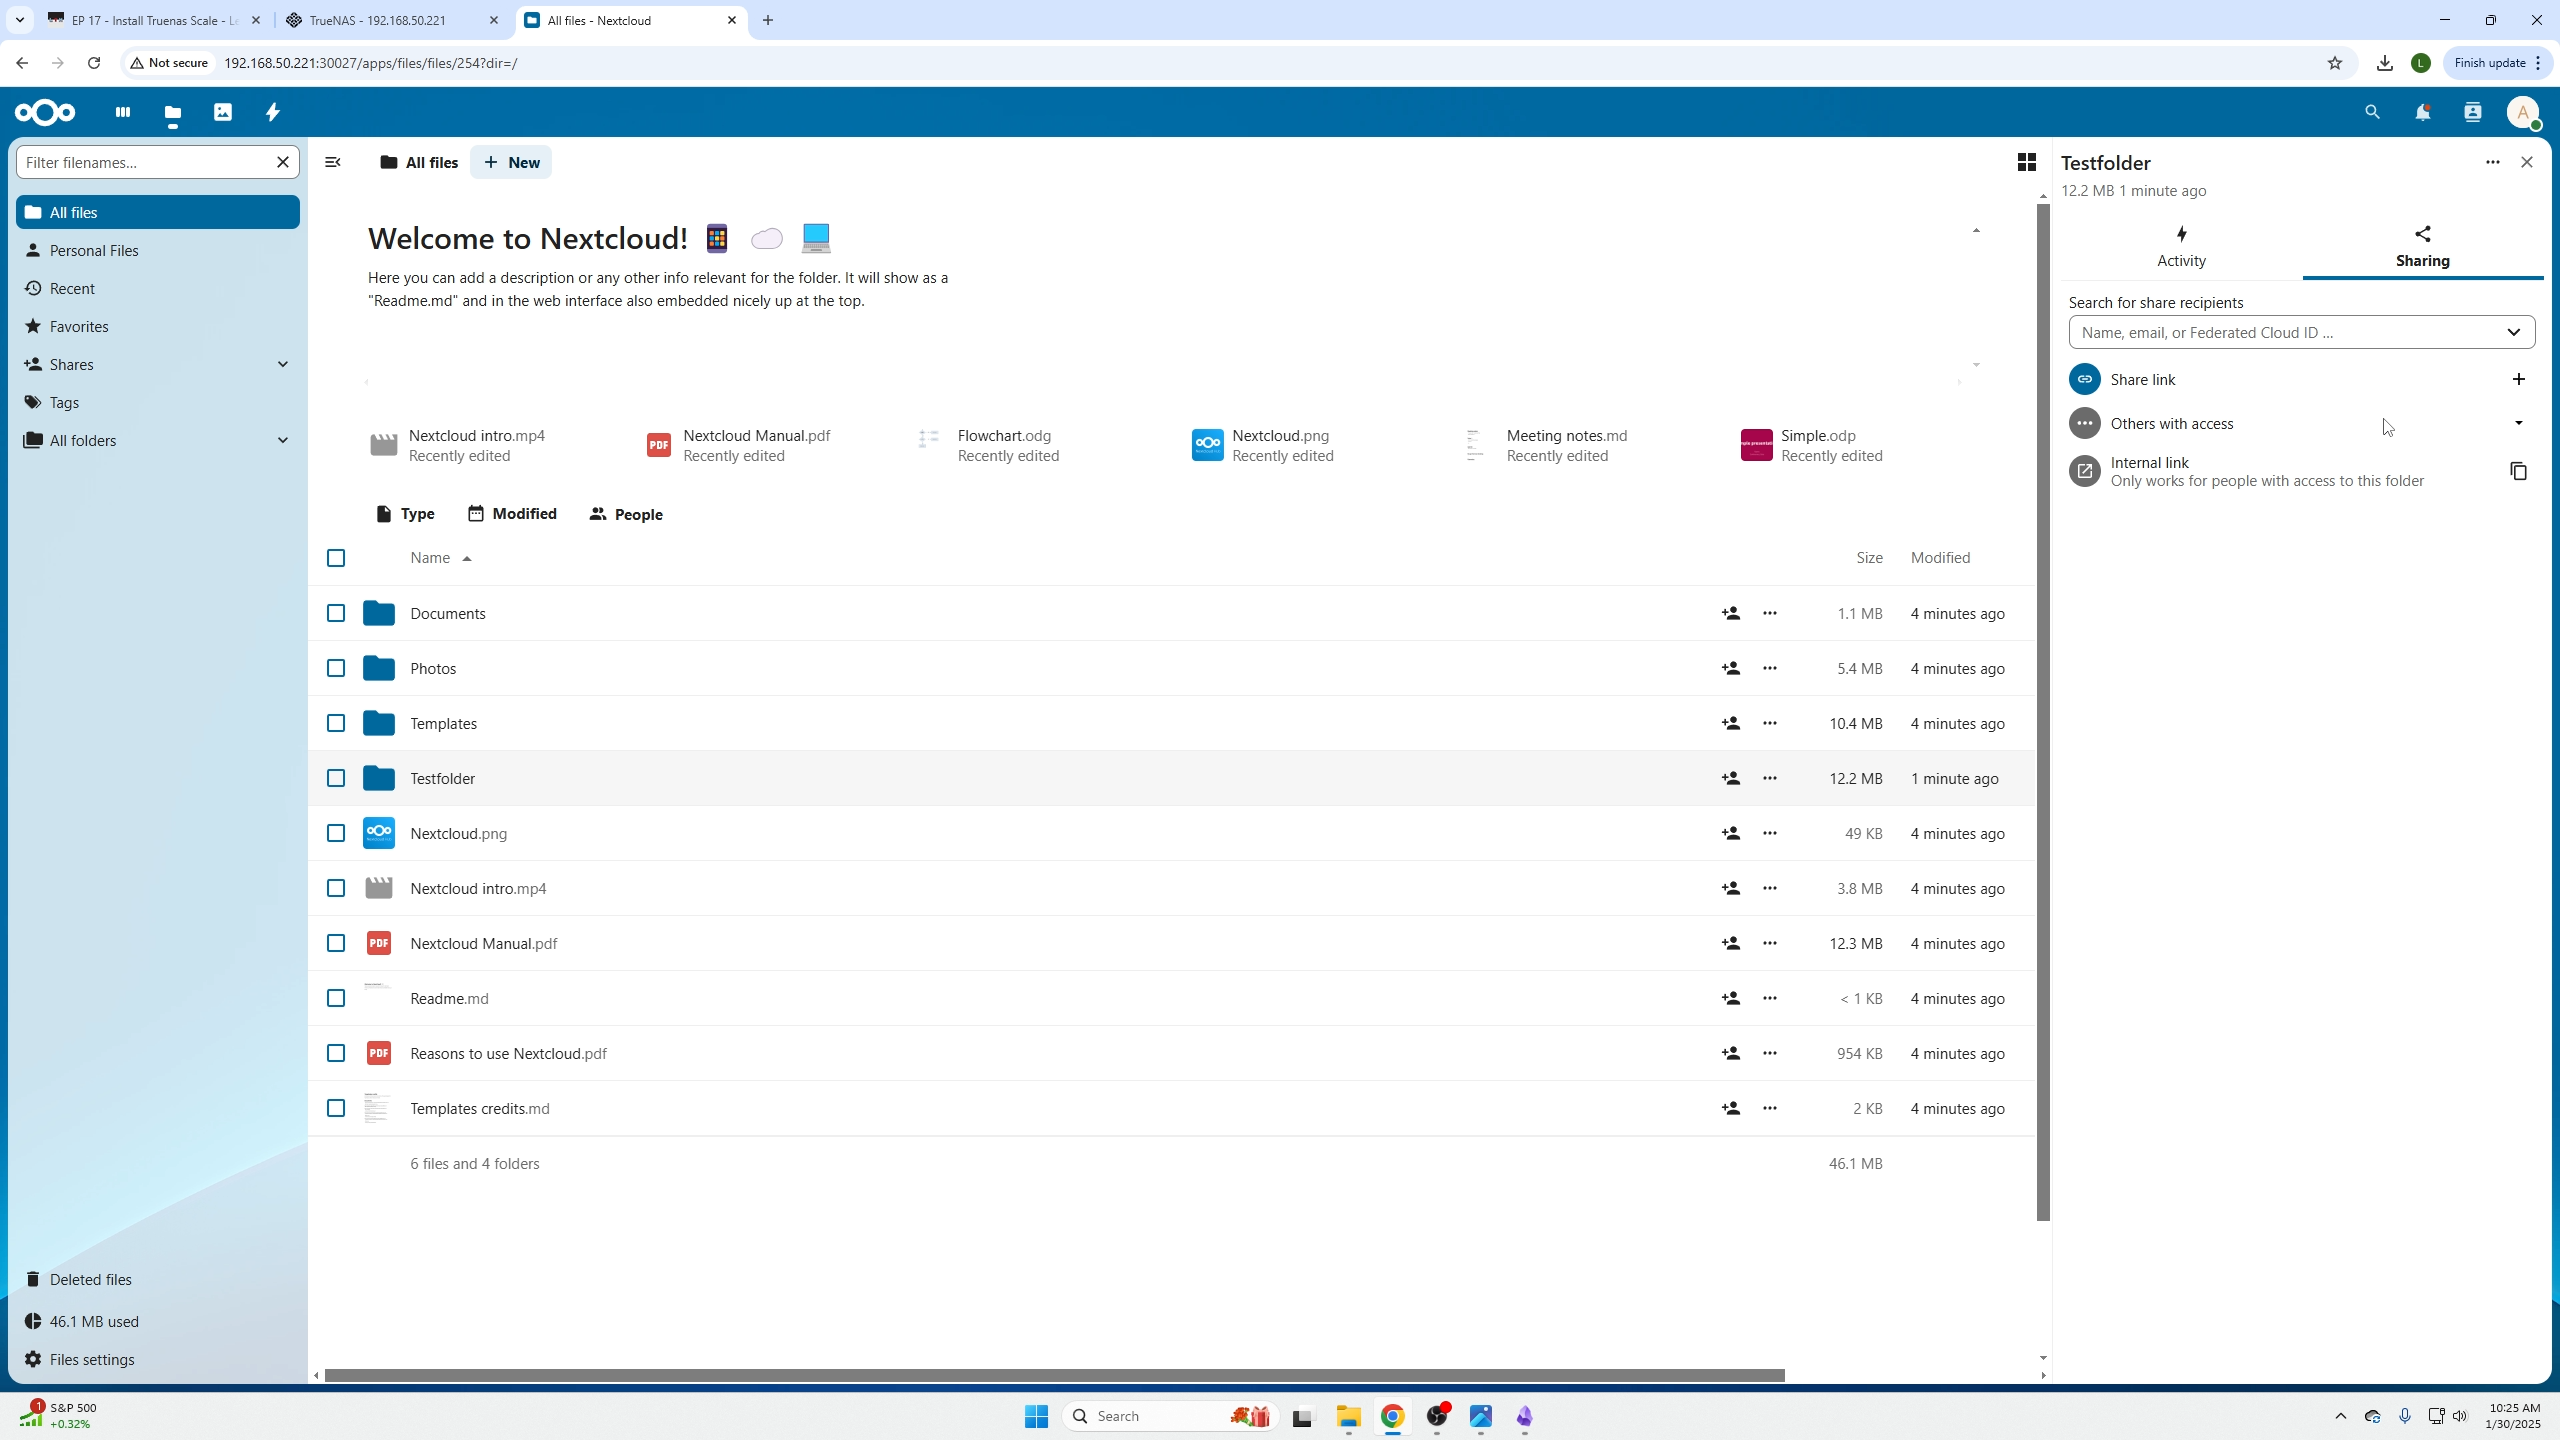
We can create new folders like the (TestFolder) shown below by clicking the (New) botton at the top.
When you are in that folder you can click the new button in the middle of the screen to add pictures and documents.
After images are within the folder you can see the new button is moved to the top.
You can also add people from up top to access the whole folder or you can give people permissions for each file by selecting the icons on the far right of the image.
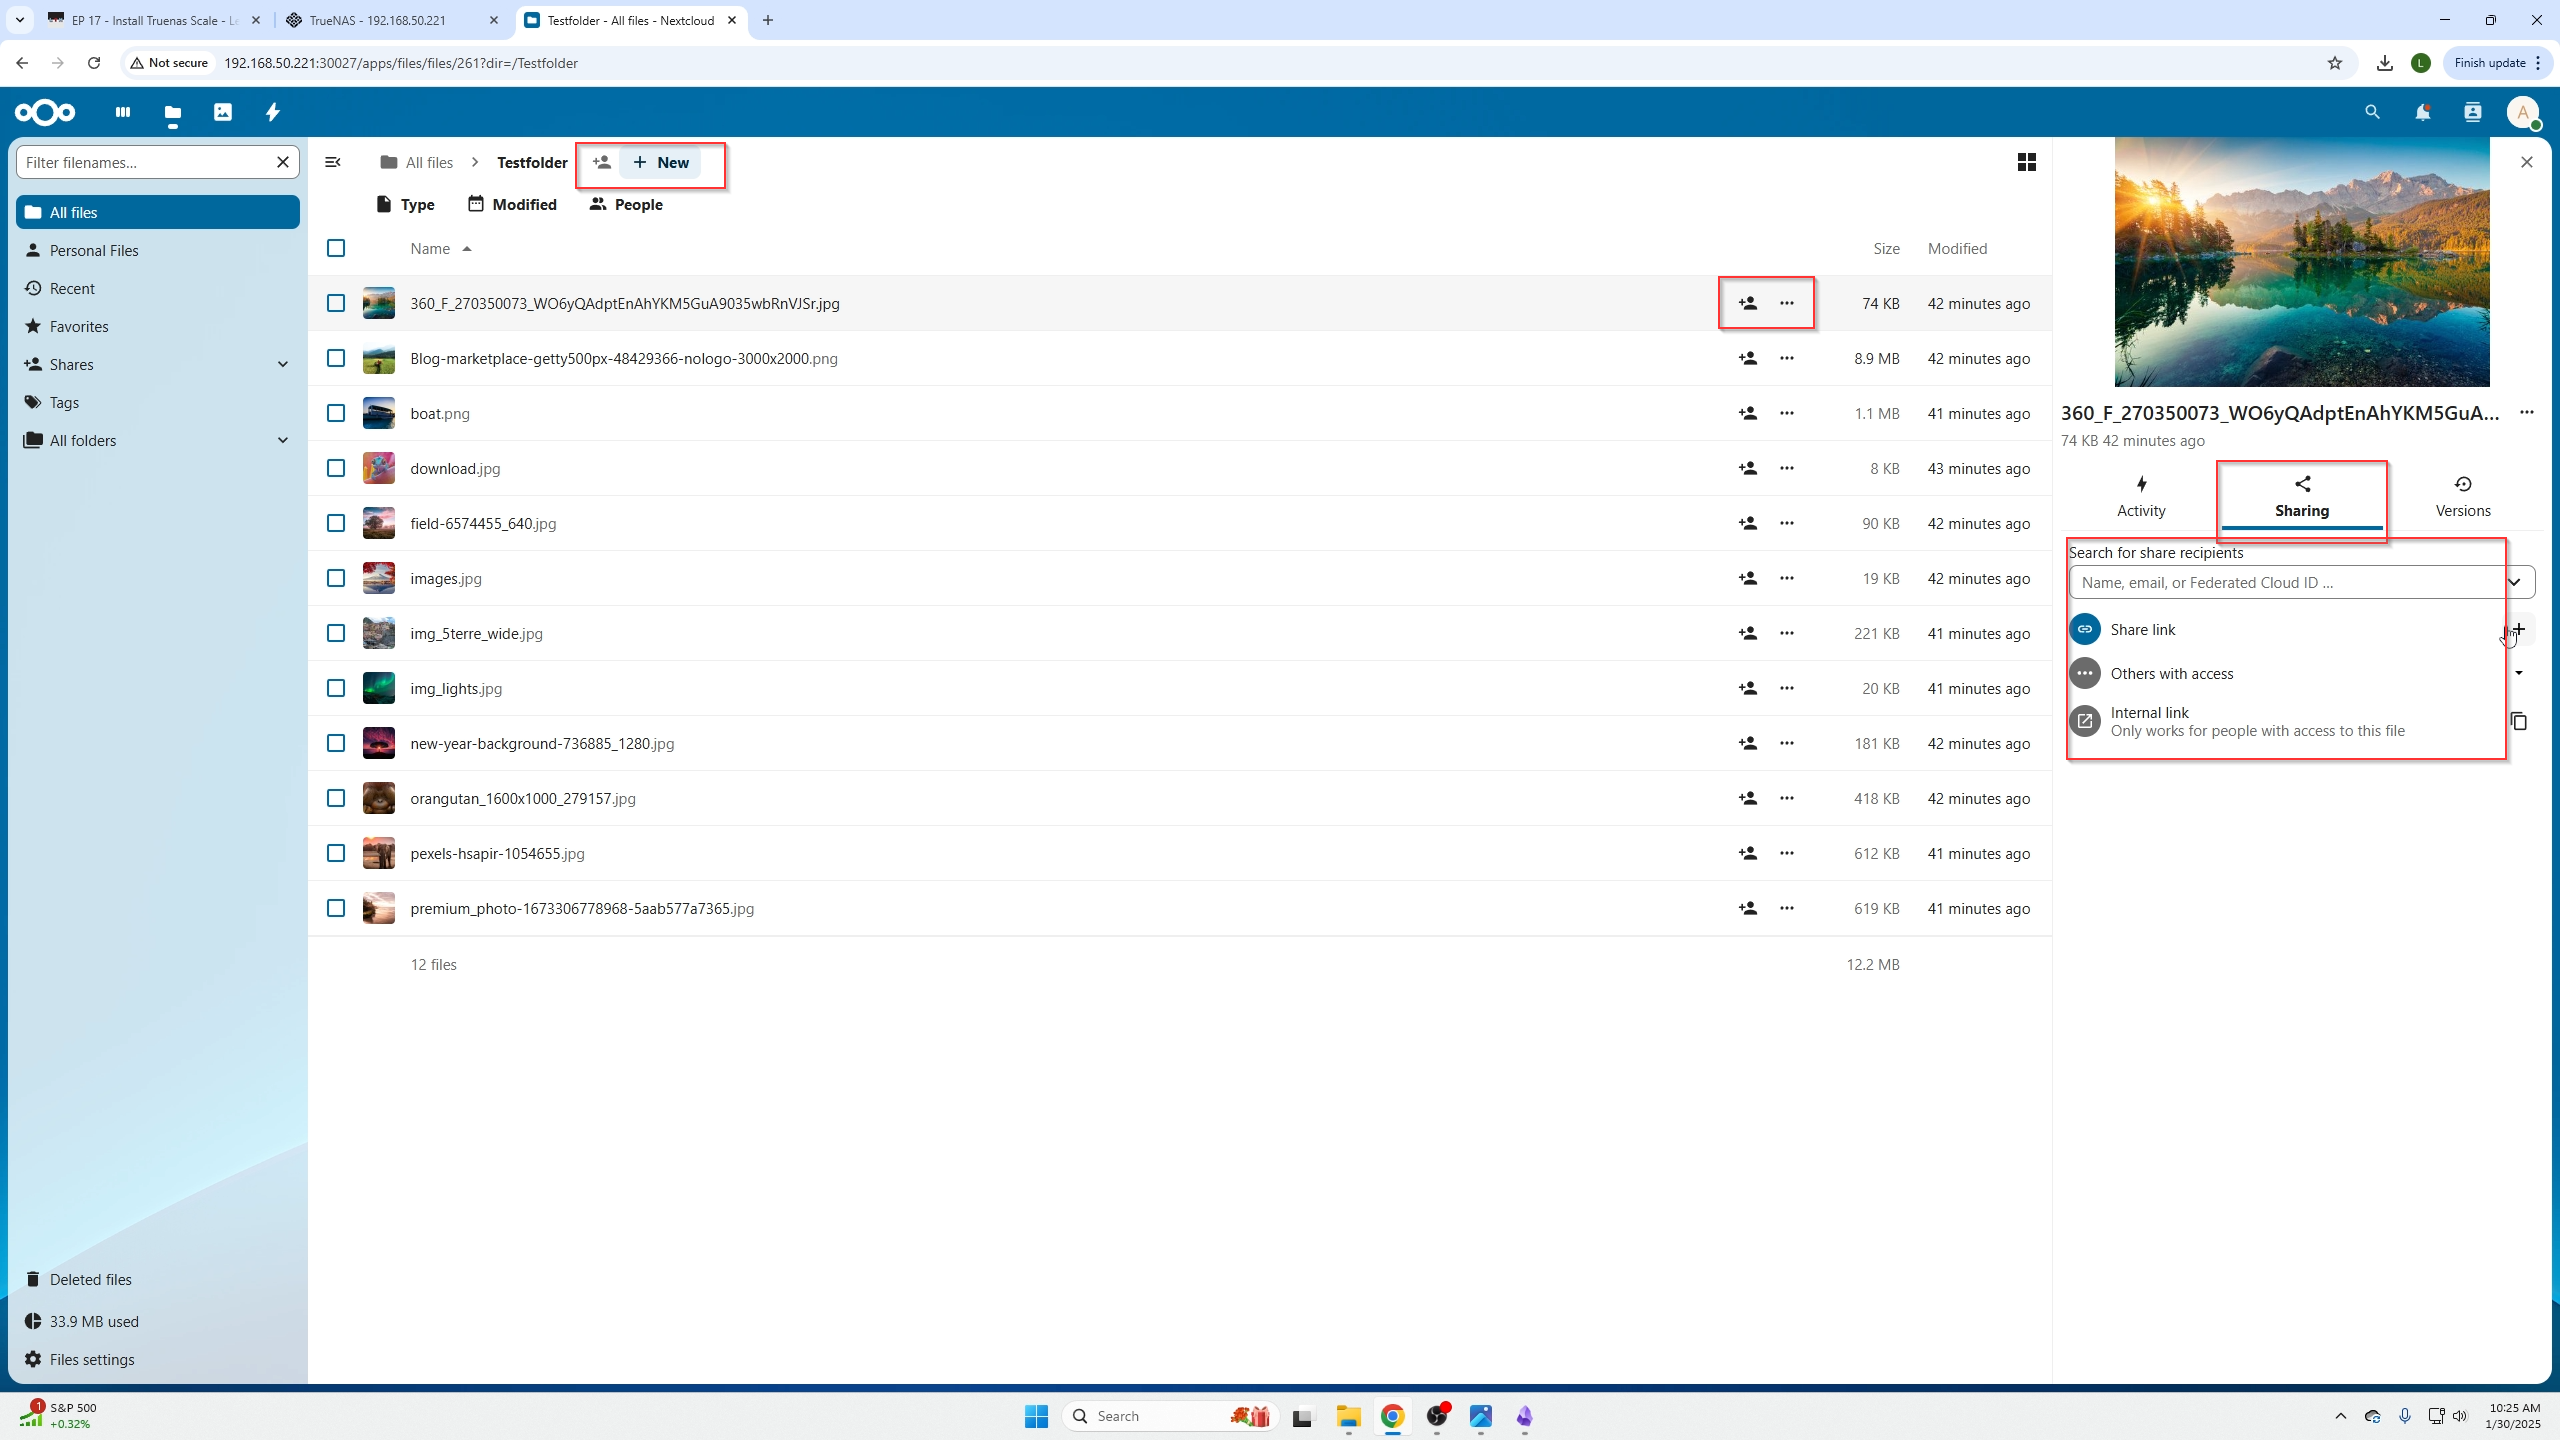
You can share folders with others by sending them a link or controlling what users can access a folder.
remember if you do not have tailscale setup, only users on the local network of the NAS will have access.
Conclusion
It is that simple, what did you think?
I honestly love how simple it is to run your own personal Cloud for images/Documents! I hope you guys subscribe to our YouTube Channel for more content!