EP 23 - Note Taking with NextCloud
In this episode we will cover how to install the Note Taking Application on Nextcloud, how to create folders, and organize your notes as well as some basic formatting.
Installing NextCloud Notes
The first thing you need to do is login to your Nextcloud instance, if you have not done this, check out EP 8 where we go over how to install it on Proxmox Setup NextCloud with Proxmox
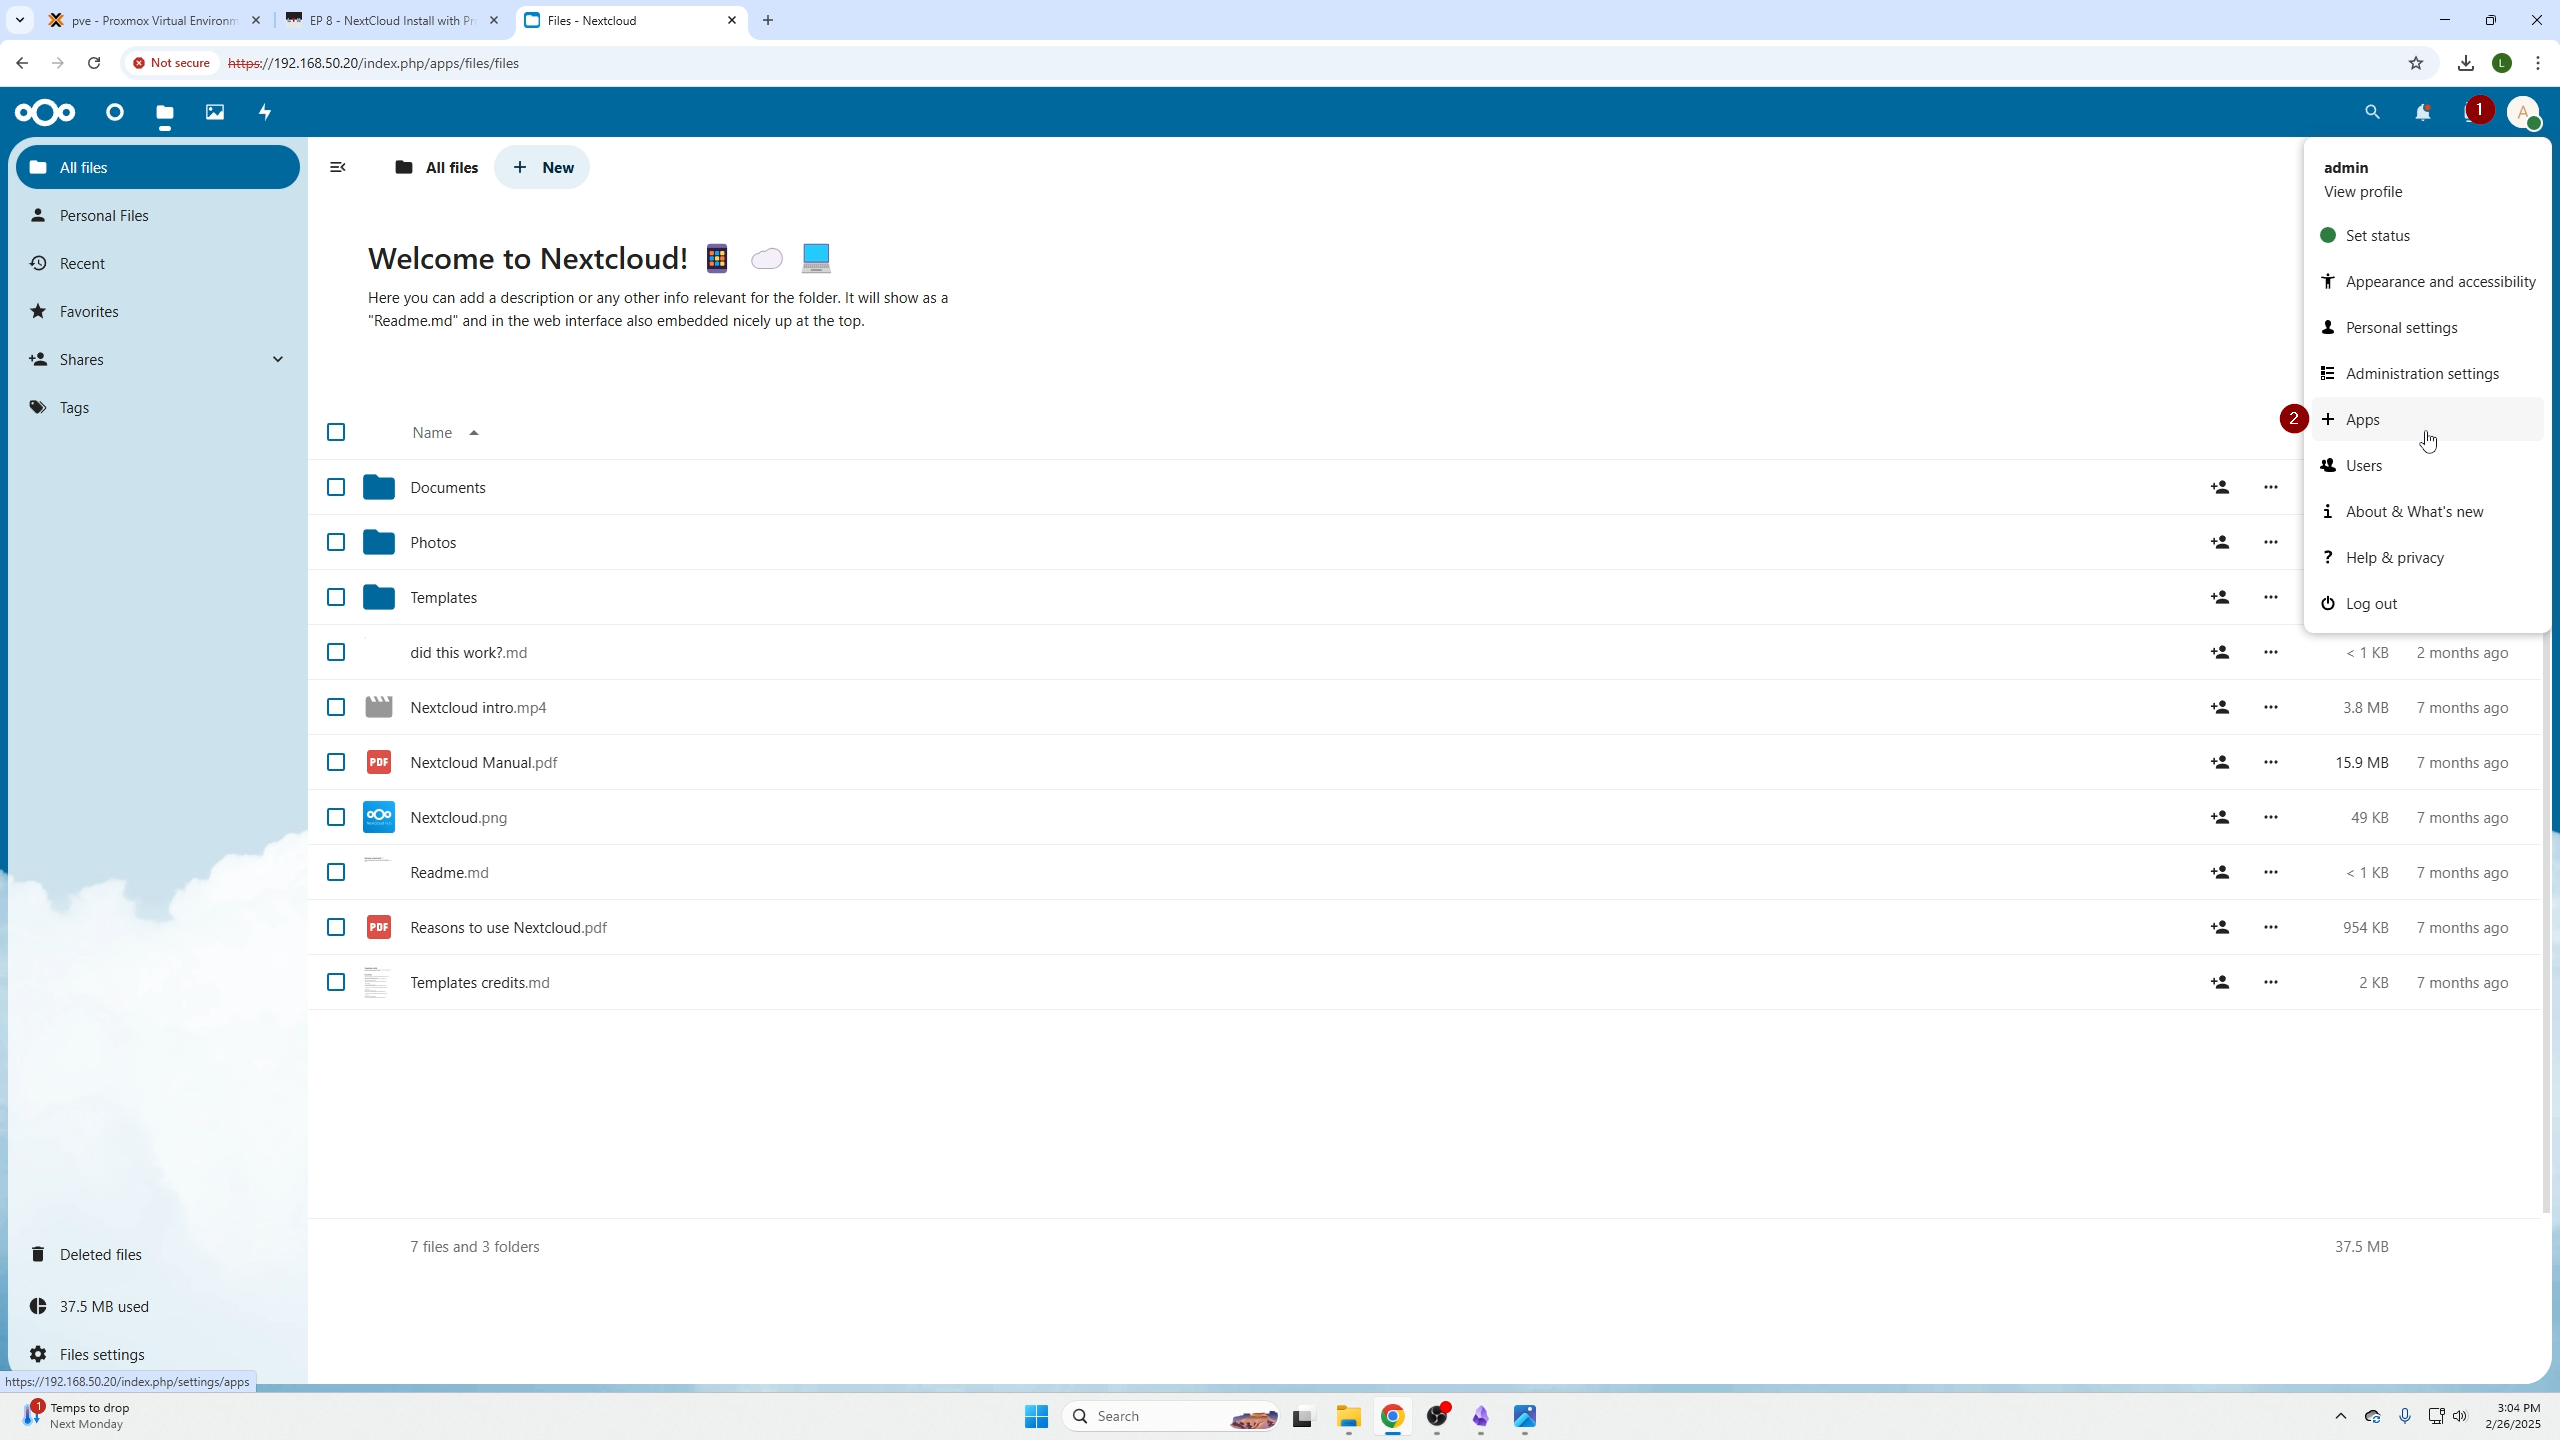
Next click your profile icon on the top right, and go to Apps.
Next you need to click the search menu on the left, then the search icon top right, and search for notes. You may notice it will load in the background (4), close the window and select "Notes".
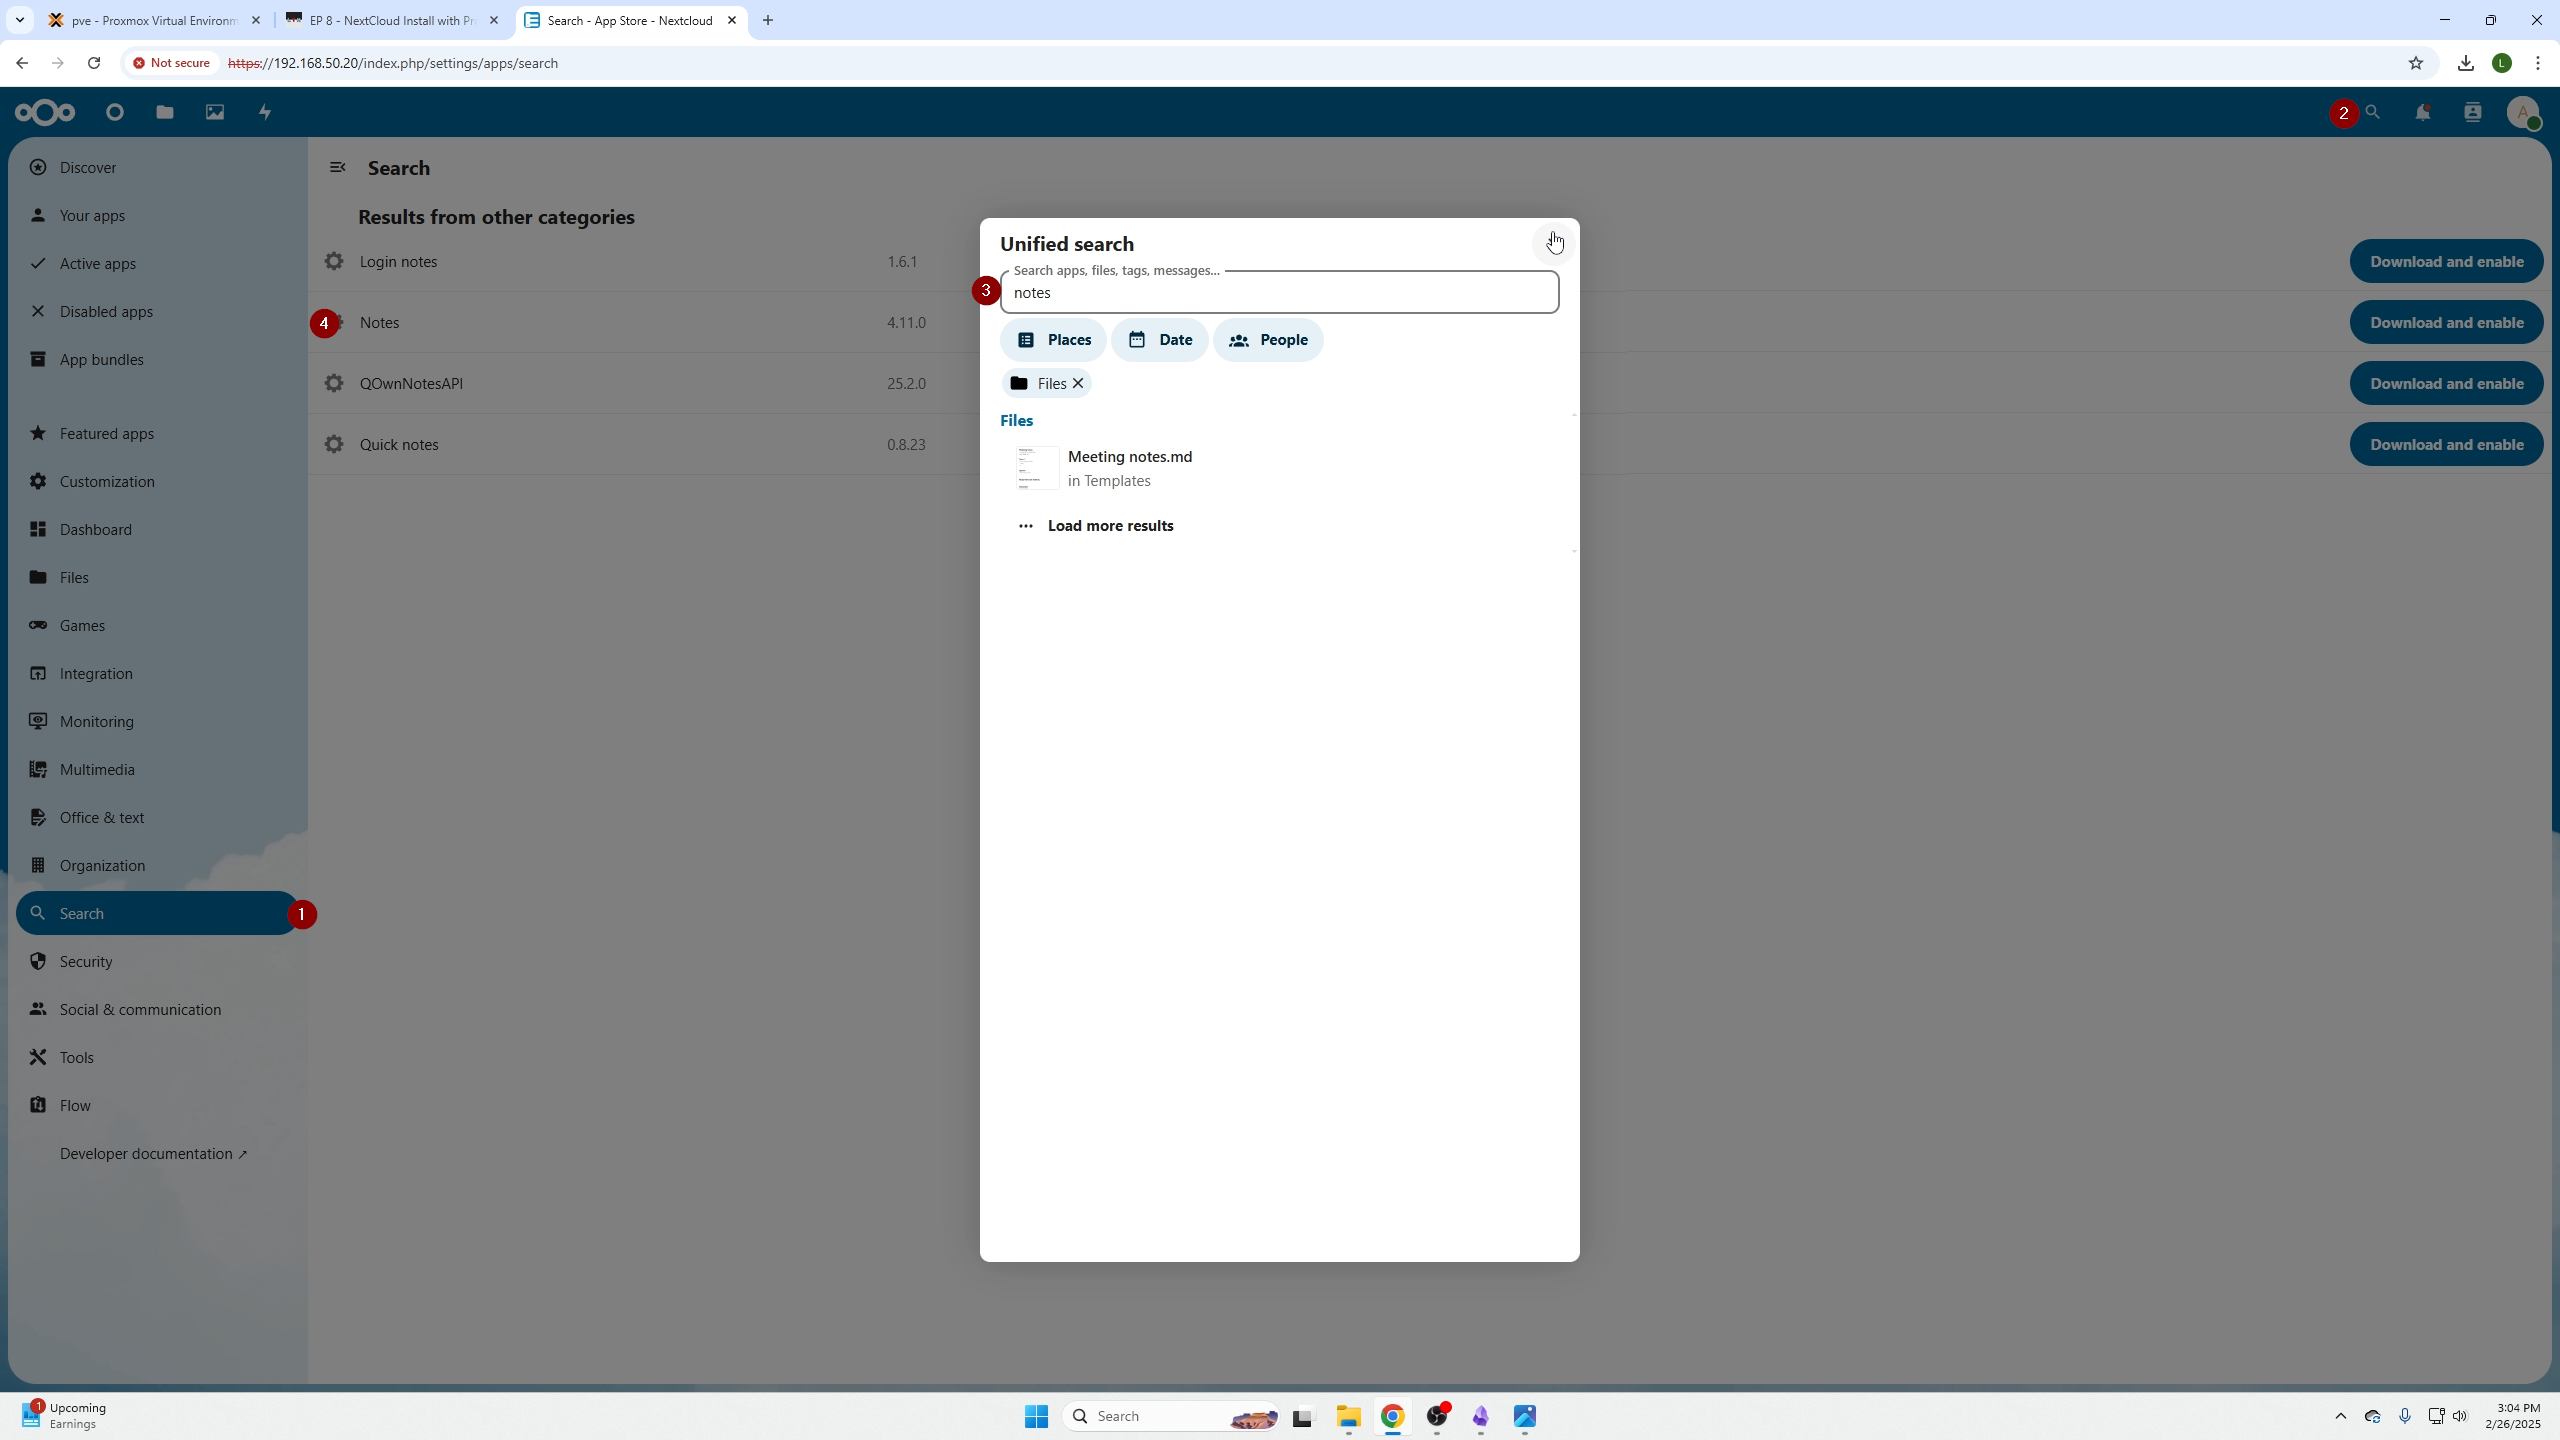
Next click "Download and Enable" to install Notes.
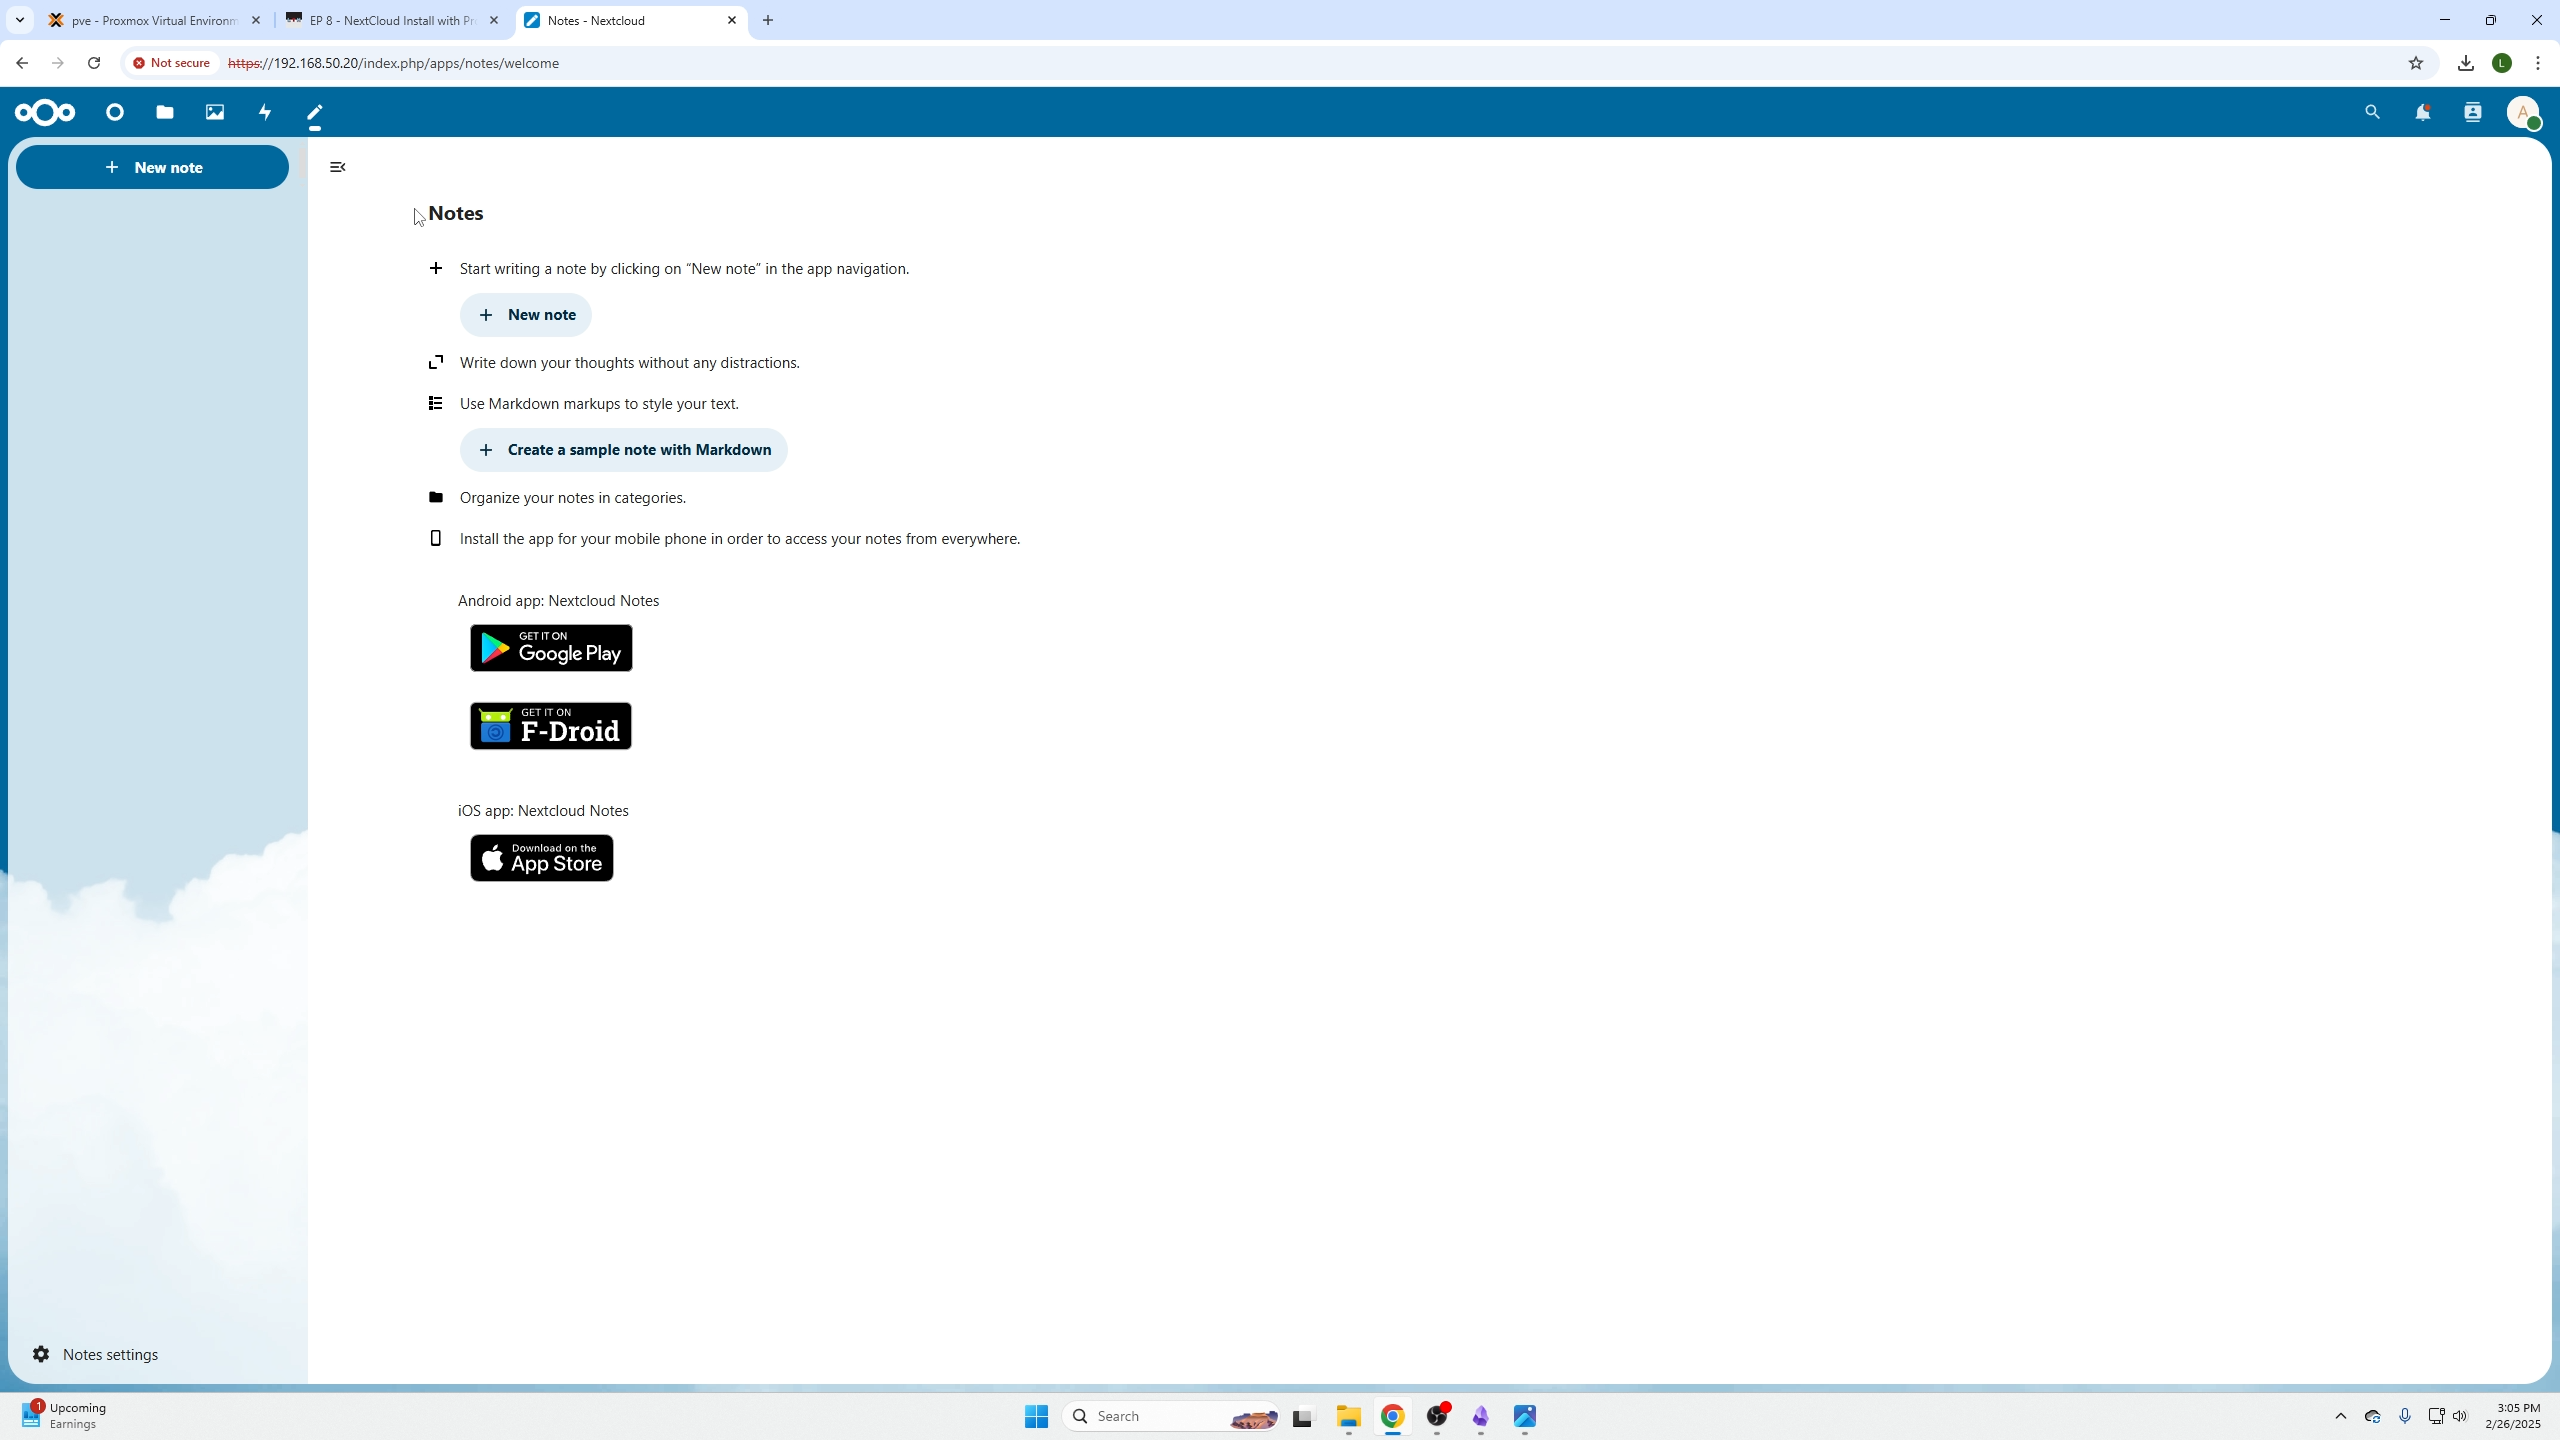
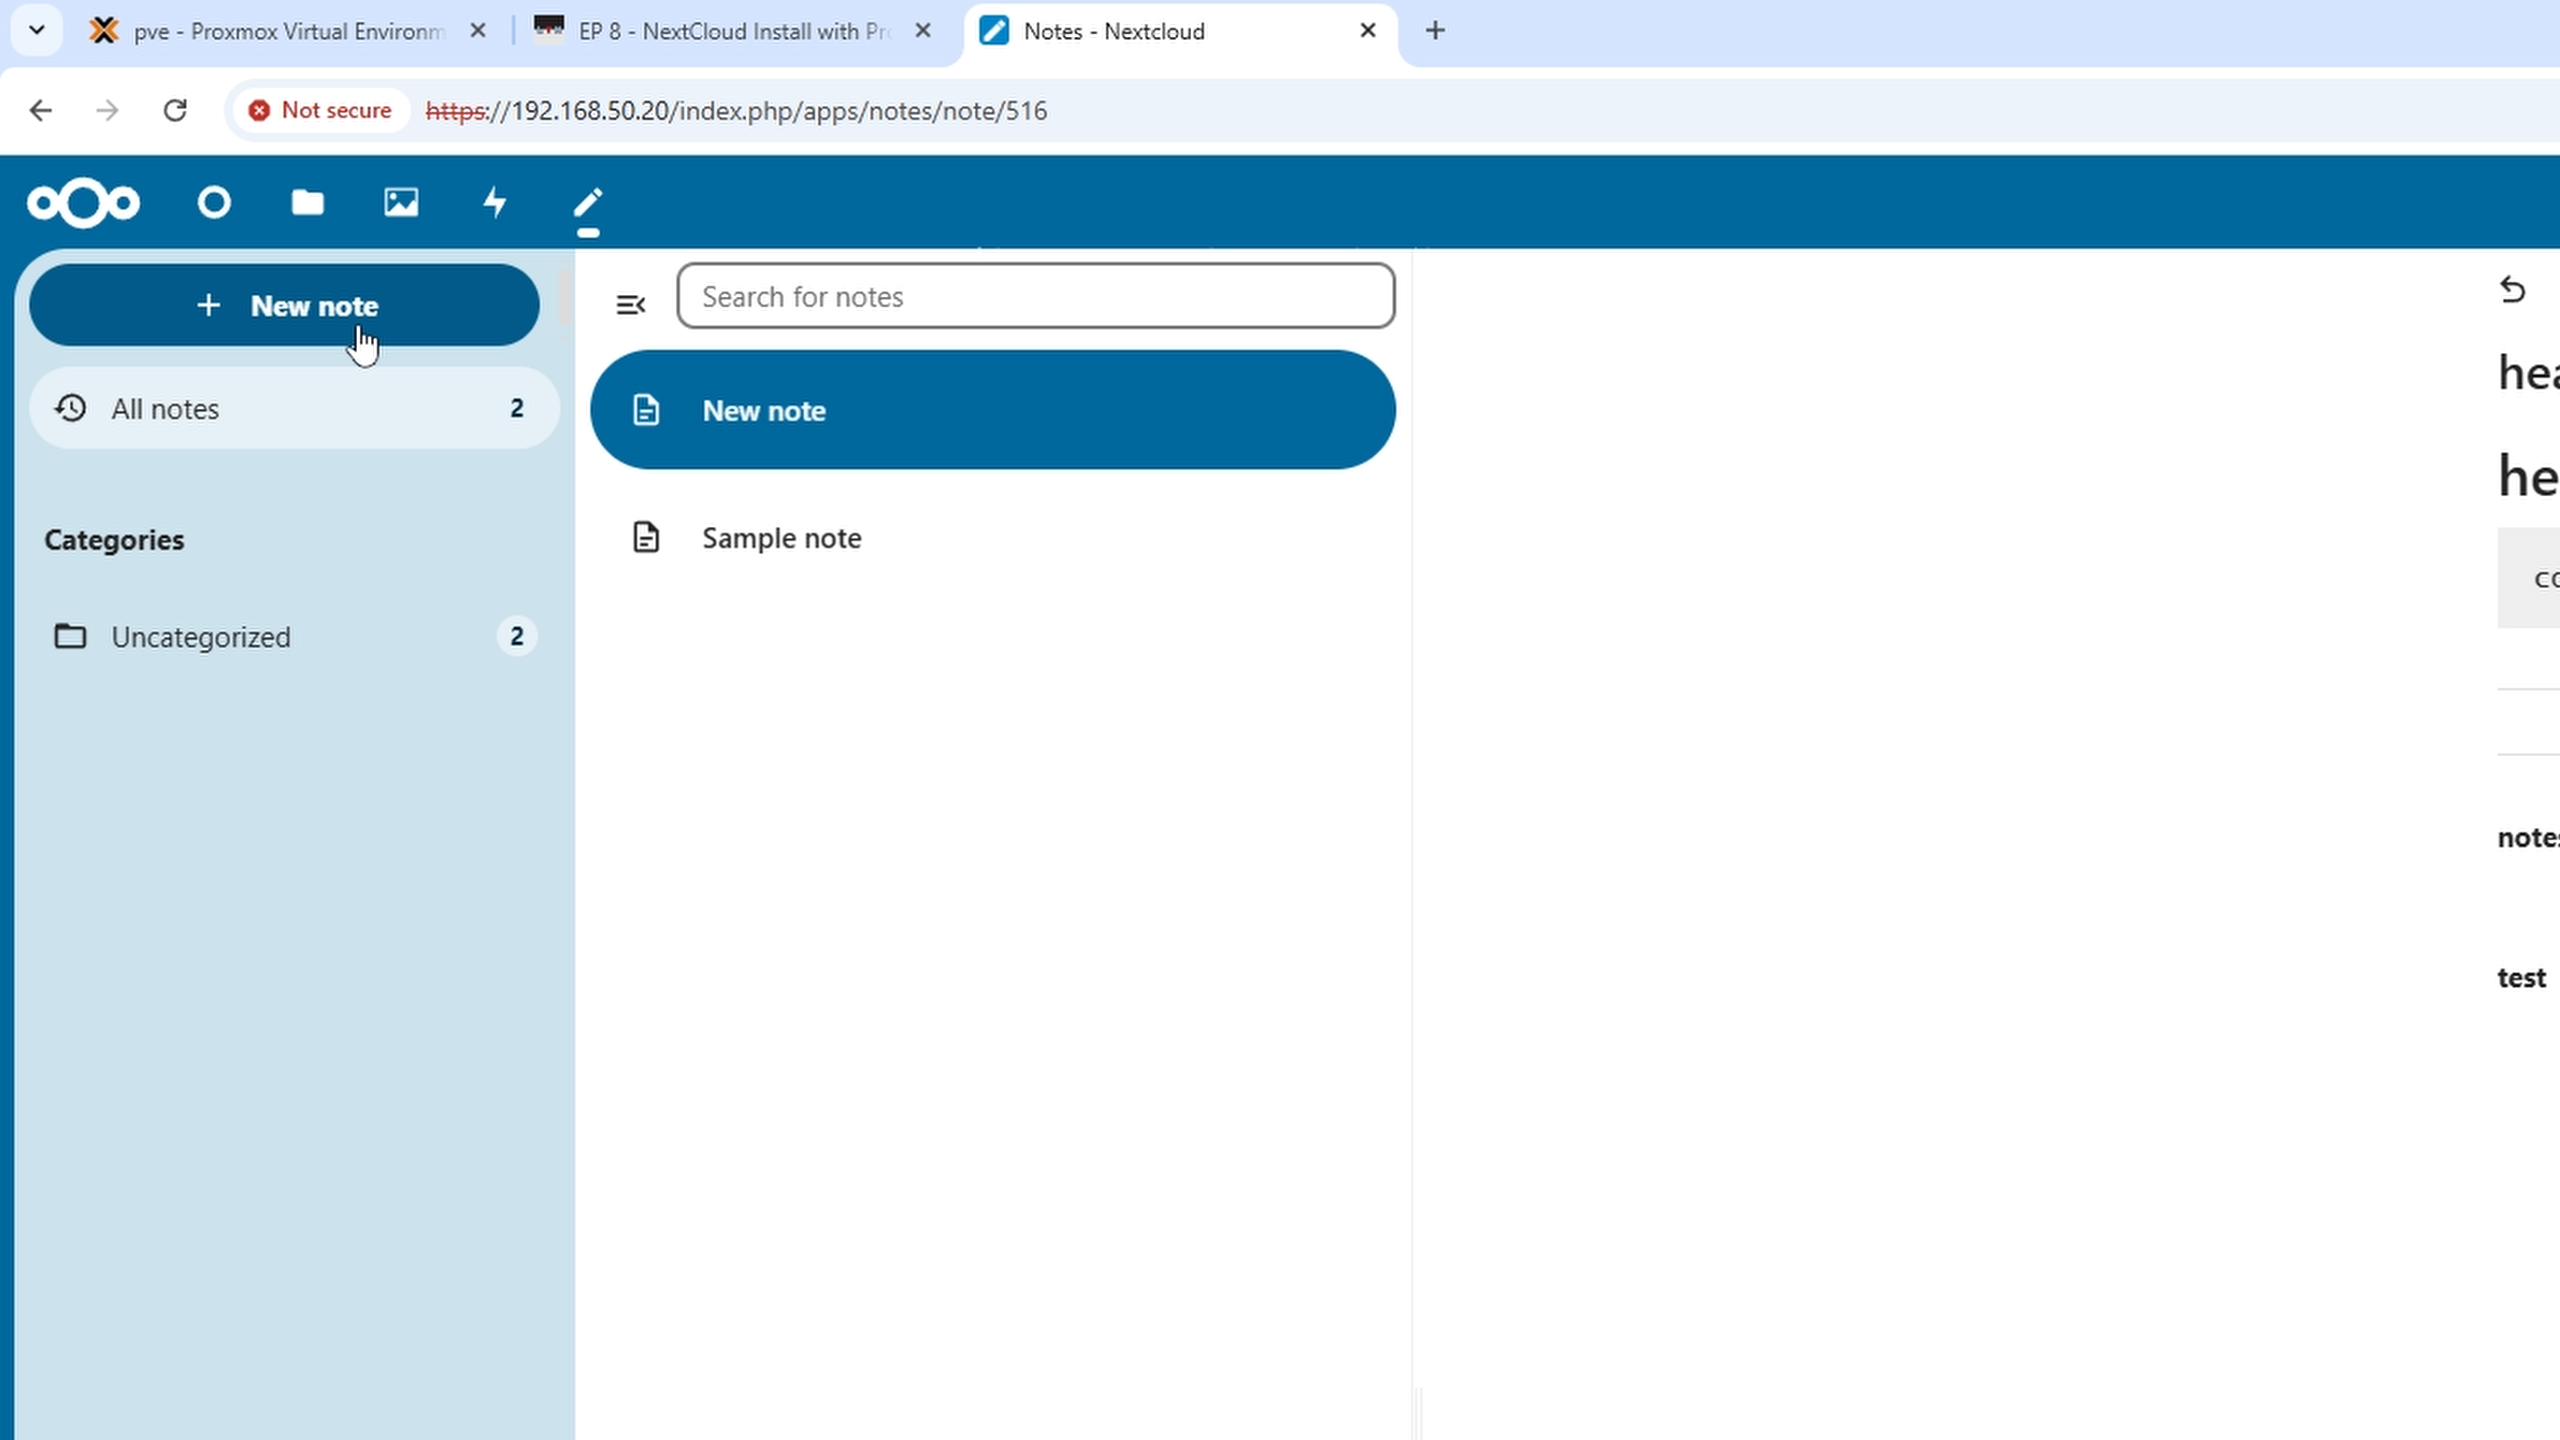
Now you can select "Create a sample note with Markdown" OR "New Note" on the top left.
Note note as shown...
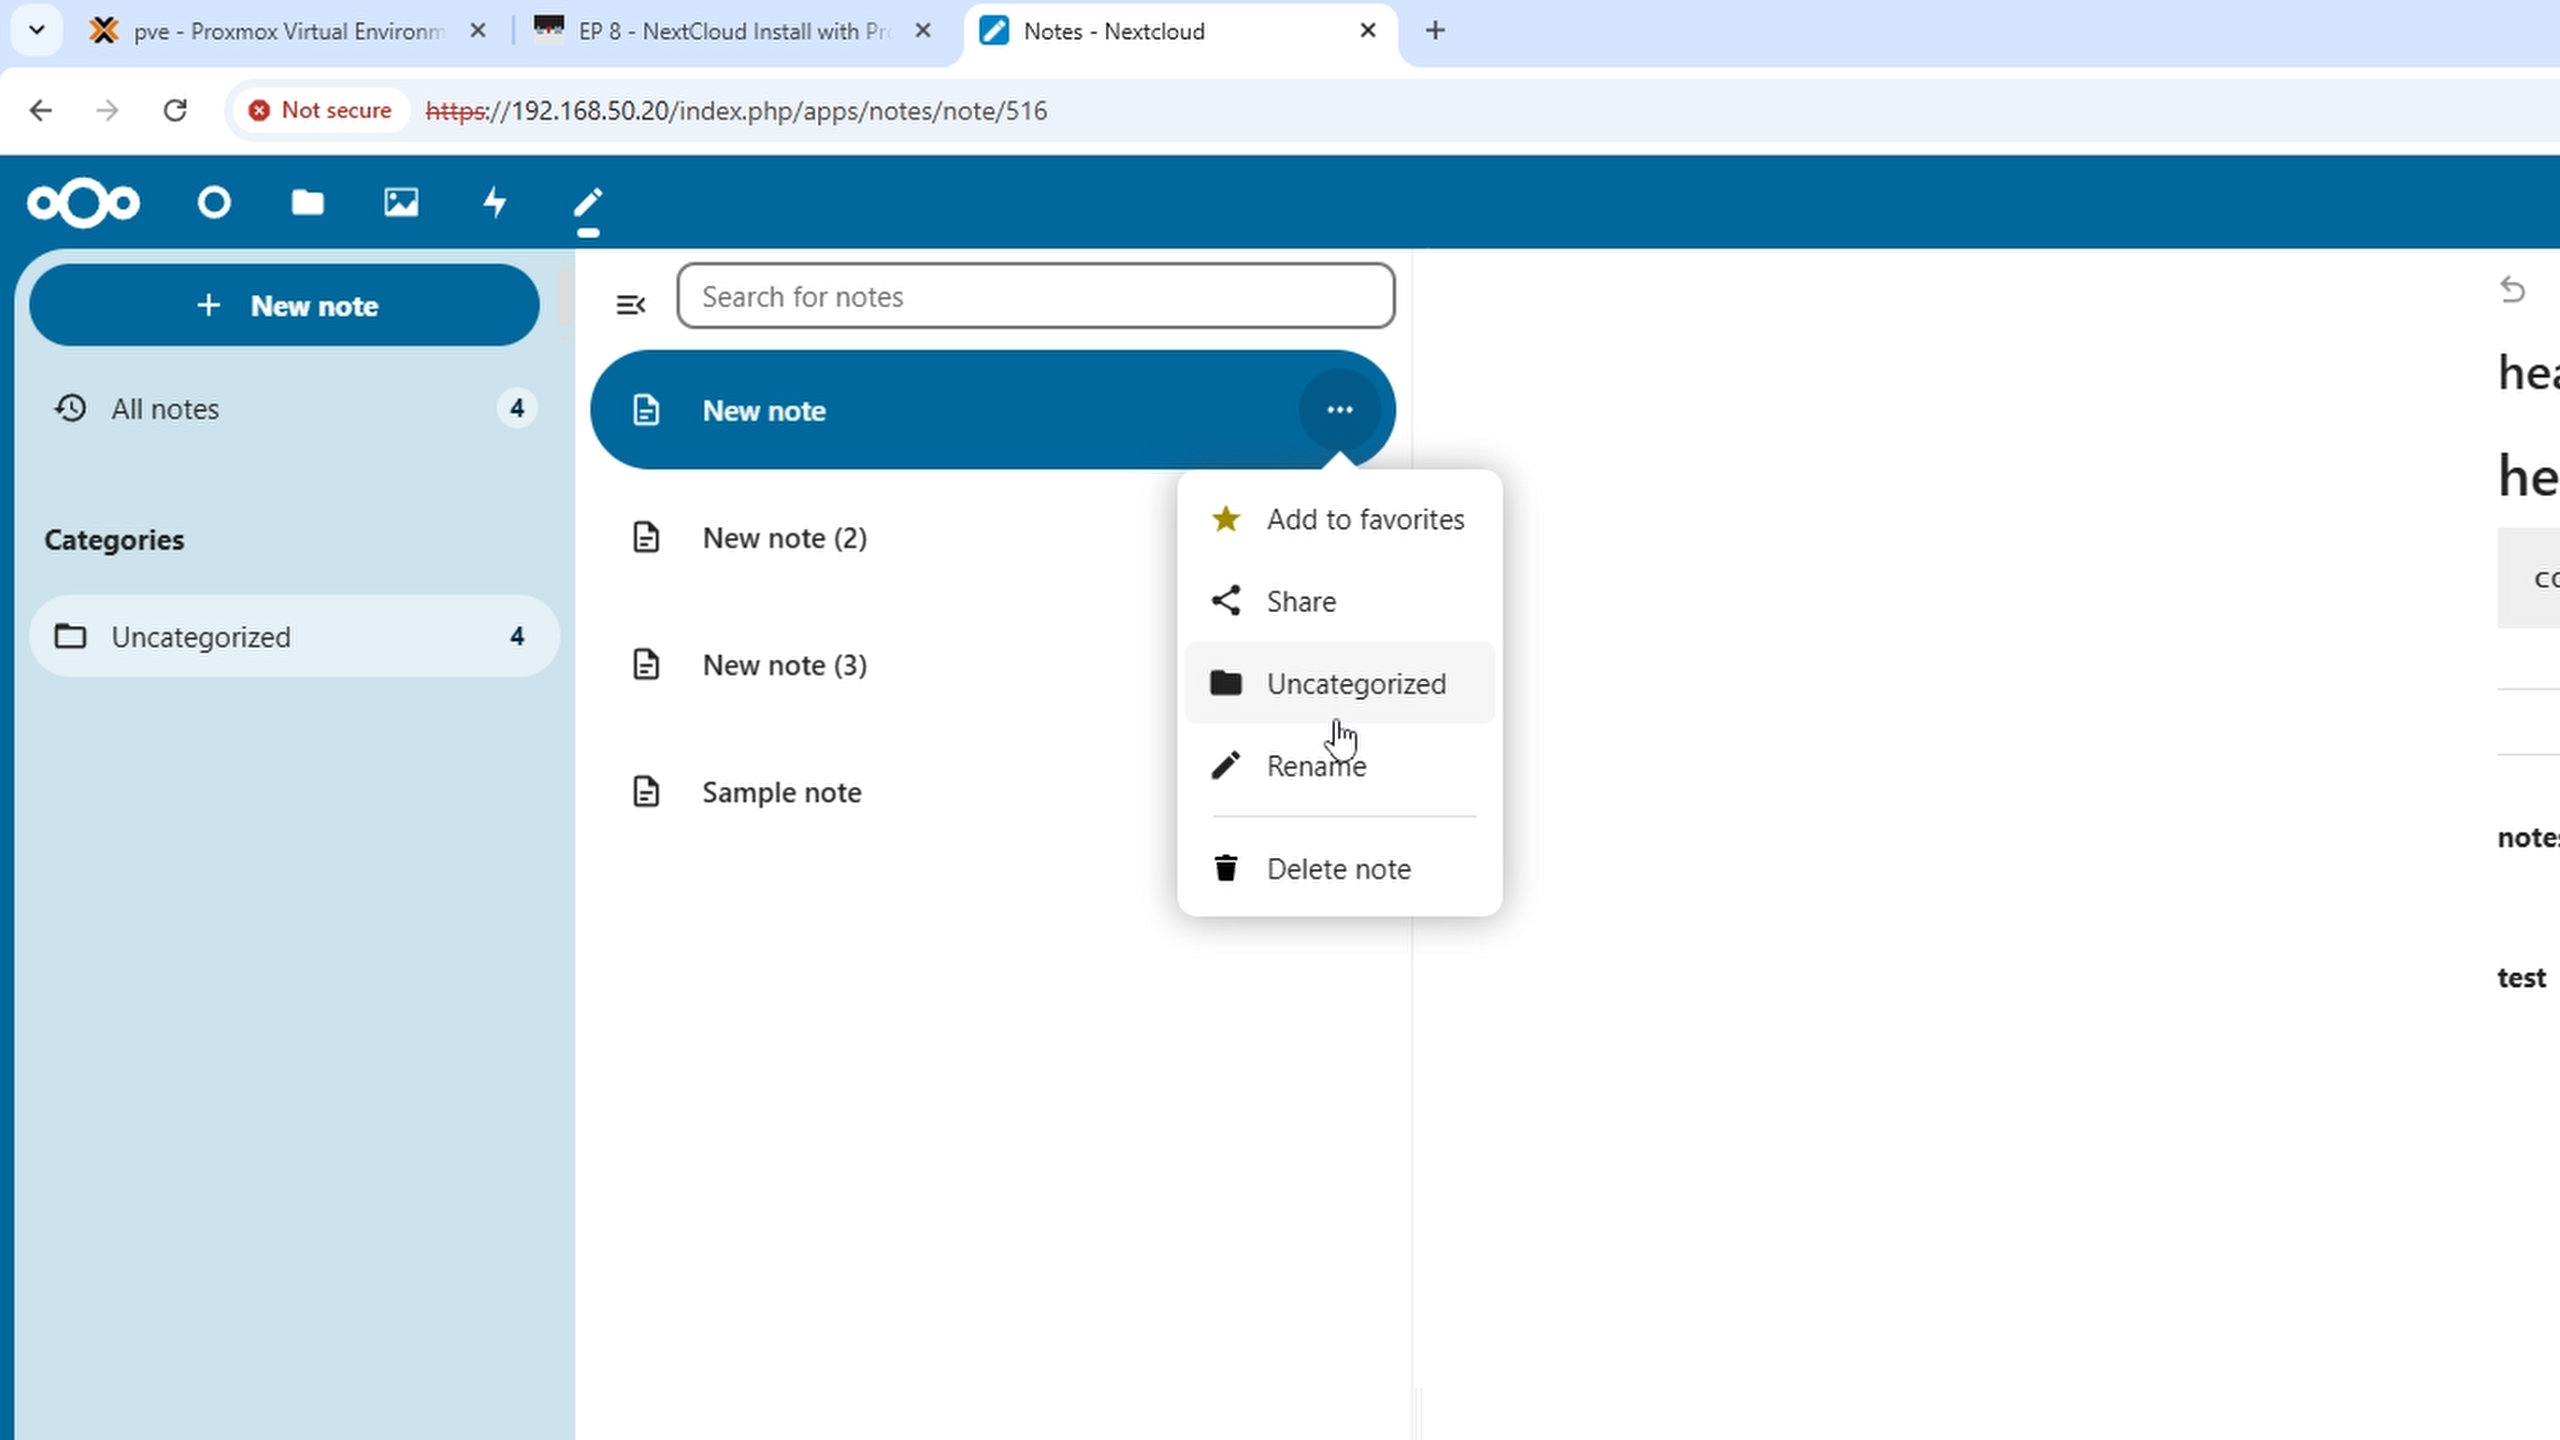
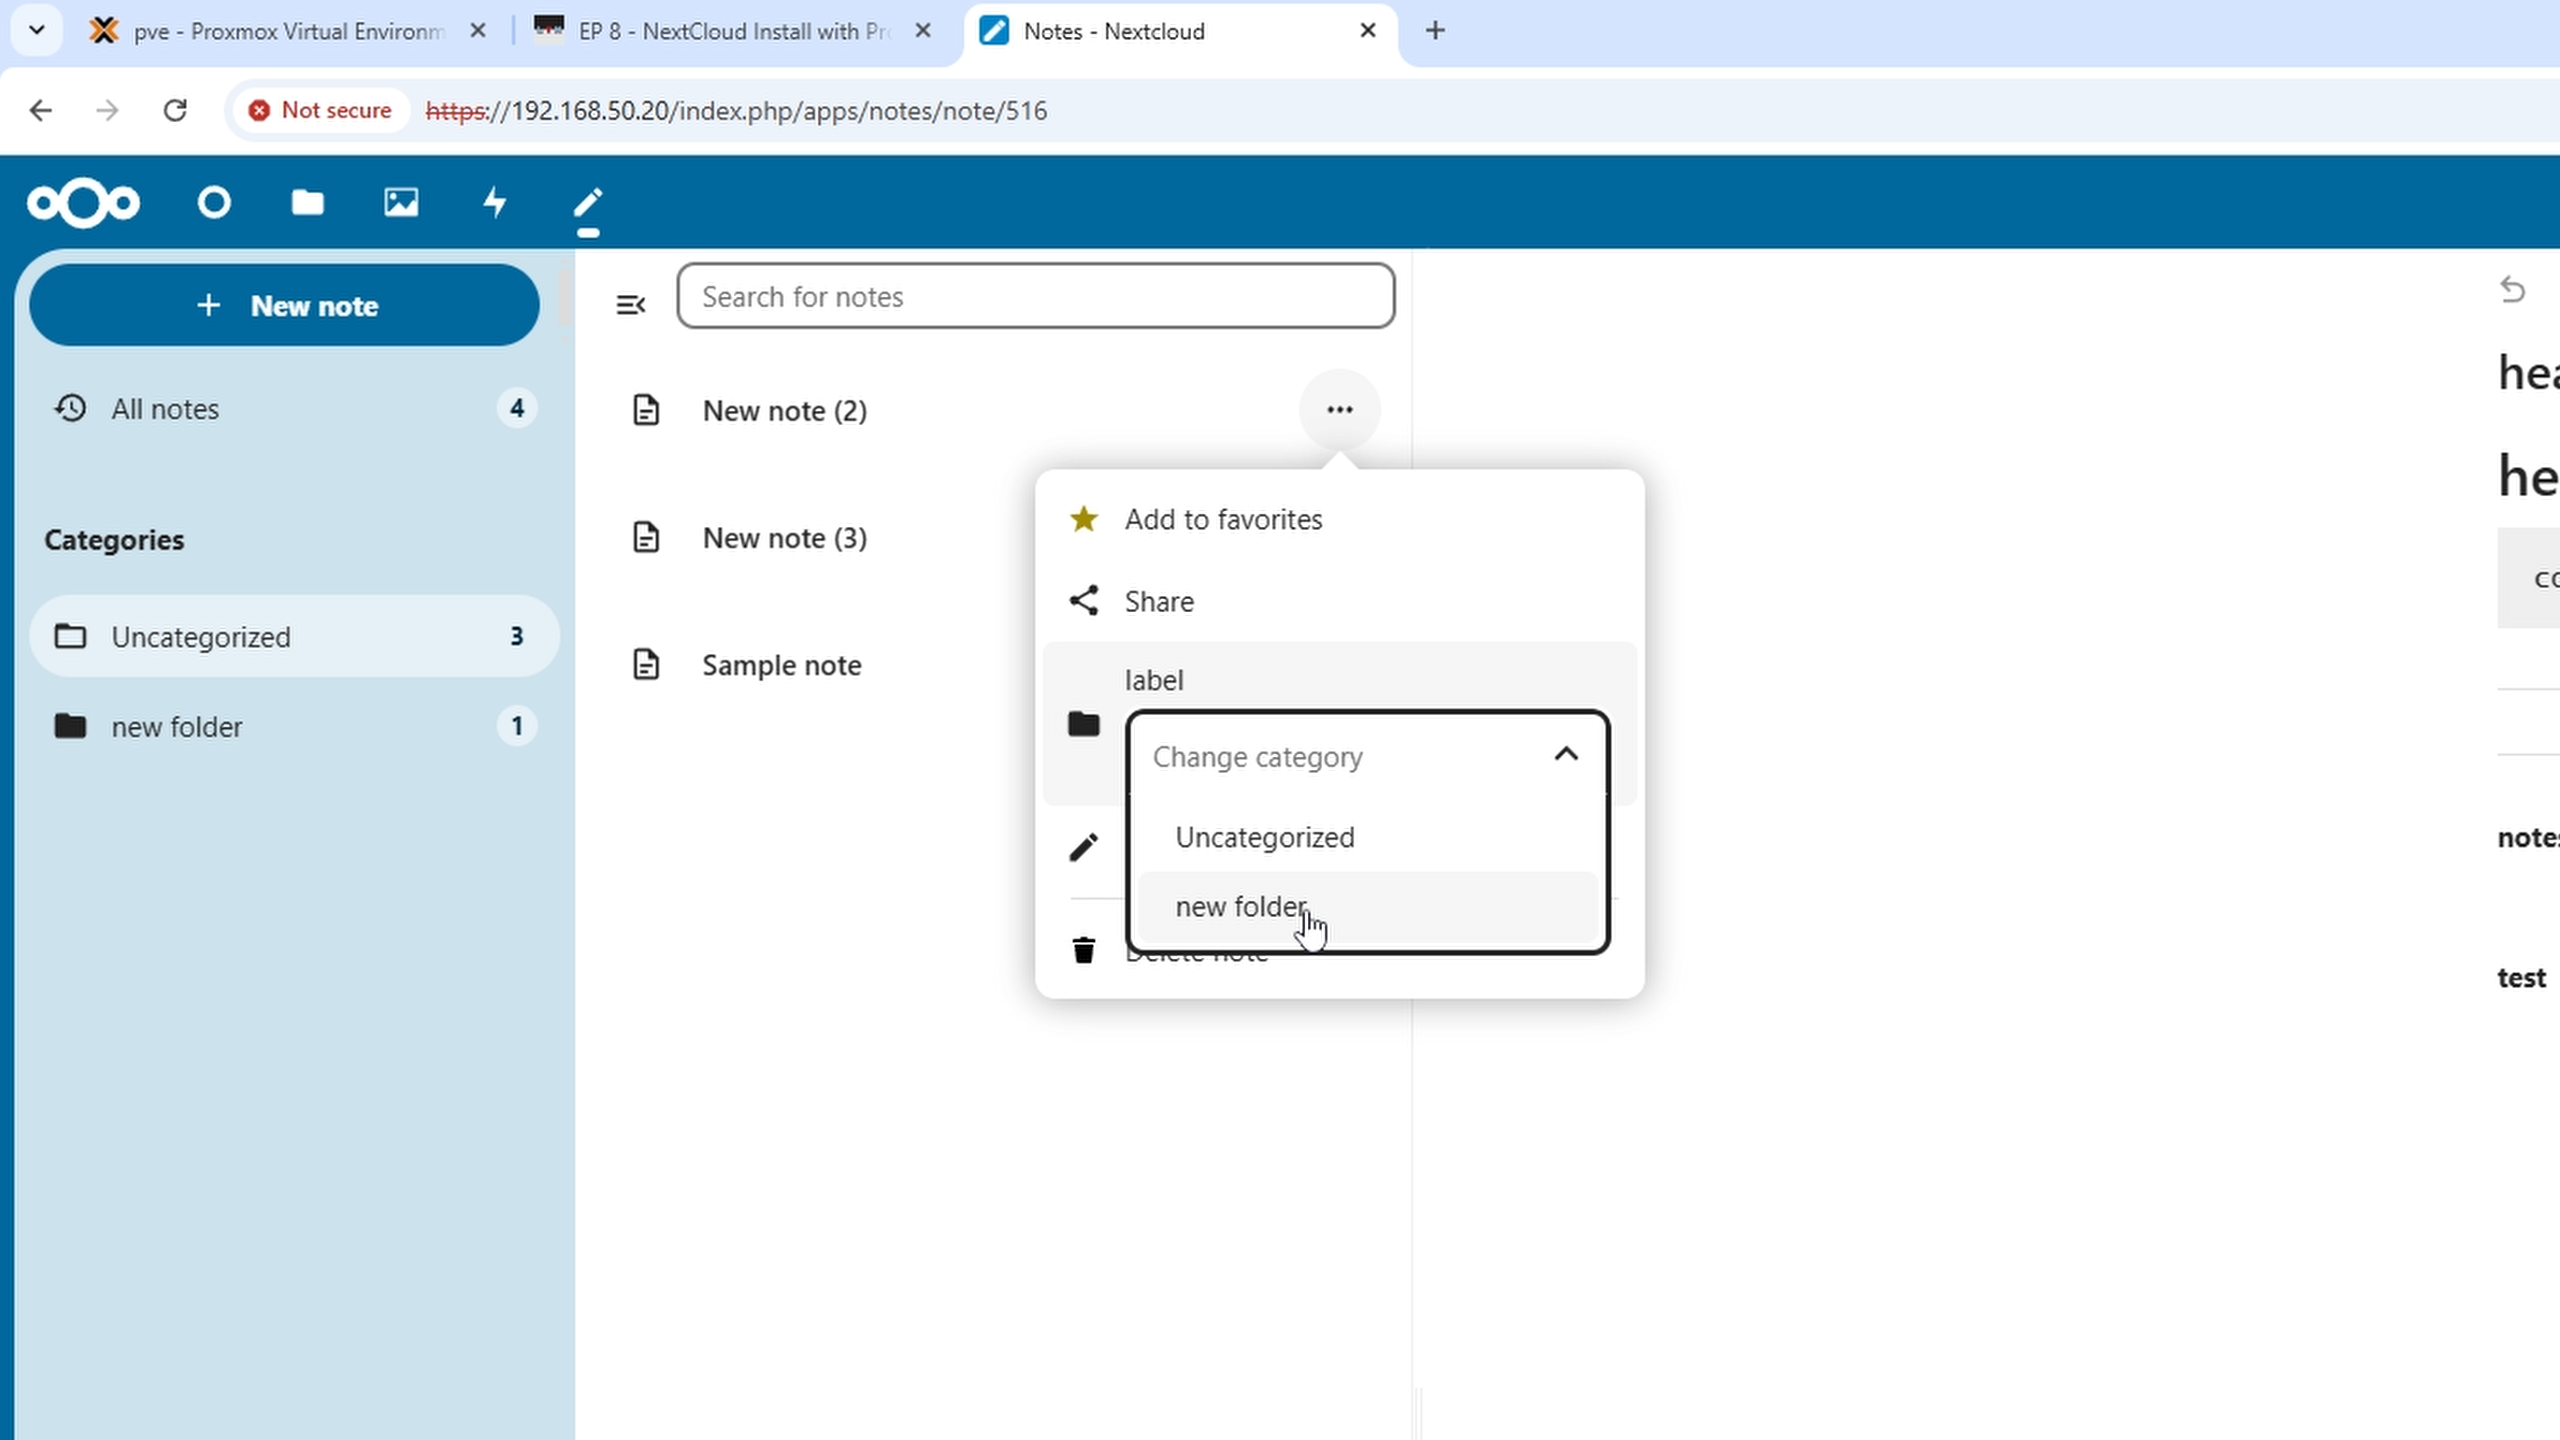
Categorize notes in folders
Hover over any note and select the three dots to categorize/create folders for your notes.
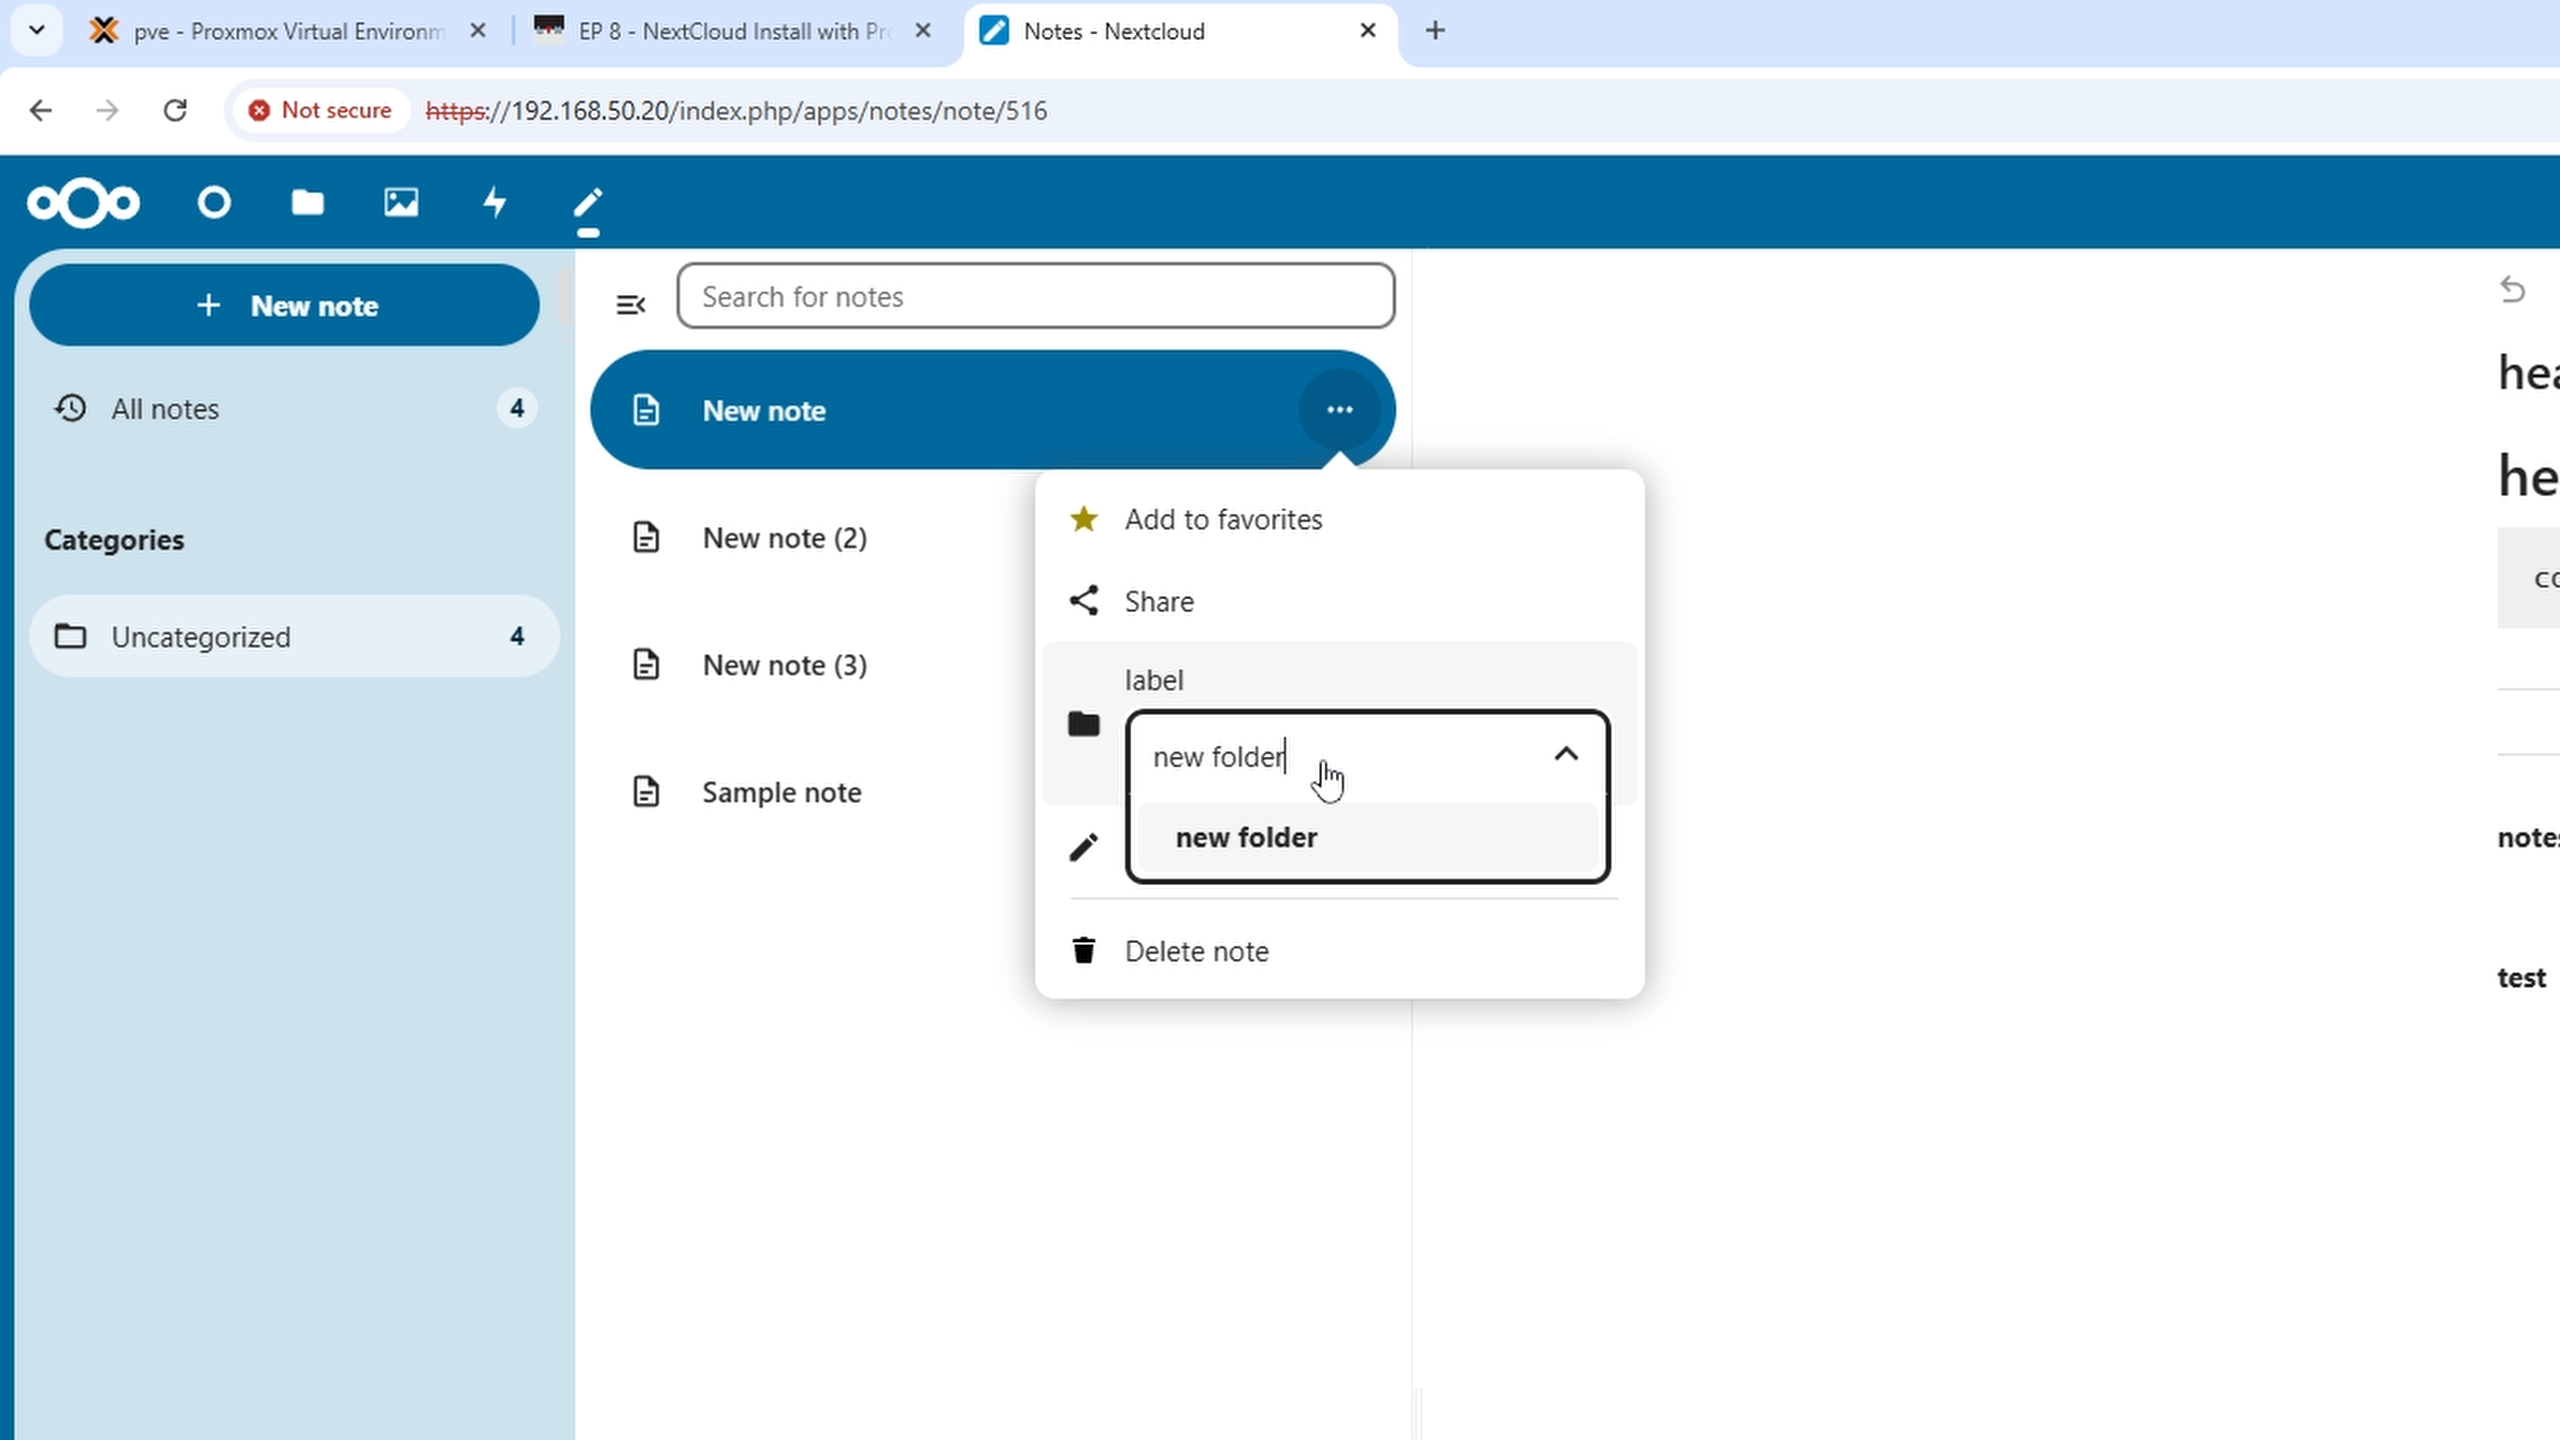
When you select the folder icon, by simply typing the new of your new folder and click enter will create a new folder for you.
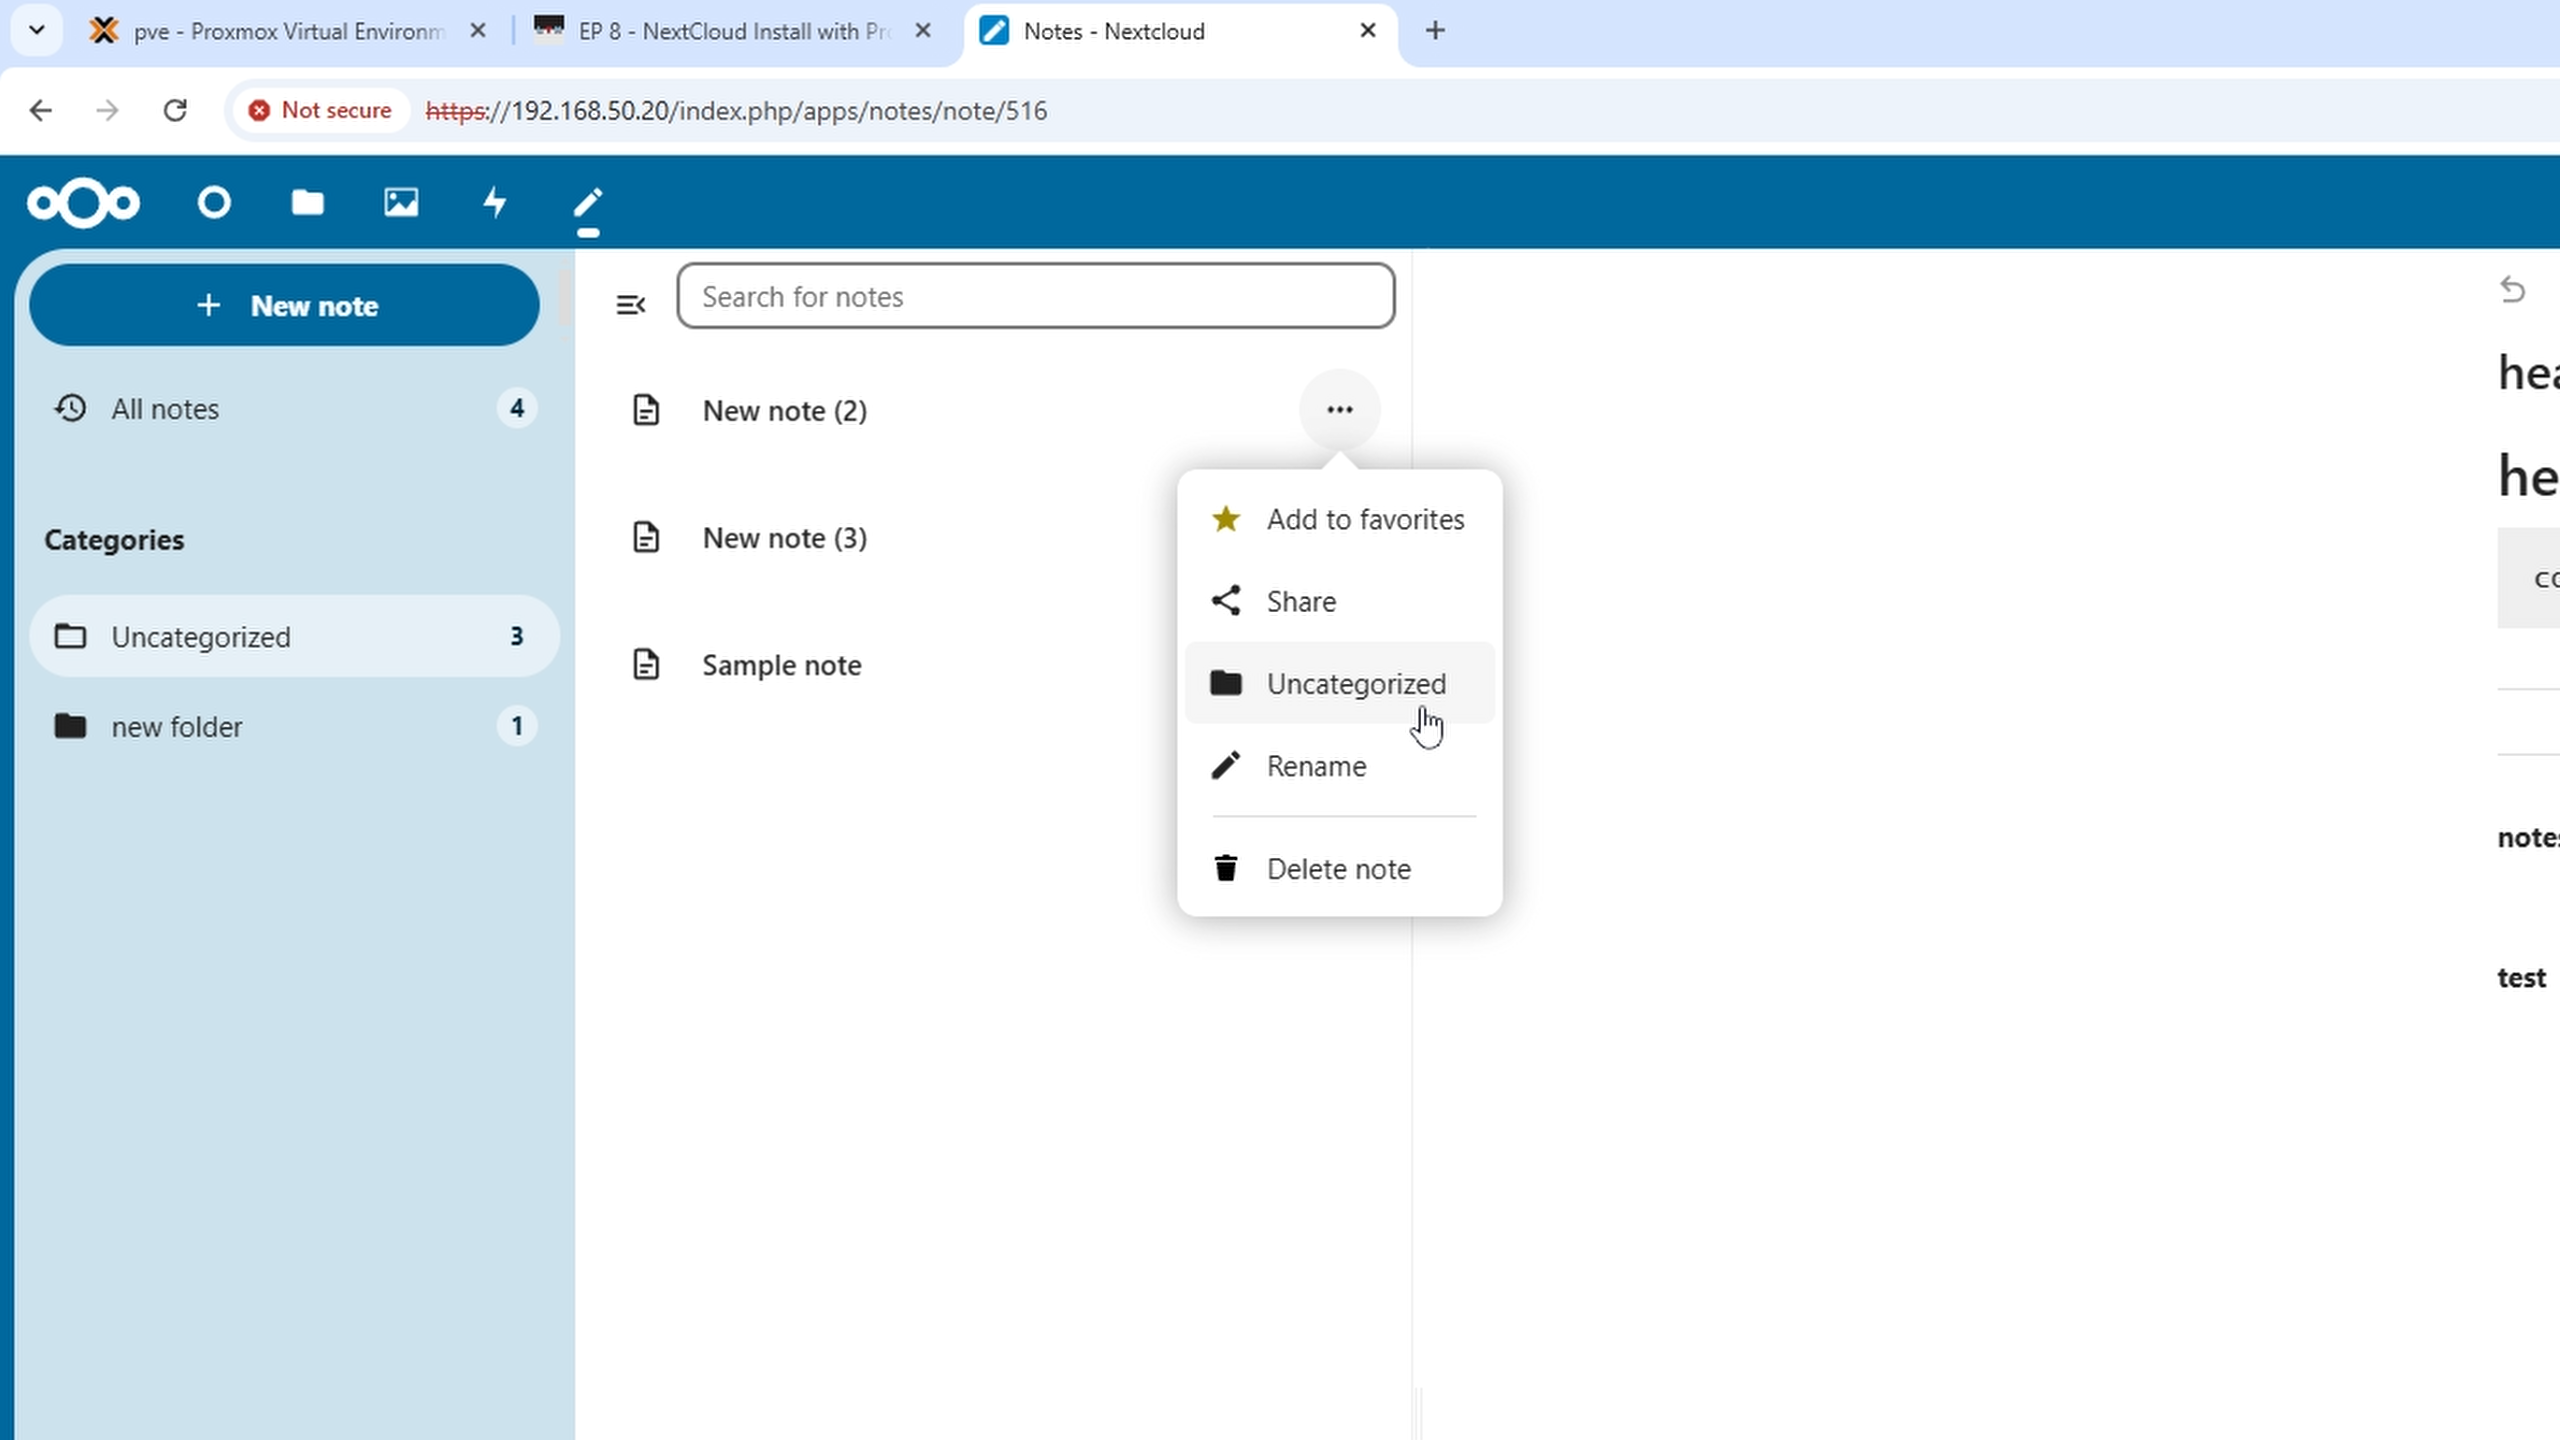
By doing the same thing on a note, you can then select the new or old folder you wish to move the note into.
As shown:
Conclusion
In this video we covered: 1. How to download the Note App. 2. How to create notes. 3. How to create folders. 4. How to categorize notes.