Zimaboard 2 Review
Setting up Your Zimaboard 2
Hey guys,
In today's video we are going to cover unboxing your Zimaboard 2, putting everything together, and getting started with the software side of the device. This includes creating a RAID array for your hard drives, installing apps from the App Store, and installing custom Docker Compose files.
Setting Your Device Up
Please watch the video linked above if you have any questions on putting your Zimaboard 2 and the NAS enclosure together.
Logging into Your Zimaboard 2
Depending on your device, you could plug a monitor into it to grab the IP, or log into your firewall/router to get the IP address. In our case we run OPNsense, so we grabbed the IP address from our leases within OPNsense.

Using Zimaboard 2 Software
After you put that IP into a browser, you will be guided through creating an account, logging into your device, and creating your RAID. You can watch the video above (check the timestamps in the description) on how to set up your RAID storage.
Installing Your First App
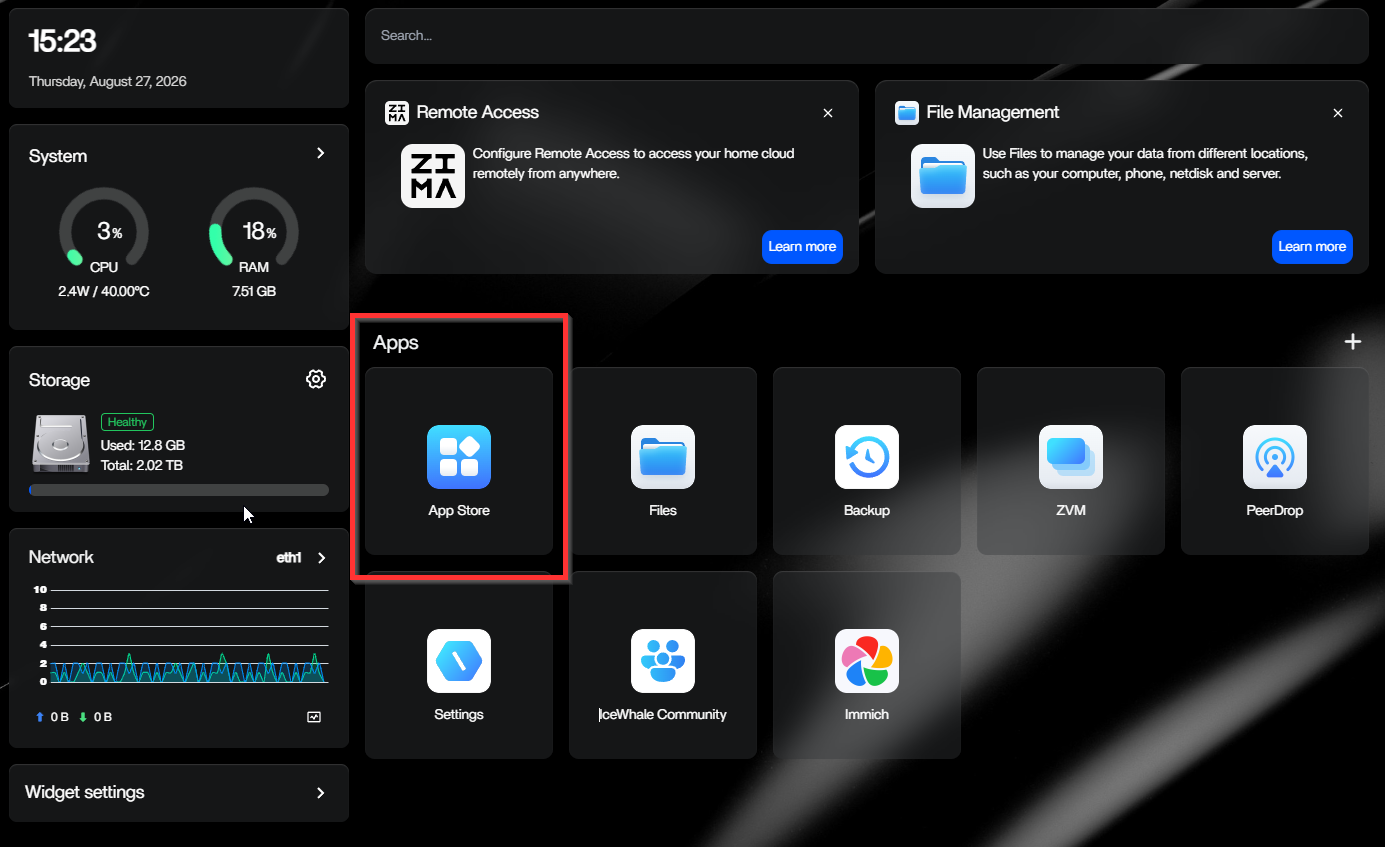
Installing your first app is pretty easy. Simply click the App Store icon on the top right:
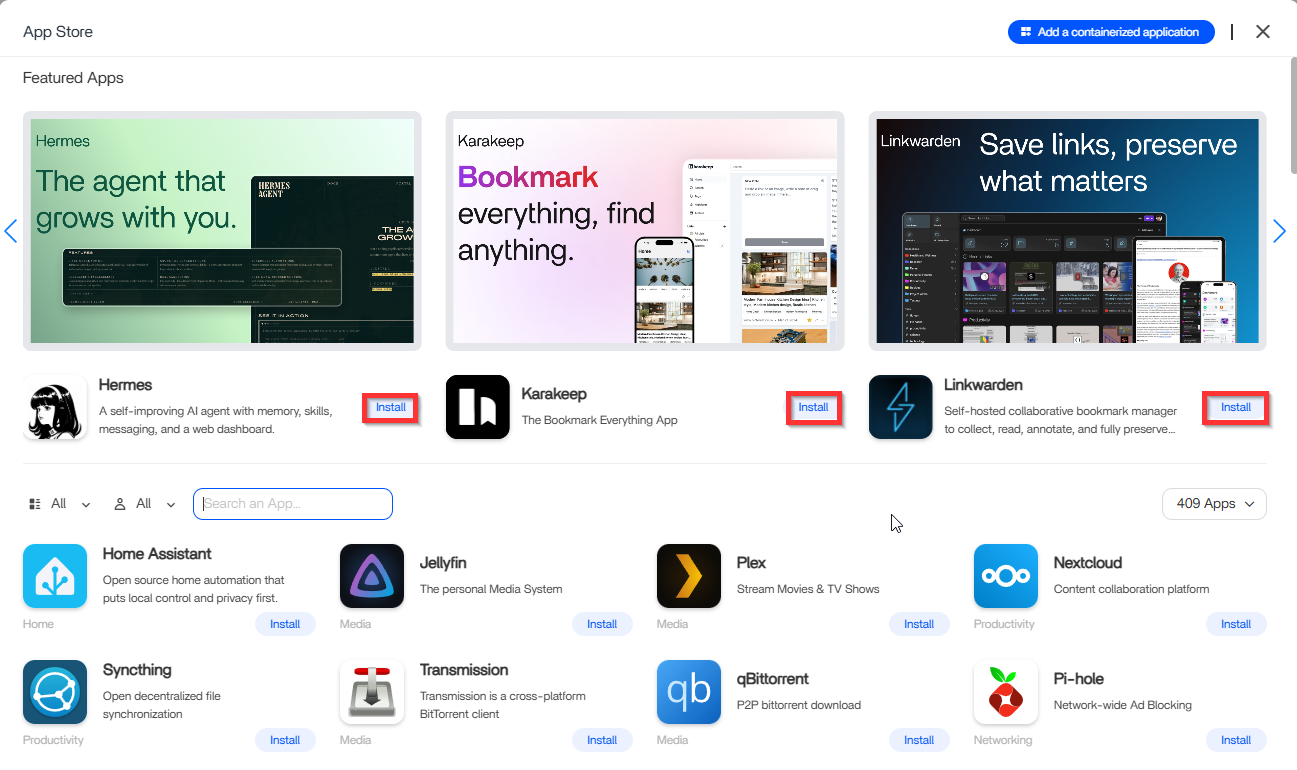
From within the App Store, click Install on any application:
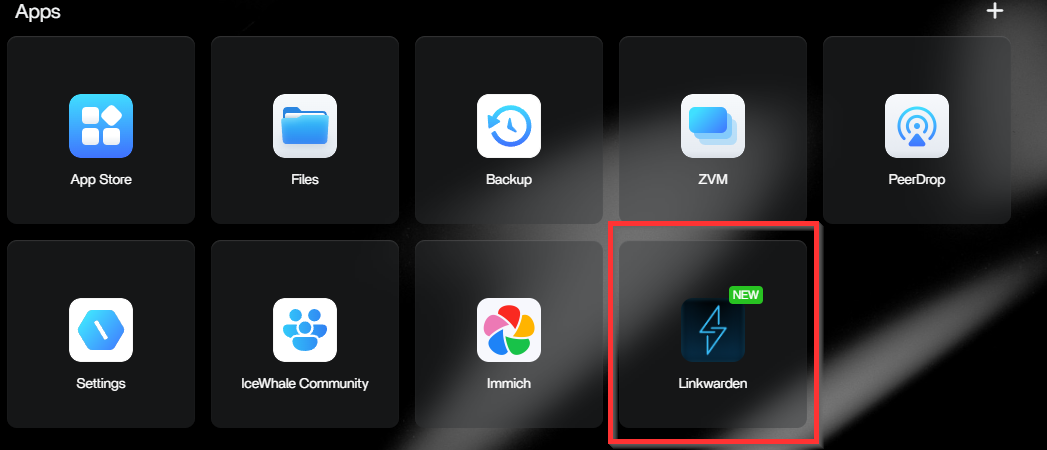
After the app installs, you will be able to access it directly from your main dashboard:
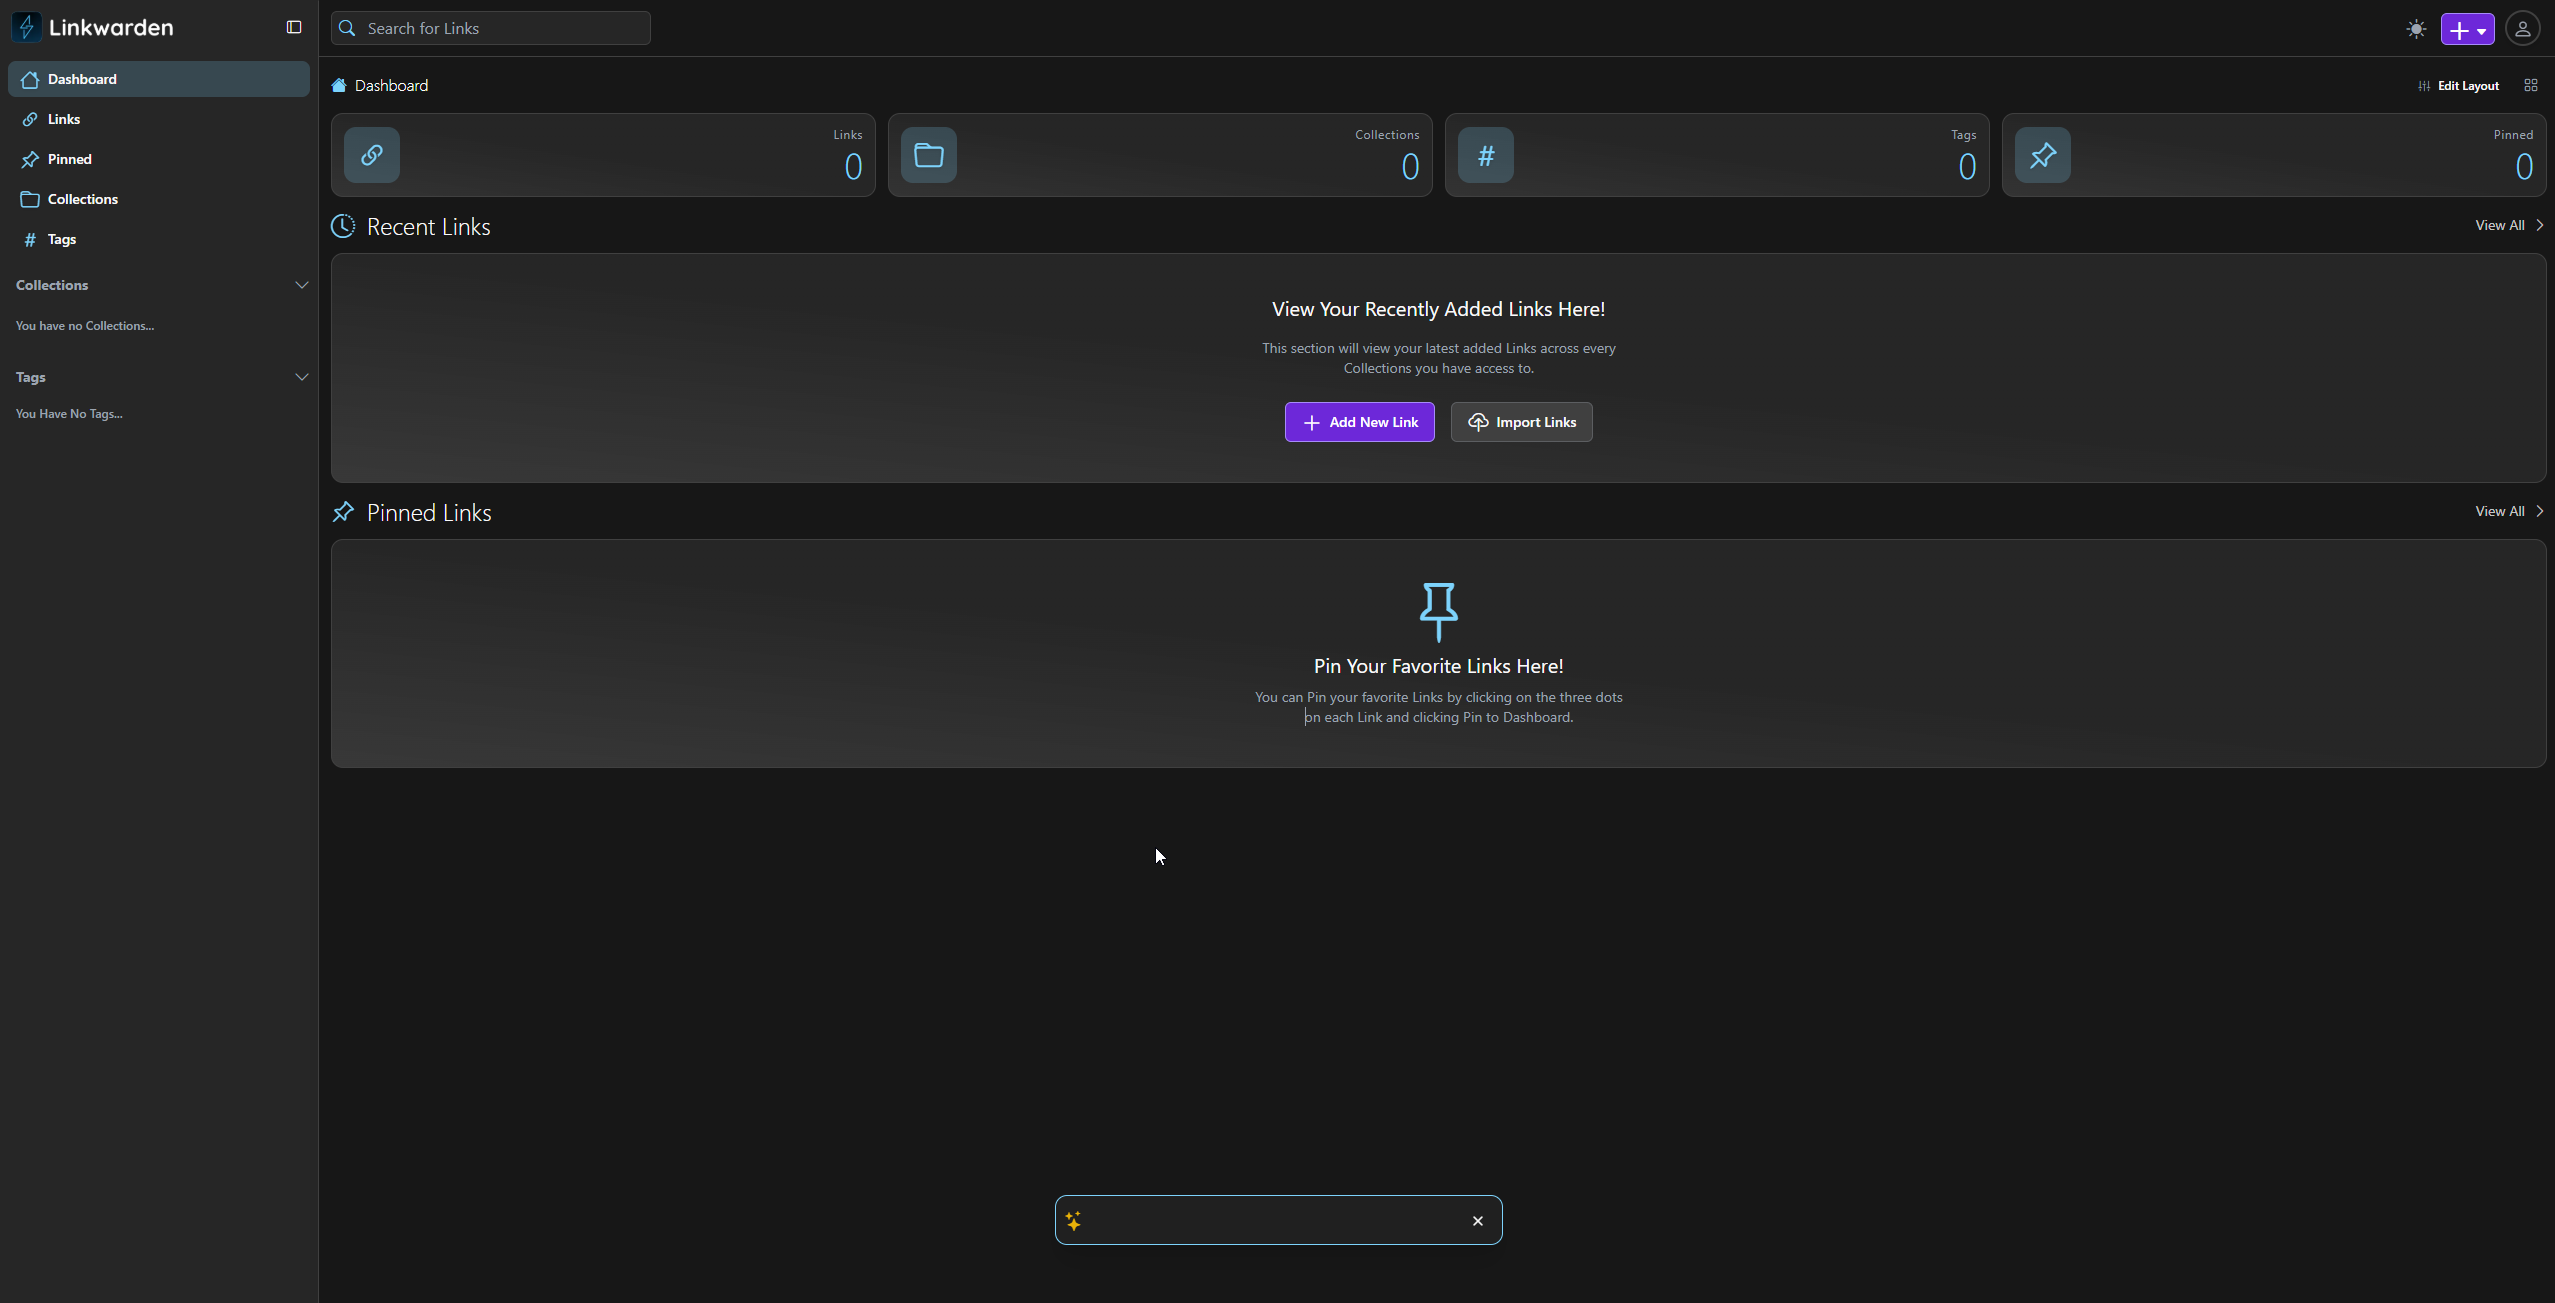
Click on your freshly created application, complete the initial setup/account creation, and start using it!
Installing a Custom Docker Compose App
If the App Store does not have the application you want, but the project provides a Docker Compose configuration, you can use the Custom Docker Install feature in ZimaOS.
From within the App Store, click Install a customized app (or Add a containerized application) on the top right.

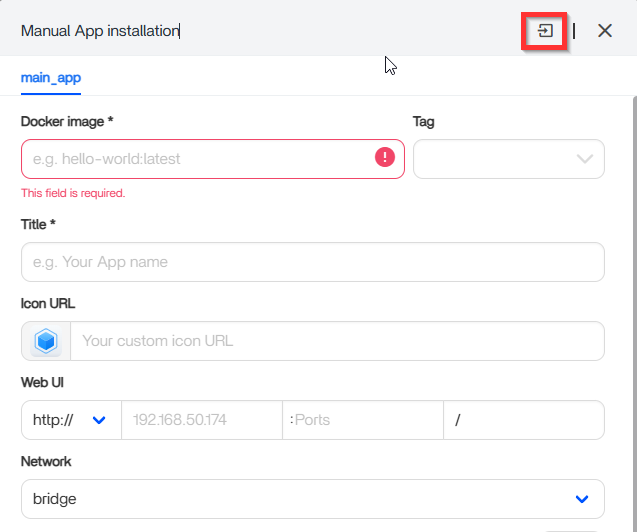
In the popup window, click the Import (arrow box) icon in the top right corner to switch to the Docker Compose YAML editor:
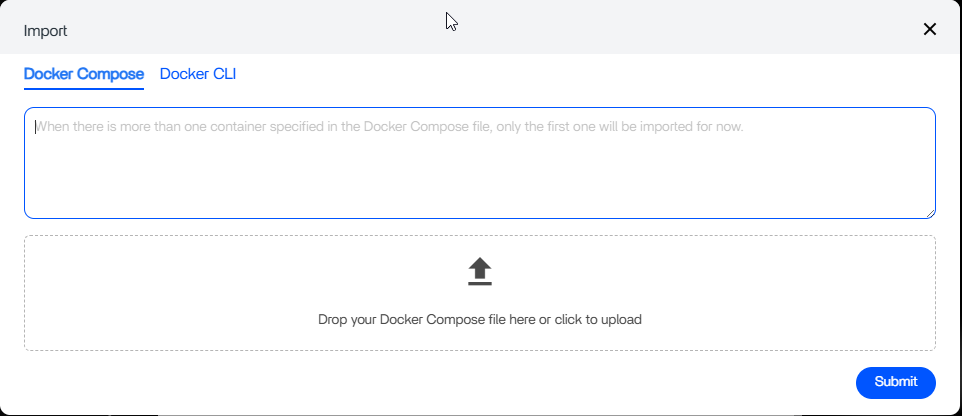
A text window will appear where you can paste your Docker Compose file:
In our example, we are deploying Docmost. You can reference Docmost's official documentation here.
Before submitting the Compose file, update the following mandatory variables:
-
APP_URL: Replace with your Zimaboard IP address and port (e.g.,http://192.168.50.174:3000) or your custom reverse proxy domain. -
APP_SECRET: Replace with a long, random secret key of at least 32 characters (e.g., generated usingopenssl rand -hex 32). Leaving the default value will cause the app to fail to start.infoIf you are not running Linux or need a quick way to generate a secret, you can use a Random Hex Code Generator to create a 32-character string.
-
POSTGRES_PASSWORD: ReplaceSTRONG_DB_PASSWORDwith a secure password. -
DATABASE_URL: Update the database connection password to match yourPOSTGRES_PASSWORD, and ensure?schema=publicis appended at the end.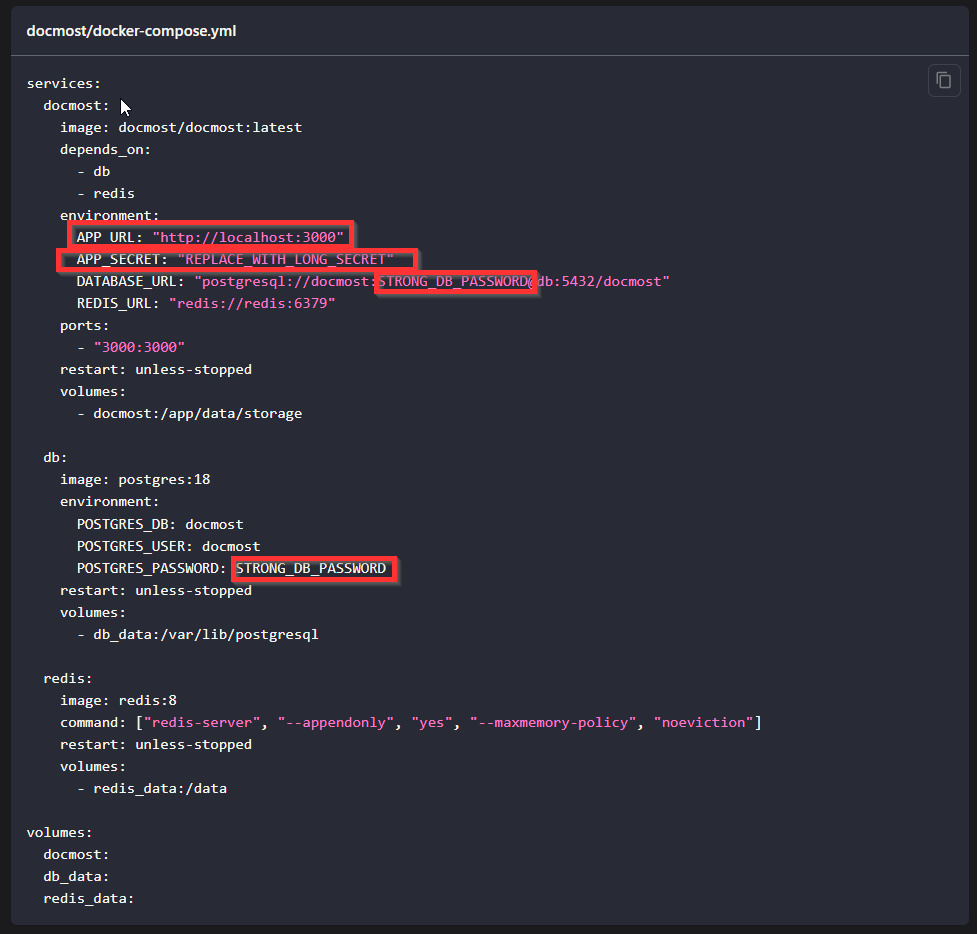
Here is our fully working configuration file with container names and a dedicated bridge network defined (which ensures internal DNS resolution works out of the box). Paste this into the Compose box and click Submit
To note: From the above file example to our file down below we added the following section and it is required for apps to work within ZimaOS.
Do note: The second line under networks: can be named and should be named based on the applications name.
networks:
docmost-net:
  driver: bridge
services:
  docmost:
    image: docmost/docmost:latest
    container_name: docmost
    restart: unless-stopped
    depends_on:
      - db
      - redis
    environment:
      APP_URL: "http://192.168.50.174:3000"
      APP_SECRET: "97A35973B02A9950660CF3C13603DE9C"
      DATABASE_URL: "postgresql://docmost:Password1@db:5432/docmost?schema=public"
      REDIS_URL: "redis://redis:6379"
    ports:
      - "3000:3000"
    volumes:
      - docmost:/app/data/storage
    networks:
      - docmost-net

  db:
    image: postgres:18
    container_name: db
    restart: unless-stopped
    environment:
      POSTGRES_DB: docmost
      POSTGRES_USER: docmost
      POSTGRES_PASSWORD: Password1
    volumes:
      - db_data:/var/lib/postgresql
    networks:
      - docmost-net

  redis:
    image: redis:8
    container_name: redis
    restart: unless-stopped
    command: ["redis-server", "--appendonly", "yes", "--maxmemory-policy", "noeviction"]
    volumes:
      - redis_data:/data
    networks:
      - docmost-net

networks:
  docmost-net:
    driver: bridge

volumes:
  docmost:
  db_data:
  redis_data:
Mapping Host Storage Volumes
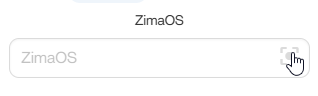
After submitting the Compose file, ZimaOS will display the configuration screen with tabs for each service (docmost, db, and redis). Because the template uses named volumes, you need to map each one to an actual folder path on your RAID storage.
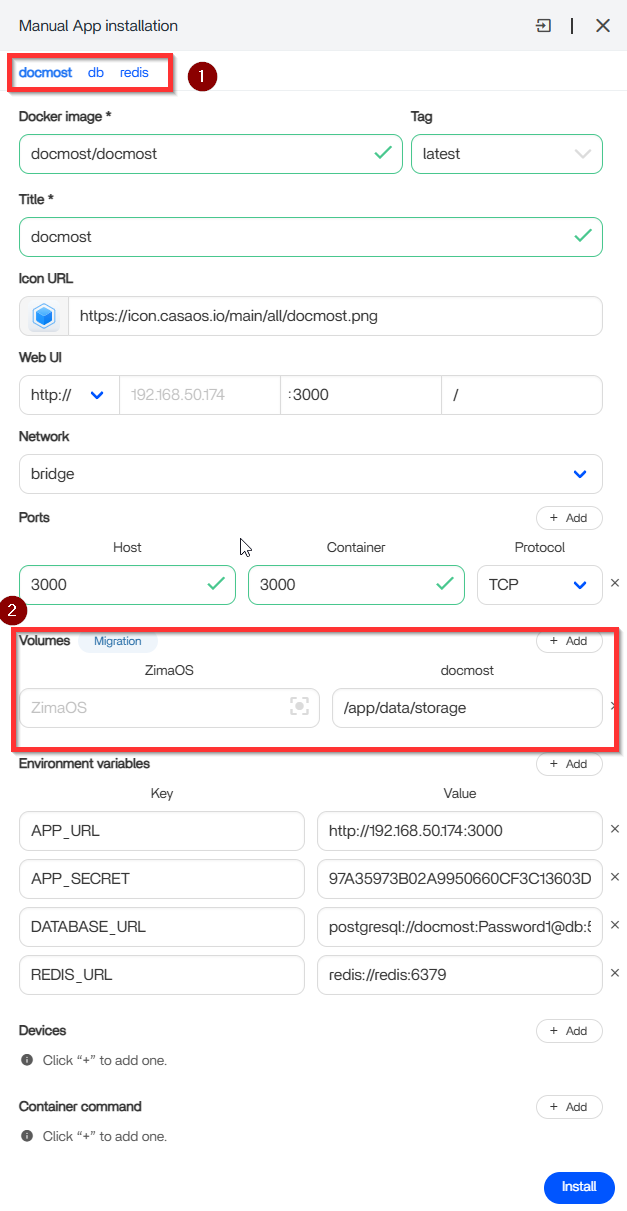
Click the file picker icon to the right of the ZimaOS host field:
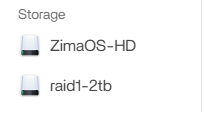
Select your primary storage pool (e.g., raid1-2tb):
- Create a root directory named
AppDataif you don't already have one. - Inside
AppData, create a folder nameddocmost. - Inside the
docmostfolder, create three subdirectories:
storage(for file uploads and attachments)db_data(for PostgreSQL database files)redis_data(for Redis cache data)
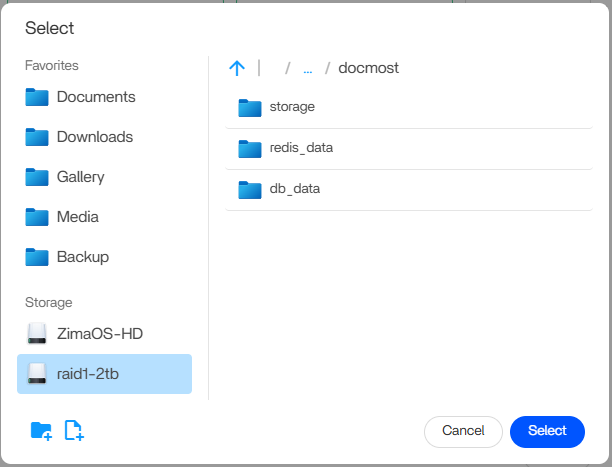
Back in the Manual App Installation window, assign each container tab to its respective host directory:
-
docmosttab:/media/raid1-2tb/AppData/docmost/storage->/app/data/storage -
dbtab:/media/raid1-2tb/AppData/docmost/db_data->/var/lib/postgresql -
redistab:/media/raid1-2tb/AppData/docmost/redis_data->/data
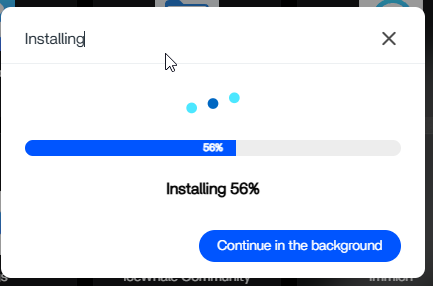
Once all three tabs have their paths mapped, click Install at the bottom right.
Checking for Docker Compose Errors
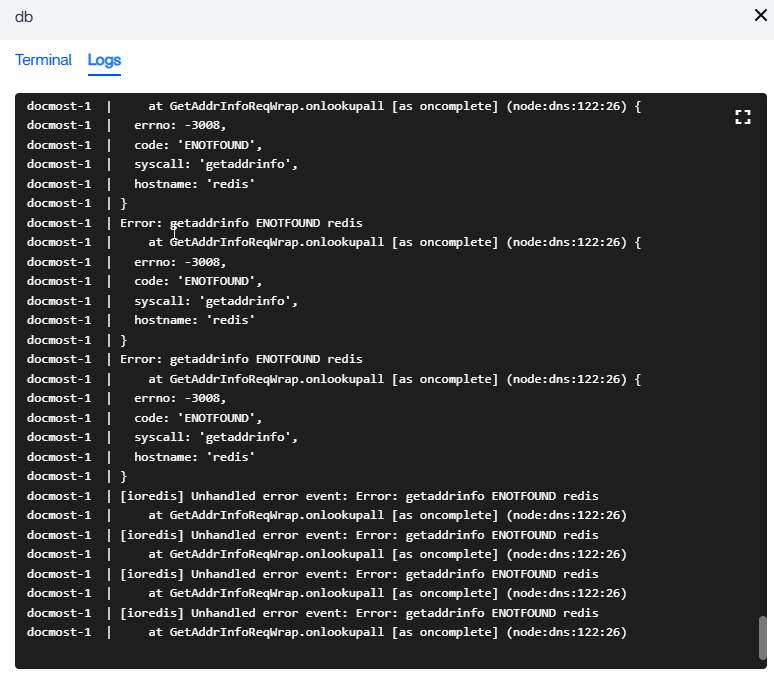
If a container fails to start or gets stuck in a restart loop, inspect the container logs:
- On the dashboard screen, hover over the app icon and click the three dots (
...). - Select Settings.
- Click Terminal and Logs at the top right of the modal.
- Switch to the Logs tab.
Common Troubleshooting Issues
Error: getaddrinfo ENOTFOUND redis: This occurs when containers cannot find each other by name. Docker's defaultbridgenetwork disables automatic DNS name resolution. To resolve this, ensure all services in the stack are attached to an explicit custom network (e.g.,docmost-net) and that theircontainer_namevalues match the hostnames specified in your environment variables (dbandredis).- PostgreSQL 18 Mount Target Error: PostgreSQL 18+ manages major versions via cluster subdirectories and expects the volume mount point to be
/var/lib/postgresql. If pointed to/var/lib/postgresql/data, the initialization script will exit with an error.