How to Update Proxmox Repositories
Welcome to Episode 6, in this episode we will cover how to enable the correct repositories in Proxmox when you are using either the free version or the paid support version. For 99% of you, you will be using the free version, but in the off chance you are watching this on behalf of your company to setup a Proxmox environment, we will cover that too.
Steps:
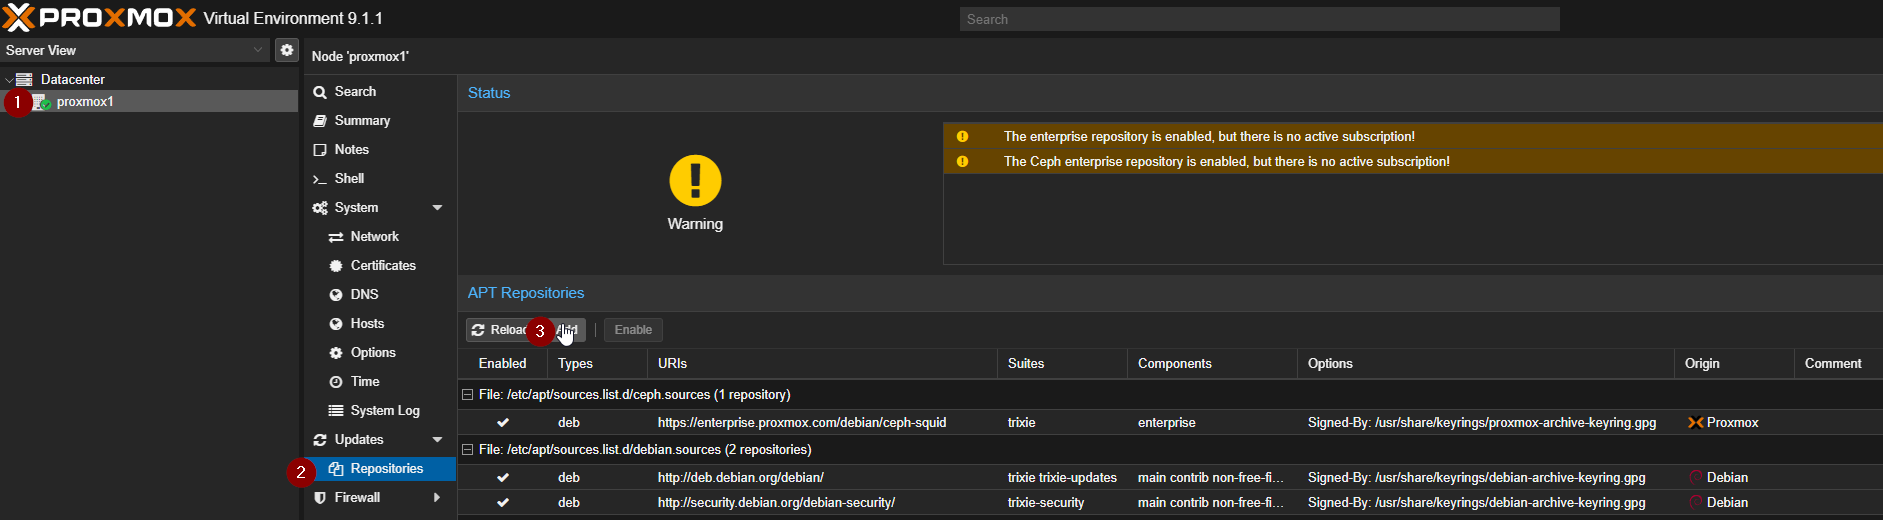
- Select your Node from the left menu
- Under the Device tree, select repositories.
- Select Add right below the blue header that says “APT Repositories
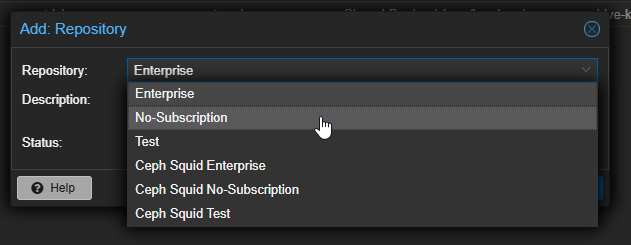
- From the drop down select No-Subscription, then click add.
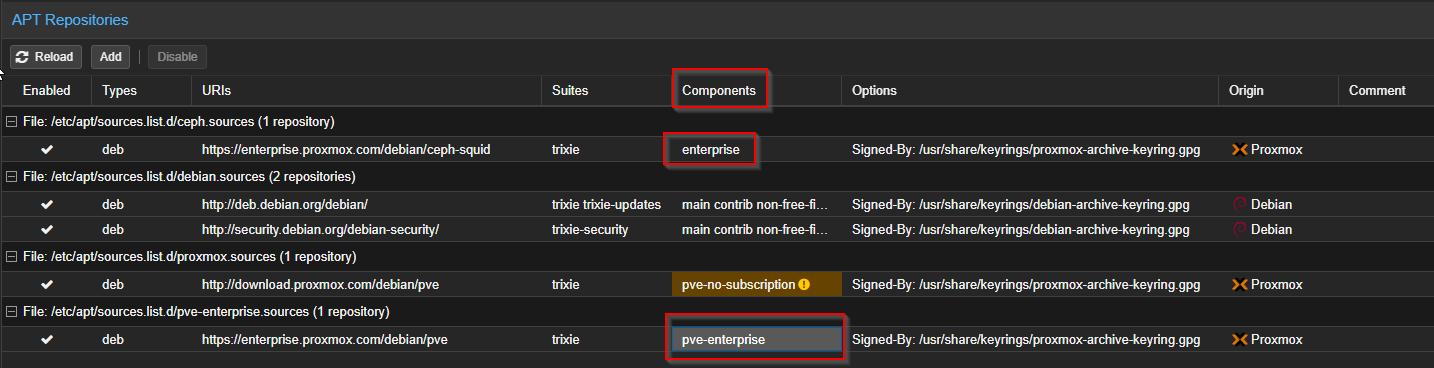
- The next thing you want to do is disable any file category that contains “enterprise” found within the components column. As of this video, it should be two items
Uploading a Subscription Key to Proxmox
Here are a couple reasons you may need to add a subscription key:
- You are doing this on behalf of a company which requires professional support for Proxmox.
- You want more thoroughly vetted updates (prevents potential stability issues (although very uncommon for Proxmox as an issue).
- Much lower cost compared to competition like VMWare.
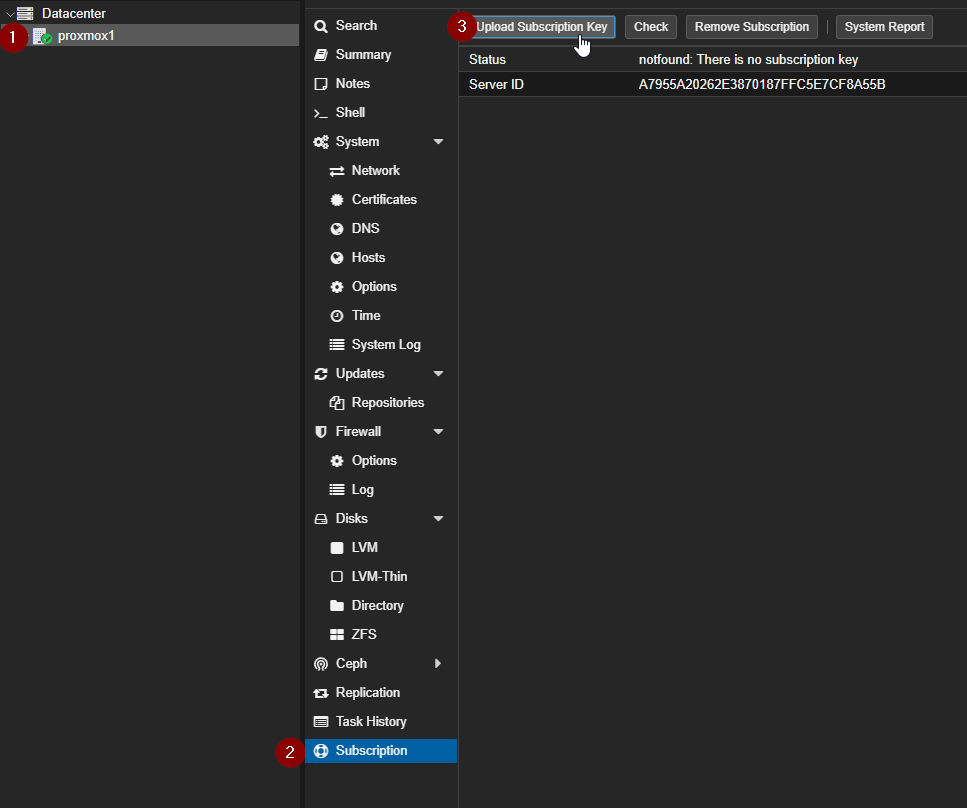
Uploading your Key
Uploading your key is simple, just do the following, and then ensure you have all the enterprise repositories enabled.
- Select your node from the left menu.
- Select Subscriptions at the bottom of the Node menu tree.
- Select Upload Subscription Key
- Paste in your Subscription Key.