How to Update the BIOS on the Odroid H4 Series
Useful Links
-
If you would like to read Odroid’s documentation on how to update your BIOS step by step, check it out here
-
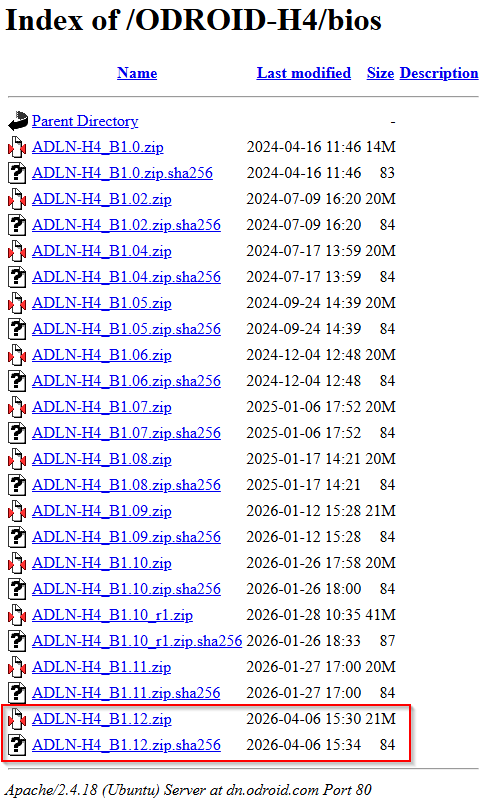
You can find the latest BIOS version for the Odroid H4 series here
-
Download Rufus here
Update your BIOS
- Ensure you download the latest BIOS version
- Ensure you download the SHA256 file to verify the files integrity.
To verify the files integrity:
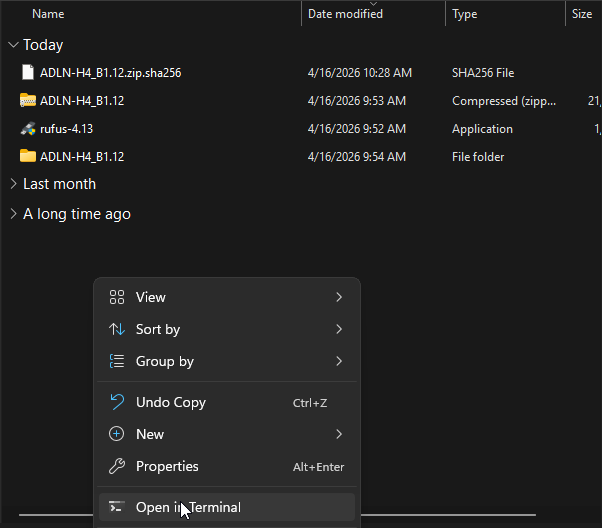
- Open your downloads folder location (usually your downloads folder)
- Right click in some “white space” and select “Open in terminal”
- Use this command to verify the hash of the file (ensure you are checking the .zip file) and not the .SHA256 file.
certUtil -hashfile (your file name goes here) SHA256
Example:

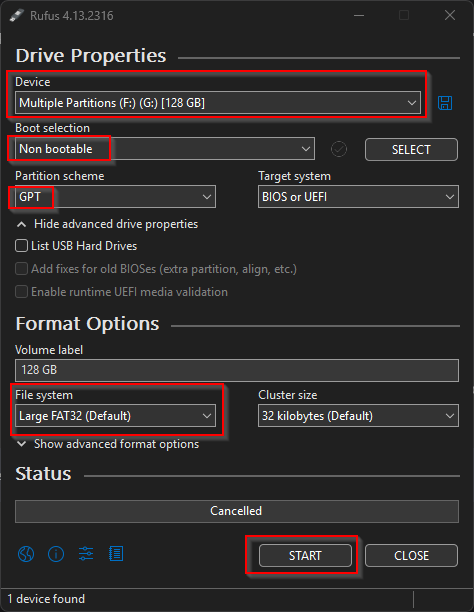
After you know the file is safe to install, format your USB device using rufus with the following settings:
Then delete the two following files from the USB device that Rufus adds by default:

Now you need to extract the BIOS .zip file
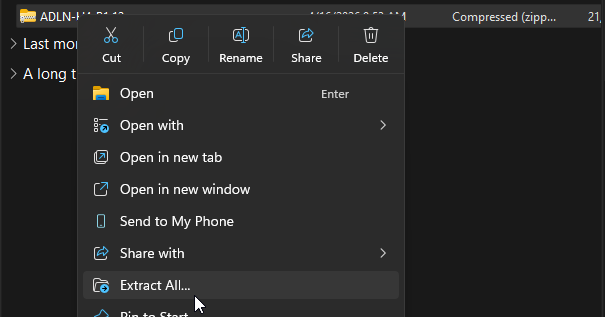
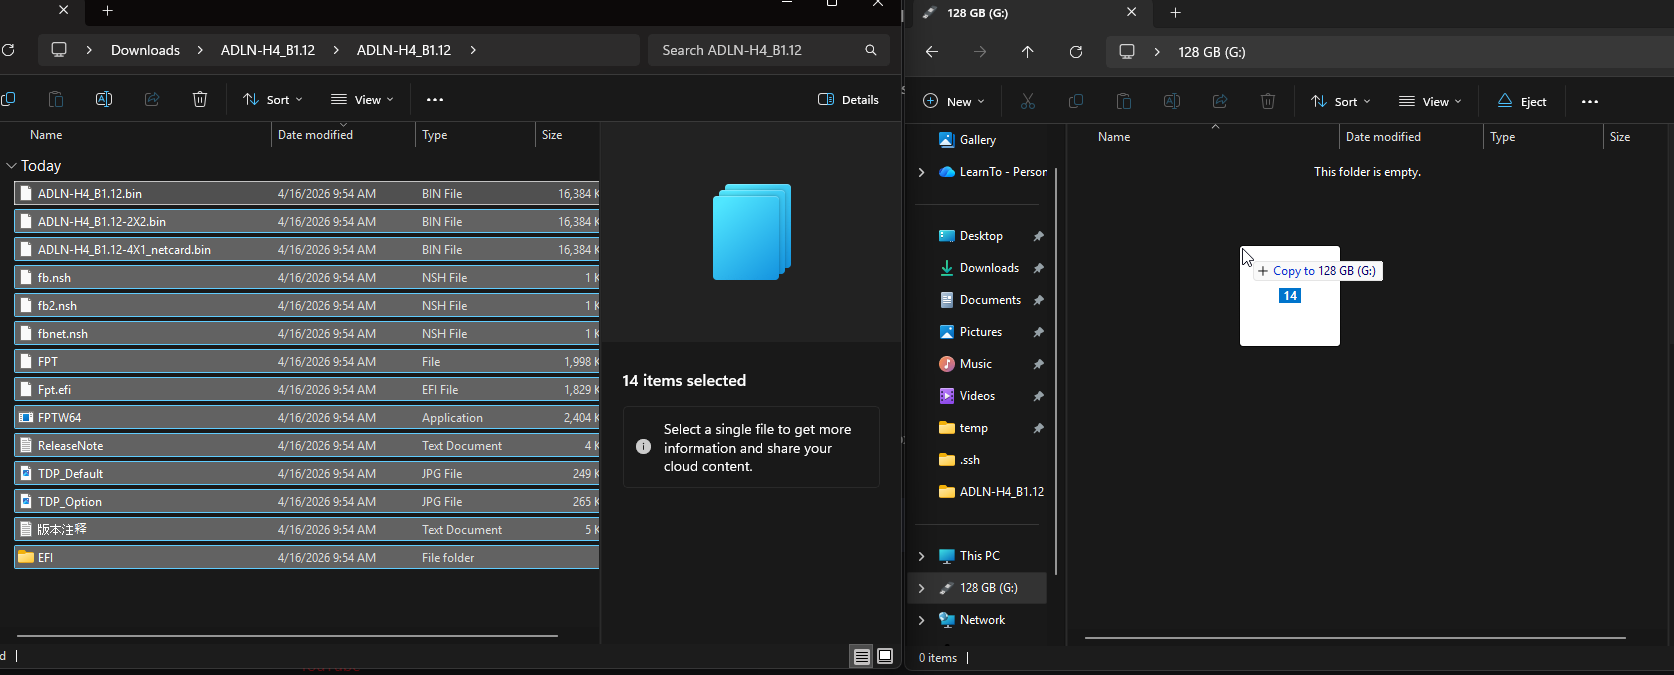
Then drag and drop the extracted files on to your USB device
- Unplug the USB device, and plug it into a POWERED off Odroid H4 device.
- Power on the device with a keyboard plugged in, and spam the DEL key on your keyboard until the bios comes up.
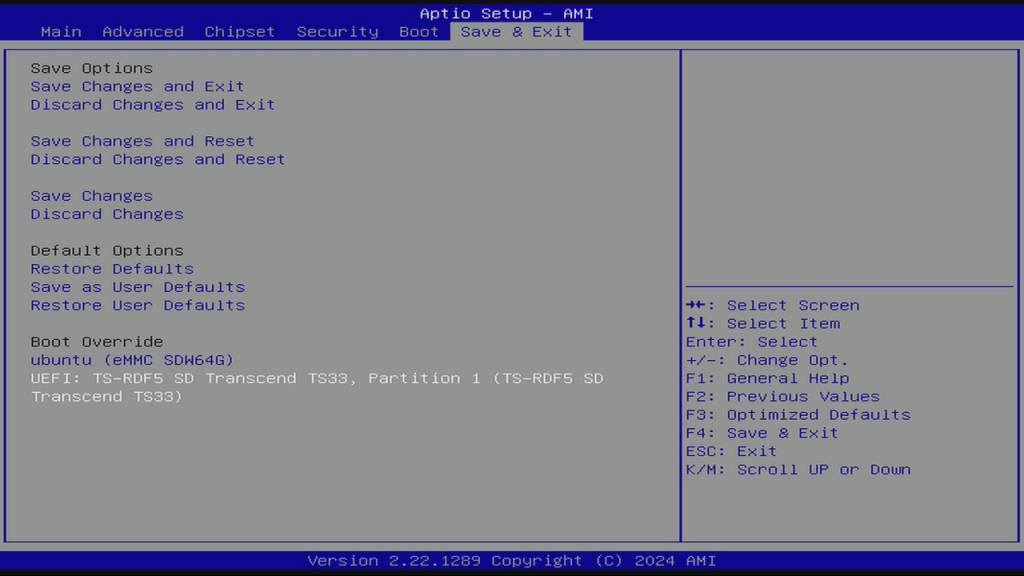
- Select your bootable USB device from the “Save & Exit Screen”
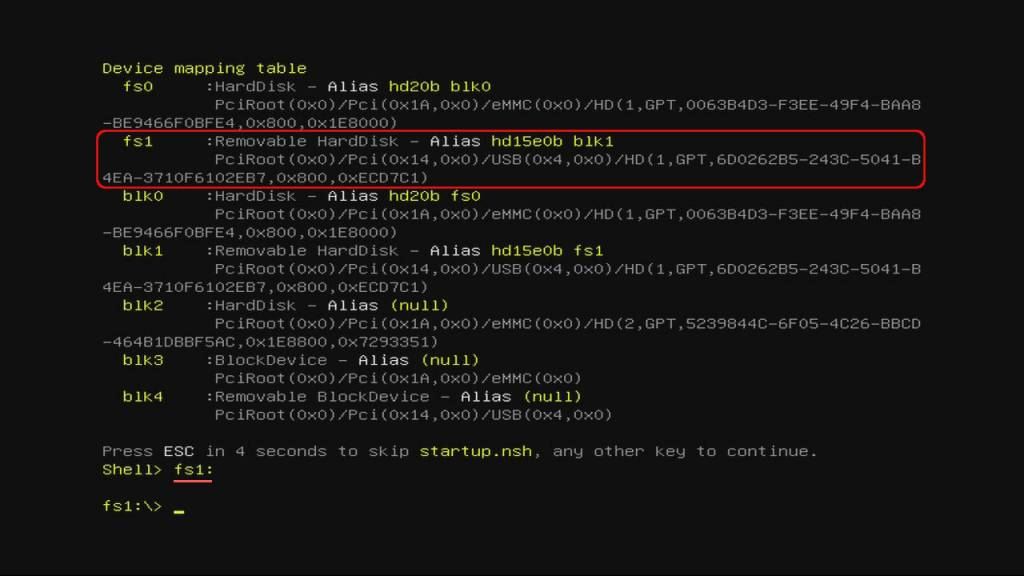
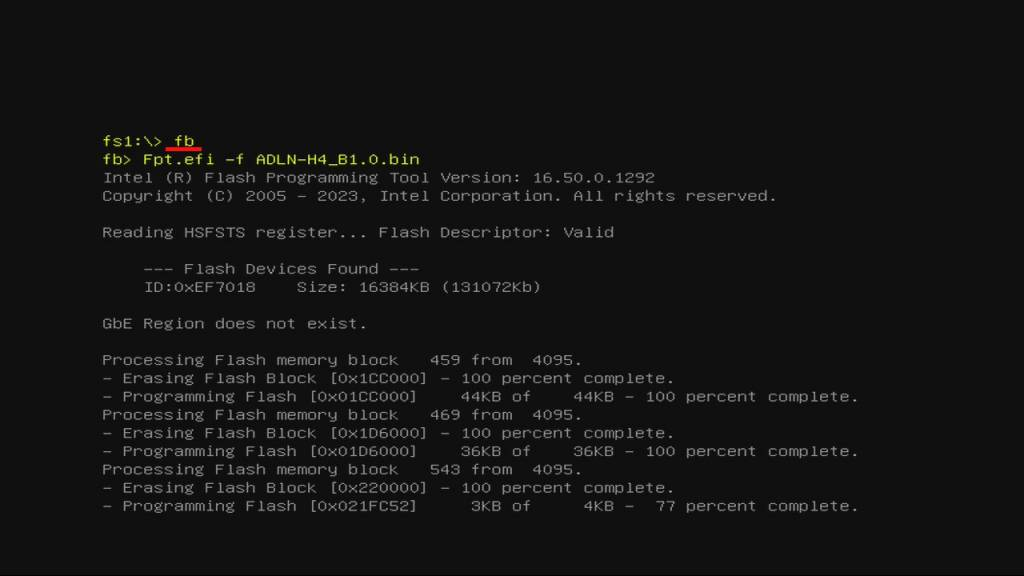
- Enter “fs1:” on your keyboard to select your USB drive.
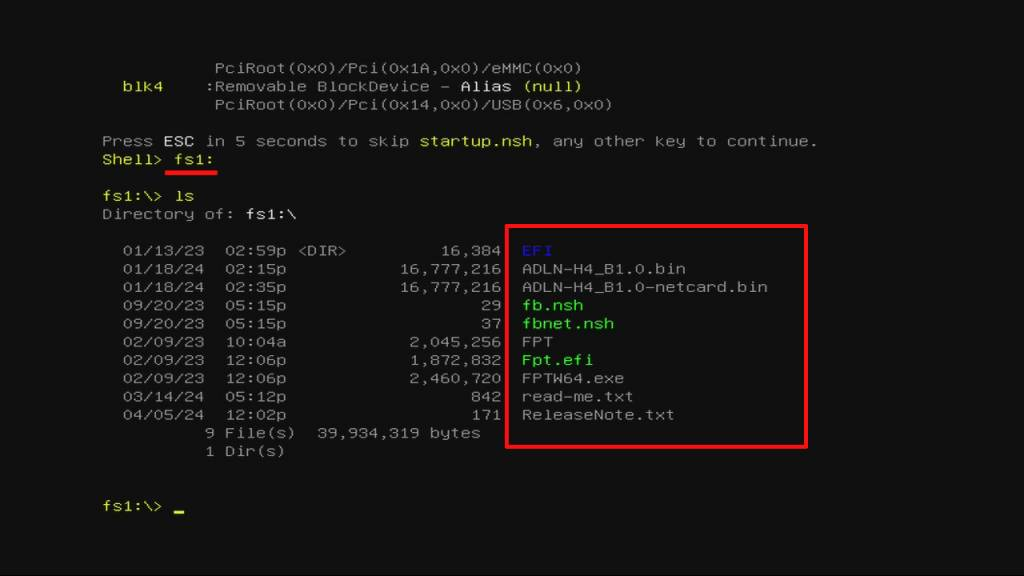
- Then type ls, and ensure you are on the right USB device, you will see the files you dragged and dropped on to the USB device.
- After that, type “fb” and your install process will begin:
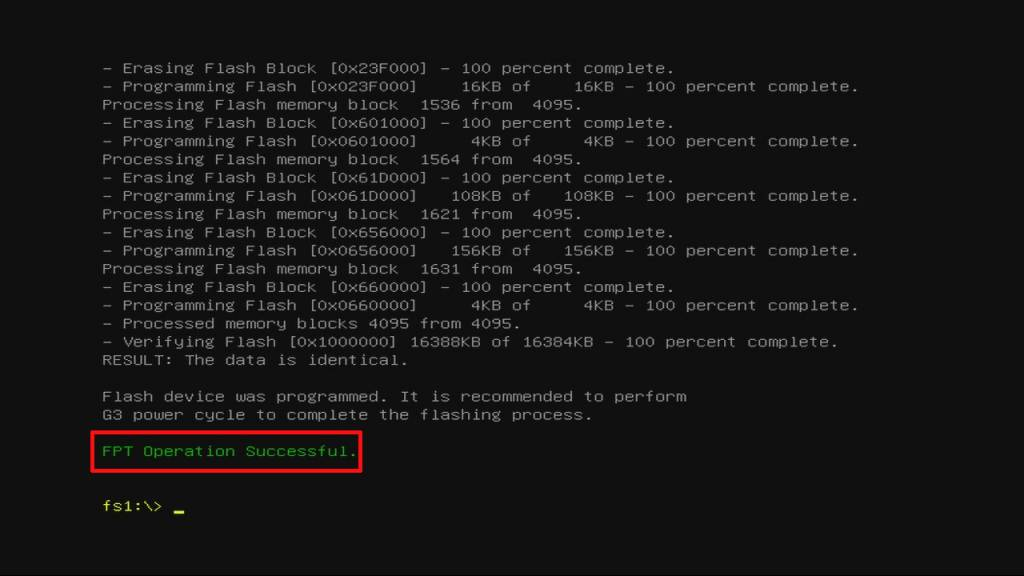
- After a clean install, you will see “FPT Operation Successful” at the end, you can remove the USB device, pull the power cord, wait a couple seconds, plug it back in, and power your device on with the power button located on the back.
You can then remove the power cord, remove the USB device, and then plug power back in. Turn the device on and spam your DEL key until the BIOS comes up, then make the following BIOS changes as shown below!
Turn off Hibernate
Advanced / ACPI Settings / ‘Enable Hibernation'‘ ensure it is set to off.
Set Power Settings
Advanced / Power & Performance / CPU - Power Management Control / ‘Boot performance mode’ ensure it is set to [Turbo Performance].
Wake on LAN
Chipset / PCH-IO Configuration / ‘State After G3’ ensure you set it to ‘S0 State’
- G3 (G3 State) means the Mechanical Off
- S0 State: System will boot directly as soon as power is applied.
- S5 State: System keeps in power-off state until the power button is pressed.