Homarr Upgrade to 1.0
This episode updates episodes 13 & 14 due to Homarr's source code rewrite.
What we will cover
Important
This episode is good for FRESH INSTALLS AND those UPGRADING from the old Homarr Dashboard
- Creating a new VM for the new Homarr Dashboard
- How to create an API key for Proxmox usage stats
- How to install the new 1.0 Homarr dashboard
- How to upgrade from the old dashboard to the new dashboard
- How to add trusted certificates to your dashboard
- How to edit old Proxmox integrations
- How to create new Proxmox integrations in the Homarr Dashboard
Getting started
Fresh Install Users
Create a new Ubuntu Server VM in Proxmox with:
- OS: Ubuntu Server
- 2GB RAM
- 2 vcores
- 32GB storage

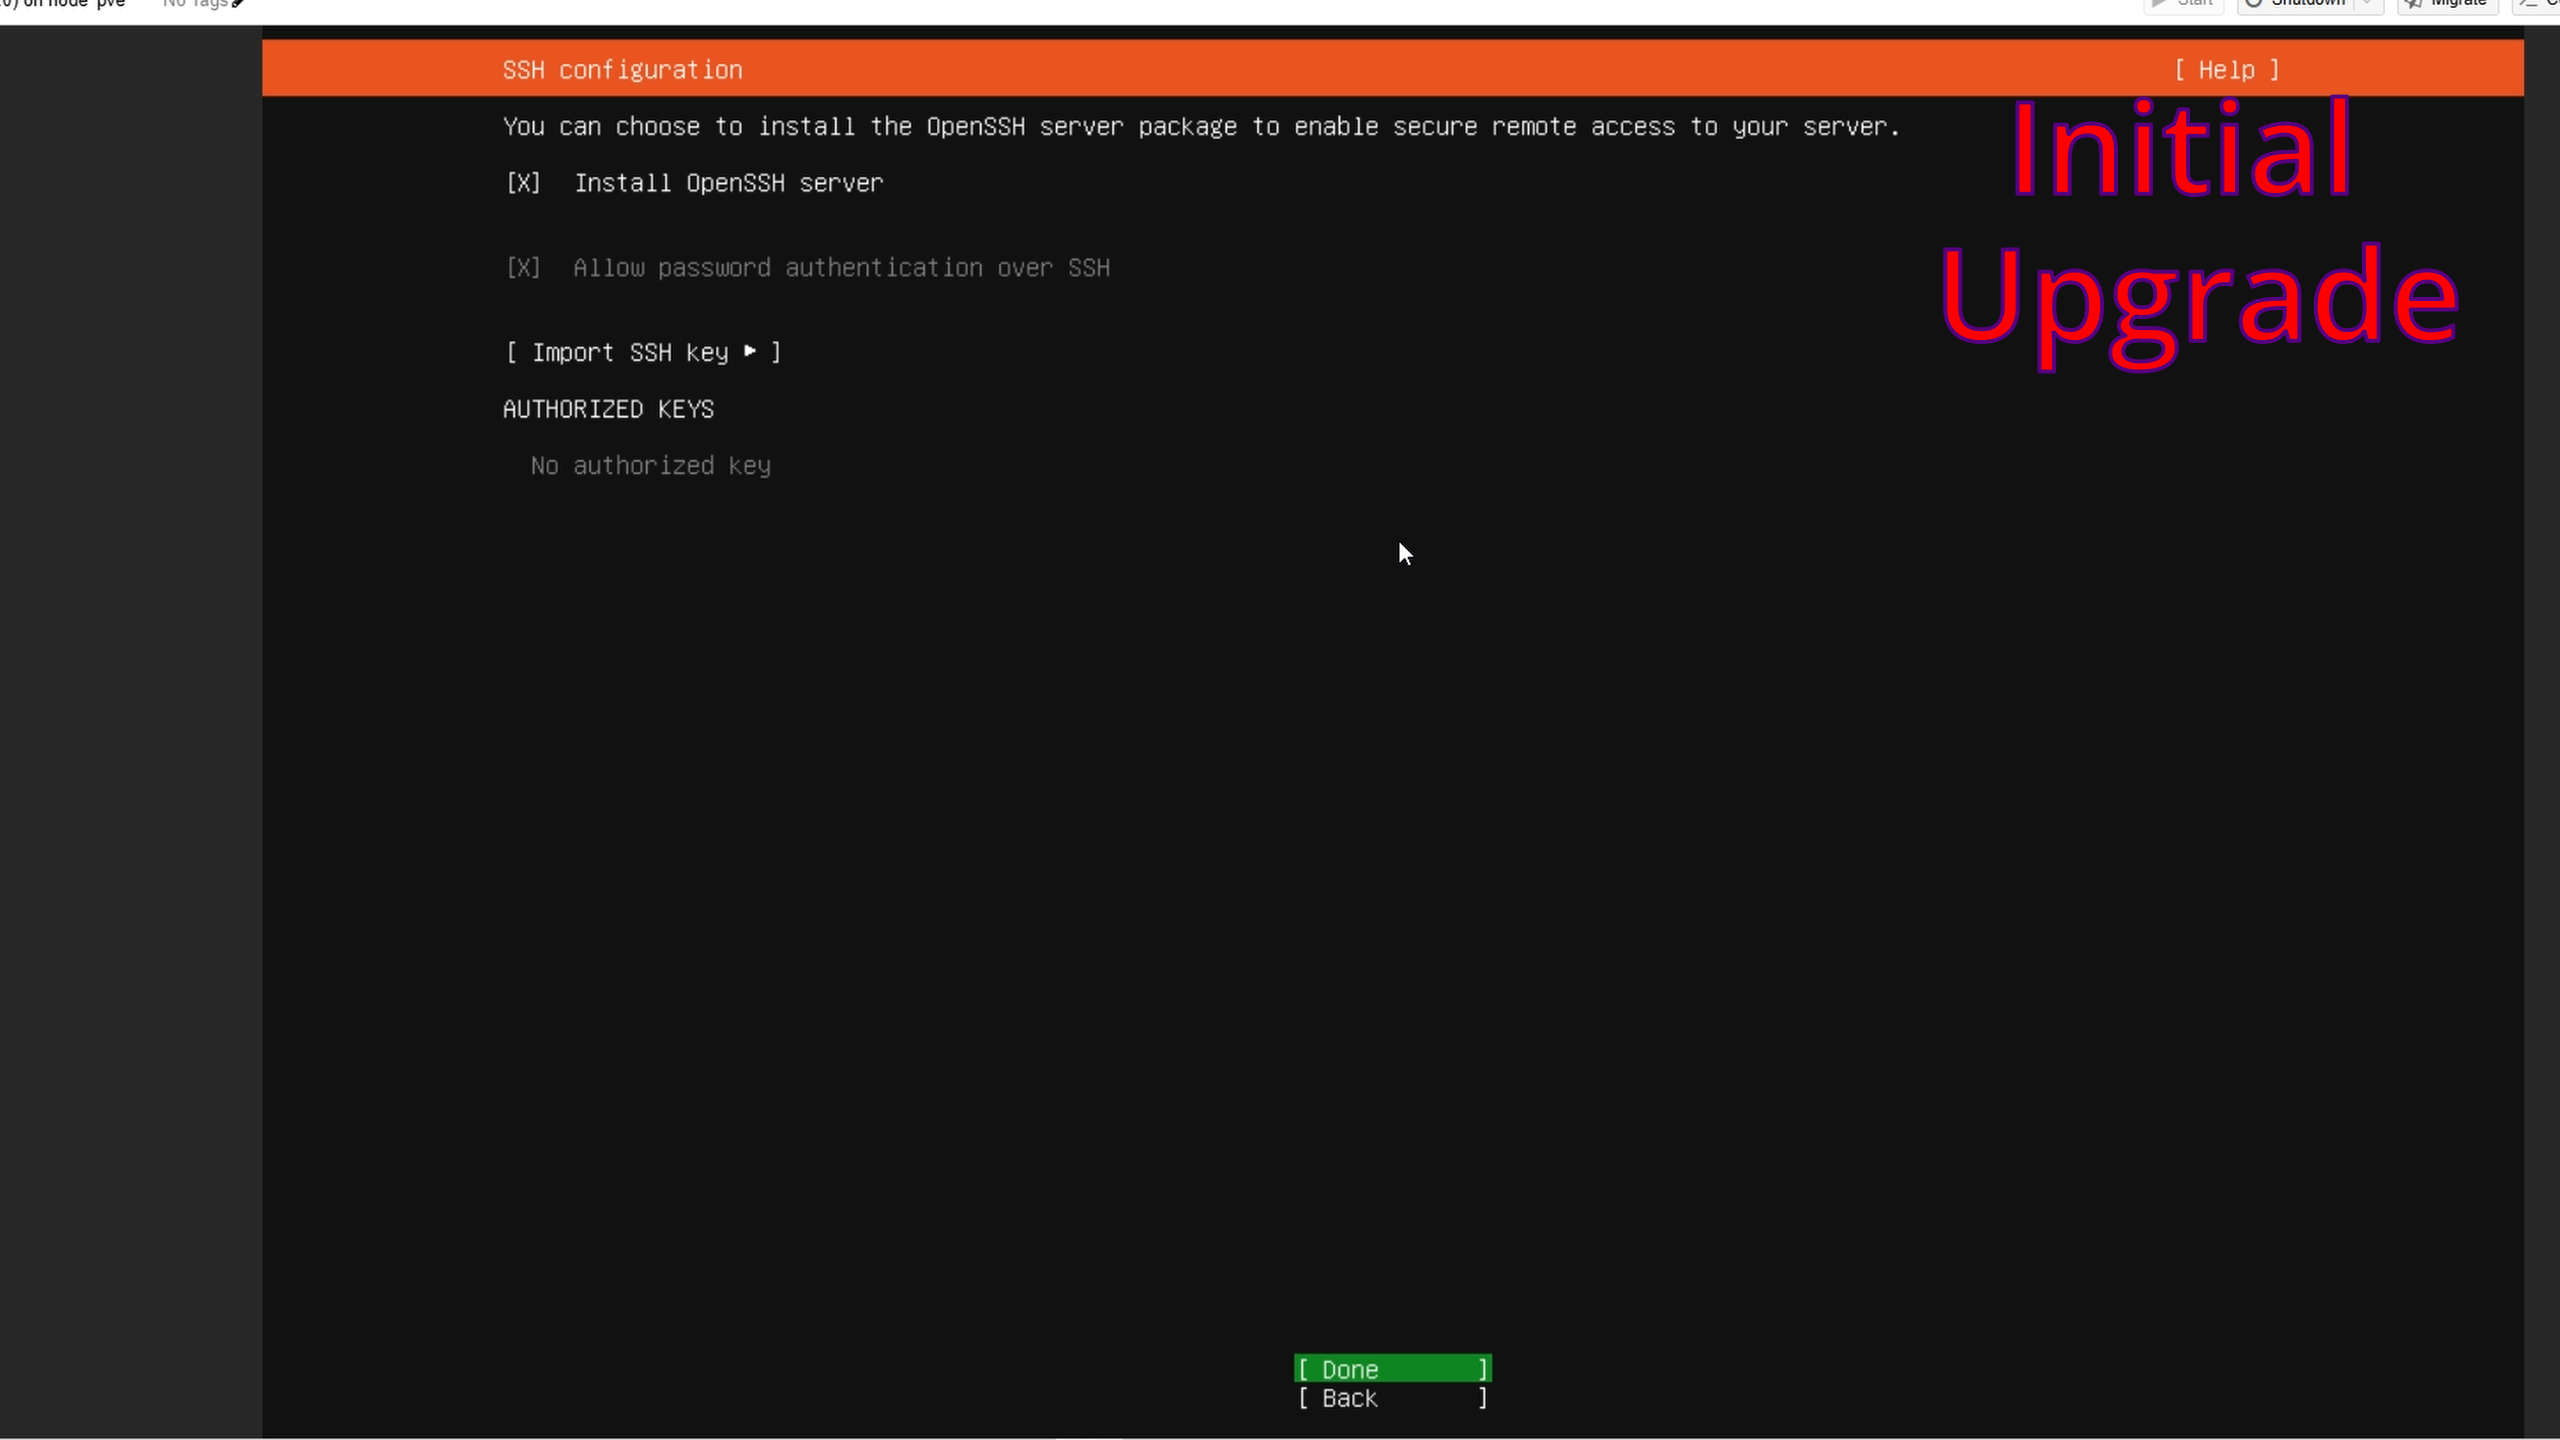
During install, ensure SSH is enabled!
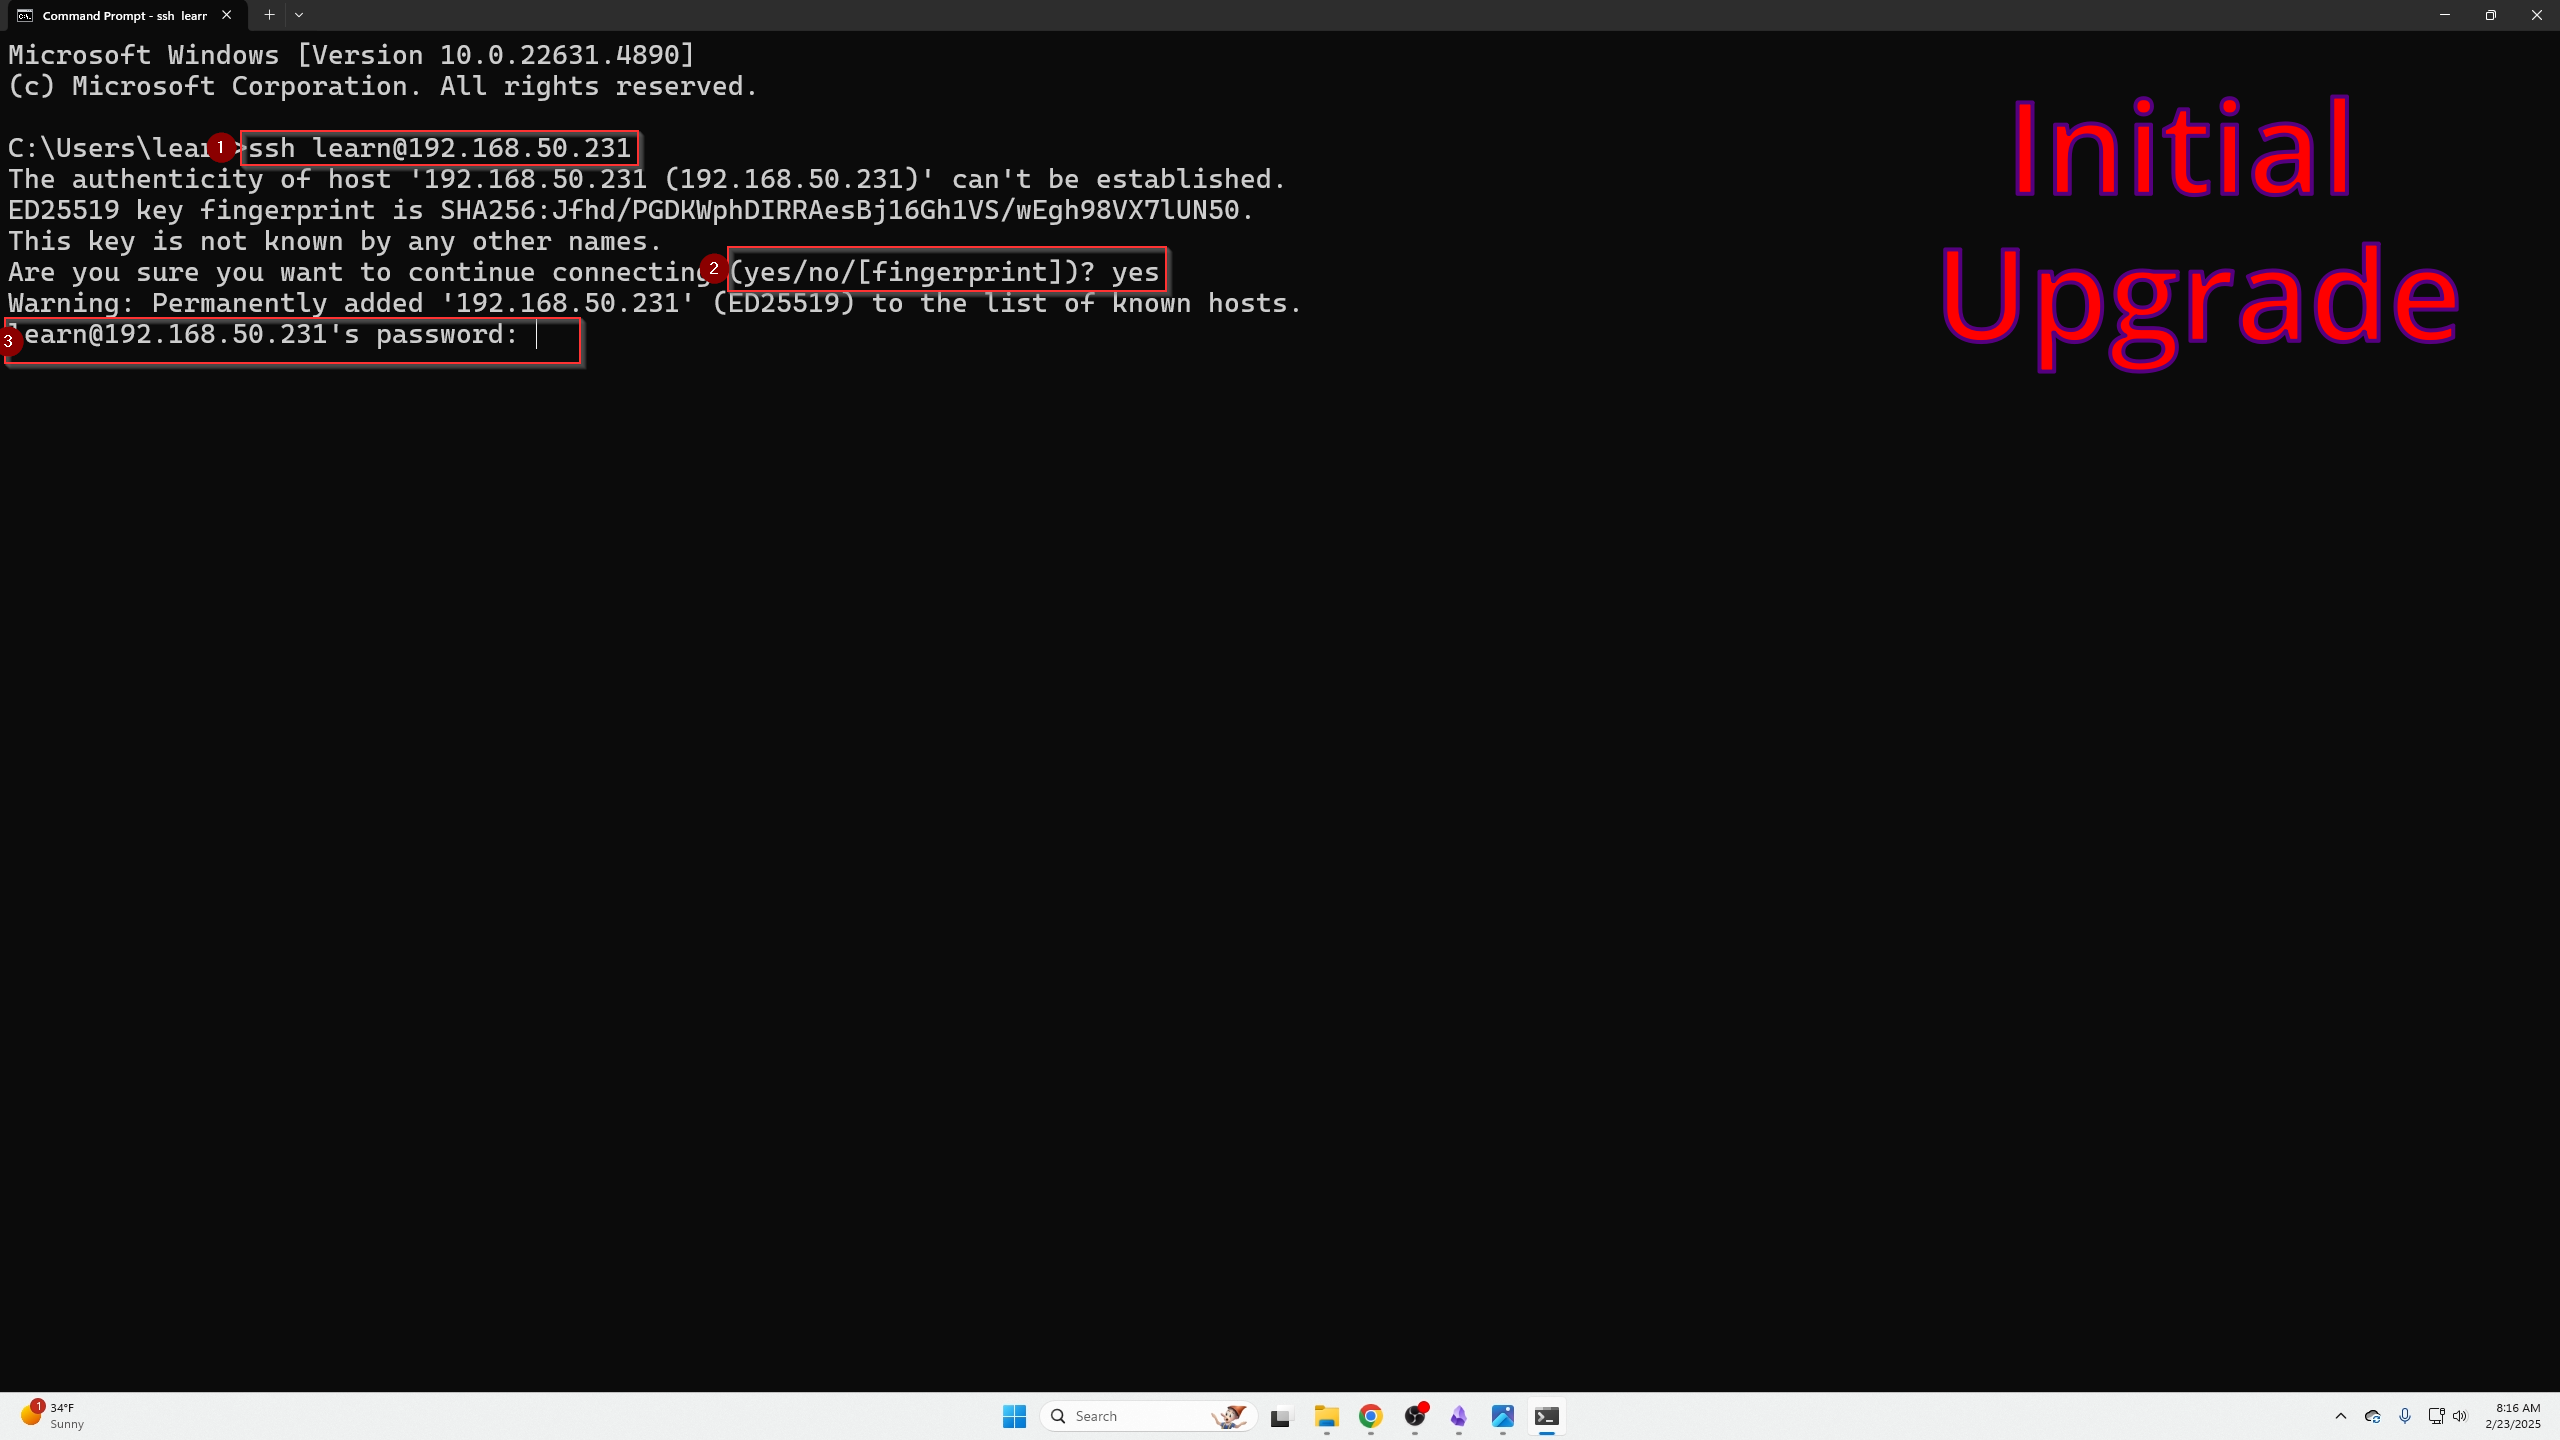
SSH into your new Homarr VM:
ssh <username>@<VM_ipaddress>
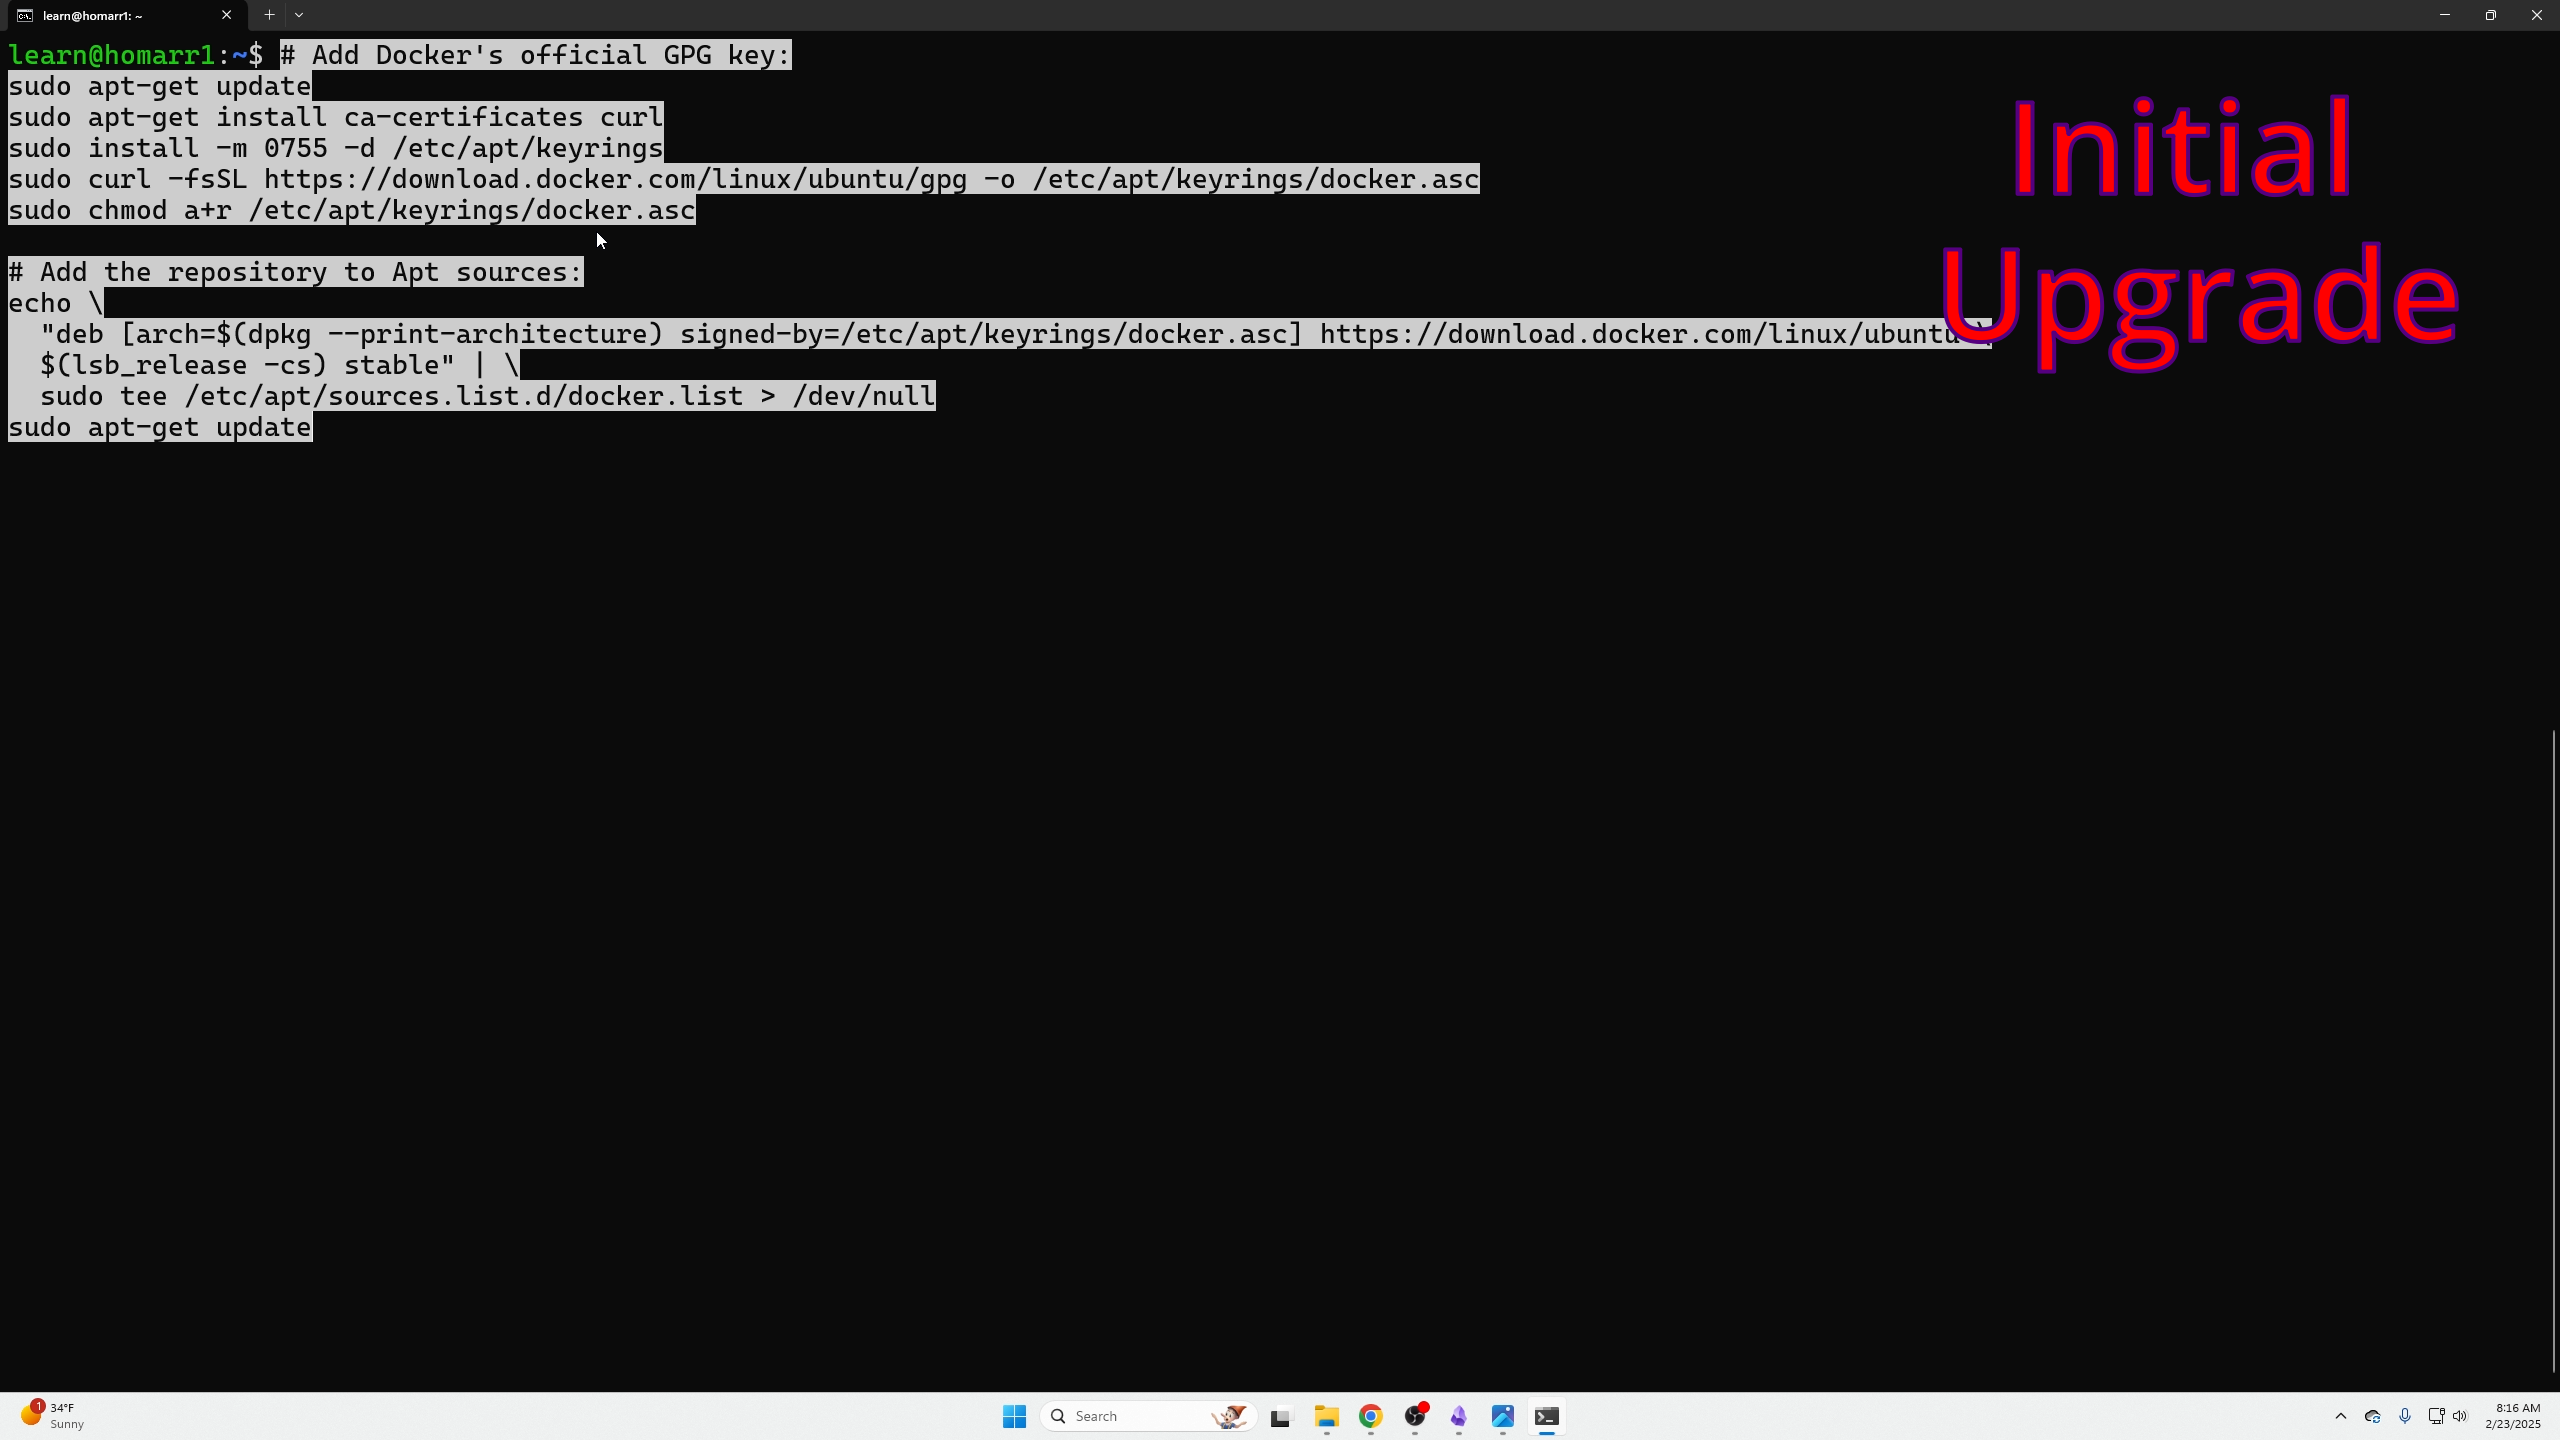
Add Docker's GPG keys and repo:
# Add Docker's official GPG key:
sudo apt-get update
sudo apt-get install ca-certificates curl
sudo install -m 0755 -d /etc/apt/keyrings
sudo curl -fsSL https://download.docker.com/linux/ubuntu/gpg -o /etc/apt/keyrings/docker.asc
sudo chmod a+r /etc/apt/keyrings/docker.asc

# Add the repository to Apt sources:
echo \
  "deb [arch=$(dpkg --print-architecture) signed-by=/etc/apt/keyrings/docker.asc] https://download.docker.com/linux/ubuntu \
  $(lsb_release -cs) stable" | \
  sudo tee /etc/apt/sources.list.d/docker.list > /dev/null
sudo apt-get update
Install Docker:
sudo apt-get install docker-ce docker-ce-cli containerd.io docker-buildx-plugin docker-compose-plugin

Verify Docker is running:
sudo docker run hello-world
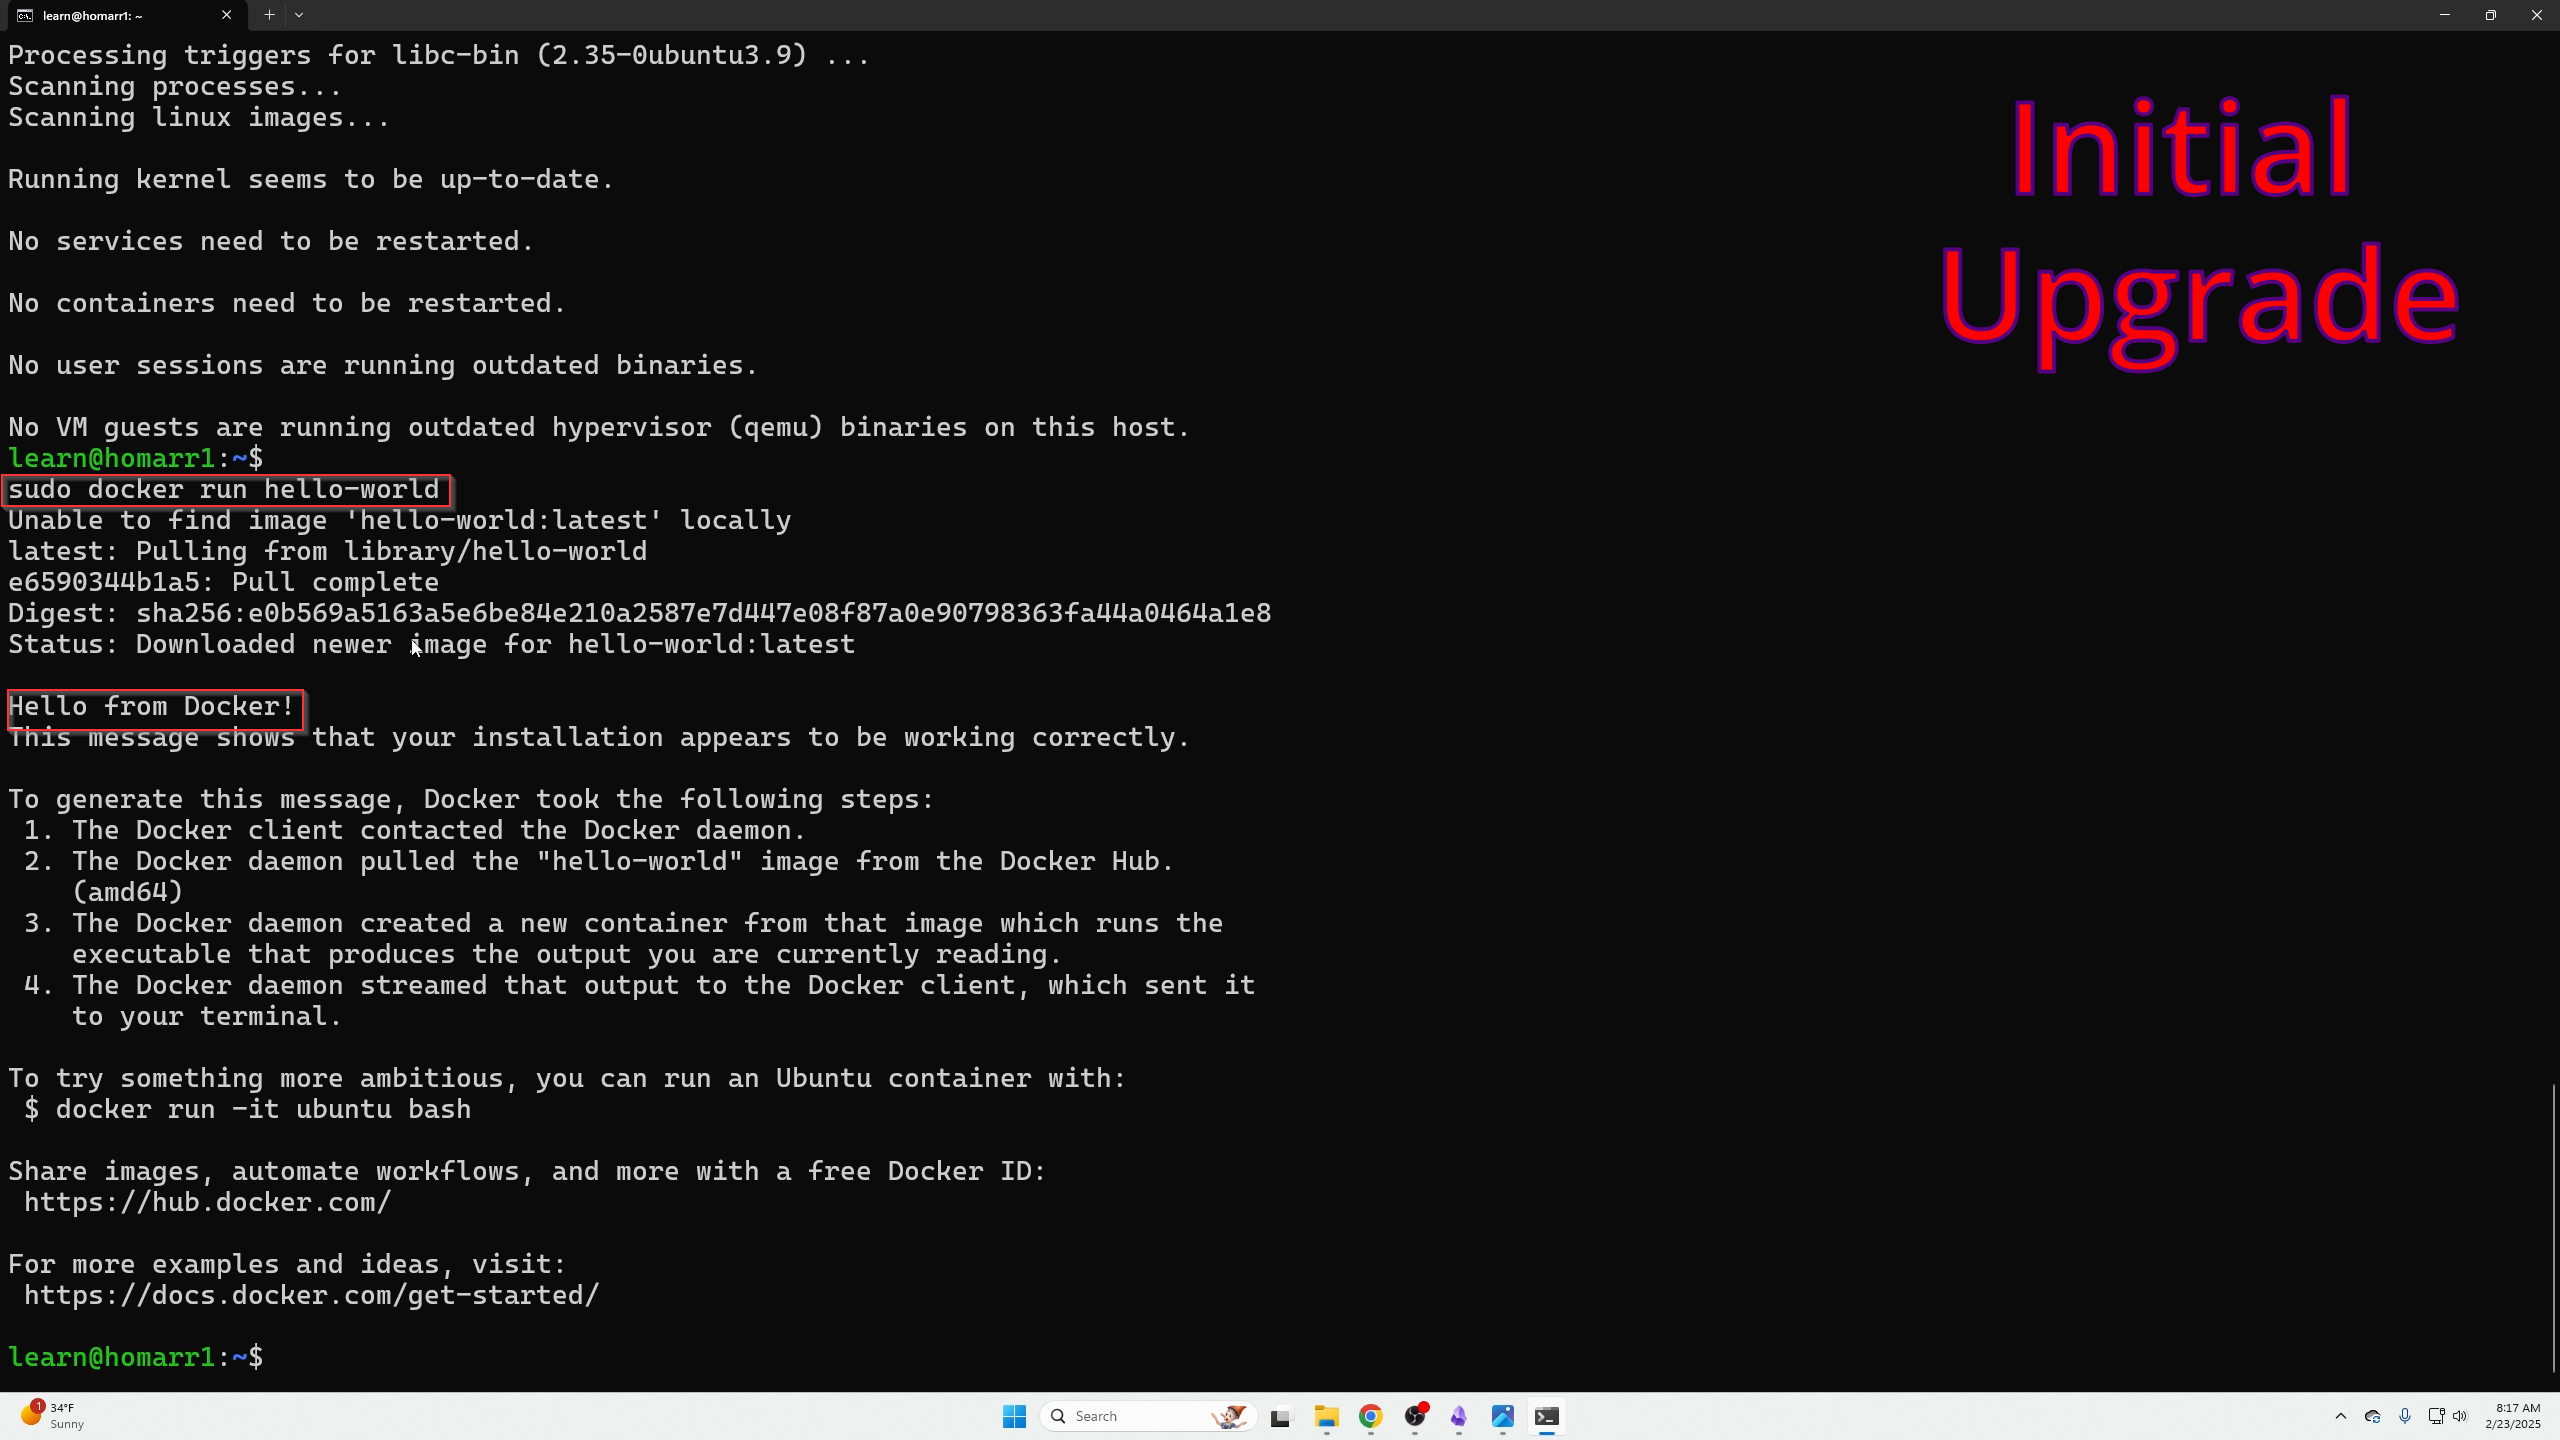
If Docker hello-world fails, try this
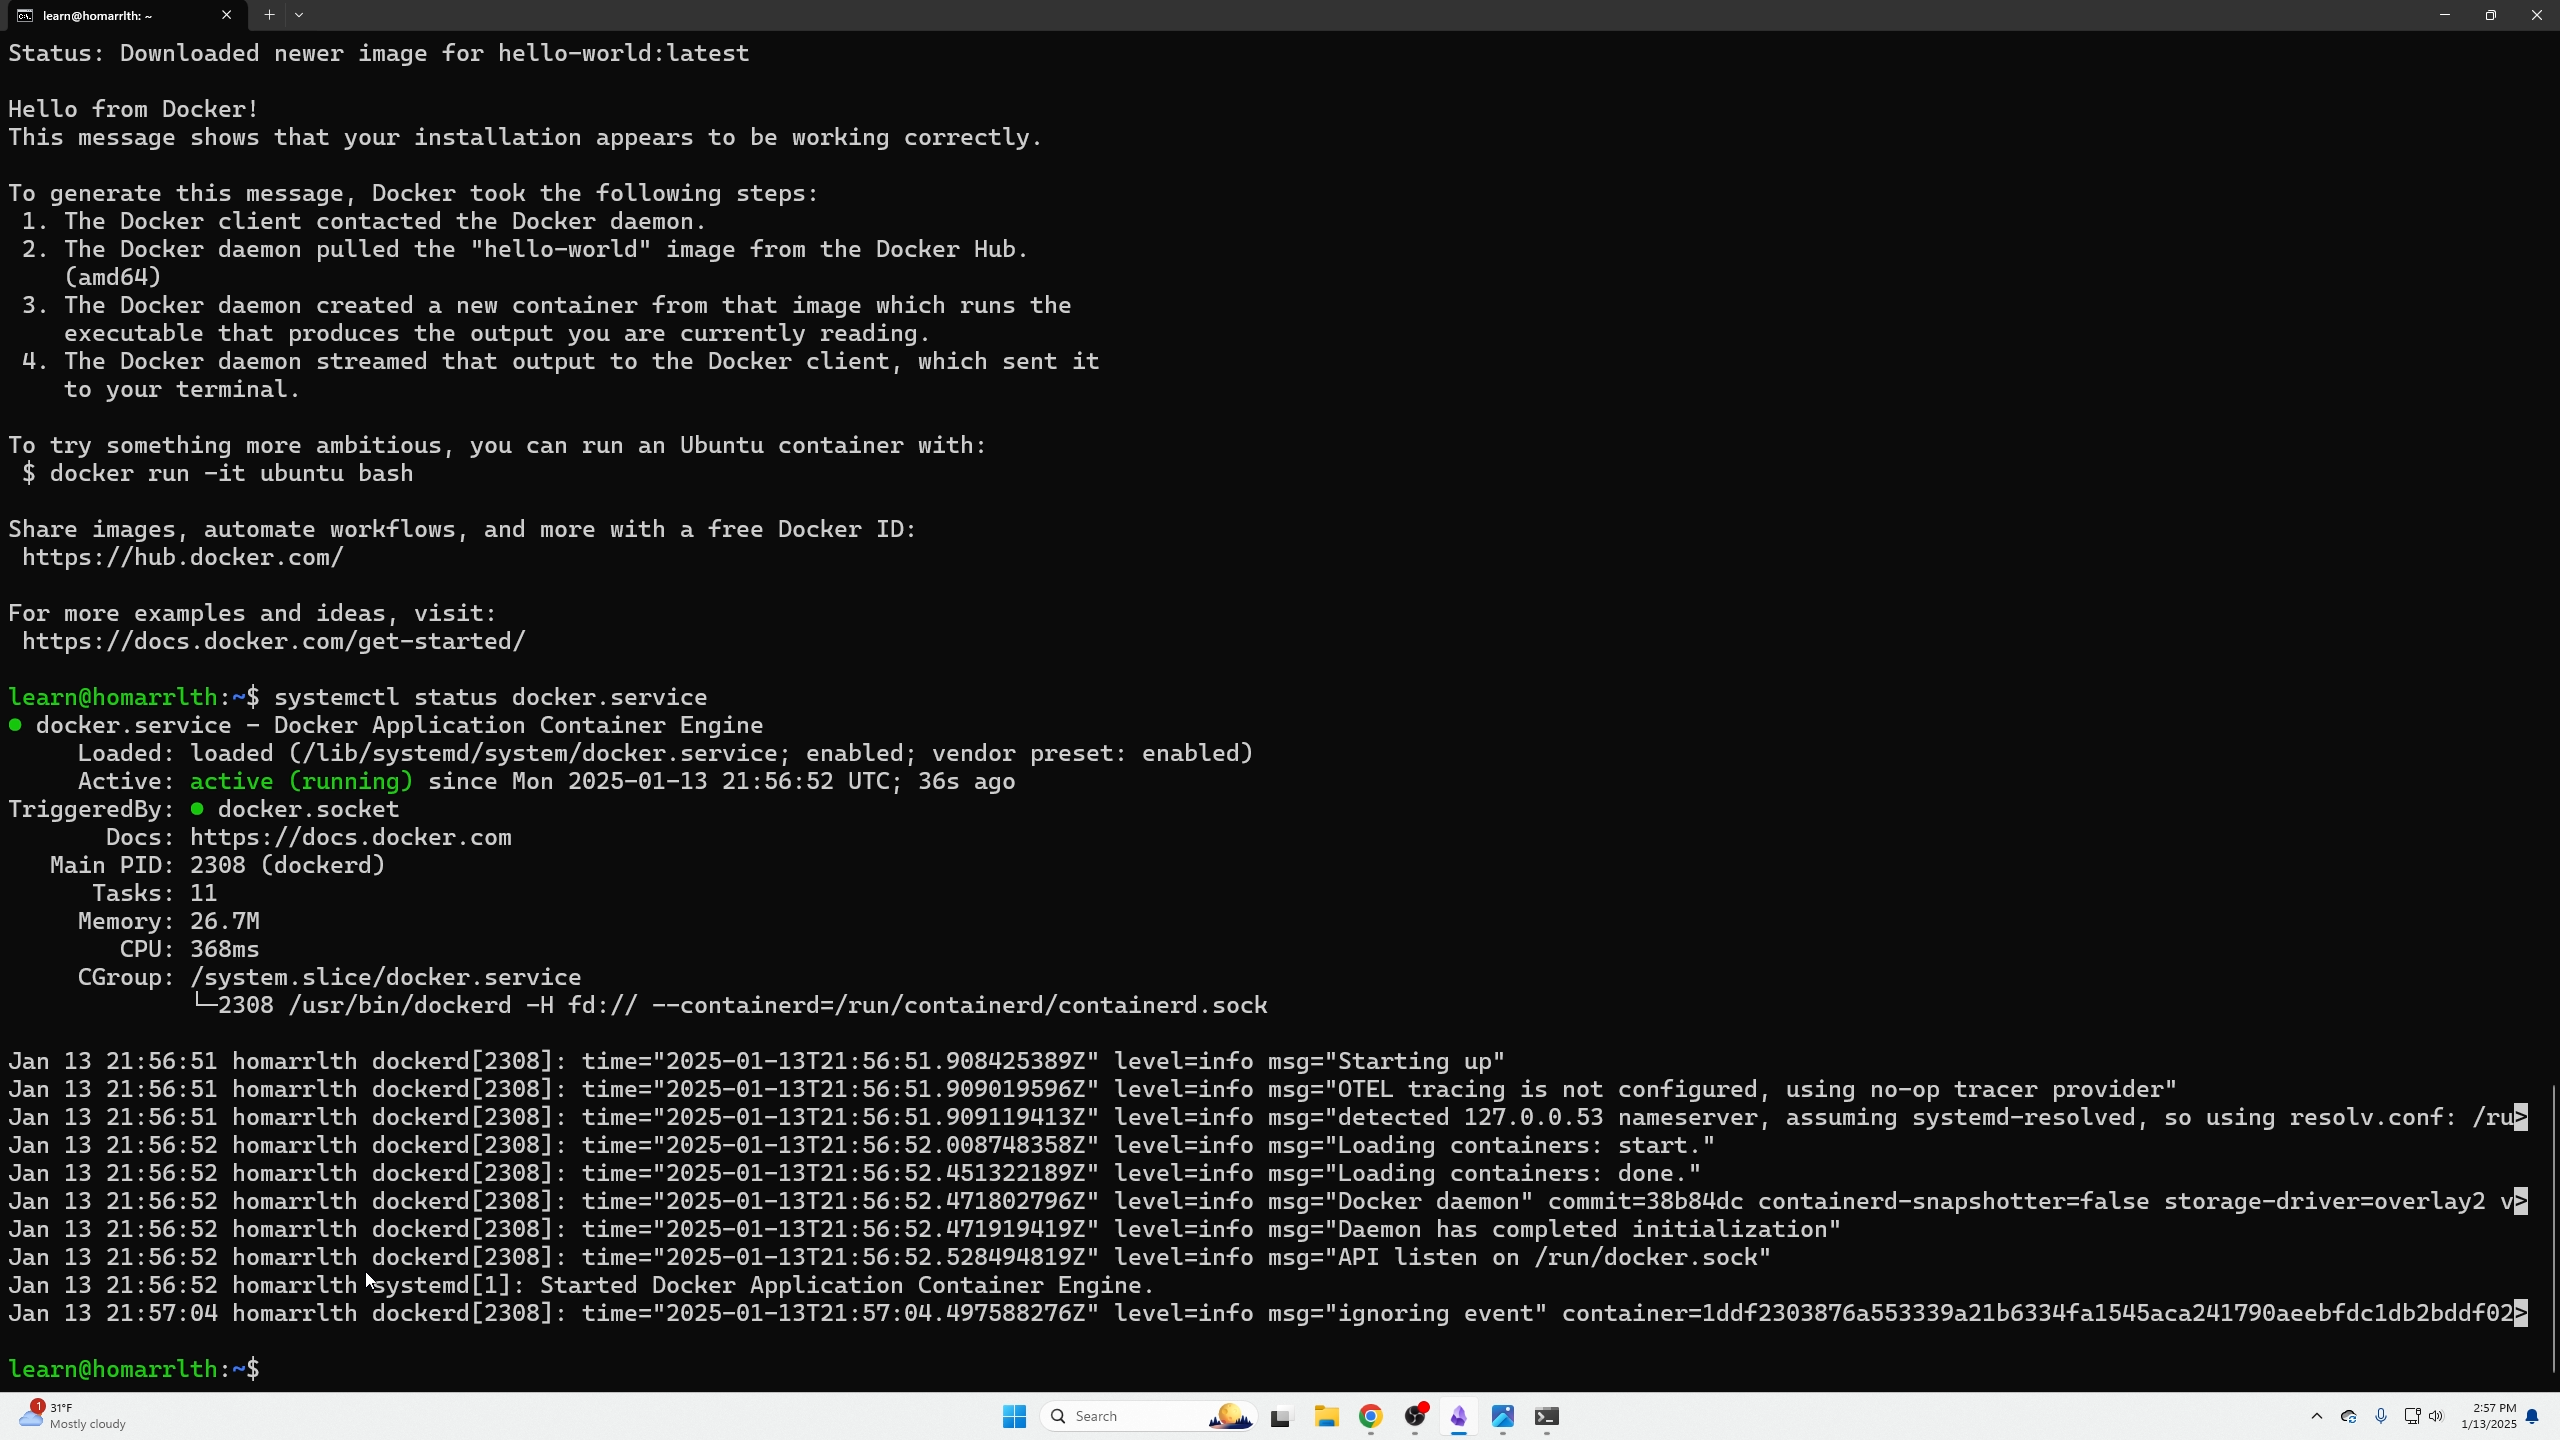
Check Docker service:
systemctl status docker.service
If failed, reload and restart:
sudo systemctl daemon-reload
sudo systemctl restart docker
Recheck status:
systemctl status docker.service
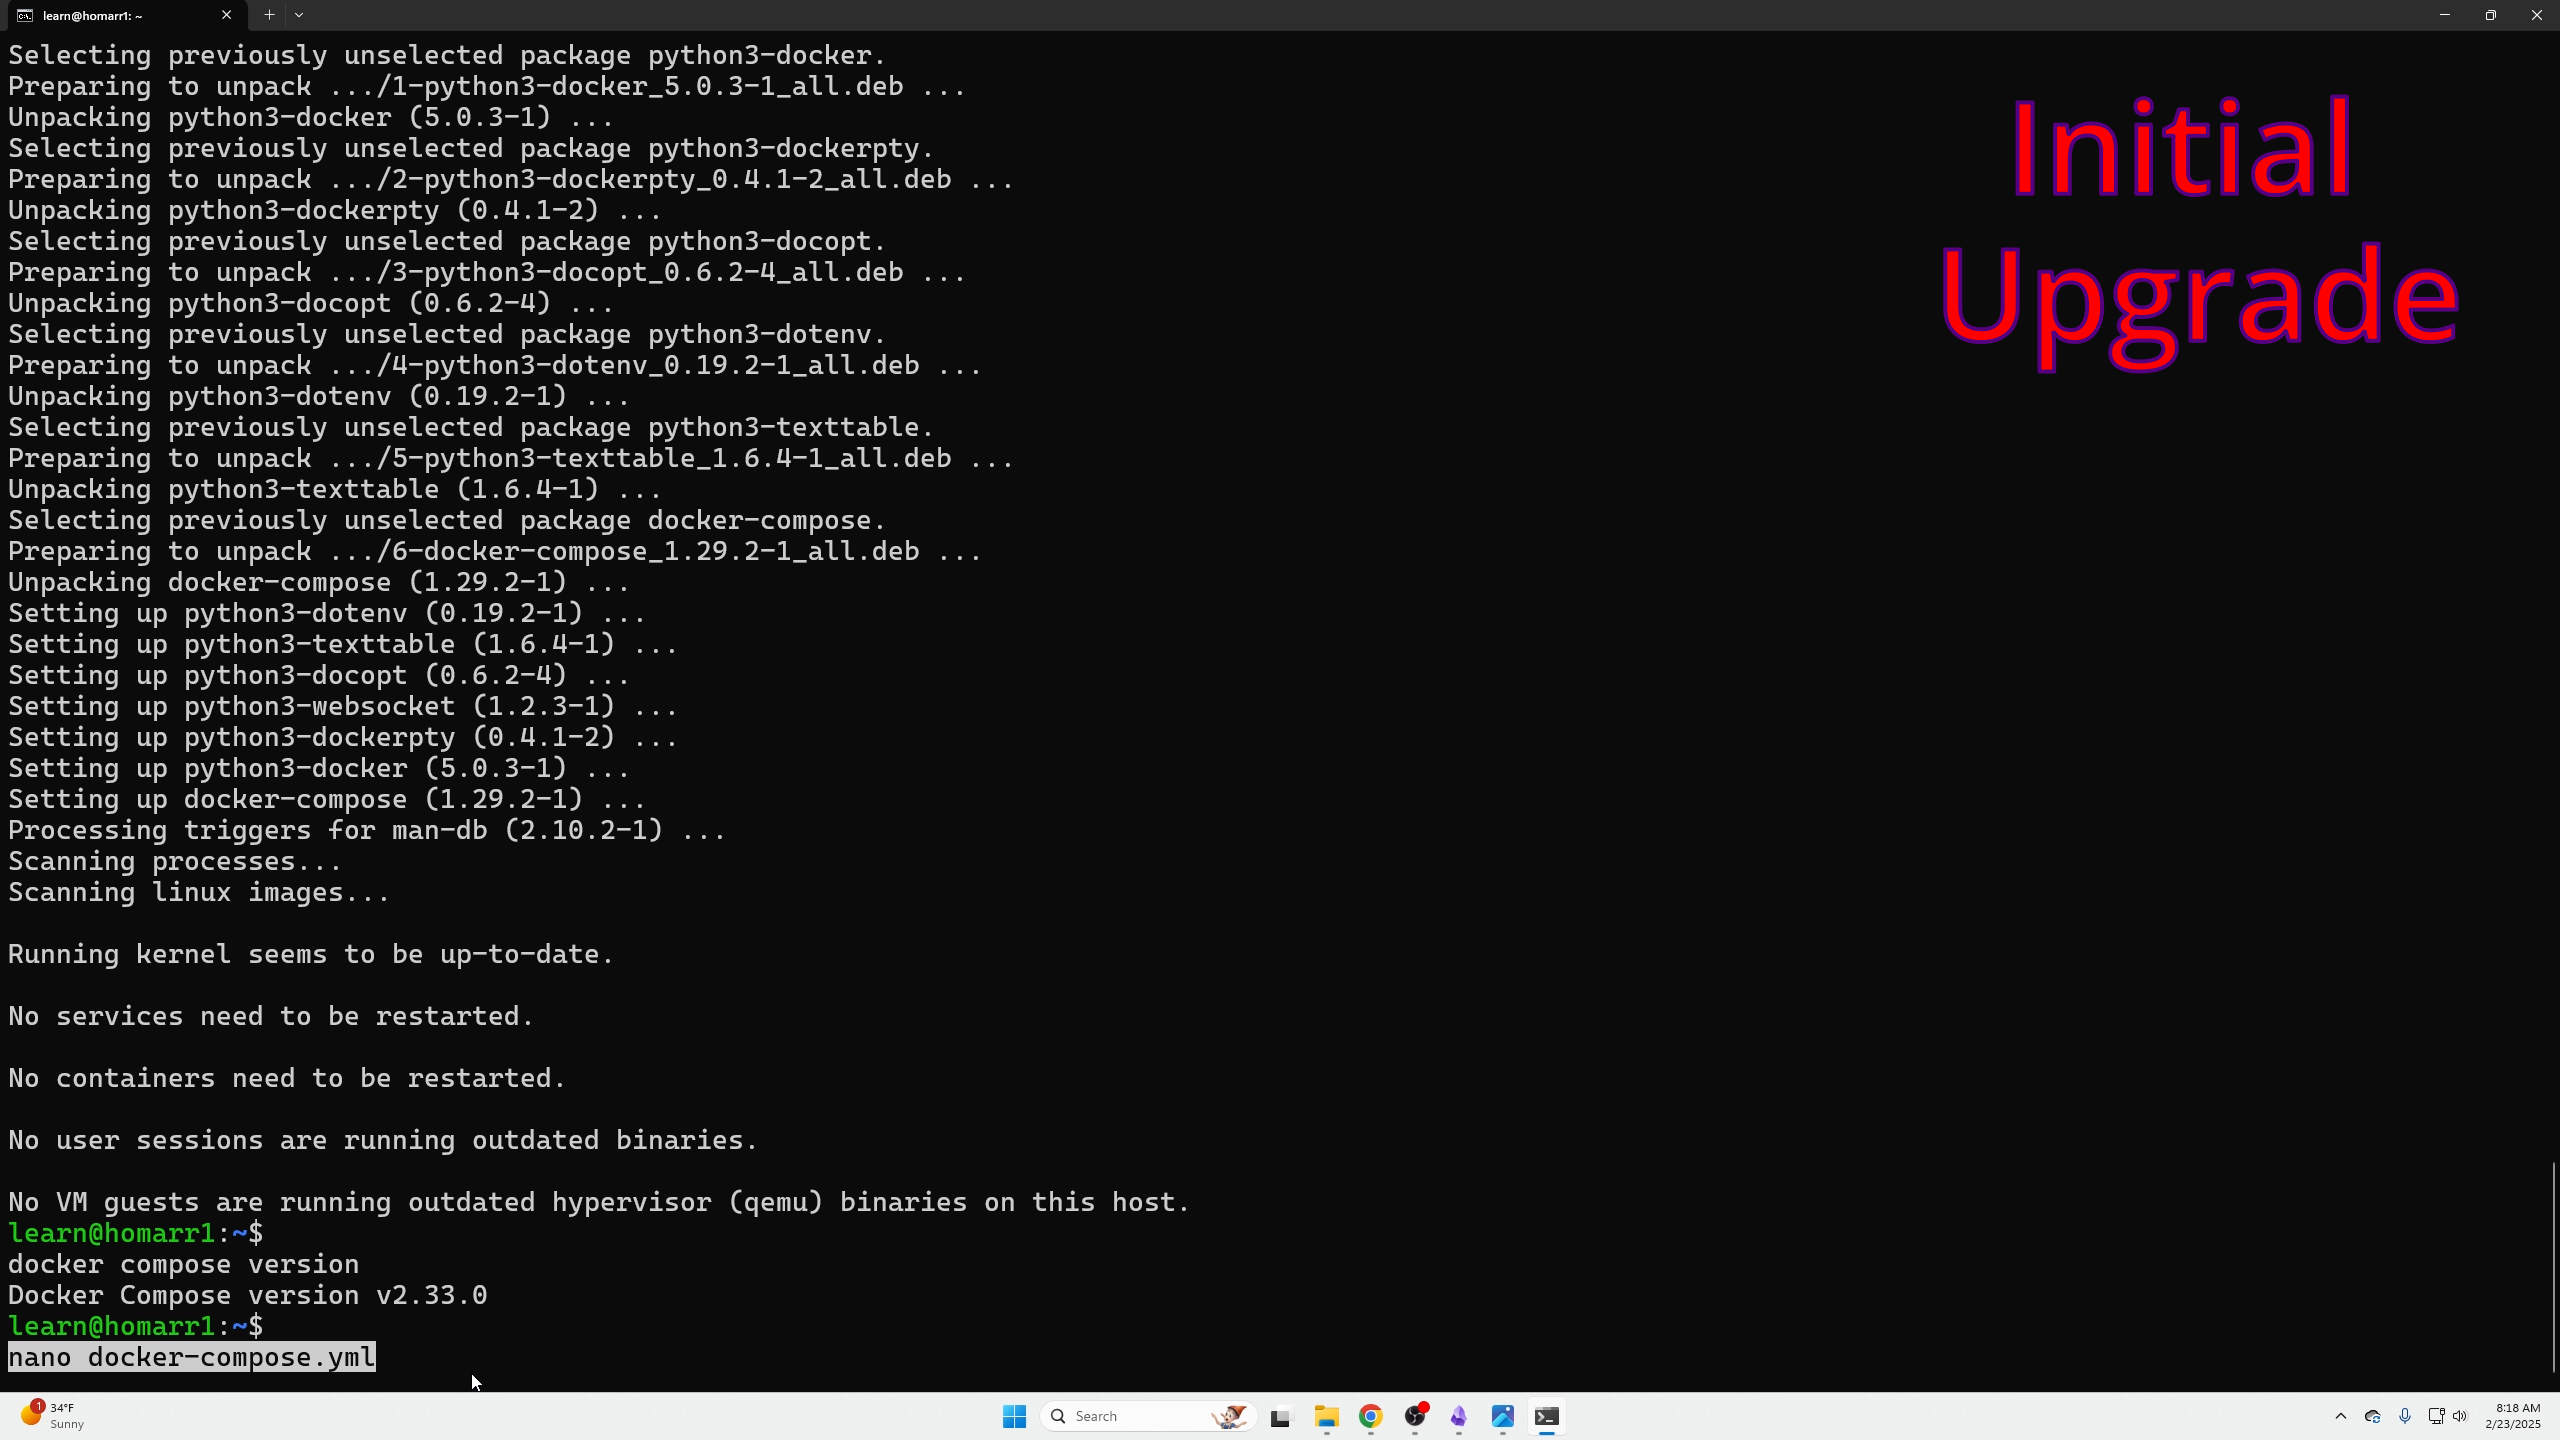
Install Docker Compose
sudo apt install docker-compose
Verify:
docker compose version
Install Homarr
Create docker-compose.yml:
nano docker-compose.yml
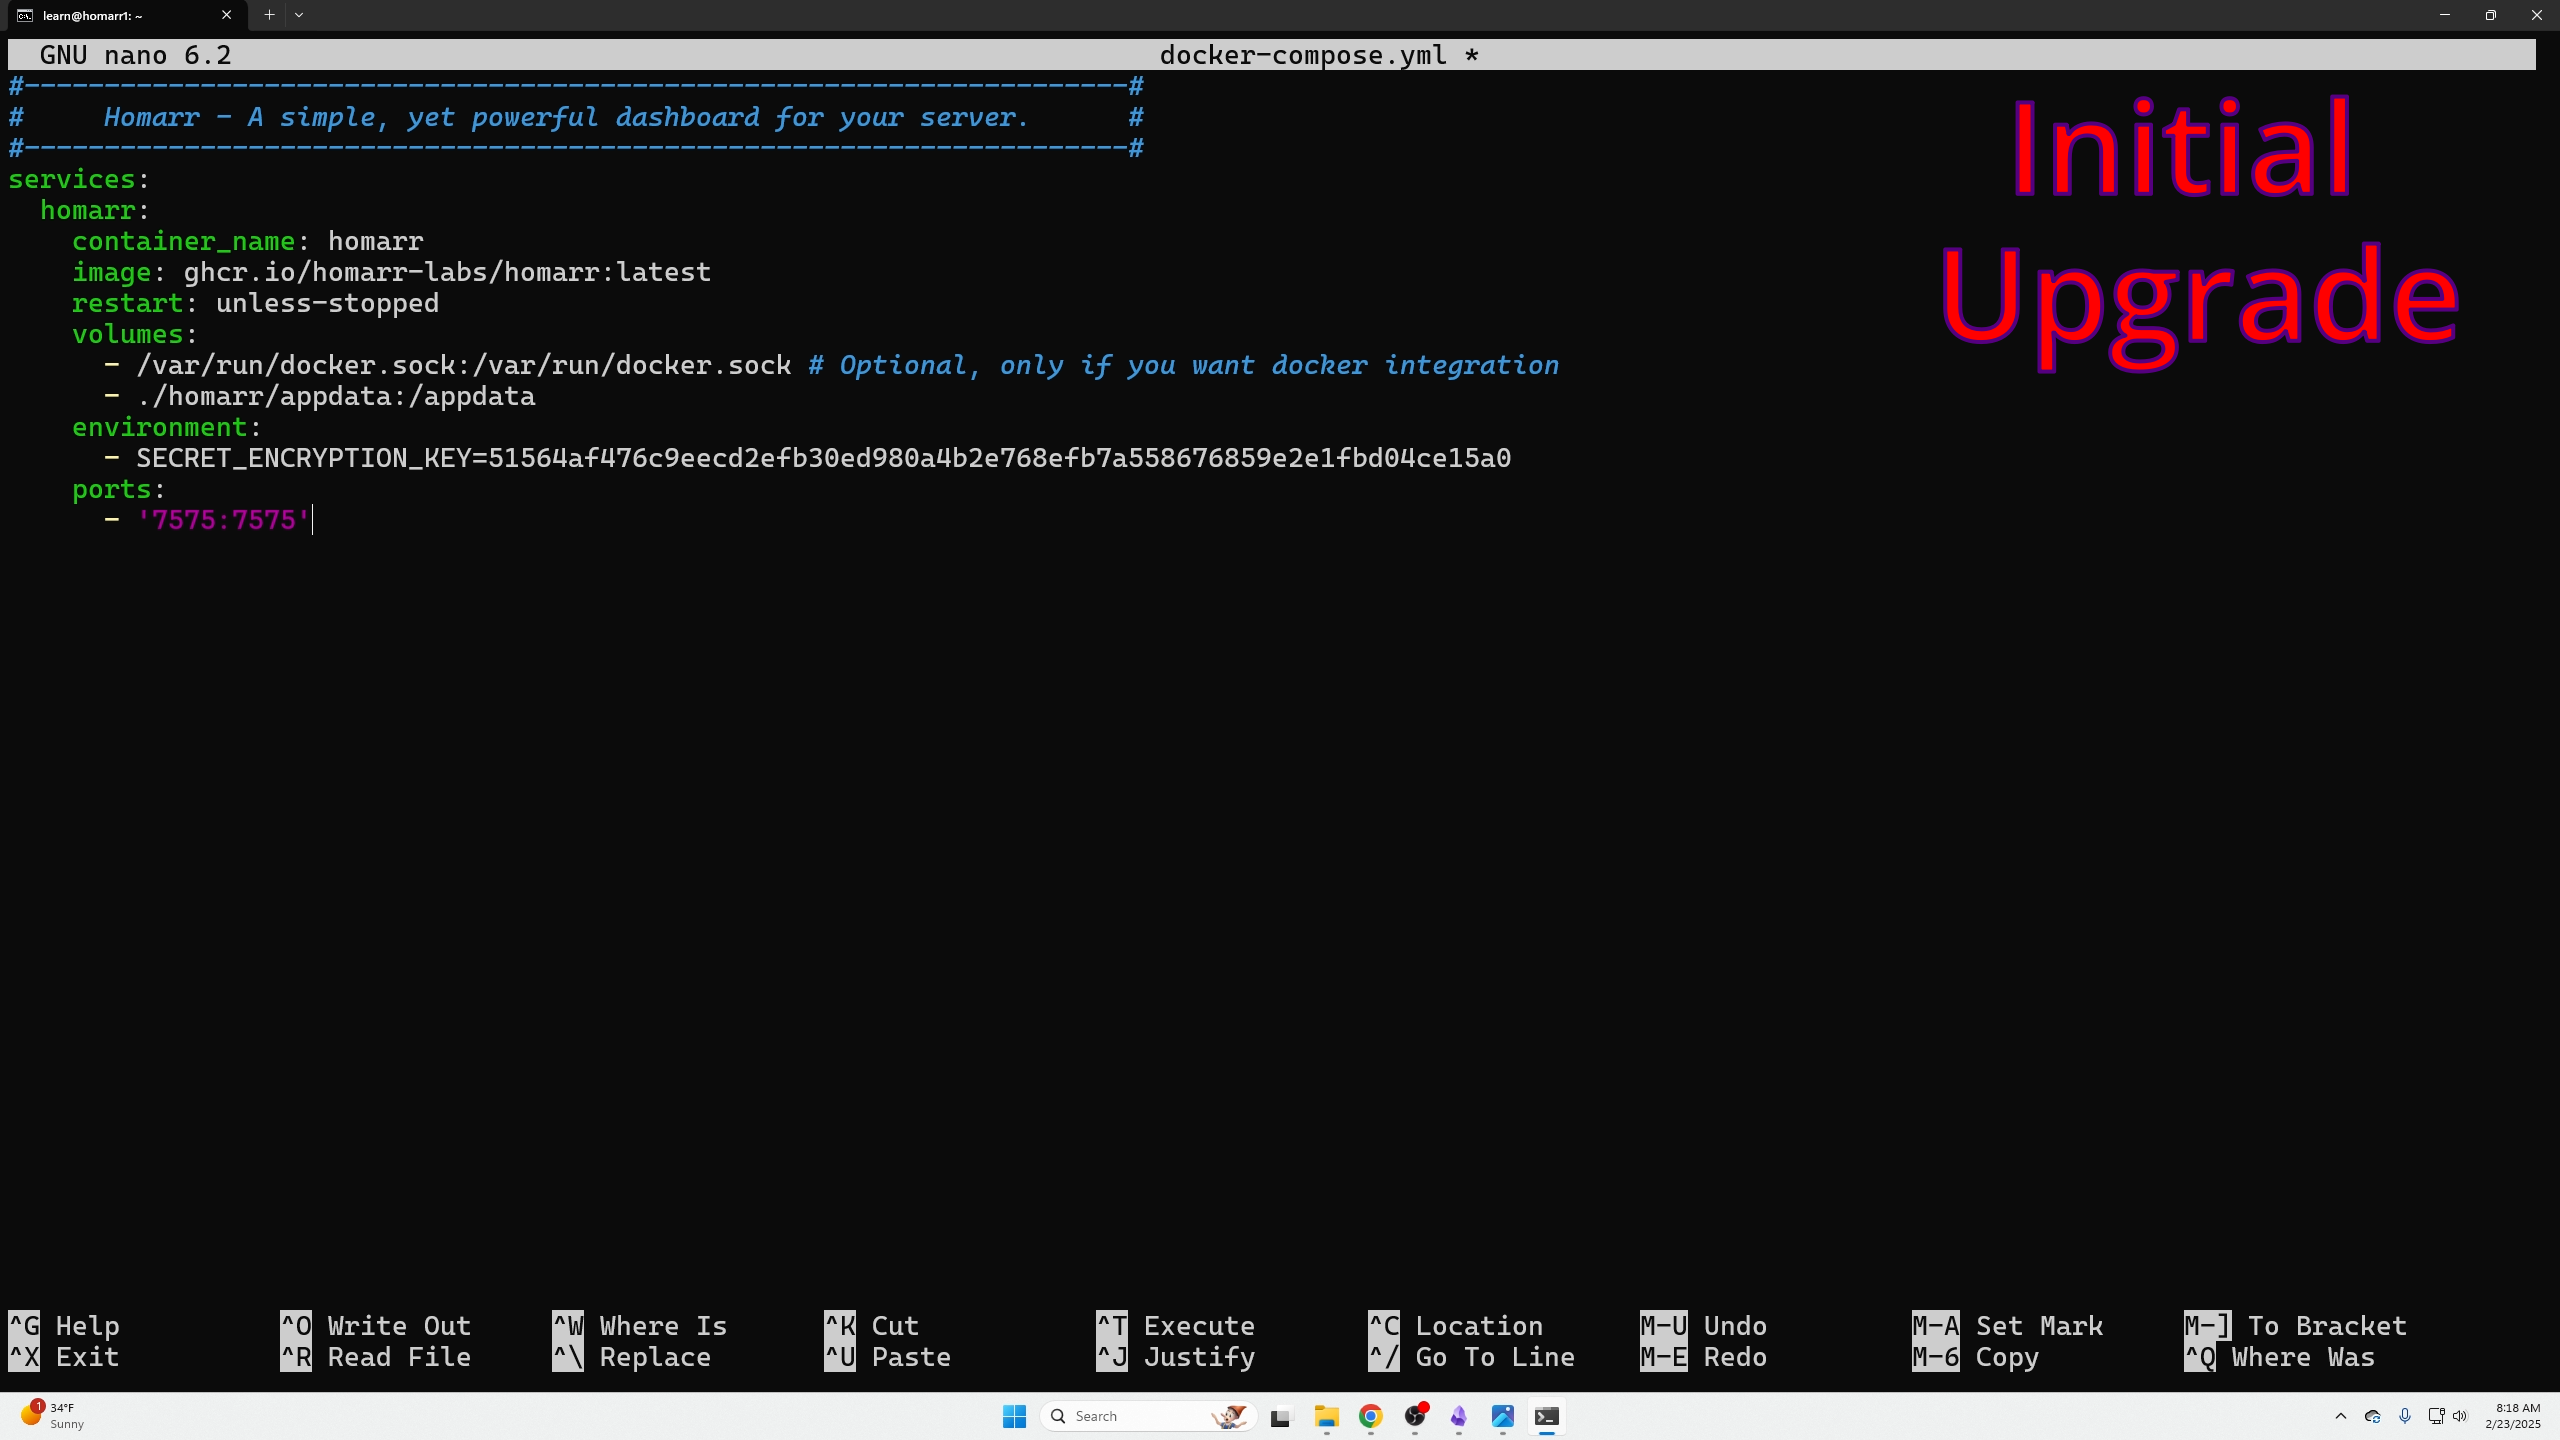
Paste this config:
#---------------------------------------------------------------------#
#     Homarr - A simple, yet powerful dashboard for your server.      #
#---------------------------------------------------------------------#
services:
  homarr:
    container_name: homarr
    image: ghcr.io/homarr-labs/homarr:latest
    restart: unless-stopped
    volumes:
      - /var/run/docker.sock:/var/run/docker.sock # Optional, only if you want docker integration
      - ./homarr/appdata:/appdata
    environment:
      - SECRET_ENCRYPTION_KEY=51564af476c9eecd2efb30ed980a4b2e768efb7a558676859e2e1fbd04ce15a0
    ports:
      - '7575:7575'
Exit nano with Ctrl+X, confirm save with Y, press Enter to confirm filename.
Start Homarr:
sudo docker compose up -d

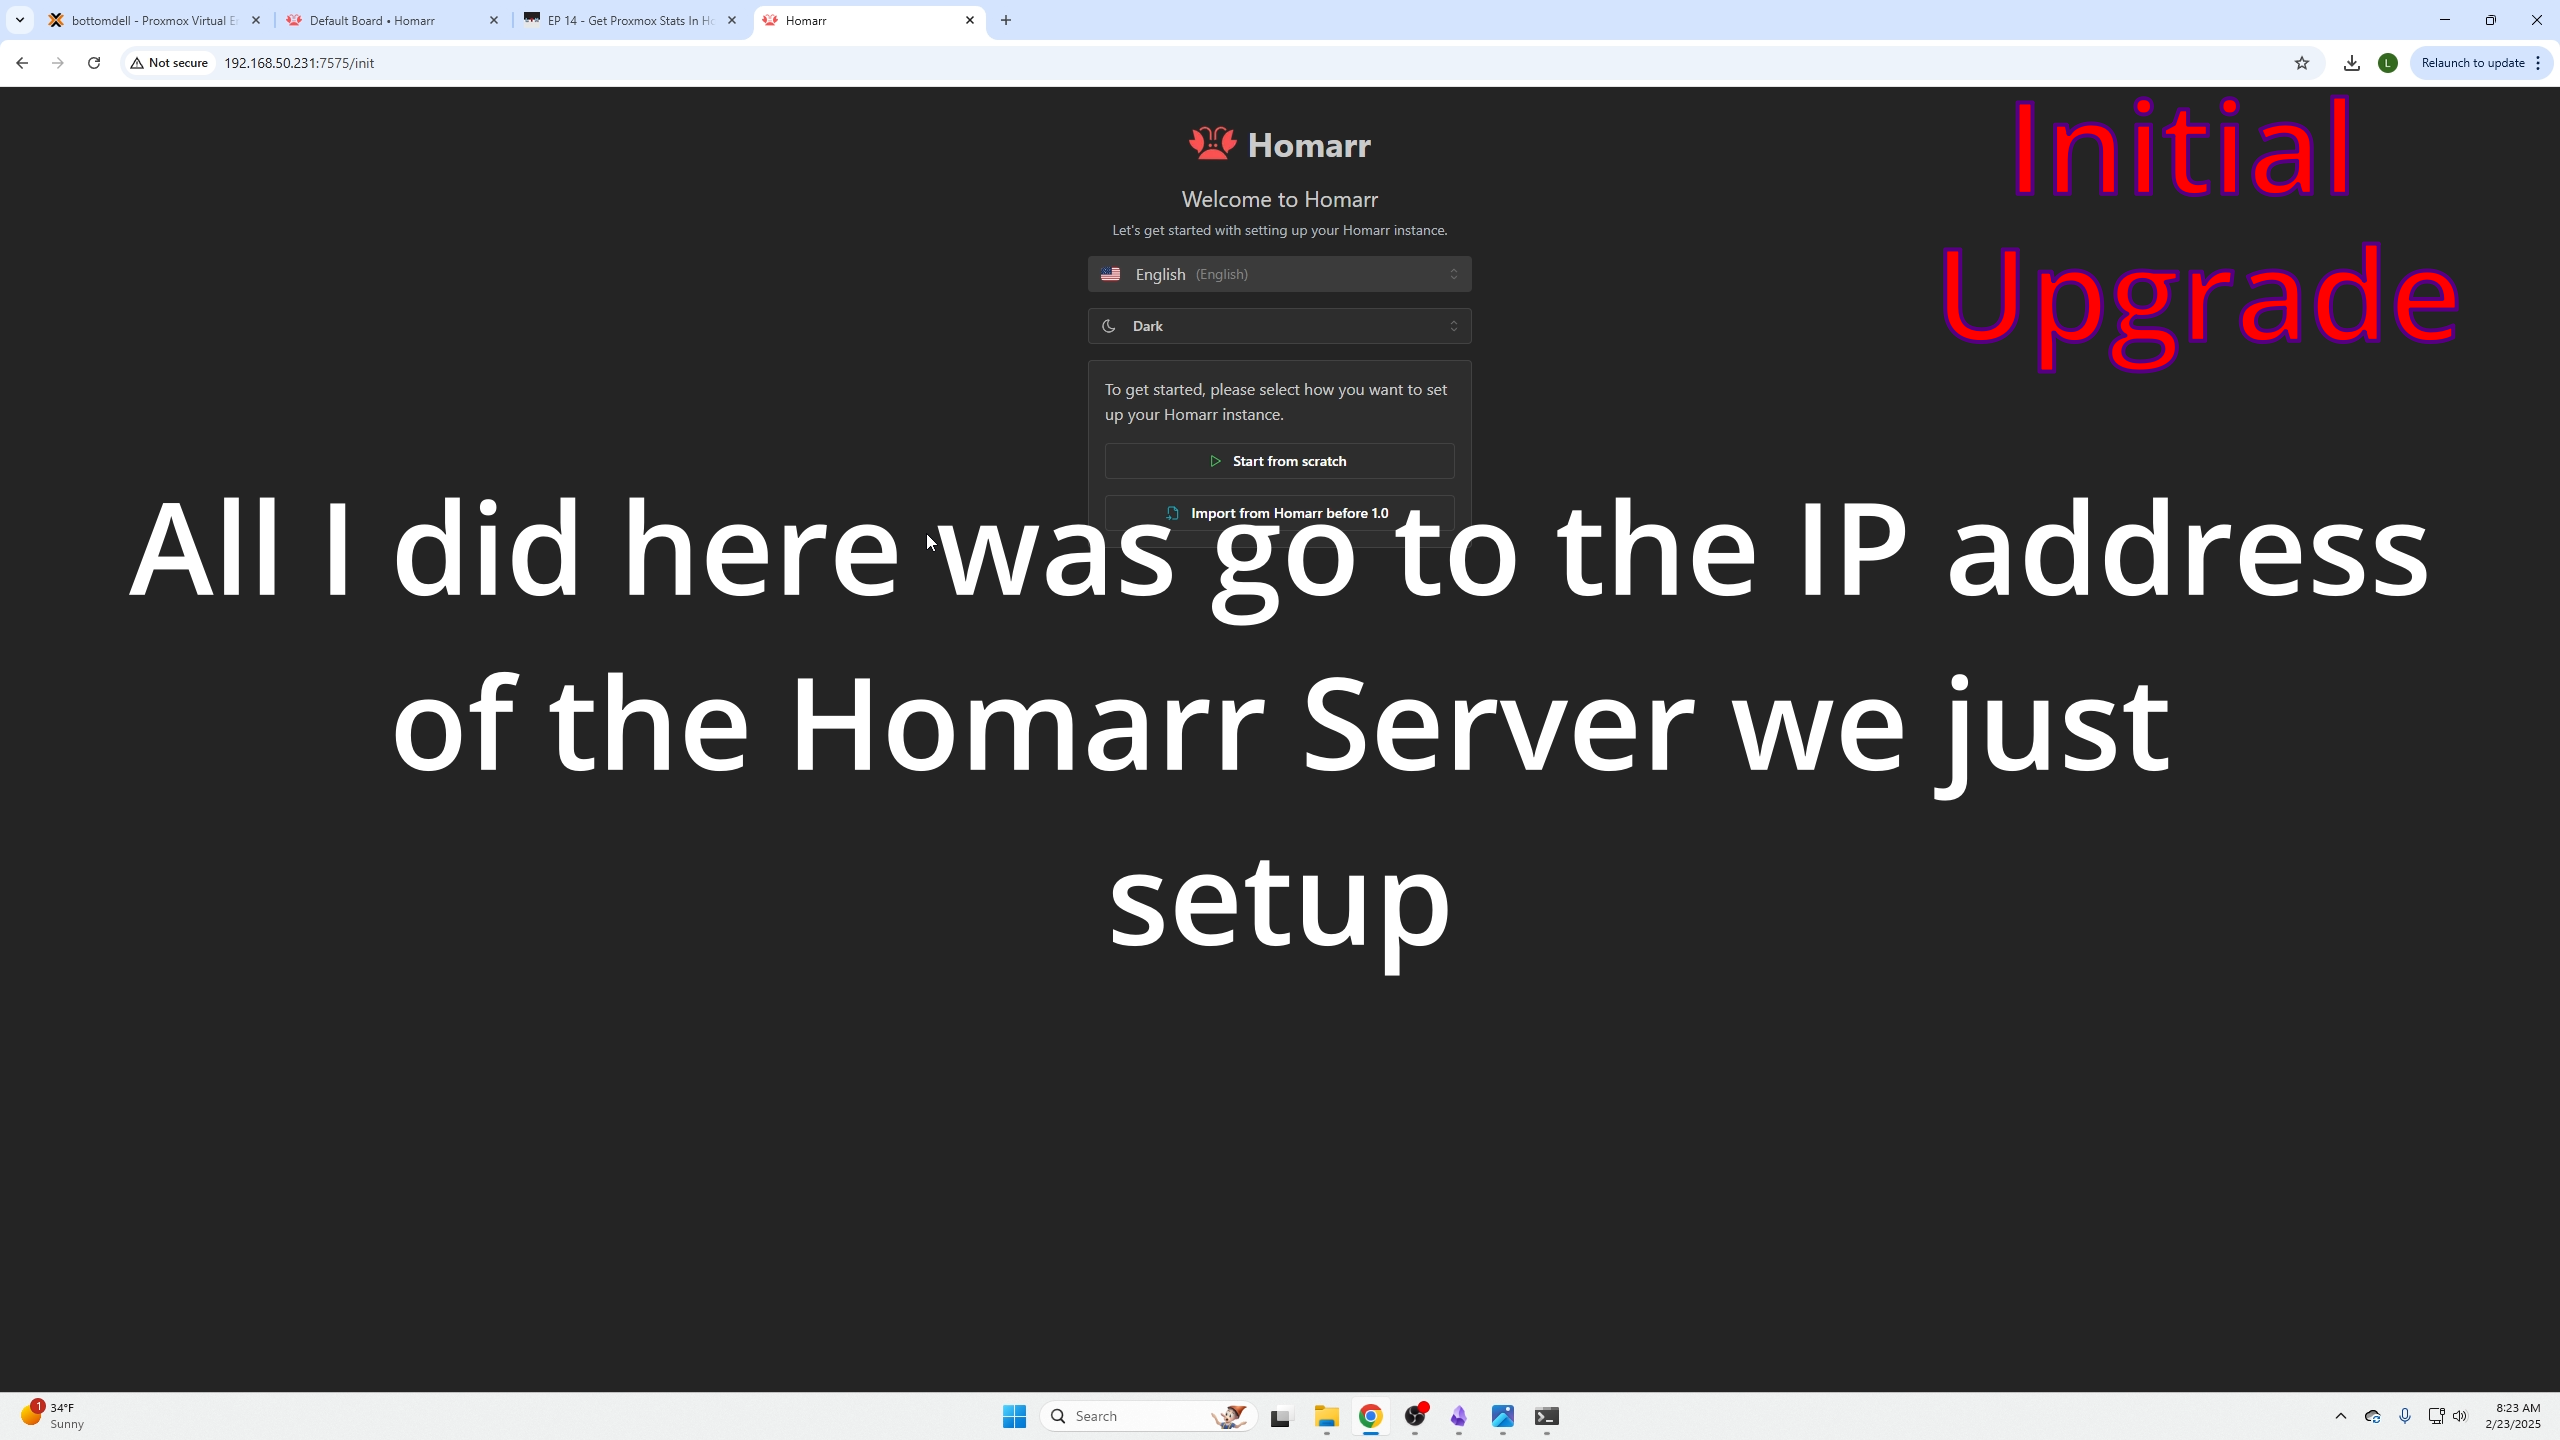
Access Homarr at:
ip_address:7575
Creating a Proxmox API Key
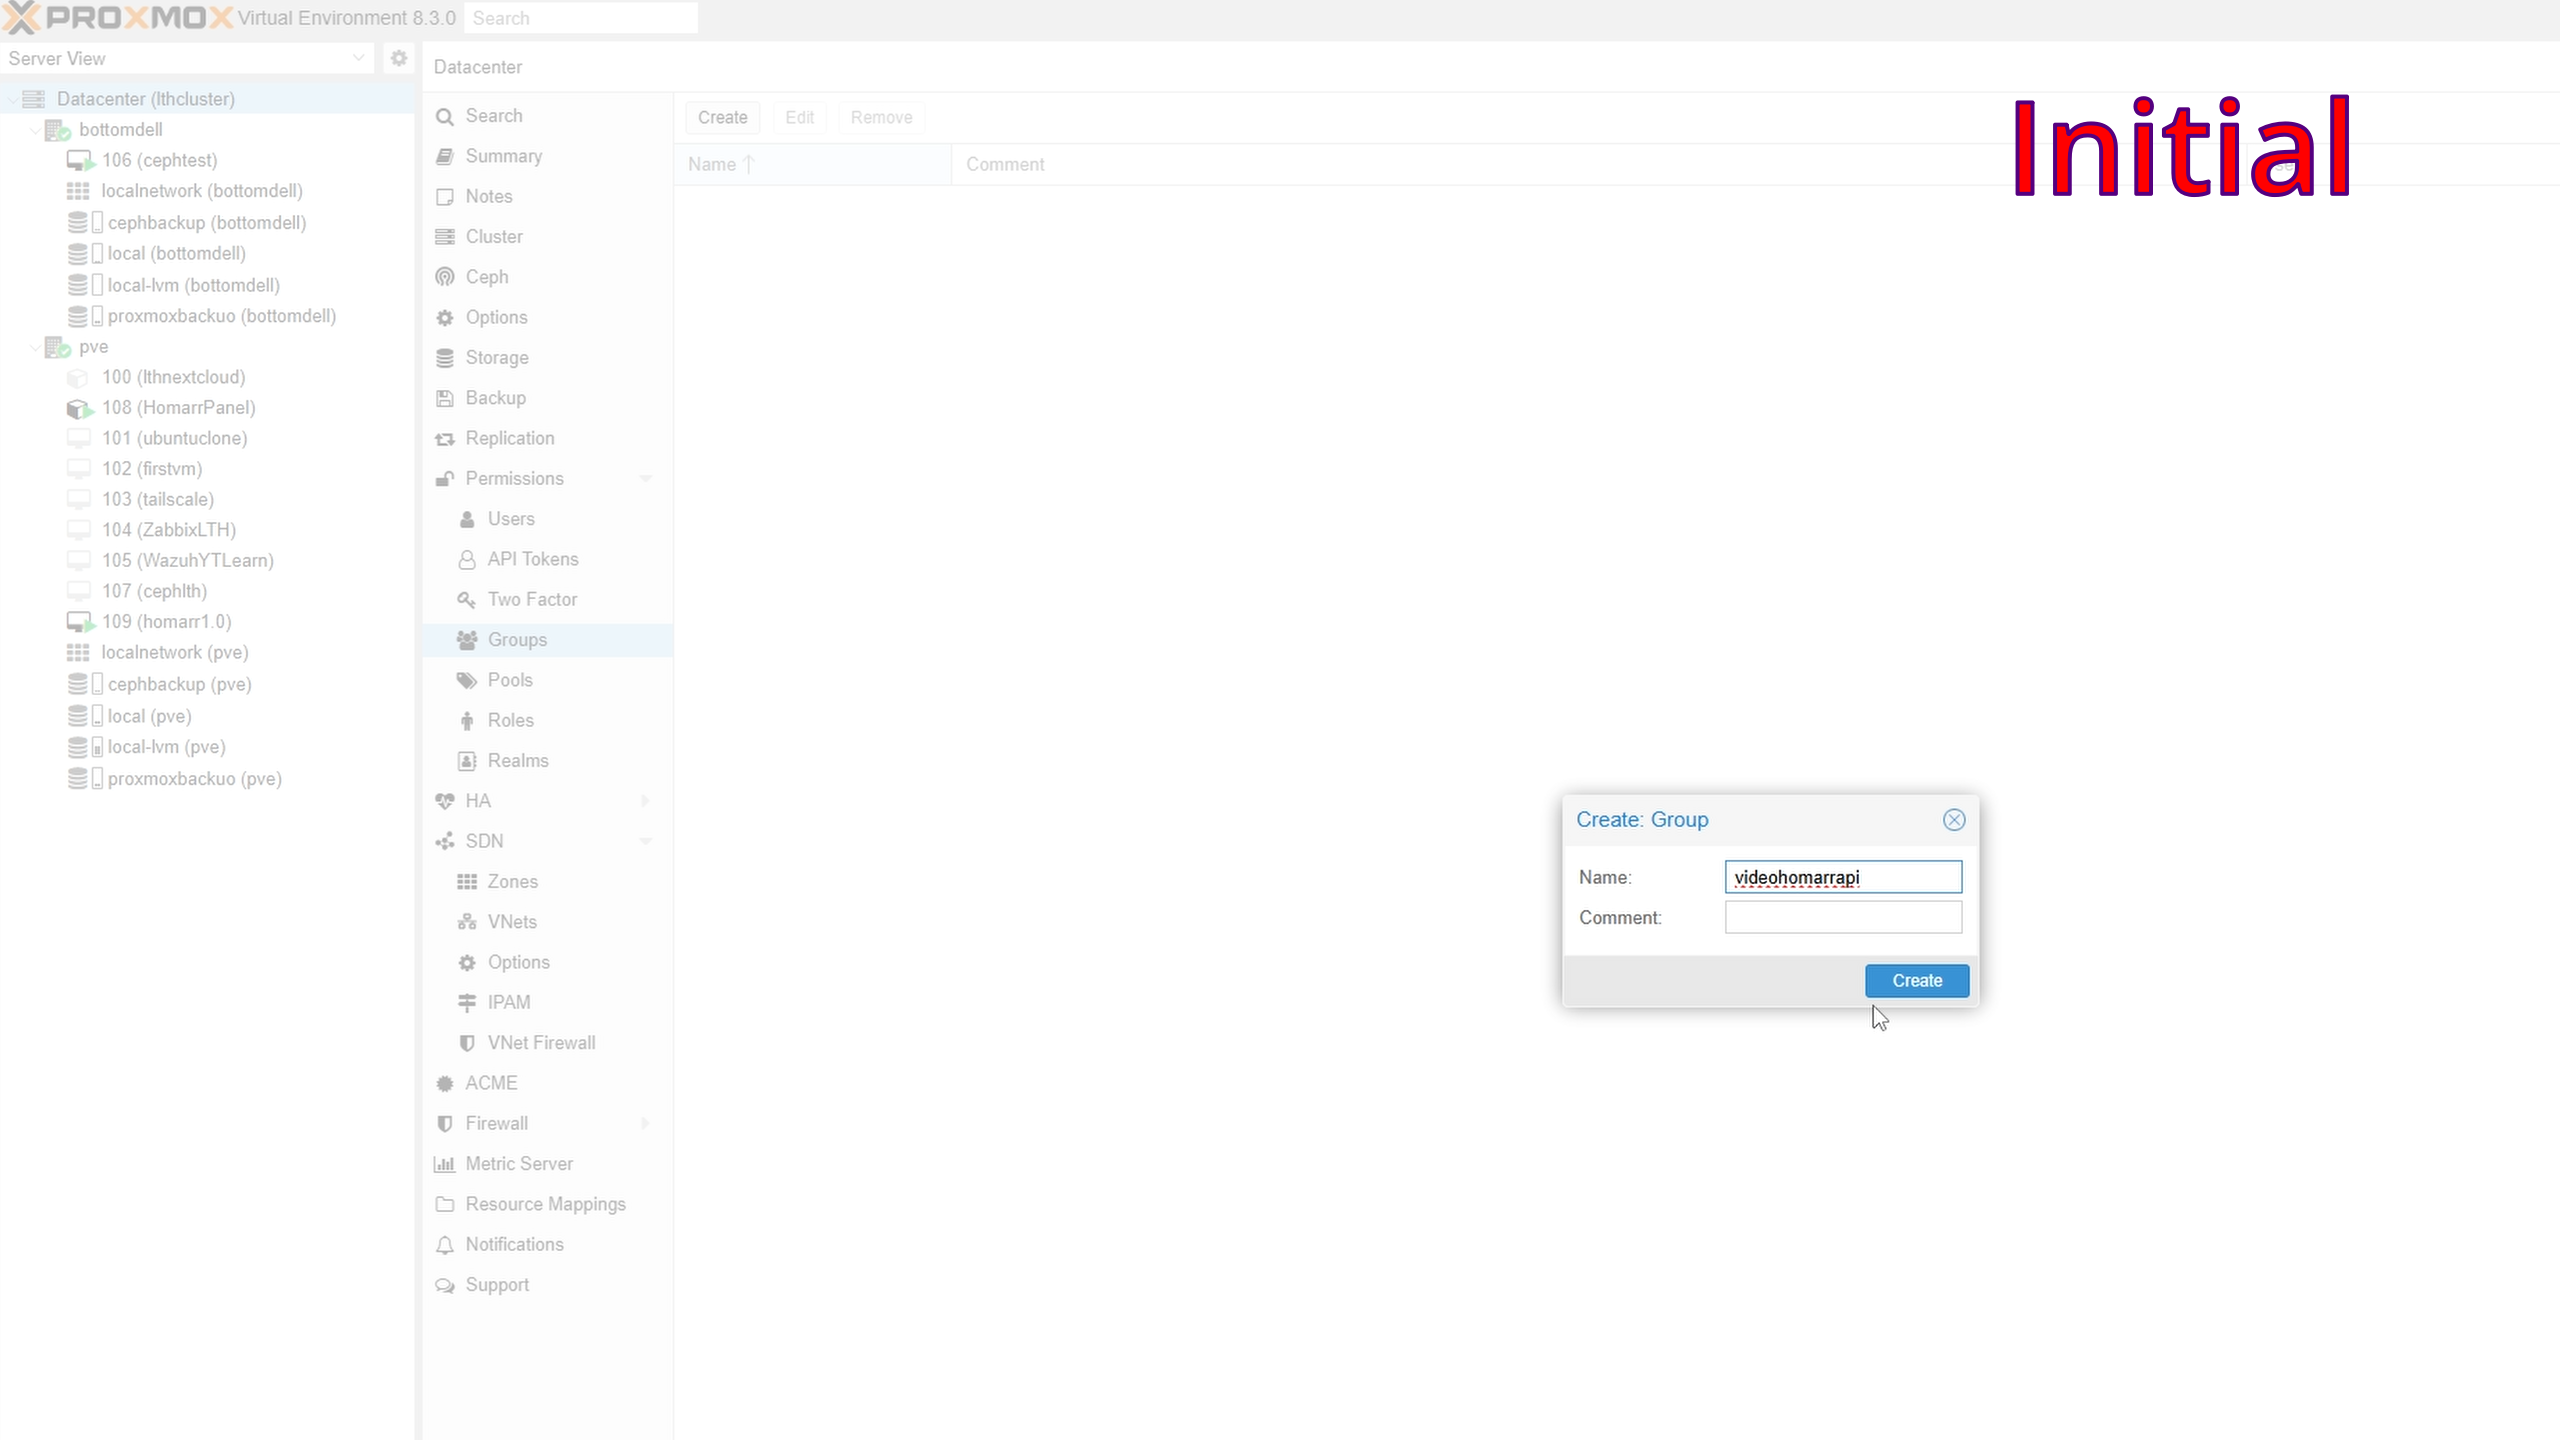
- In Proxmox portal, click Datacenter
- Expand Permissions, click Groups
- Click Create

- Name the group (e.g., api-users)
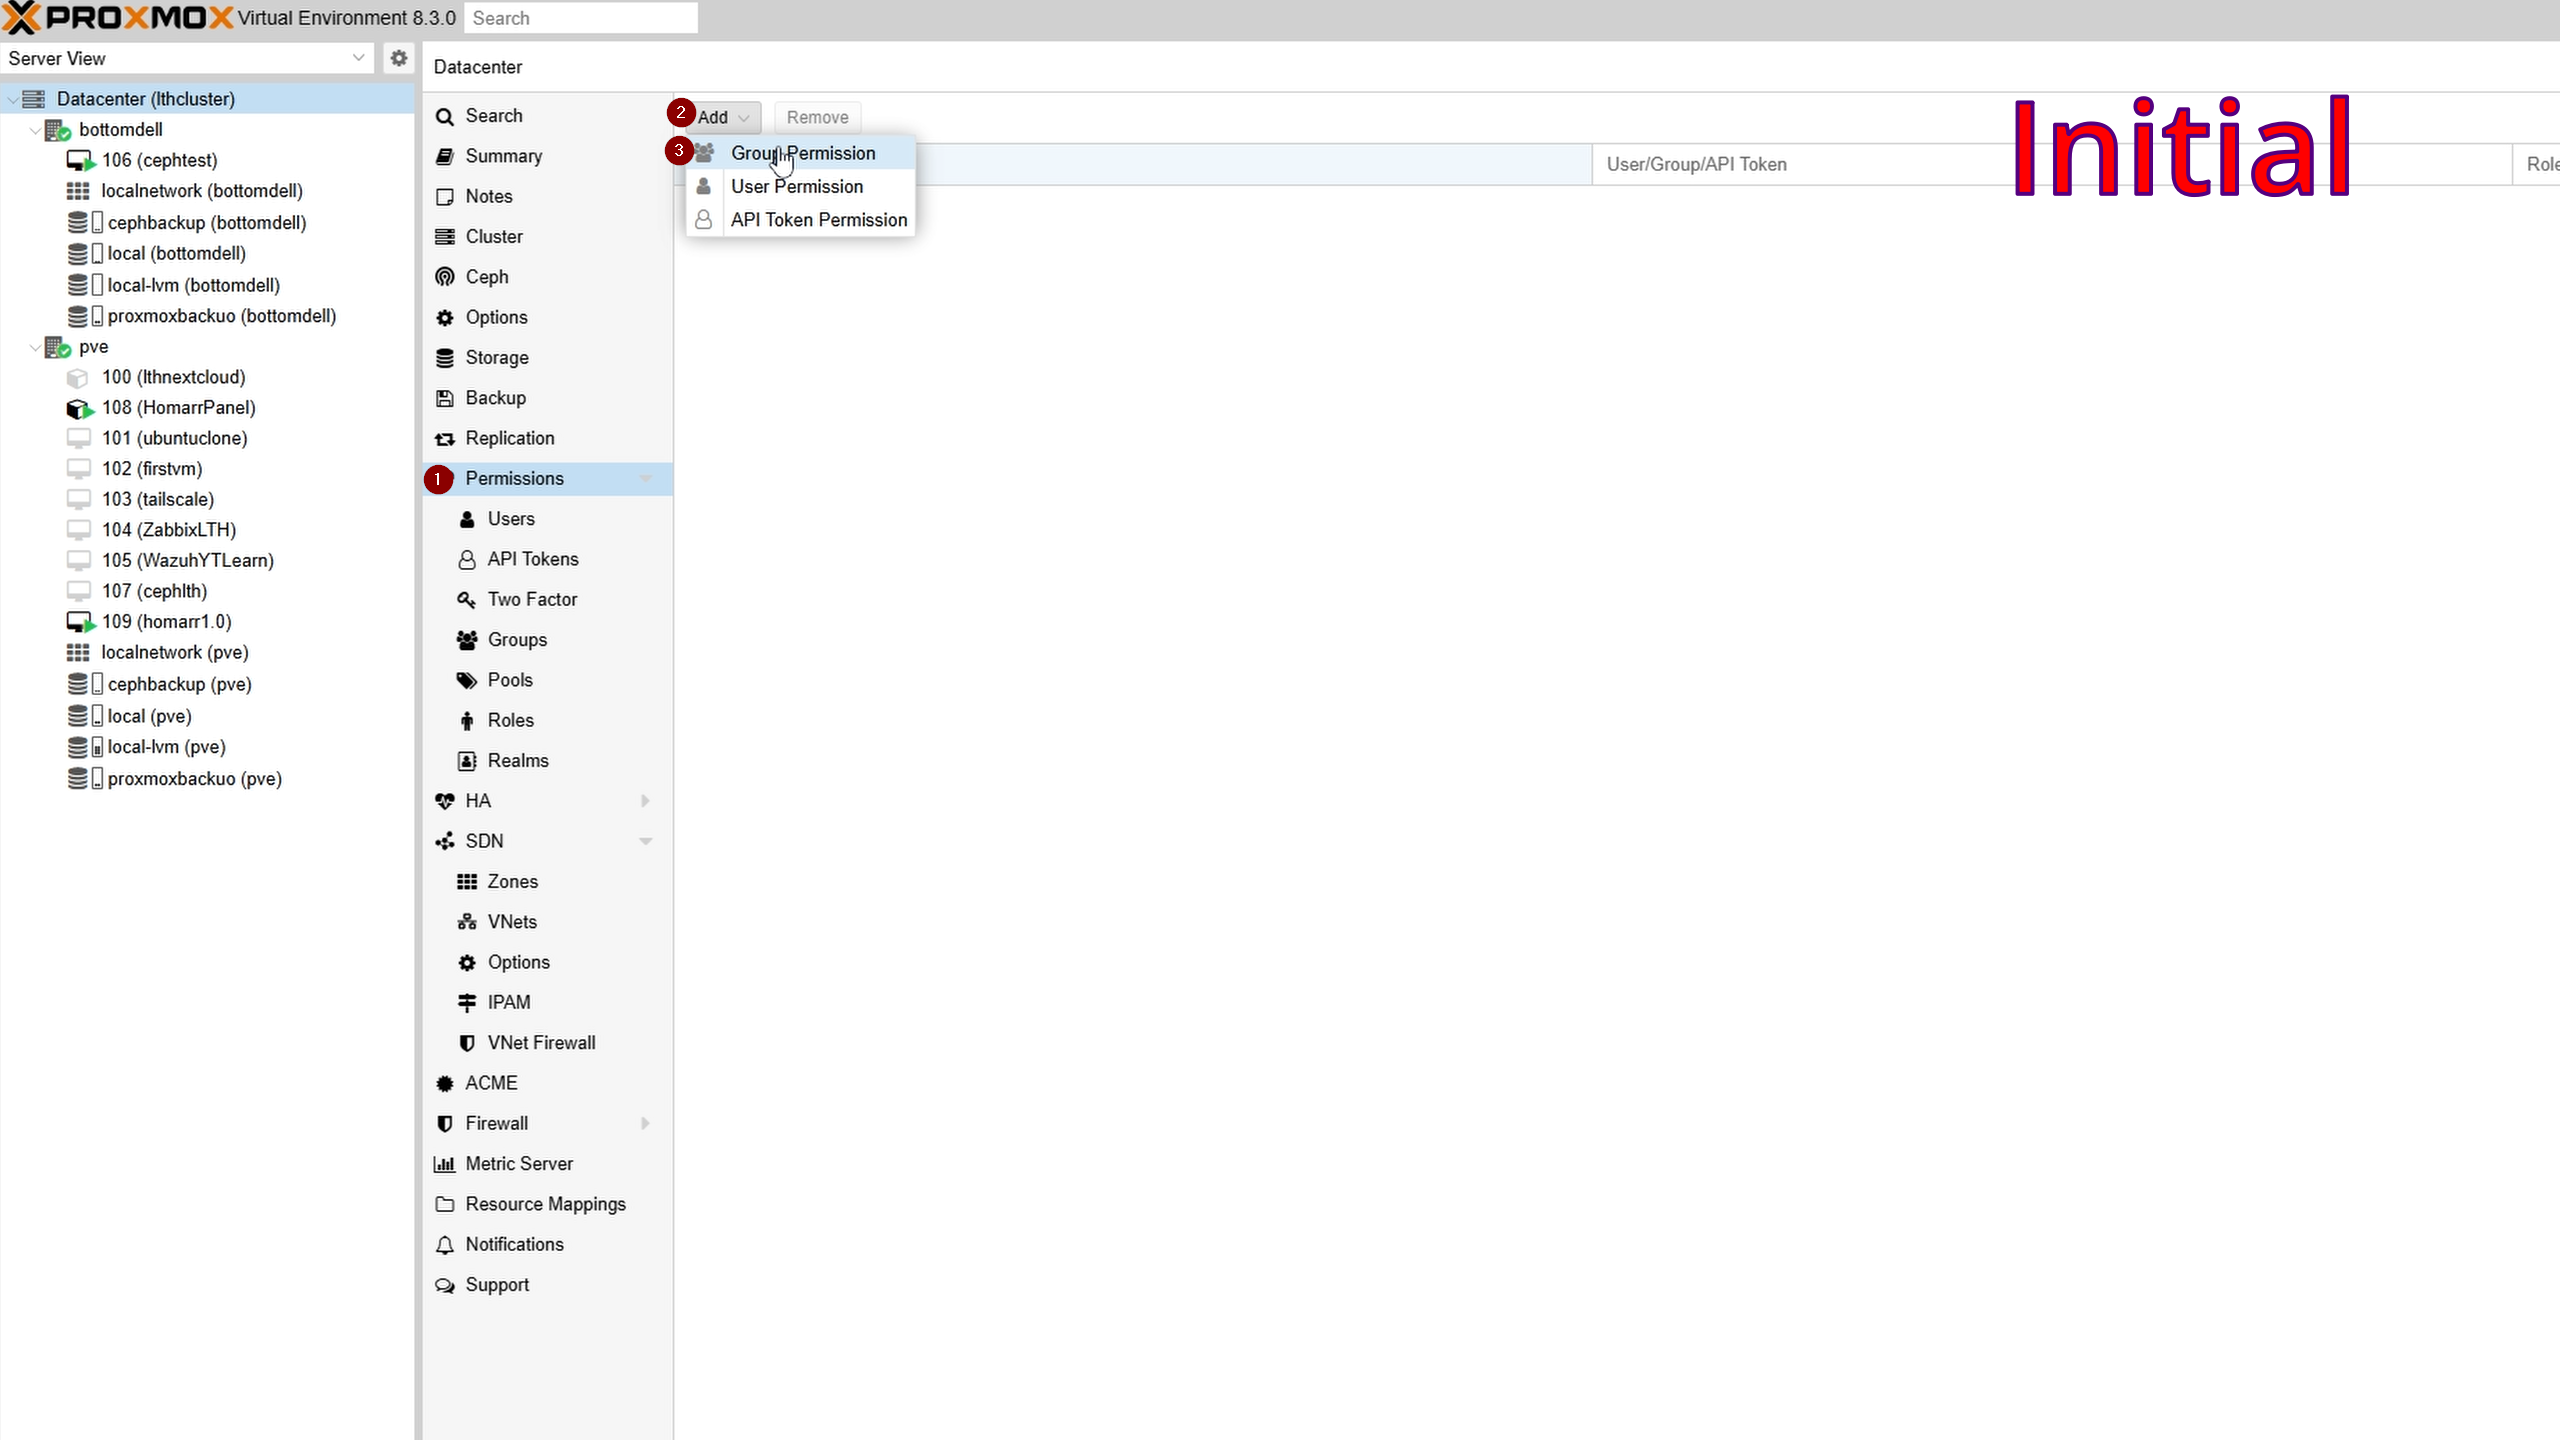
- Under Permissions, select Add → Group Permission
Set:
- Path: /
- Group: your created group
- Role: PVEAuditor
- Propagate: checked

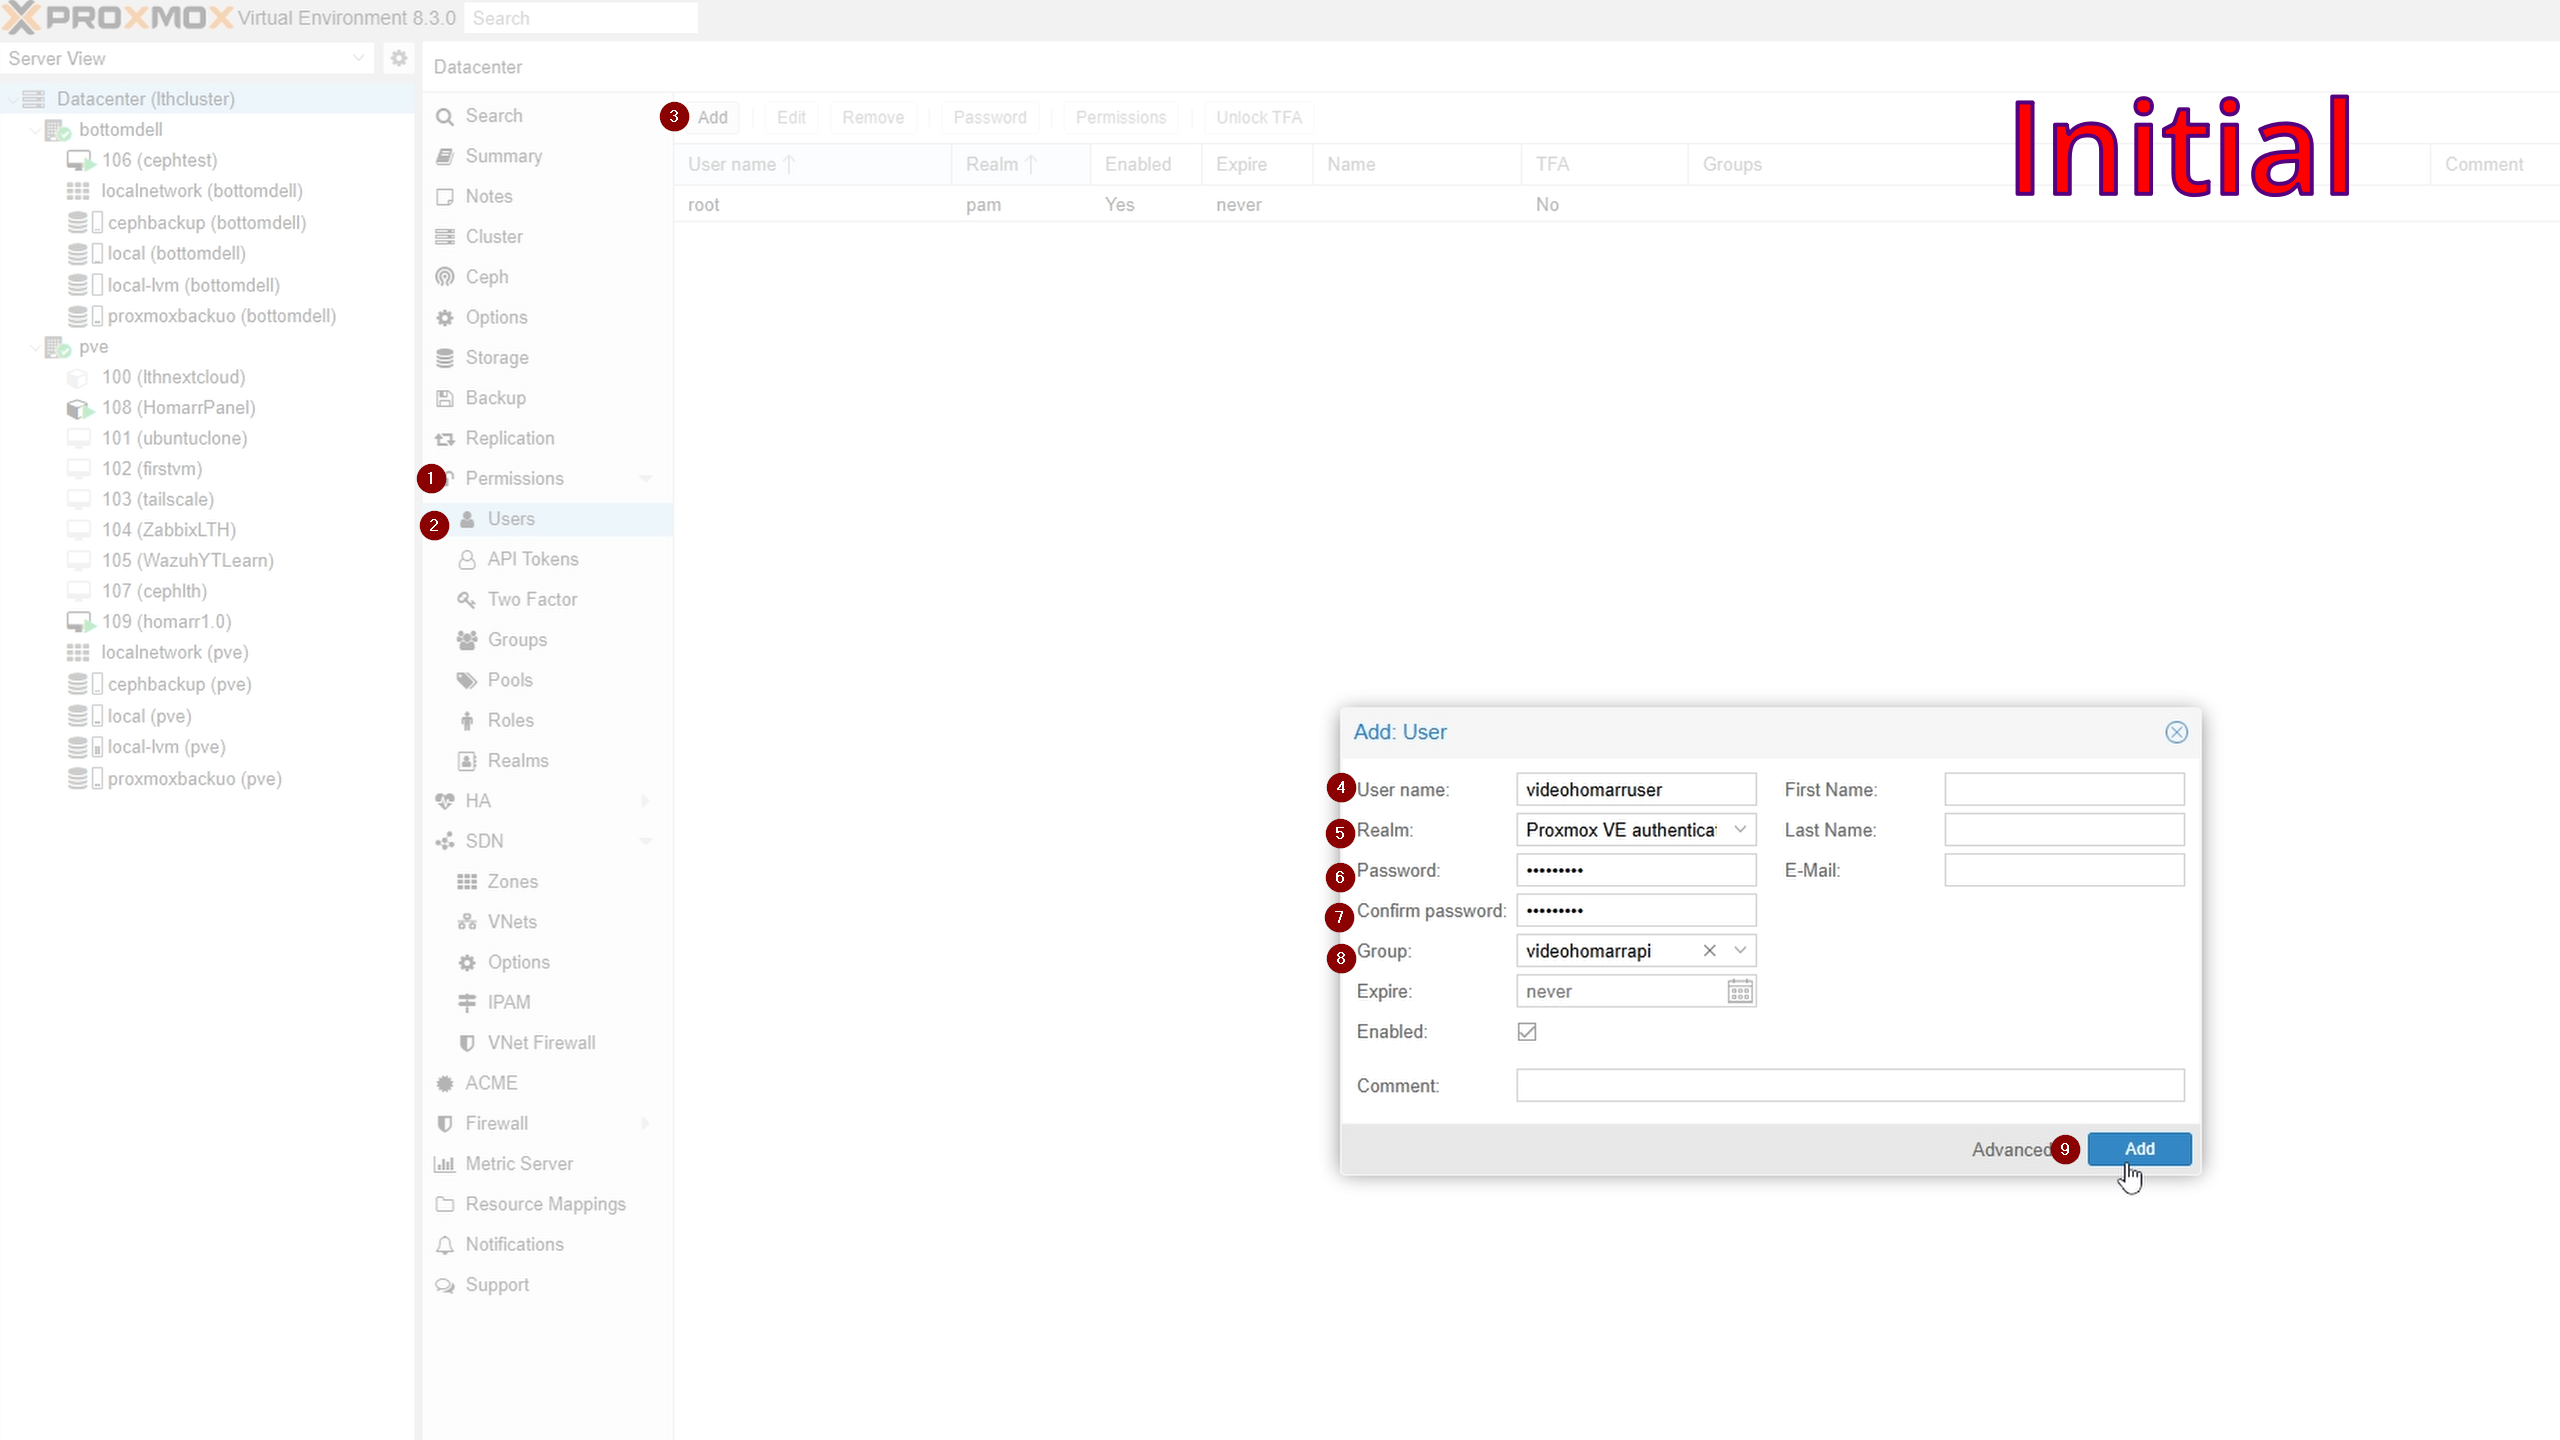
- Under Permissions, click Users
- Click Add:
- User name: descriptive (e.g., api)
- Realm: Proxmox VE authentication server
- Password: create secure password
- Confirm password: re-enter
- Group: your created group
- Under Permissions, click API Tokens
- Click Add:
- User: user from above
- Token ID: descriptive (e.g., homarr)
- Privilege Separation: unchecked

- Copy the Secret shown (only displayed once).

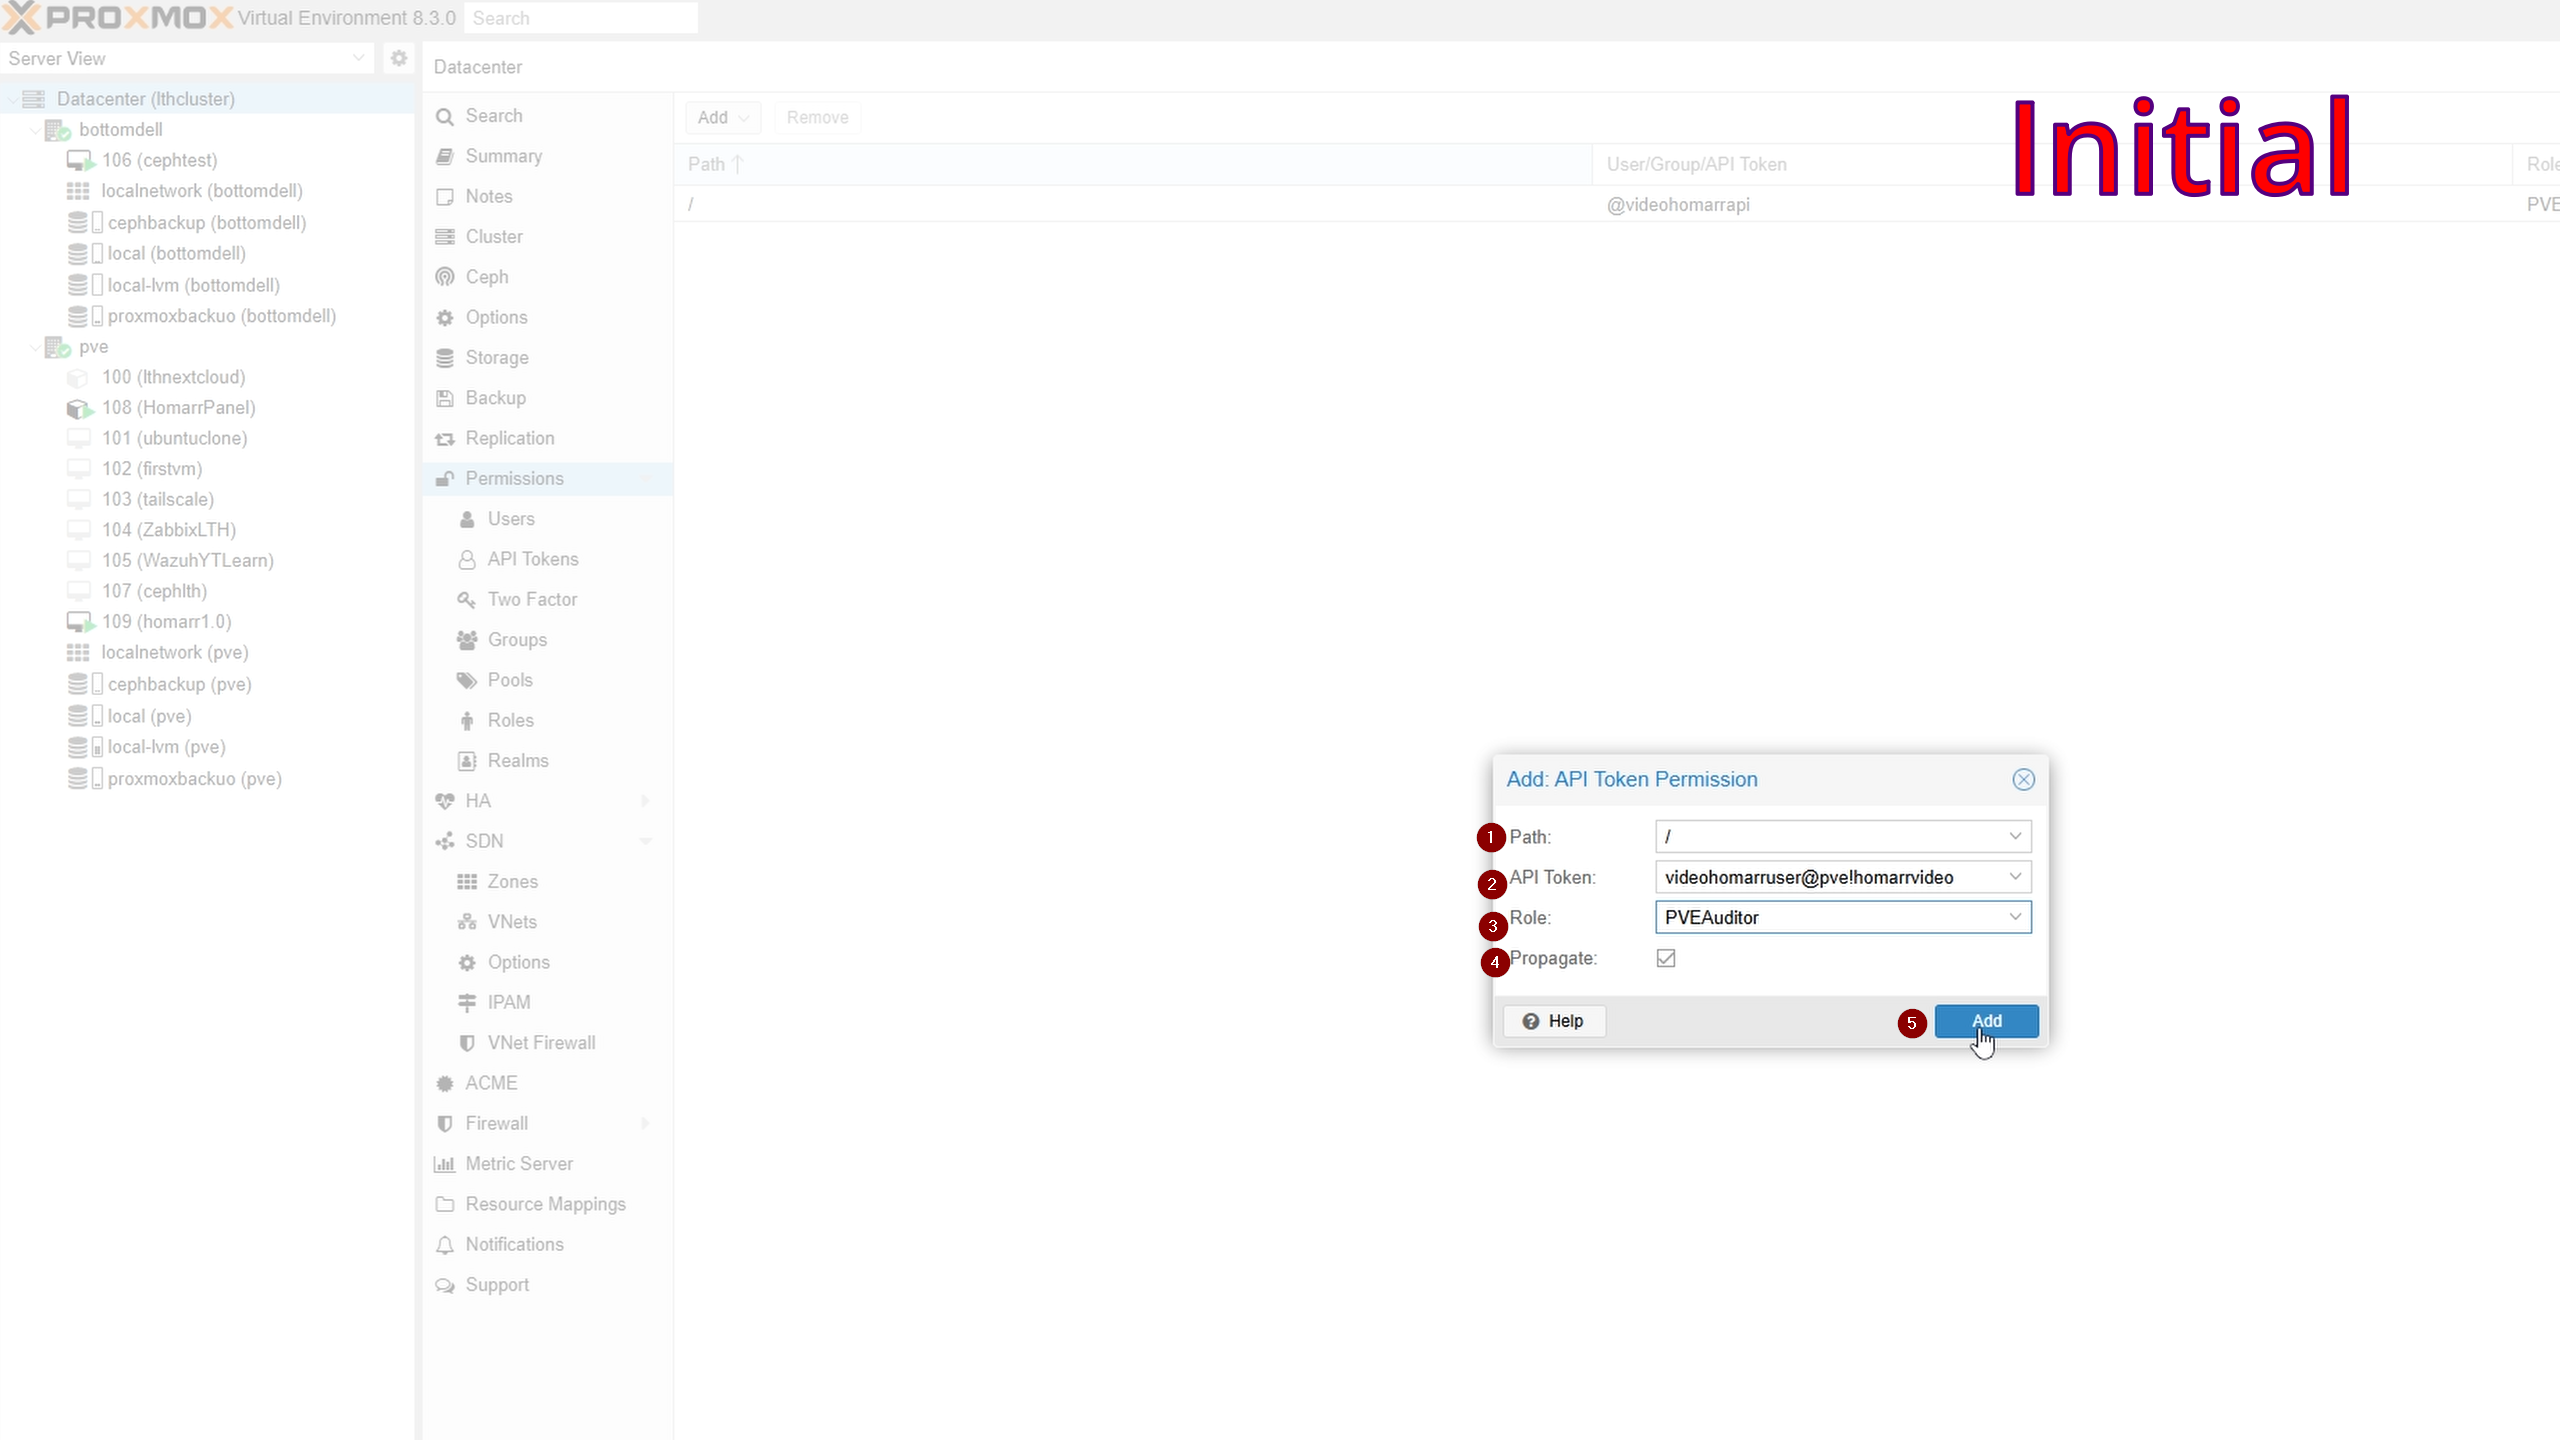
- Back to Permissions, click Add → API Token Permission
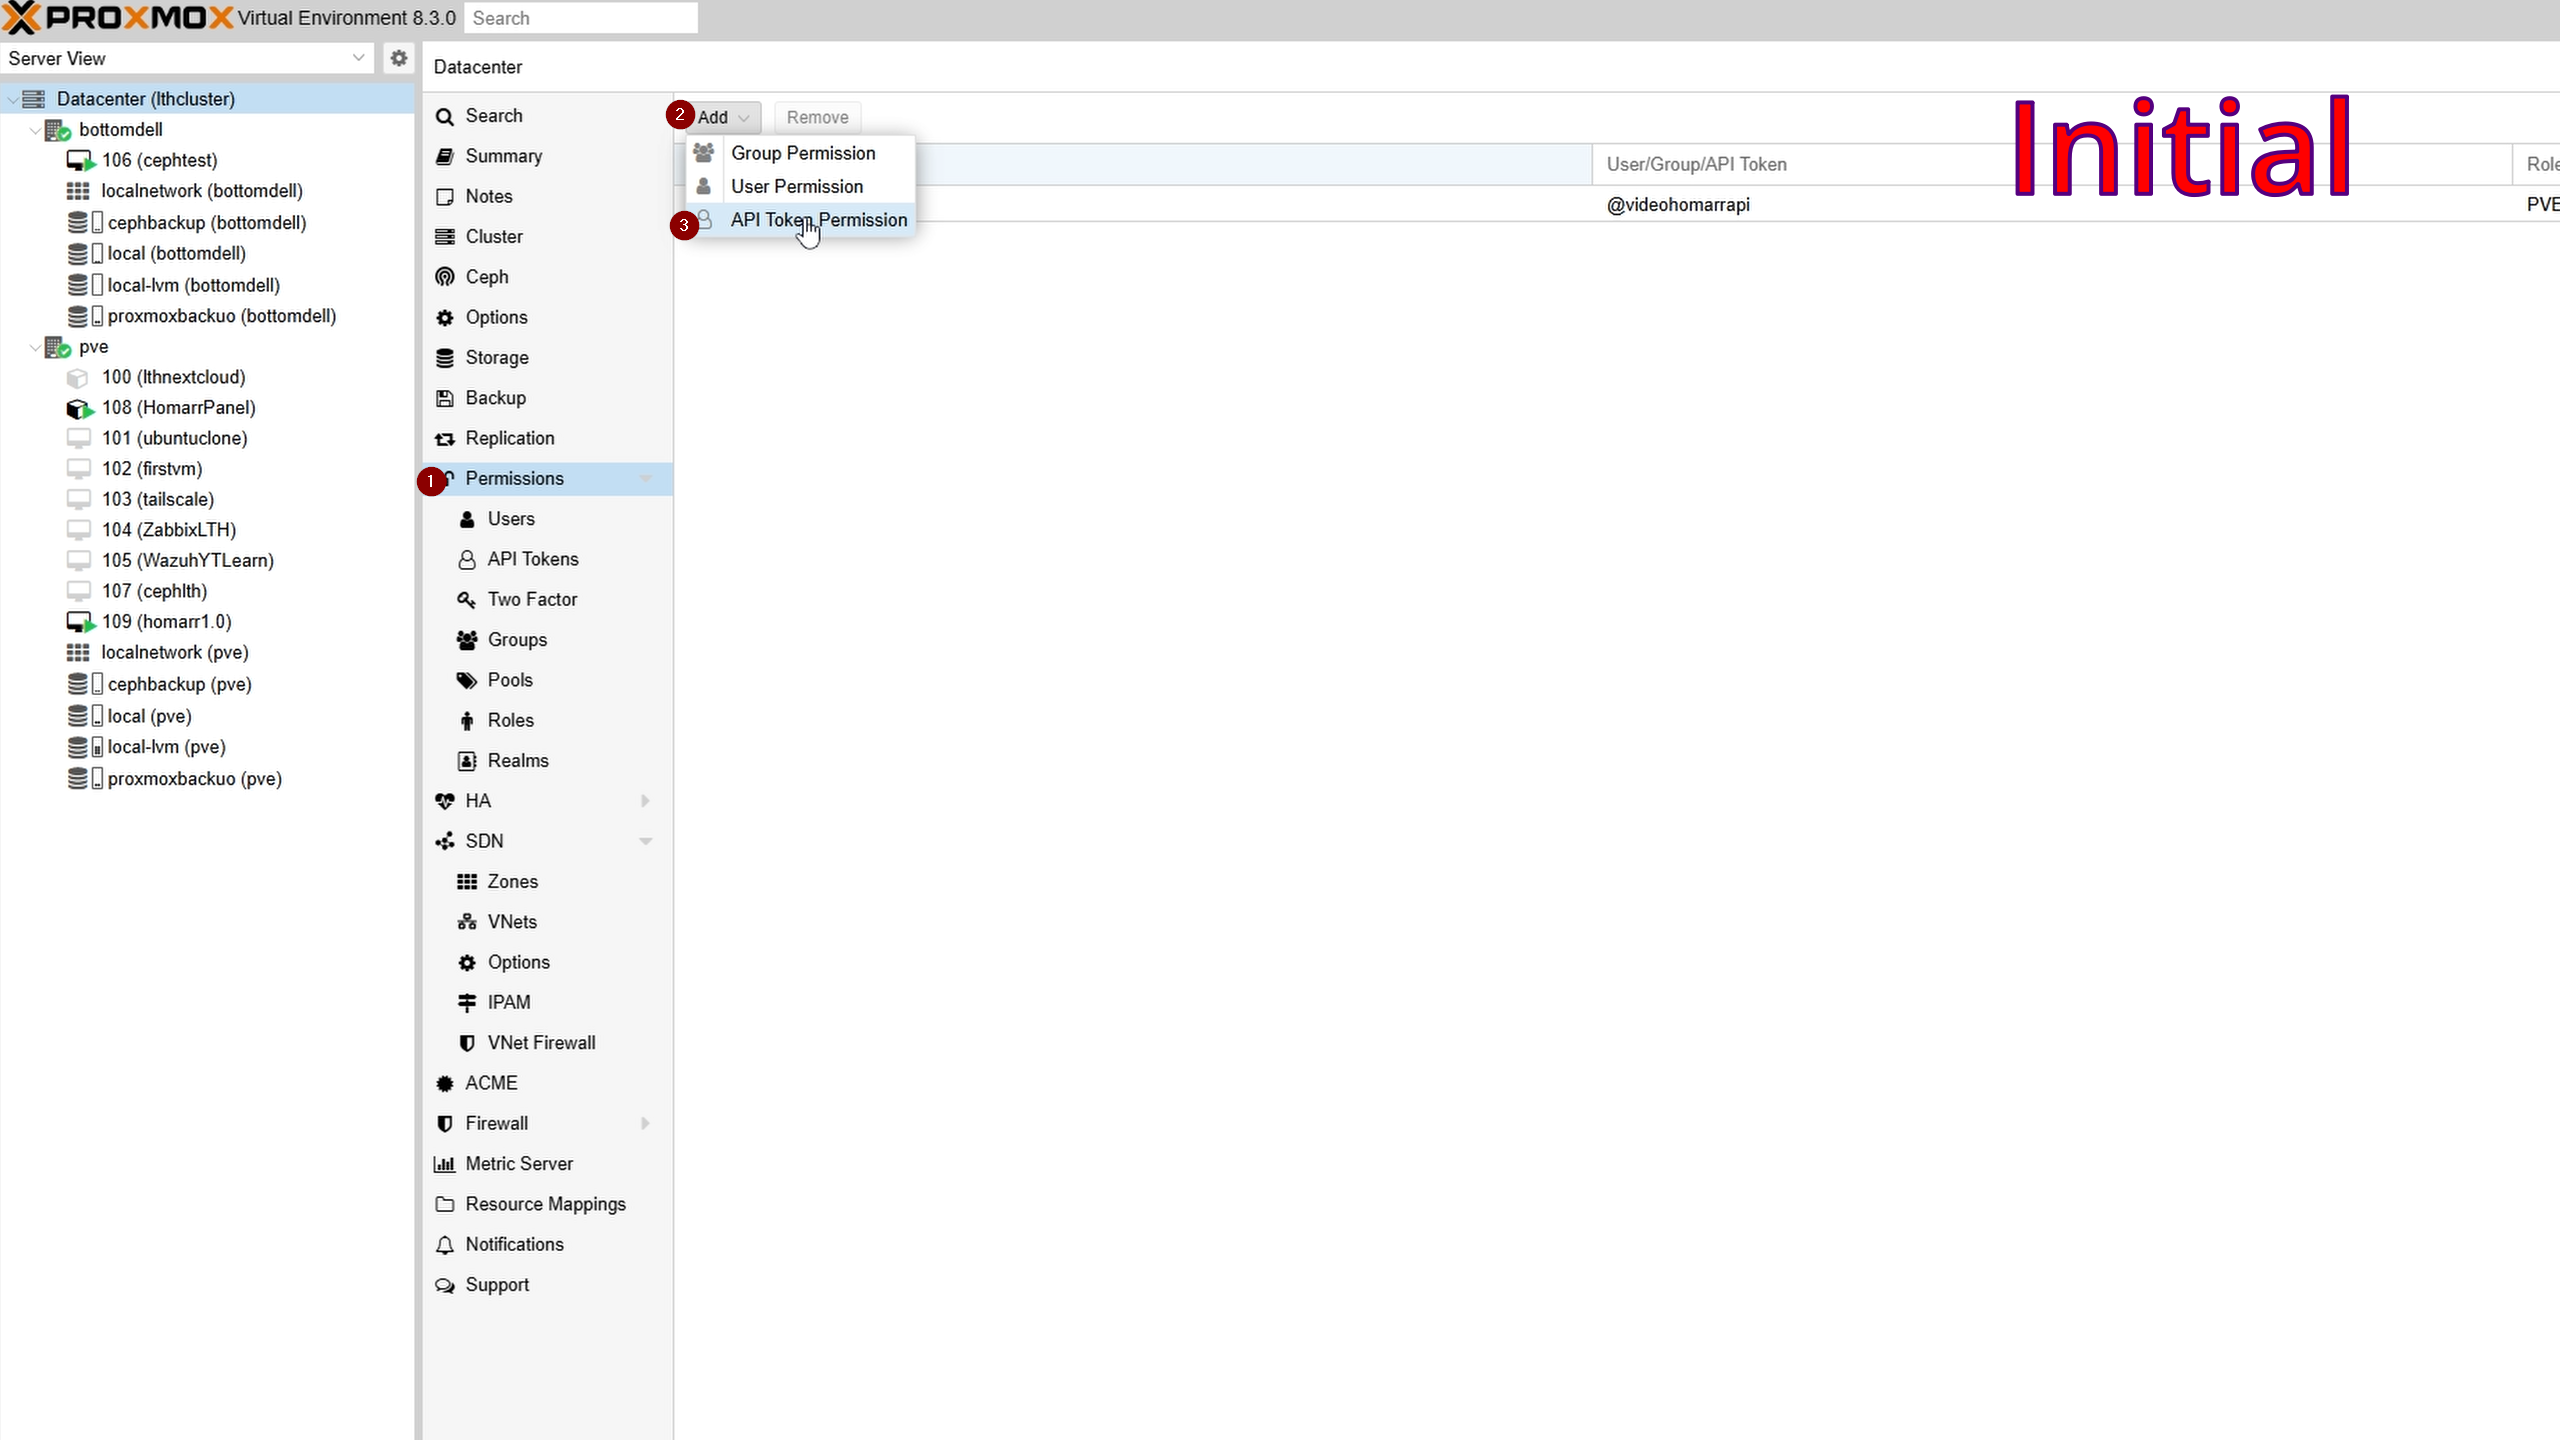
Set:
- Path: /
- API Token: select token created
- Role: PVE Auditor
- Propagate: checked
Adding your Certificate
From the Proxmox node running Homarr:
- Select node → Certificates
- Select pve-root-ca.pem
- Click View certificate
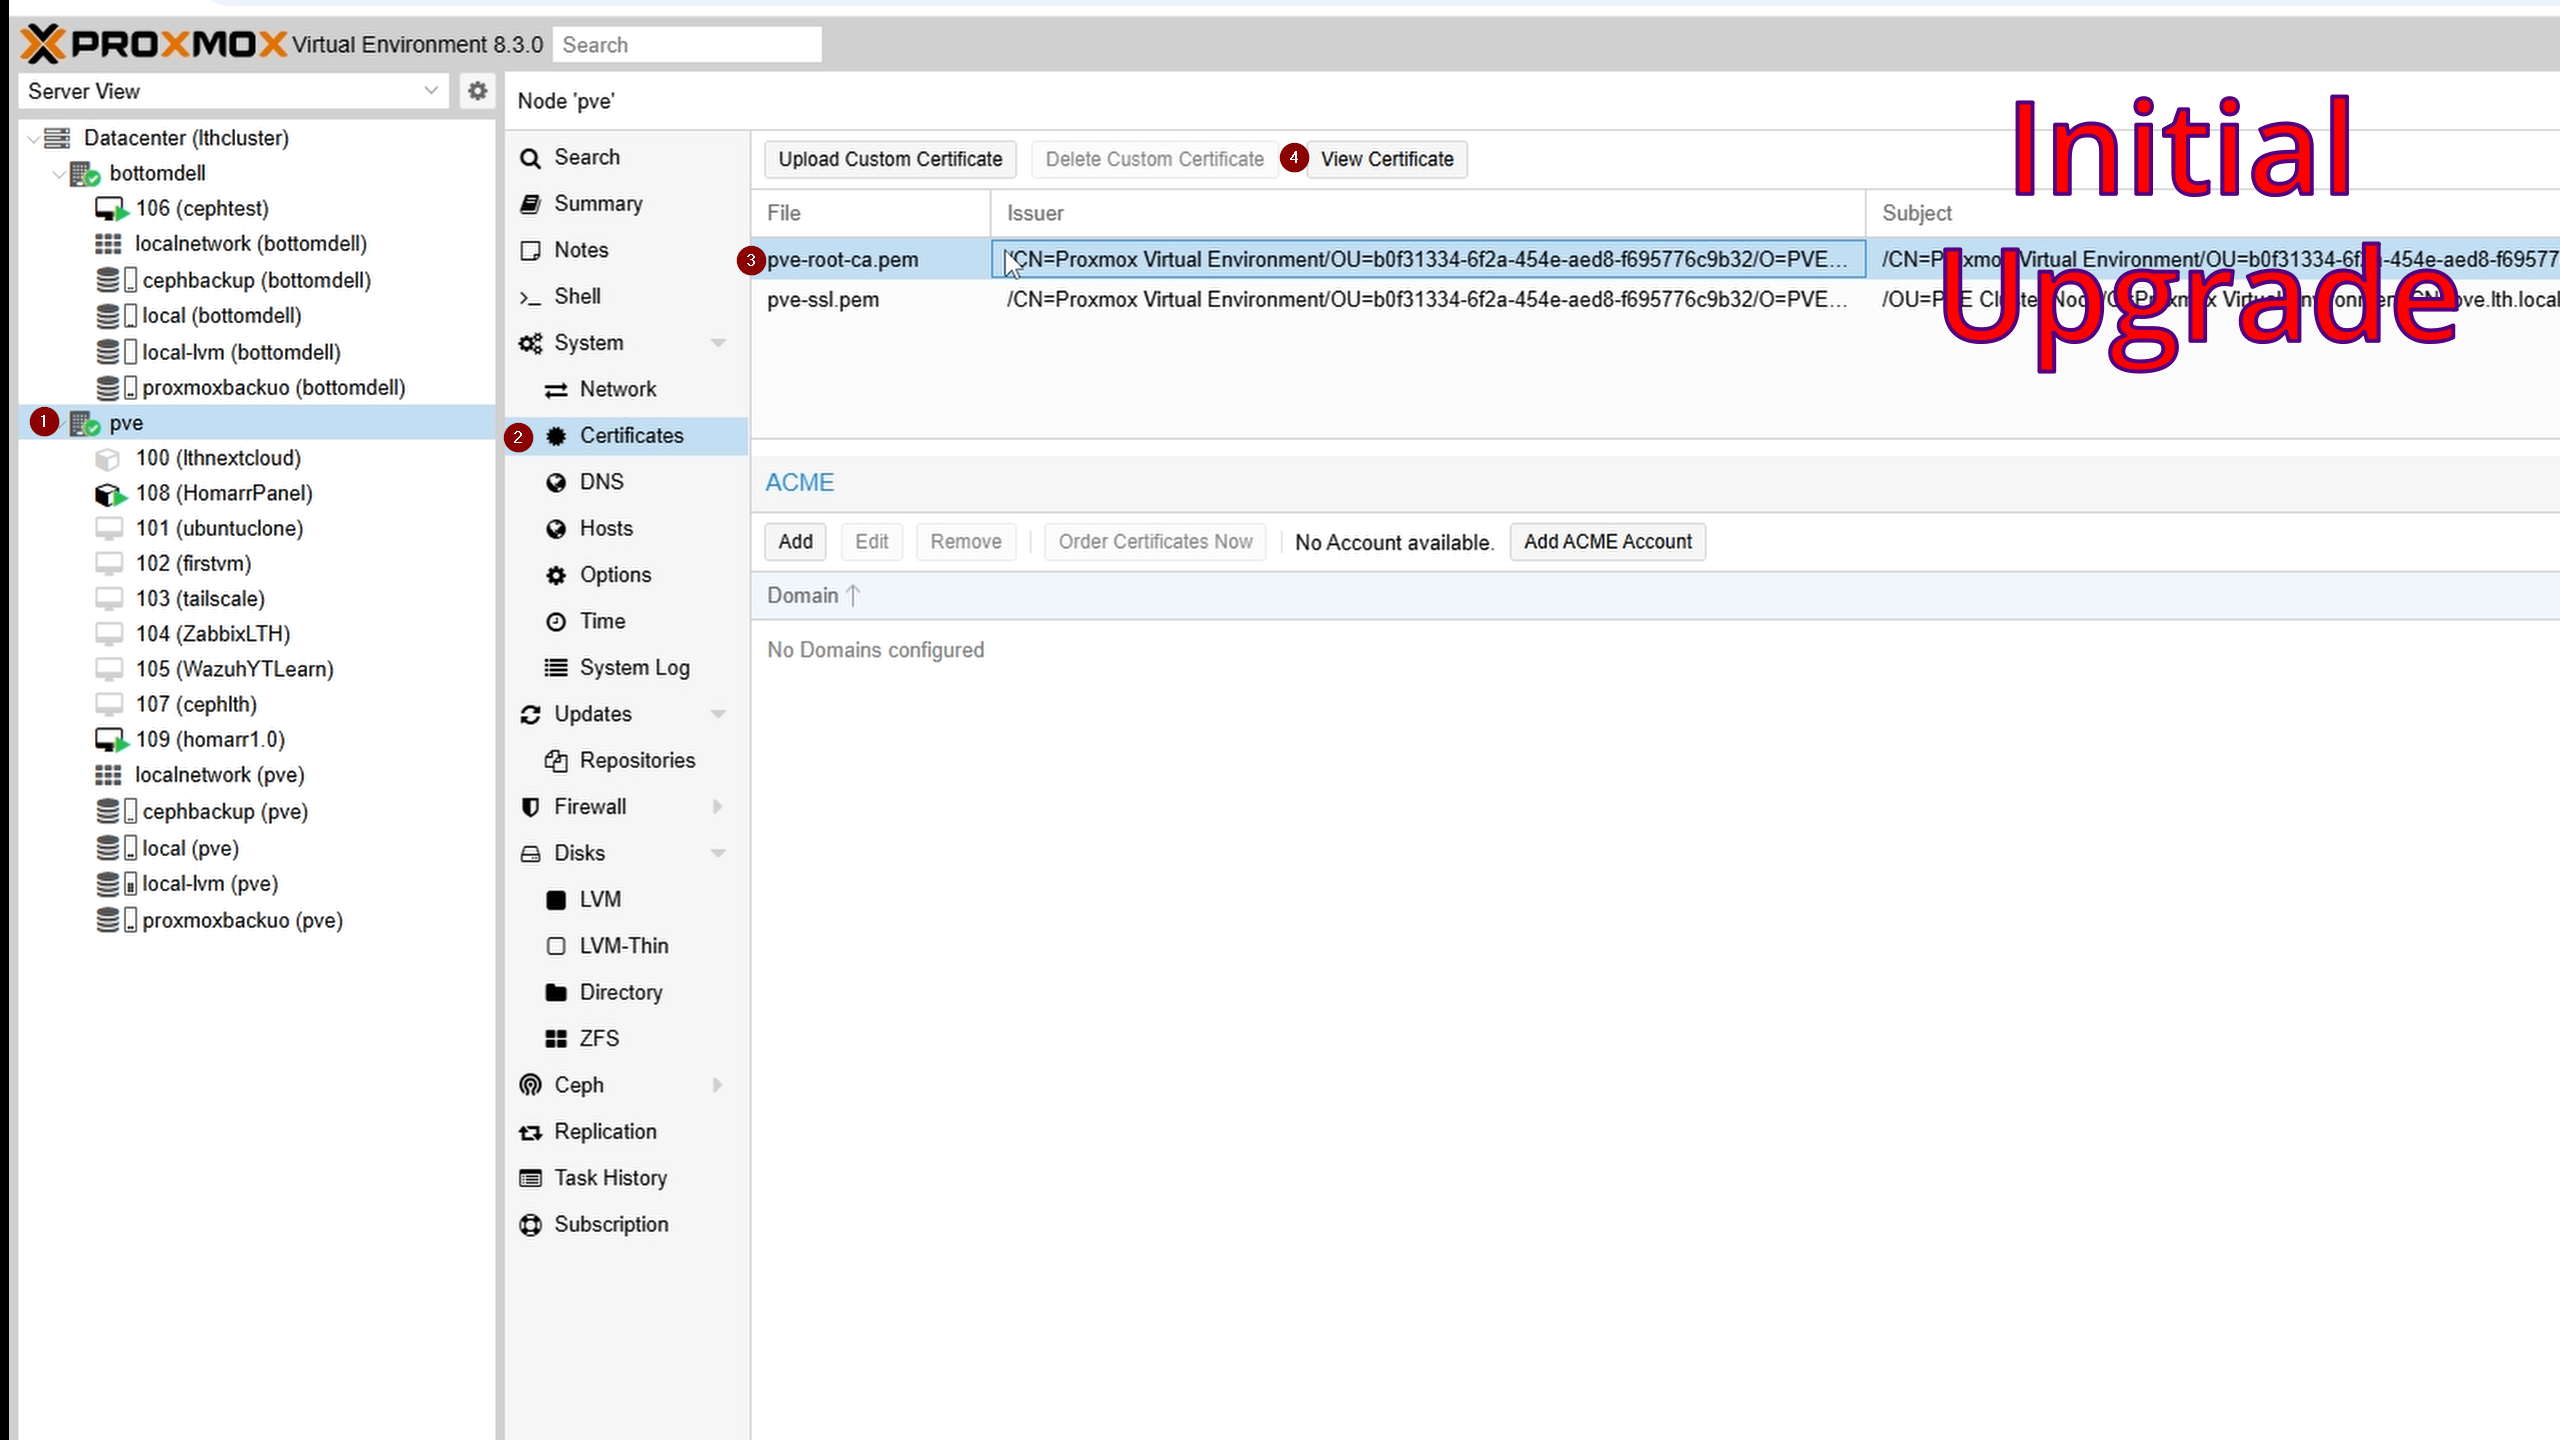
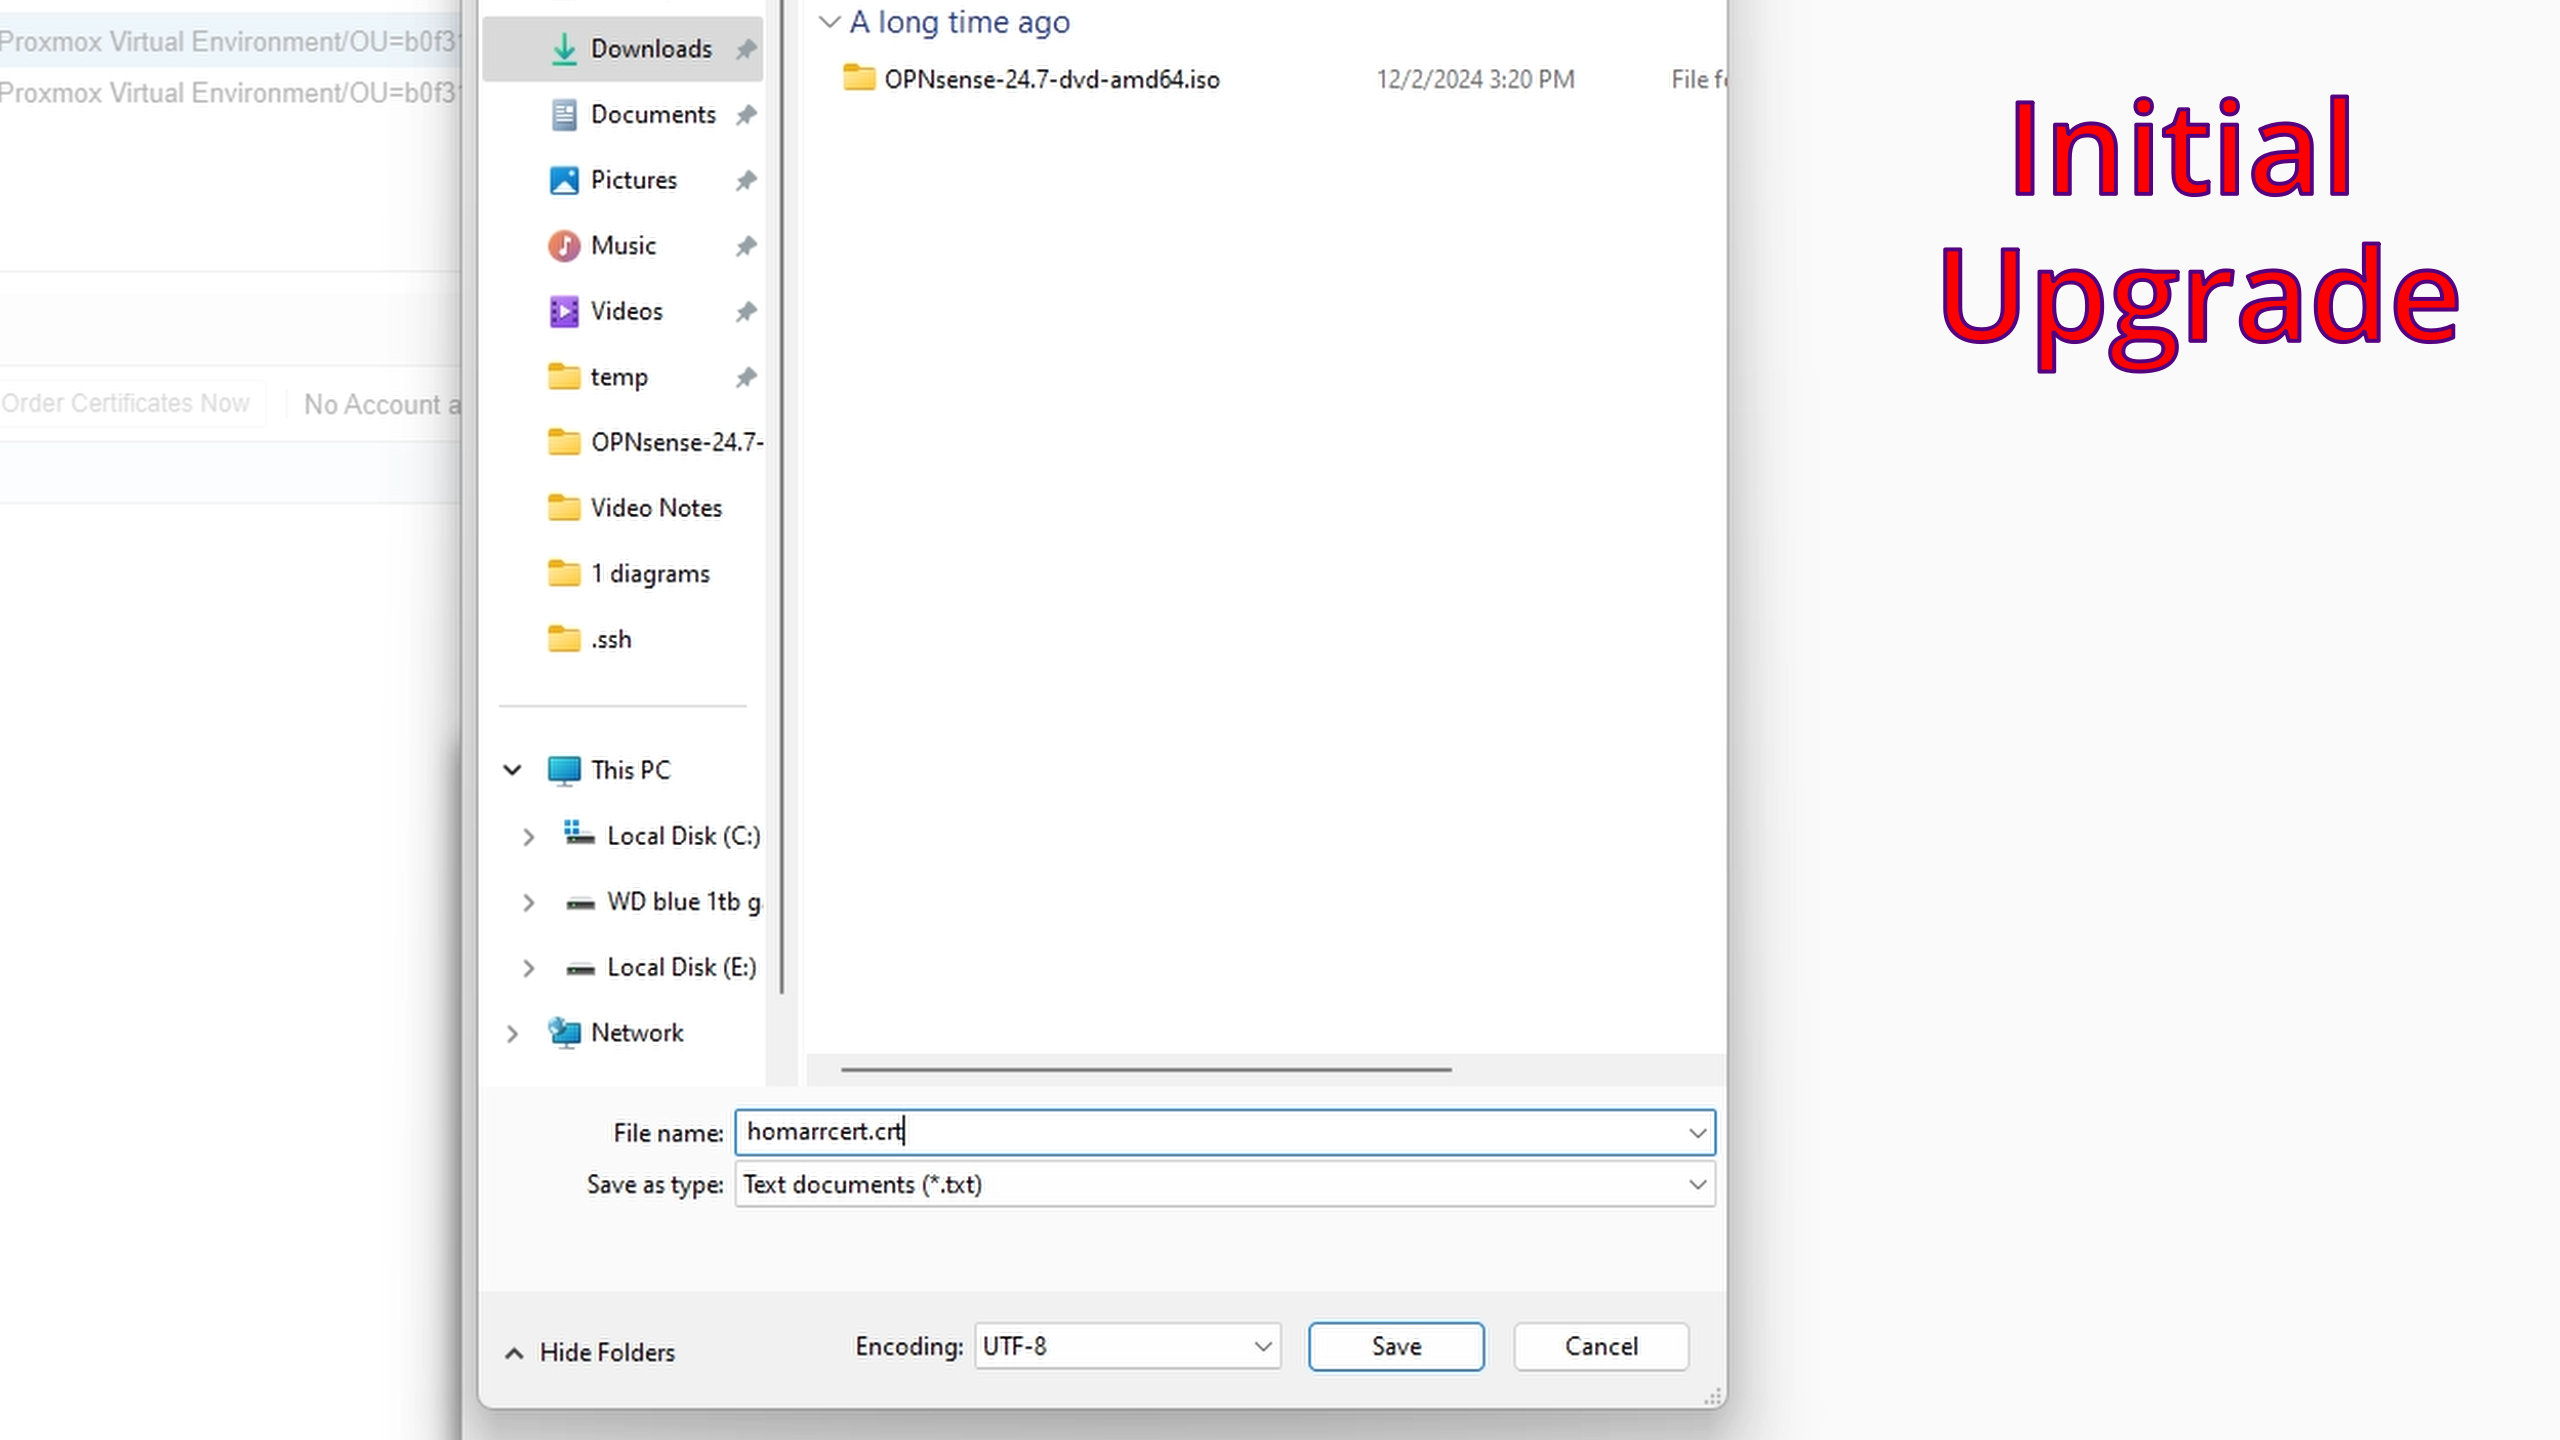
Copy to notepad and save as certificate_name.crt.
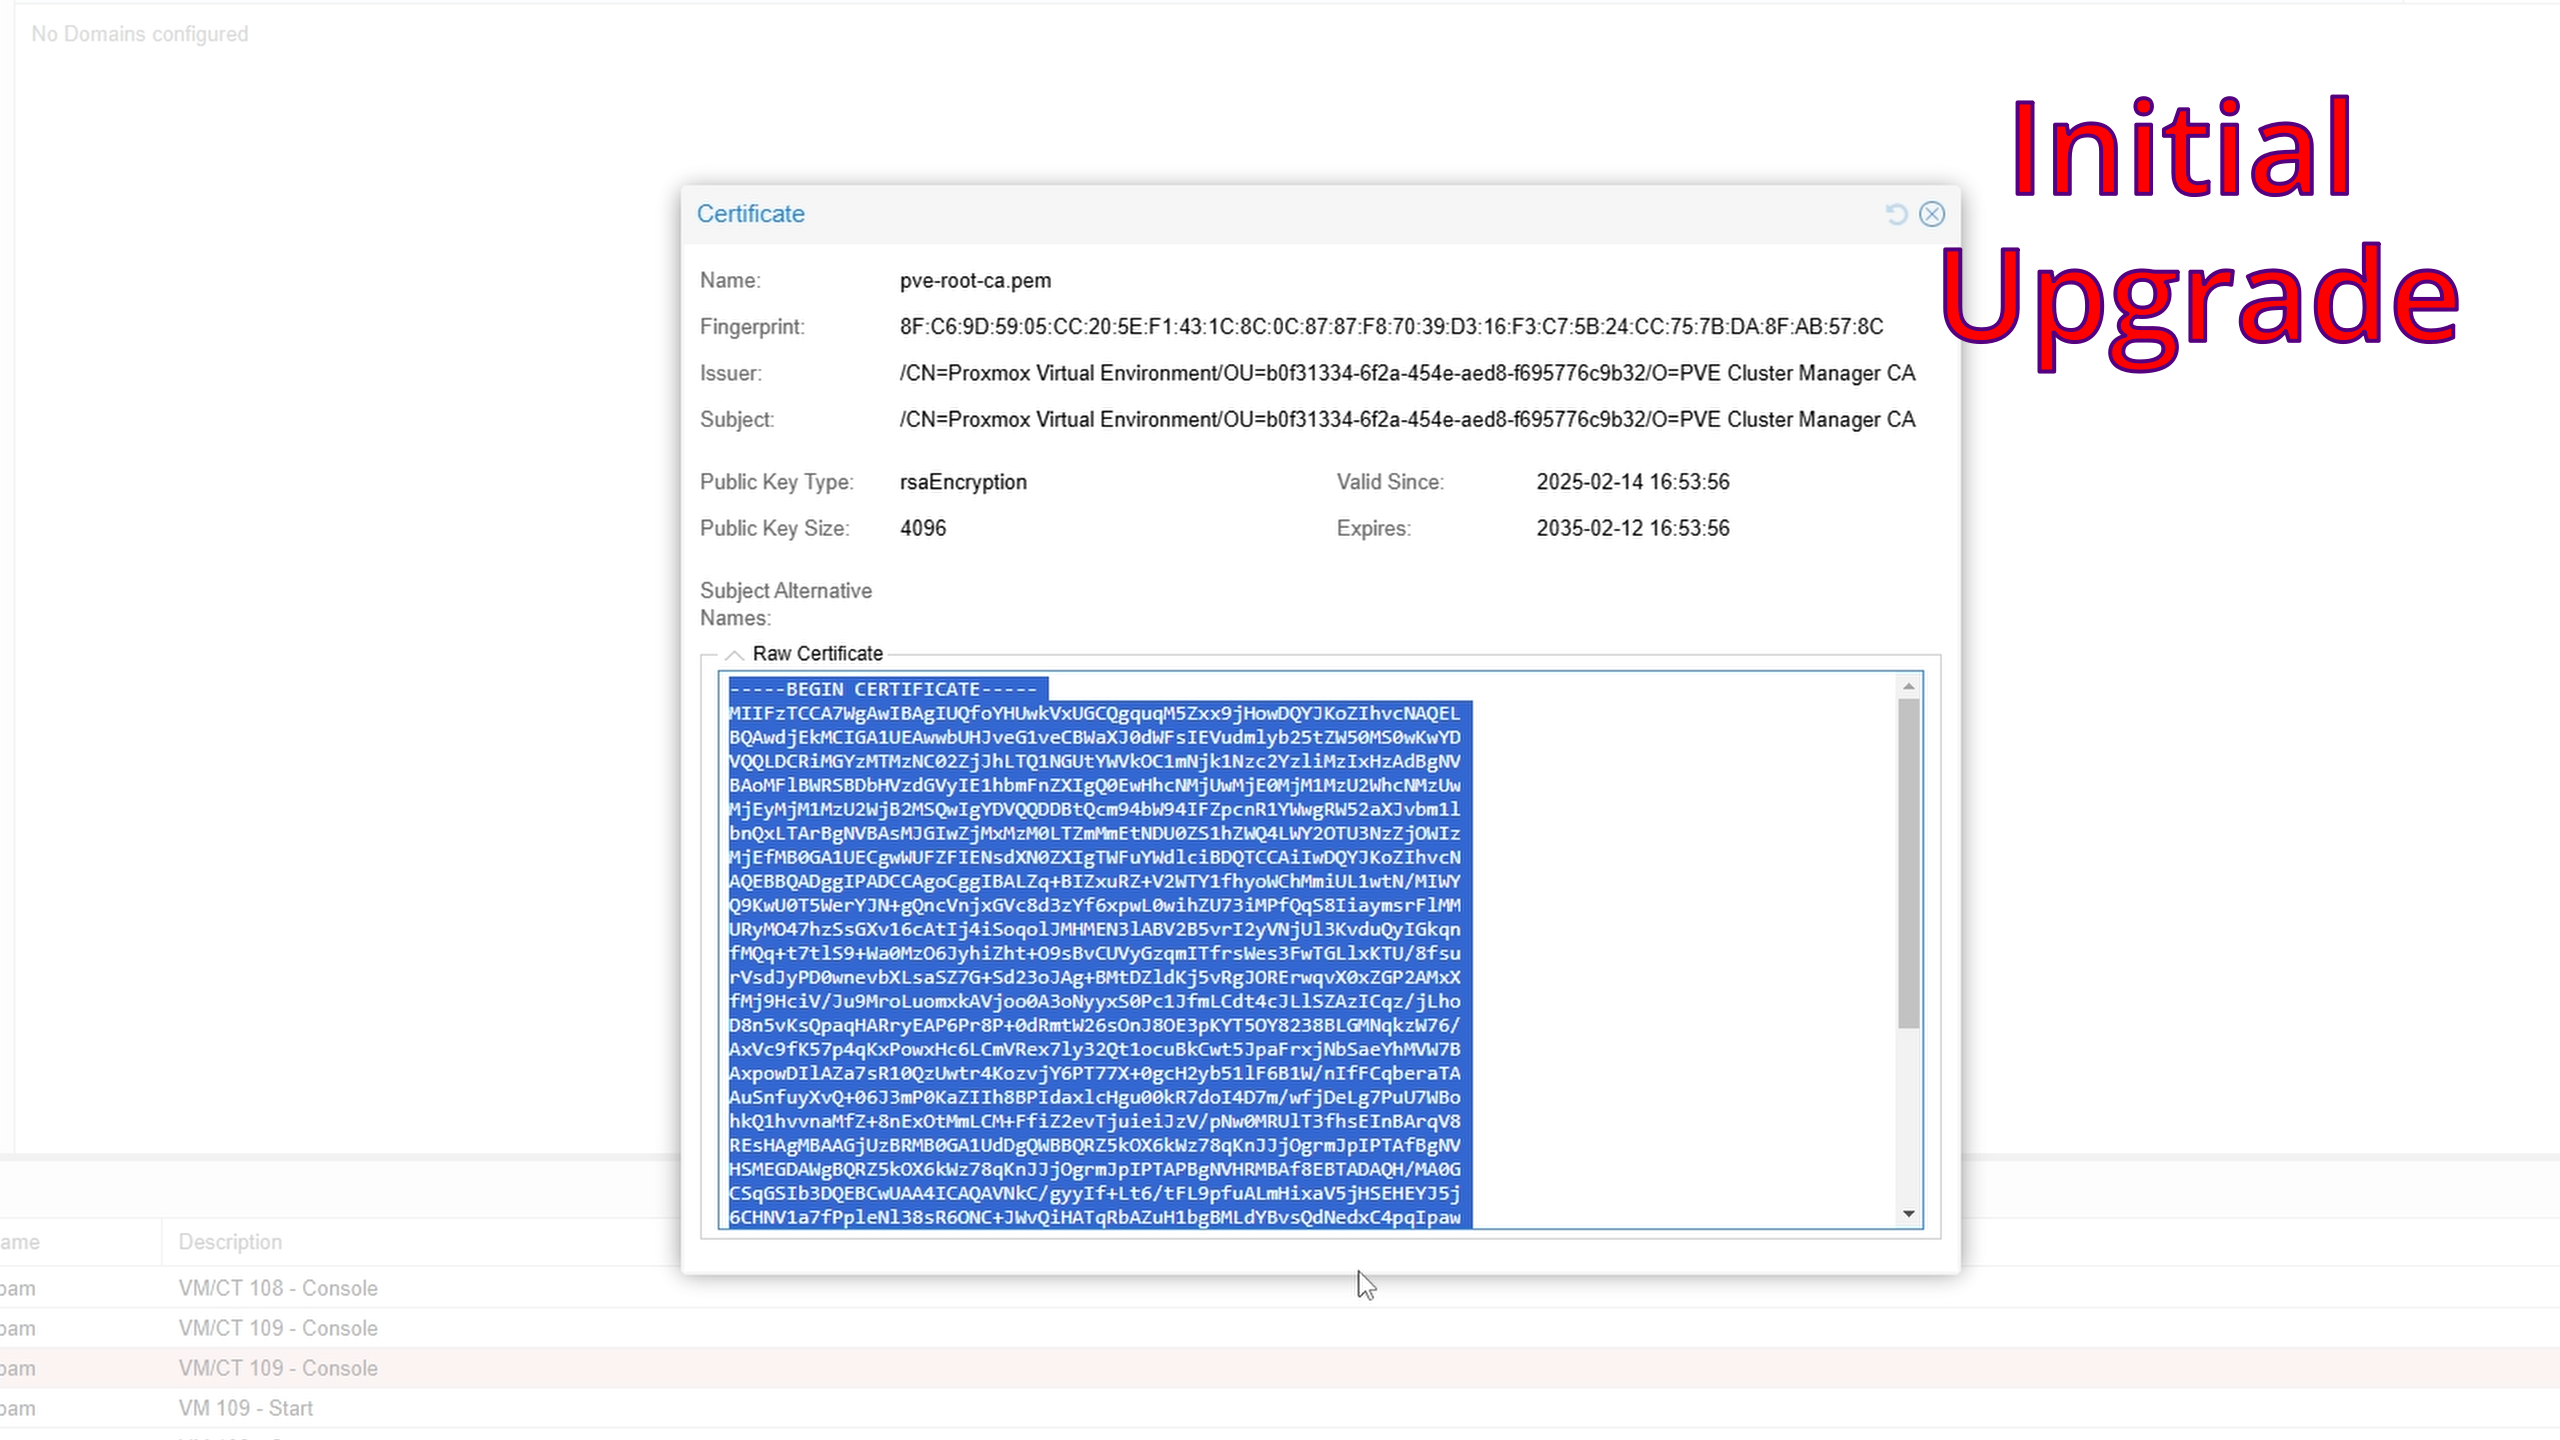
Paste contents:

Save as .crt file:
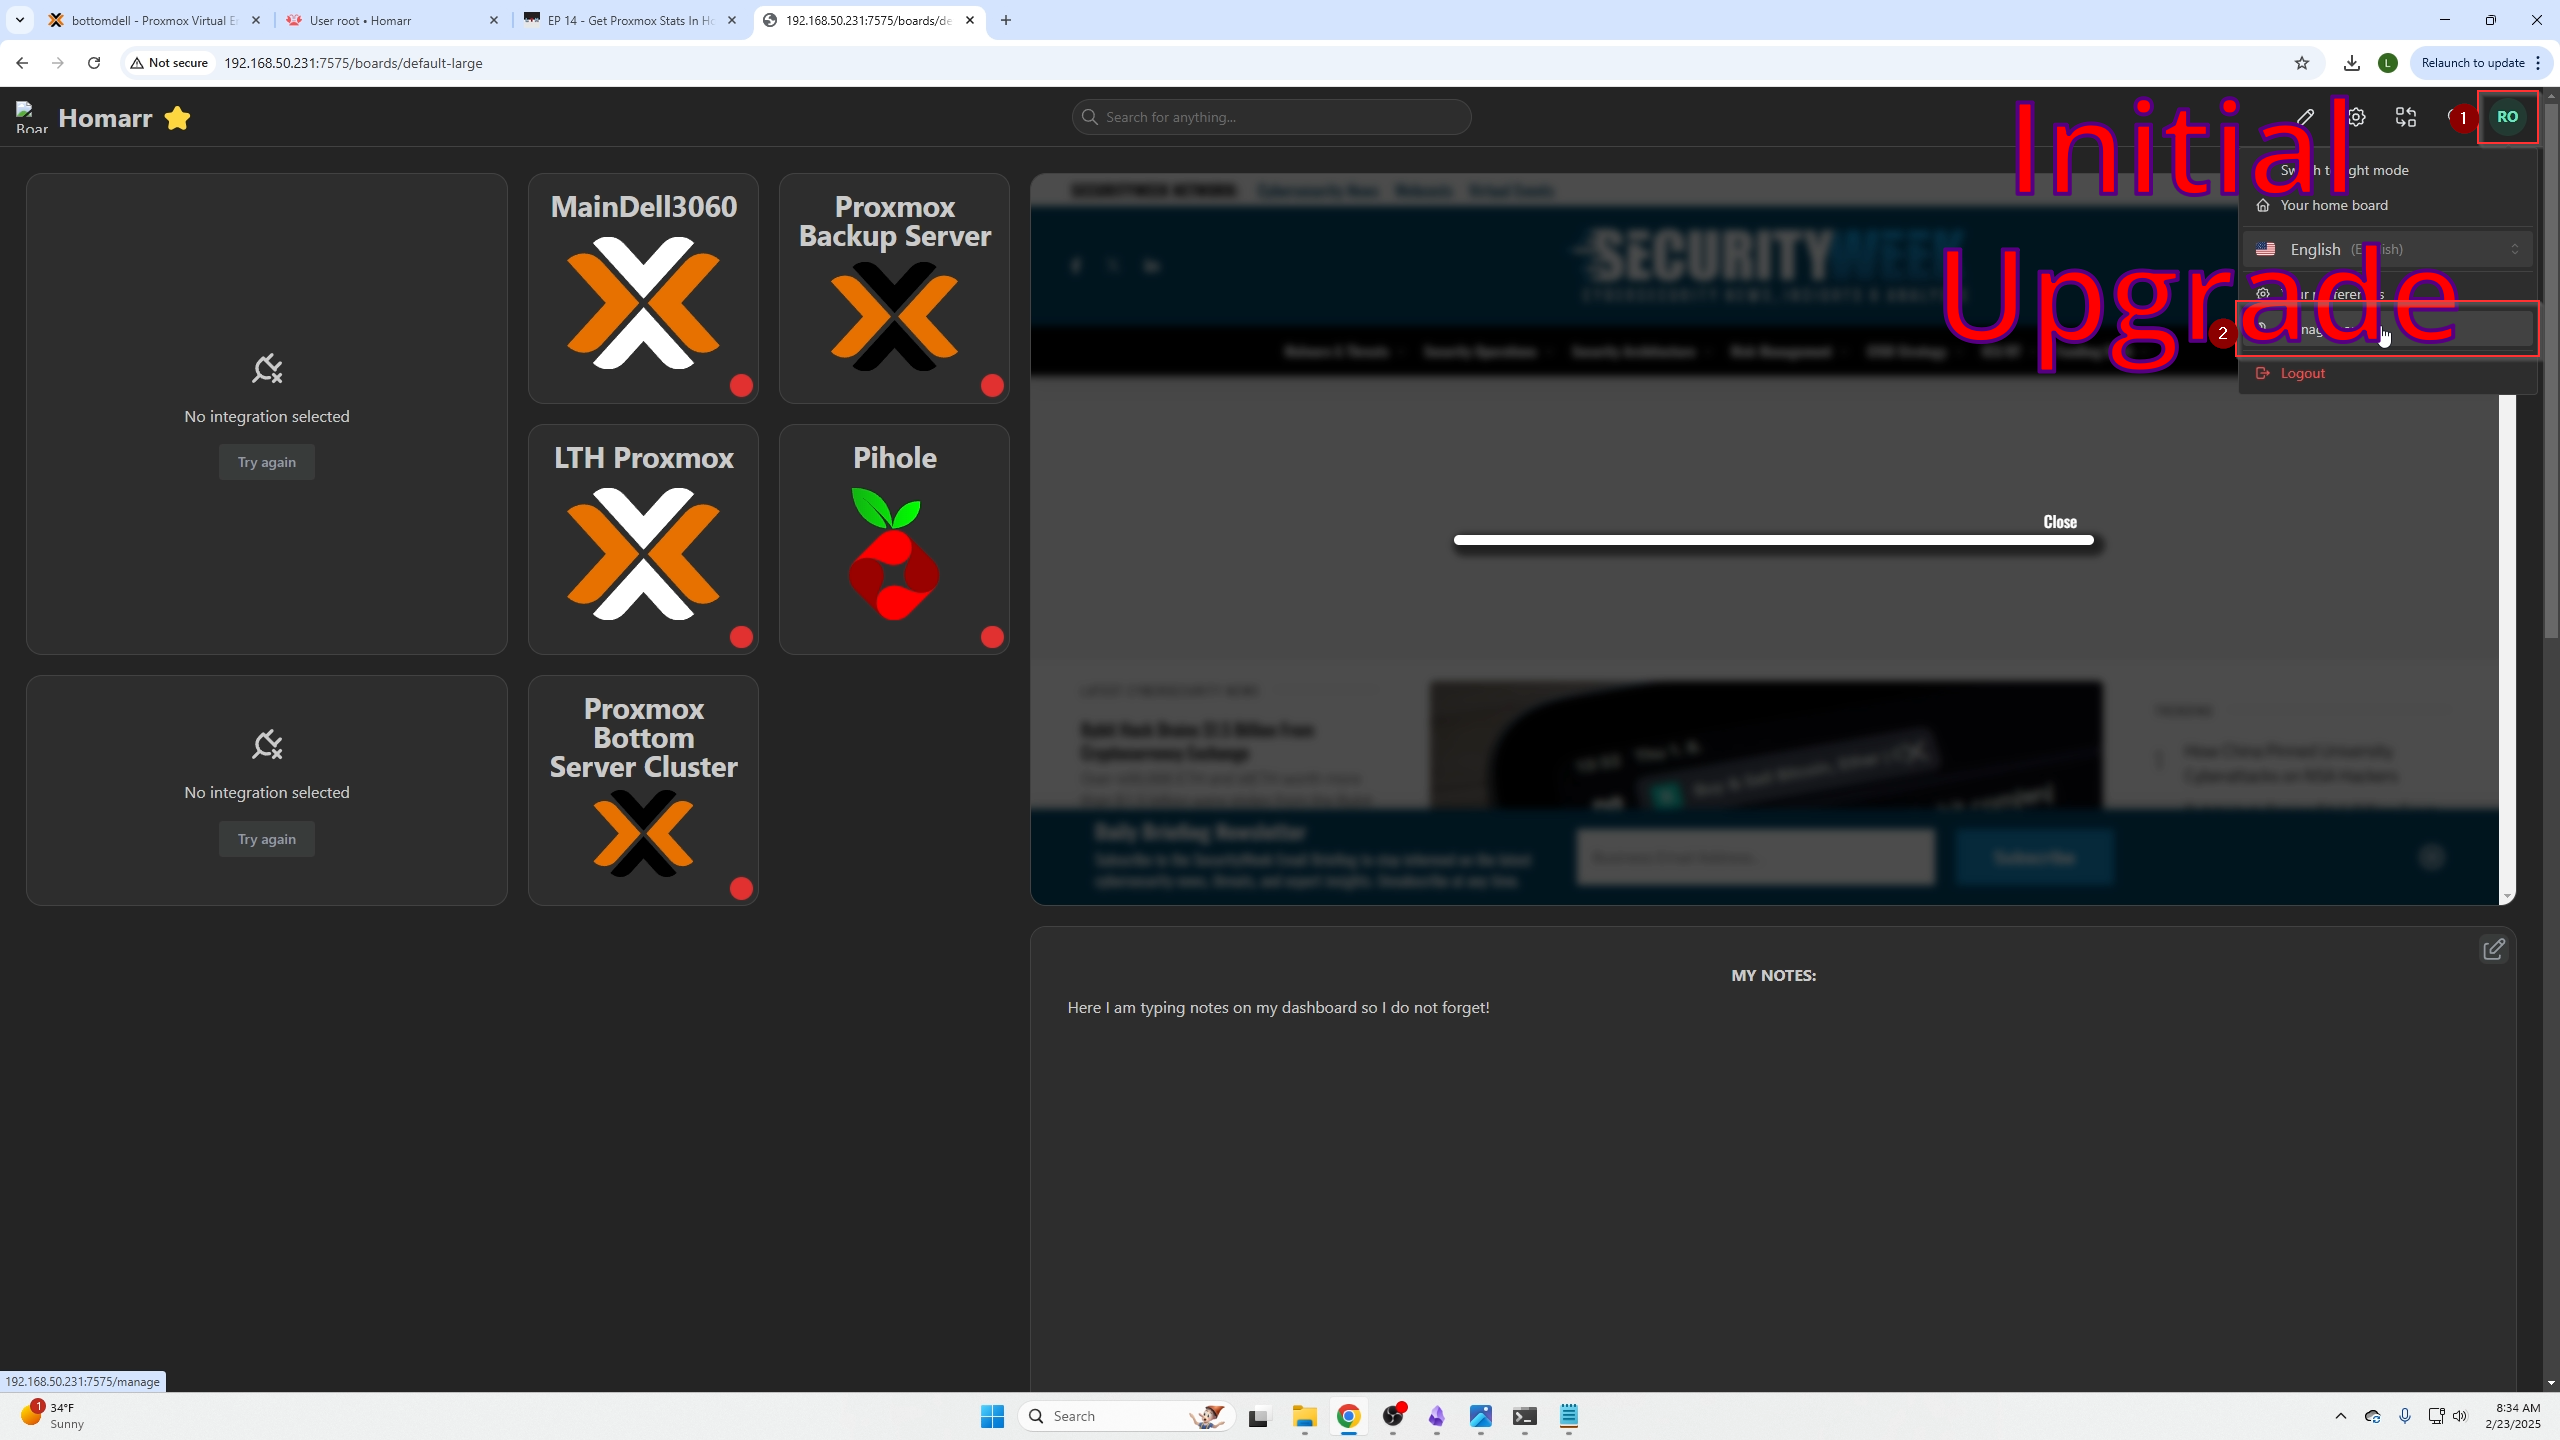
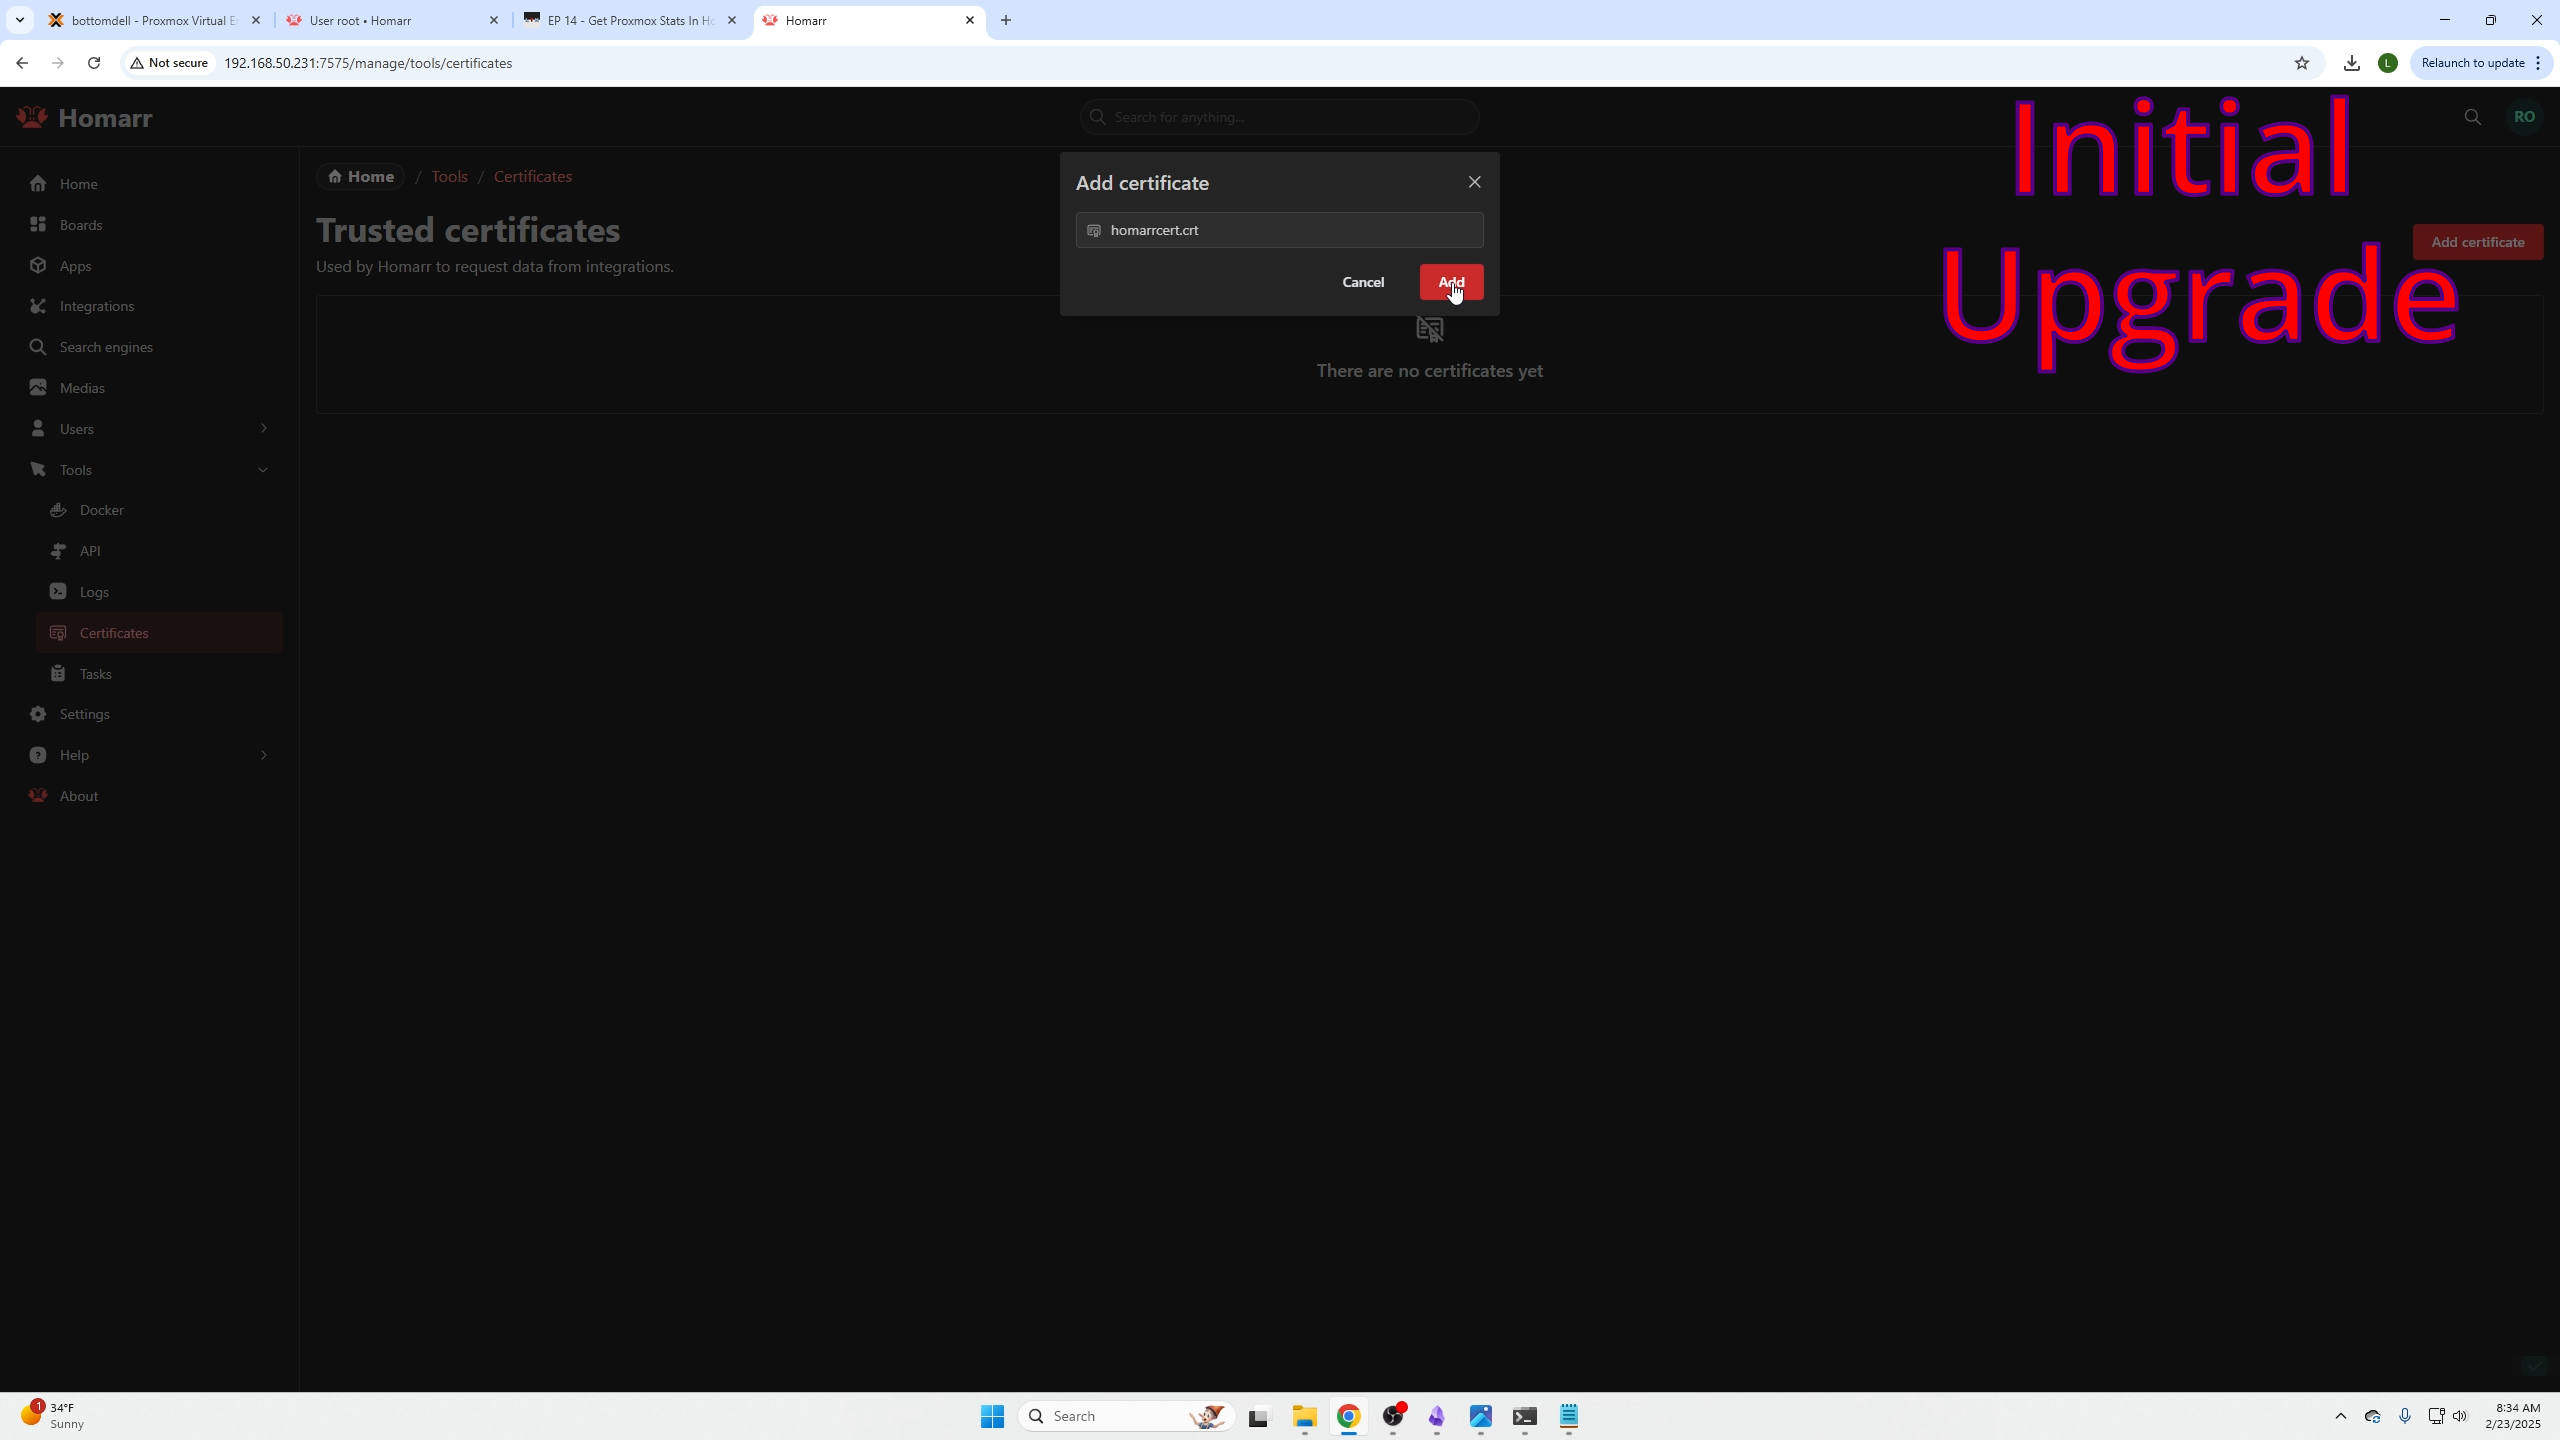
In Homarr dashboard:
Go to username bubble (top right) → Manage → Tools → Certificates → Add Certificate → Select saved .crt file → Add.
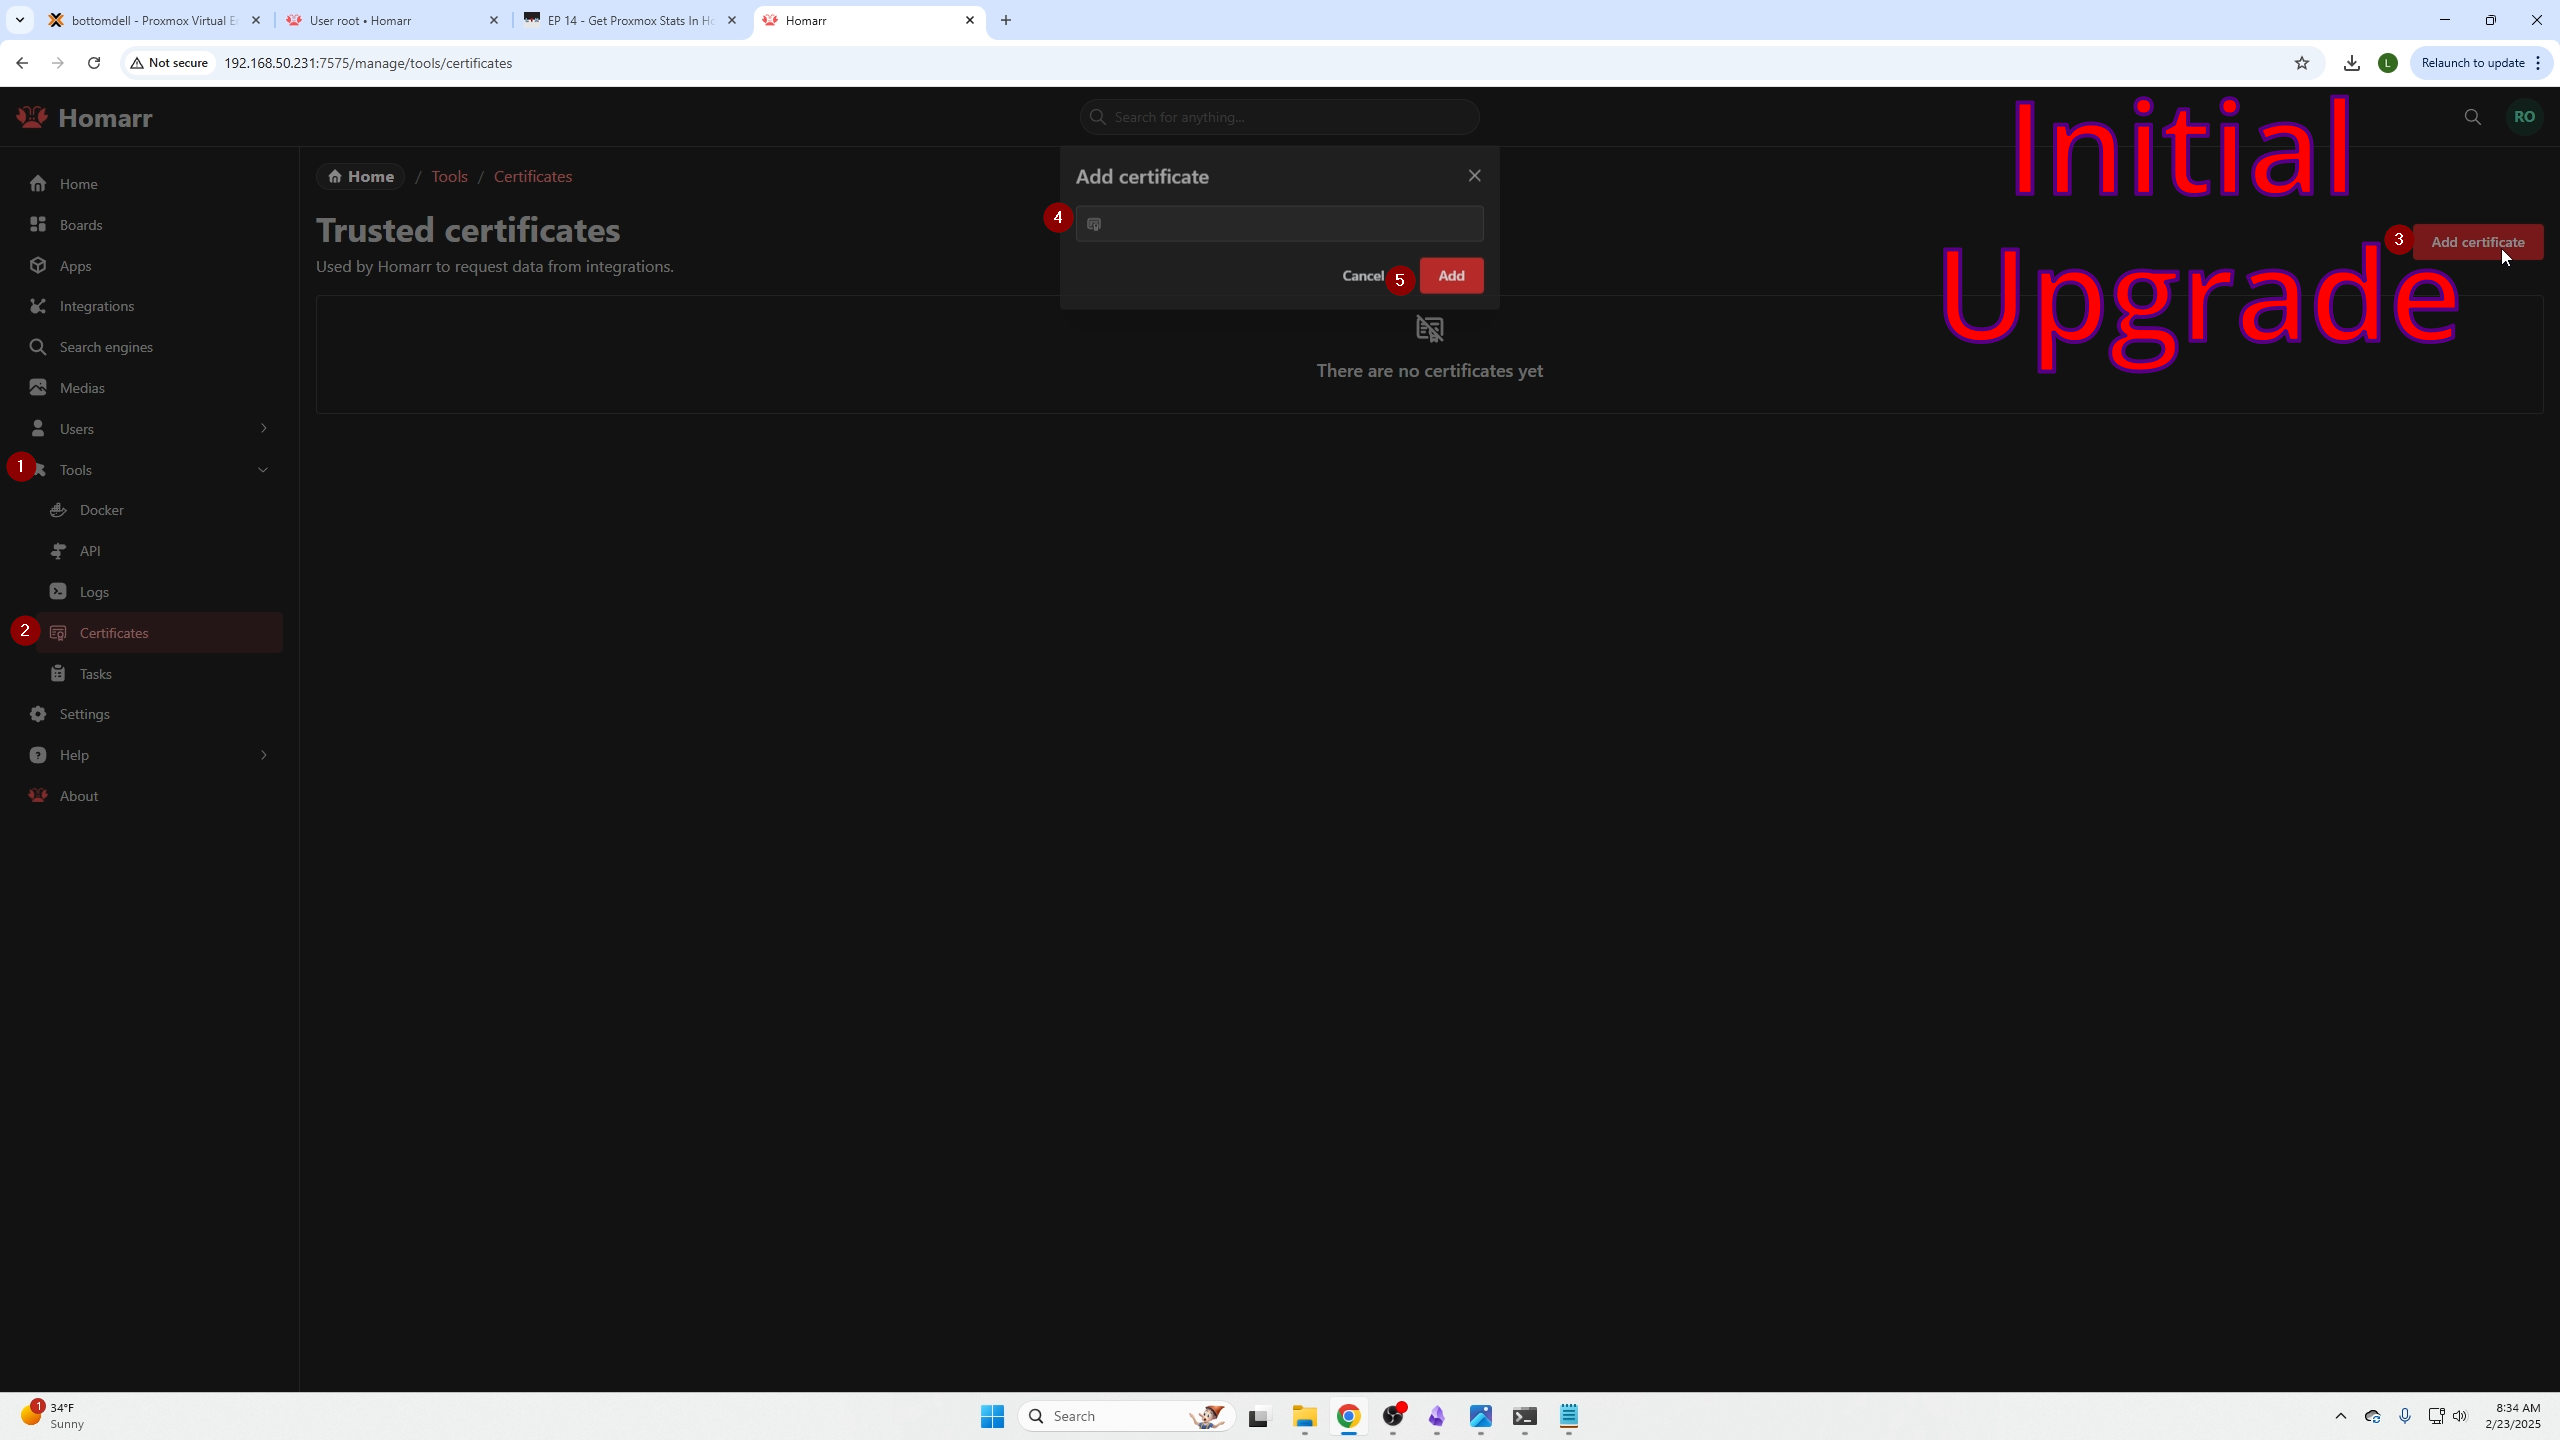
You should see the valid certificate listed.

Adding Proxmox Stats Integration
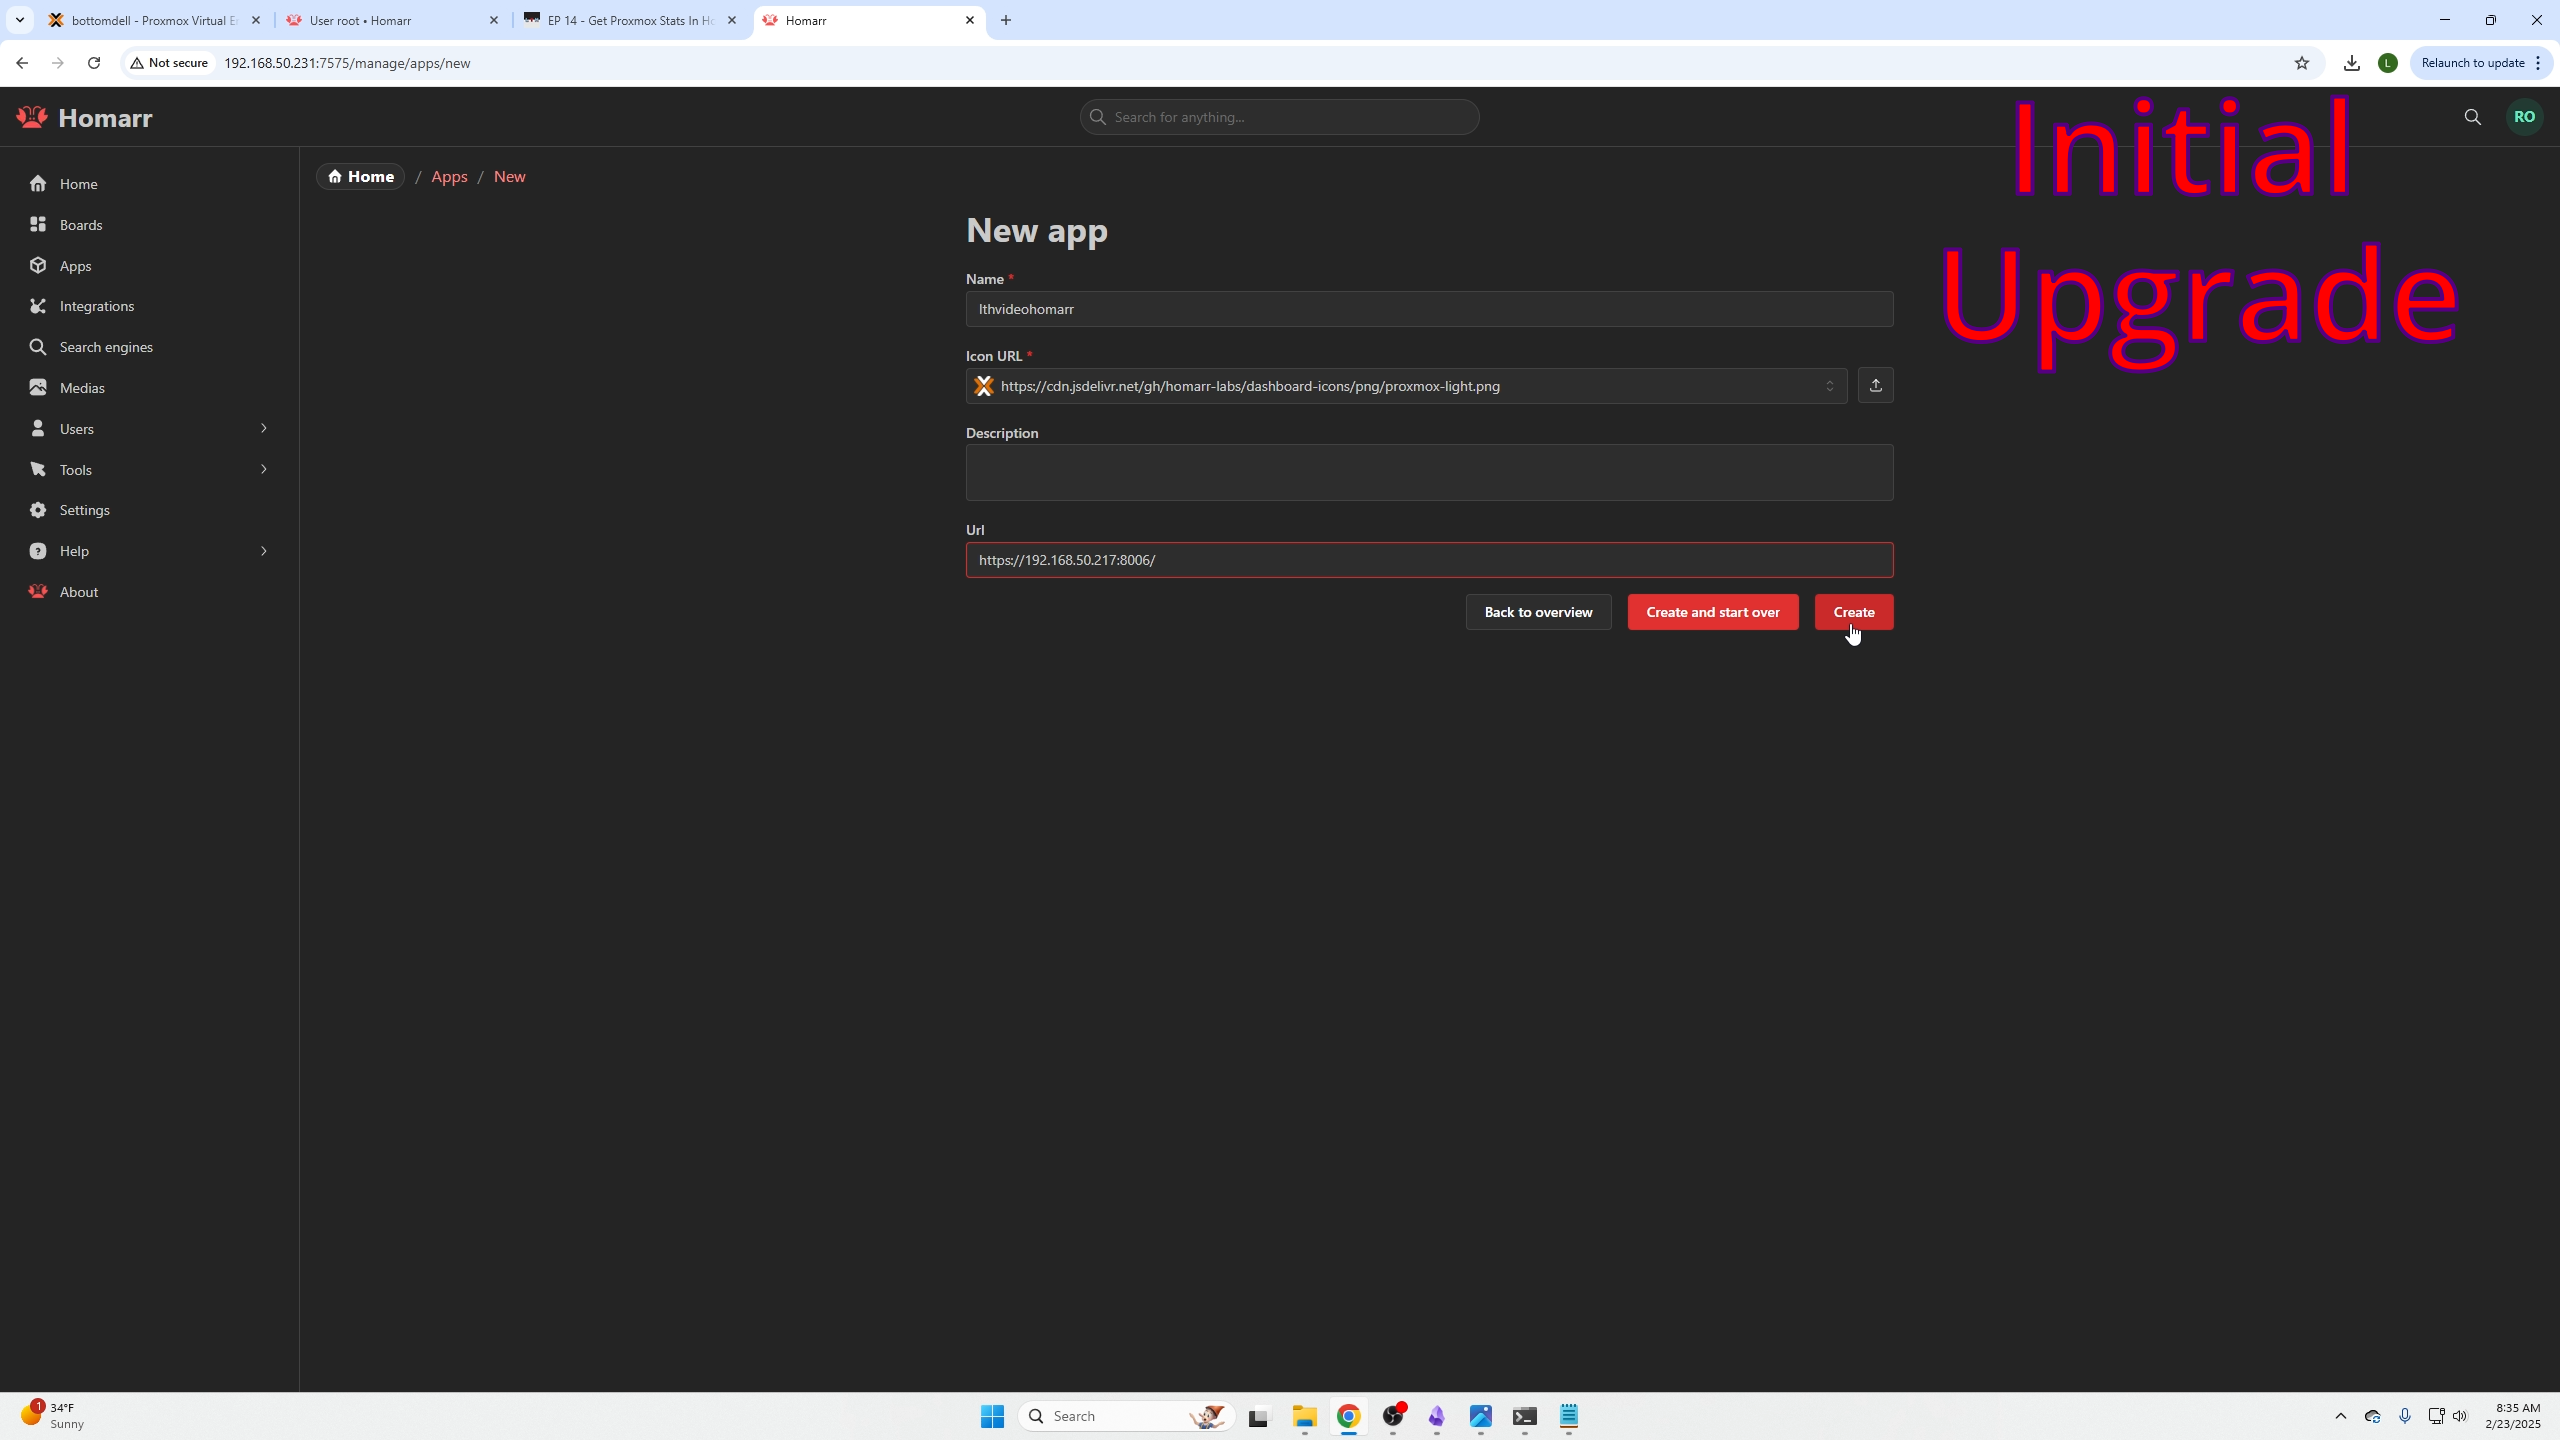
Create a new app before adding integrations:
Click New App.
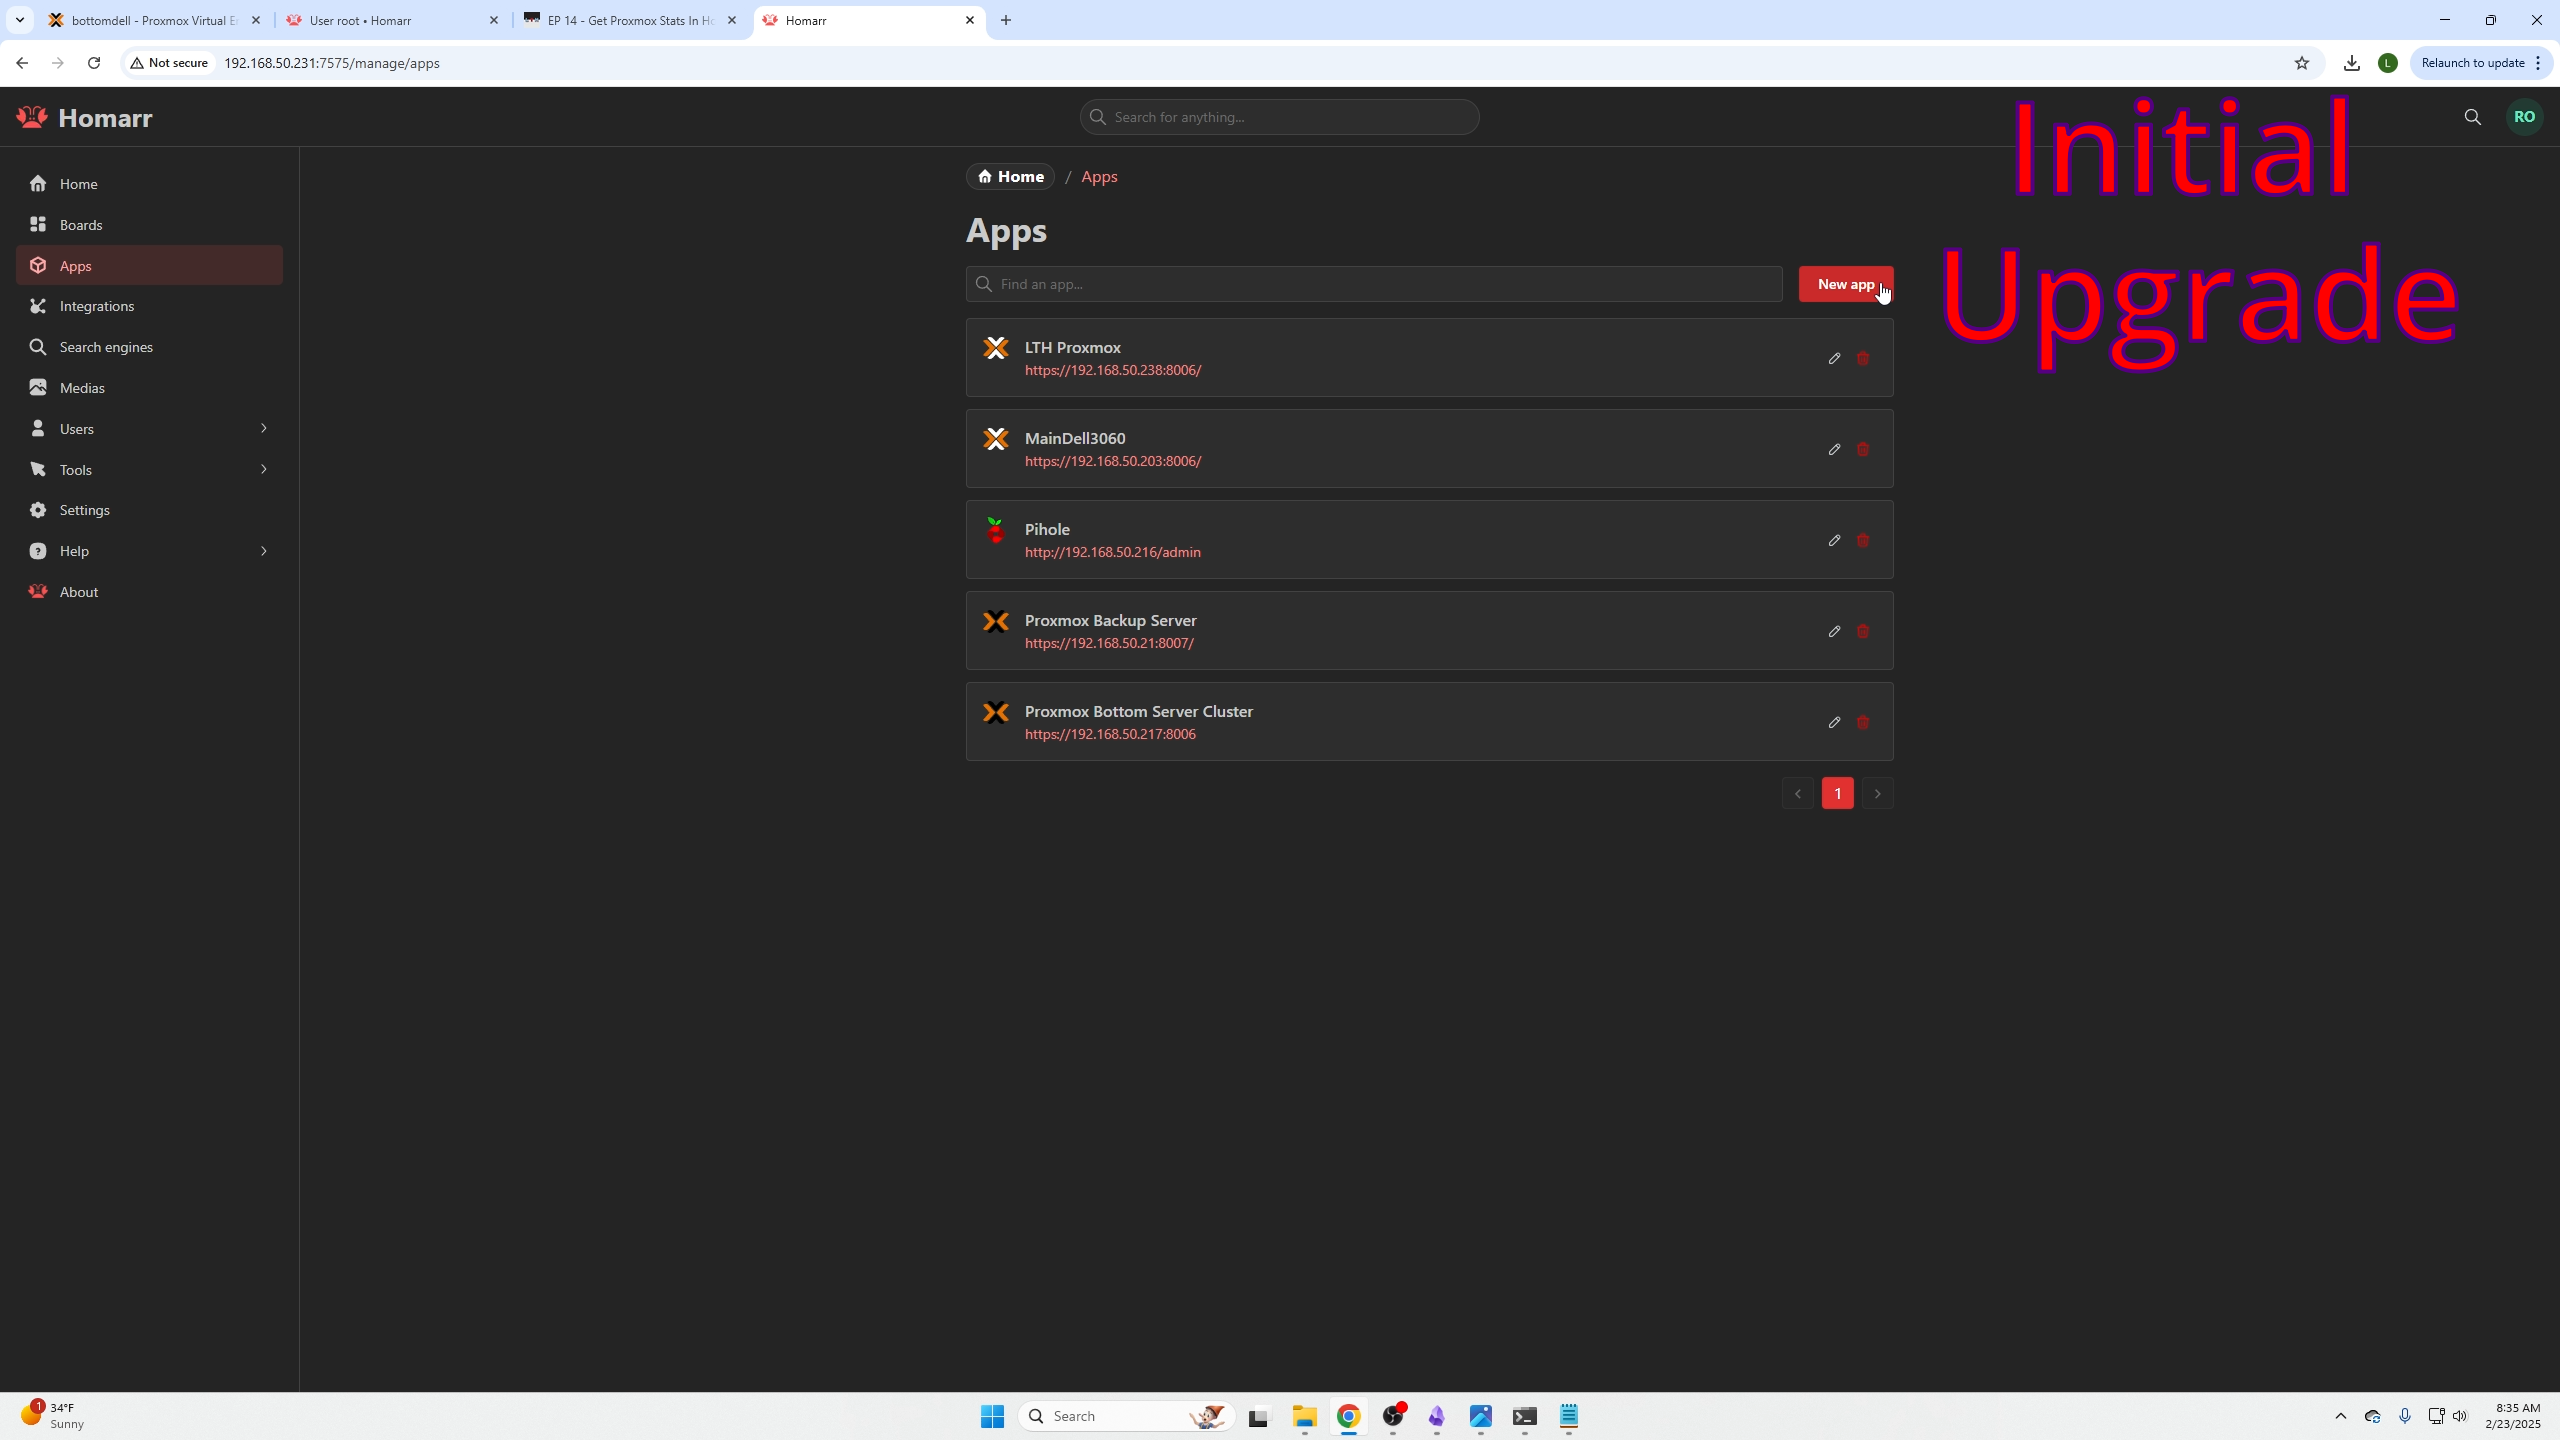
- Name it
- Search for Proxmox icon
- Enter Proxmox node IP (URL)
- Click Create
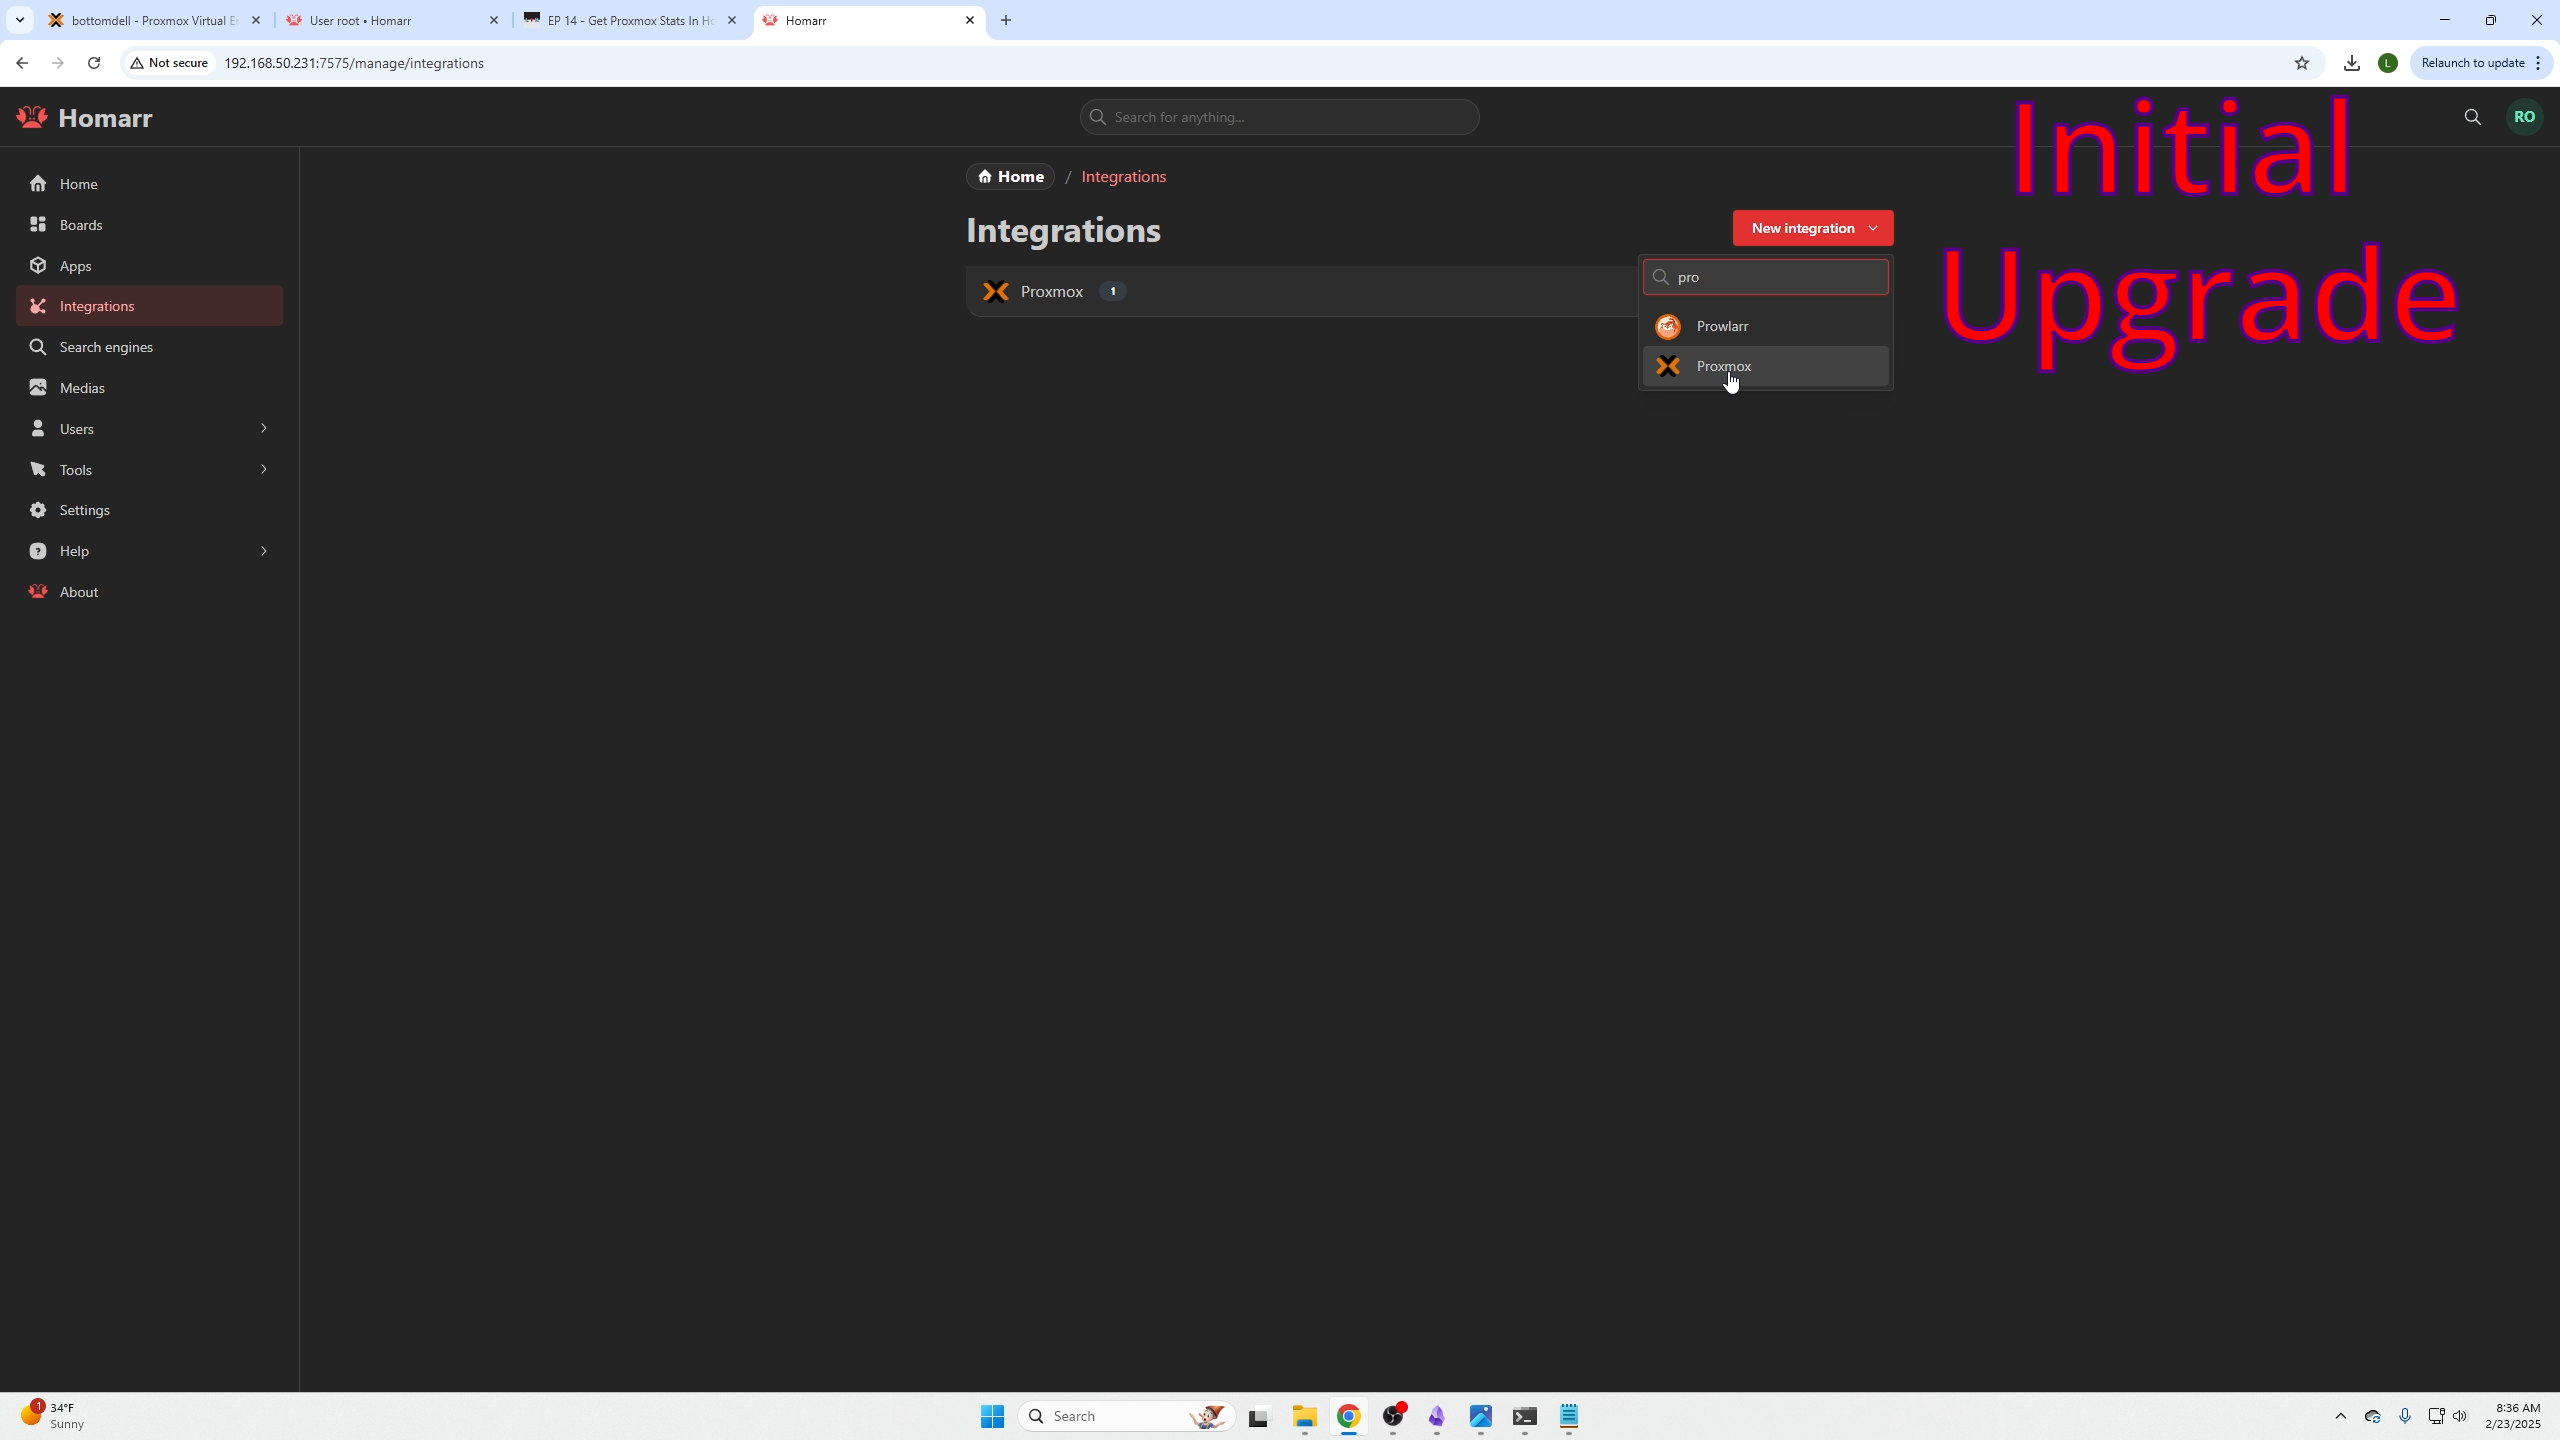
Go to Integrations tab:
- New Integration
- Search and select Proxmox
This is the major change from the old Homarr panel.
Get the correct Proxmox details: username, token ID, API key, and realm.
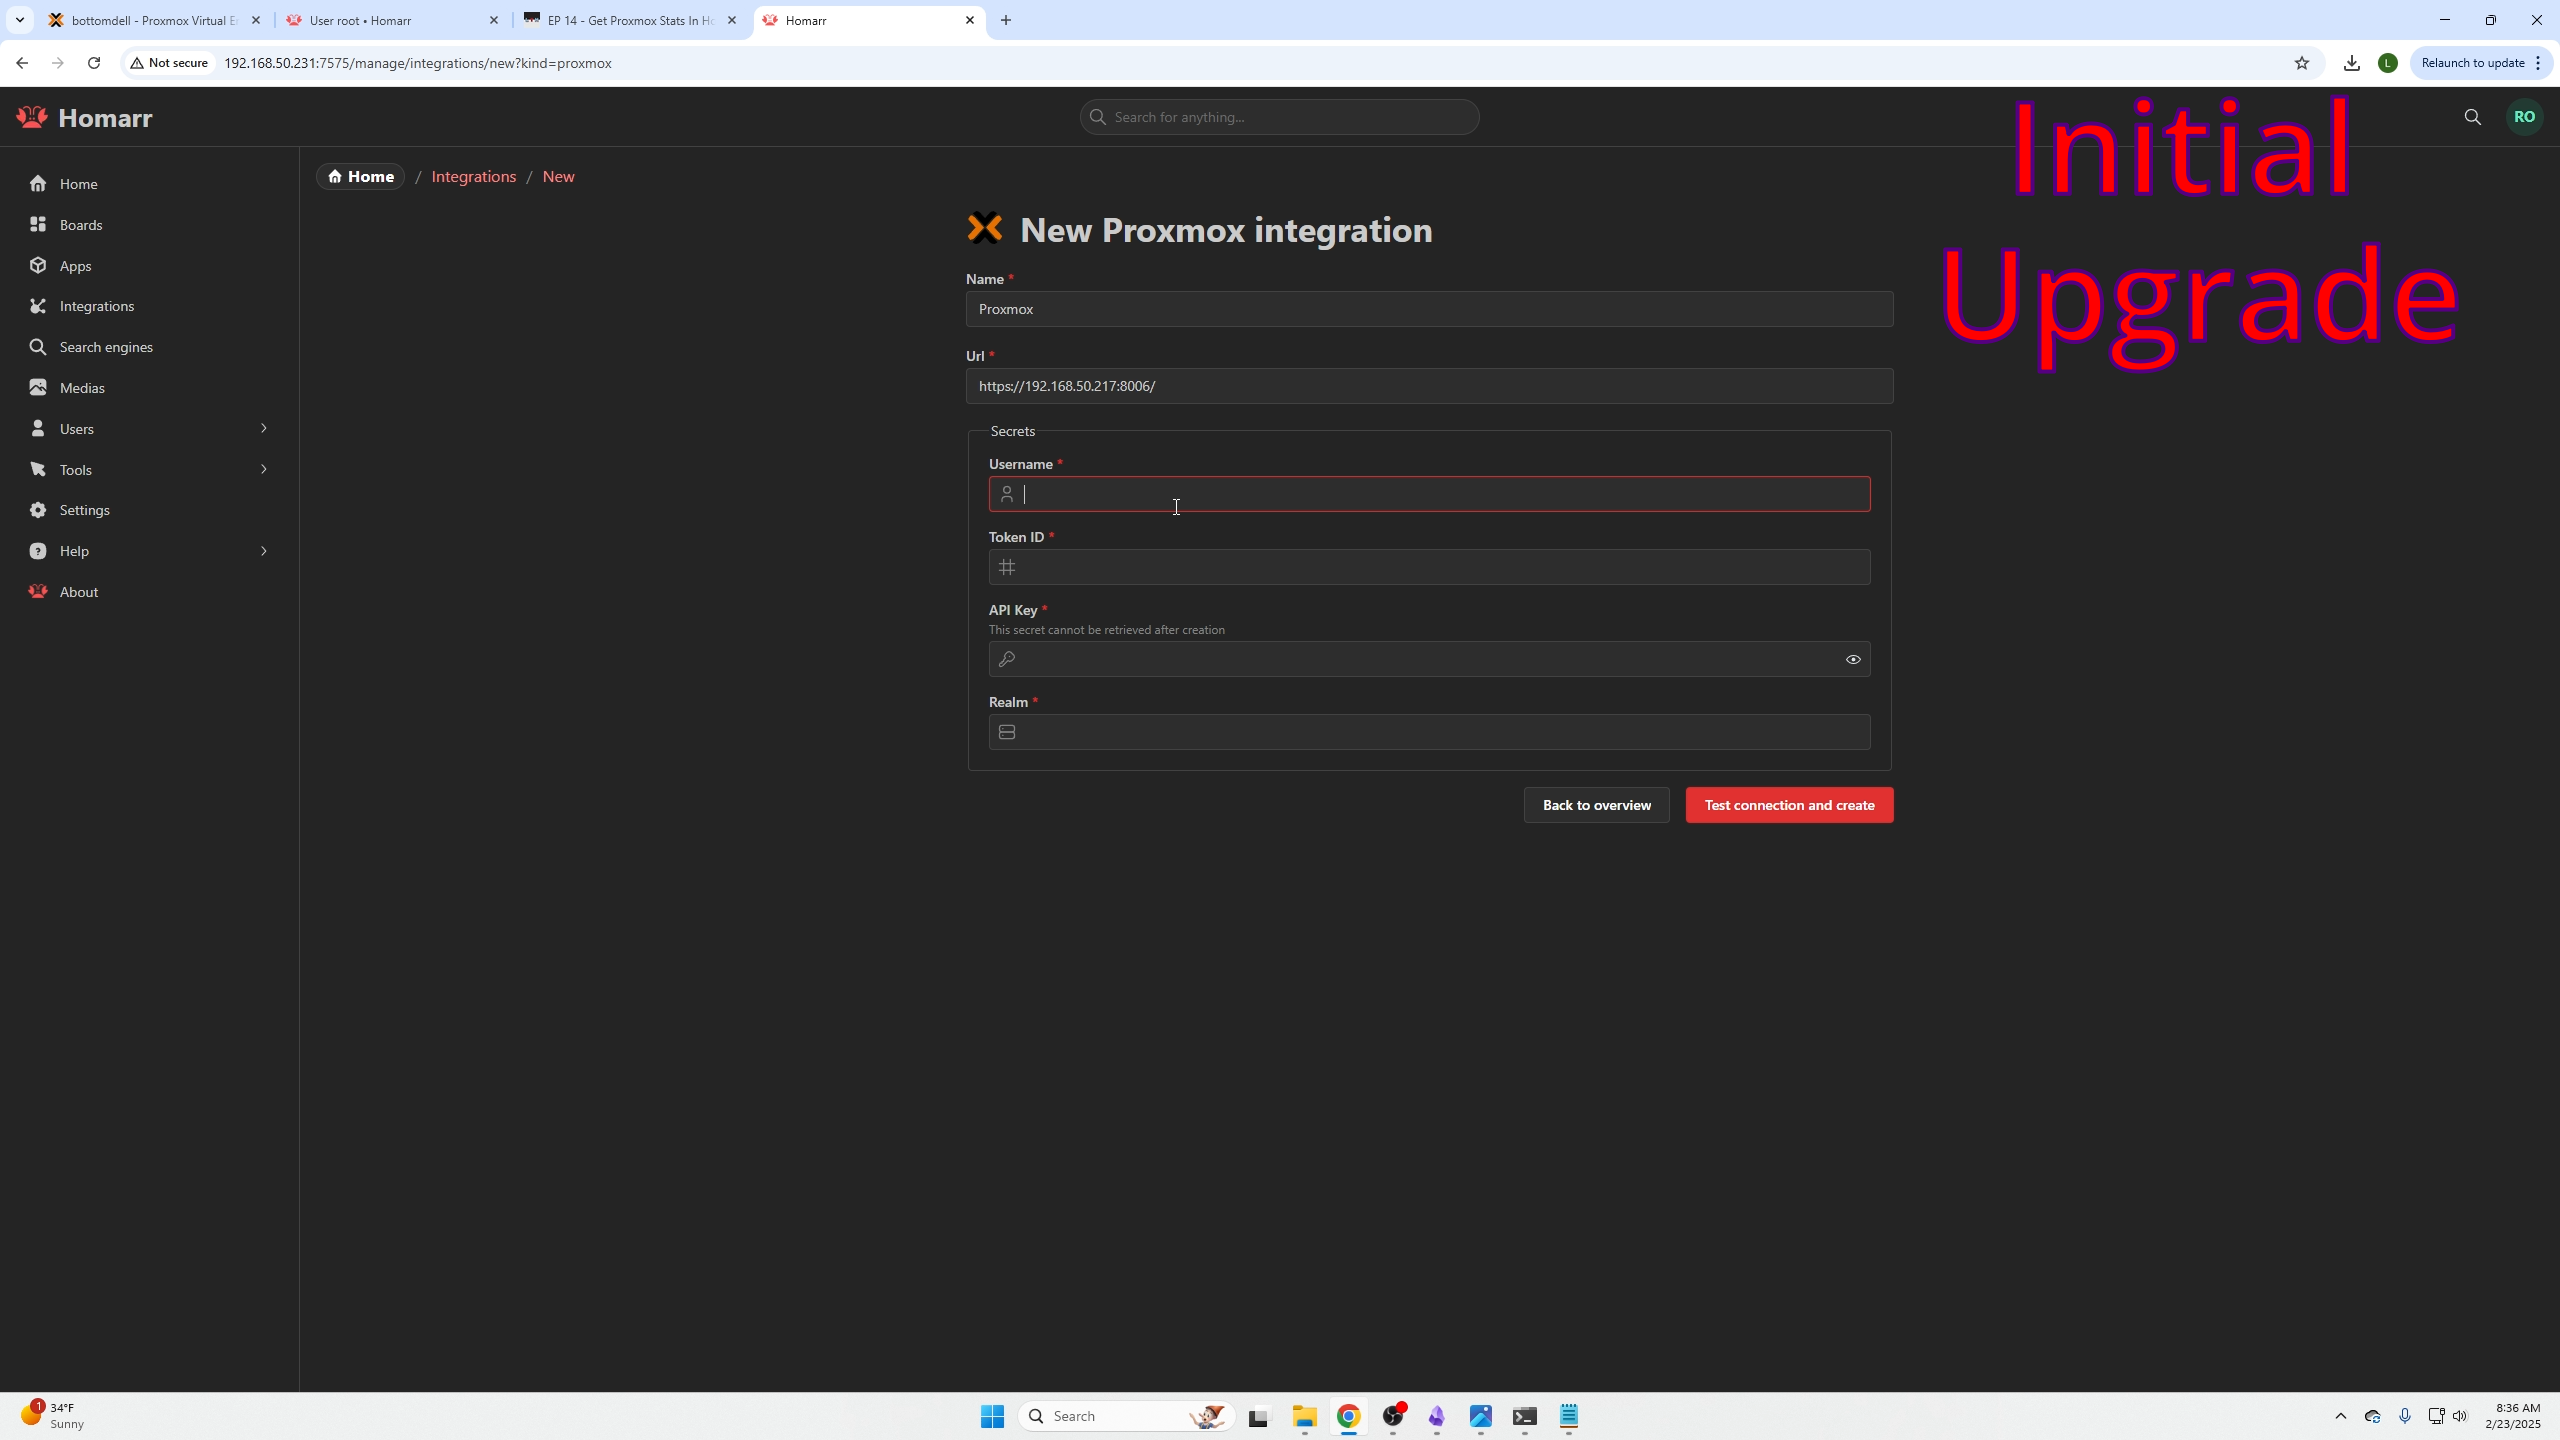
In Proxmox Data Center:
- Go to API Token to find username and token name
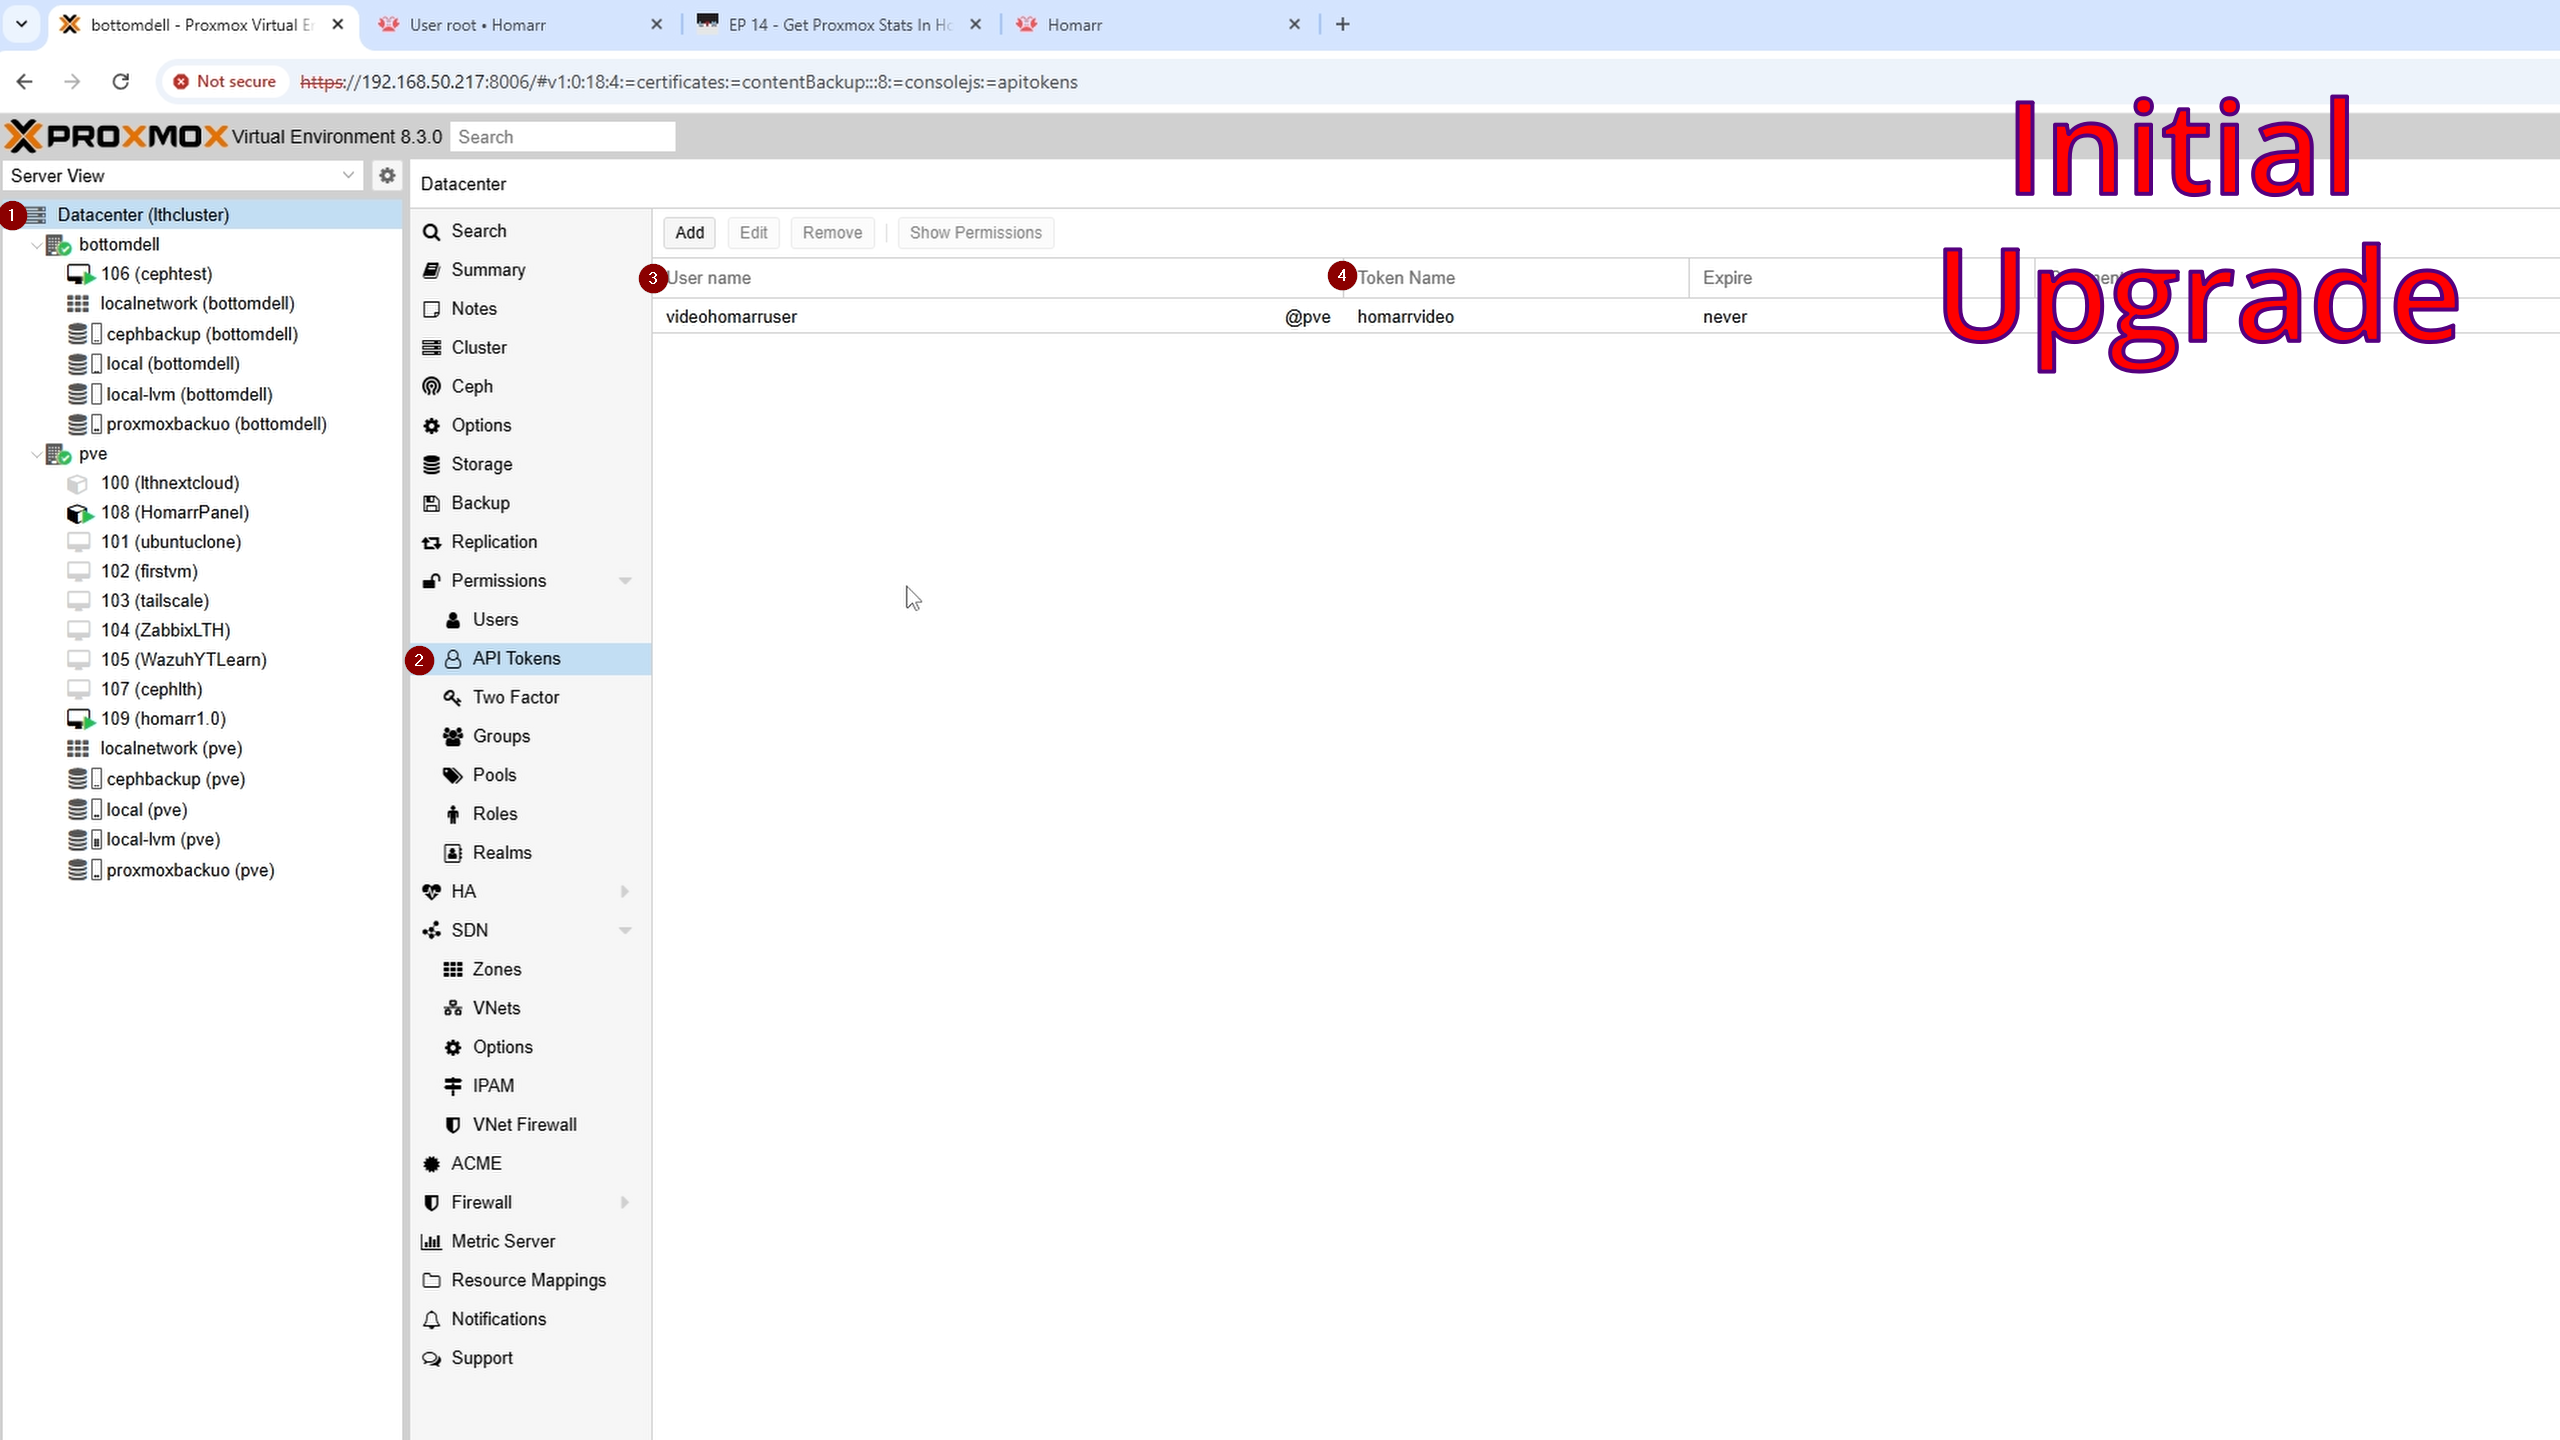
Fill username, token ID, and API key in Homarr integration form.
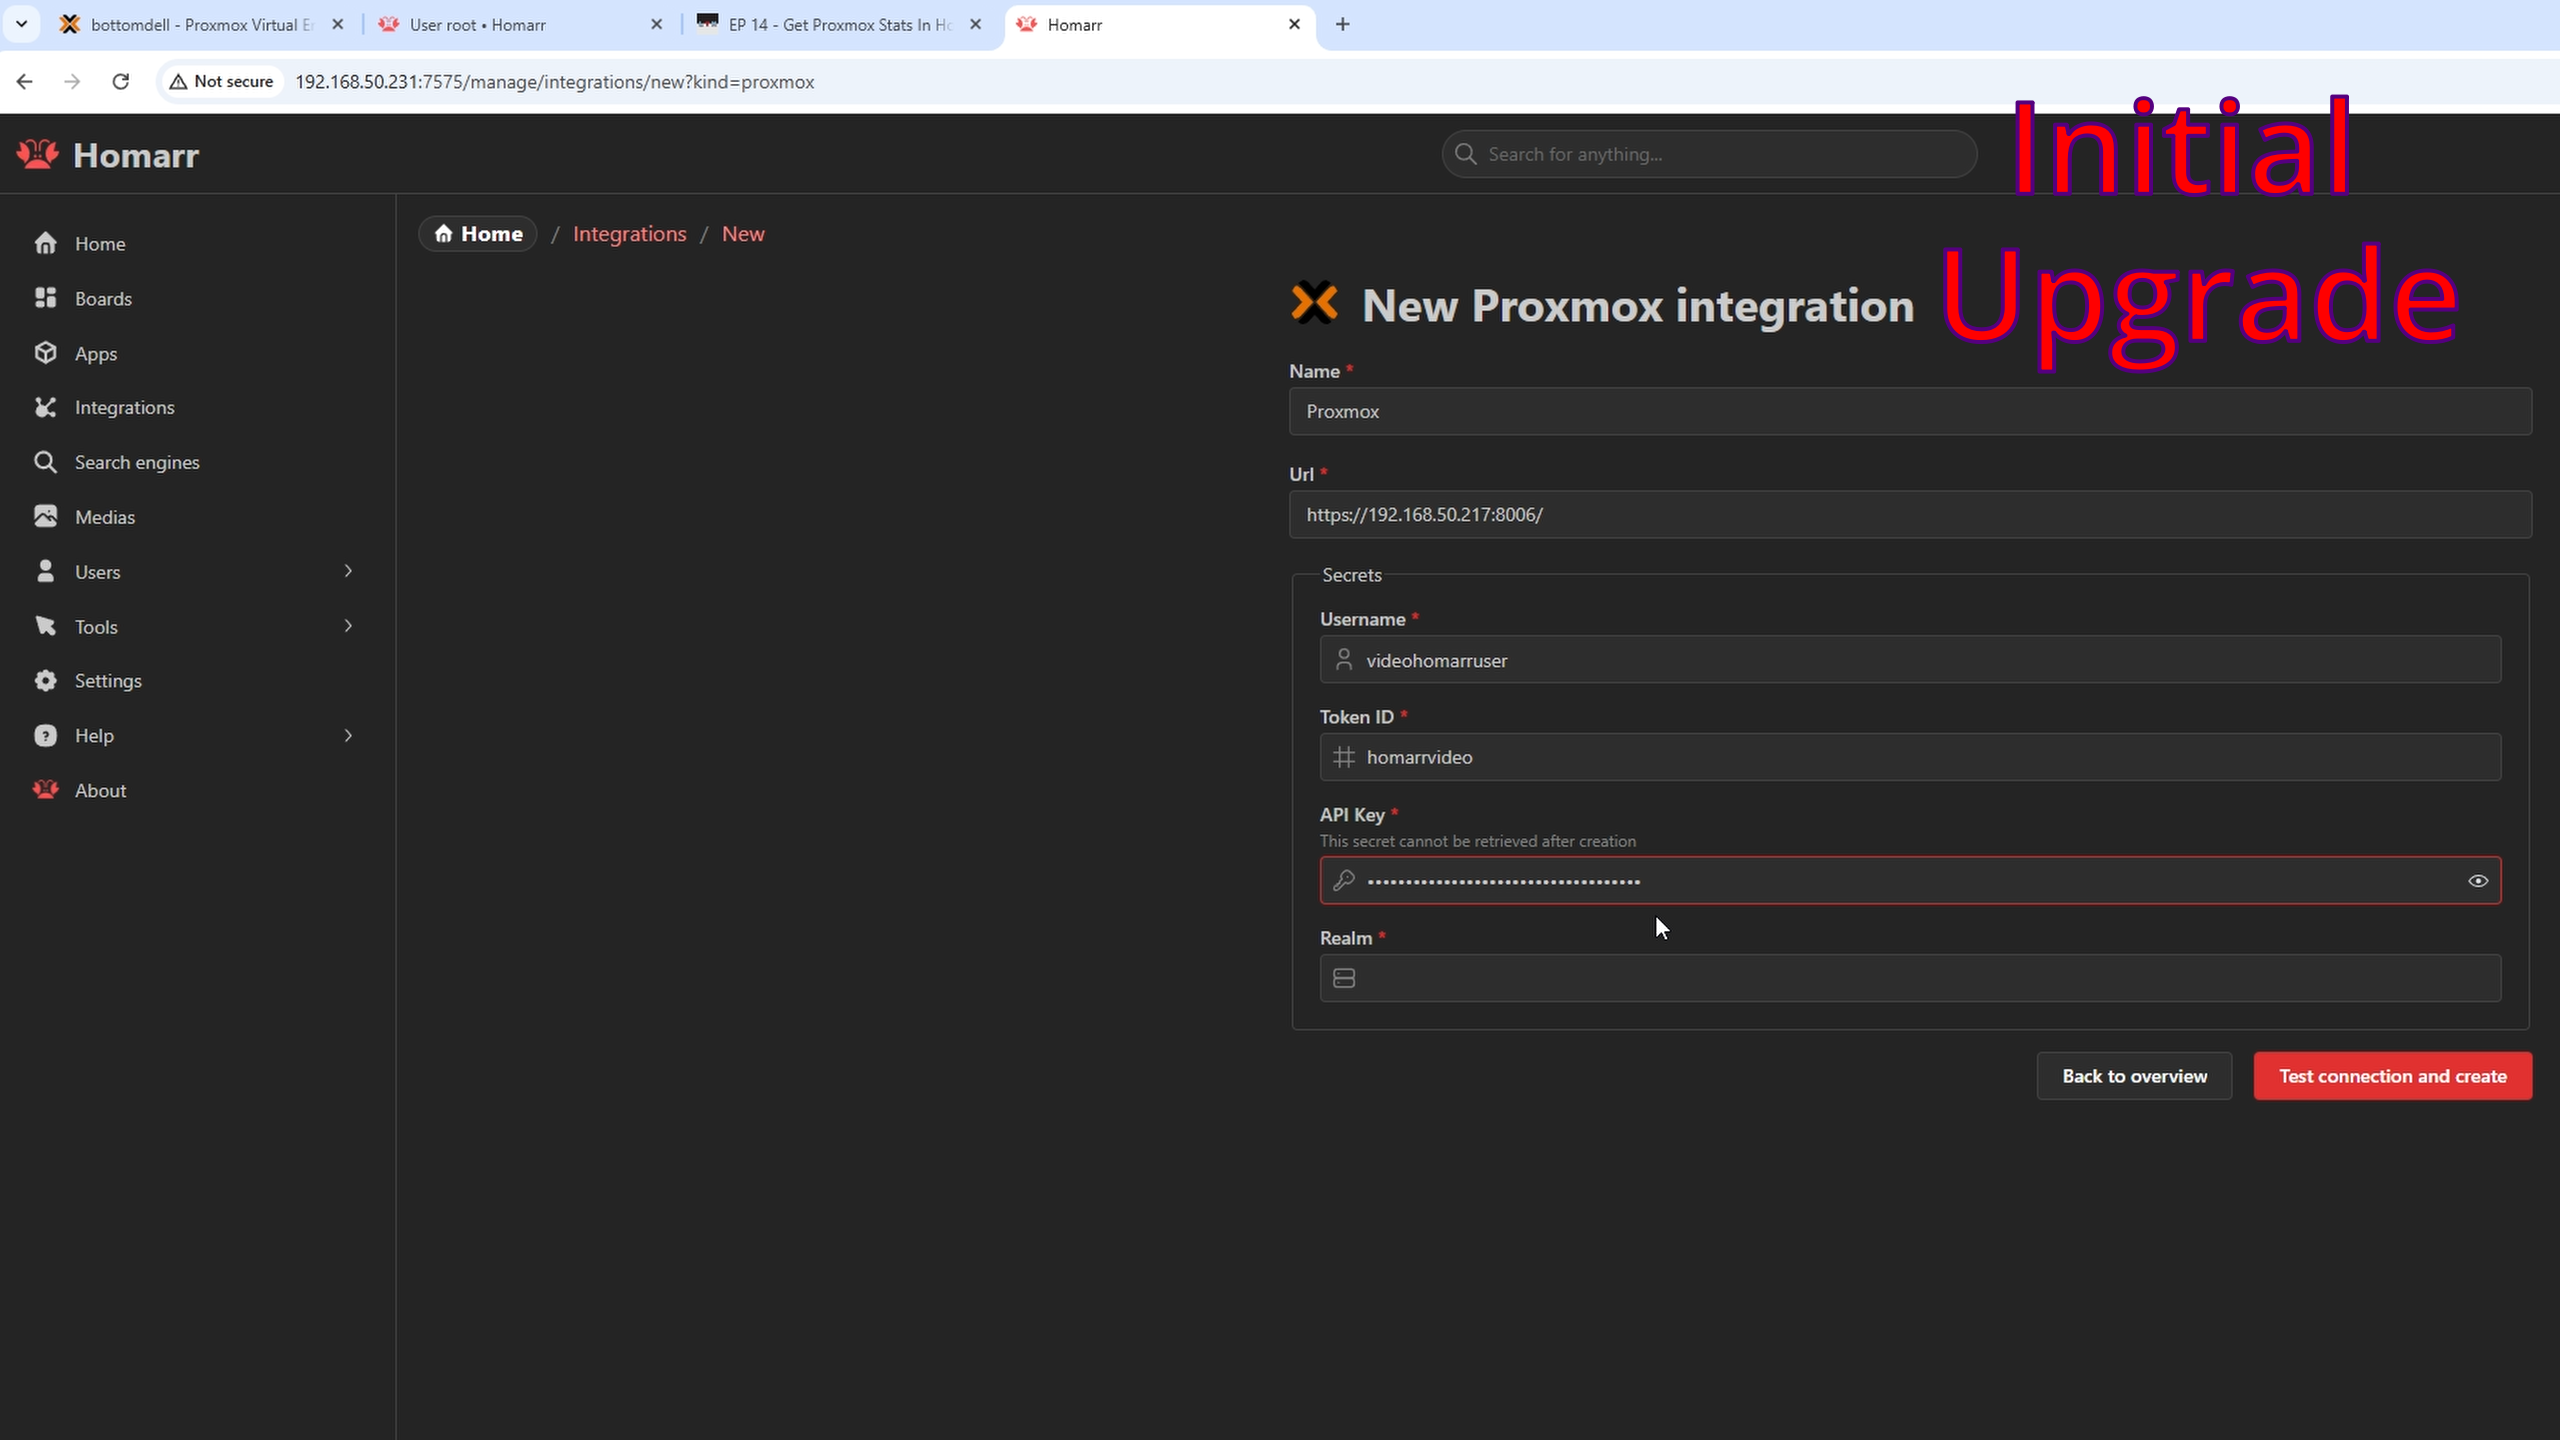
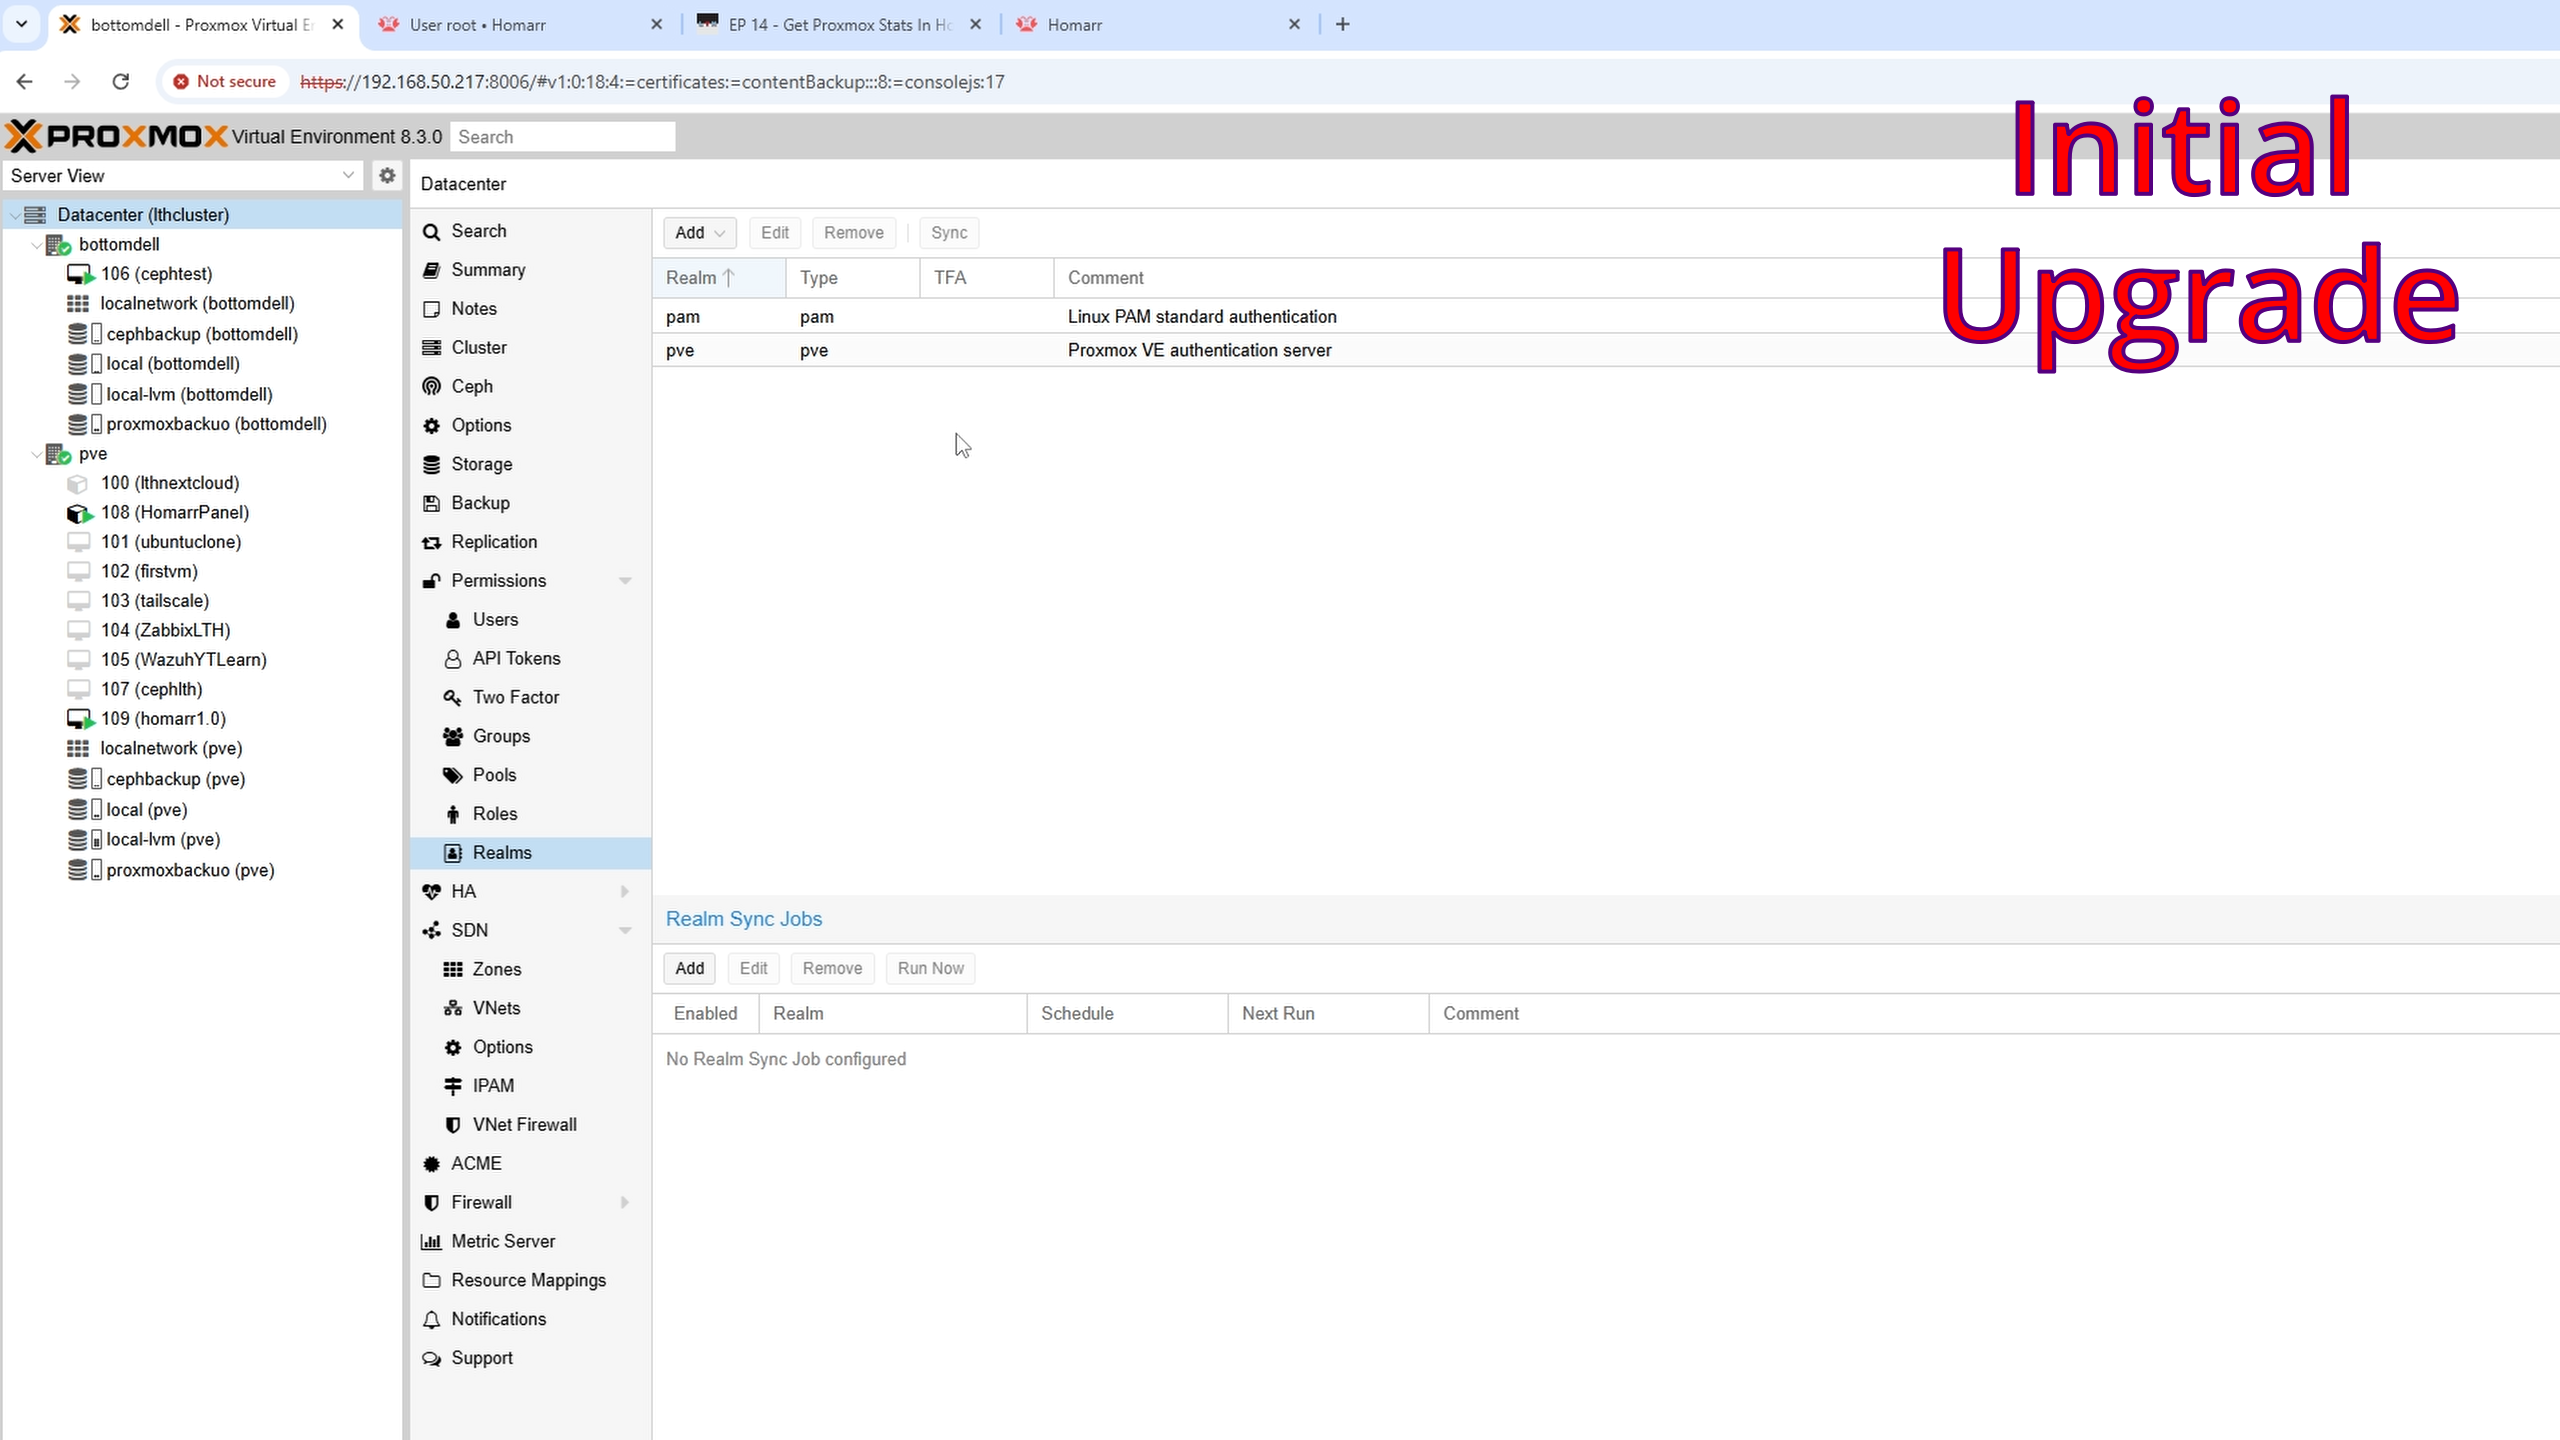
Get realm from Datacenter → Realms; typically PVE.
Test connection and connect.

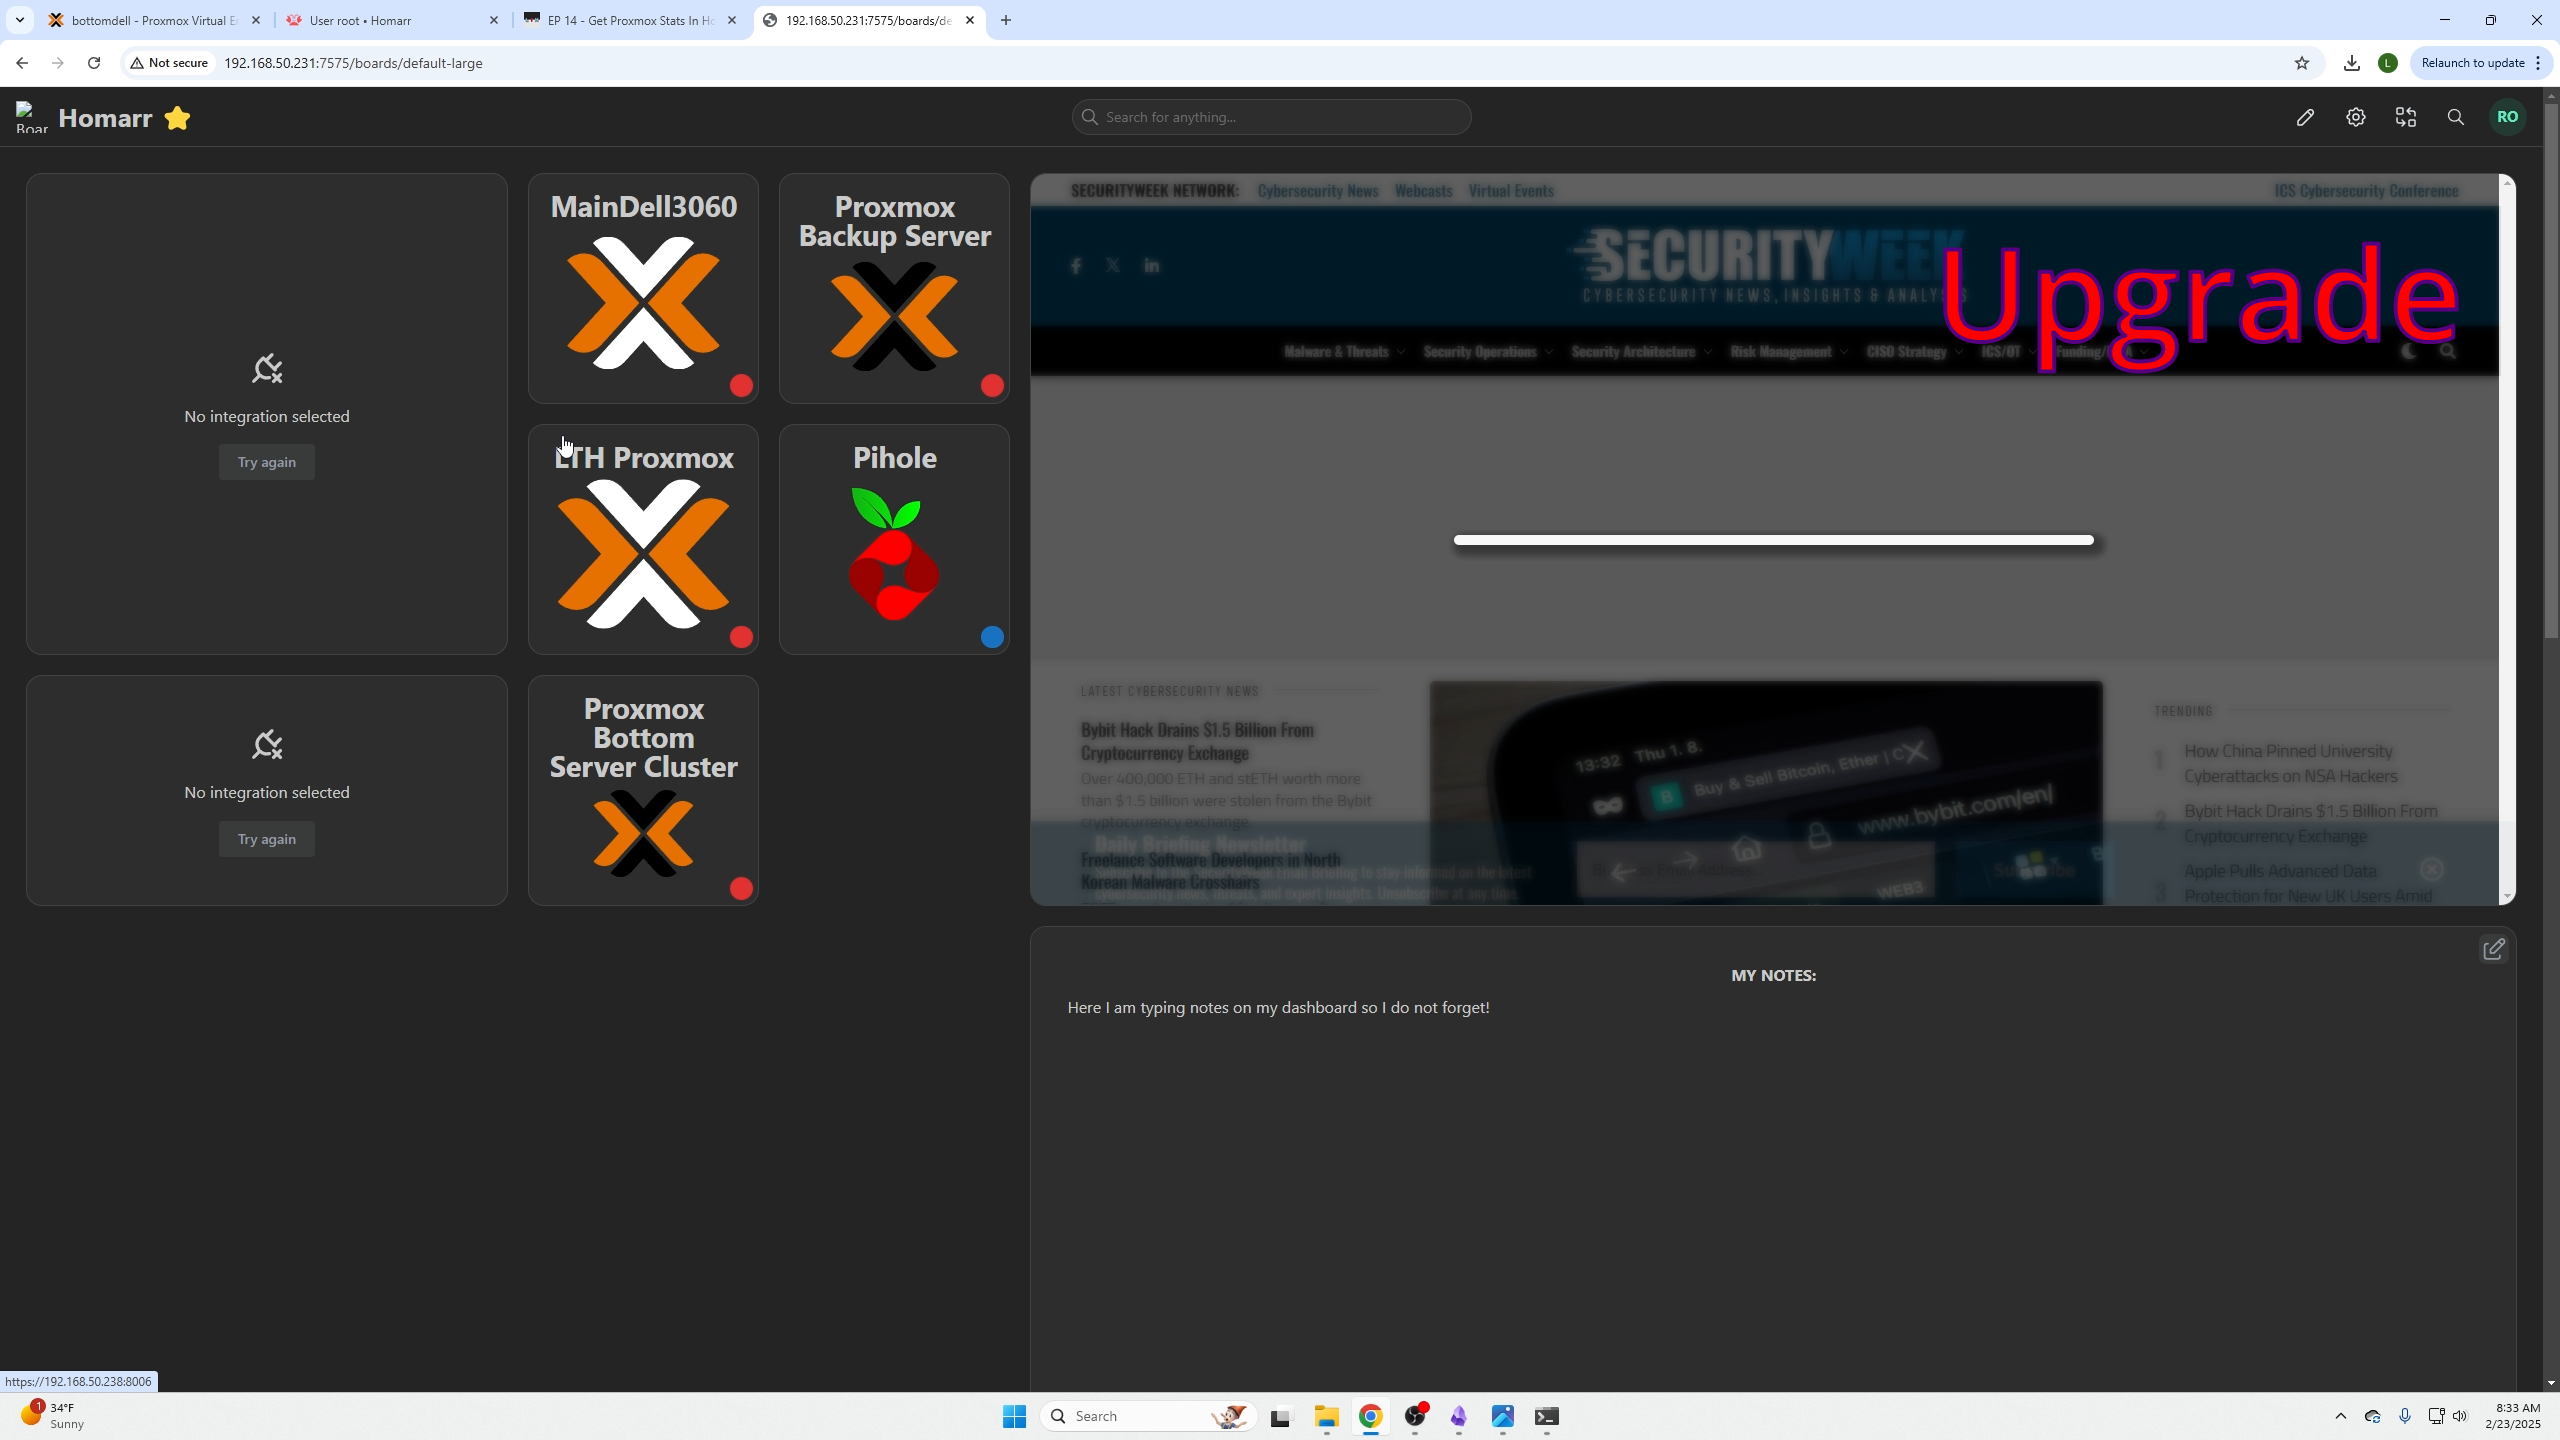
Return to main dashboard via Homarr logo (top left) or Boards → select your dashboard.
Edit dashboard with pencil icon (top right) — it will appear differently.
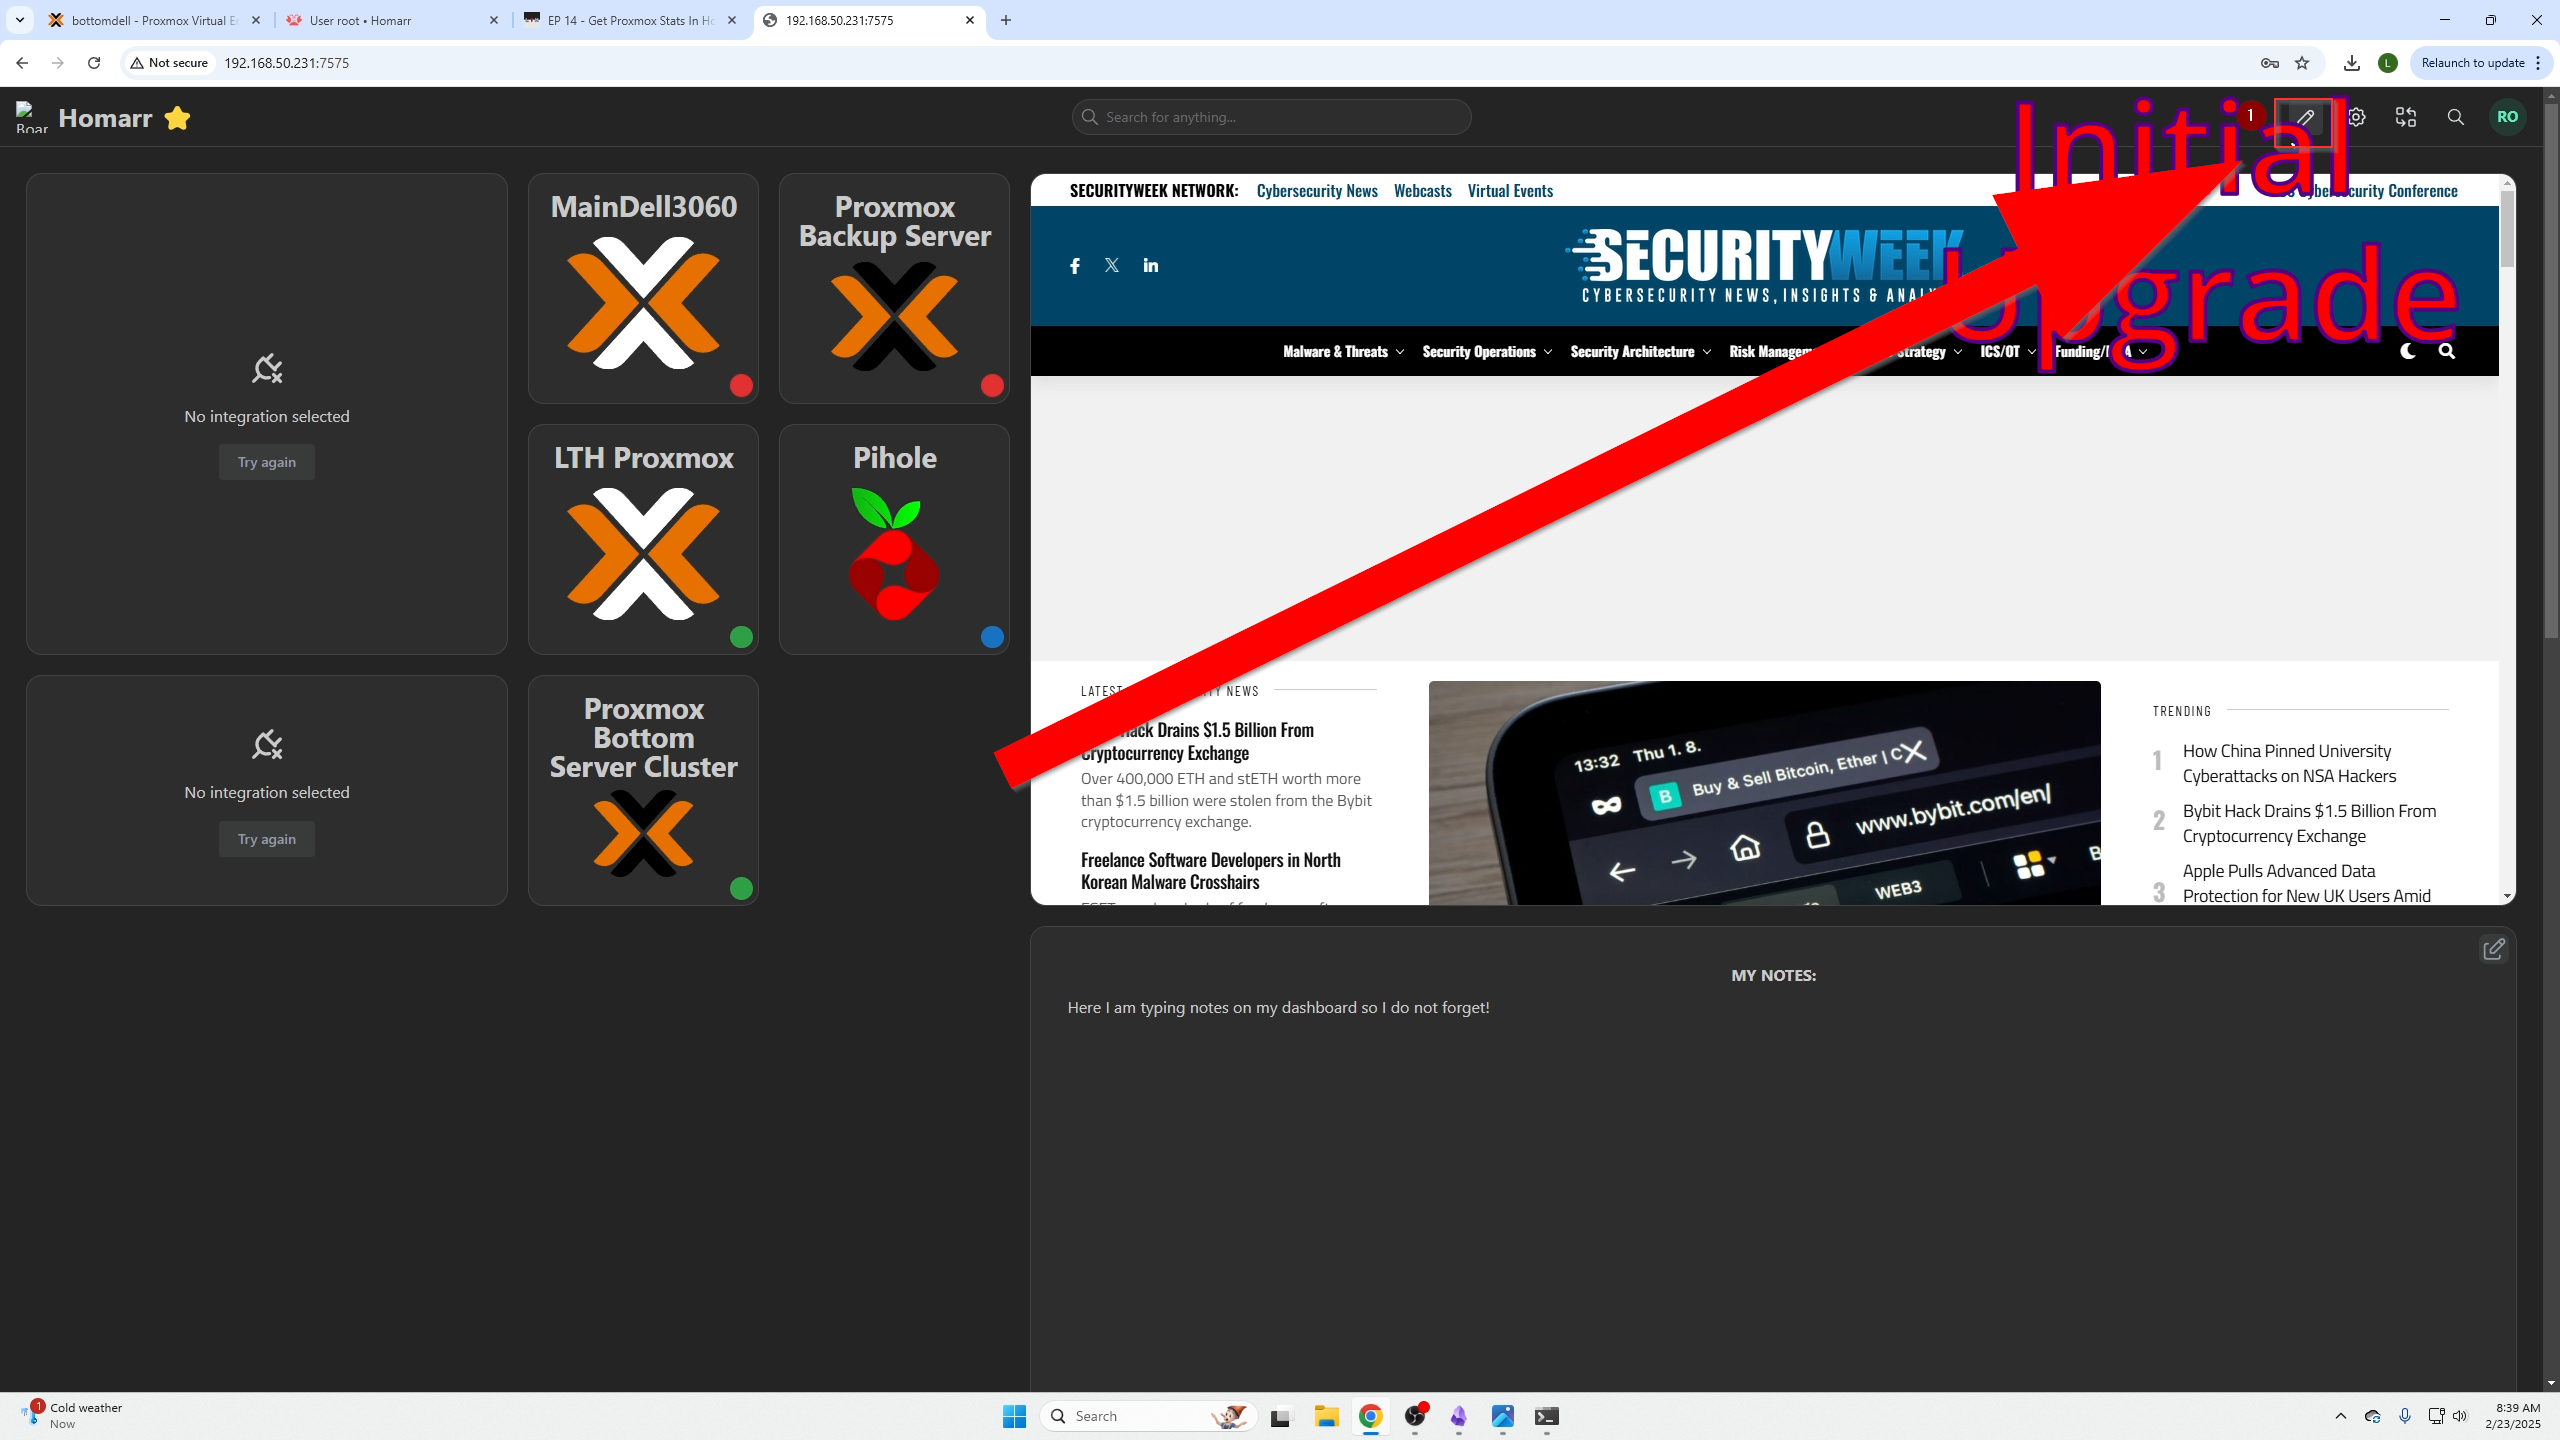
You will see your icons with three dots (top right) and dashboard becomes editable.
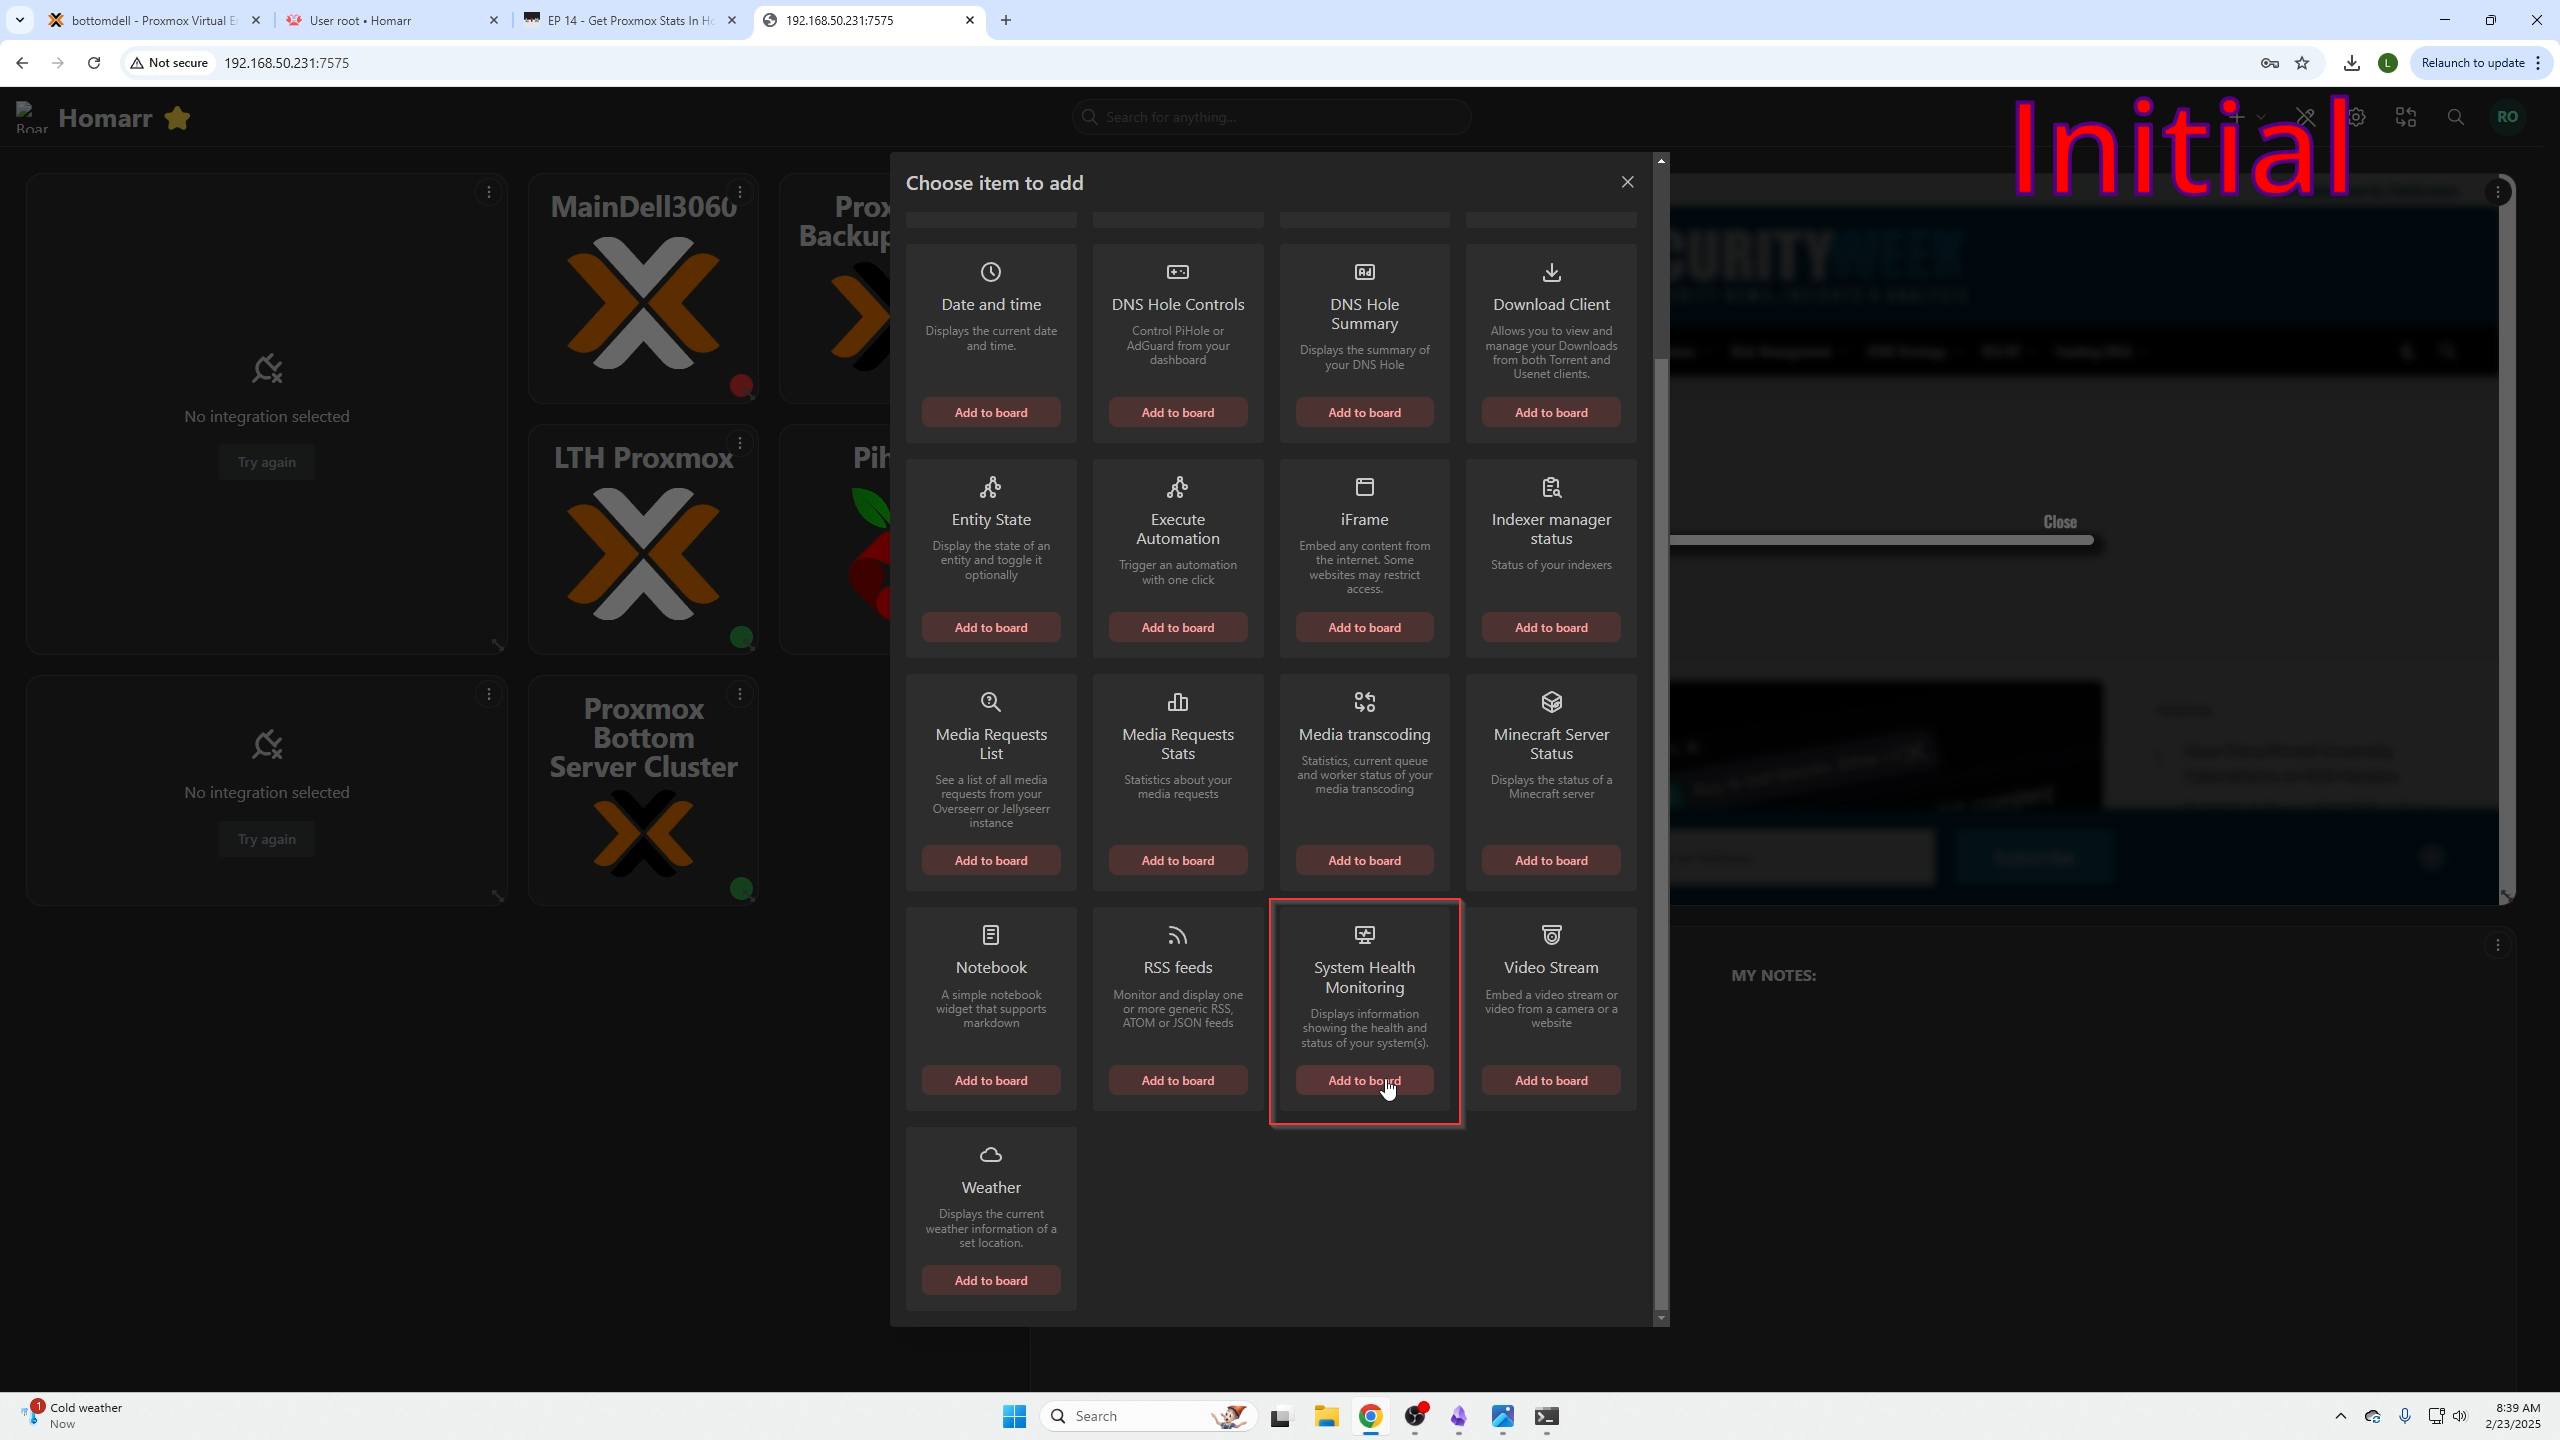
Click + icon (top right), select New Item.

Select System Health Monitoring, then Add to Board.
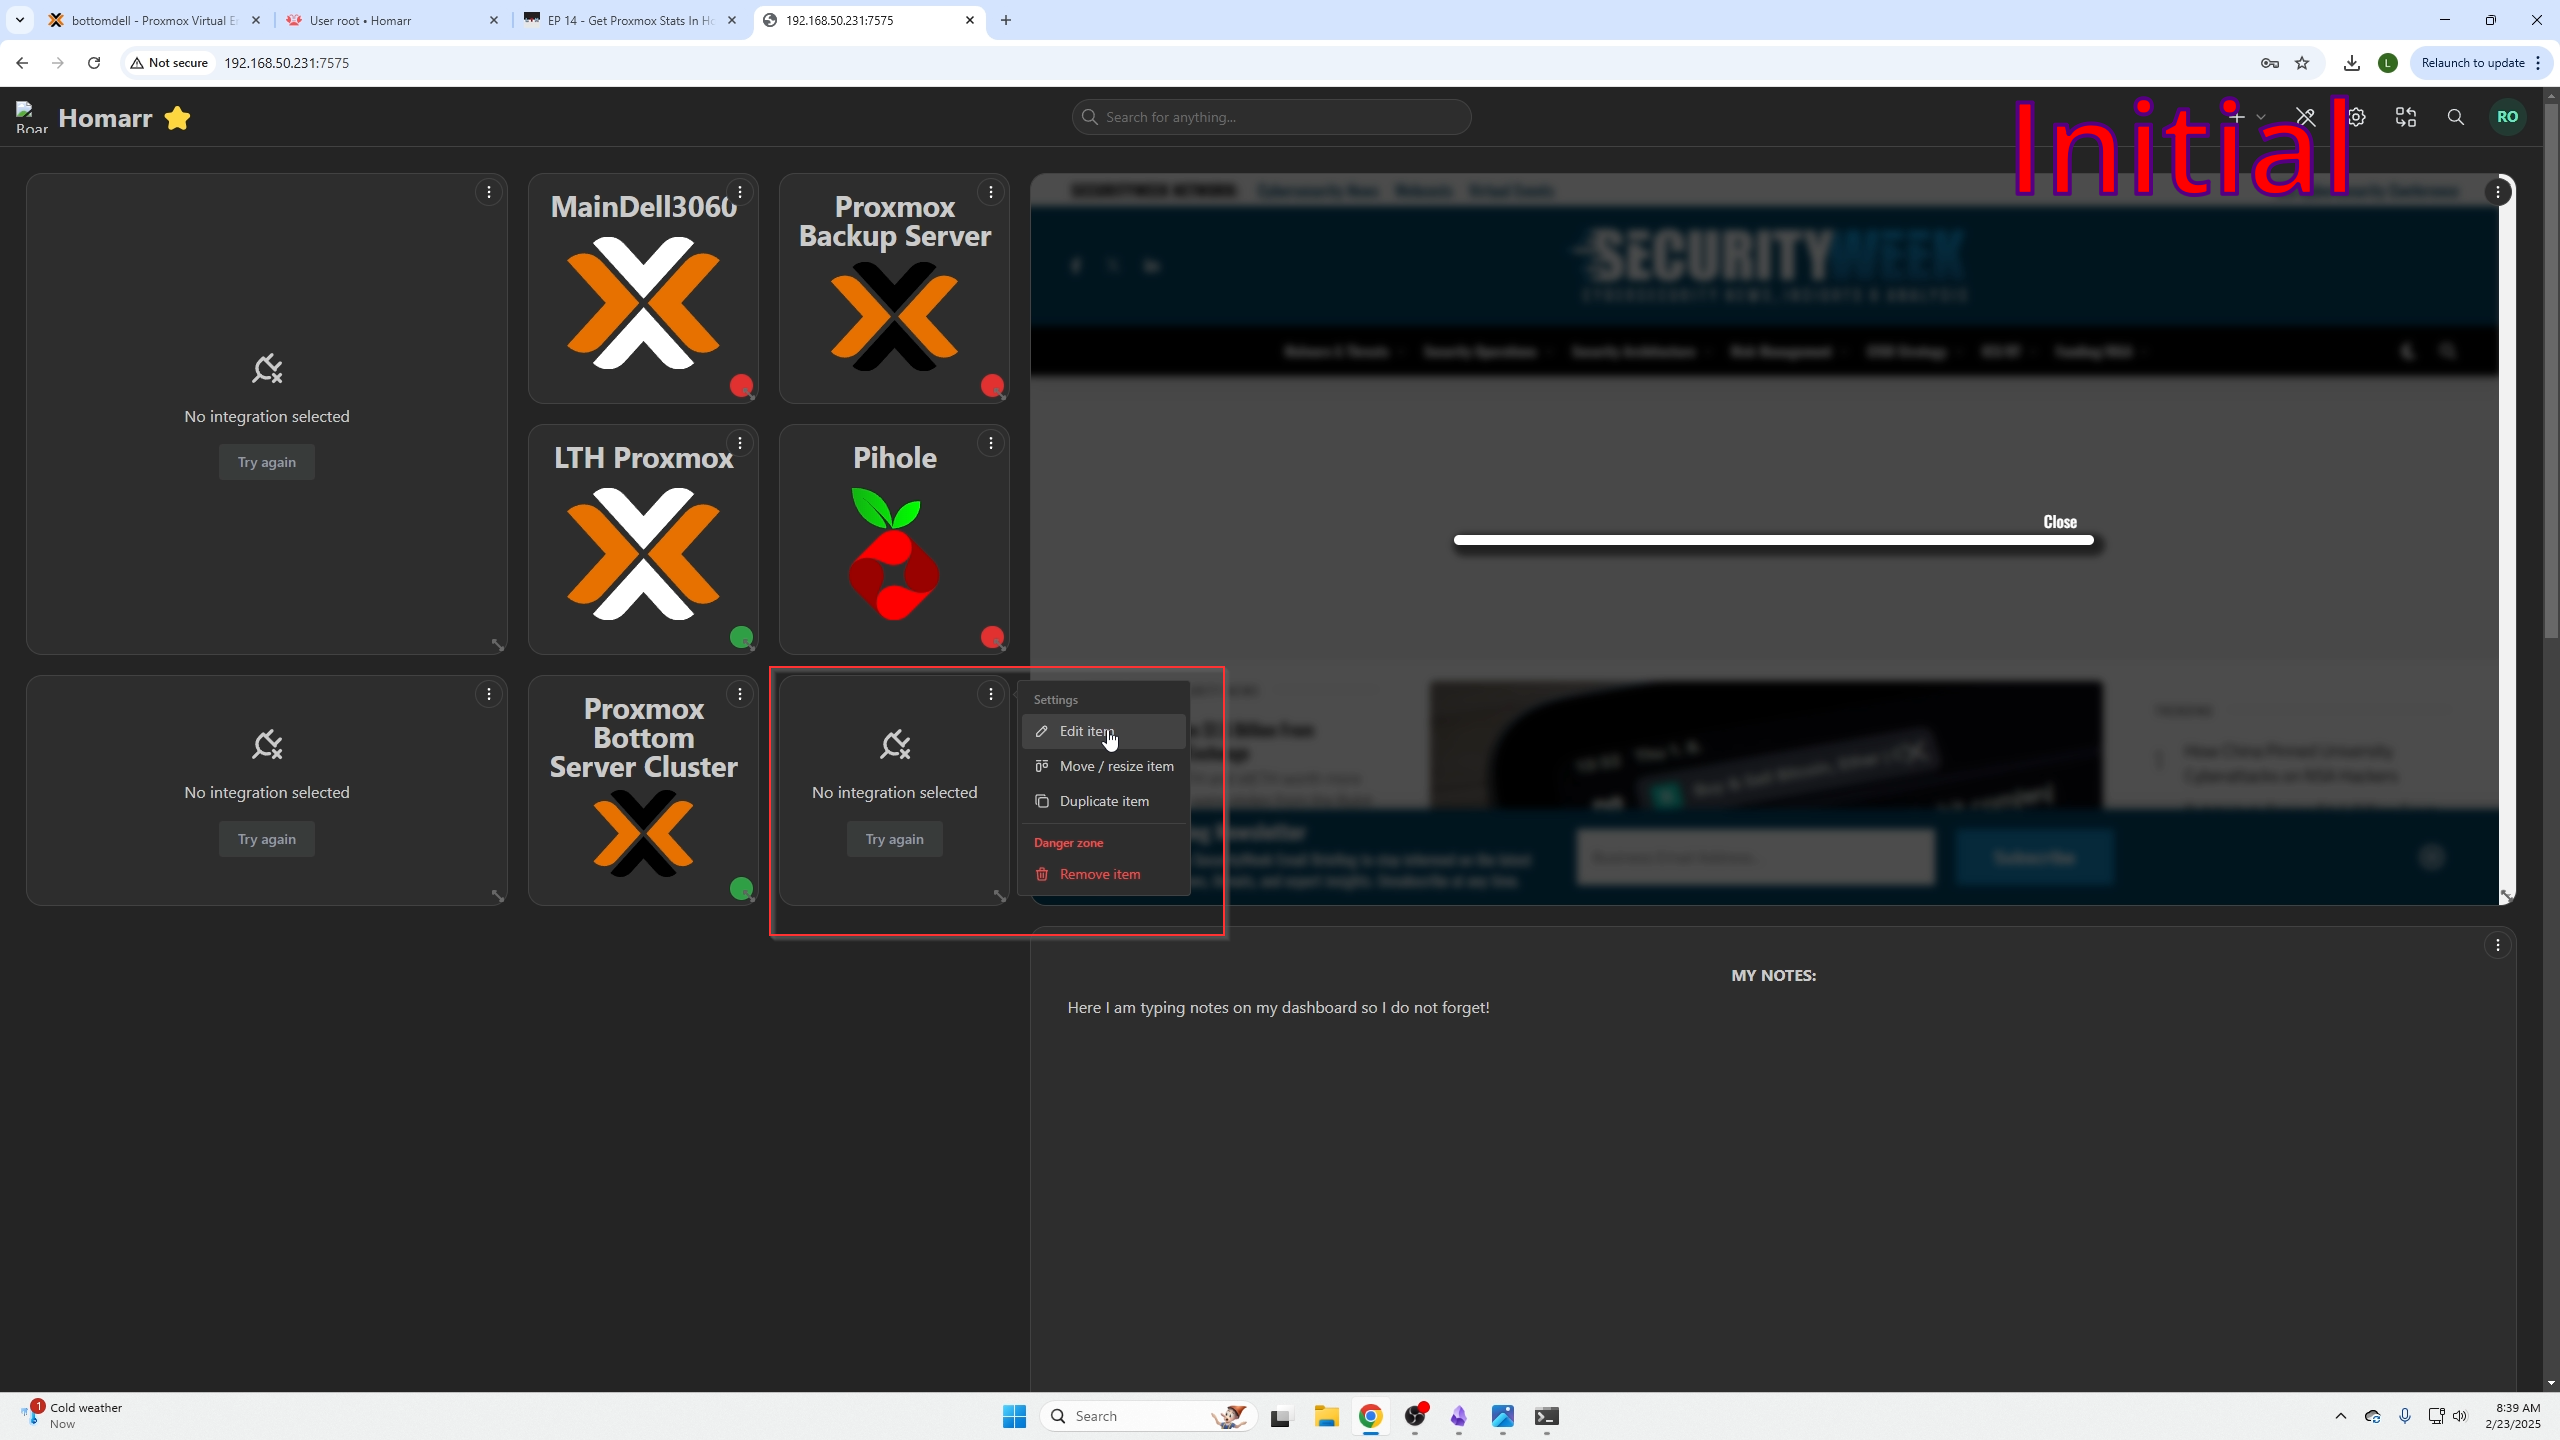
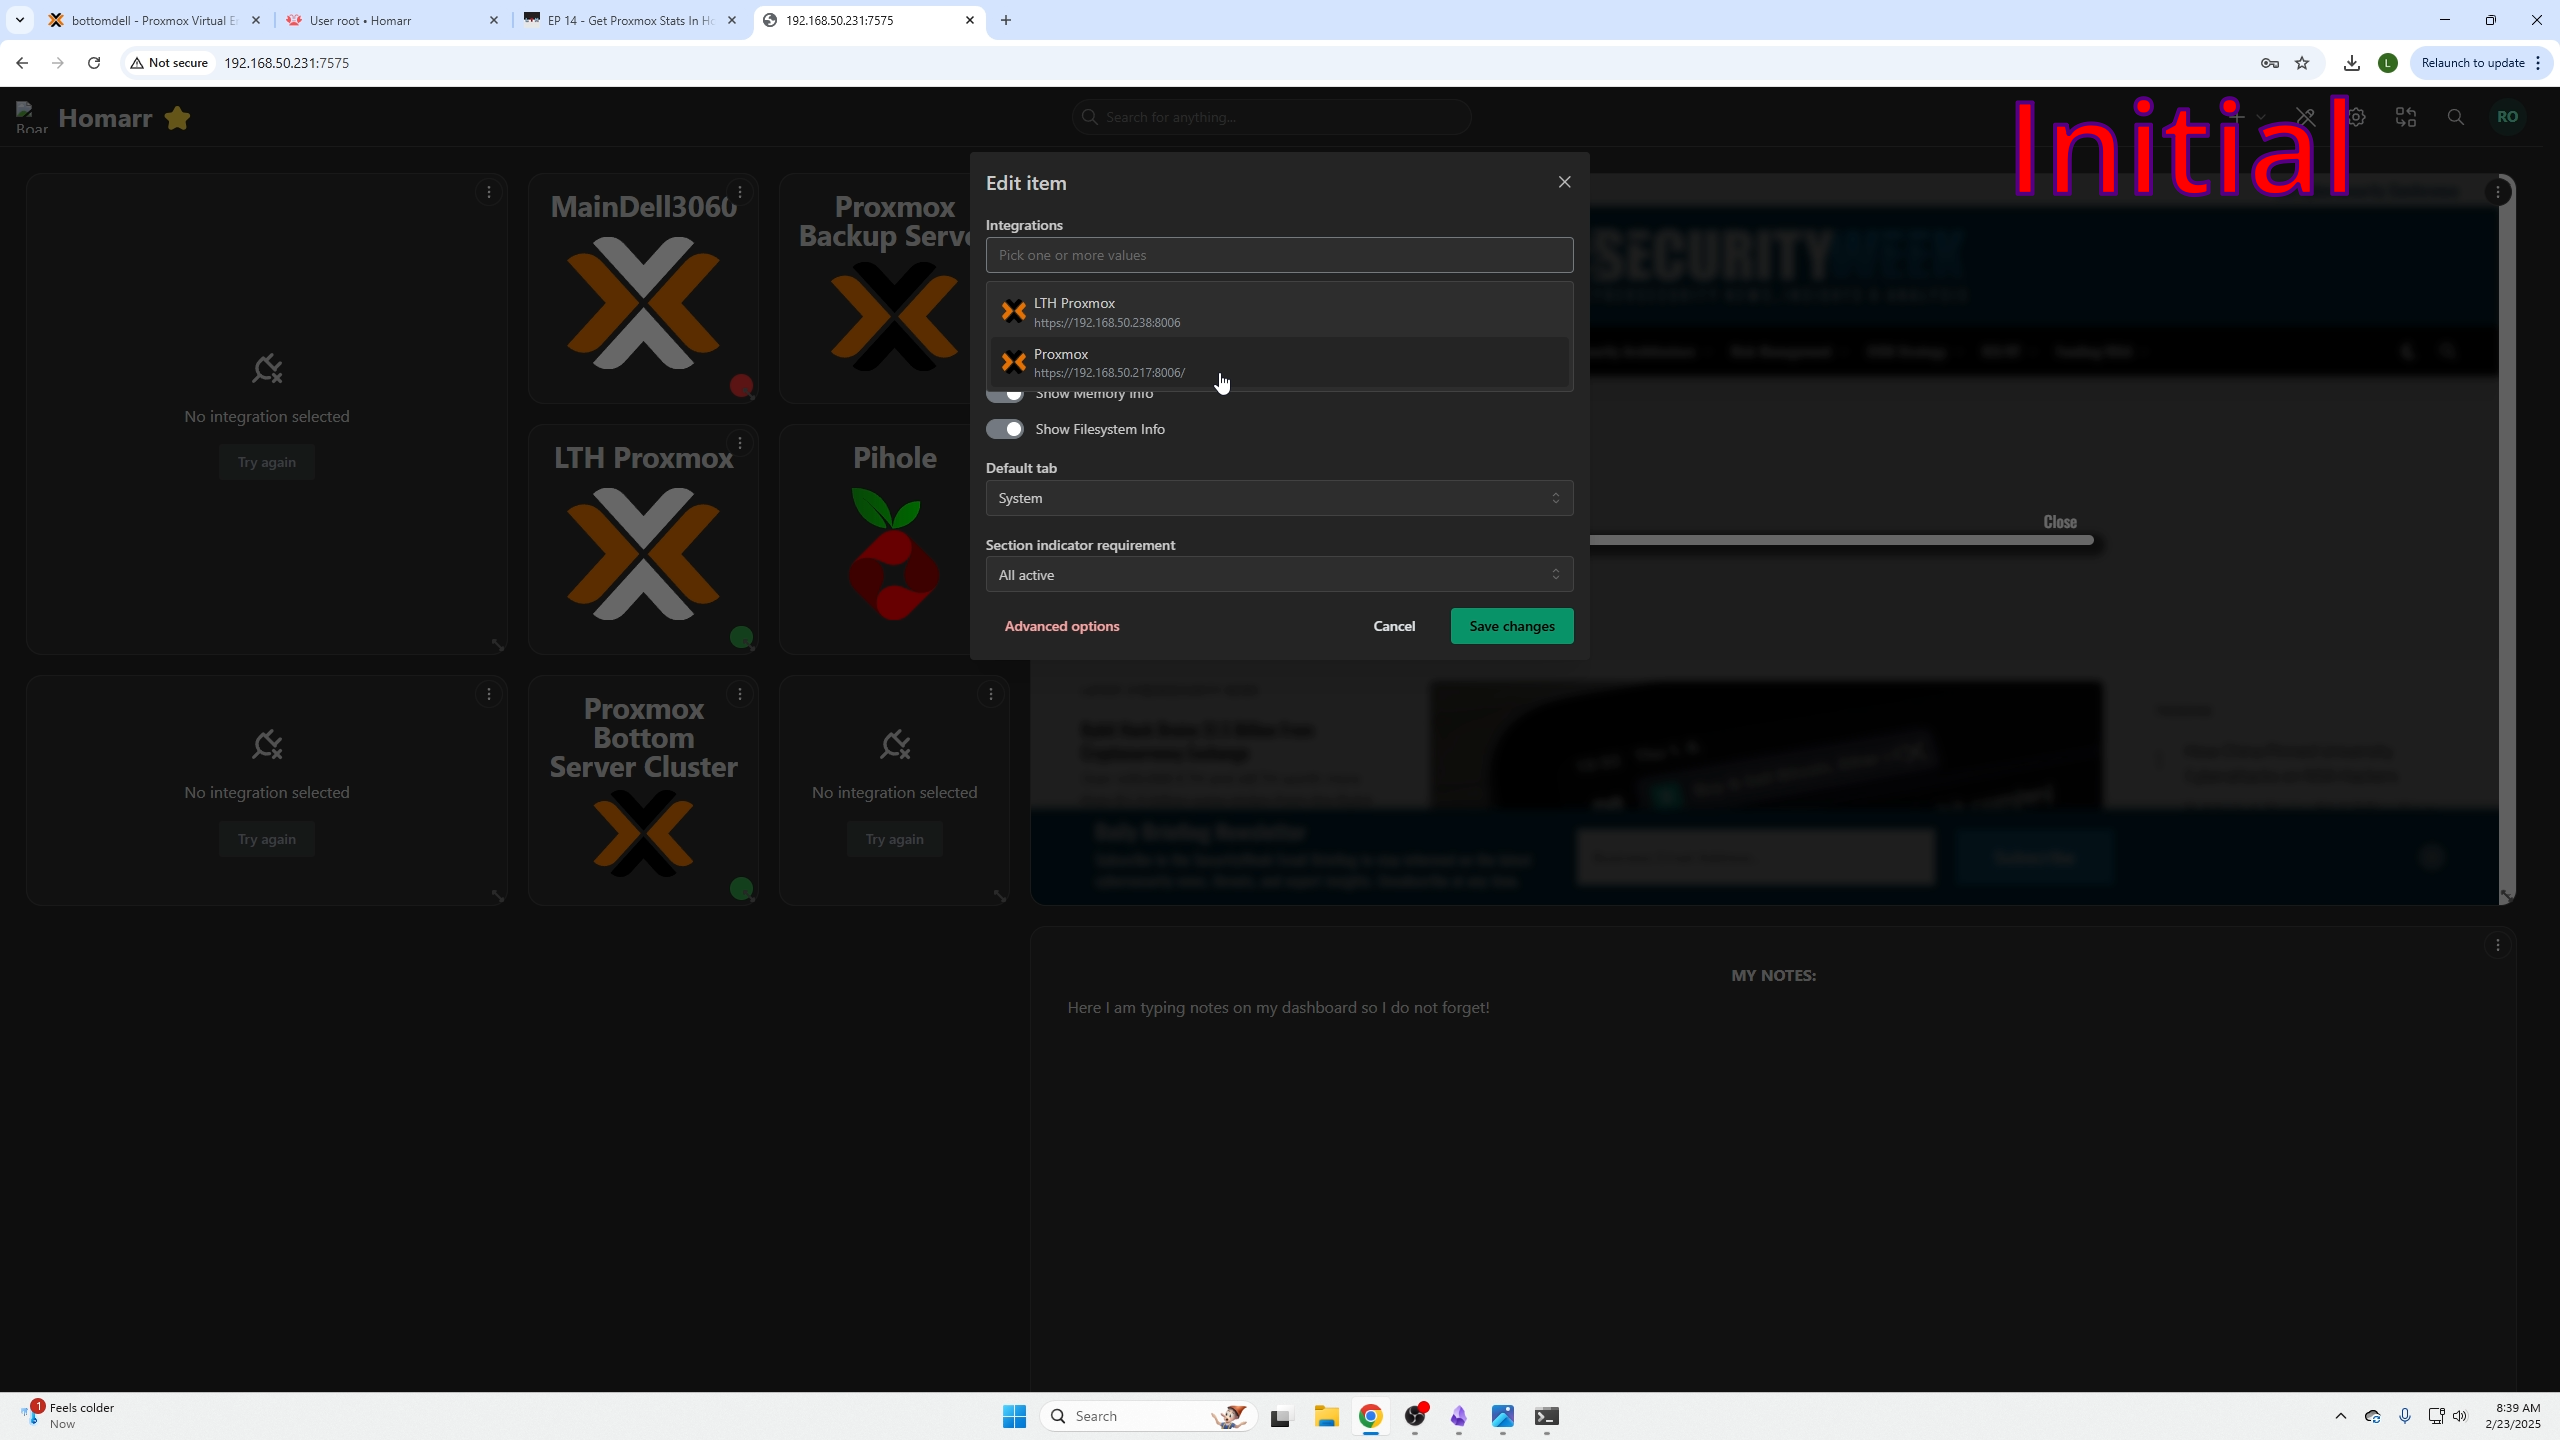
On dashboard, find new section, click three dots → Edit Item.
Select the integration created and Save Changes.
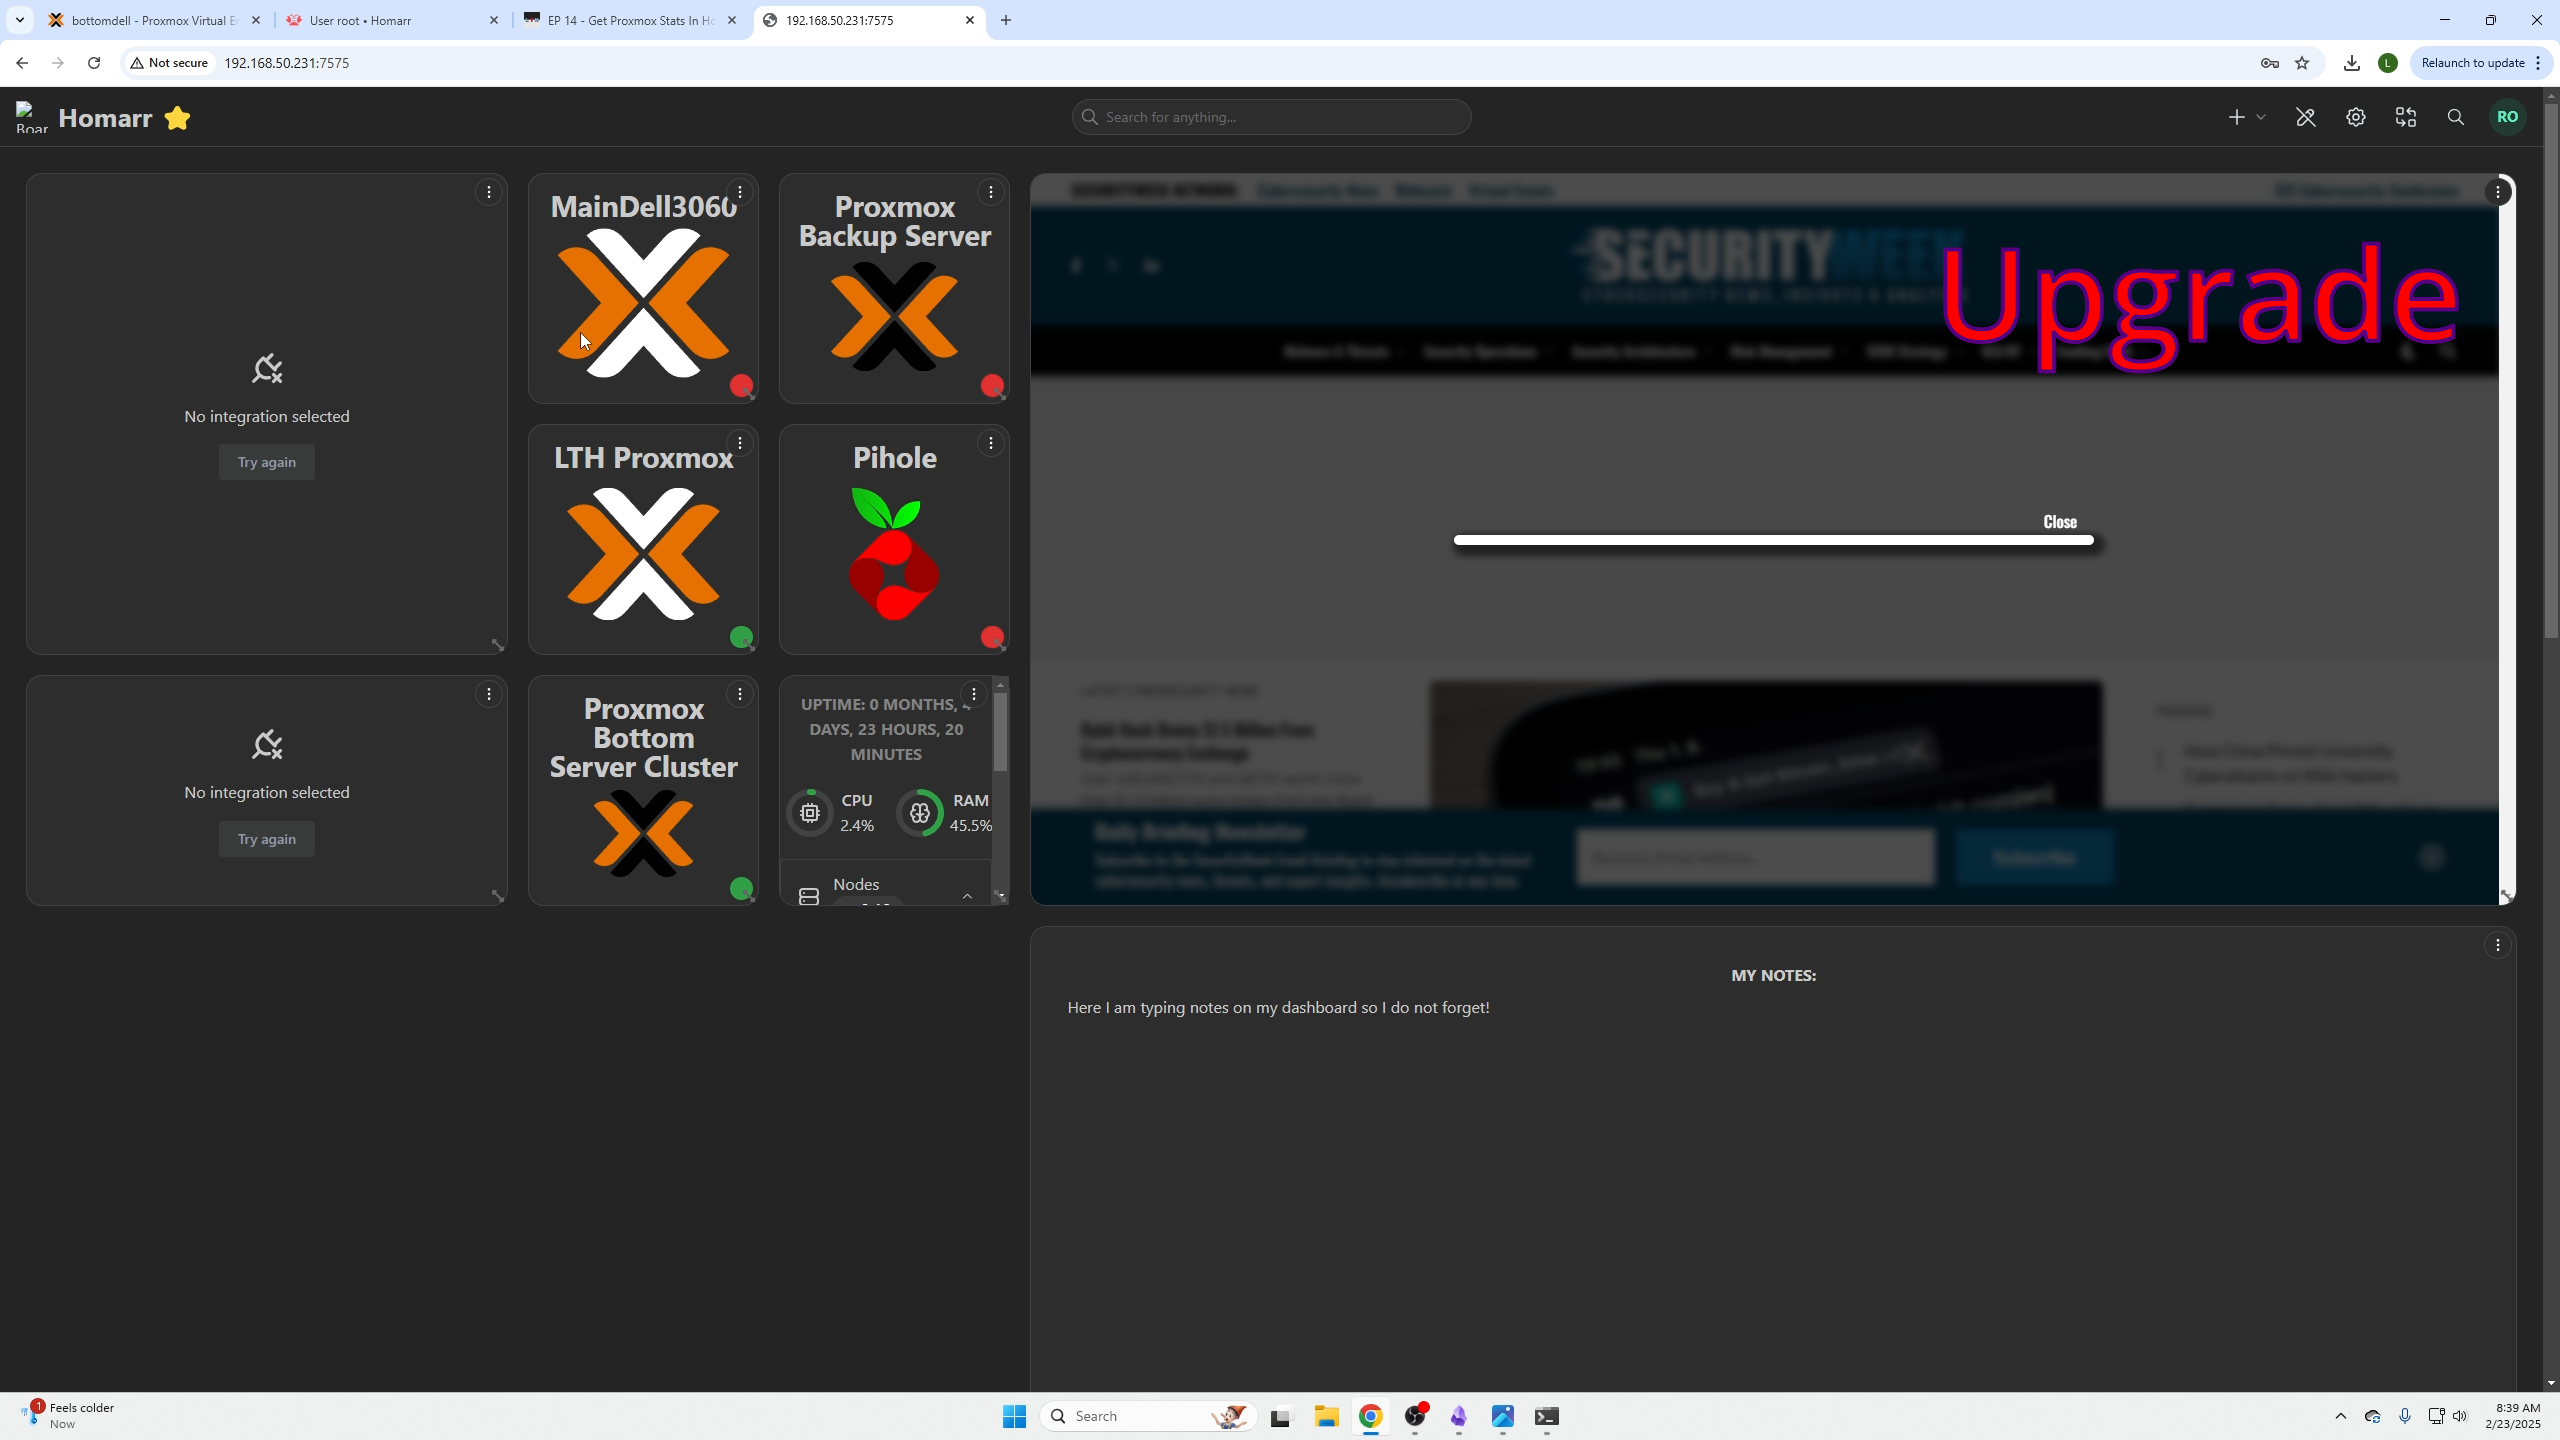
Proxmox stats now appear on your dashboard.
Note
The fresh install tutorial is now over.
Upgrade path for old users
Create a new Homarr VM
(See Fresh Install users steps above)
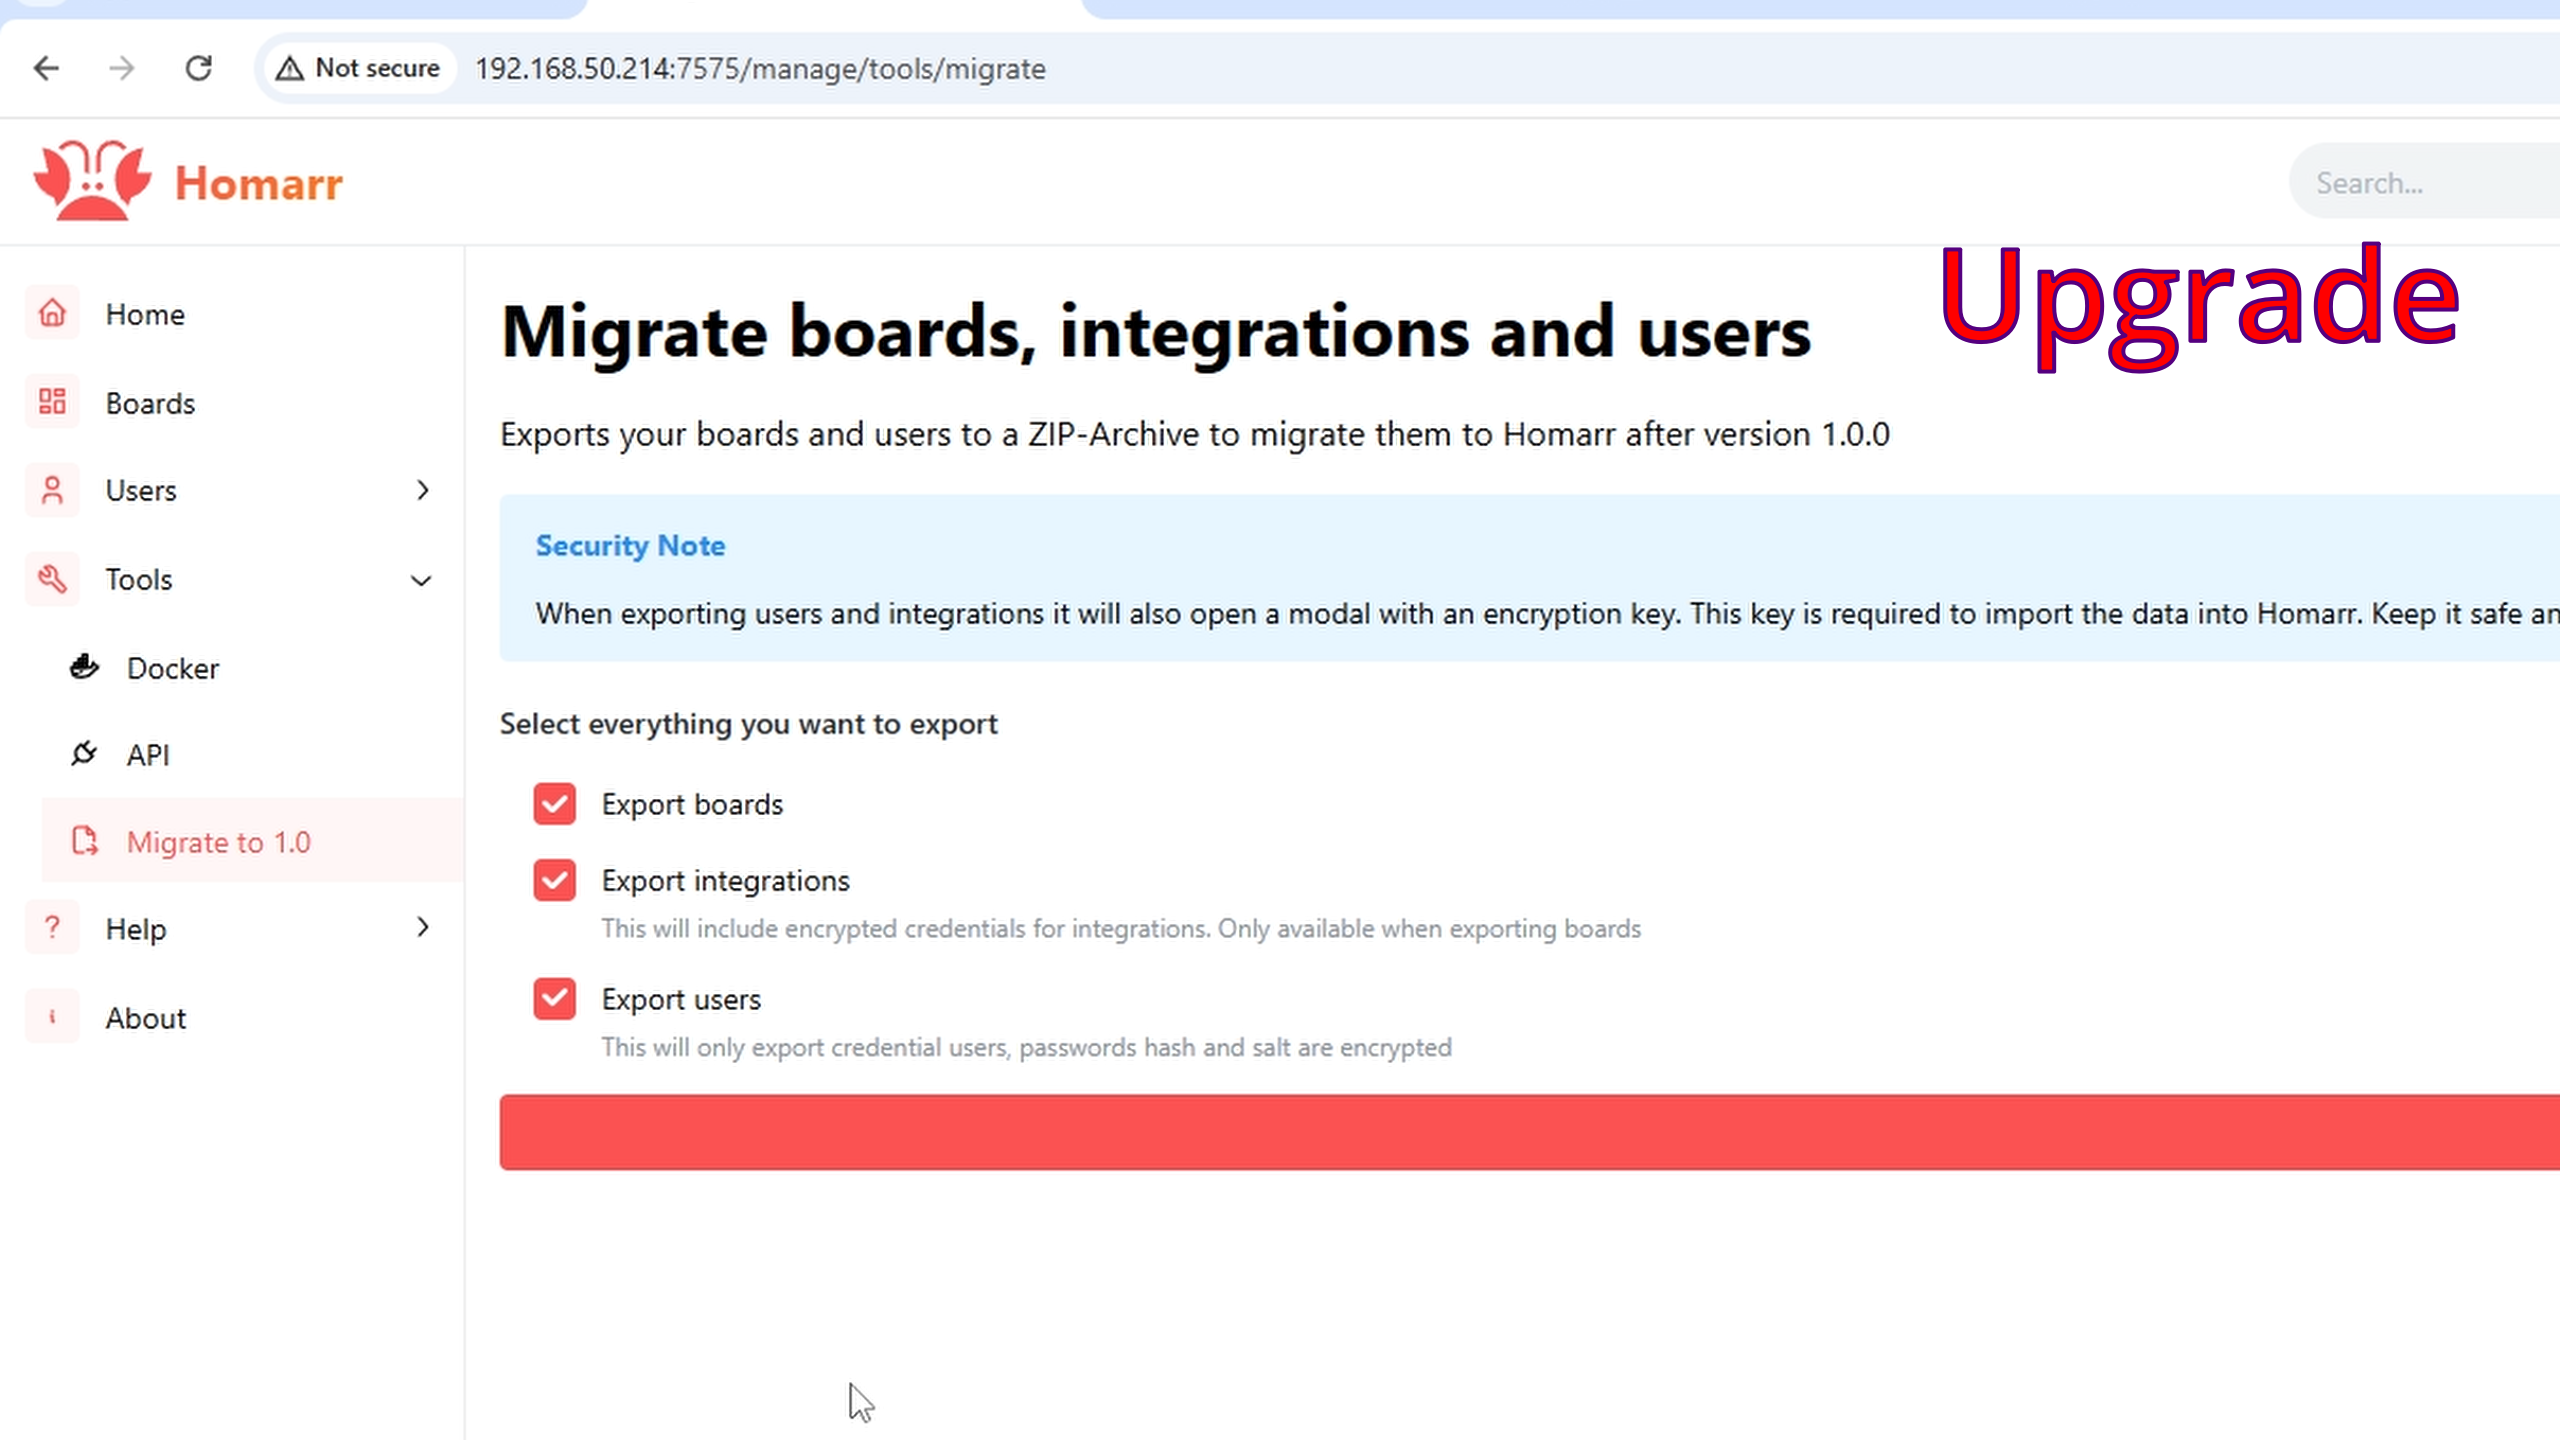
Exporting your old dashboard
Login to your OLD Homarr Dashboard → username (top right) → Manage → Settings → Tools → Migrate to 1.0

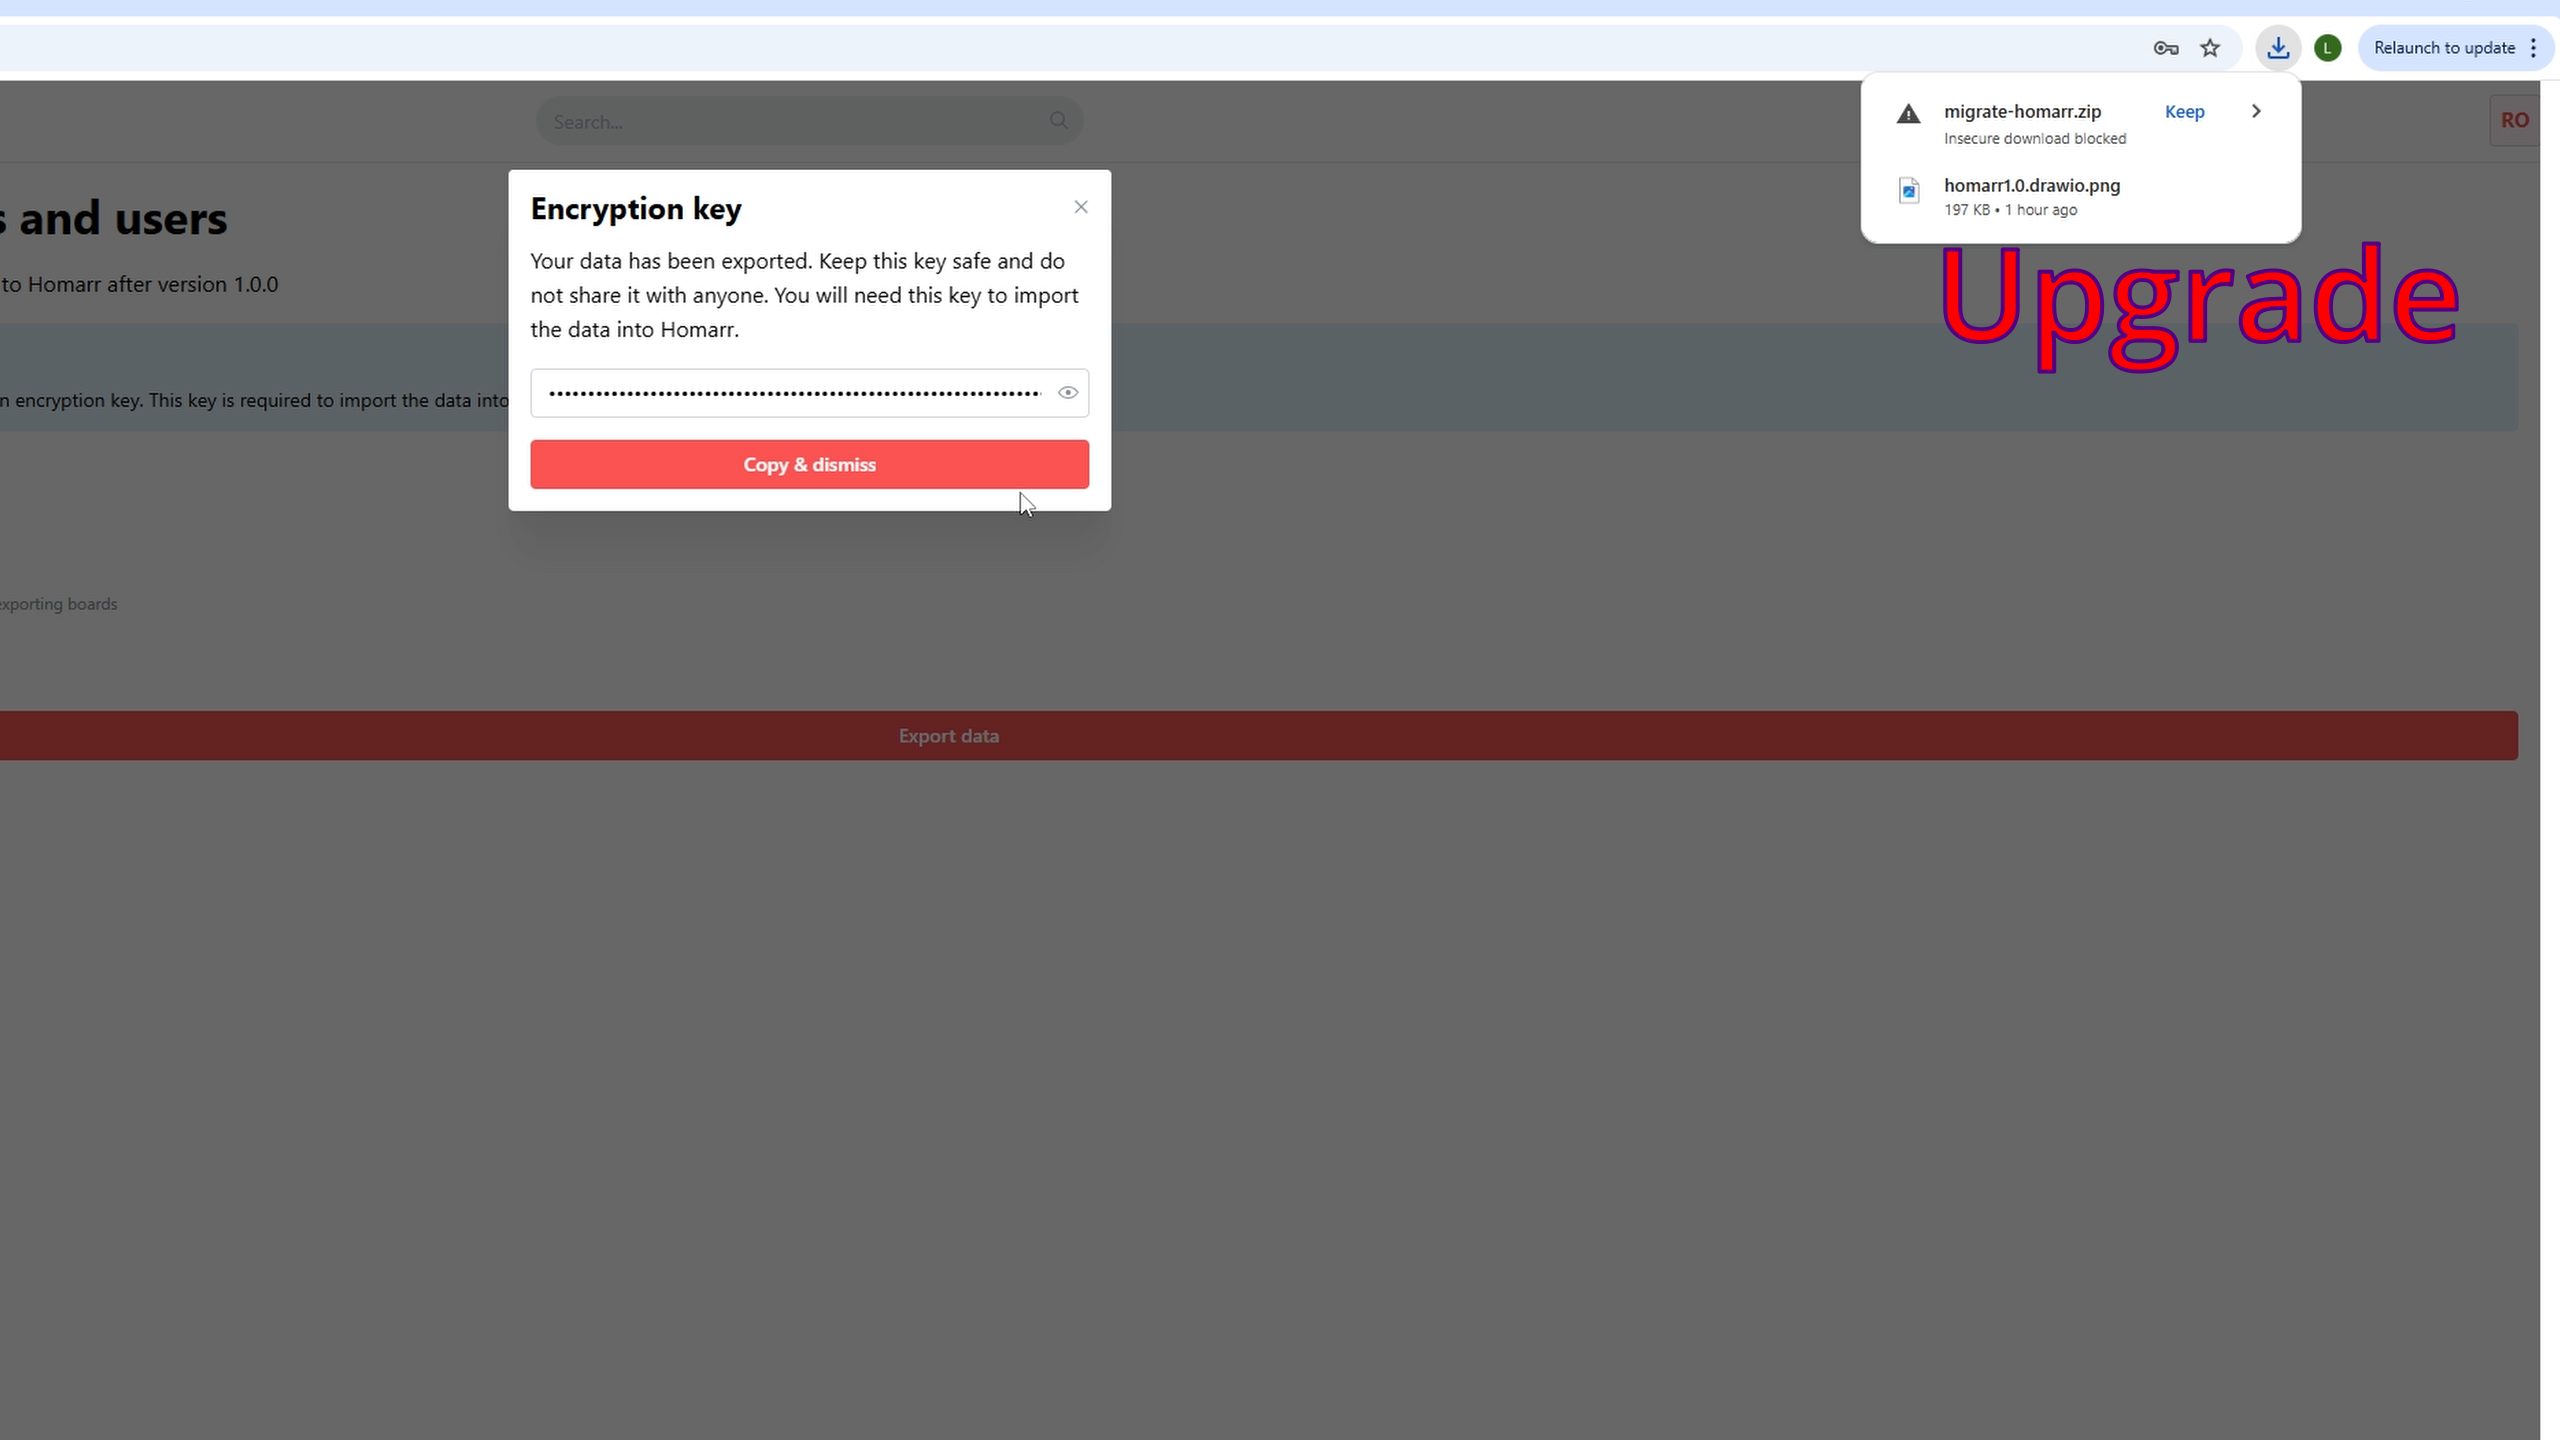
Select Export Data, copy your encryption key (save it).
Allow browser download if blocked.
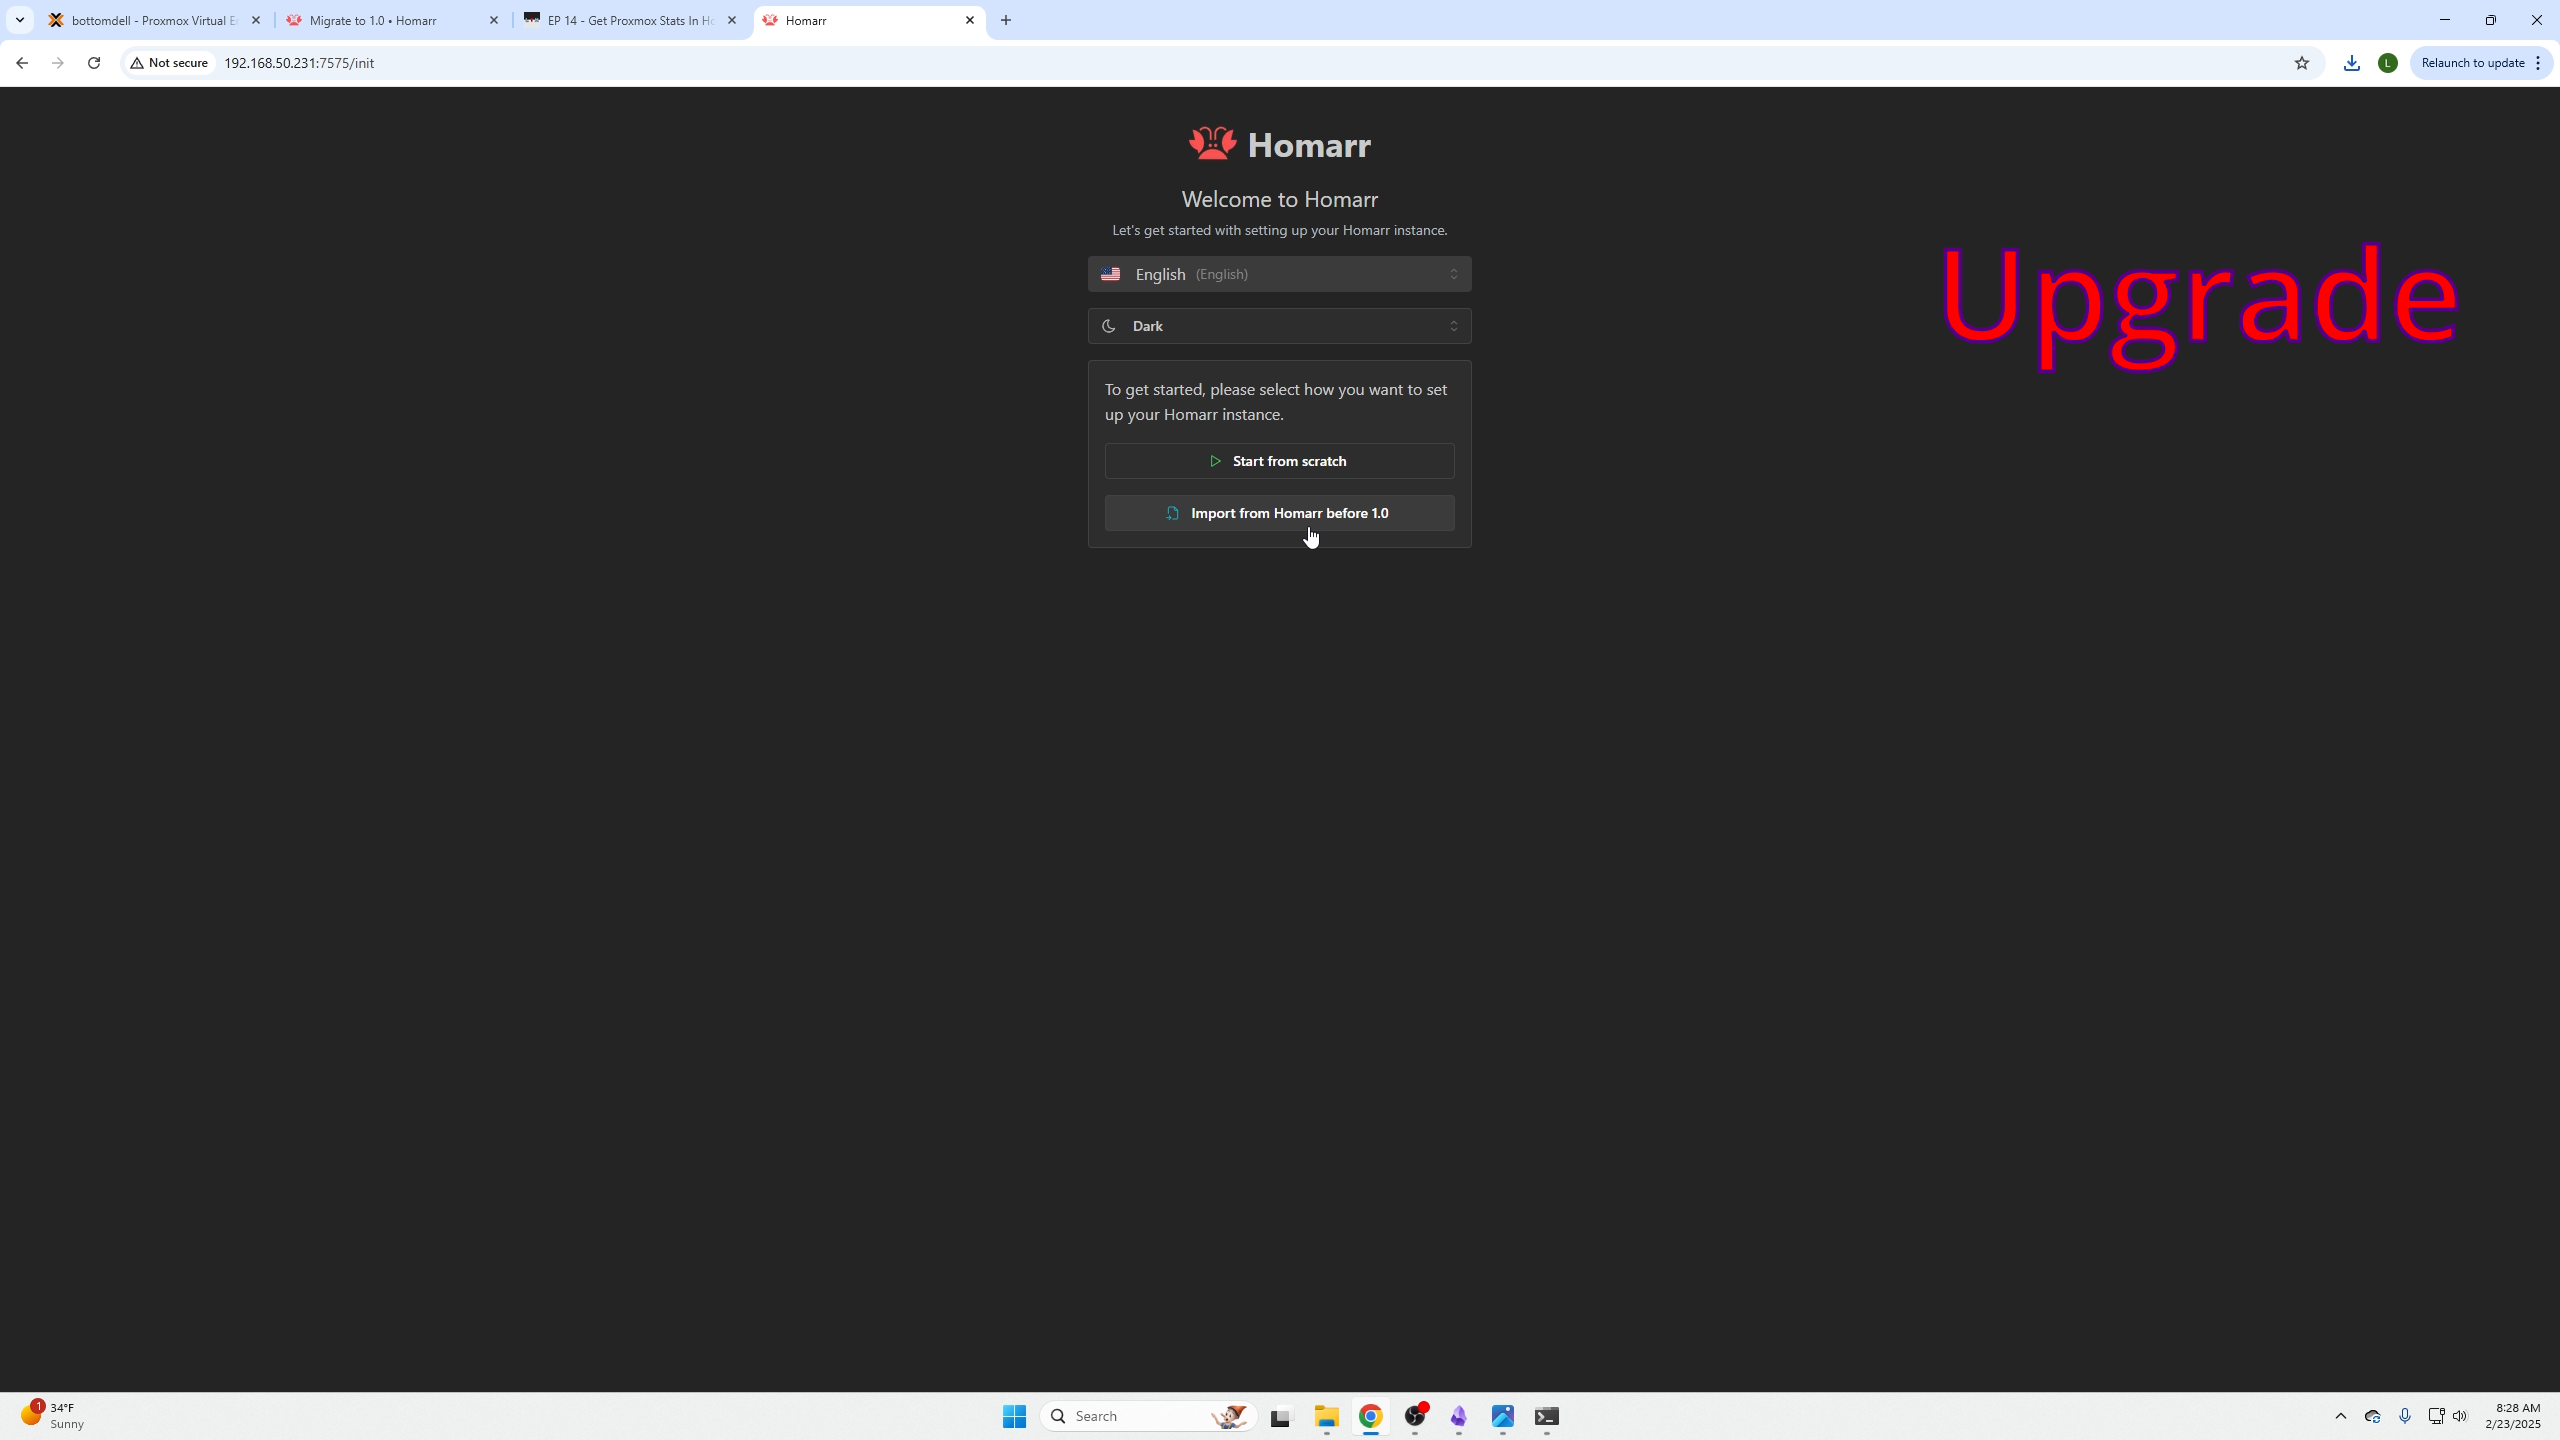
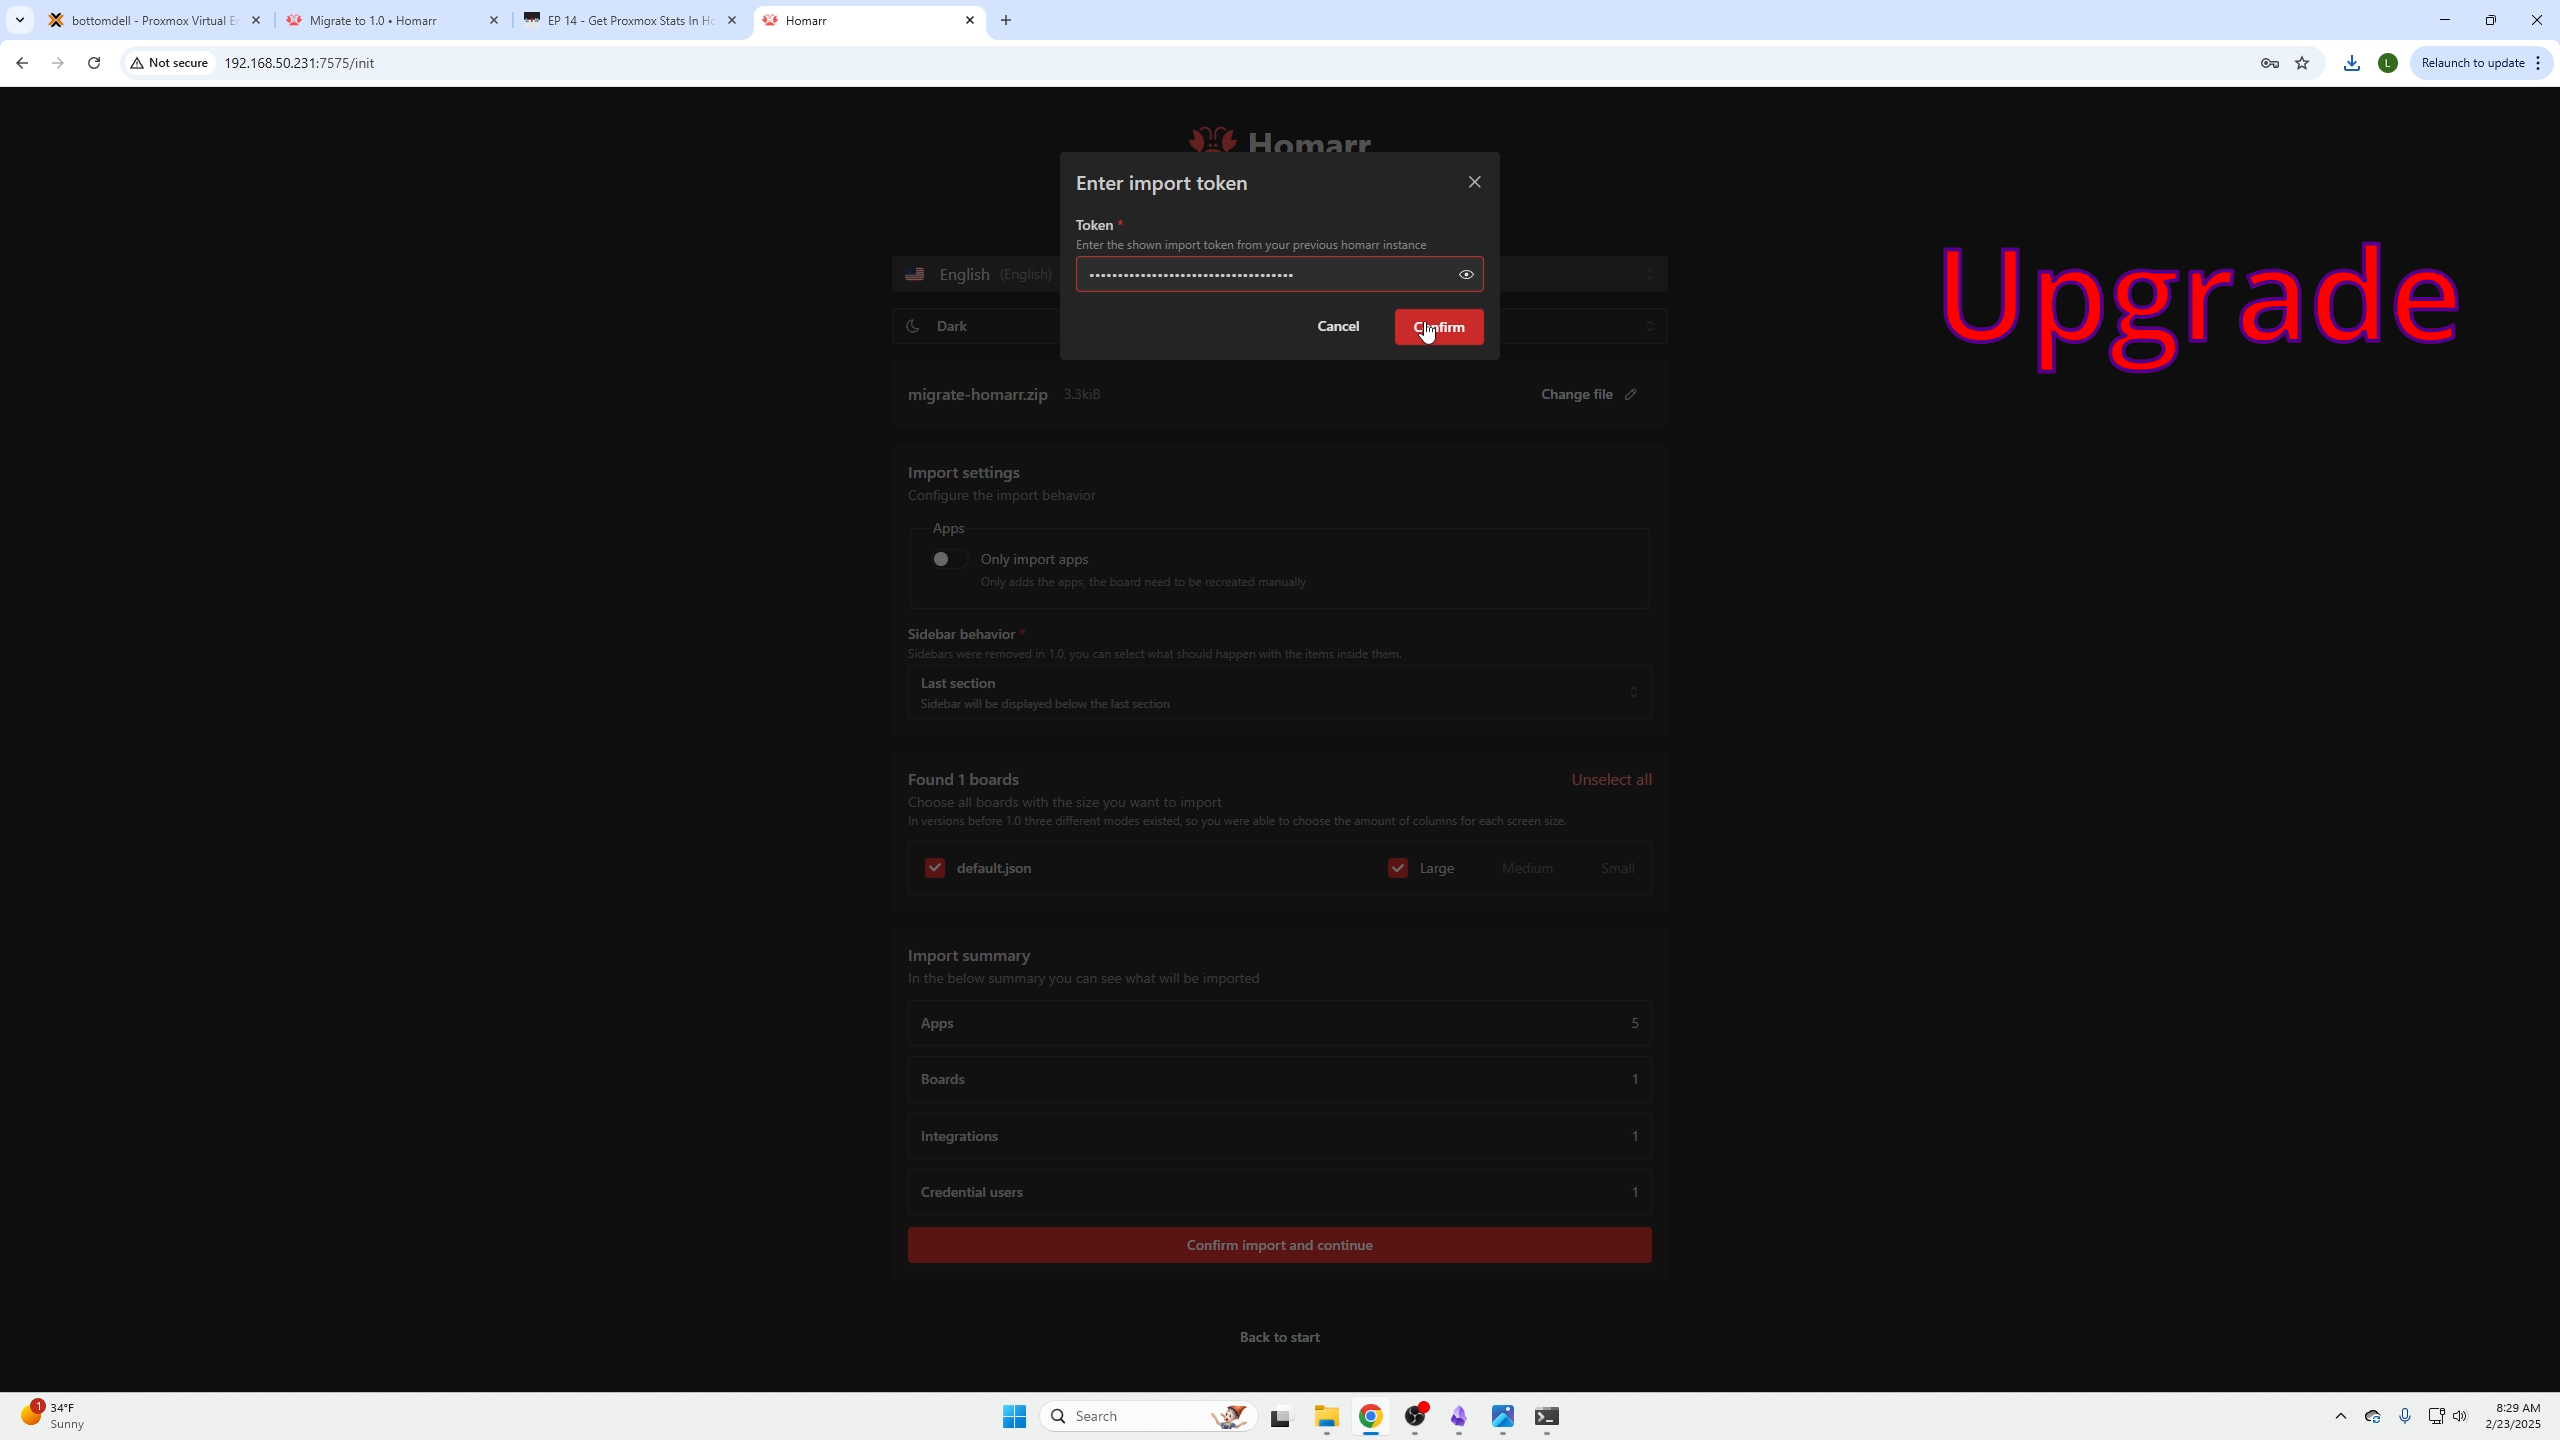
On your new VM, click Import from Homarr before 1.0
Upload the .zip, confirm import, continue.
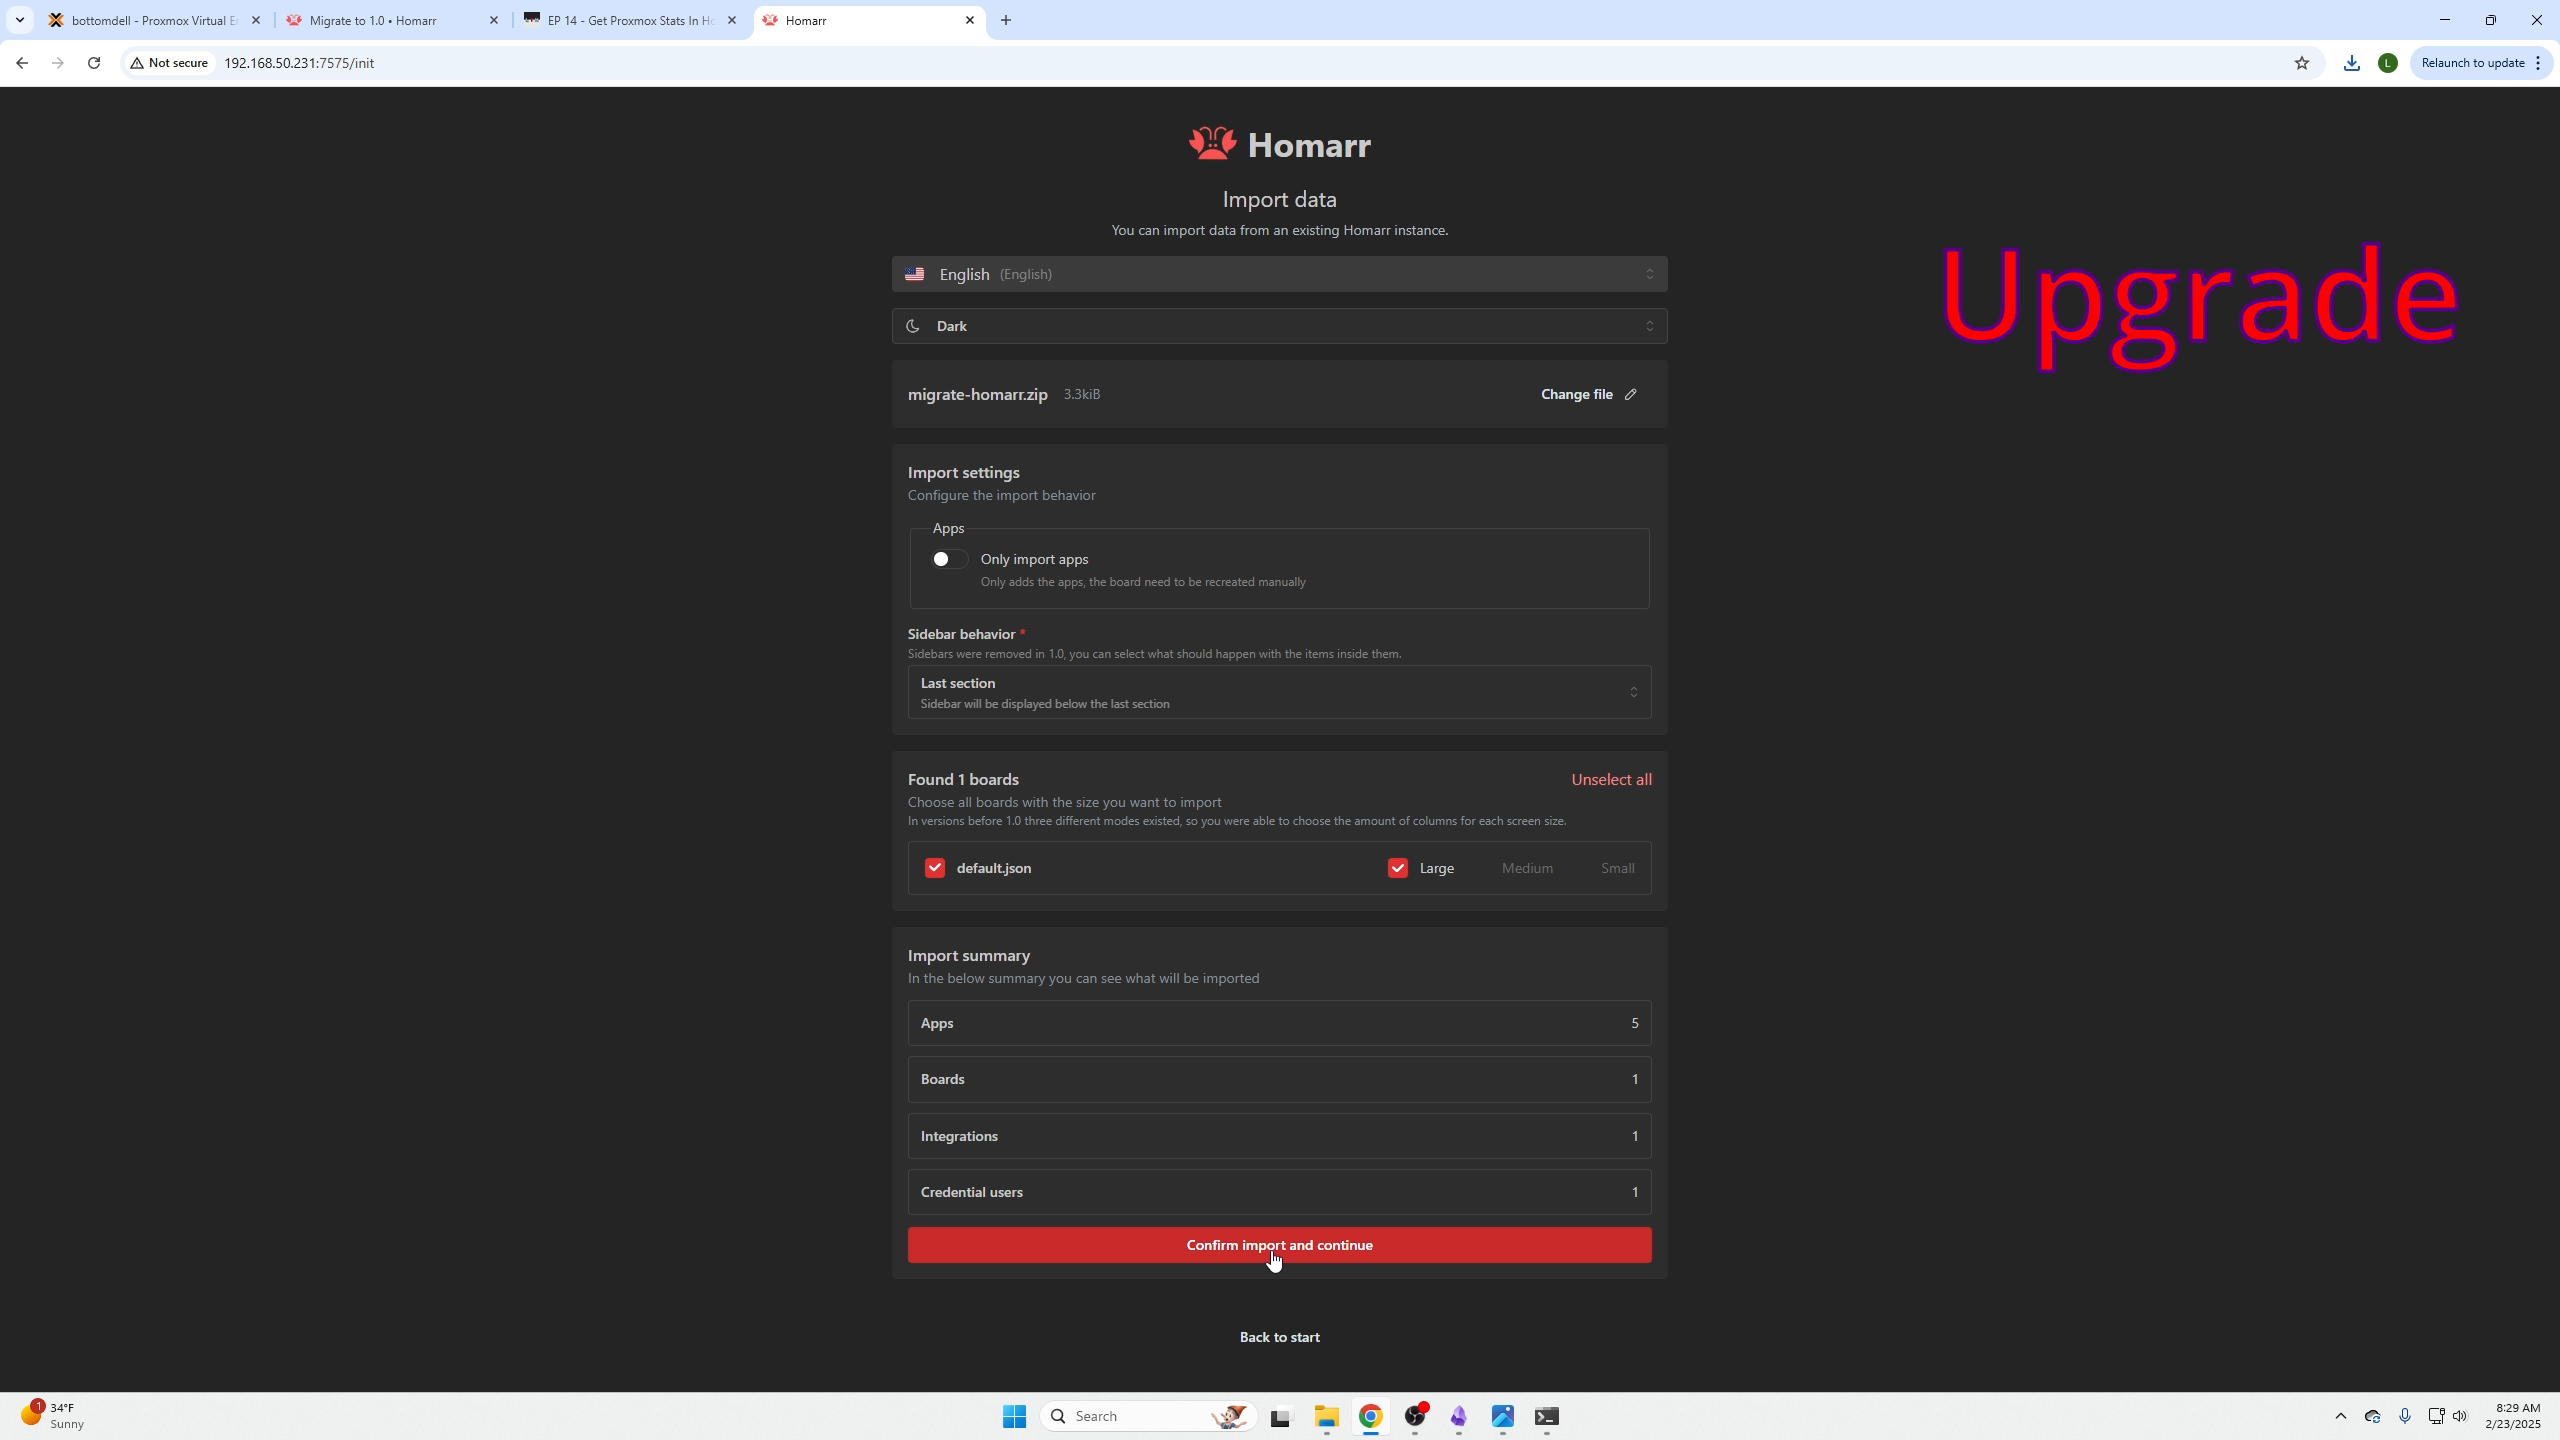
Paste encryption key to unzip.
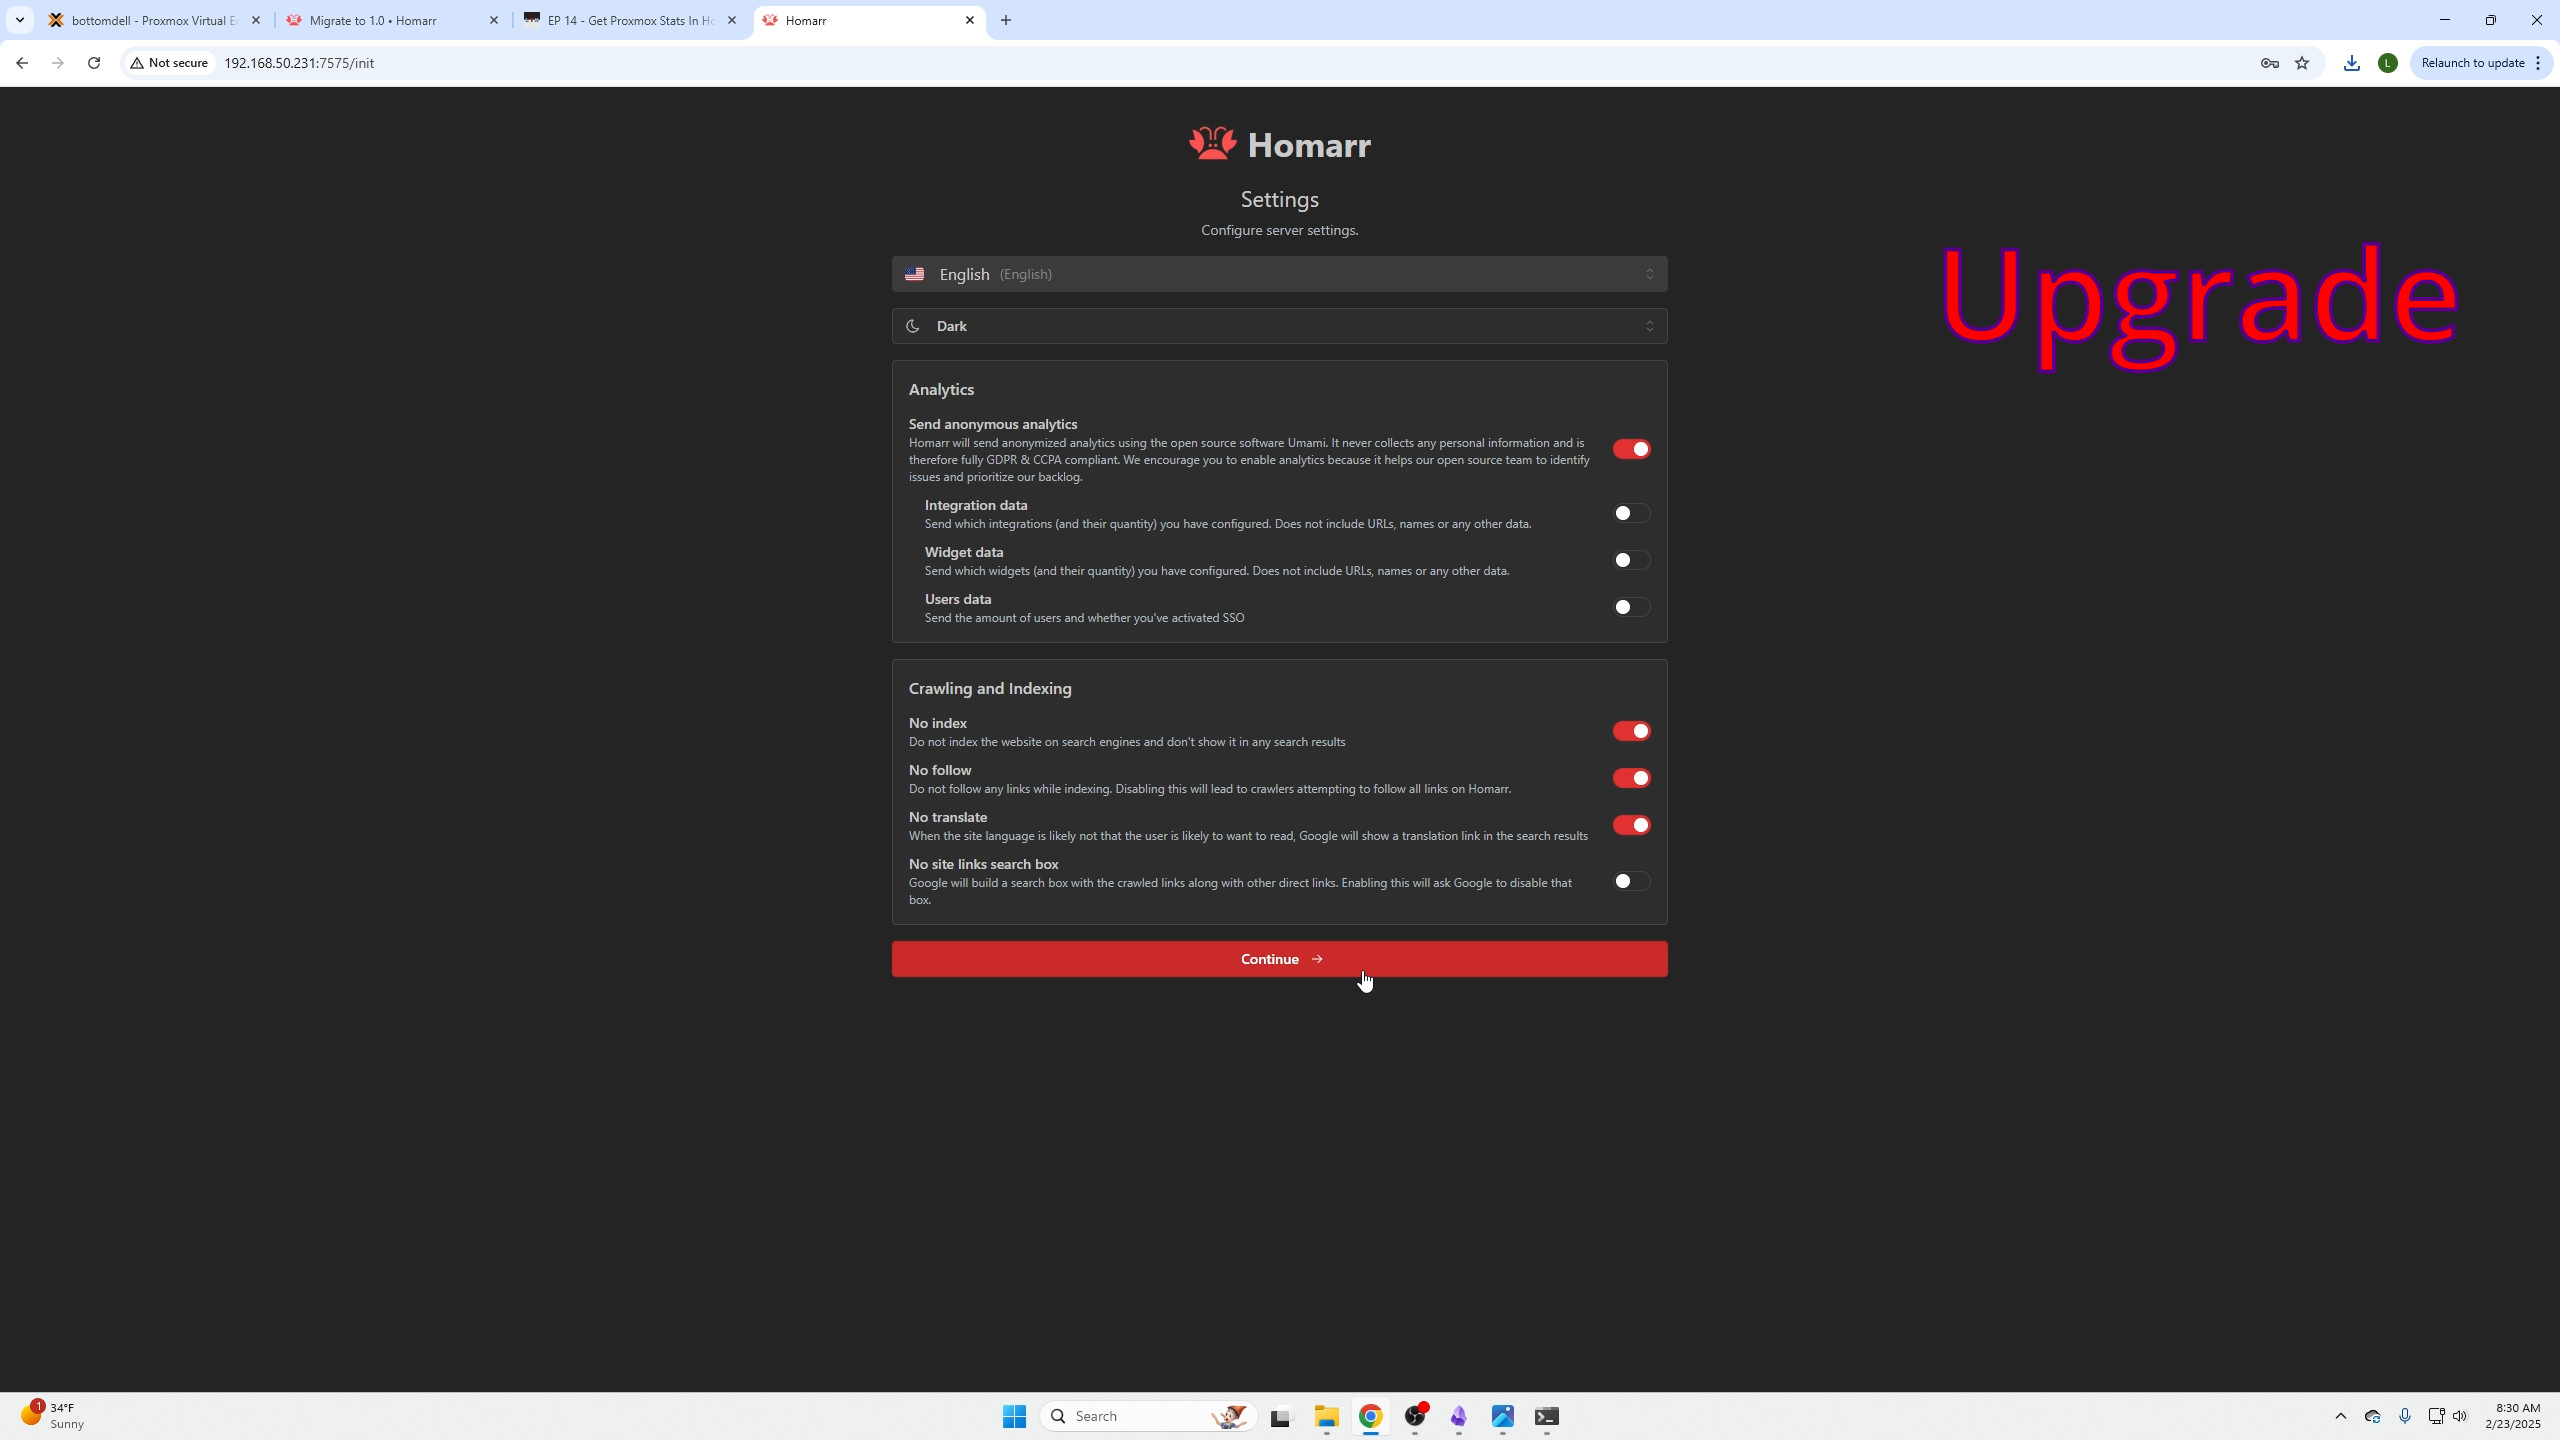
You may disable anonymous analytics.
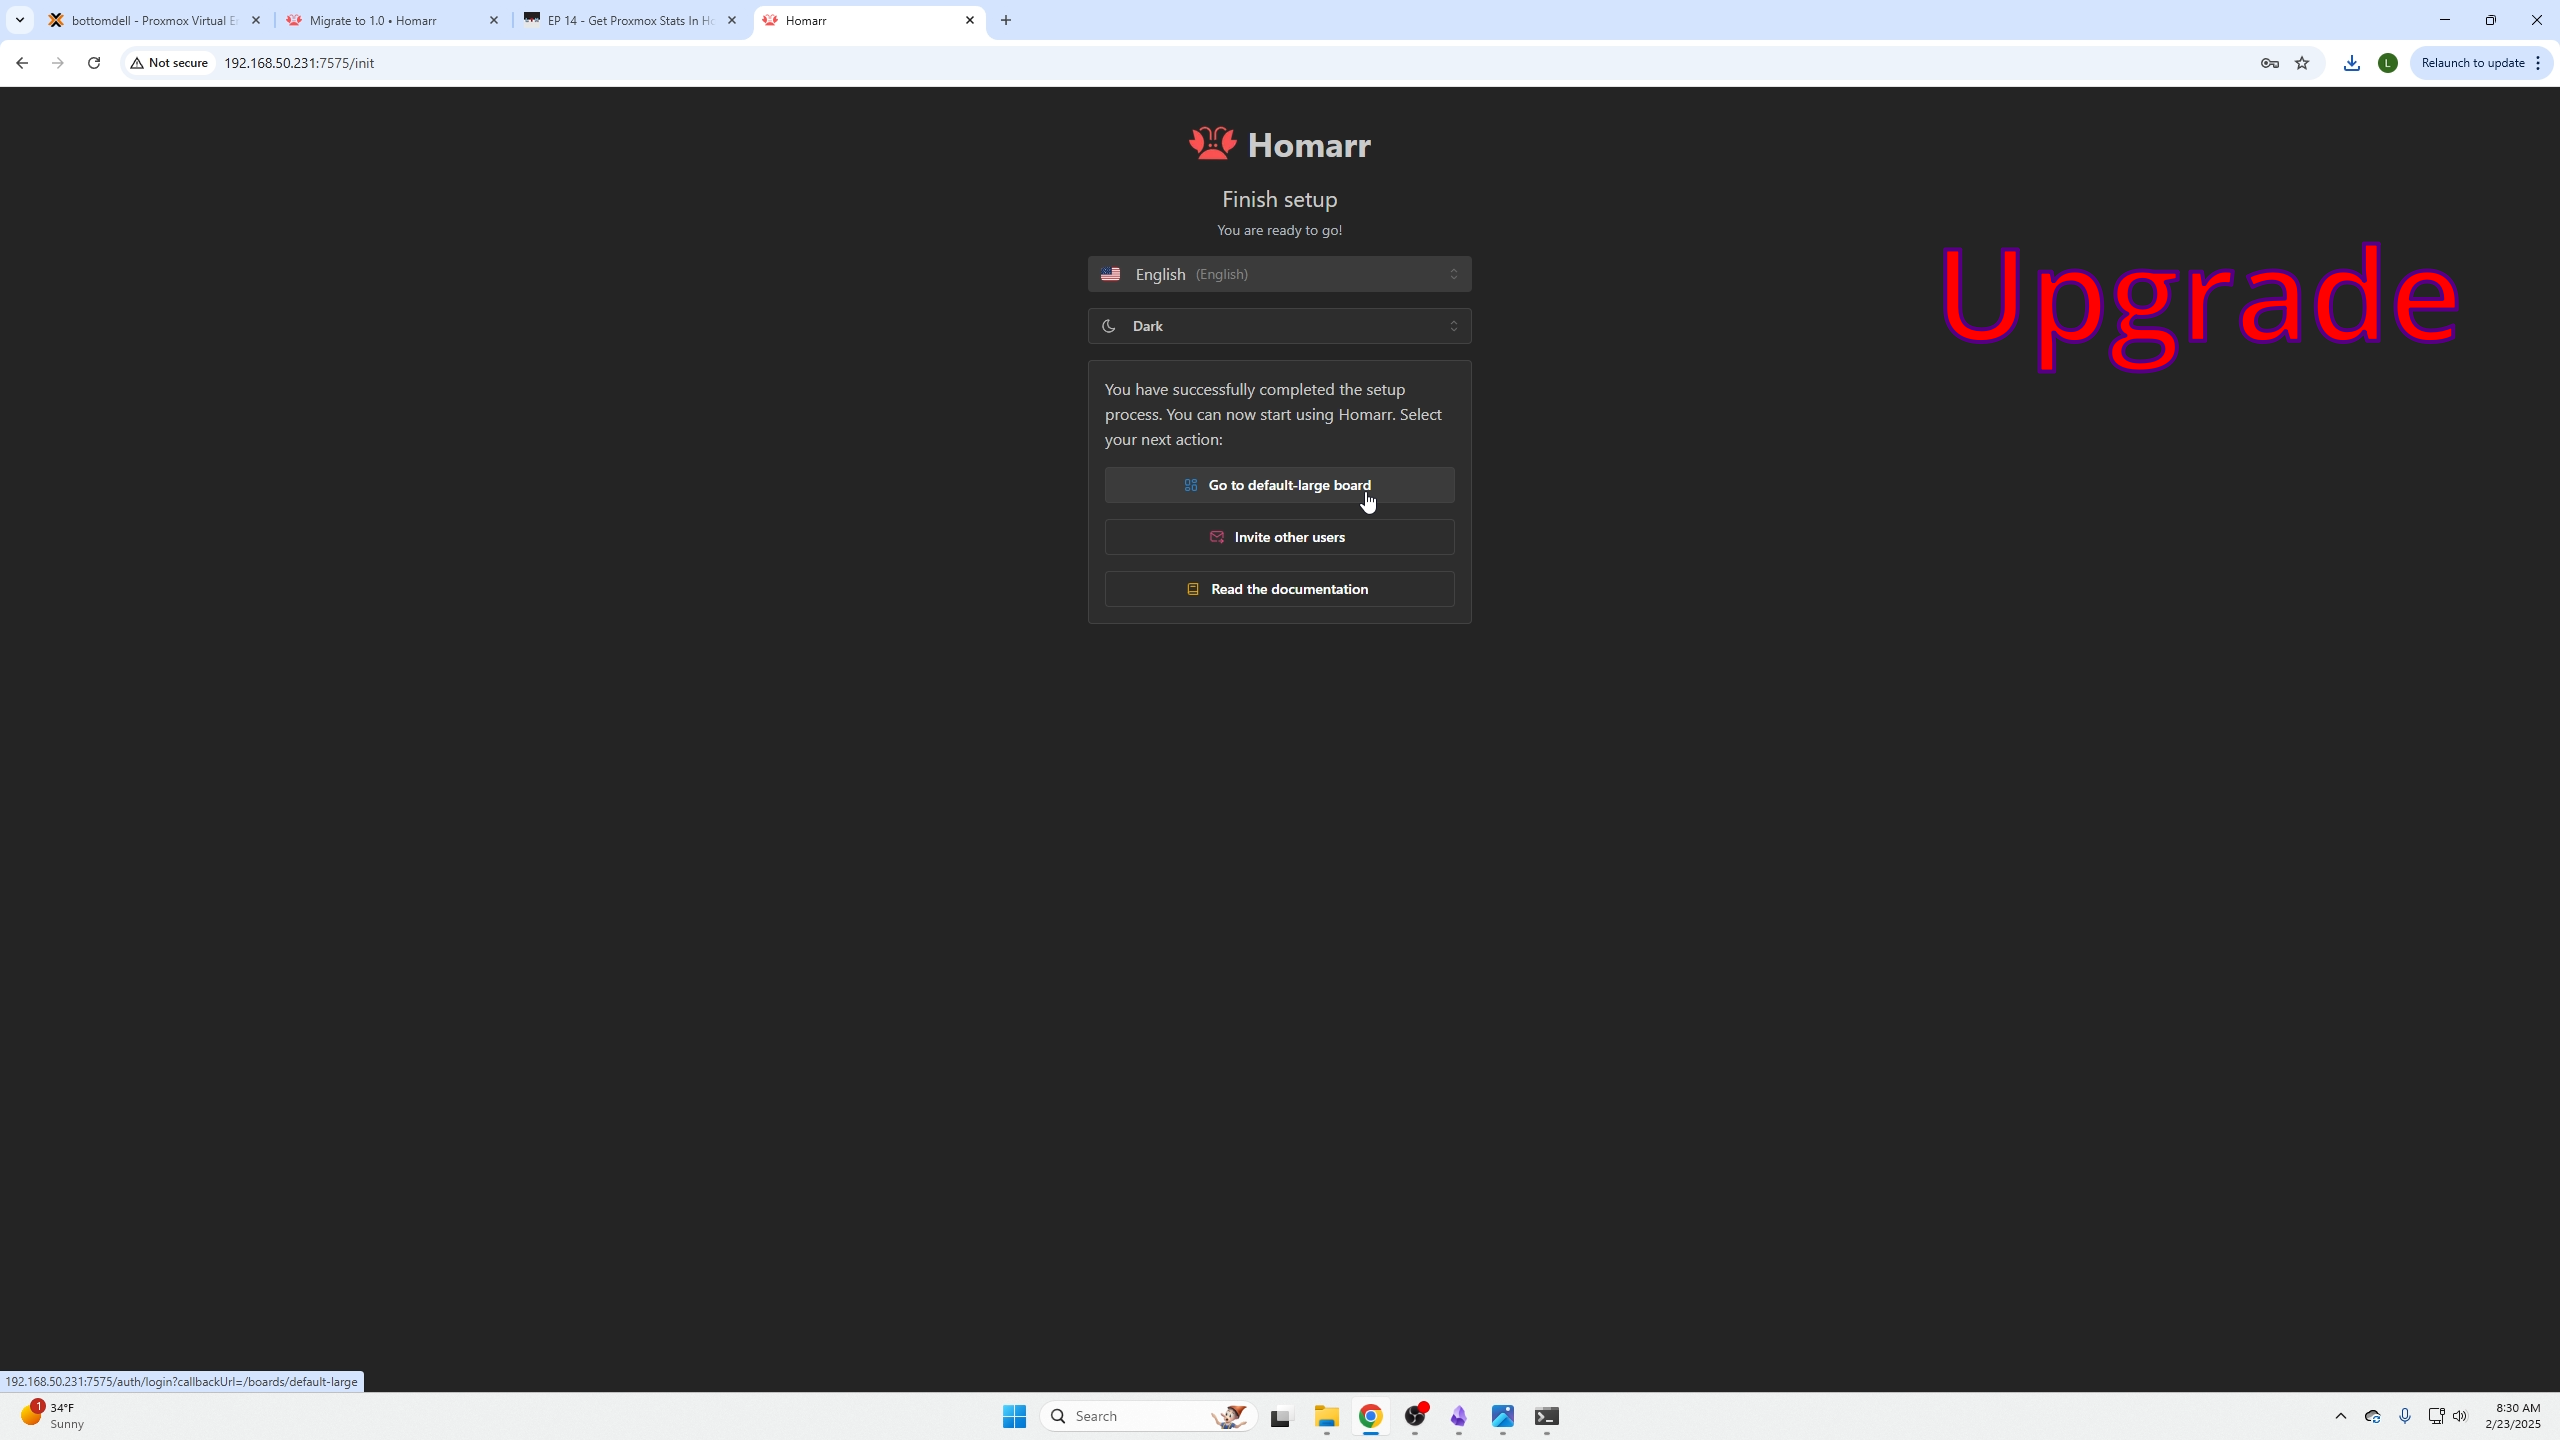
Choose Go to default-large board.
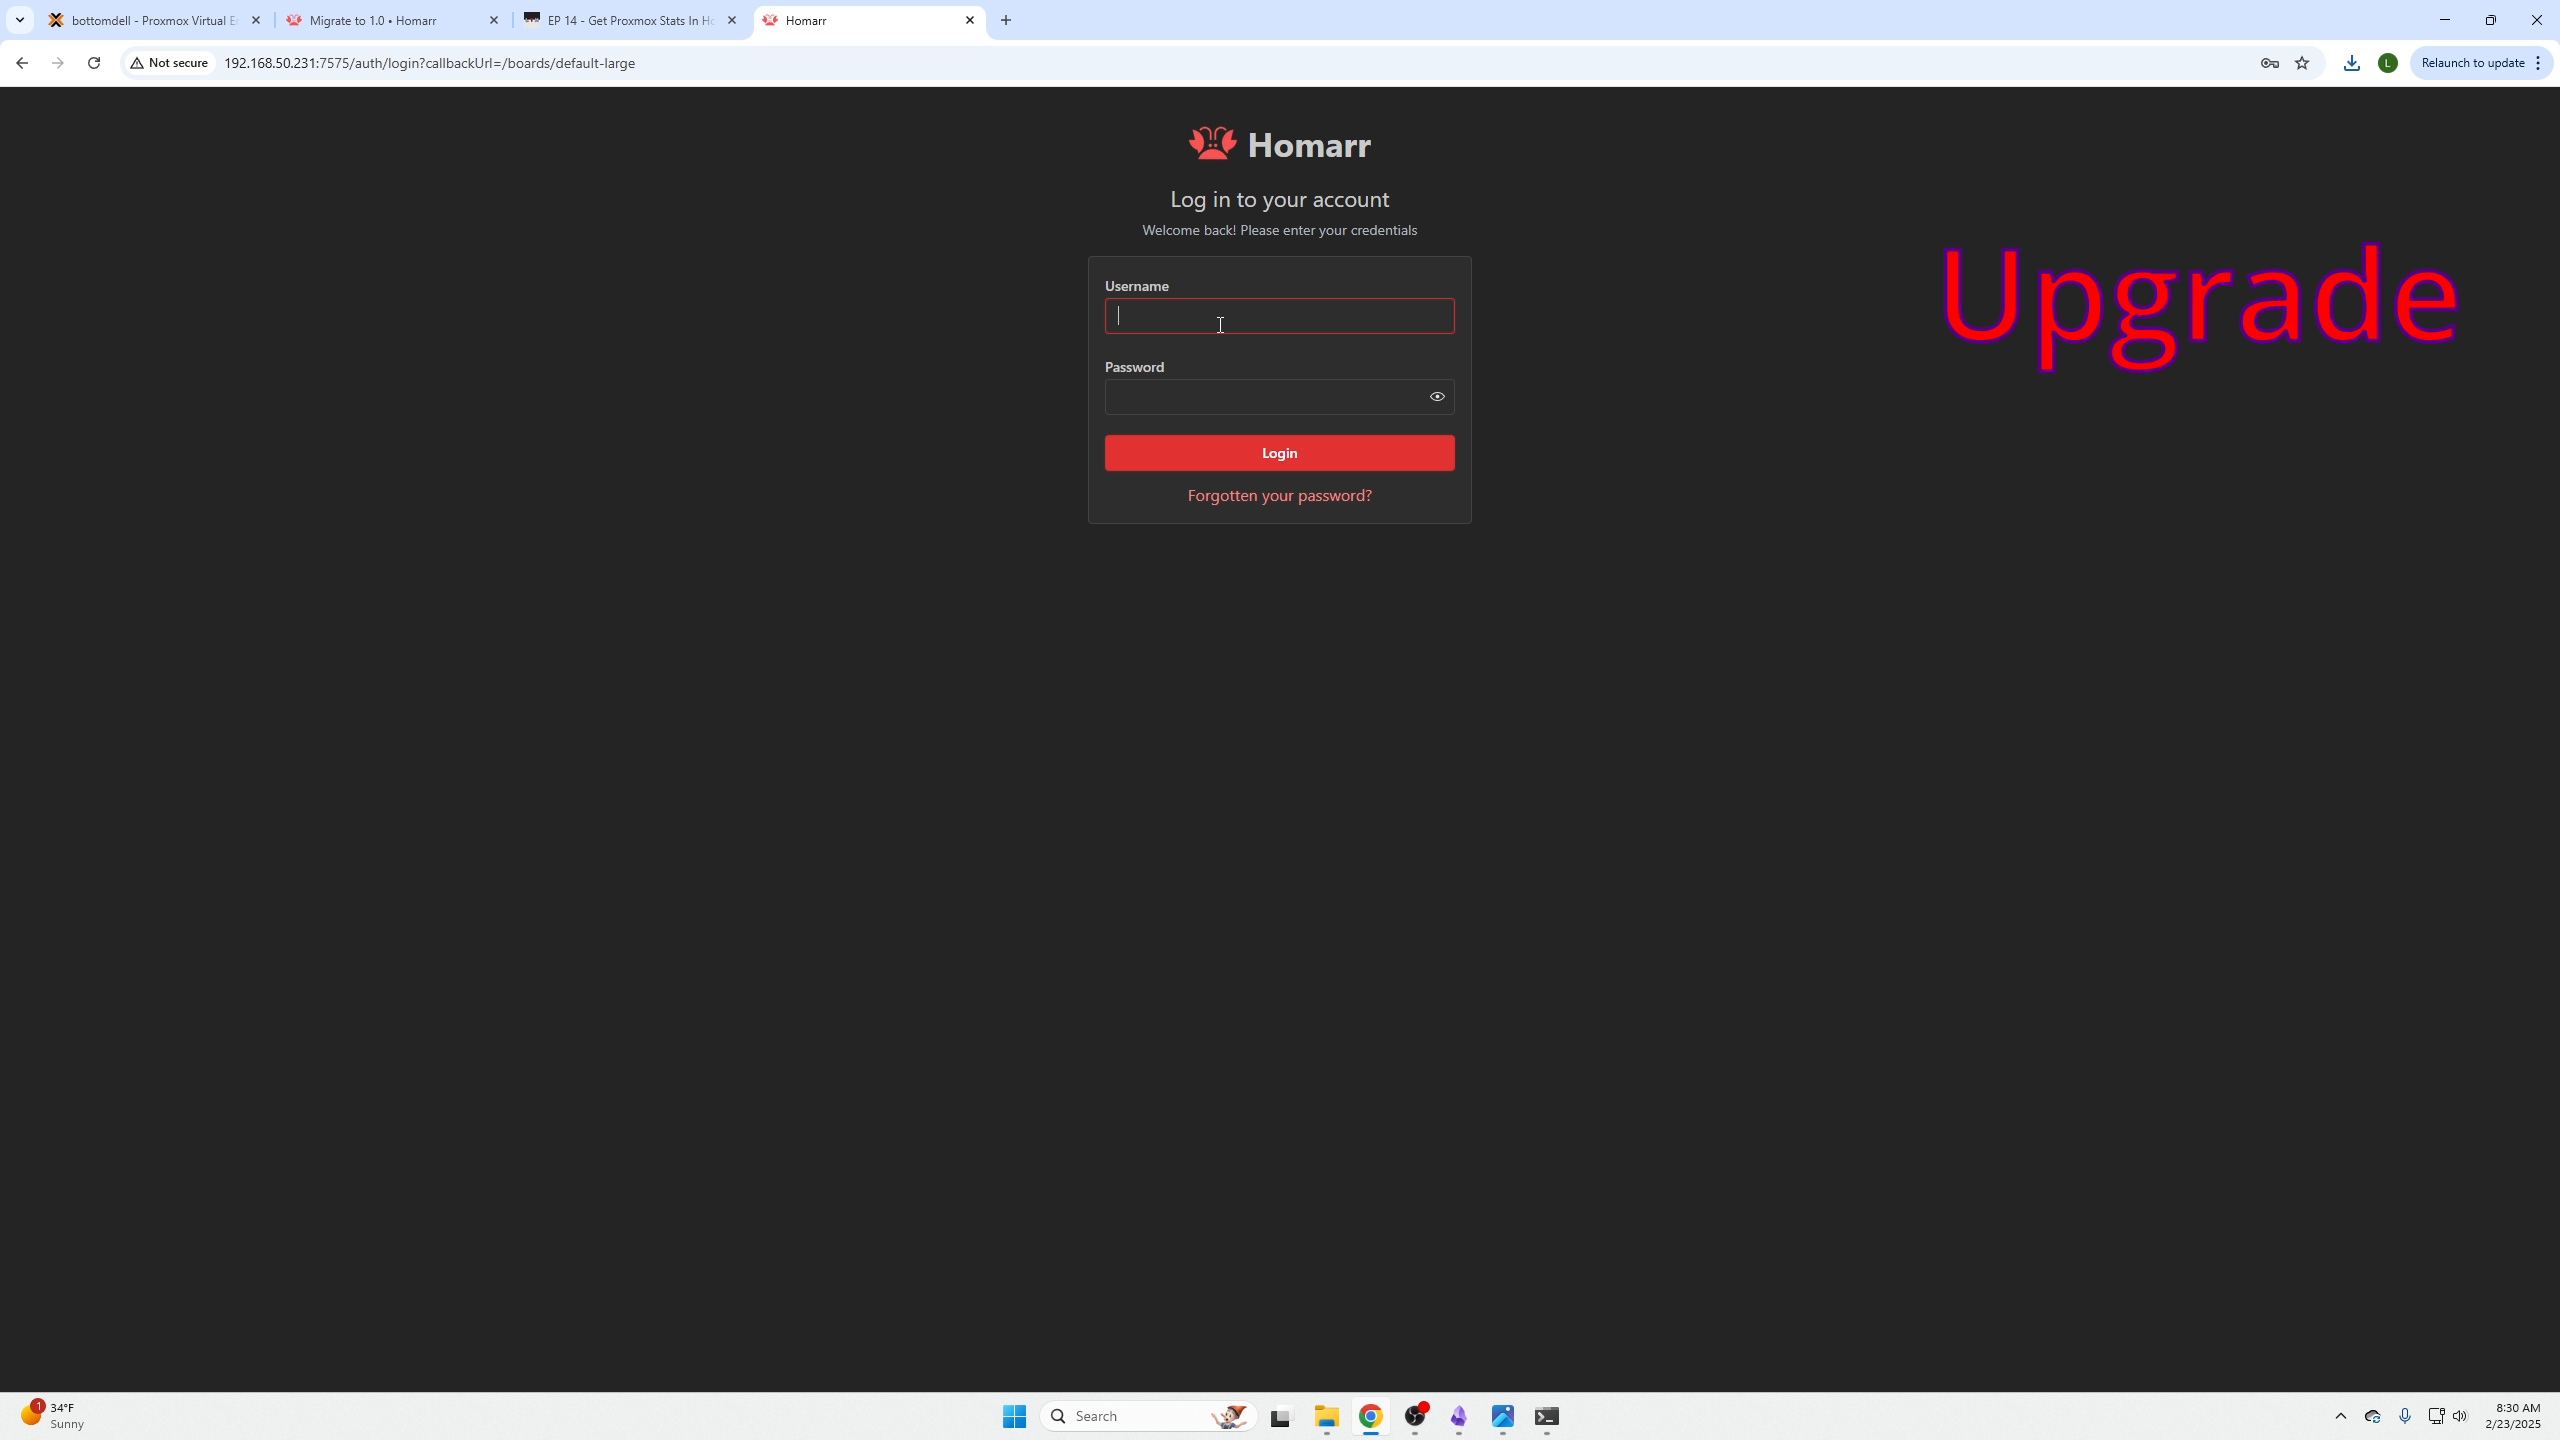
Login with old credentials if prompted.
Under Configure Server-Wide Home Dashboard:
Select your old dashboard → click three dots → Set as Your Home Board.
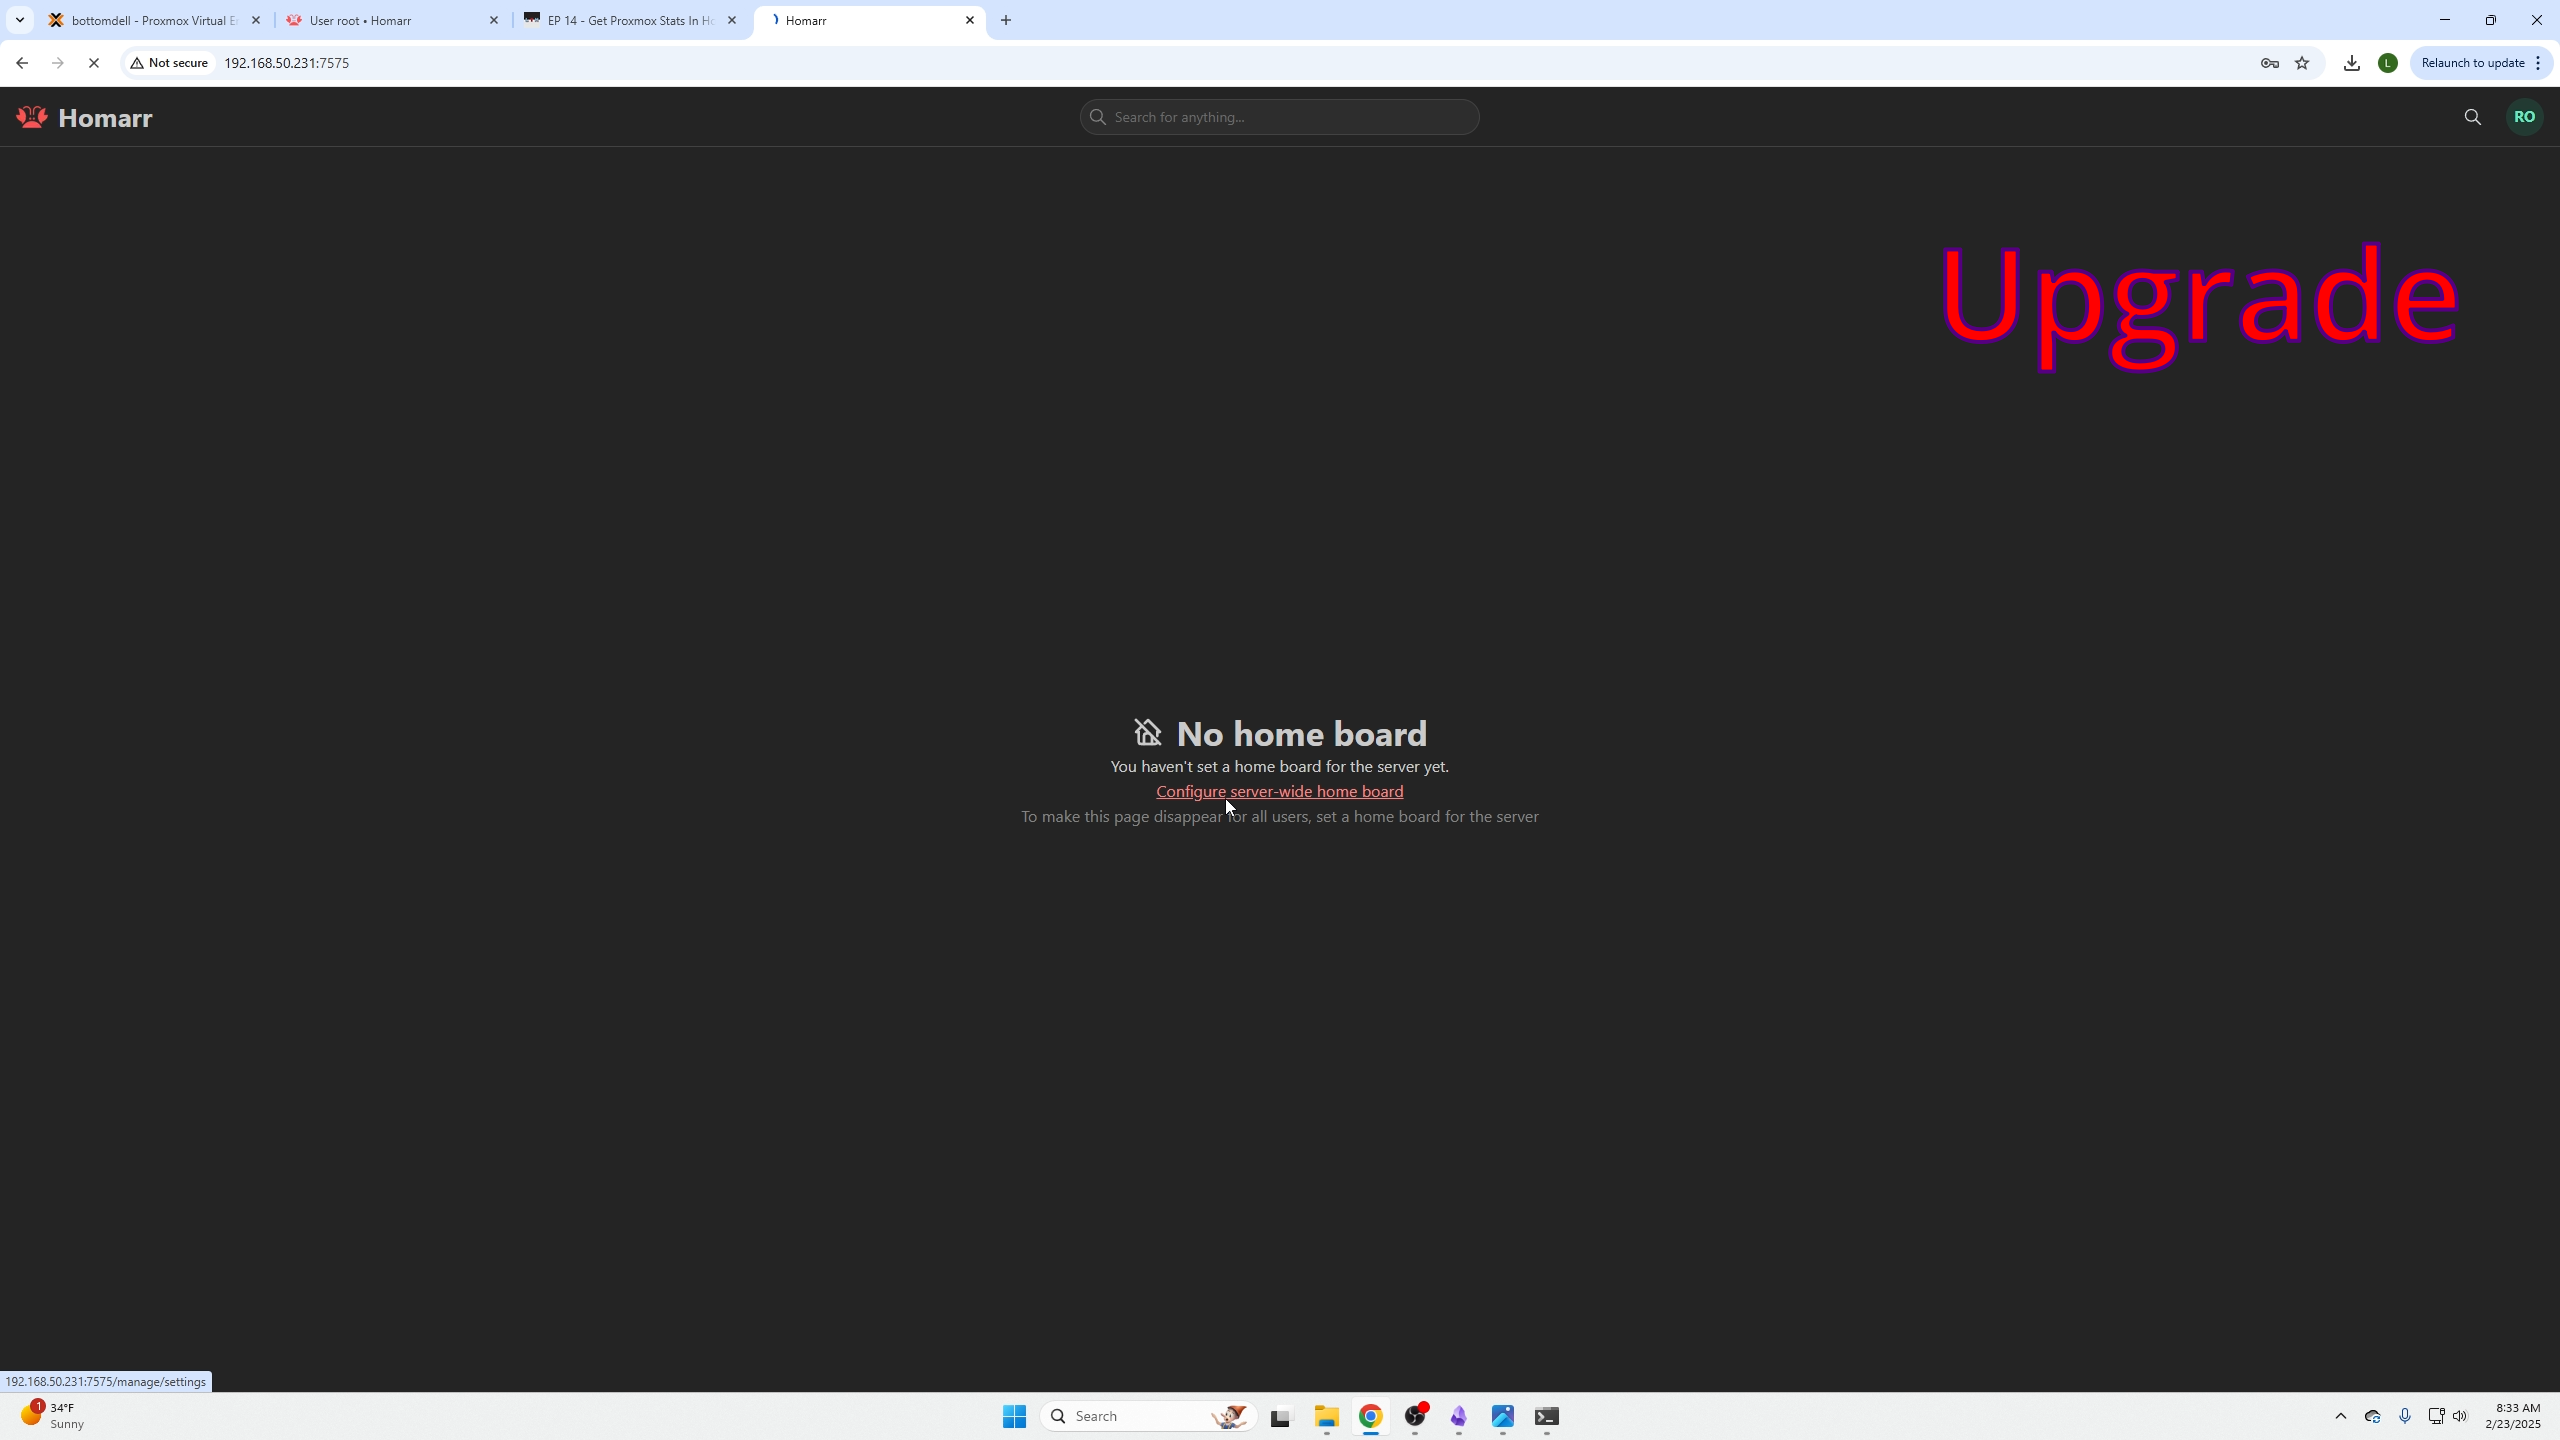
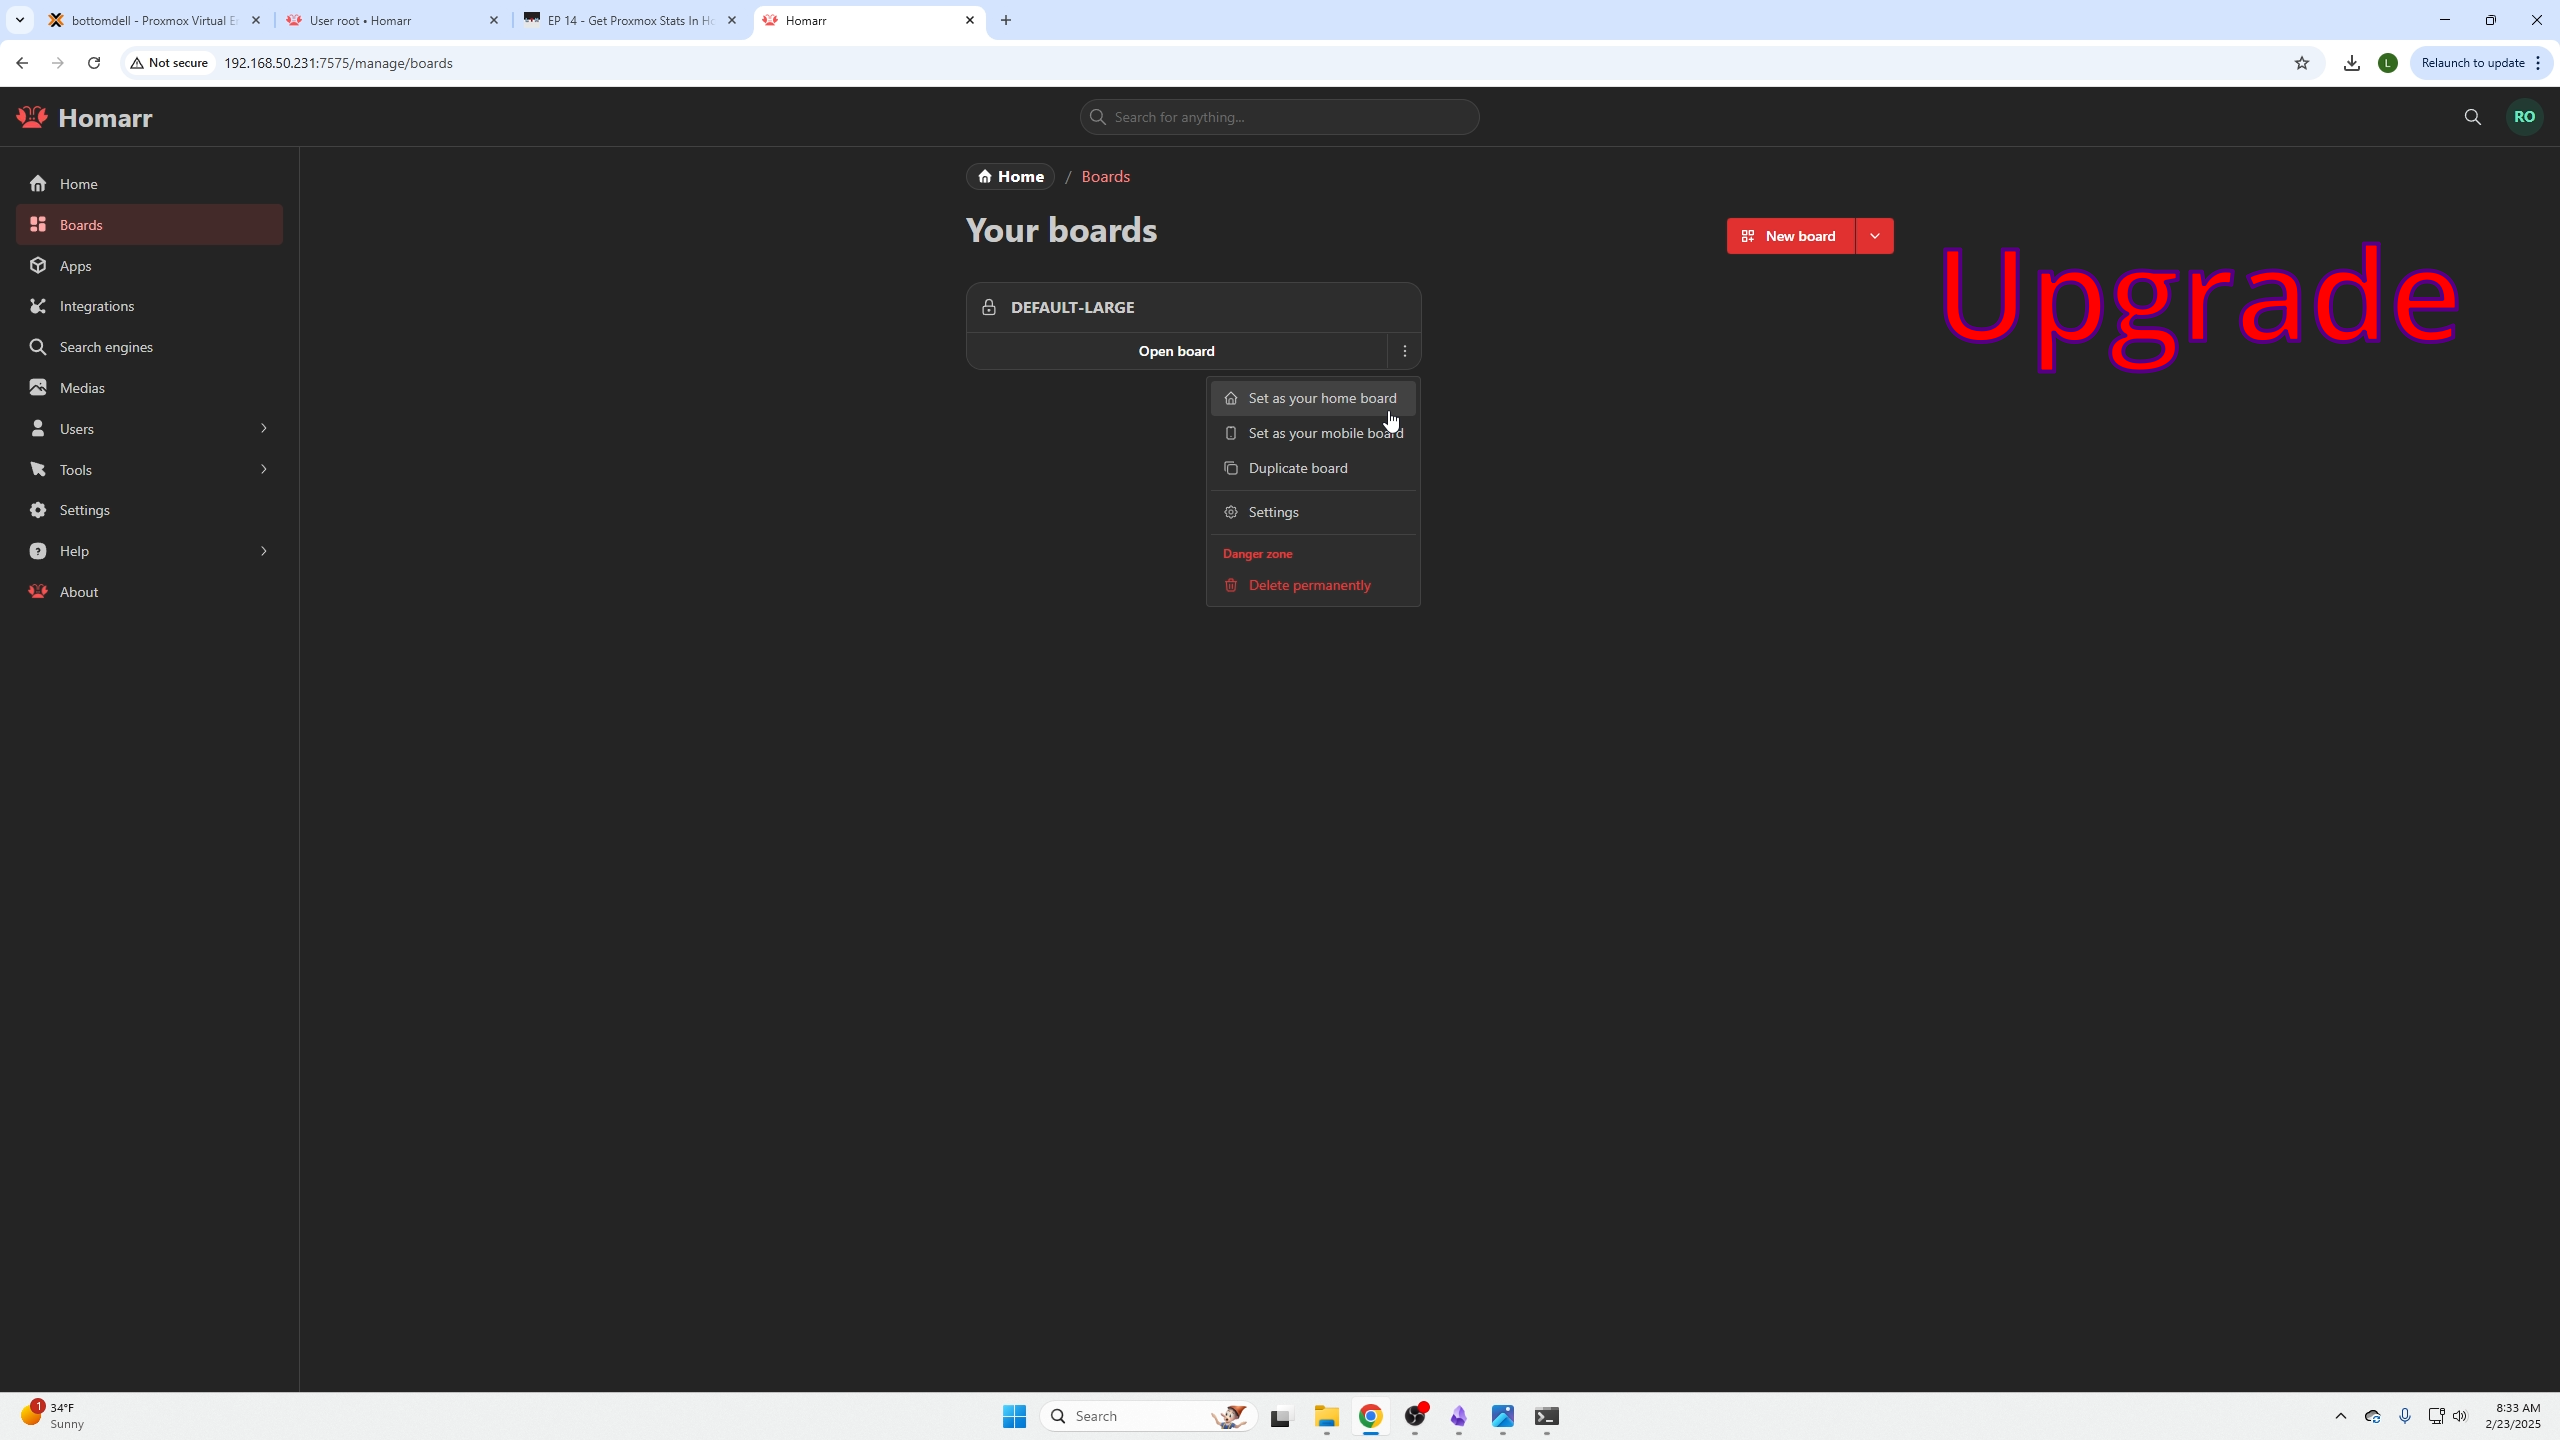
Your dashboard is restored!
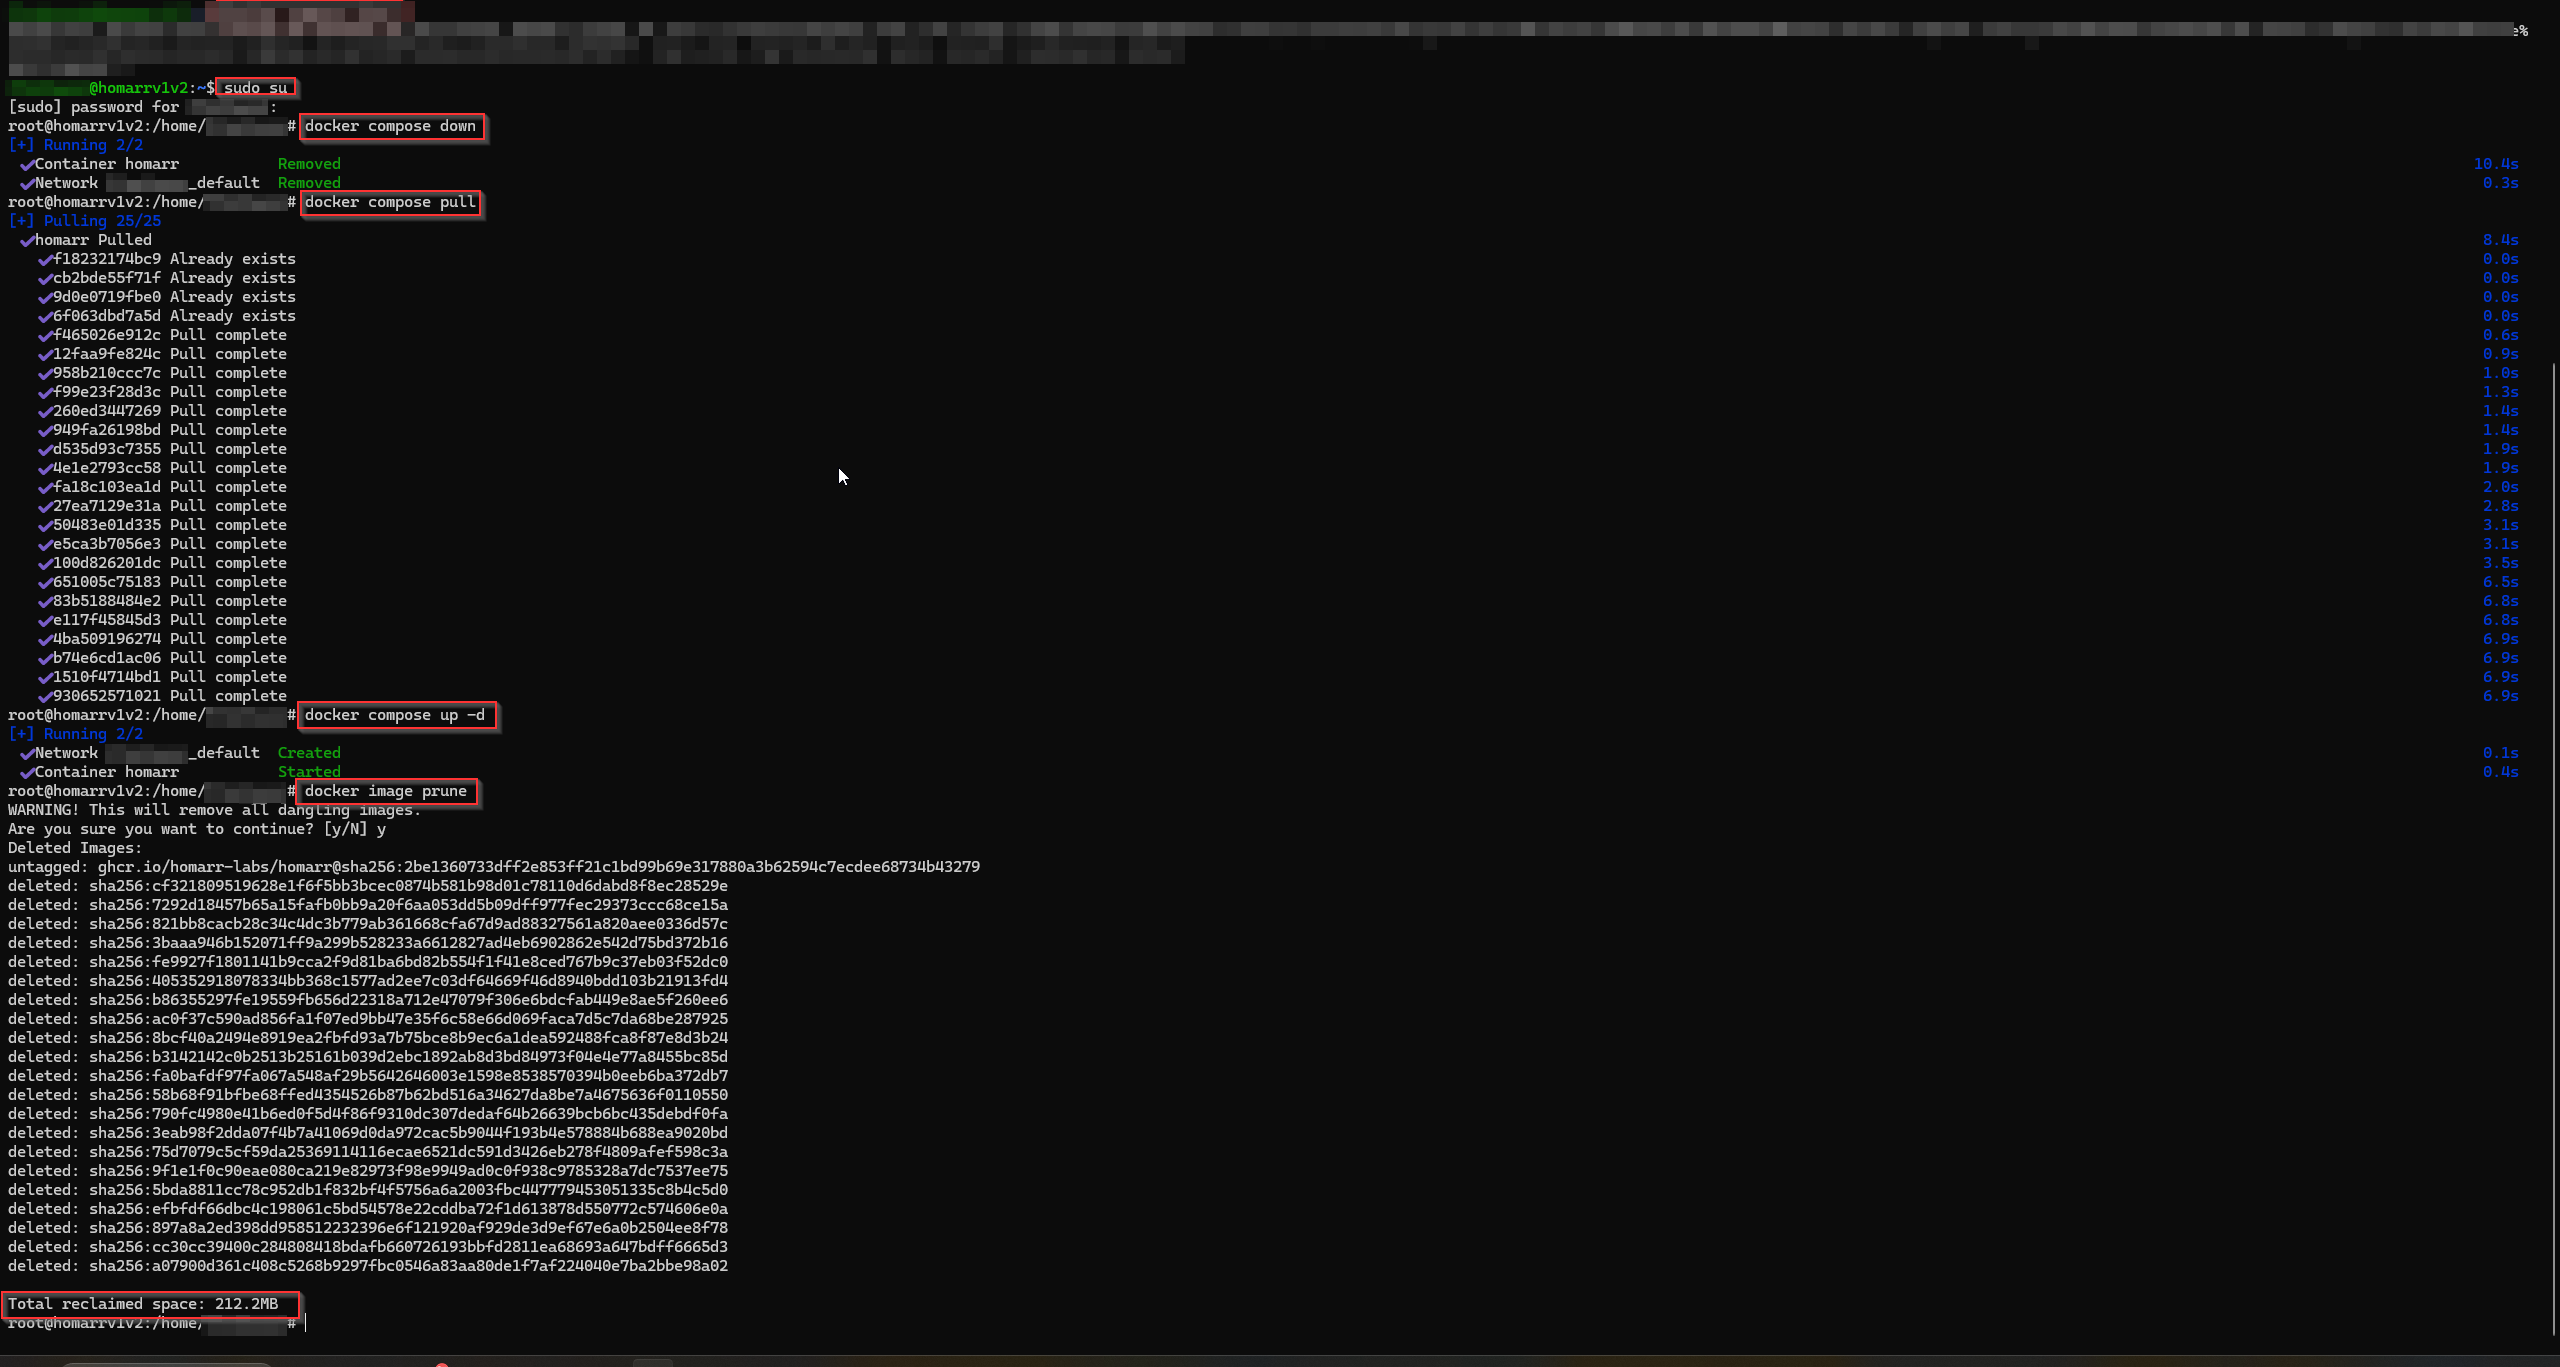
Updating Homarr 1.0
Navigate to directory with docker-compose.yaml (use sudo or become superuser).
Stop Homarr:
docker compose down
Pull newest image:
docker compose pull
Start Homarr in detached mode:
docker compose up -d
Clean up old images (warning: removes unused images, not just Homarr):
docker image prune