How to Set up CloudFlare Tunnels in 2025
Introduction
A Cloudflare Tunnel creates a secure, outbound-only connection between your home network and Cloudflare’s global network. It enables exposing services running on your homelab without opening ports or complex firewall adjustments. This simplifies remote access from anywhere.
⚠️
Important
It is recommended to install the Cloudflare Tunnel on a dedicated VM, although you can install it on an existing VM as shown in this tutorial.
Creating a Cloudflare Tunnel
- Visit Cloudflare.com and log in (Google account option available).
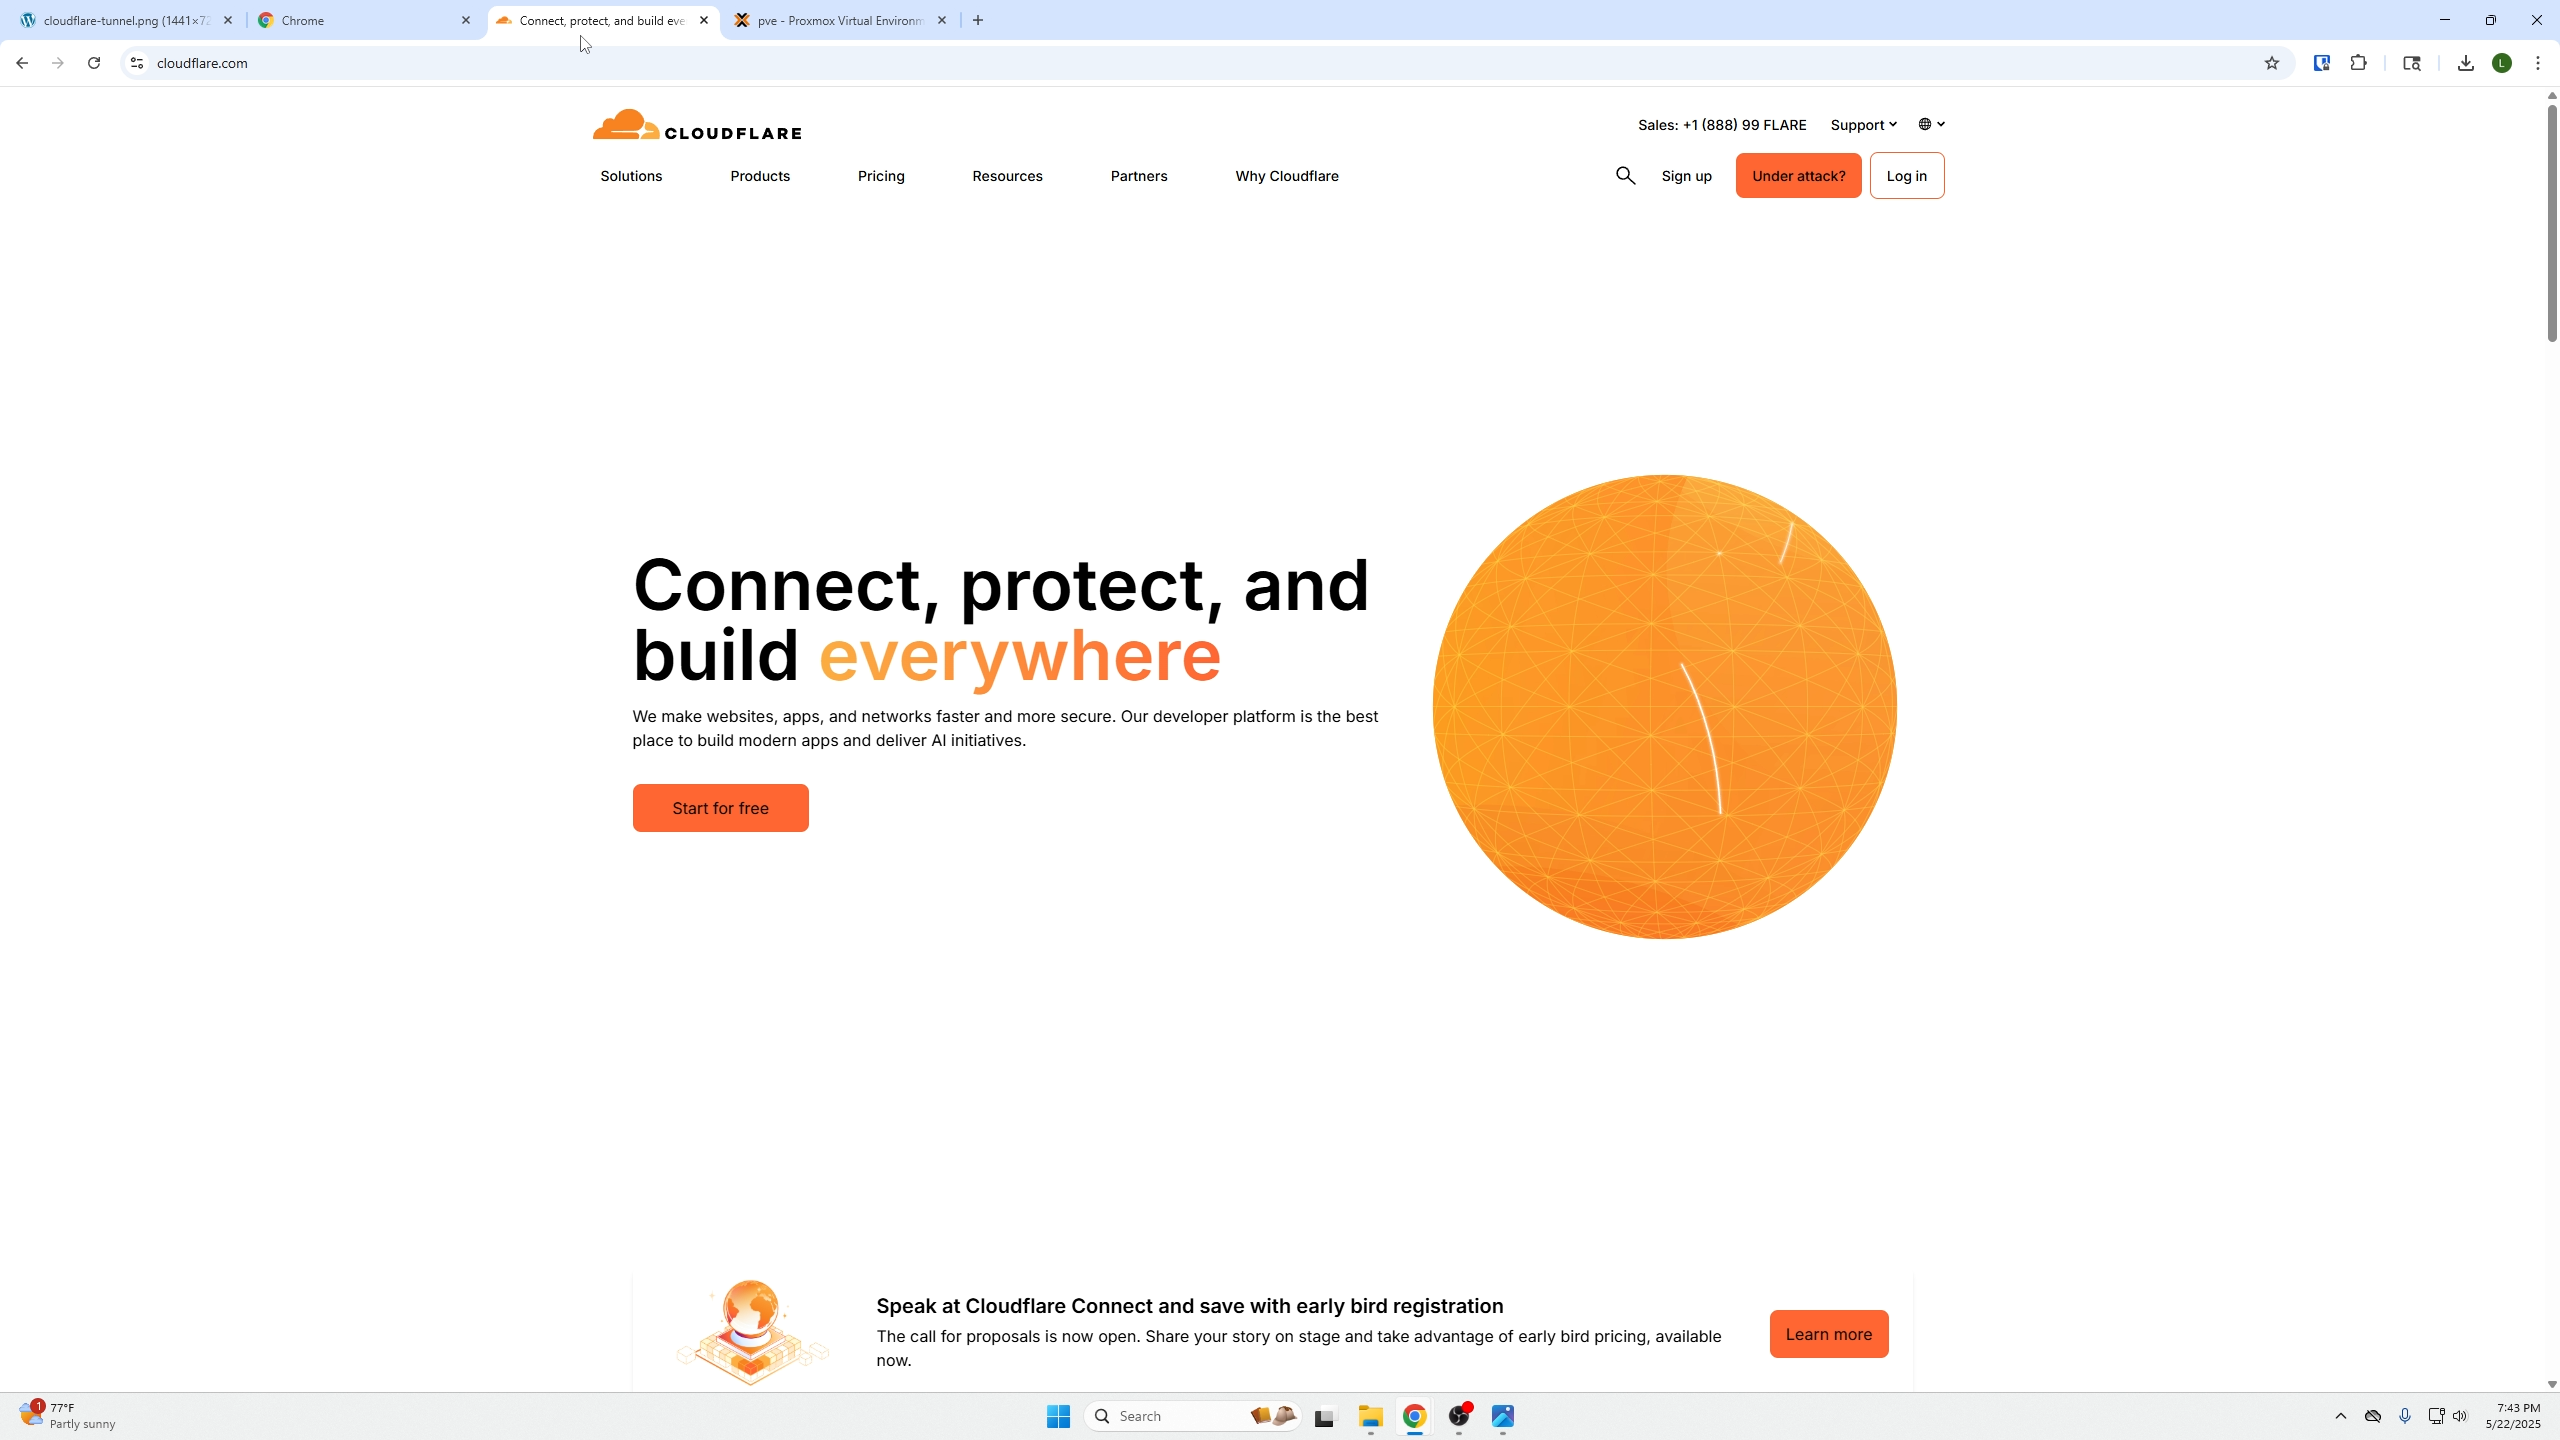
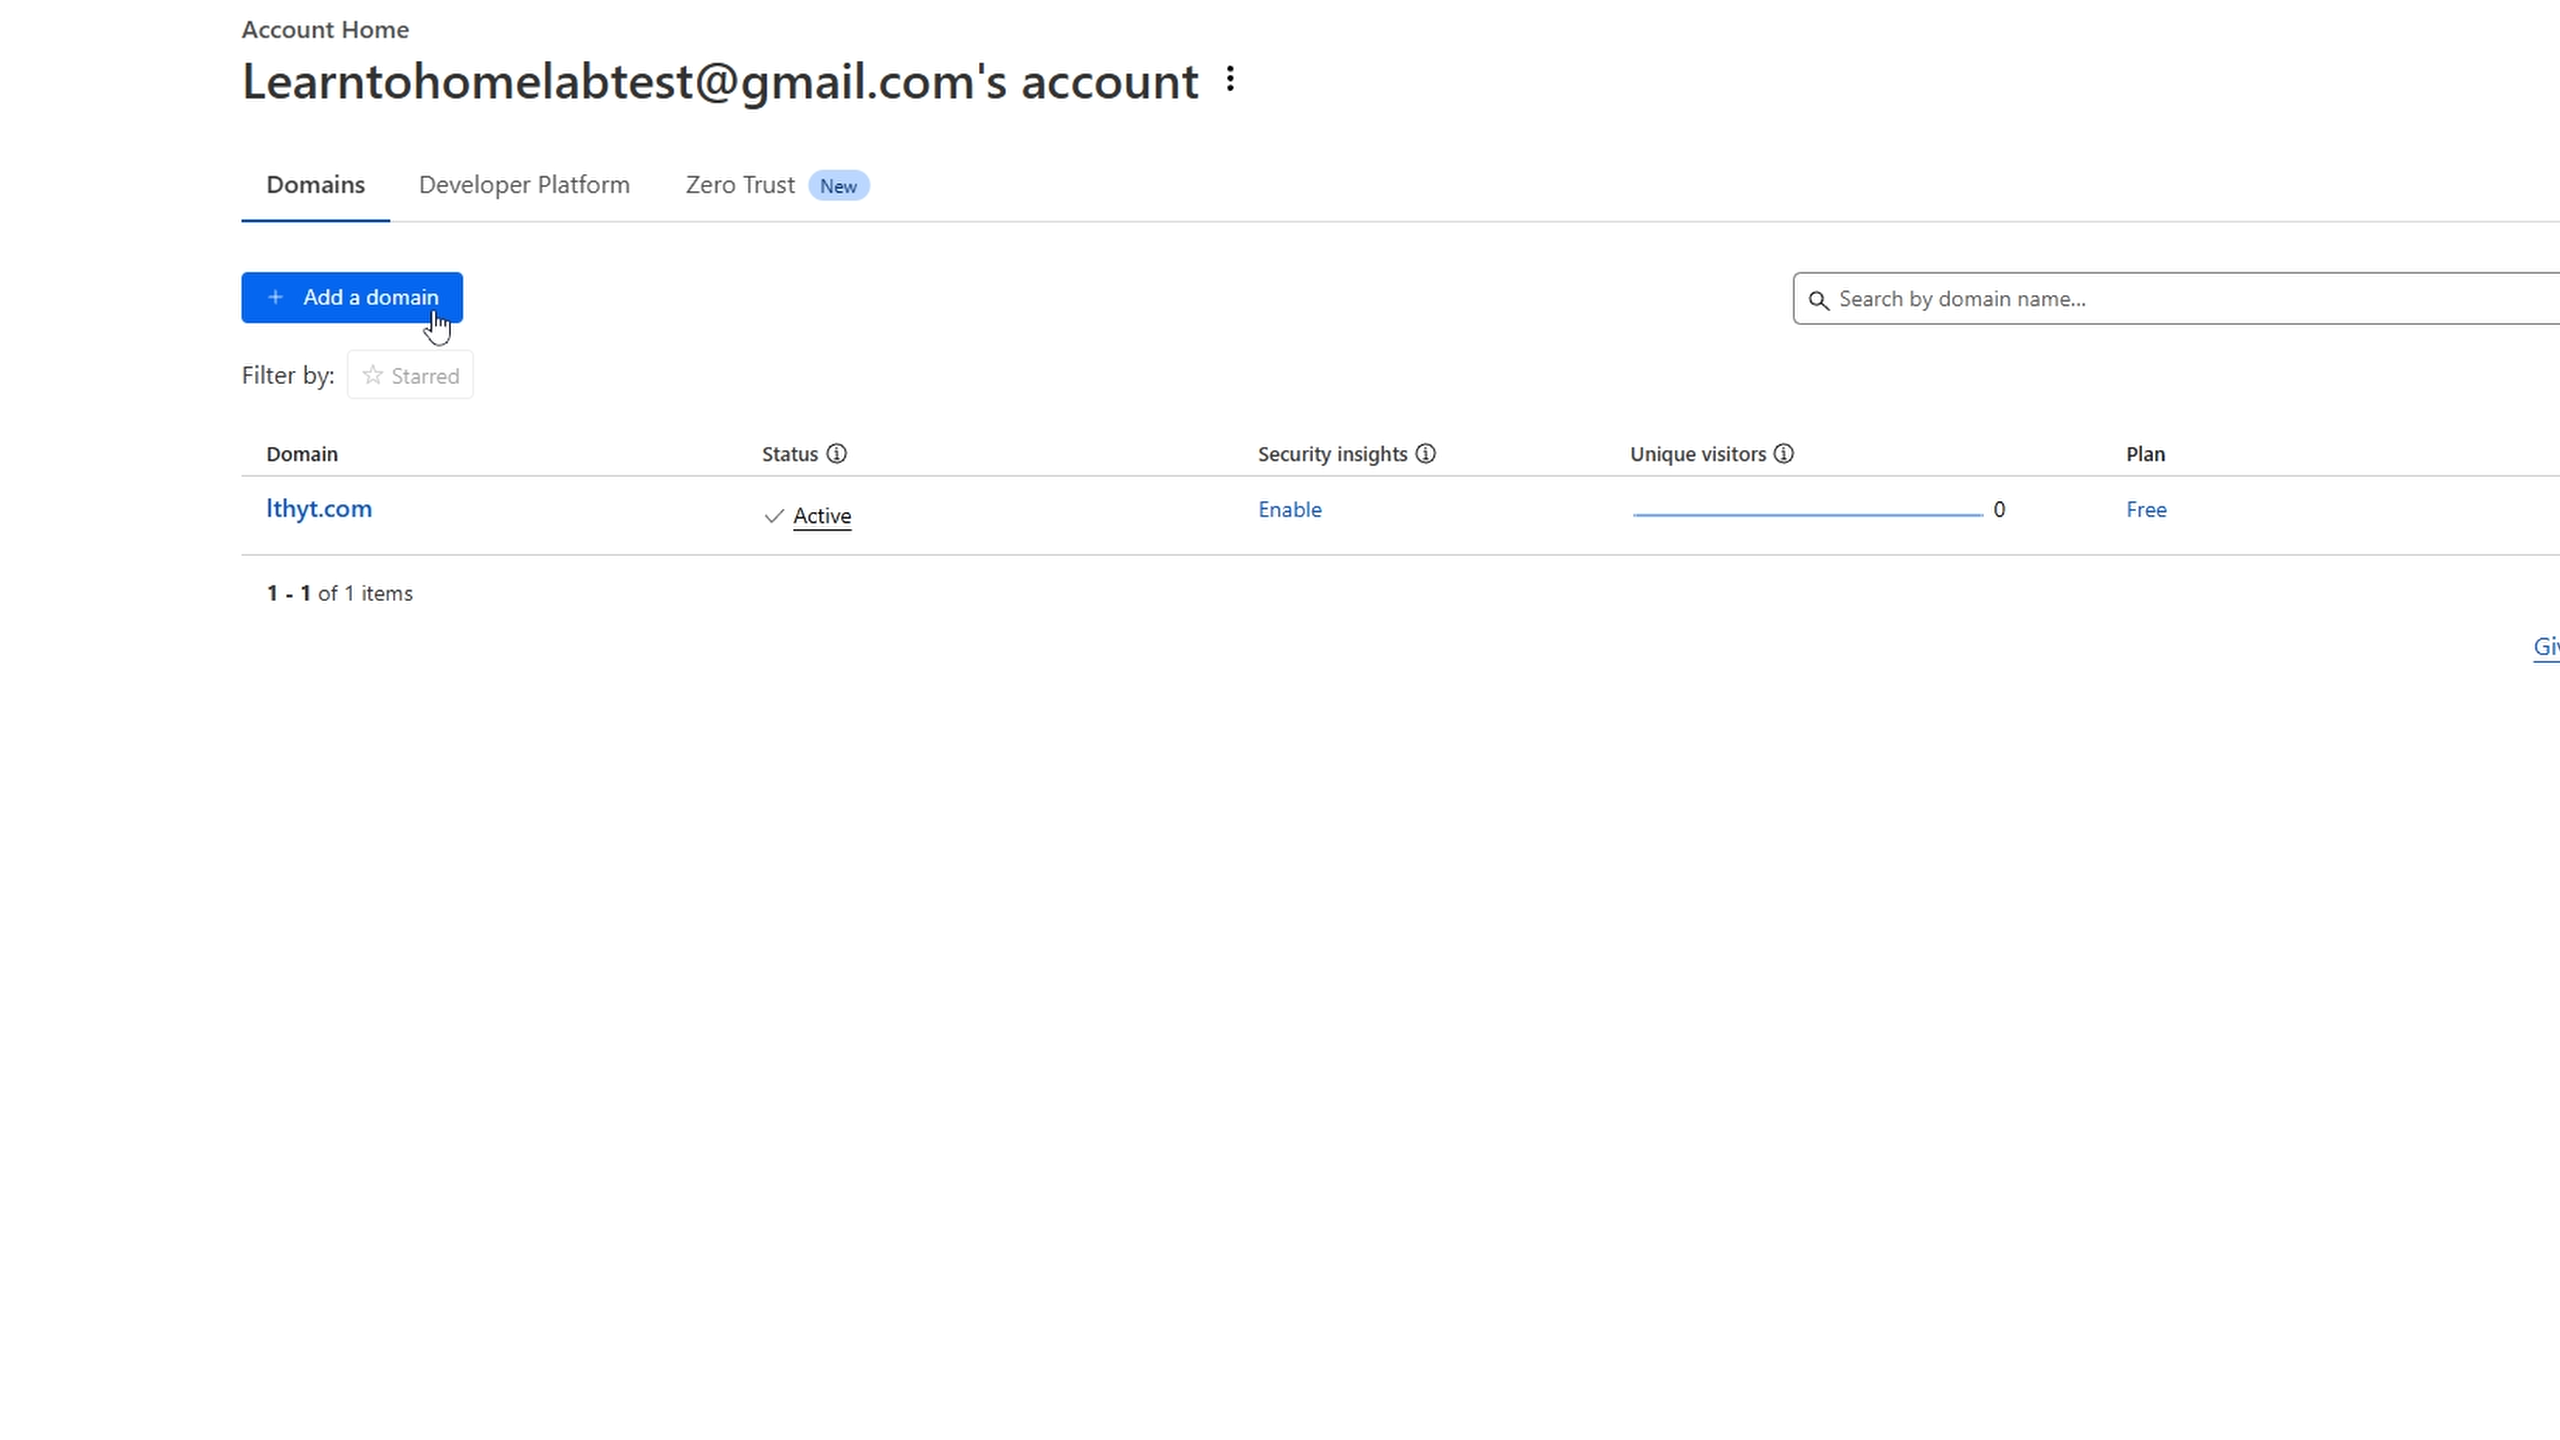
- Purchase a domain if you don't have one already (around $11/year).
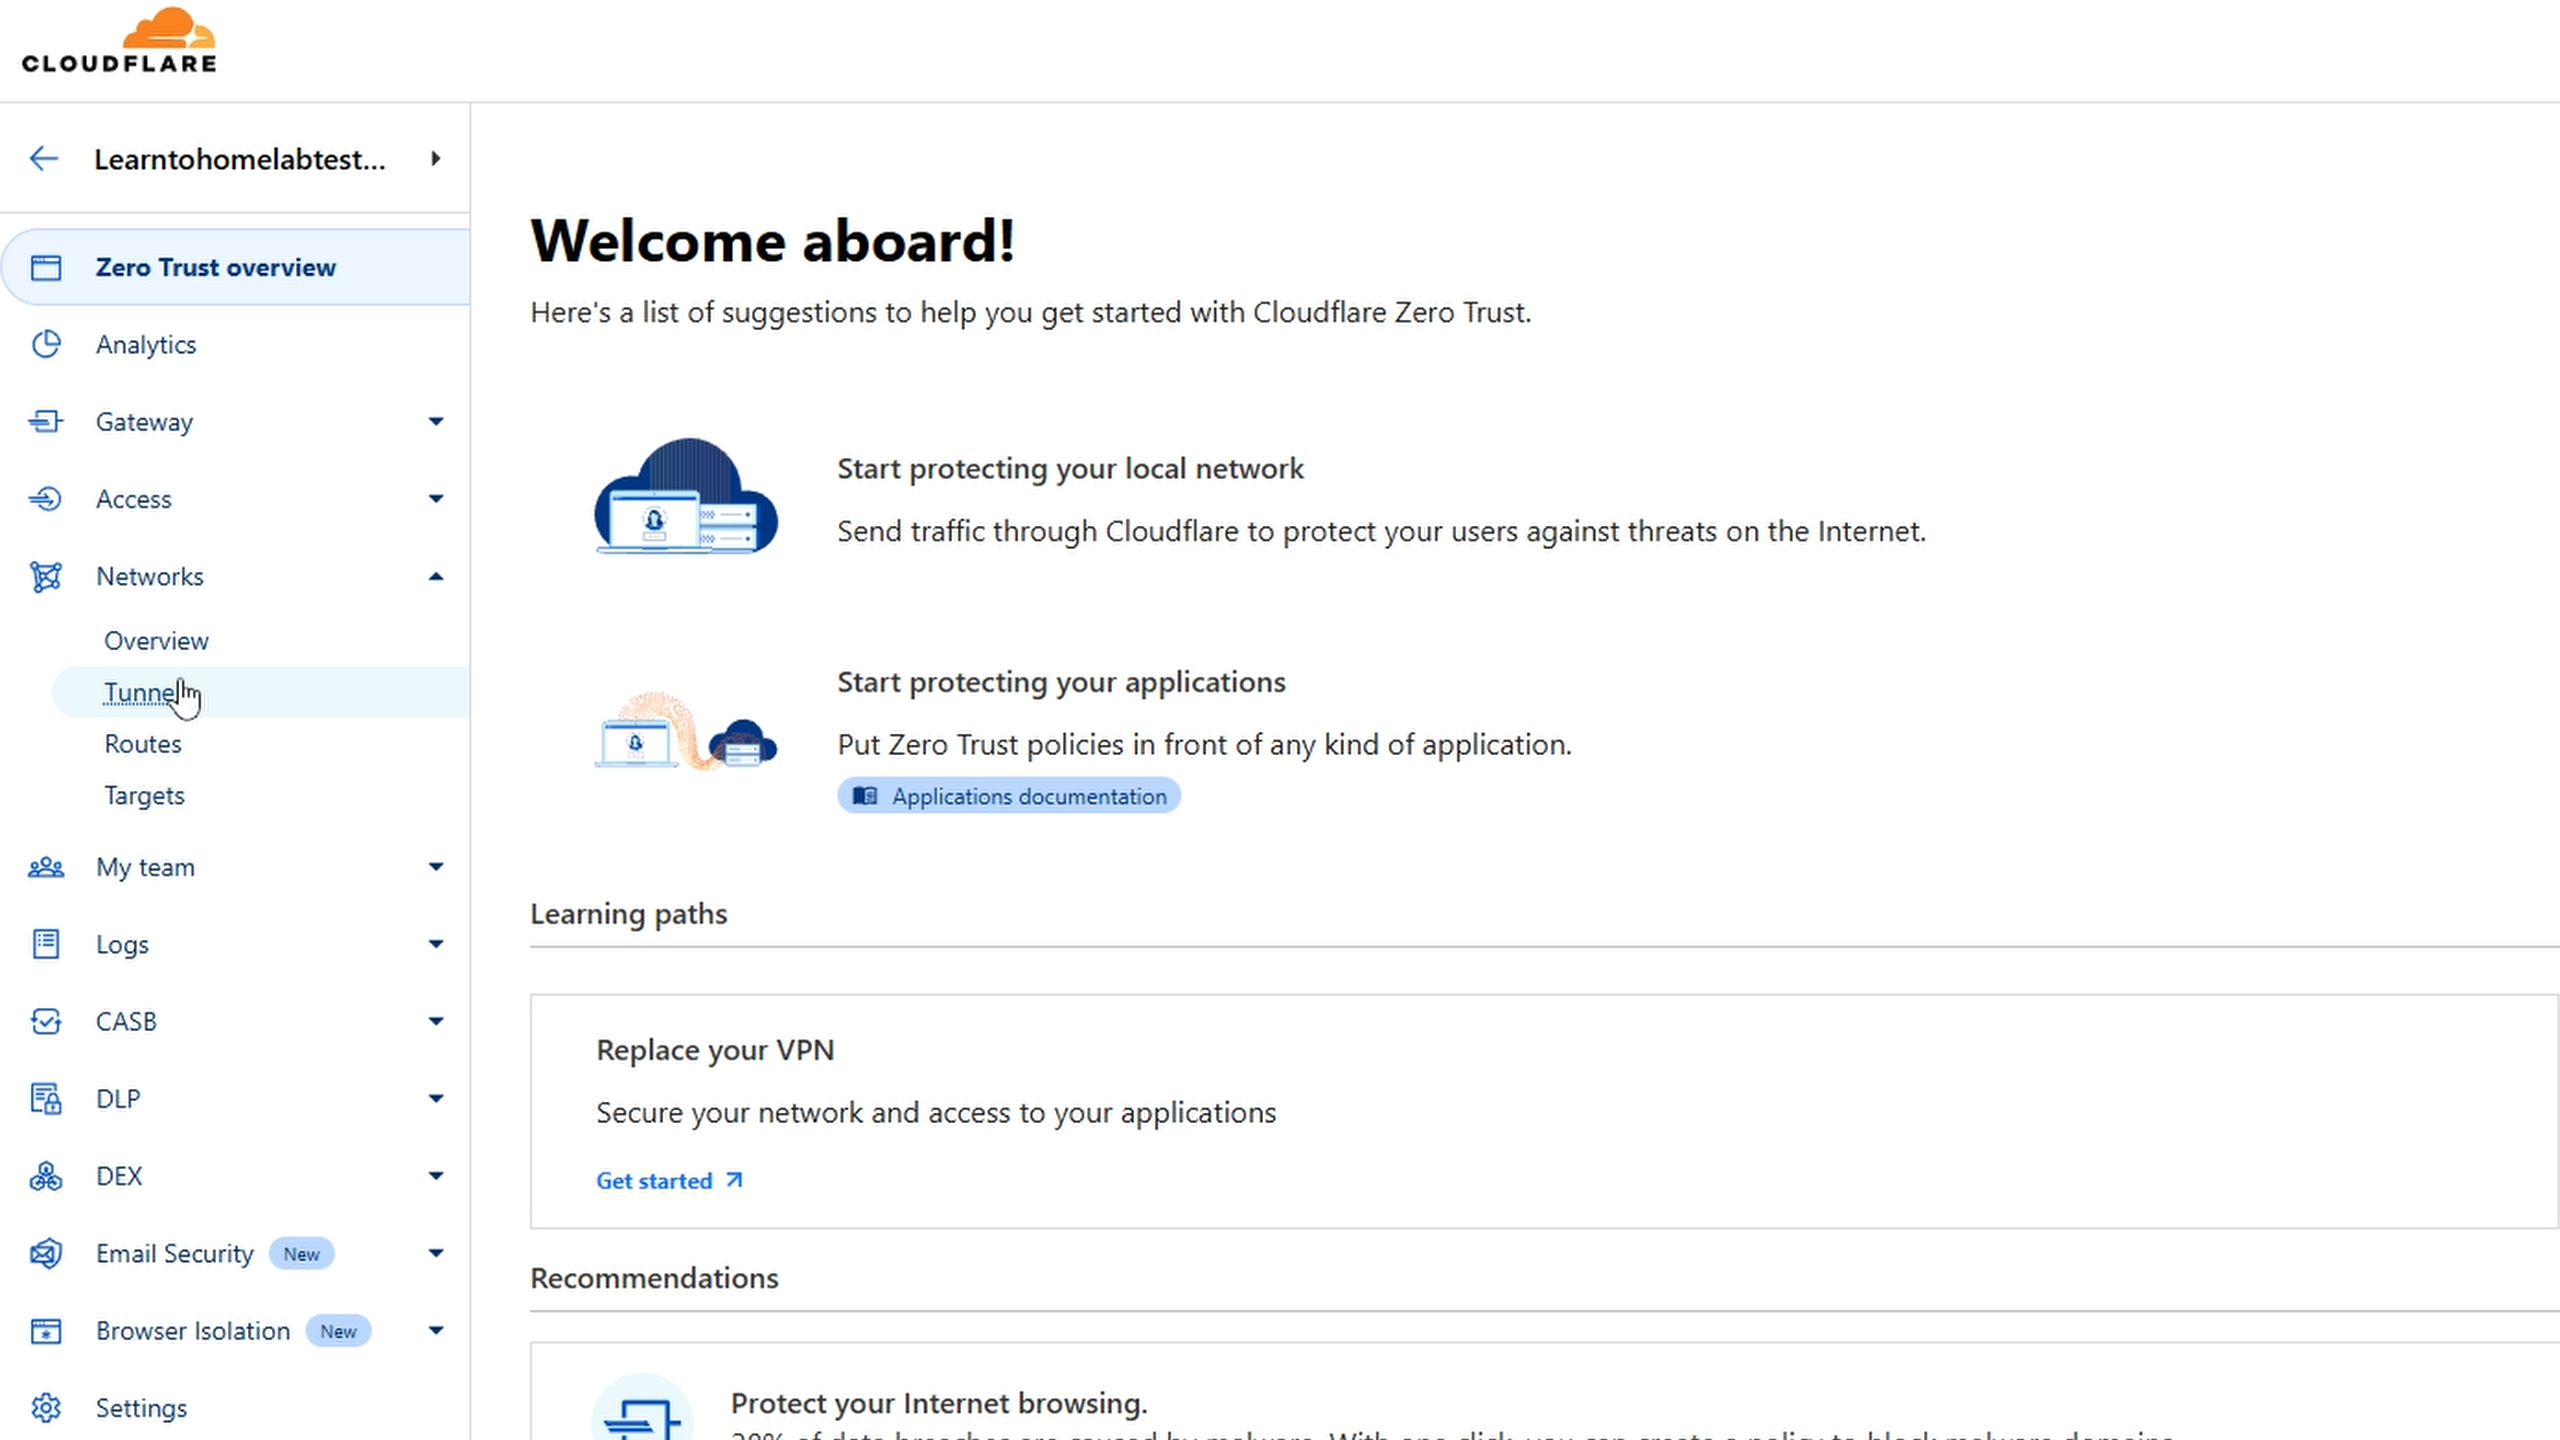
- Navigate to Zero Trust in the sidebar.

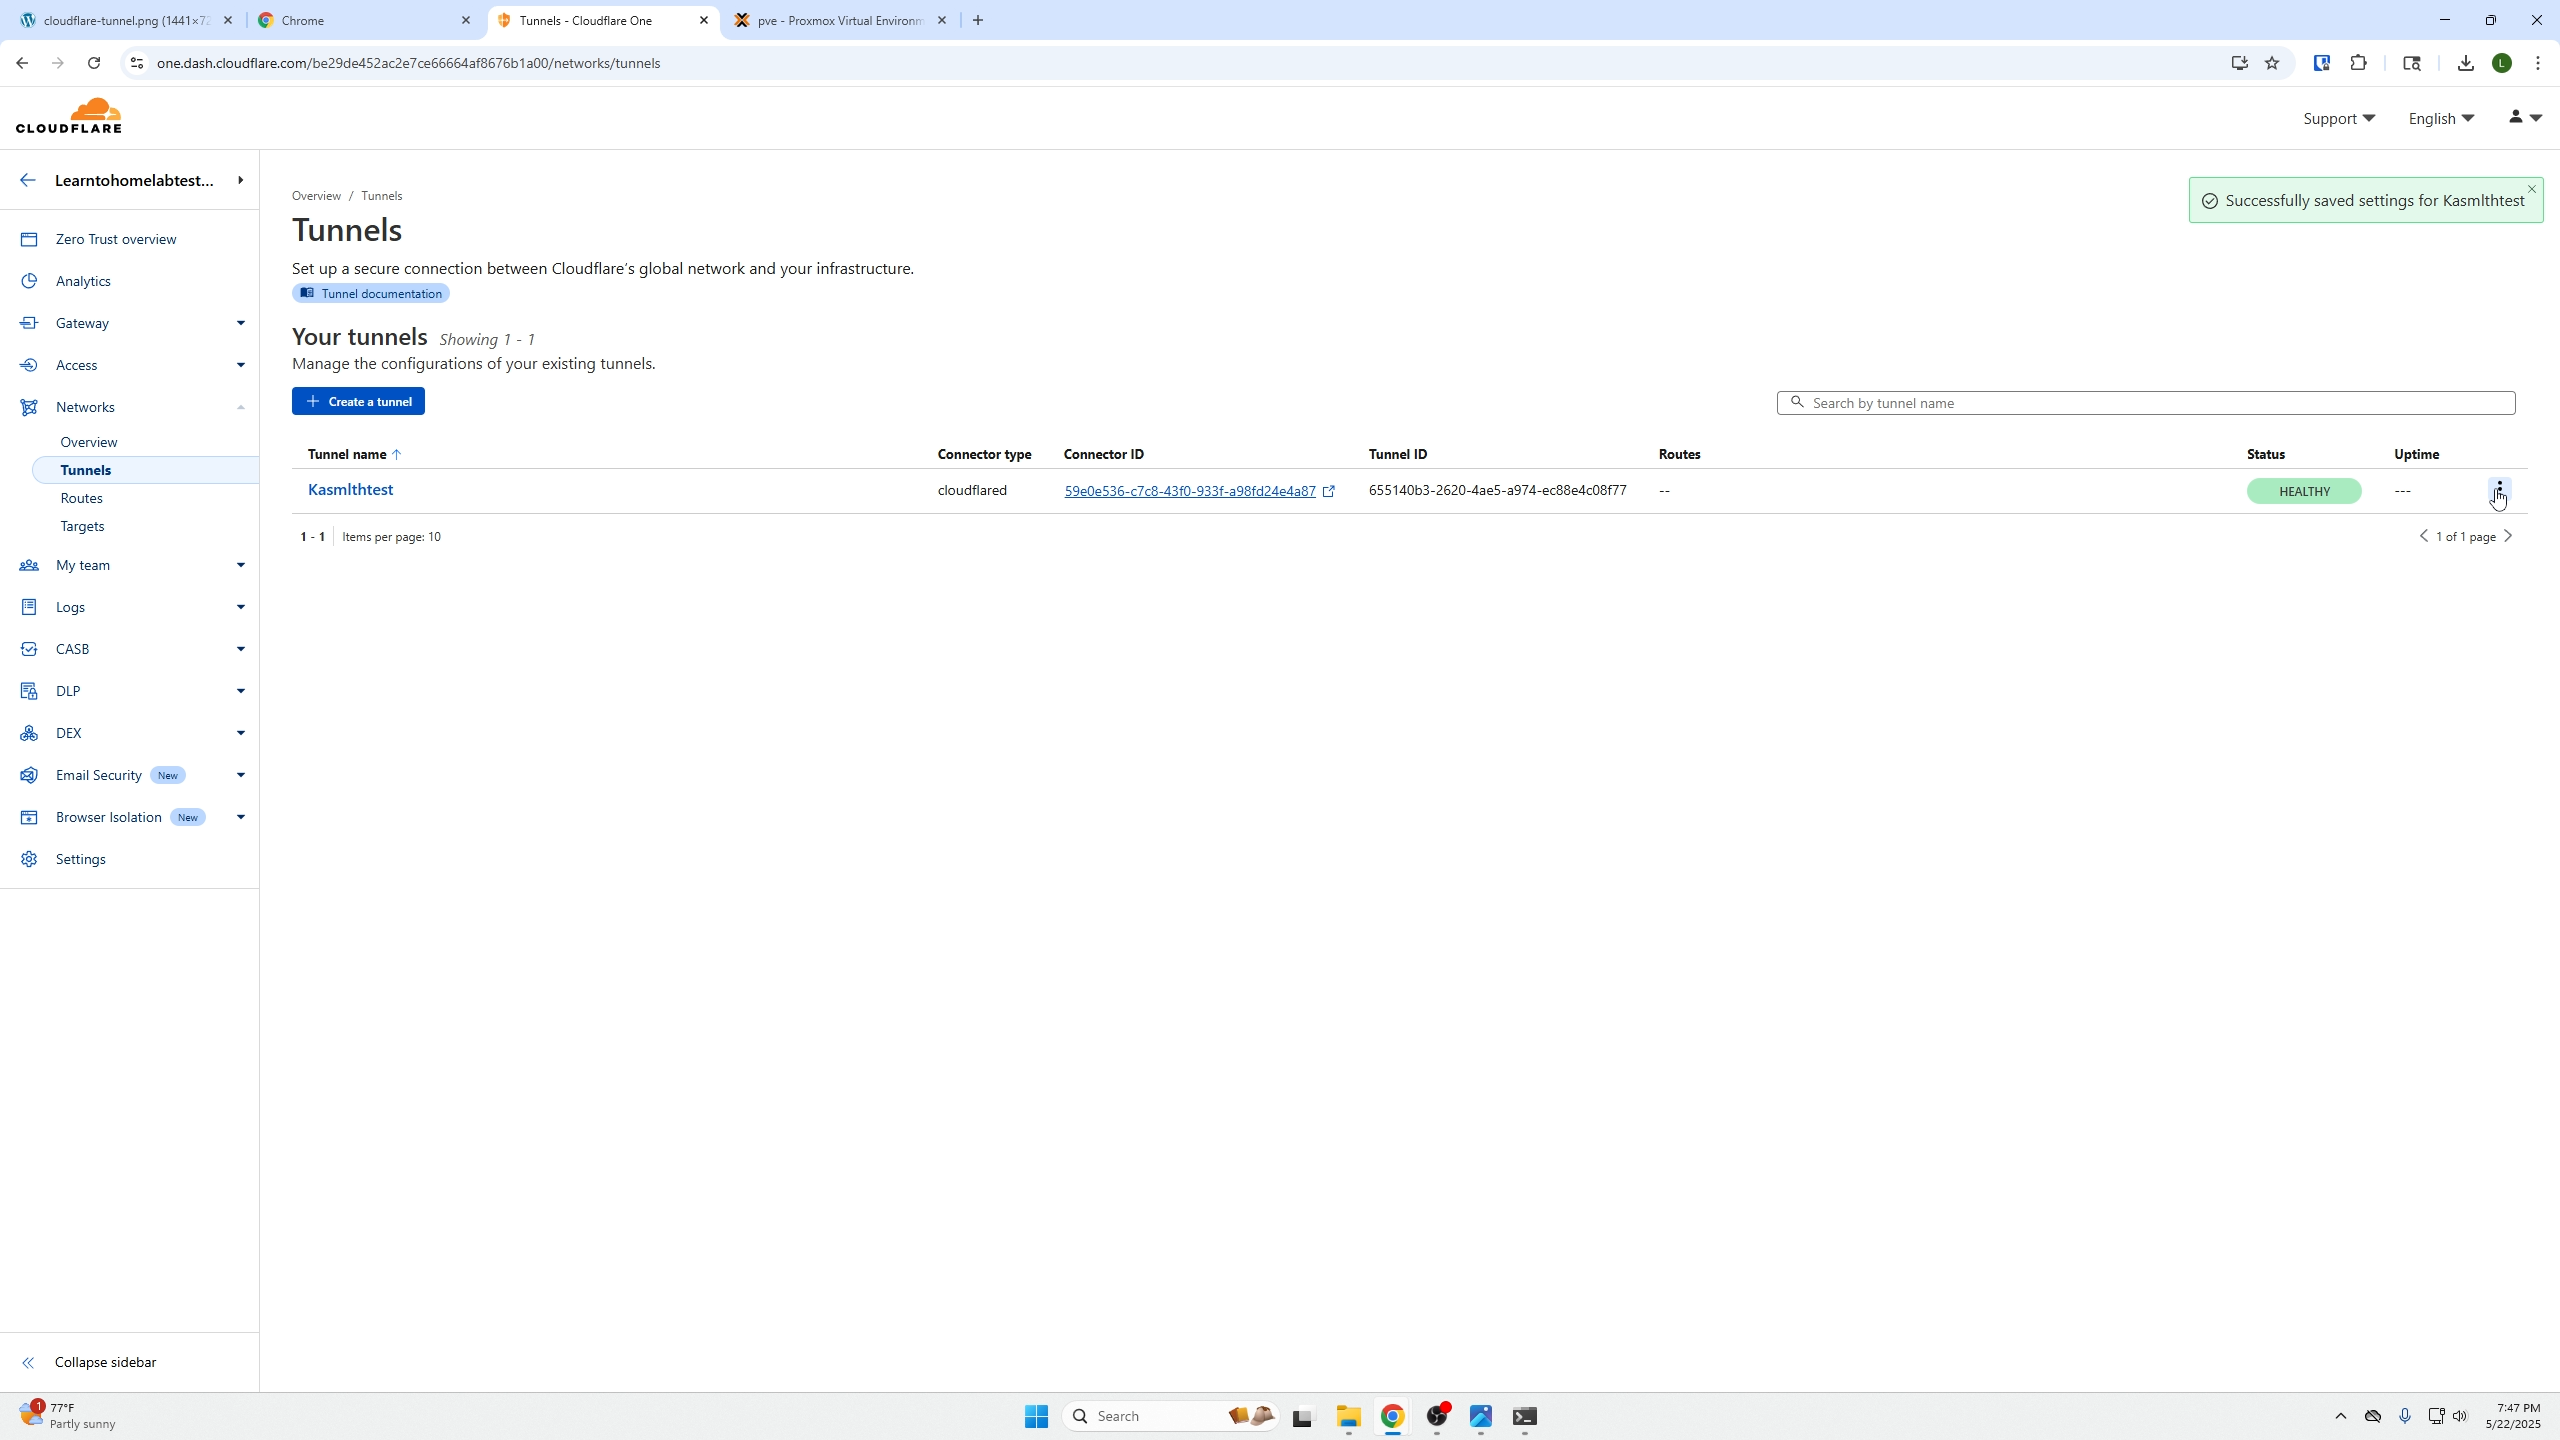
- Go to Networks, then Tunnels.
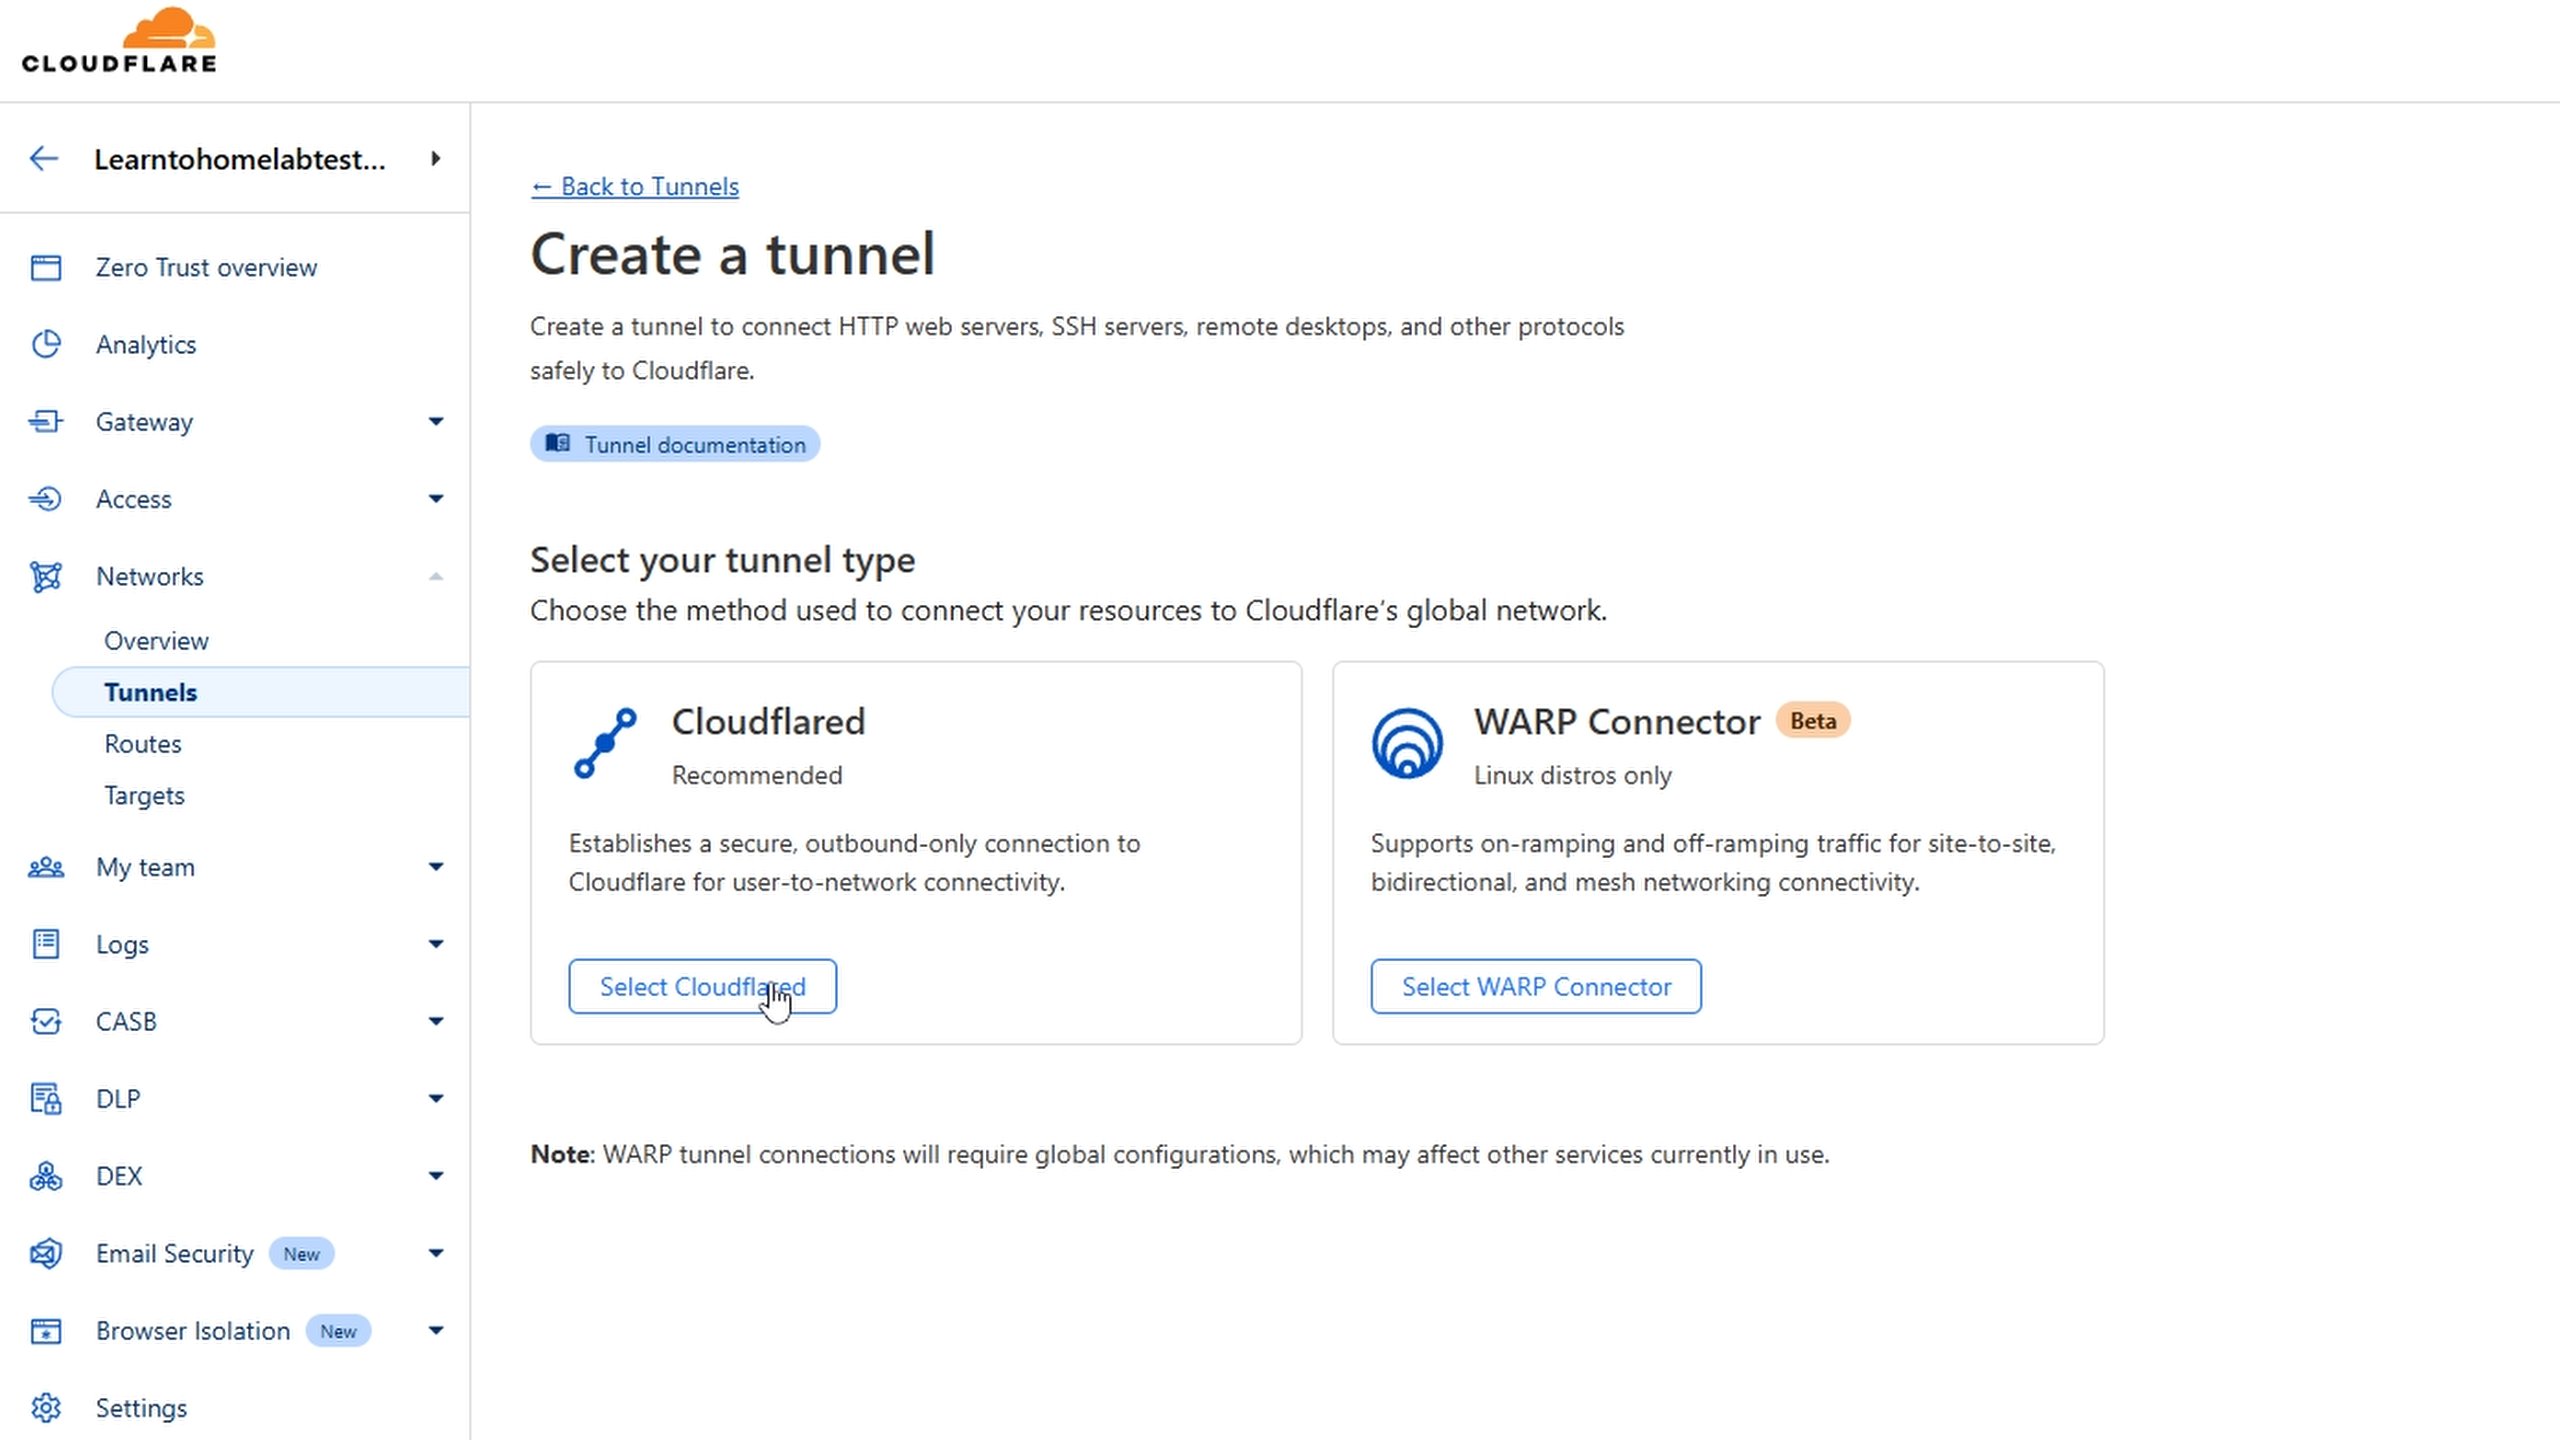
- Click Add a Tunnel.
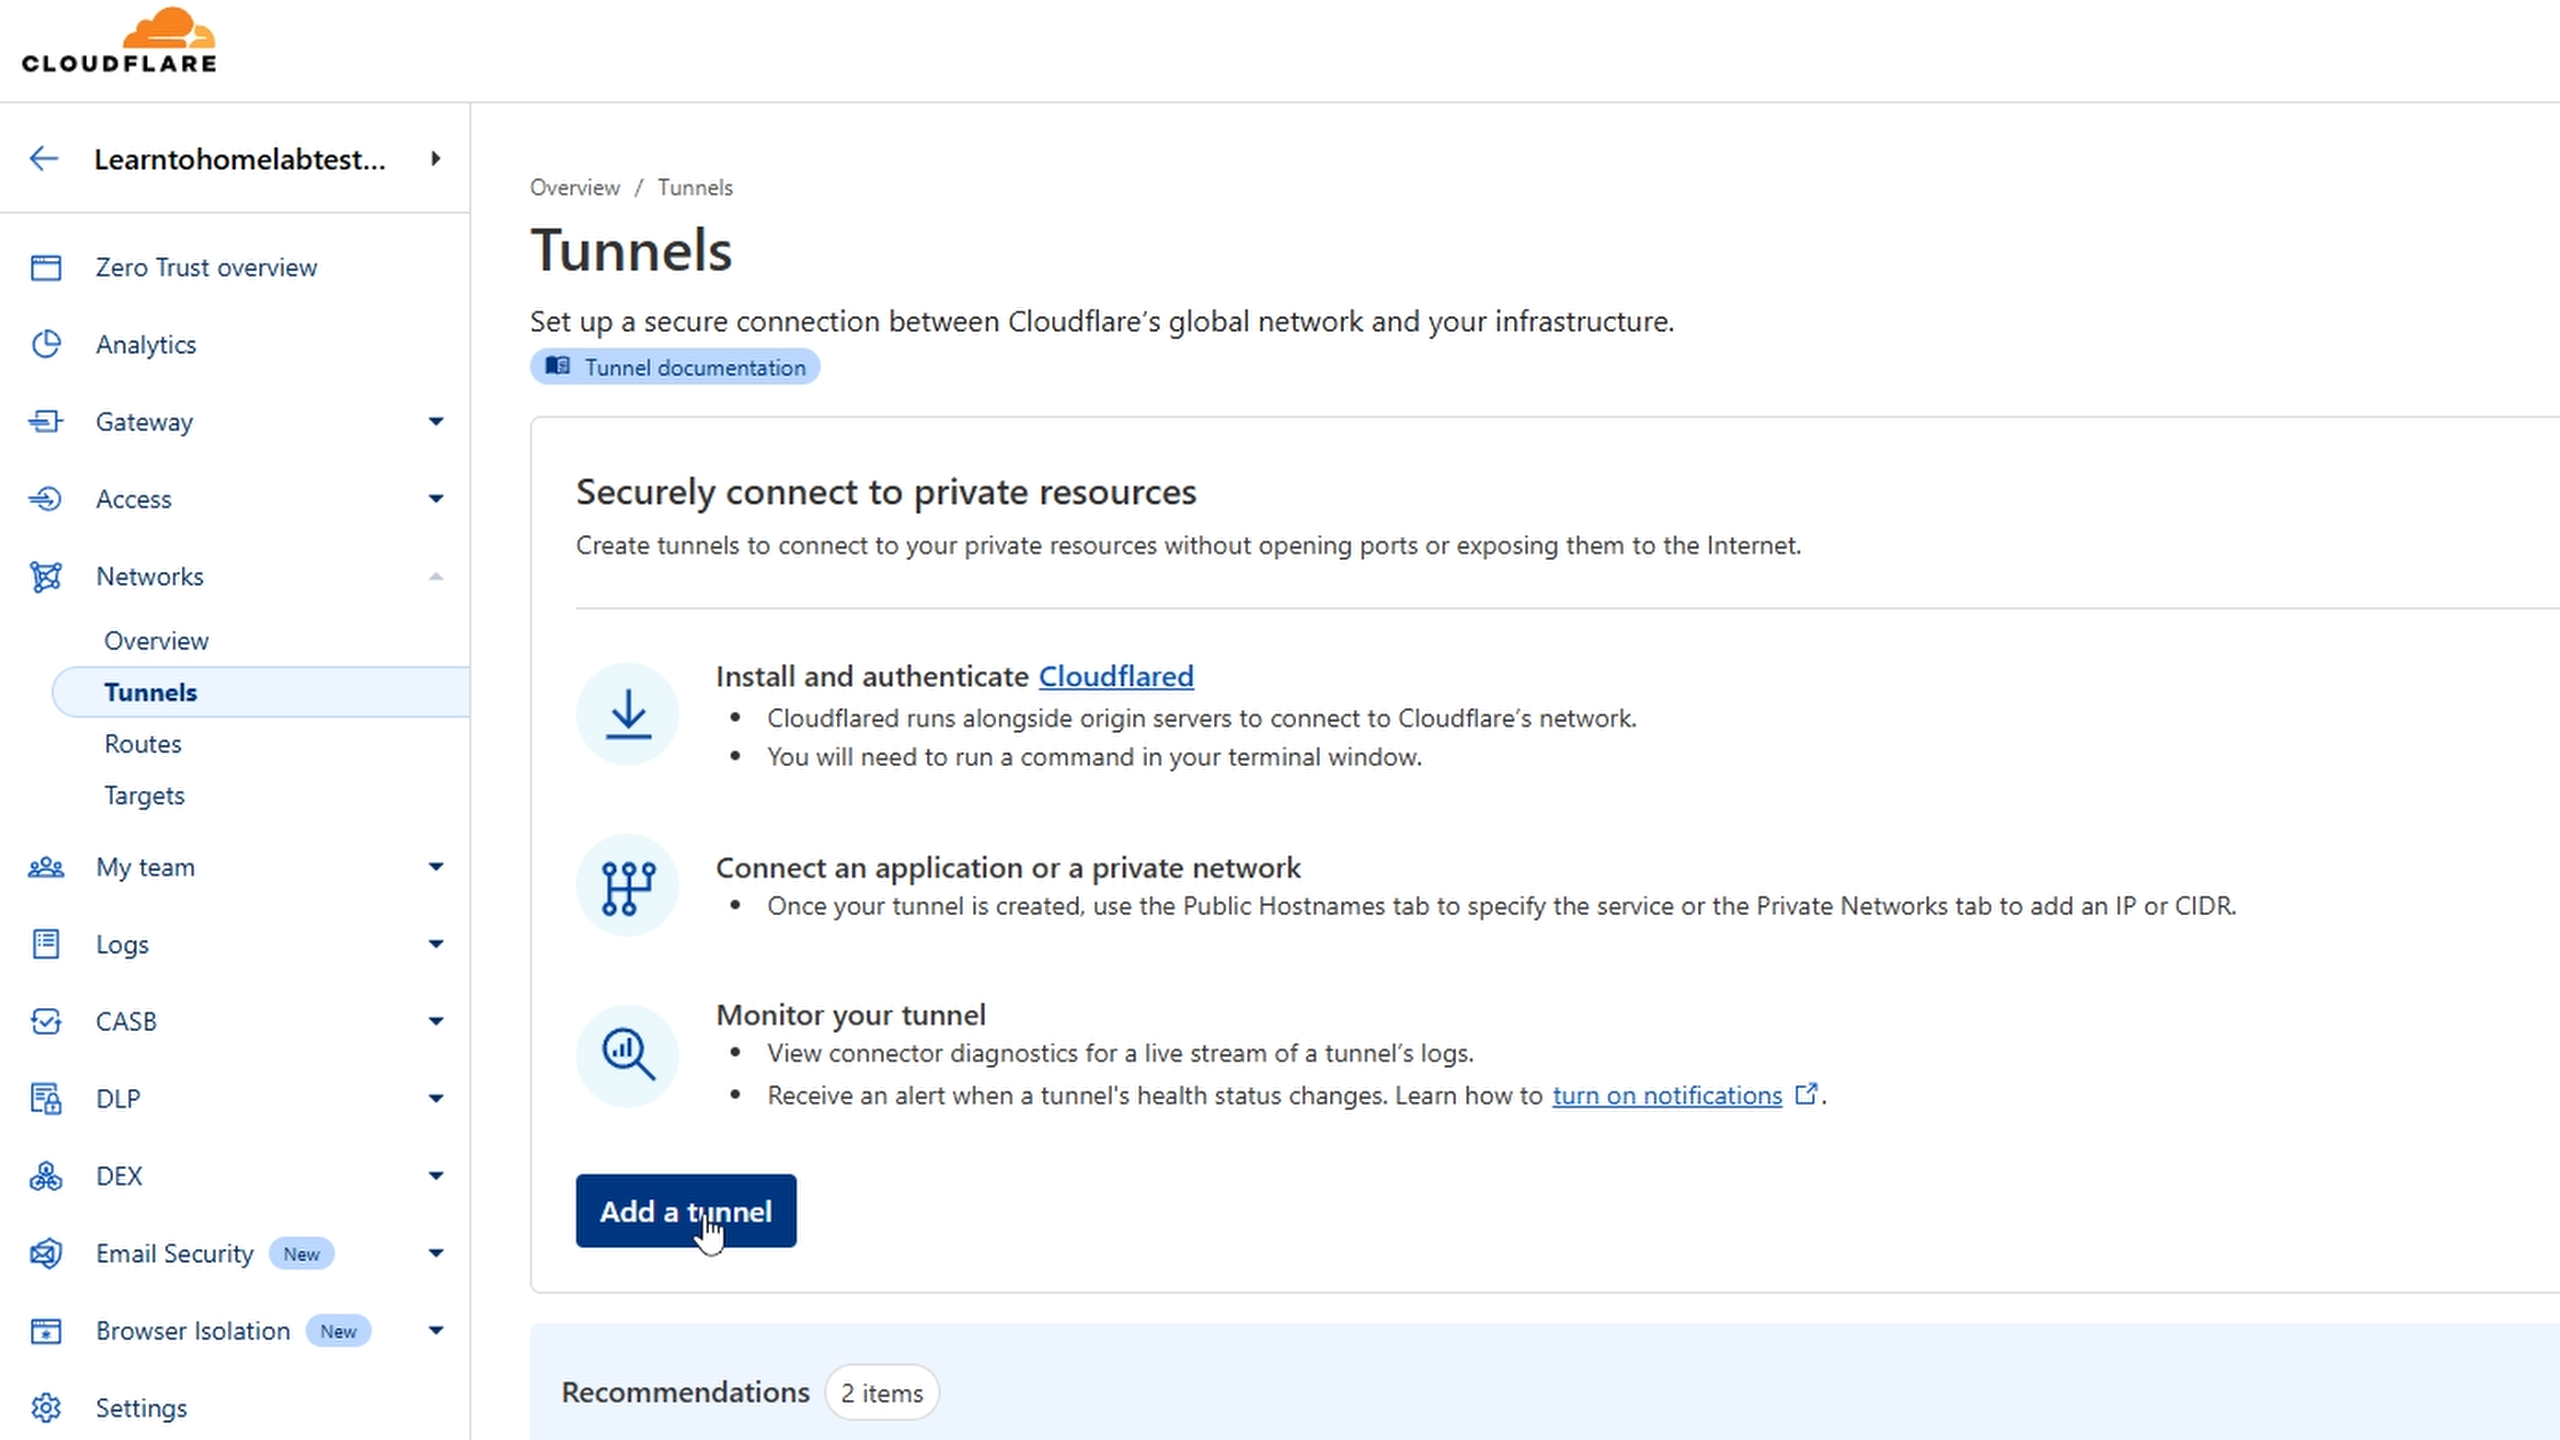
- Select the recommended Cloudflared option.
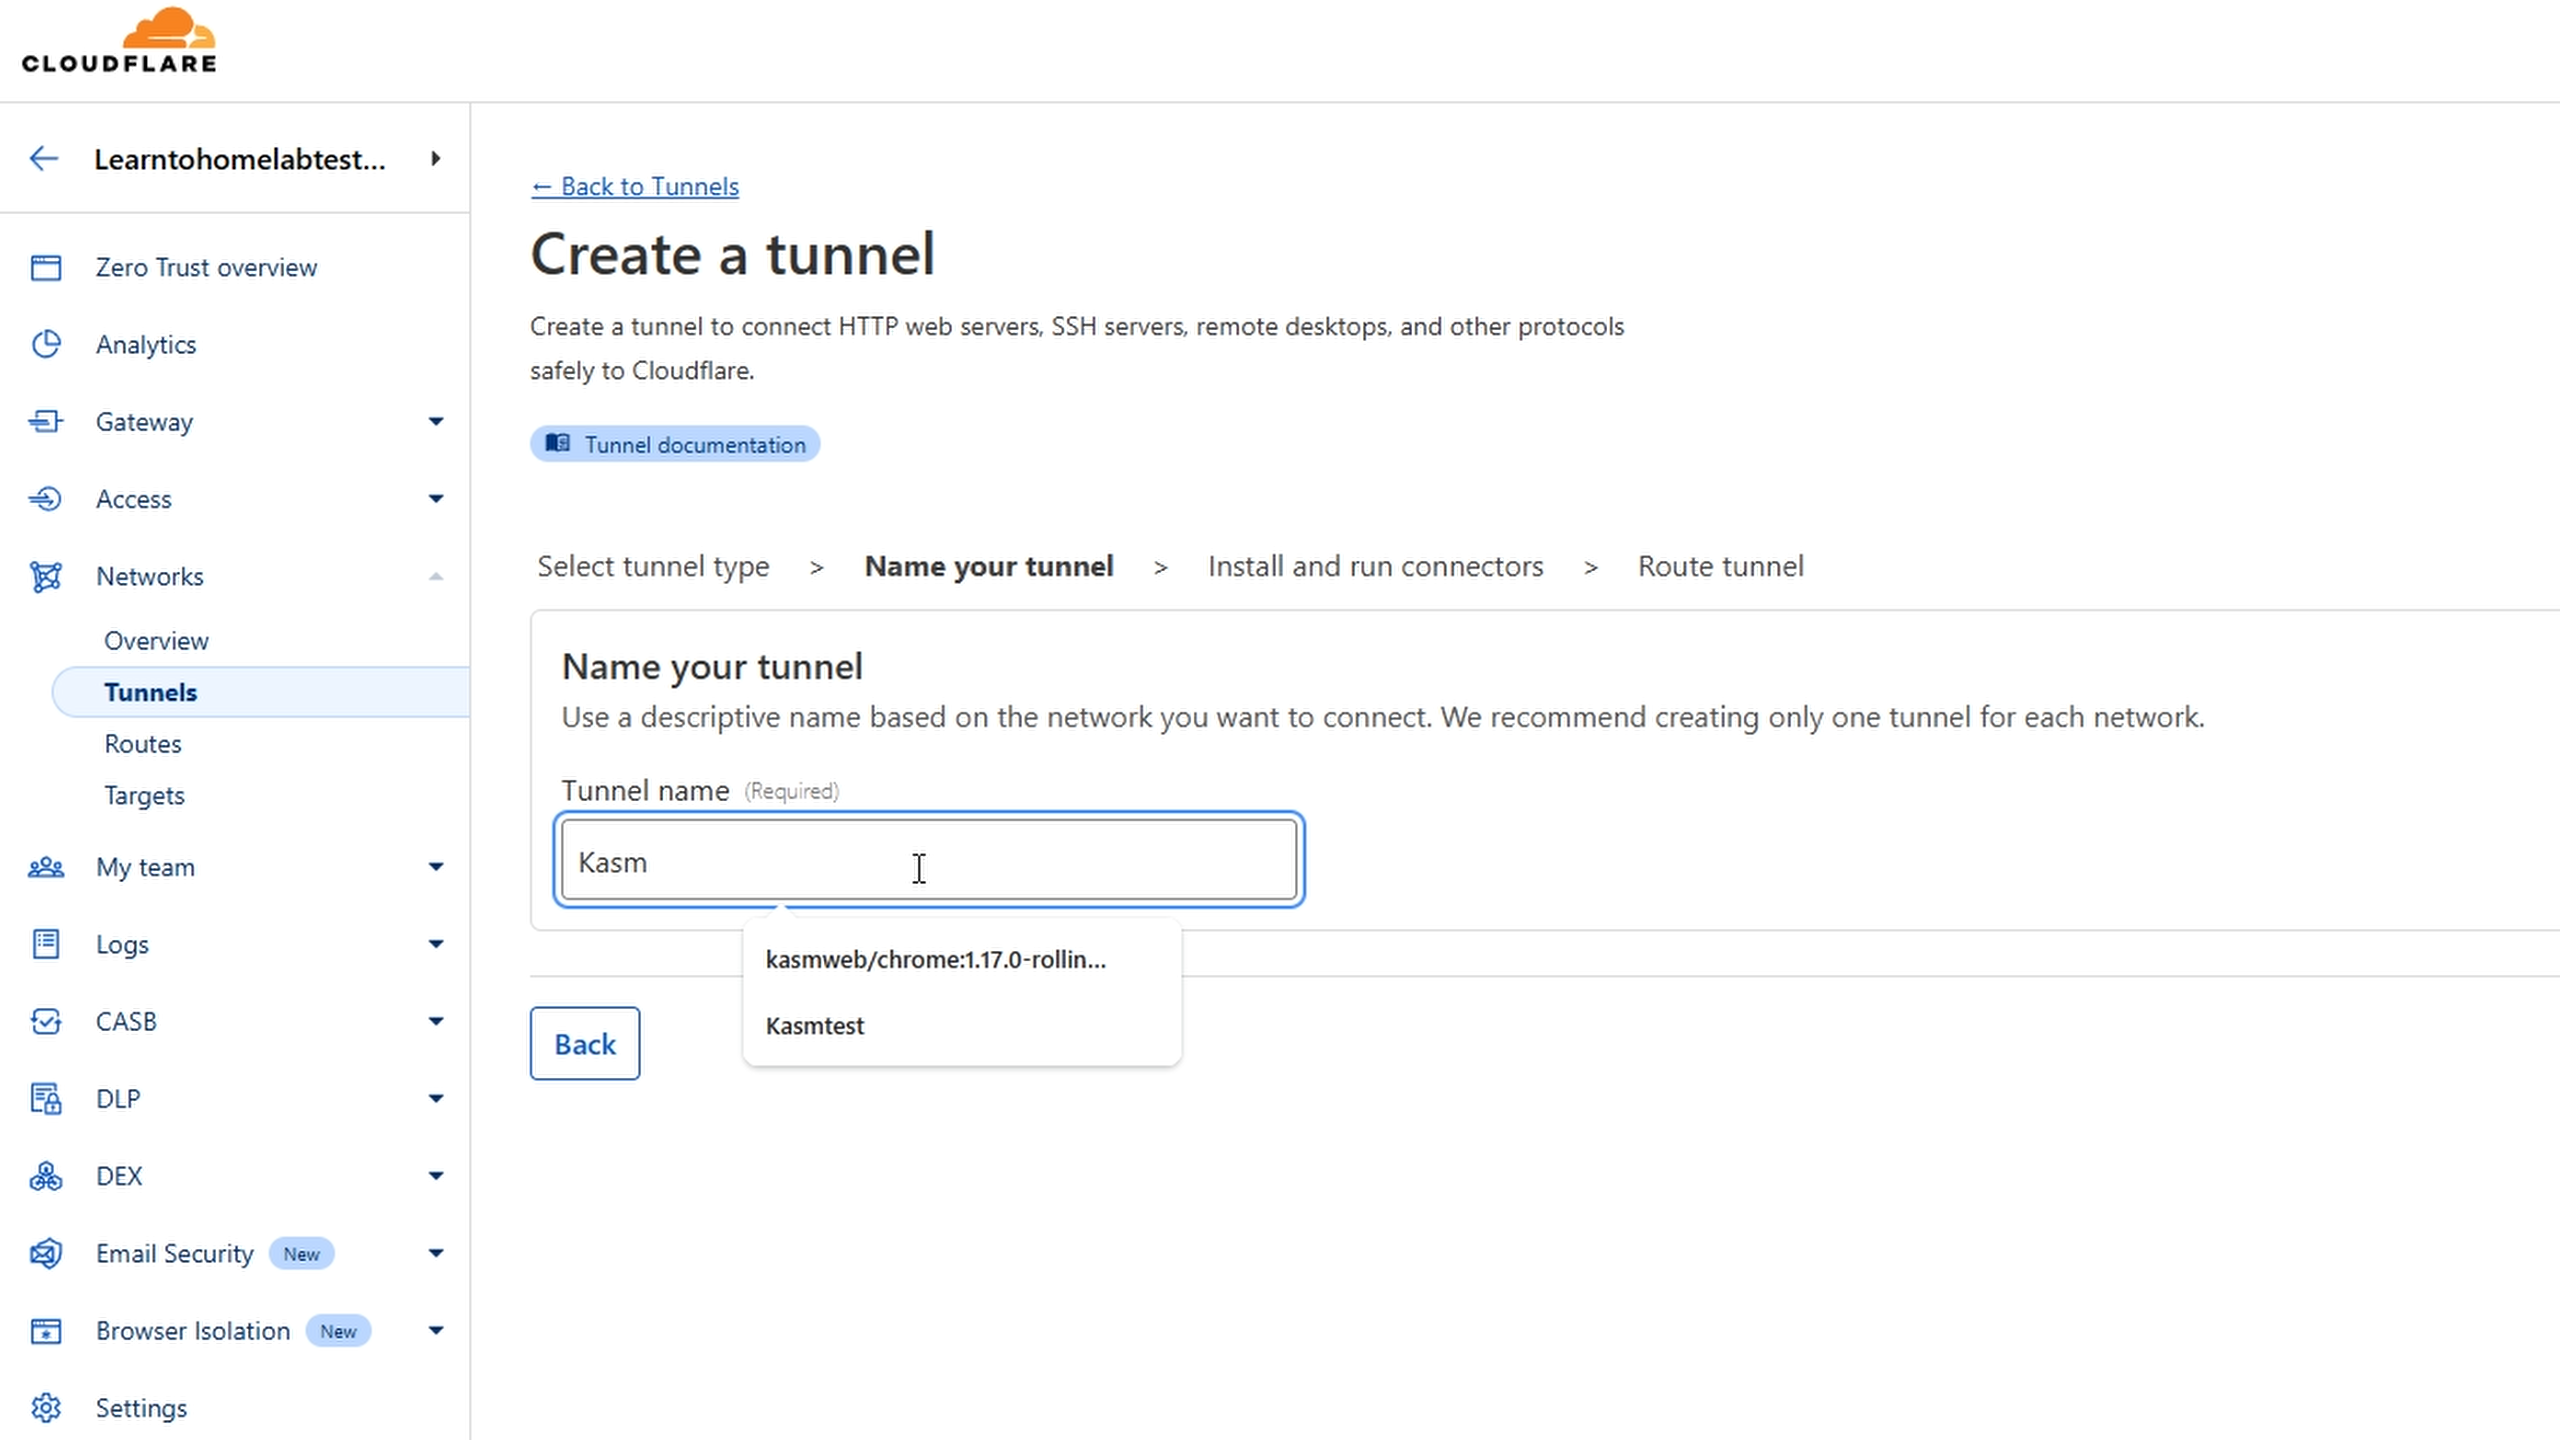
- Name your tunnel.
-
Choose your OS (e.g., Debian).
-
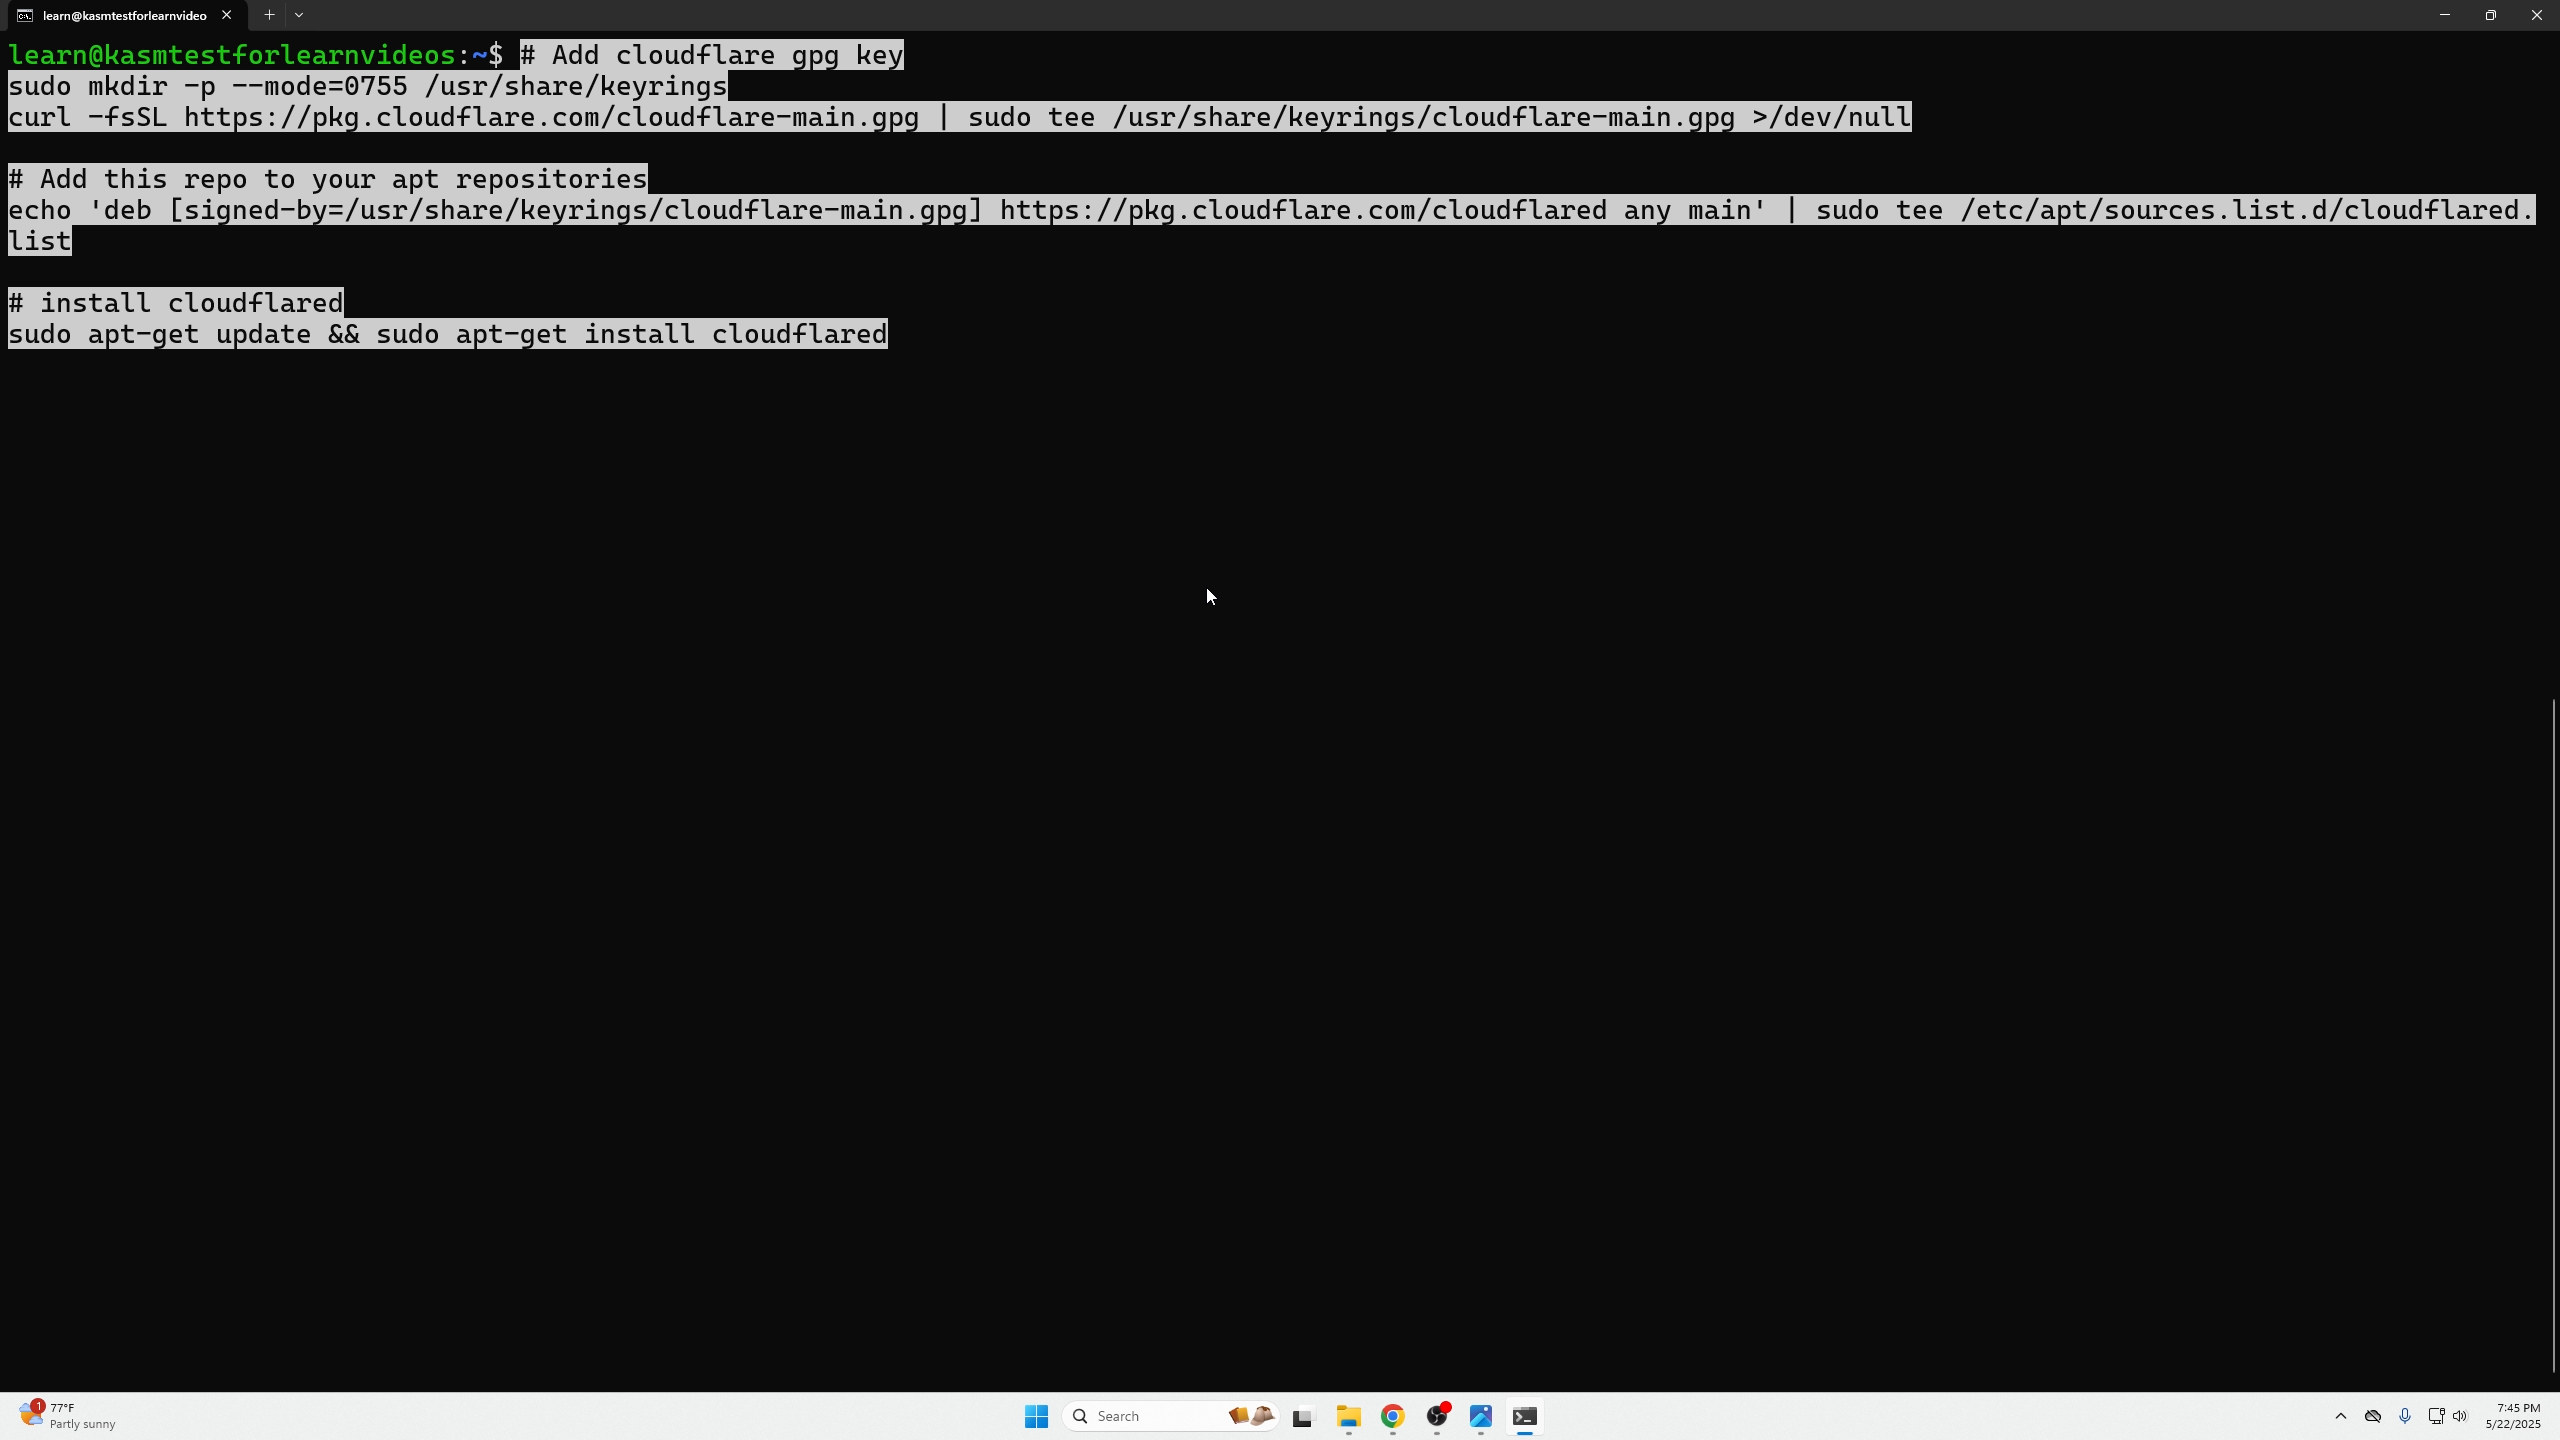
Copy the installation commands given.
-
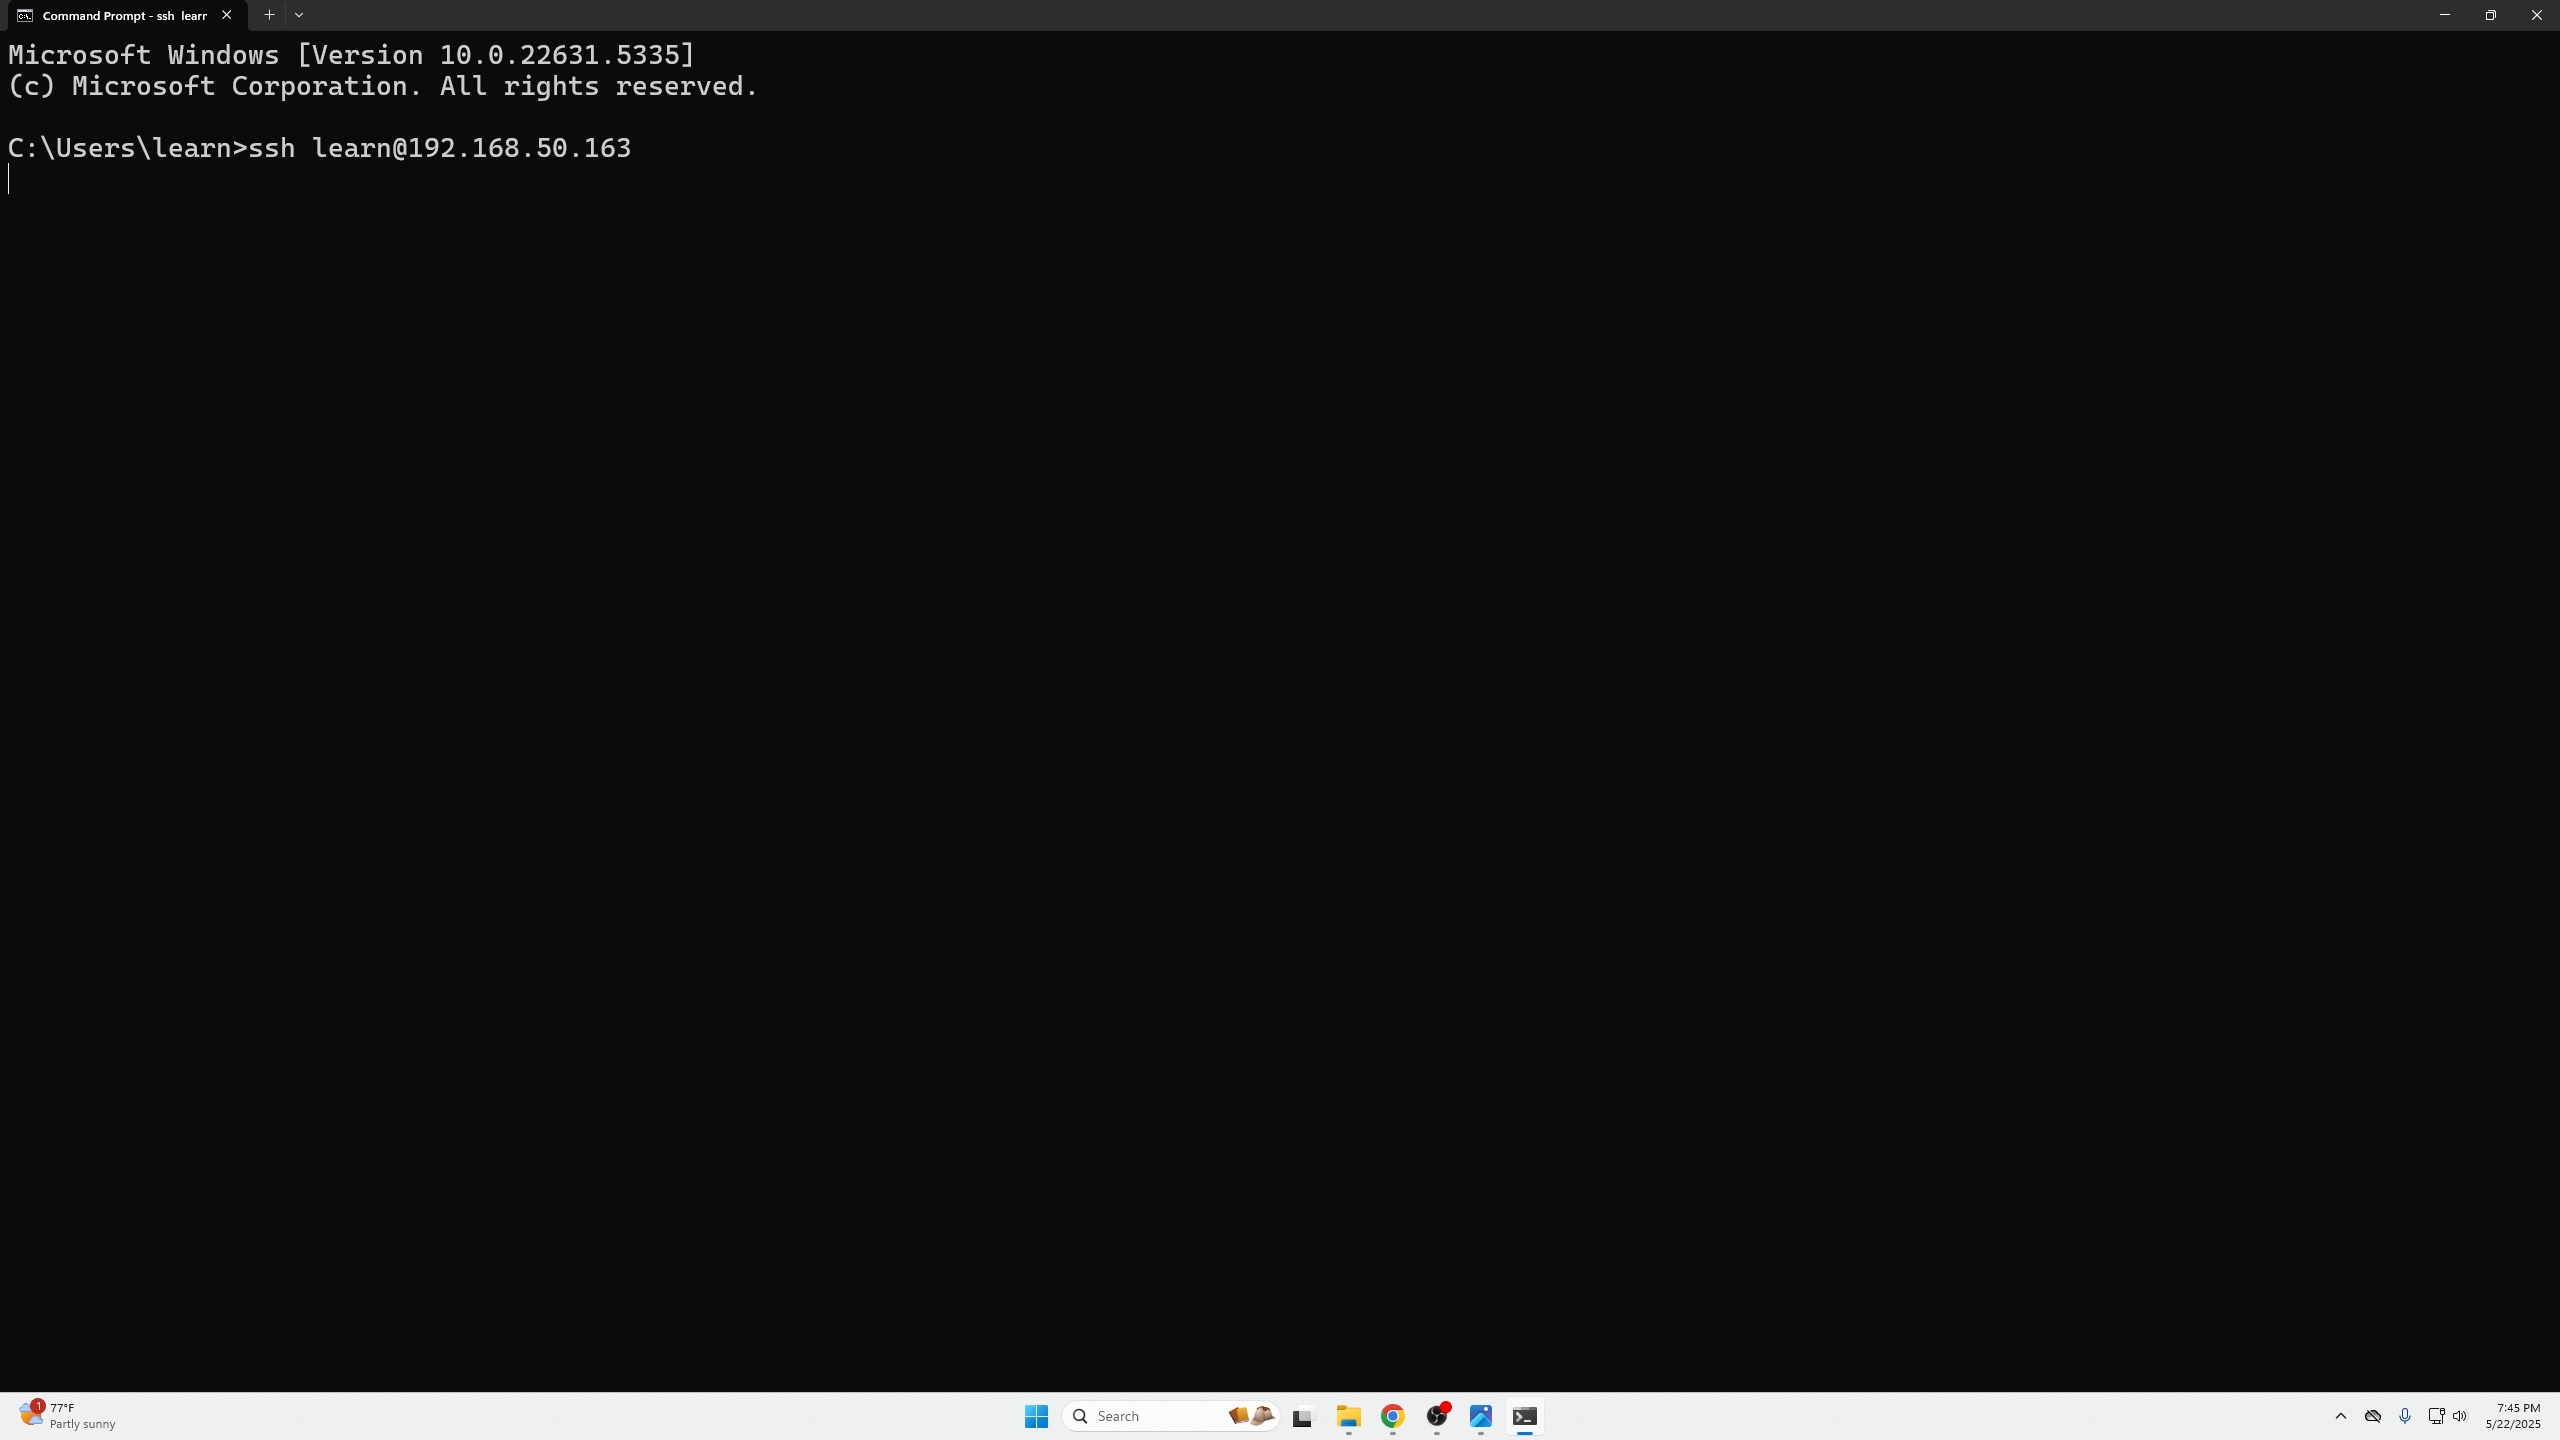
SSH into your chosen VM:
ssh <username>@<server_ip>
Paste and run the installation commands.
- Verify the tunnel connection is established.

- Create a route for your service by selecting subdomain, domain, and entering service protocol + local IP (e.g., KASM using HTTPS on local VM IP).
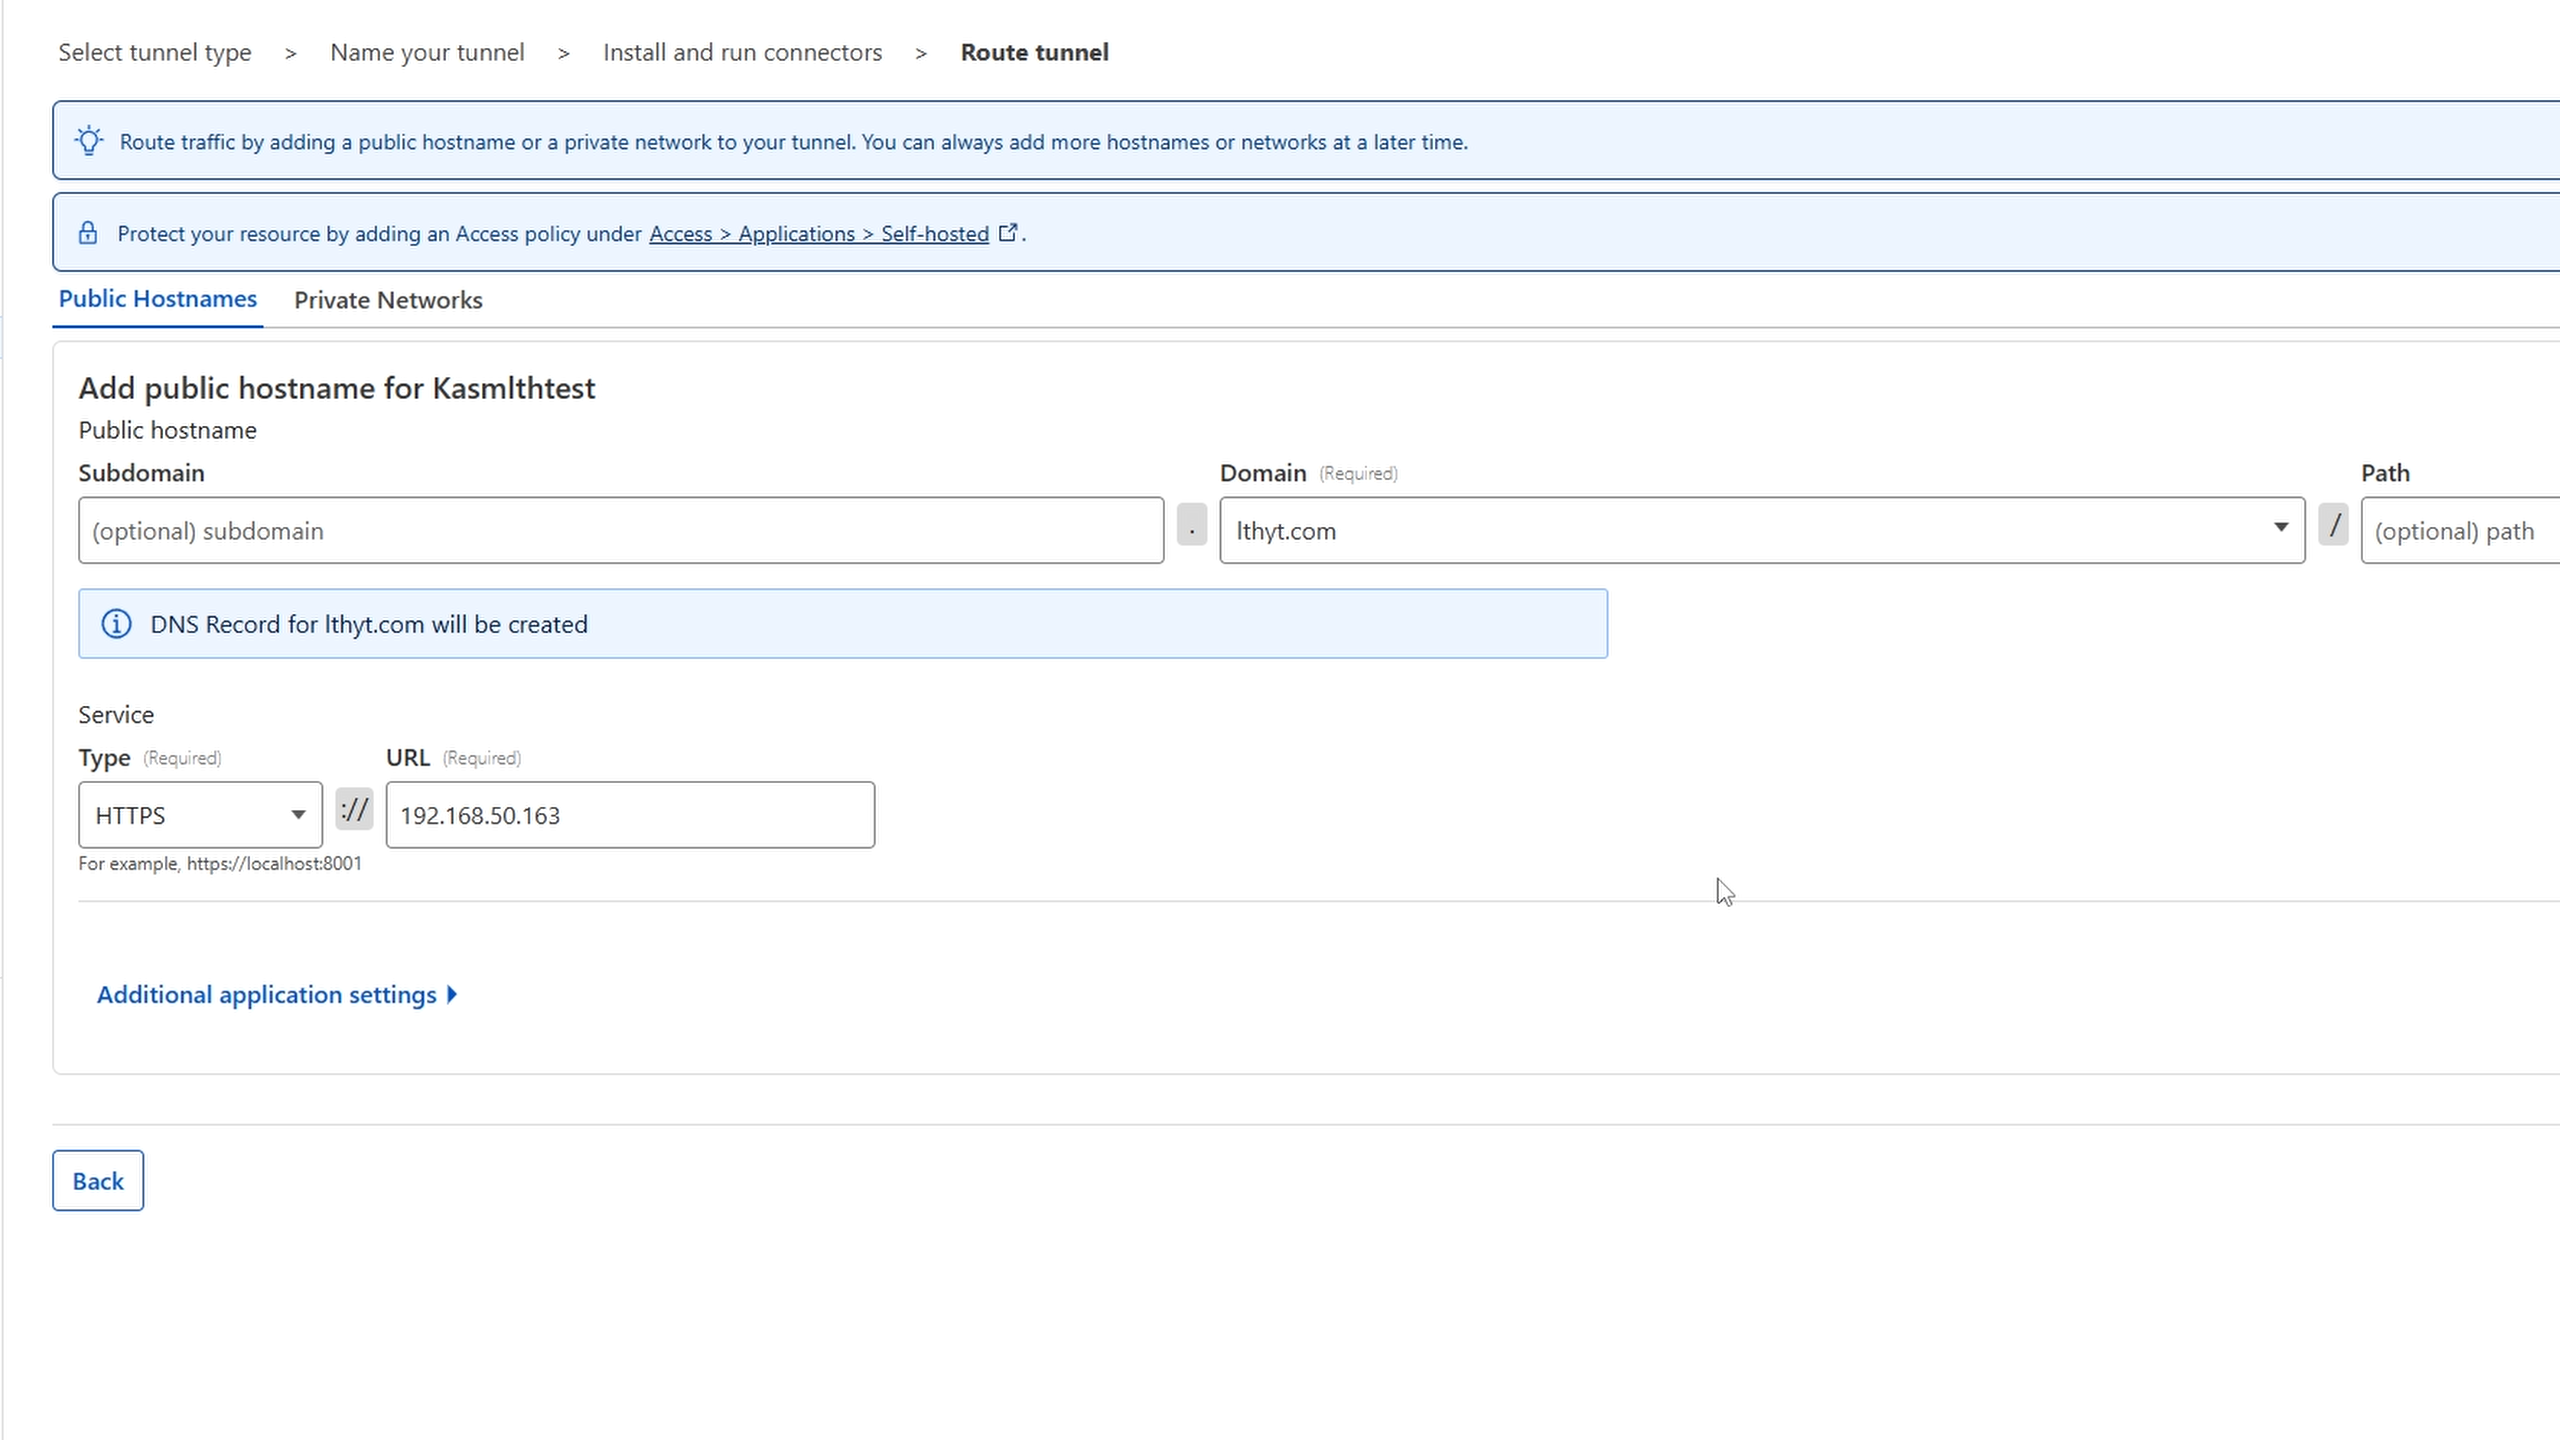
- Edit the tunnel settings (click three dots → edit), under Additional Application Settings → TLS, enable No TLS Verify, then save.

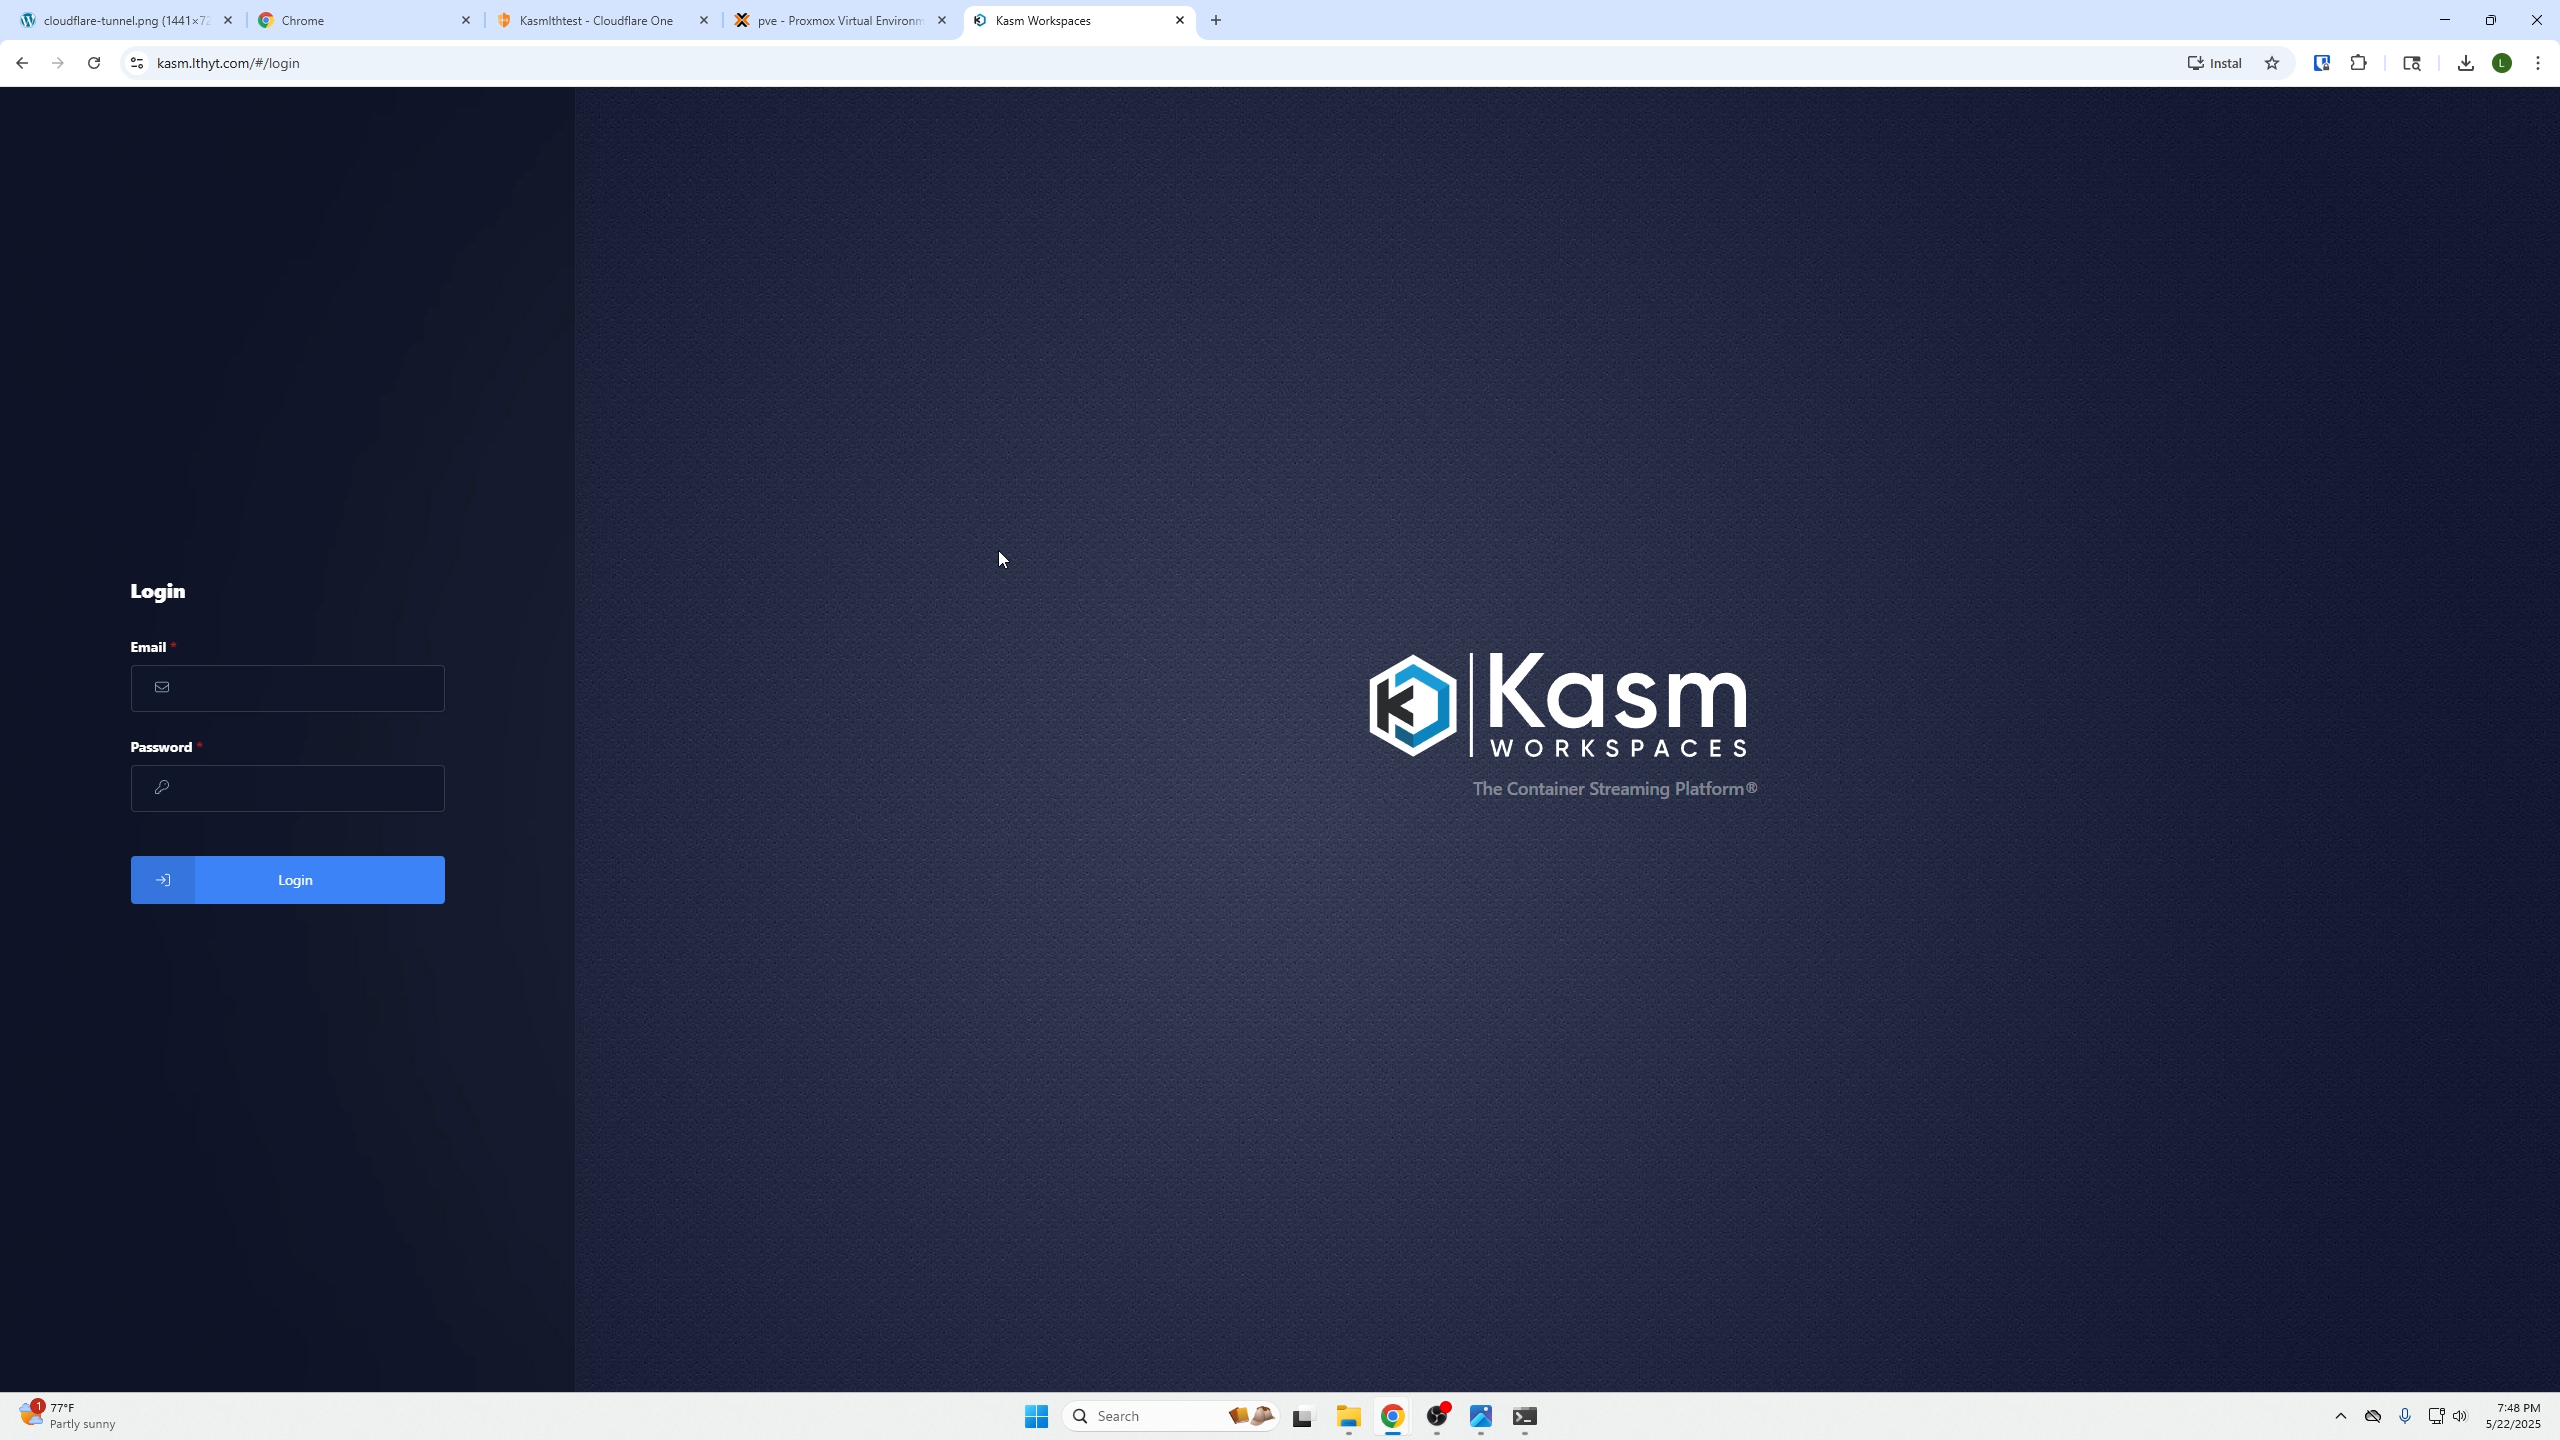
- Finally, access your service via the created public URL.
Follow Us on Social Media
YouTube
Discord
Apparel
Patreon
Reddit
Rumble