How to Install The Pterodactyl Game Panel in One Click!
Pterodactyl is an amazing game panel that has been around for the last ten years. It is a project worth spotlighting.
Check it out here.
What You Need to Get Started
- Create a VM or have Ubuntu Server installed on a ready machine.
- Head over to the Pterodactyl-Installer script here.
How to Install Pterodactyl
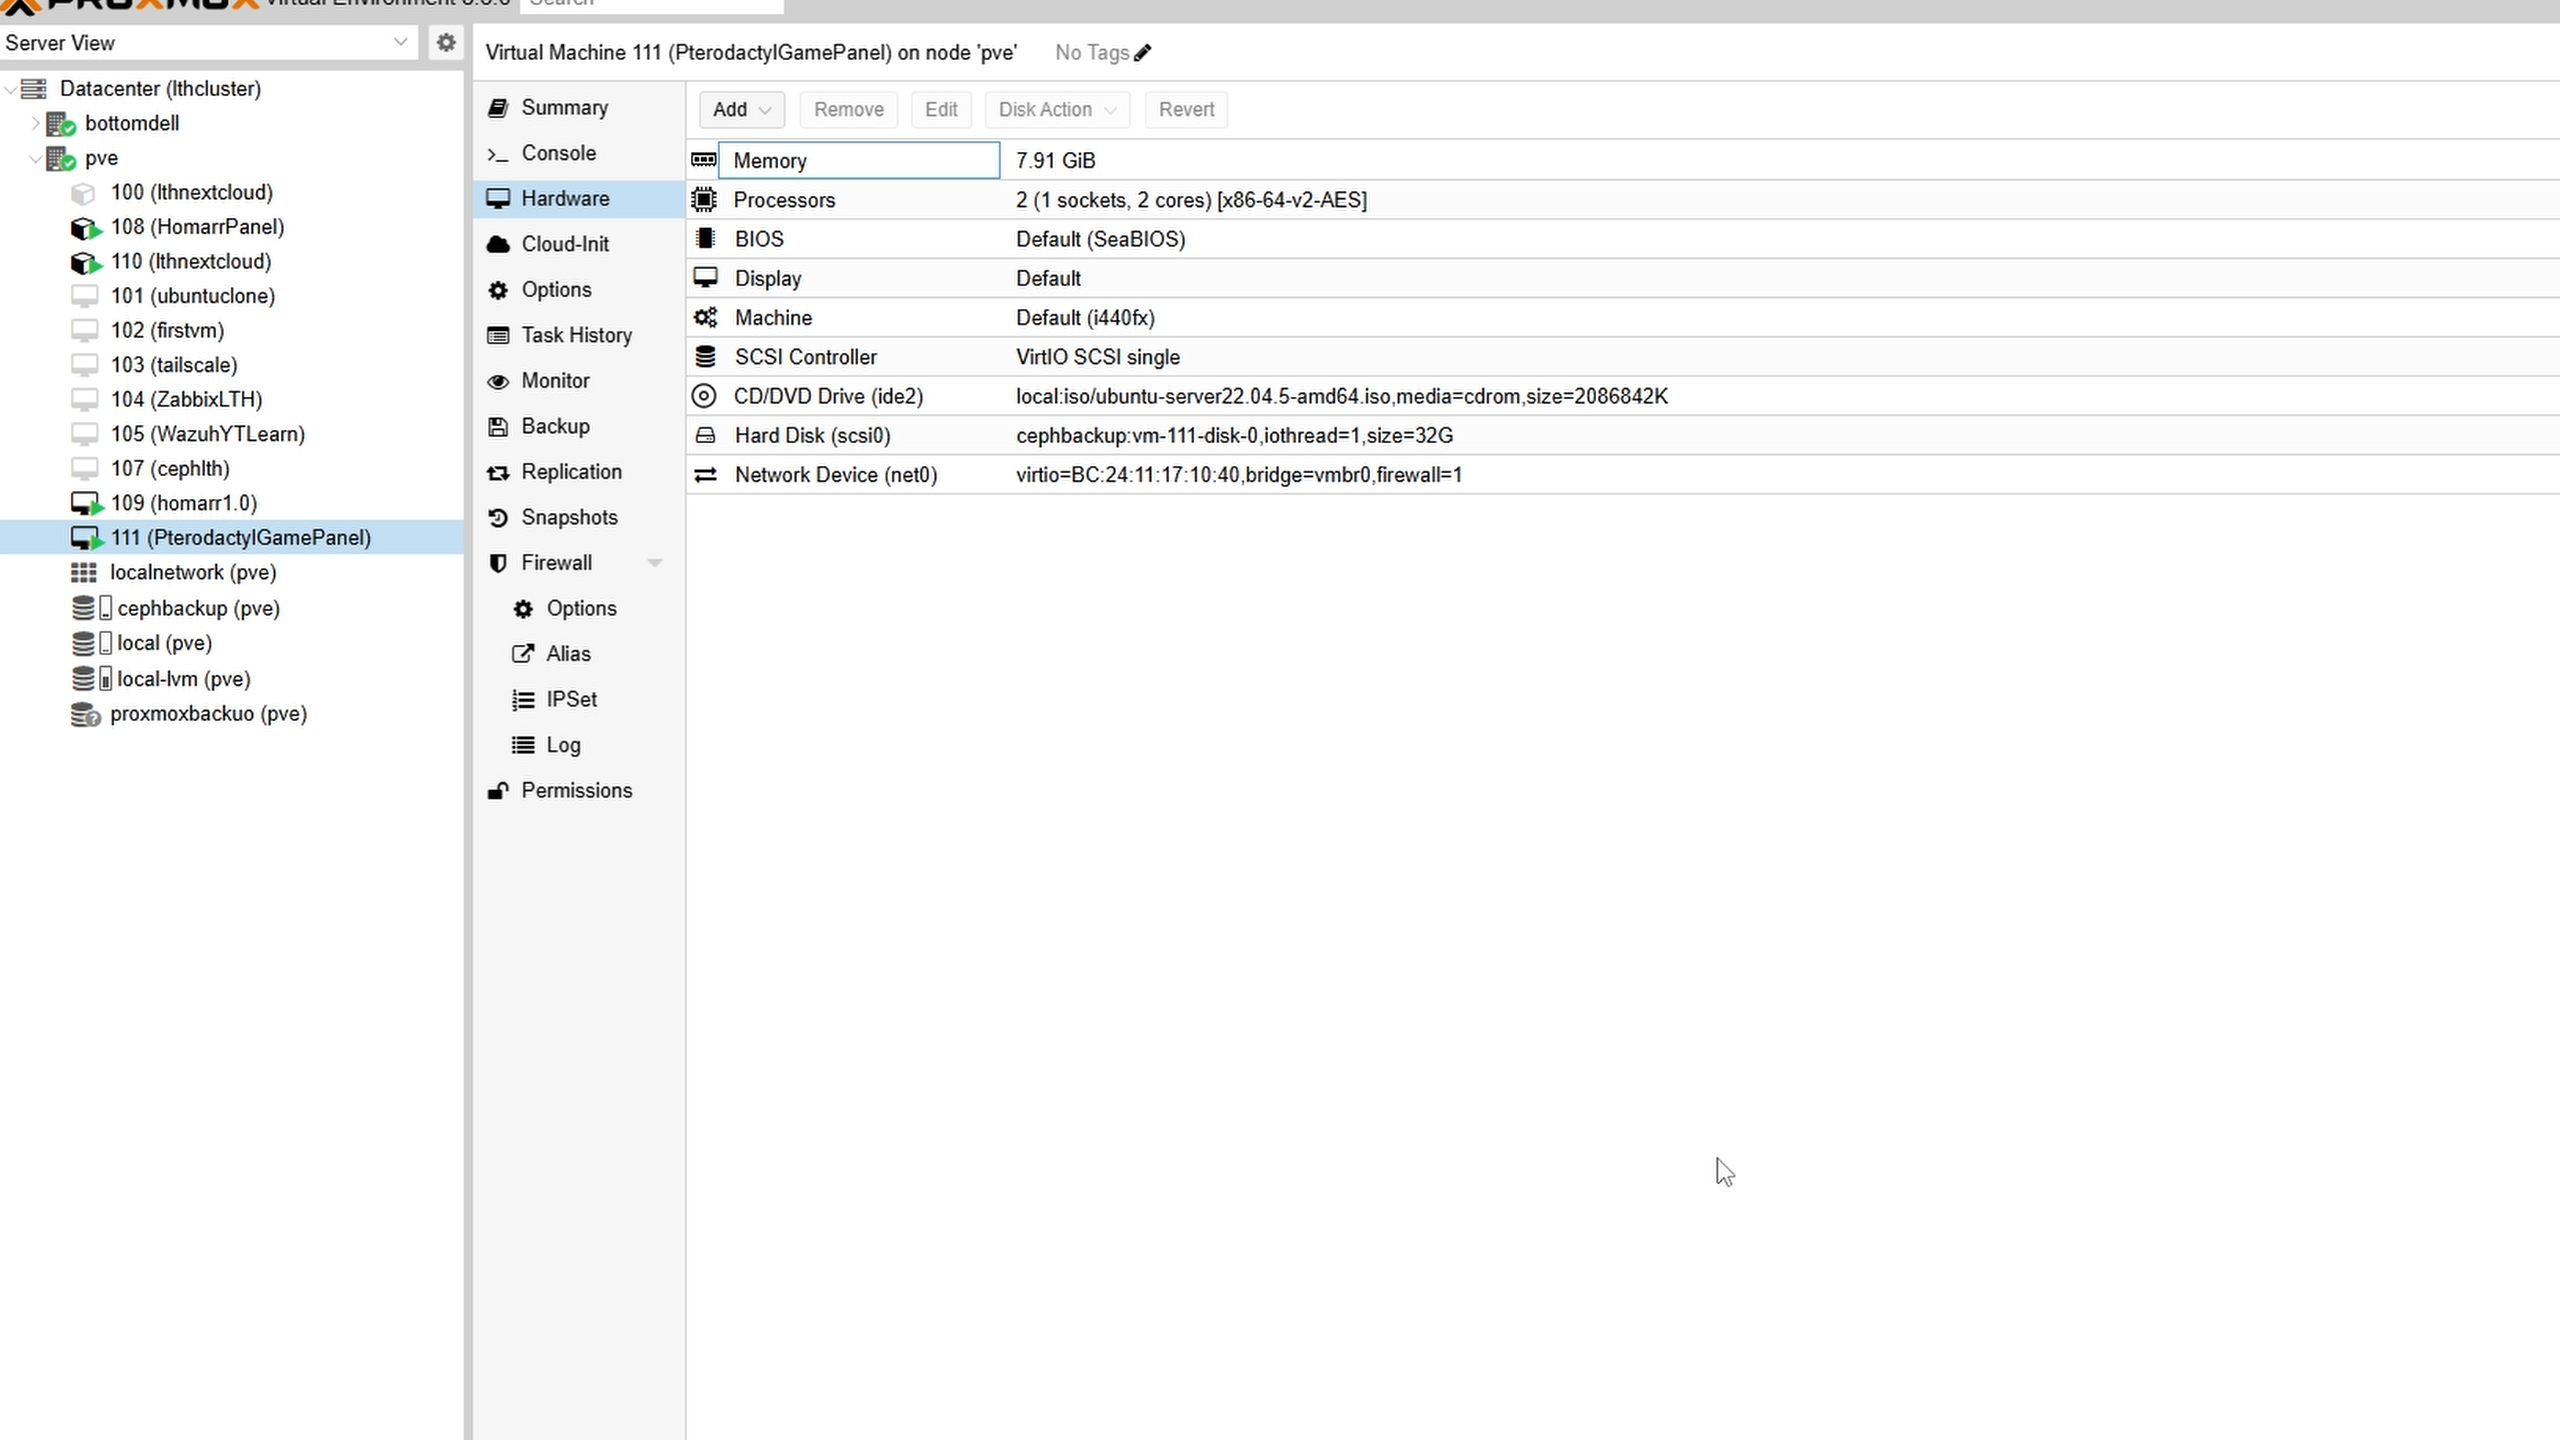
Create a VM with at least the minimum specs shown below—remember, all game servers share allocated resources.
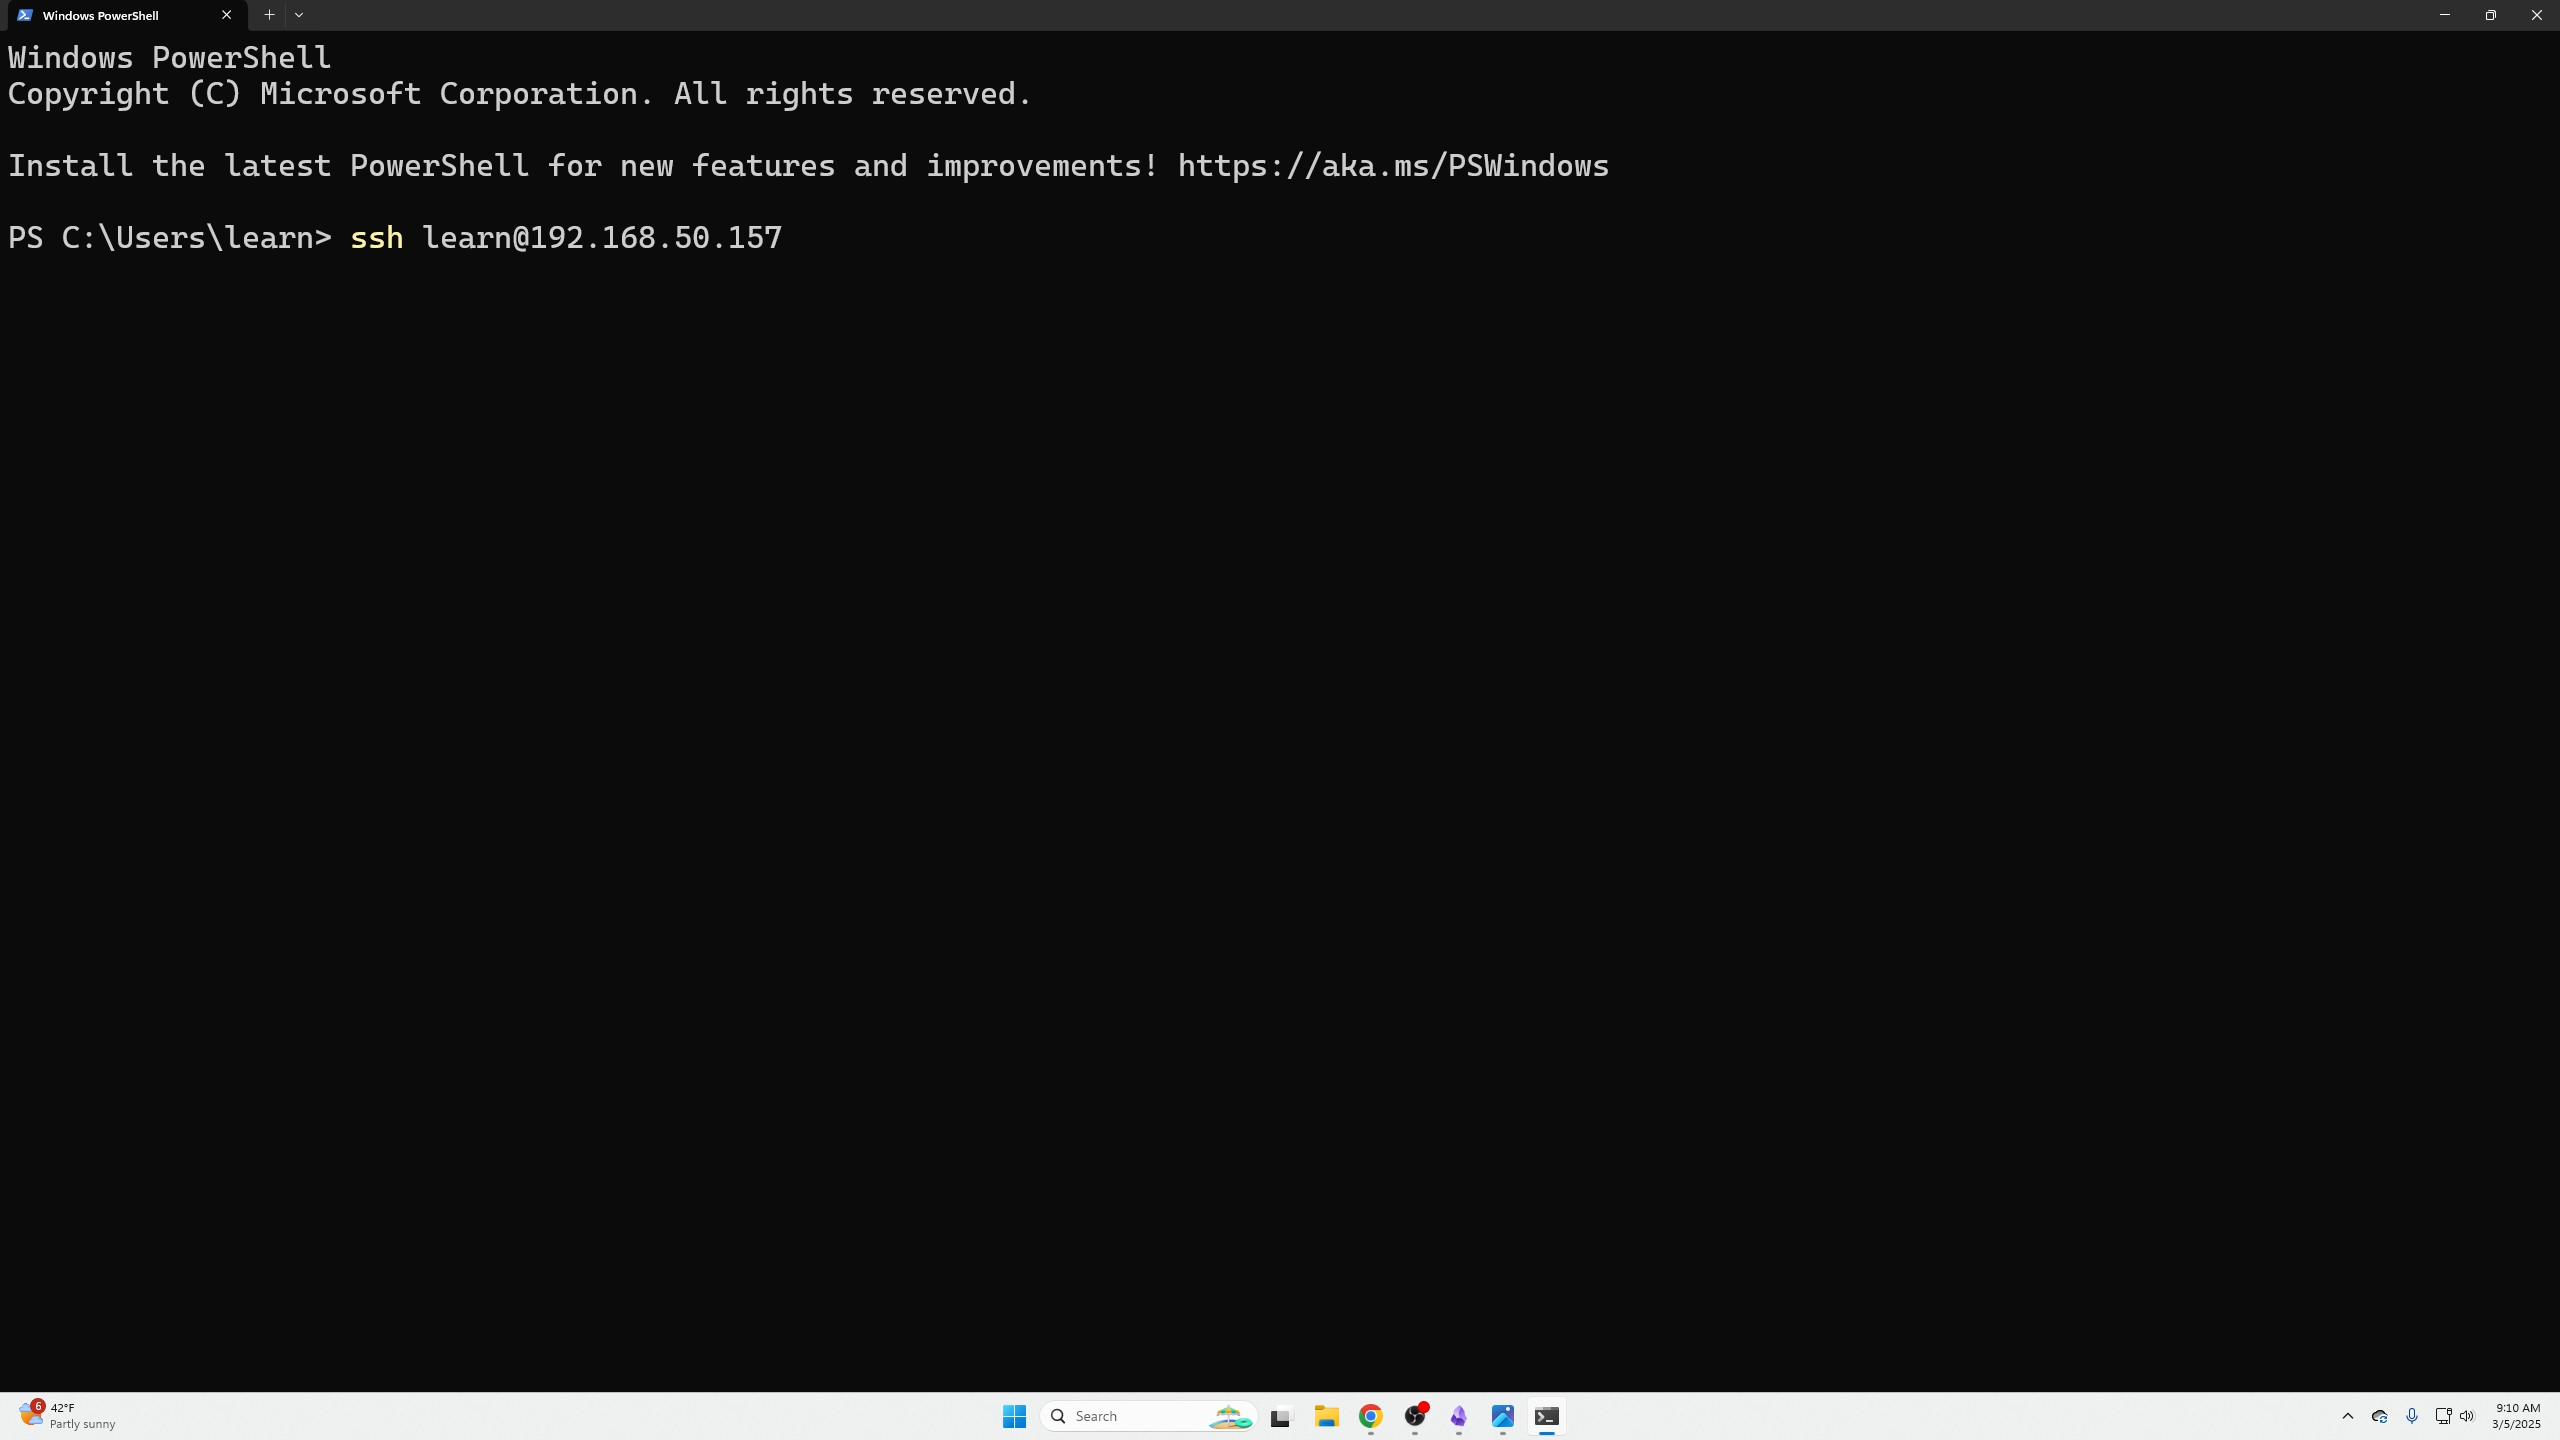
SSH into your VM:
ssh <username>@<ip_address>
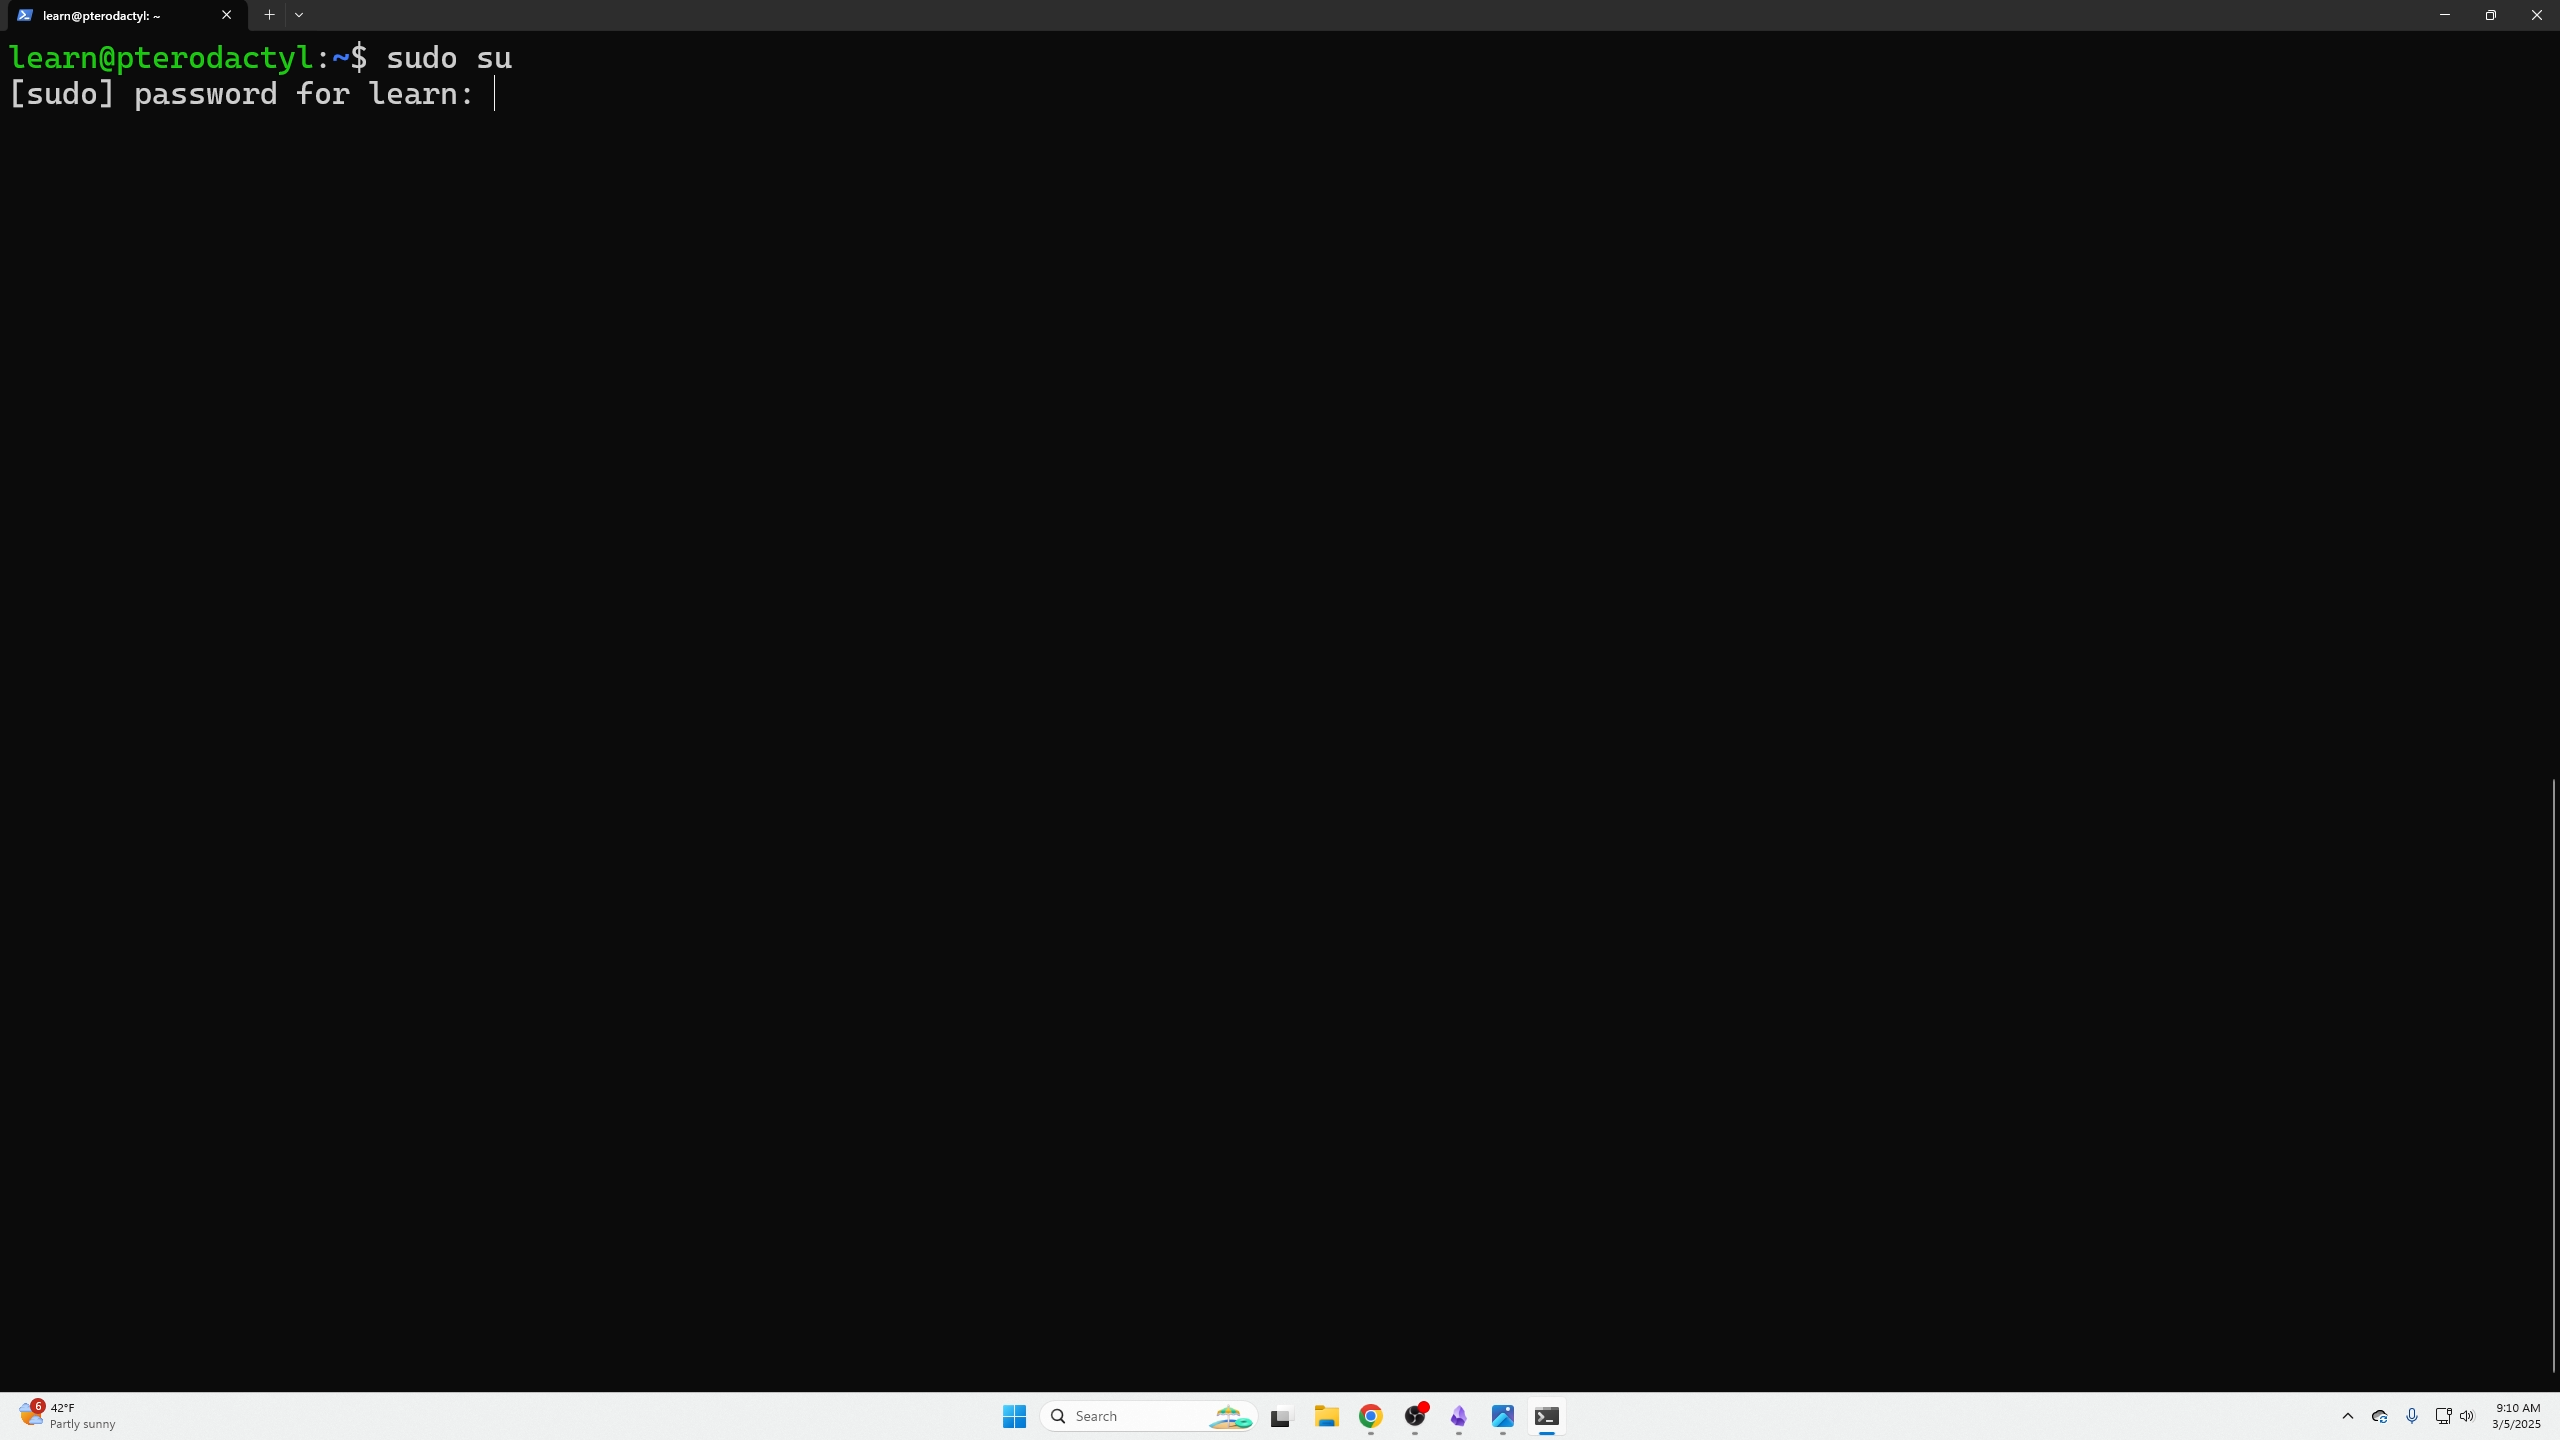
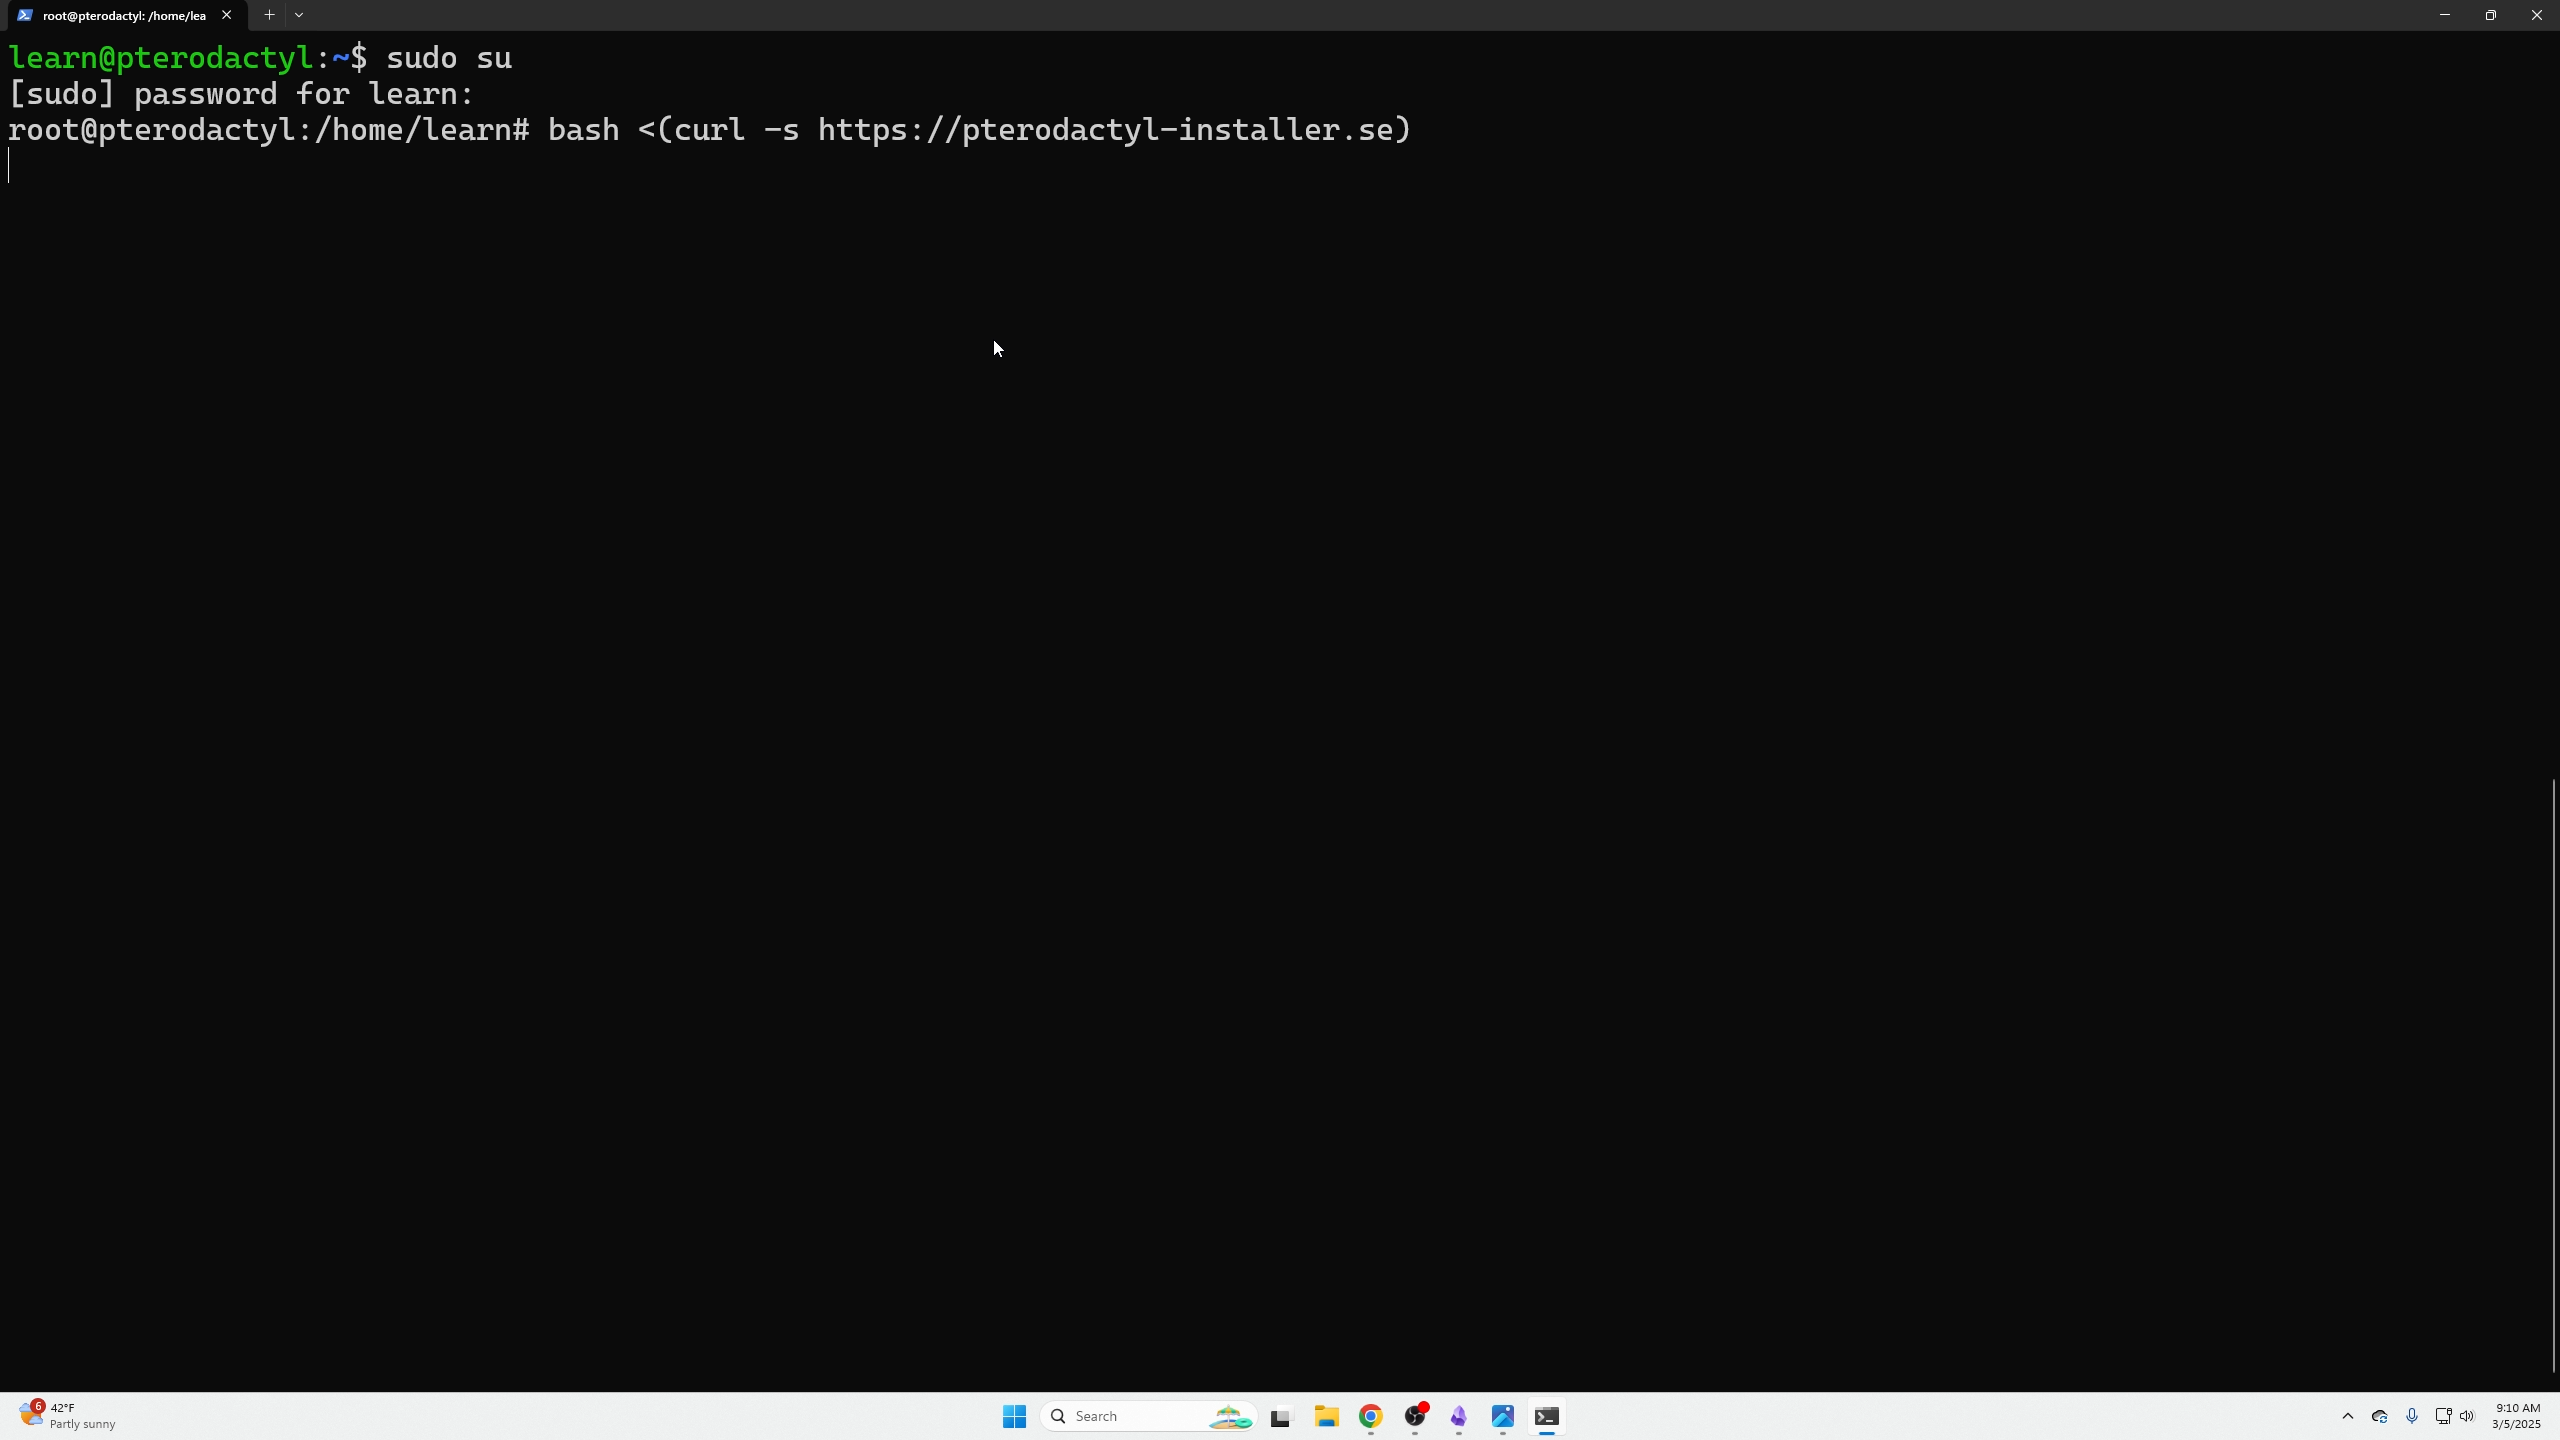
Switch to root:
sudo su
Run the installer script:
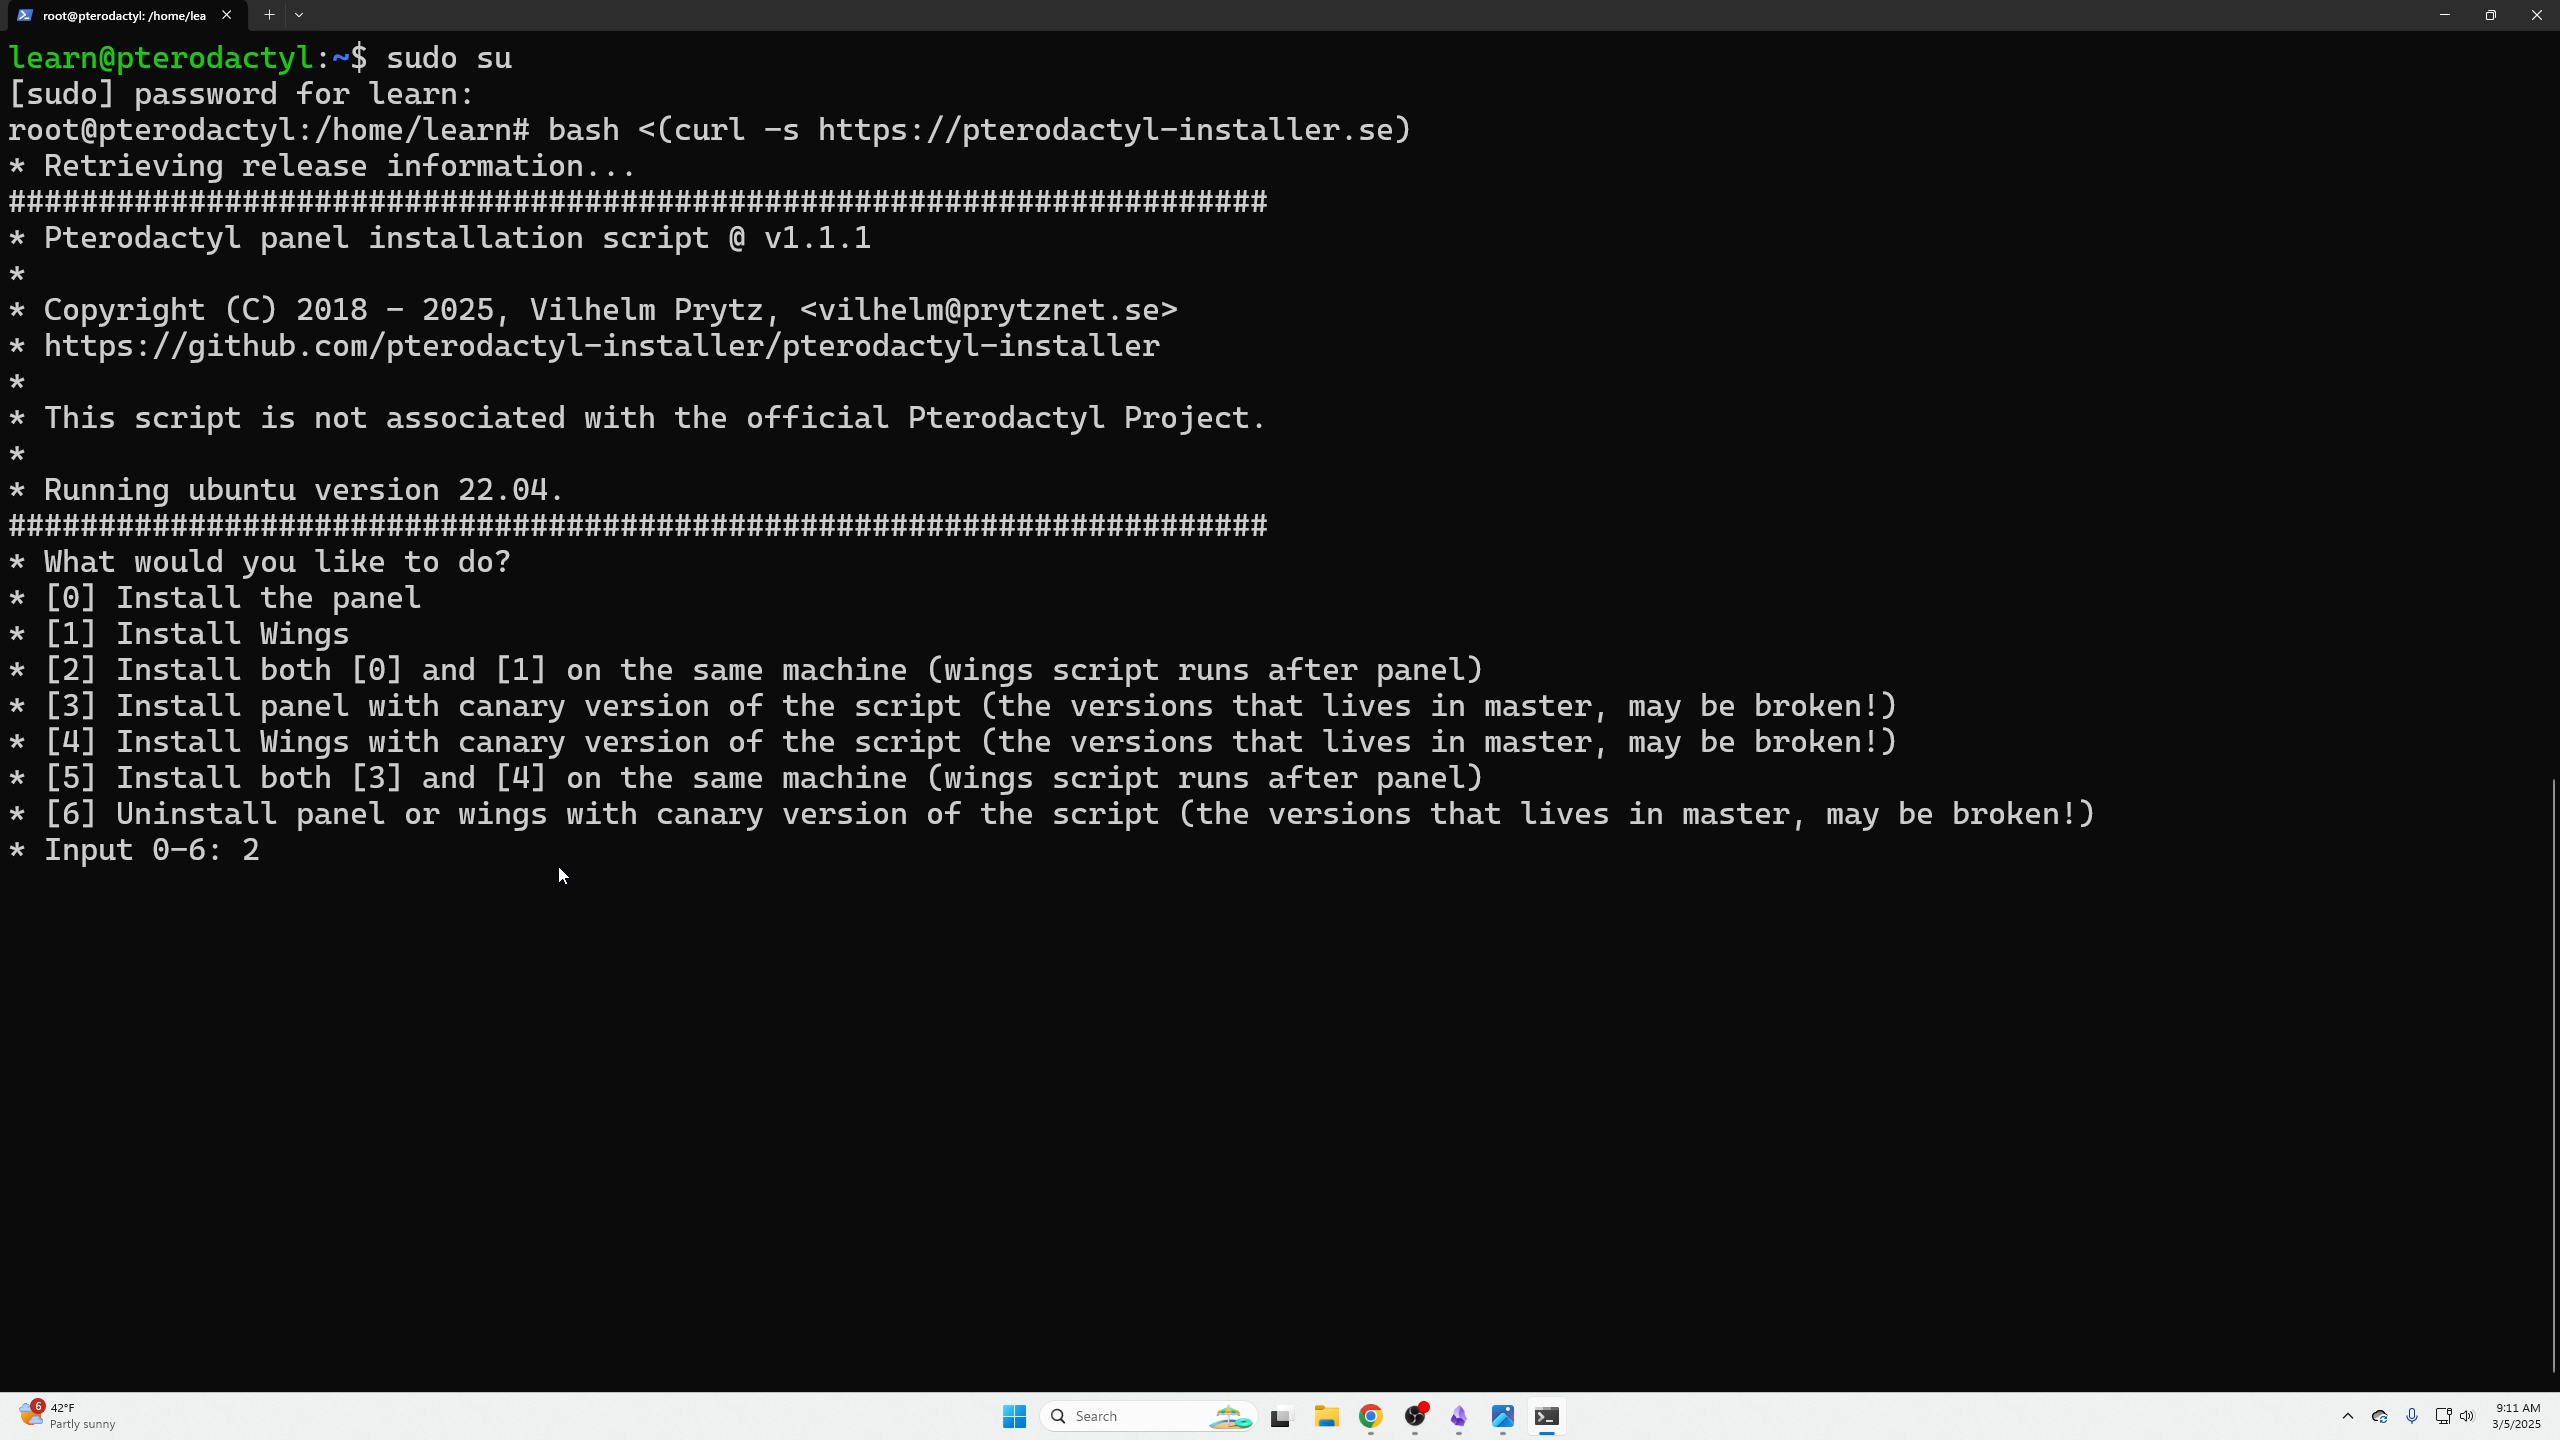
bash <(curl -s https://pterodactyl-installer.se)
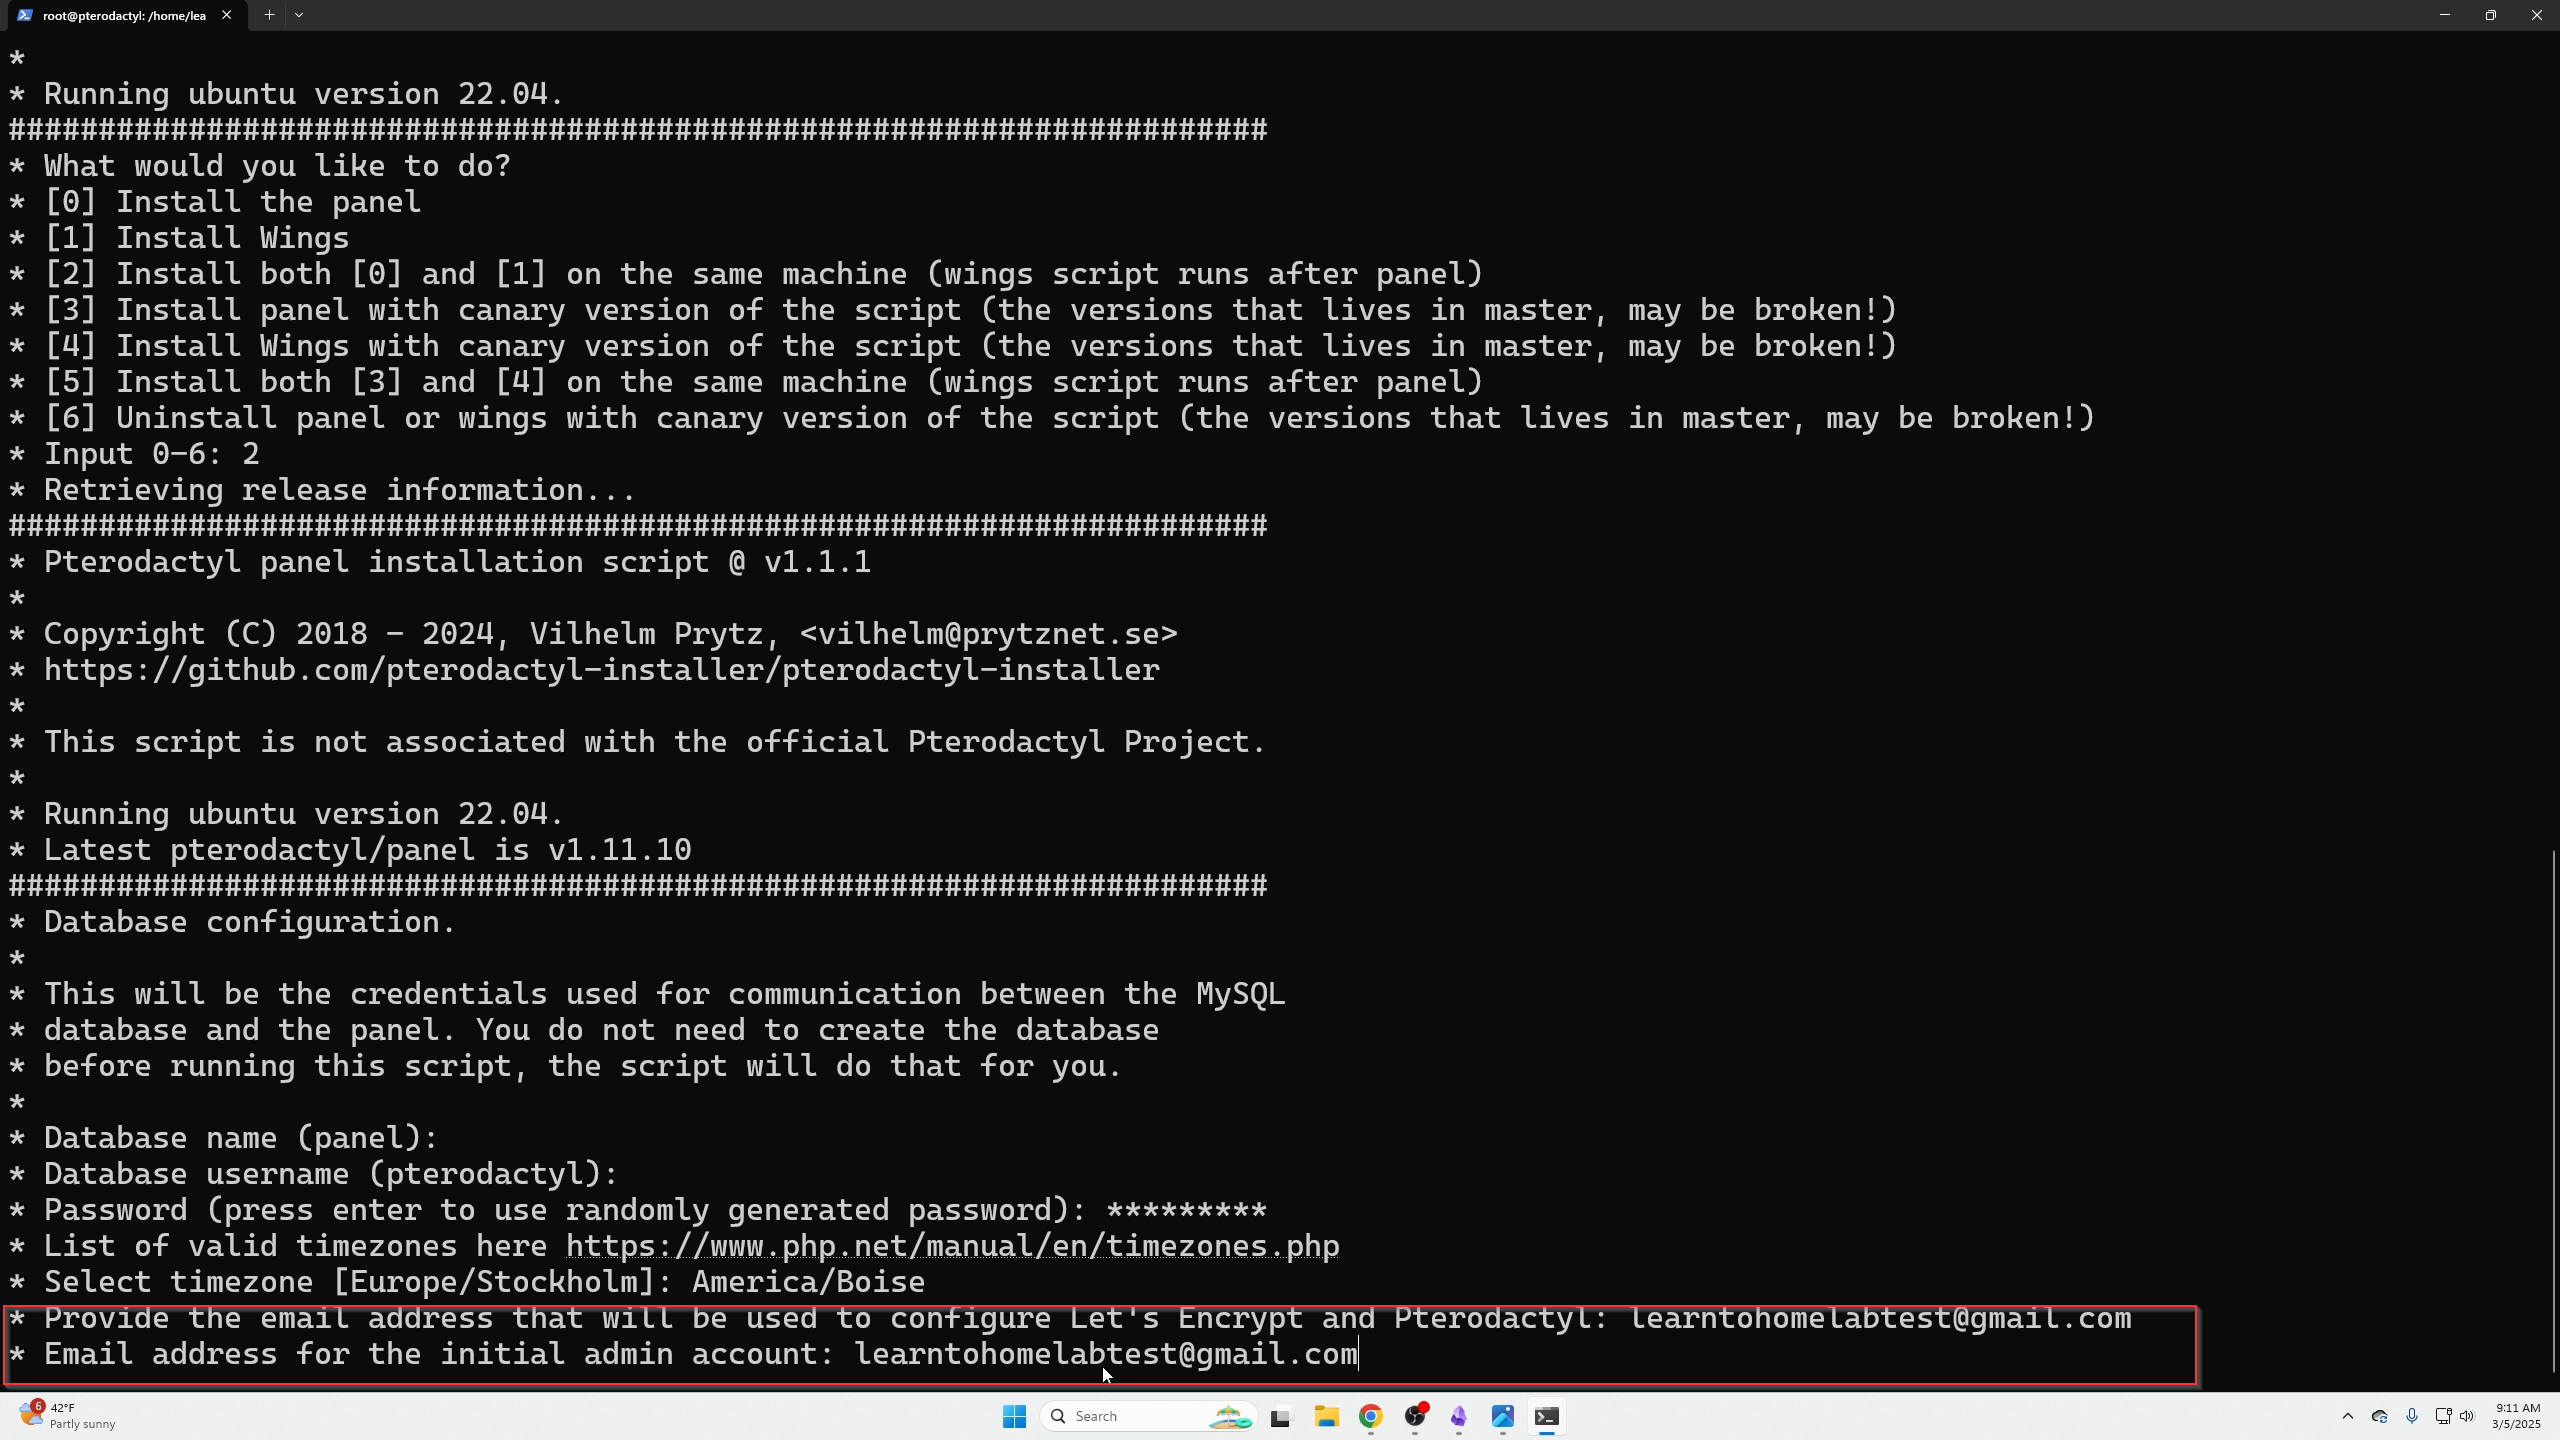
Choose option 2 to install the game panel and wings.
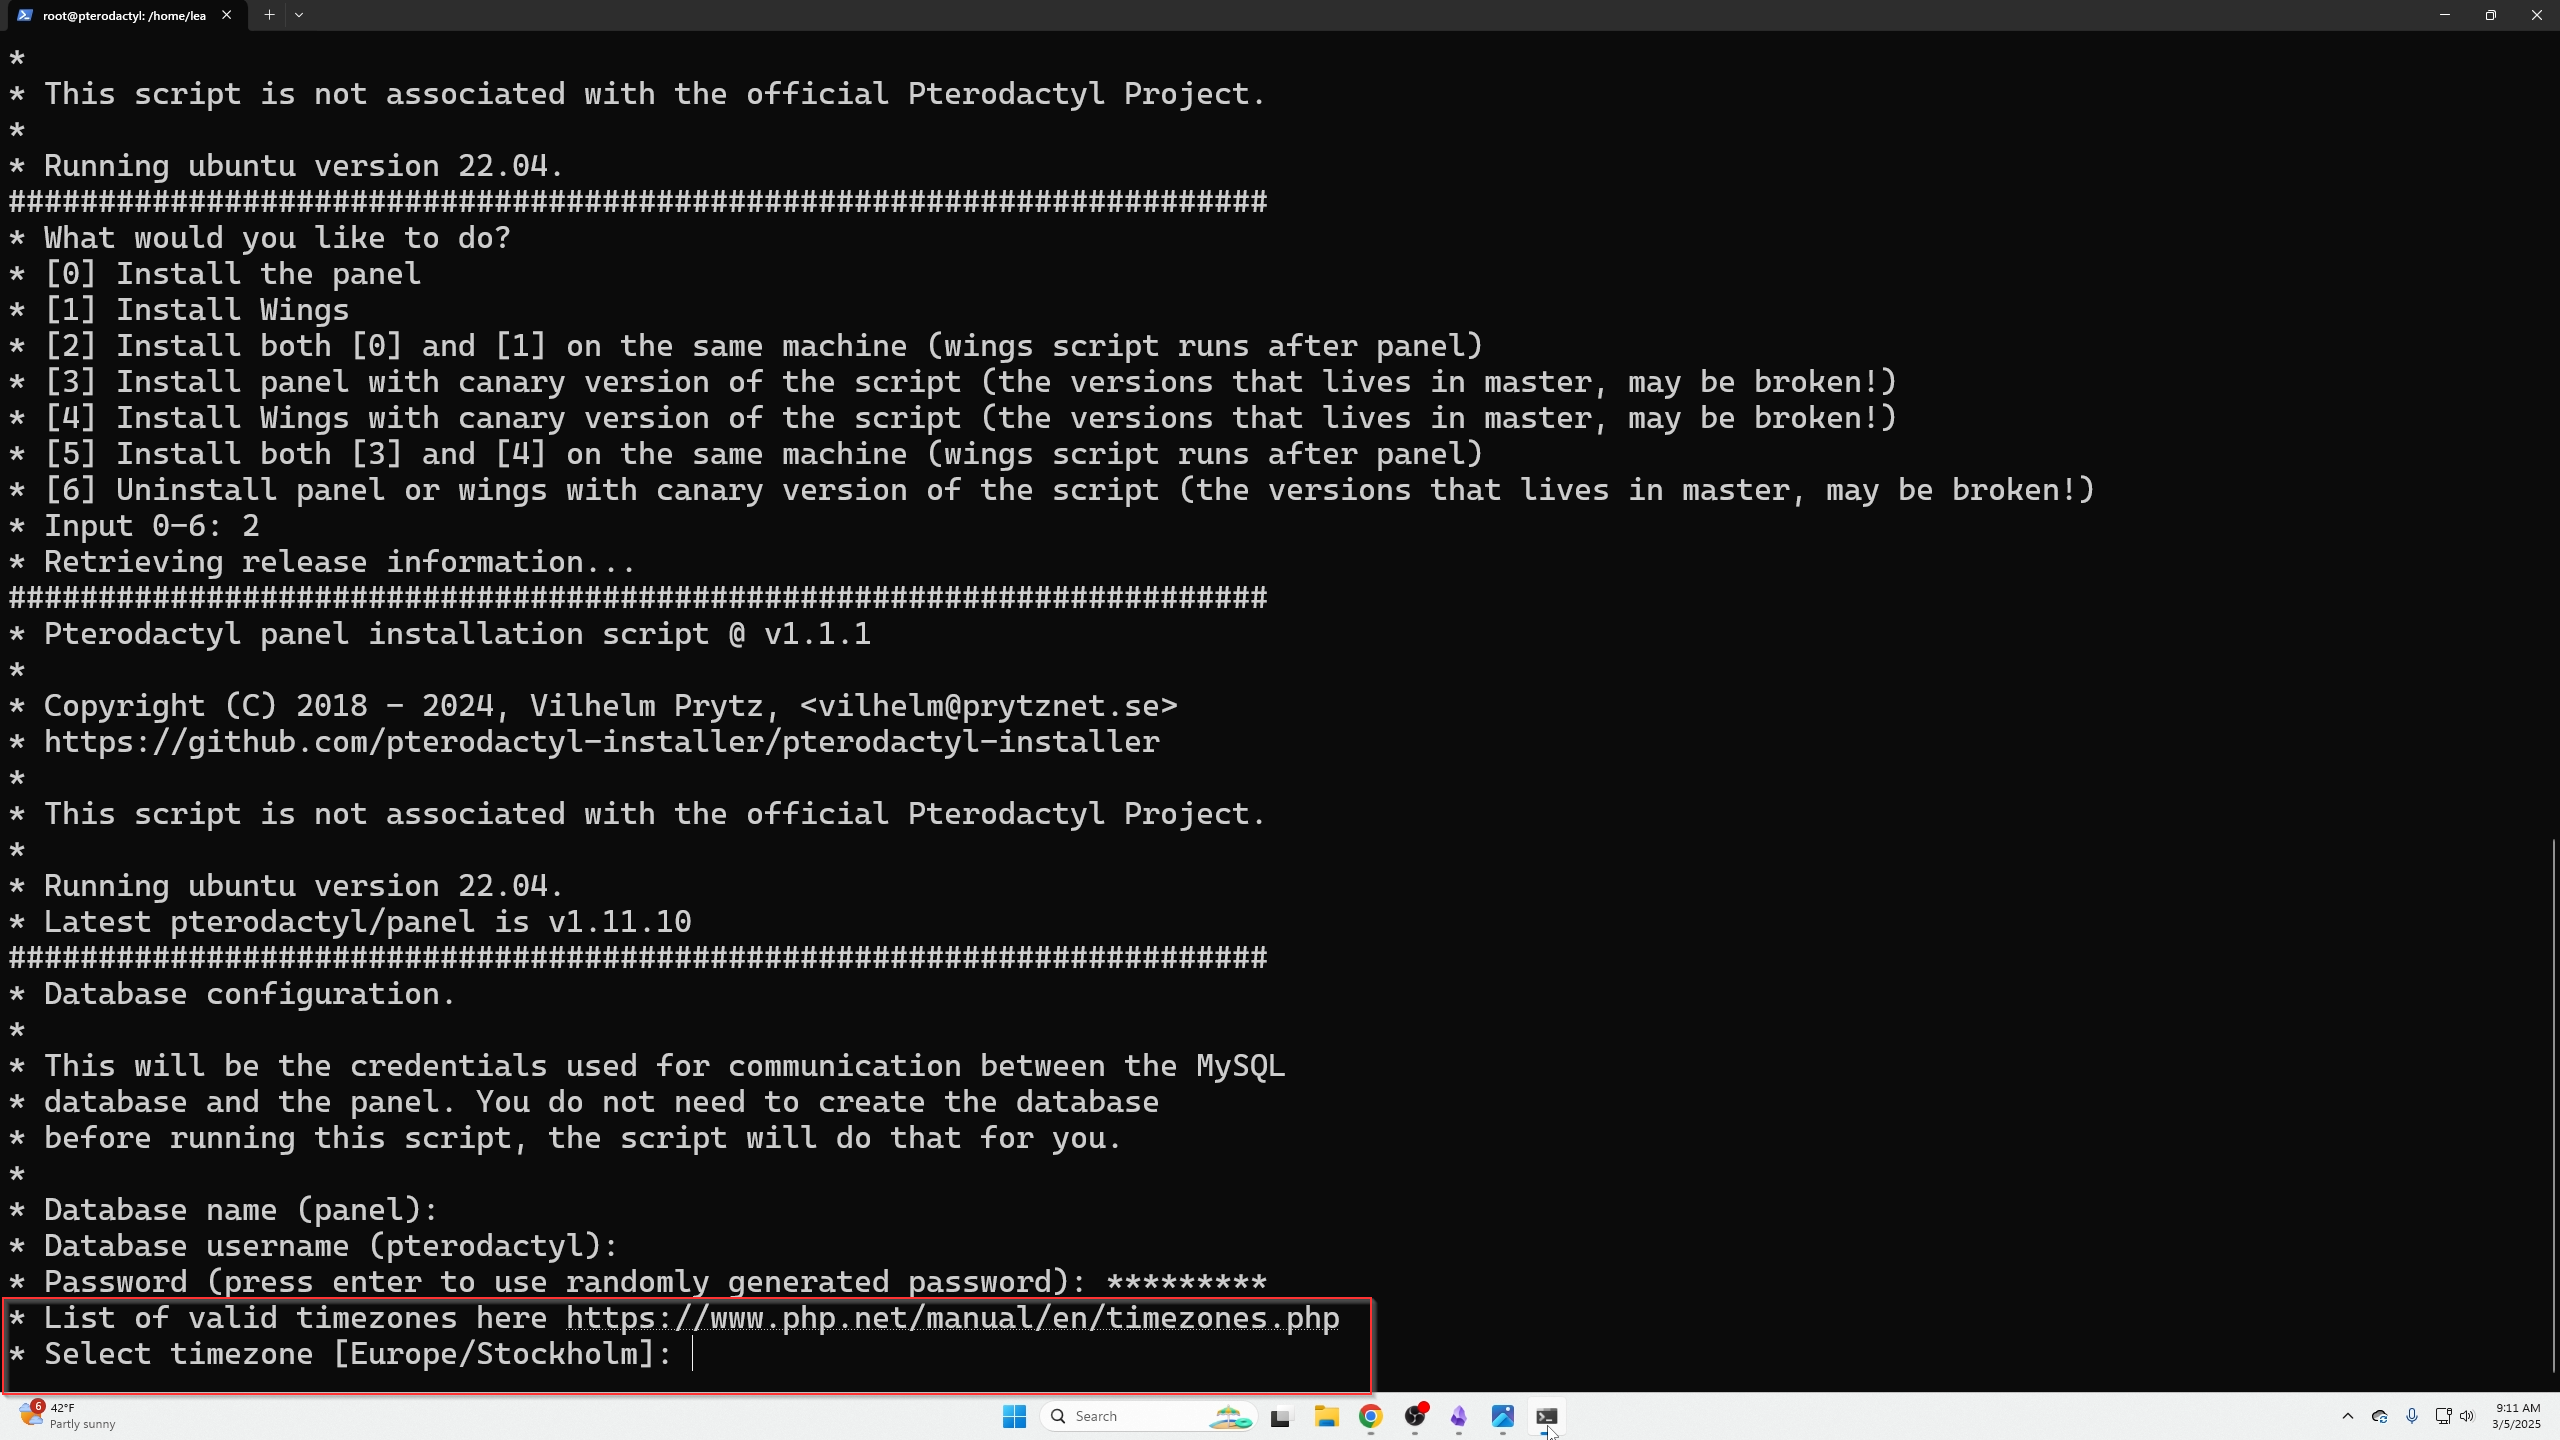
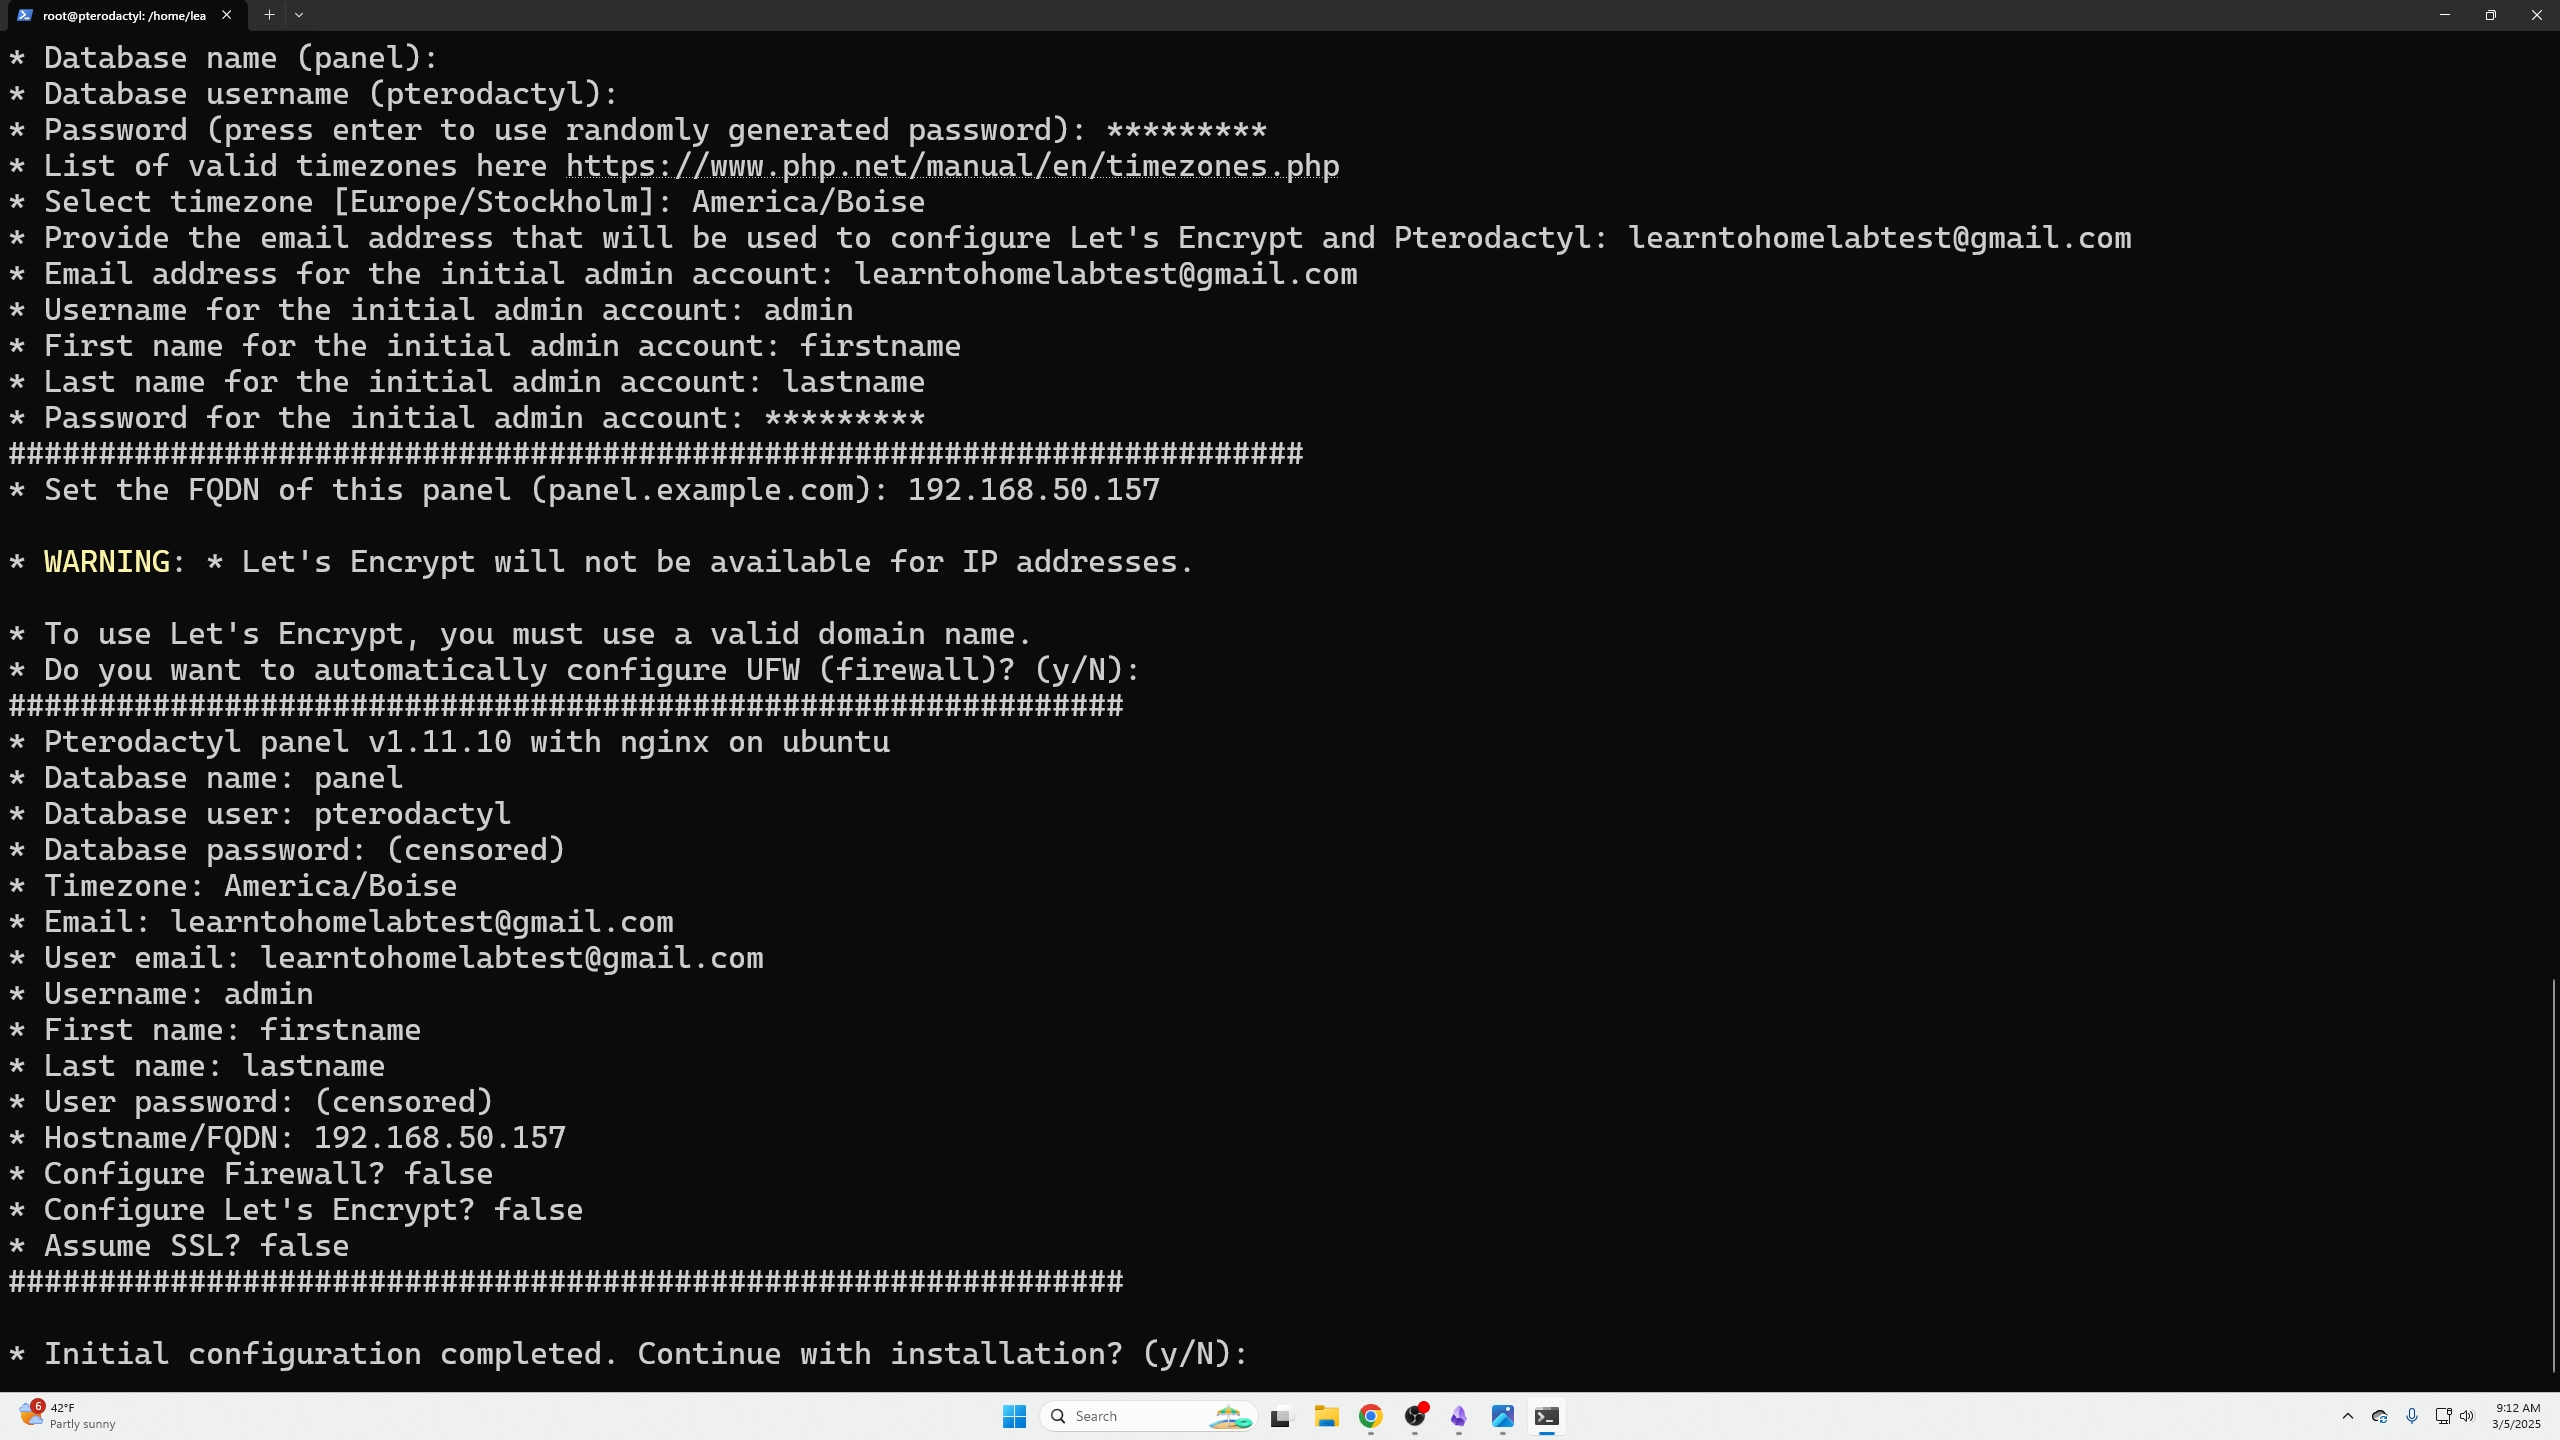
When prompted for database name and username, accept defaults and create your own password.
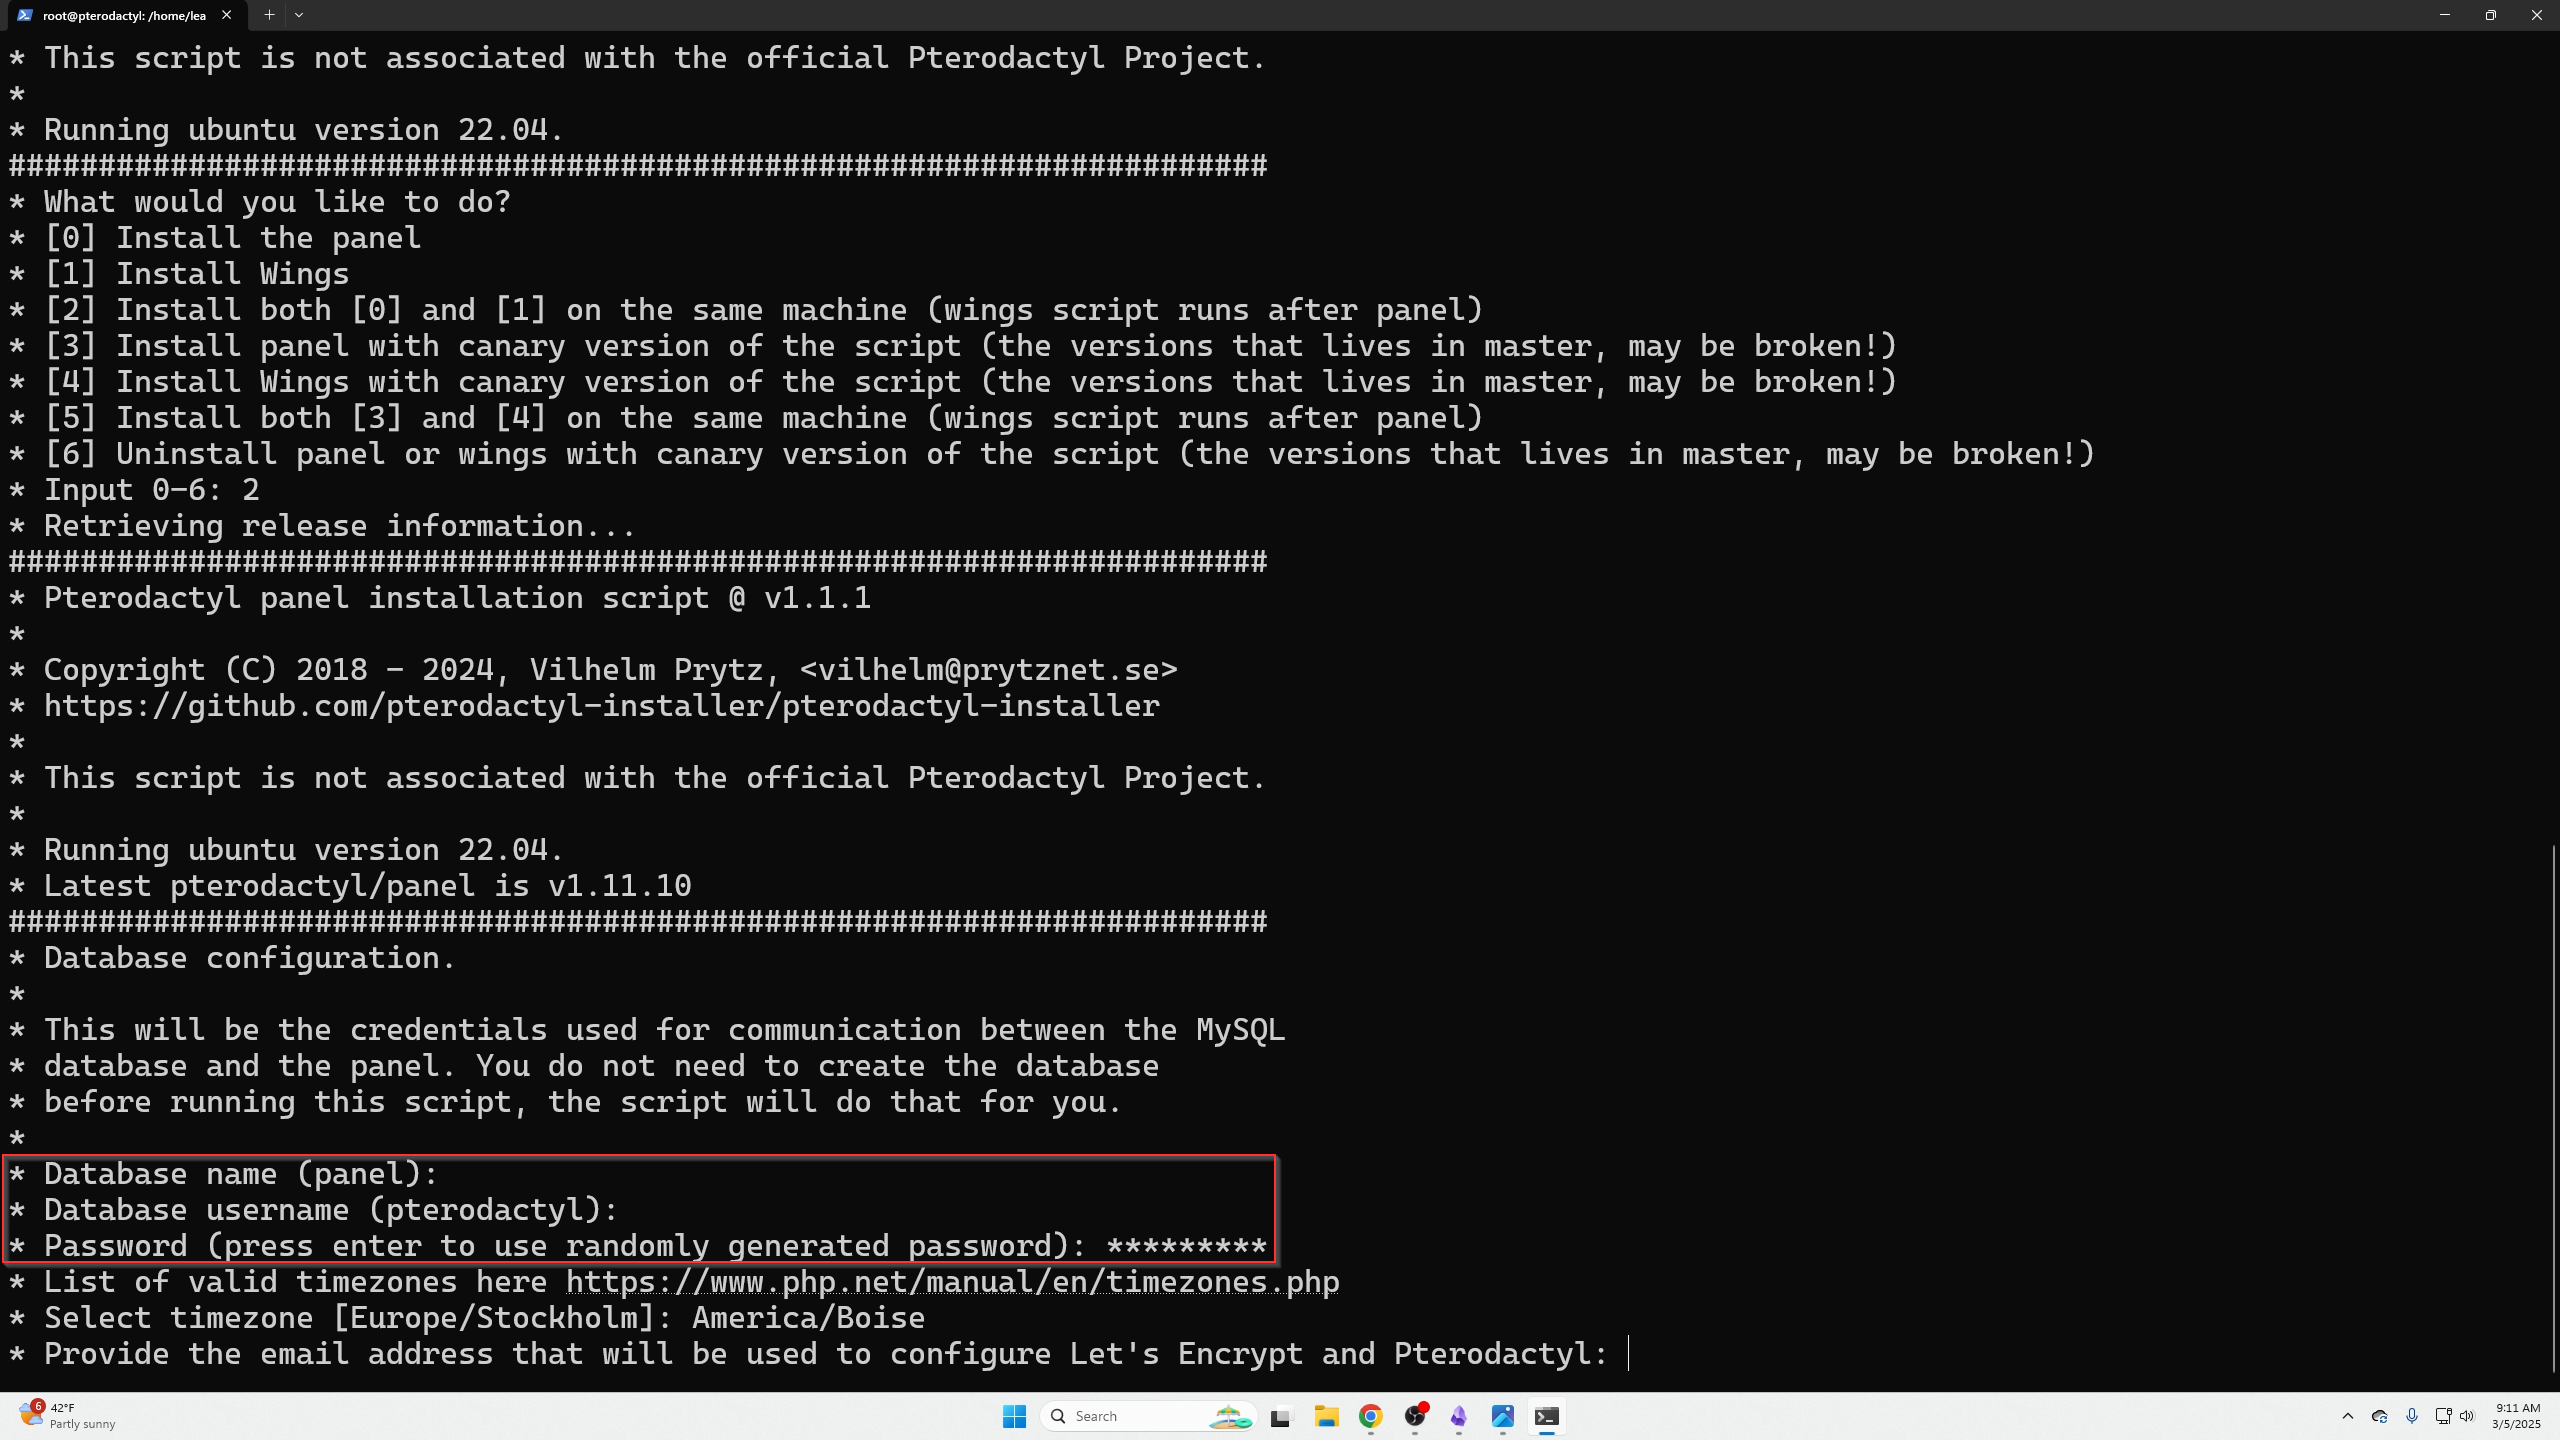
Select your timezone by ctrl+clicking the link, find your zone, and paste it.
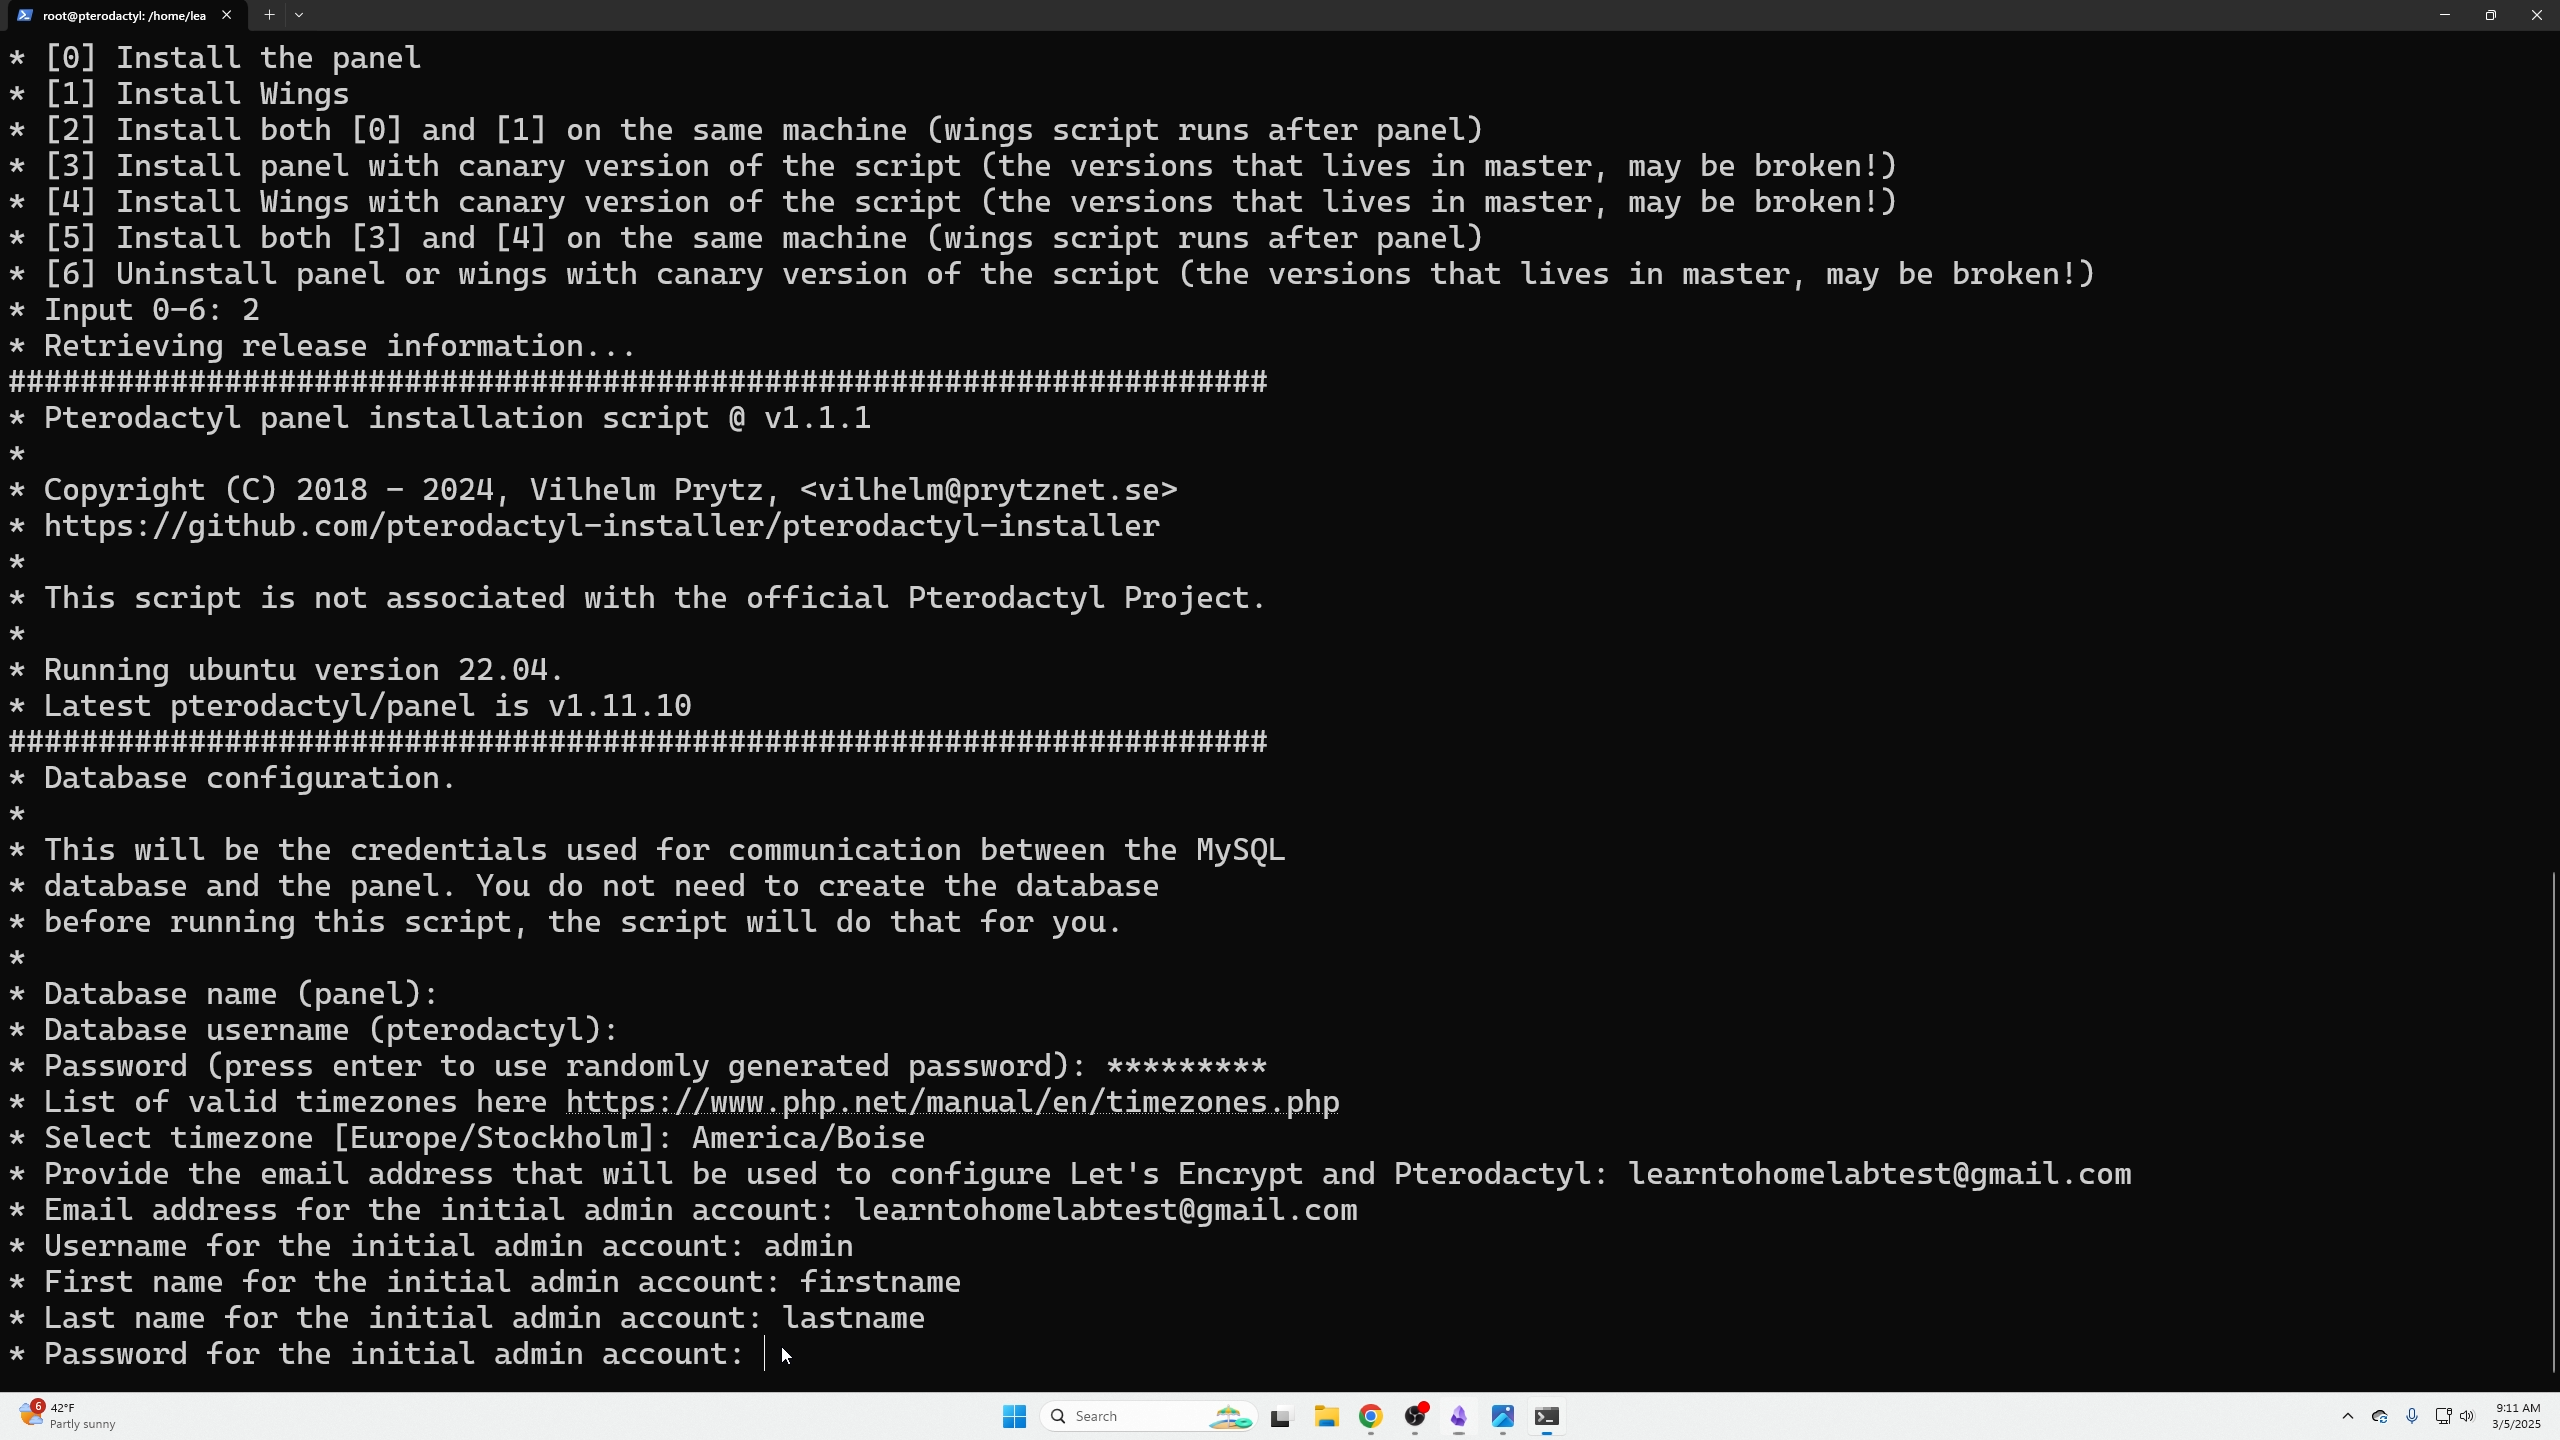
Enter a valid email (twice) for account creation and messaging.
Create an admin account by filling relevant info.
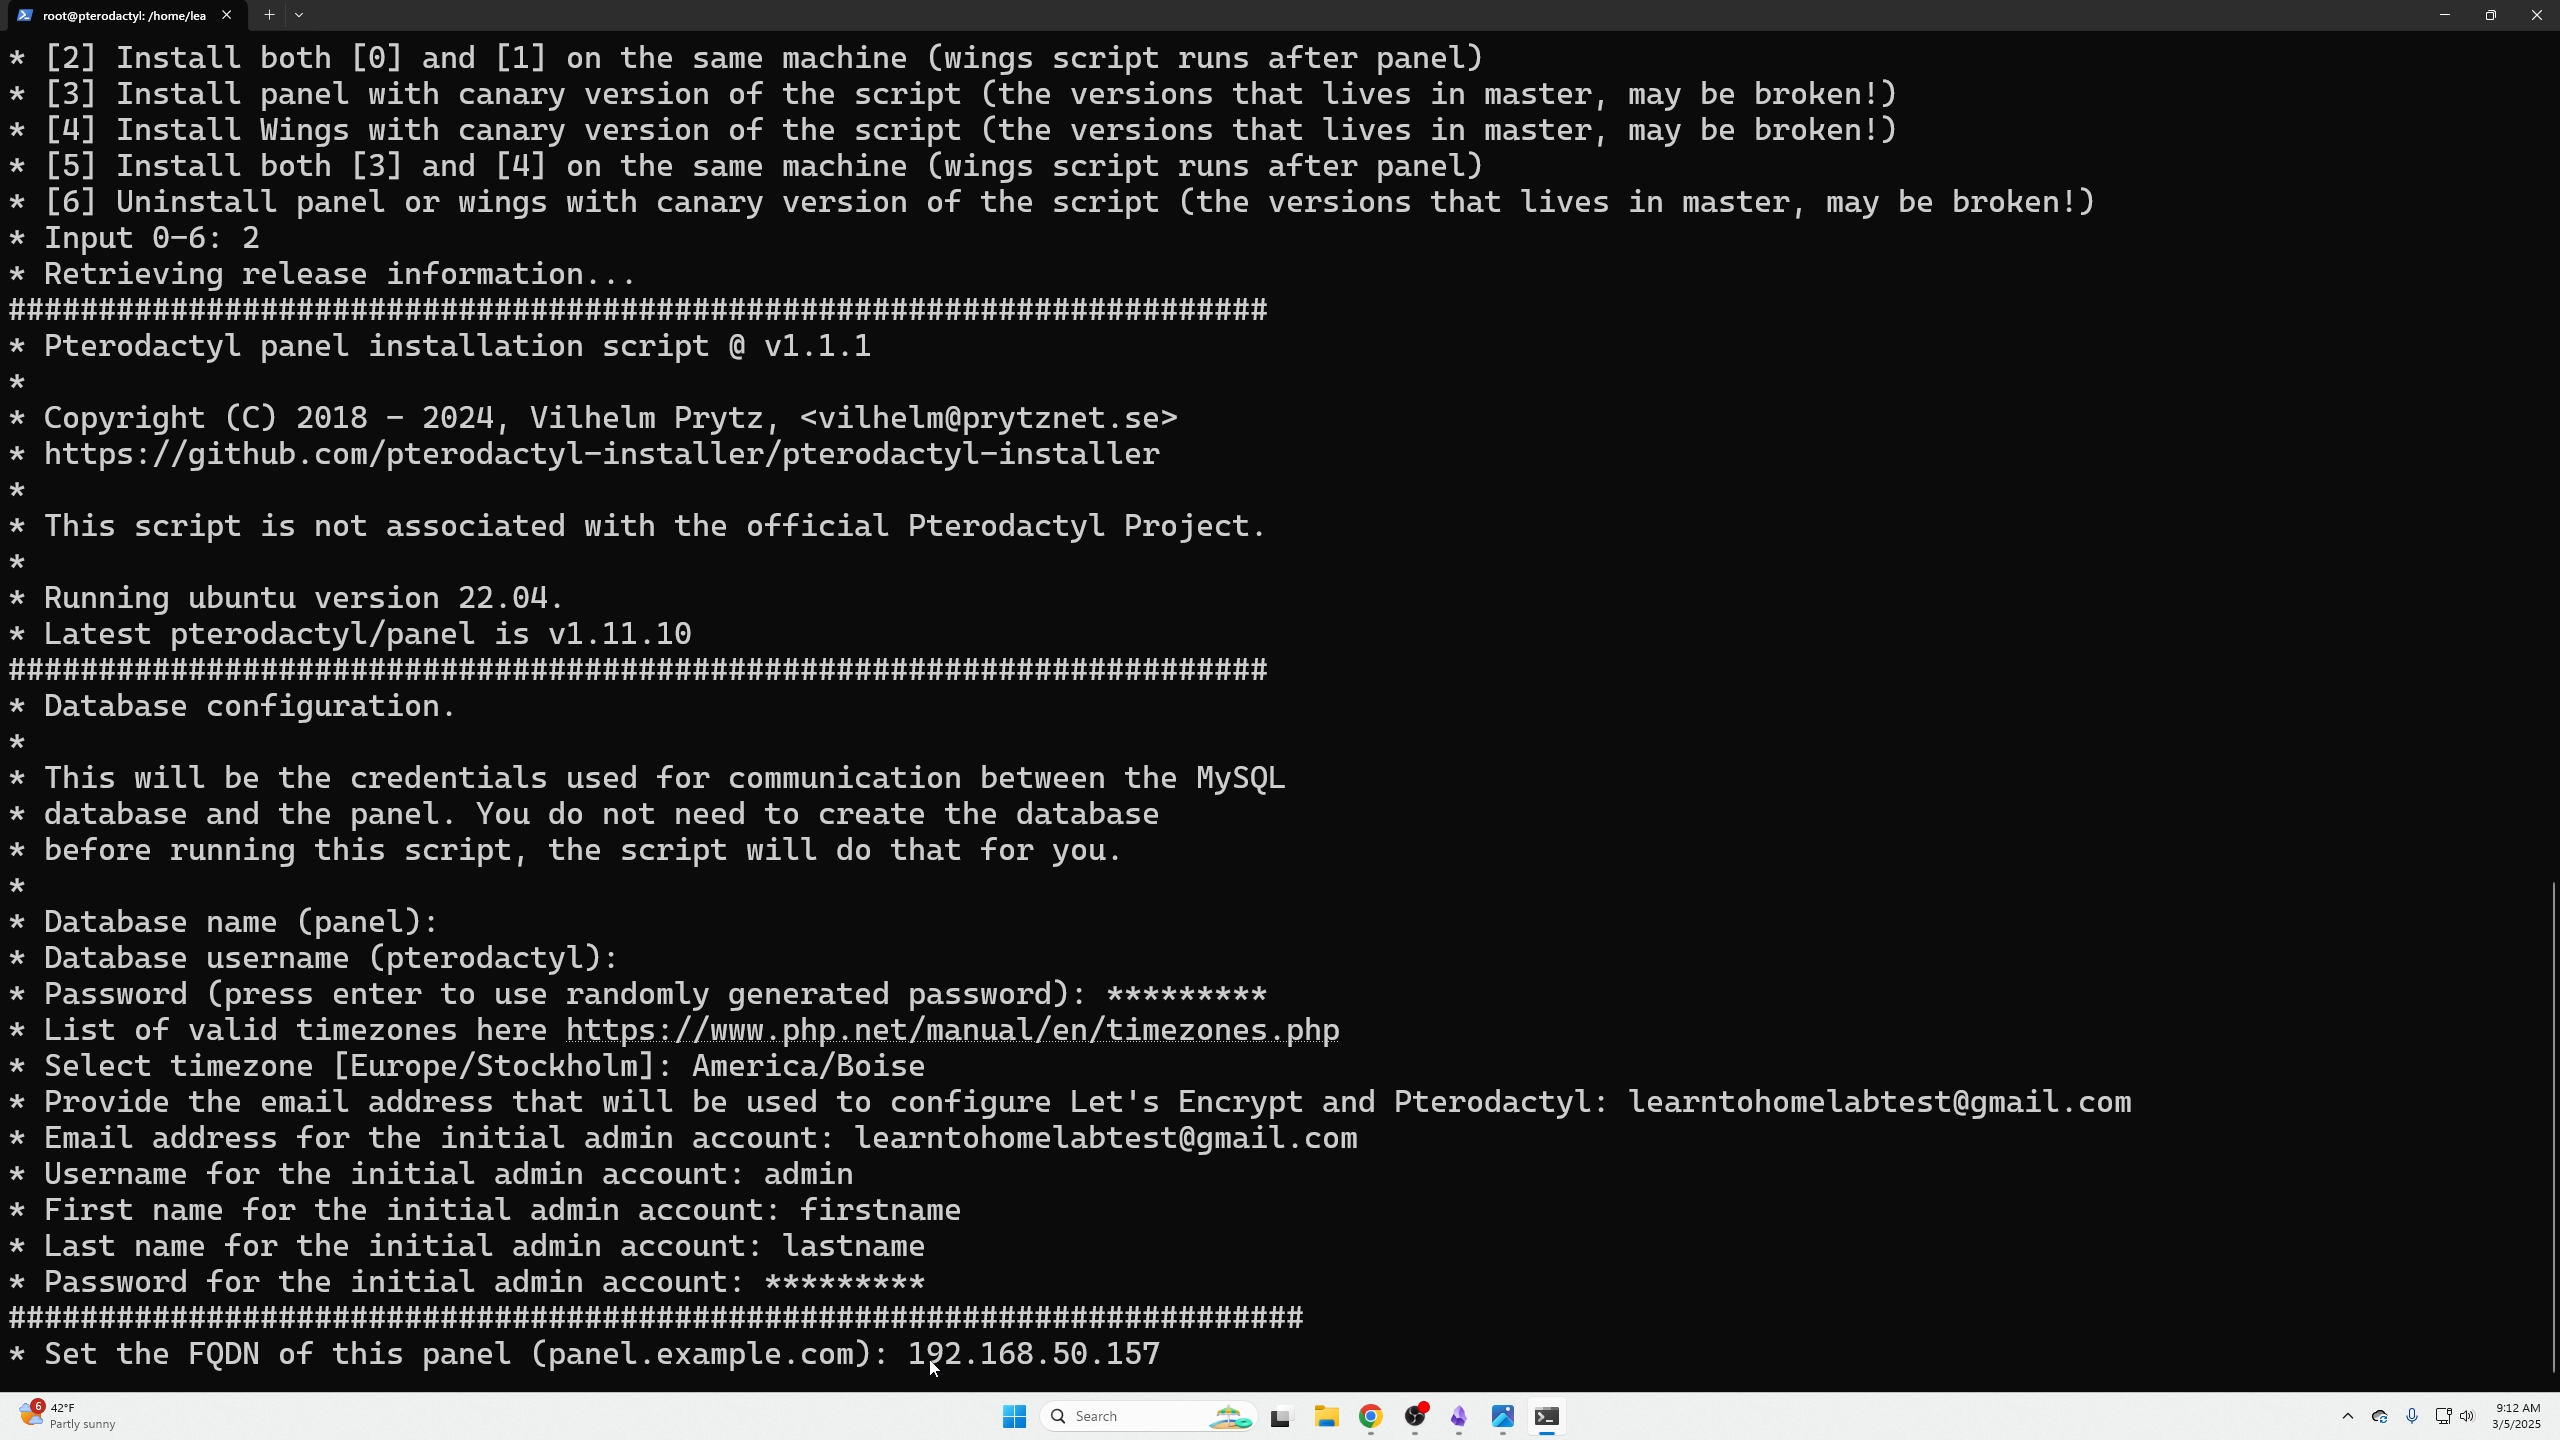
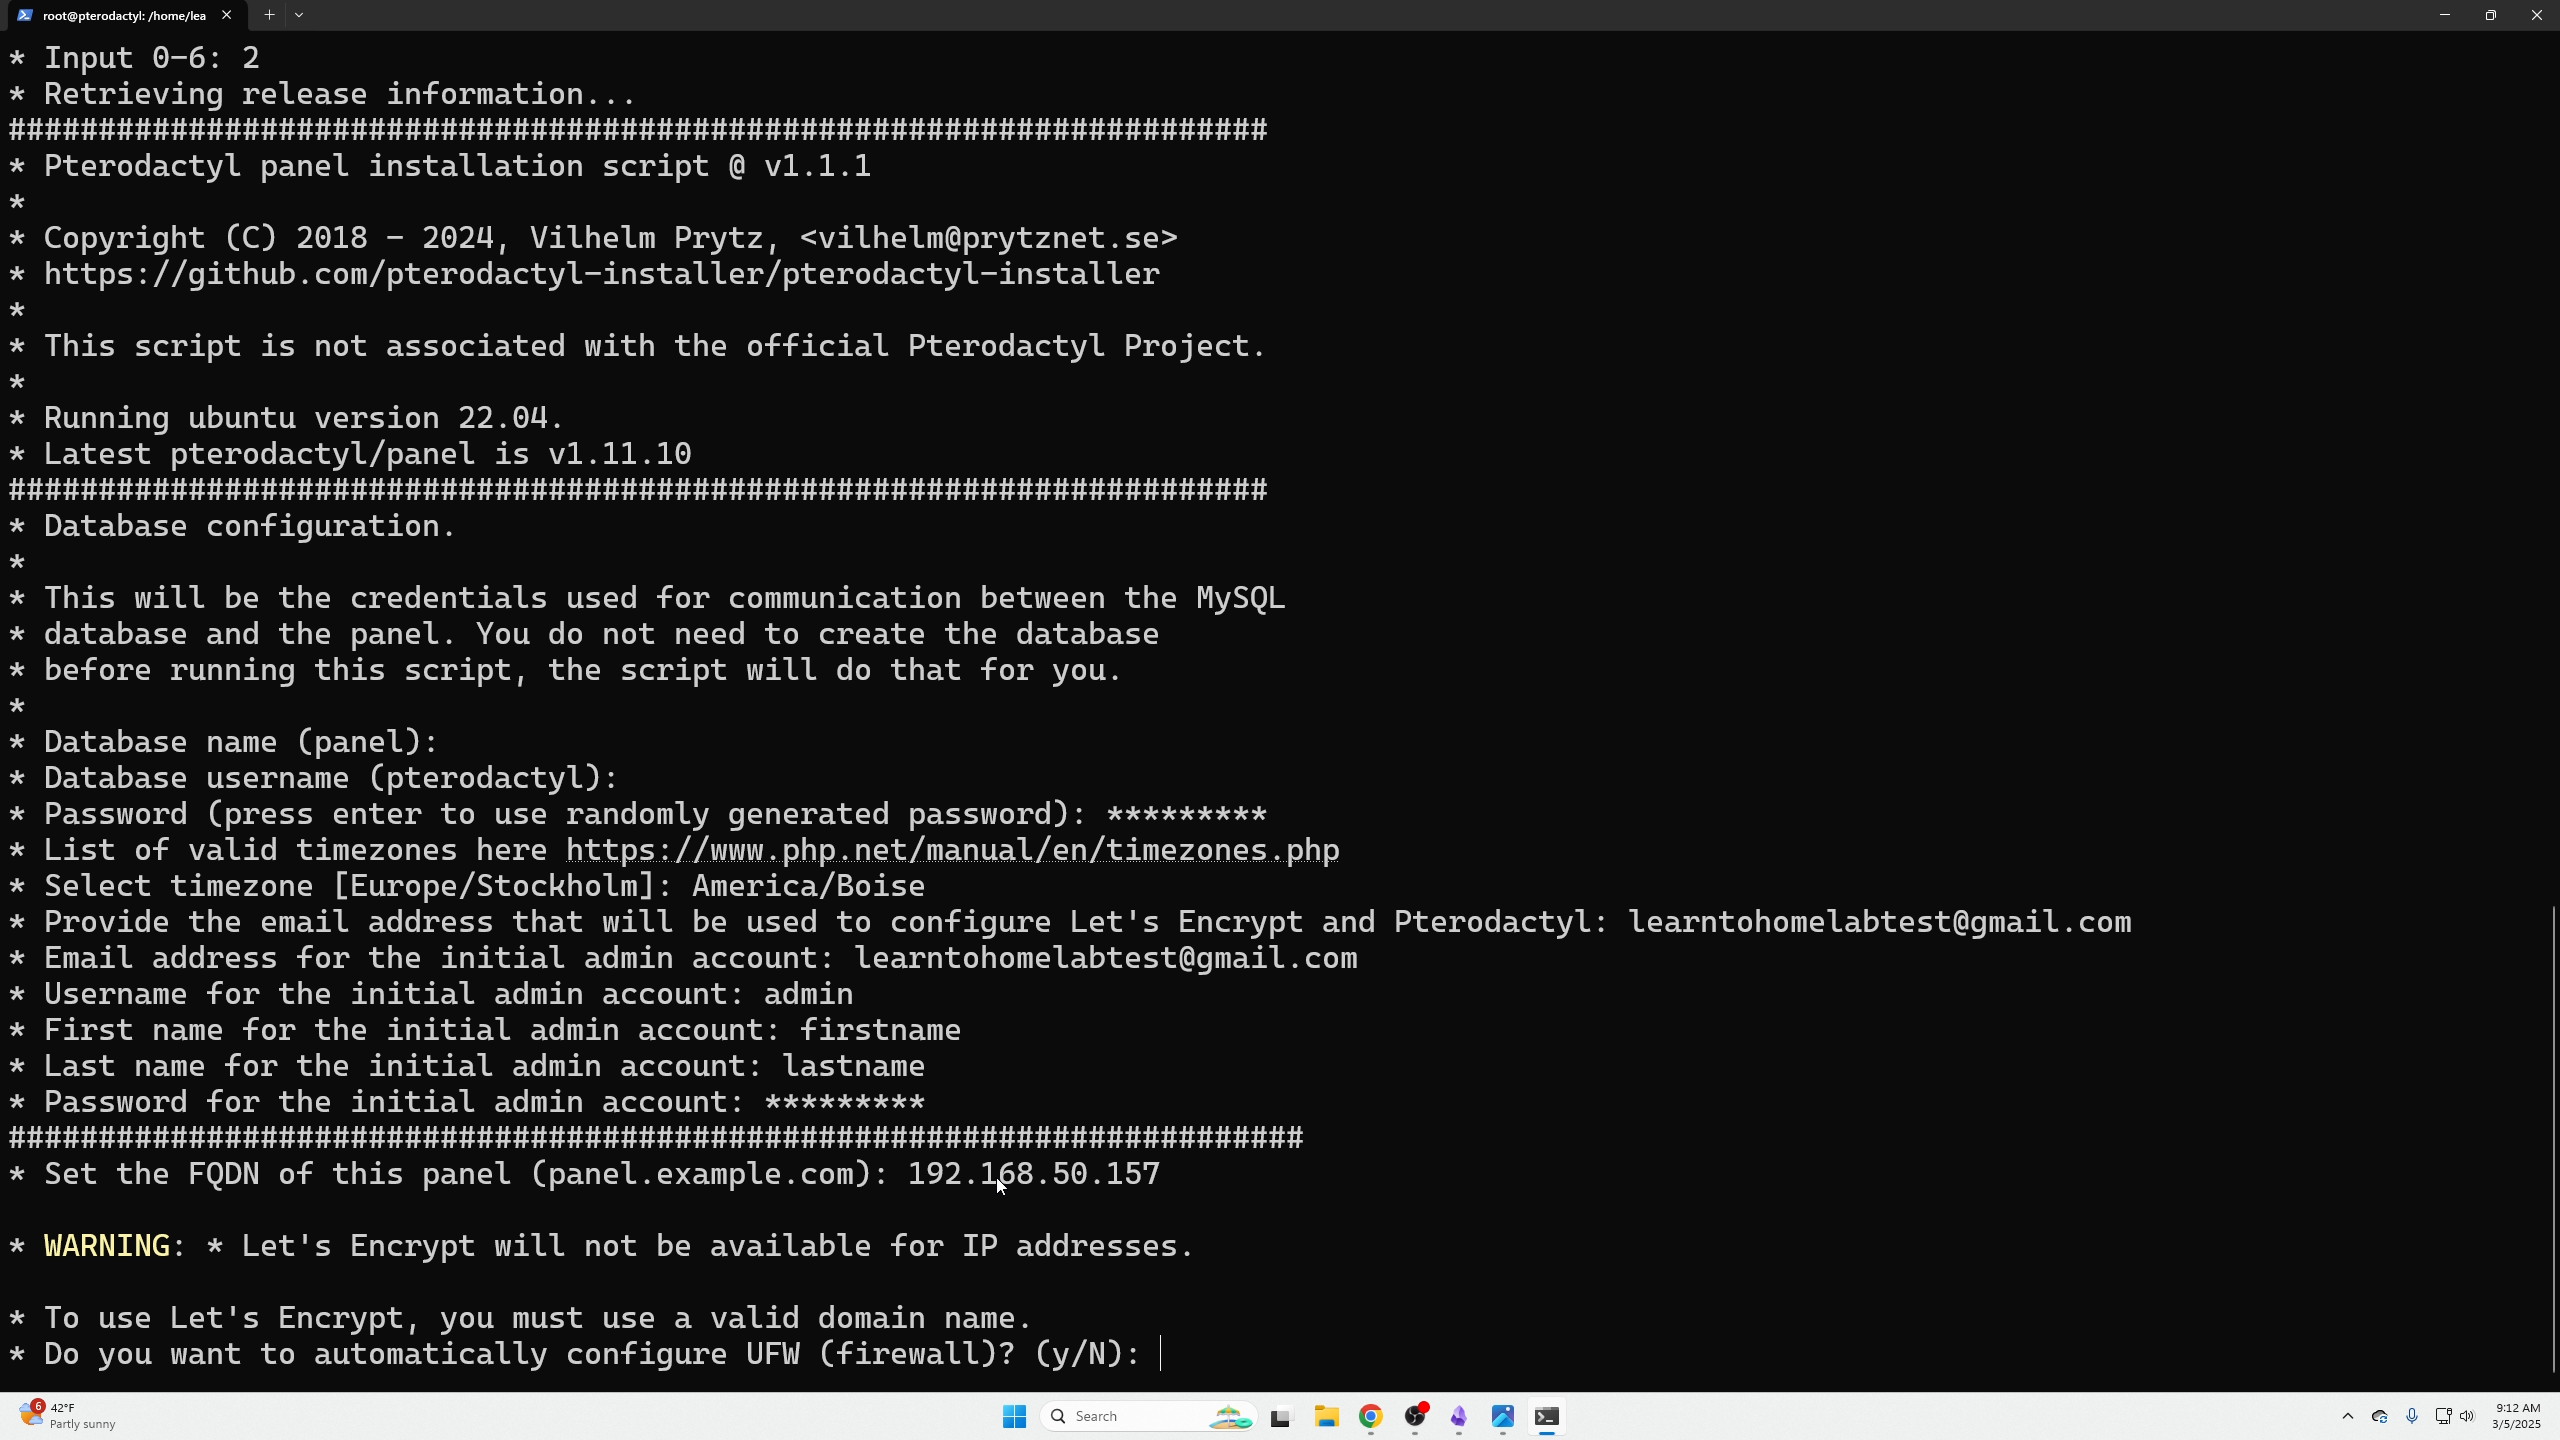
Set domain: Use FQDN if public-facing, else use machine/VM IP.
Choose No to auto-configuring UFW unless public-facing.
Confirm settings and continue with “Y”. Wait for installation to complete.
Afterward, open the panel in browser via your FQDN or IP and login with admin credentials.
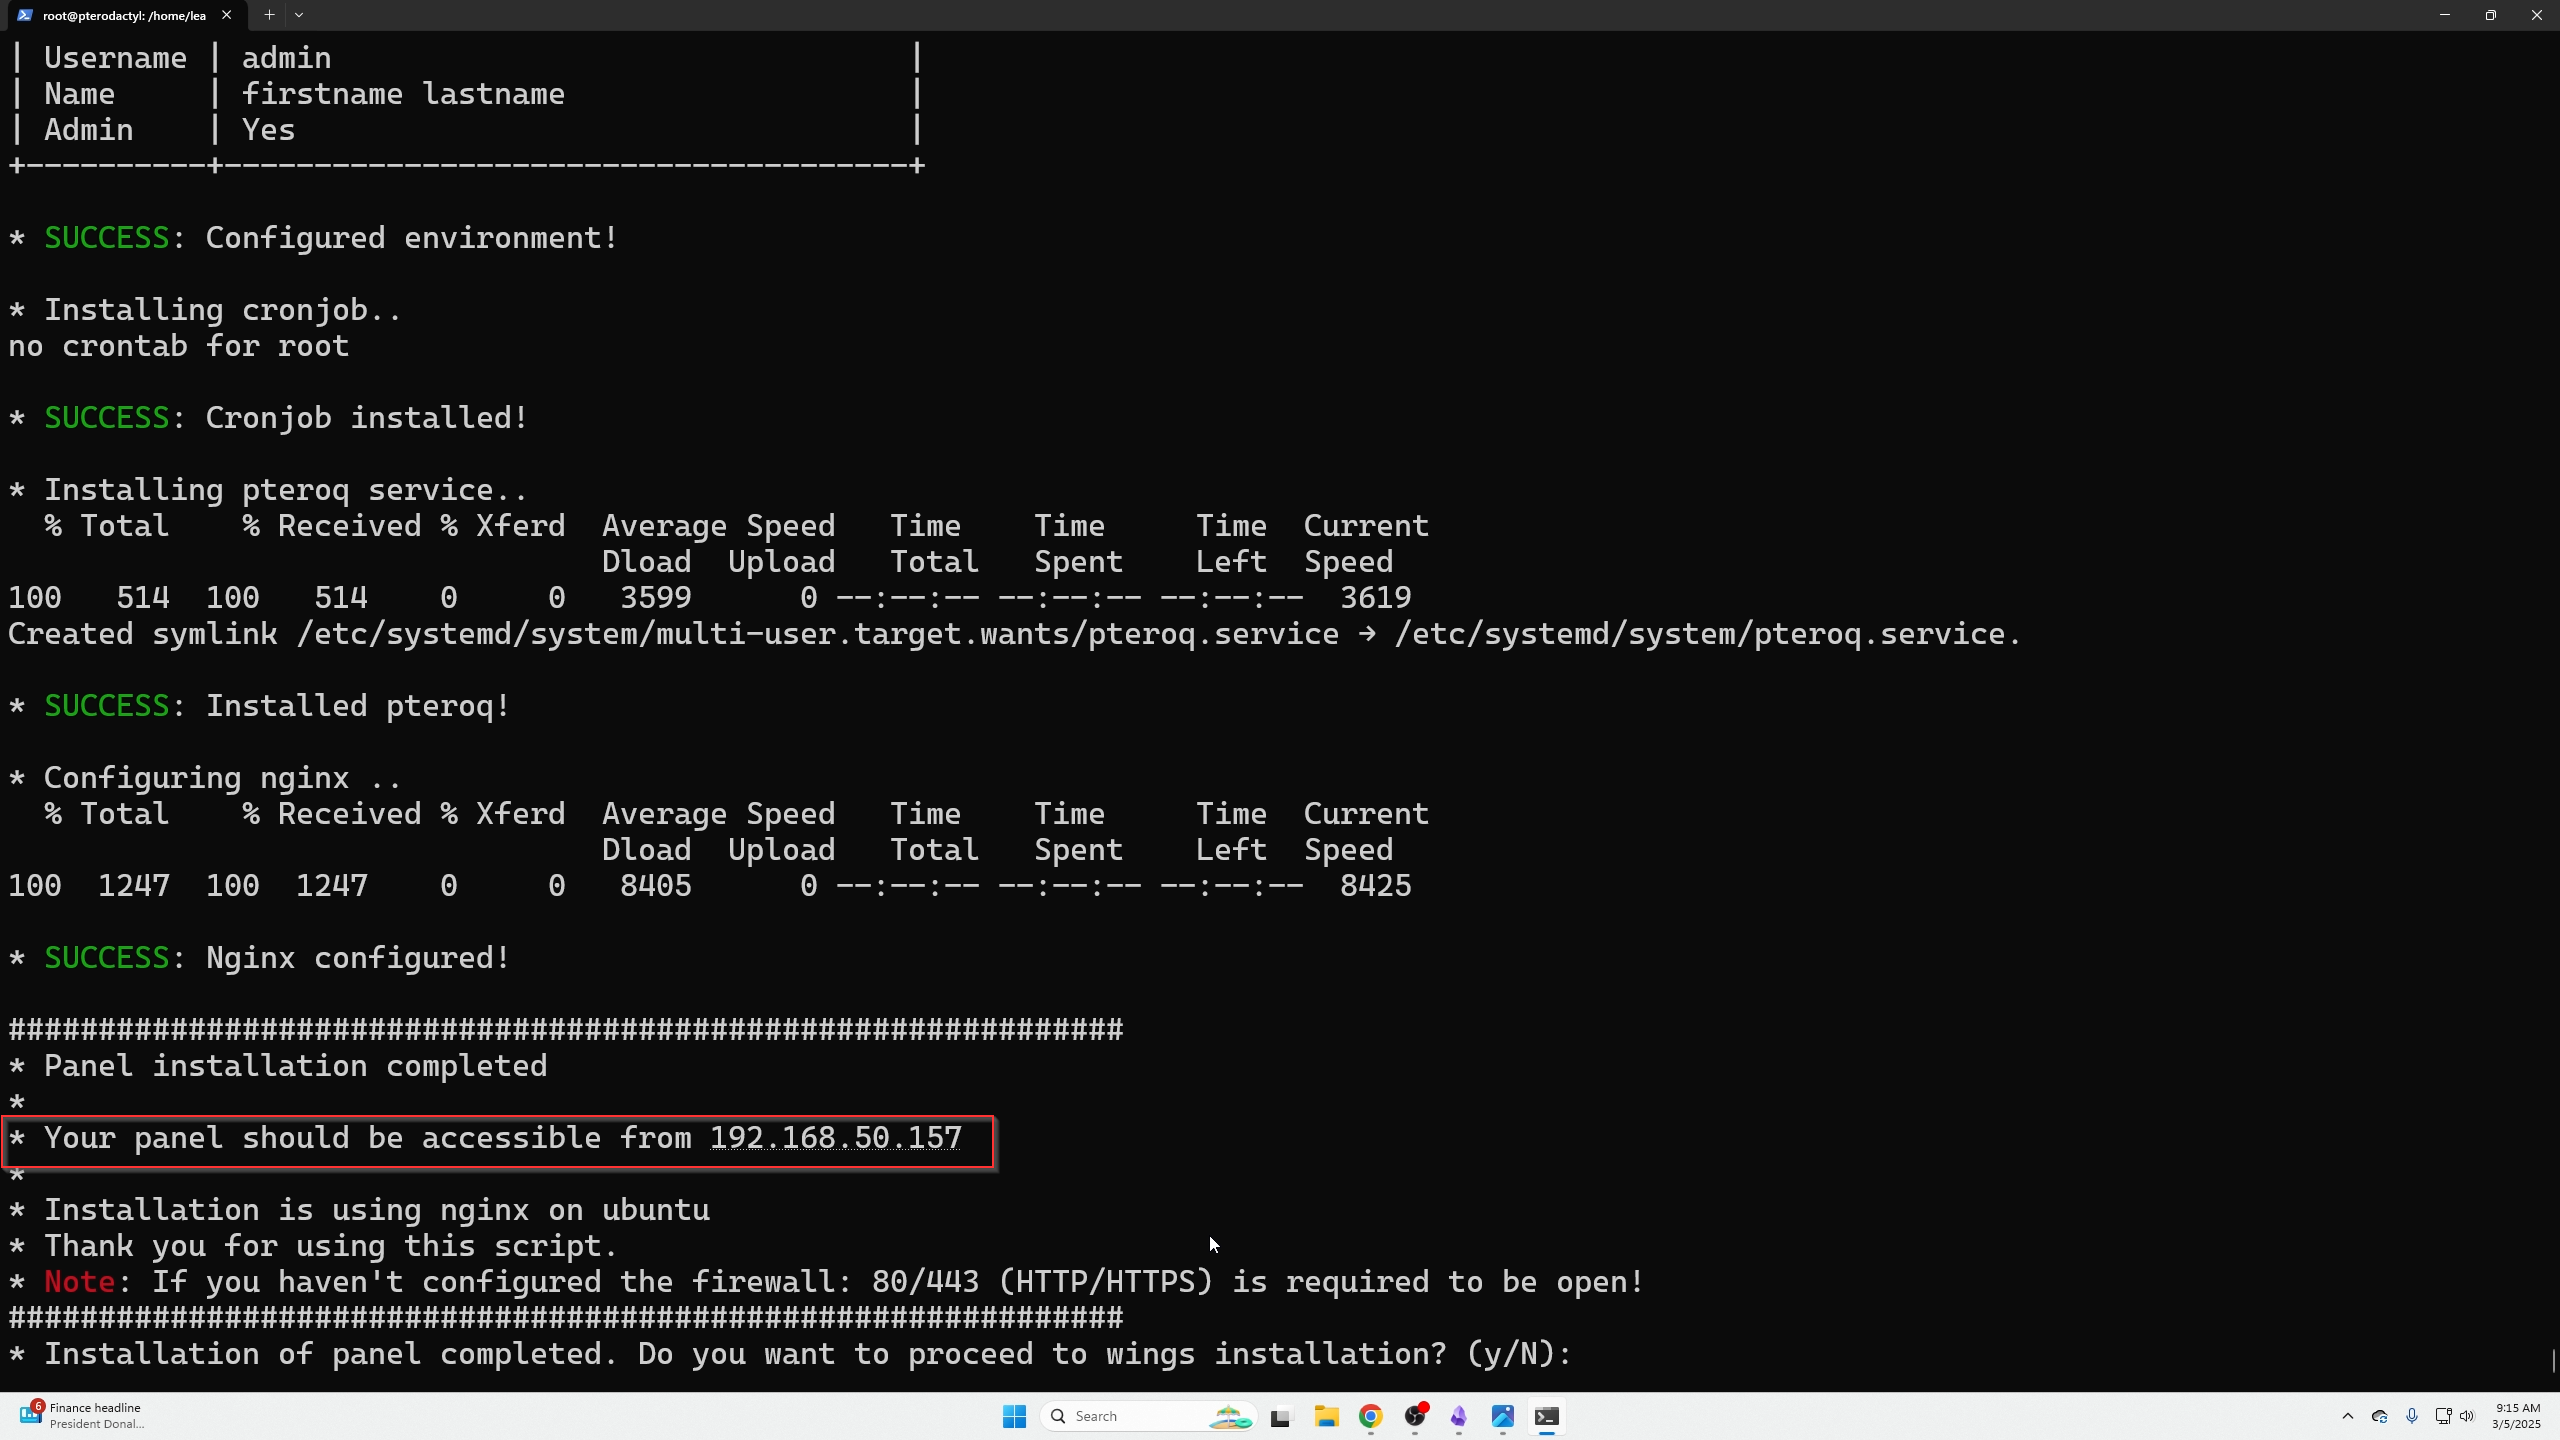
Back in terminal, continue wings installation (“Y”).
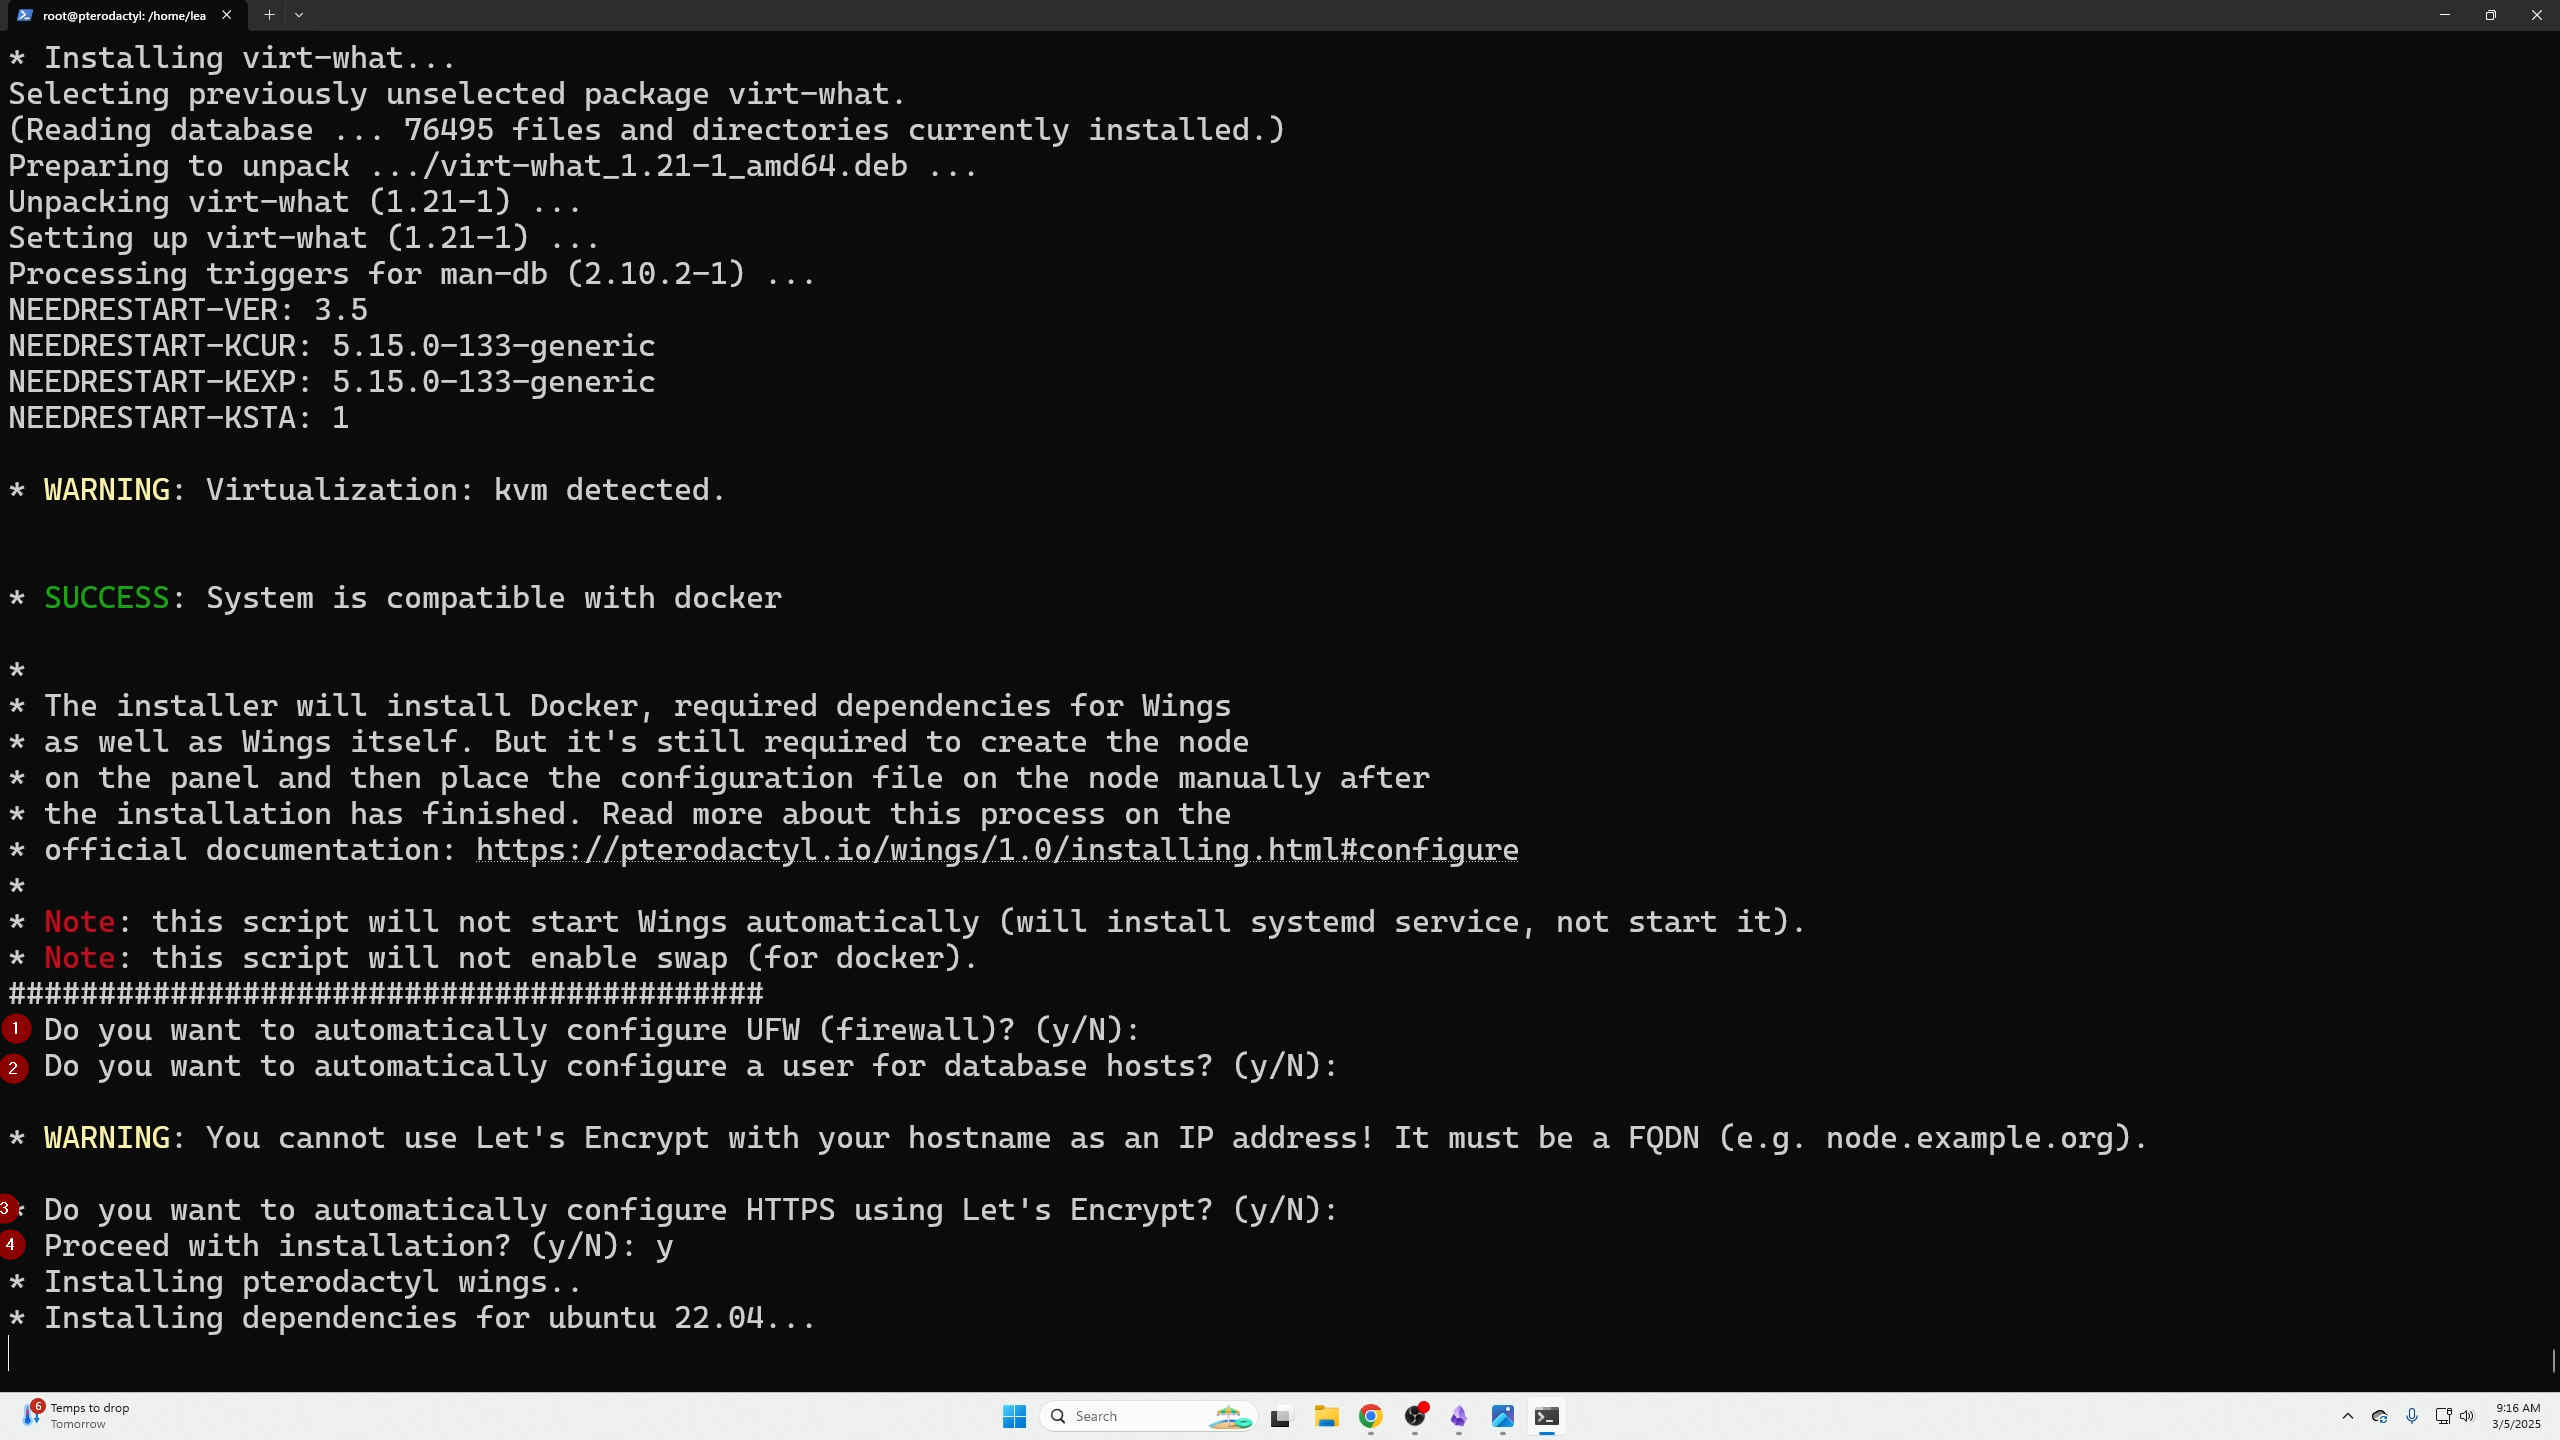
Answer questions:
- Auto-configure UFW: Yes if public-facing, No if not.
- Auto-setup DB for hosts: No.
- Setup Let’s Encrypt: No unless public-facing.
- Continue installation: Yes.
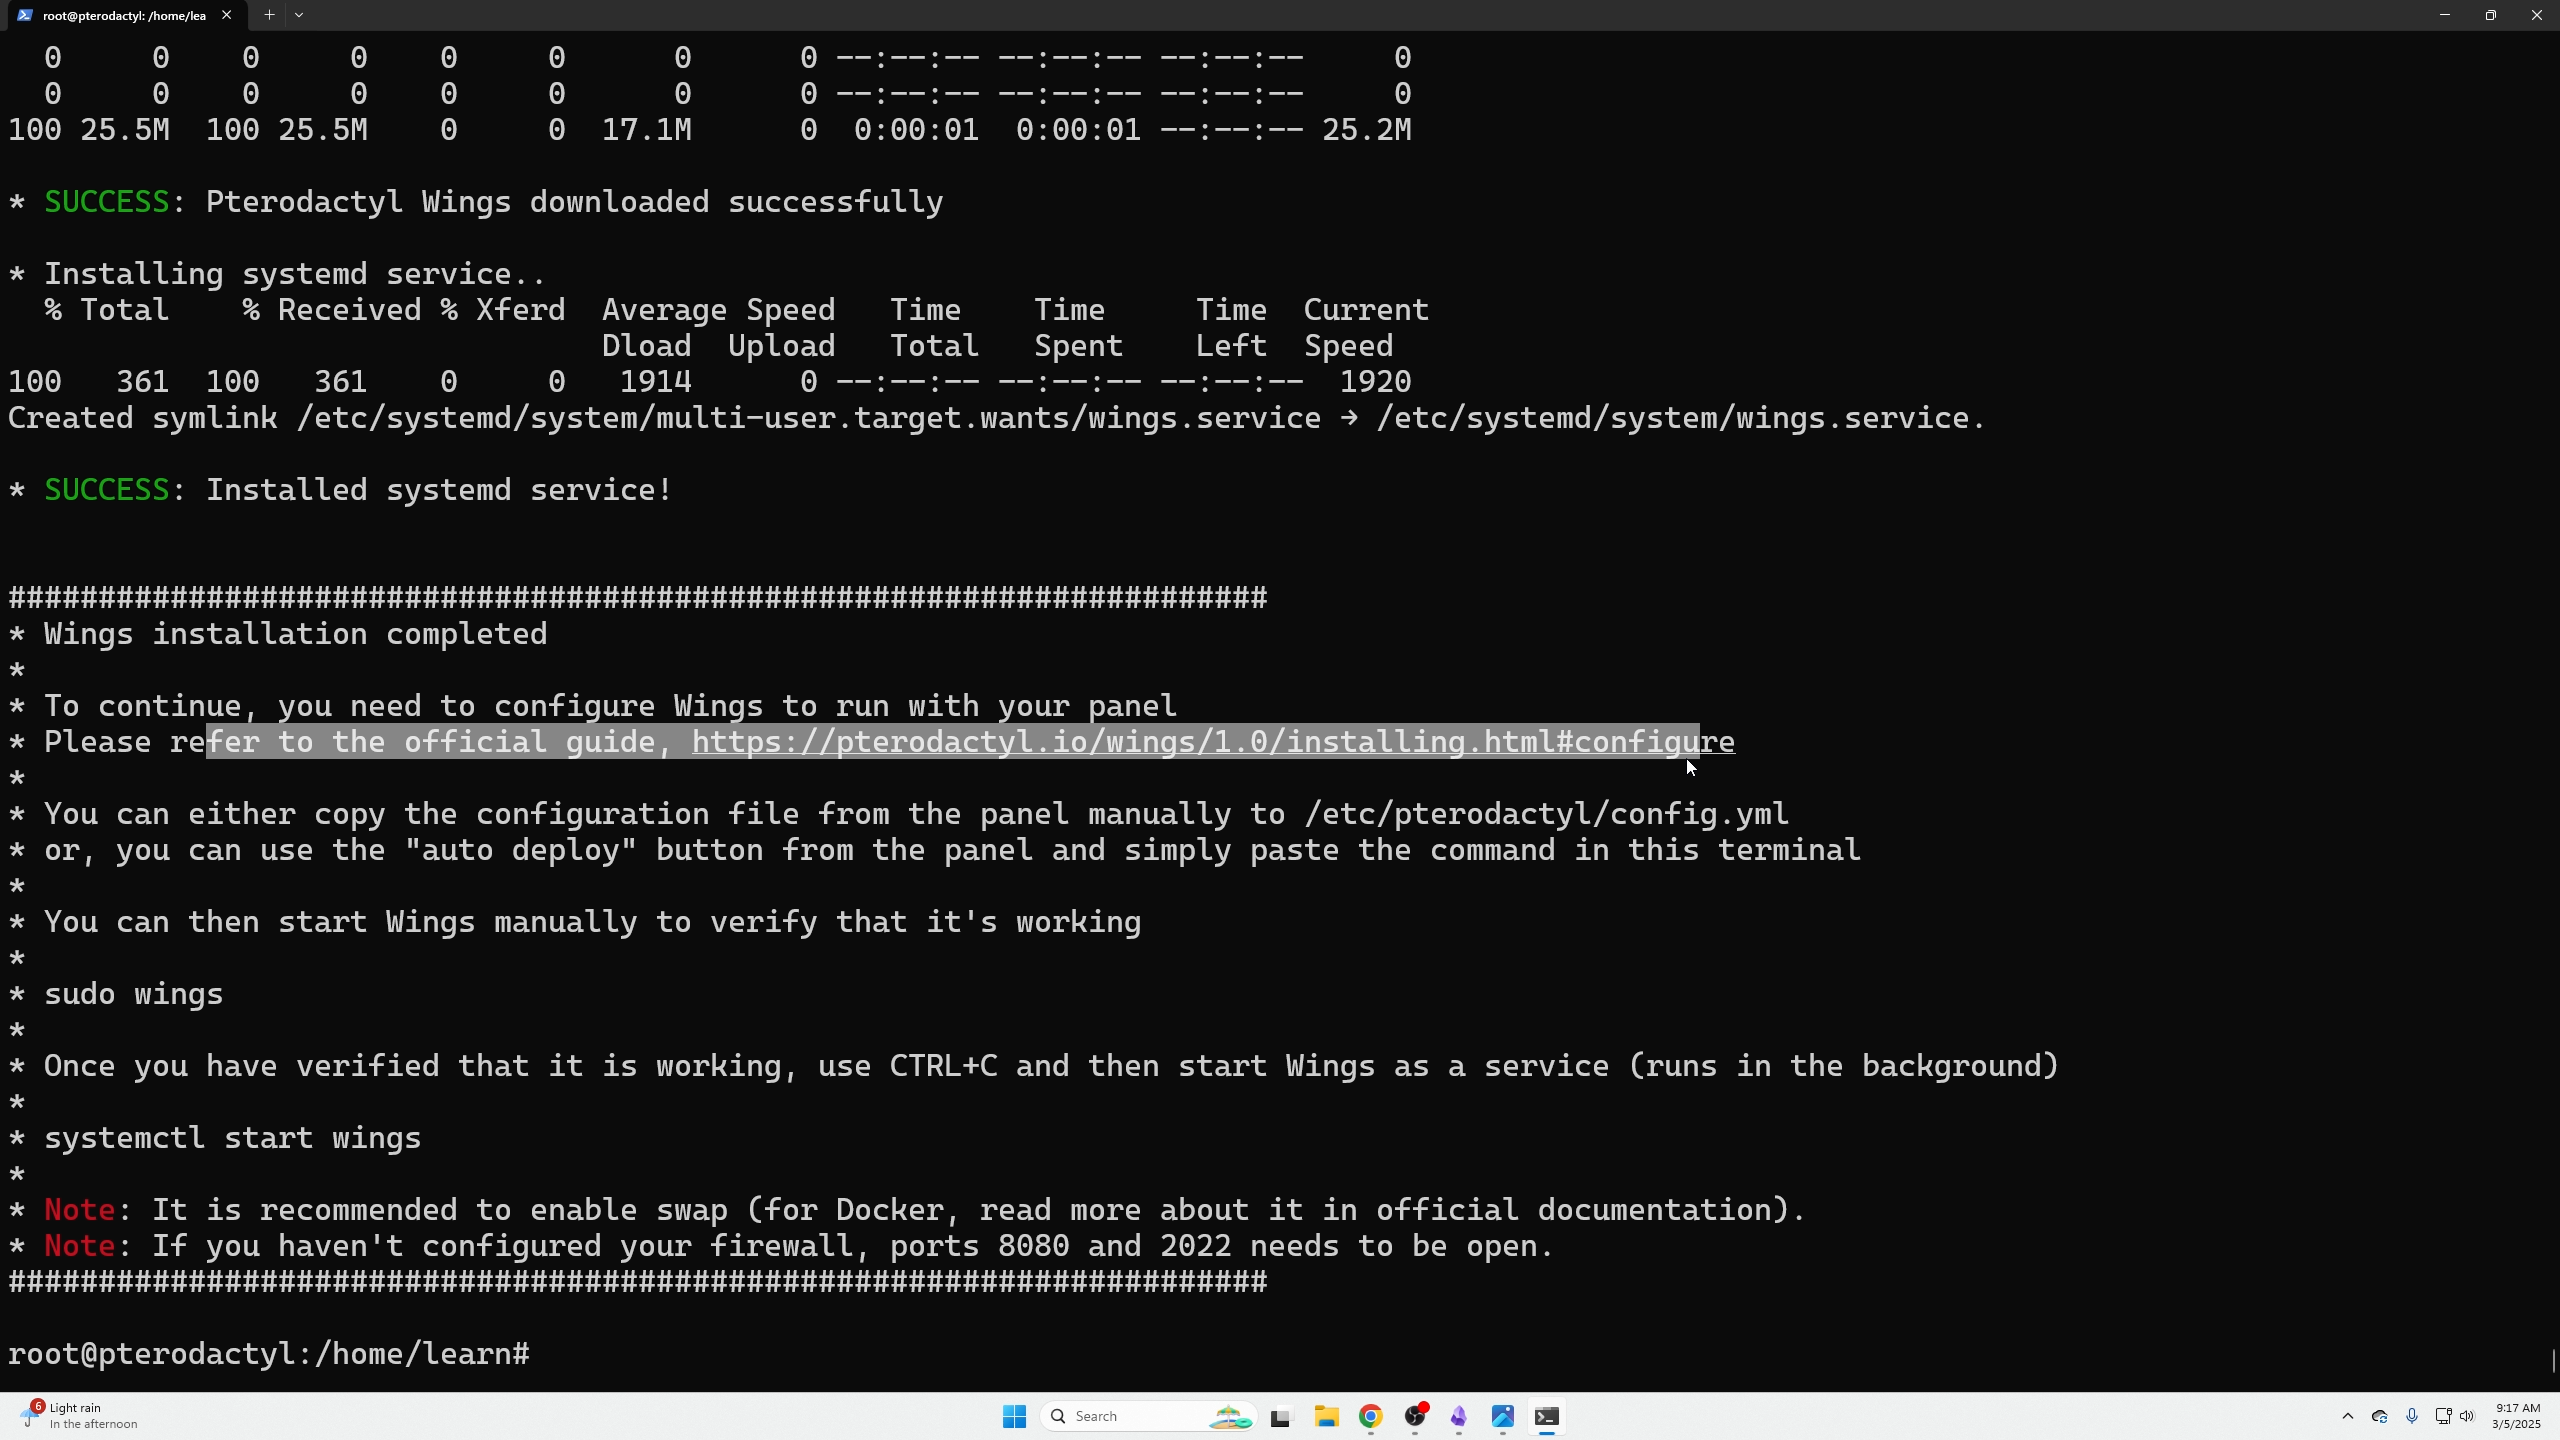
Open the link in CLI for wings setup docs.
Create a node: Gear icon (top right) → Locations → Create new location → Return to Nodes → Create new node.
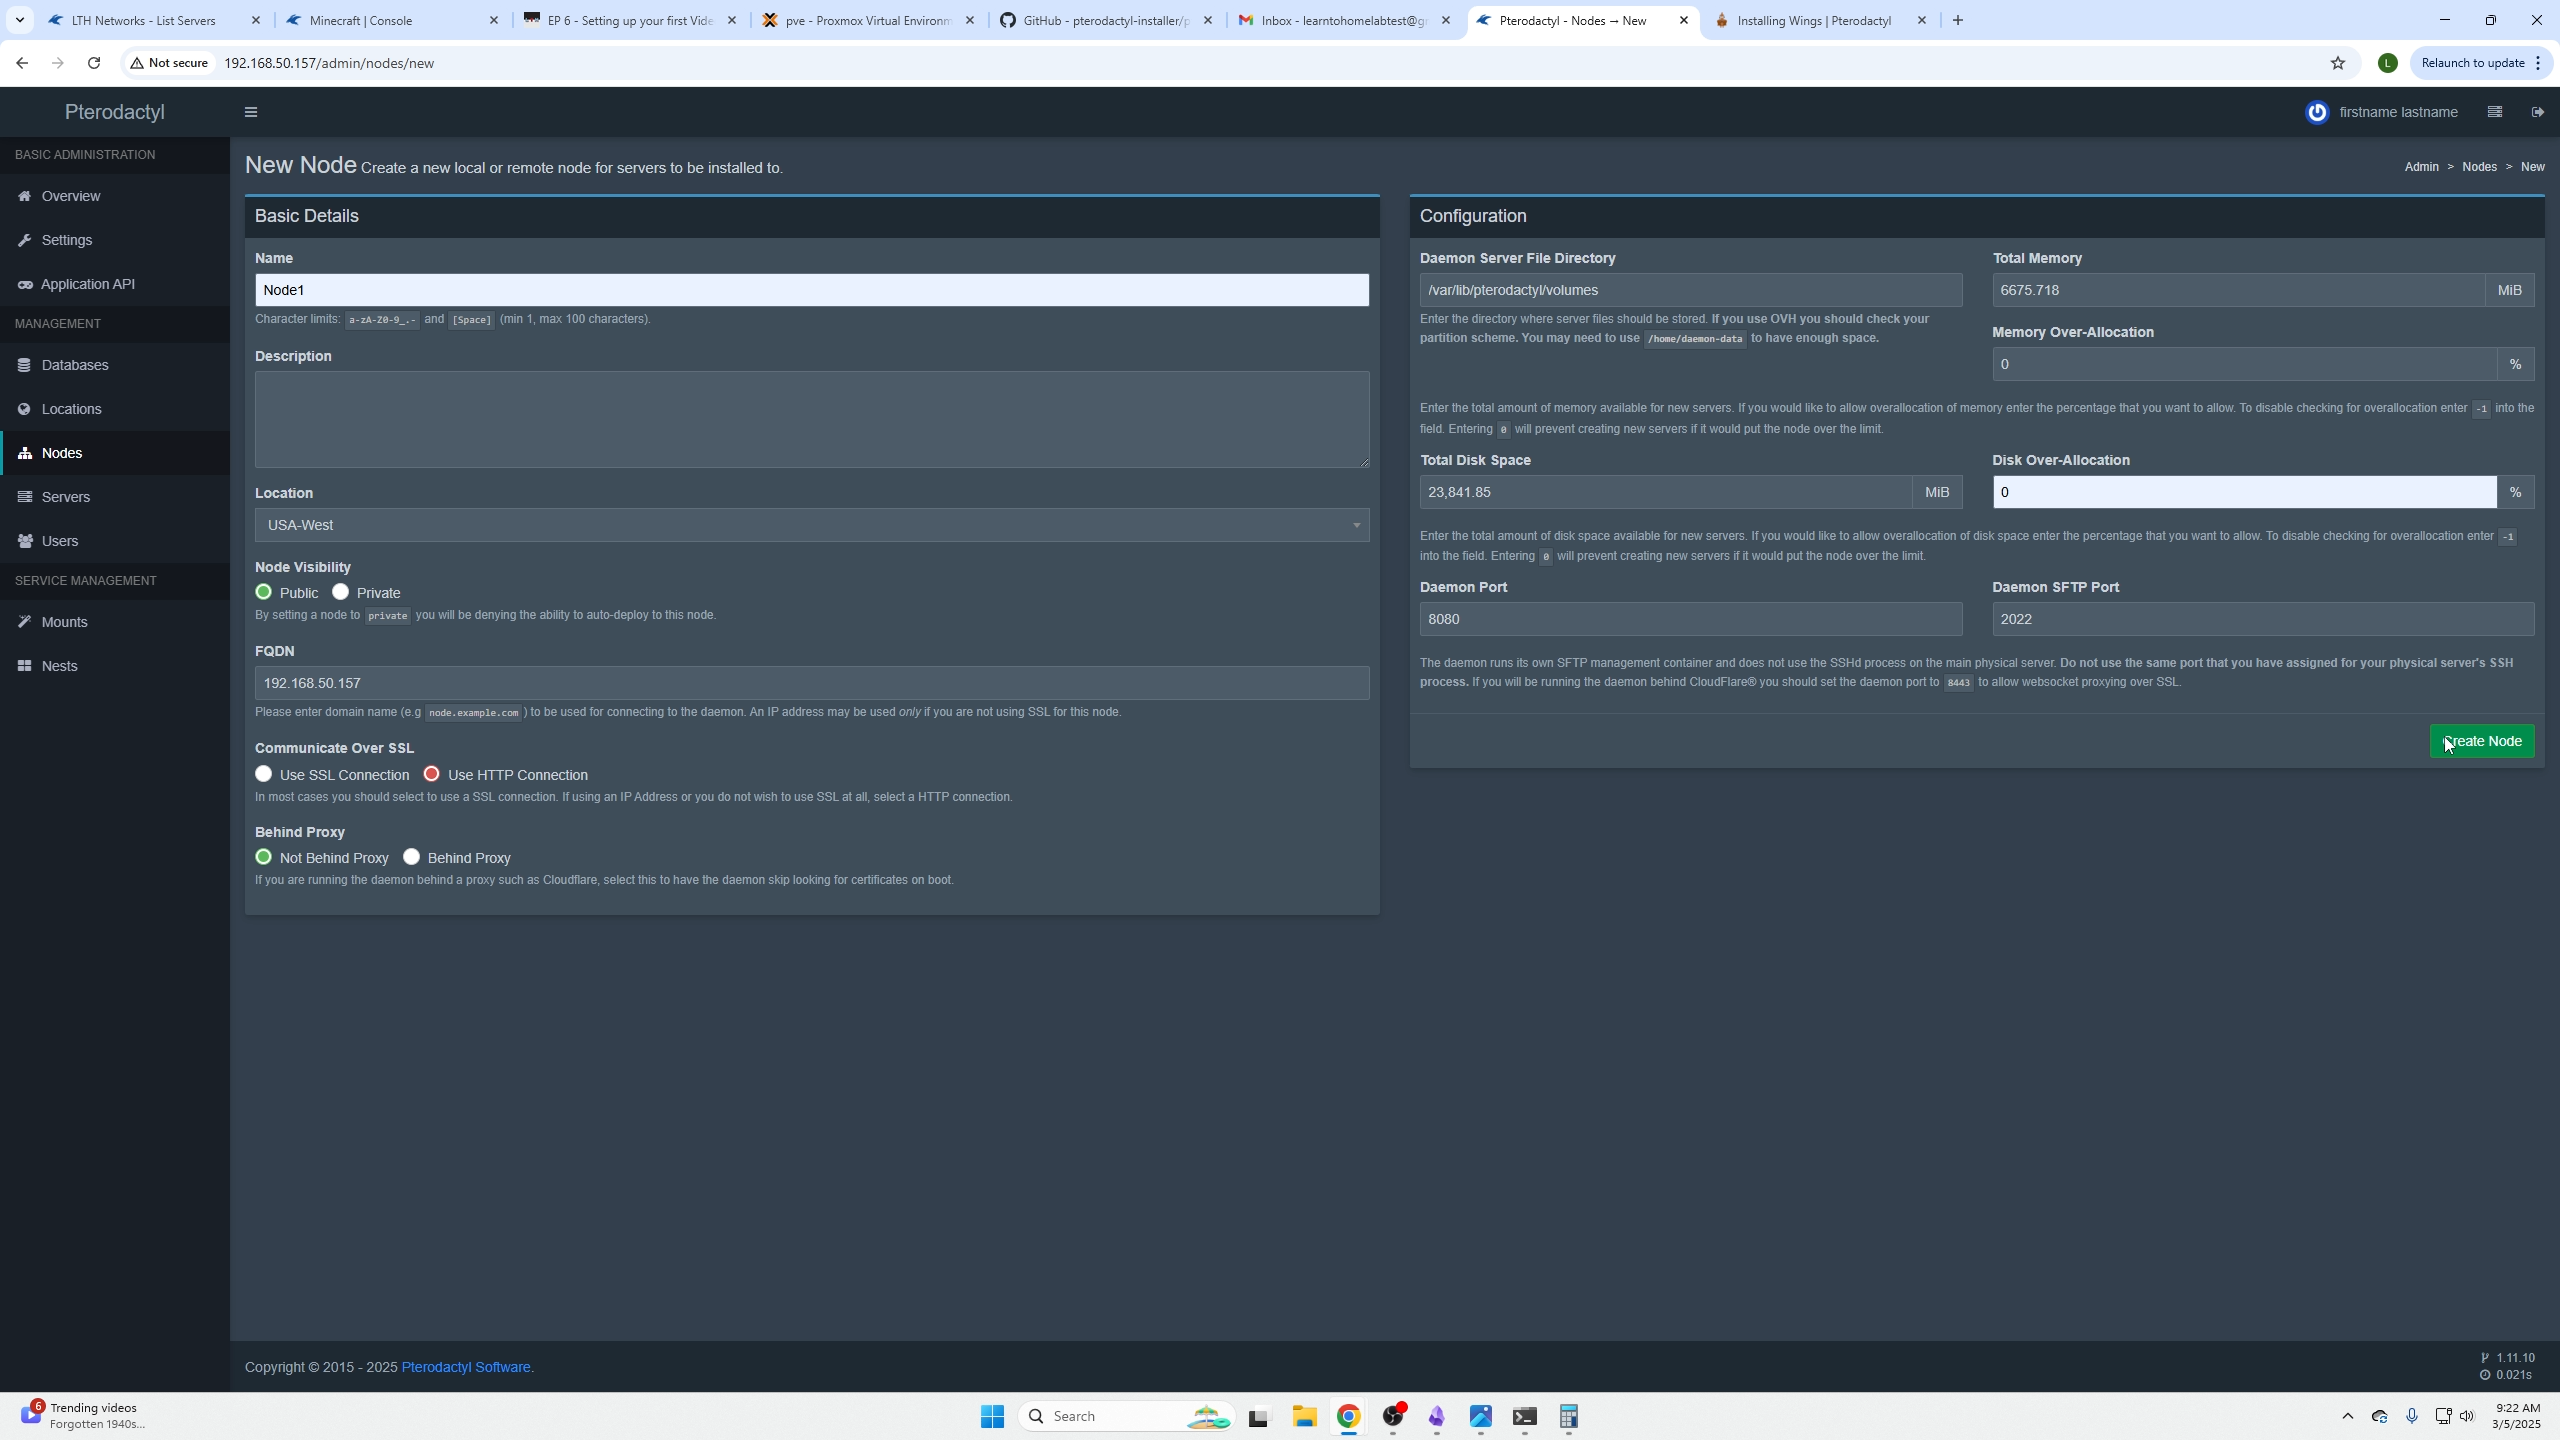
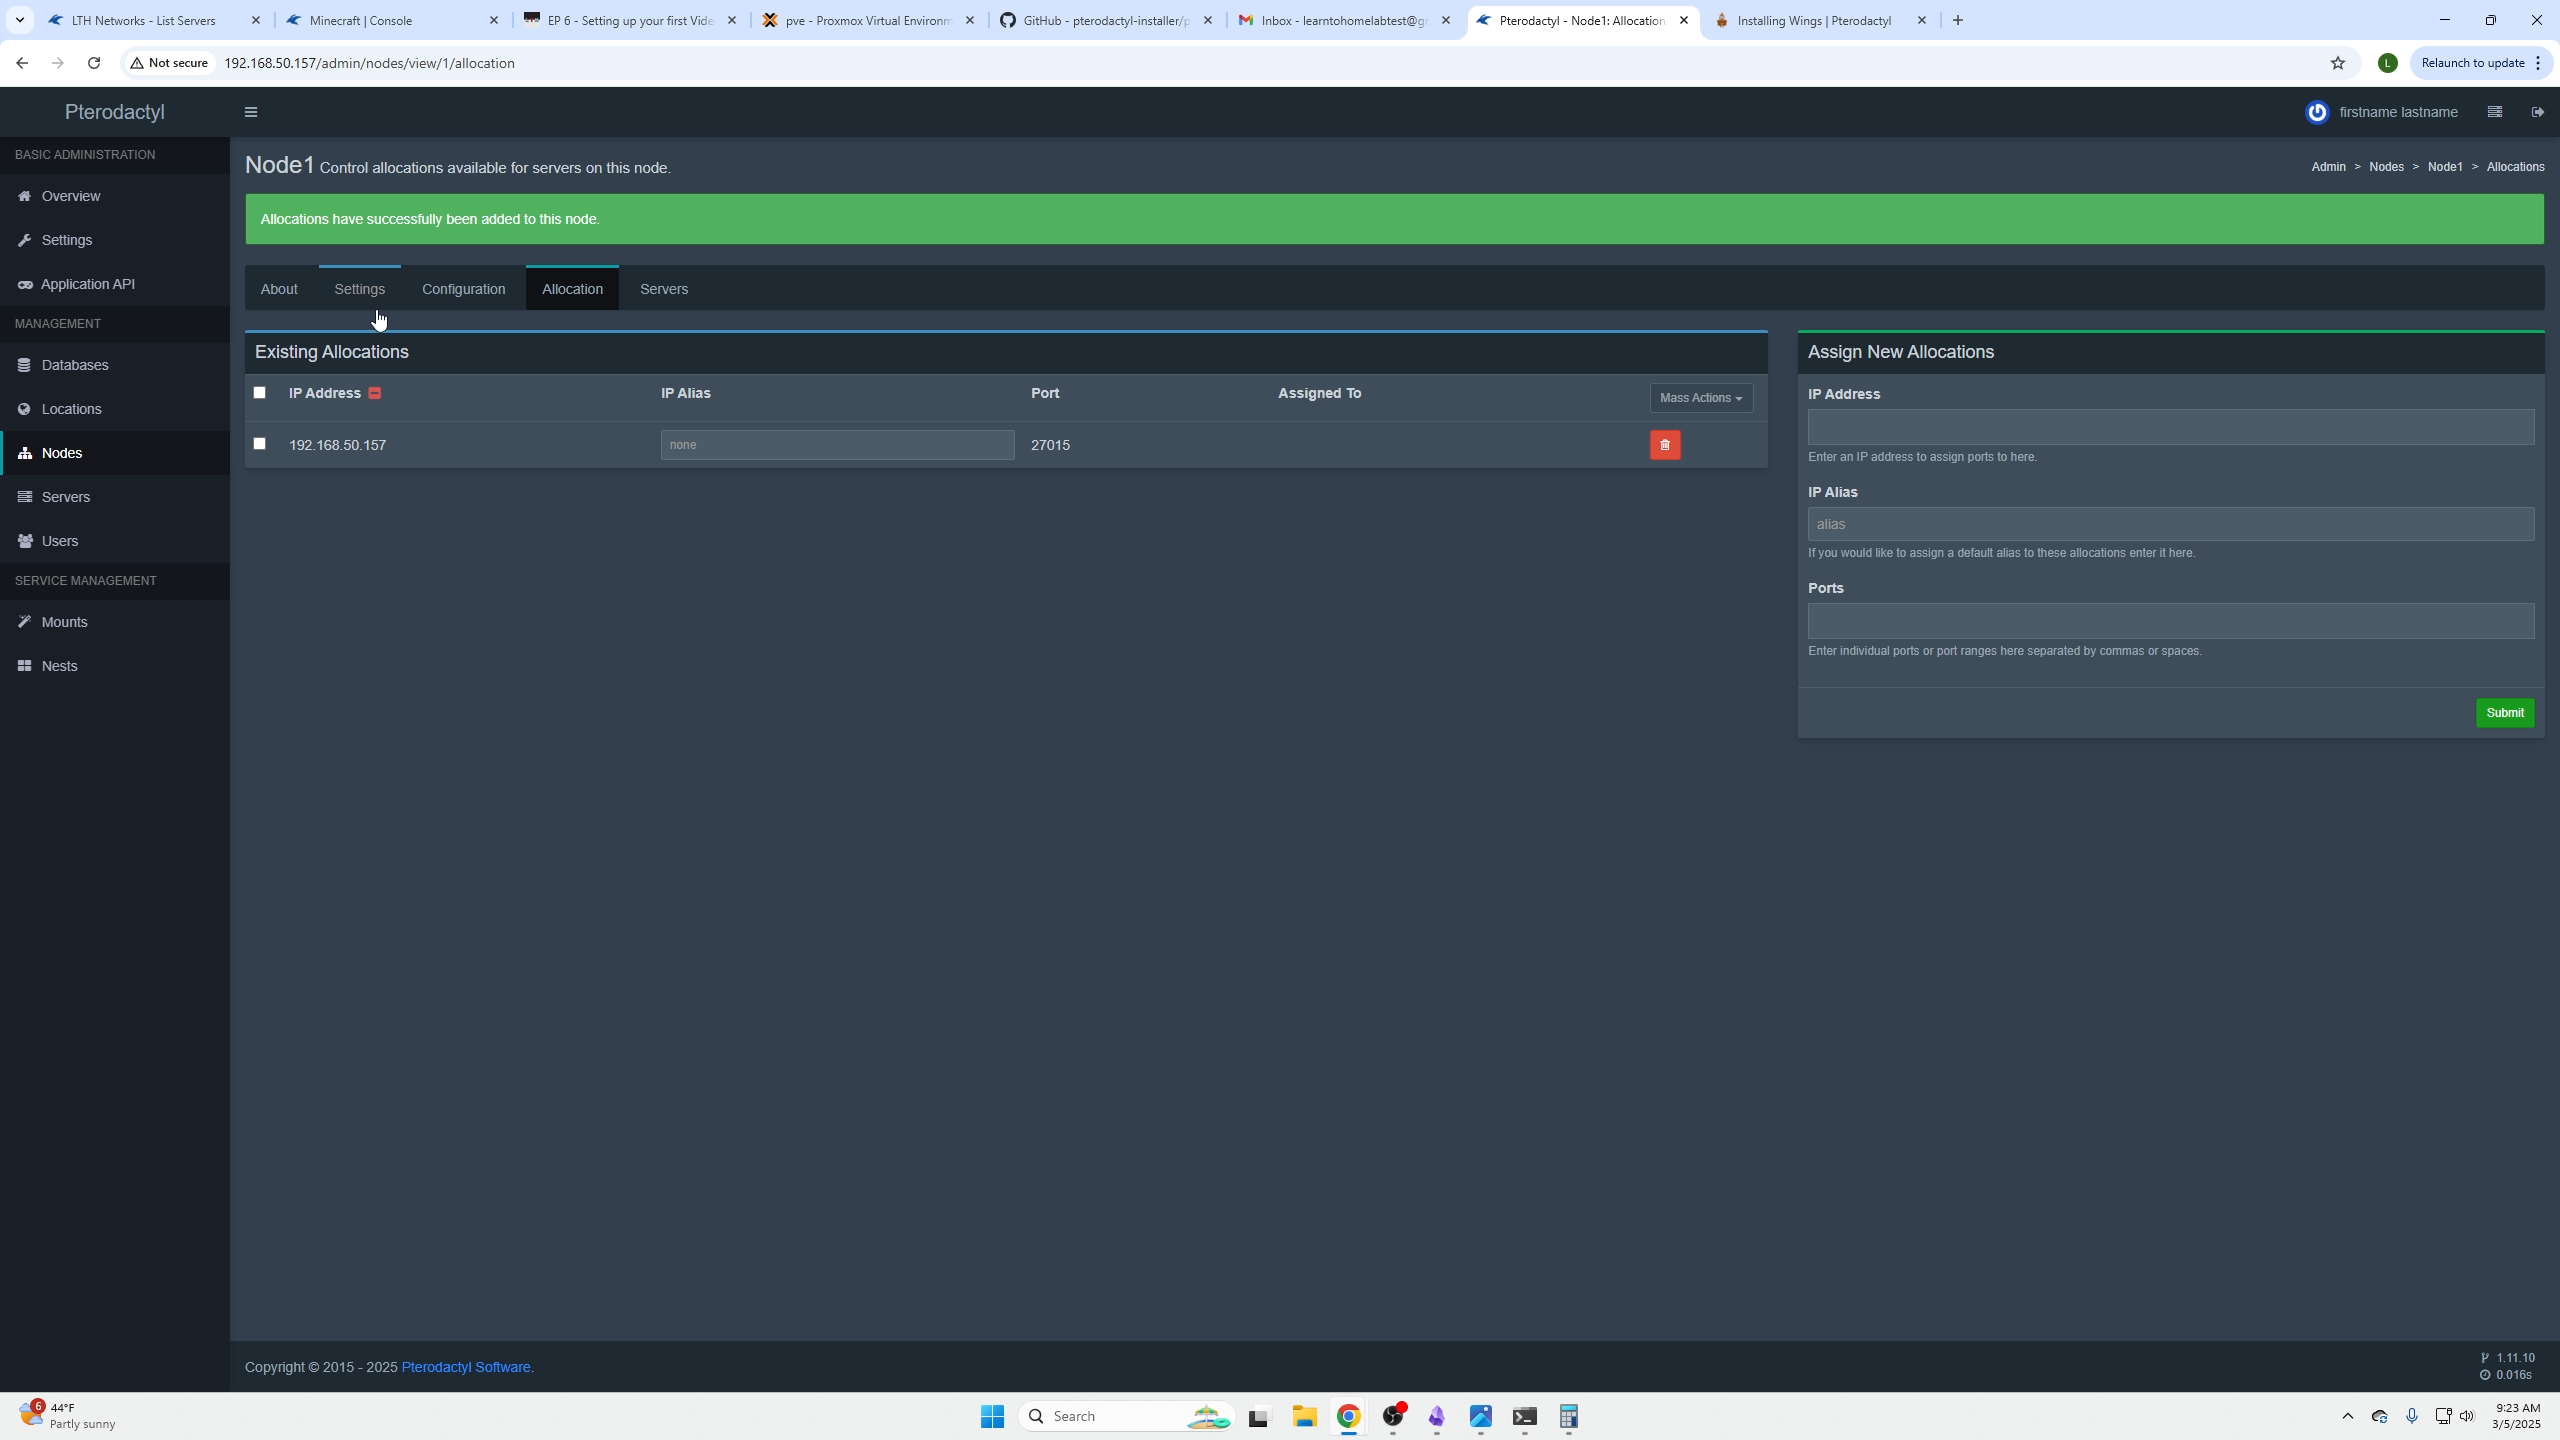
Assign IP and port ranges (e.g., 1000-2000).
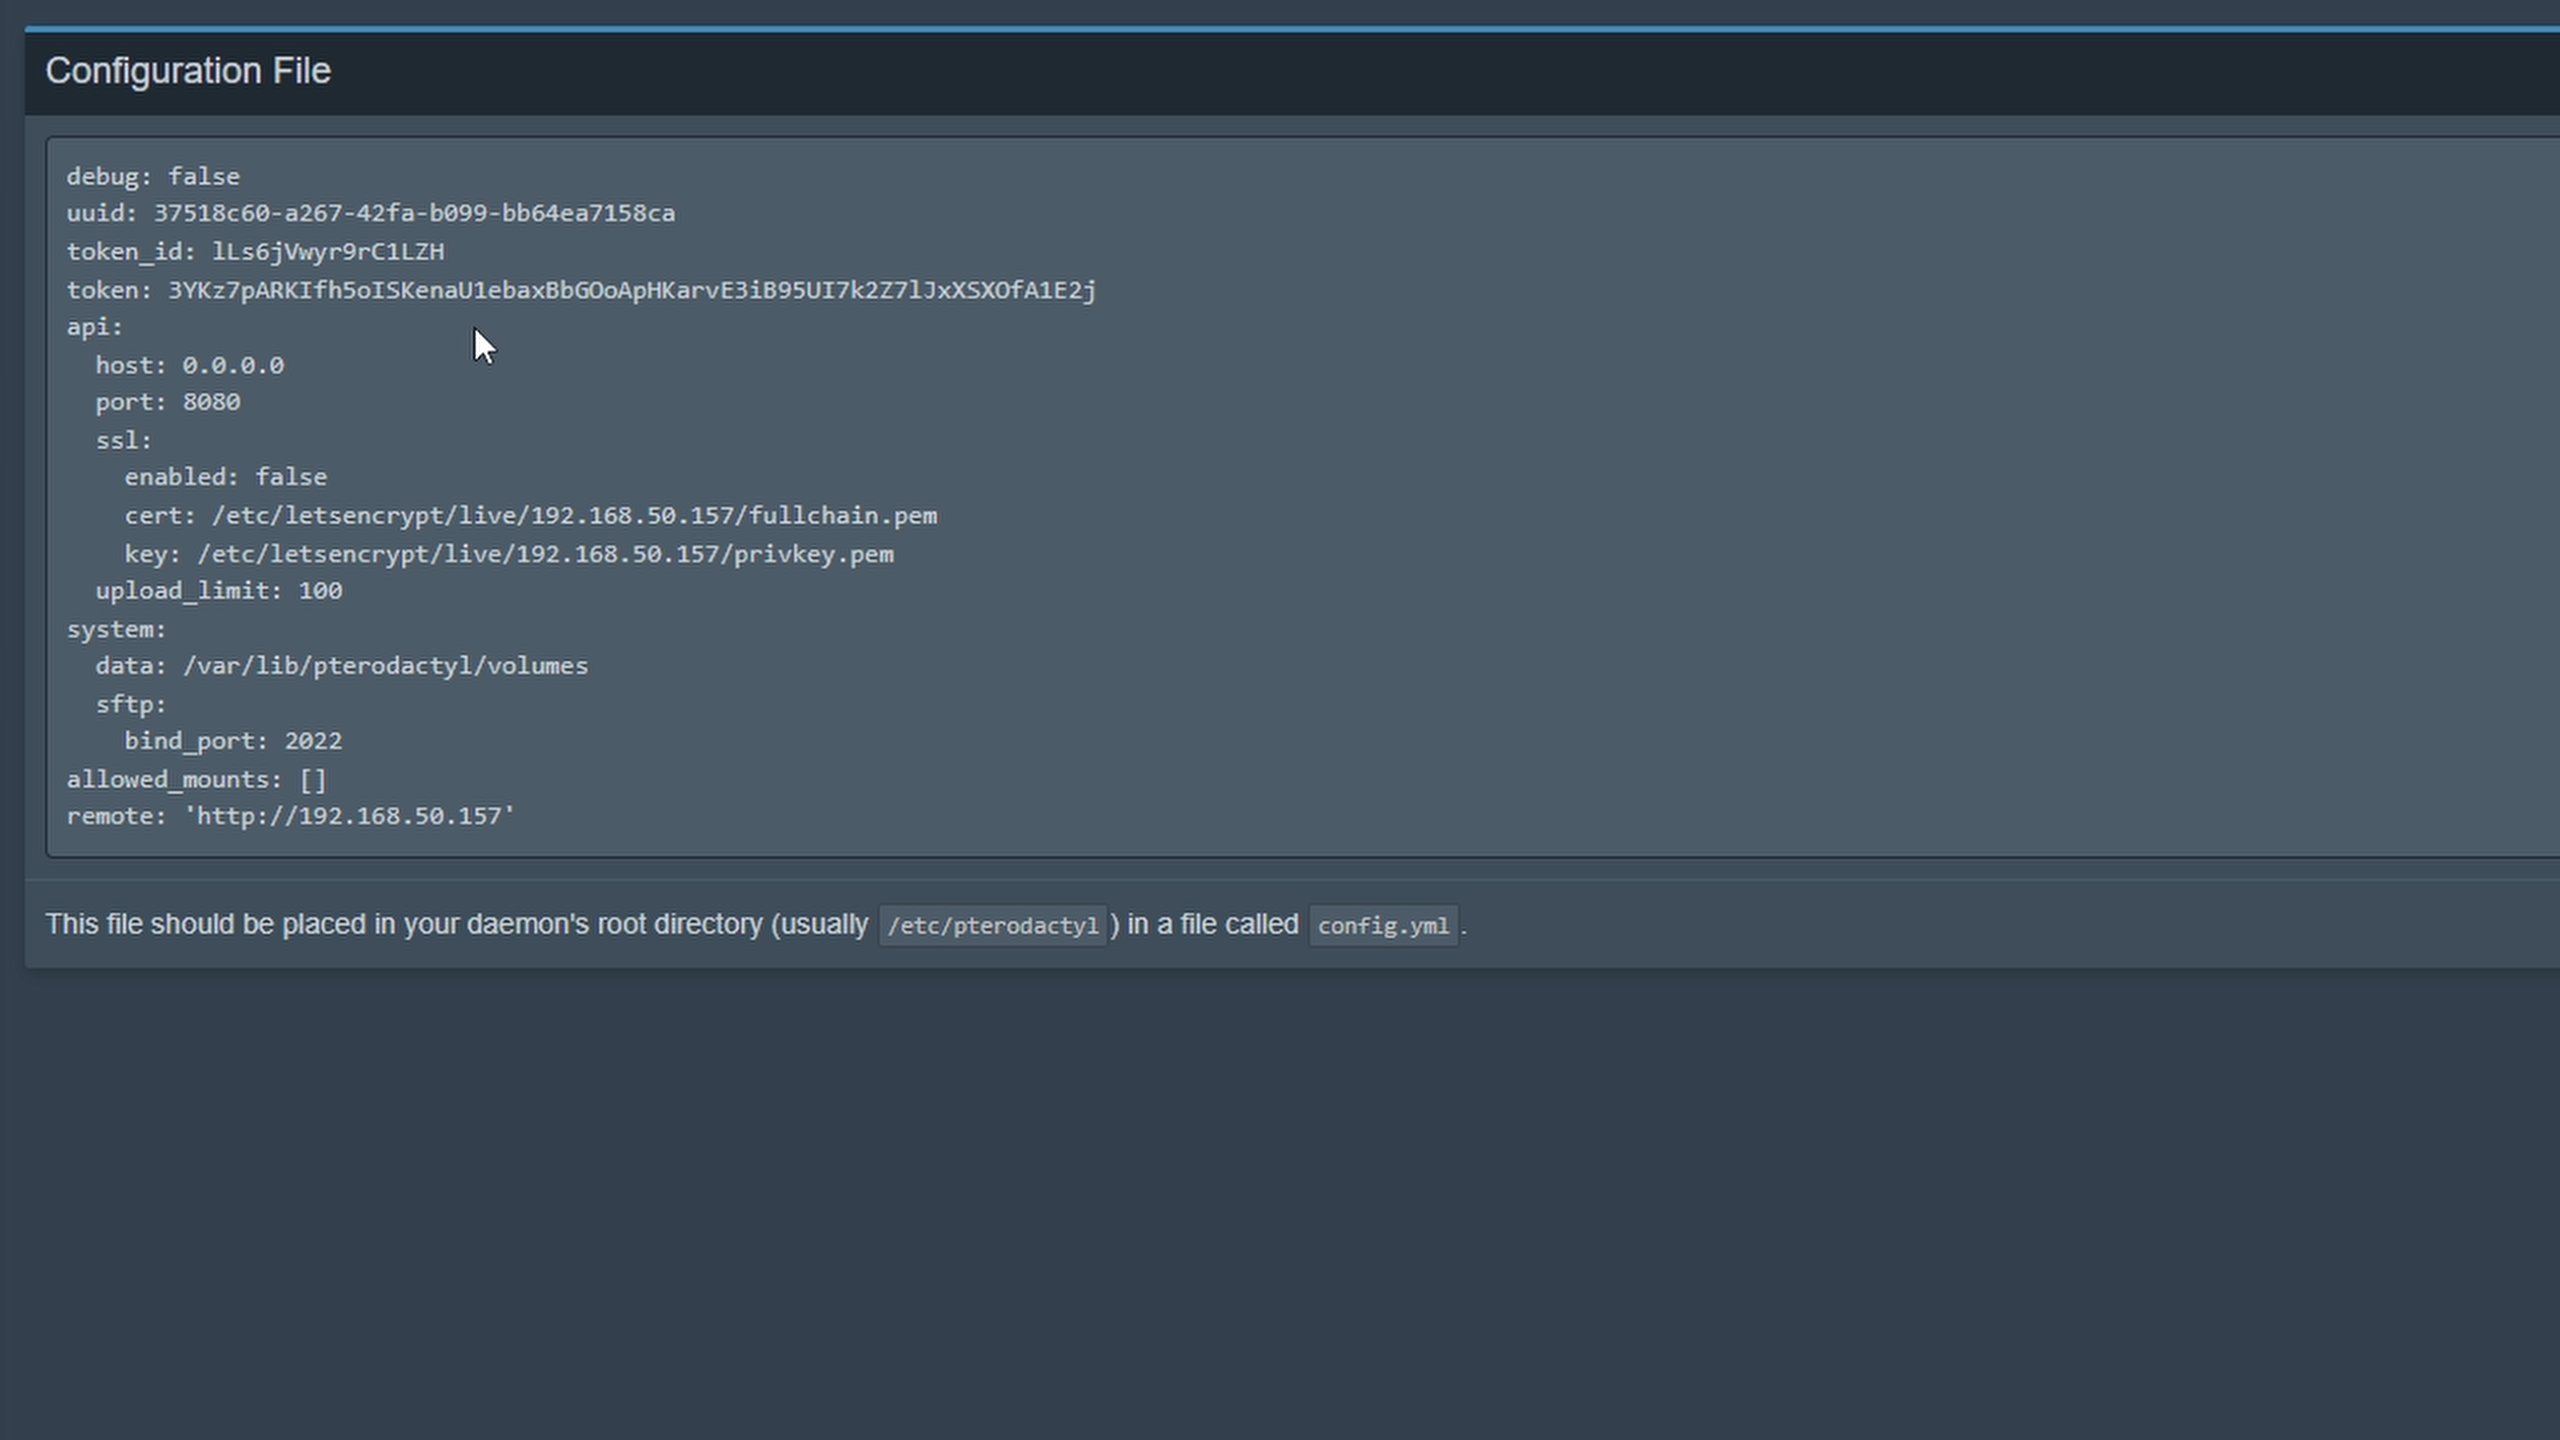
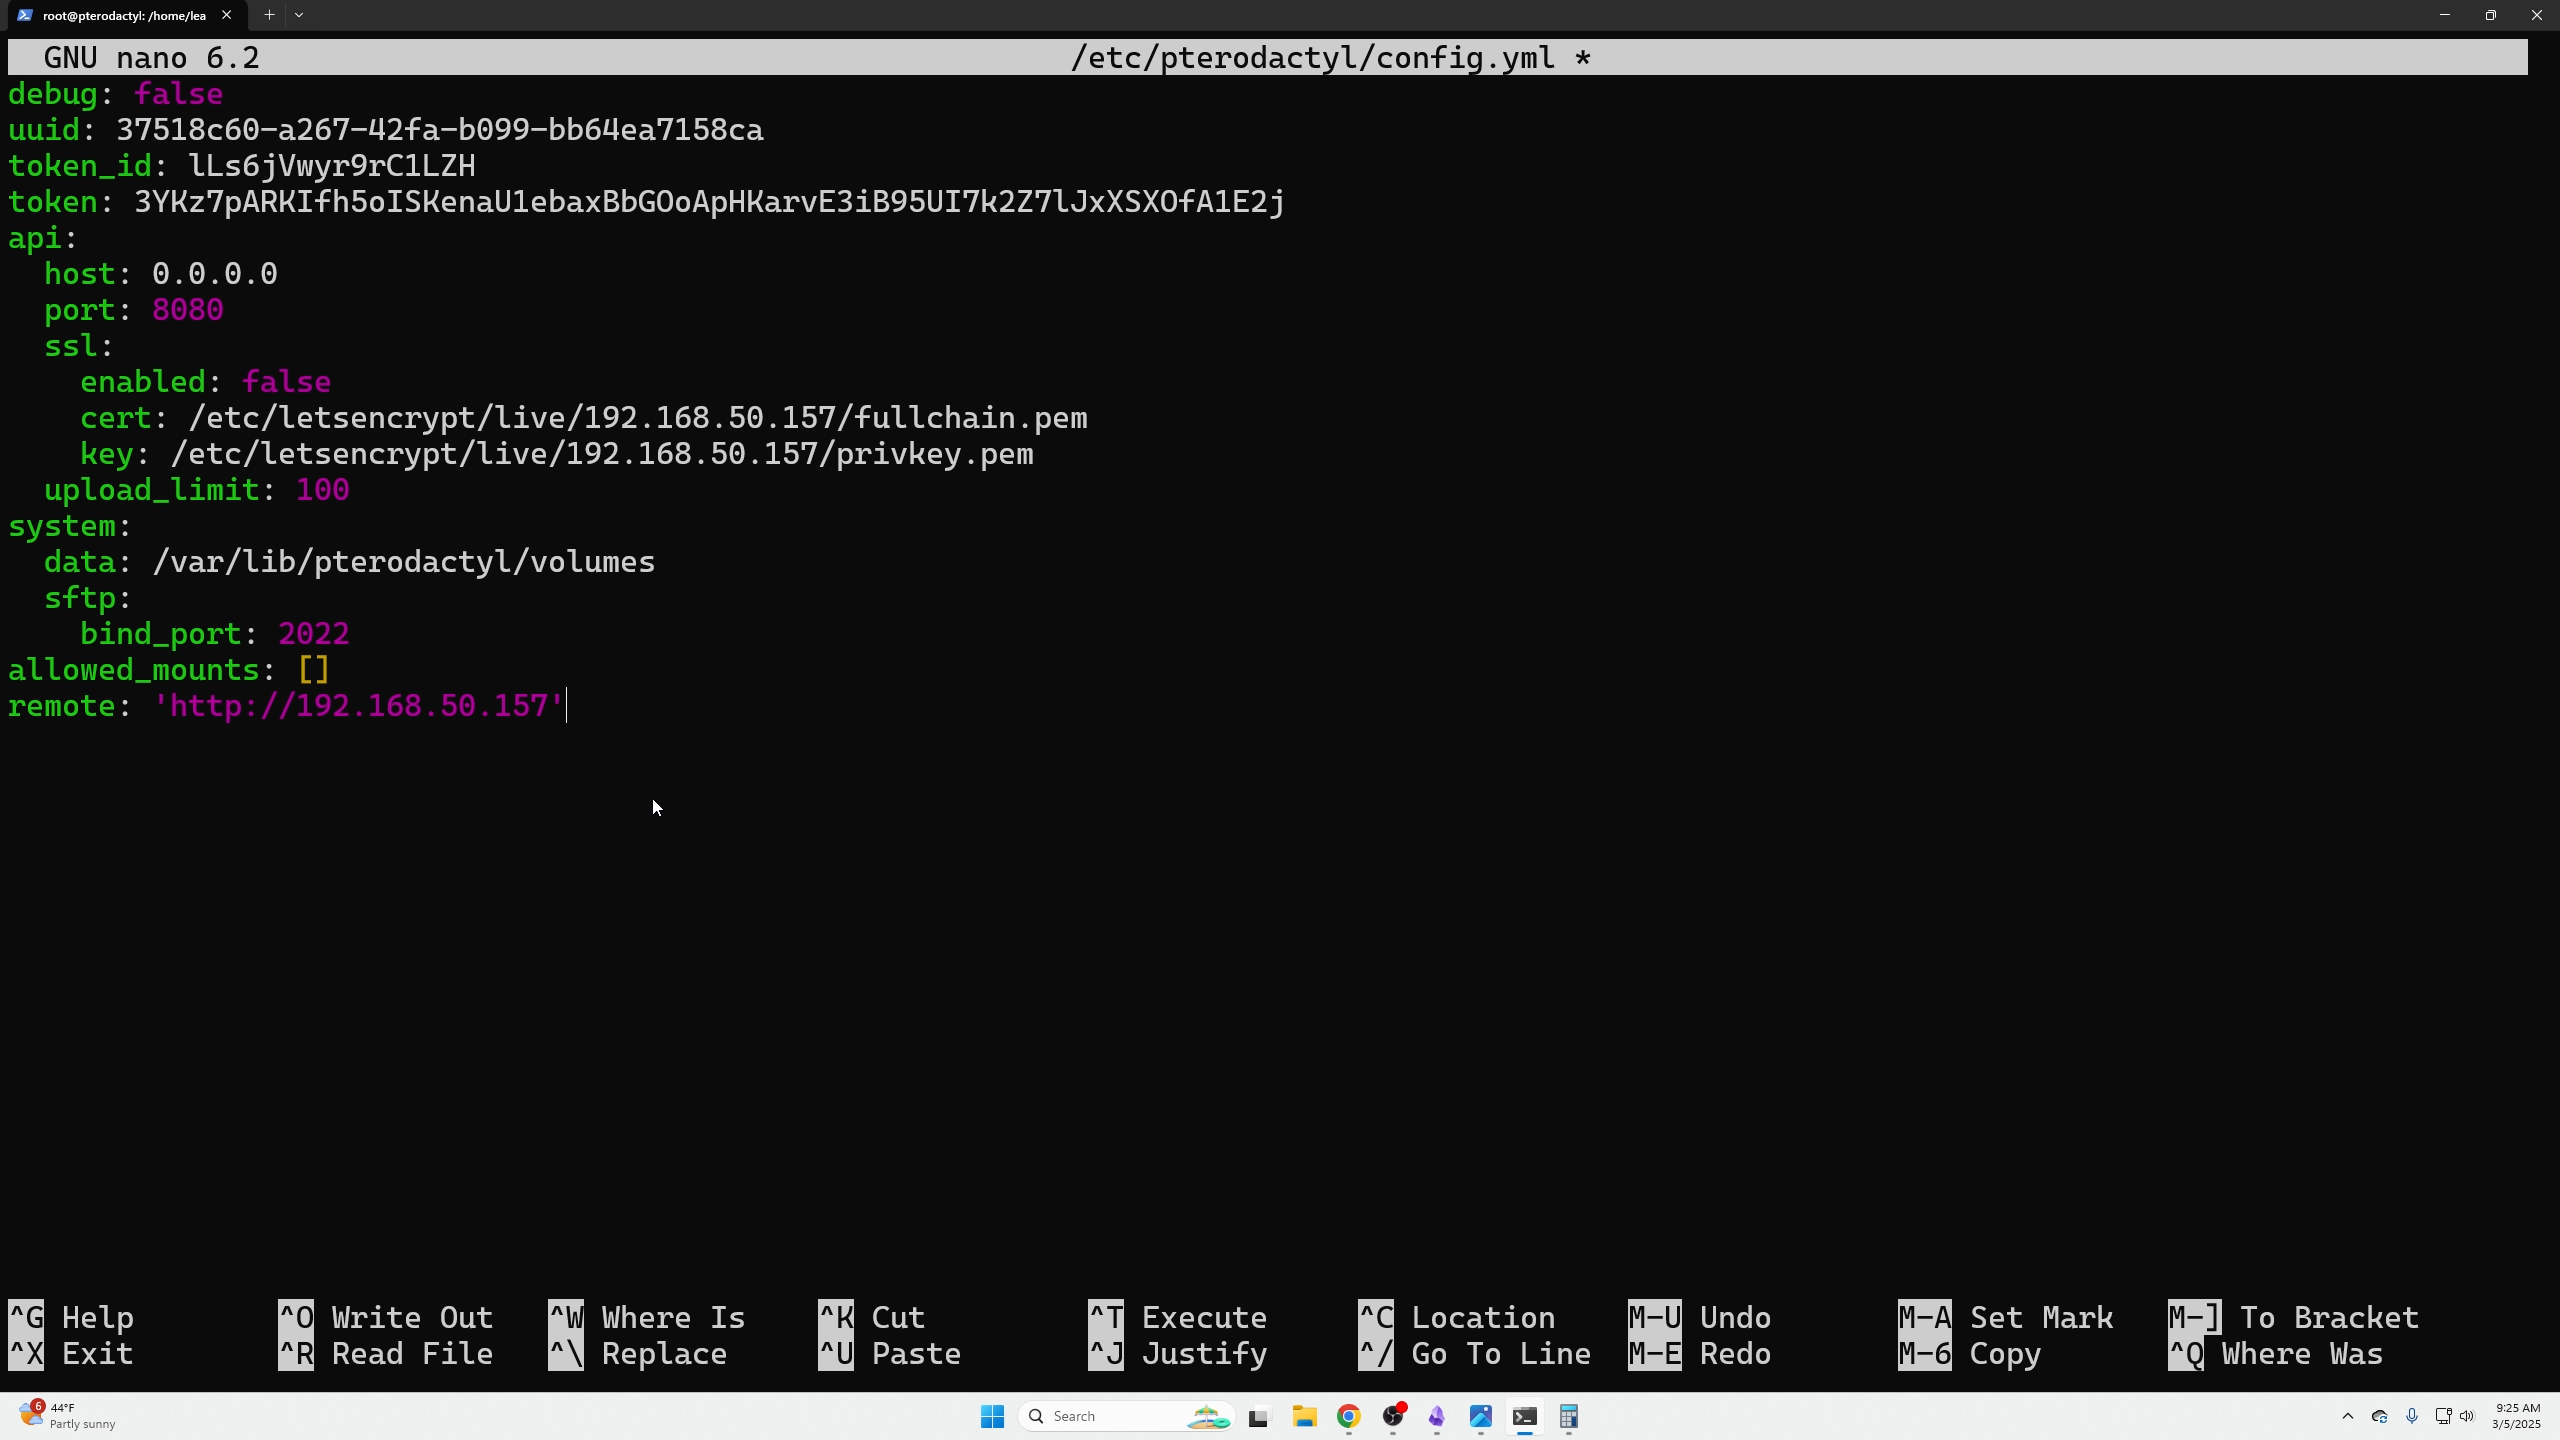
Edit node config:
nano /etc/pterodactyl/config.yml
Paste config from Nodes → Configurations tab.
Exit nano with Ctrl+X, save with Y, press Enter.
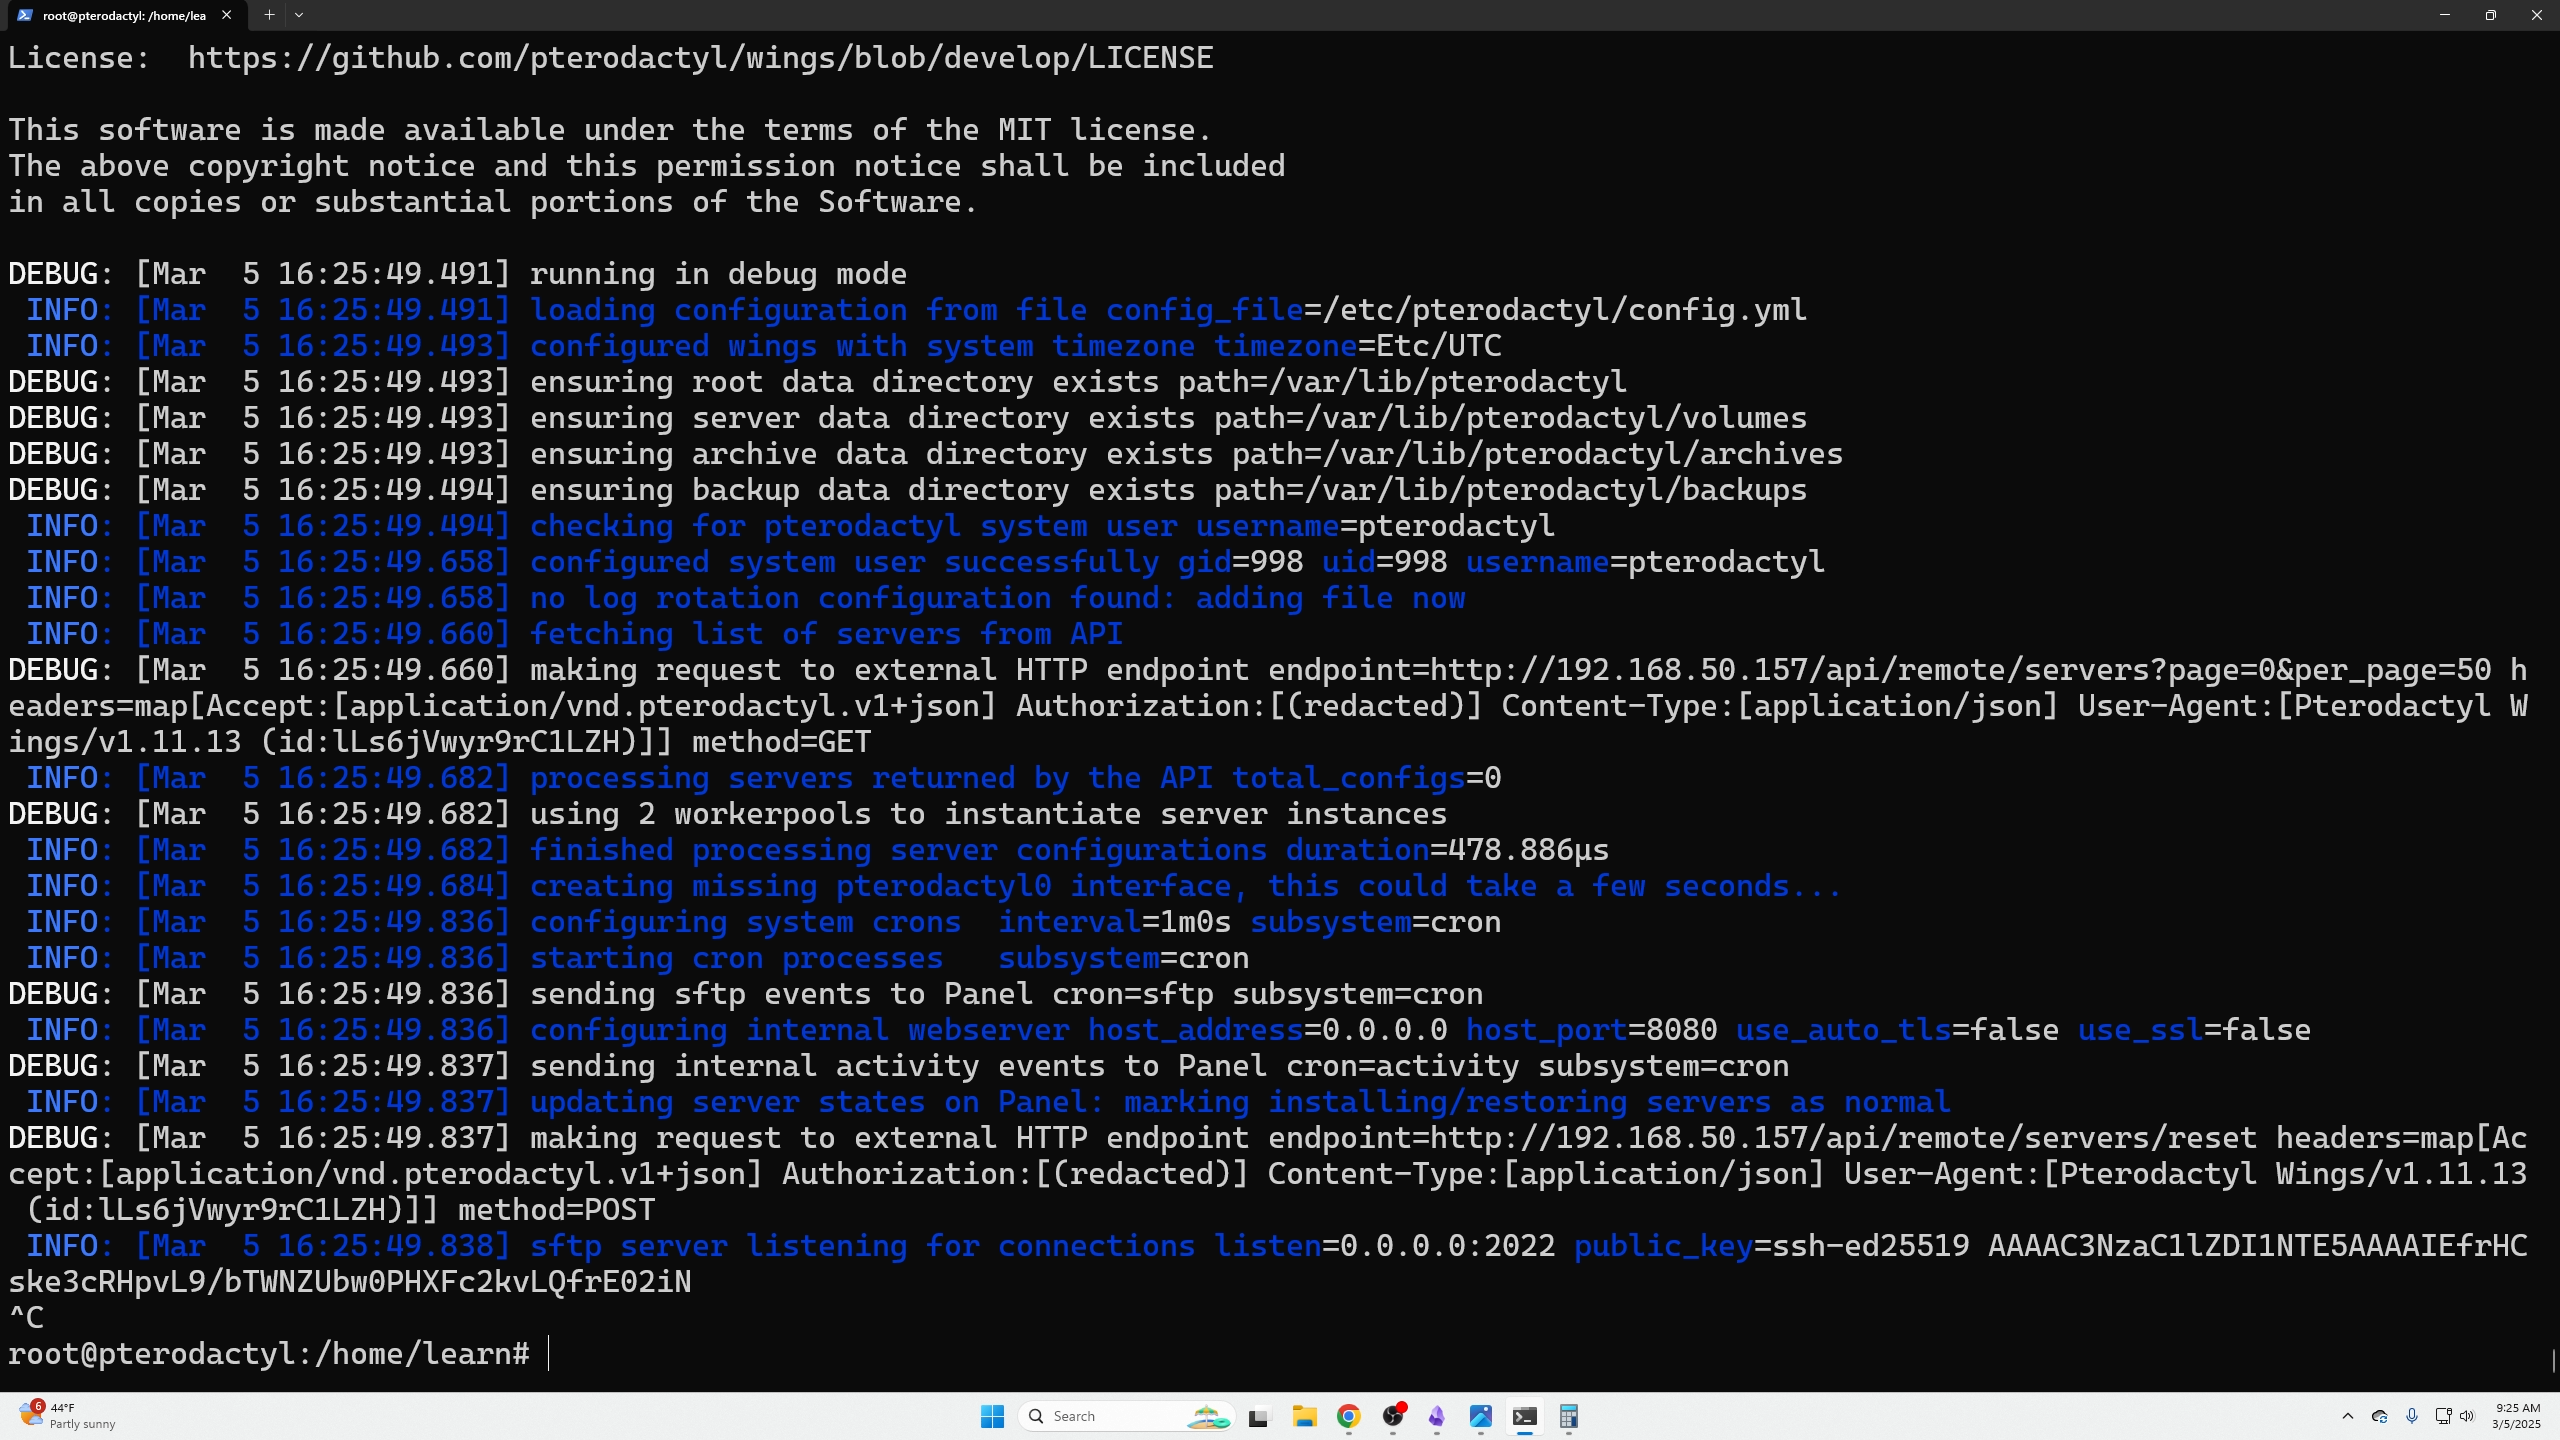
Start wings and check for errors:
sudo wings --debug
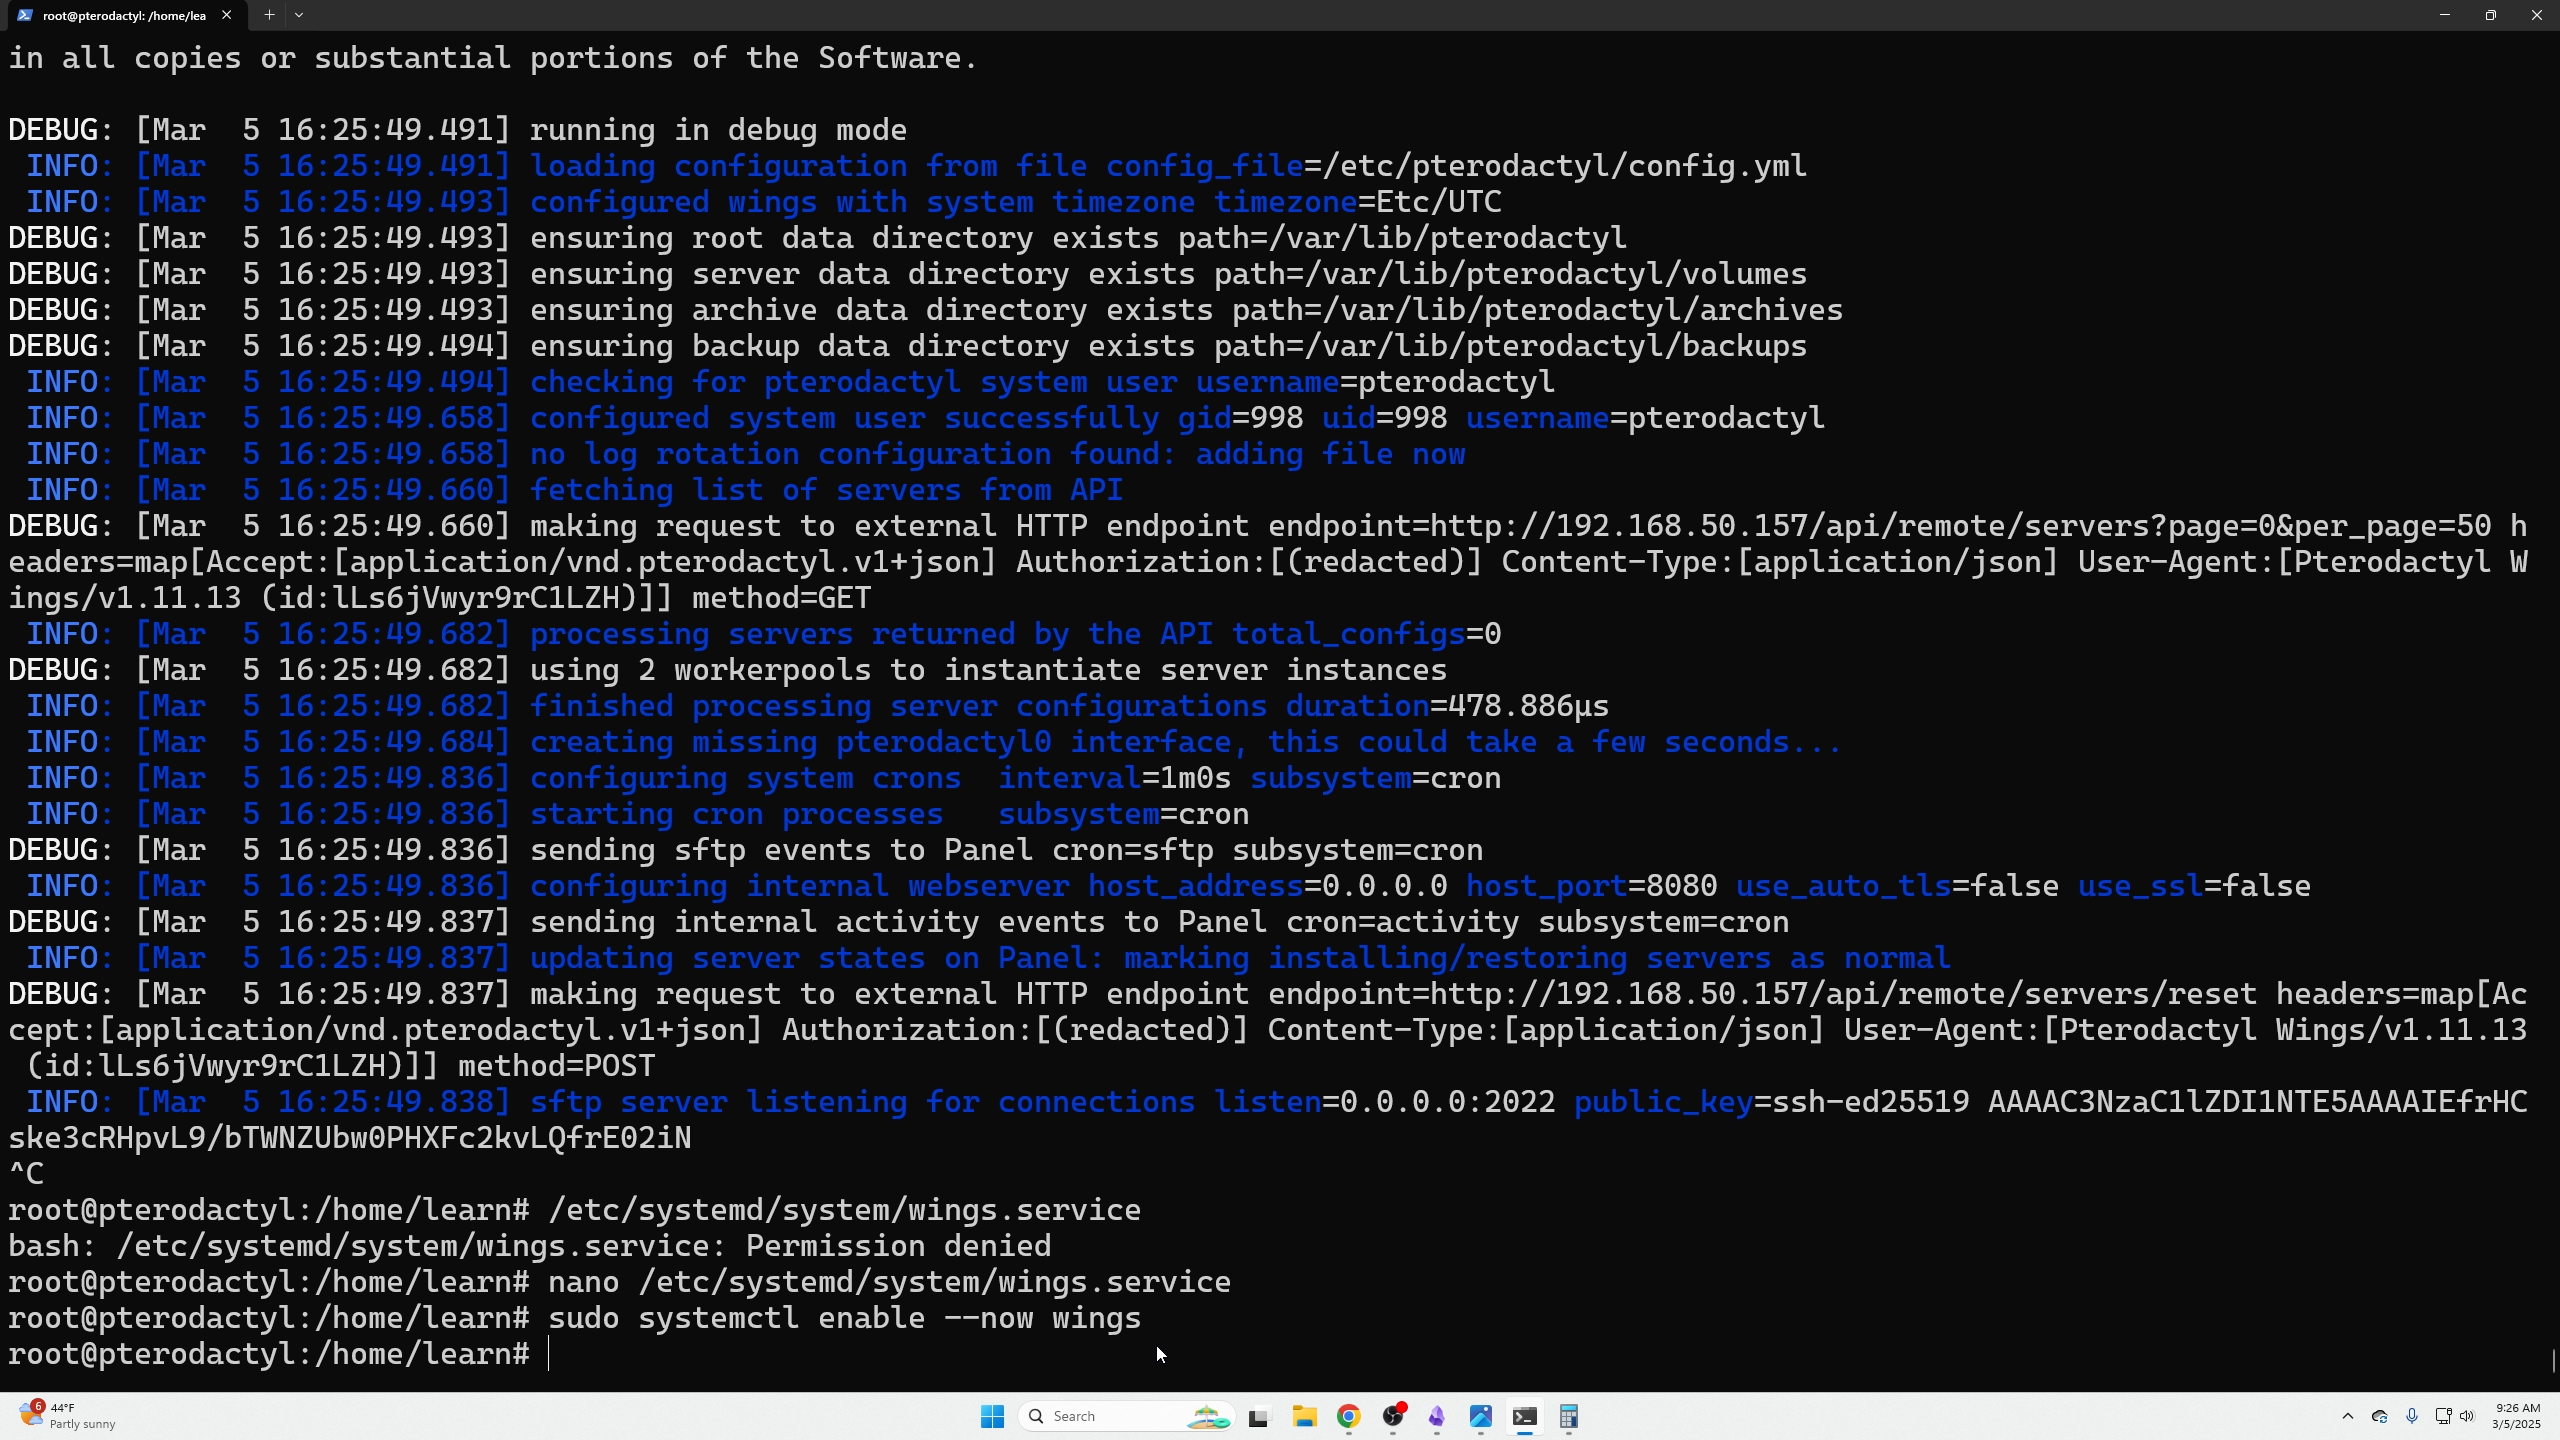
Set wings to run in background:
sudo systemctl enable --now wings
Create Your First Server
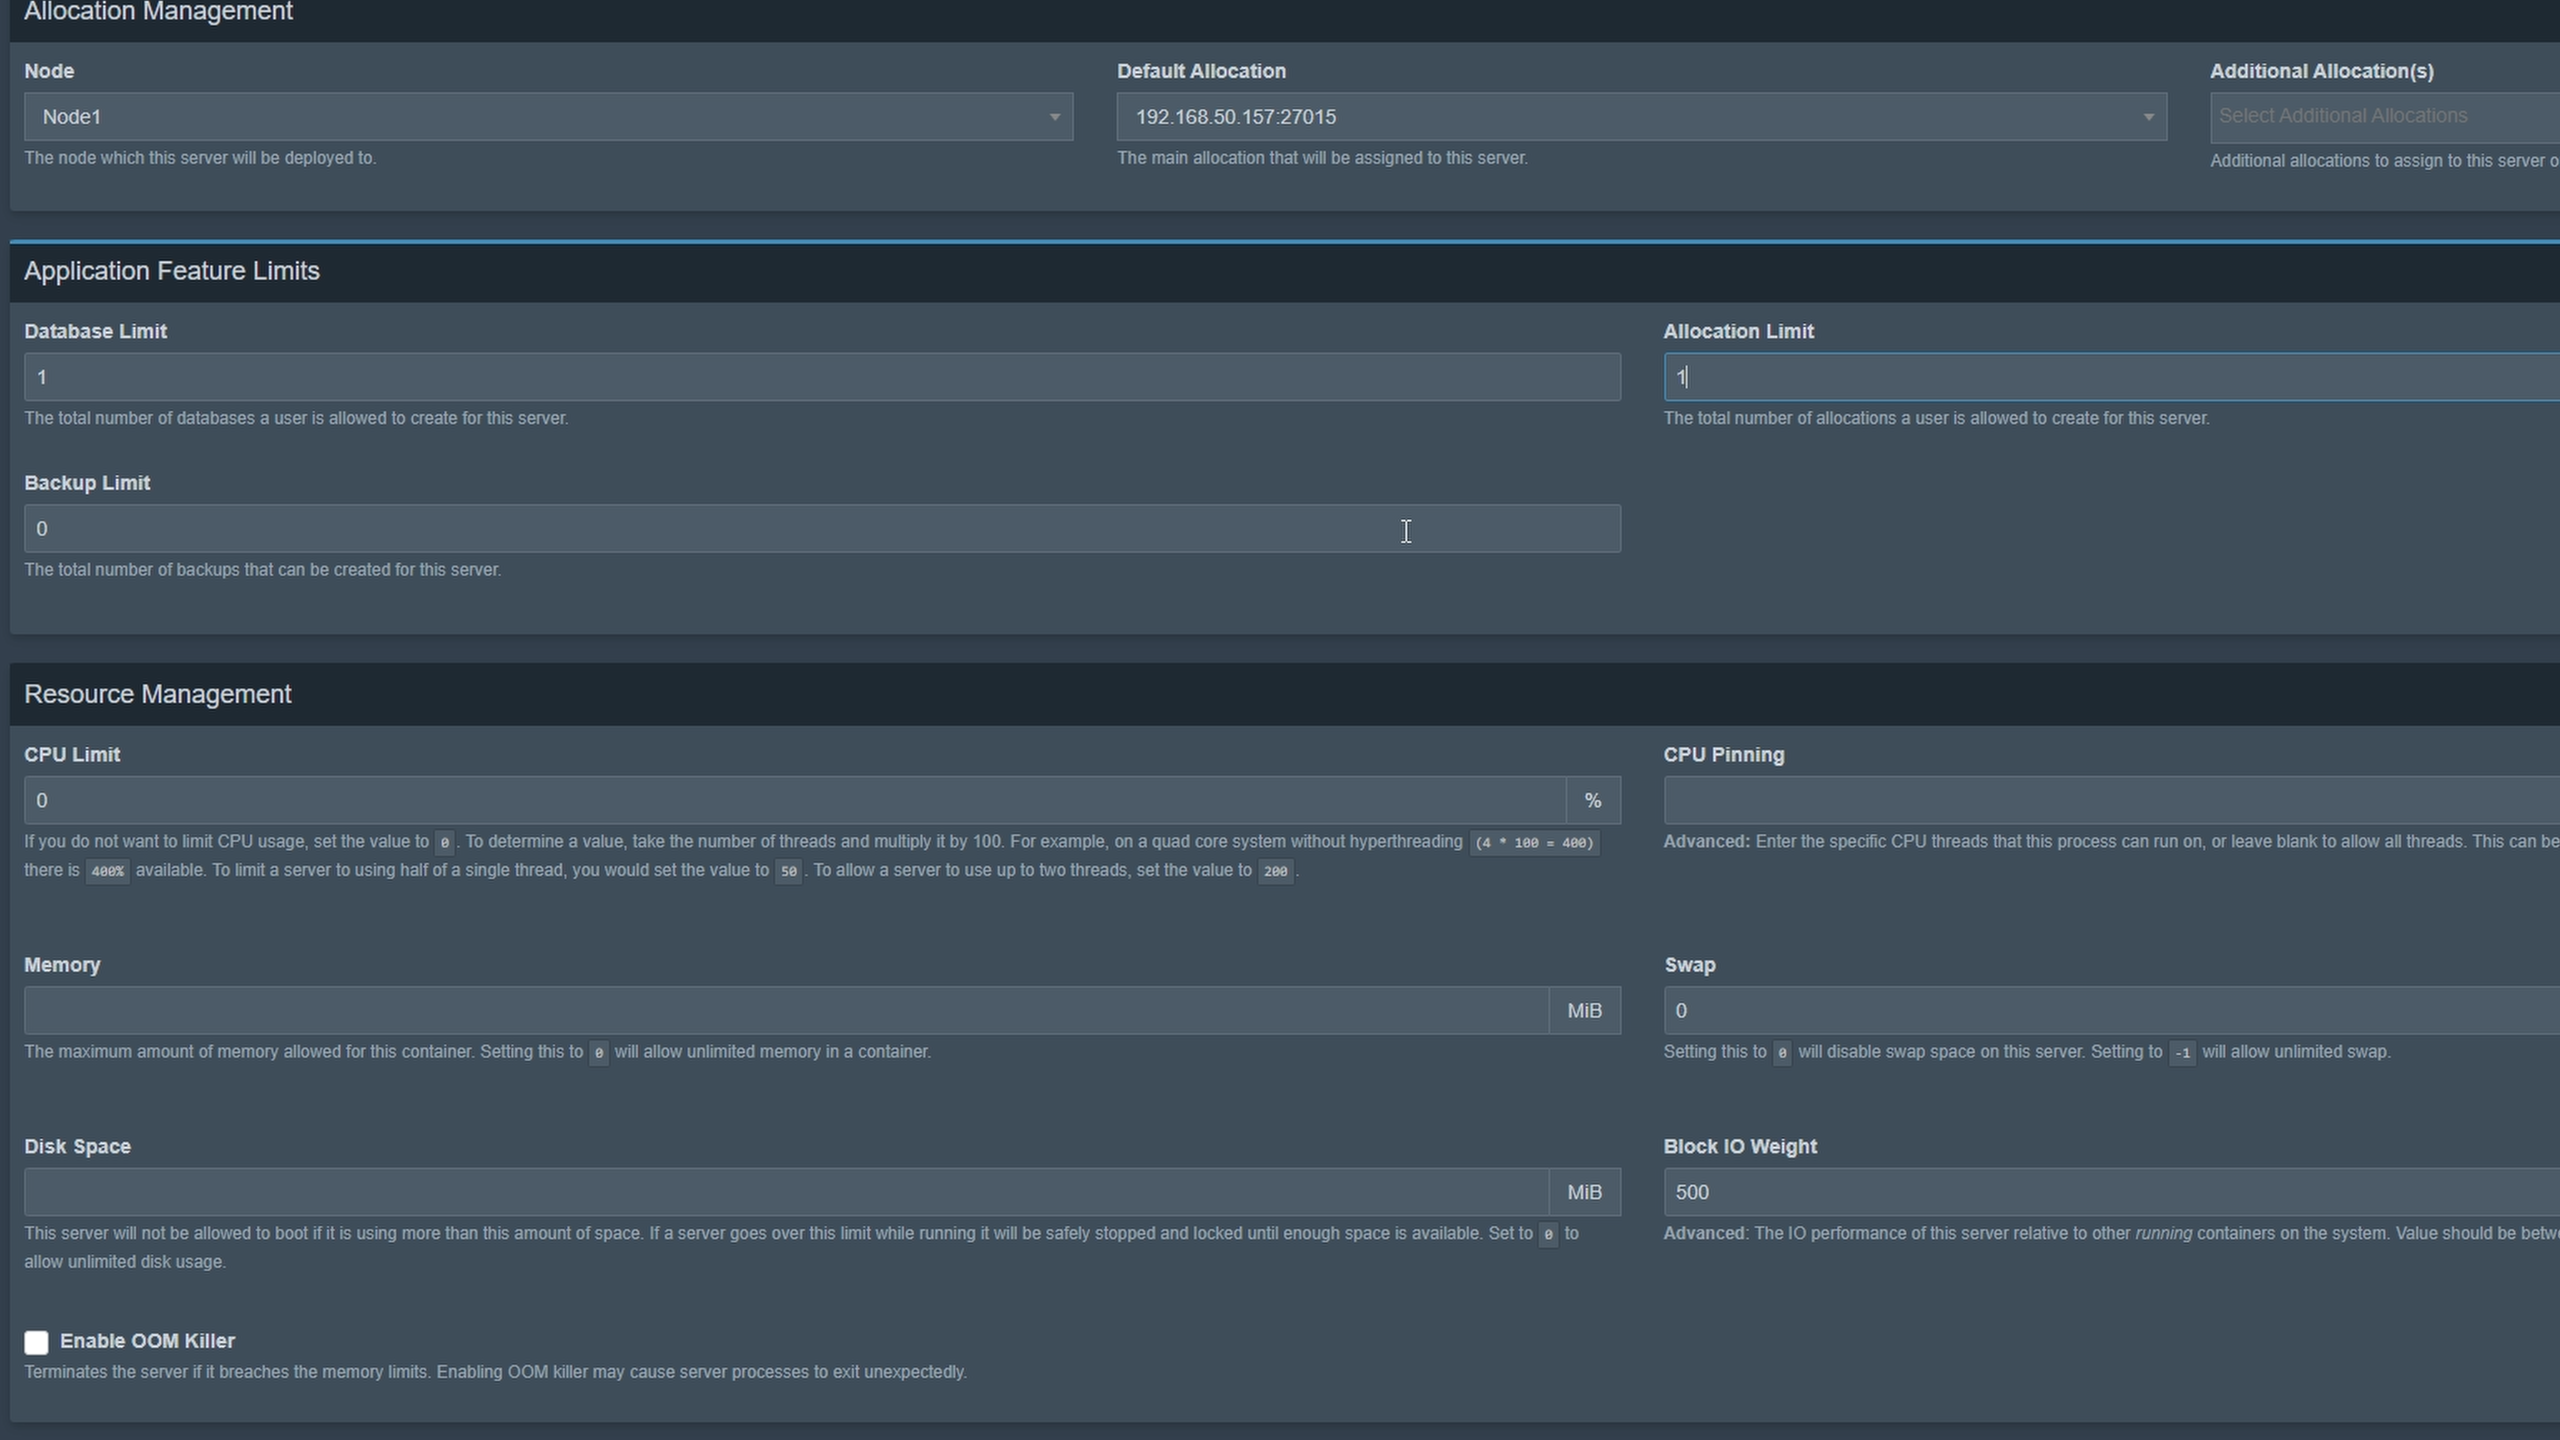
Go to Servers tab → Create New → Follow instructions (pay special attention to Nest Configuration & Startup Configuration, such as RAM allocation).
Wait for server to install. Reload browser when installation banner disappears.
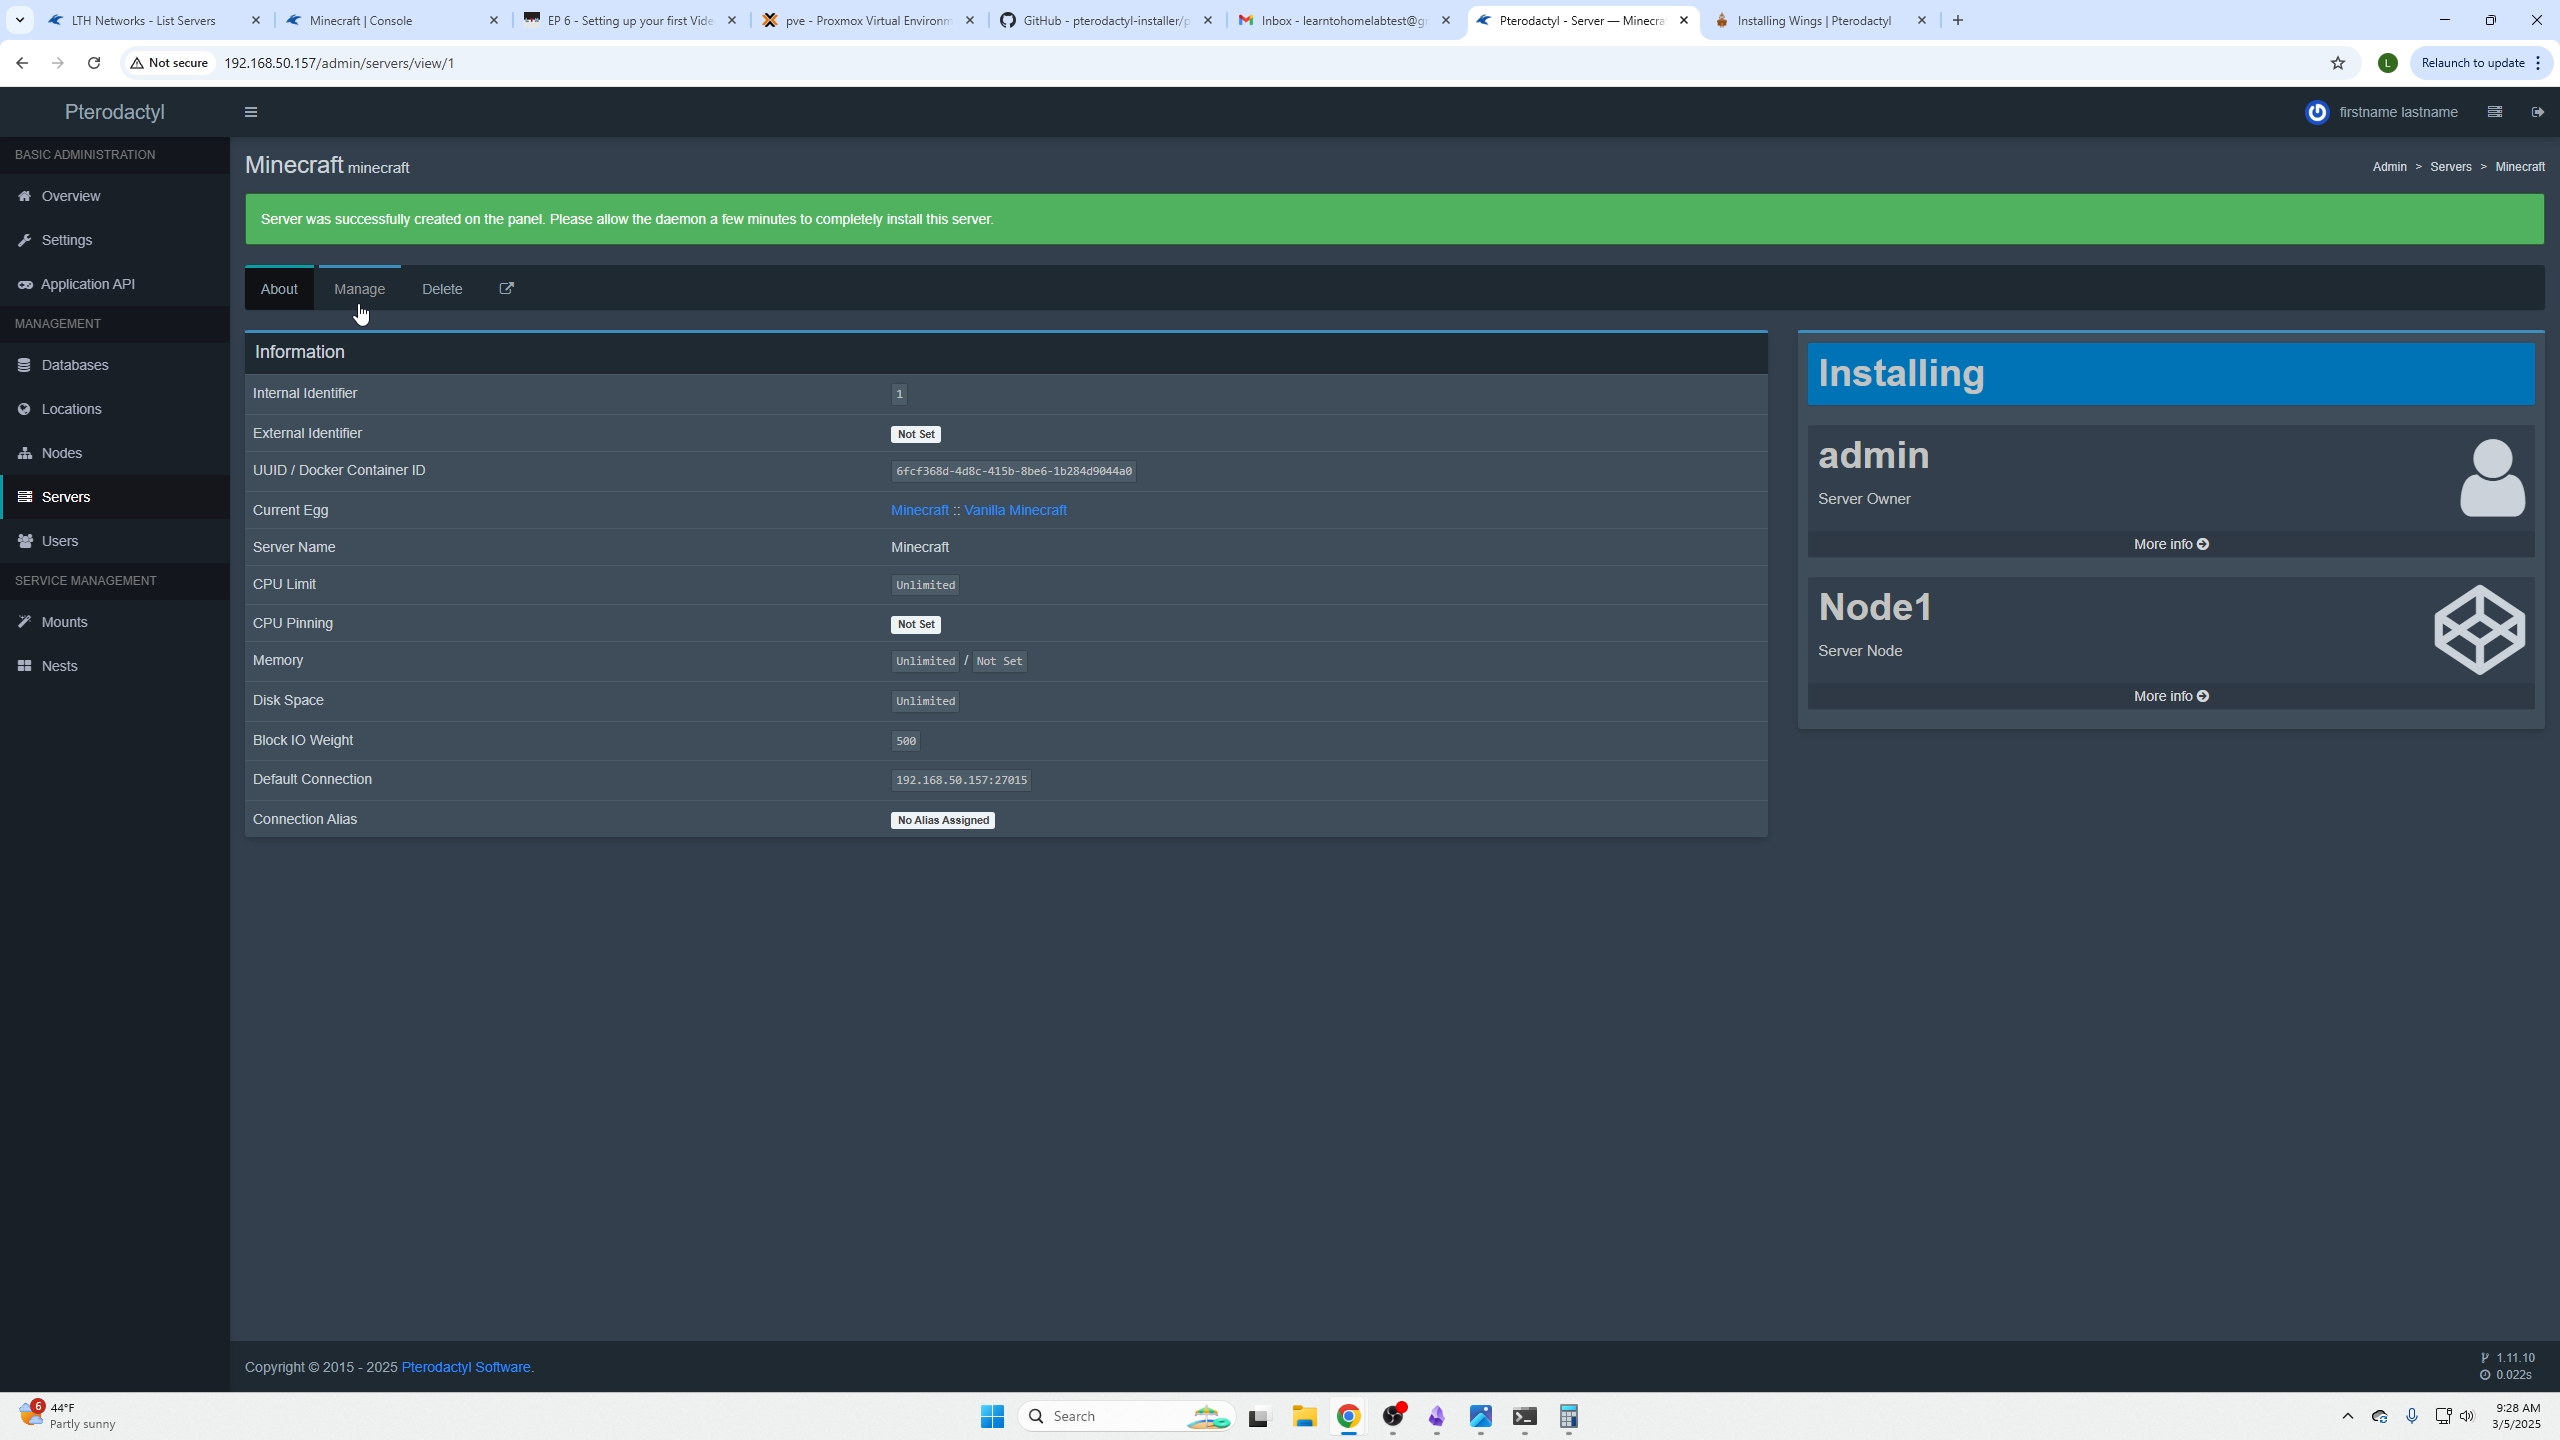
Return to “Pterodactyl” top-left → select your server → Click Start.
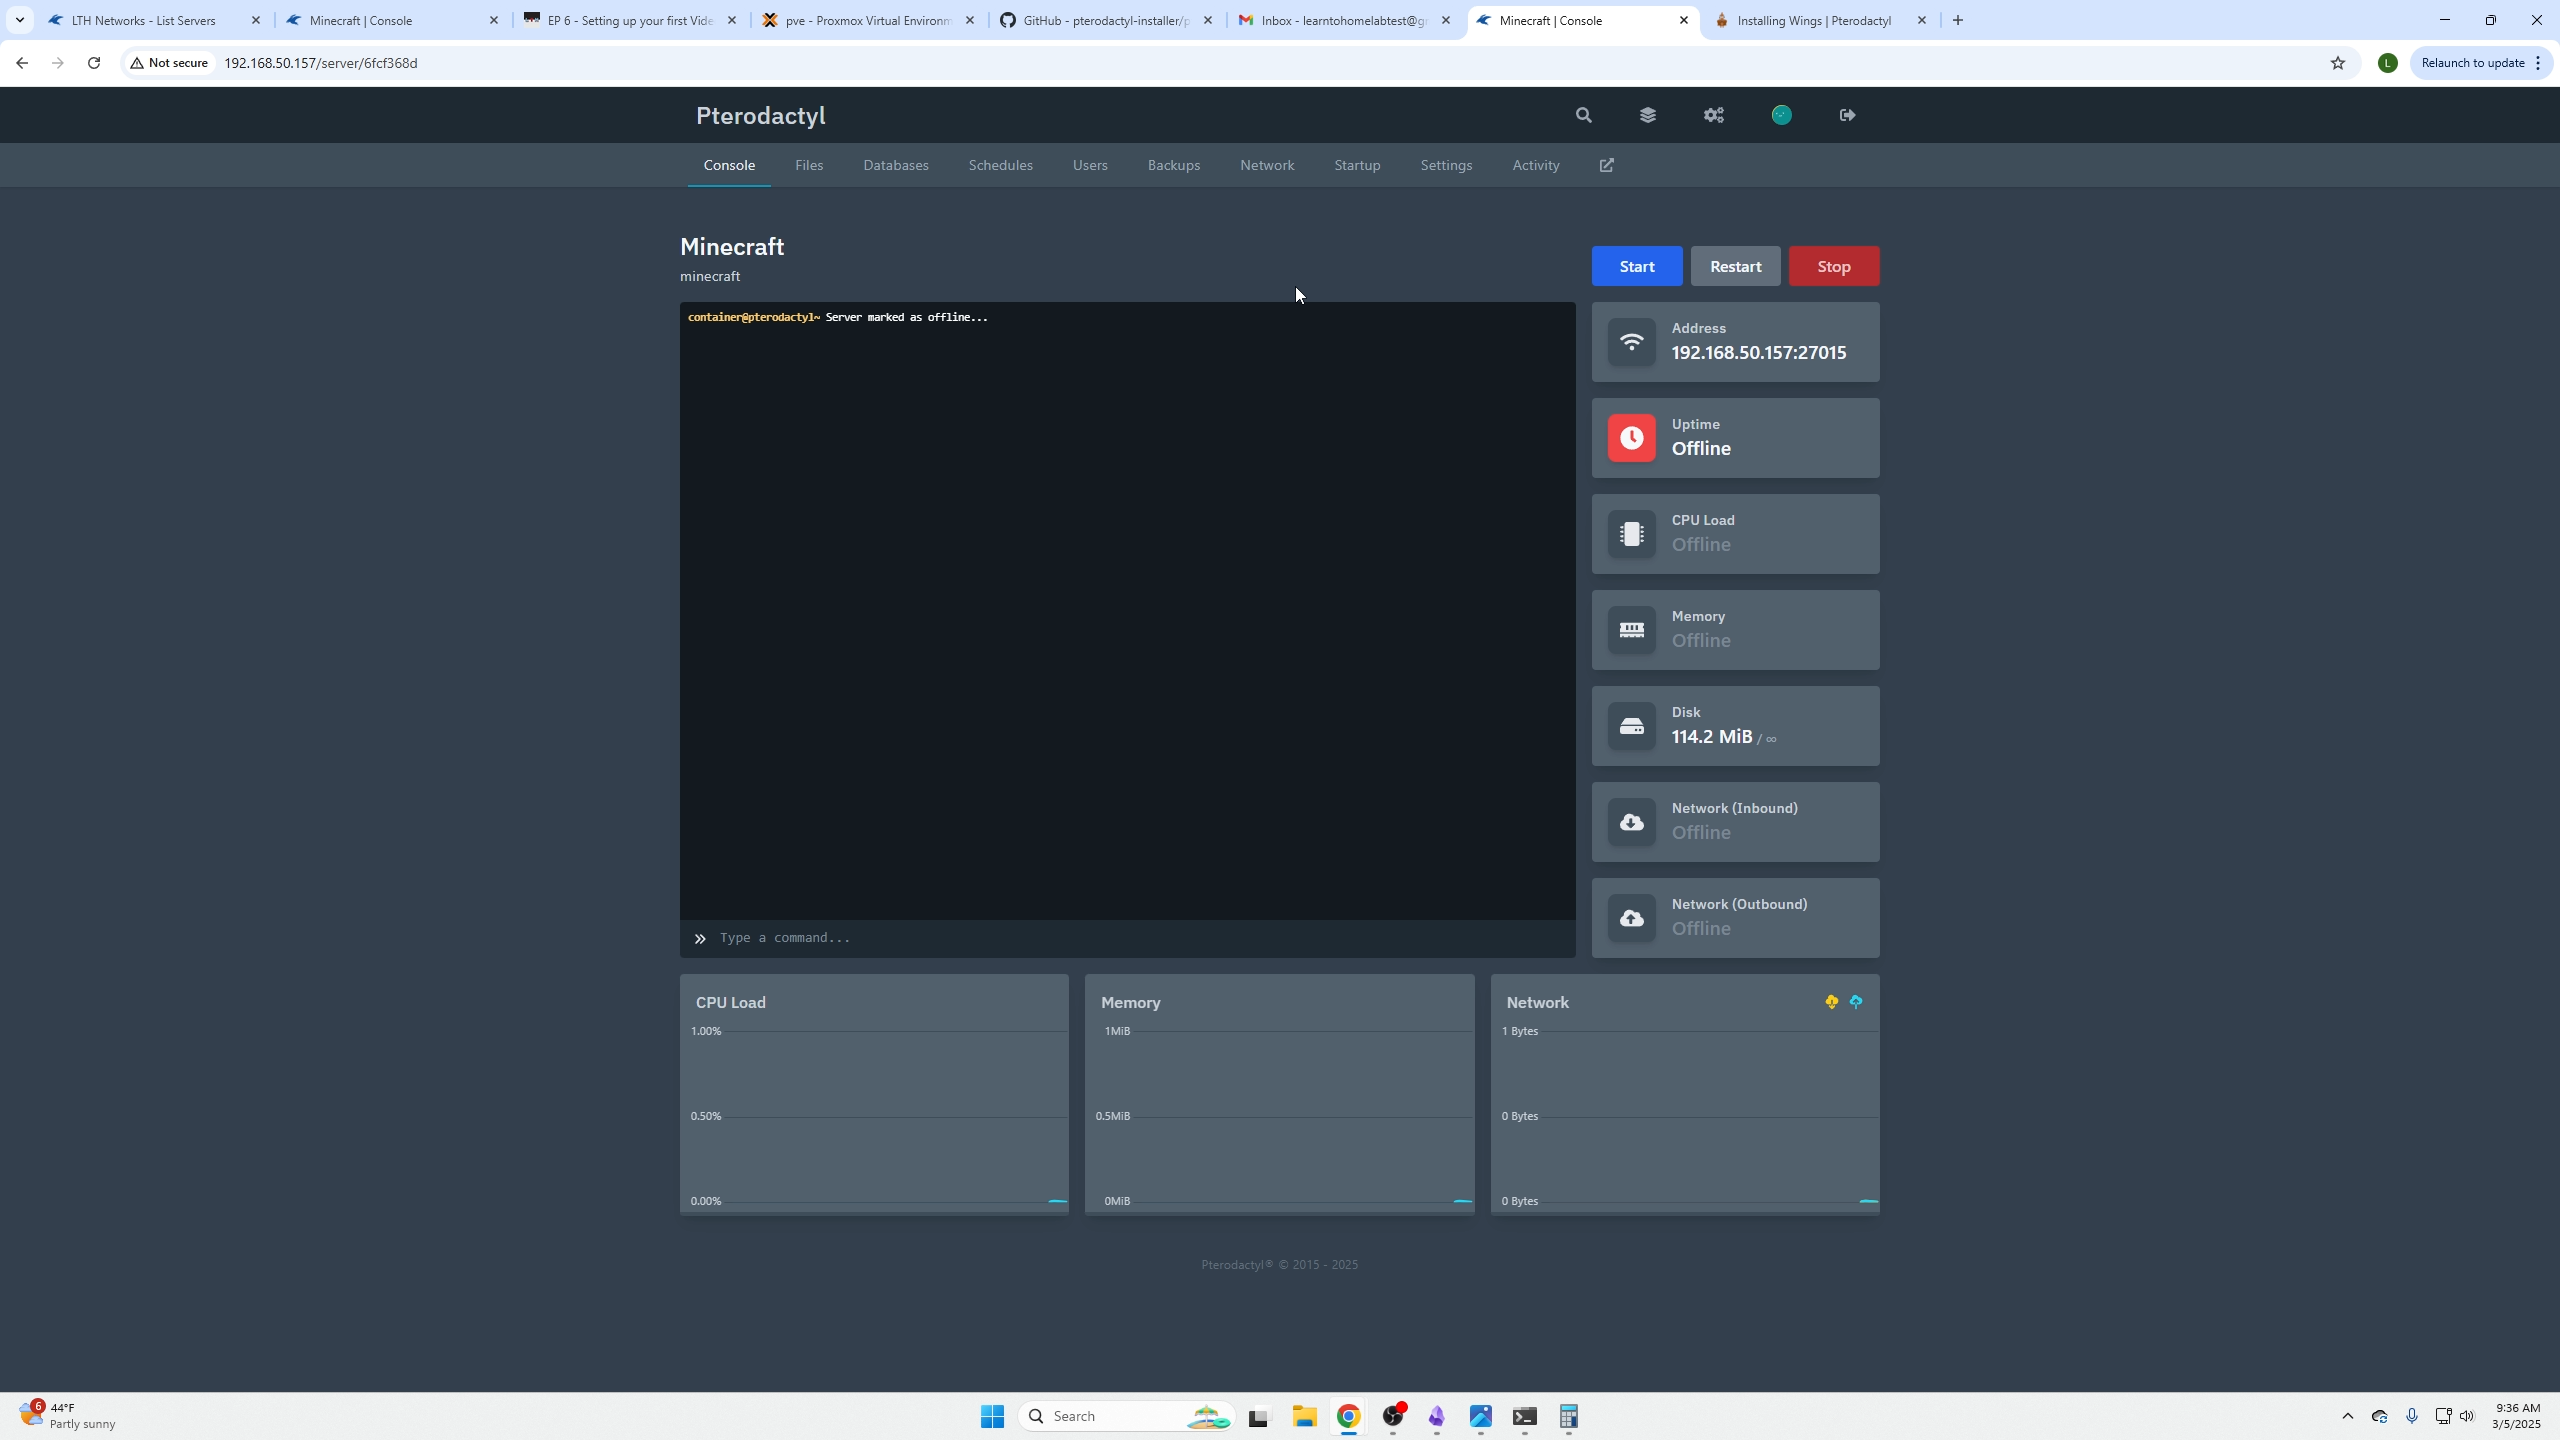
You’re done! Connect to your game server and enjoy.
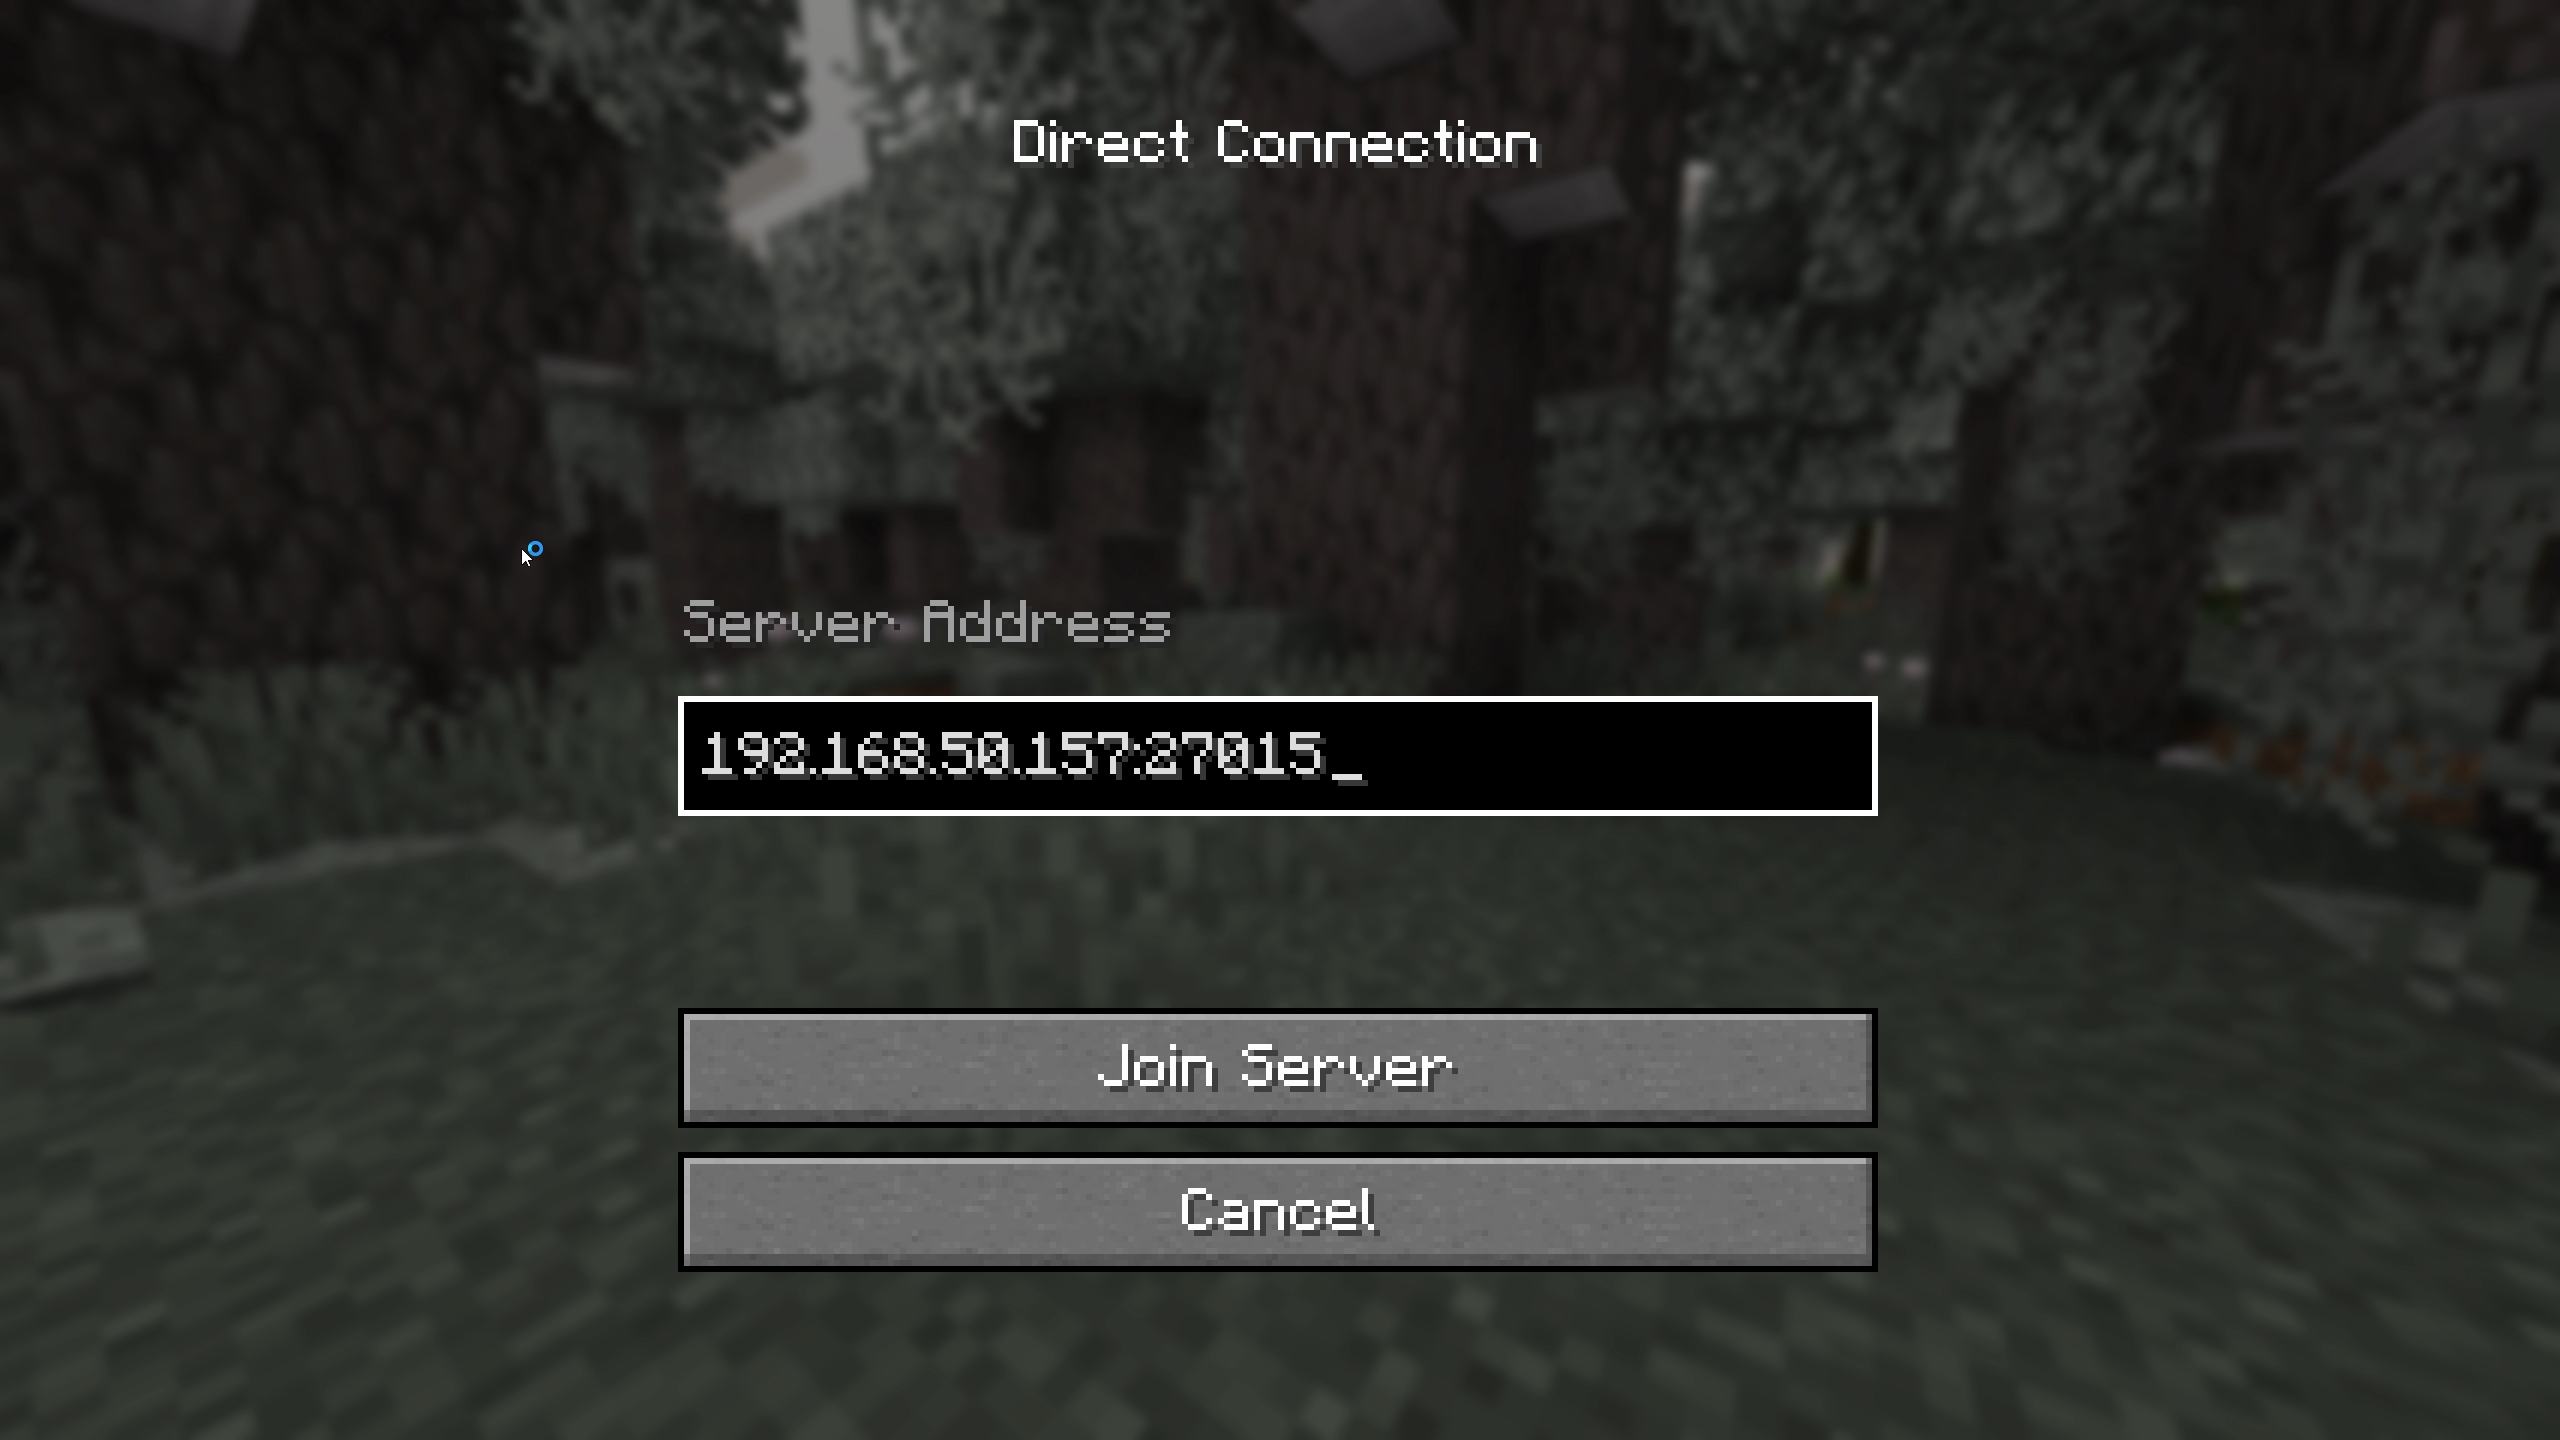
We’re in!