How to Install Docmost on Proxmox with SSL
Welcome! This video covers installing Docmost on Proxmox, including adding SSL for full feature support like websocket-enabled auto-copy code blocks. If you haven’t set up a reverse proxy with SSL yet, see episode 26.
Create a Container on Proxmox
Steps covered in prior videos; in summary:
- Download Ubuntu CT template on your node local storage (if not done before).
- Configure CT’s networking (DHCP or static IP).
- Start the CT.
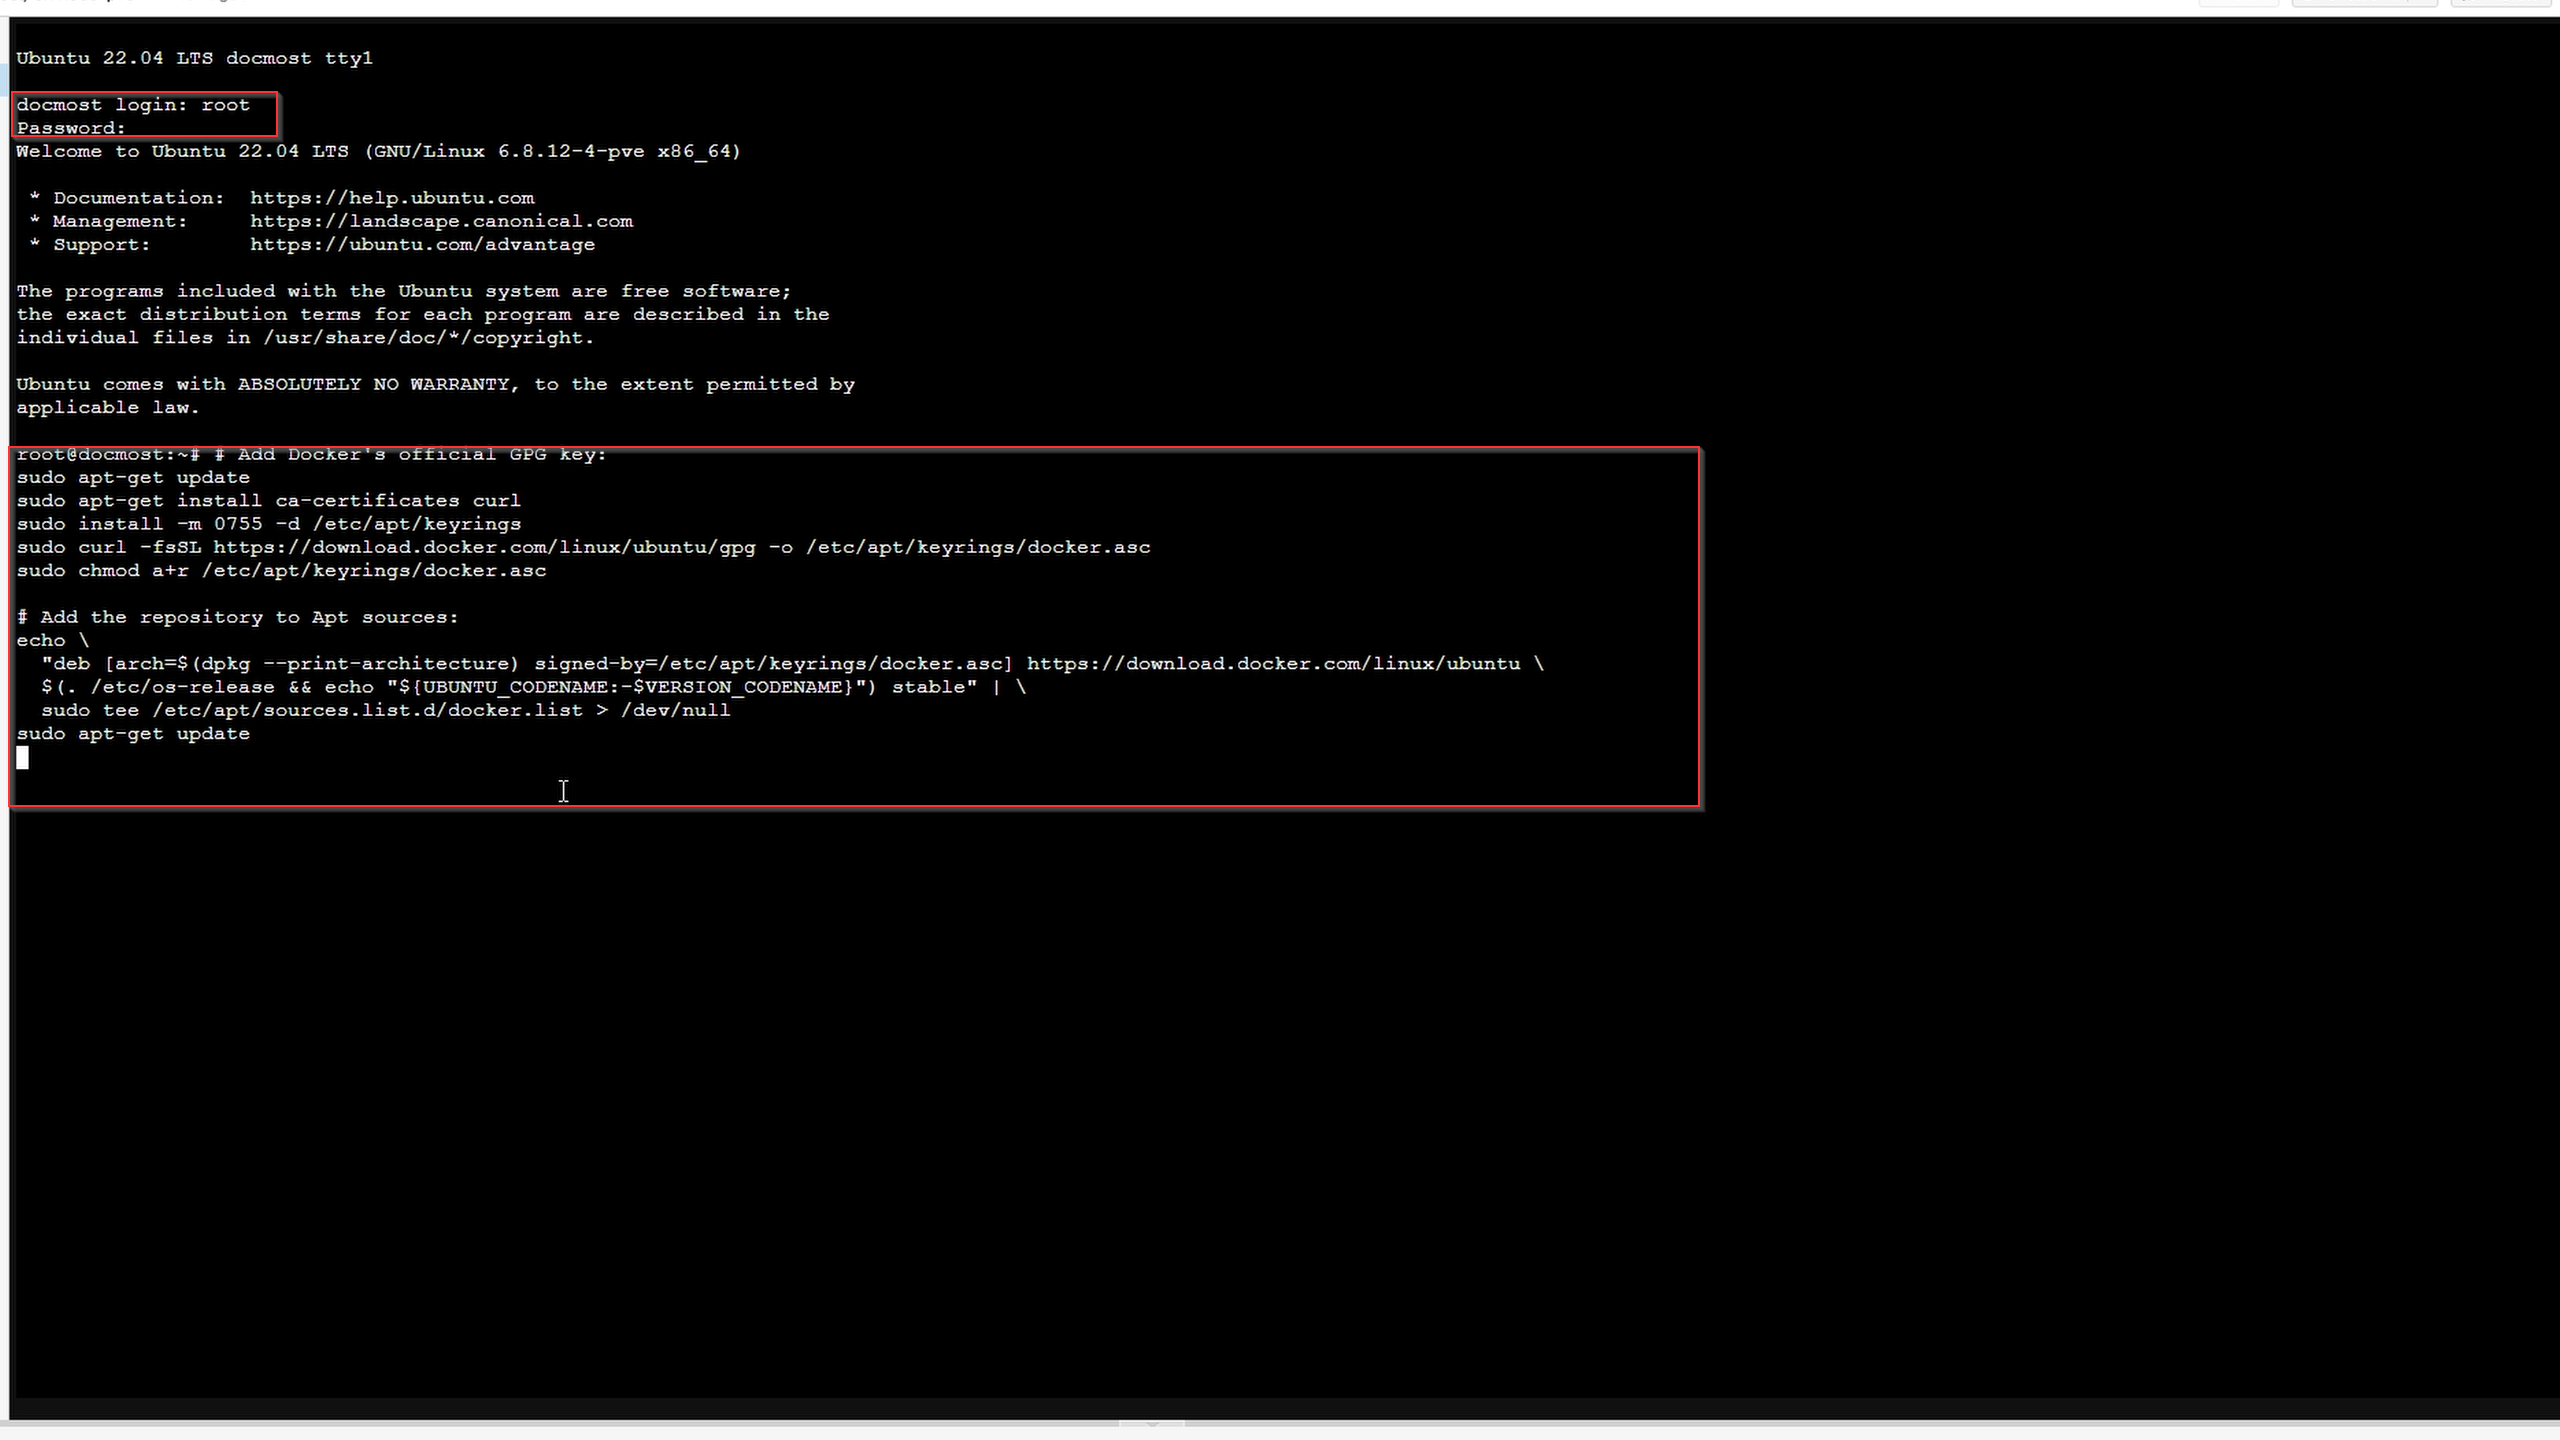
Log in via the console with:
- Username:
root - Password: as set during CT creation.
Installing Docker
Follow official Docker instructions here.
Add Docker’s GPG key and repository:
# Add Docker's official GPG key:
sudo apt-get update
sudo apt-get install ca-certificates curl
sudo install -m 0755 -d /etc/apt/keyrings
sudo curl -fsSL https://download.docker.com/linux/ubuntu/gpg -o /etc/apt/keyrings/docker.asc
sudo chmod a+r /etc/apt/keyrings/docker.asc

# Add the repository to Apt sources:
echo \
  "deb [arch=$(dpkg --print-architecture) signed-by=/etc/apt/keyrings/docker.asc] https://download.docker.com/linux/ubuntu \
  $(. /etc/os-release && echo "${UBUNTU_CODENAME:-$VERSION_CODENAME}") stable" | \
  sudo tee /etc/apt/sources.list.d/docker.list > /dev/null
sudo apt-get update
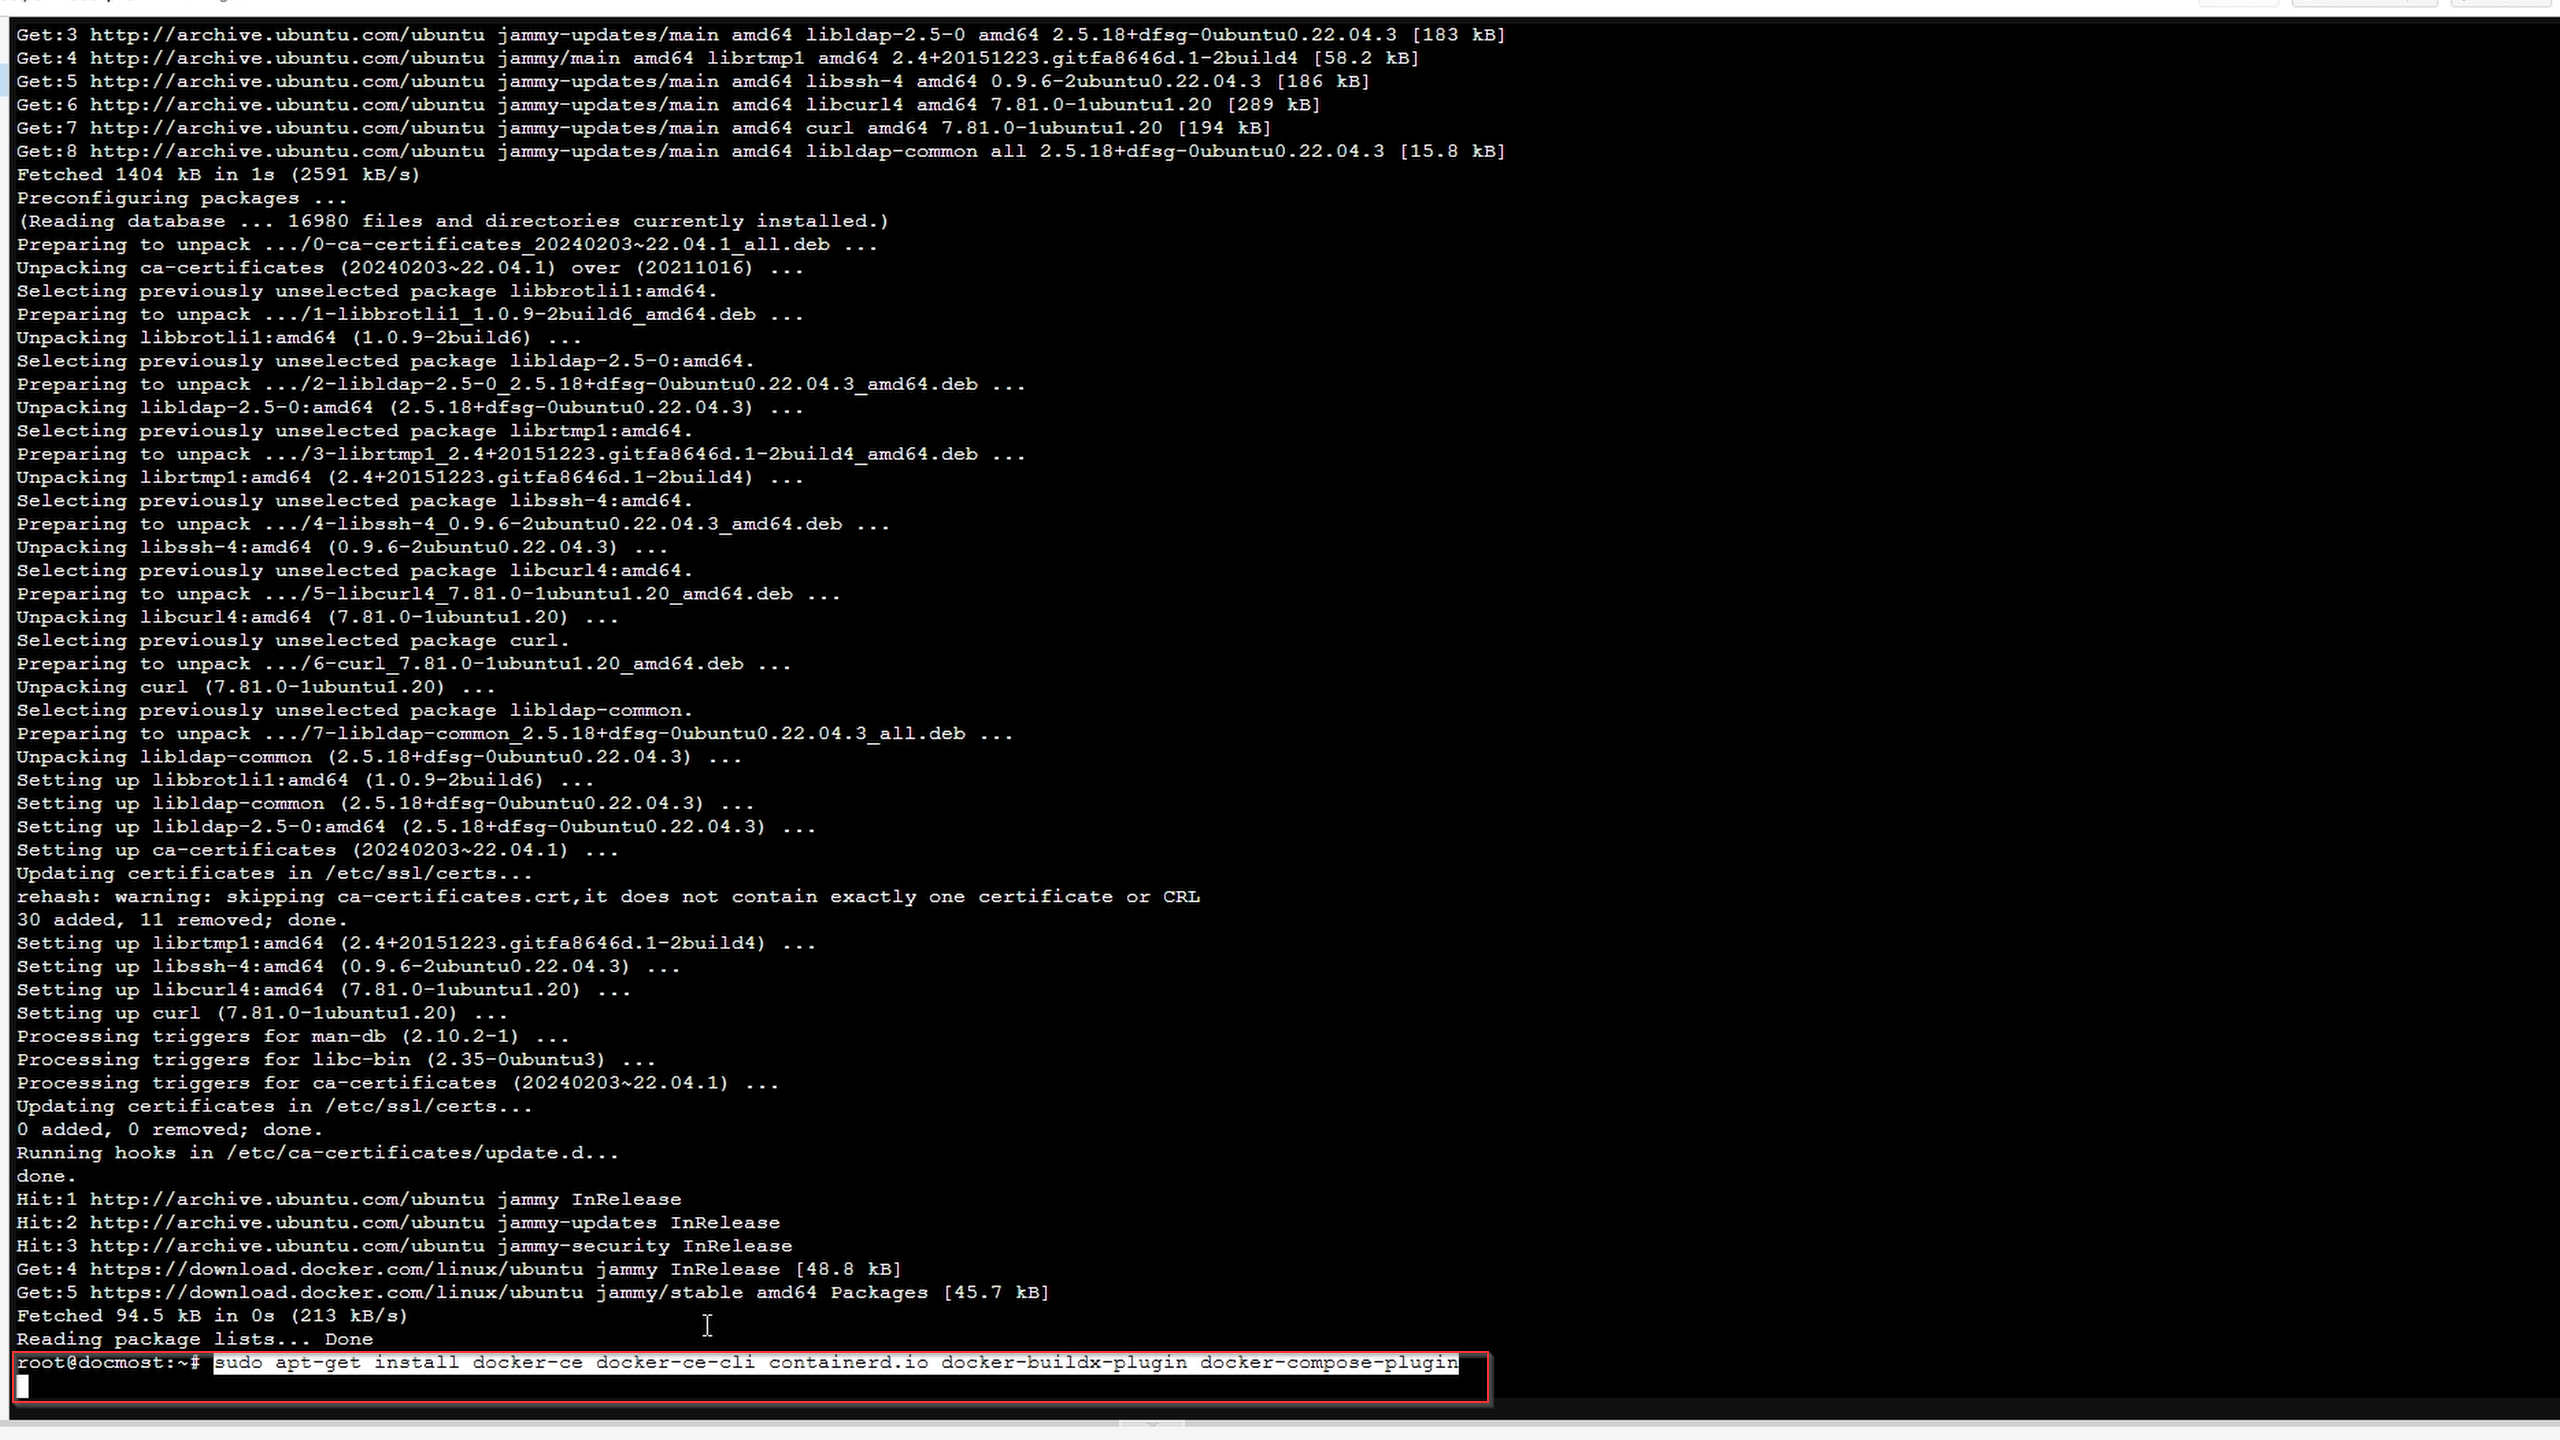
Install Docker packages:
sudo apt-get install docker-ce docker-ce-cli containerd.io docker-buildx-plugin docker-compose-plugin
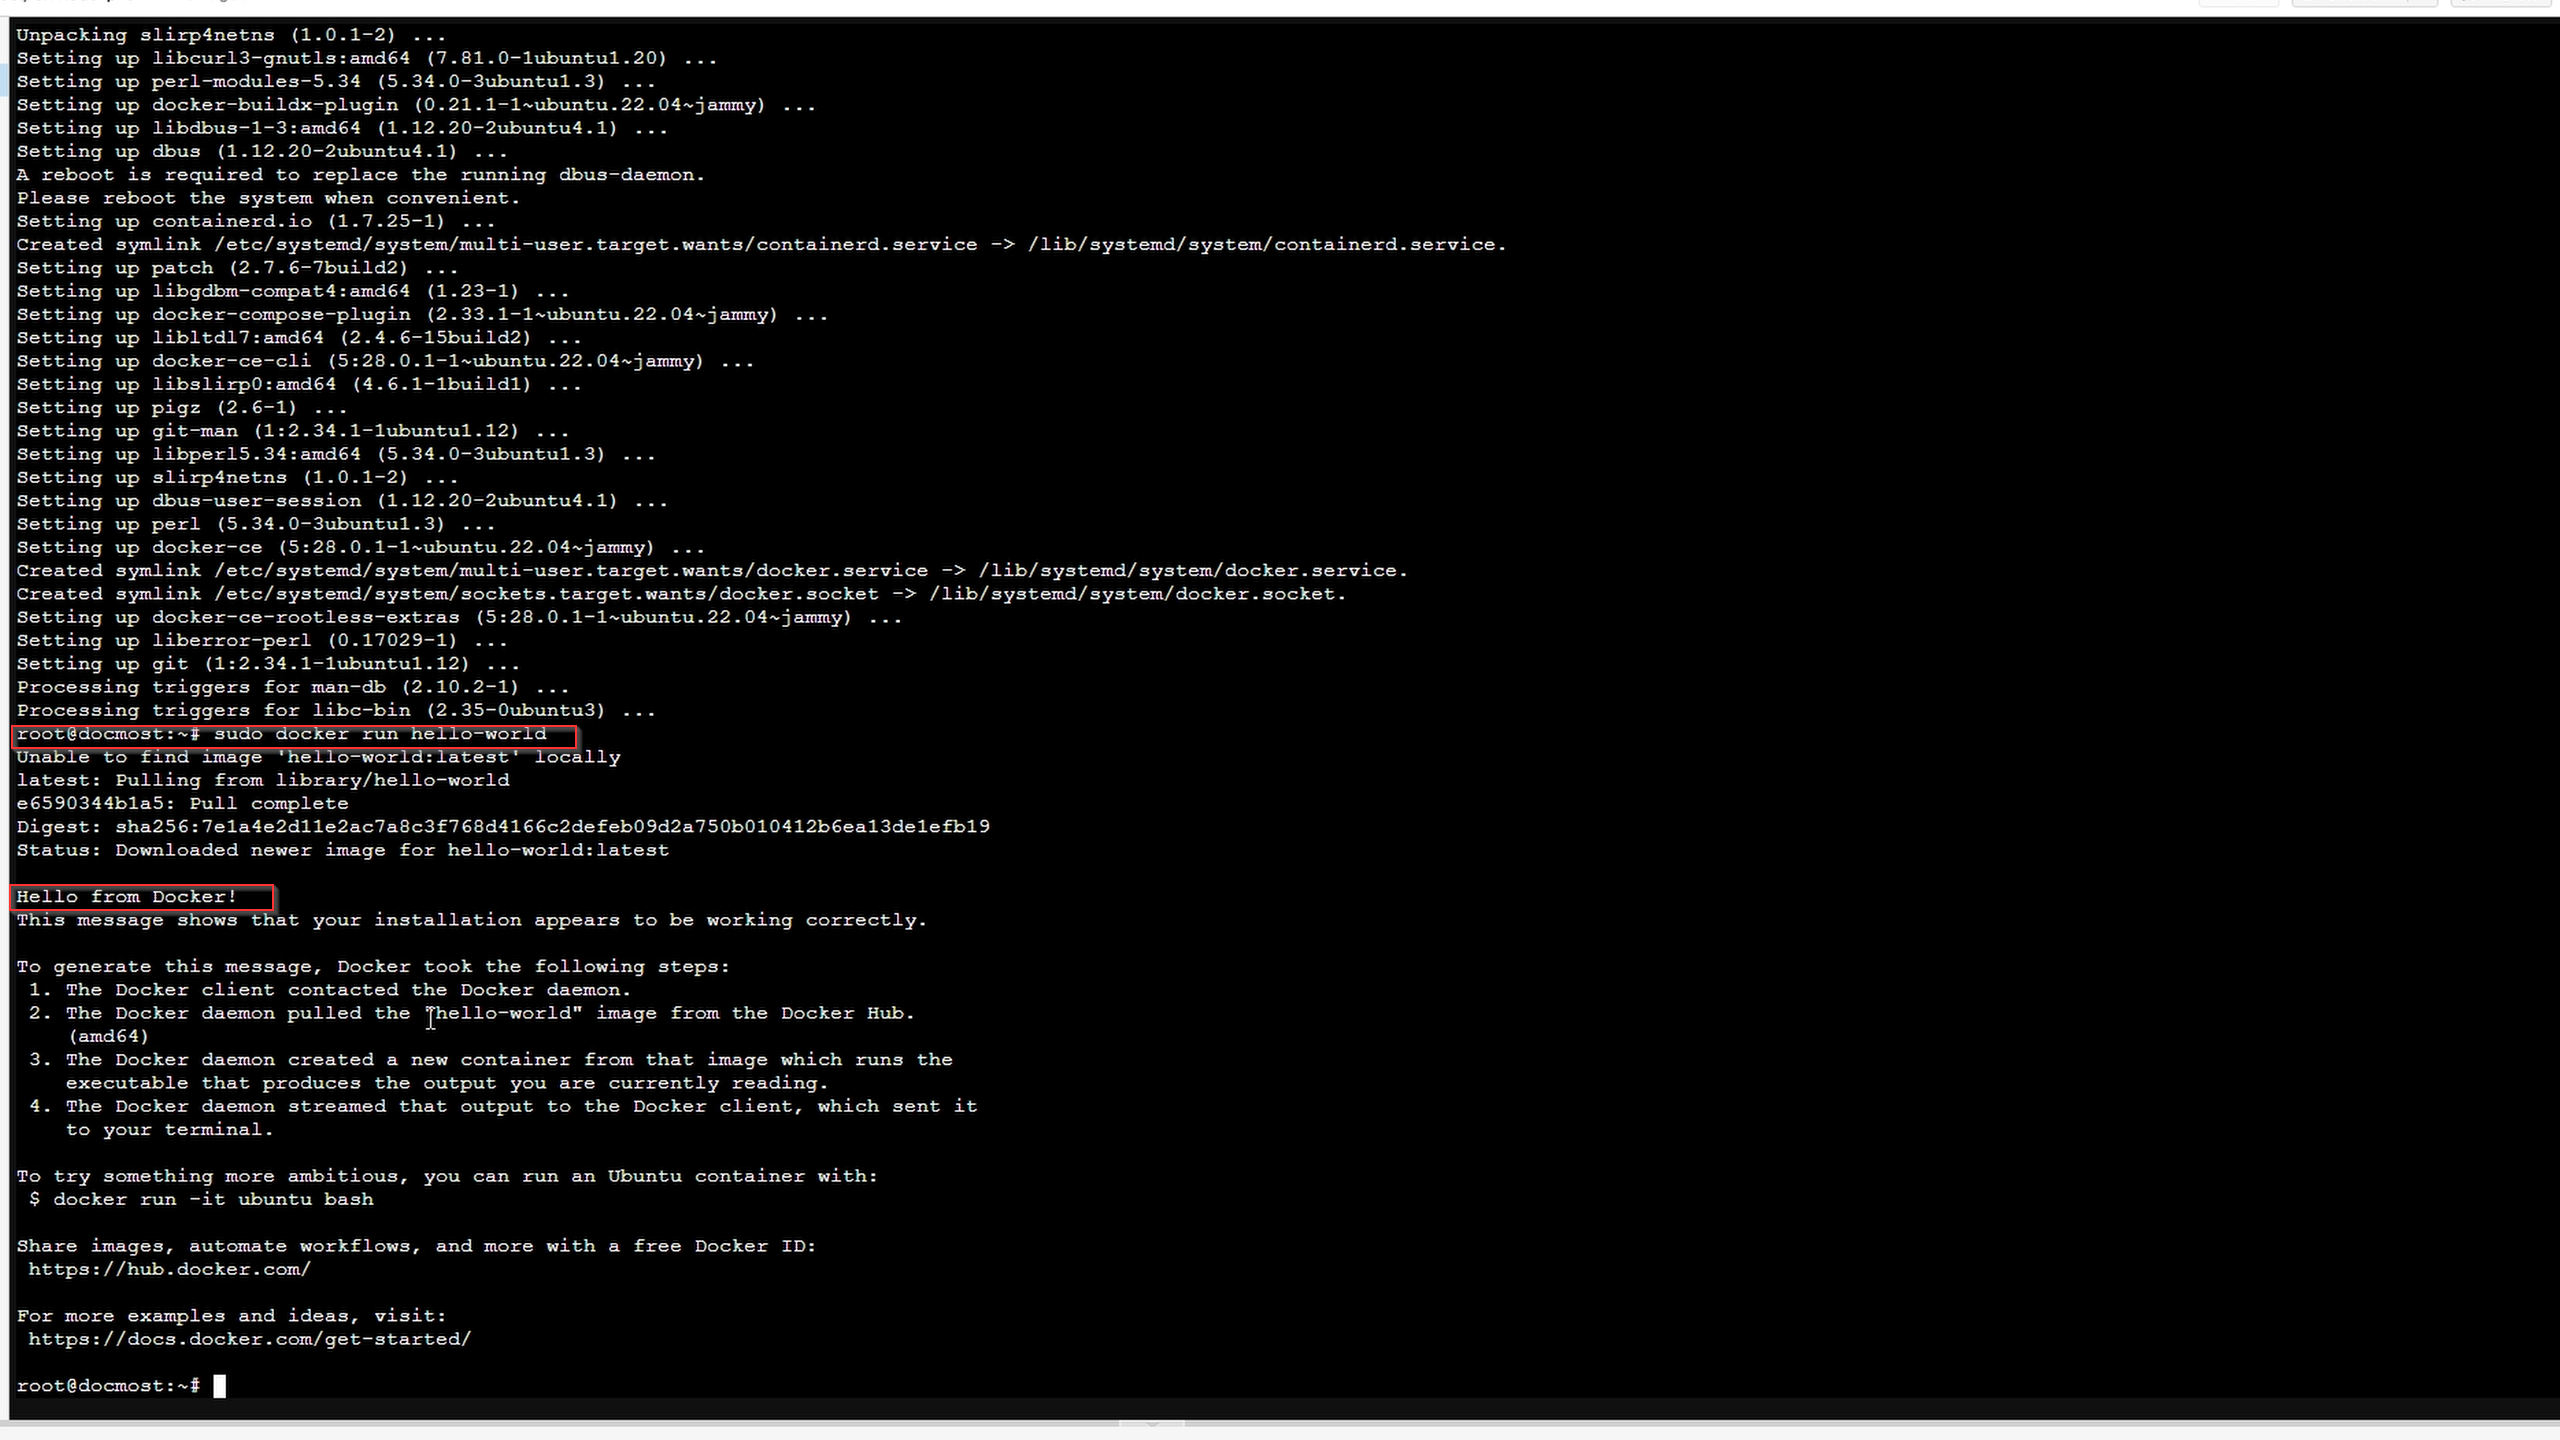
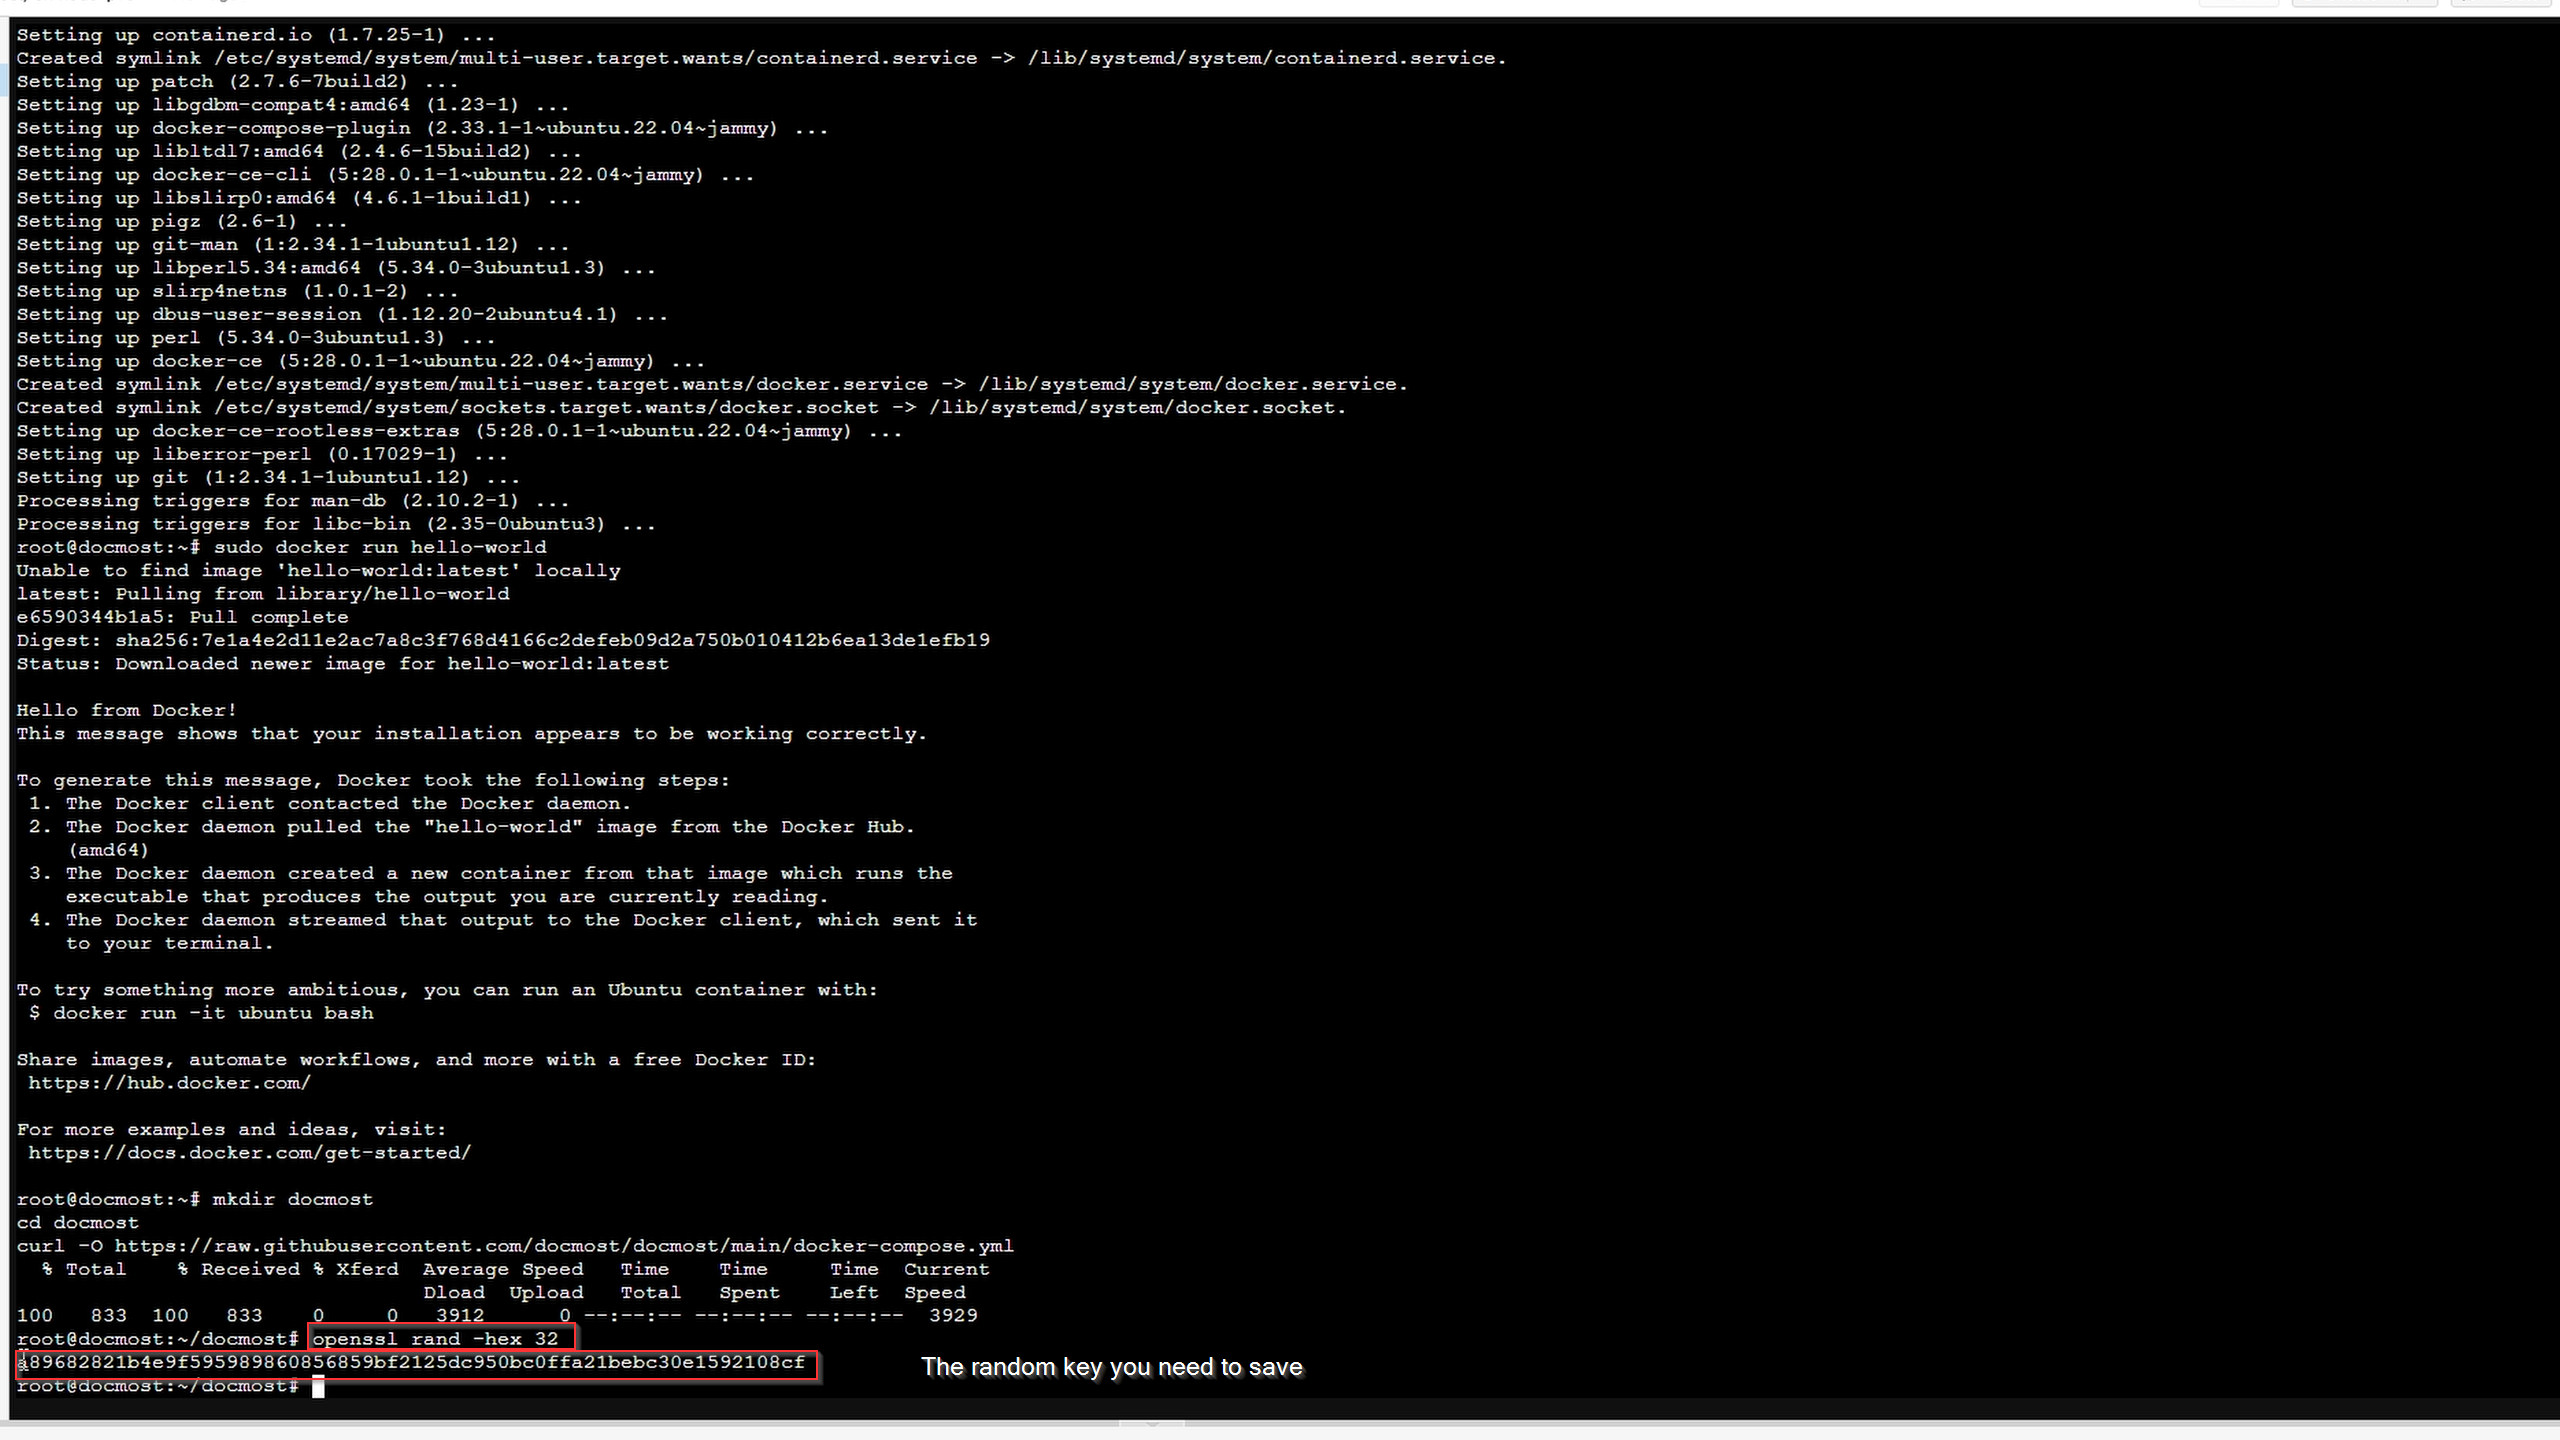
Verify by running:
sudo docker run hello-world
Install Docmost
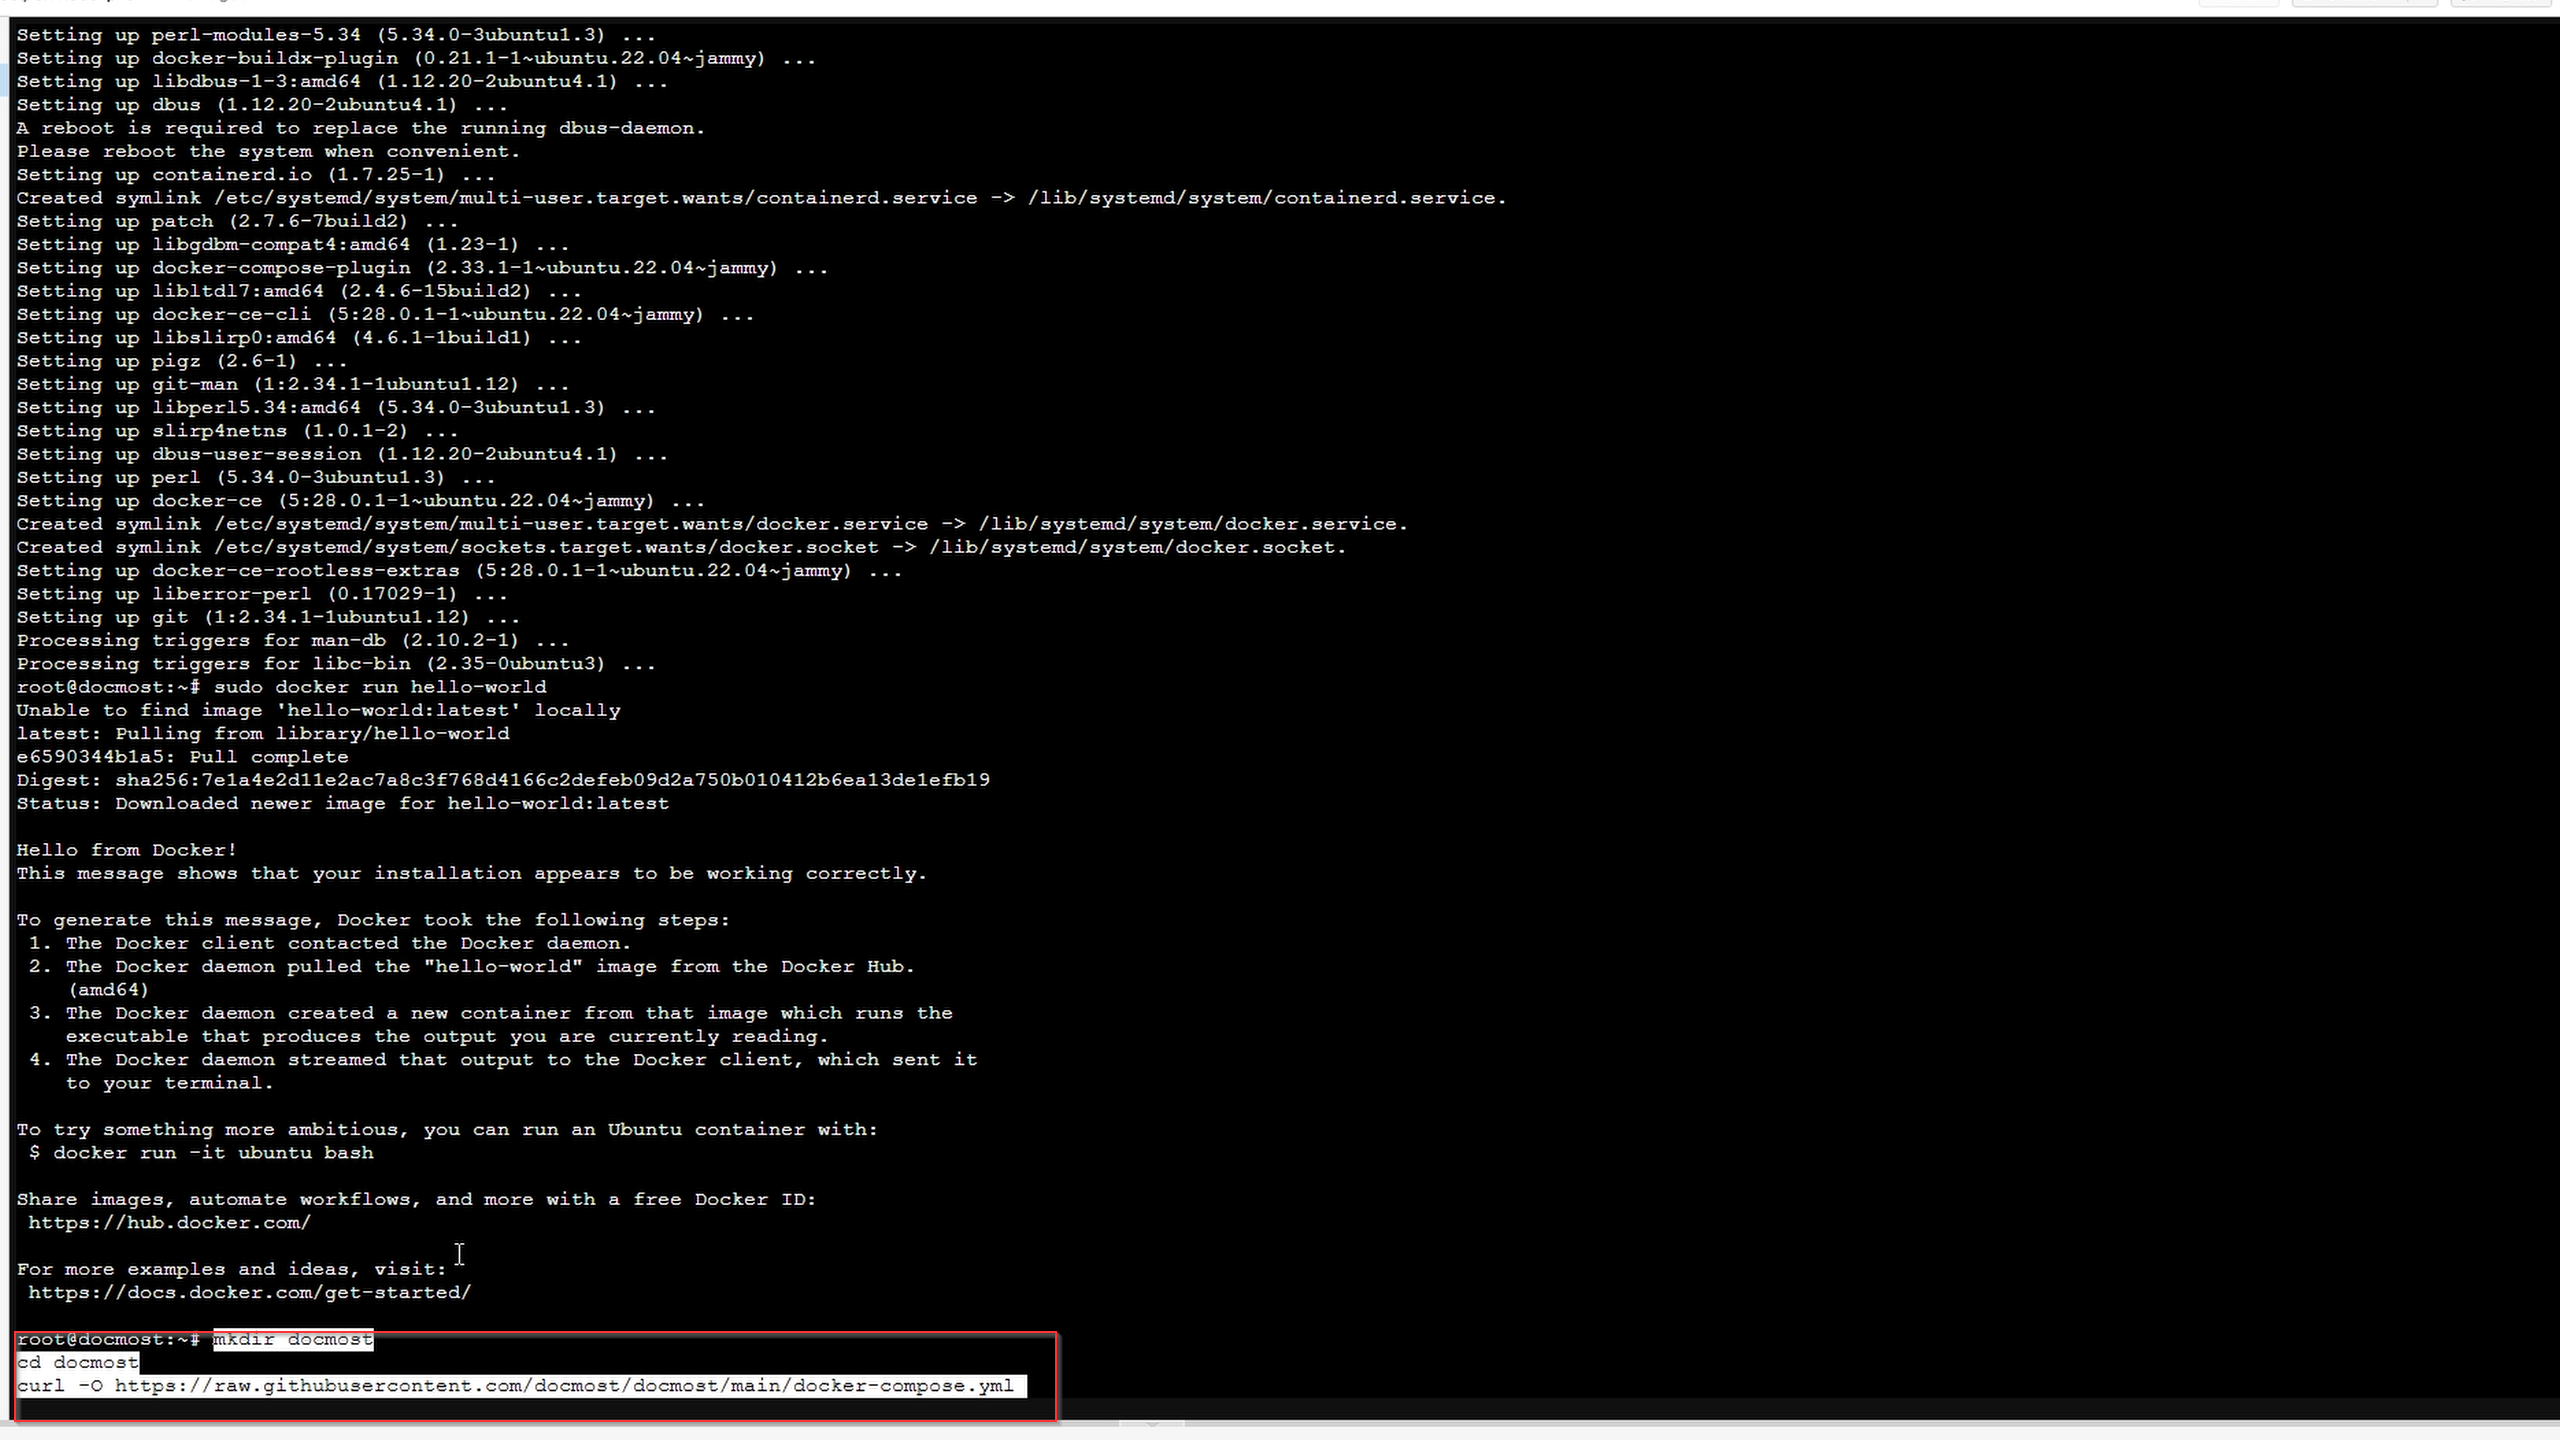
Create directory and download docker-compose file:
mkdir docmost
cd docmost
curl -O https://raw.githubusercontent.com/docmost/docmost/main/docker-compose.yml
Generate app secret key:
openssl rand -hex 32
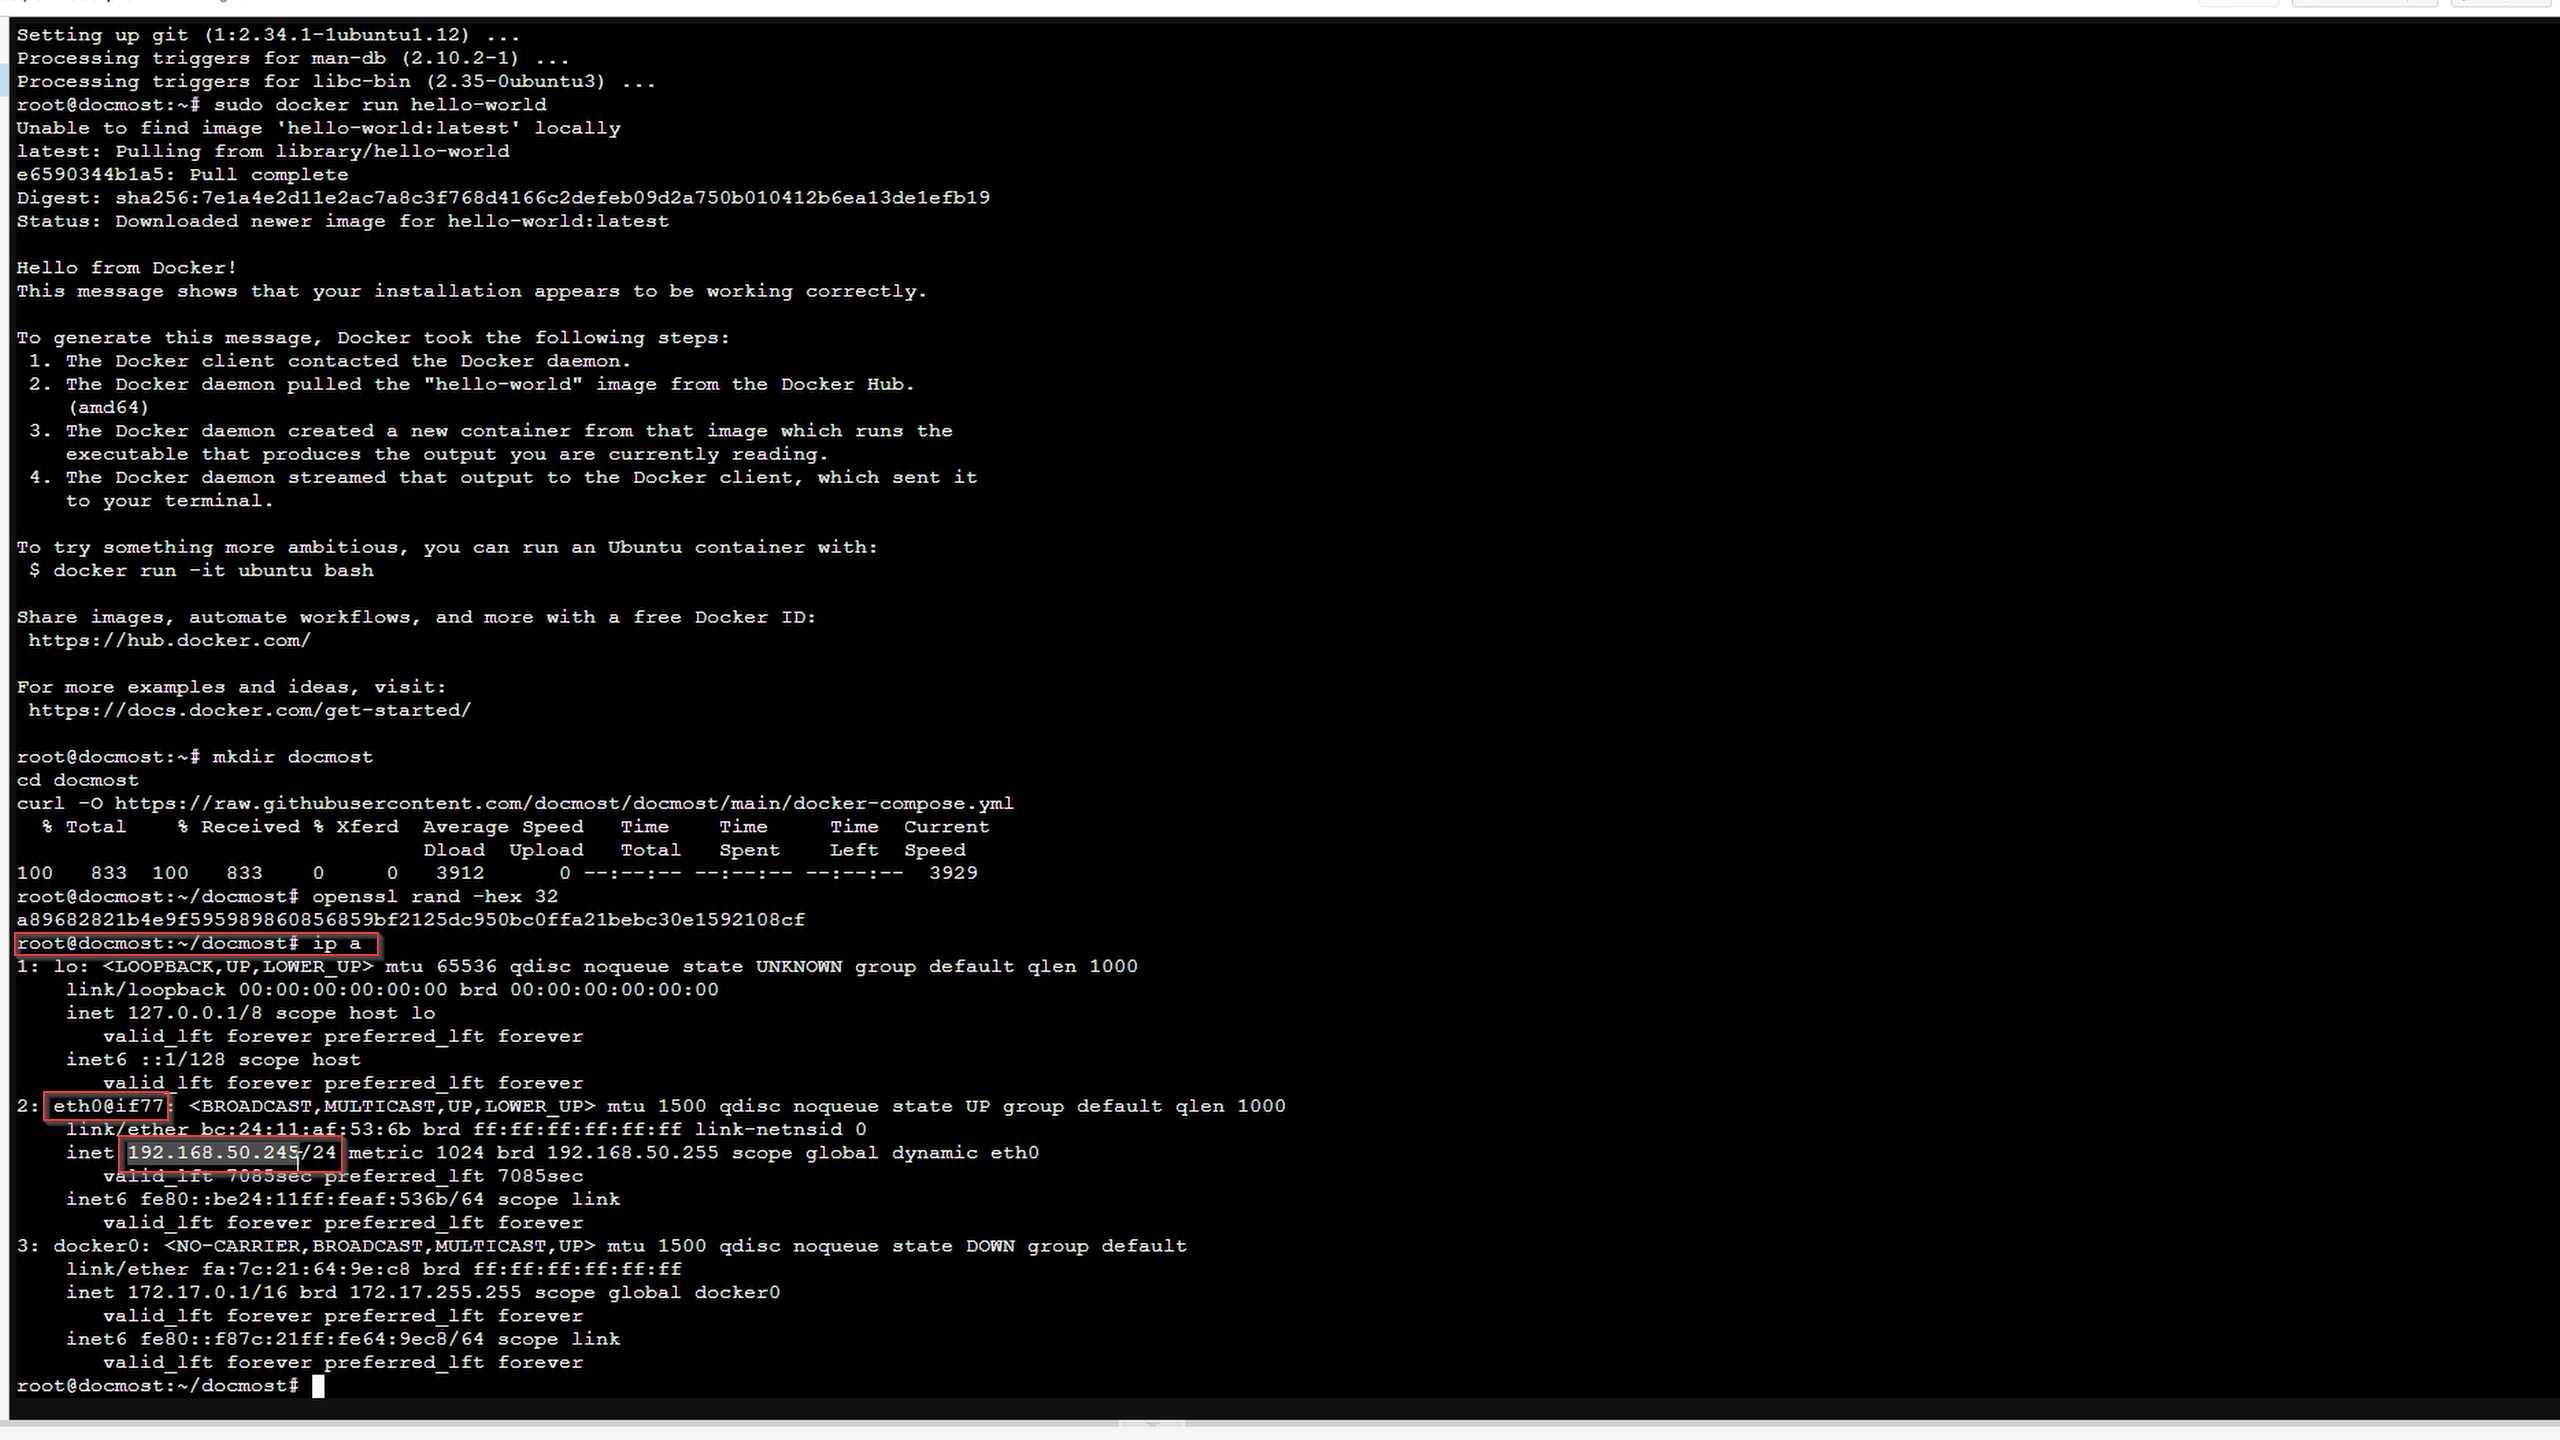
Find your machine’s IP address:
ip a
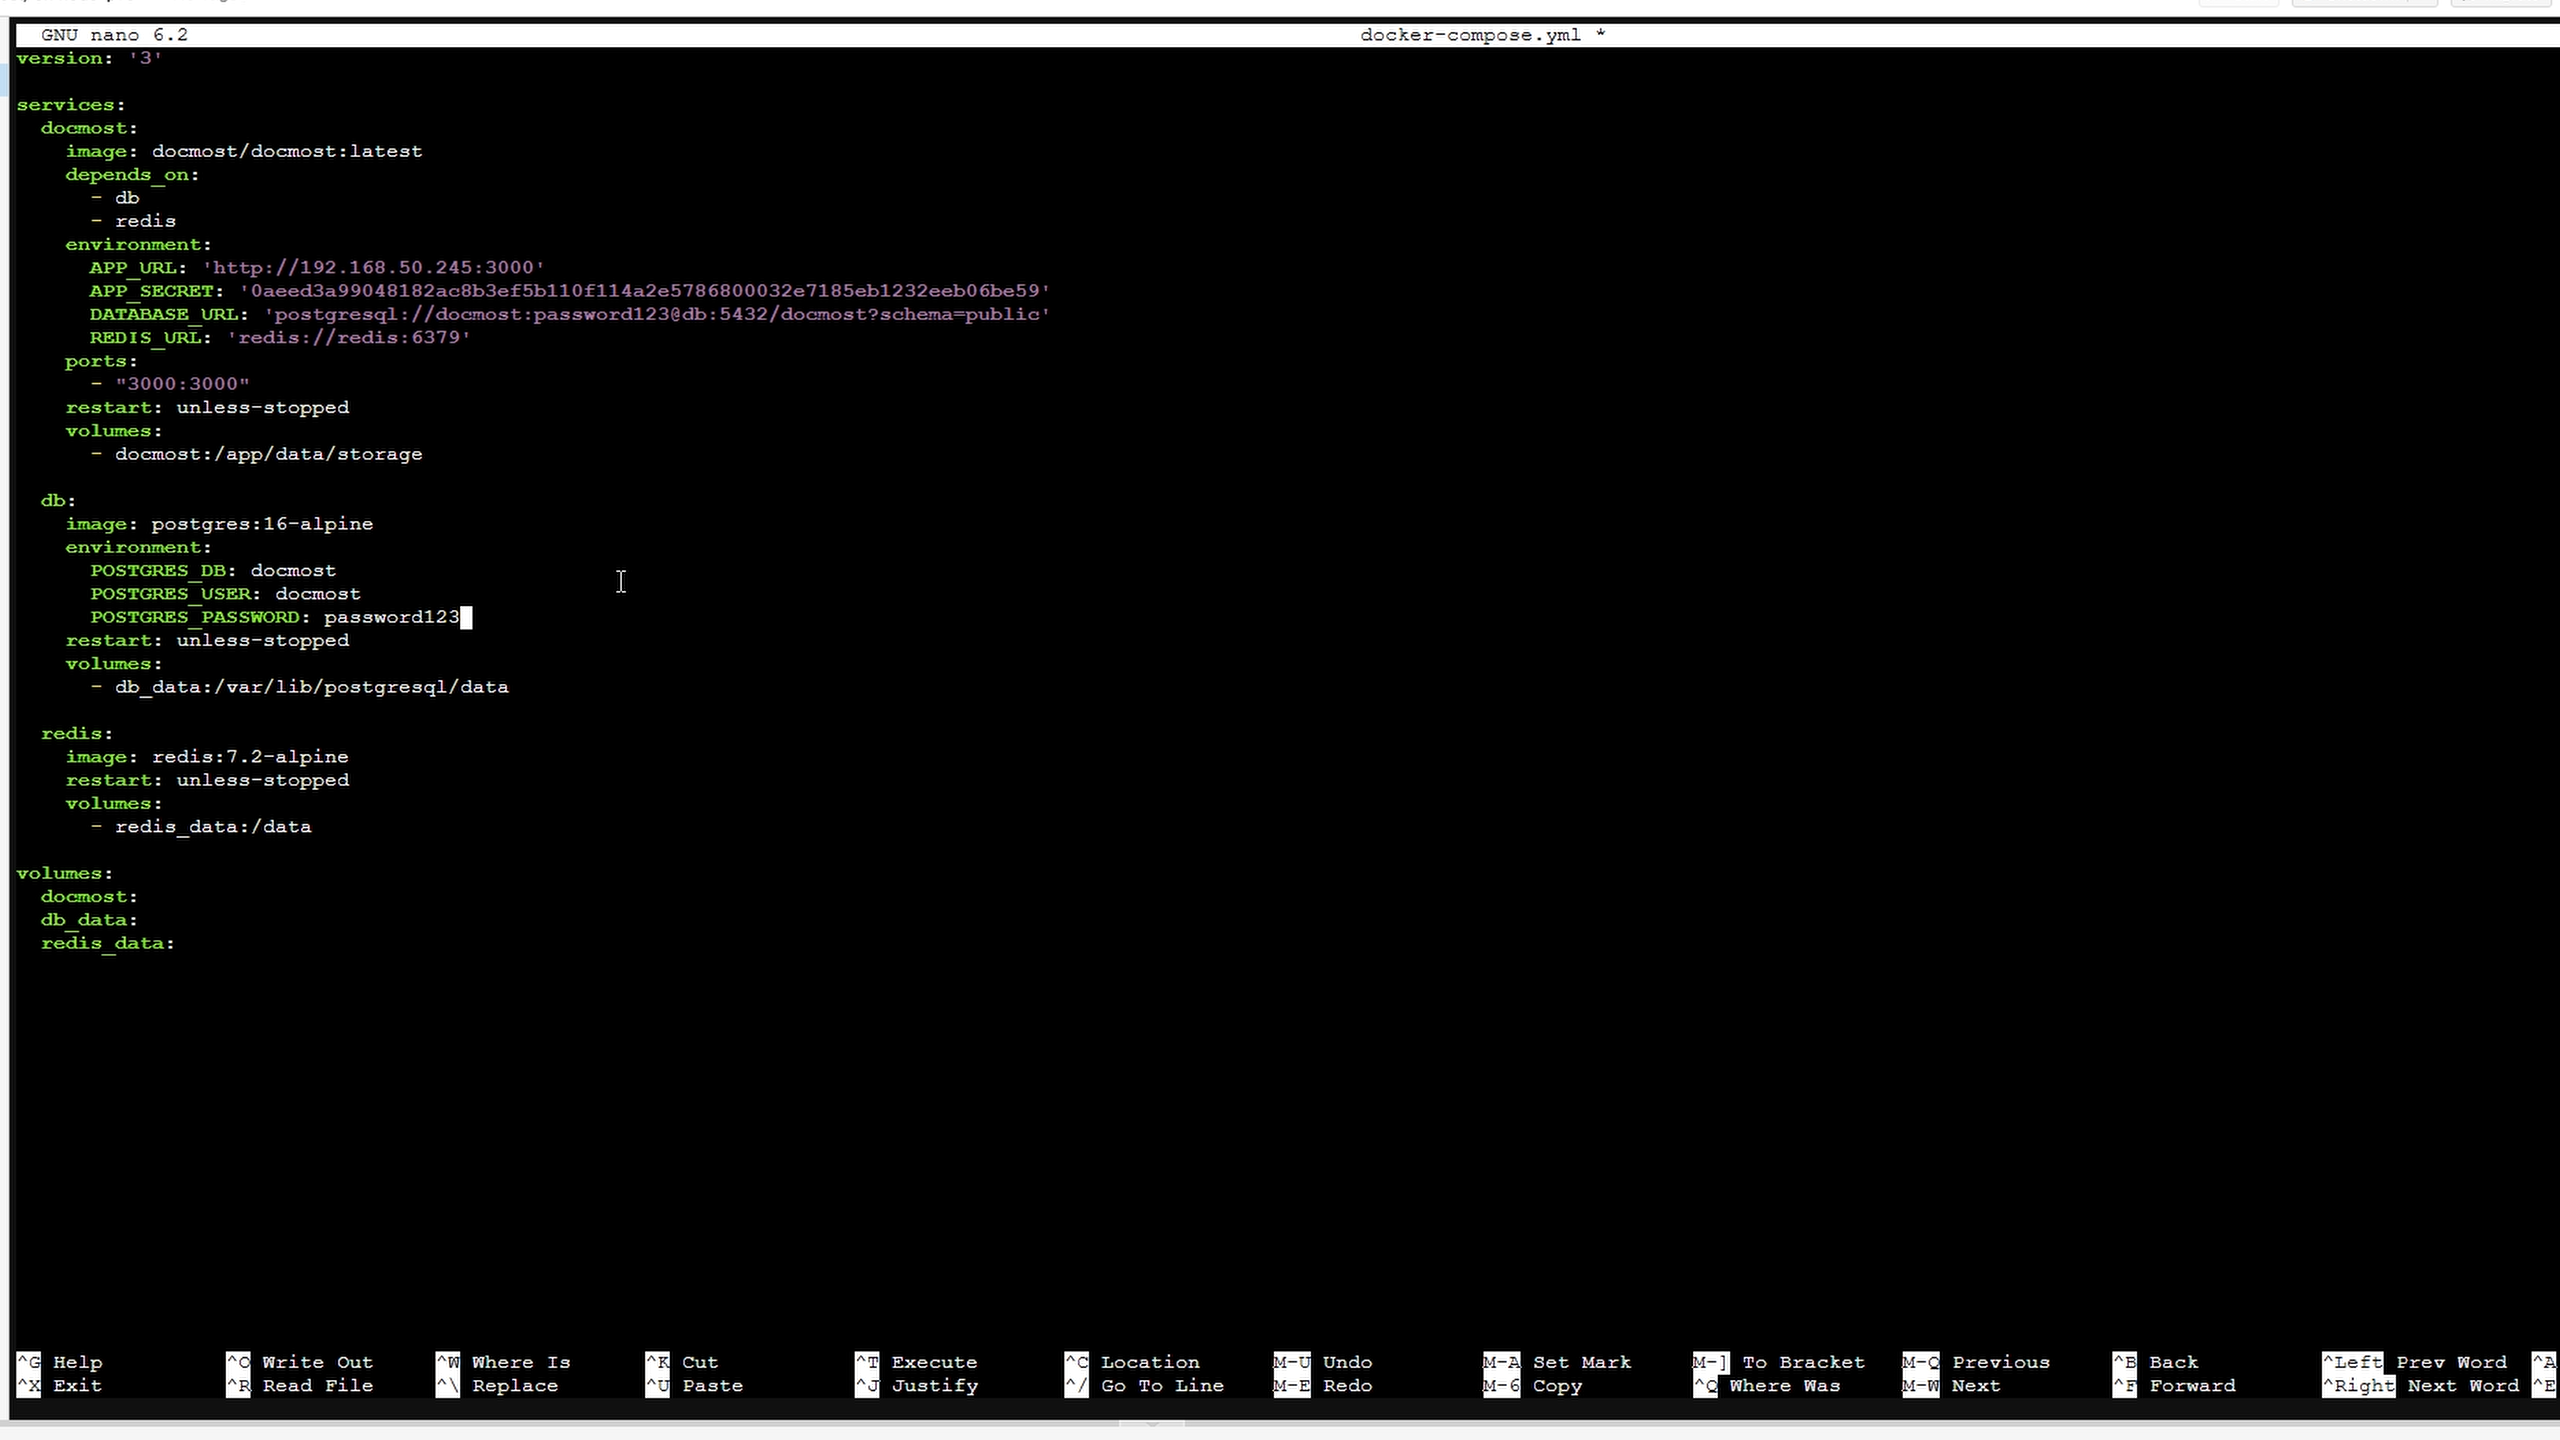
Edit docker-compose.yml to update:
APP_URLwith your domain (e.g.https://docmost.example.com).APP_SECRETwith the key you generated.POSTGRES_PASSWORDwith a secure password.- Matching password in
DATABASE_URL.
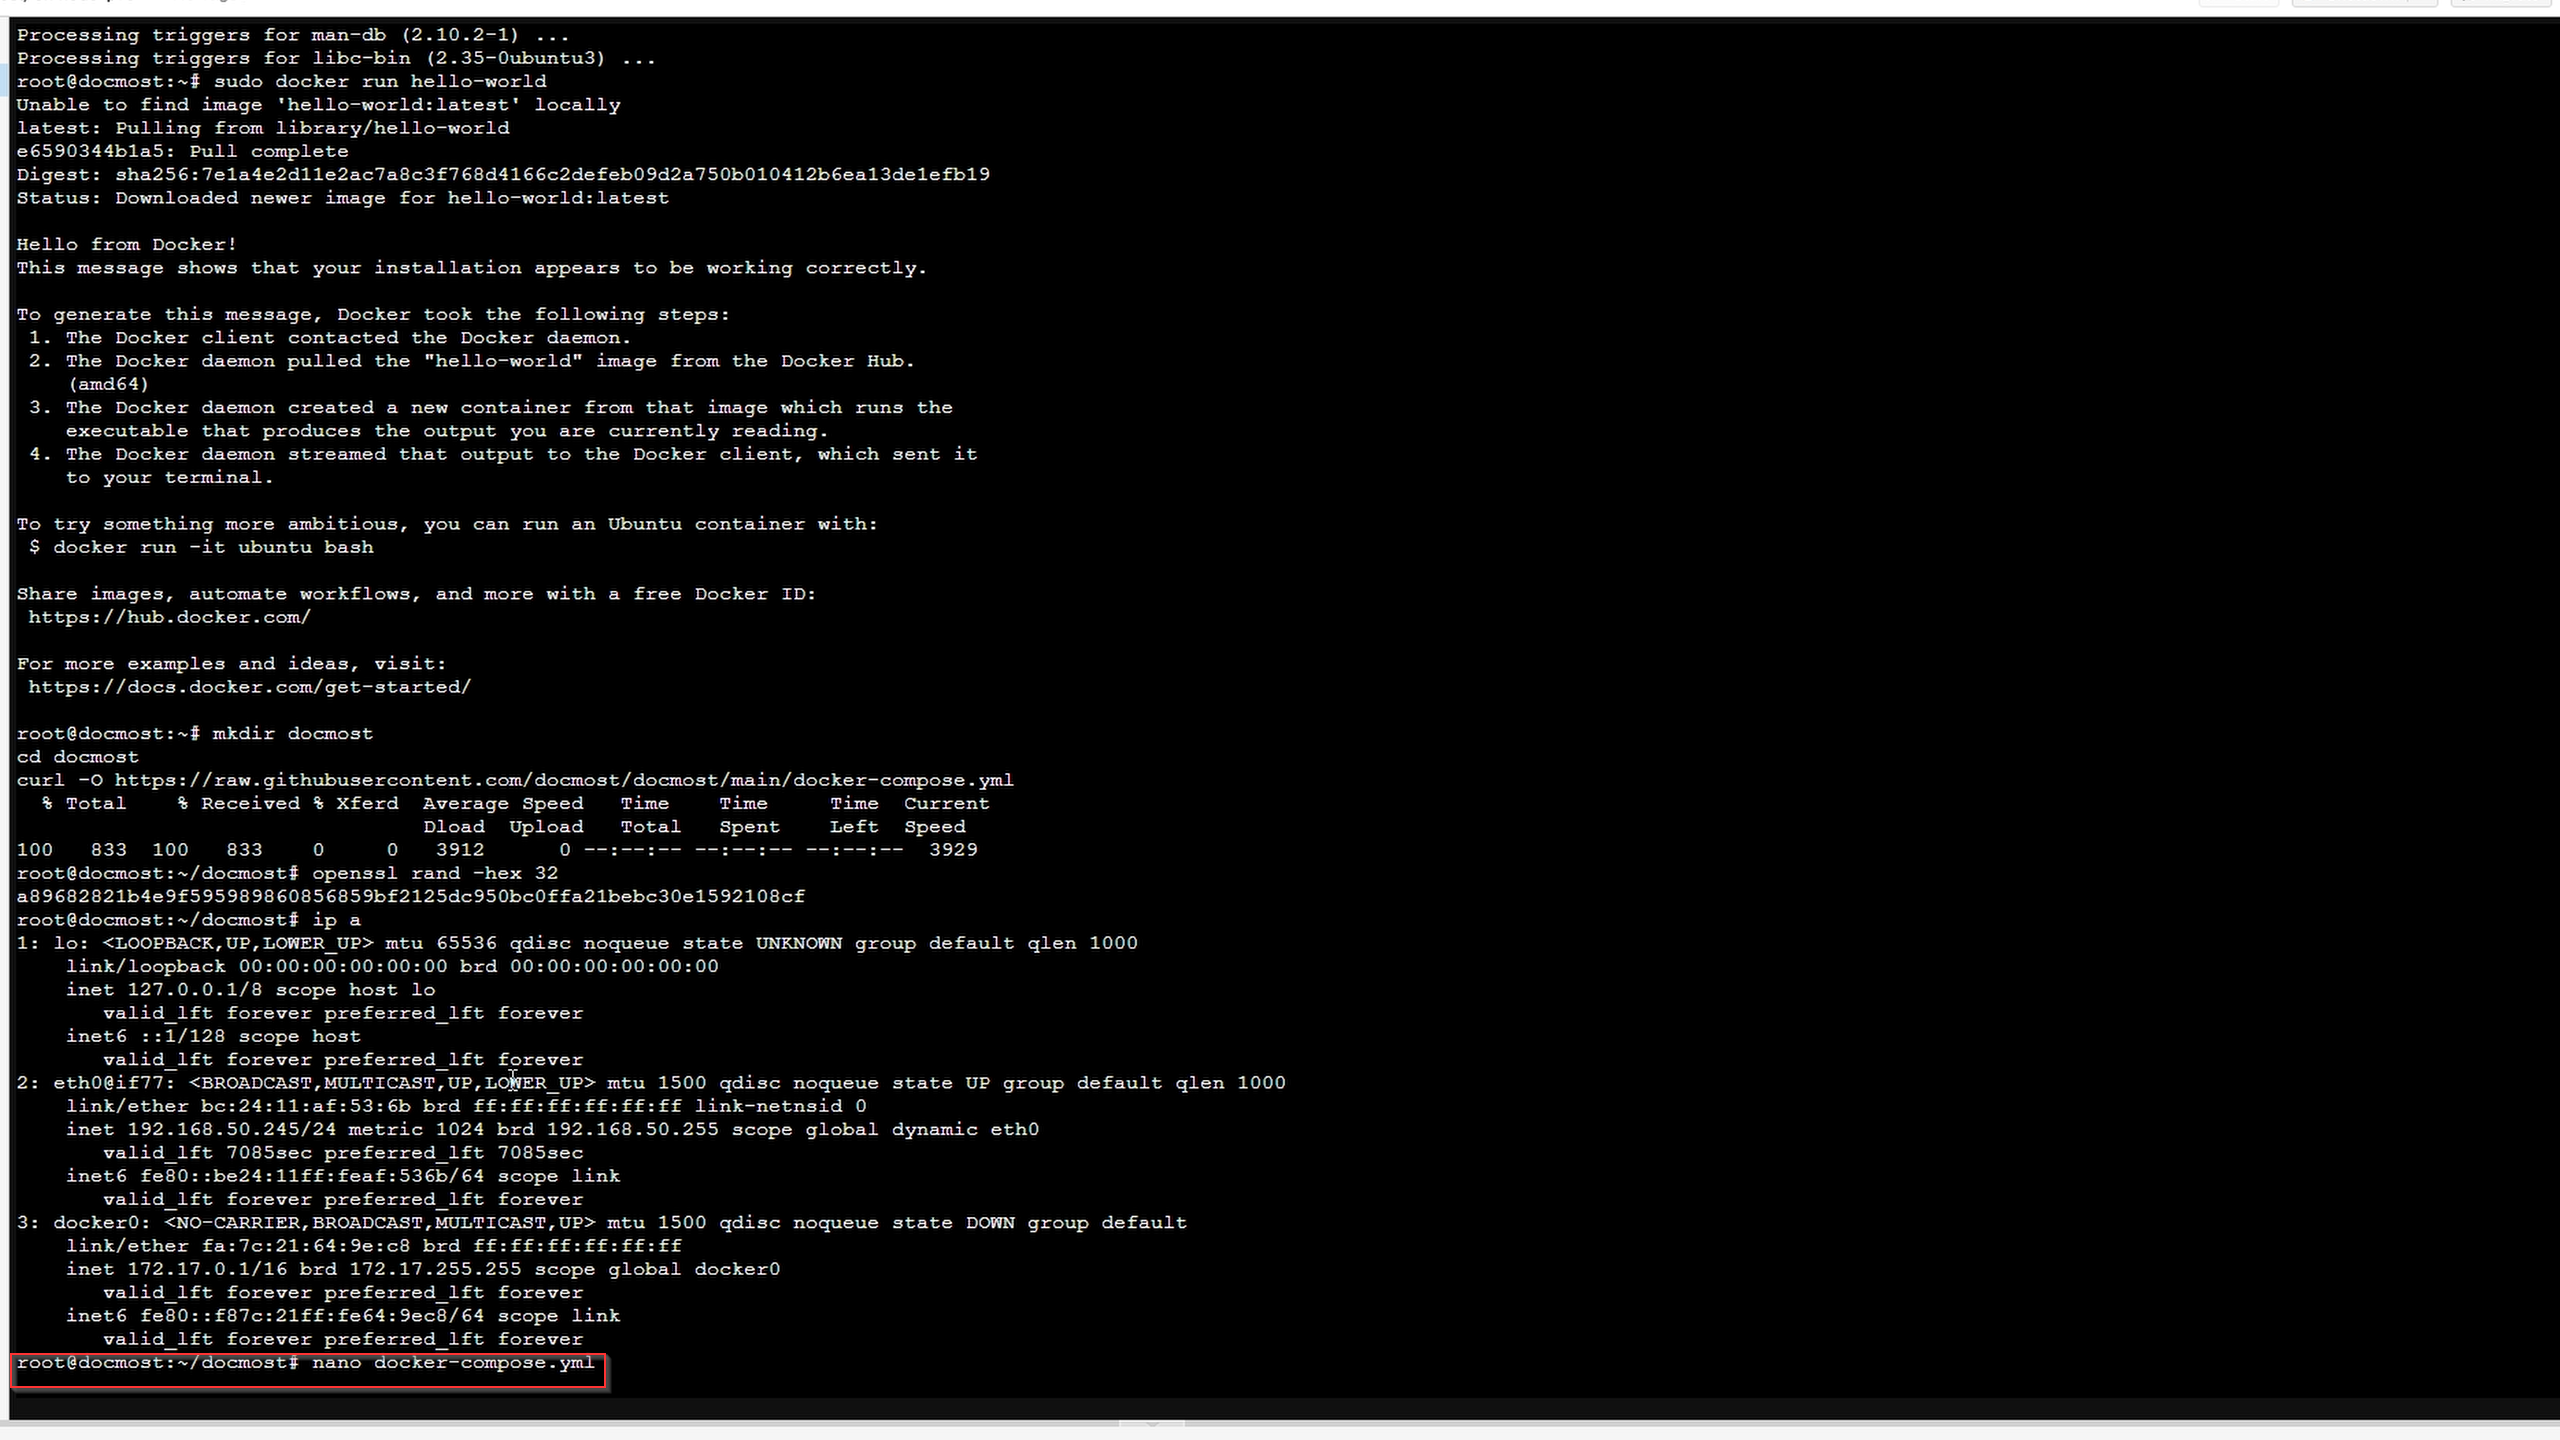
Open with:
nano docker-compose.yml
Example section:
version: "3"

services:
  docmost:
    image: docmost/docmost:latest
    depends_on:
      - db
      - redis
    environment:
      APP_URL: "http://localhost:3000"
      APP_SECRET: "REPLACE_WITH_LONG_SECRET"
      DATABASE_URL: "postgresql://docmost:STRONG_DB_PASSWORD@db:5432/docmost?schema=public"
      REDIS_URL: "redis://redis:6379"
    ports:
      - "3000:3000"
    restart: unless-stopped
    volumes:
      - docmost:/app/data/storage

  db:
    image: postgres:16-alpine
    environment:
      POSTGRES_DB: docmost
      POSTGRES_USER: docmost
      POSTGRES_PASSWORD: STRONG_DB_PASSWORD
    restart: unless-stopped
    volumes:
      - db_data:/var/lib/postgresql/data

  redis:
    image: redis:7.2-alpine
    restart: unless-stopped
    volumes:
      - redis_data:/data

volumes:
  docmost:
  db_data:
  redis_data:
After Docmost Install
Start the Services
Make sure you are inside the docmost directory which contains the docker-compose.yml file.
To start the services, run:
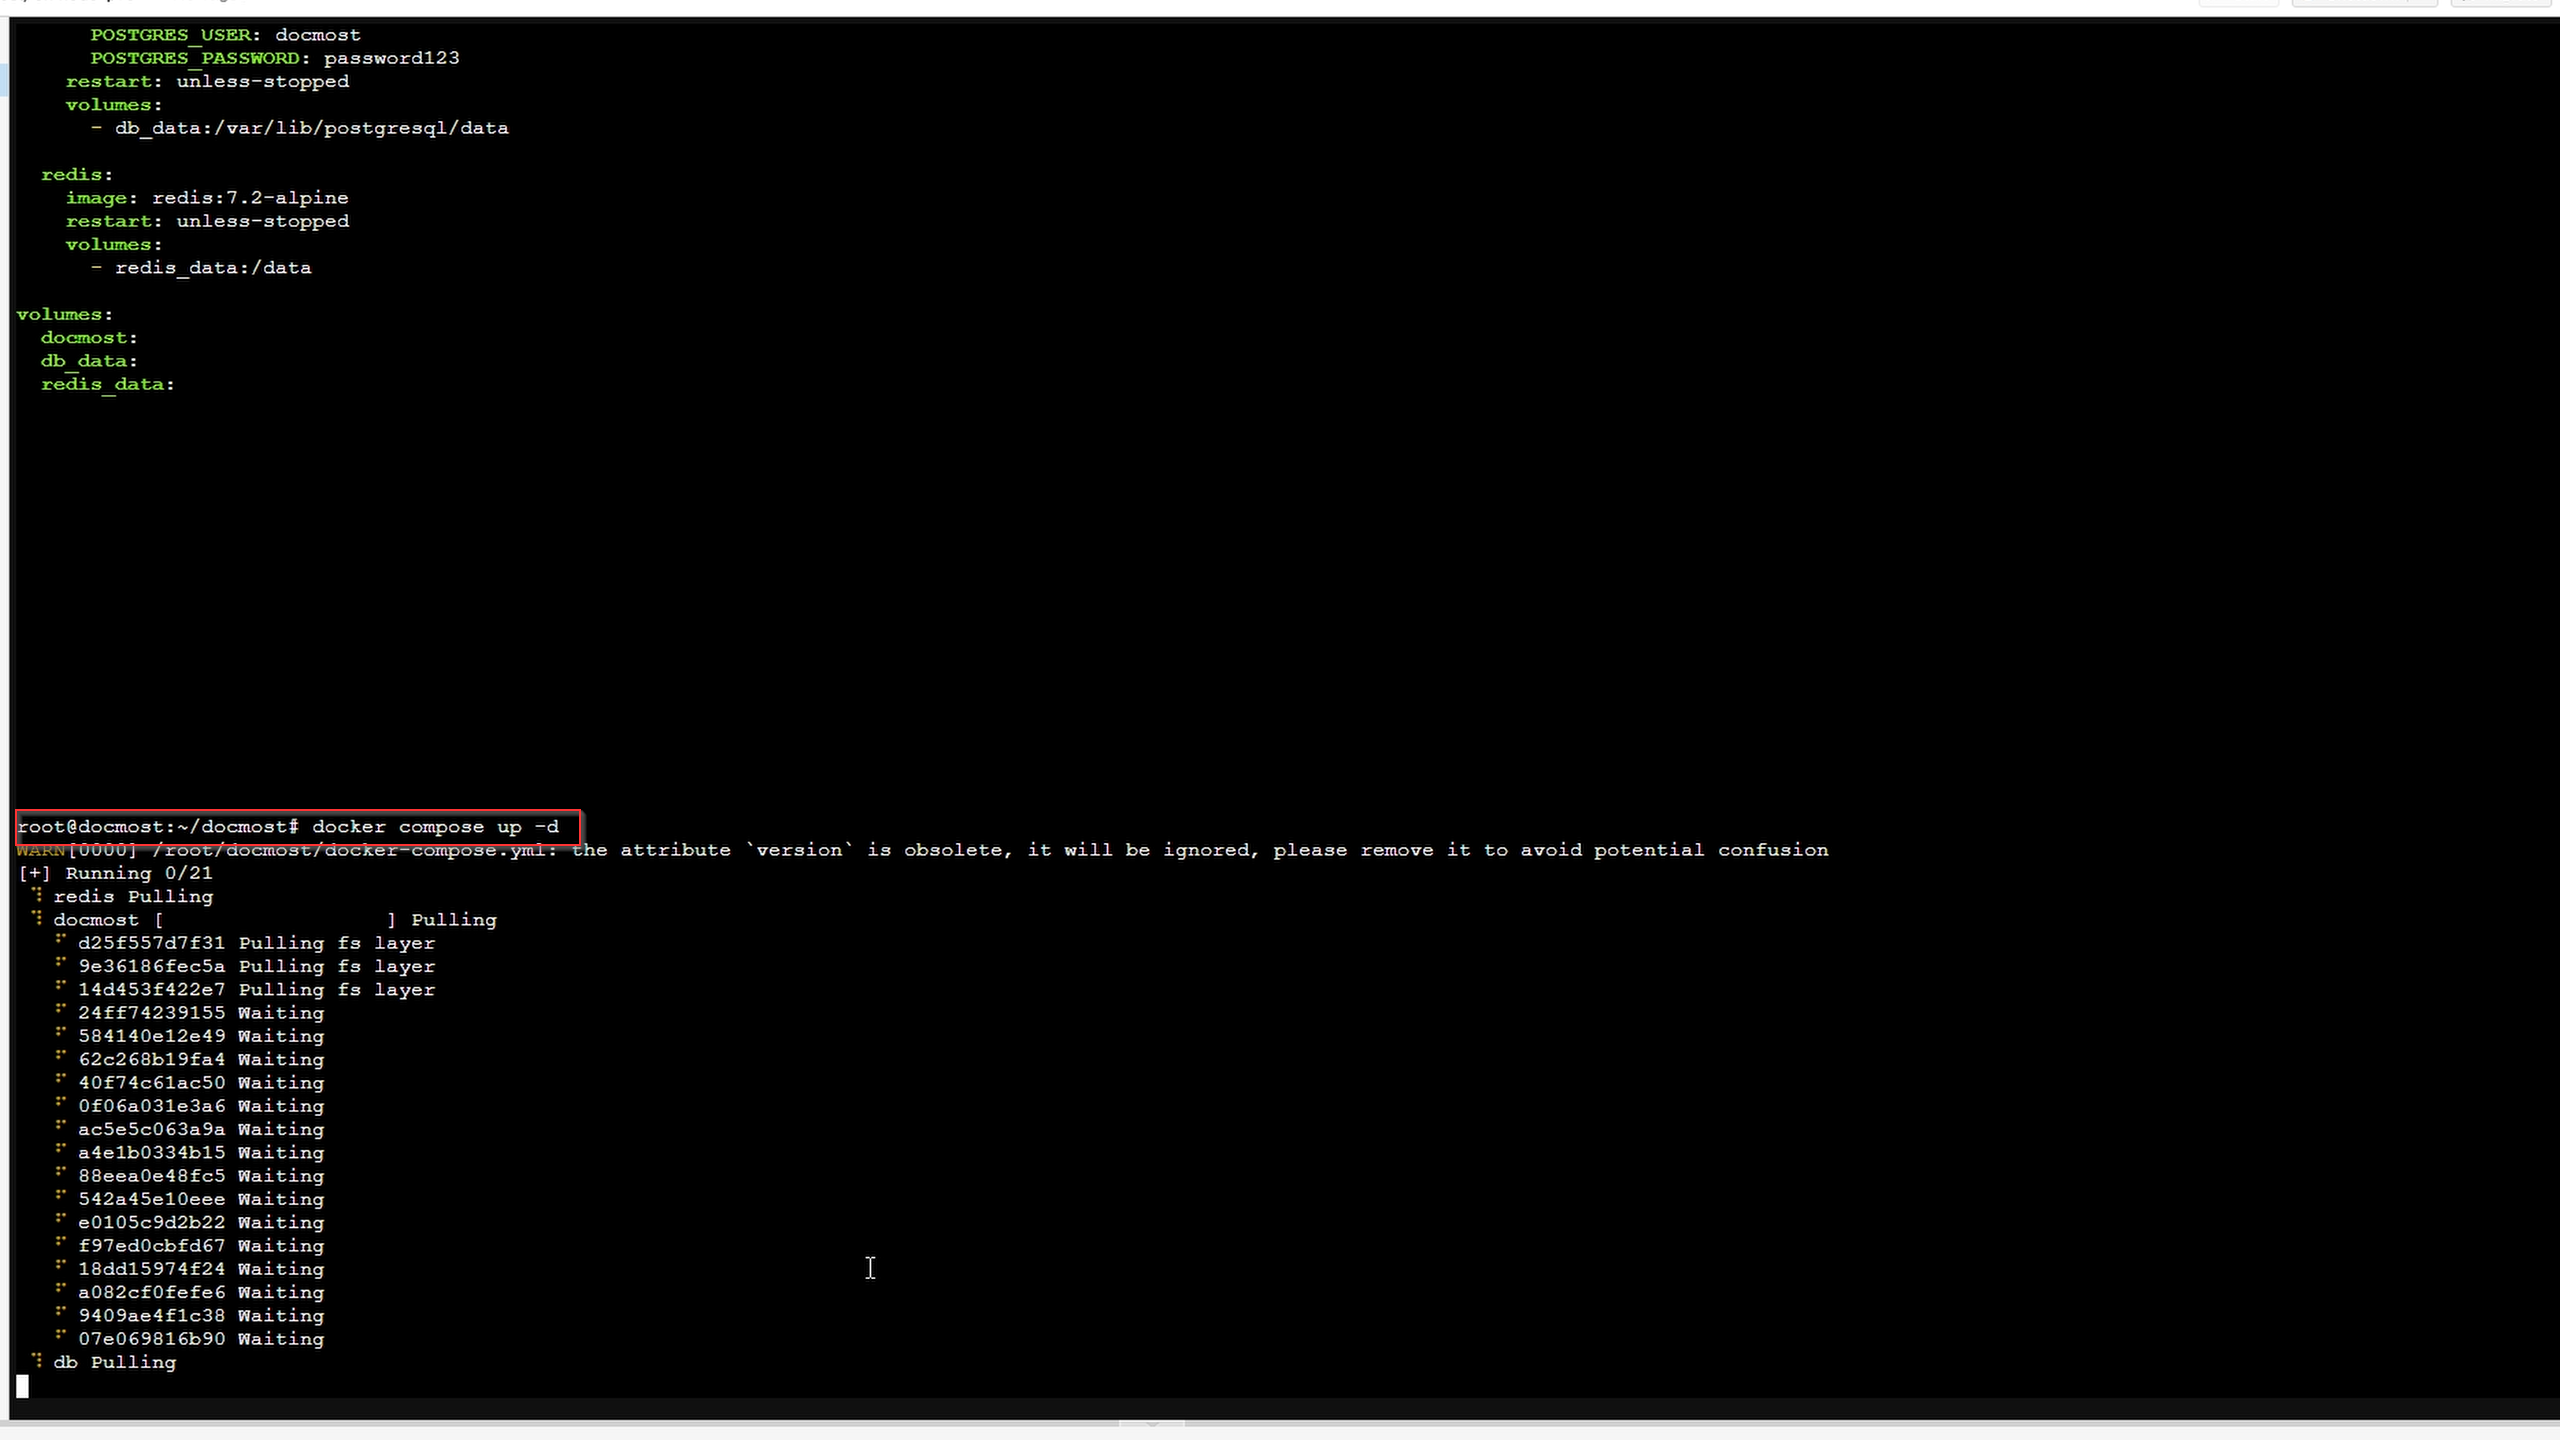
docker compose up -d
Start Docmost Services
Inside the docmost folder, run:
docker compose up -d
Access Docmost via:
http://ip_address:3000
Create your user account (note: password asked only once, be sure to type it correctly).

Configure and Use Docmost
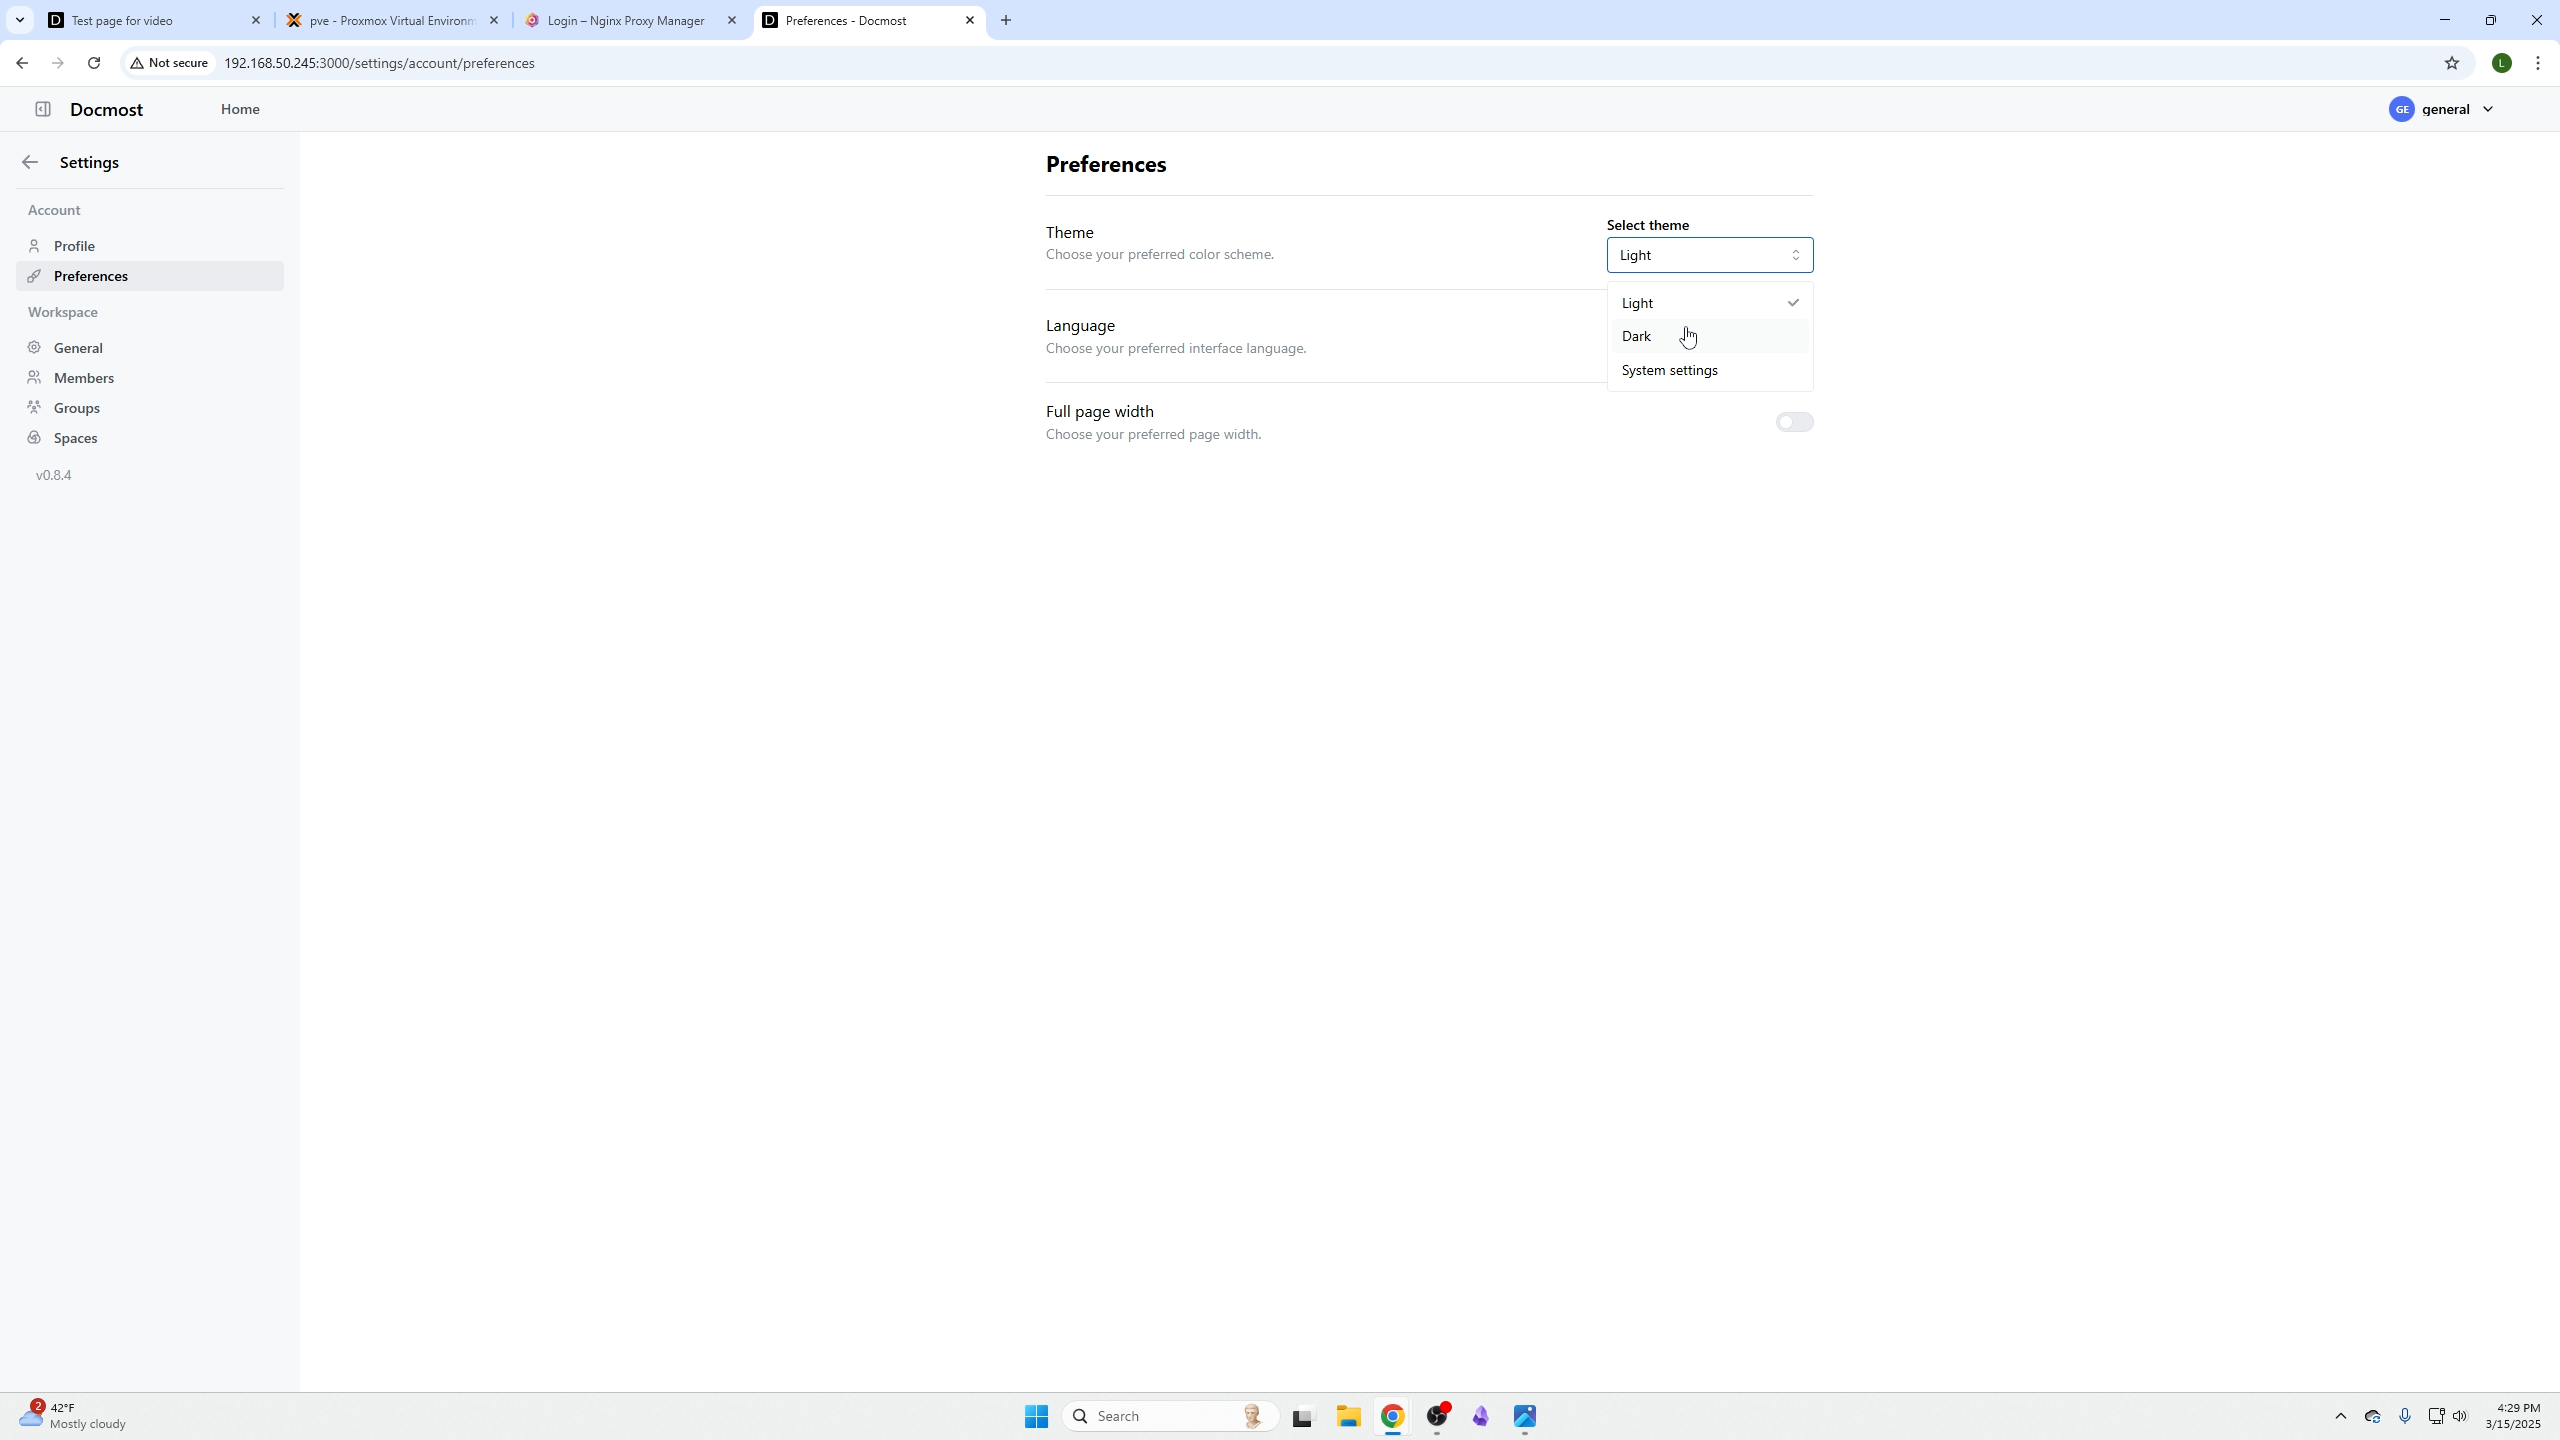
Switch Theme
Go to profile (top right) → My Preferences → select Dark Mode or Light Mode.

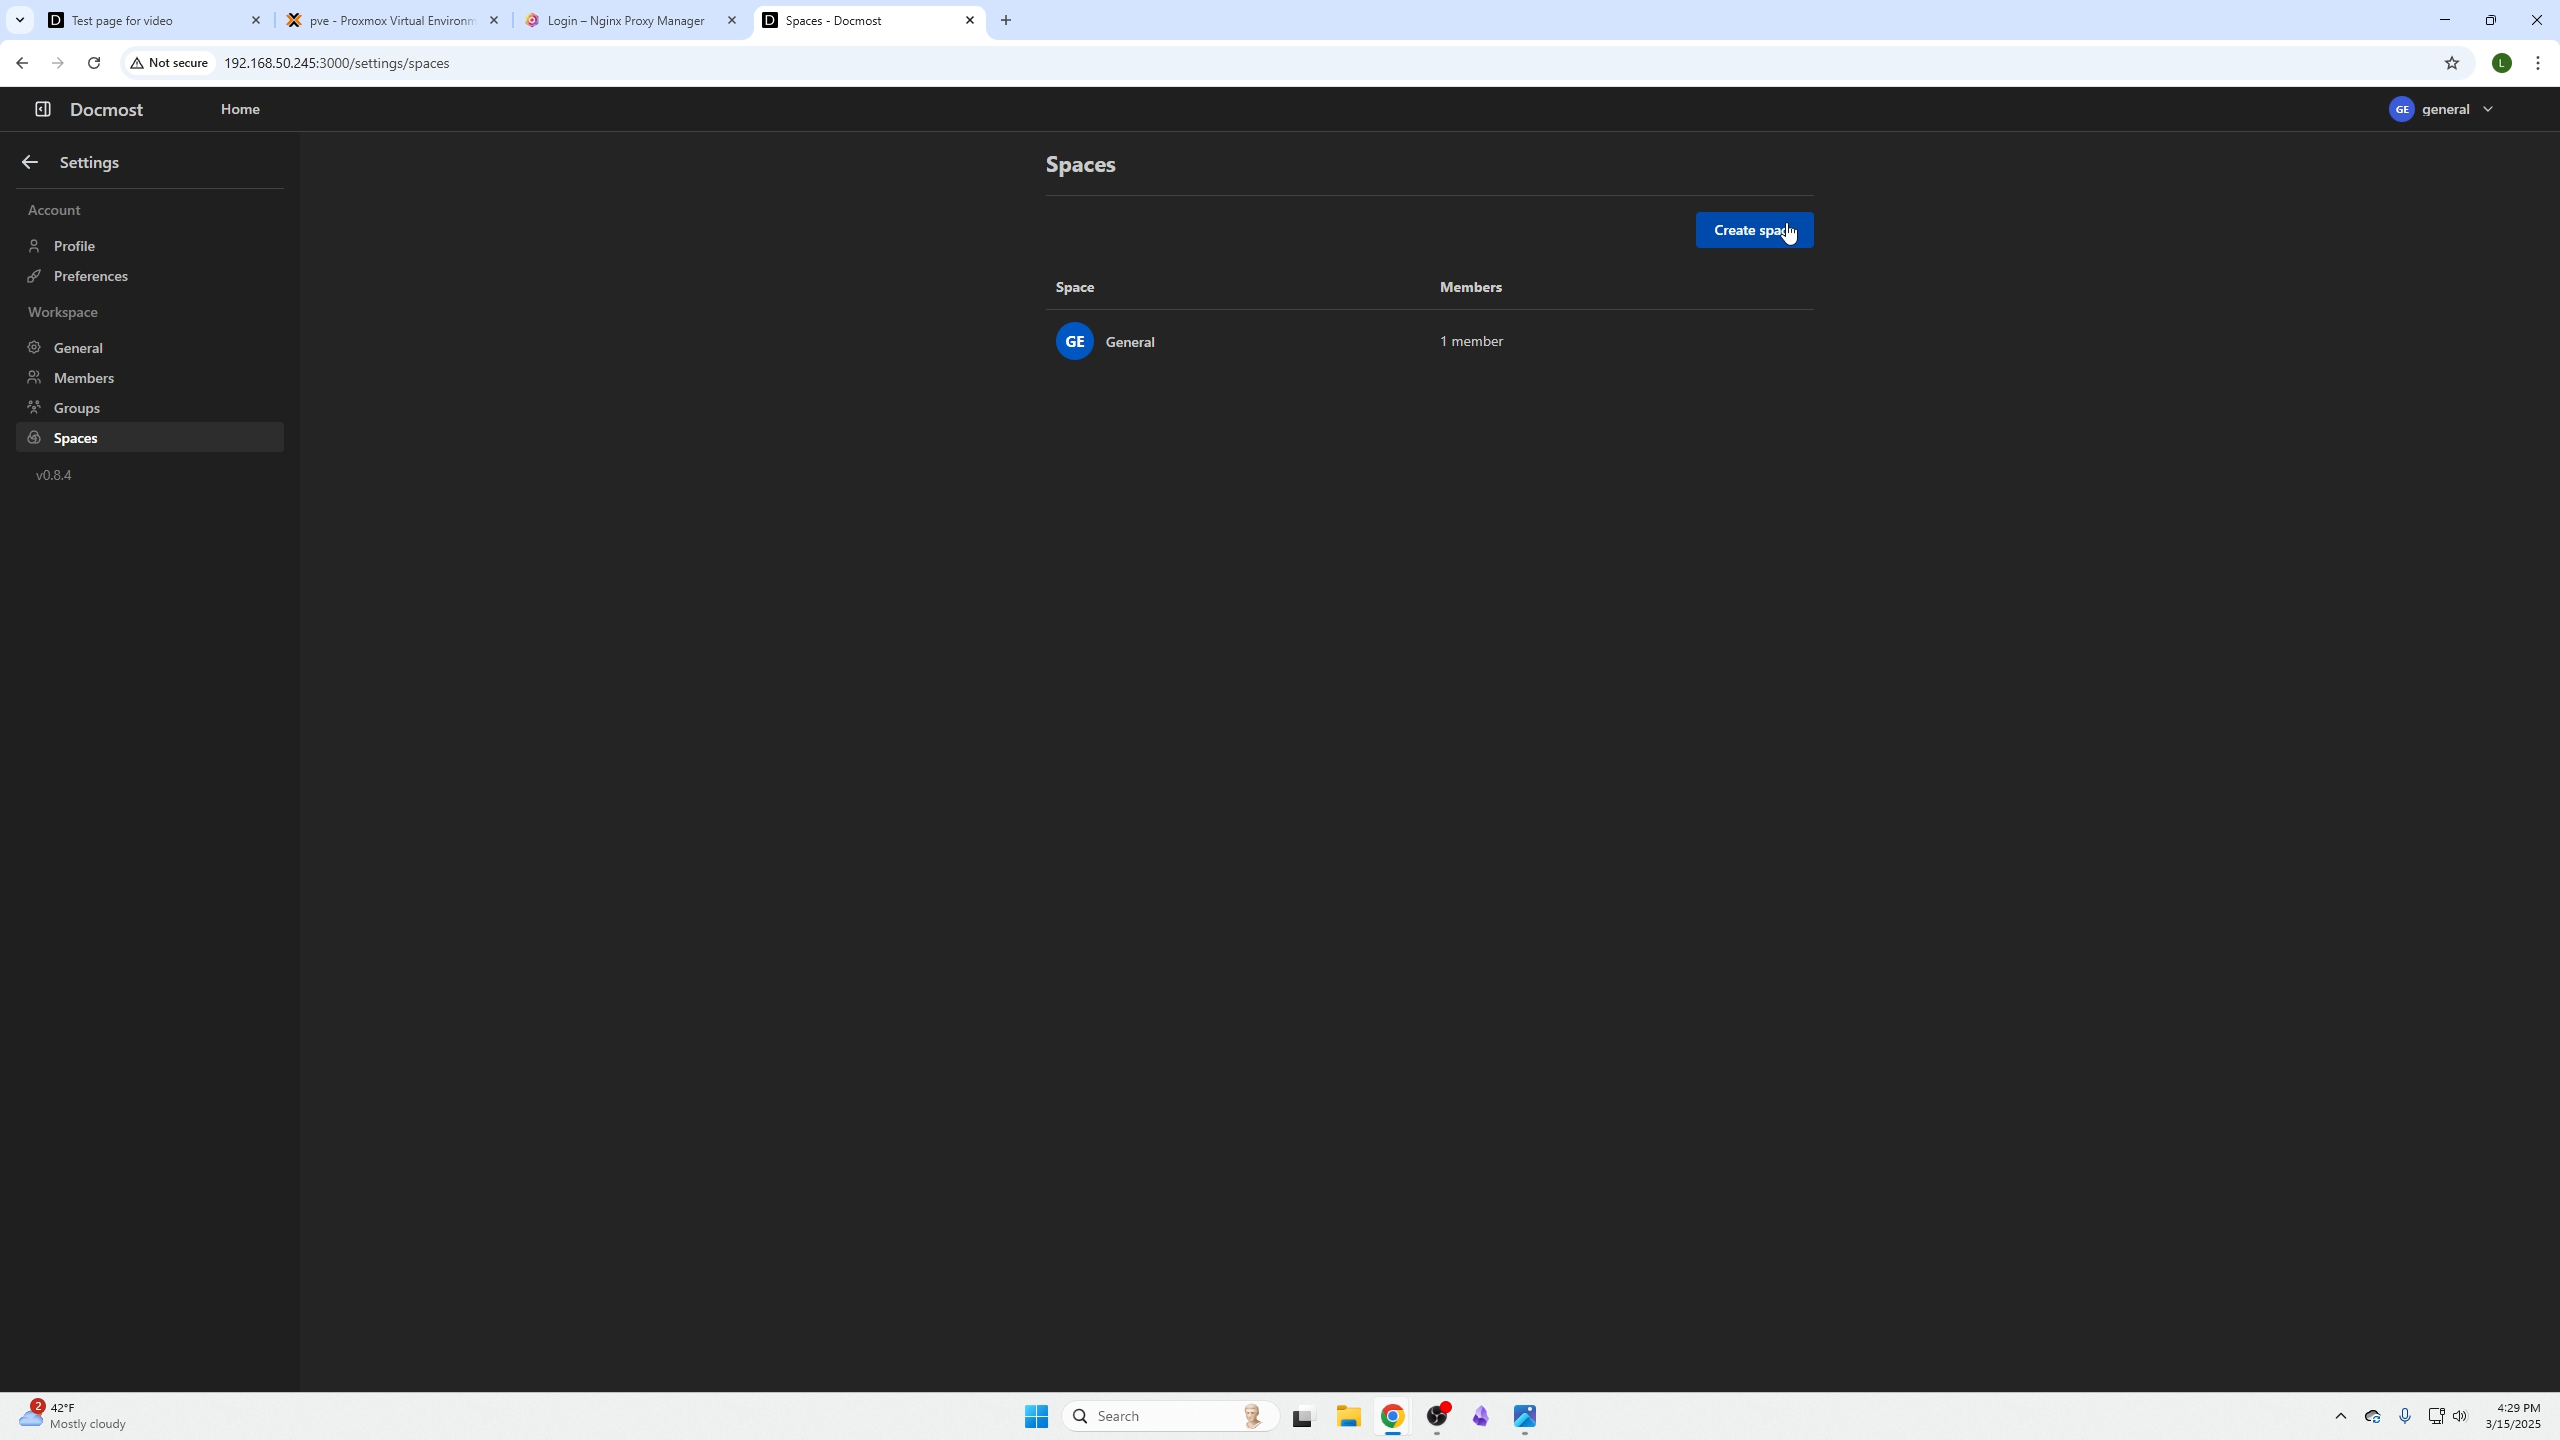
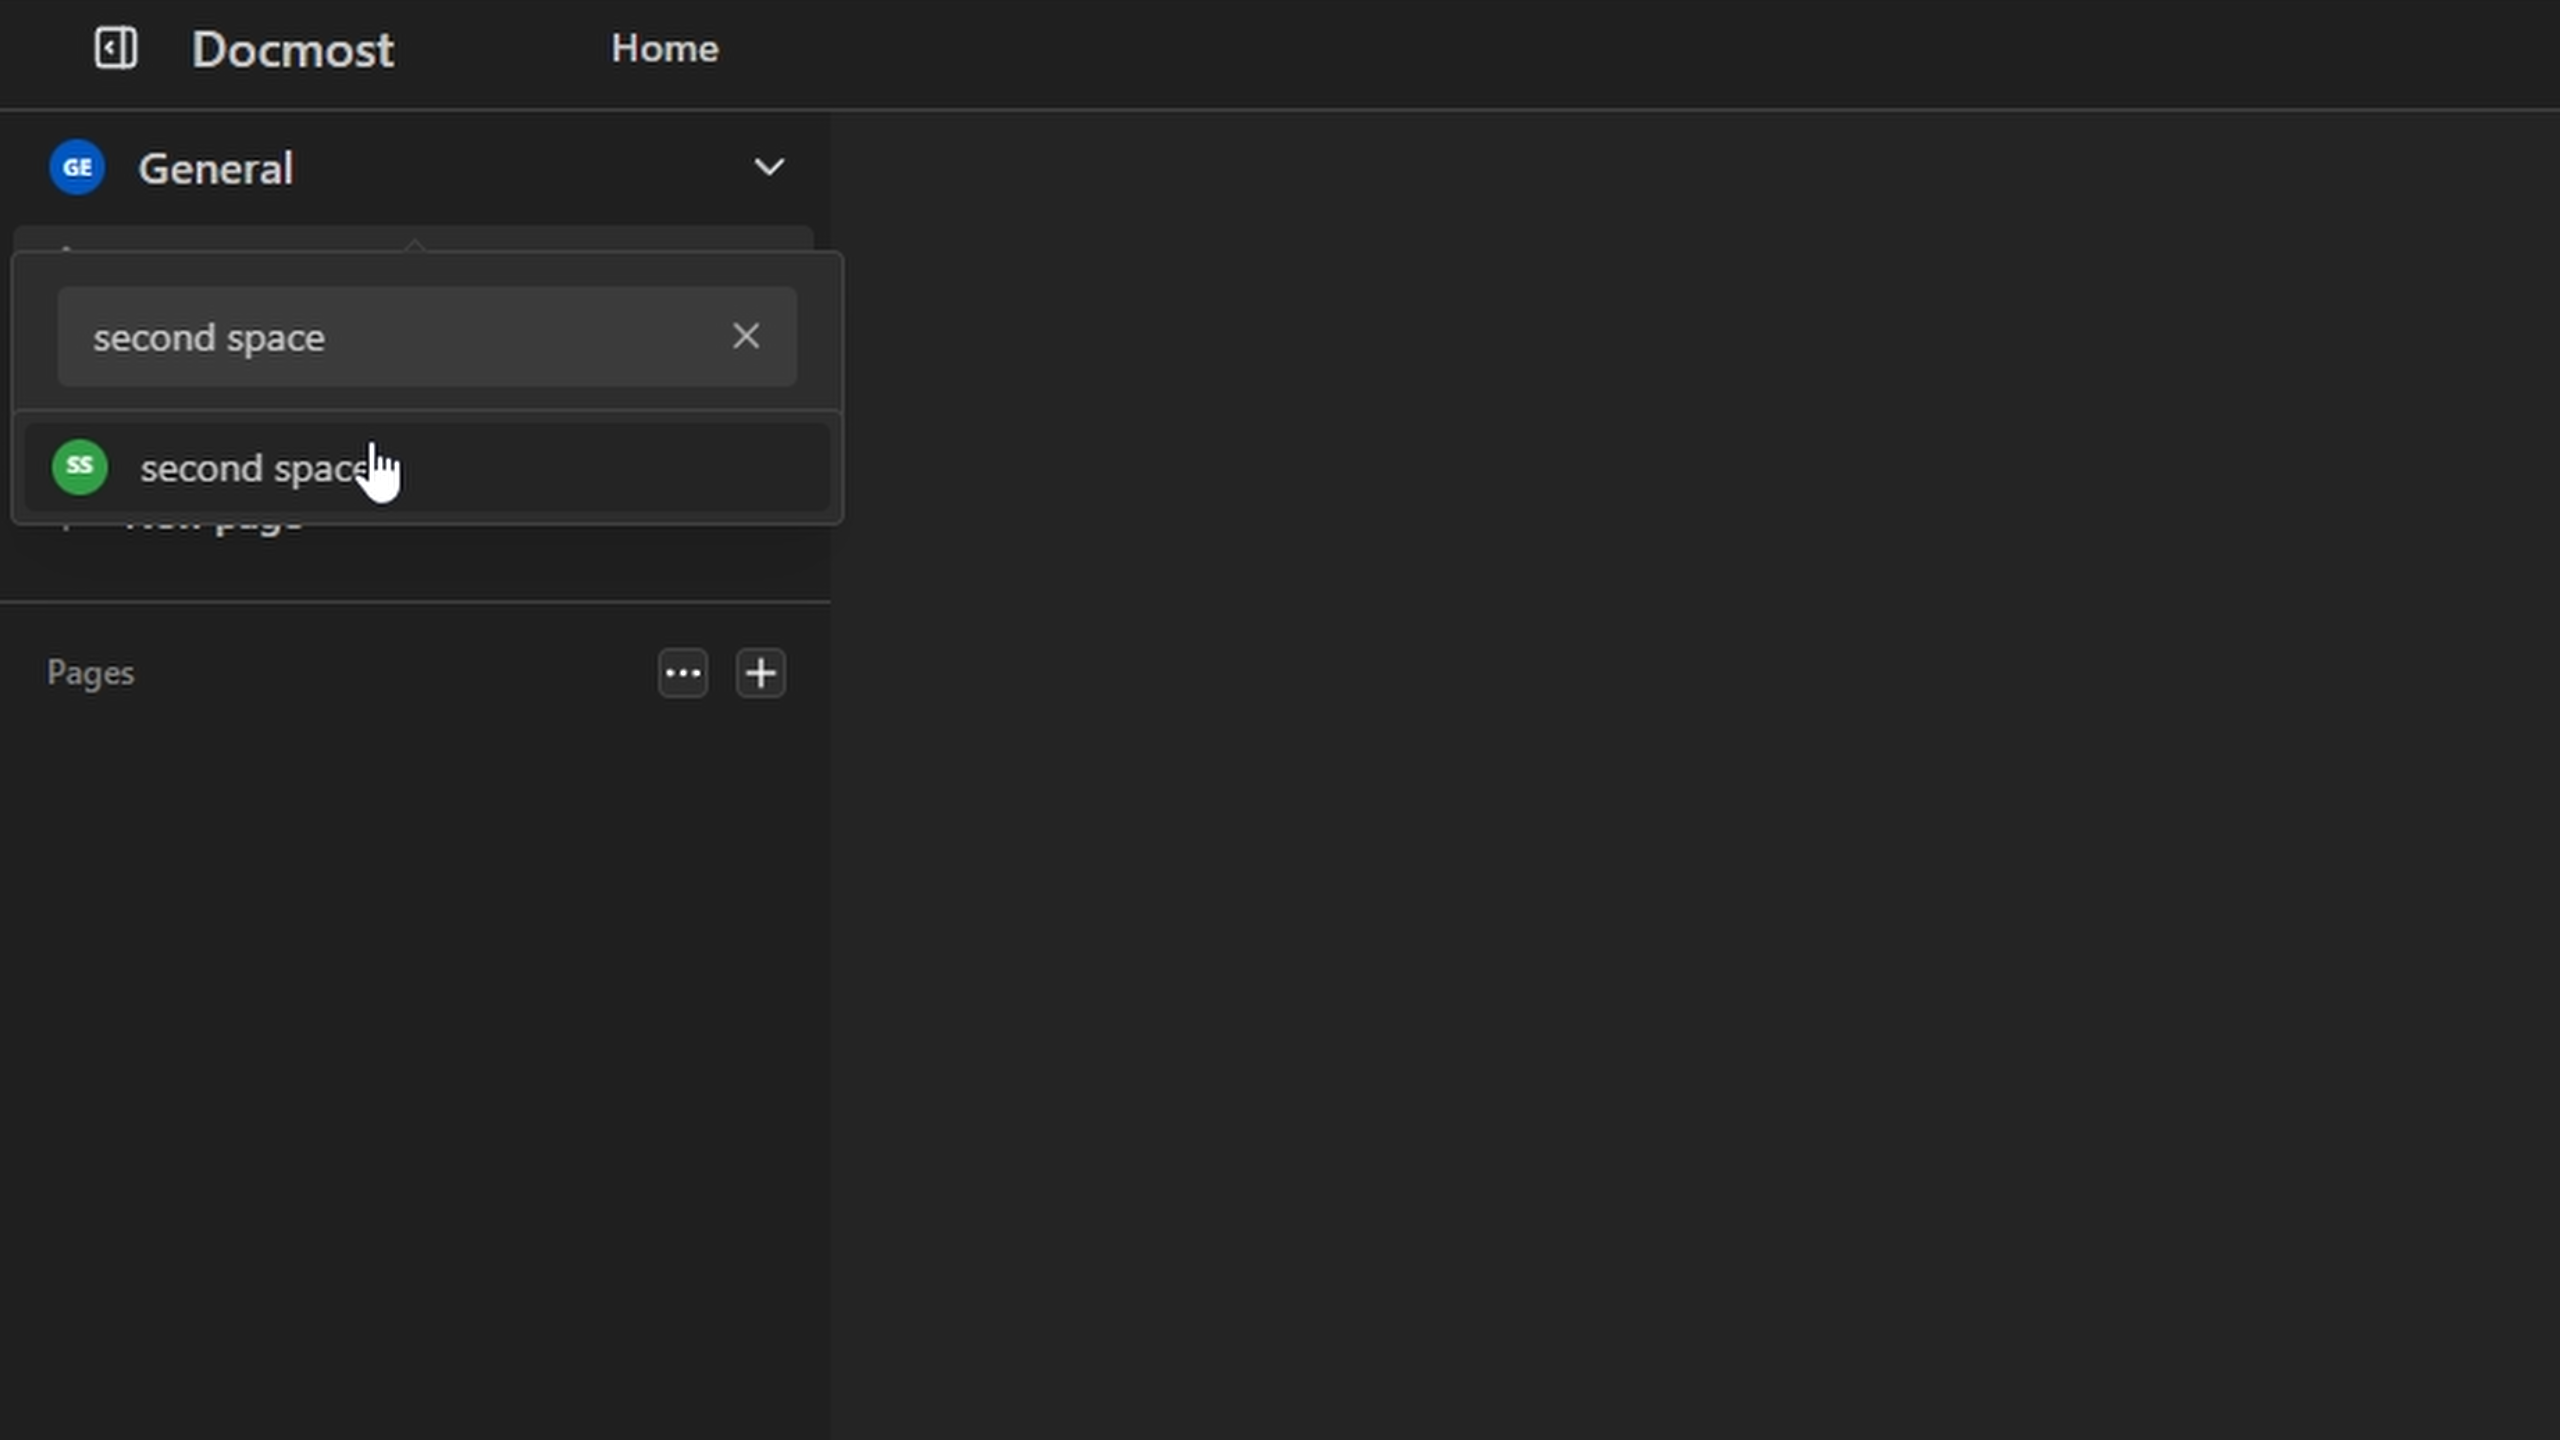
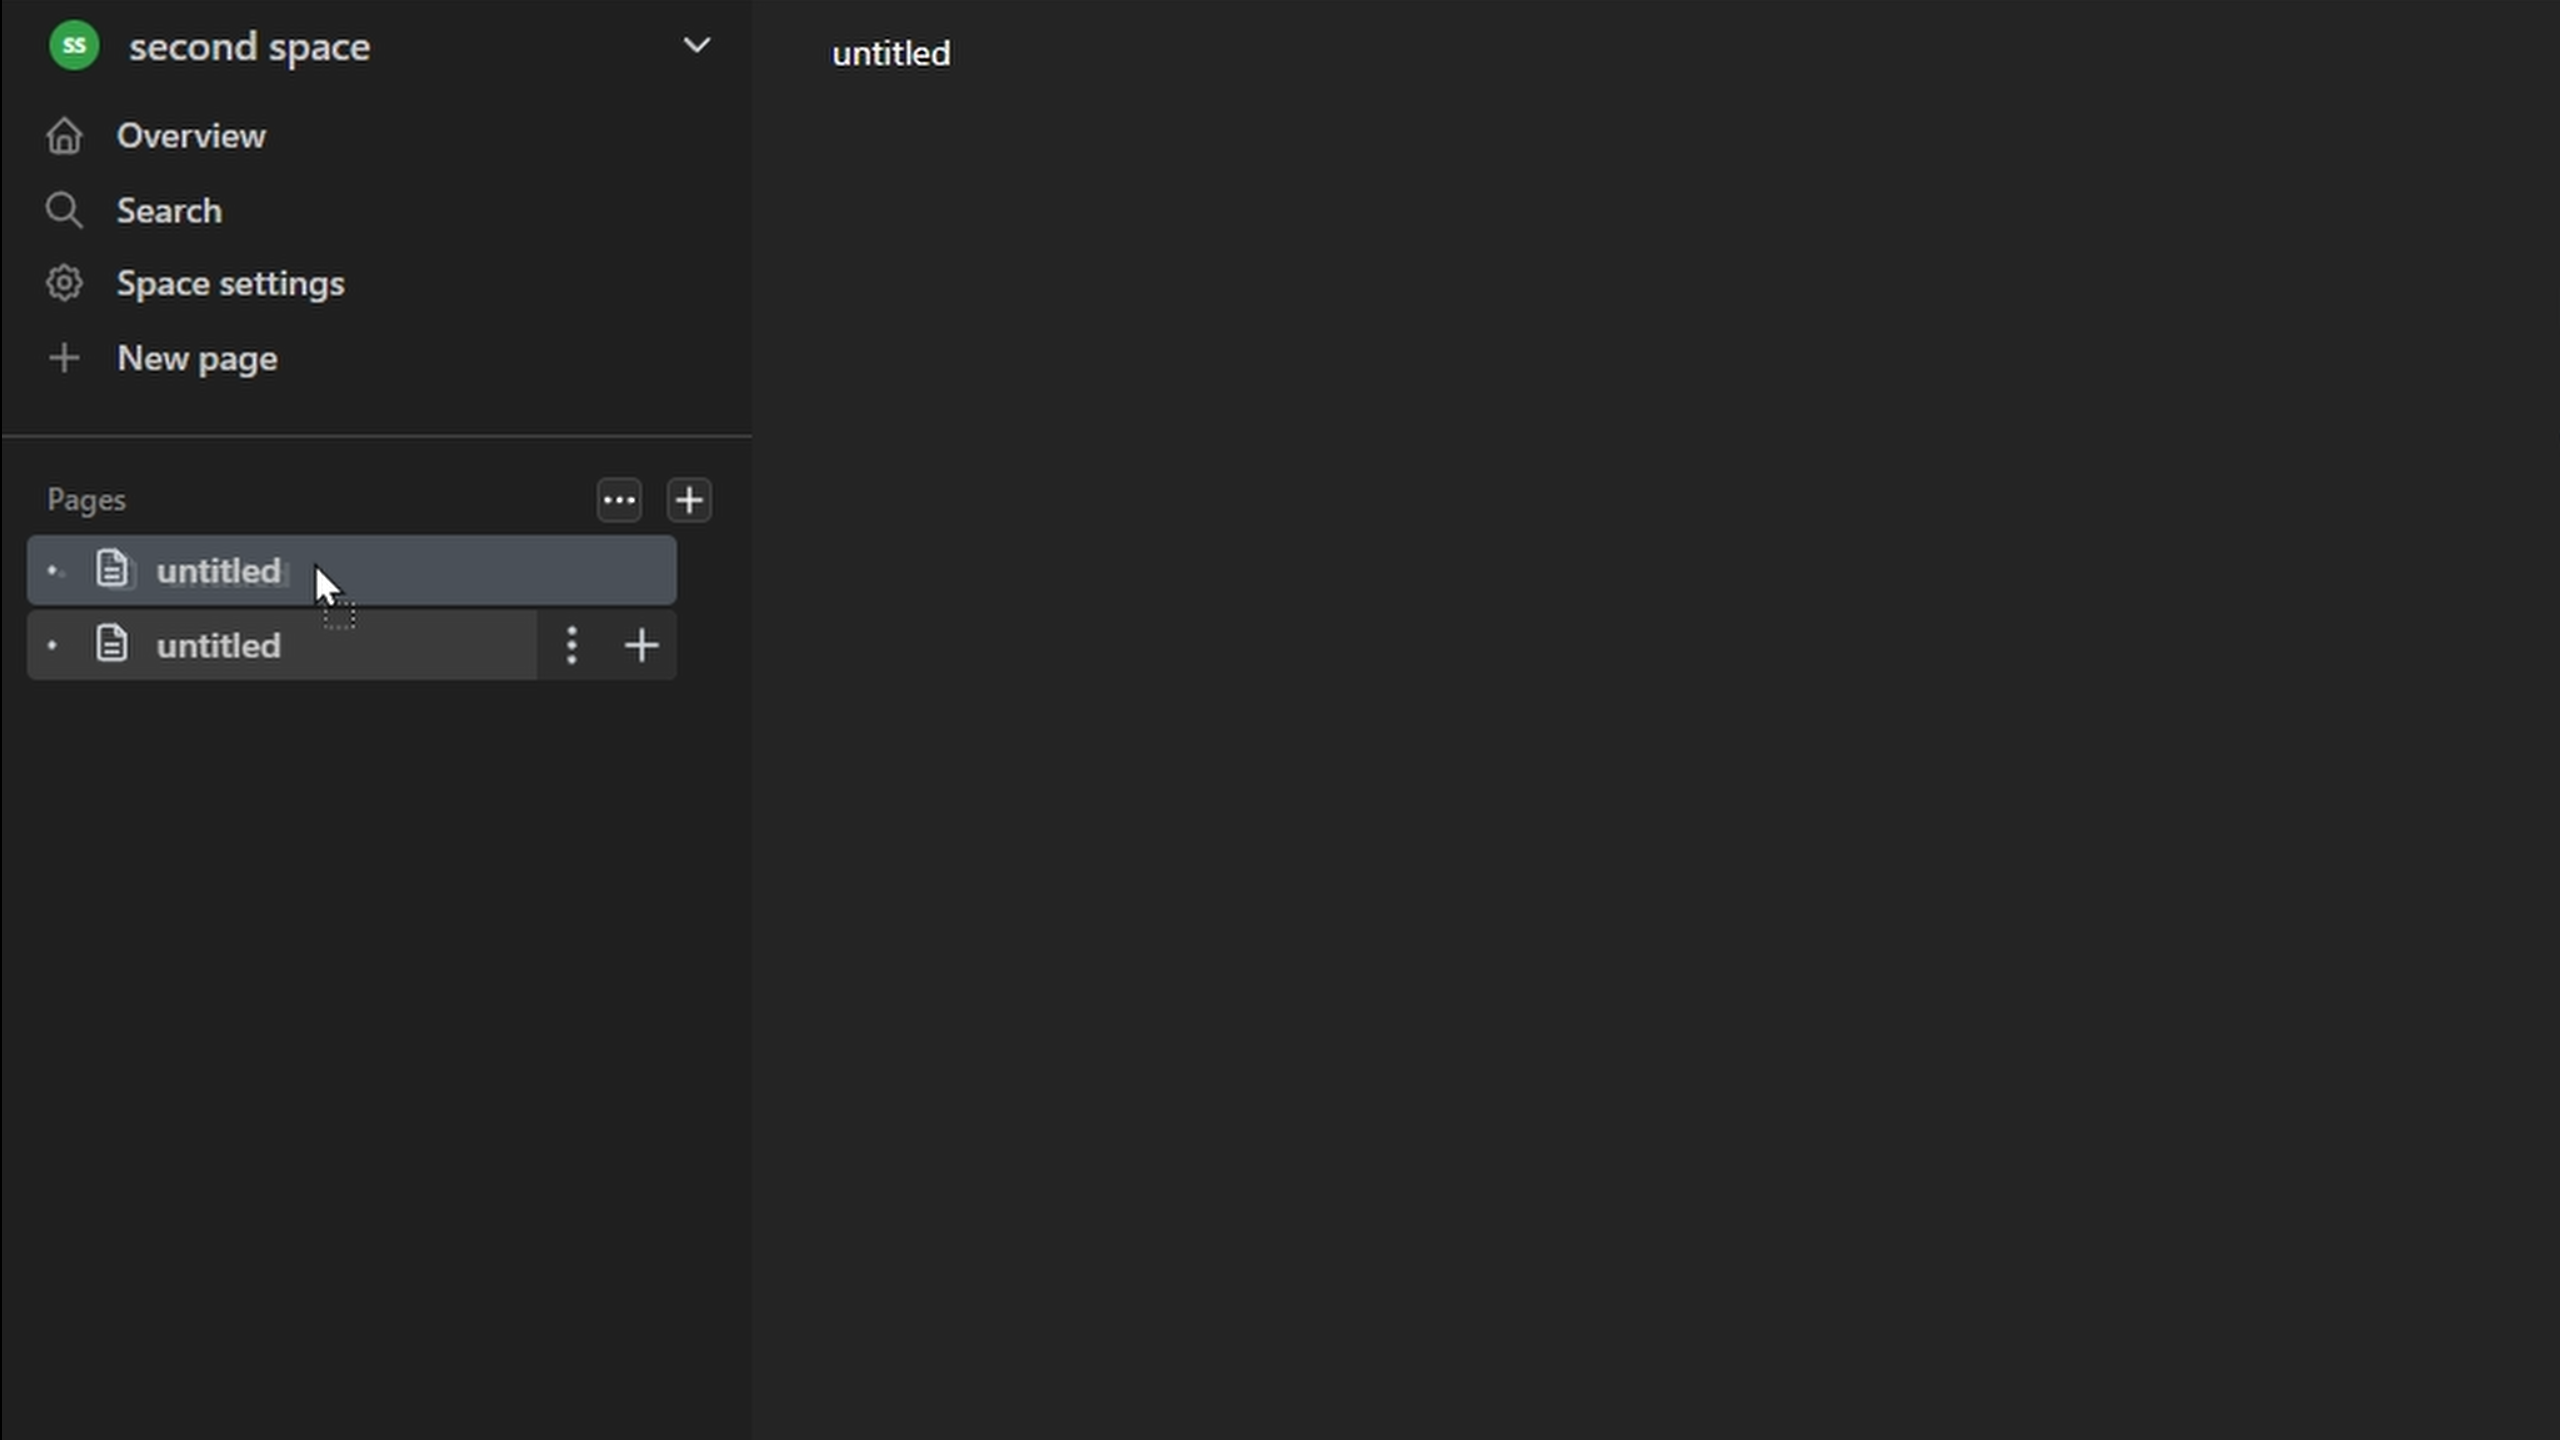
Create Spaces
Organize notes into "Spaces" (like books) per topic or for access control (Settings → Spaces).
Switch spaces via dropdown in notes (may require refreshing browser after creating new space).
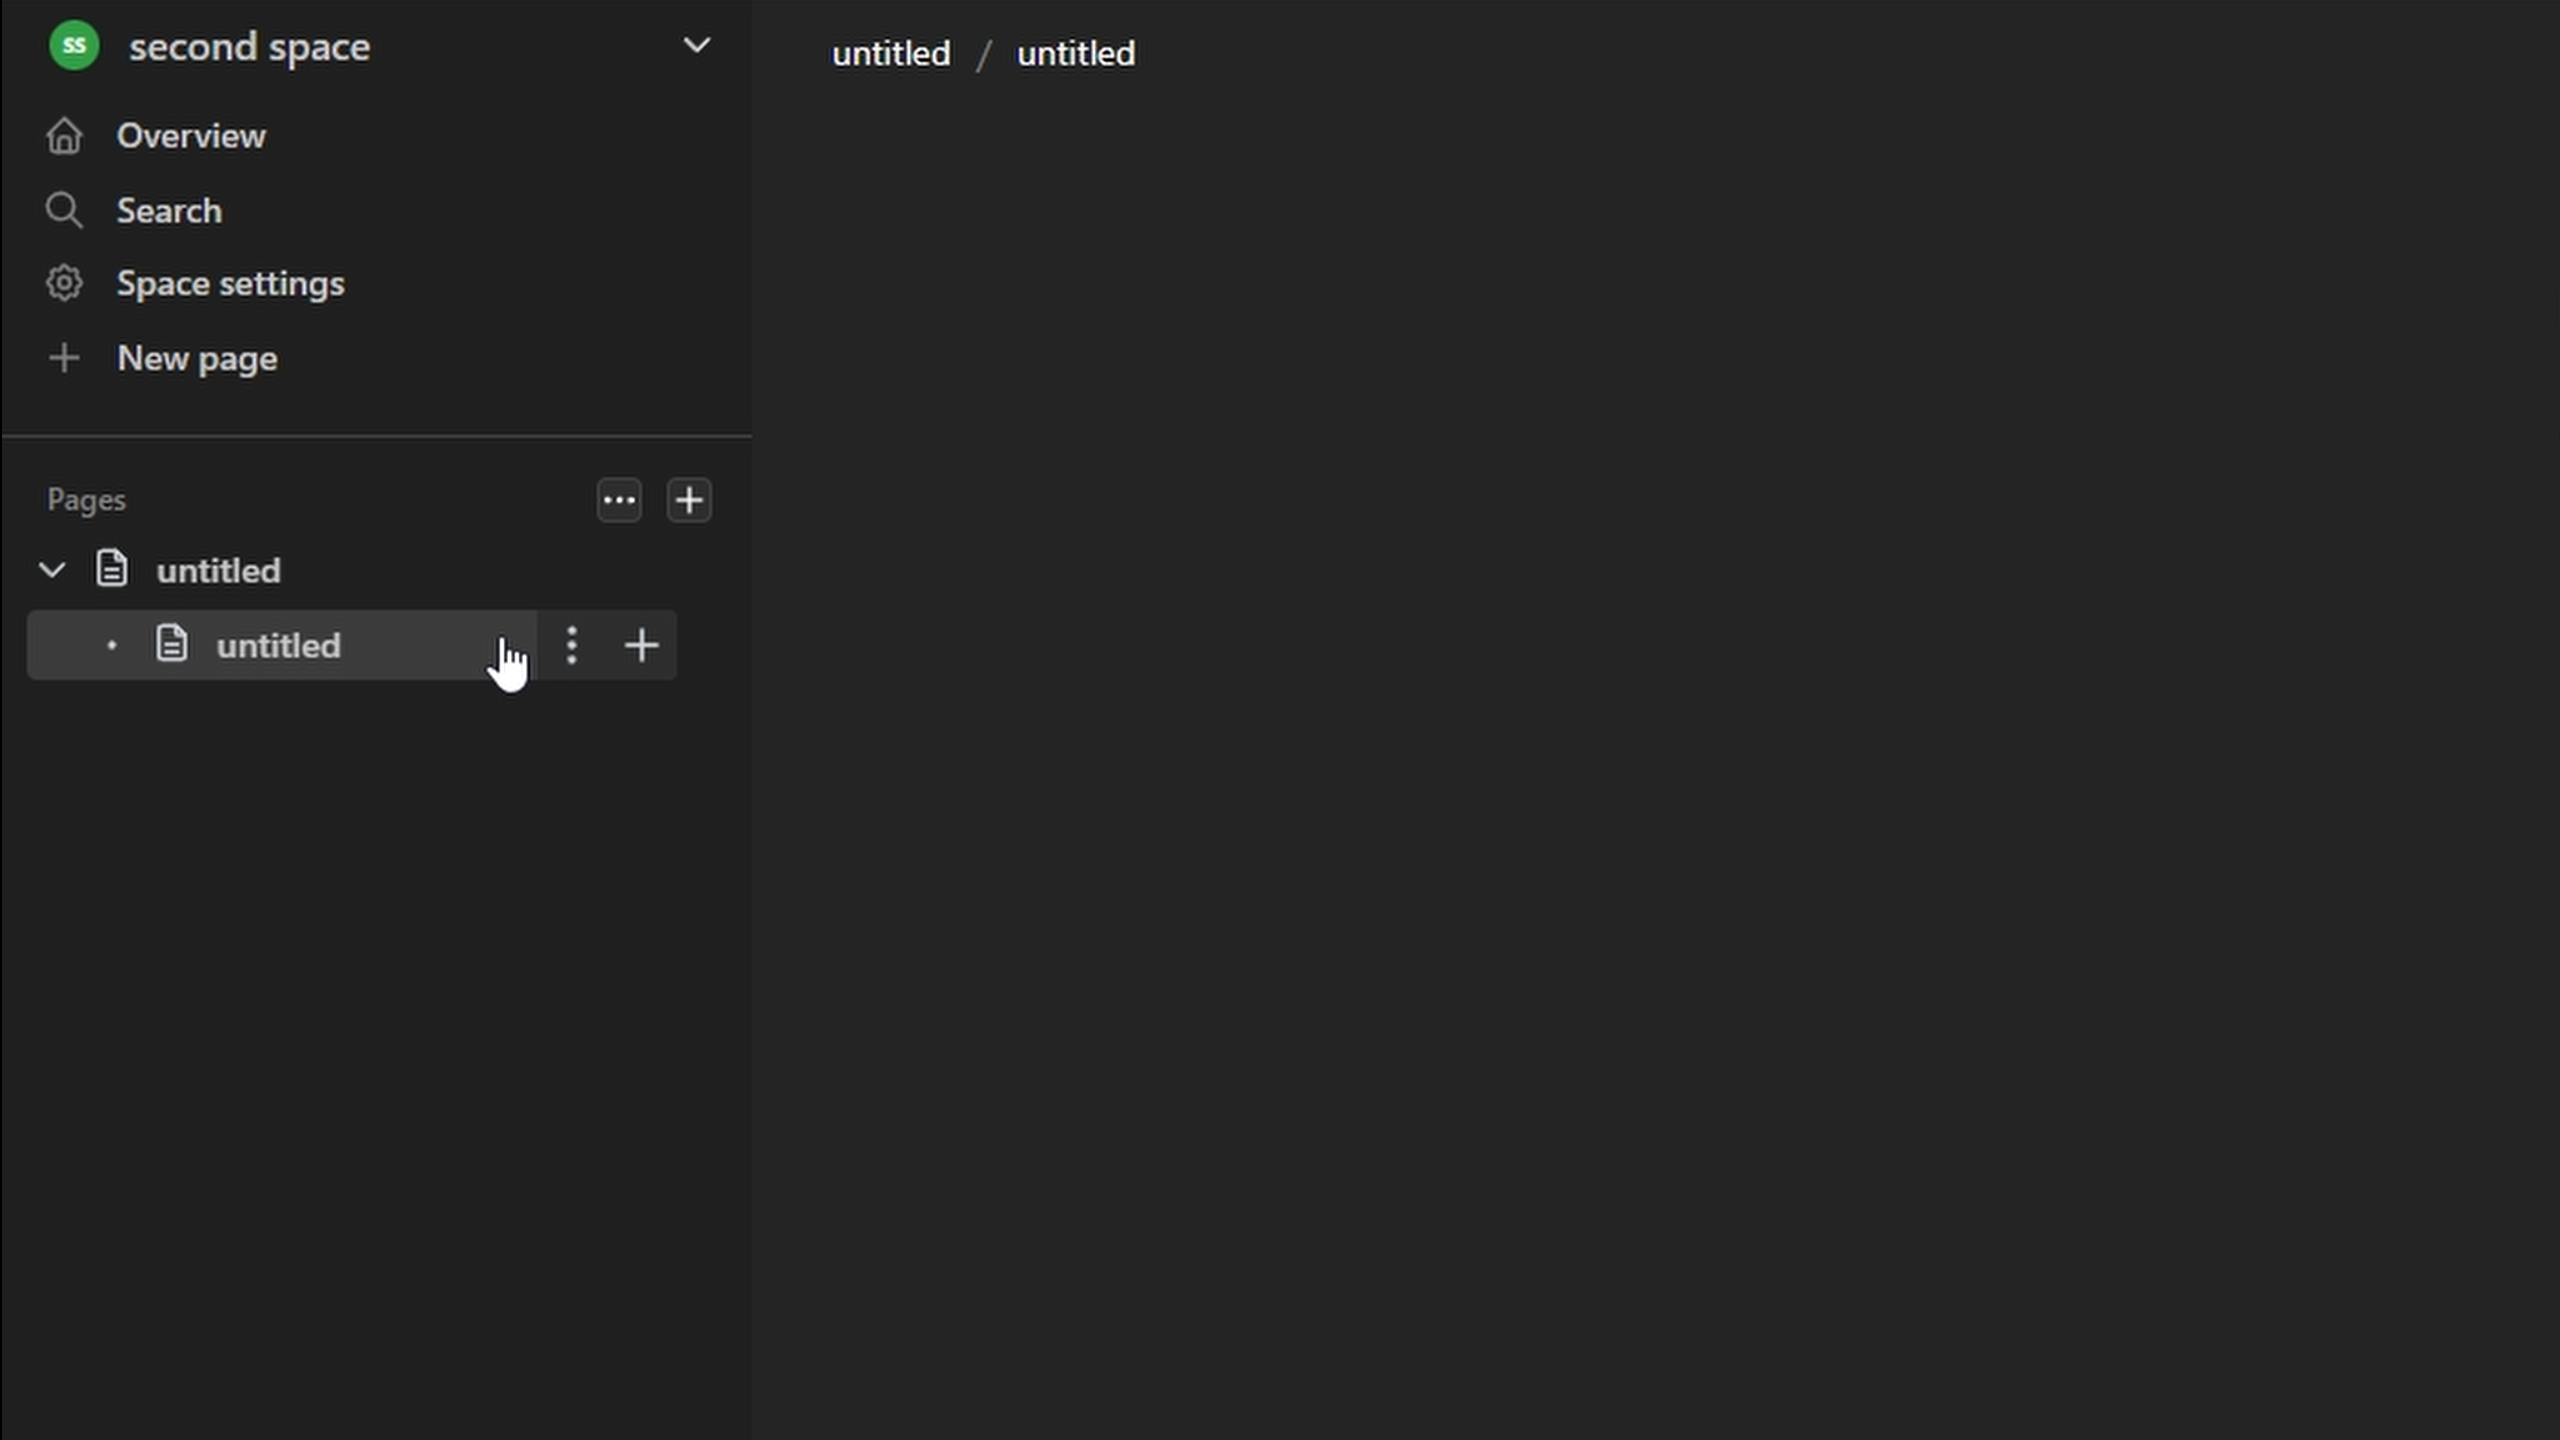
Create Folders
Drag and drop a page over another to nest it as a folder dropdown.
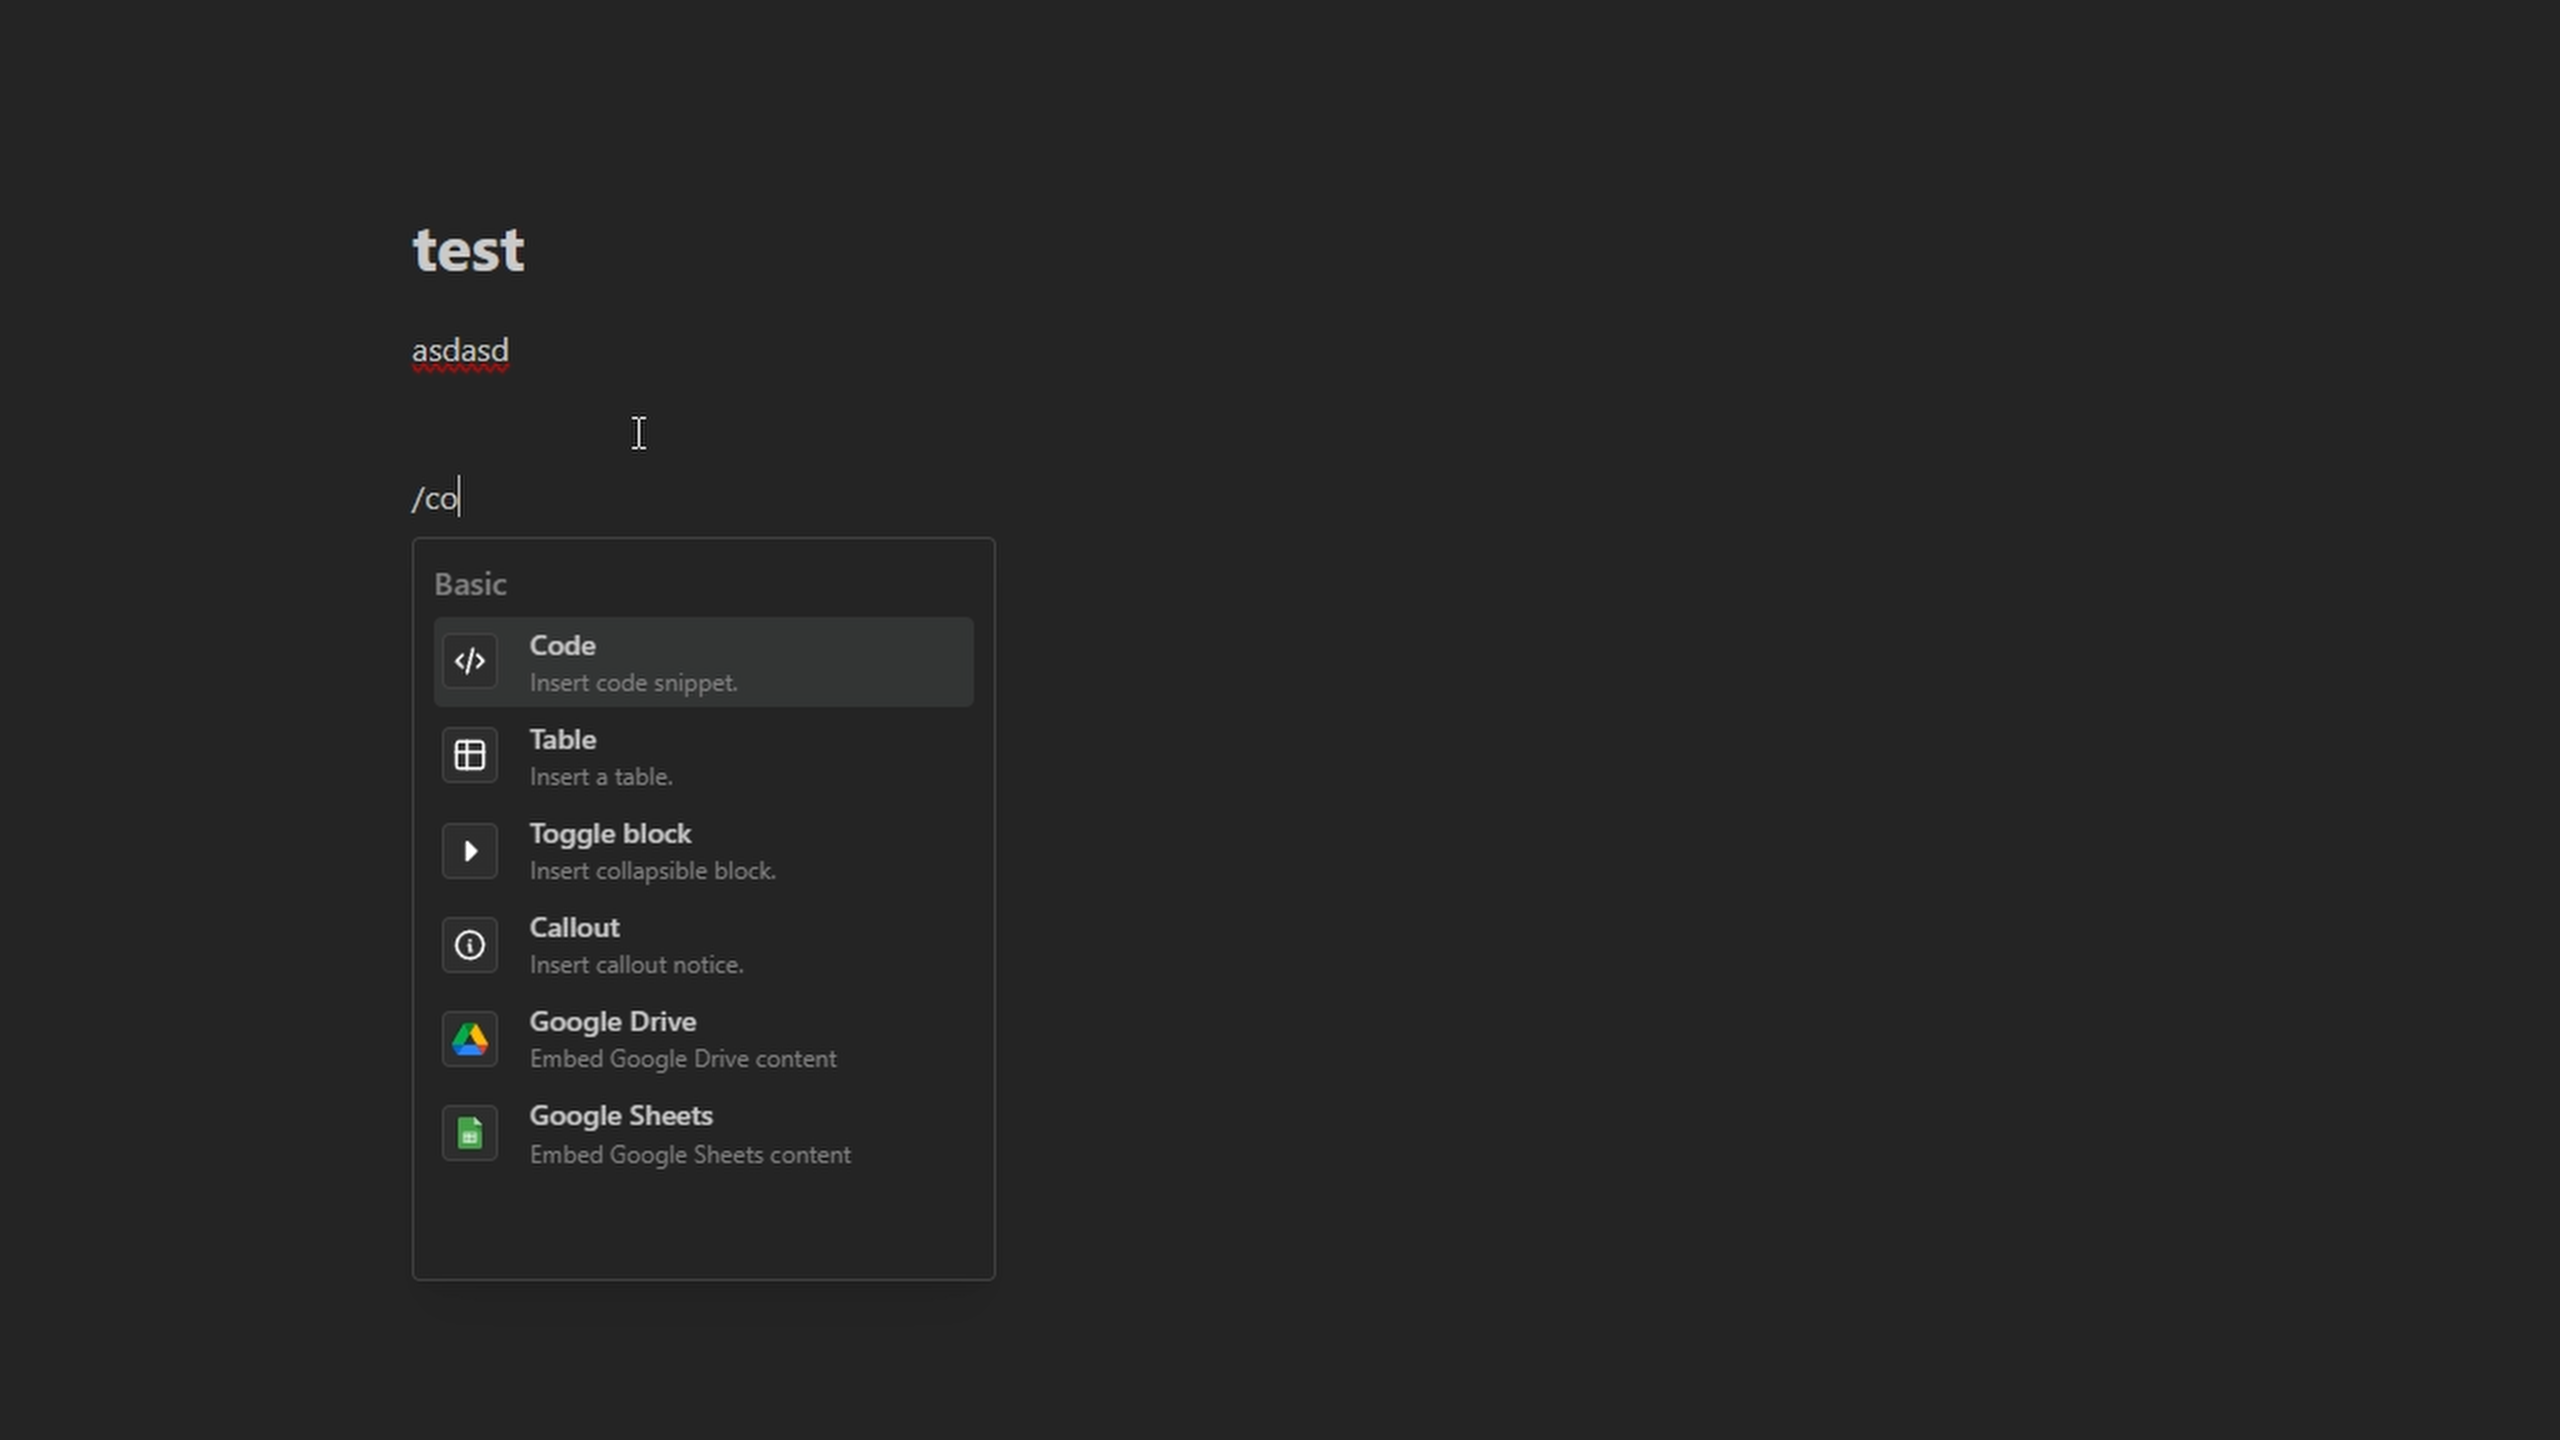
Add Sections / Code Blocks
Type / to open command menu for adding blocks or sections.
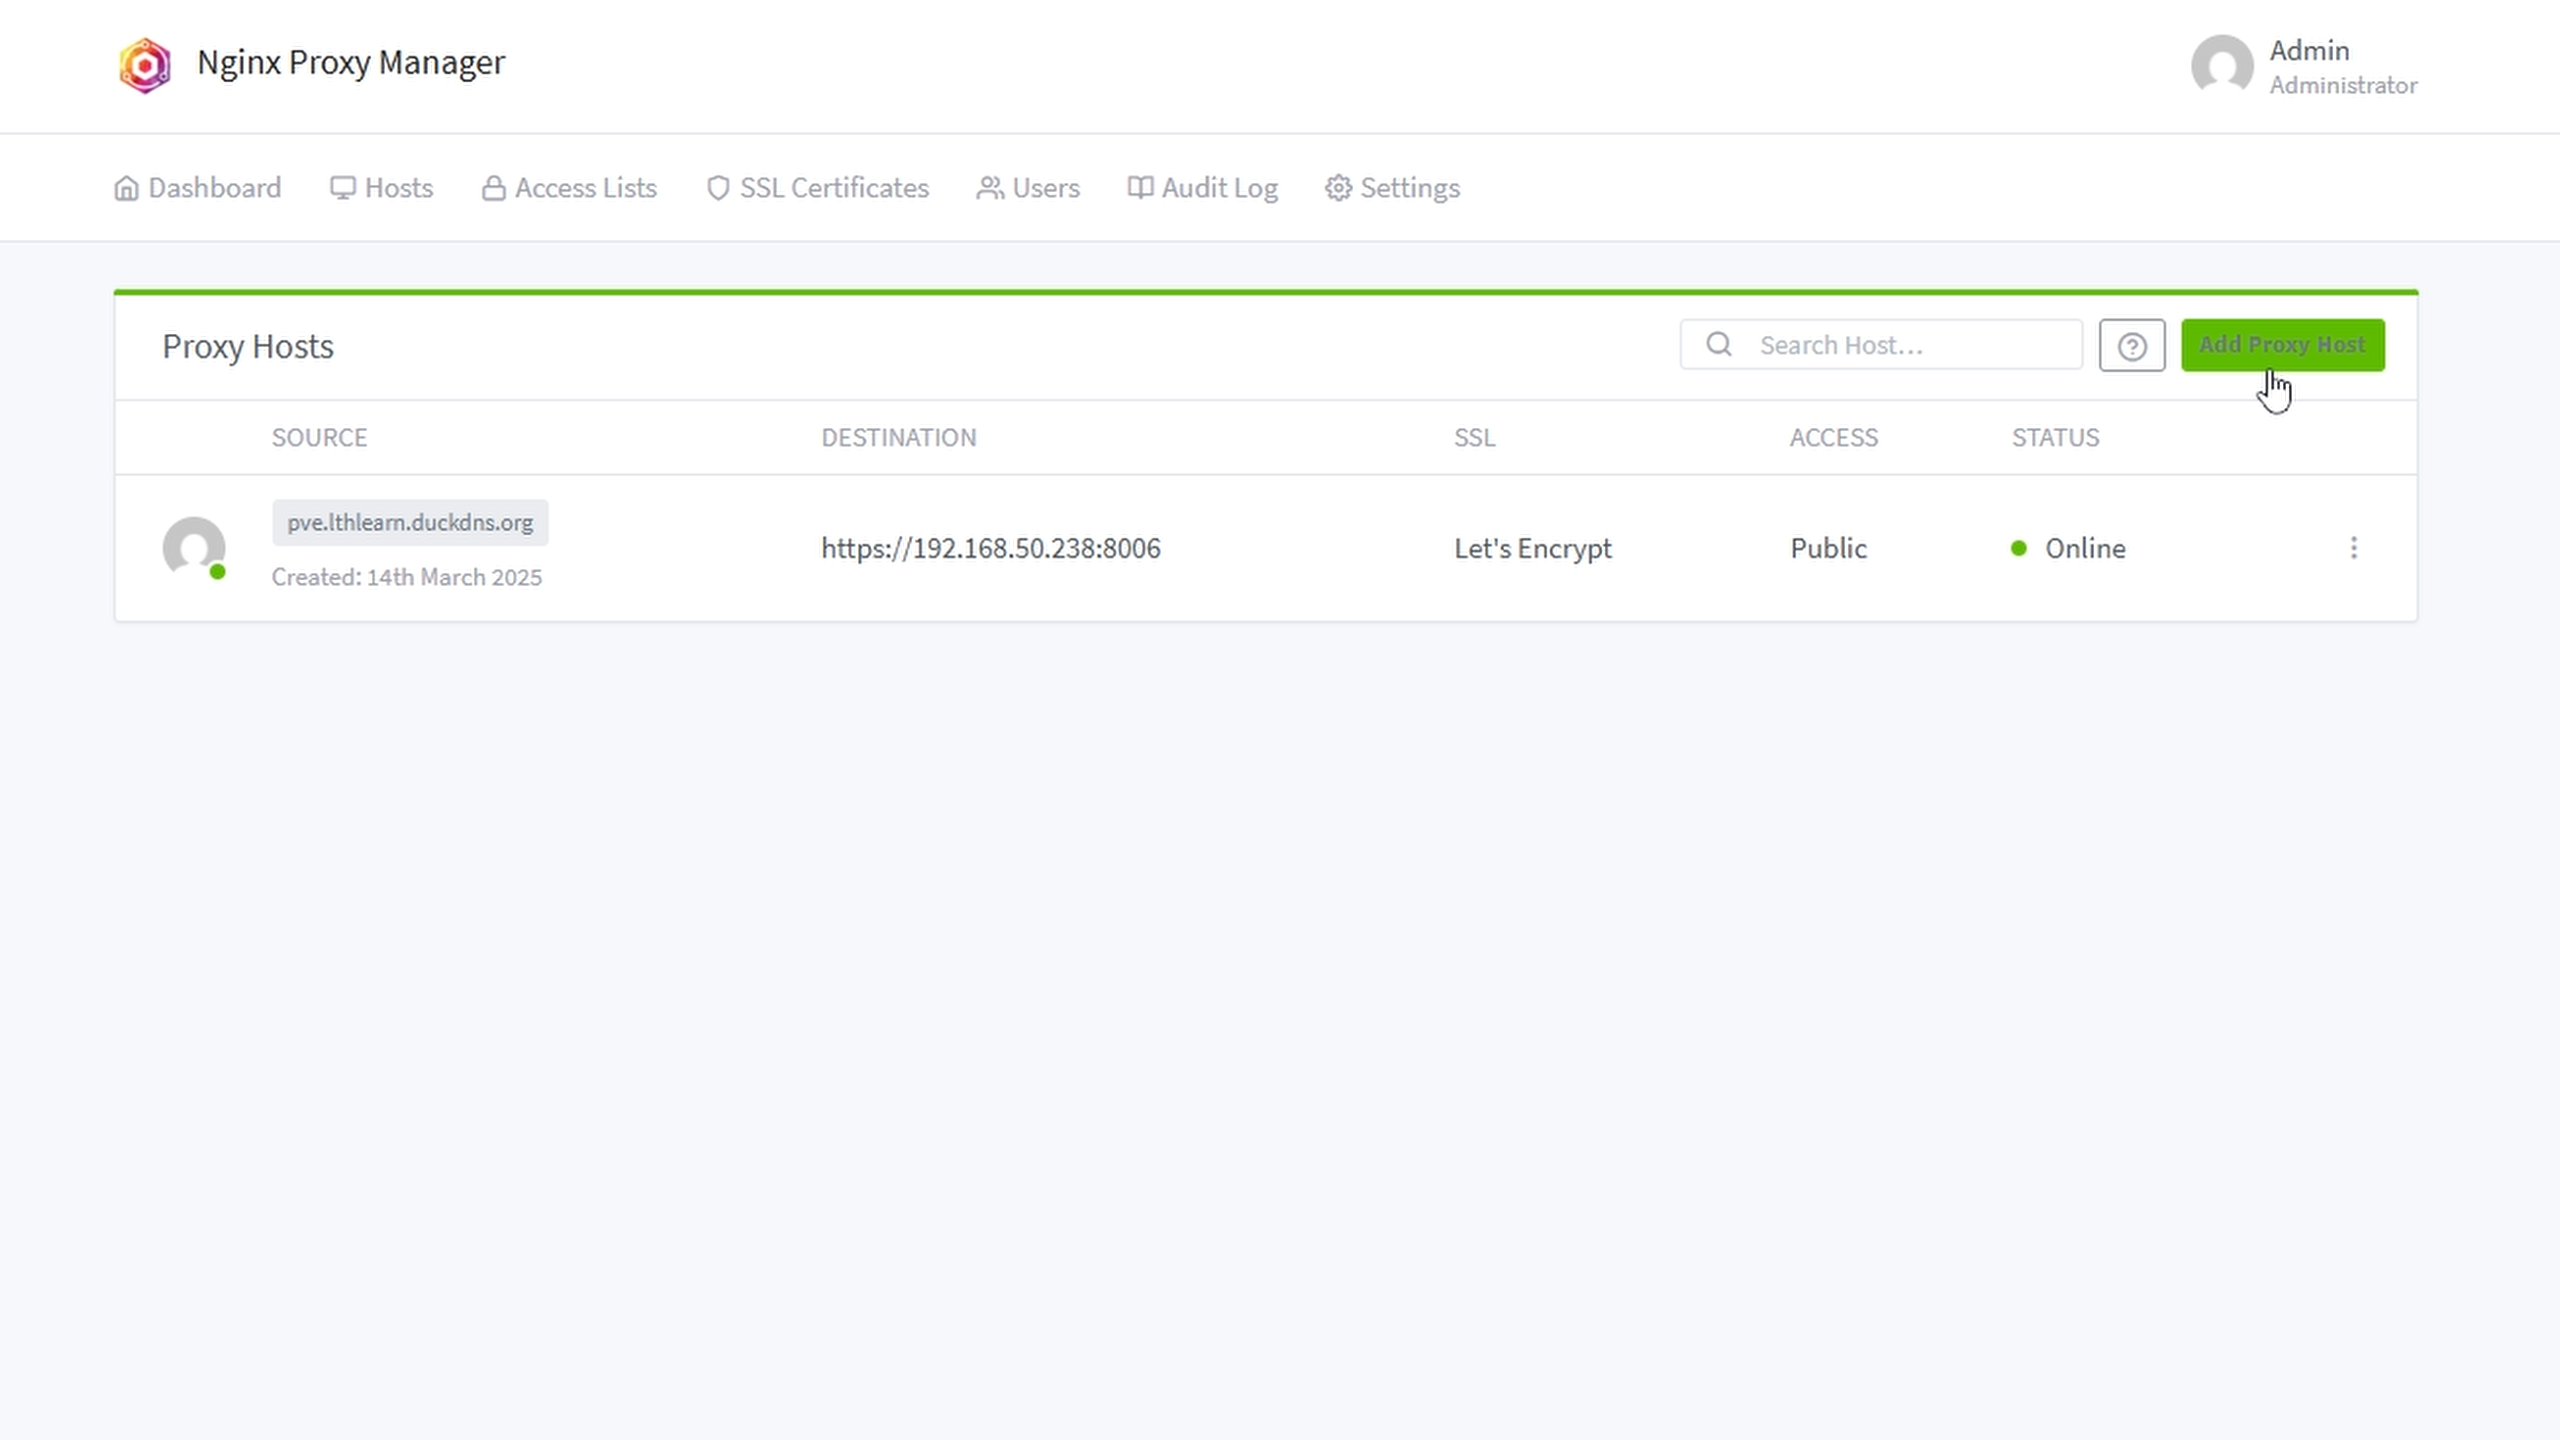
Adding SSL Certificate
If you need an SSL certificate, refer to episode 26 or the video here.
Updating Docmost
Note: Save any work before upgrading.
To upgrade, inside the Docmost directory:
docker pull docmost/docmost
docker compose up --force-recreate --build docmost -d