CloudPanel Install
All notes found in this video for CloudPanel come from the following documentation here
Where to find things for the video:
- SSL/TLS / Overview (shows the current encryption standard)
- Account Home (not in zero trust) select the domain name, 3 dots, configure DNS / DNS / Records (shows the CNAME and A records for the domain)
- Networks / Tunnels (Where you edit your Tunnels)
What you need for this tutorial
- CloudFlare account with a CloudFlare owned domain name
- Router/Firewall (OPNsense for example or a router that allows for local DNS setting overrides)
- Virtualization (Proxmox, VMware, XCP-NG, etc.) for two virtual machines (VM’s)
- Motivation to be the best homelabber you can be!
Install CloudPanel
-
Create a VM on Proxmox (or your virtualization platform)CloudPanel asks for at least 1 core and 2 gigabytes of RAM. I would say do at least 2 cores and 4 gigabytes of ram in my experience
-
Follow the steps below to install CloudPanel after creating your VM
the first step we want to do is update our machine with the following command:
sudo apt update && sudo apt -y upgrade && sudo apt -y install curl wget
sudo
Next we are going to use the following install command meant for Ubuntu 24.04 LTS. If you are on a different version please check their documentation with the link at the start of this article.
curl -sS https://installer.cloudpanel.io/ce/v2/install.sh -o install.sh; \
echo "19cfa702e7936a79e47812ff57d9859175ea902c62a68b2c15ccd1ebaf36caeb
install.sh" | \
sha256sum -c && sudo DB_ENGINE=MYSQL_8.4 bash install.sh
Access CloudPanel
You can now access CloudPanel via Browser:
https://yourIpAddress:8443
After you create an account / Login, select SITES and + ADD SITE

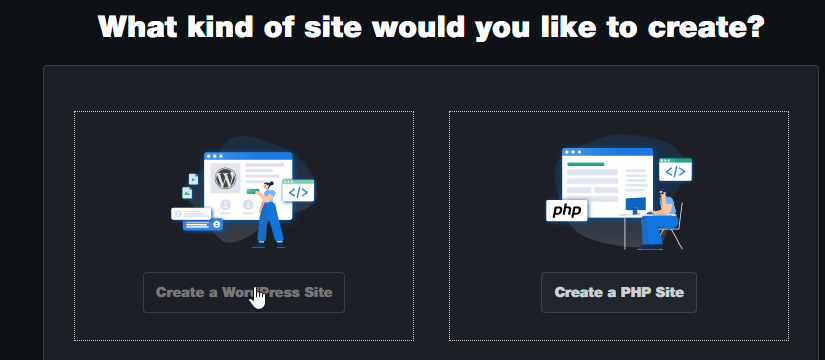
Select CREATE A WORDPRESS SITE
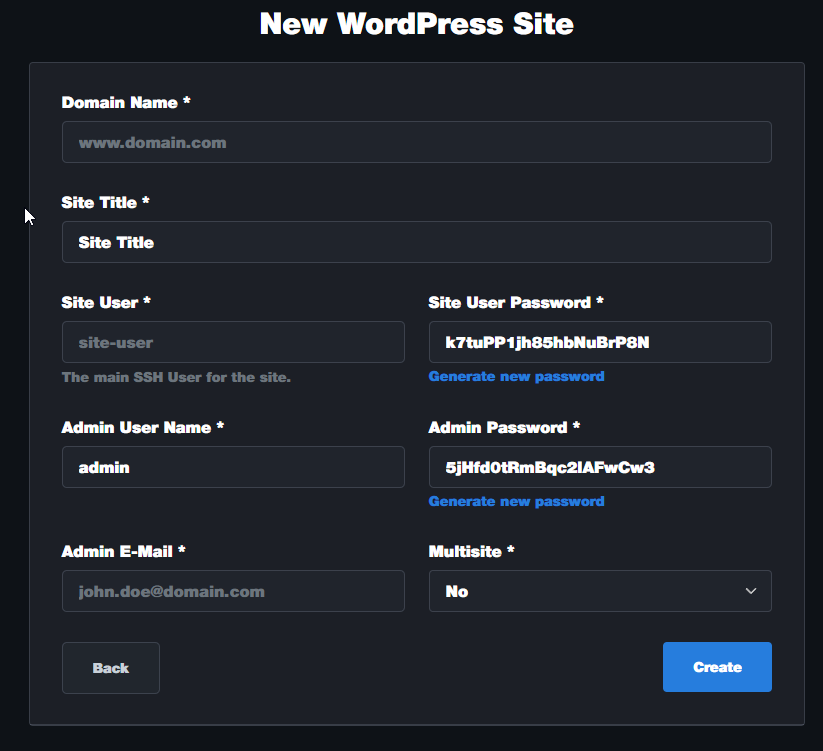
Fill out the information seen below, the domain name will be the FQDN (example: Wordpresssite.com) of your CloudFlare owned domain name, then click create.
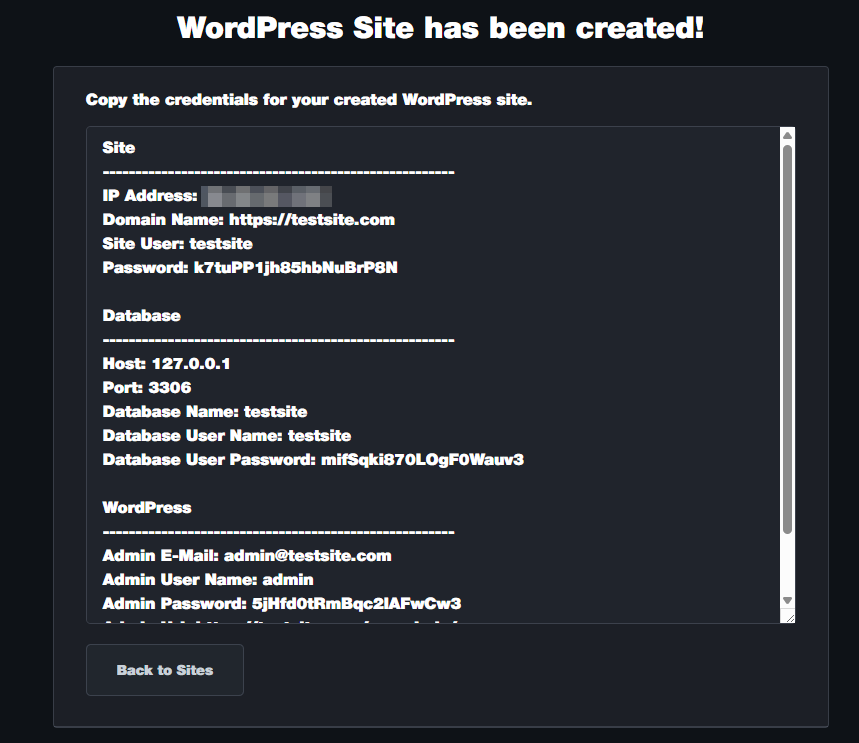
IMPORTANT
Ensure you copy this page, you will need the wordpress login credentials!
CloudFlare Tunnels
We need to create another VM or LXC container to run CloudFlare Tunnels (THIS IS VERY important, this will allow us to BLOCK public internet access to the WordPress admin page).
- Create a VM (IF you are installing this on a CT you will need to perform a couple commands before following their install script)
- Install Ubuntu Server on it
- Login to CloudFlare’s dashboard here
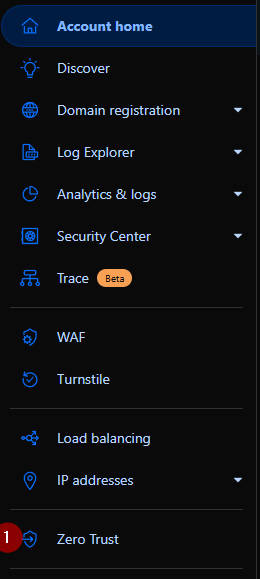
- Select Zero Trust from the side menu
Select NETWORKS / Tunnels
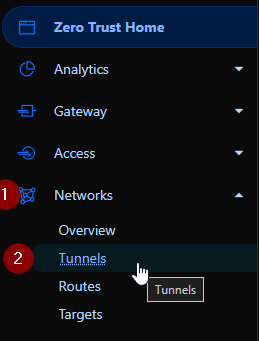
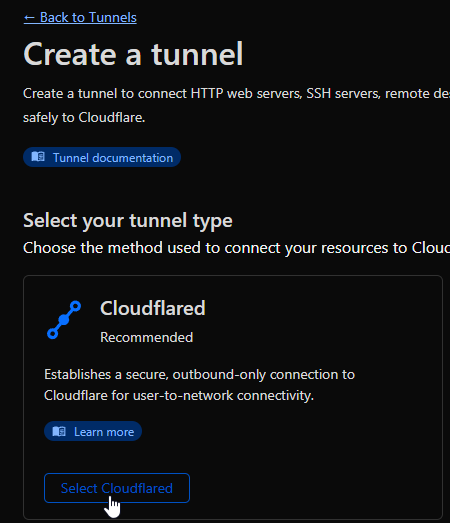
Click “Create a tunnel”

Select CLOUDFLARED
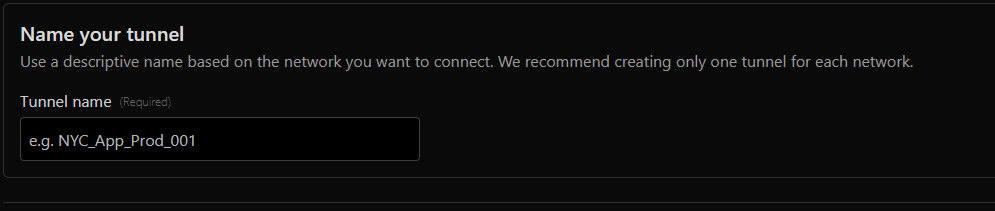
Name your tunnel then click save tunnel
The following commands will ONLY work for a VM, if you want to install this on a container, you will need to perform the CT commands specifically. (use this command within this warning box first before you perform the commands found after!!)
sudo apt-get install curl
Now you can procede with the normal install commands found below
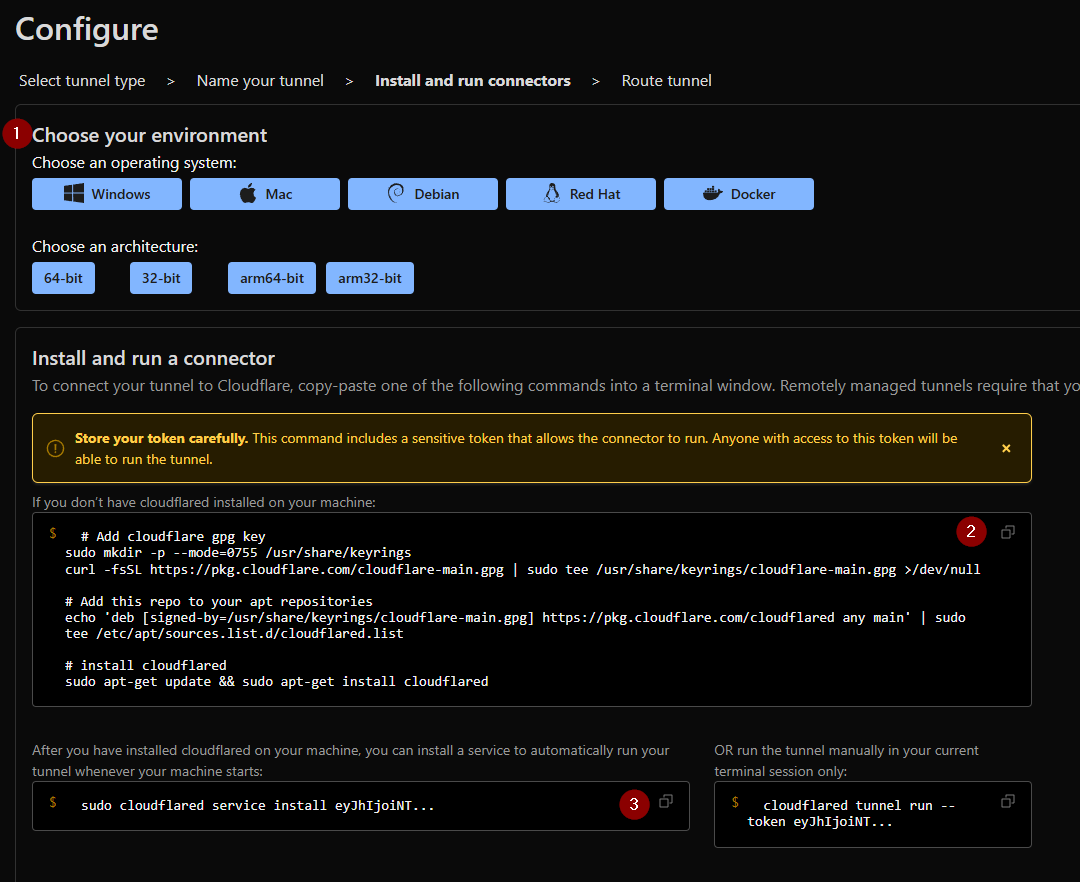
- Select your operating system (we are using Debian)
- Copy and paste the install script into the CLI of your CloudFlare VM
- After that is done, run the second command to ensure it always starts when the VM reboots.
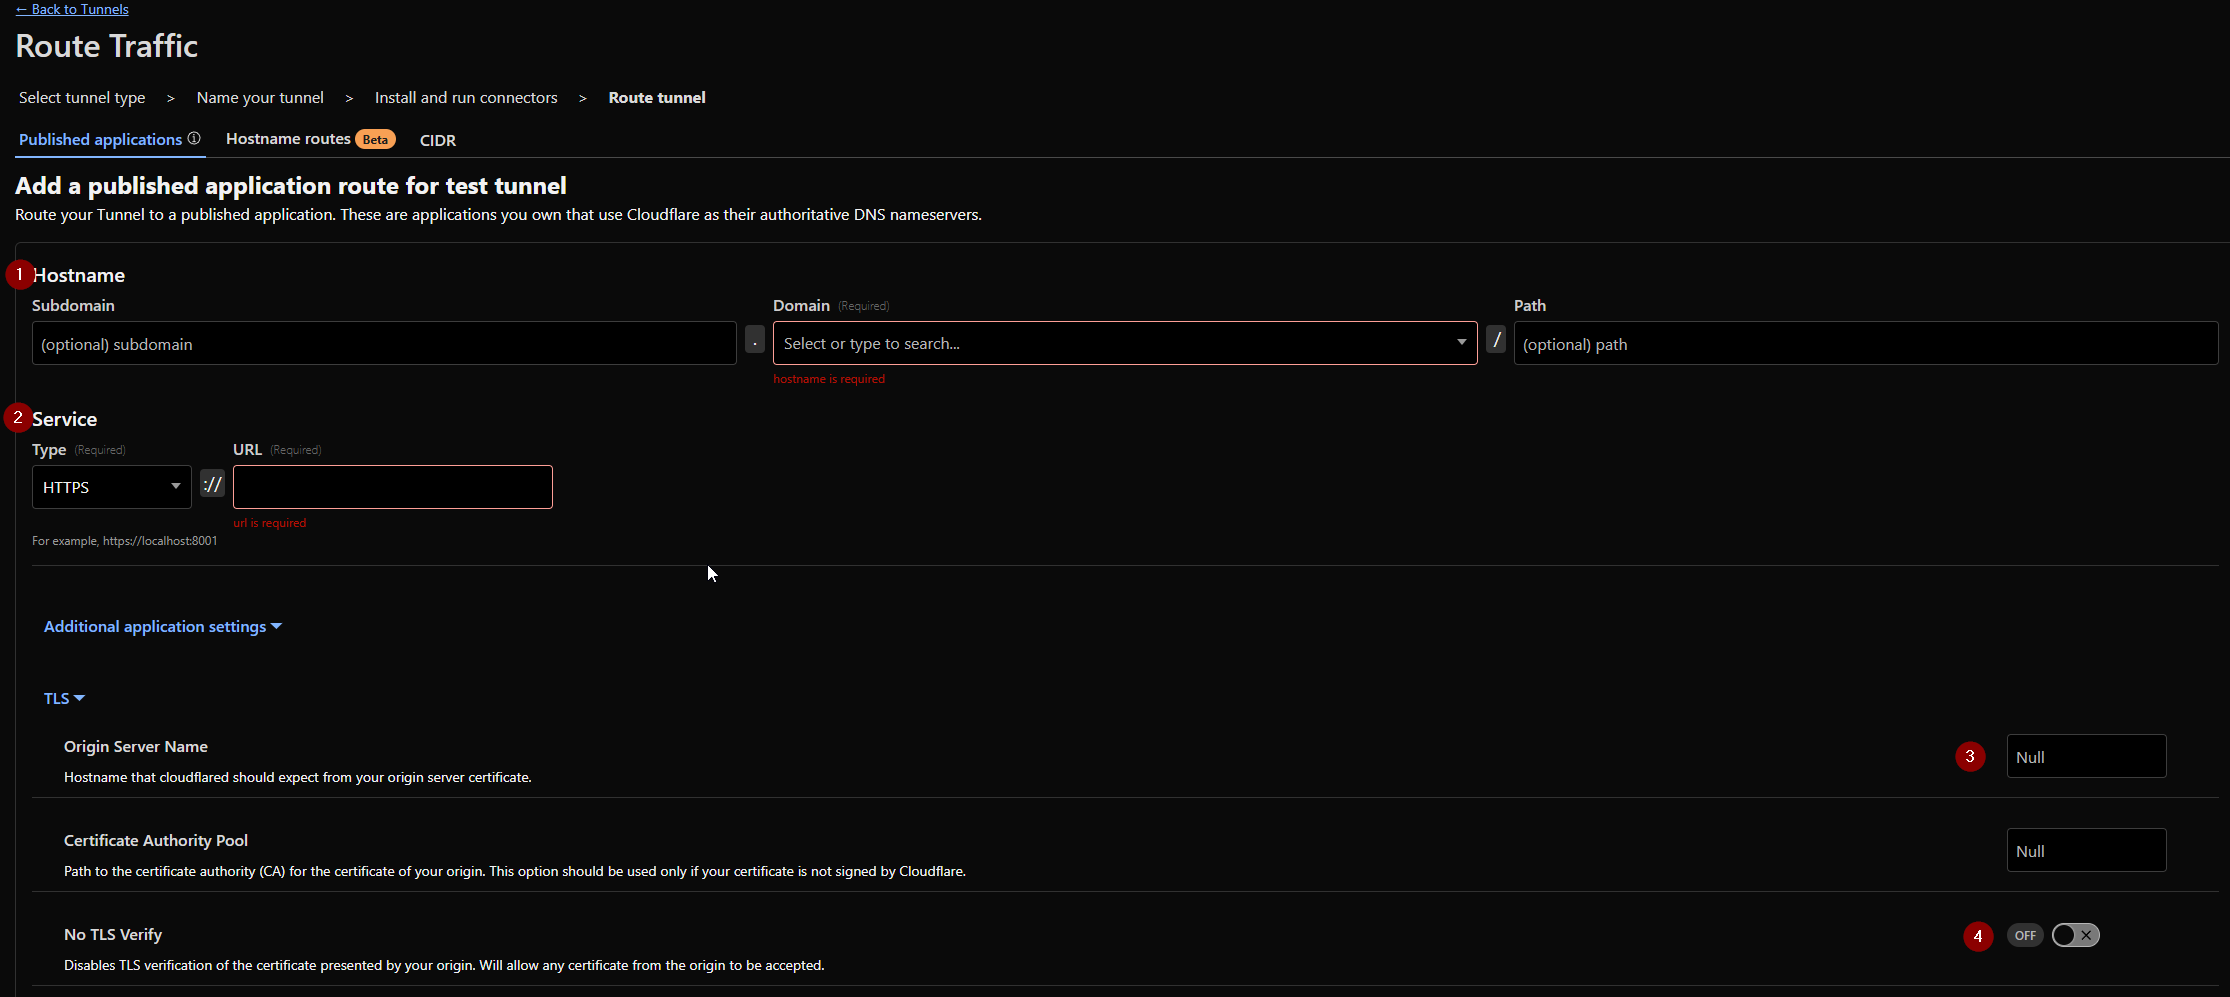
- Select your domain name you have on CloudFlare
- Select the local IP address of your CloudPanel VM and the port of your service (in our case of a Wordpress site it is 443
- put the FQDN of your Wordpress (or other) side in this box. A FQDN is the domain_name_.tld. Example: Wordpresssite.com NOT Https://Wordpresssite.com
- ENABLE no TLS verify (we are still using TLS all the way through, this just allows for self signed certificated by CloudPanel and CA assigned certificates on CloudFlares side of the tunnel.
Blocking WordPress Admin from the Public Internet
Go back to our CloudPanel dashboard website click SITES, and MANAGE

We will add the following block of rules right after the area shown in the red box found in the VHOST tab.
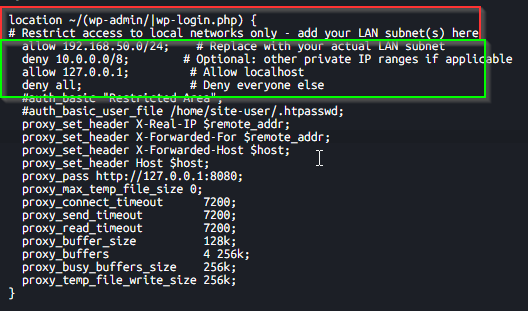
Adding these rules will only allow our local network to access the /wp-admin page and then anyone who accesses our public domain_name.com/wp-admin will get a (403 Forbidden) error.
Rules to add:
    deny 192.168.1.0/32;    # Set to your CloudFlare VM/CT Tunnel IP
    allow 192.168.50.0/24;  # Replace with your actual LAN subnet
    allow 127.0.0.1;        # Allow localhost
    deny all;               # Deny everyone else
Now we just need to restart NGINX on the CloudPanel VM with:
sudo systemctl restart nginx
Testing our Wordpress wp-admin firewall rule
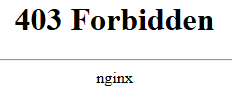
To ensure we cannot access the Wordpress admin page from the public internet, go to (yourDomainName.com/wp-admin) and ensure you get that 403 forbidden error.
Getting local Wordpress wp-admin Access
Now to get Wordpress wp-admin access, we are going to login to OPNsense / services / Unbound DNS / Overrides
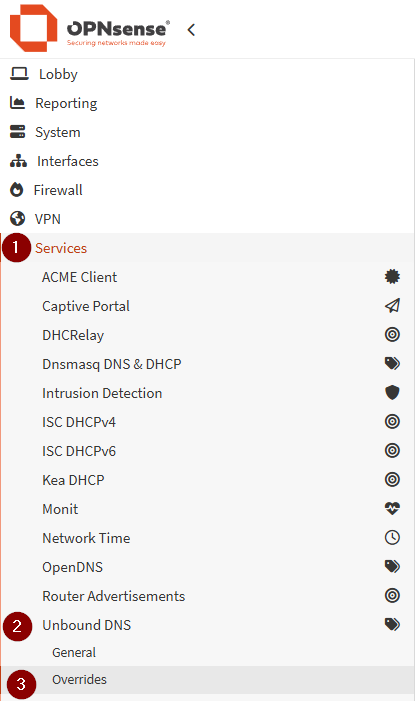
Select the little plus icon bottom right to add a new entry
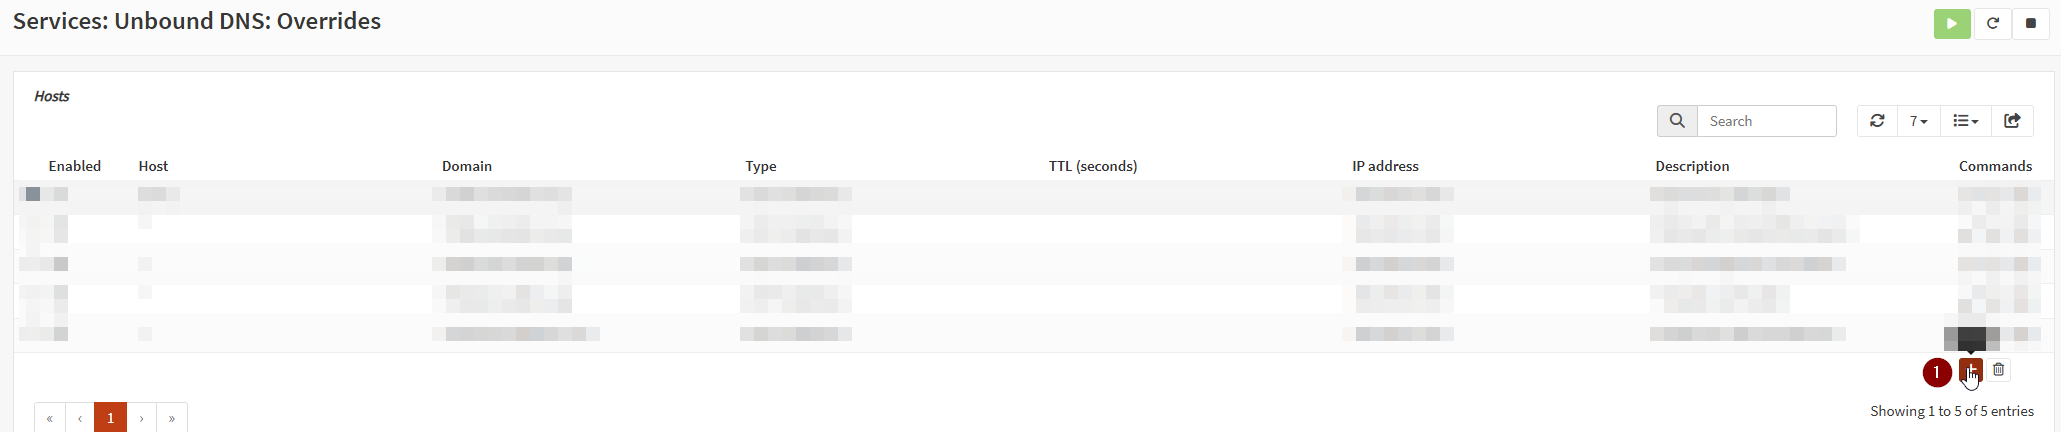
Then fill out the following settings just as the image shows:
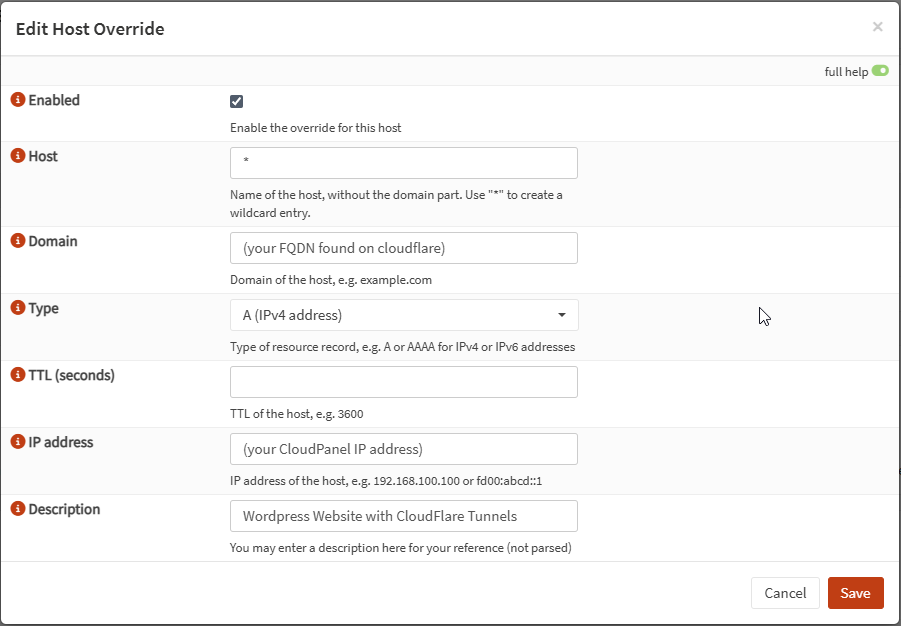
Now attempt to go to your WordPress website domainName.com/wp-admin and you should be able to access it from your local network!
You may need to flush your DNS during multiple parts of this tutorial to ensure your system is requesting the domain locally and NOT from CloudFlare Tunnel:
Open your CLI on your local machine and perform the following:
Start with checking where the domain name is resolving to:
nslookup (your domain name) (your gateway IP, ie. OPNsense IP)
Then flush your DNS
ipconfig /flushdns
Then you can do the following
nslookup (your domain name) (your gateway IP, ie. OPNsense IP)
then ensure you get a response with the server name, address, name, IP:

You may also notice the SSL certificate shows NOT SECURE. This is due to setting the DNS override, we are no longer accessing the site internally VIA CloudFlare. If you take your phone off the local wifi, open an incognito tab and go to your domain, you will see it is still secure and trusted!