Installing NextCloud Notes
In this episode, we will cover how to install the Note Taking Application on Nextcloud, create folders, organize your notes, and perform some basic formatting.
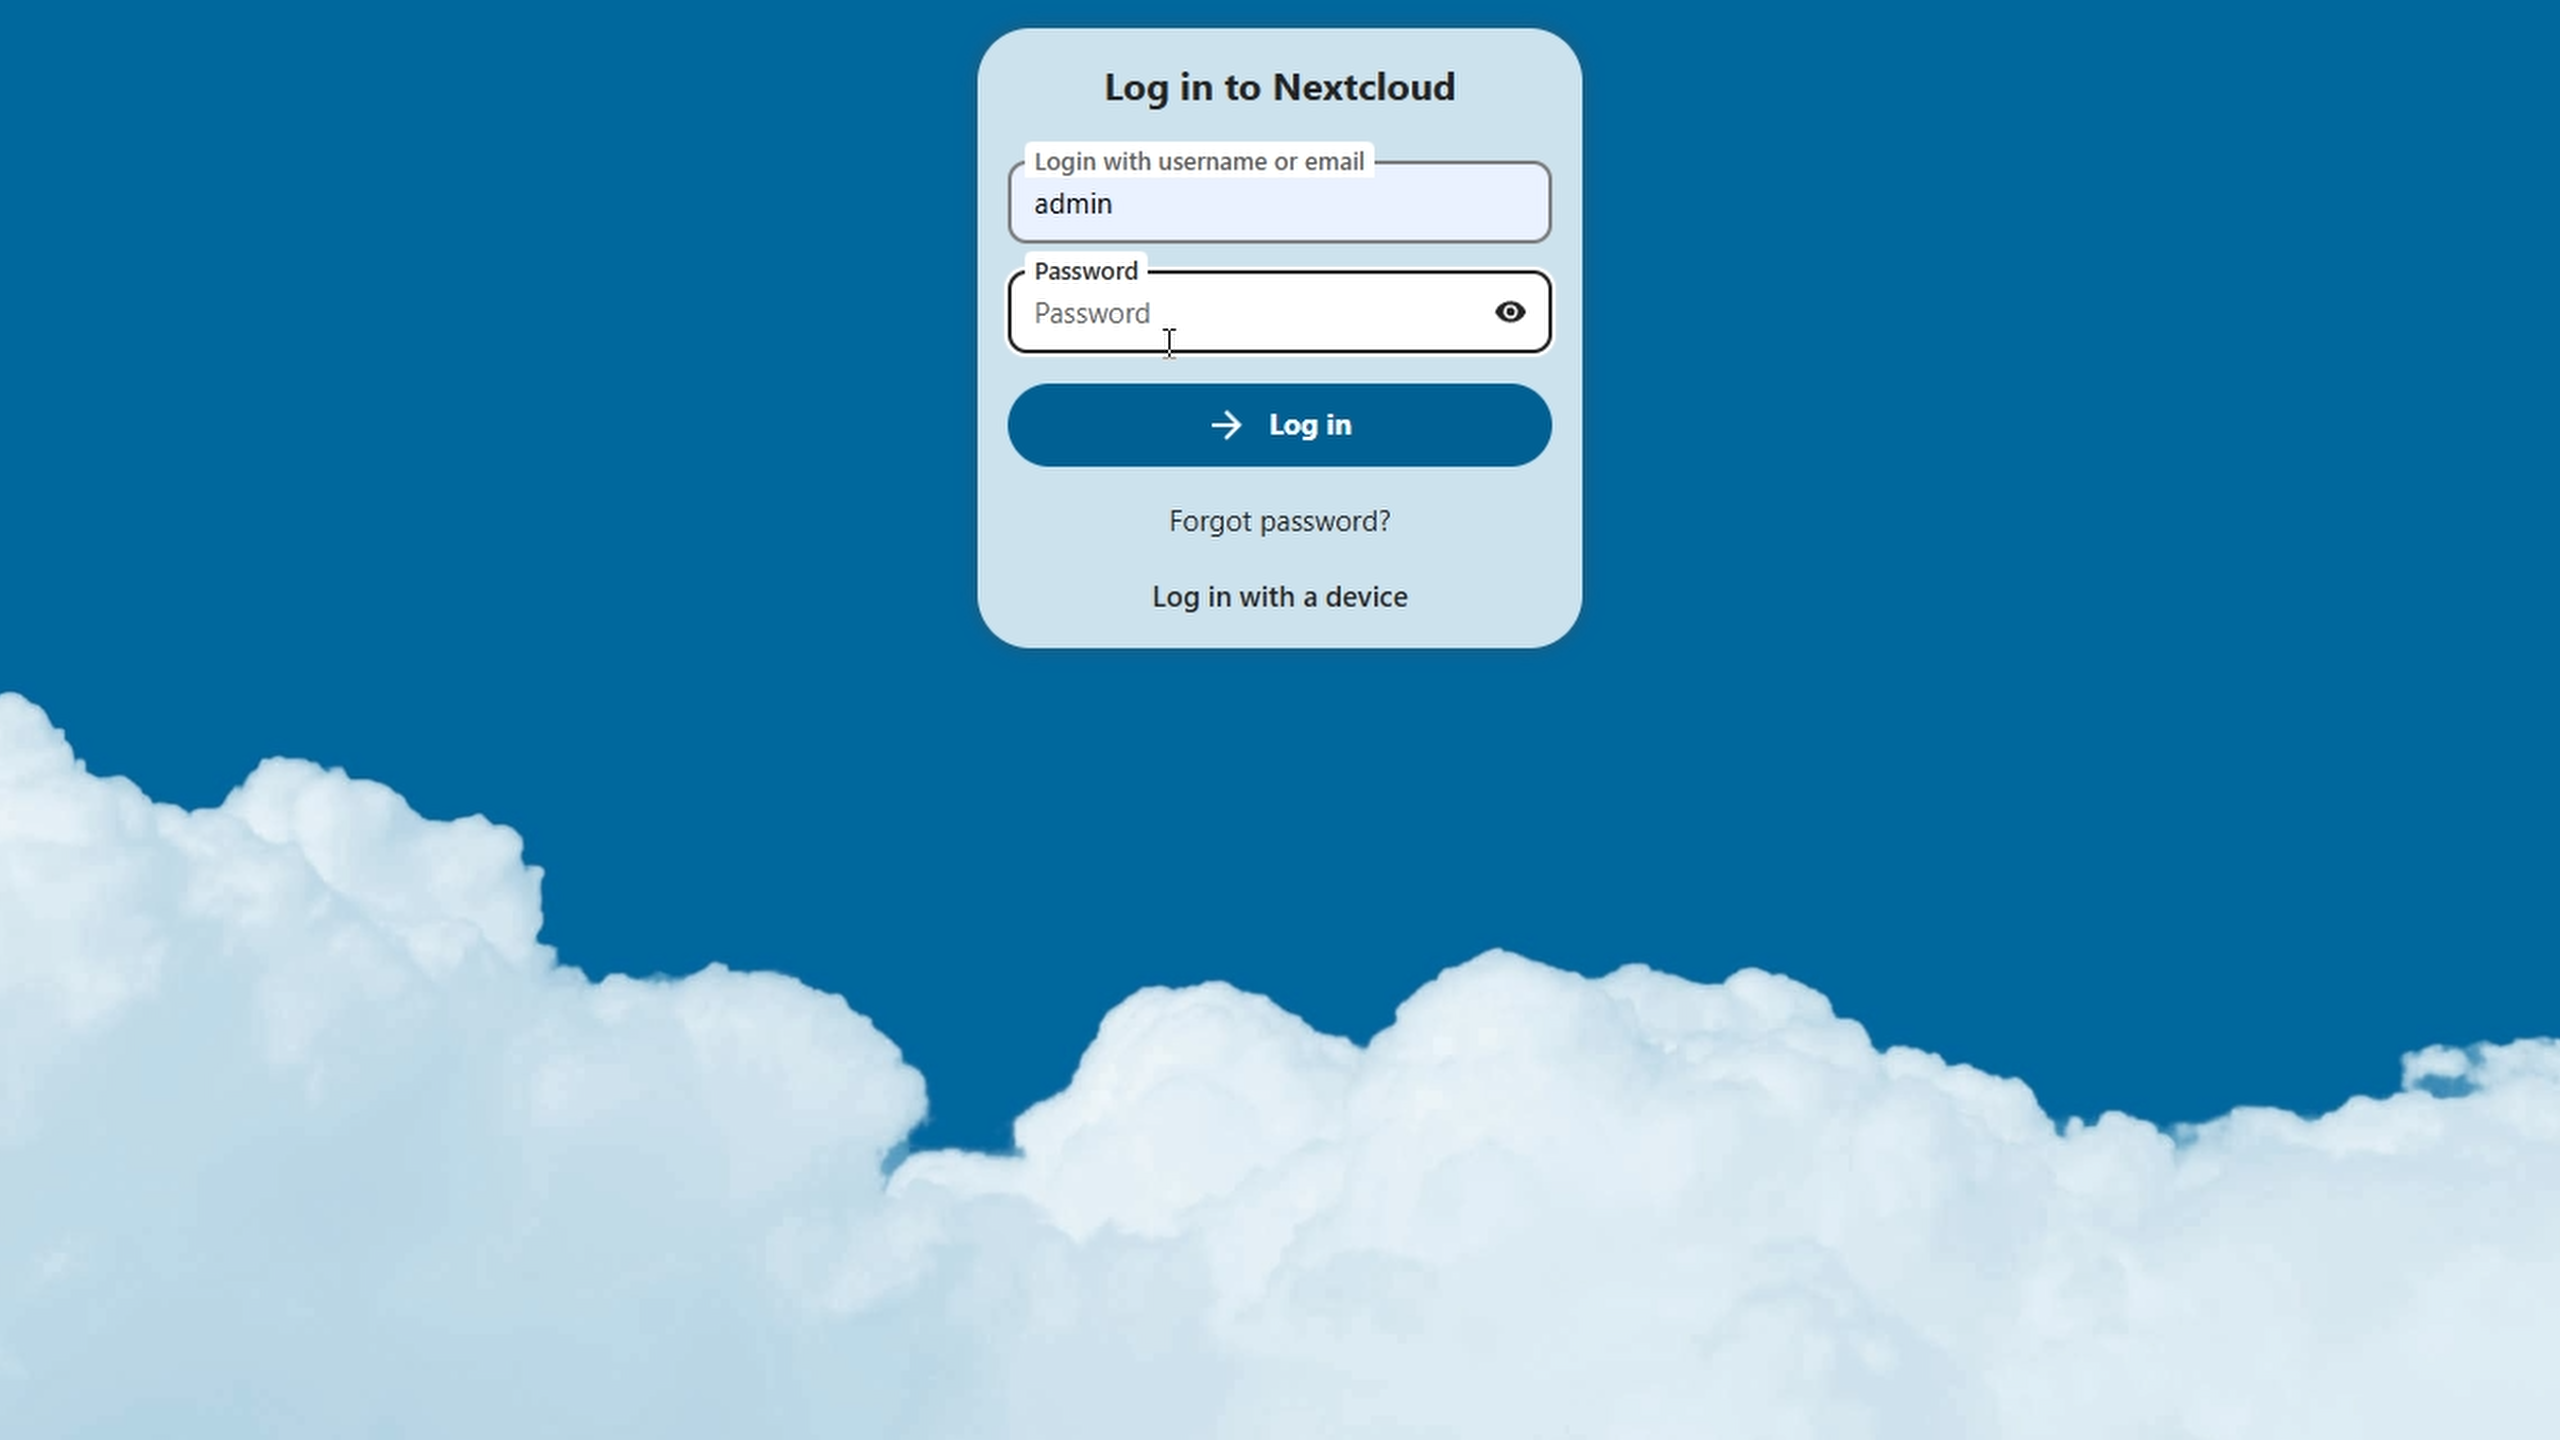
First, log in to your Nextcloud instance. If you haven’t installed Nextcloud yet, check out EP 8: Setup NextCloud with Proxmox.
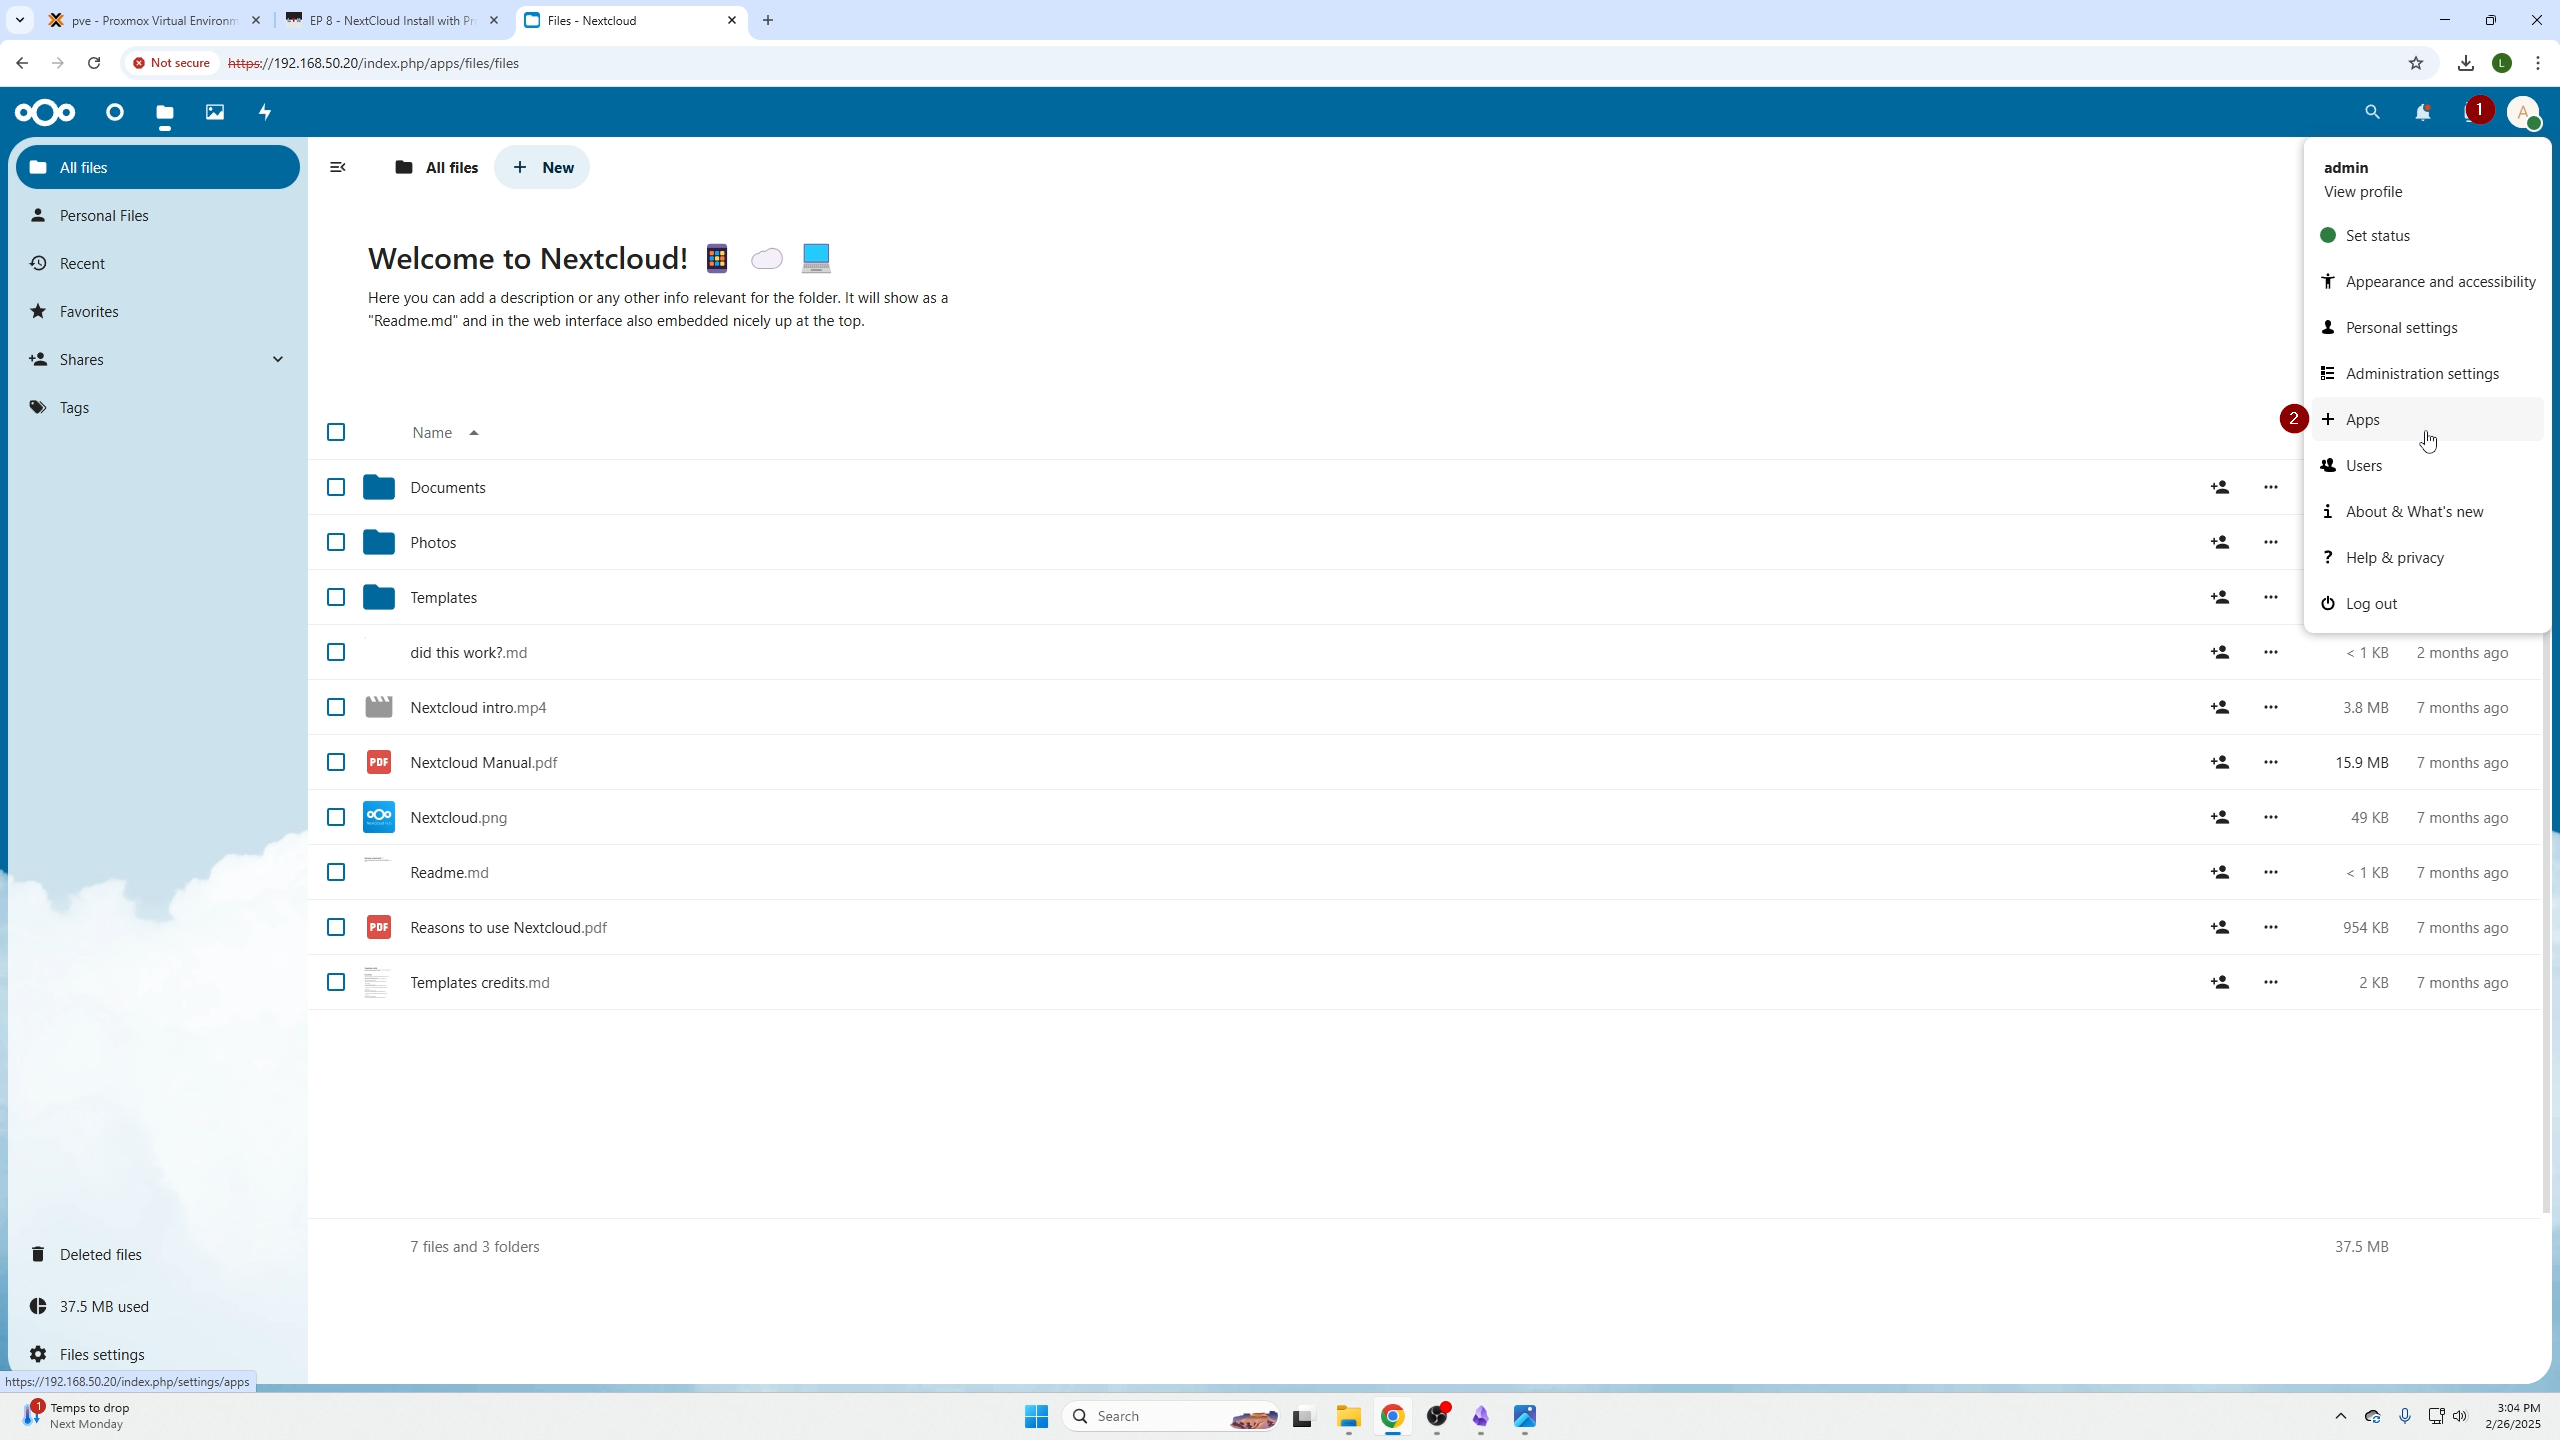
Click your profile icon (top right) and go to Apps.
In the search menu on the left, click the search icon (top right) and search for "notes." It may load in the background; close the window then select "Notes."
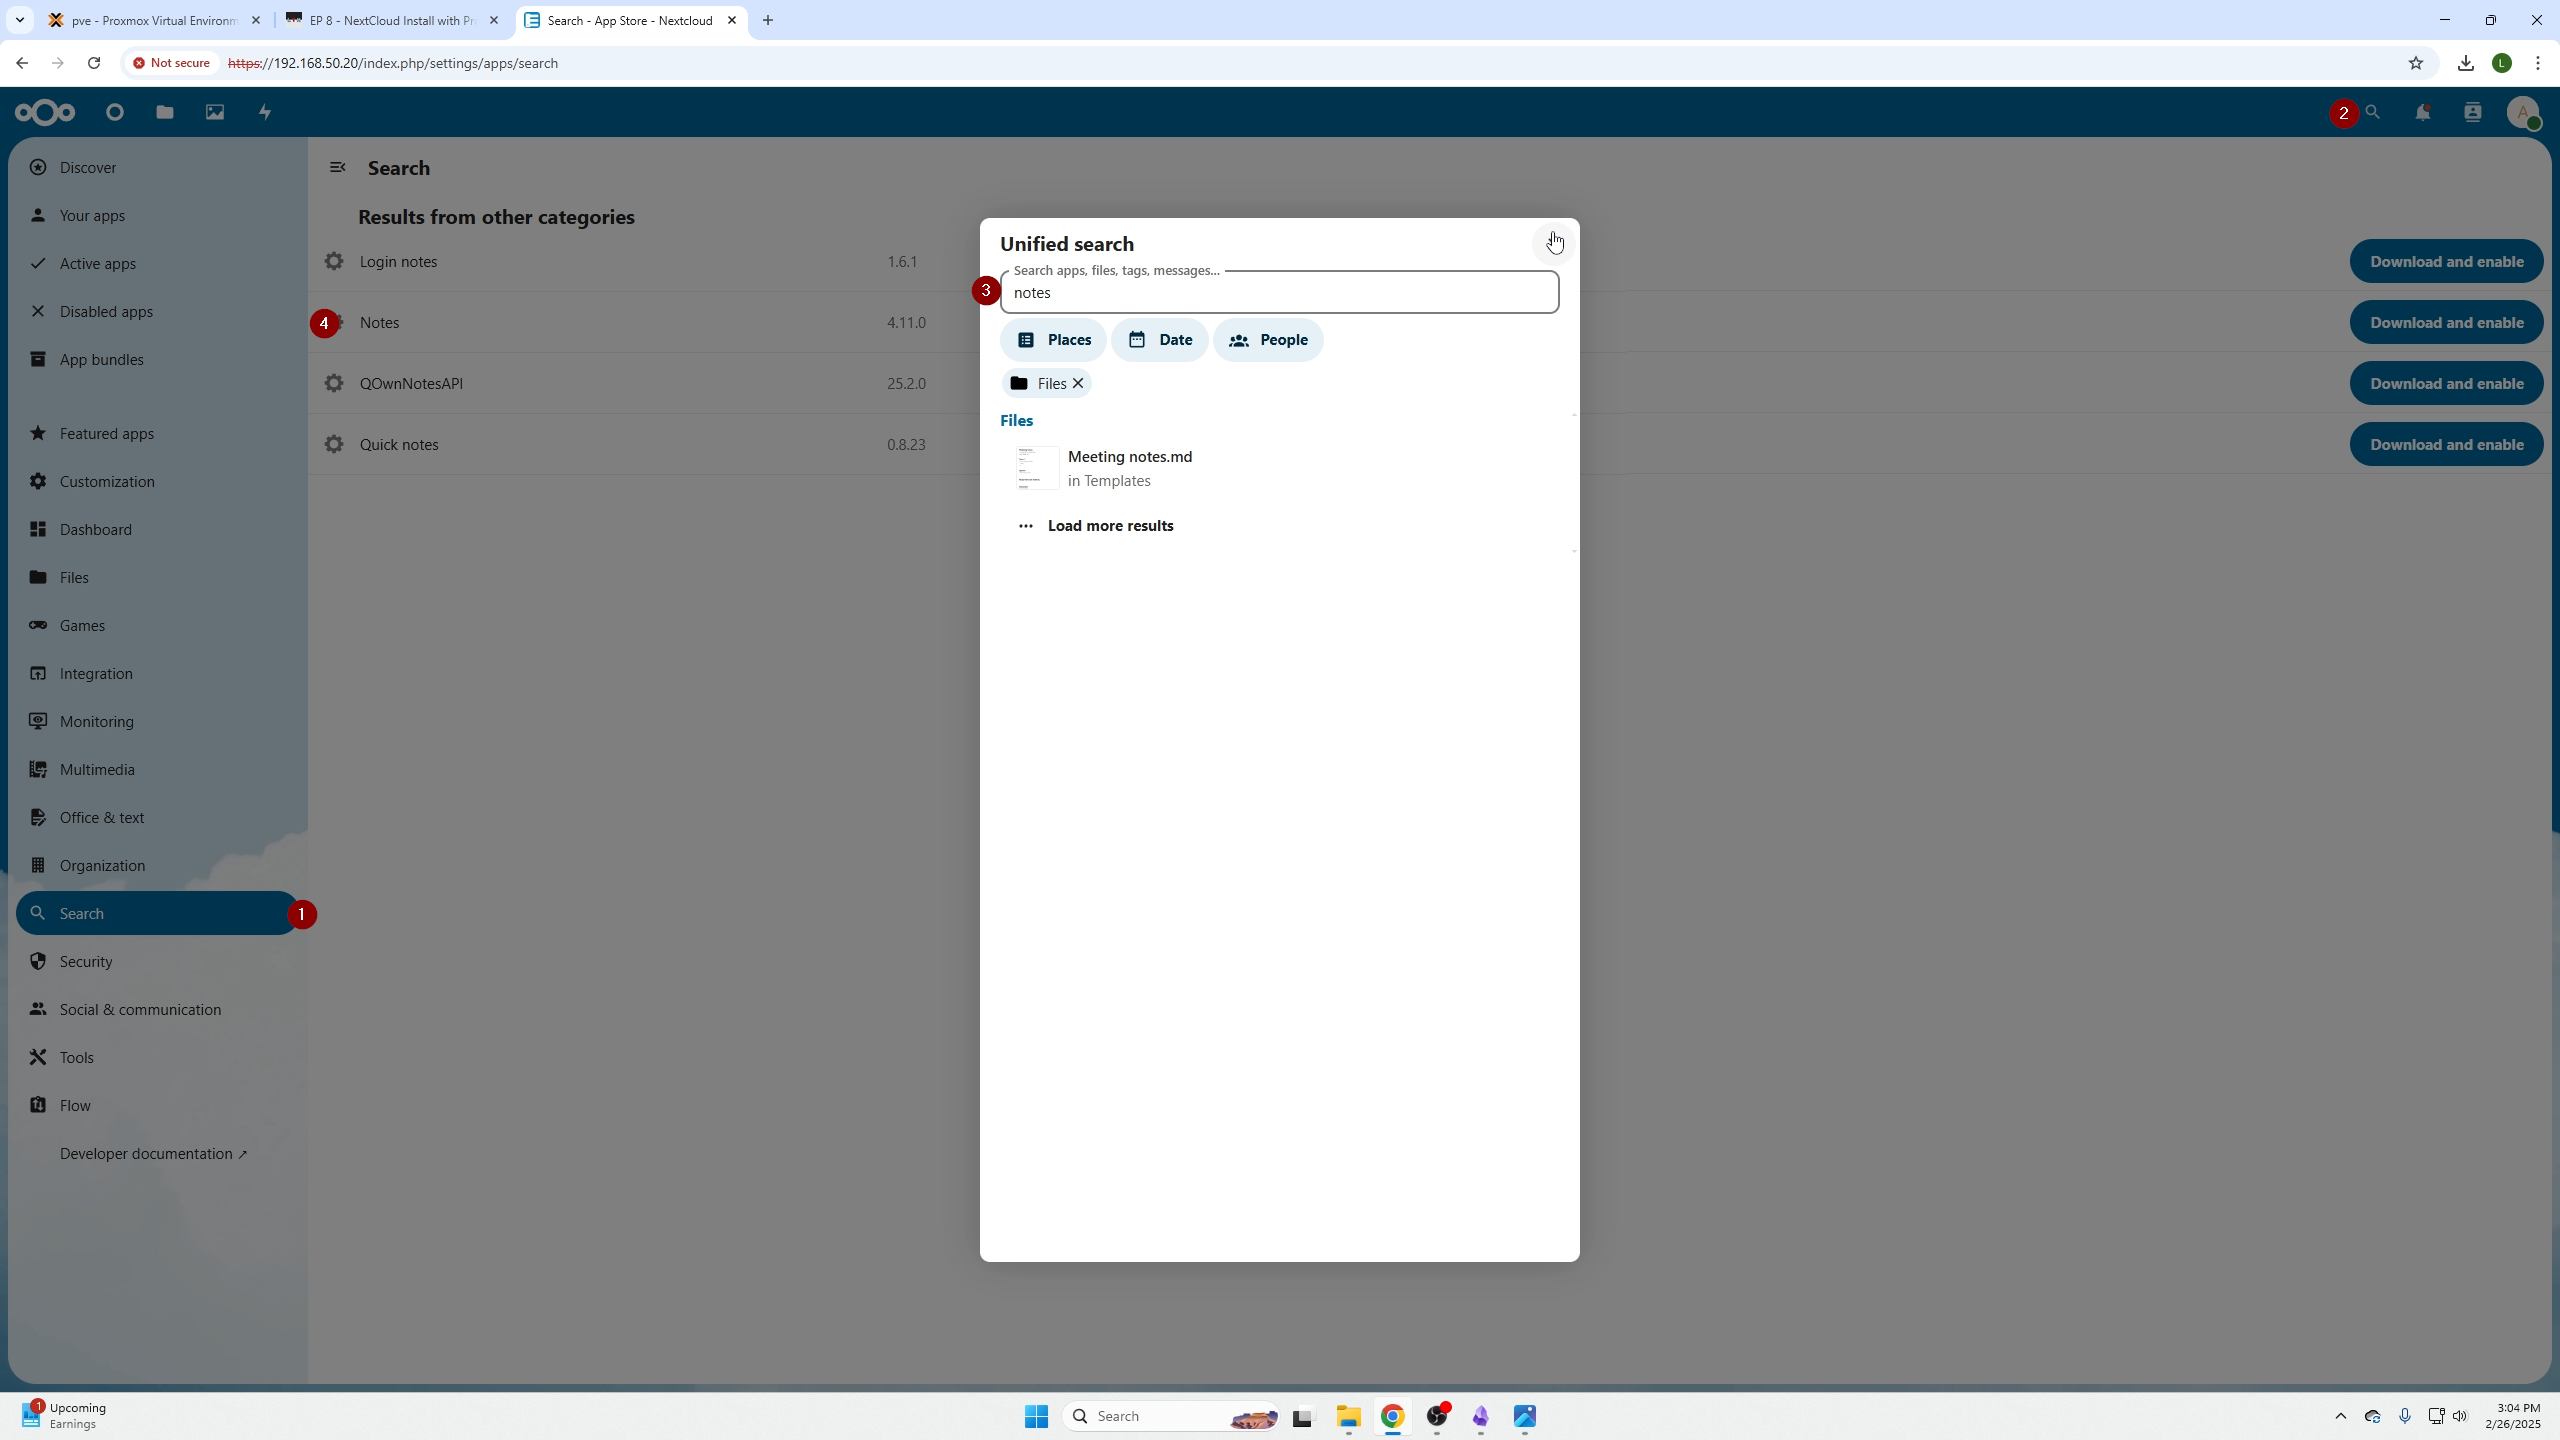
Click "Download and Enable" to install Notes.
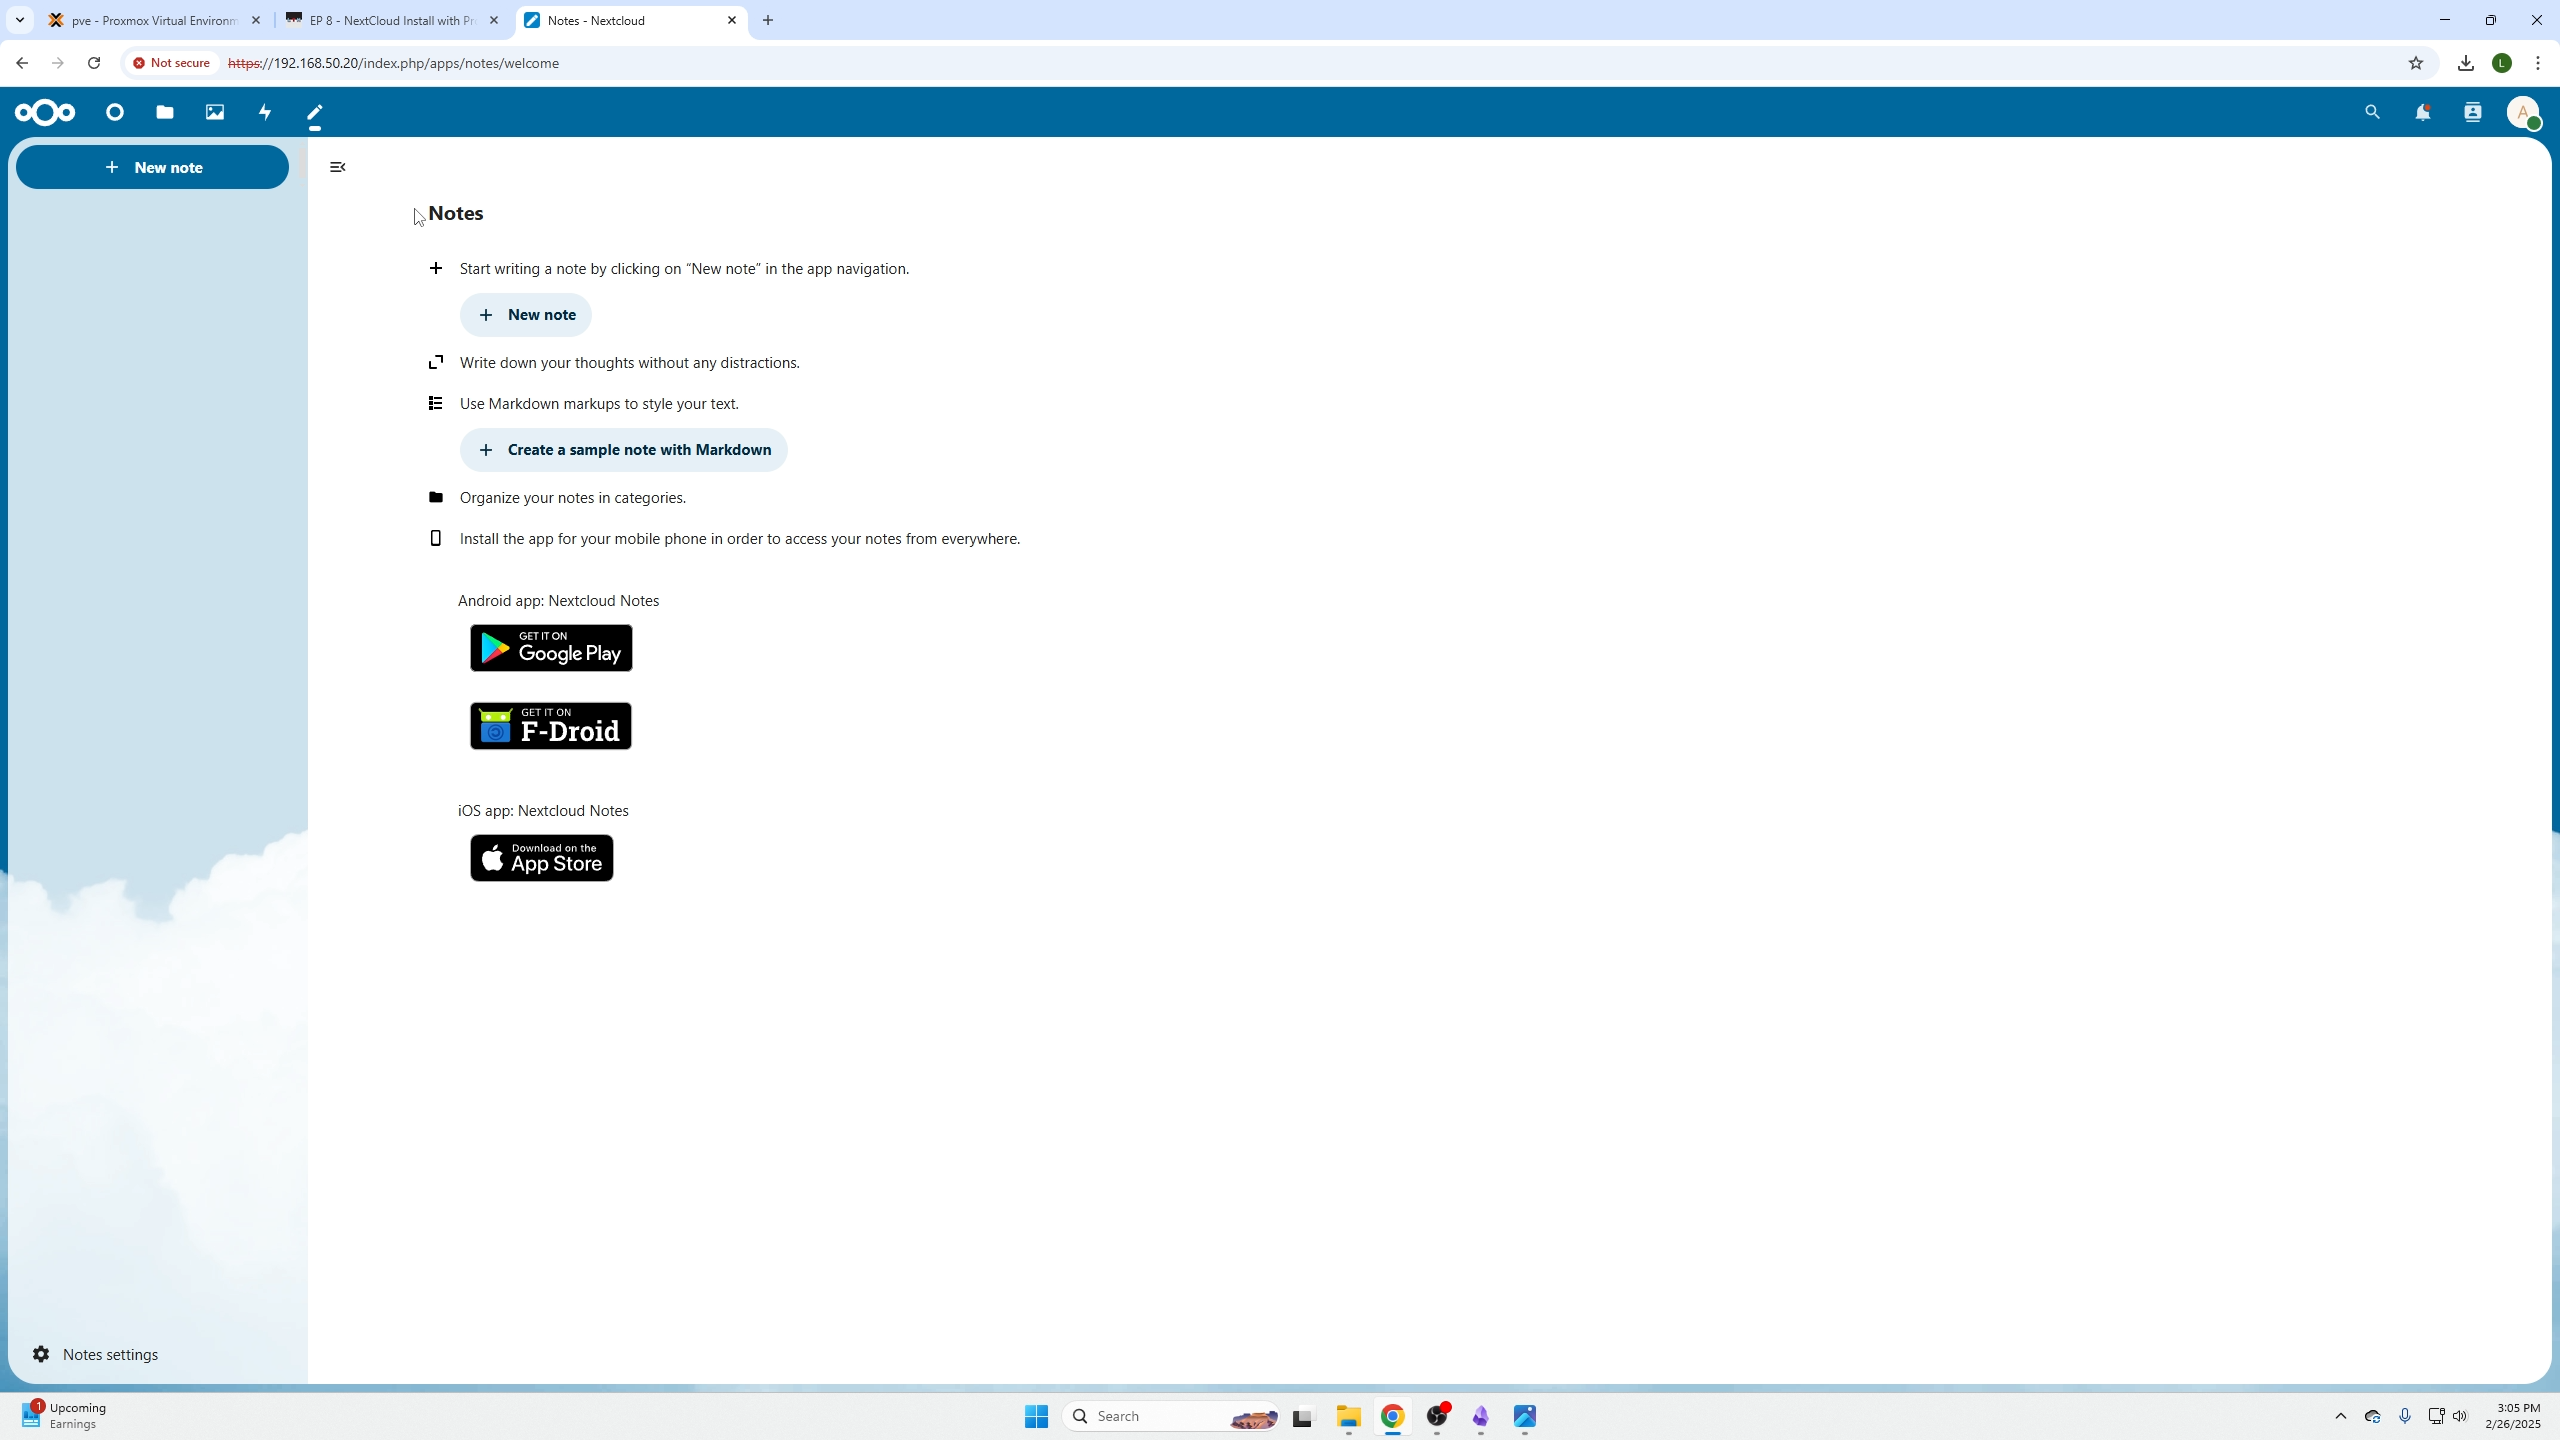
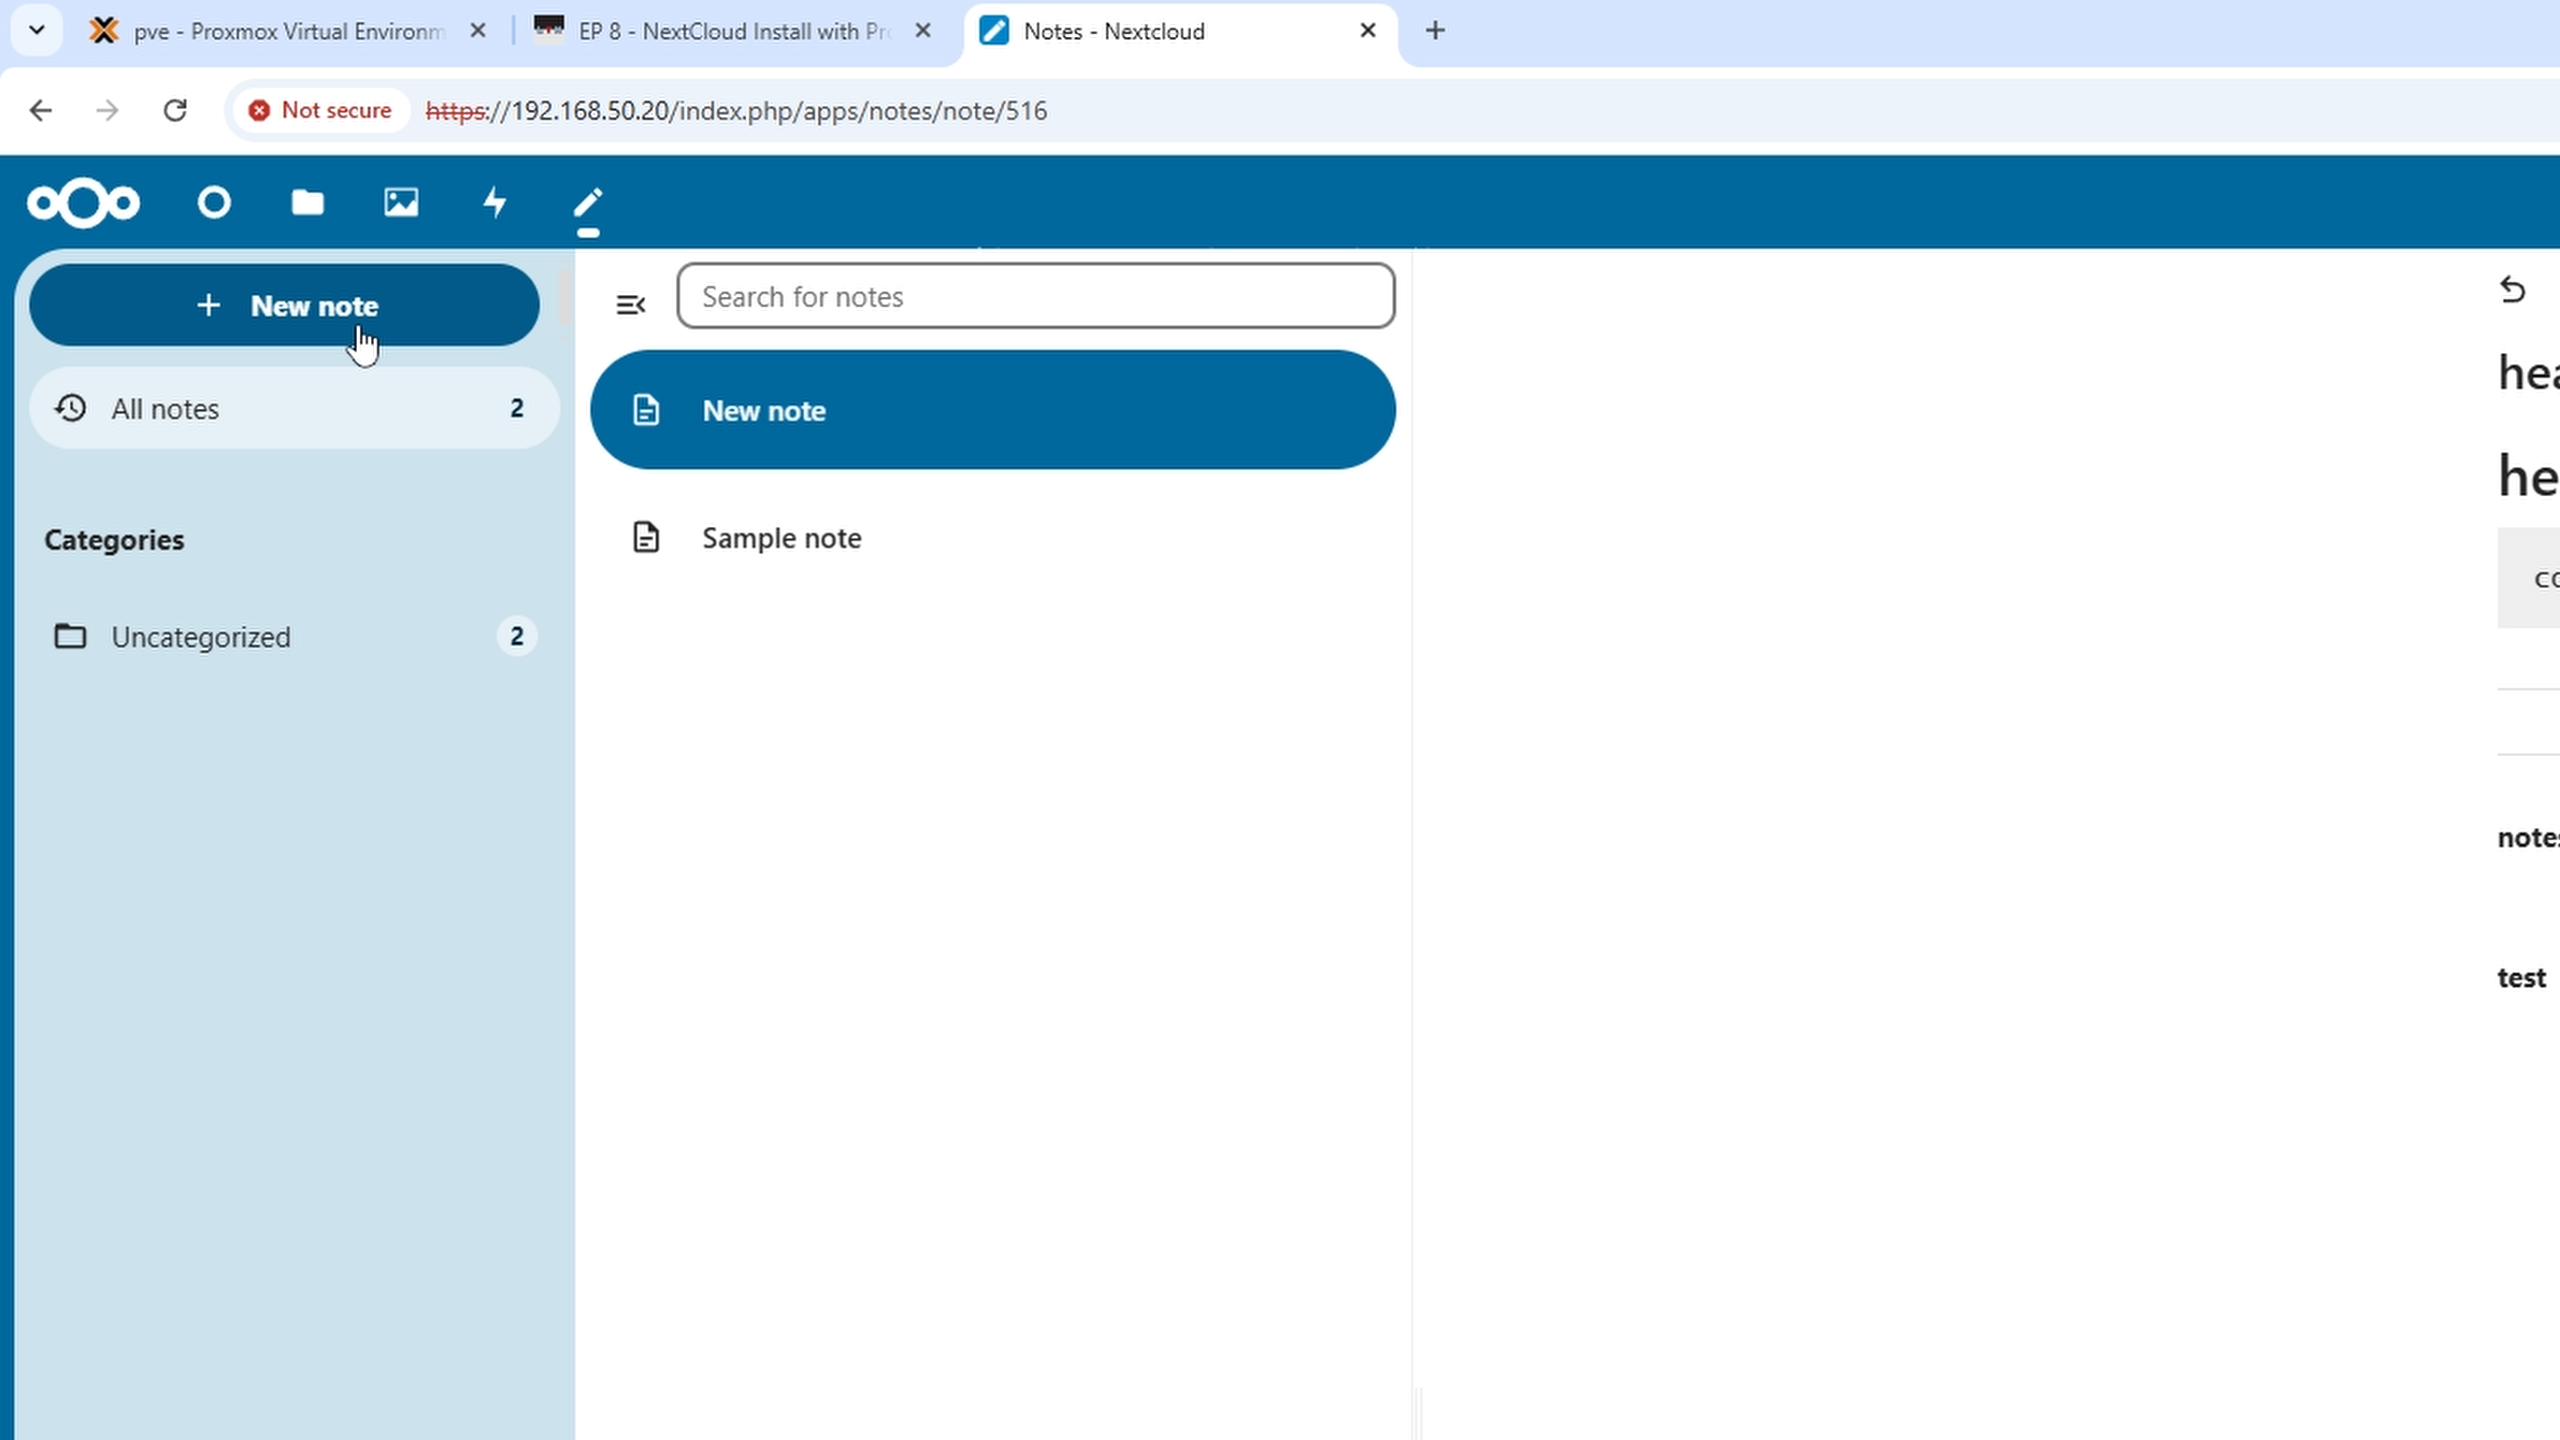
You can now select "Create a sample note with Markdown" or "New Note" at the top left.
Note example shown:
Categorize Notes in Folders
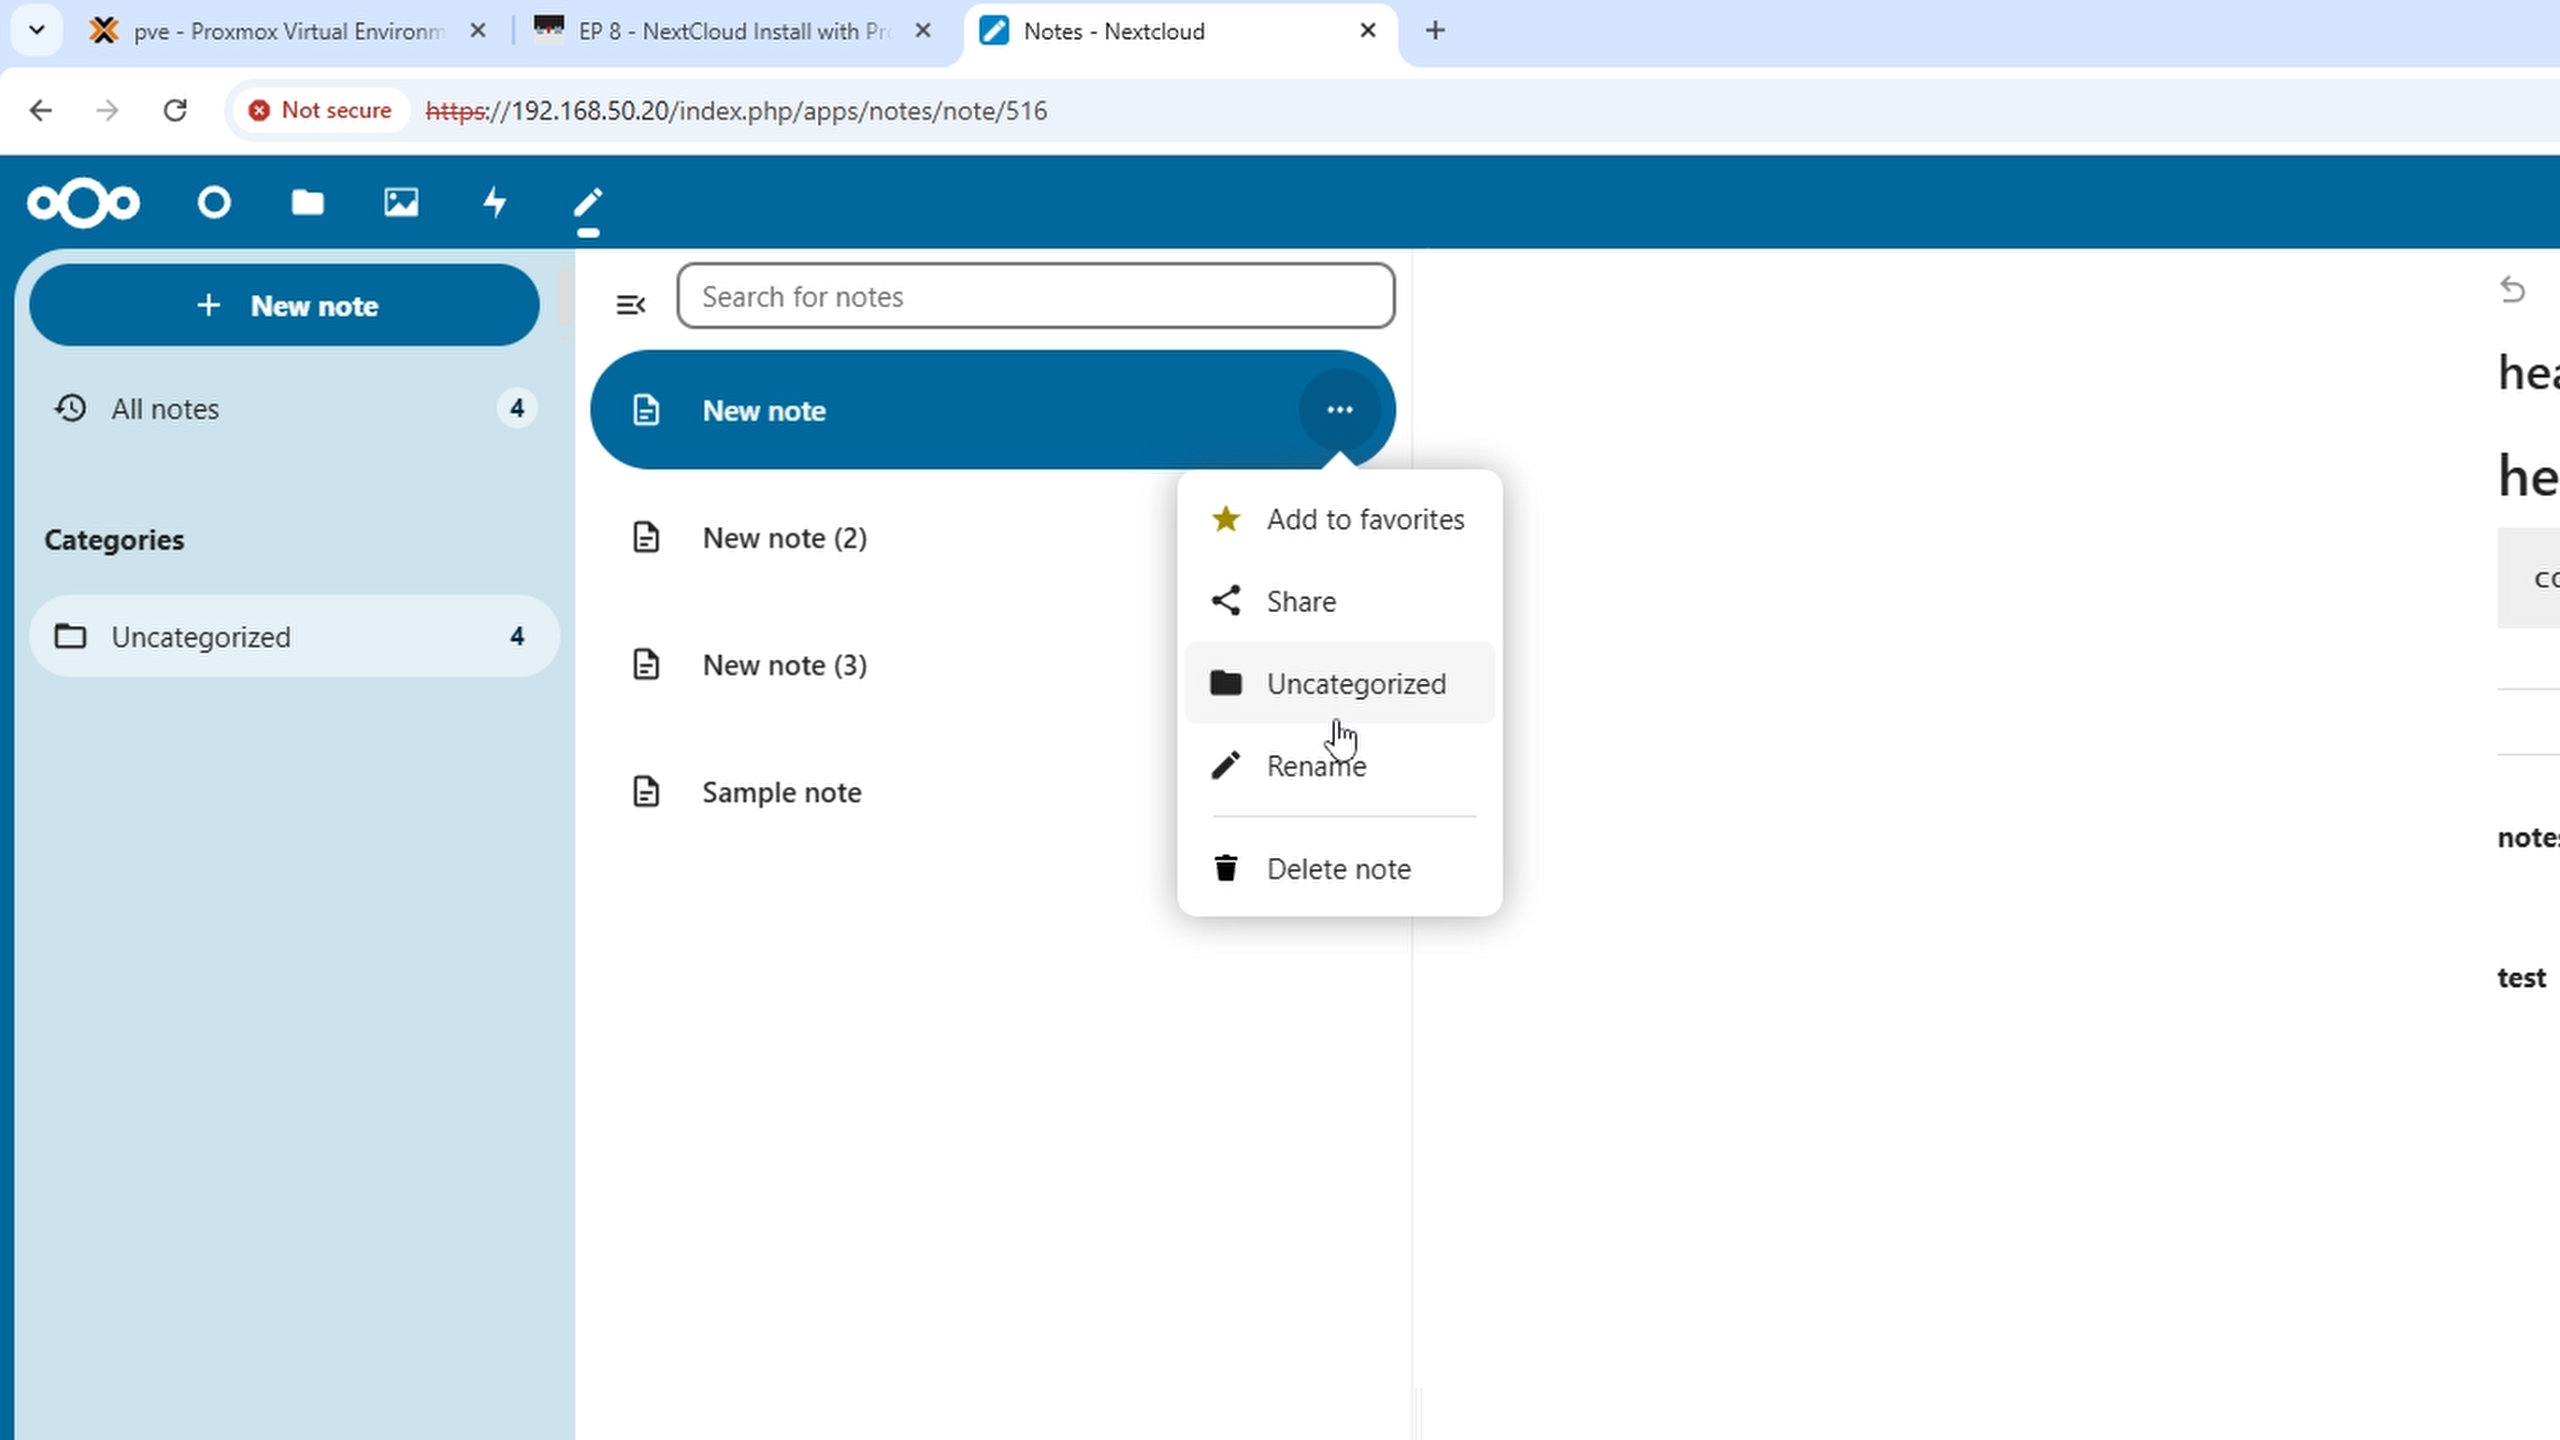
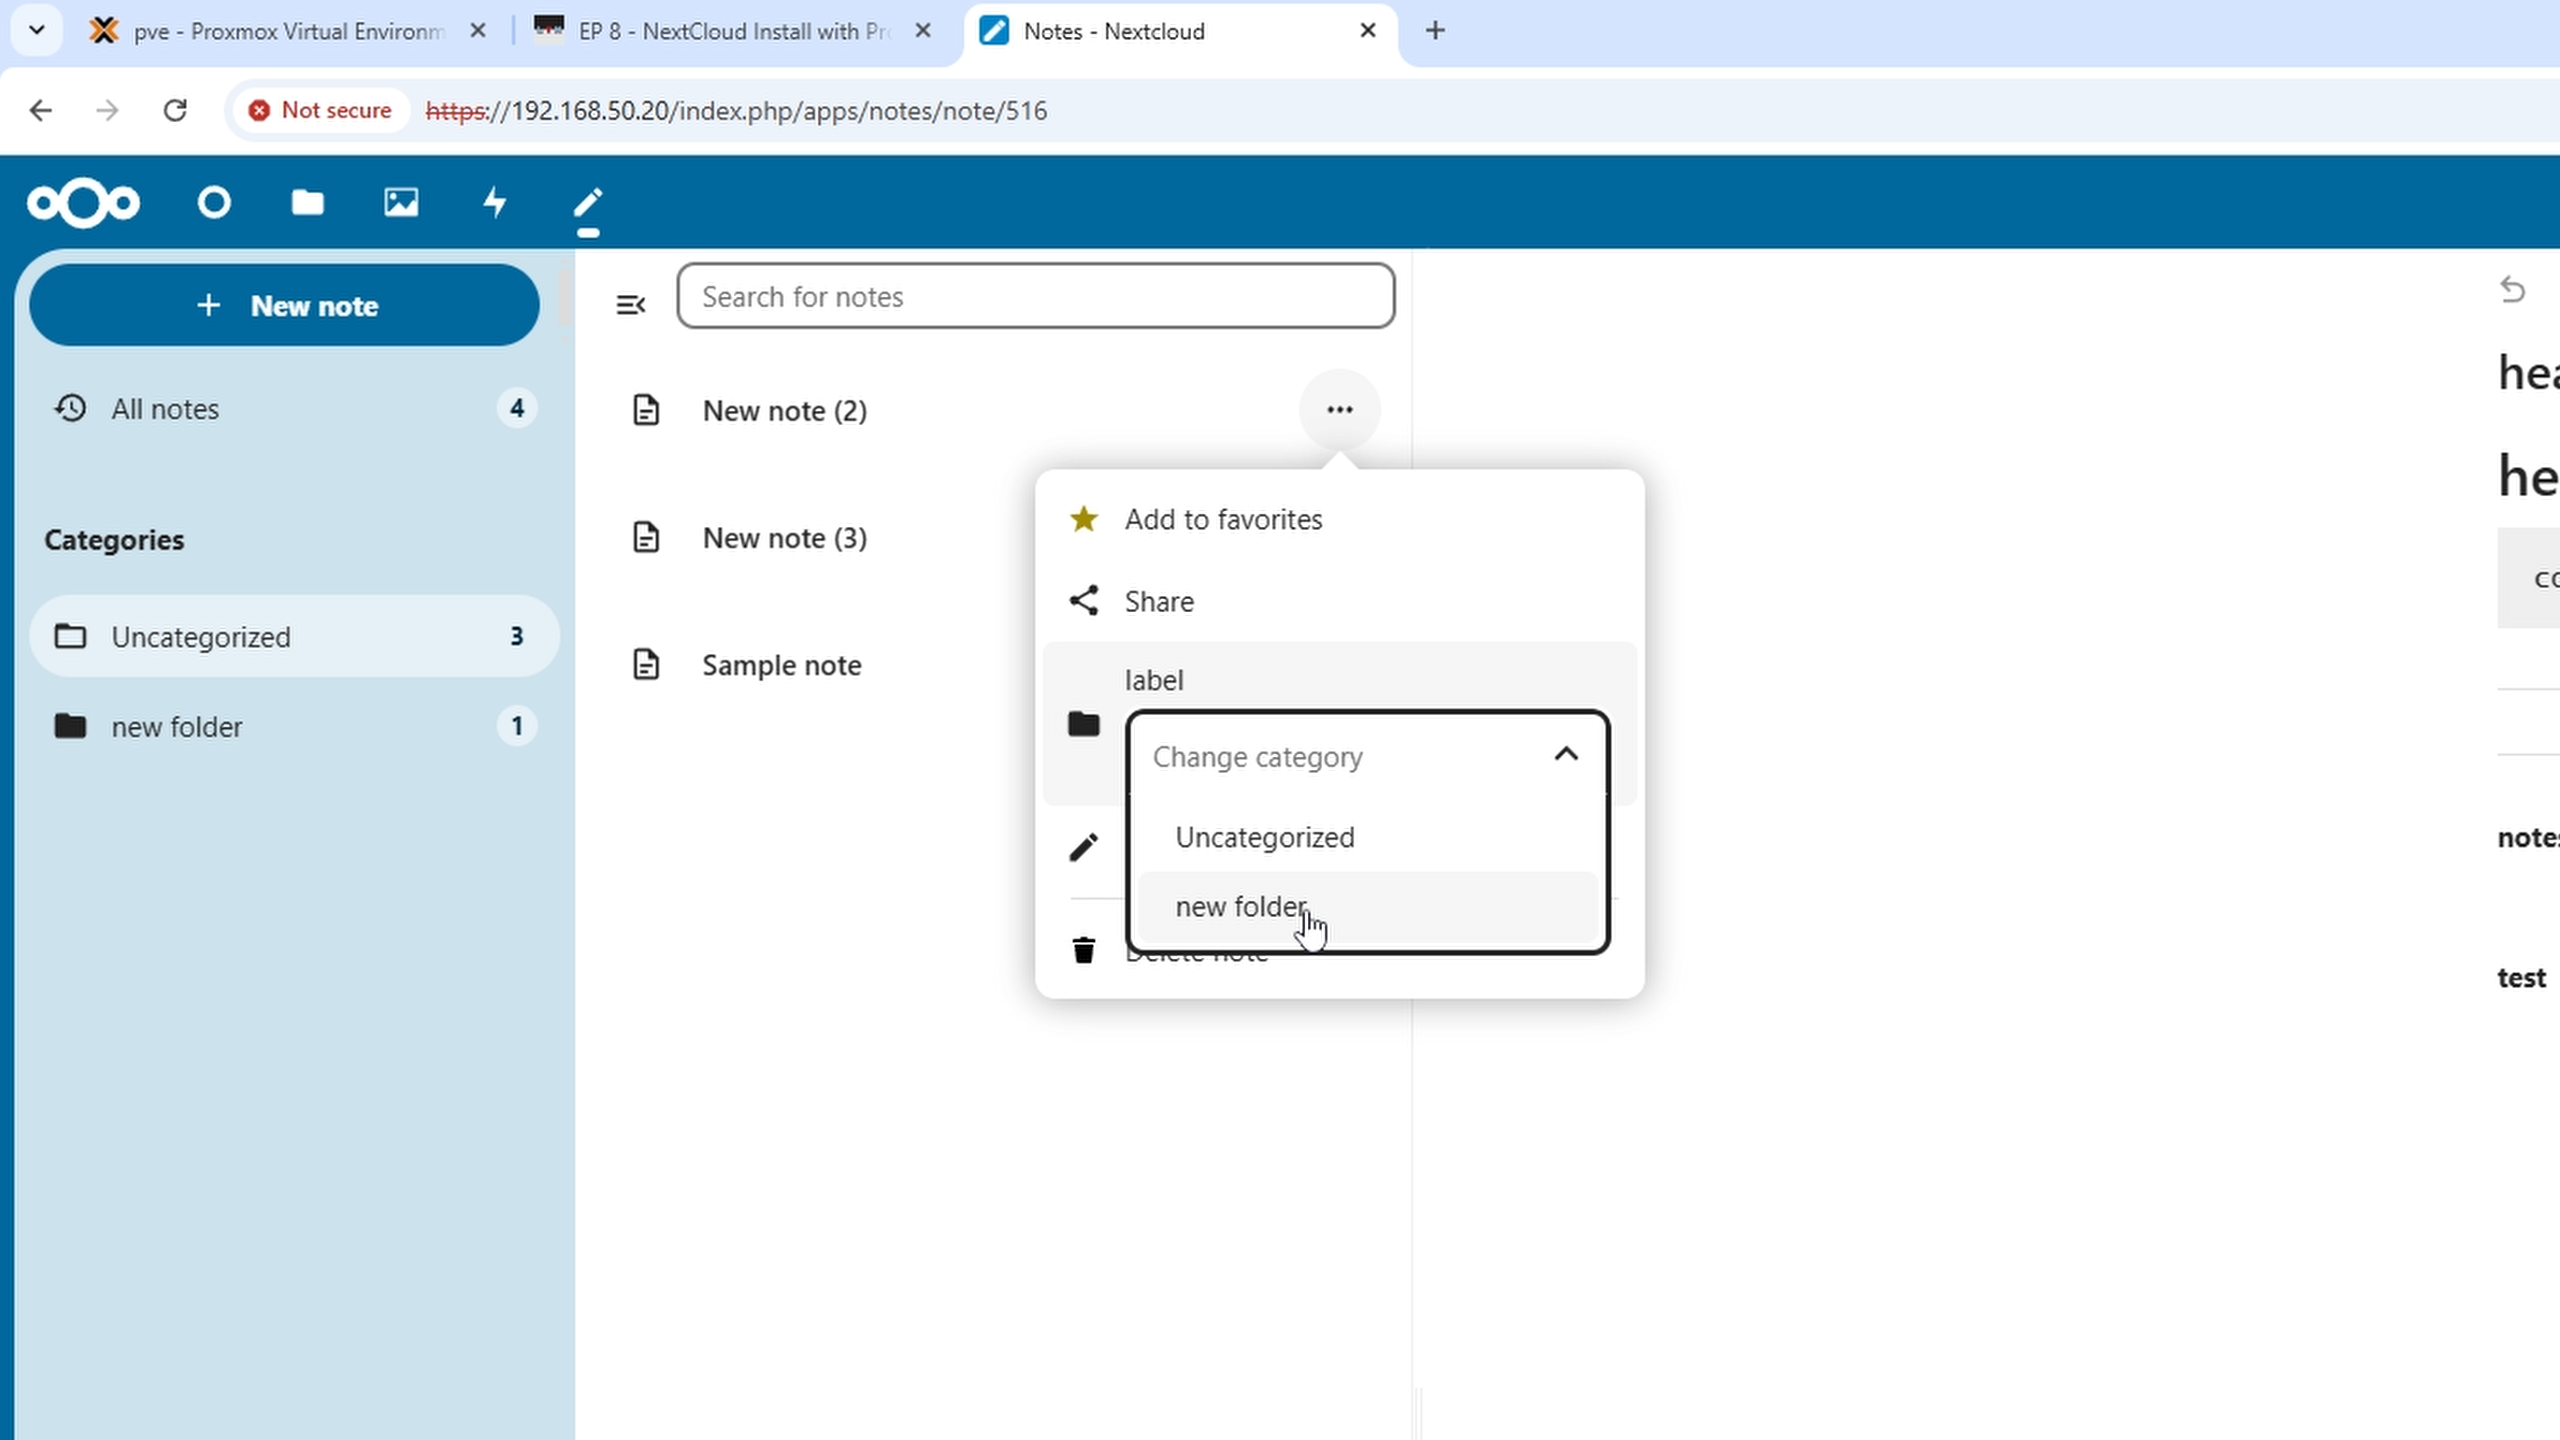
Hover over any note and click the three dots to categorize or create folders.
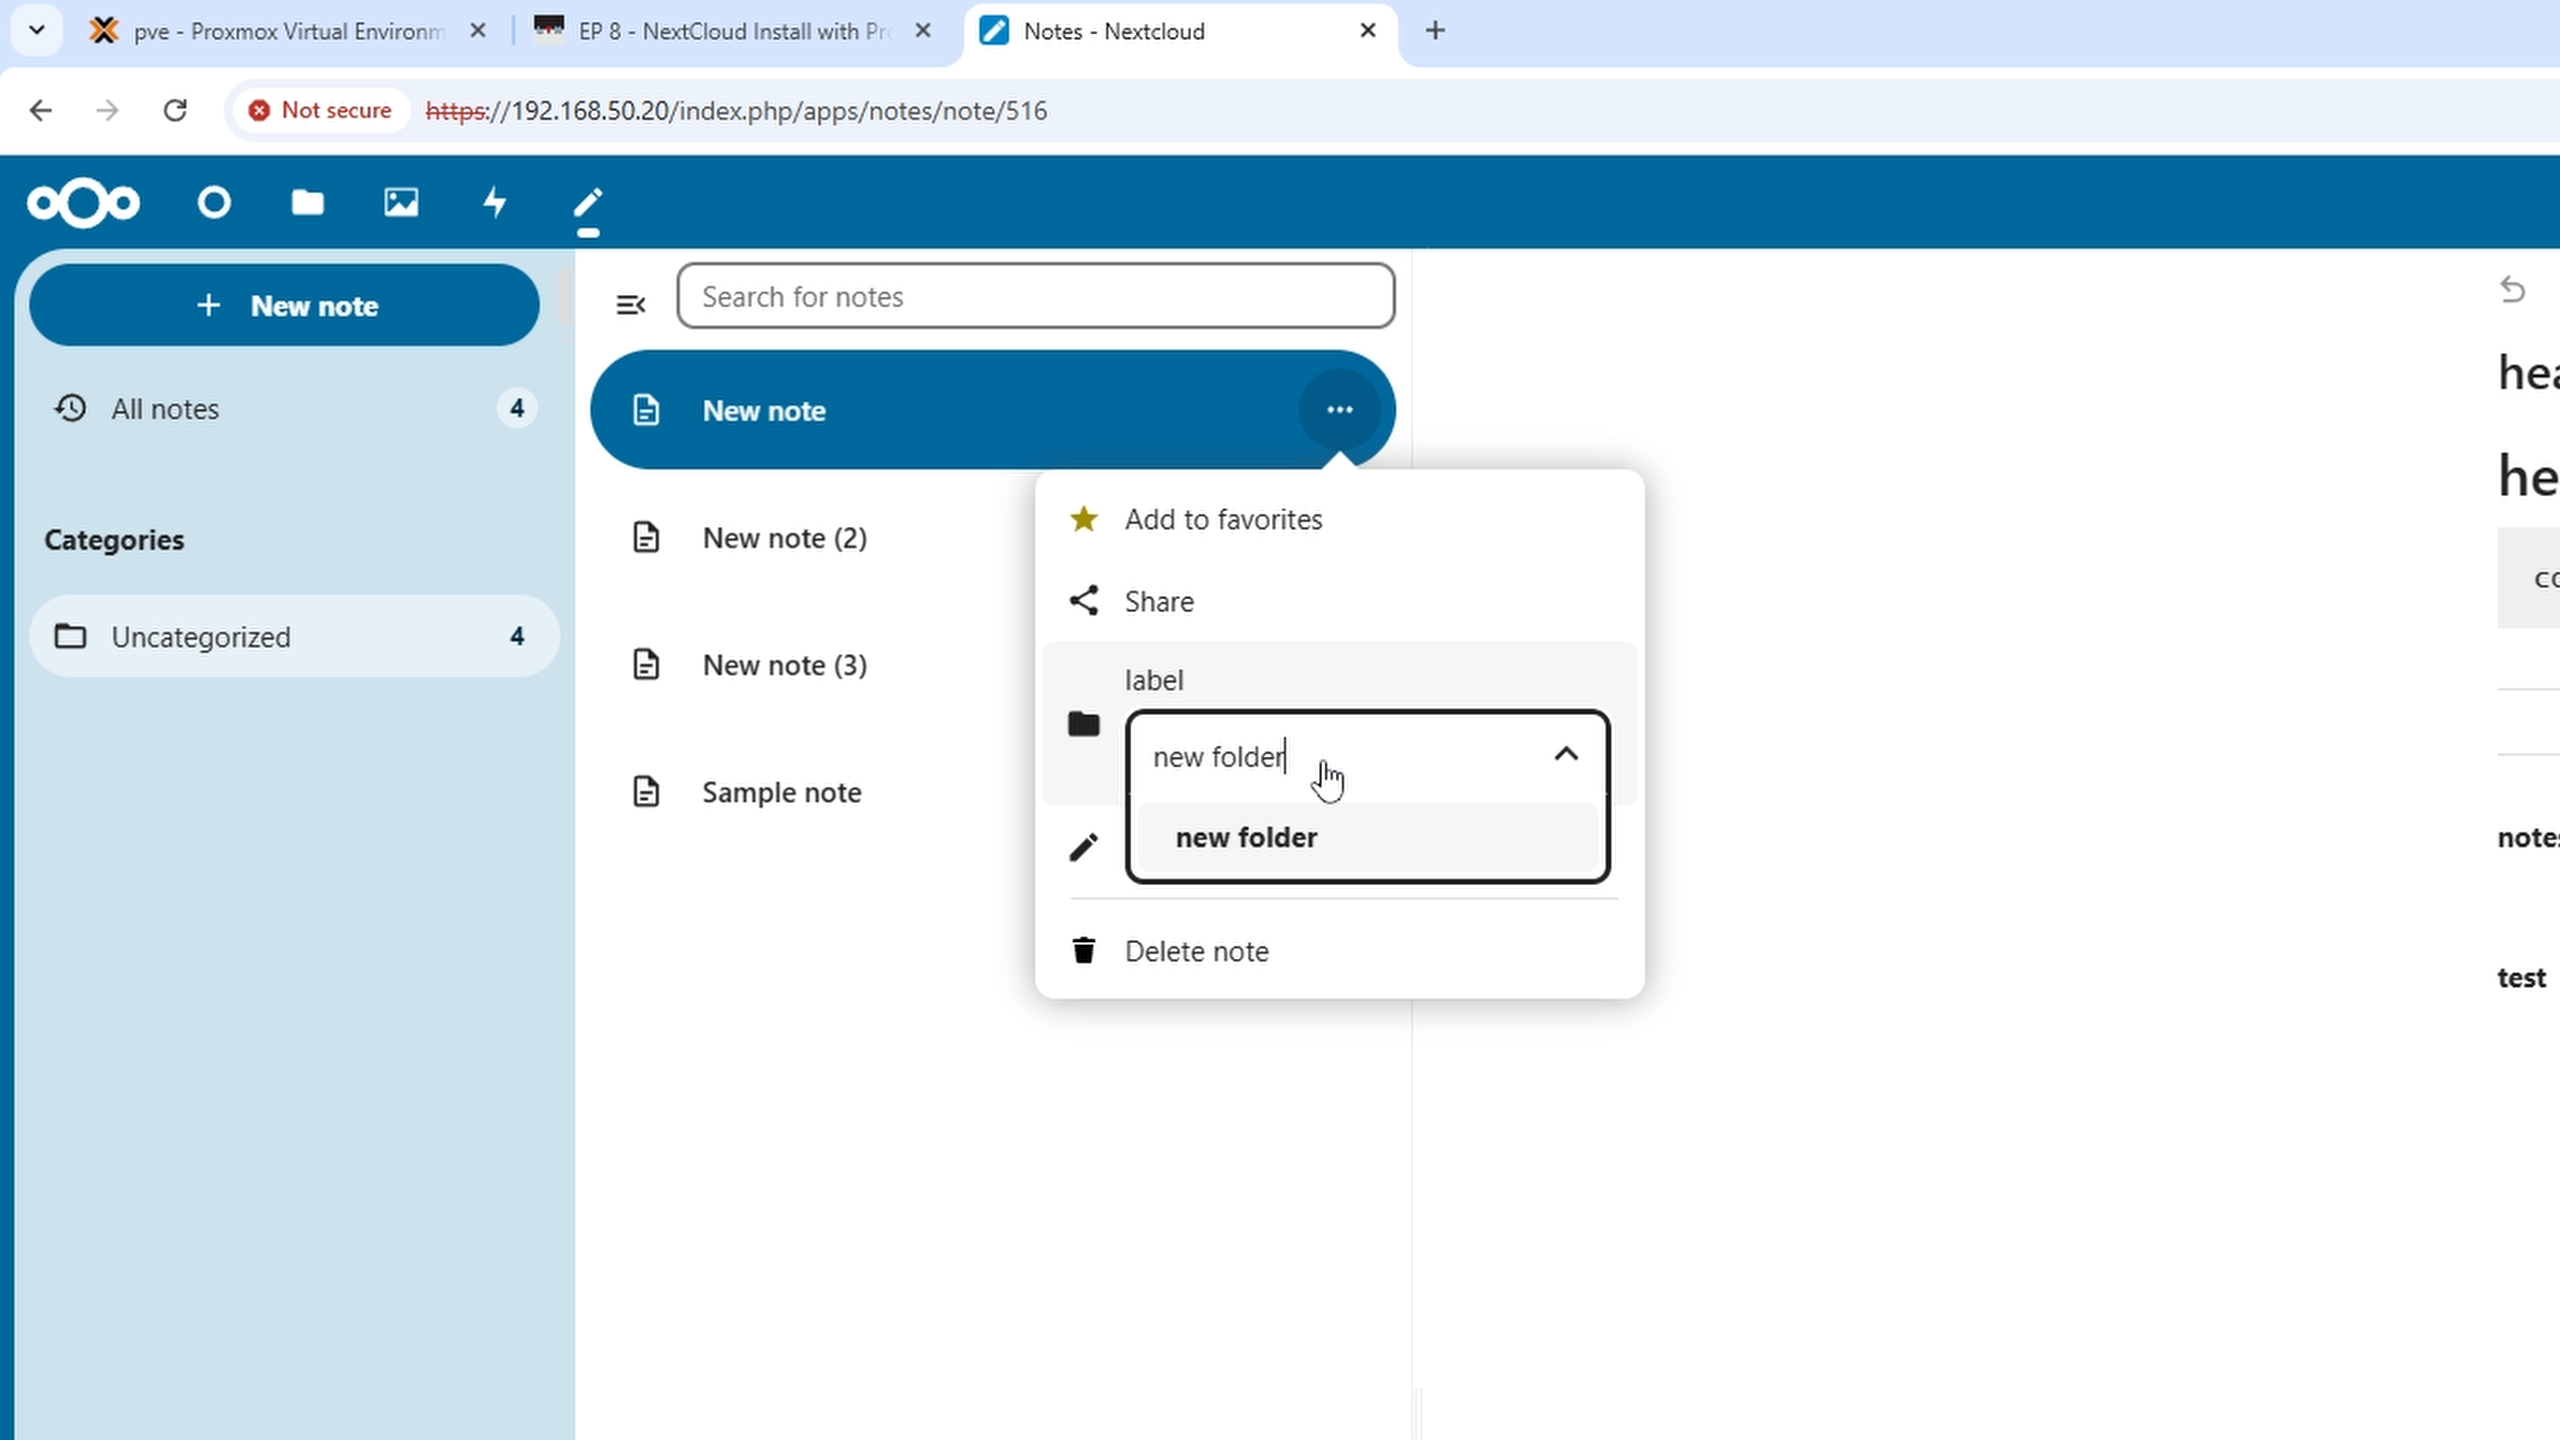
Click the folder icon, type the new folder name, and press Enter to create it.
You can then move notes into any existing or new folders by selecting them.
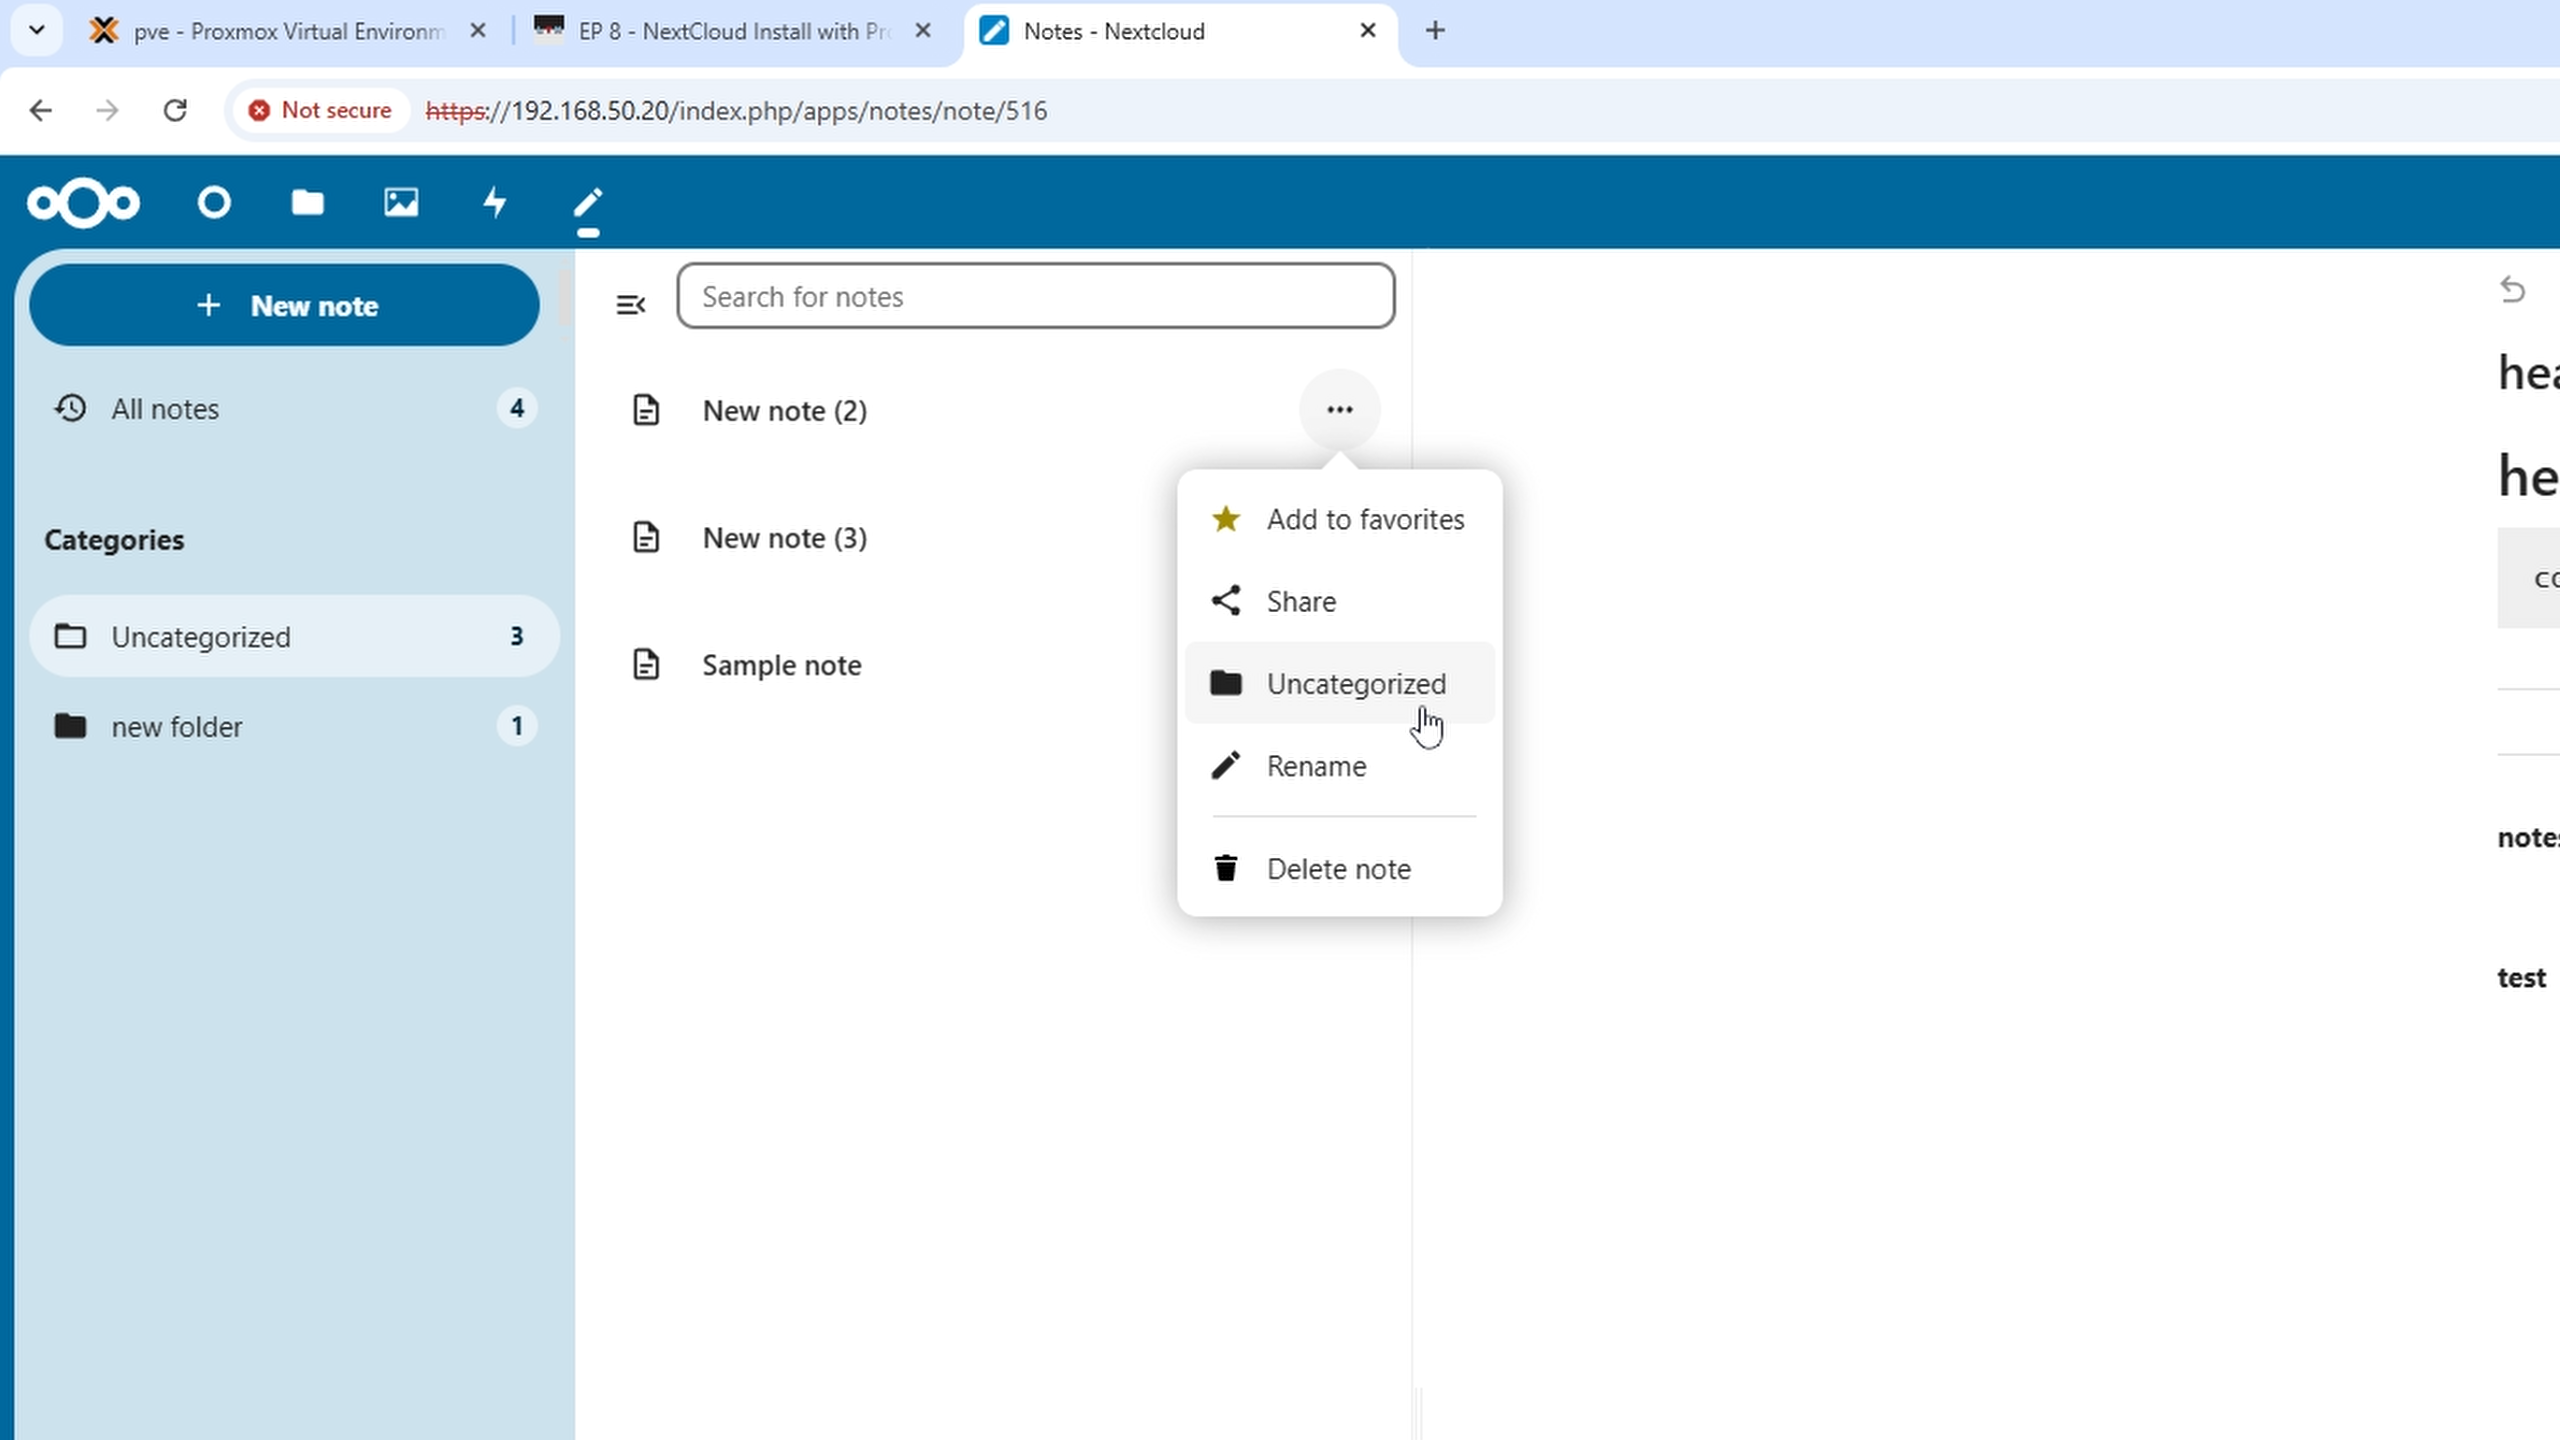
As shown:
Conclusion
In this video, we covered:
- How to download the Notes app
- How to create