Installing Tailscale on Proxmox
Introduction
In this episode we are going to cover installing Tailscale on a Proxmox VM and showing you how to connect back to your local Nextcloud server!
By doing so, you will be able to back up any pictures or documents you take/create well away from your home network.
Do not be like me, when you go on a vacation, upload your pictures each night to your Nextcloud backup! The next day your phone could get lost, stolen, or water damaged! Having picture memories is so important!
Tailscale introduction
Tailscale is a secure, open-source Virtual Private Network
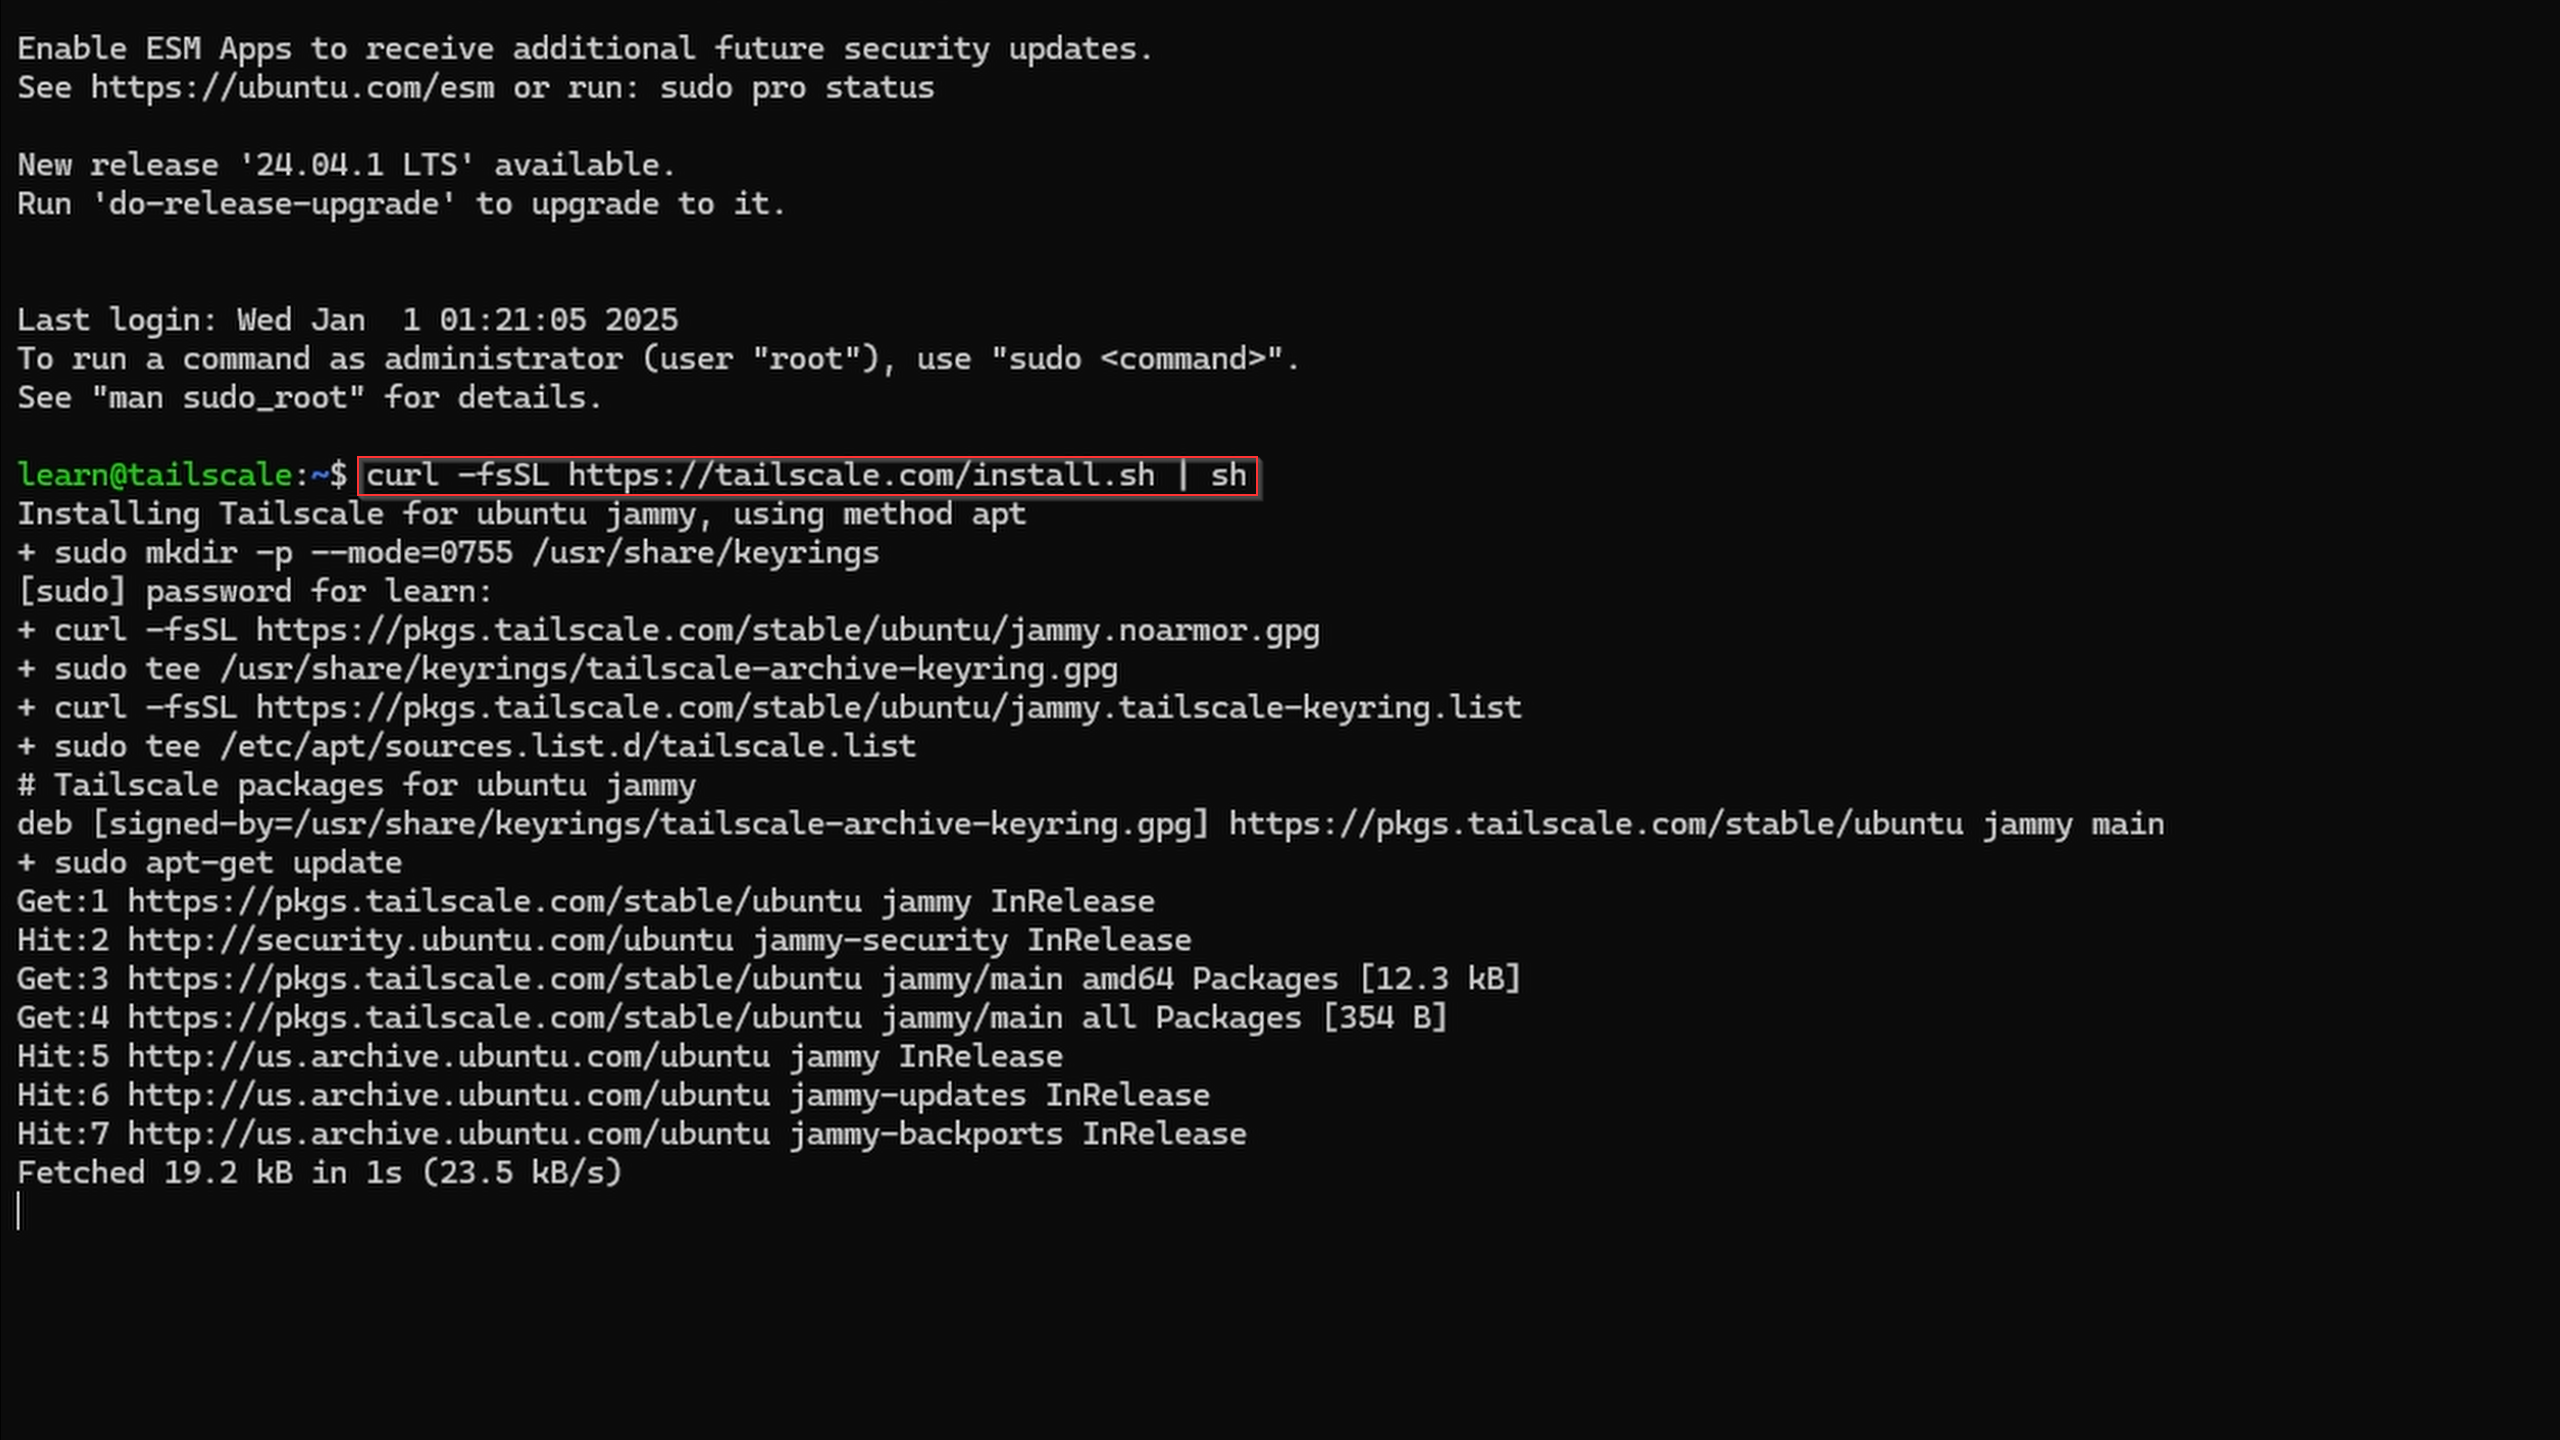
curl -fsSL https://tailscale.com/install.sh | sh
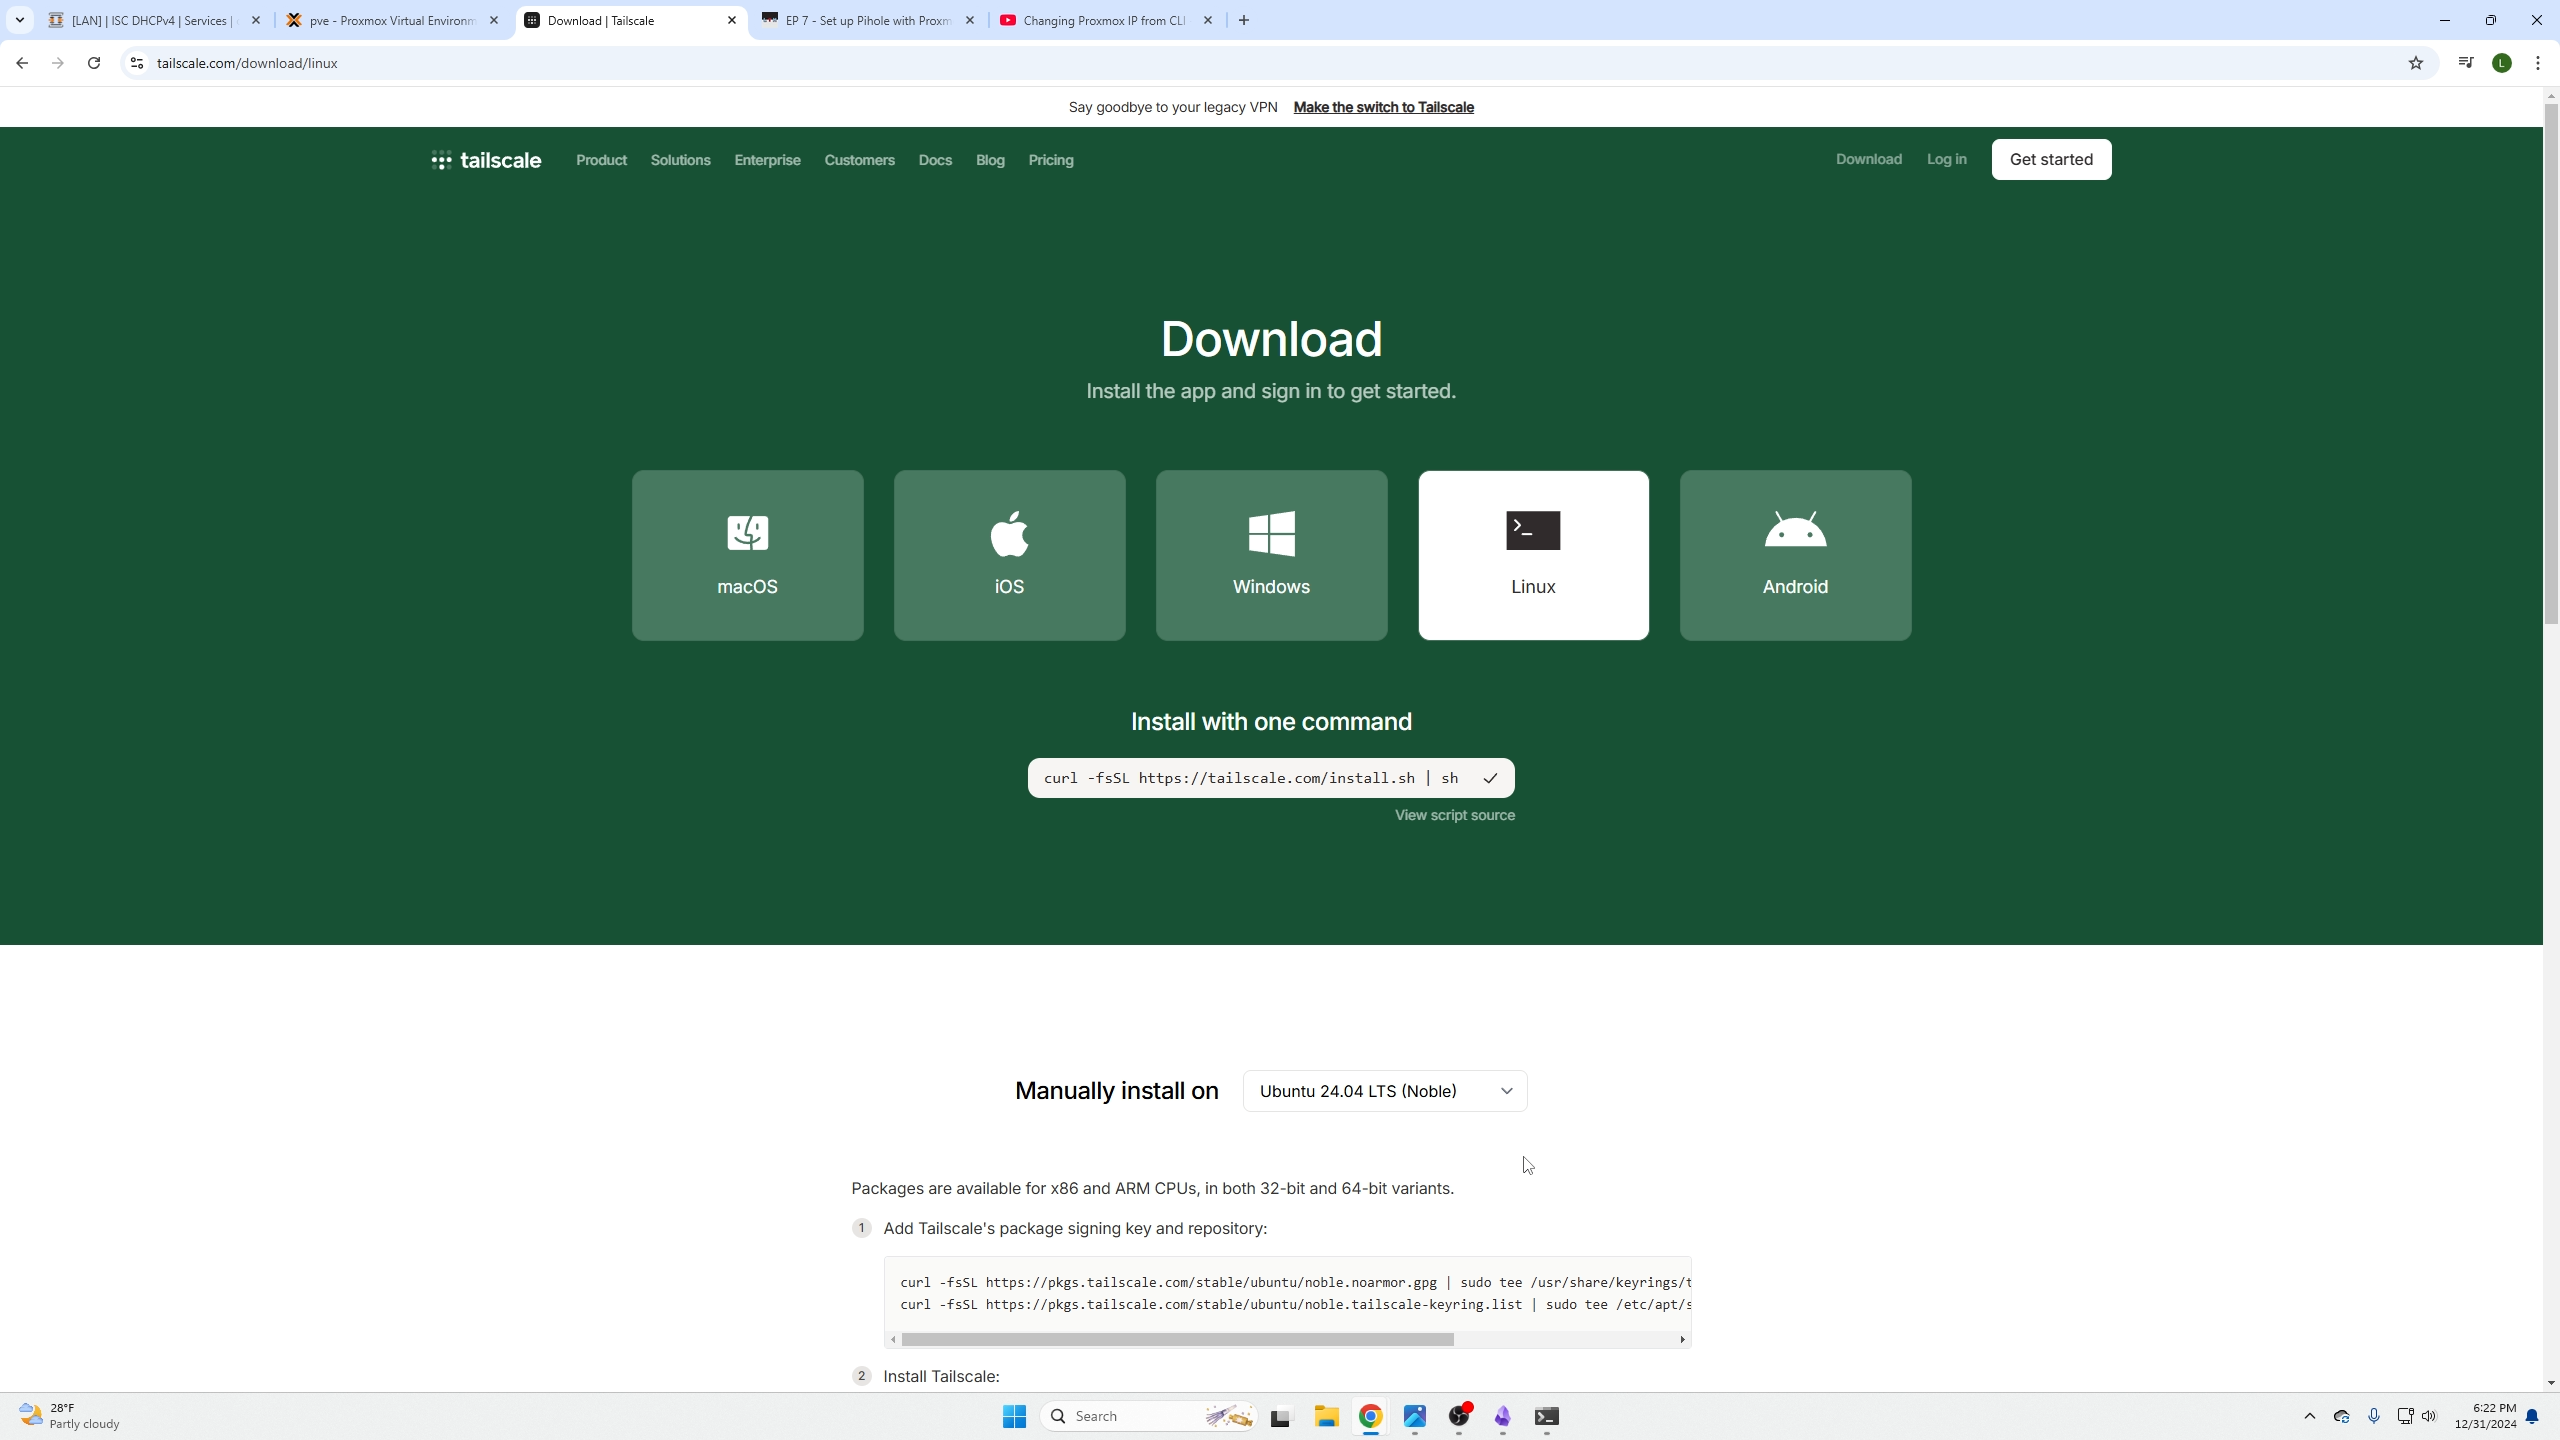
Type that command into your VM to install Tailscale
After the install is complete, we need to run the command
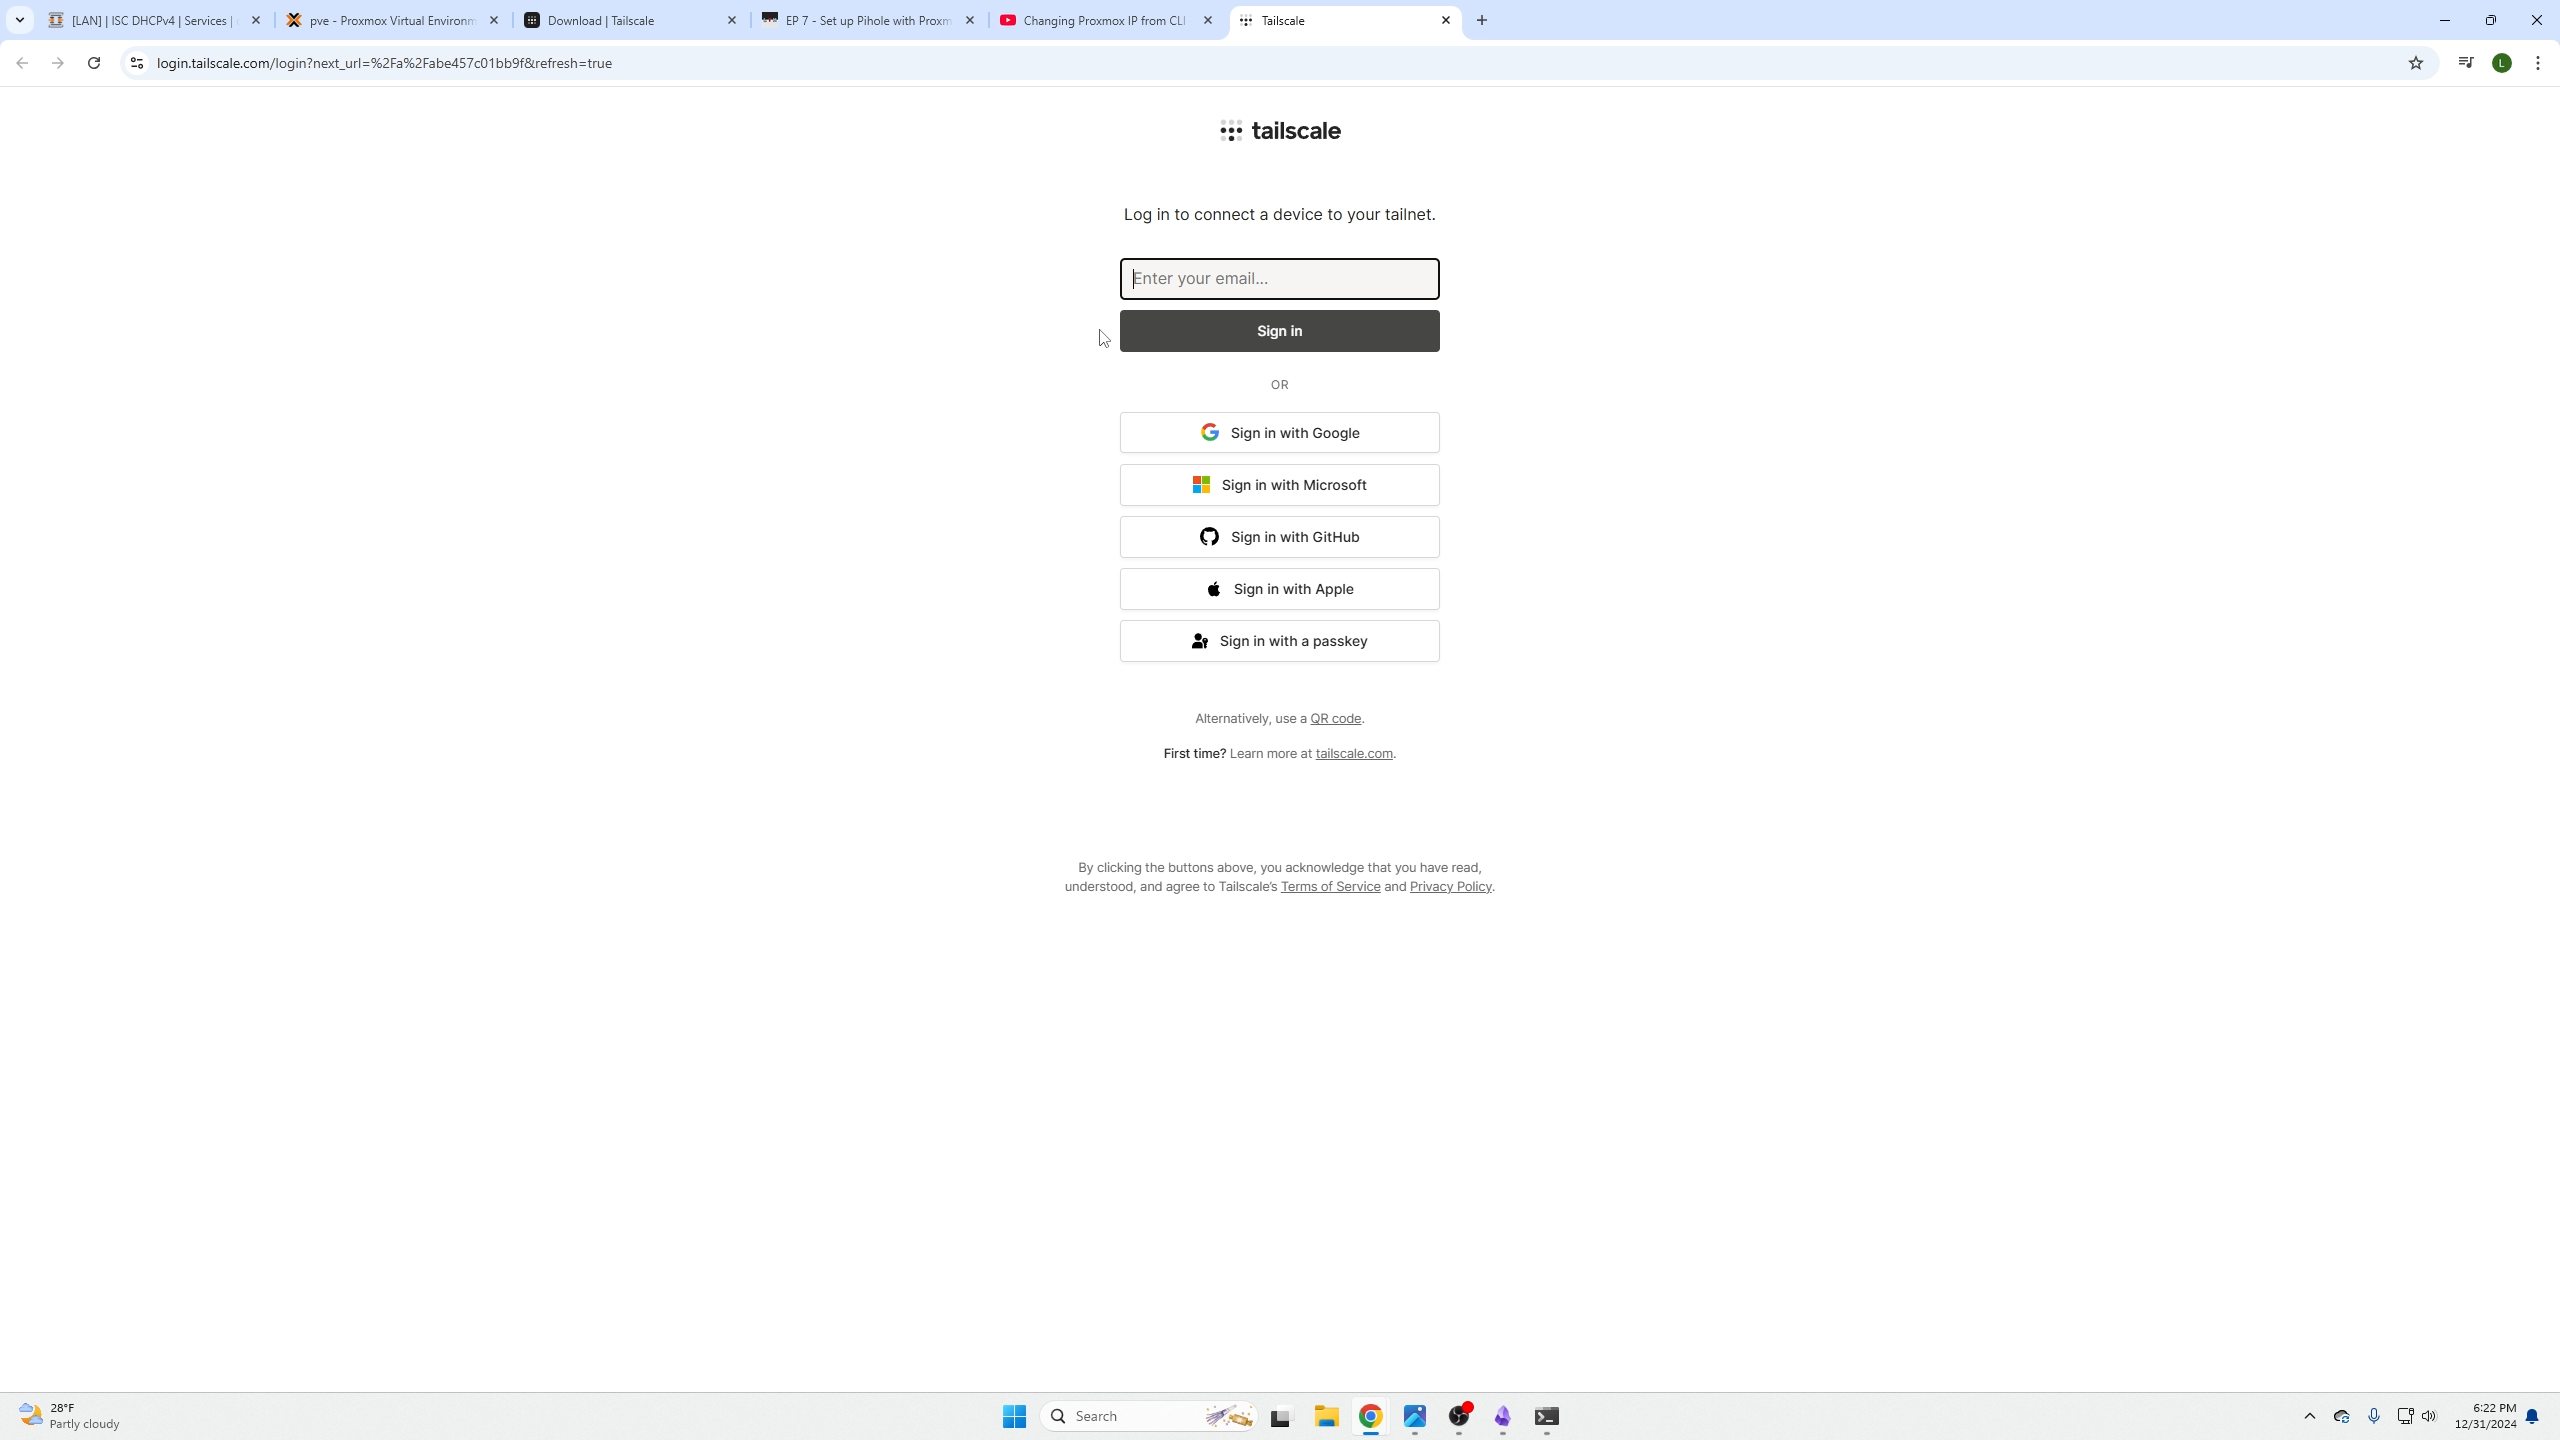
sudo tailscale up
Which will present us with our URL to login/create an account for our Tailscale network.

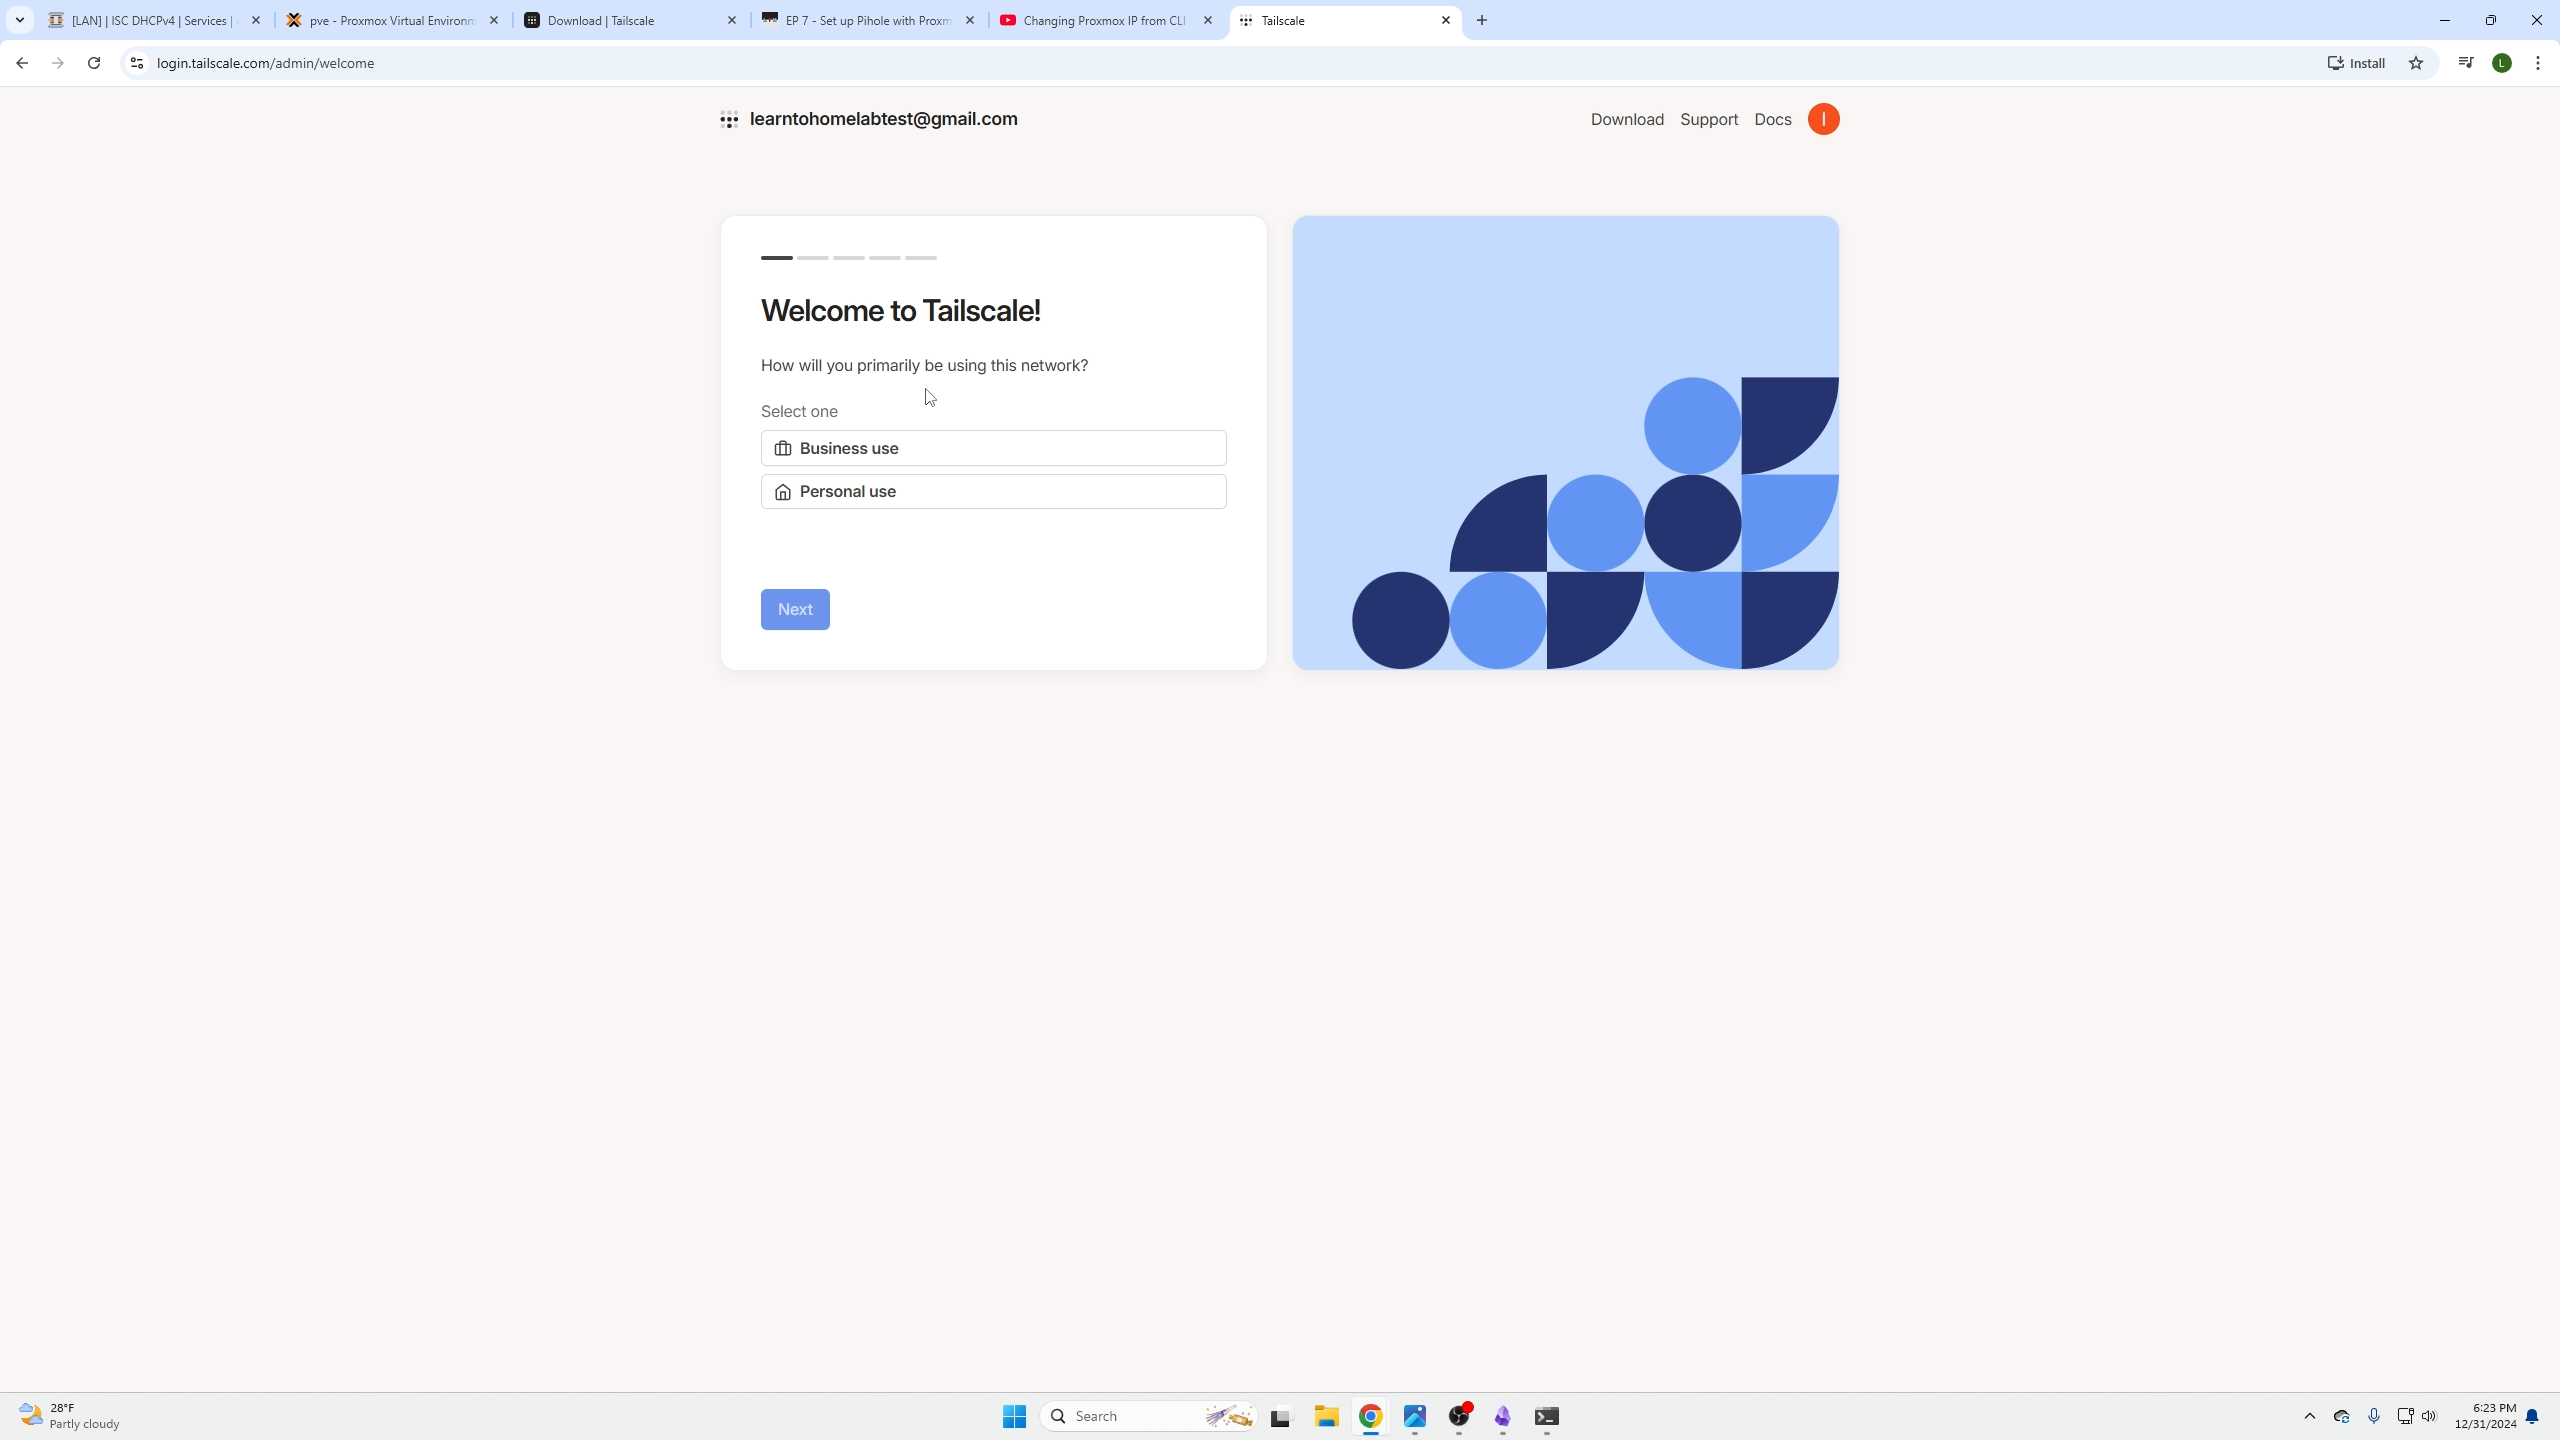
Use whatever method you prefer to make your account
In our case we are going to use for personal use (which is true) but it is also free for three users and 100 devices.
Make Tailscale an Exit Node for LAN access
There is one more step we need to perform by SSHing into our Tailscale server. We need to make it an exit node, this allows your remote connections to exit your Tailscale VM and access the other VMs on your home network.
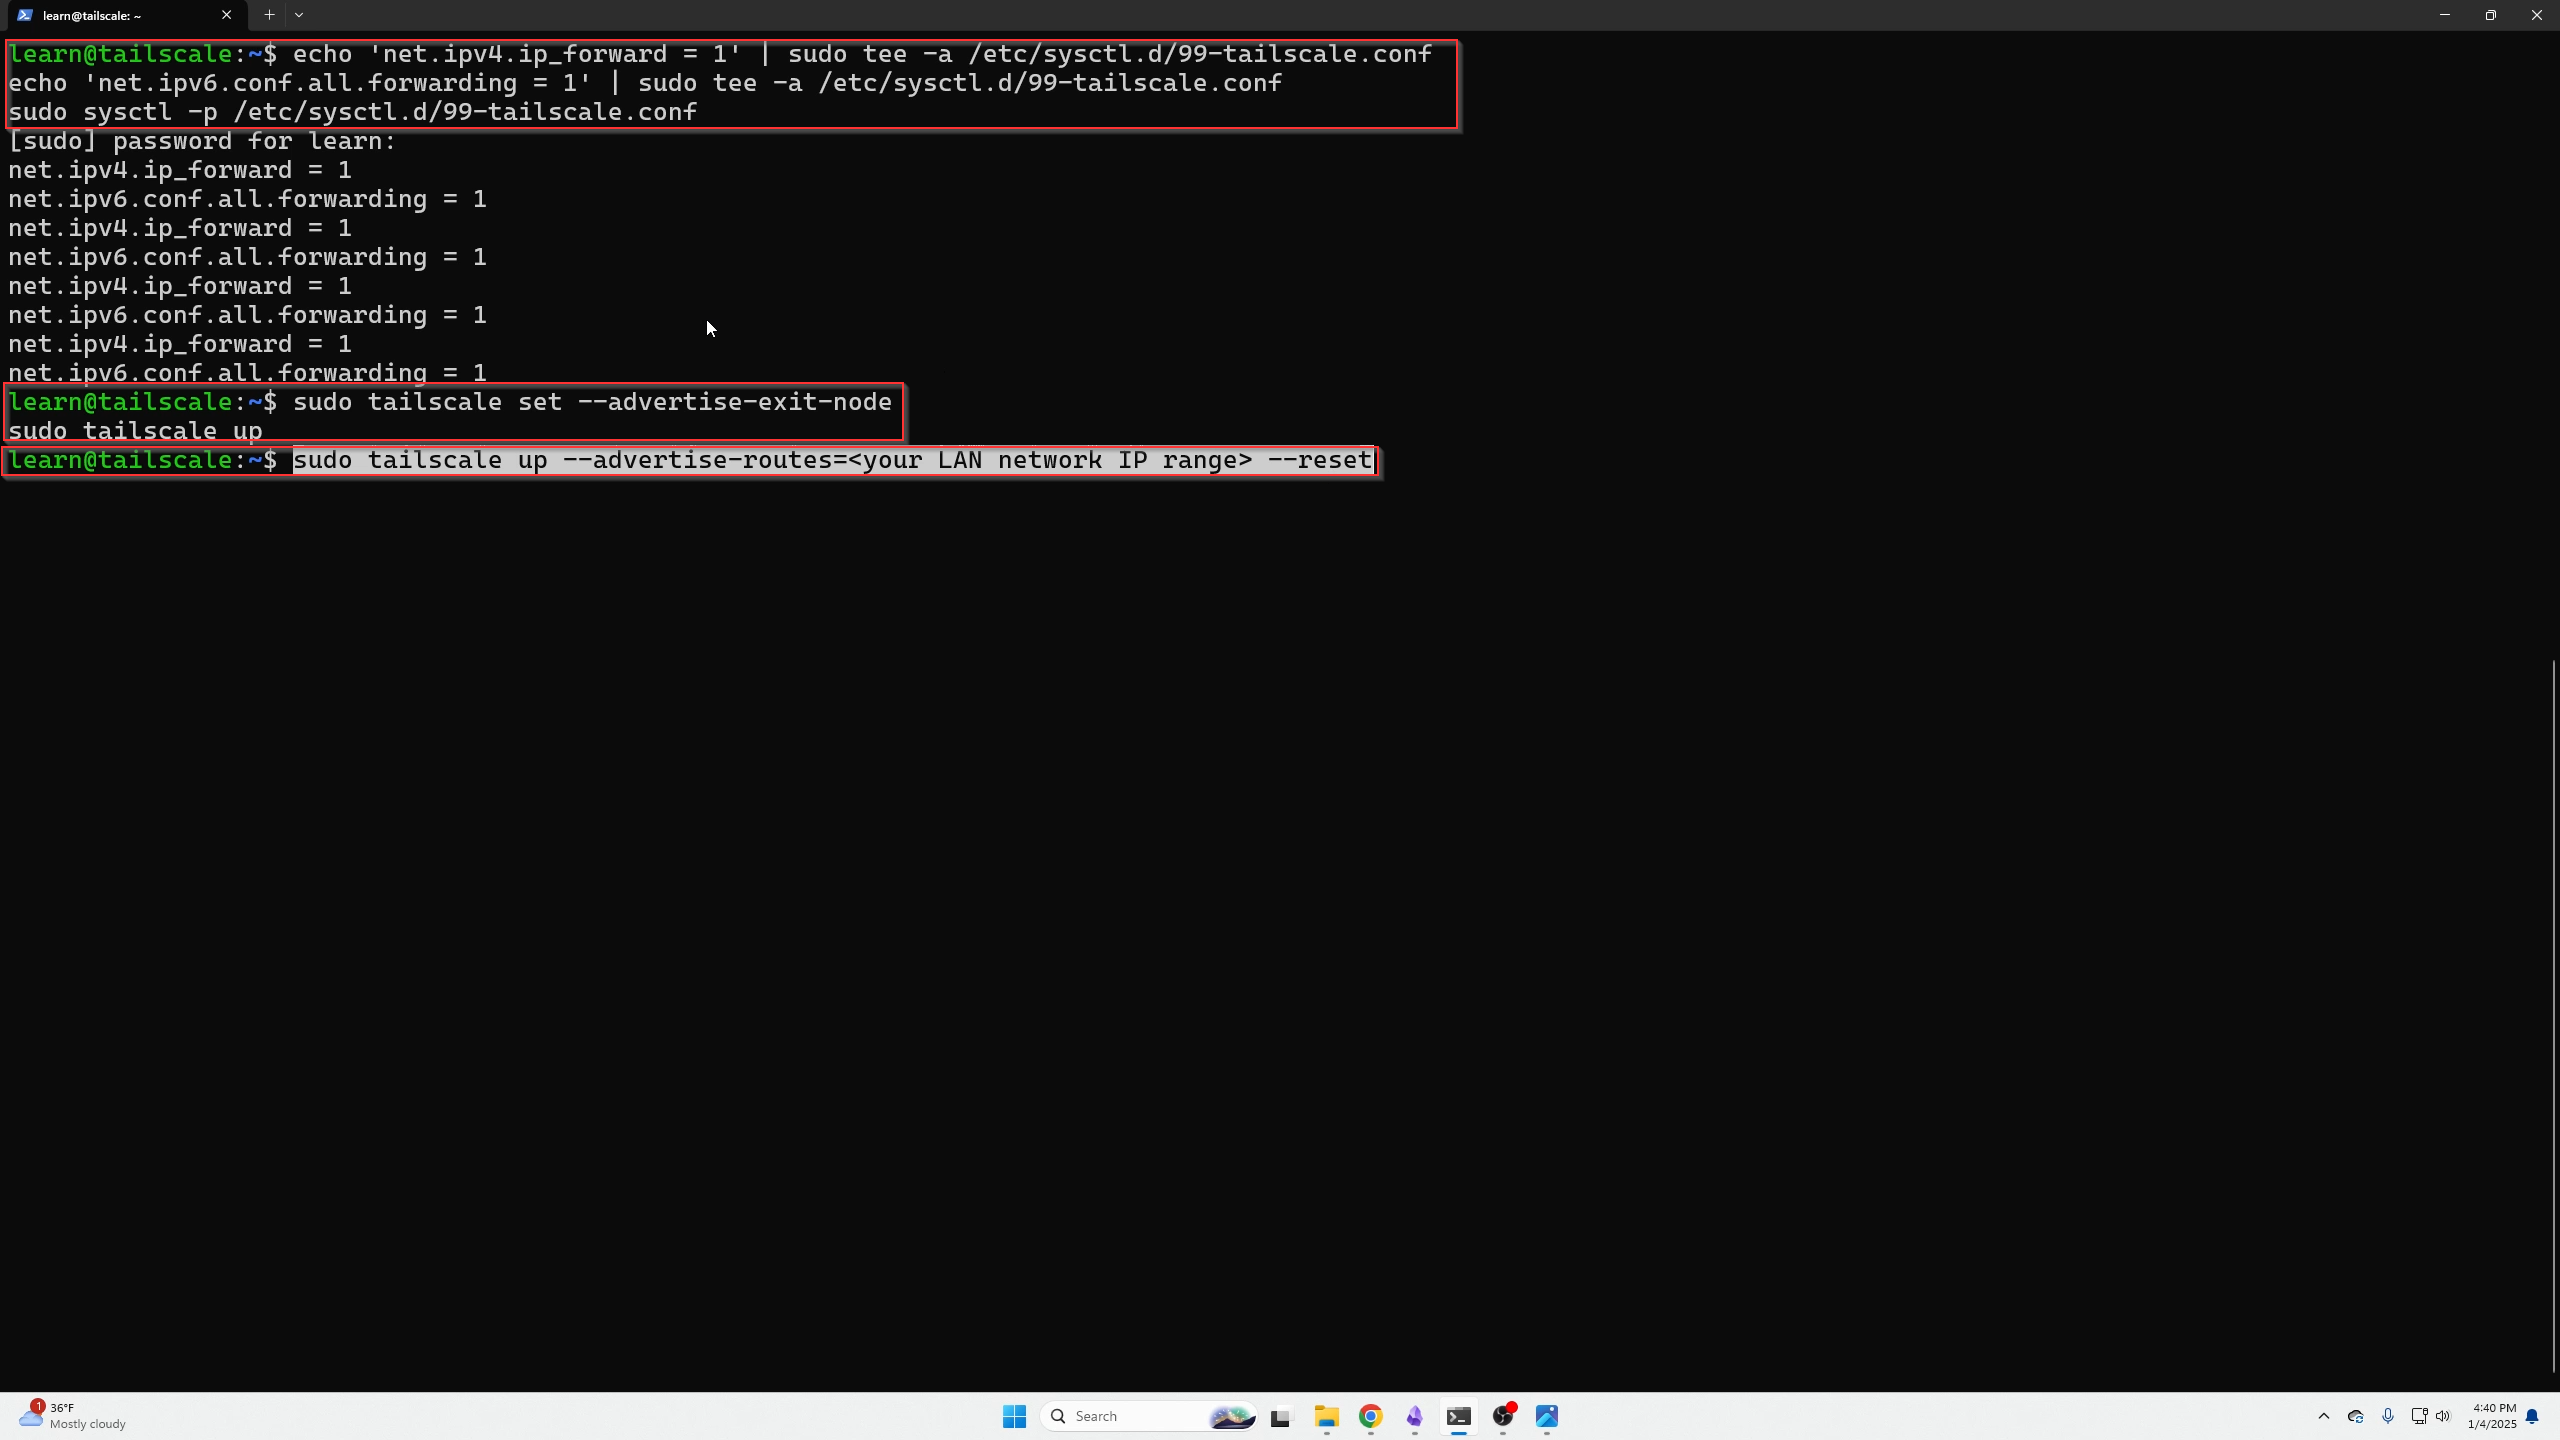
There are three commands we need to type in to make our Tailscale VM the exit node:
- Advertise a device as an exit node config file:
echo 'net.ipv4.ip_forward = 1' | sudo tee -a /etc/sysctl.d/99-tailscale.conf
echo 'net.ipv6.conf.all.forwarding = 1' | sudo tee -a /etc/sysctl.d/99-tailscale.conf
sudo sysctl -p /etc/sysctl.d/99-tailscale.conf
- Then we need to advertise the exit node by restarting the tailscale service:
sudo tailscale set --advertise-exit-node
sudo tailscale up
- Then we need to advertise our route including your networks CIDR notation:
sudo tailscale up --advertise-routes=<your LAN network IP range>/24 --reset
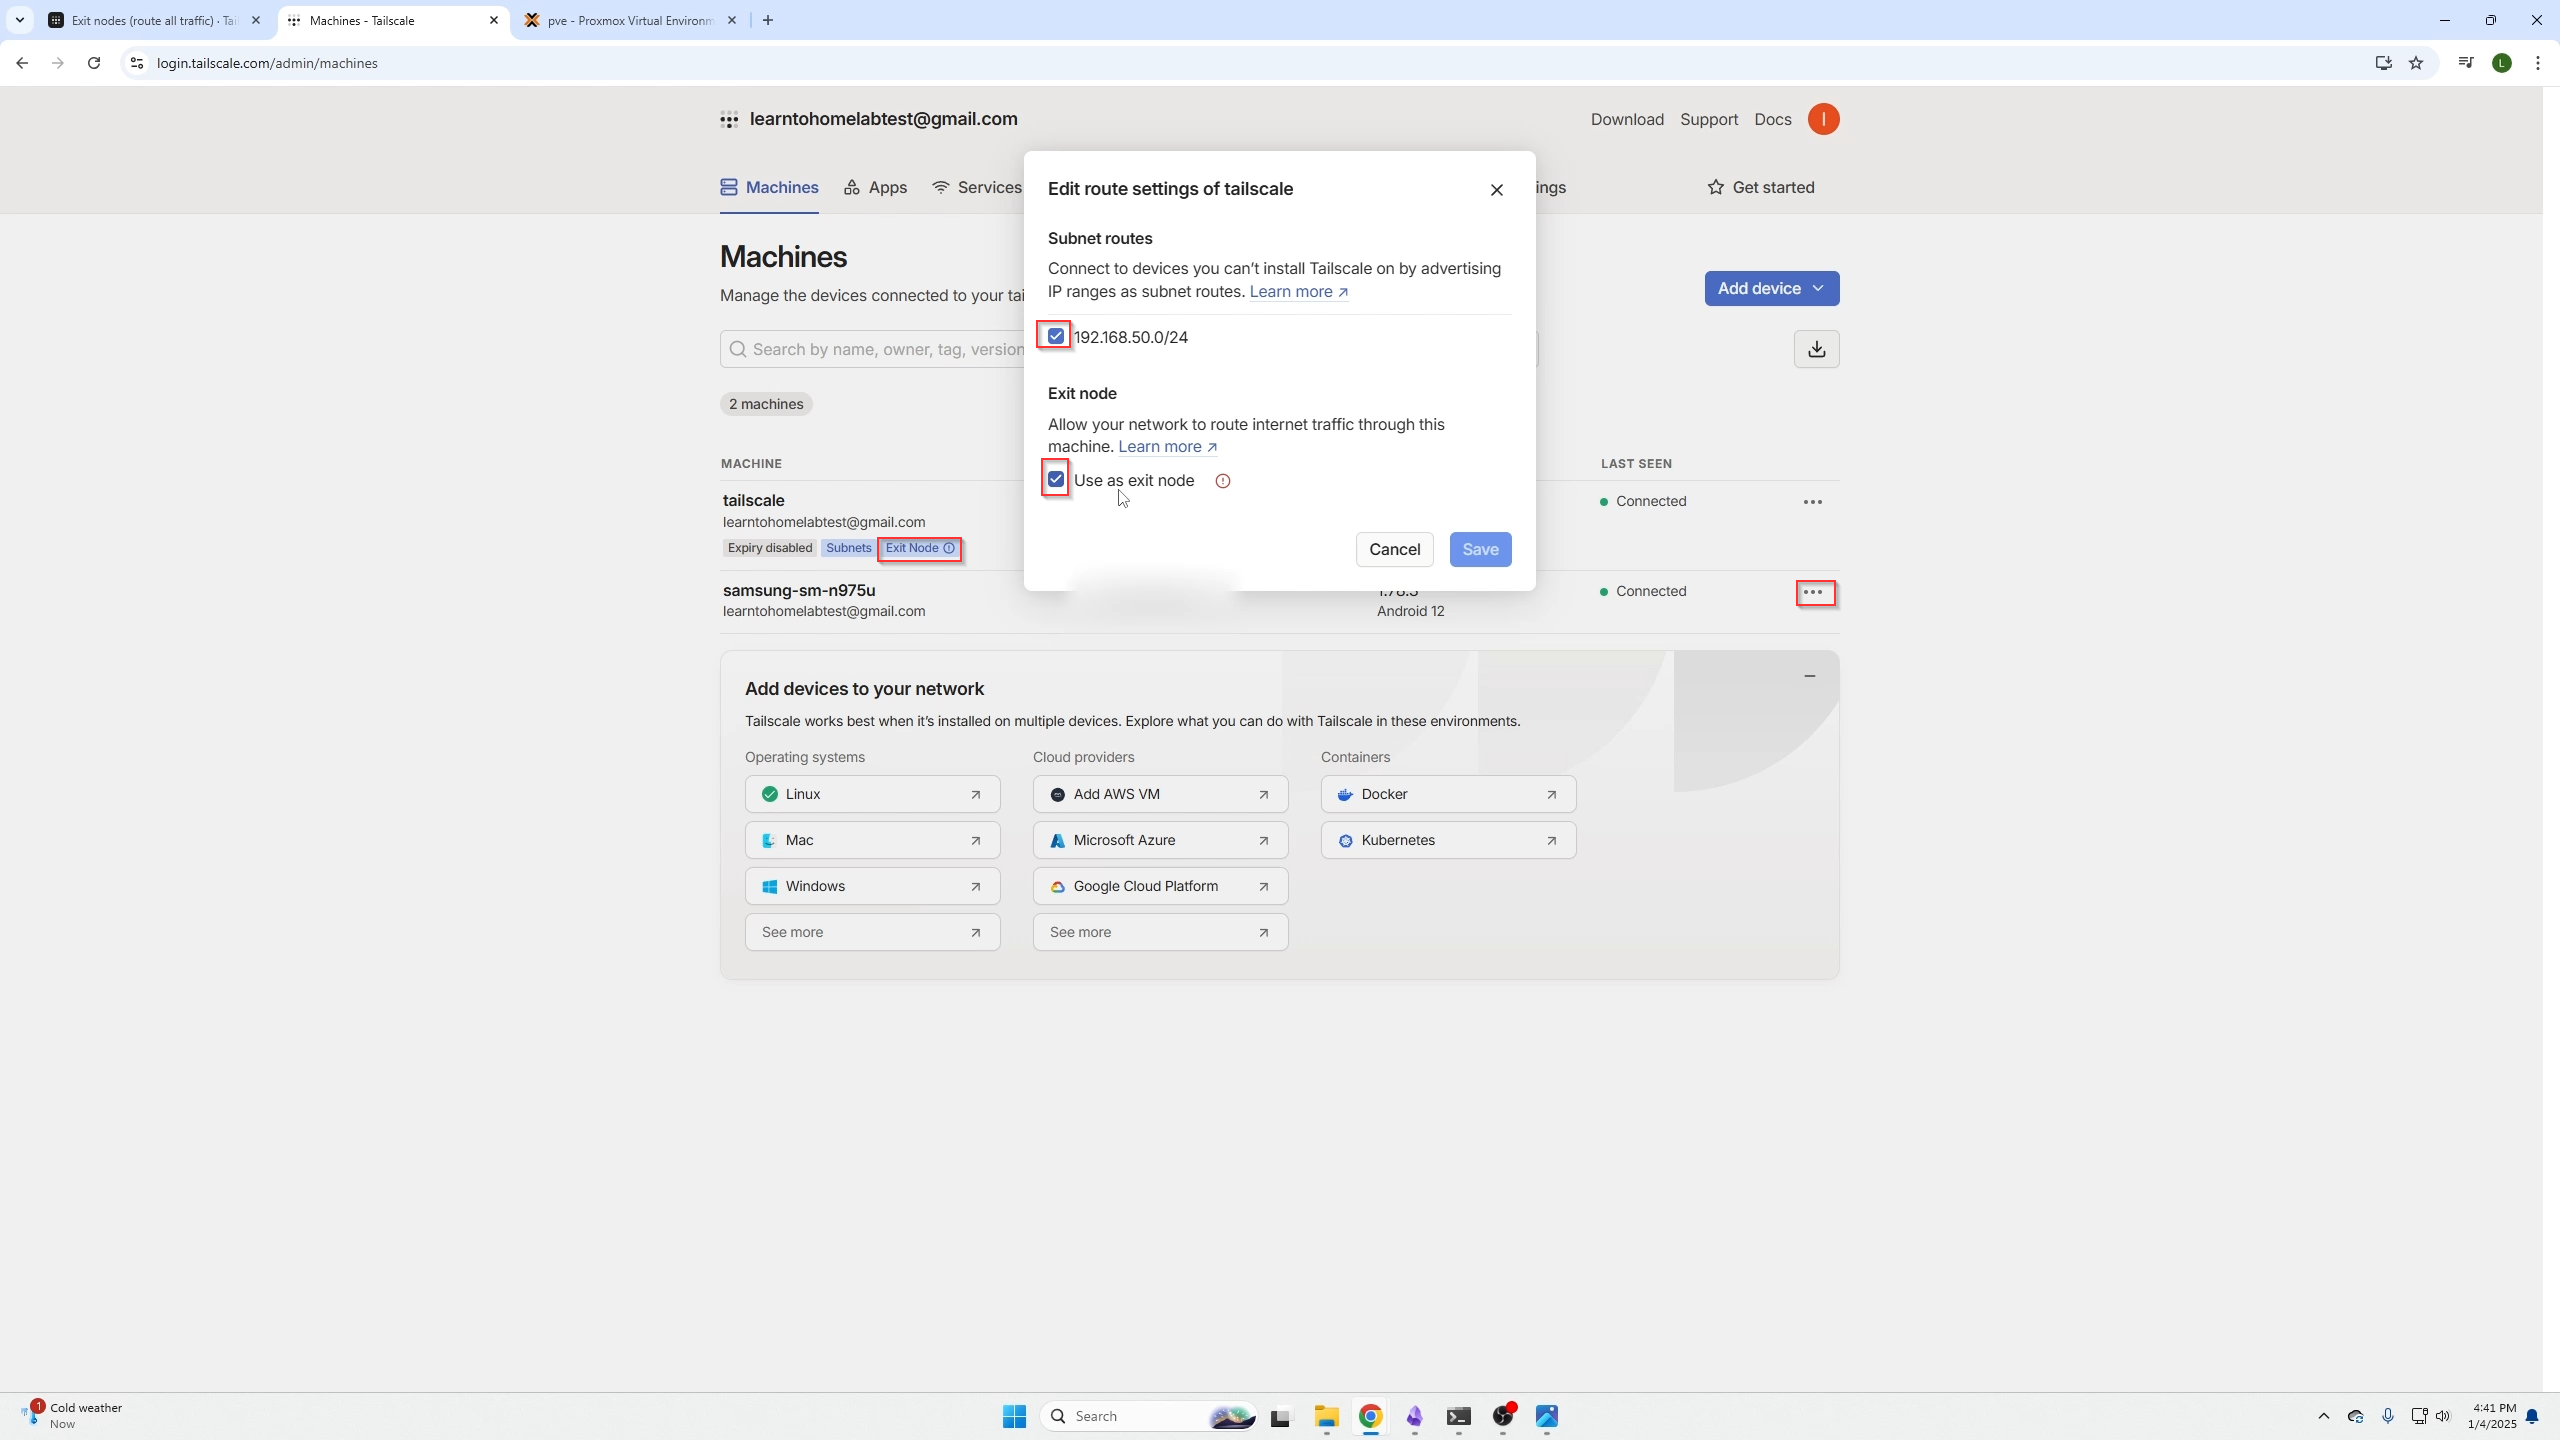
After that you need to go login to Tailscales site and find your VM now assigned as an exit node, click the three dots ... and select Edit route settings
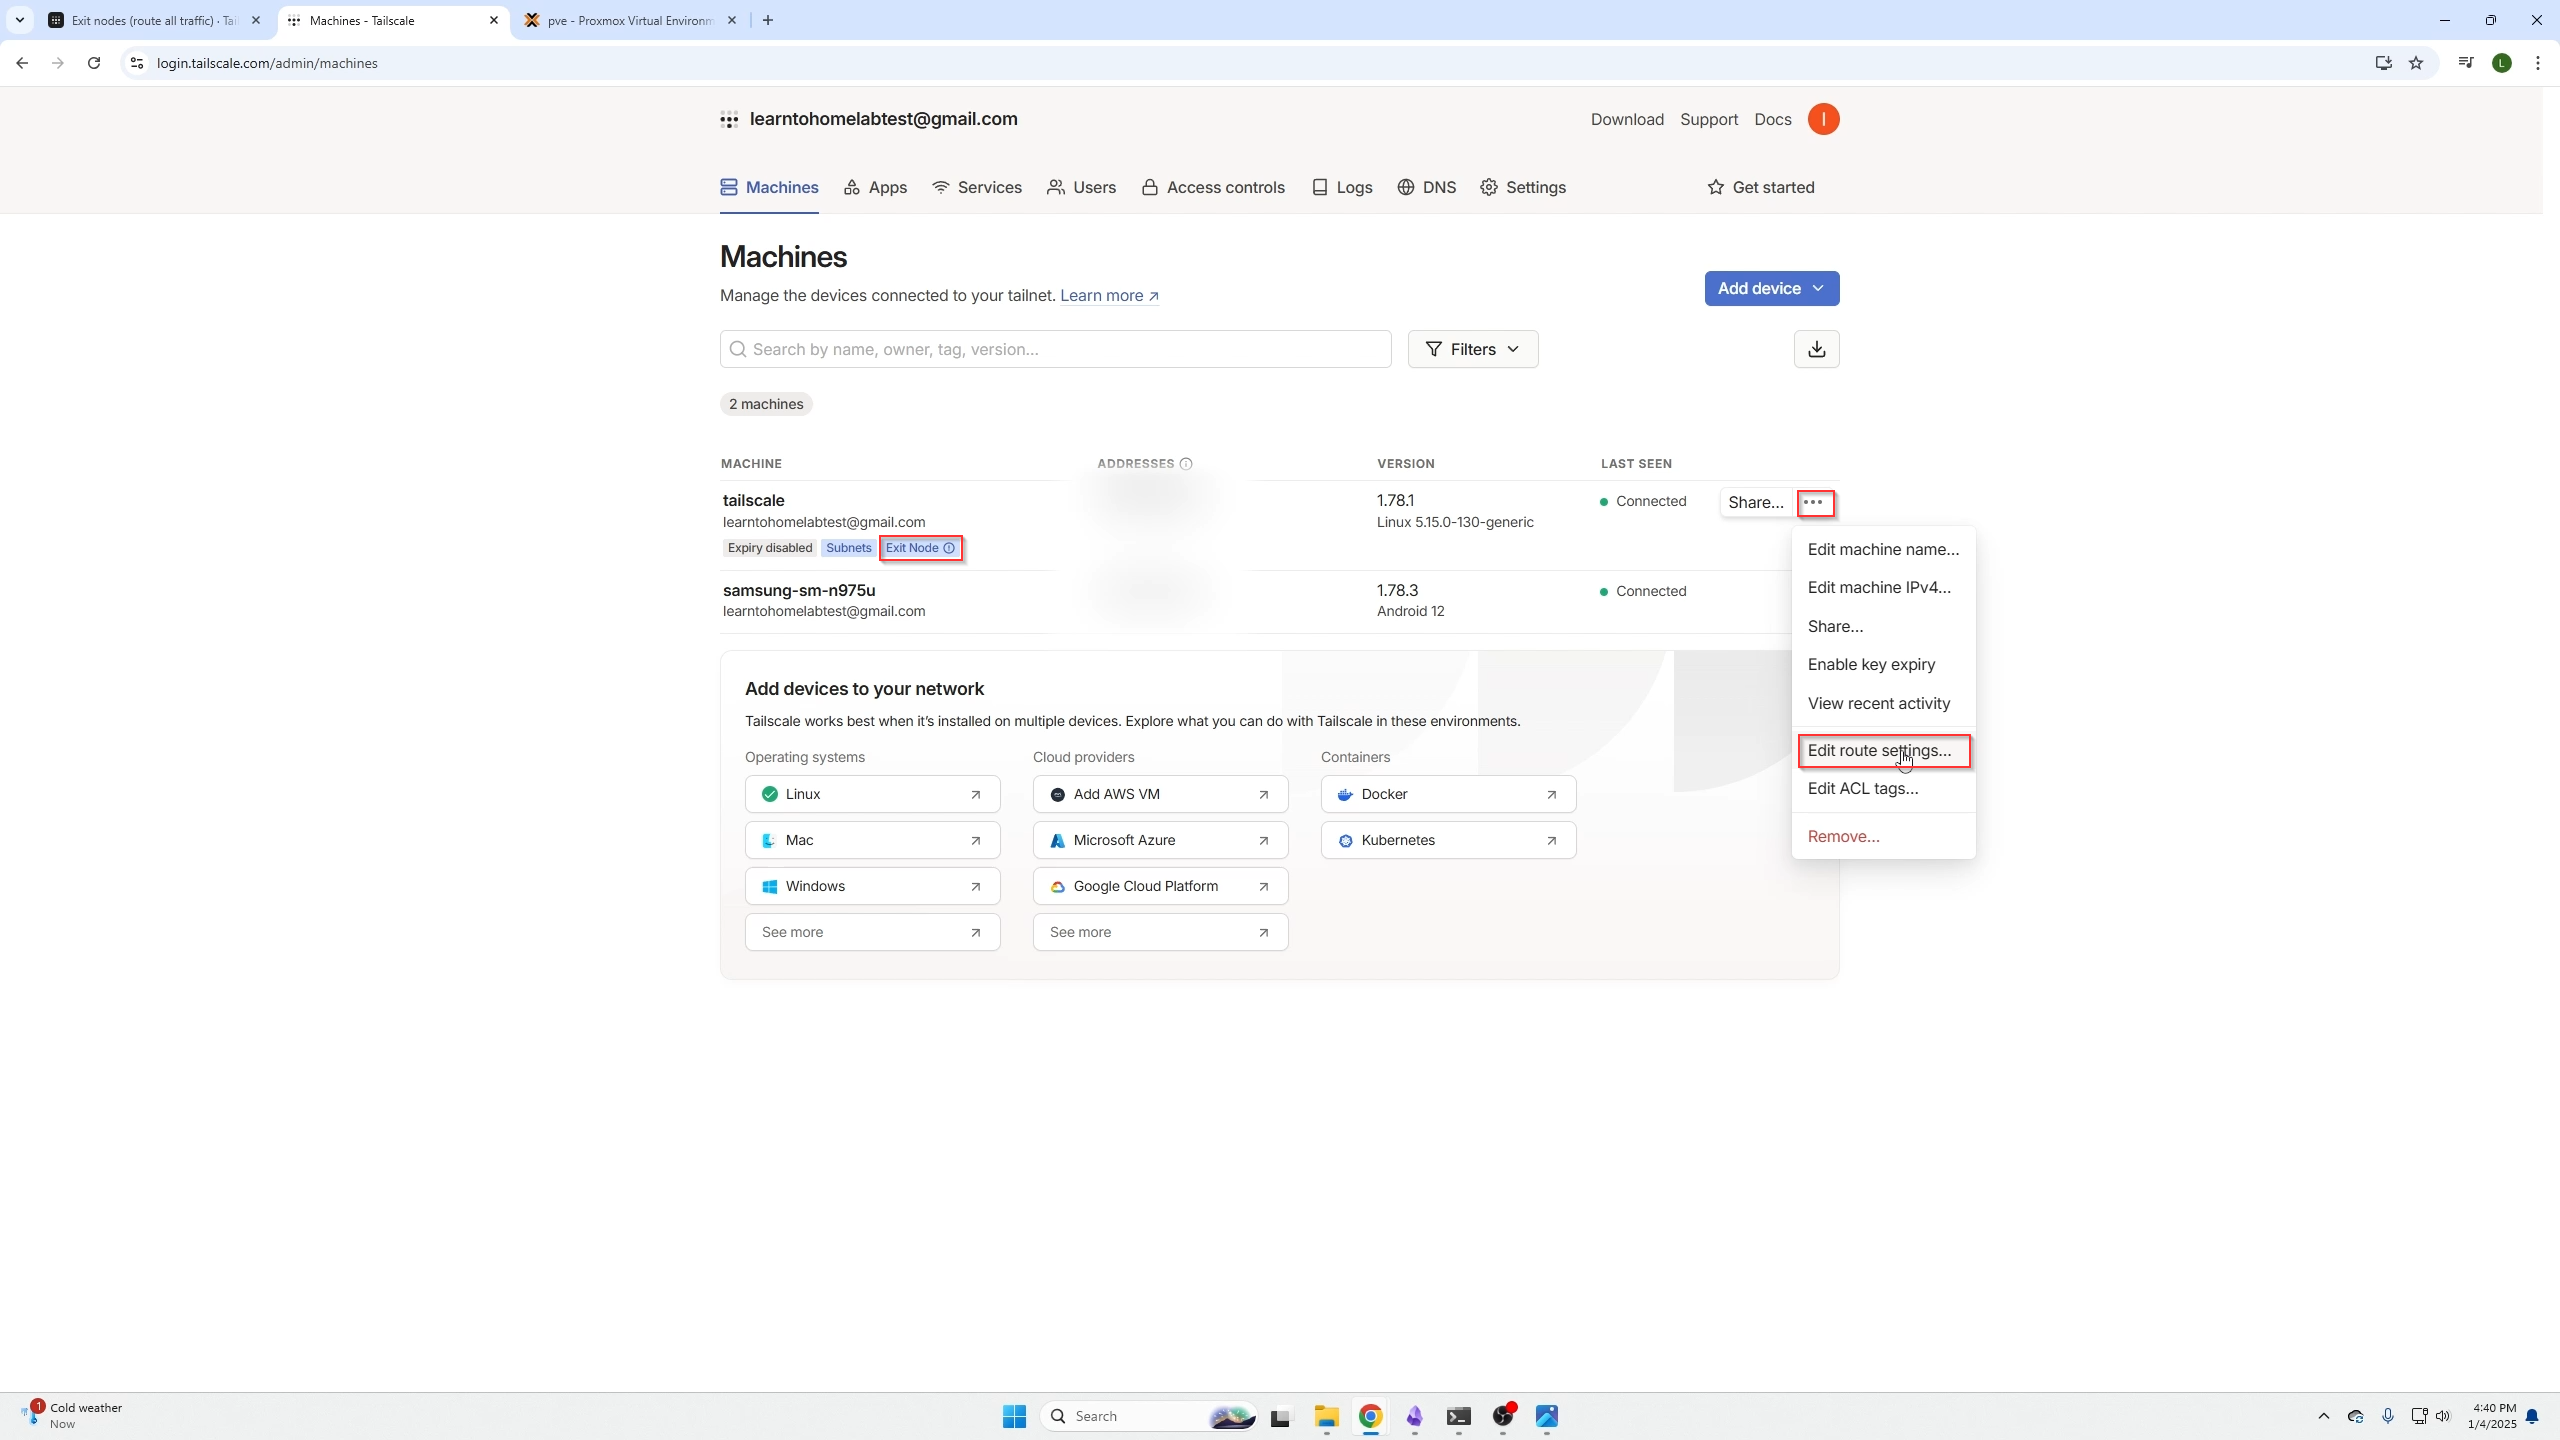
After that, just select the two boxes and you have set up your exit node.
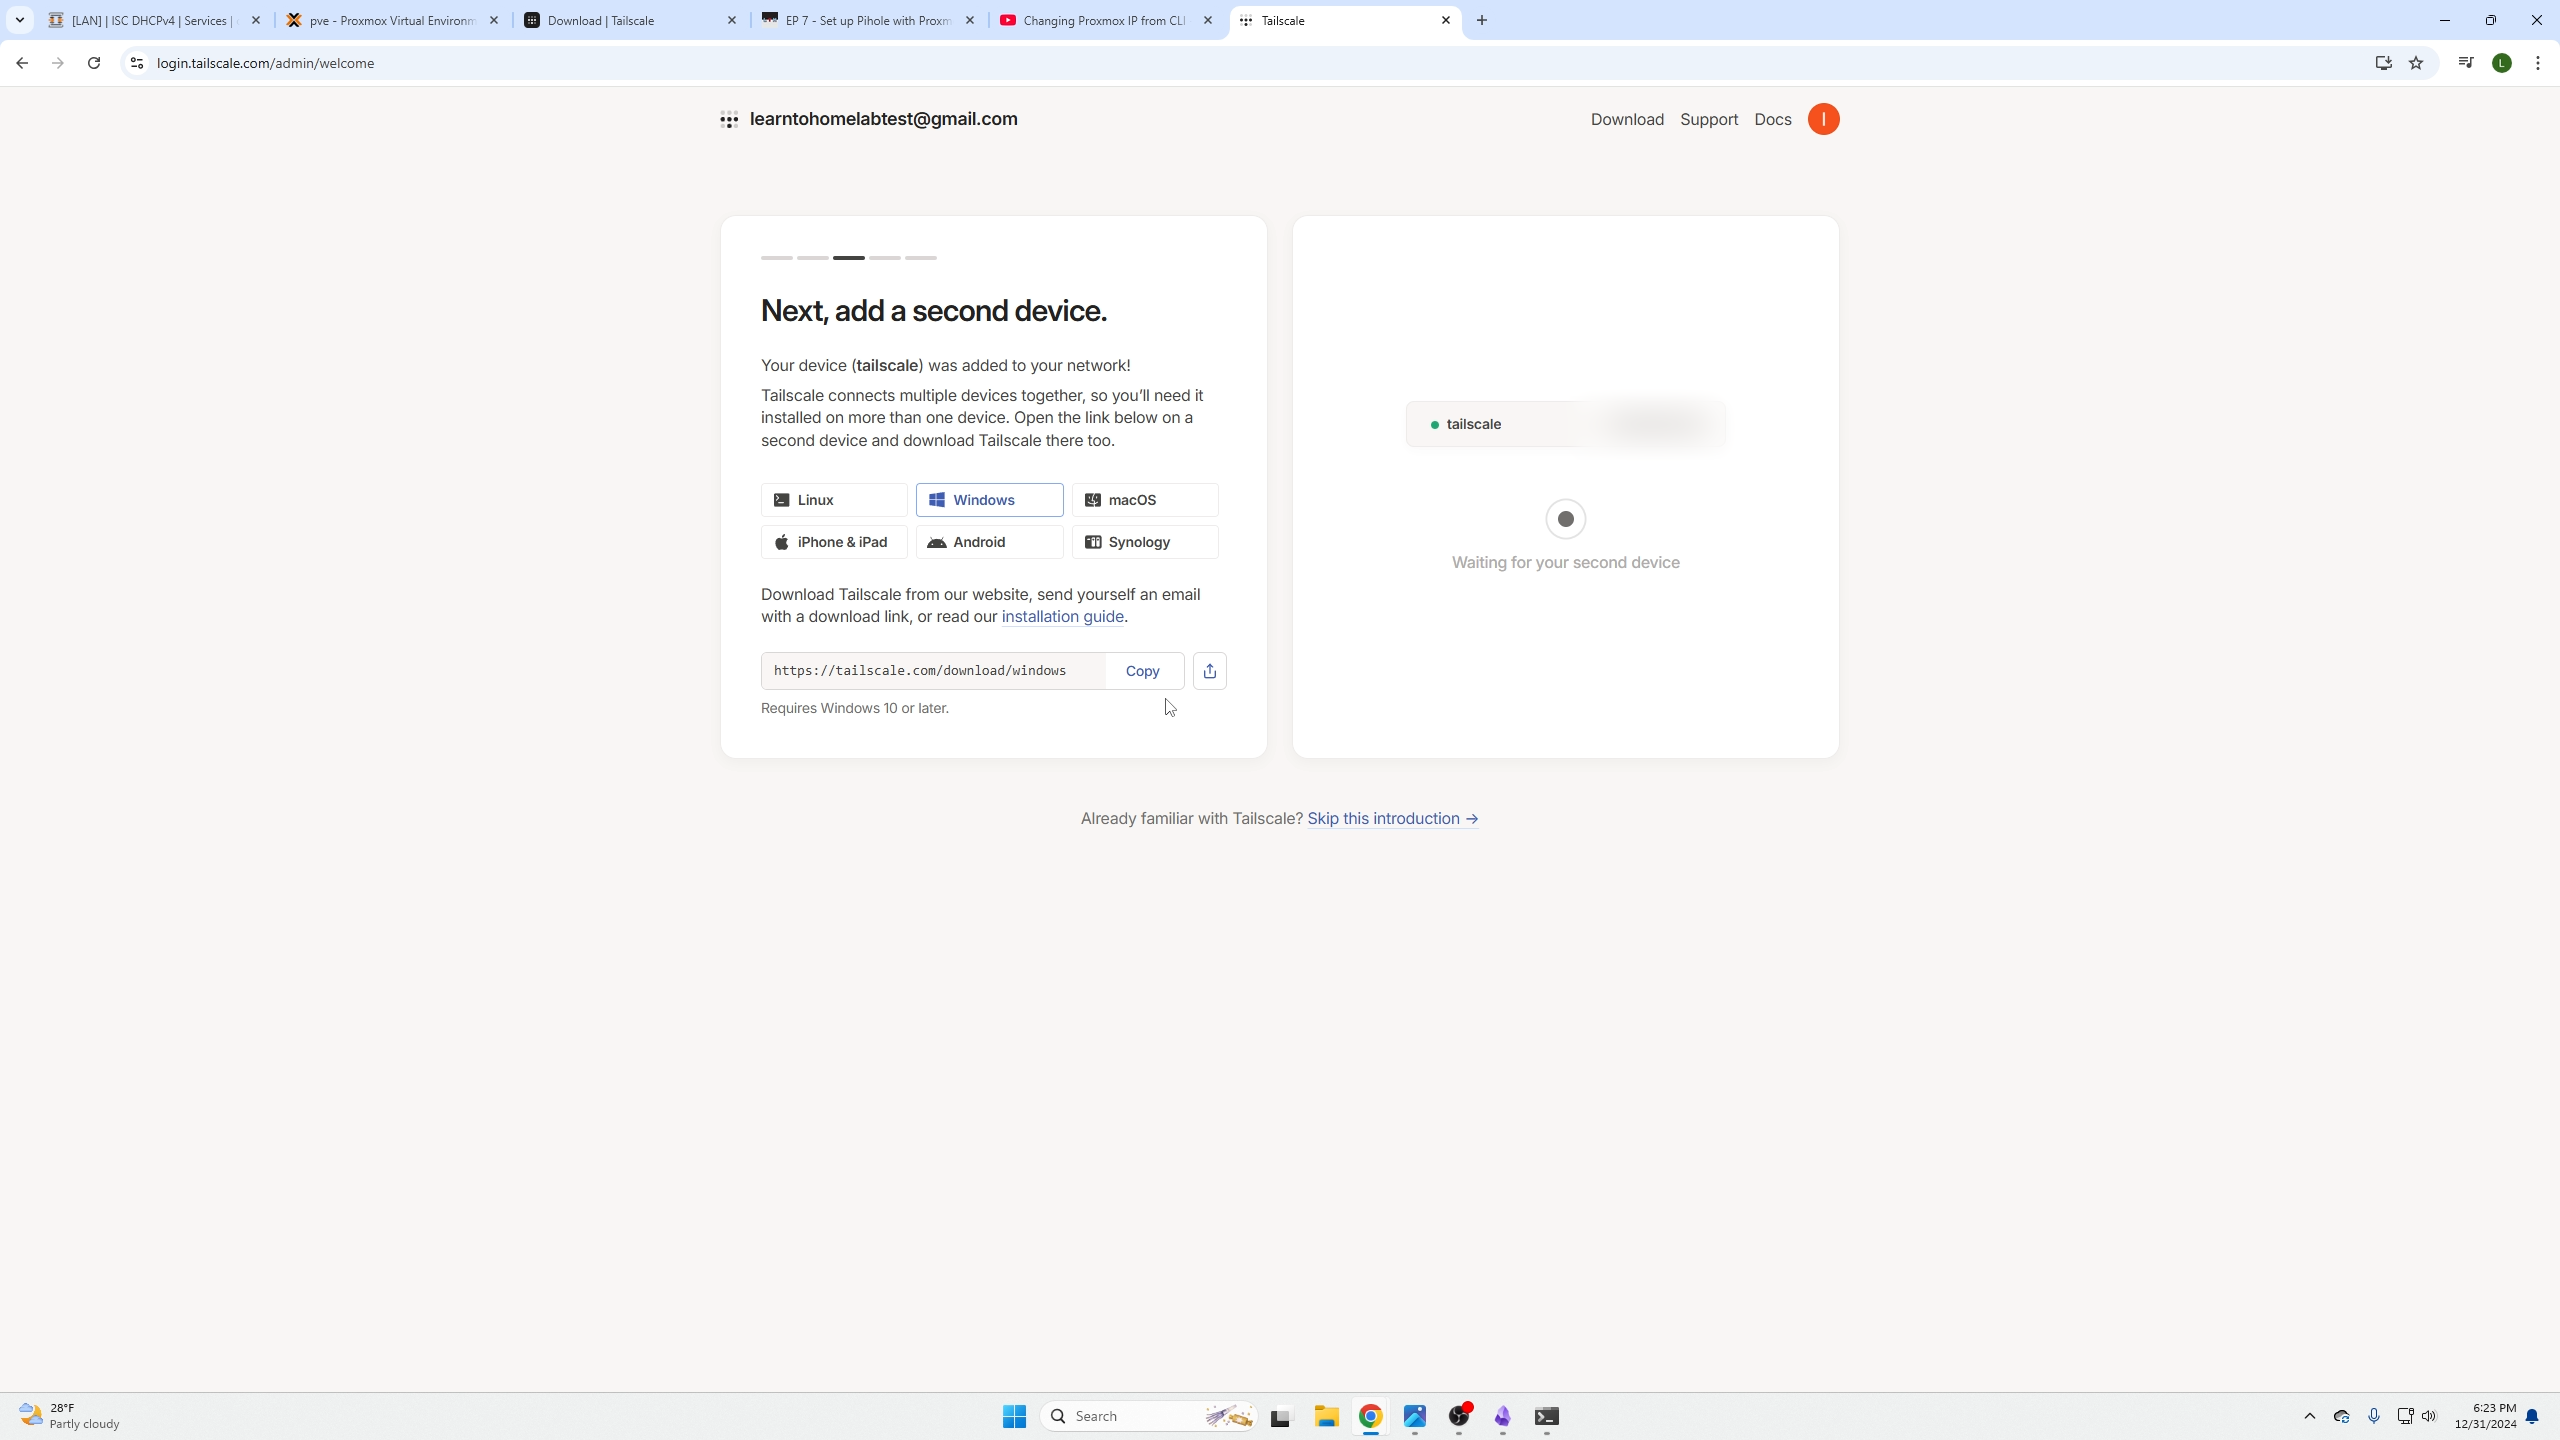
Adding other devices to your MESH network for remote access
Now you need to add a device that will create your mesh Tailscale network. In our example we have downloaded Tailscale on our phone and will connect back to our network through Tailscale to upload pictures to our Nextcloud backup server.
- Tailscale for Android can be found here
- Tailscale for Iphones can be found here
- Tailscale for Windows/MacOS can be found here
Connecting to our home network remotely using Tailscale
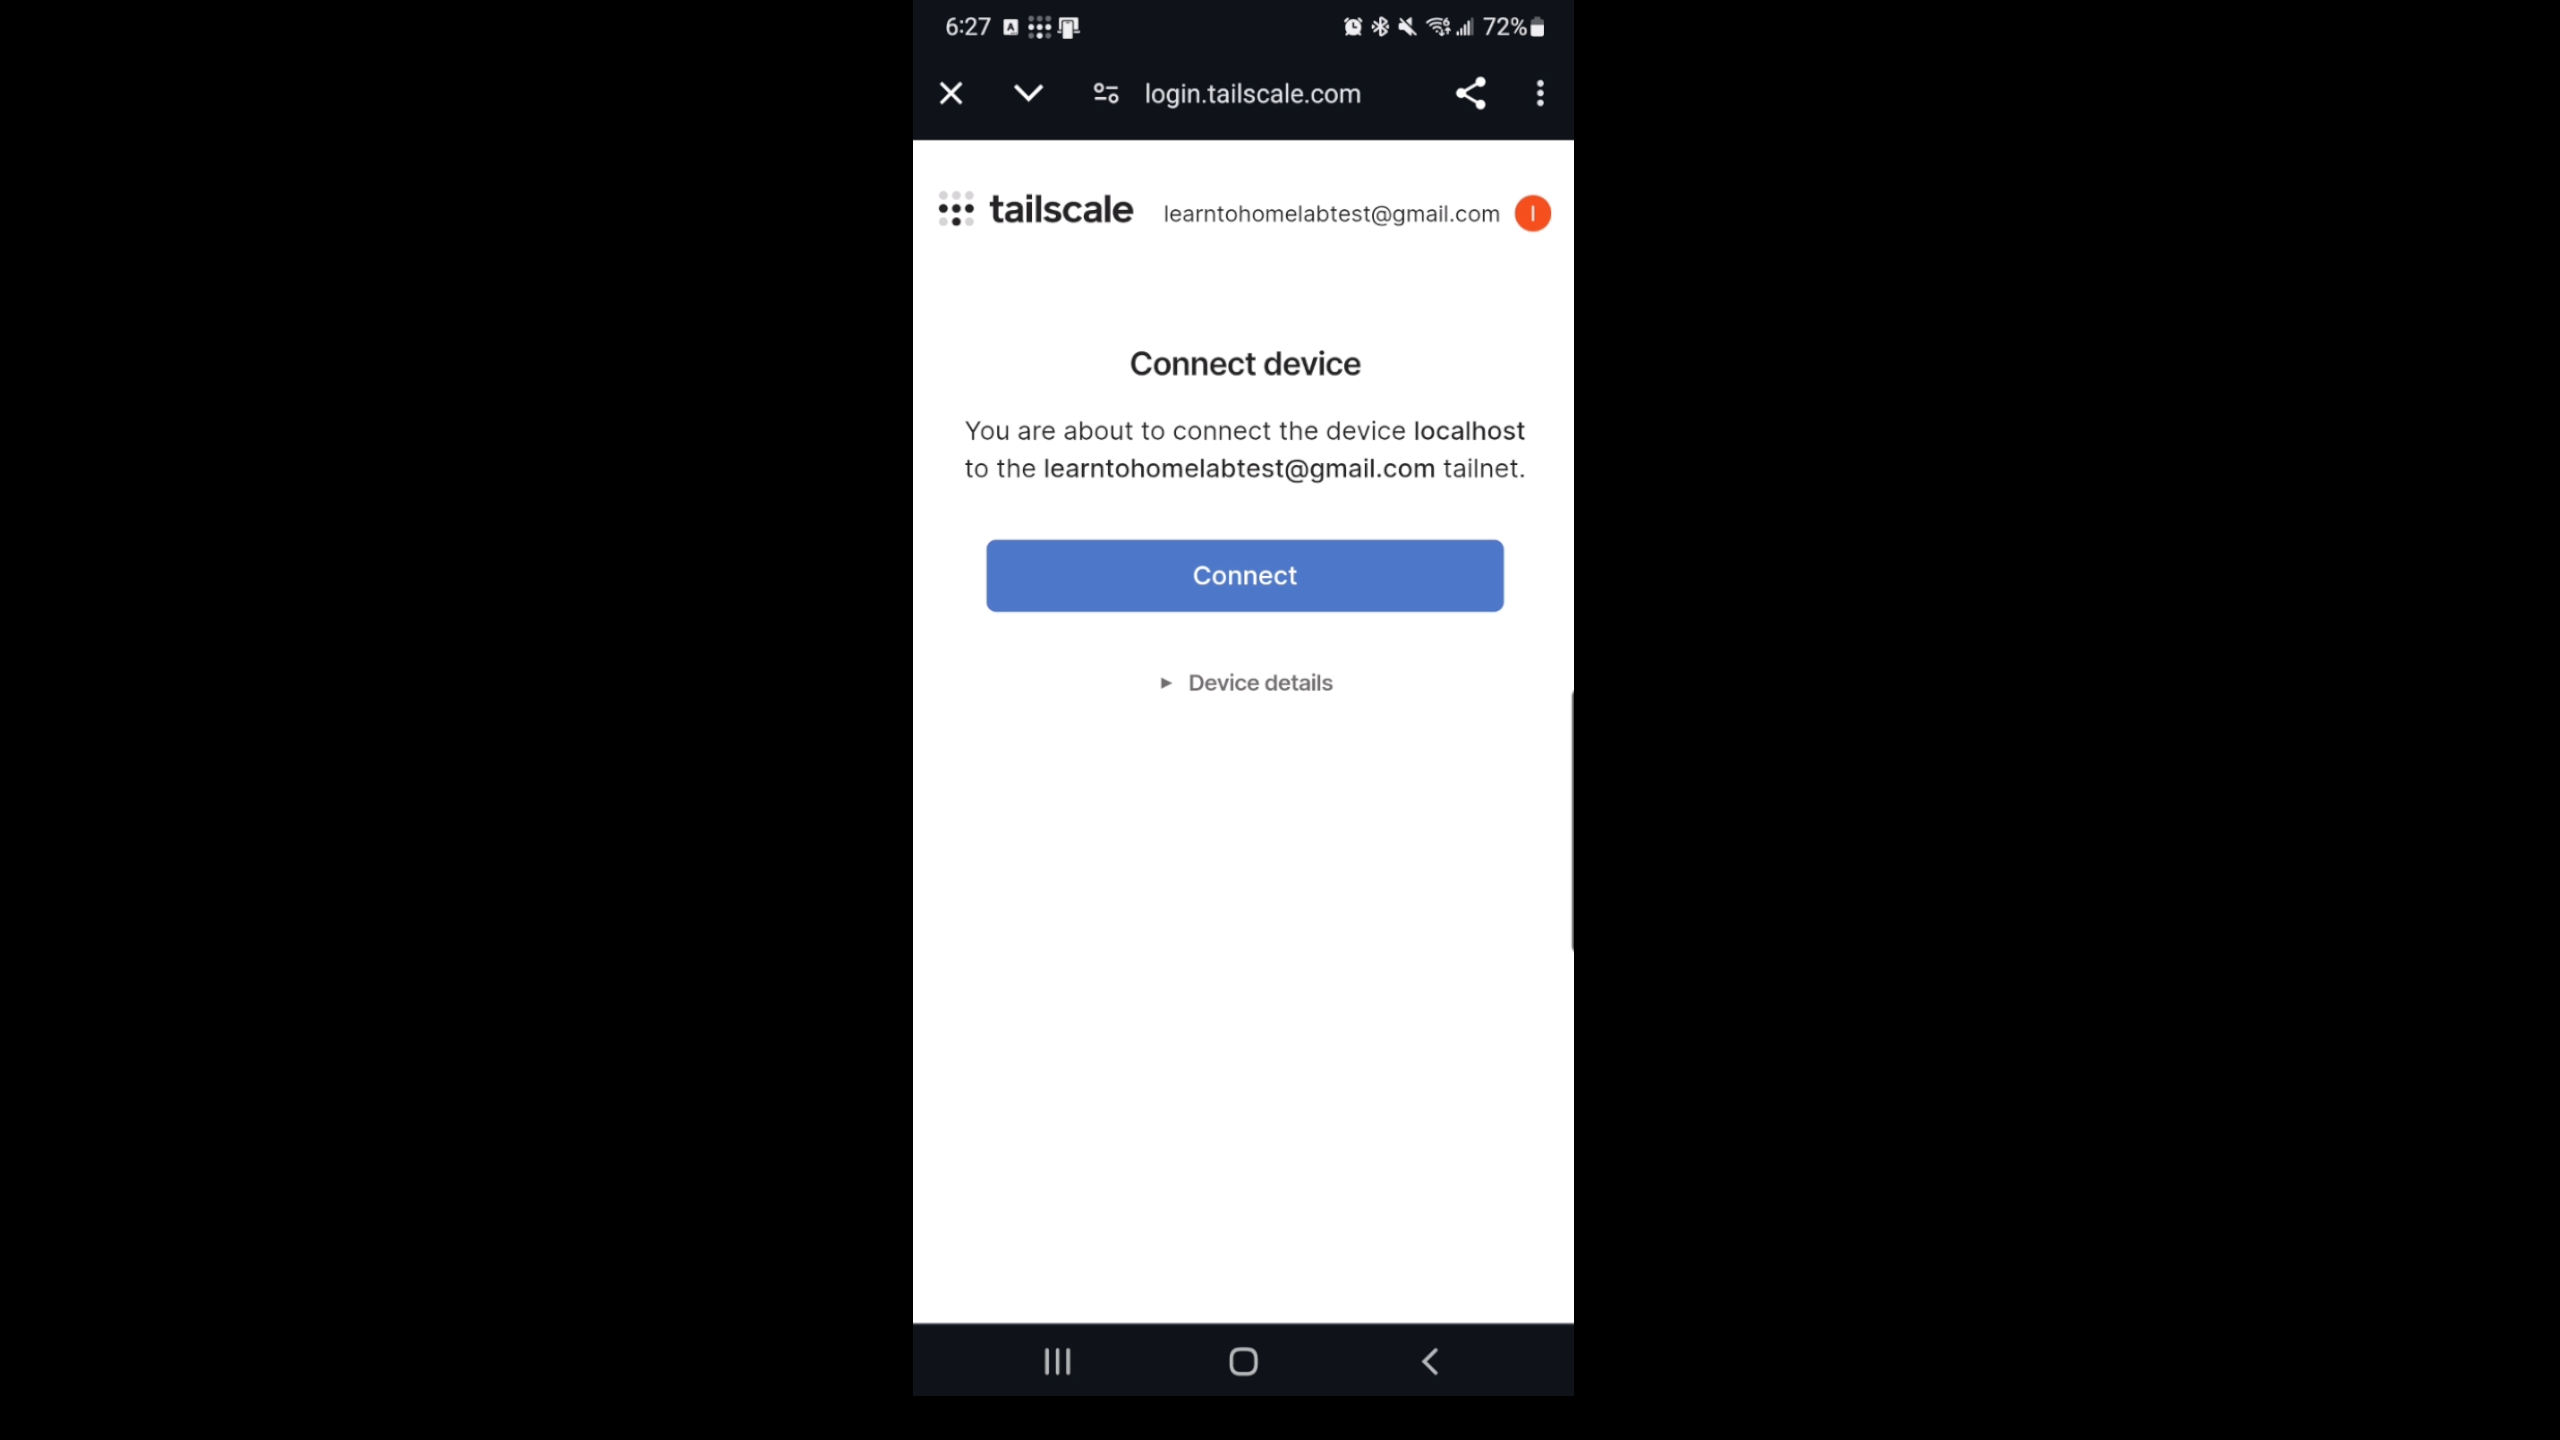
On our phone we have installed the Tailscale app and logged into the same account that we used when creating our server.
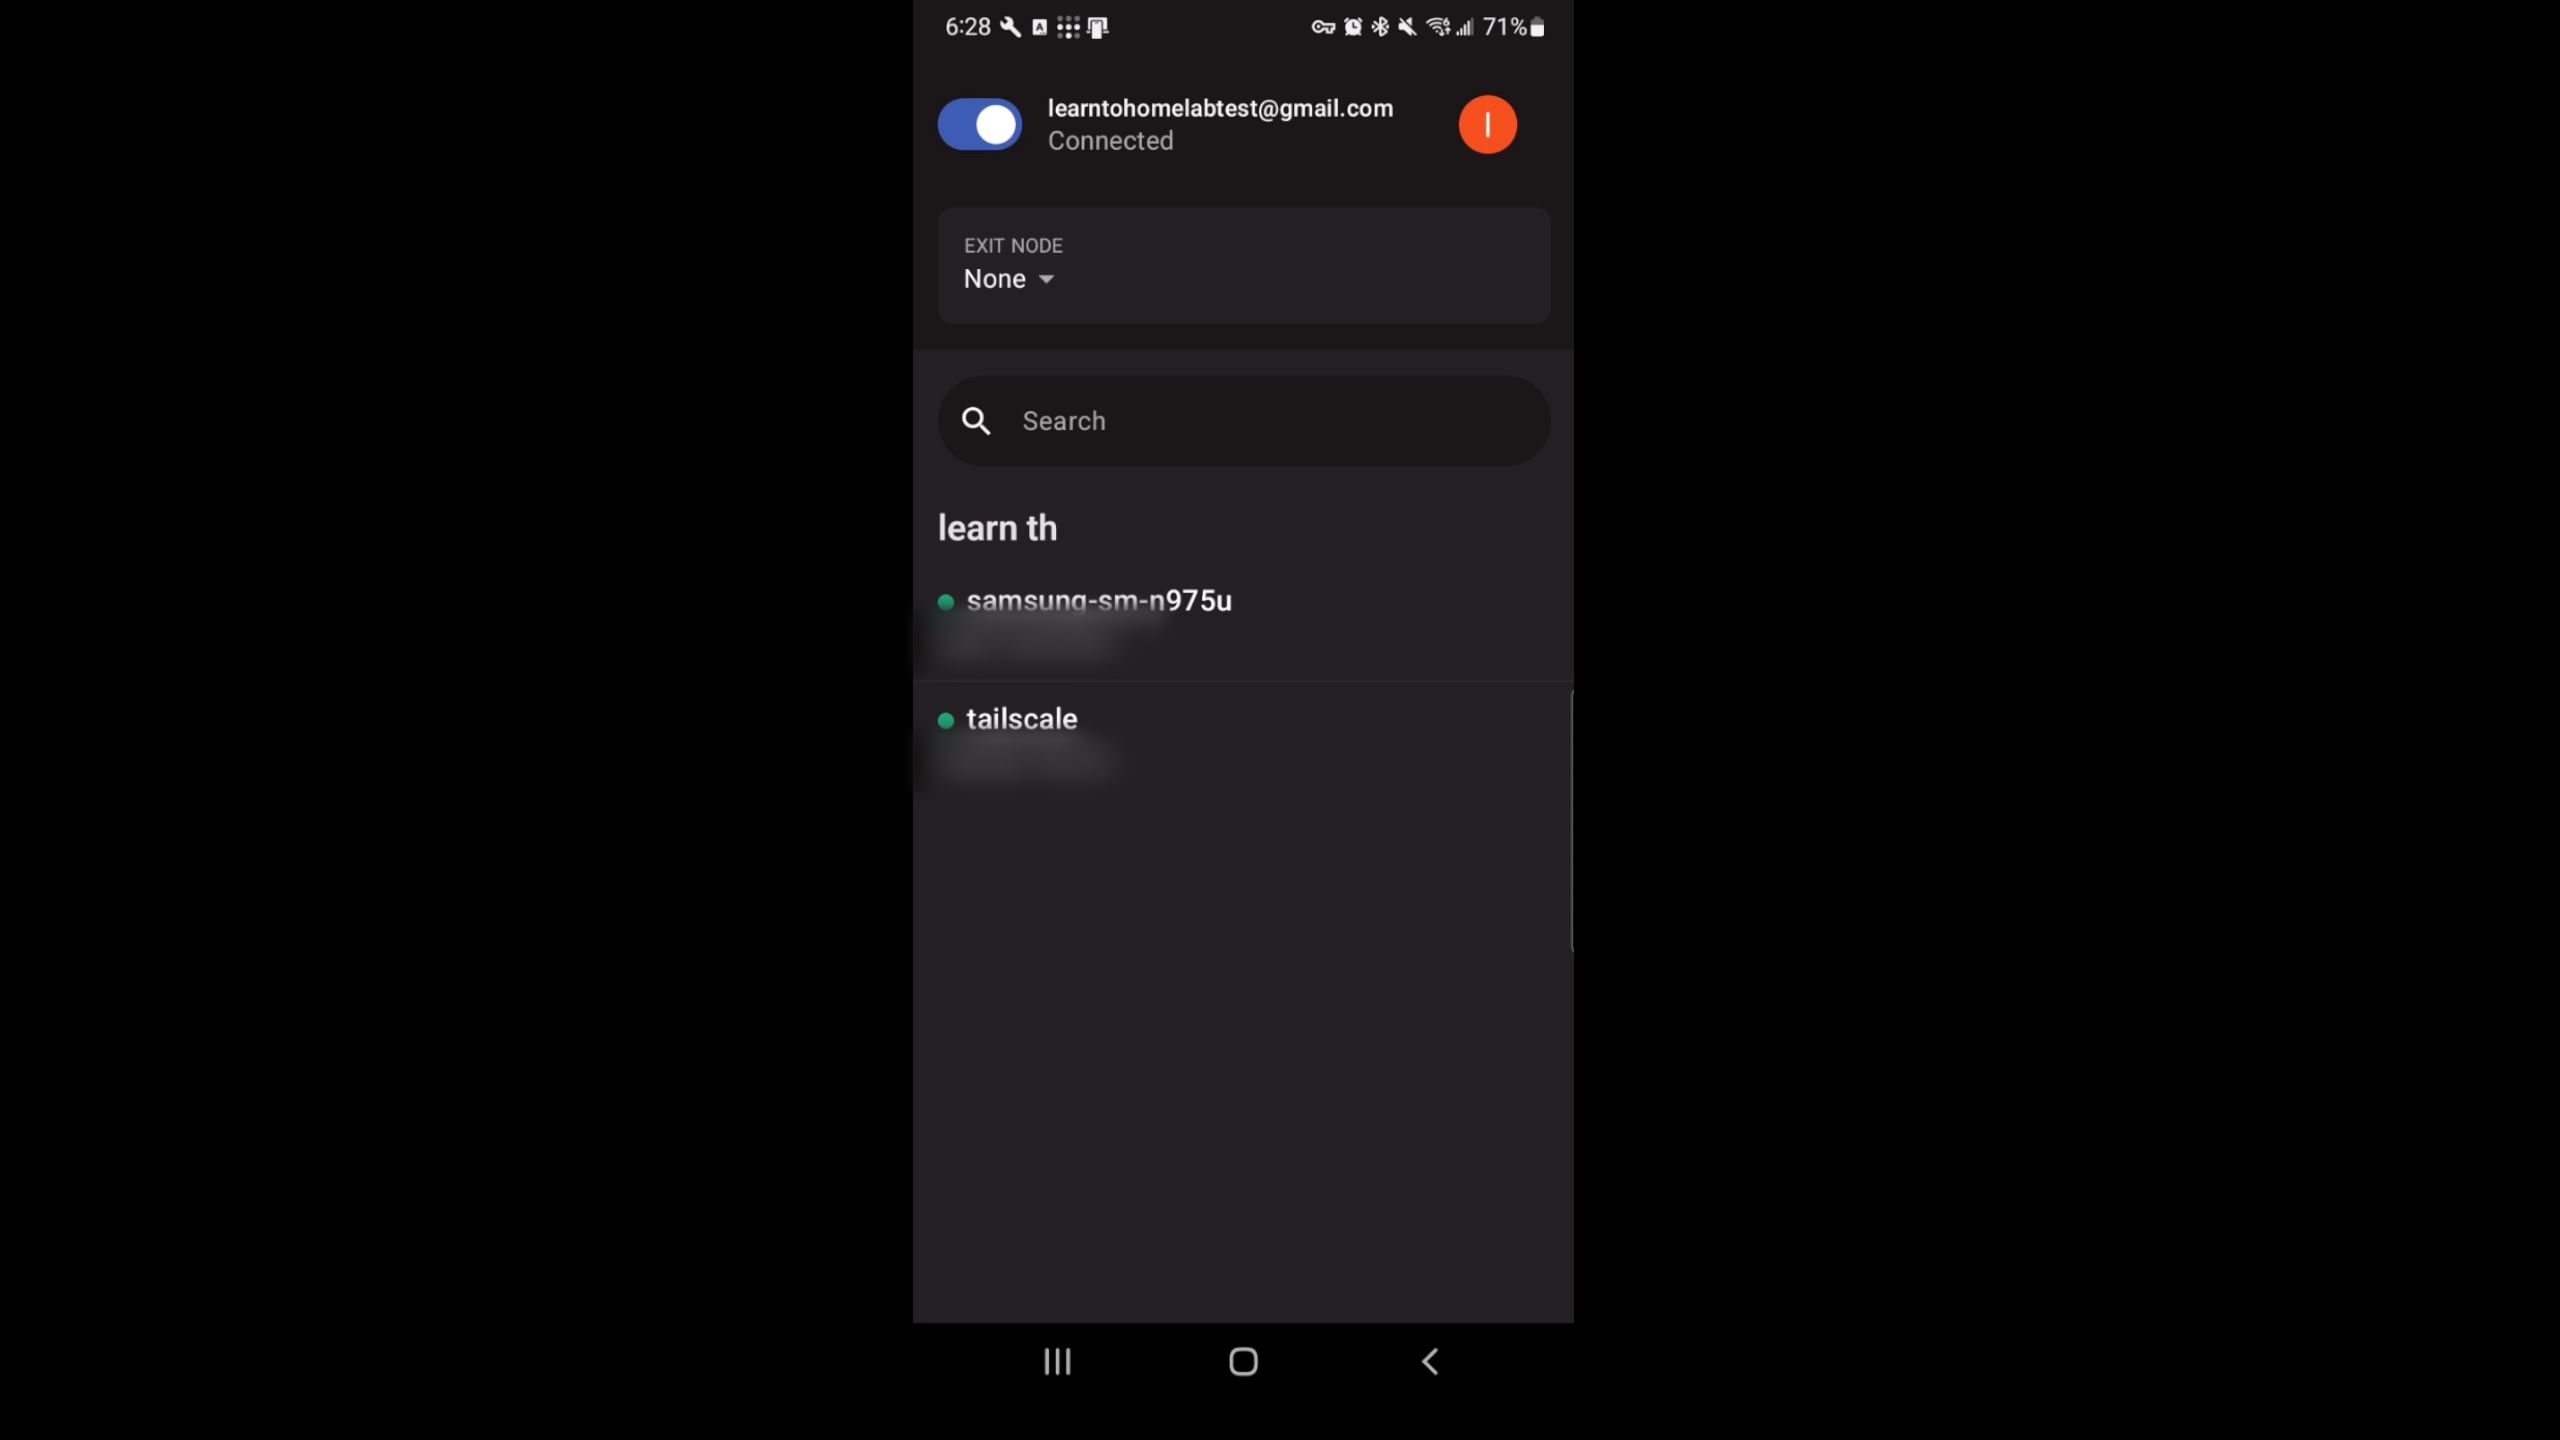
You will then be able to see all the devices connected to your mesh network as well as the ability to turn Tailscale on or off.
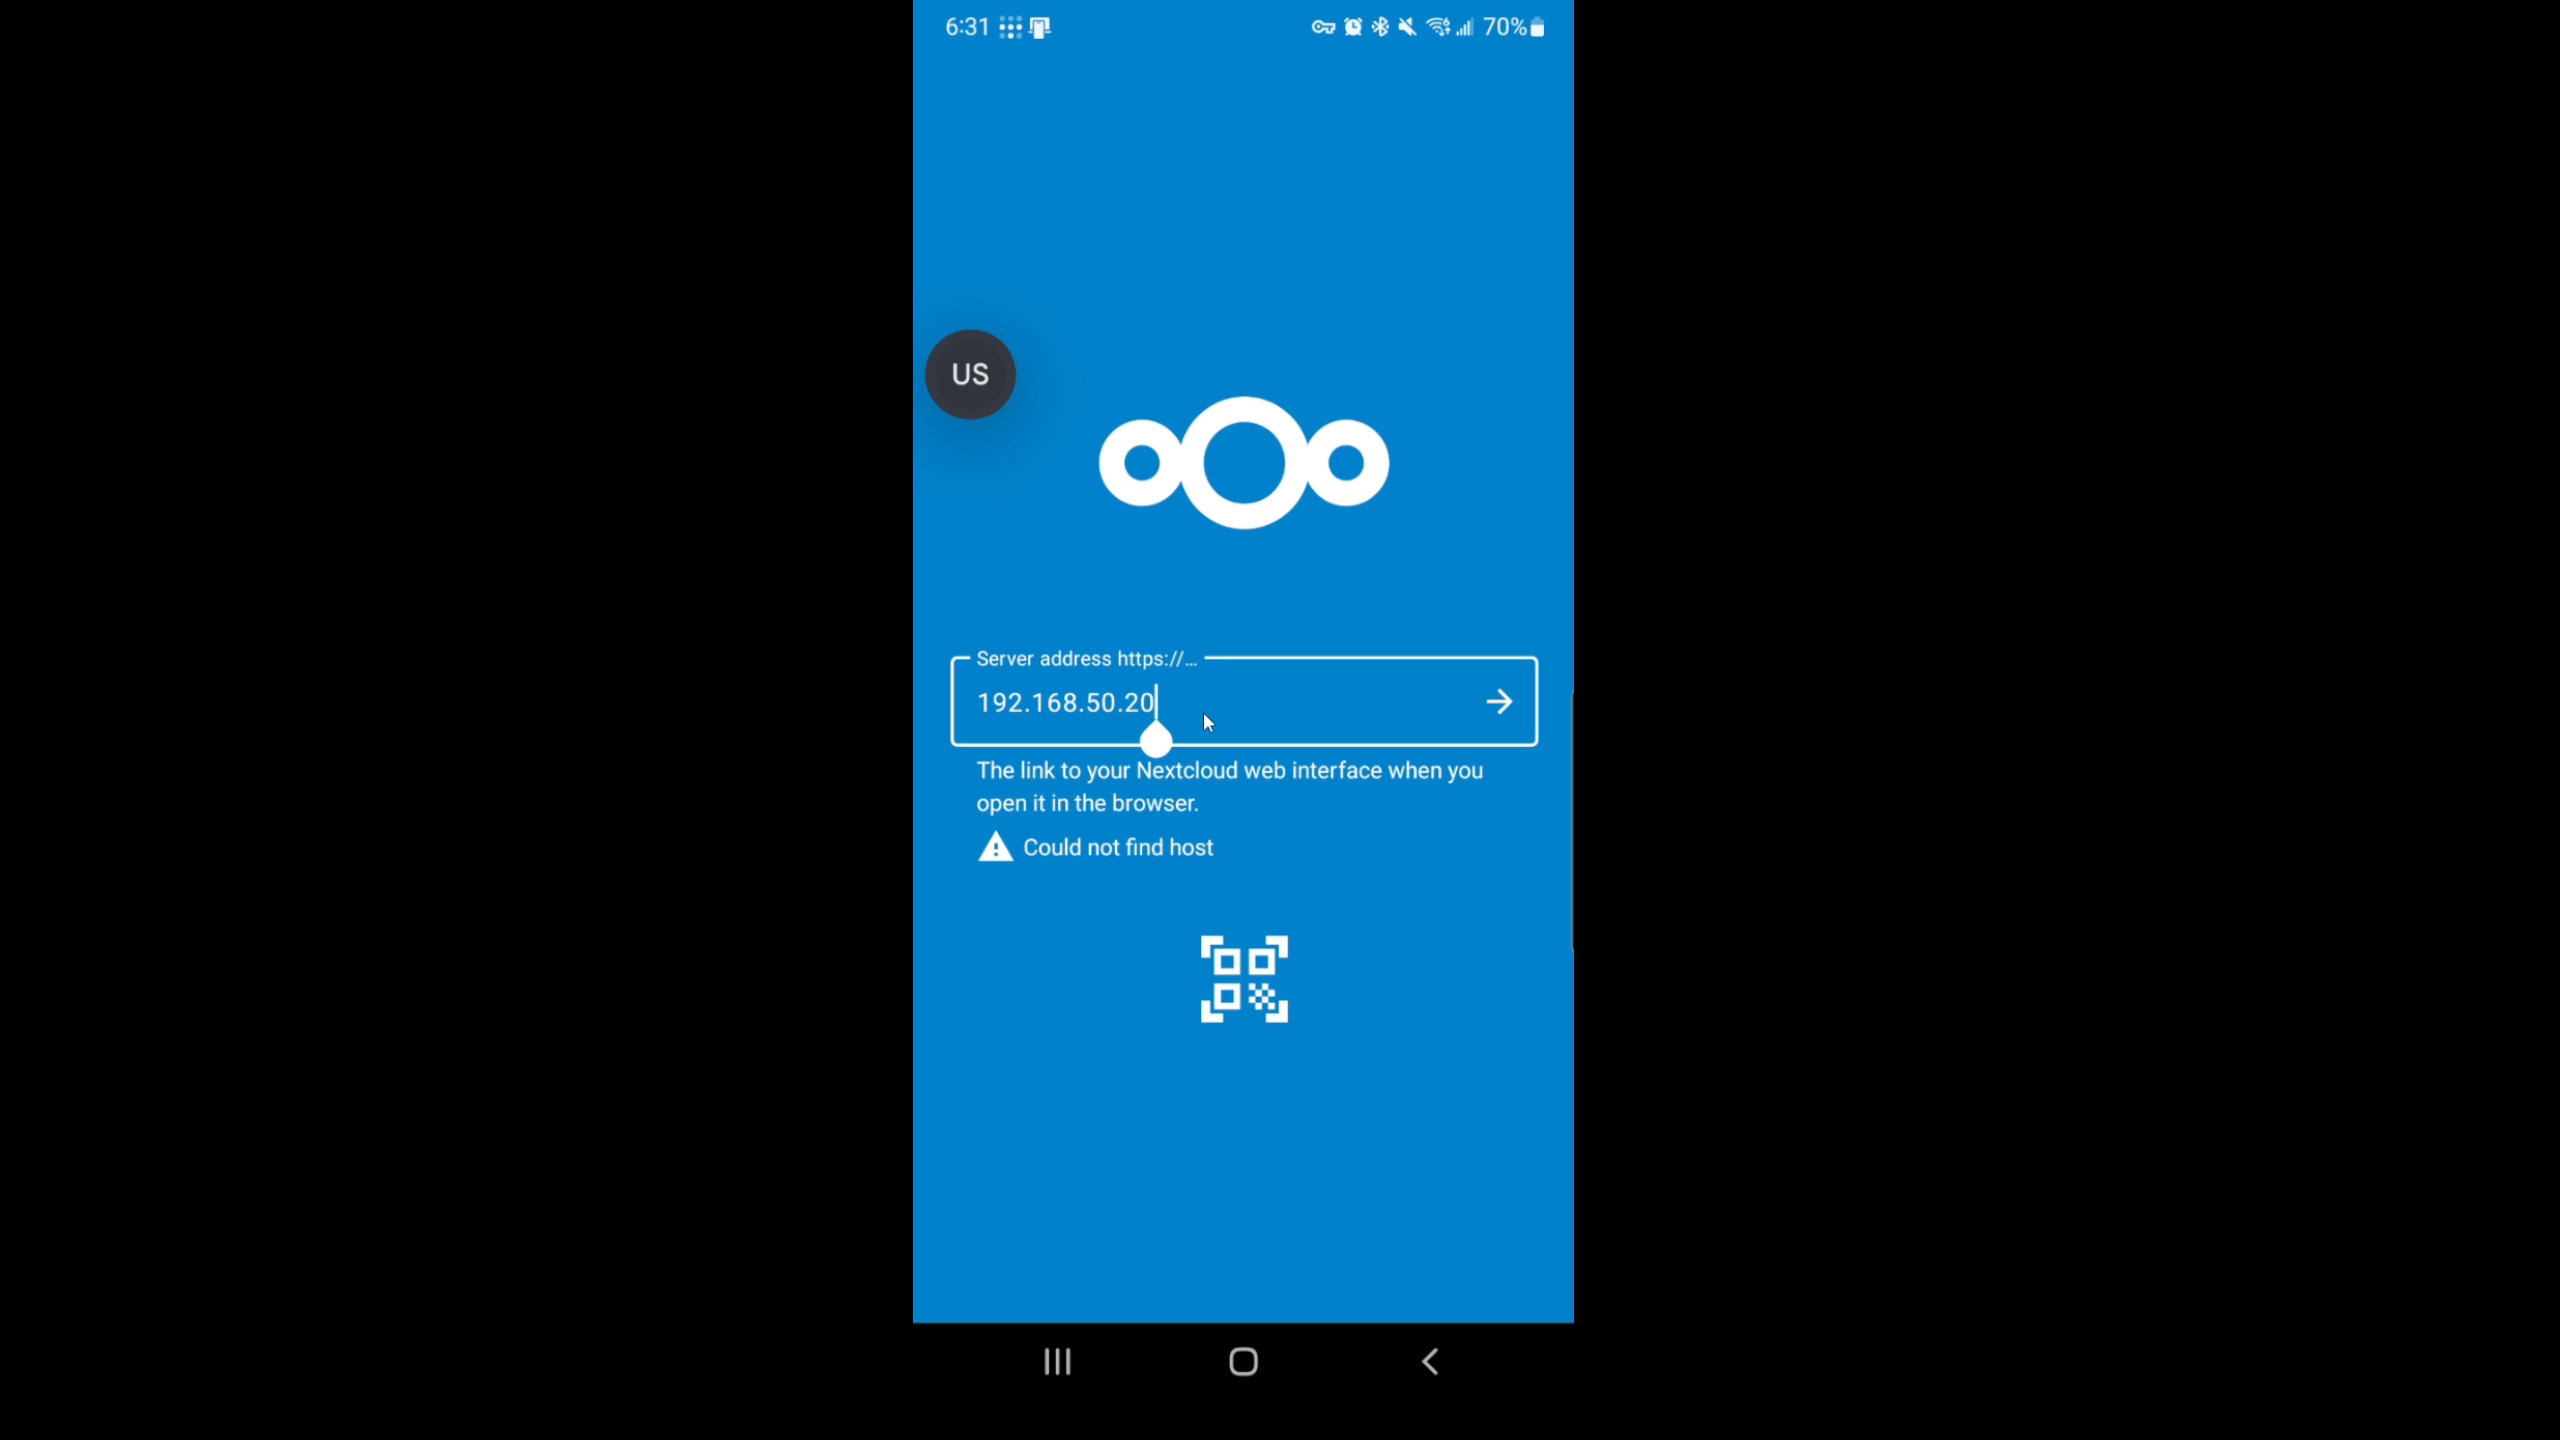
Now your phone is just like being on your home network. We can open the Nextcloud app and put the LOCAL IP address of our Nextcloud backup server and connect to it as if we were on our home network.
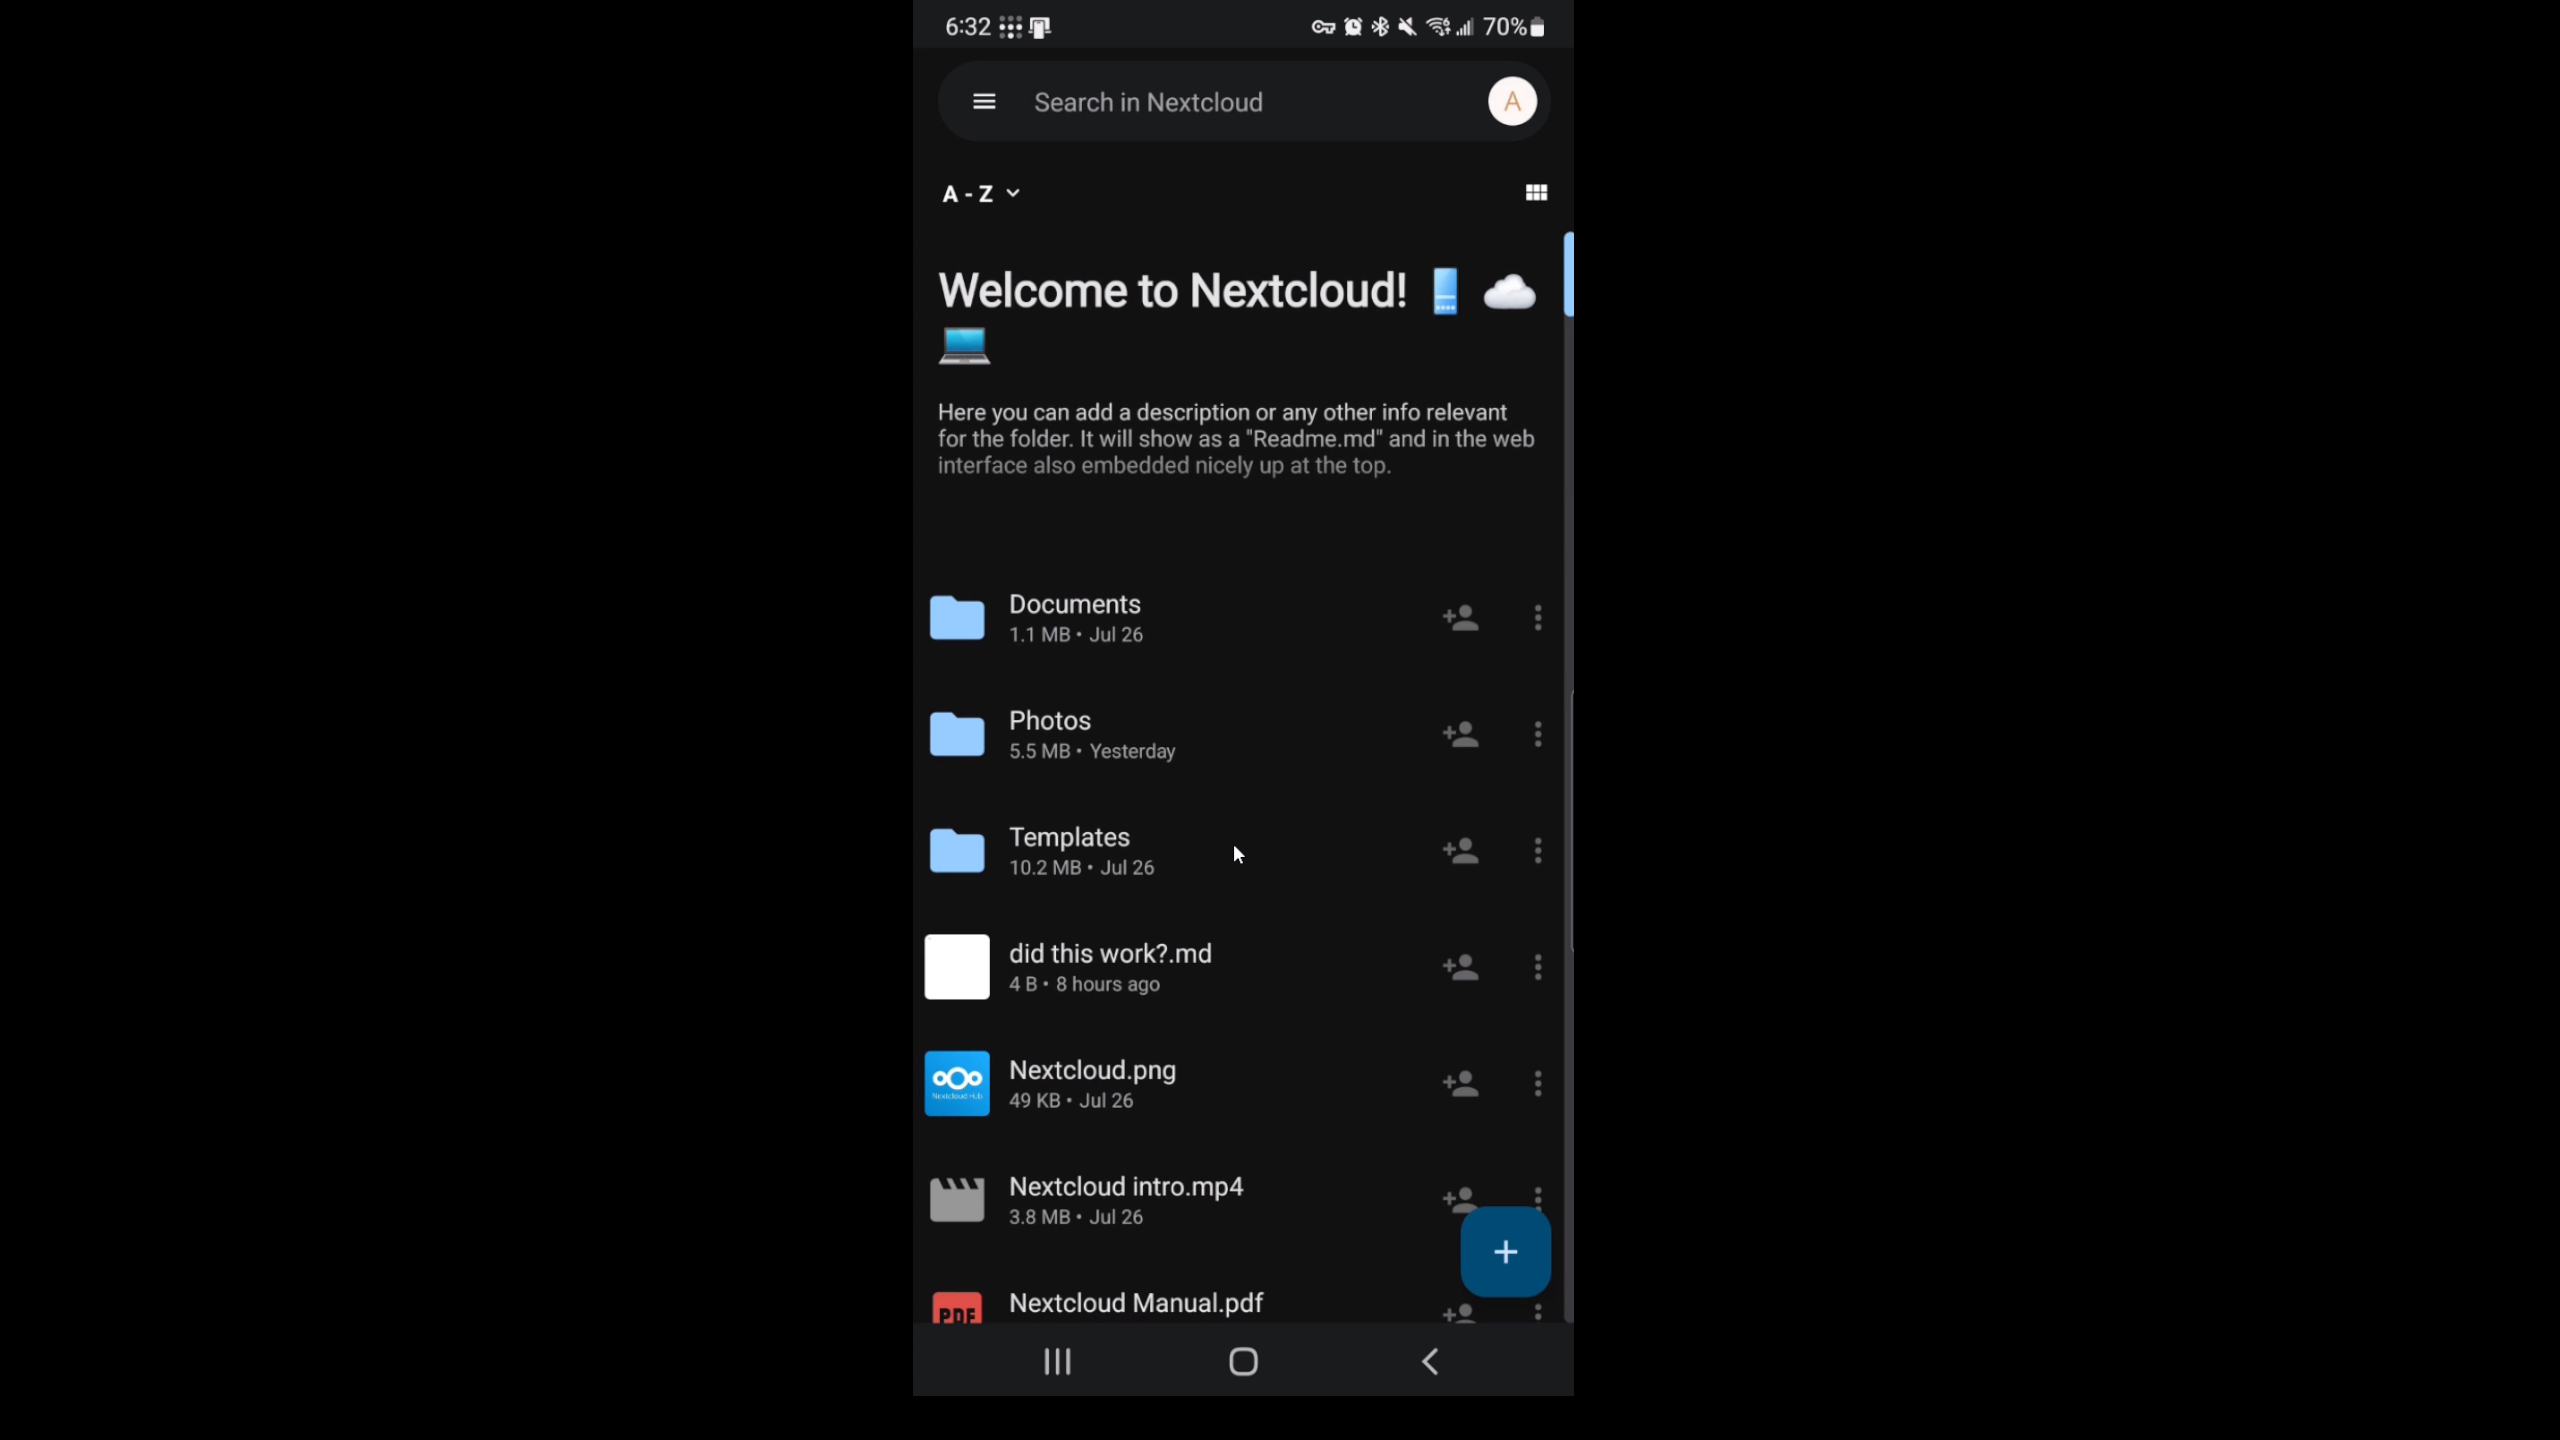
Look at that, now you have a way to upload your very important vacation images to your home NAS/Nextcloud backup server remotely!
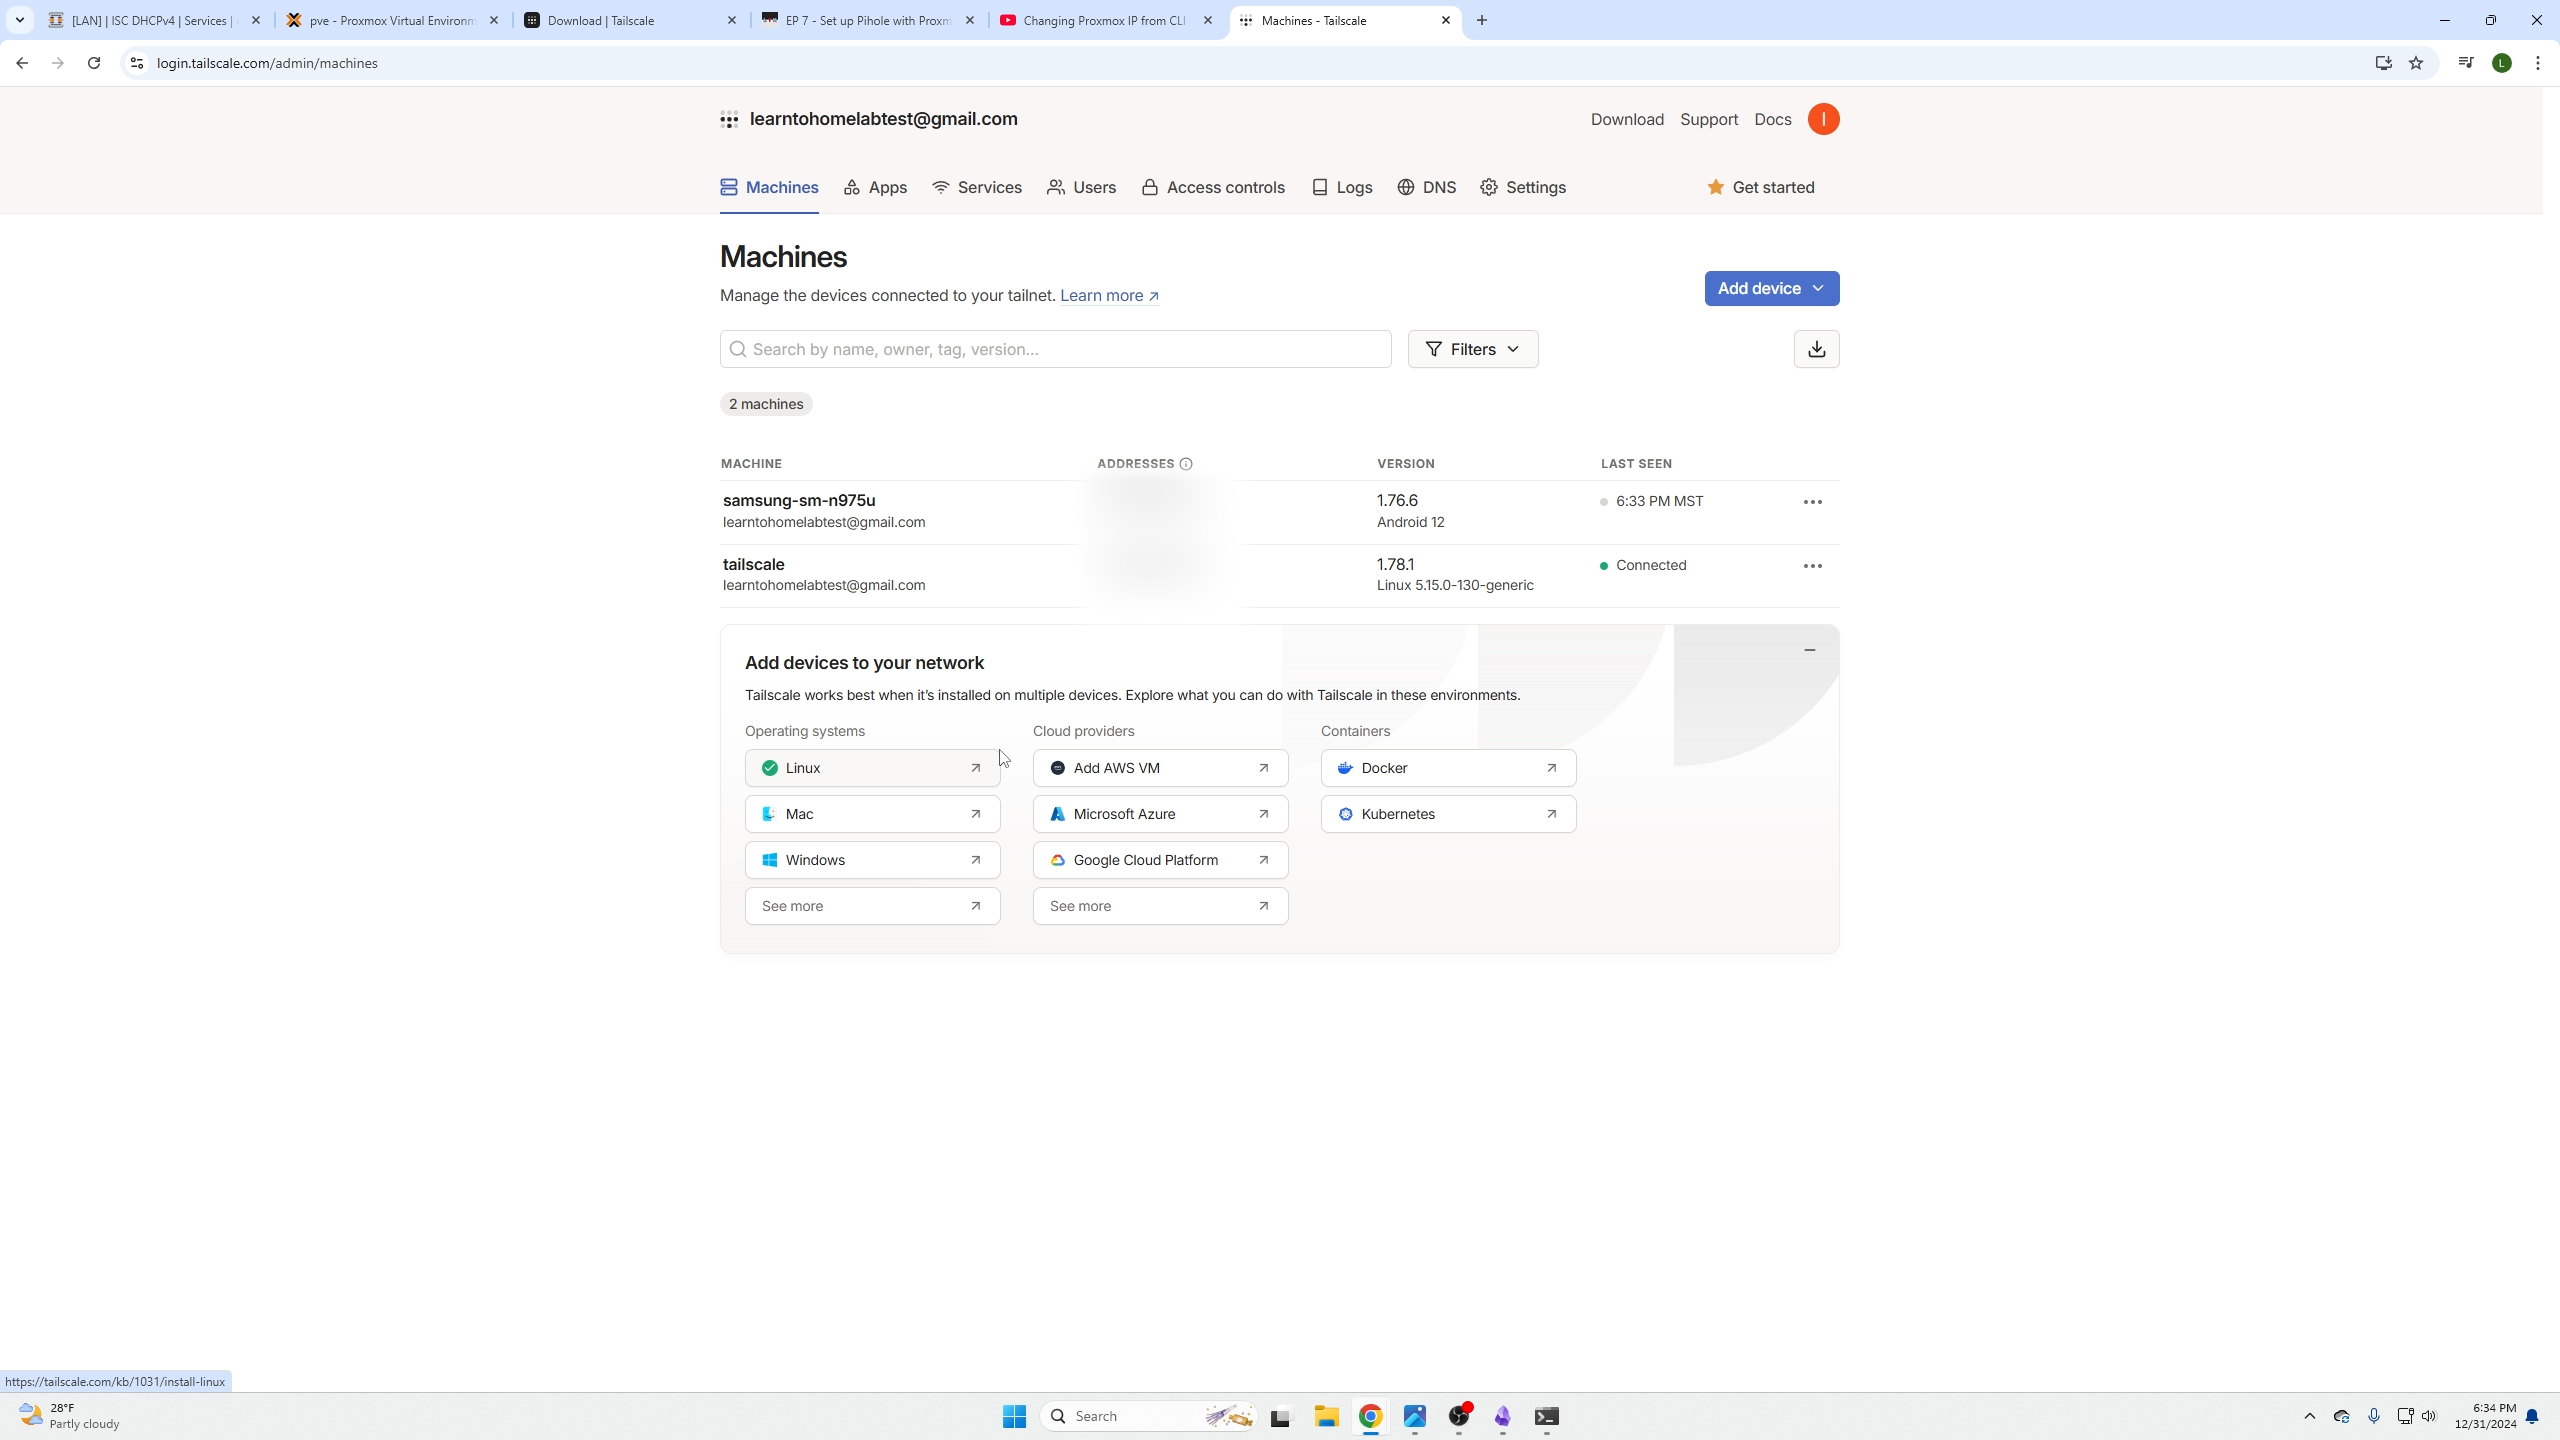
Managing Tailscale machines
Lastly, you can also login to your Tailscale account and manage your devices and see what devices have access to your mesh network.
Conclusion
Now you are able to access ANY device on your local home network via your Tailscale server, this means your NAS, game servers, Plex server, etc. Tailscale is like your computer or phone being on your home network where you can browse to anything locally.